Pour in some kind of solvent to dissolve the foam? Maybe Acetone or Ethanol...
I've tried Thinner, Acetone, Ethanol, White spirit, Red spirit, Brake Fluid, Freezing spray, and everything I had of chemicals in the garage, but nothing worked.
Stupid Foam!
If it's that horrid expanding urethane foam that someone has squirted in there I'd definately try & remove it (hacksaw blade sounds good), since some contain salts to help rust along. I don't think many solvents will affect it.
That foam have probably been sitting there since the car was built in 1975, so It probably hasn't sped things up. But I doubt it helped either

One rusty old ford you have there but the work you're doing is a real credit to you don't think restoration is the word probably resurrection!

Thanks mate, I should probably name the car Phoenix after this
On a side note: Can you guess what the car is called? It's not Rusty, altough that would be a fitting name
Sadly it didn't work

I've just read through your thread. Nice Taunus with lots of rust you have got there

Seems like you have to get done (and already did) a lot more welding than me

You've got some great fabrication skills for example on the do it yourself rear front seat mounting. Well done! Mine has a bit of rust aswell (can be saved though) but yours was rotten twice as much and was definitely not to be rescued anymore ;D. As you said they can look ok from the outside but still have rust from the inside. Also the jack mount you made looks awesome

Reading your thread is a great inspiration for me so keep up the good work !
By the way those videos you posted are great! ;D ;D
Thanks Christian, it's nice to inspire now and then
Those videos were made mostly for fun, but they came out better than I had expected
And, I am hoping the left side of the car is better than the right side, but I shouldn't hope for too much
not seen this thread before some seriously good work being done,very bad news on the house cant tell you how sorry I am for you and your mrs.
me and my mrs want to do a fair bit more touring in your neck of the woods once I get some leave from work and I would gladly donate some time to come over and give you a hand with any home rebuilding you need mate so send me a pm if your in need.
I probably wont be needing a hand with the rebuilding any time soon, but you're welcome to drop by for a cuppa.
I can show you how pretty the surrounding are up here
My right foot itches every time I see pictures of Trollstigen ;D Norwegian Initial D interpretation, hehe
If it hadn't been for all those pesky tourists, and the fact that my Ford Scorpio was rather full to the brim with luggage, the missus and the dog, I would probably try some stunts. But the road was an awesome drive nonetheless
We had a great vacation overall and got to see alot of cool things.
We saw Trollstigen. Geiranger, two (around) 870 year old wooden Stave churches, and a week in Bergen and a week in Oslo.
I also got to drive a Tesla Roadster a couple of days during our visit to my mother in law in Oslo. That was stupid fun, 0-100km/h in 3.6 seconds.
400hp makes for some insane acceleration

Since we got home things have been moving slow with the car.
Mostly because I've helped my dad a bit with his new car, a very tidy '79 Porsche 911 3.3 Turbo.
We've done some small bits and bobs, like fixing the headlight wash thingys, wiring up a stereo headunit, polishing washing and LOTS of driving around
That thing moves like stink, or bad rumors. Take your pick
360hp and loads of torque. WEEEEE!
But, back on topic.
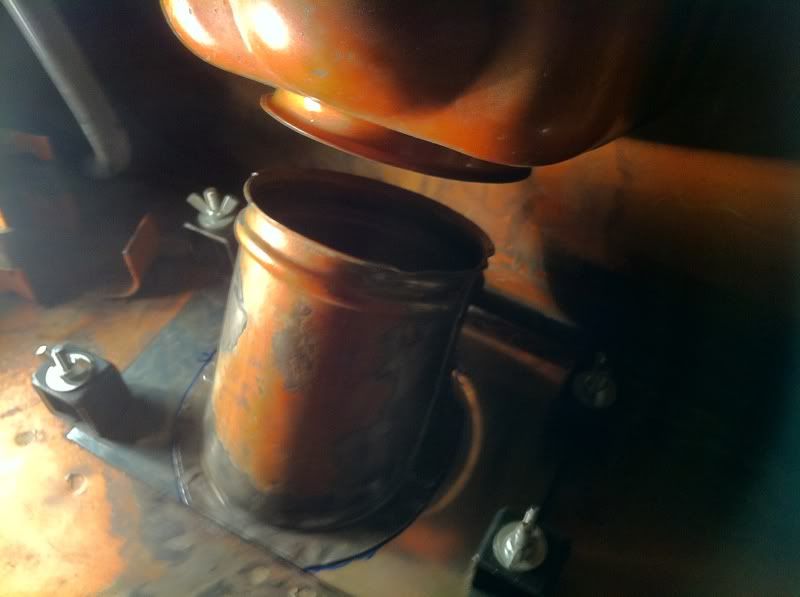
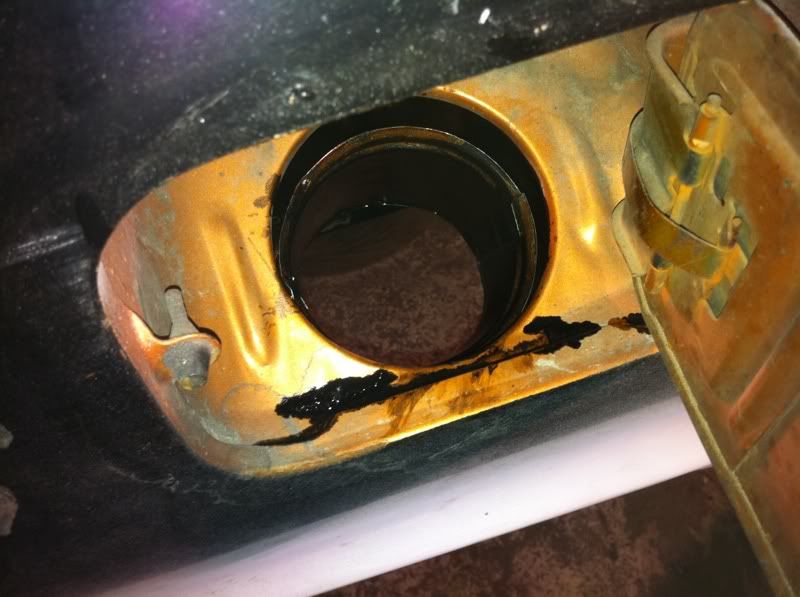
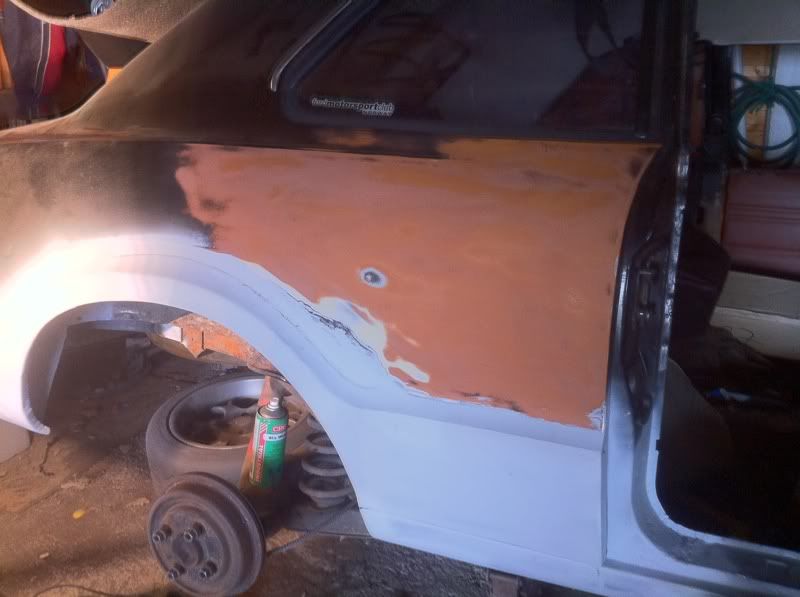
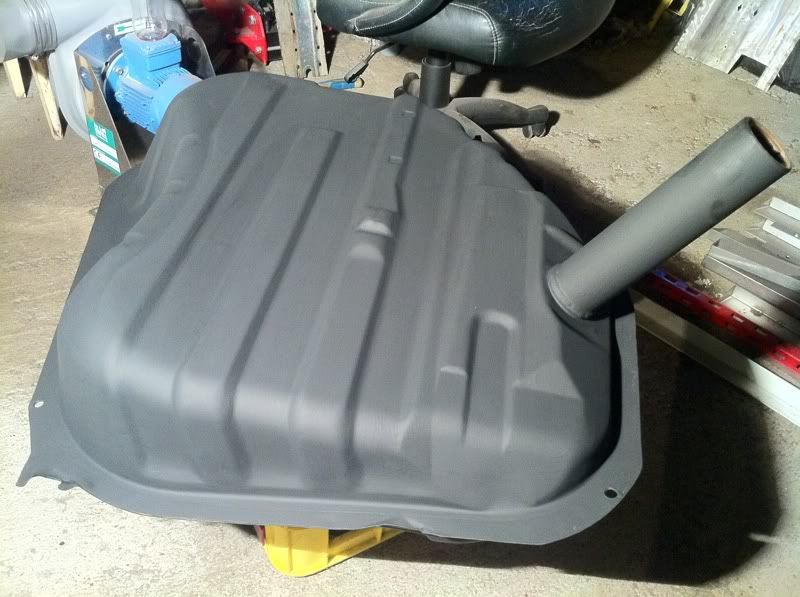
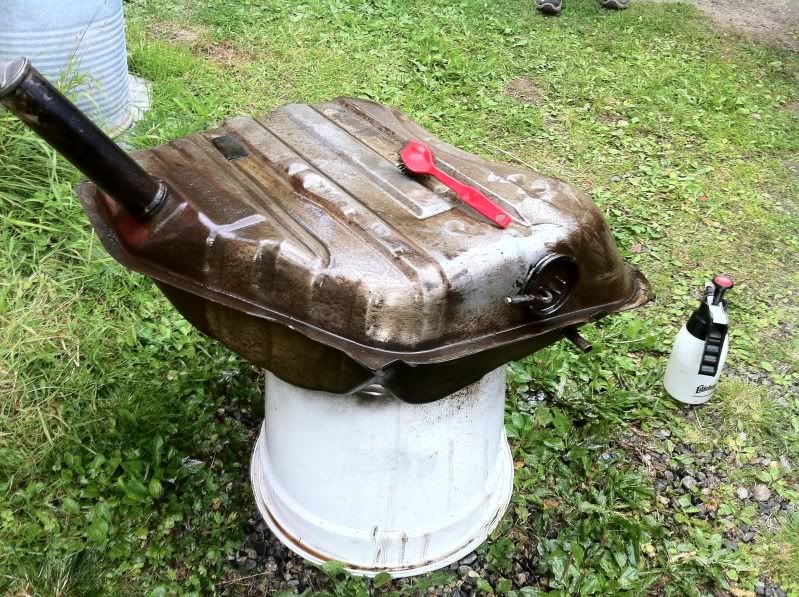
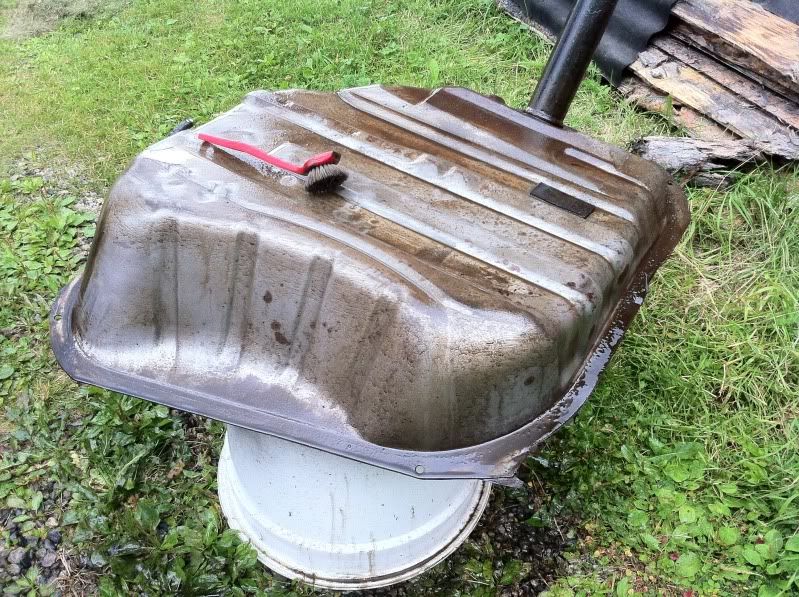
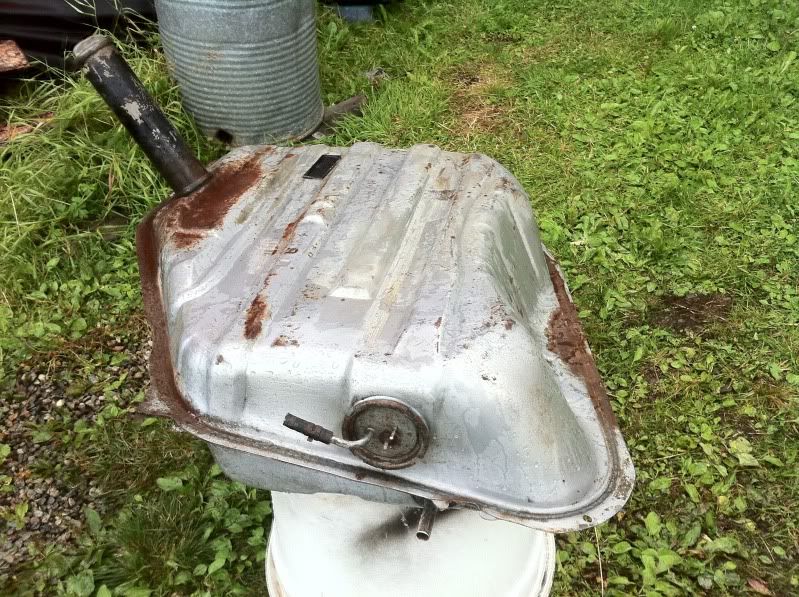
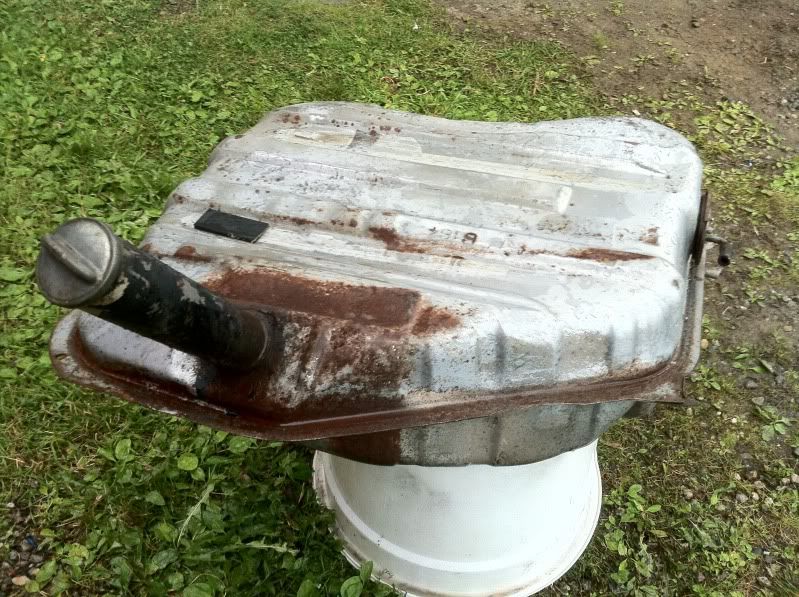
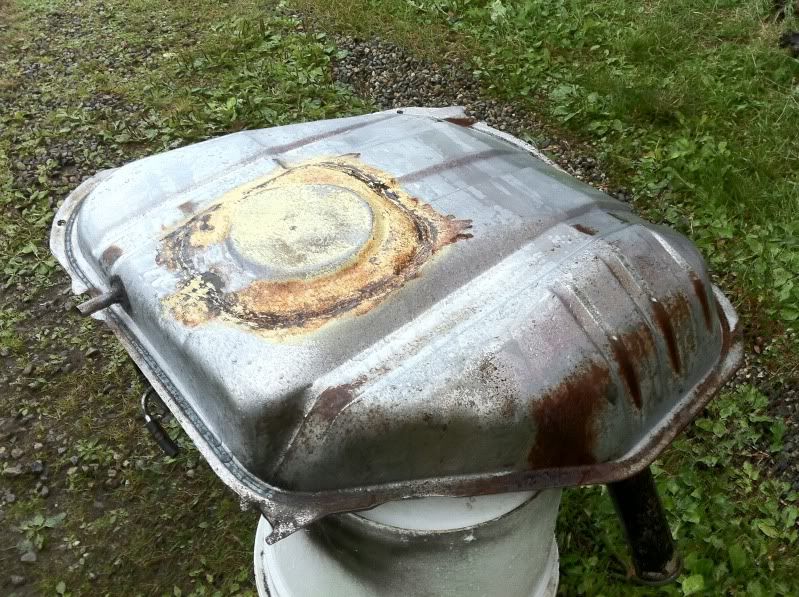
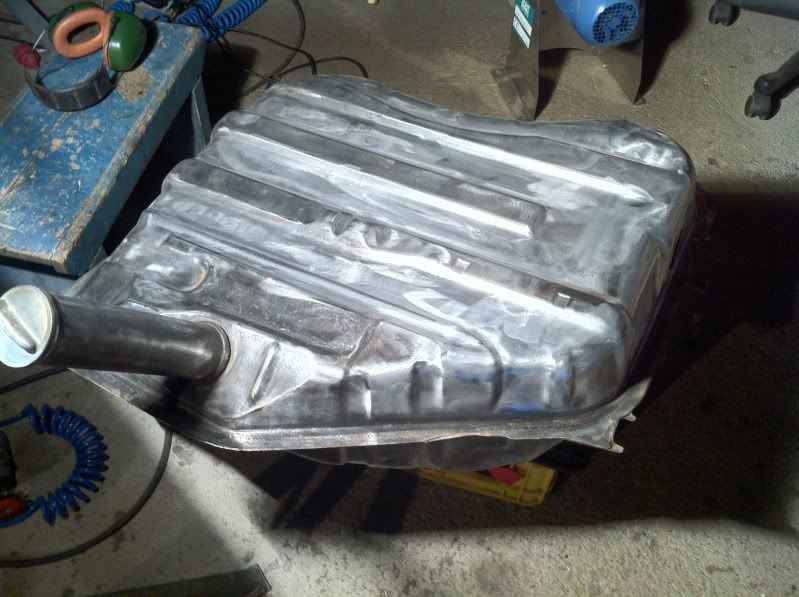
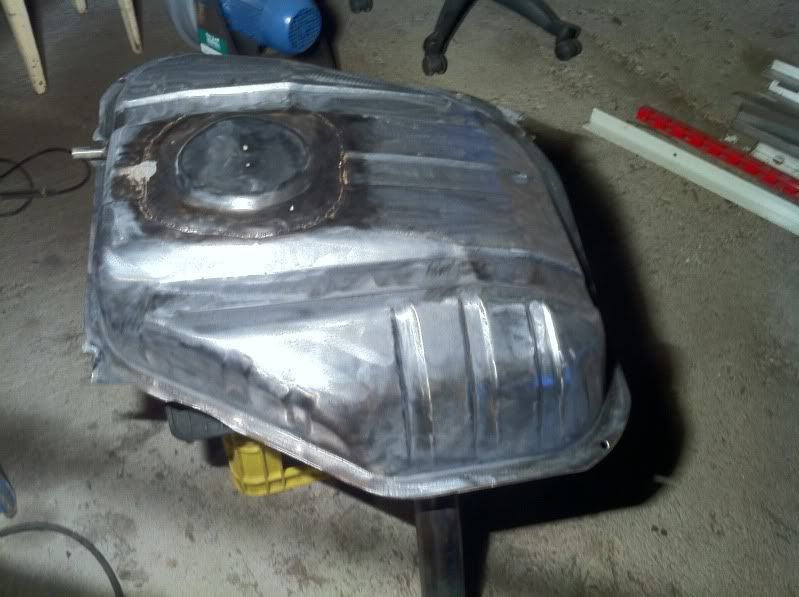
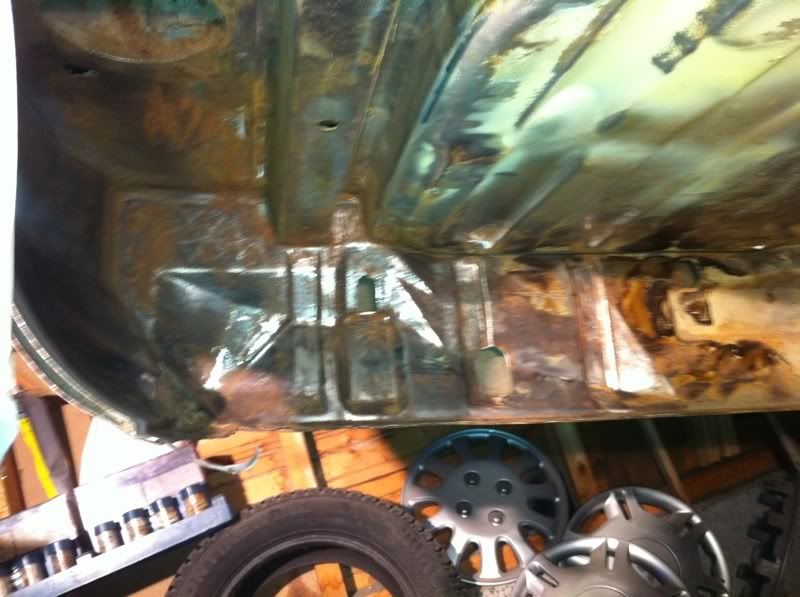
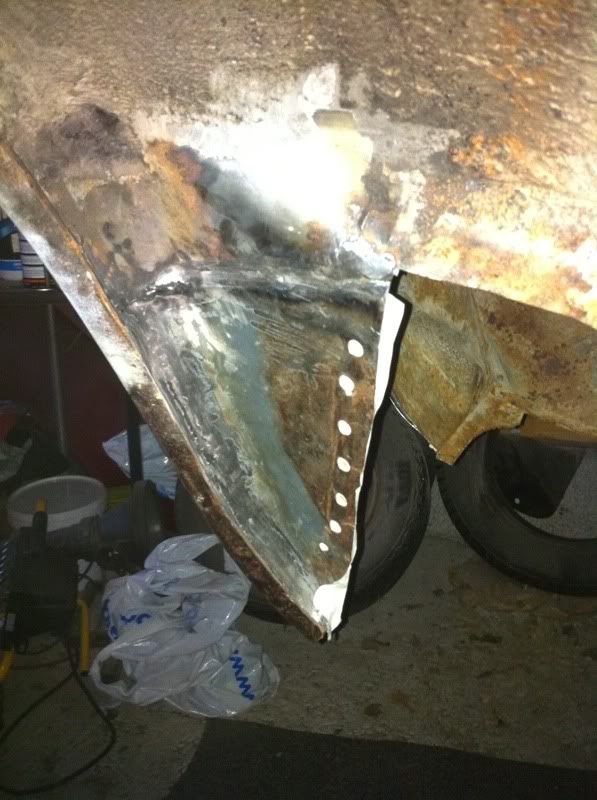
I started by removing the fuel tank for easier access to the back of the rr quarterpanel.
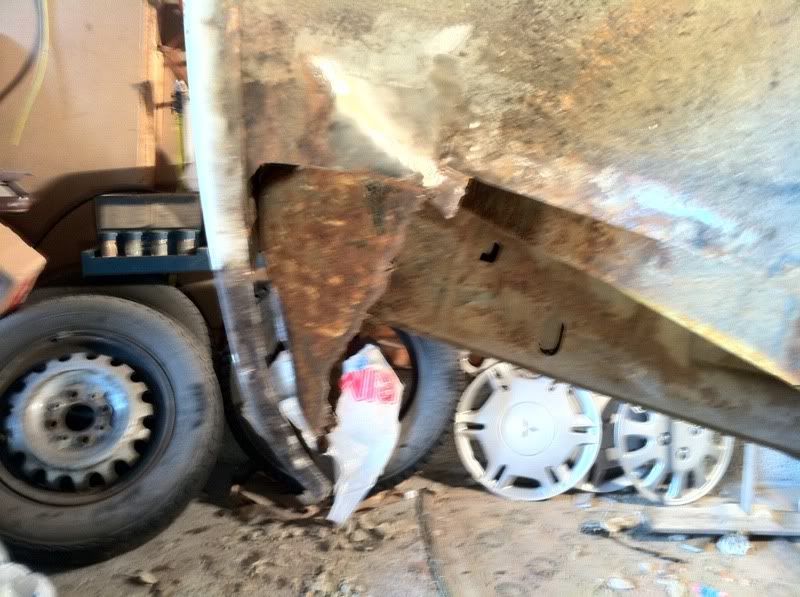
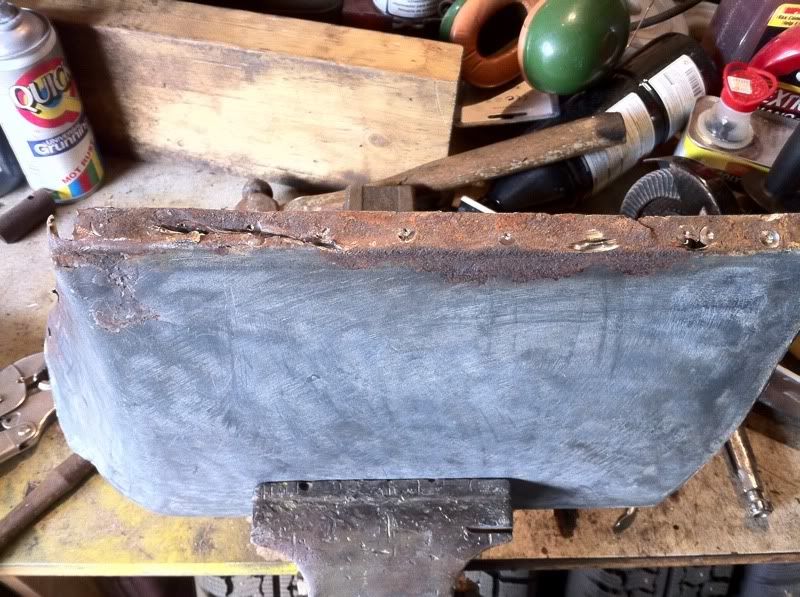
I also cut away the old pieces of rusted panels:
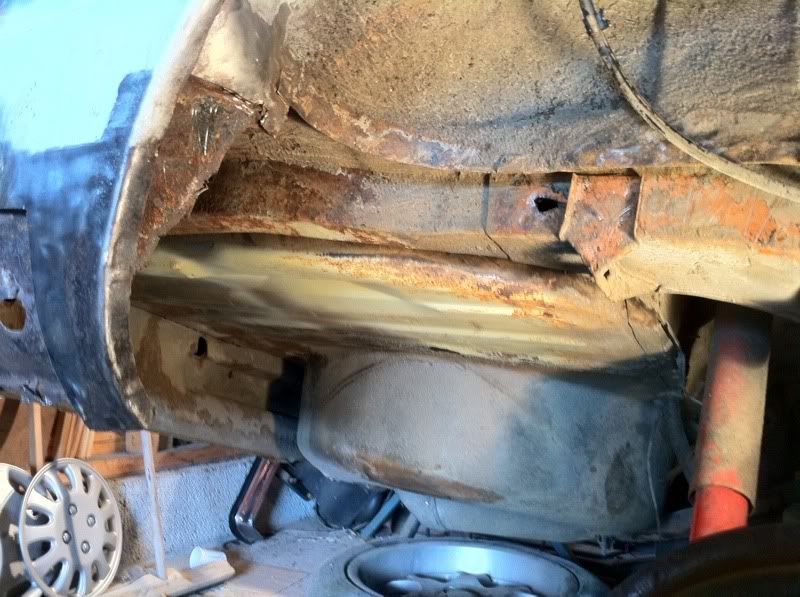
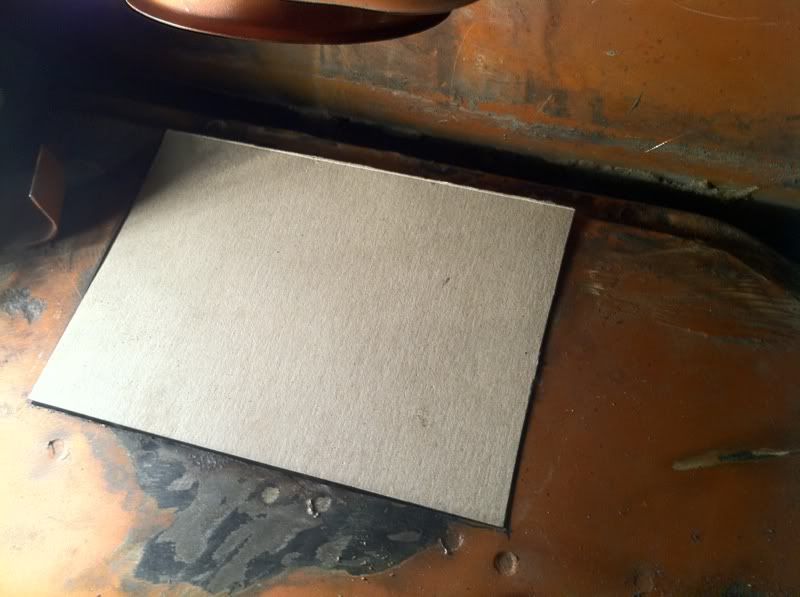
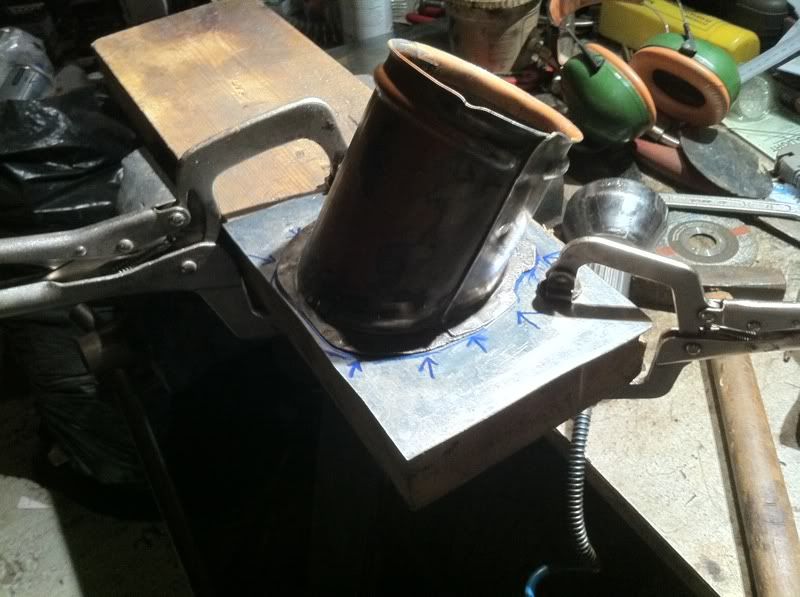
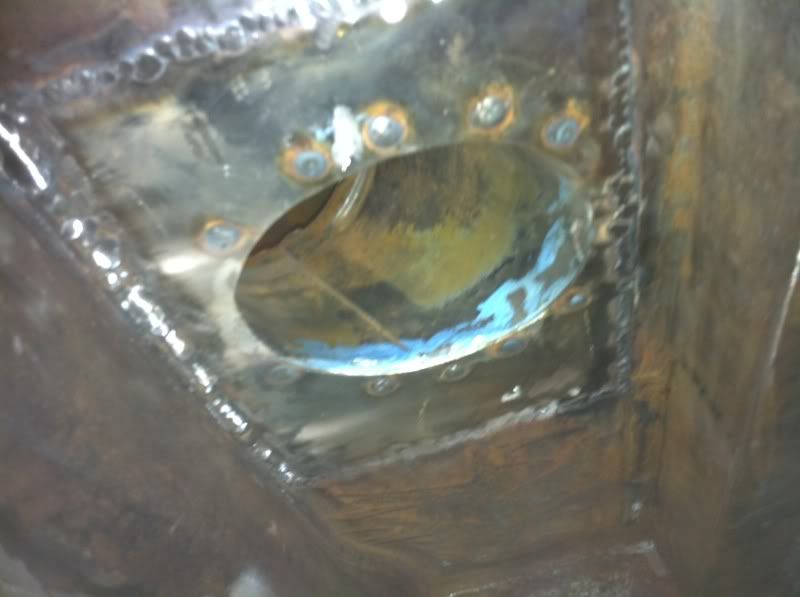
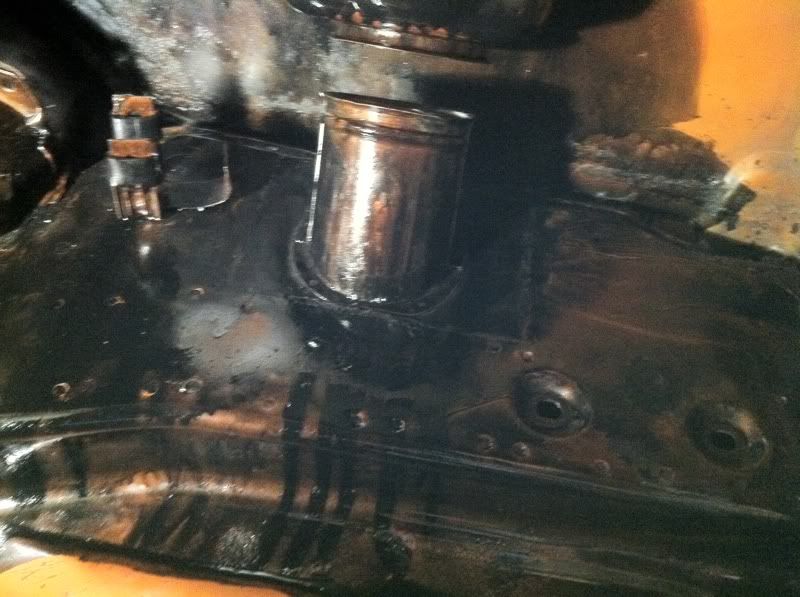
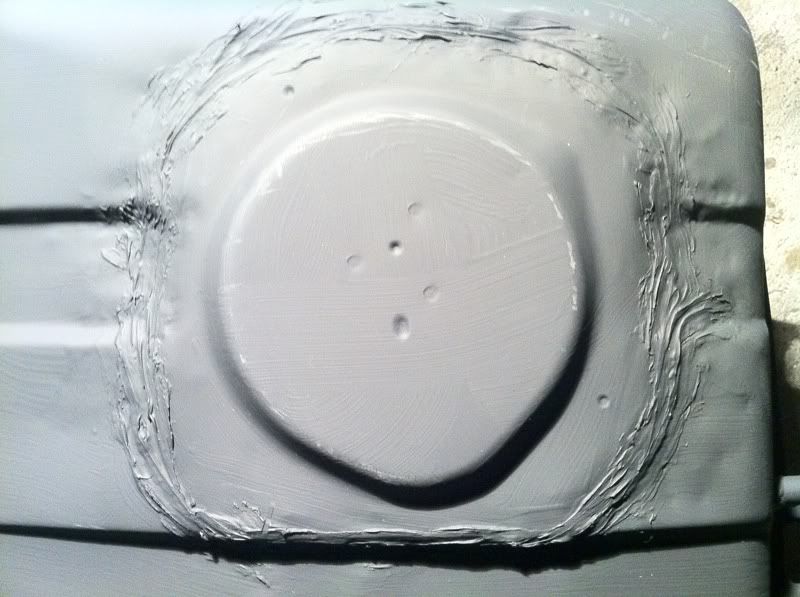
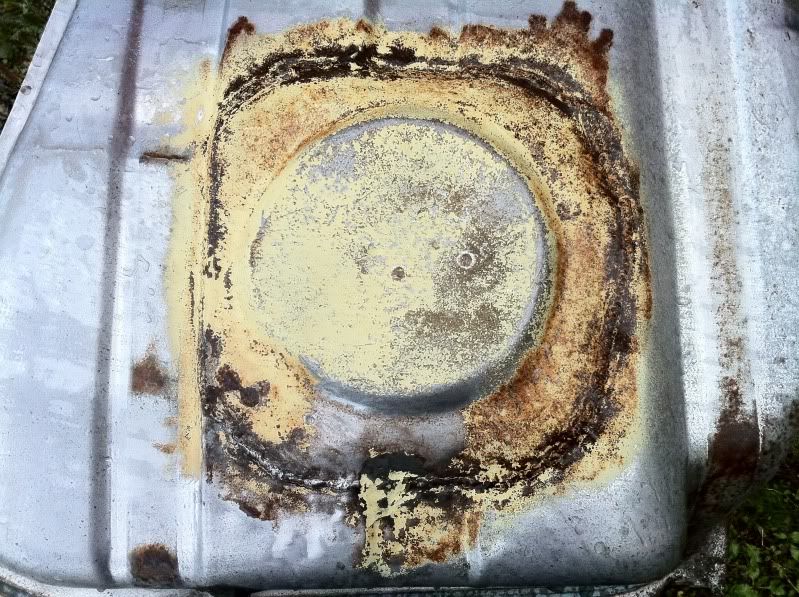
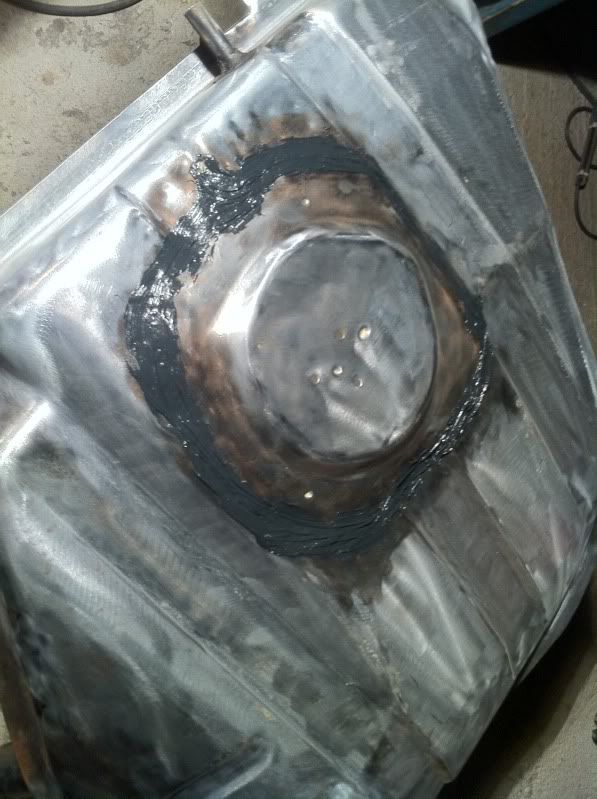
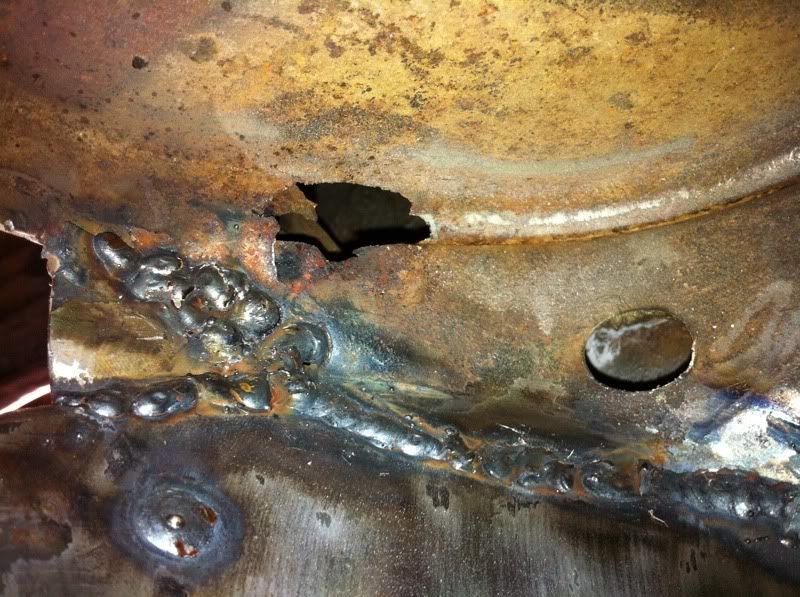
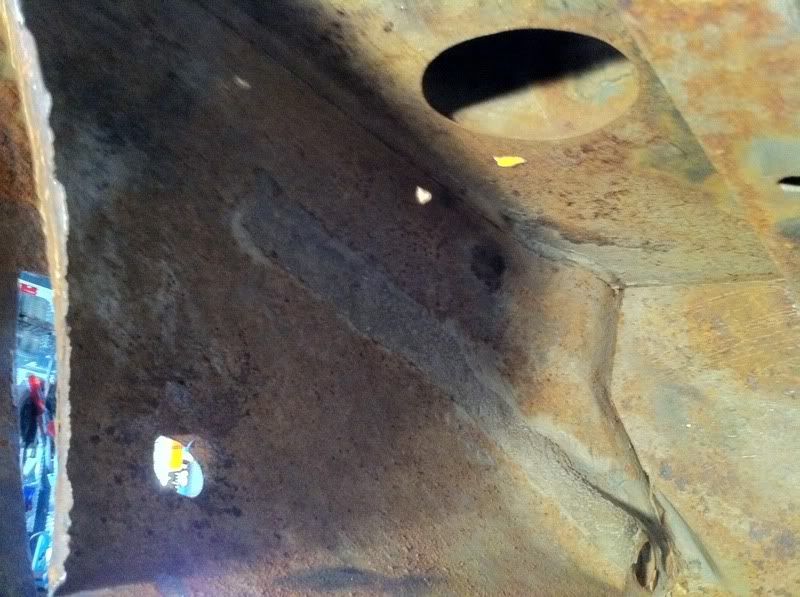
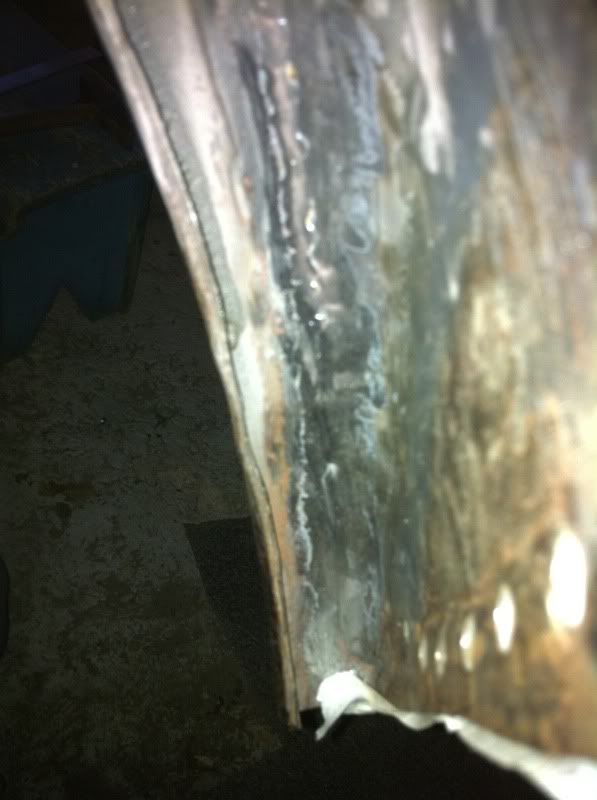
I also found some small holes around the filler neck tube when I was digging out the foam I could access from the boot:
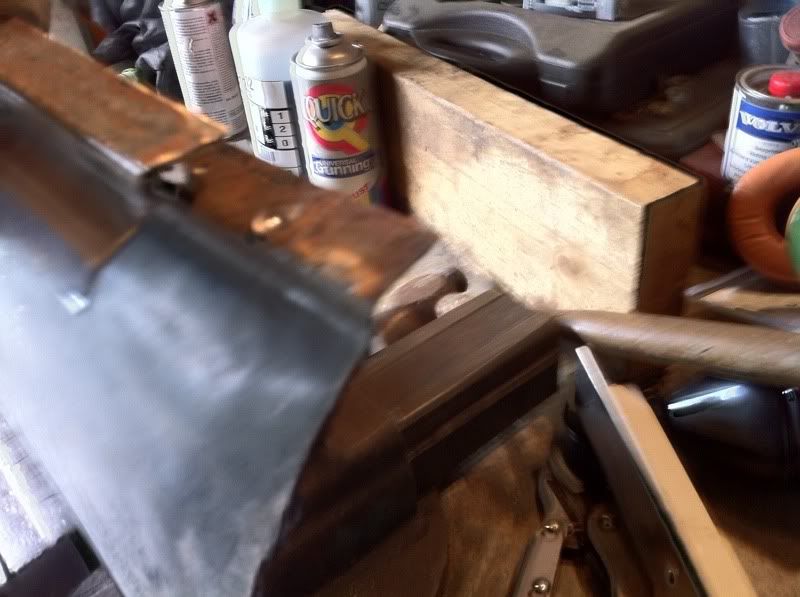
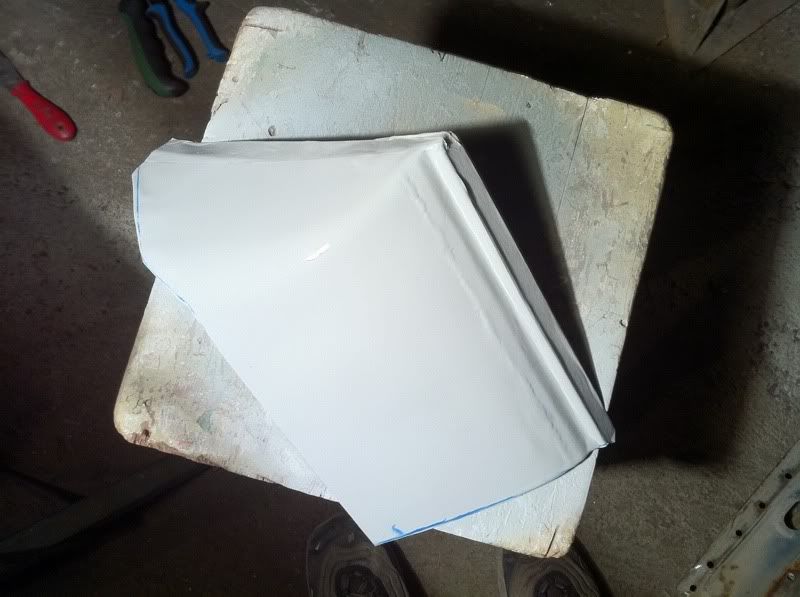
Then it was over to the panels I cut from the parts car.
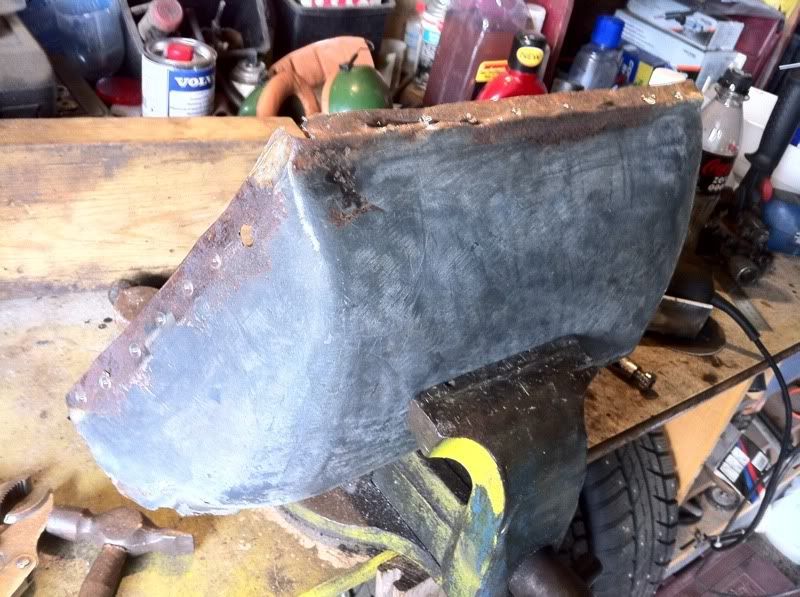
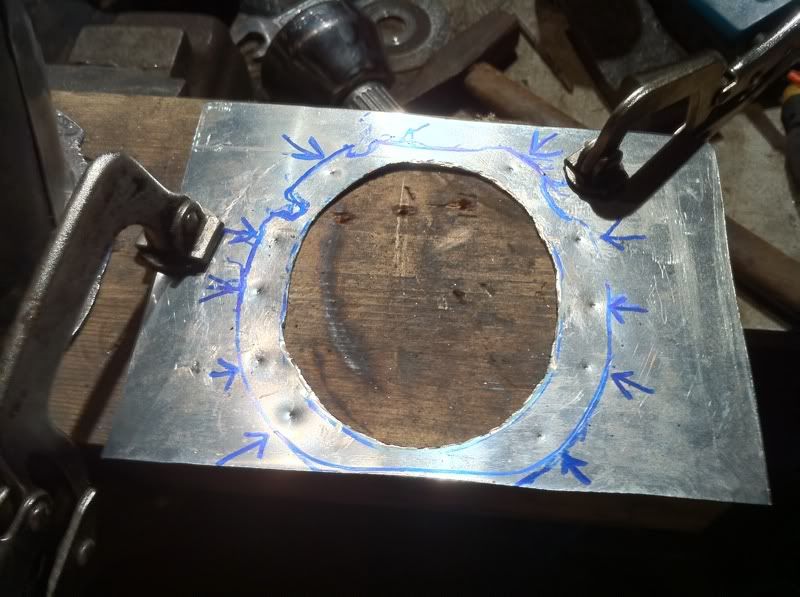
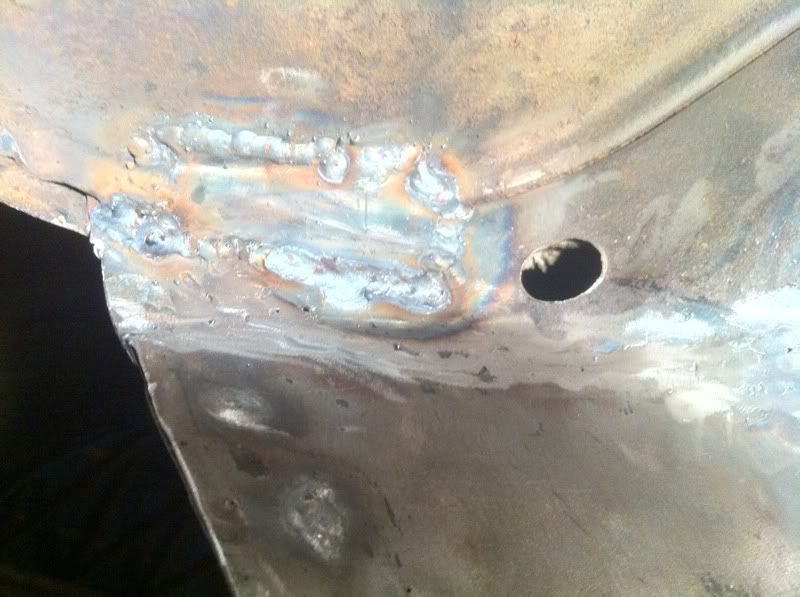
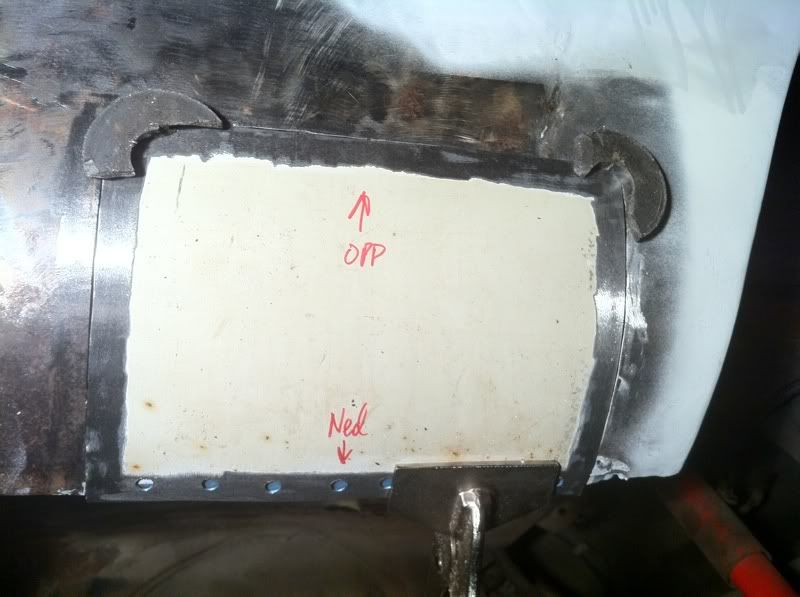
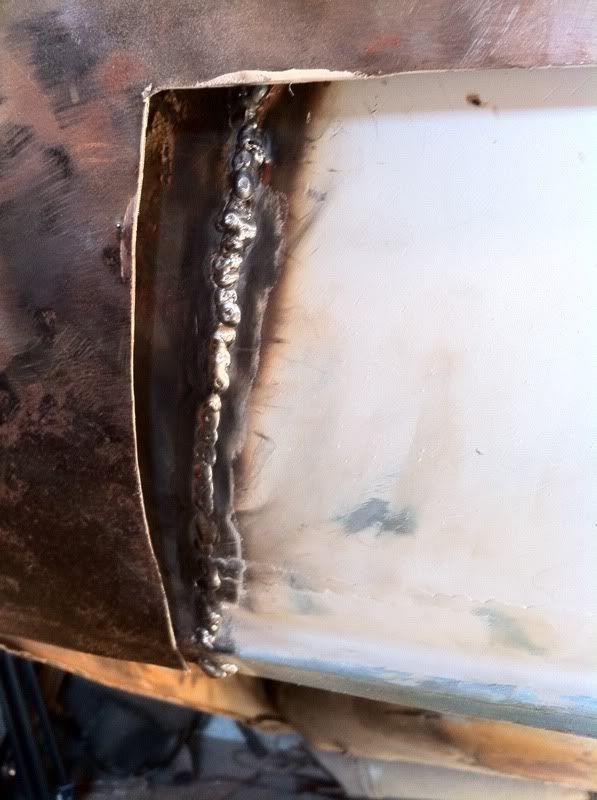
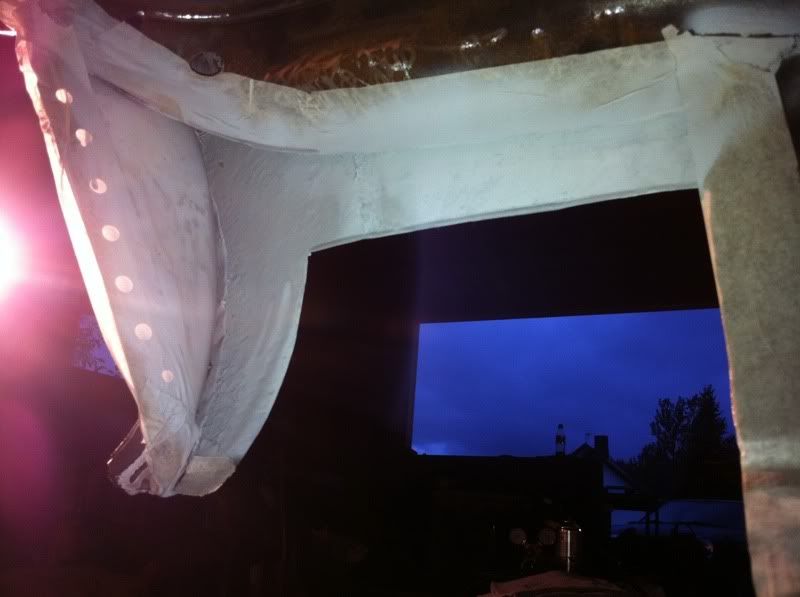
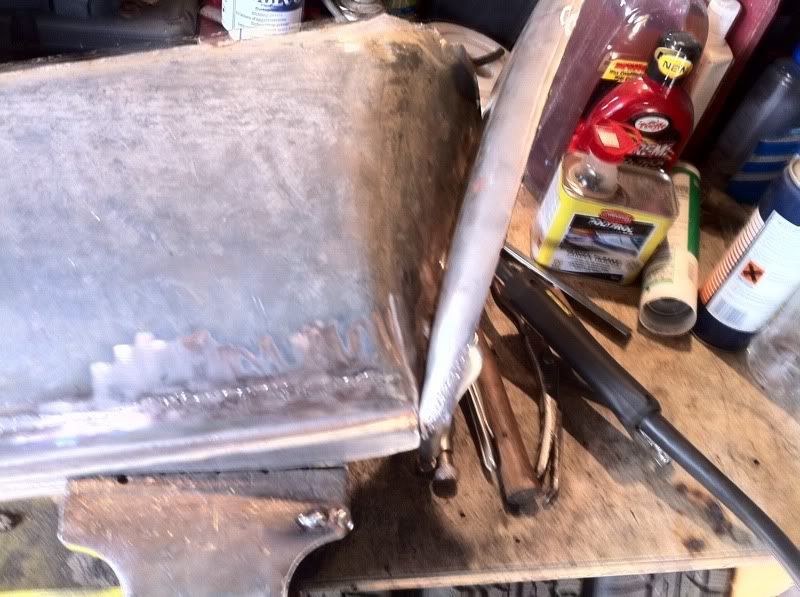
The lip where the outside plate is spotwelded to the inside panel was too rusty, so I cut off the old edge and made a new to weld in:
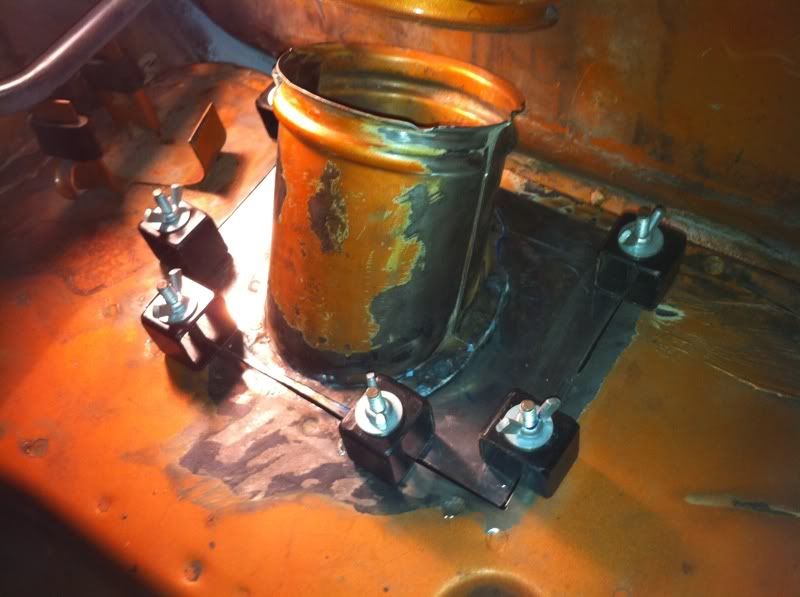
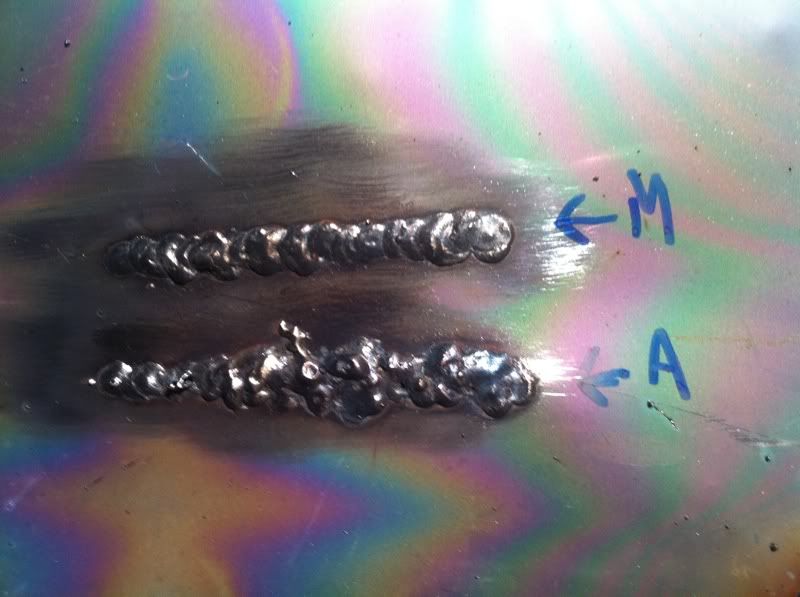
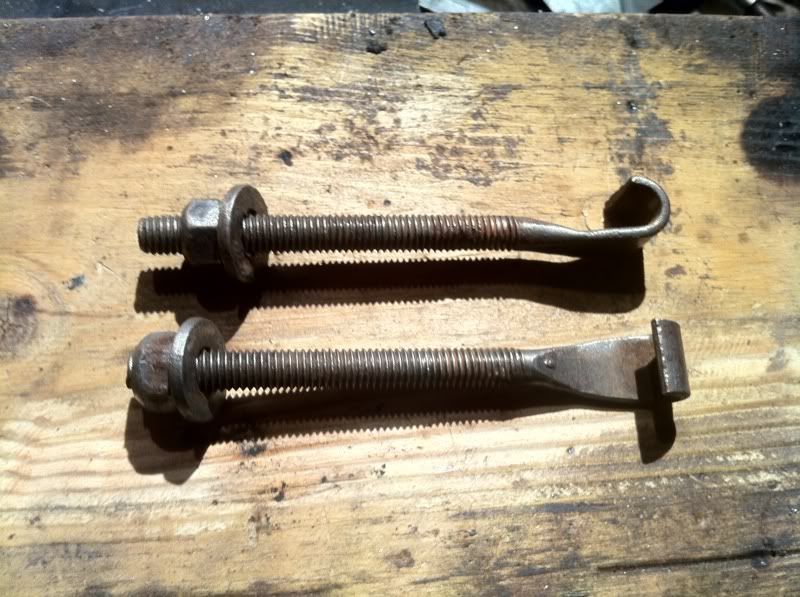
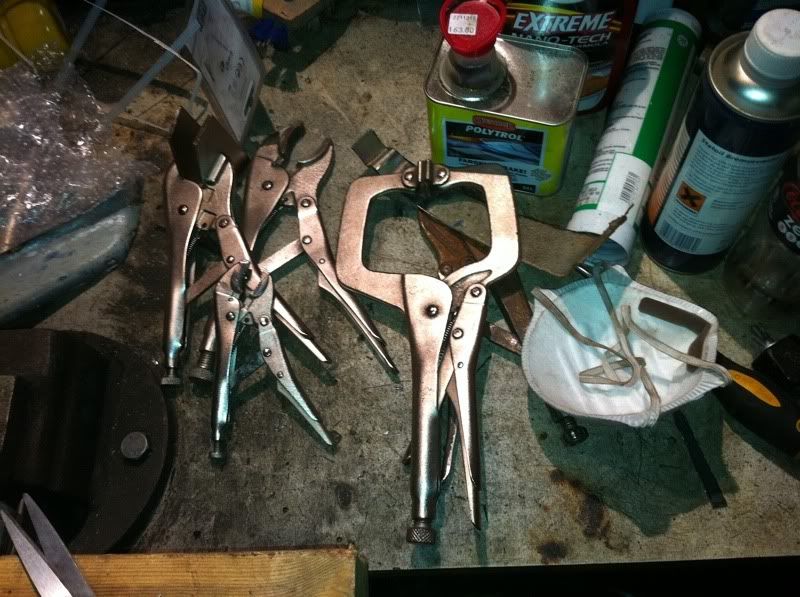
Ready for welding. I've used the Intergrips I made earlier once again. Smart little buggers me thinks
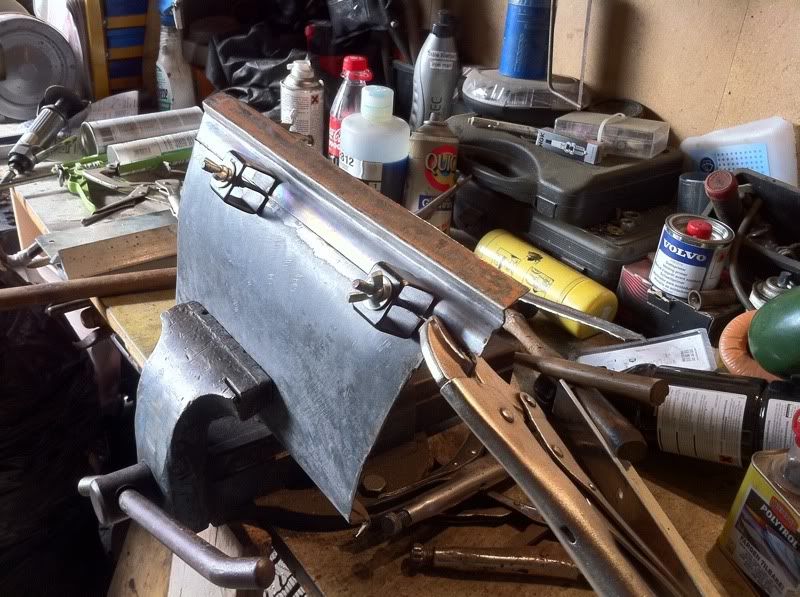
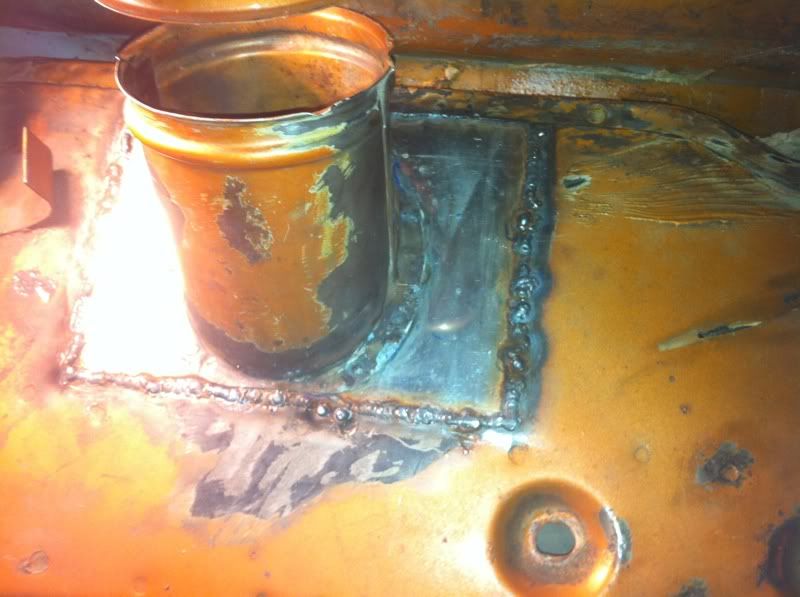
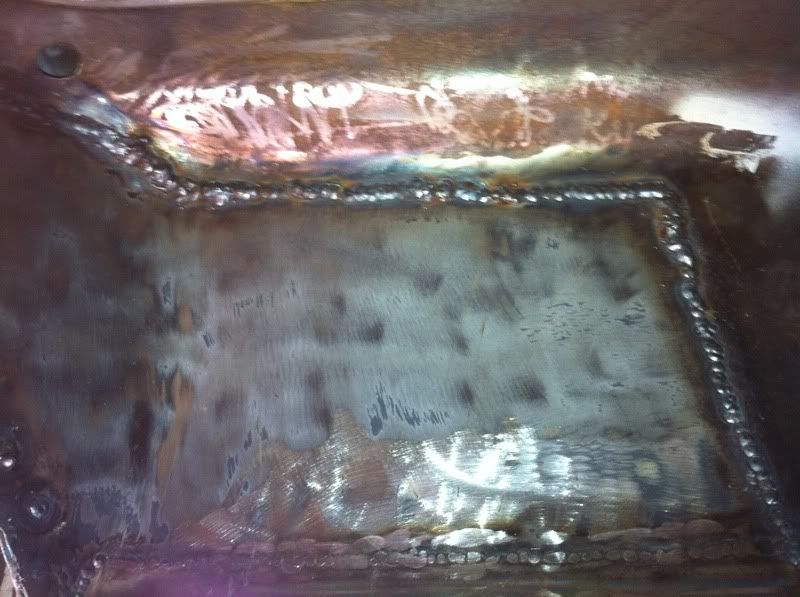
And all welded up:
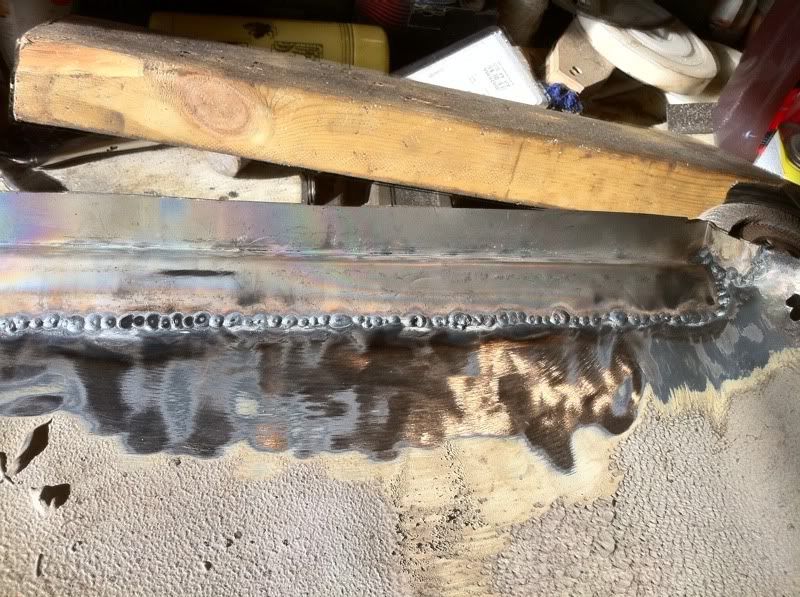
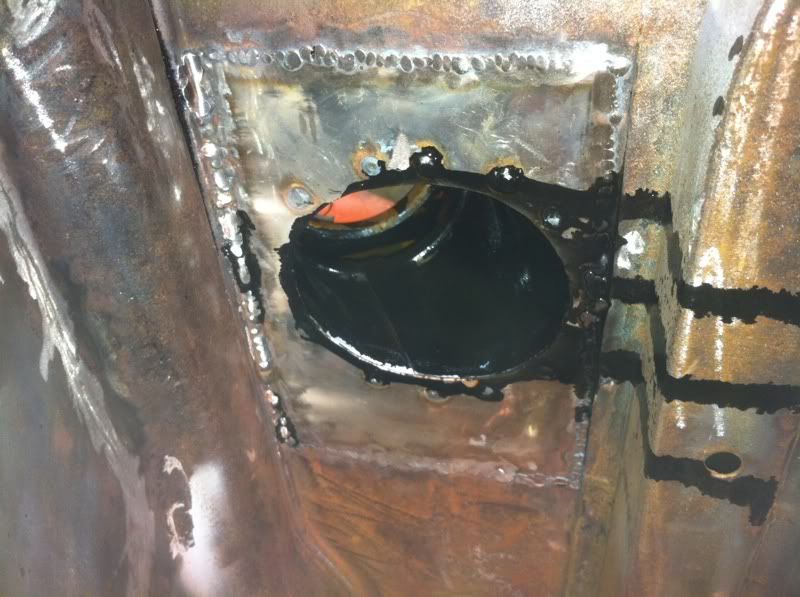
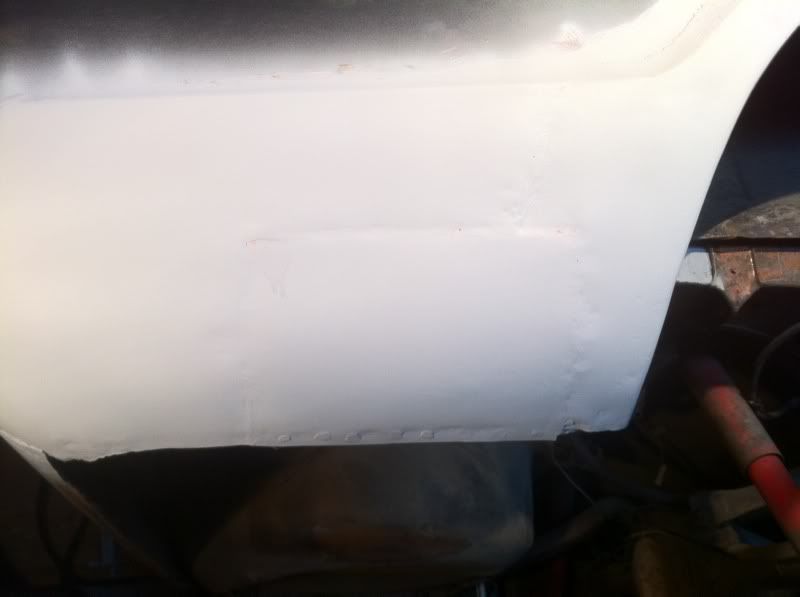
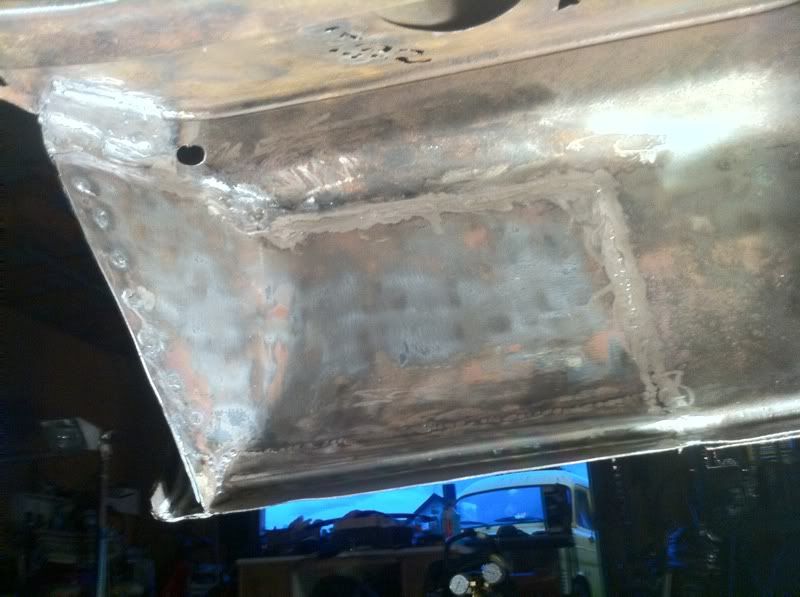
And then I had to check that it fit against the piece that was facing the inside of the wheelwell. Like a glove:
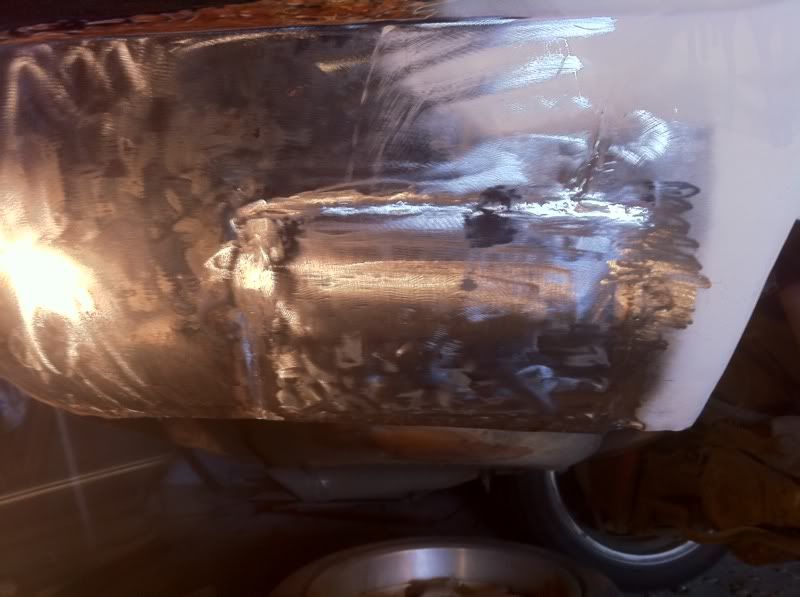
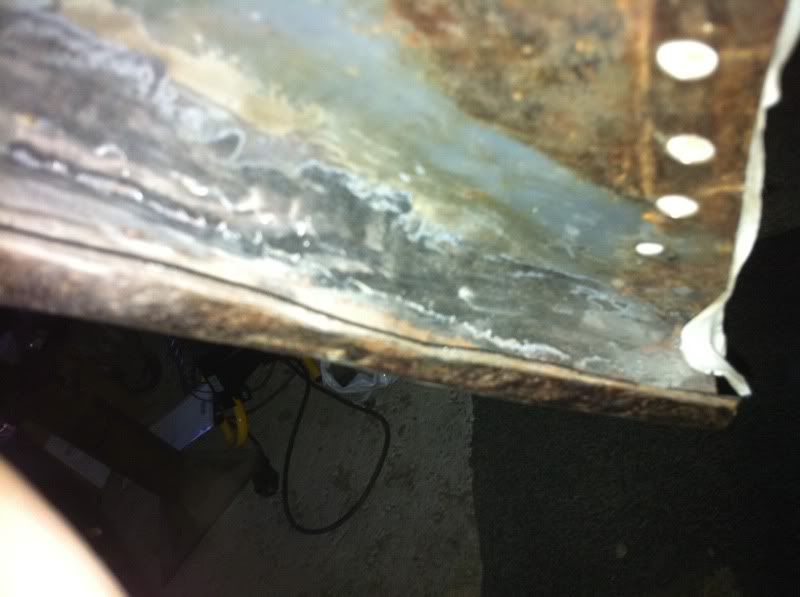
Then I hit the inside of it with etch primer, and let it dry for a while:
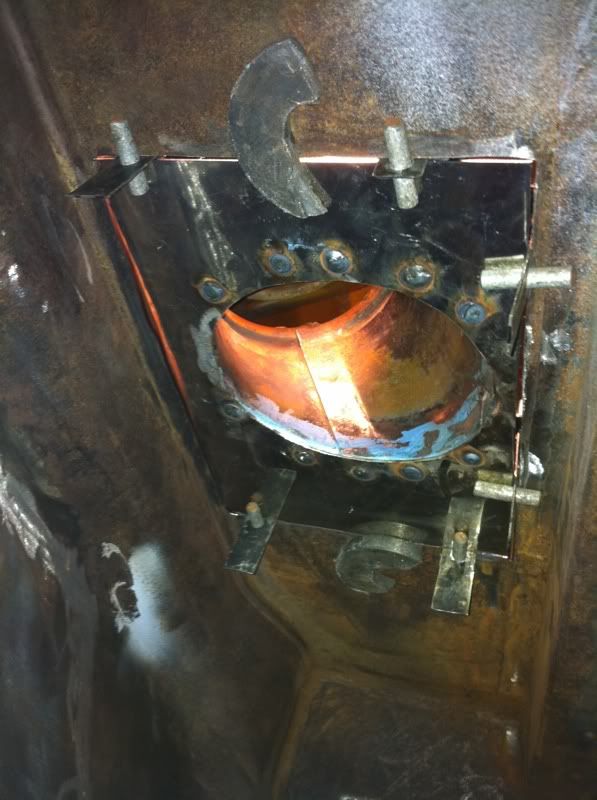
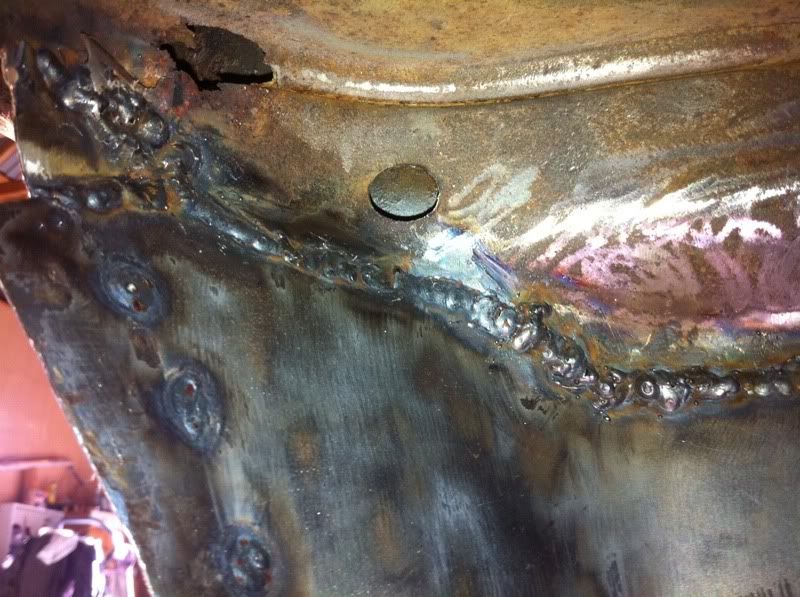
Then I welded in place the piece inside the wheelwell to have something for the other piece to mount up to. It turned out allright.
The masking tape you see is the contact surfaces masked up when I primed the inside of the quarter panel:
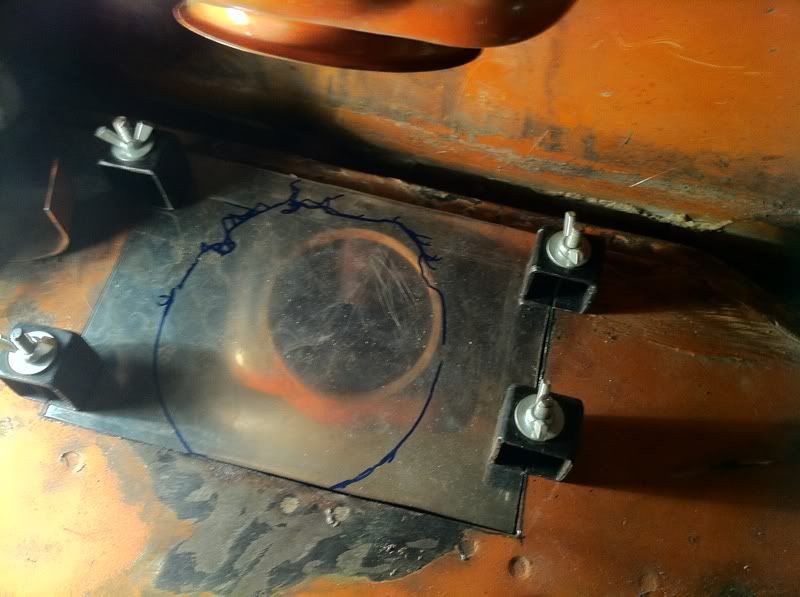
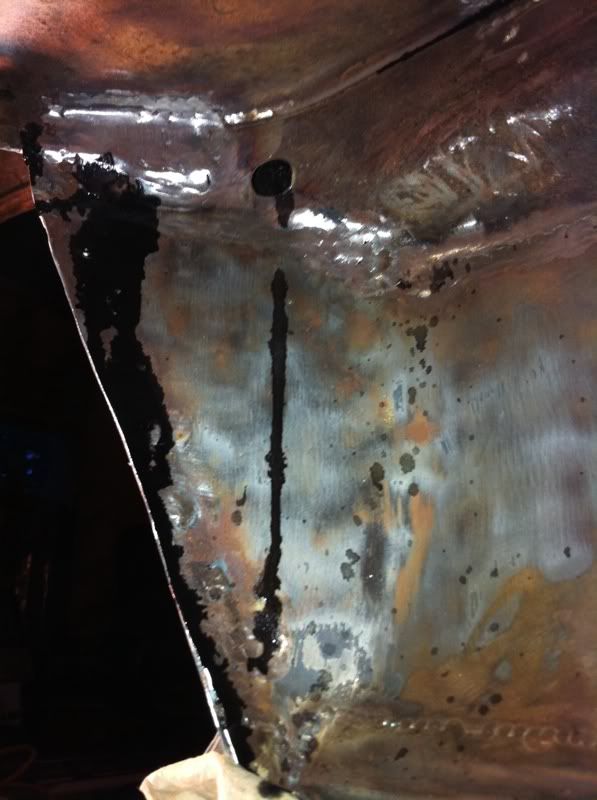
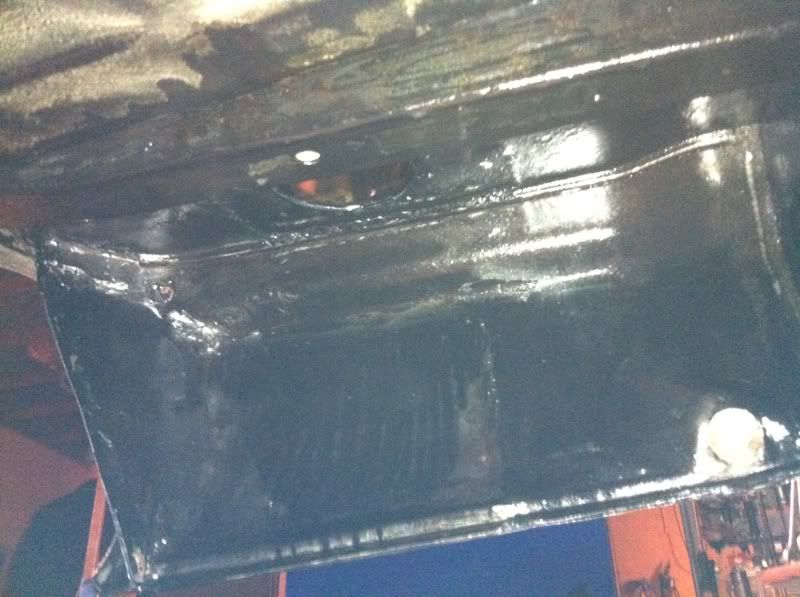
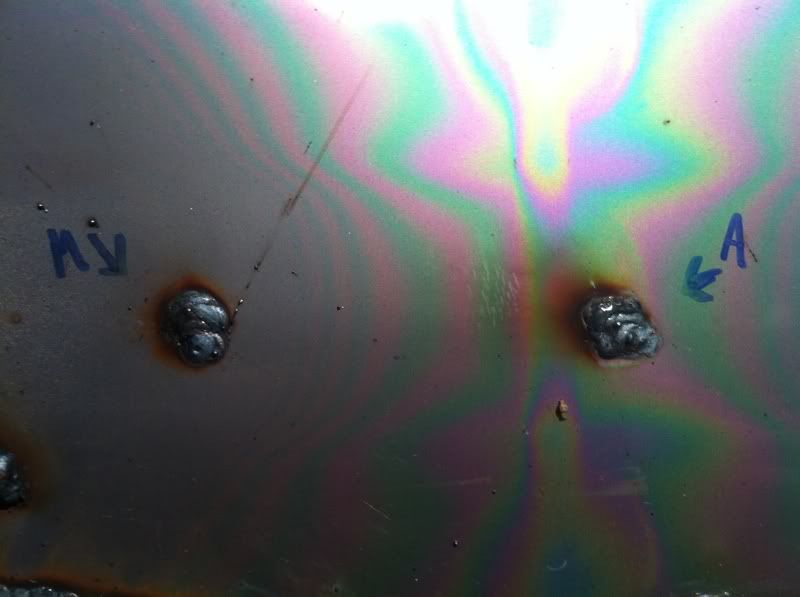
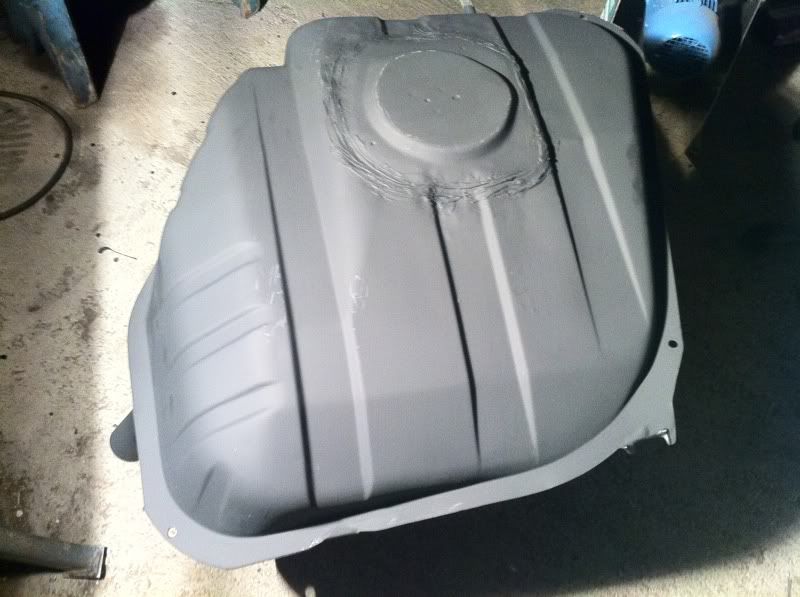
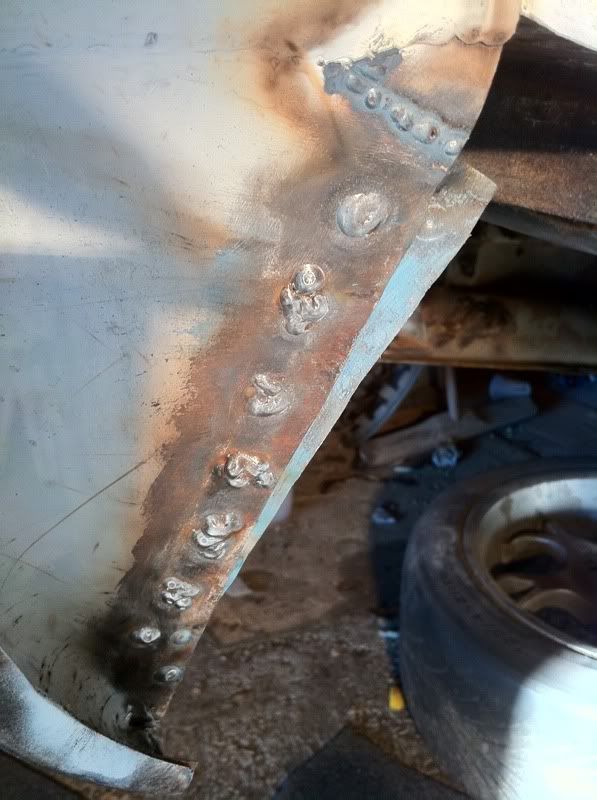
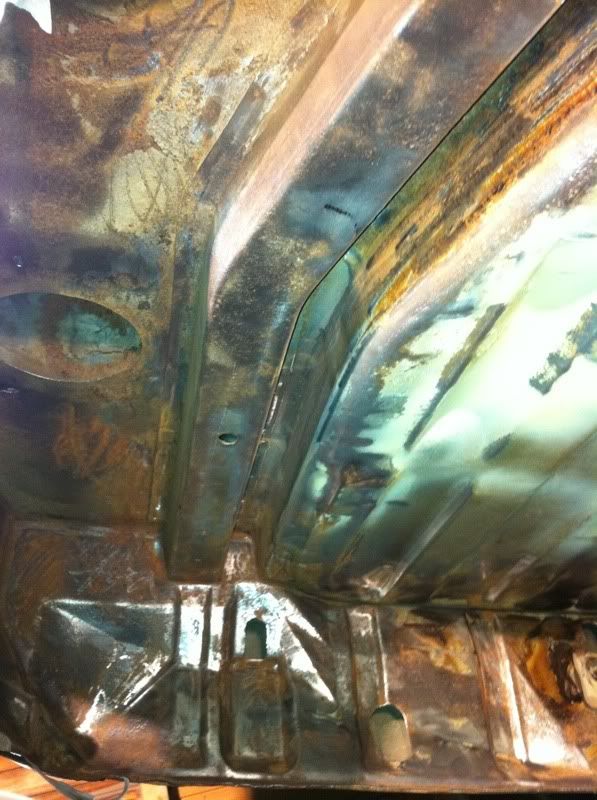
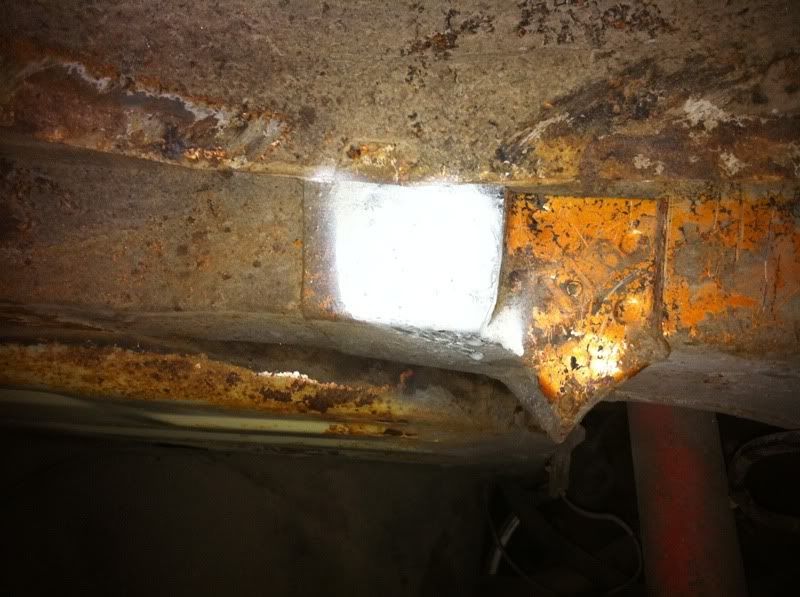
Then I cut and shut a small hole I found in the framerail just beside the fuel tank mount while I was at it.
The hole is visible in the second picture of this post:
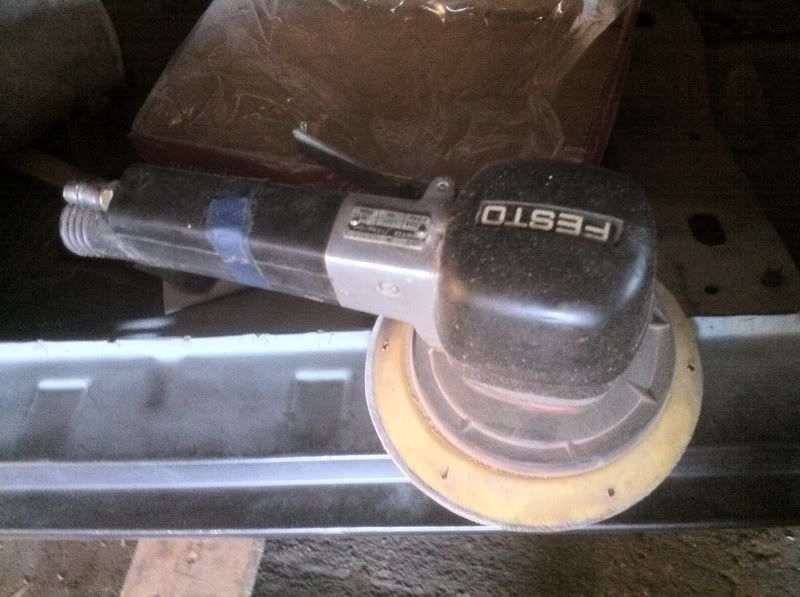
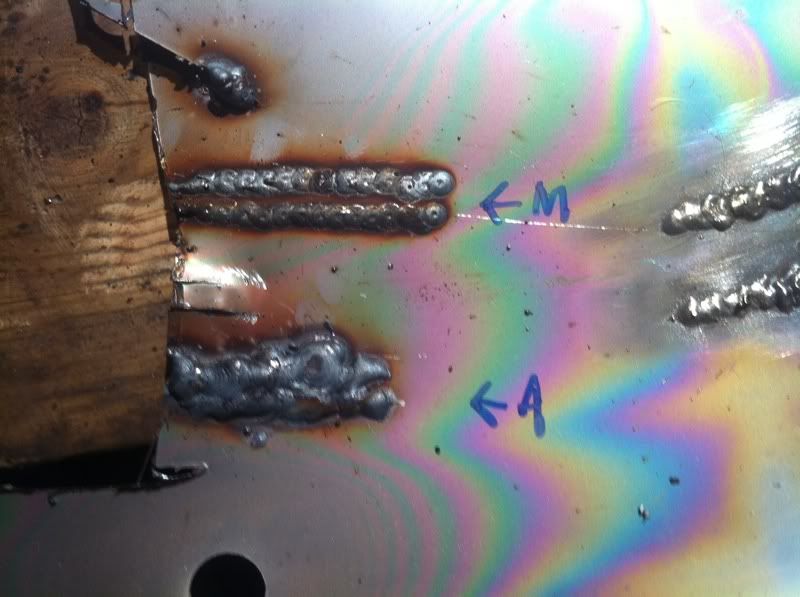
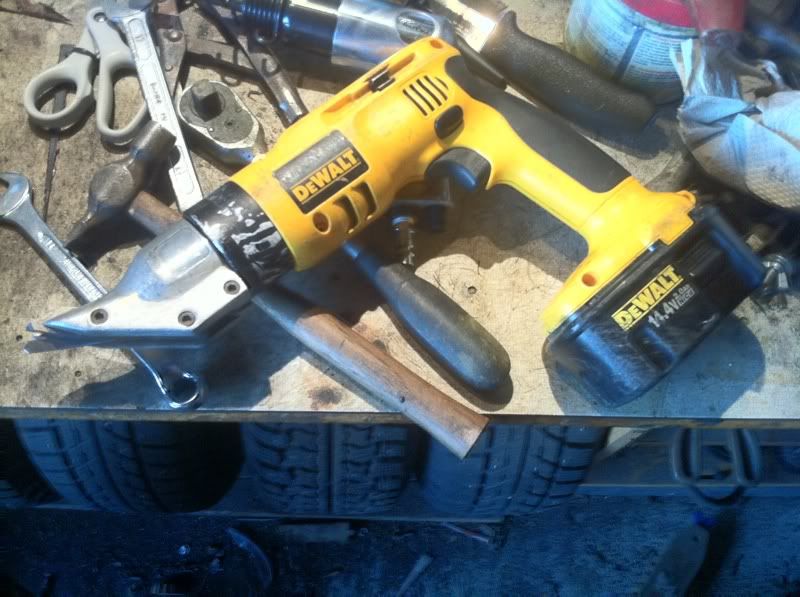
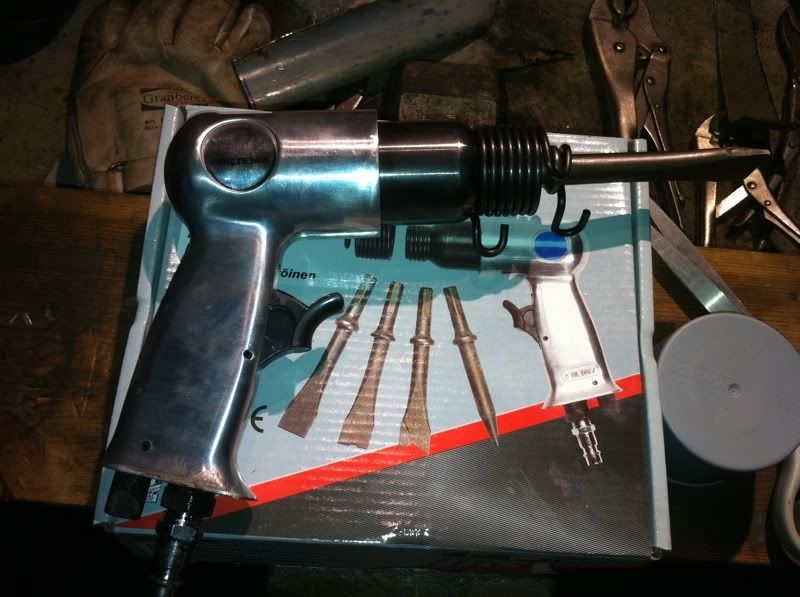
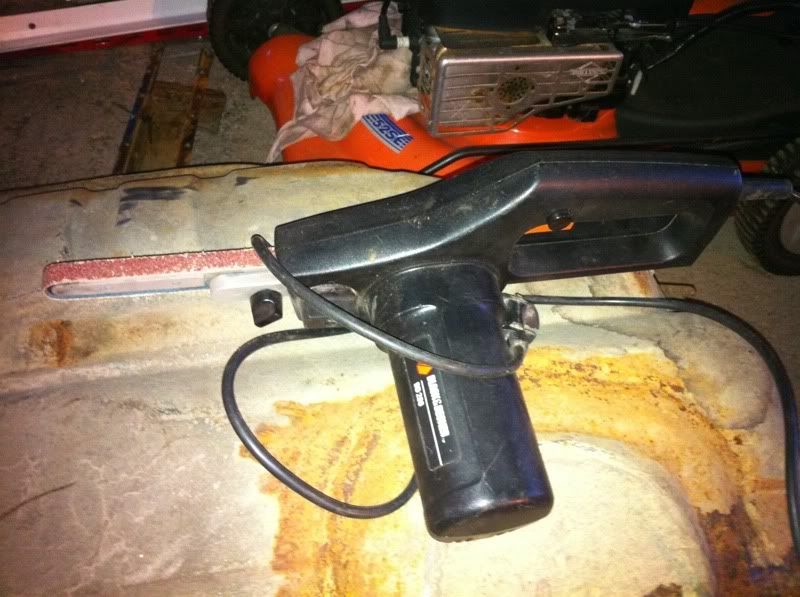
And on advice from Tonybmw I found an old B&D Powerfile my dad had hiding in his basement.
This worked great to remove the spotwelds that you can't reach with an angle grinder. Tonybmw Top Tip
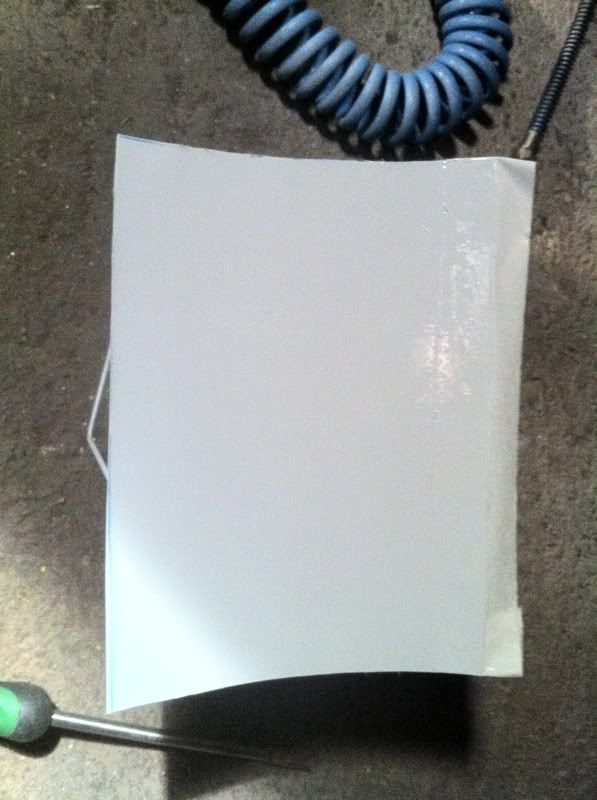
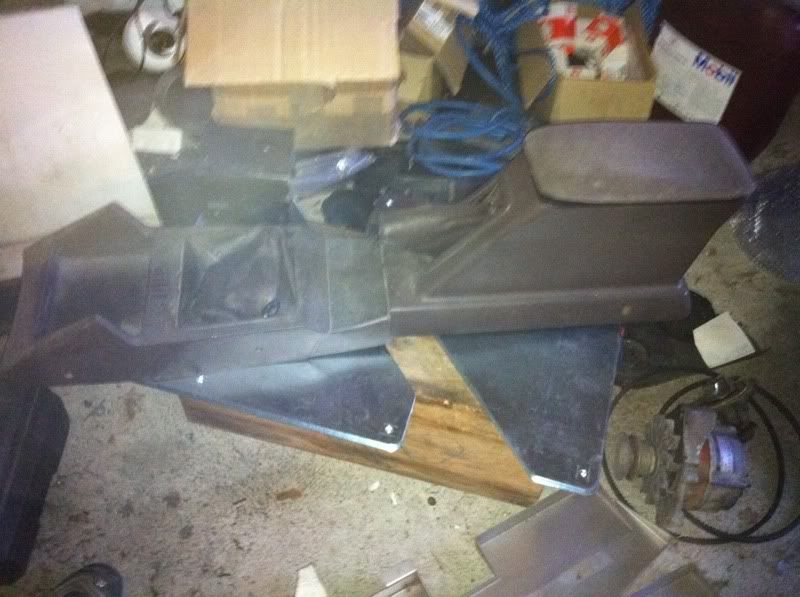
And I also managed to scrounge up an old centre console that I'm going to install when I assemble the car after I'm done welding.
I'm going to paint it black before assembly though:
Comments anyone?
Time spent: 8 Hours
Total time spent this year: 82 Hours.