most of this is copied off another forum but i will list it as posts 
post 1.
all I've done mod wise (not shoving a bodykit on it e.t.c just subtle bits here and there) is:
a set of 6x12'' revos 2 are refurbed with moonstone grey centres and polished lip the other two are
std silver and flakey outer lips, i will remove the 5/6 mm spacers that are on the front when i can swop the outer drive flange things for my powder coated mini ones ( no lugs so wheels don't need spacers) and this will bring the wheels in enough hopefully .
.
a polished gear knob and a alloy handbrake shaft thats about it so far ;-)
anyway enough of that heres pics:
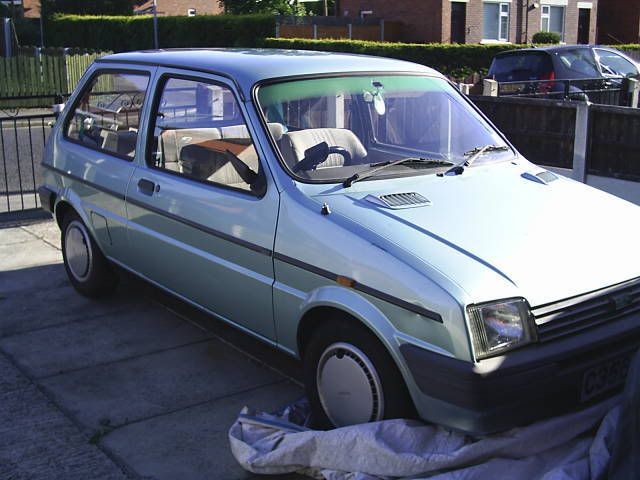
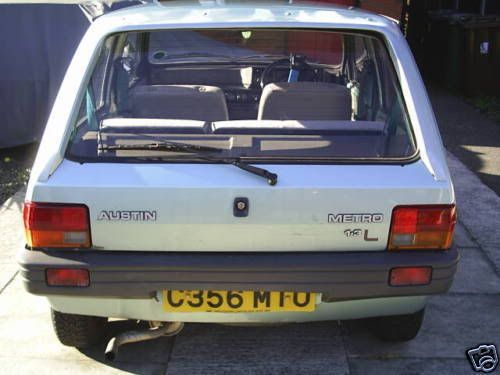
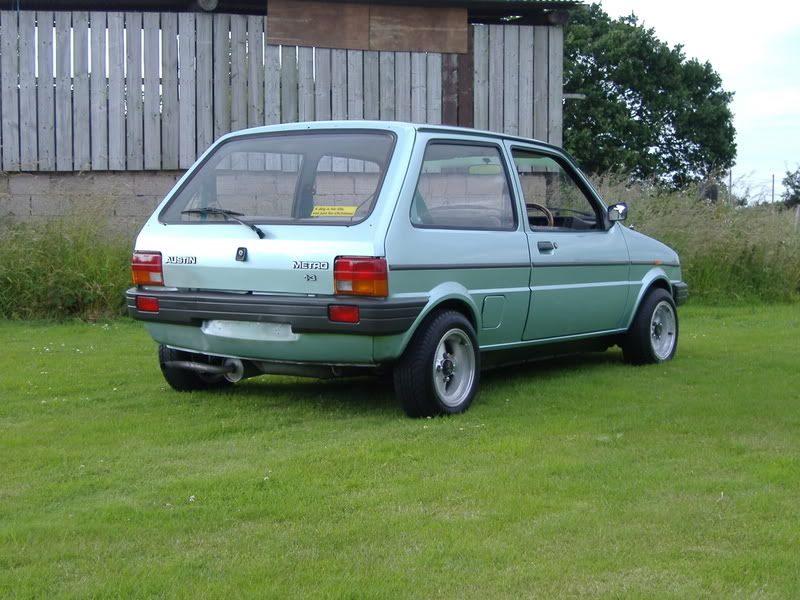
the first set are before i got it and the second set are aftre my mods and that and the very final set are after a polish wax and all the trimmings 

===========================
===========================

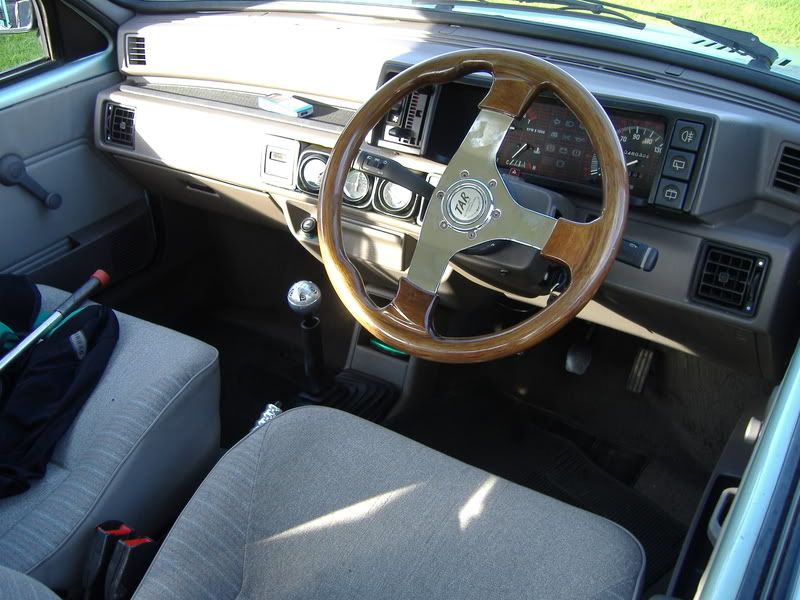
^^ this wheel si going I've decided I'm not too keen on it, but comments still welcome
pic heavy sorry :oops:
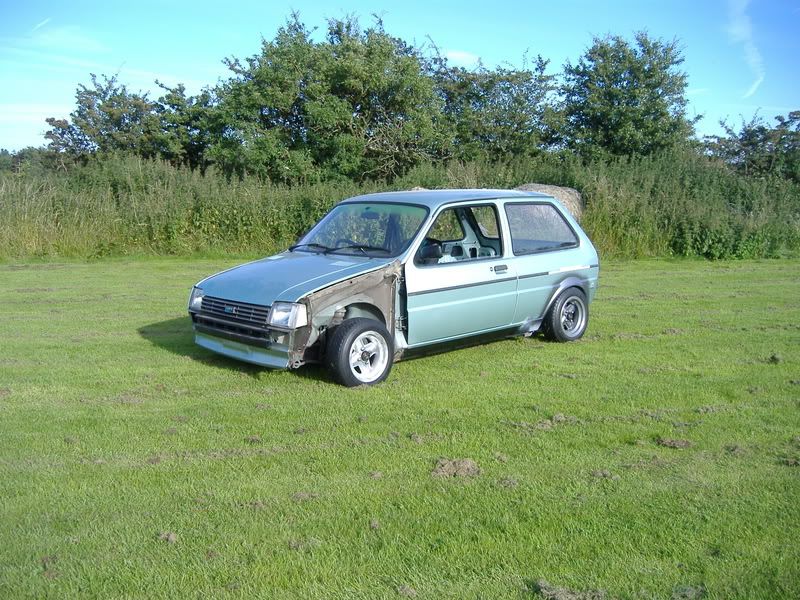
ok i no its not to everyones taste but as a cheap daily and as a test bed/ running in area for my minis turbo k1100 headed 1300 I'm sure it will be perfect, I've had quite as few comments about it being a grannies car but tbh this car is for me no-one else! when all they can see is tyre smoke and rear lights I'm not fussed what they think :-)
Thanks for reading
post 2.
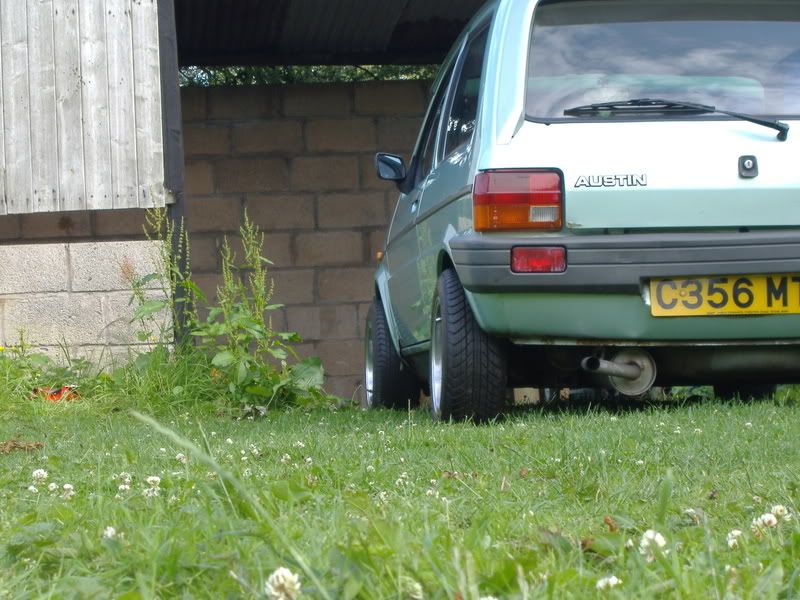
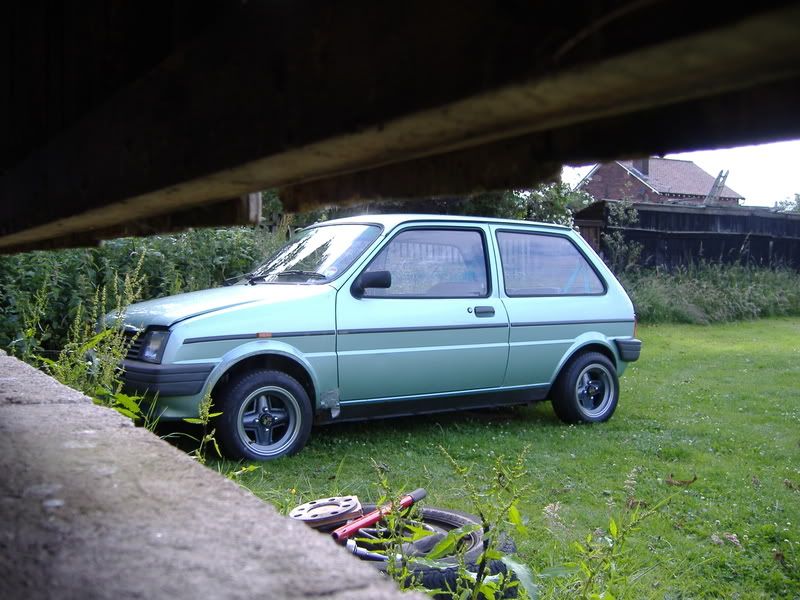
well i got bored yesterday (as i usually do) and decided it needed lowering, curse word spongey suspension i though and off i went, rolled the arches on all 4 corners and its still rubbing VERY BADLY.
The nearside side repeaters stopped working and I've had a new bulb in it and checked with a voltmeter and all are showing good, its just refusing to work ahh well I'm sure i will fix it eventually anyway pics:
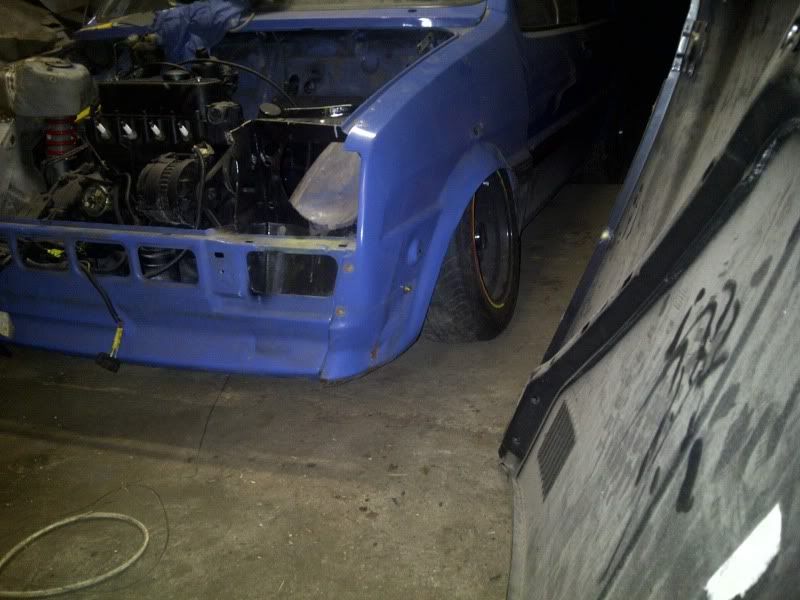
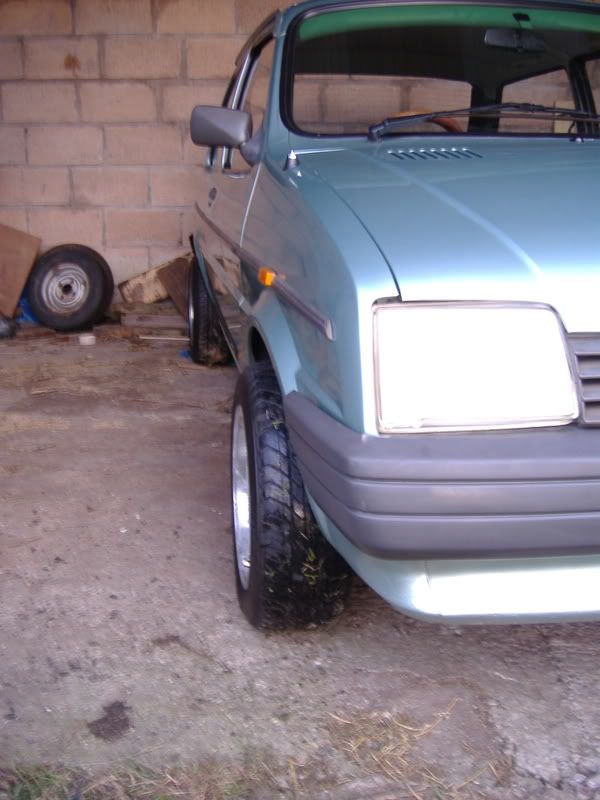
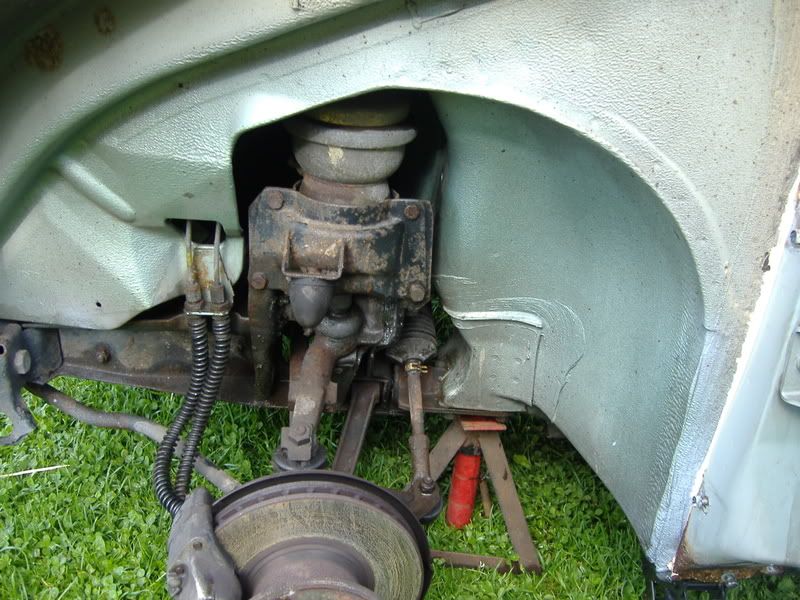
sory i haven't got many.... just a rolled and slightly pulles front arch pic a comparison of removed spacer pic and low pic.

Before spacer removed and drive flanges chopped... VVV

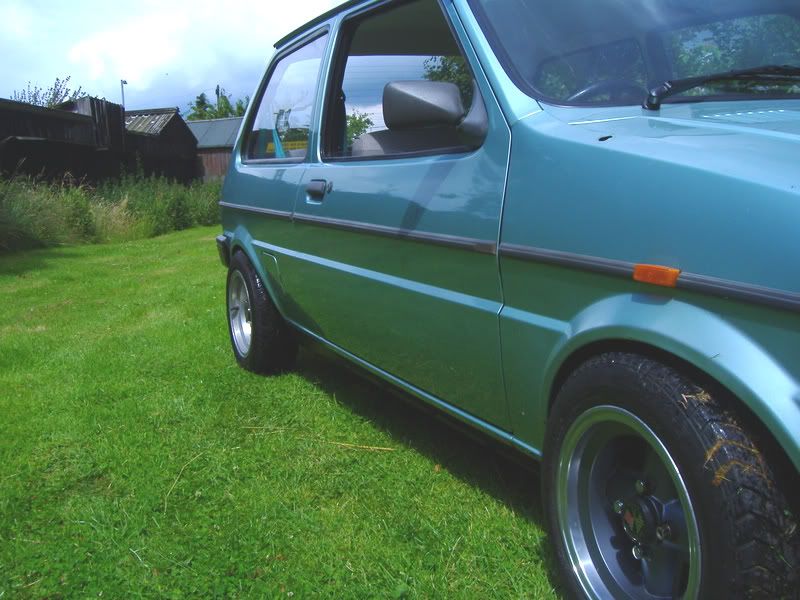
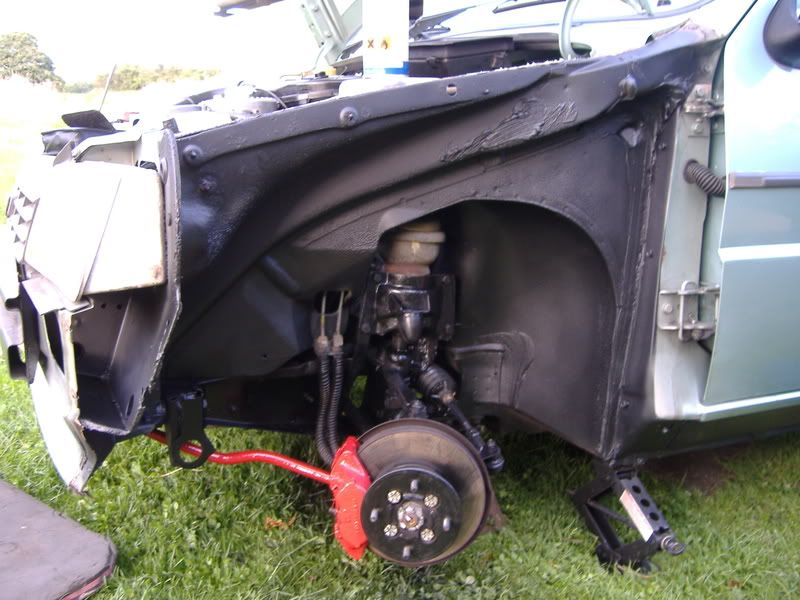
after spacers out and flanges cut...VVV

post 3.
well my works of late:
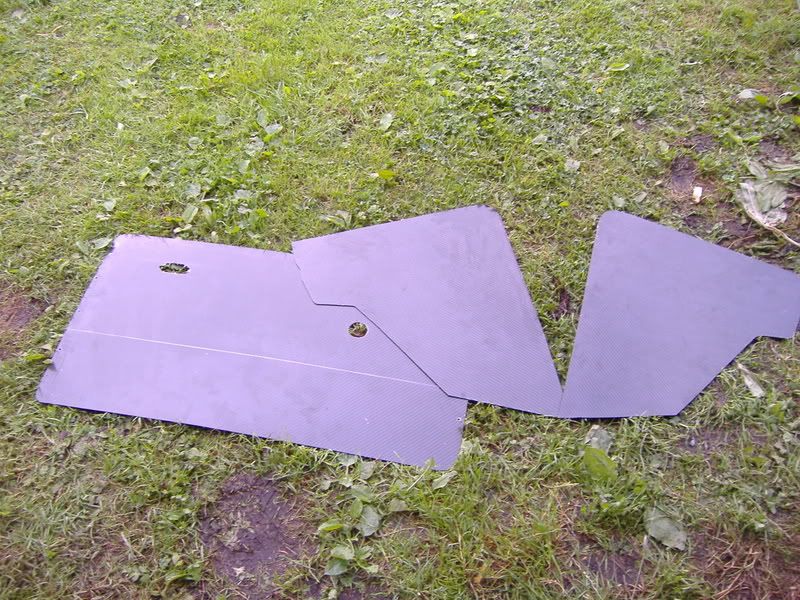
the small ones were doorcrds out the mini I've chopped up to fit perfectly, (quite abit of chopping so a fair amount of c/f left)
the large one is a front doorcard but as I'm not using mk3 on doors in the mini so the cards are redundant so there getting put to use in the metro, the line at the bottom (ish) is where i will cut the card the piece below the line will be a boot trim panel as i don't have a rear window wiper i don't need ht ebig bulge in the std plastics so its getting replaced :cool:
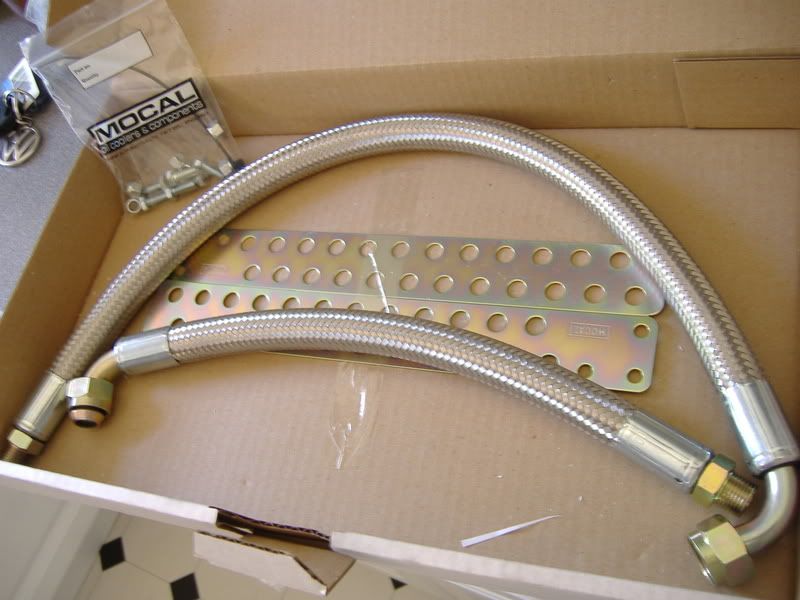
my anodised nuts bolts washers e.t.c will be here next week sometime so i will be able to bolt them in properly then. my minisport delivery has come though and my braided oil cooler hoses are here WOOP!
post 4.
hi everyone, been busy lately wont bore you with long despription but basically I've done:
pulled arches (back)
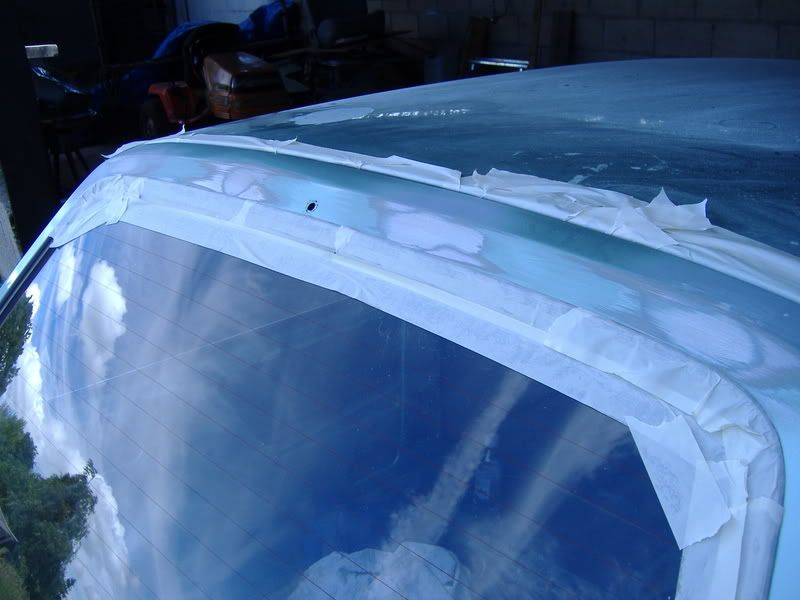
smoothed boot spoiler holes
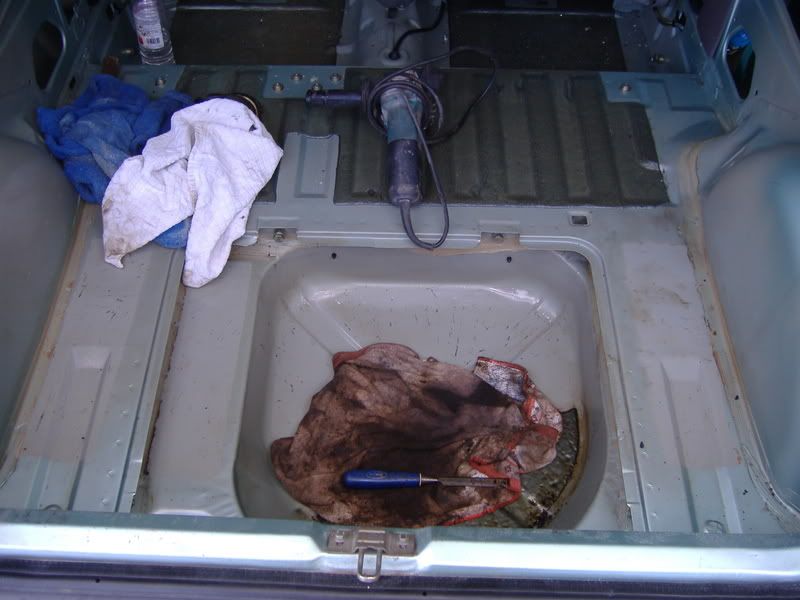
removed boot (75%) sound deadening
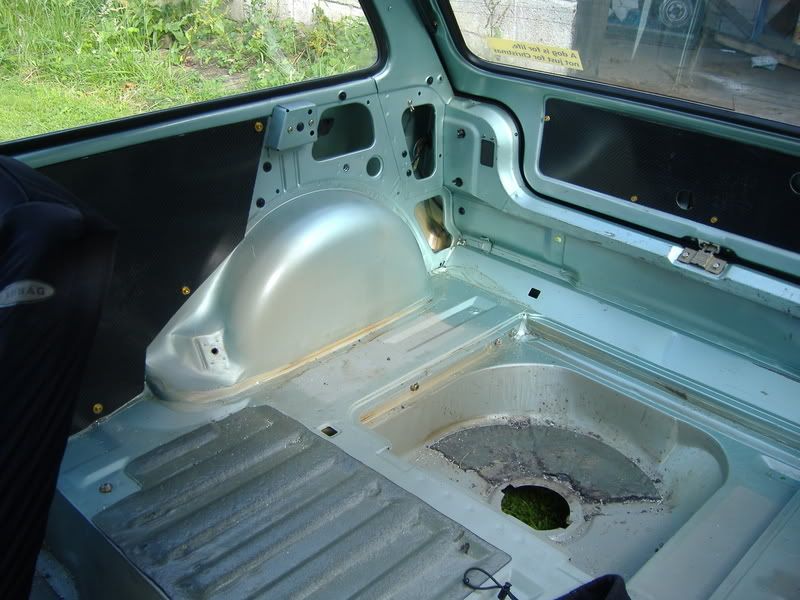
removed interior (found rust in footwells (about the size of a 10p in each
removed front nearside wing (spotless behind it)
cut and perfected boot trim panel...
recieved my oil cooler bits and bobs
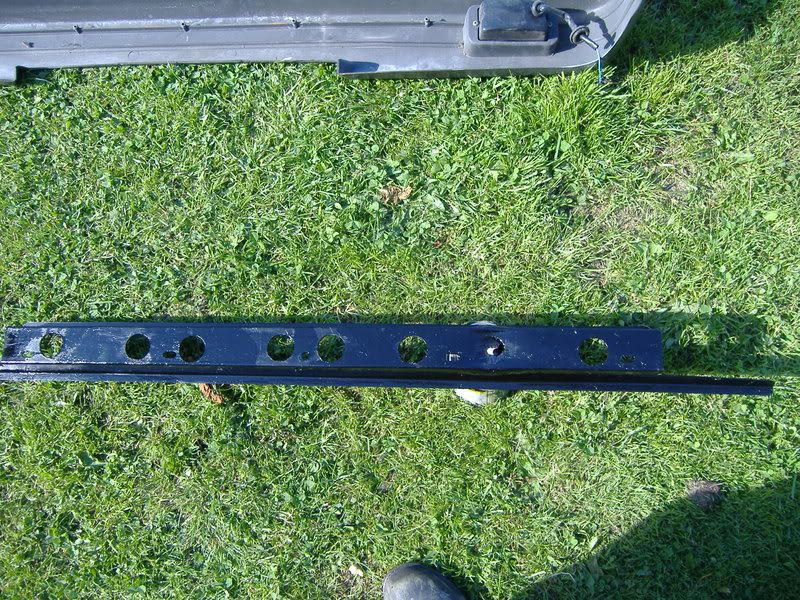
lightweightified the rear bumper
post 5.
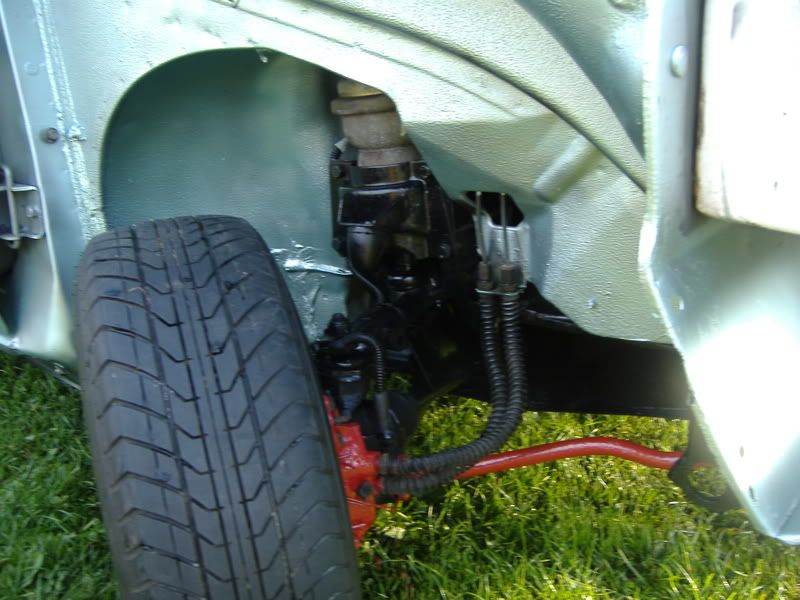
i couldnt stand that dirty arch so i had to sort it stone chipped, and componenets got a coating of satin black extreme chassis coat calipers and arb... red... the arch will soon be painted i just wanted to see it abit more presentable :cool:
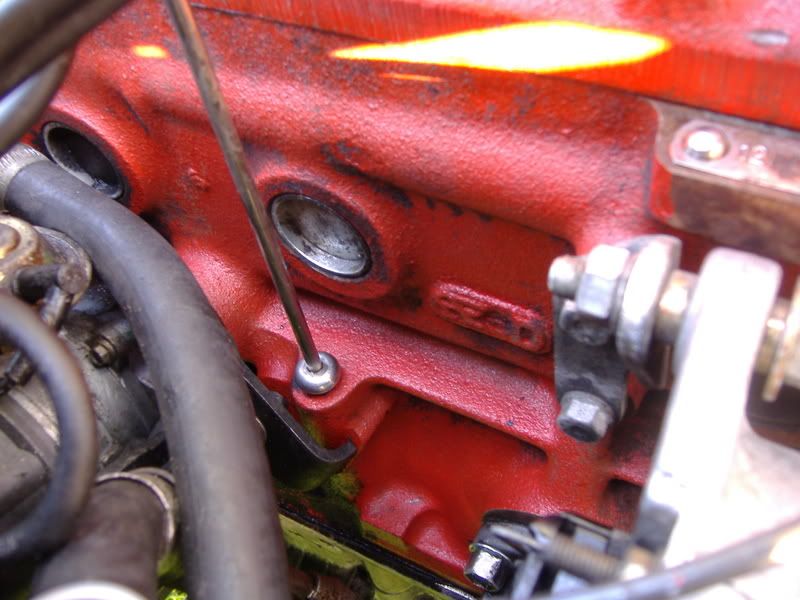
oh and can anyone say C-A-R-B-O-N.....
Before:
After:
post 6.
well anyway update time (again) , when i get bored i clean (as 99% of you know) and how can i put this... all week I've been BBBOOORRREEEDDD so the cleaning commenced :cool:
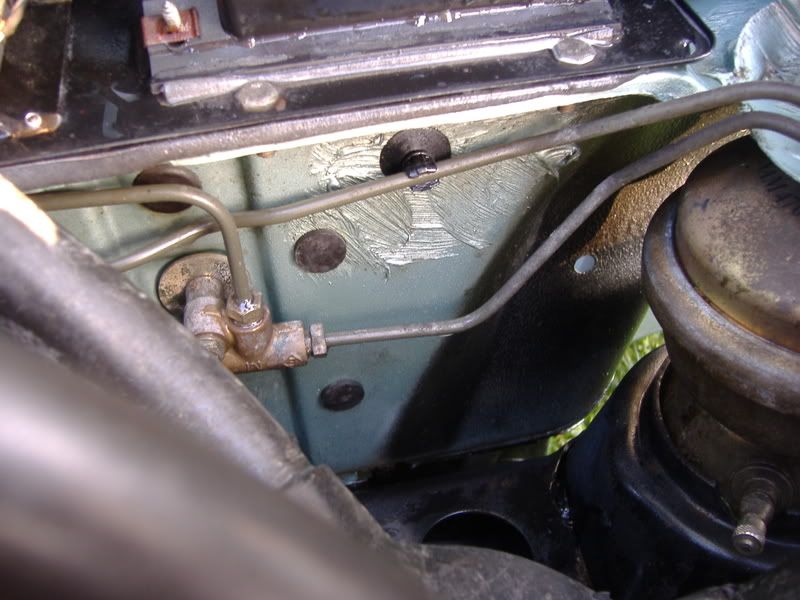
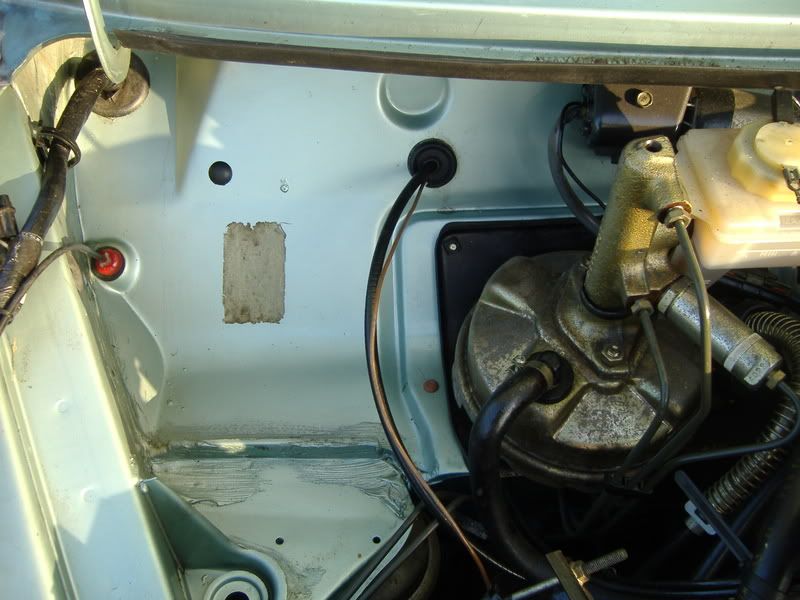
the engine needs more work but the engine bay area is preety much sorted, heres a few random hard to reach bits that I've cleaned and general bits
oh and stone chipped chassis blacked and sprayed my offside arch.
lacquered and polished my two finished wheels aswell
post 7.
mmmm orthapedic recaro lookalikeage mmmmm

post 8.
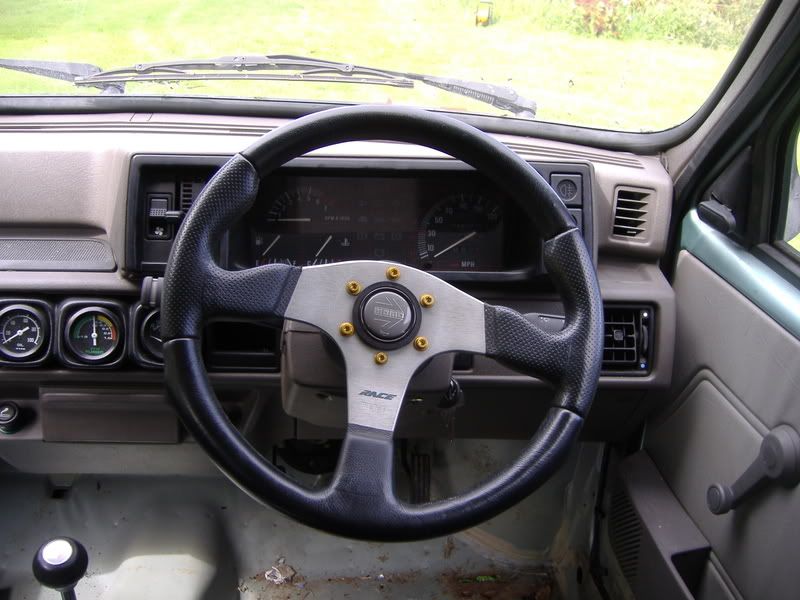
well, more carbon in and my go faster momo race wheel with gold bolts floors in satin well 75% of it is, BUT where i couldnt get in with the spanners or nuts to fit some of the bolts I've had to drill holes so i need blanks... 1 1/2" blanks... anyone shead any light on where i can get some? cheers

post 9.
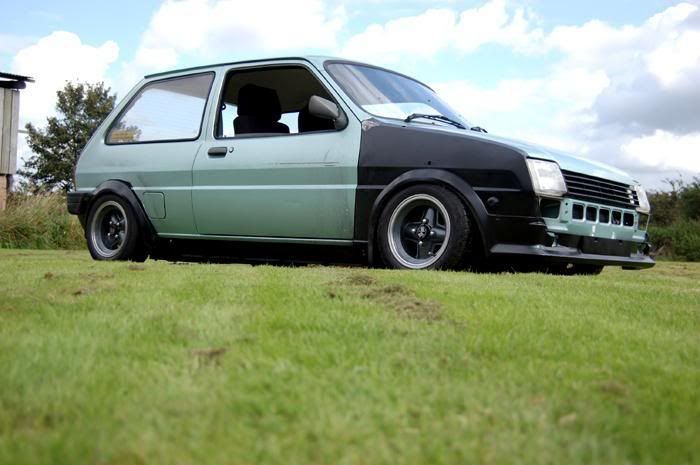
well removed the side strips, it will soon be euro abit of smoothing here and abit there itll be reet, got my turbo wing fitted, shoved a scaffold pole in the arch and pulled it abit. I'm not fussed how it looks as it will be covered by the turbo arch and valance kit so its just getting stone chipped and waxoiled.


i also fitted my turbo spoiler, this ones much better nick than my last it can JUSt be seen in this shot.

low... :ninja:
 .
.
post 10.
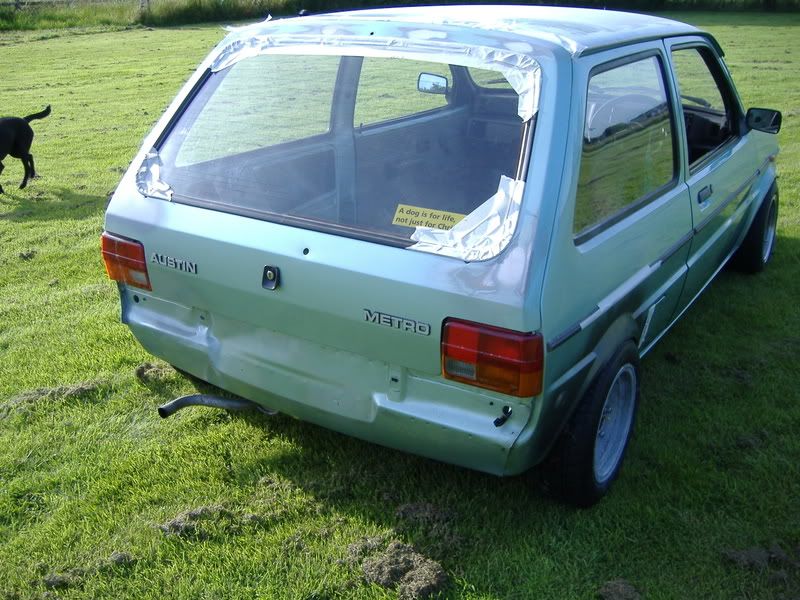
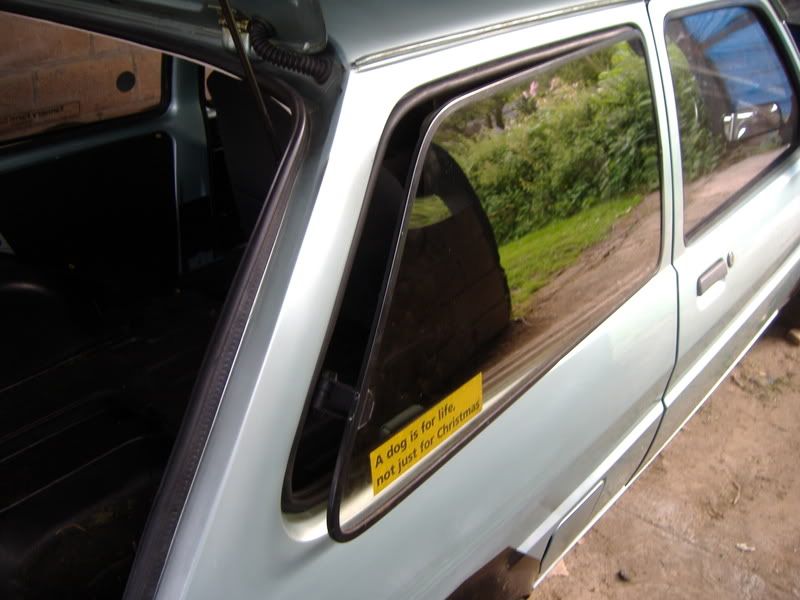
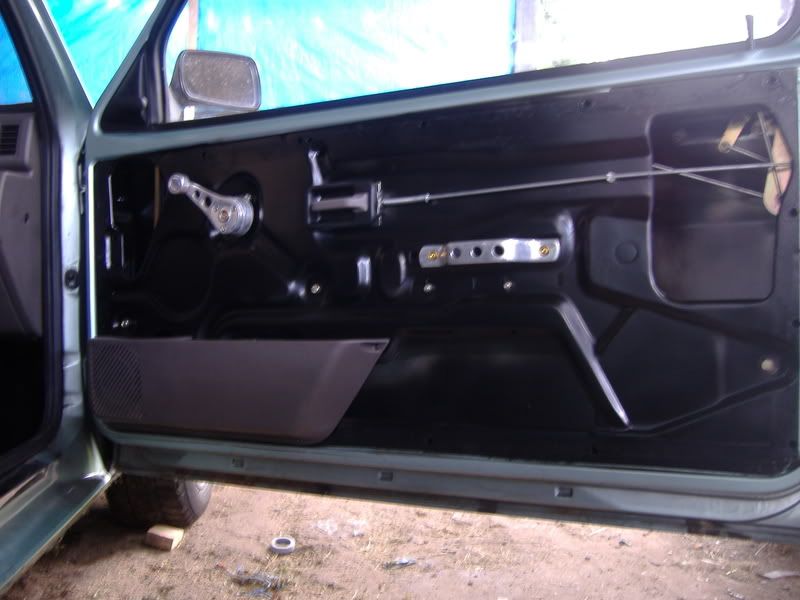
opening rear windows and no cards, lets see how long it takes before the ear defenders come into play!
a quick list of whats removed so far:
boot trim panels (replaced with carbon)
wheel well cover
parcel shelf
rear seat
rear seat mounts
b pillar belt covers (replaced with carbon)
rear doorcards (replaced with carbon)
front doorcards
a pillar trims
carpet
ALL sound proofing
doorstep/side wall plastic trim
seat crossmember trim
whole speaker system (every wire e.t.c)
arm rests (replaced with alloy door pulls)
window winders (replaced with alloy winders)
post 11.
well the lawnmower got lower.... got some shortened universal bump stops on order from deamon tweeks so it isent fully compressing the ones i have now :cool:
got an obscene amount of camber now too and no way of curing it without making custom bottom arms, I'm good with the welder but not good enough to trust myself with that!


^^ my lights now have a slight blue tint as I've fitted some aftermarket high output bulbs which look great even in the light!

this is the lowest external visible point, the sill.
post 12.
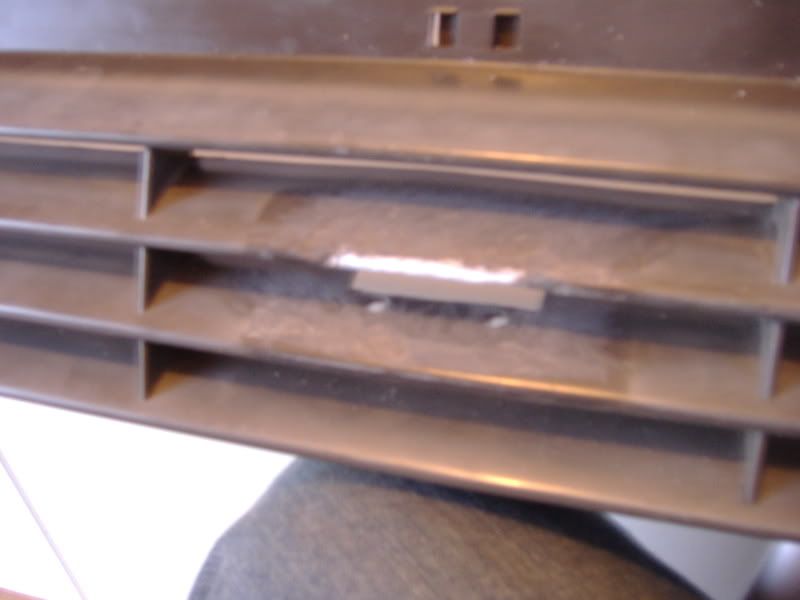
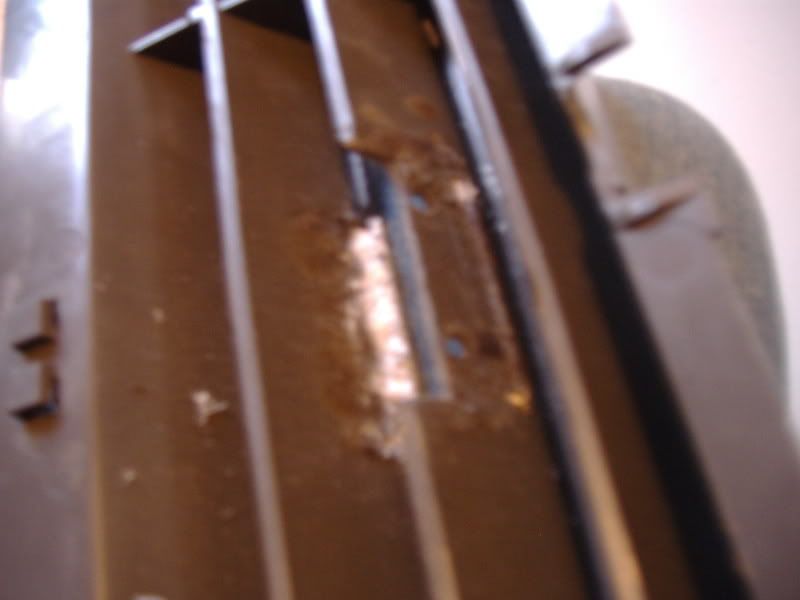
debadged grille anyone, still W.I.P but getting there, abit more plastic to weld in on the lower rail at the back and fill two holes but its goin well, only the lower bit to do, plastic filler, std plastic primer and some satin black to add :unibrow:
FRONT:
BACK:
post 13.
well here are the shots, the bumper I've only smoothed the offside so the rest is in need of filler e.t.c it wqas only thrown on why the pics were taken ;-) it also looks twisted at one side its only due to not being fastened on properly, bolts are hand tight and only on at the back so the sides are loose. same with lights really :cool:


post 14.
the lawnmower has new shoes! 10" diameter and a fair few inch winder than whats on atm, there 5x10's atm but wont be for long thats all I'm saying.
some back shots but I'm keeping the fronts quiet til there on :-) its abit obvious still though :lol:
2 in 1 coat of high build, the fronts wont get sprayed up until they have had there ''work''

and one sprayed with coat of 1 filler primer and 1 moonstone grey, same colour as my renault turbines if youve seen them in my mk4 thread and also the same colour as whats already on the metro :-) its not a perfect finish but its the back... its not all that important :lol:

abit epic with all the pics but your upto date now so i can just post single/the odd pic now and then as i go along, there will be smoothing pics as of tomorrow i will post :-)
Thanks for looking ;D

post 1.
all I've done mod wise (not shoving a bodykit on it e.t.c just subtle bits here and there) is:
a set of 6x12'' revos 2 are refurbed with moonstone grey centres and polished lip the other two are
std silver and flakey outer lips, i will remove the 5/6 mm spacers that are on the front when i can swop the outer drive flange things for my powder coated mini ones ( no lugs so wheels don't need spacers) and this will bring the wheels in enough hopefully
 .
.a polished gear knob and a alloy handbrake shaft thats about it so far ;-)
anyway enough of that heres pics:
the first set are before i got it and the second set are aftre my mods and that
and the very final set are after a polish wax and all the trimmings 
===========================
===========================
^^ this wheel si going I've decided I'm not too keen on it, but comments still welcome
pic heavy sorry :oops:
ok i no its not to everyones taste but as a cheap daily and as a test bed/ running in area for my minis turbo k1100 headed 1300 I'm sure it will be perfect, I've had quite as few comments about it being a grannies car but tbh this car is for me no-one else! when all they can see is tyre smoke and rear lights I'm not fussed what they think :-)
Thanks for reading
post 2.
well i got bored yesterday (as i usually do) and decided it needed lowering, curse word spongey suspension i though and off i went
, rolled the arches on all 4 corners and its still rubbing VERY BADLY. The nearside side repeaters stopped working and I've had a new bulb in it and checked with a voltmeter and all are showing good, its just refusing to work
 ahh well I'm sure i will fix it eventually anyway pics:
sory i haven't got many.... just a rolled and slightly pulles front arch pic a comparison of removed spacer pic and low pic.
Before spacer removed and drive flanges chopped... VVV
after spacers out and flanges cut...VVV
post 3.
well my works of late:
the small ones were doorcrds out the mini I've chopped up to fit perfectly, (quite abit of chopping so a fair amount of c/f left)
the large one is a front doorcard but as I'm not using mk3 on doors in the mini so the cards are redundant so there getting put to use in the metro, the line at the bottom (ish) is where i will cut the card the piece below the line will be a boot trim panel as i don't have a rear window wiper i don't need ht ebig bulge in the std plastics so its getting replaced :cool:
my anodised nuts bolts washers e.t.c will be here next week sometime so i will be able to bolt them in properly then. my minisport delivery has come though and my braided oil cooler hoses are here WOOP!
post 4.
hi everyone, been busy lately wont bore you with long despription but basically I've done:
pulled arches (back)
smoothed boot spoiler holes
removed boot (75%) sound deadening
removed interior (found rust in footwells (about the size of a 10p in each
removed front nearside wing (spotless behind it)
cut and perfected boot trim panel...
recieved my oil cooler bits and bobs
lightweightified the rear bumper
post 5.
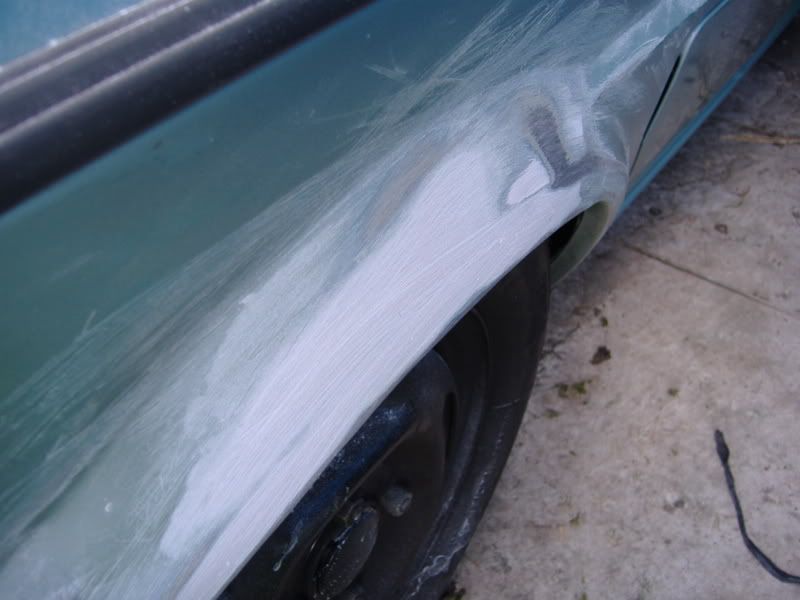
i couldnt stand that dirty arch so i had to sort it
 stone chipped, and componenets got a coating of satin black extreme chassis coat calipers and arb... red... the arch will soon be painted i just wanted to see it abit more presentable :cool:
oh and can anyone say C-A-R-B-O-N.....
Before:
After:
post 6.
well anyway update time (again) , when i get bored i clean (as 99% of you know) and how can i put this... all week I've been BBBOOORRREEEDDD so the cleaning commenced :cool:
the engine needs more work but the engine bay area is preety much sorted, heres a few random hard to reach bits that I've cleaned and general bits
oh and stone chipped chassis blacked and sprayed my offside arch.
lacquered and polished my two finished wheels aswell
post 7.
mmmm orthapedic recaro lookalikeage mmmmm
post 8.
well, more carbon in and my go faster momo race wheel with gold bolts
floors in satin well 75% of it is, BUT where i couldnt get in with the spanners or nuts to fit some of the bolts I've had to drill holes so i need blanks... 1 1/2" blanks... anyone shead any light on where i can get some? cheerspost 9.
well removed the side strips, it will soon be euro
abit of smoothing here and abit there itll be reet, got my turbo wing fitted, shoved a scaffold pole in the arch and pulled it abit. I'm not fussed how it looks as it will be covered by the turbo arch and valance kit so its just getting stone chipped and waxoiled.i also fitted my turbo spoiler, this ones much better nick than my last it can JUSt be seen in this shot.
low... :ninja:
.post 10.
opening rear windows and no cards, lets see how long it takes before the ear defenders come into play!
a quick list of whats removed so far:
boot trim panels (replaced with carbon)
wheel well cover
parcel shelf
rear seat
rear seat mounts
b pillar belt covers (replaced with carbon)
rear doorcards (replaced with carbon)
front doorcards
a pillar trims
carpet
ALL sound proofing
doorstep/side wall plastic trim
seat crossmember trim
whole speaker system (every wire e.t.c)
arm rests (replaced with alloy door pulls)
window winders (replaced with alloy winders)
post 11.
well the lawnmower got lower.... got some shortened universal bump stops on order from deamon tweeks so it isent fully compressing the ones i have now :cool:
got an obscene amount of camber now too and no way of curing it without making custom bottom arms, I'm good with the welder but not good enough to trust myself with that!
^^ my lights now have a slight blue tint as I've fitted some aftermarket high output bulbs which look great even in the light!
this is the lowest external visible point, the sill.
post 12.
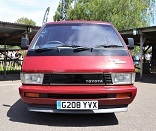
debadged grille anyone, still W.I.P but getting there, abit more plastic to weld in on the lower rail at the back and fill two holes but its goin well, only the lower bit to do, plastic filler, std plastic primer and some satin black to add :unibrow:
FRONT:
BACK:
post 13.
well here are the shots, the bumper I've only smoothed the offside so the rest is in need of filler e.t.c it wqas only thrown on why the pics were taken ;-) it also looks twisted at one side its only due to not being fastened on properly, bolts are hand tight and only on at the back so the sides are loose. same with lights really :cool:
post 14.
the lawnmower has new shoes! 10" diameter and a fair few inch winder than whats on atm, there 5x10's atm but wont be for long thats all I'm saying.
some back shots but I'm keeping the fronts quiet til there on :-) its abit obvious still though :lol:
2 in 1 coat of high build, the fronts wont get sprayed up until they have had there ''work''
and one sprayed with coat of 1 filler primer and 1 moonstone grey, same colour as my renault turbines if youve seen them in my mk4 thread and also the same colour as whats already on the metro :-) its not a perfect finish but its the back... its not all that important :lol:
abit epic with all the pics but your upto date now so i can just post single/the odd pic now and then as i go along, there will be smoothing pics as of tomorrow i will post :-)
Thanks for looking ;D