tofufi
South West
Posts: 1,454
|
|
Sept 11, 2008 19:31:57 GMT
|
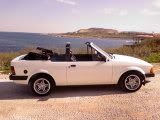
I bought this when I was 16, as my first car... 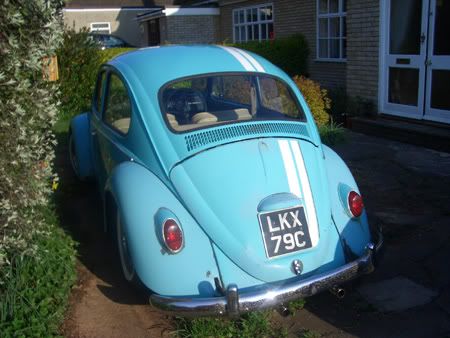 When I bought it, my dad drove it to the MOT station. It broke down on the way, and had to be towed there. When it eventually got there, the (Aircooled VW specialists) told me it would be £1ks worth of welding just to make it road legal. The MOT failed on 19 out of 28 possible fail points  Anyway, I brought it back home and a friend taught me to weld. We welded up the front axle mount/framehead and replaced the front axle (which had a hole the size of your first through it)... a years worth of work later, it got an MOT! Just after I passed my driving test. Move on another 2.5 years, and it has got a bit lower, a bit more power and a bit rustier. 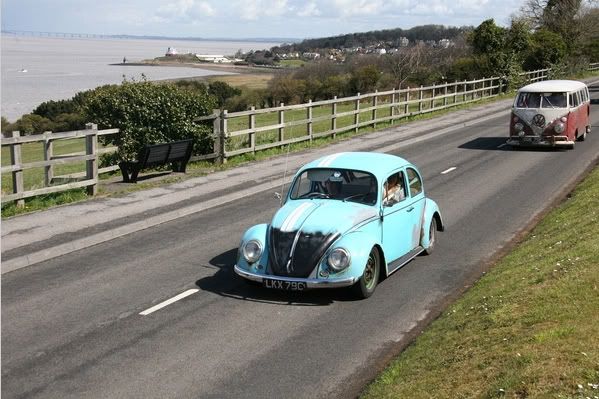 I kept on promising my MOT man I would do a bit of restoration work on it. So this summer, with 9 months MOT still on it, I got cracking... It started with a total stripdown... This doesn't look promising. 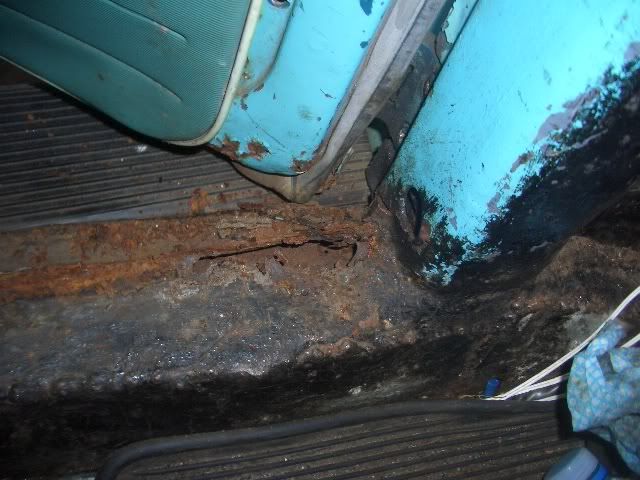 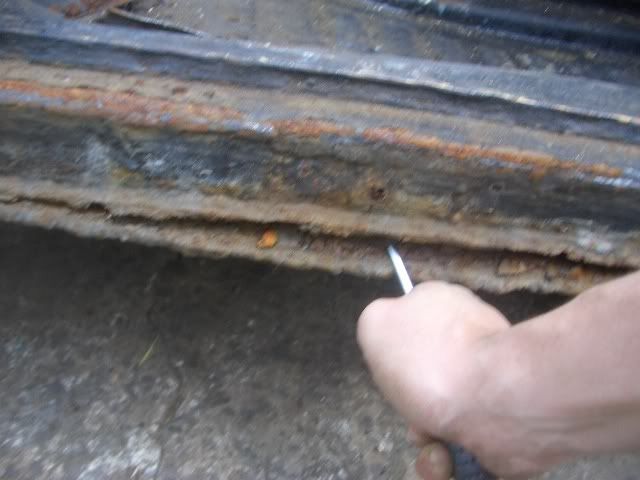 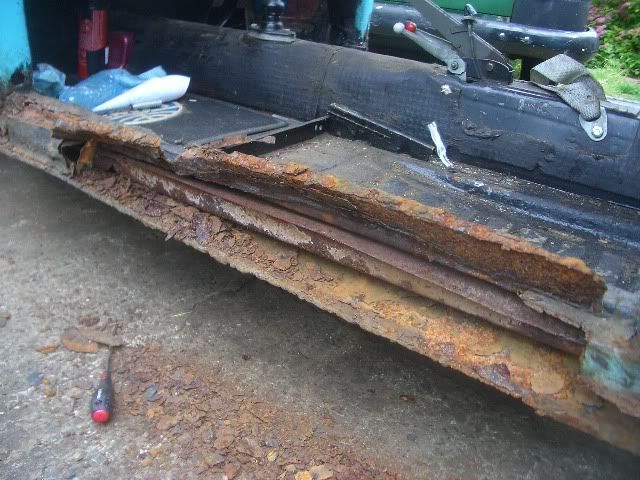 Definitely not. A bit more off: 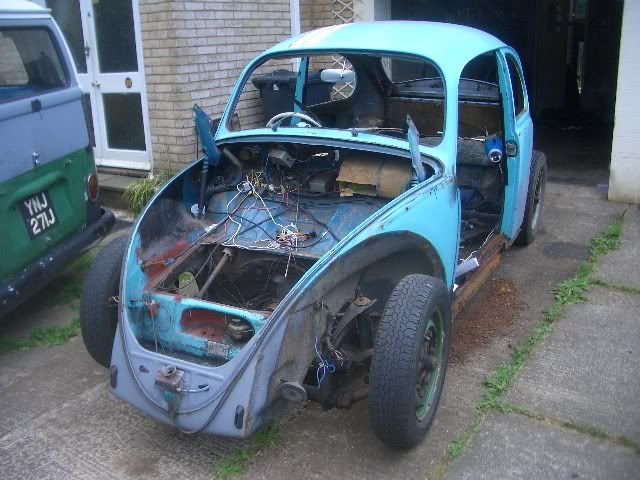 This isn't looking good either (floor/sill join) 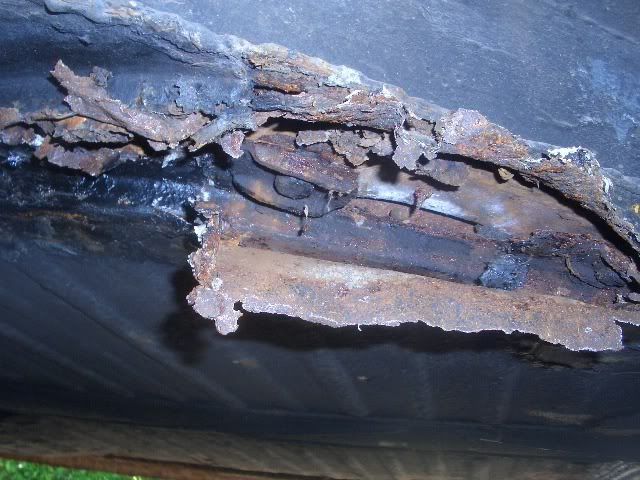 Remember this still has 9 months MOT in these pics Beetles are meant to have separate body and floorpans, so of course someone had welded the two of mine together rather comprehensively. Eventually, with a lot of help from my friends, off comes the body 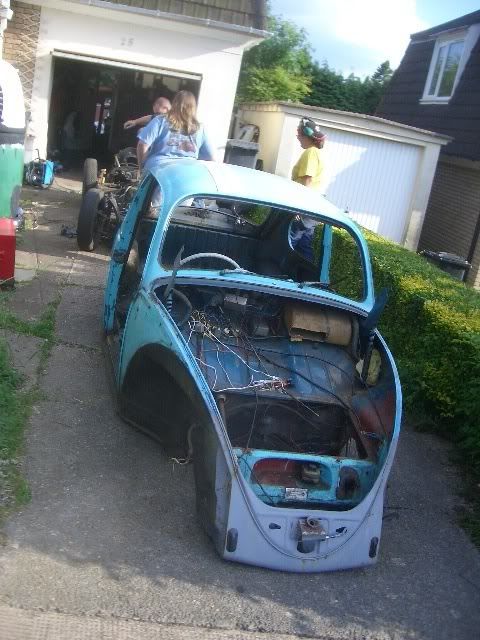 My friend Sara removing a floorpan... 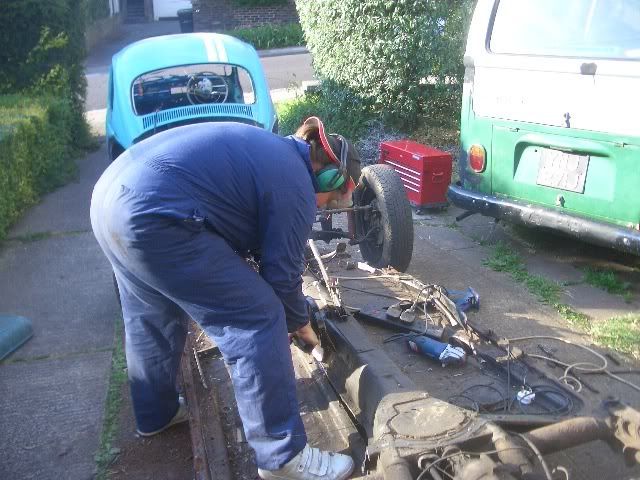 All gone! 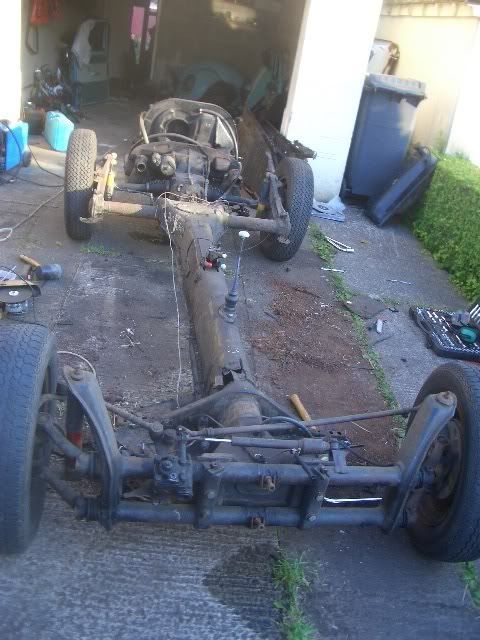 At this stage, it gets a bit daunting  More to follow, I've got a fair bit further in this job than this - those pics were taken 3 months ago now. |
| |
Last Edit: Sept 12, 2008 7:57:59 GMT by rmad
|
|
|
|
tofufi
South West
Posts: 1,454
|
|
Sept 11, 2008 19:42:07 GMT
|
Having removed the floors, a bit of repair was required to the bits surrounding them. 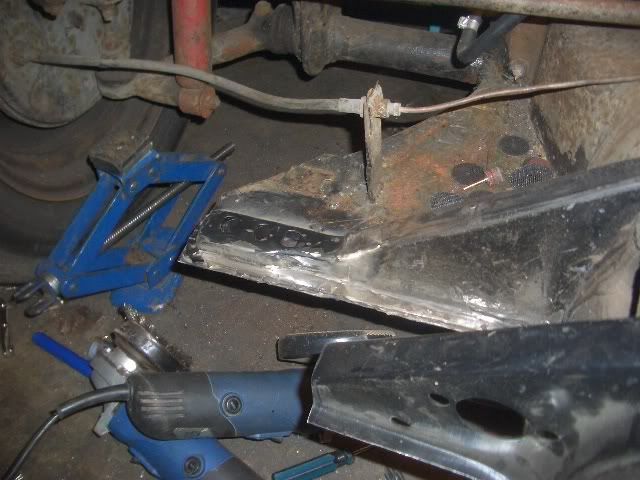 I only used offcuts of repair panels, as the repair panels are quite frankly wibblepoo. 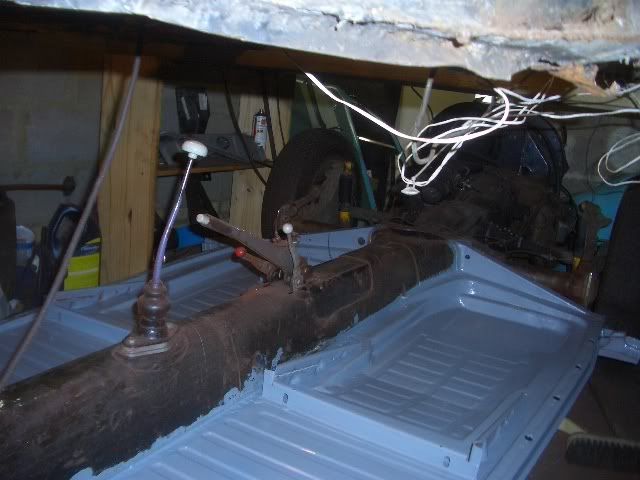 A bit later, I had fitted two new floorpans. Wahey. 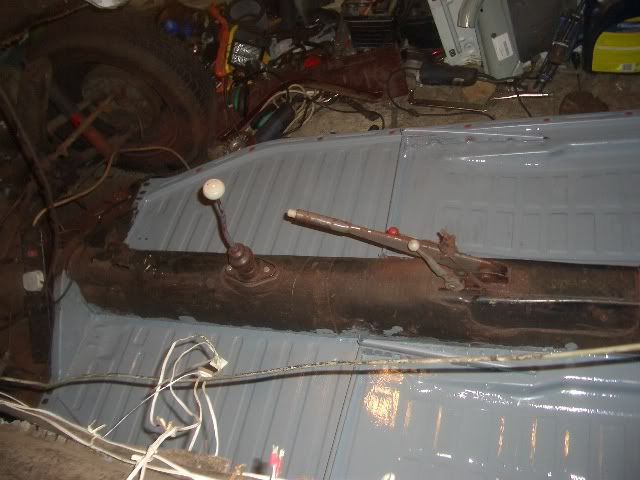 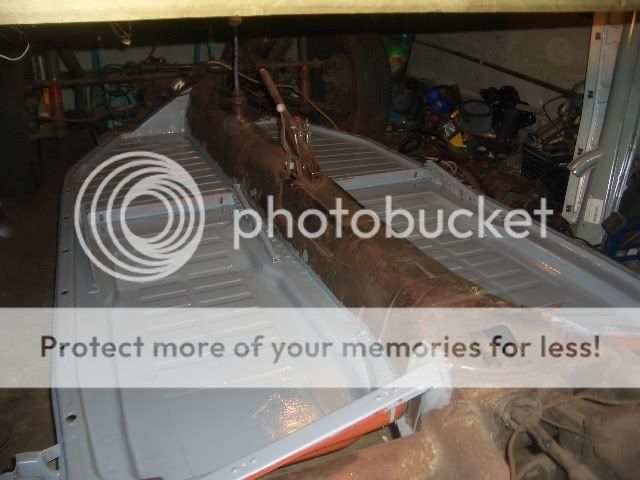 Continually finding rust, more rust.. Without bracing the body, I cut out the passenger side sill. 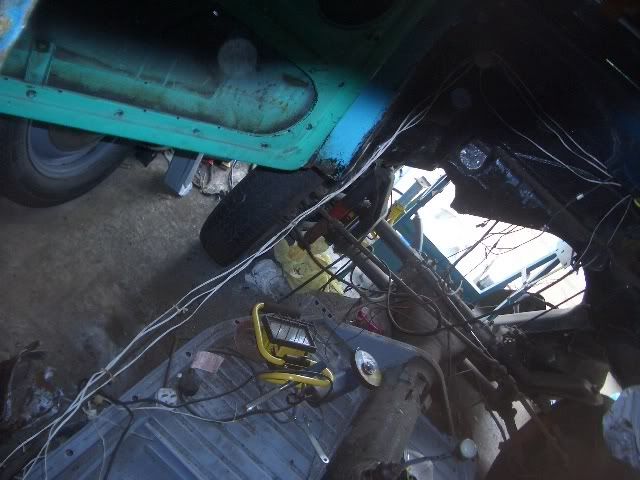 A friend and I then lowered it onto the chassis, and fitted the new sill. At the front, there was NO decent metal to weld to, so I had to make brackets to hold it in place until I could fit a new A pillar. 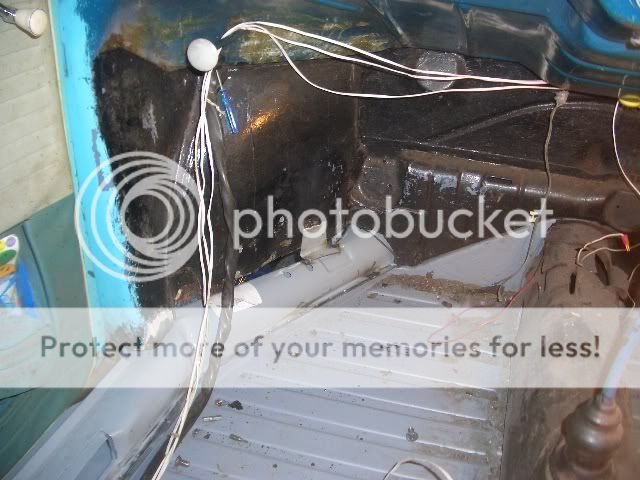 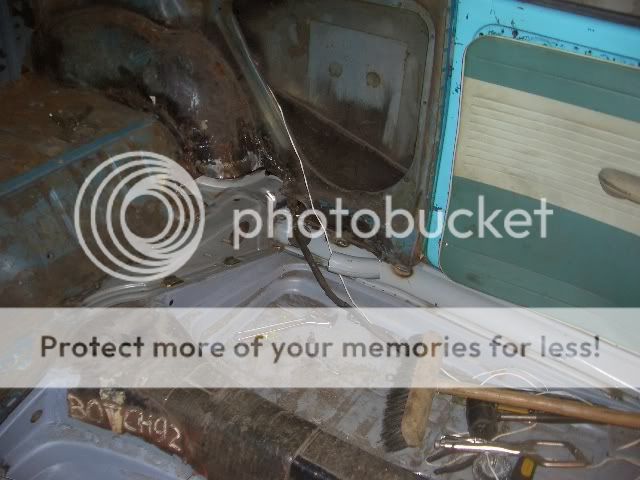 I then found the bodge artists had been at work on the front 1/4 panels too. Spot the double layered bits 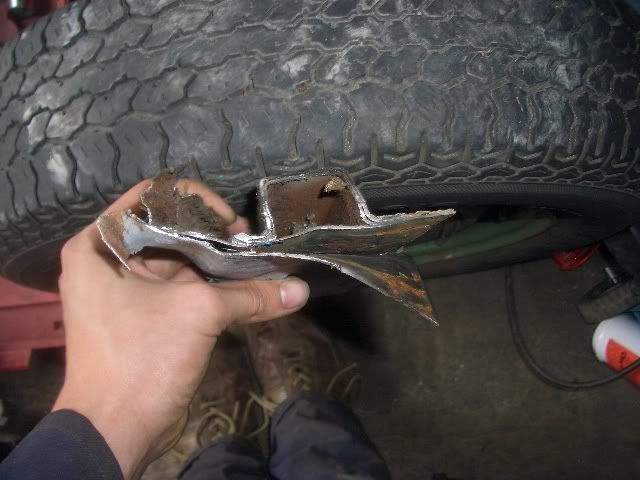 So it went from this...  to this...  New panels are still (just) availiable from VW. But hard to obtain now production has stopped. 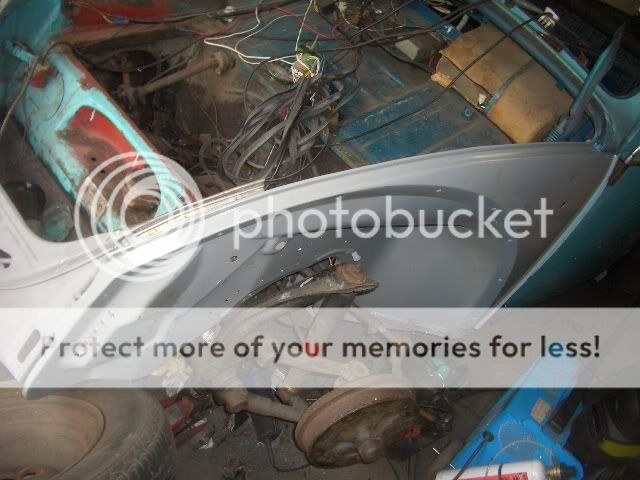 Front 1/4 welded in... 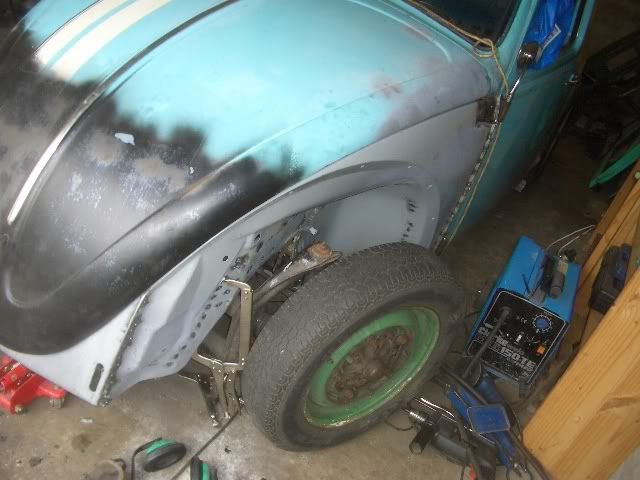 And made a bit prettier  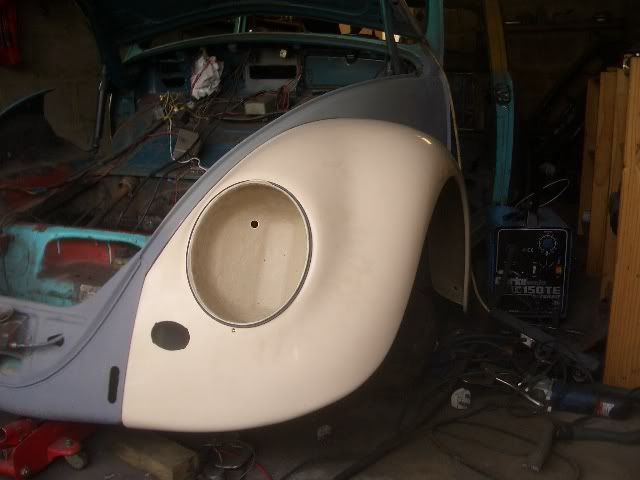 Clean inner wings 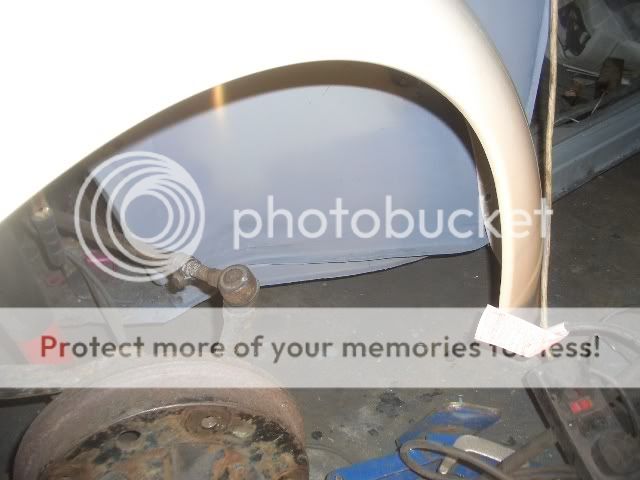 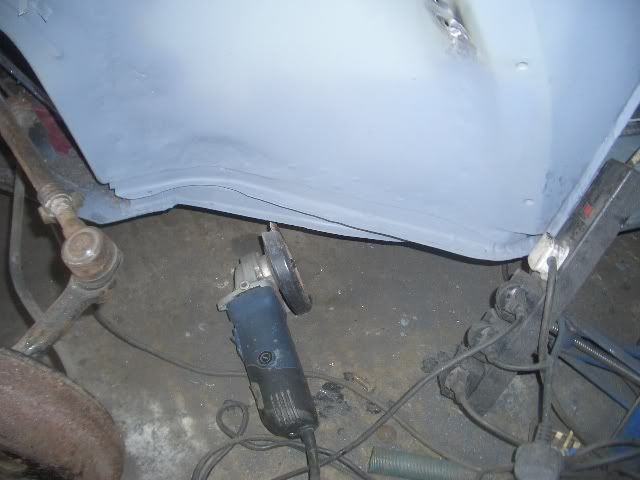 And a new A pillar bottom. 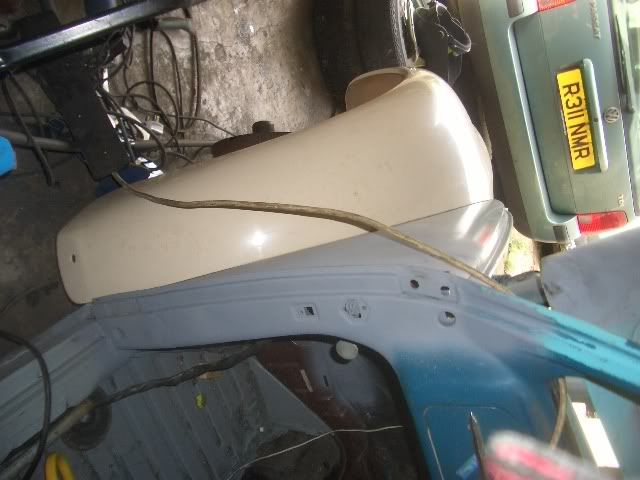 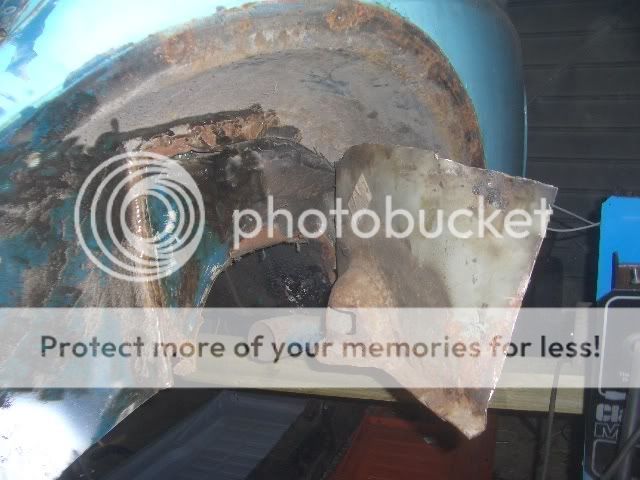 This repair panel had just been slapped over the original metal (with original paint on it still!). |
| |
Last Edit: Sept 11, 2008 19:43:08 GMT by tofufi
|
|
tofufi
South West
Posts: 1,454
|
|
Sept 11, 2008 19:50:20 GMT
|
I also fitted a new sill etc on the drivers side... 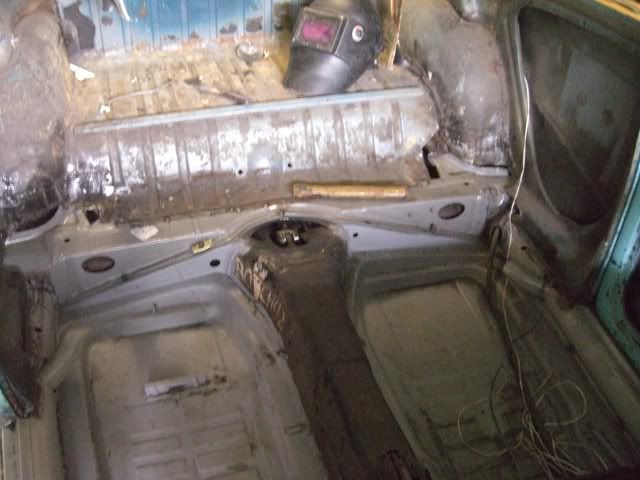 But I havn't got round to replacing the inner wing (front) there yet. Also... Old bulkhead was rotten... 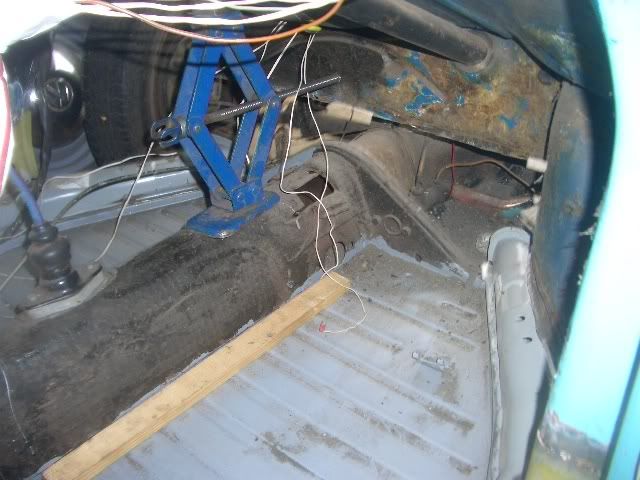 New one 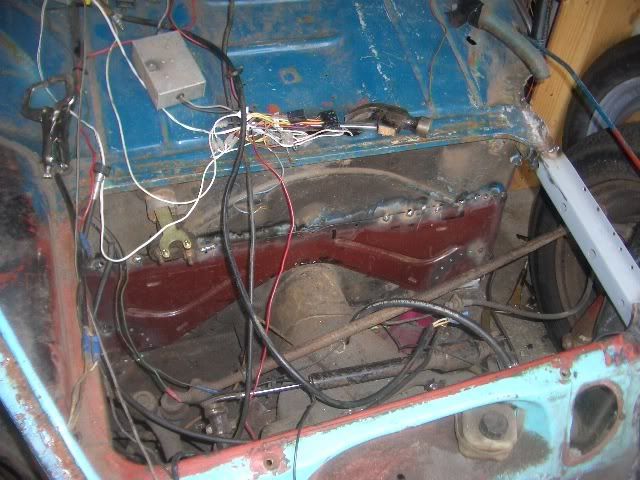  Finally... Today, I made a big hole. 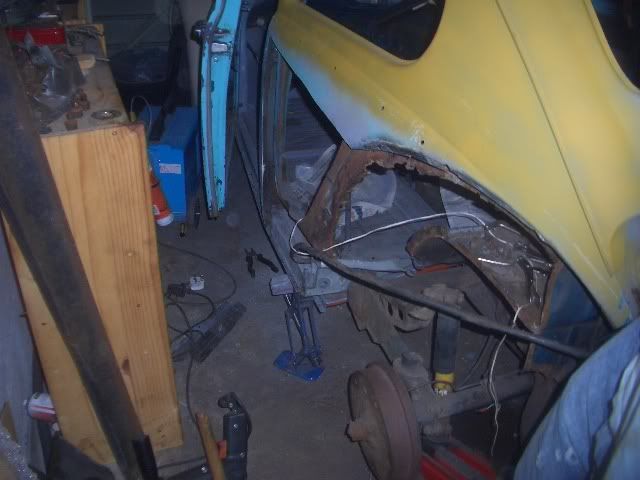 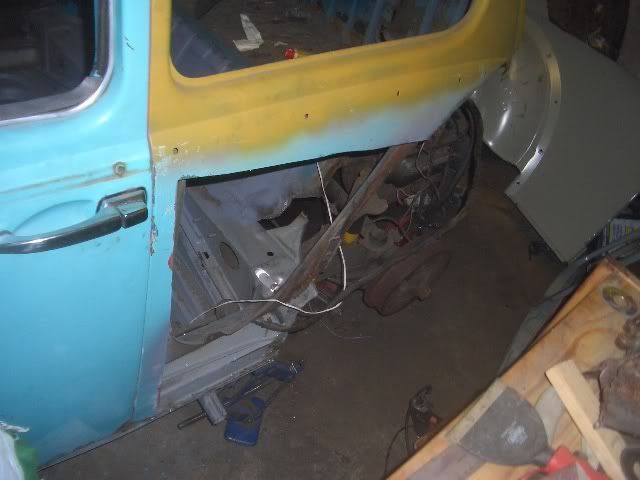 Again, lucky I have some new metal to replace it. 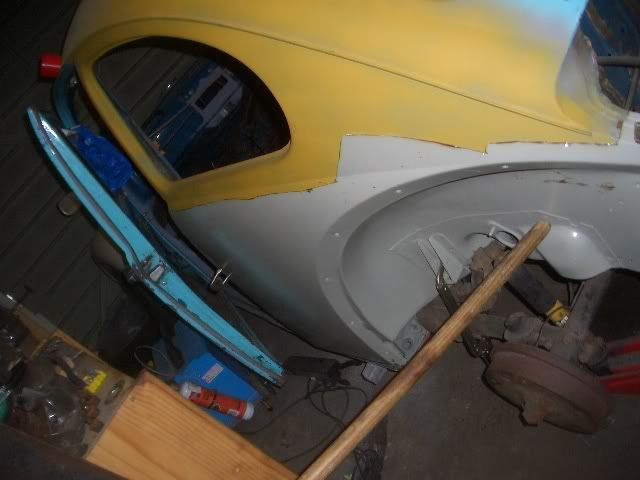 Just needs a bit of fettling... 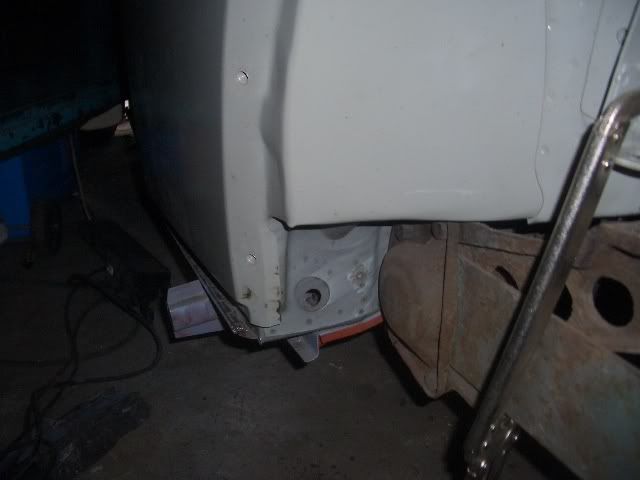 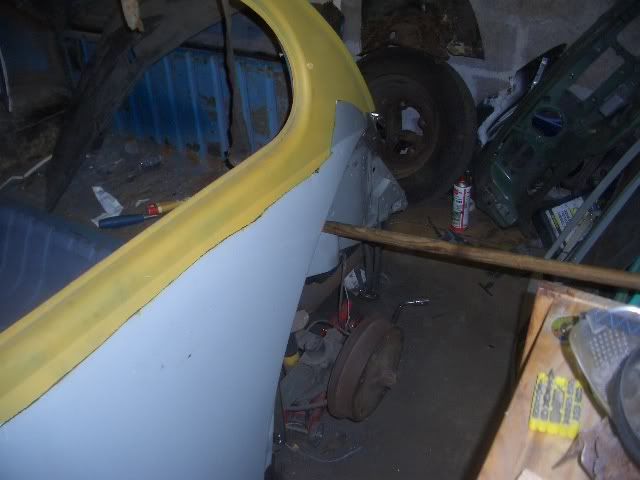 Future plans are: Completely standard looking. Standard suspension height and wheels. OAP-style stickers in rear window. RSPB type thing. tartan blanket on rear seat. Biiiig aircooled engine with lots of power - I'm thinking about 2110ccs should do it. It currently has a 1641cc with twin carbs, which is nippy but not exceedingly quick. As it is currently lowered, I also have no idea how badly it will handle when I raise the suspension... probably awful, so that will need to be rectified, too. But the main thing is that it will look like a cherished 43 year old car, single owner from new type thing. But go a bit faster  |
| |
|
|
Samage
Posted a lot

Posts: 1,467
|
|
Sept 11, 2008 20:38:03 GMT
|
|
This is going to be another one of your insane weldathons, isn't it? ;D
|
| |
|
|
street
Posted a lot
6.2 ft/lbs of talk
Posts: 4,662
|
|
Sept 11, 2008 21:21:58 GMT
|
This is brilliant! Great story and a load of top quality work, already it's looking decent Love your plans for it too, most refreshing! As much as I like a really slammed bug I think a proper mint cherished looking Beetle with a big chunk of power will be something pretty cool. Keep up the great work!  |
| |
|
|
|
|
|
Sept 12, 2008 17:06:11 GMT
|
|
Looks fantastic work to me - keep it coming!
|
| |
1969 Land Rover Series IIa
1980 MG Midget (bro's)
1981 Land Rover Series III
1981 Mini 'Cooper'
1982 Mini HL
1983 Mini Sprite
1987 Mini Advantage
1994 Mini Sprite auto (oil leak left as standard)
2002 Alfa Romeo 147
|
|
tofufi
South West
Posts: 1,454
|
|
Sept 12, 2008 17:46:48 GMT
|
Cheers guys Sam - I don't think I've ever done an insane weldathon before... it's nothing major Street - I love your 2 engined escort. Been checking in on the thread for months now. No updates recently... but hats off to you for working without even having a garage to keep you dry! Thanks Bizarreathiest Just a couple of pics from today... Got the panel tacked into place. It is all butted together, no overlapping metal anywhere. I need to go very slowly with the welder to avoid any distortion. But it will get there 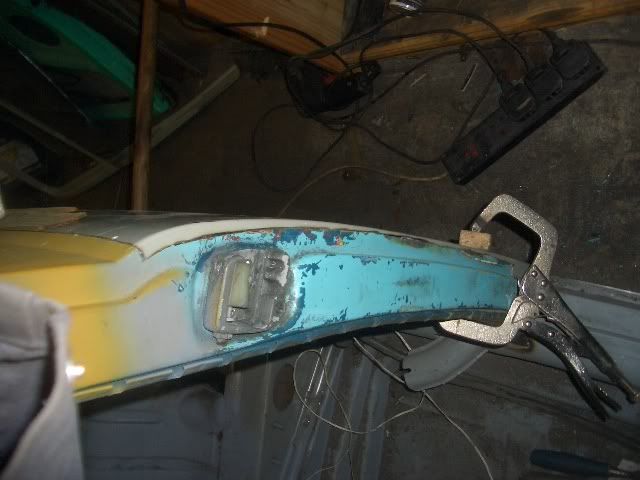 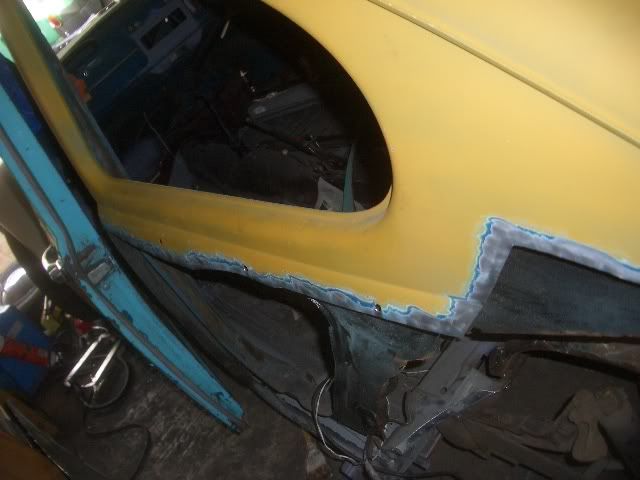 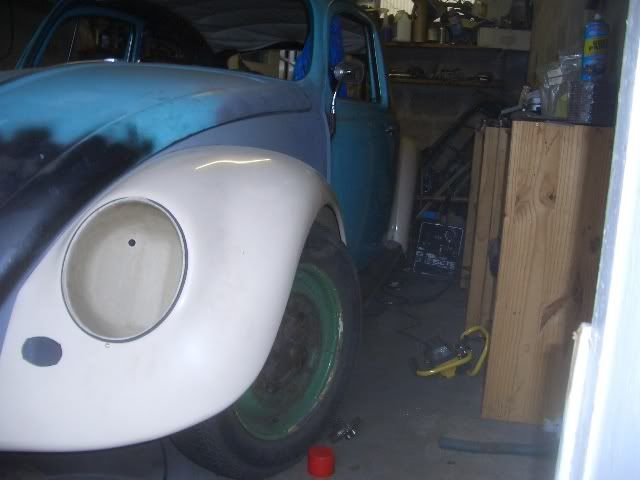 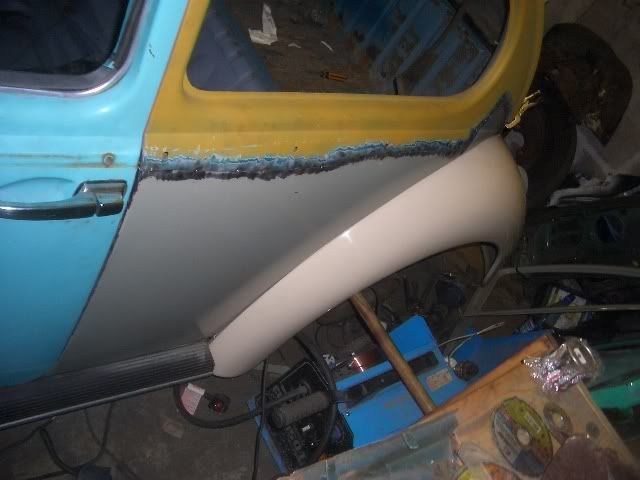 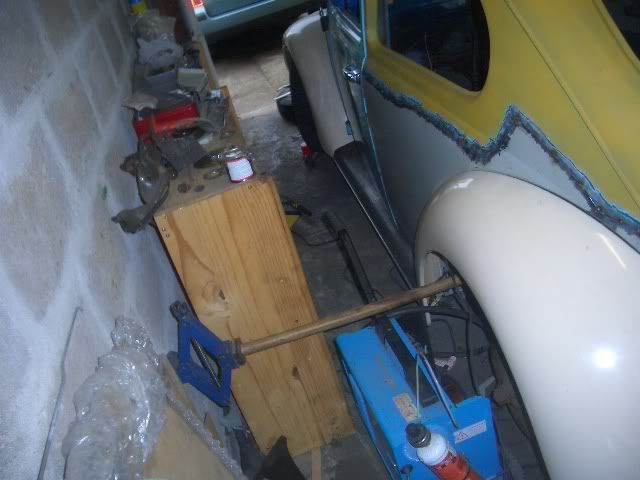 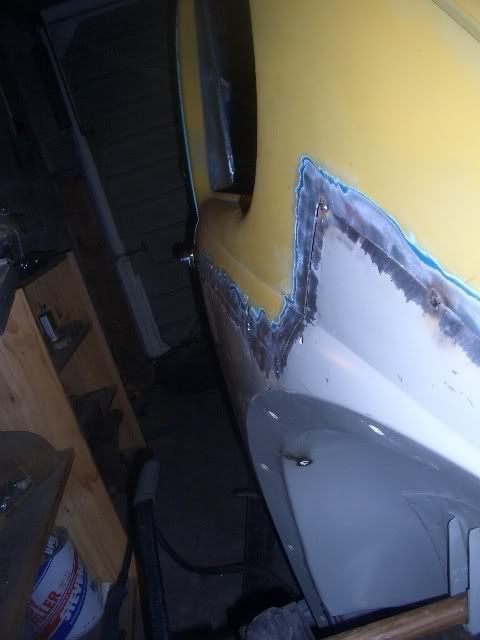 More to come as it happens |
| |
|
|
61stu
Part of things
Posts: 302
|
|
Sept 13, 2008 9:57:24 GMT
|
an original 'Botch' Venners creation, excellent
|
| |
|
|
|
|
|
Sept 13, 2008 10:47:44 GMT
|
 about the rot, at least you can get all the panels to take the load off the fabrication. |
| |
|
|
tofufi
South West
Posts: 1,454
|
|
Sept 13, 2008 20:57:40 GMT
|
an original 'Botch' Venners creation, excellent [/quote] Yup, I've been in touch with him a couple of years ago. he was going to find some info on it (he keeps pics of all the cars he works on apparently) but I never heard back from him with any info. Heres how it looked in about 2000, I had these through the post from a previous owner recently. 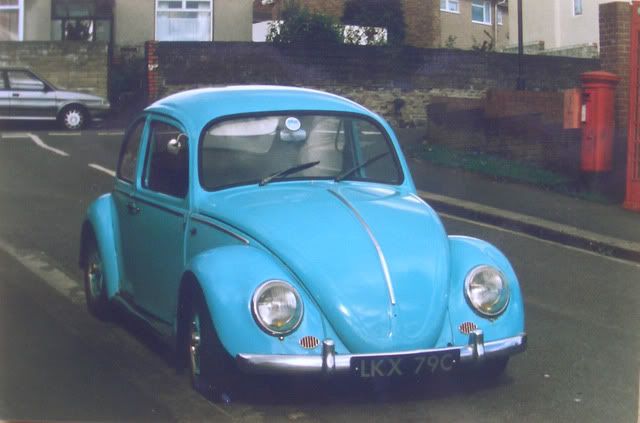 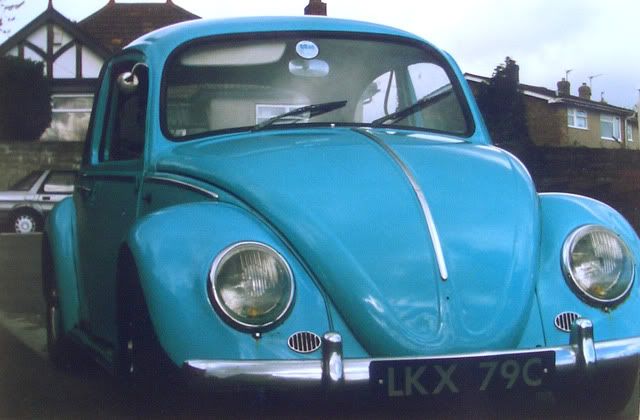 Check the colour coded Empi wheels! I'd love to see how it looked when Paul Venners saw it in '92.  about the rot, at least you can get all the panels to take the load off the fabrication. Too right, it wouldn't be viable to consider restoring it without buying all the panels. The amount of bodges I've found on the thing suggest that most people don't bother buying panels, but just slap metal on any old way  Just a quickie update pic... 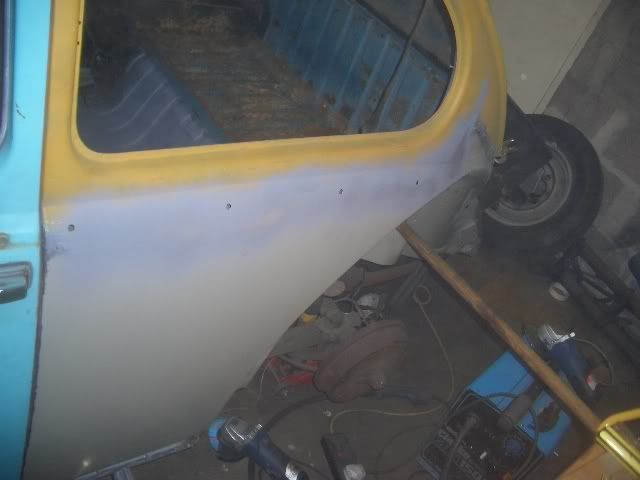 Shouldn't take much filler to make that perfect - above is just bare metal with a layer of primer to keep the rust at bay
|
| |
Last Edit: Sept 13, 2008 20:58:18 GMT by tofufi
|
|
|
|
|
|
|
Sept 14, 2008 8:55:33 GMT
|
|
A+ for effort mate. Looking good along the way.
|
| |
1985 VW Scirocco GTX
Previous Cars Owned:
1985 VWScirocco GTS
1990 VW Scirocco GTII
1991 VW Scirocco GTII
1999 VW Mk4 Golf GTi 1.8T
|
|
chaz
Part of things
Posts: 403
|
|
Sept 14, 2008 11:00:44 GMT
|
|
Love reading these type of restorations, especially
when the work looks top quality.
|
| |
|
|
|
|
|
Sept 14, 2008 11:12:21 GMT
|
|
cool thread, love ur plans for it too.
looks like you know what your doing with a welder!!
|
| |
|
|
|
|
|
Sept 14, 2008 11:52:27 GMT
|
Too right, it wouldn't be viable to consider restoring it without buying all the panels. The amount of bodges I've found on the thing suggest that most people don't bother buying panels, but just slap metal on any old way I guess ultimately it's down to the value of the car. I couldn't justify buying panels for my Anglia when I started it because you could pick up good Anglias for under £1K. Since then the value has shot right up and I'm only just finishing the project. Someone will probably have a nasty shock one day when they strip off all the paint and filler... |
| |
|
|
|
|
|
Sept 15, 2008 5:05:31 GMT
|
Glad to see the Beetle getting the treatment! Well after your van this is a doddle eh! Keep the pics coming mate! |
| |
|
|
tofufi
South West
Posts: 1,454
|
|
|
|
Cheers guys Been a long time since I replied on this thread, mainly due to a lack of things worth mentioning... In daylight... 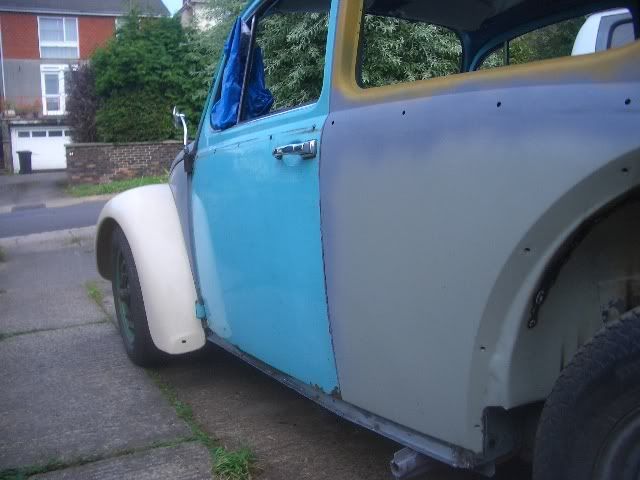 I then hacked out the drivers side front 1/4 panel... 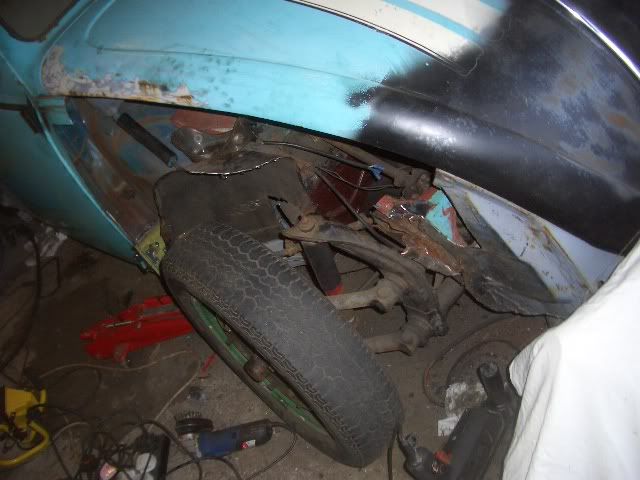 Spent ages welding, cutting, re-welding, cutting, re-re-welding and so on to get the drivers door-A pillar gap correct. 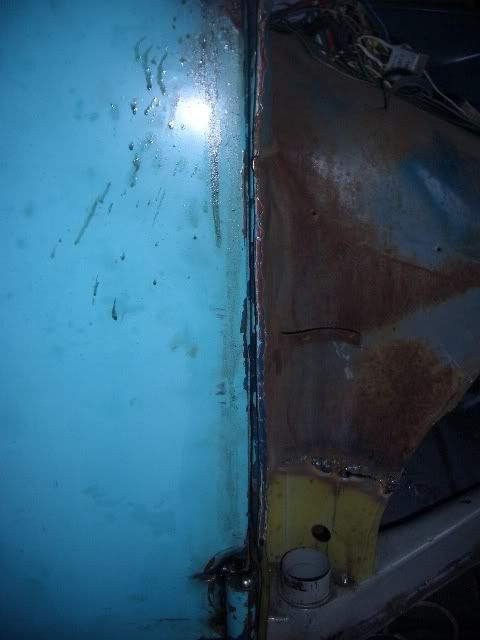 Looks awful in that pic, but it'll be perfect when it's all done  As I've been at uni for the last few months, I've had a chance to go collecting parts. Secondhand gearbox from a Karmann Ghia, giving it the same ratios as a GT bug... should give me 90mph at 4000RPM in 4th. Woo! 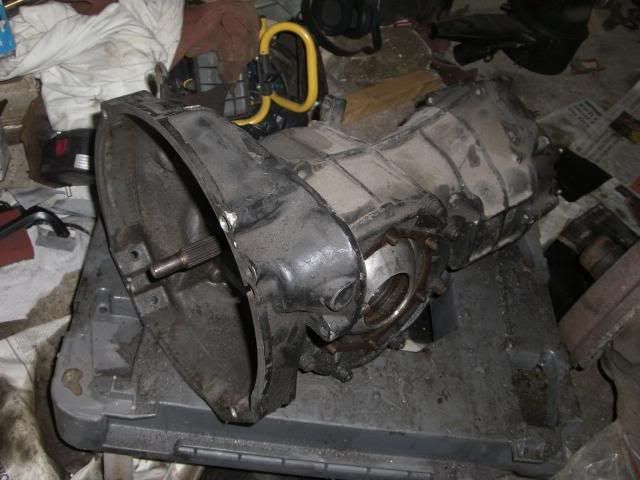 Also a new decklid to replace the old one, which had been dented, filled, re-dented + cracked, left and water had seeped in leaving it to rot :lol:  I also finished removing the front 1/4... 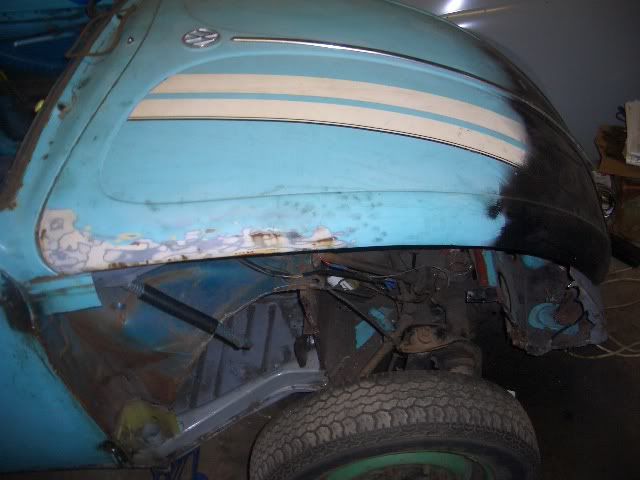 Meaning the new one is (almost) ready to fit 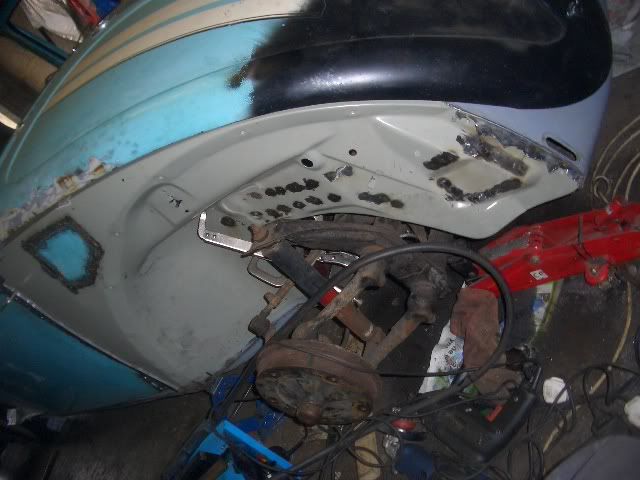 Because the panel is a Mexican one for late Beetles, I had to drill out, and weld up several hundred spotwelds. Fun fun fun. 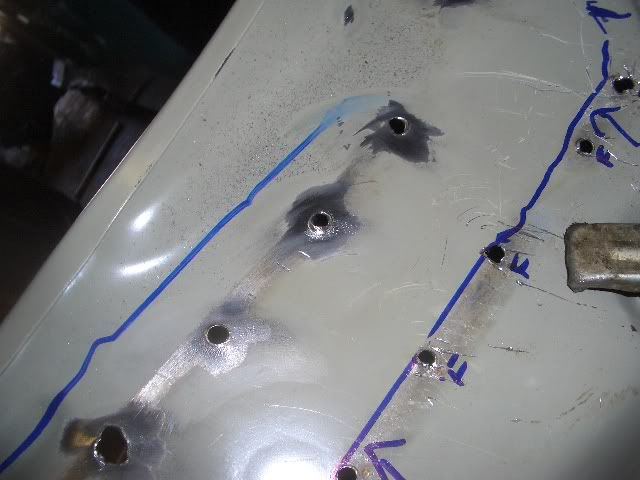 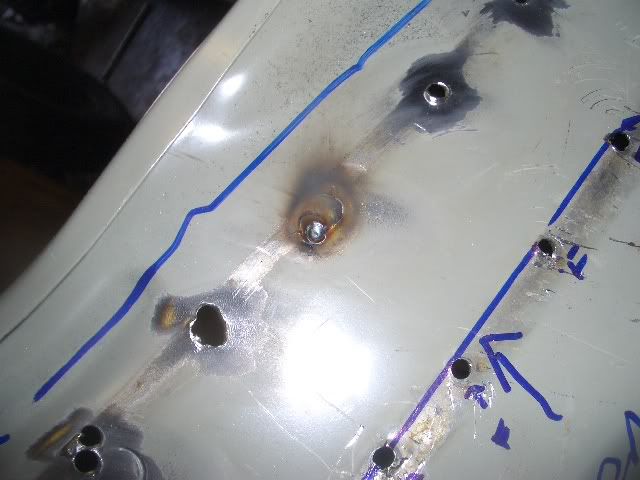 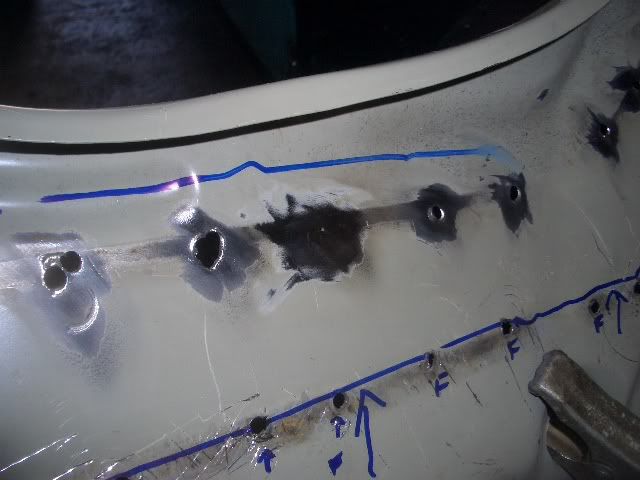 Finally, I bought it some new numberplates from Framptons ( www.pl8s.co.uk/ ) They arrived faster than a speeding bullet (well, actually, it took nearly 20 hours from placing to order to receiving them...) More to come as and when it happens. Sadly, Uni work hinders progress somewhat. 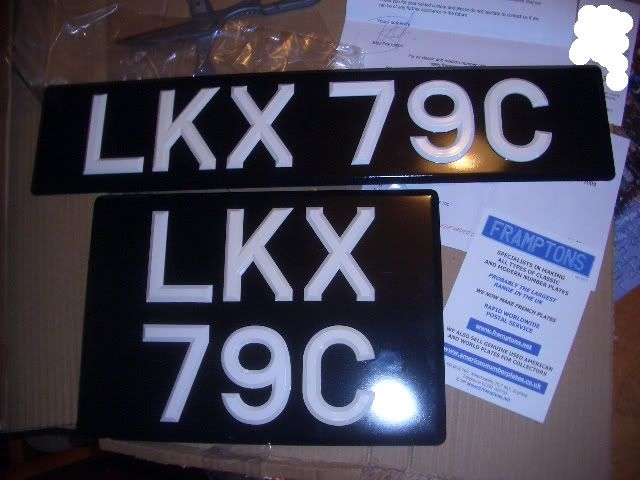 |
| |
Last Edit: Apr 5, 2009 21:18:12 GMT by tofufi
|
|
llamaboy
Part of things
I can't believe it's not better.
Posts: 303
|
|
|
|
|
Looking like a great recovery of a nice motor!
Wish I was able to do that sort of work meself.
My wife had a beetle, but missed out on all the mods cons so sold it. Pity as it was looking sweet after its own resto.
|
| |
1992 Rover 214i (scrapped)
1995 Rover 214Si (sold)
1975 Rover P6 3500 (scrapped)
1984 Vauxhall Chevette (bangered)
1971 Rover P5b Coupe (sold)
1995 BMW 318i (sold)
2001 Peugeot 206 (sold)
2000 Rover 25 (gave back to father in-law)
1989 Lancia Prisma (swapped)
1985 Volvo 340 (sold)
1997 Daewoo Nexia (hmmm...)
|
|
Lex
South East
日本車 <3
Posts: 2,404
|
|
|
|
Cool mate... get it finished now |
| |

Resto-UKal |
|
ChasR
RR Helper
motivation
Posts: 10,194
Club RR Member Number: 170
|
1965 VW beetle... restoration!ChasR
@chasr
Club Retro Rides Member 170
|
|
|
Wow, that was one rotten Bug! Good to see it resurrected, and kicking. Should be mint once it's finished . |
| |
|
|
tofufi
South West
Posts: 1,454
|
|
Apr 11, 2009 18:37:56 GMT
|
Cheers guys! Just a quick update... Front 1/4 panel partly welded in today... 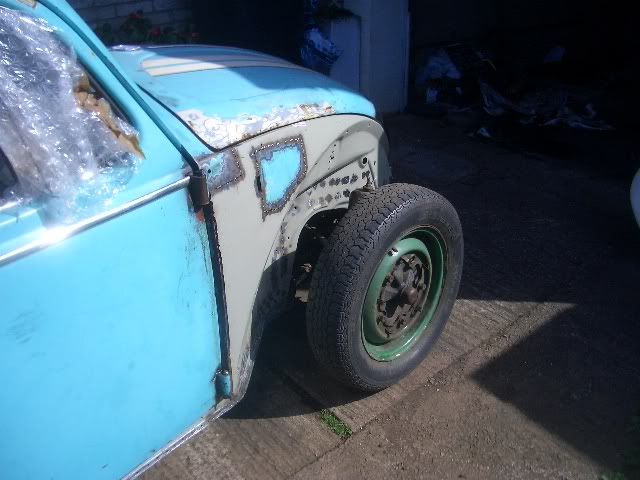 Trial fitting wings... 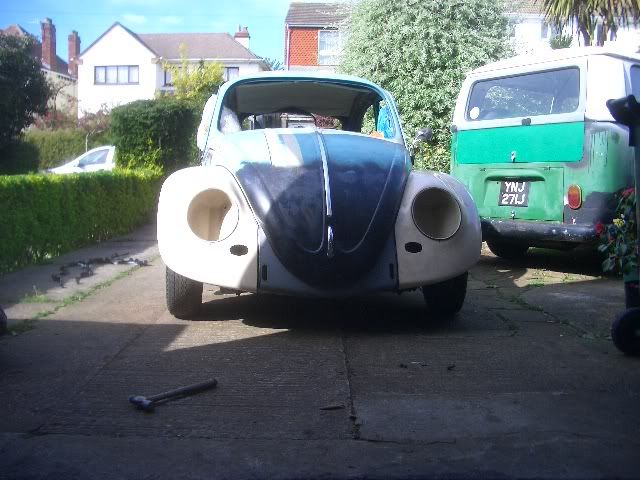 Next, I had the fun job of fitting a bumper mount to the 1/4 which was tack welded in. With the bumper mount welded in, I was able to fit the bumper 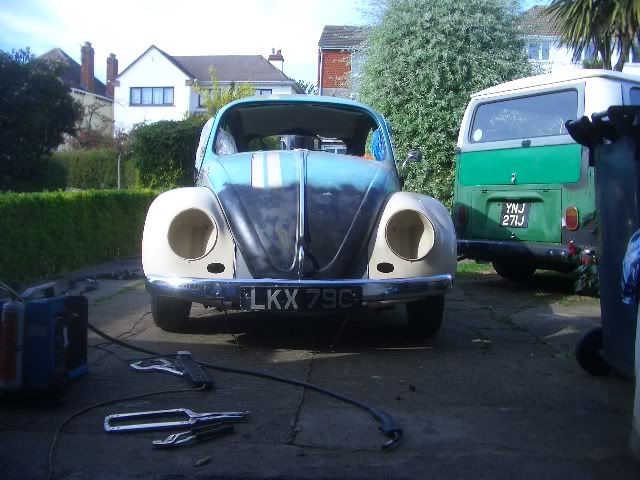 Just a few more pics... makes me happy seeing it more together again. 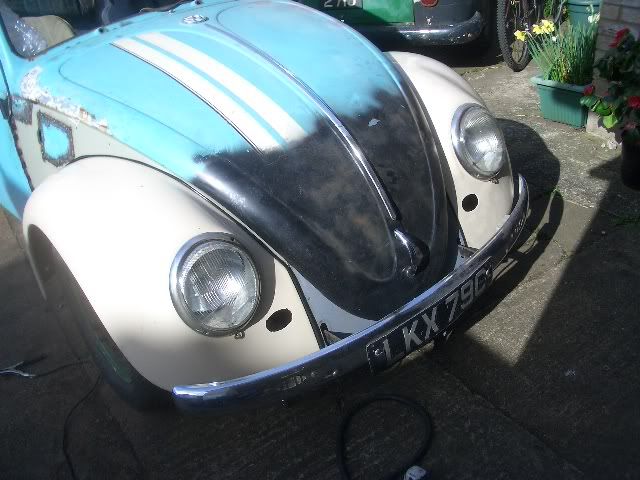 Fuel tank fits perfectly, too.  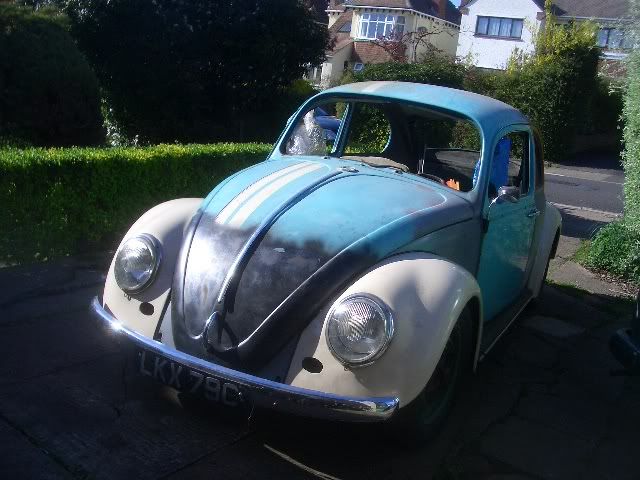 Today, I also painted the rear hatch of my bay in green, just to stop it from bubbling in a couple of places through the primer. Just got this as the last major panel to fit now... 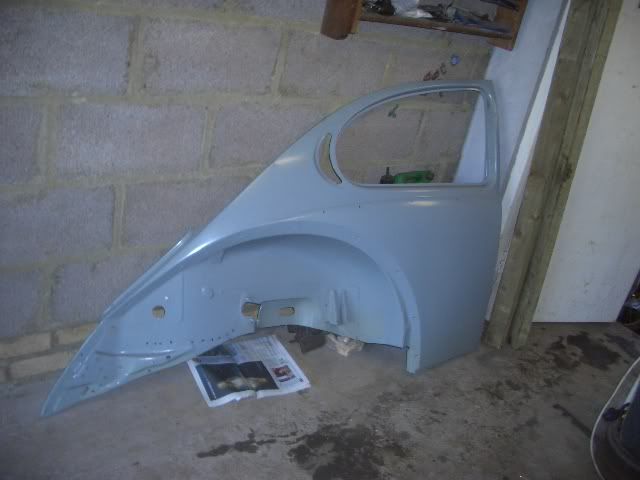 Oh, and I tidied the garage this afternoon too...  |
| |
|
|
|
|