|
|
|
Dec 16, 2008 19:14:09 GMT
|
Ta!  I've done the 'abandon and fester' bit already, just the orange stripes to go  Forgot about the headlight tints though......looks quite good!  Great everythings all sorted now. Your write up's always make me want a Dolomite! What sort of power do sprints push out? Thanks Standard Sprints are, factory fresh, rated at 127BHP - although a well built and blueprinted motor will do more than this - I've seen a few push as much as 150BHP on HS6s and with a few other tweaks. A stock motor can propel the standard car to 60 in around 8 seconds. Plenty of easy tweaks to get another 10BHP or so out of them, mind. They were originally going to be called the "135", and that was their factory output - but they couldn't keep the tolerances close enough on the slightly less-than-precise production line so "Sprint" it was The black isn't limited to the bonnet, by the way, it will slowly expand, like some primeval ooze, over the whole car! Tomorrow I will be removing (Yarrr) the tatty old vinyl from the roof and pillars, to see what's what. May even get all the chrome and bumpers off too.......That'll be black probably as well! |
| |
Last Edit: Dec 16, 2008 19:20:33 GMT by Lewis
|
|
|
|
|
|
|
Dec 16, 2008 19:27:51 GMT
|
|
was that russels car? he still alive? i really miss taunting him ;D
|
| |
"quote hairnet"
I'm not paying nine pound for a pi$$!
[/quote]
|
|
|
|
|
Dec 17, 2008 13:55:15 GMT
|
Didn't get much done today - pulled off the front bumper for no good reason and also removed all the badges. Did get another coat on the bonnet though and tested a (just sprayed, hence the shine!) matching spraycan on a ready-to-go area to see what kind of finish I get compared to the roller. All I have to do is wait for it to dry! 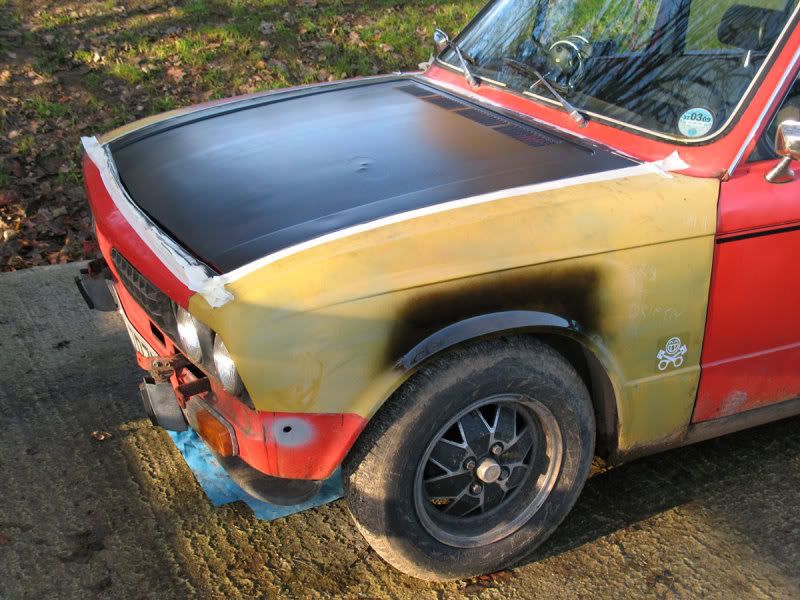 I'm likin' it, so far.... those two dents in the bonnet in that rough patch - that's from when two sparkplugs tried to make a break for freedom ;D War wounds! Sometimes people don't pay enough attention putting plugs in, cross thread them, then they consequently escape...  Tomorrow I think I should get serious and pull off all the trim, rip of all the vinyl and start prepping it - as well as giving it all a really good wash so it's clean and ready to go That way I can start piling on paint when I get the chance. |
| |
Last Edit: Dec 17, 2008 13:59:05 GMT by Lewis
|
|
Nathan
Club Retro Rides Member
Posts: 5,627
Club RR Member Number: 1
|
|
Dec 17, 2008 14:05:05 GMT
|
|
Wicked looks like a proper bruiser!!
Whats it like underneath?
|
| |
|
|
|
|
|
Dec 17, 2008 14:12:47 GMT
|
Actually pretty good! It's still taxed till March and MOT'd till April! I poked around and have only found one very minor hole that requires patching, on the passenger underside of the sill. The rest of it, including the chassis rails, looks to have been well protected. I will probably get that attended to (along with one other bit of slighty furry looking metal at the front edge of the same sill) by a professional, or maybe have a go myself. Learnin' time! There's some other minor blebs here and there so I've got some Kurust convertor and will prep, paint, prime and protect it all in due course |
| |
Last Edit: Dec 17, 2008 16:14:00 GMT by Lewis
|
|
paulb
Part of things
 Renault 9 Turbo
Posts: 296
|
|
Dec 17, 2008 15:01:26 GMT
|
|
I'm loving this.................always wanted a dolly..but can't complain..
might get one, one day
|
| |
Injection is nice,I prefer being Blown
|
|
|
|
|
Dec 17, 2008 16:26:49 GMT
|
|
Looking good mate! bonnet looks good for a roller job.. what are you painting it with?
|
| |
|
|
|
|
|
Dec 17, 2008 21:18:39 GMT
|
Hammerite straight to rust satin paint |
| |
|
|
|
|
|
Dec 19, 2008 16:54:31 GMT
|
More progress! Firstly, excuse the quality of the photography. By the time I got around to taking any pics it was half past three and already getting pitch black! Anyway, to do it properly, all the trim's got to come off. I removed all the chrome edging strips and door trims. Now I've just got the rear bumper to go but it requires jacking up so I can get the towbar off too - weight saving! 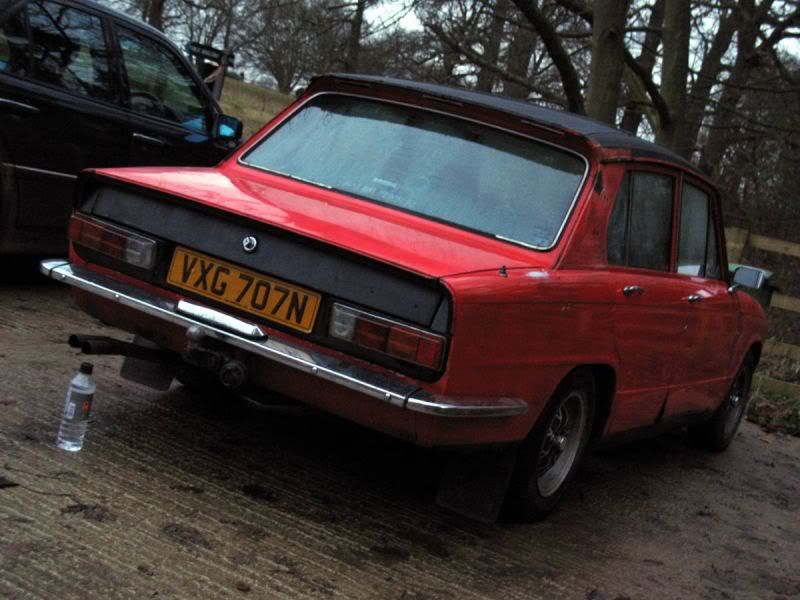 I also spent what felt like an hour painstakingly removing the coach lines from the car, much nicer without. The rear vinyl pillar trims had not suffered the tests of time well; if I'm honest I've never really liked the vinyl much either. I prefer the clean, unblemished look of the earlier cars (like my old 1500) without the chrome as they seem to show their shape better and look sharper. Consequently, I pulled them off ;D  .......exposing the usual corrosion points behind. Vinyl makes a good rust trap, when it's not in great condition as these were. I washed it, sanded it all down, cleaned it with thinners and let it dry. Then, to convert the rust to a safe, paintable material I sloshed some Kurust on it. 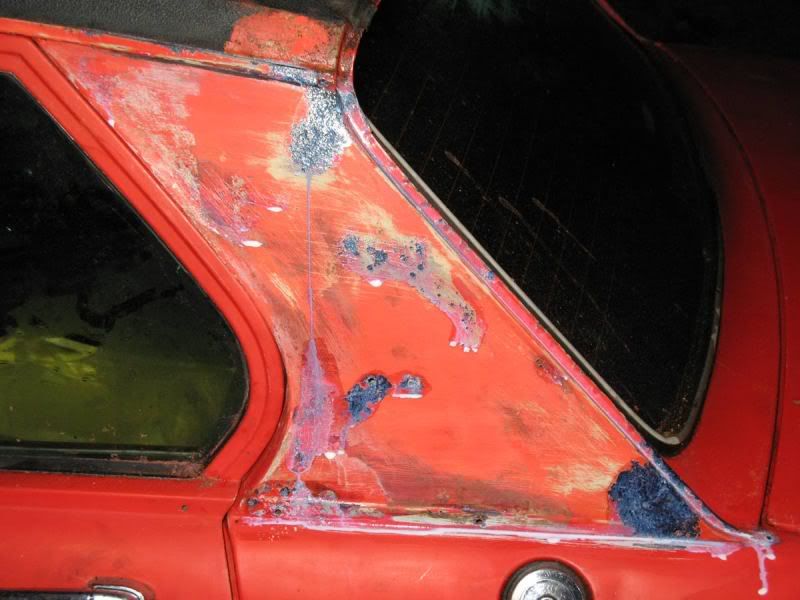 You can just see it starting to 'blue' here, indicating the rust is converted to 'safe' metal.  To check I really did like the look I was going for, I masked up the front wing roughly and with a can of matching spraypaint, ran a few quick guide coats over (still wet in the shots): 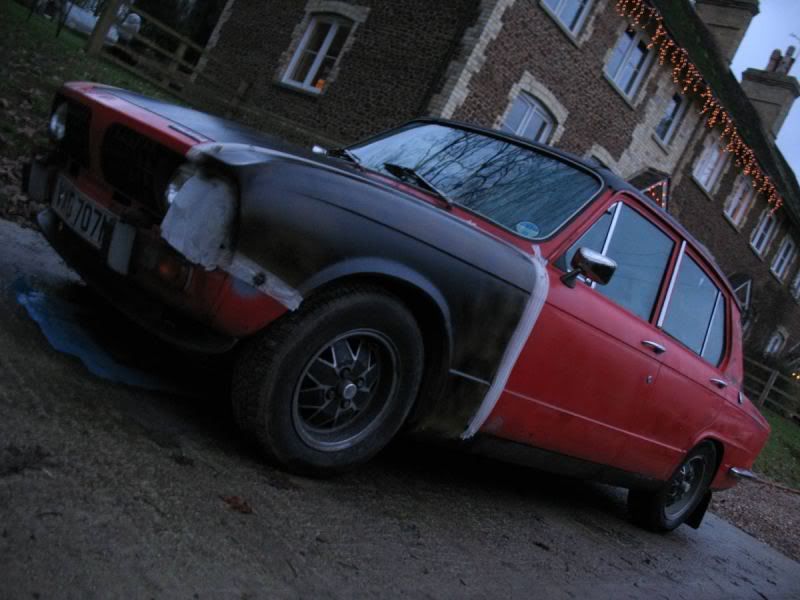 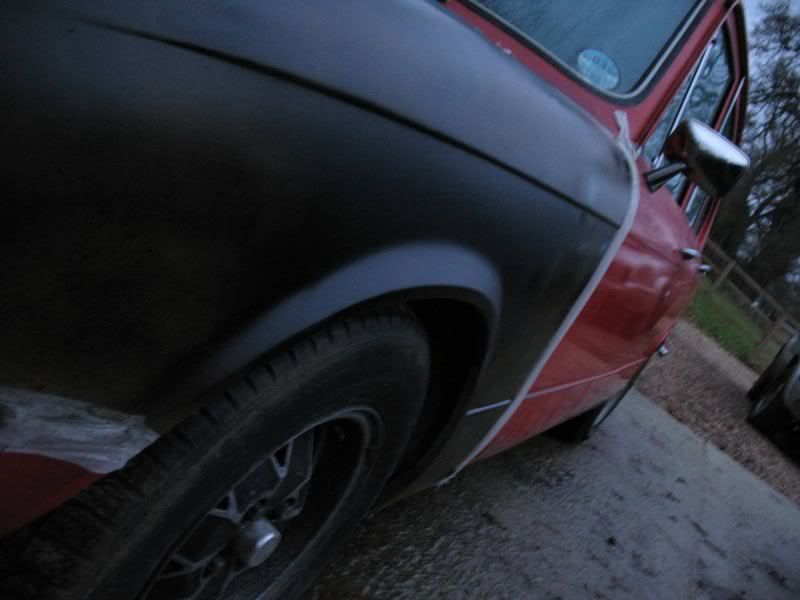 .....and I do like it, so that's definitely the look I'll be rolling out soon! 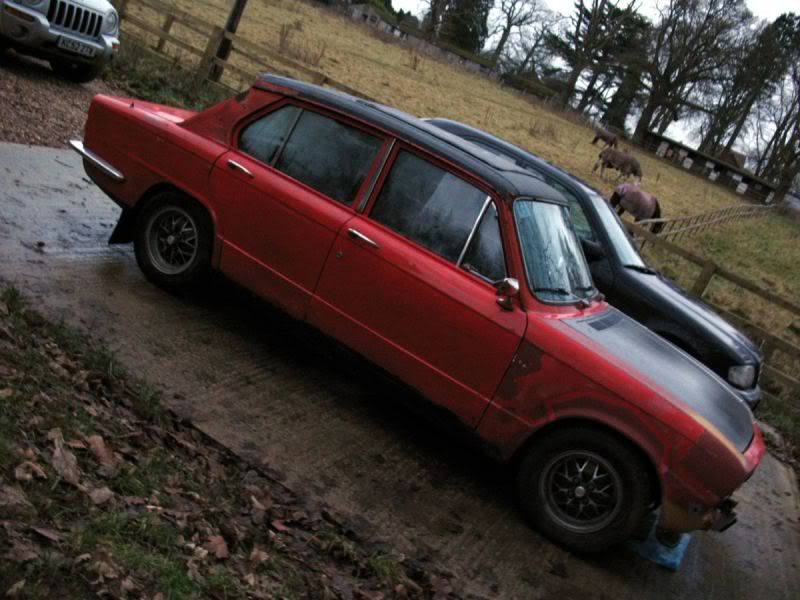 Less is more! So, tomorrow, I'll finish removing the vinyl from the roof and start prepping in earnest. Today I just ran a knife around the trapped bits so I can pull the whole shooting match off but it requries preheating to soften the adhesives a bit (you can see in some of the shots where I've ripped bits off as a test!). I'll also see if I can find the neater drop-down chrome rear as seen on the 1500 and fit it to my Sprint - not a fan of the 'wraparound' section under the tail lights, looks a bit messy. I also think most of the chrome will be blacked out but I may photoshop that before I do it! Blaaaaaaaaaack! |
| |
Last Edit: Dec 19, 2008 17:02:09 GMT by Lewis
|
|
|
|
|
Dec 20, 2008 16:42:07 GMT
|
So I came out this morning to lovely solid, rust-free, metal: 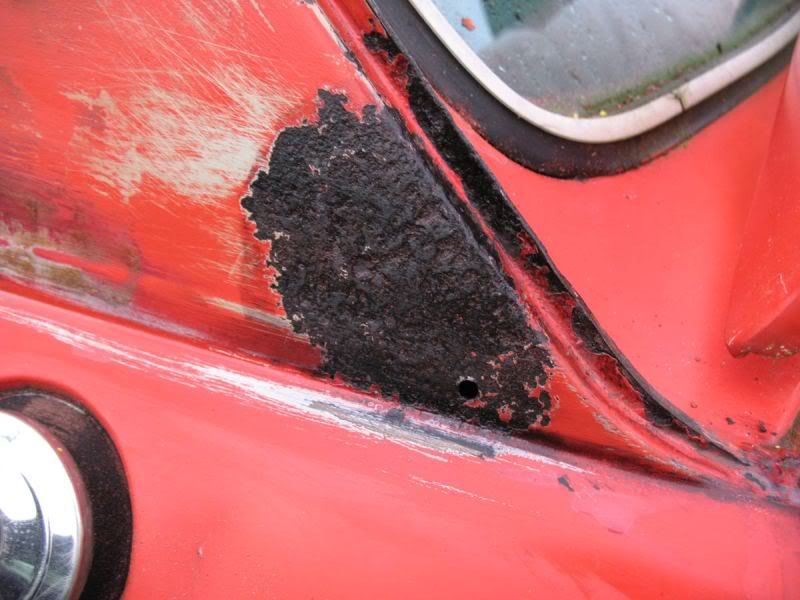 That Kurust stuff is really good! Highly recommended and very easy to use. Don't be put off by the little containers either, as it has a very watery consistency and goes an awful long way. Now, due to the pitting, the surface of the pillars wasn't quite level at some points. Primer might fill the gaps and level it out but I suspected I'd end up with a wavy surface at points. I headed out to Halfords and bought some filler, something I've never tried using before. 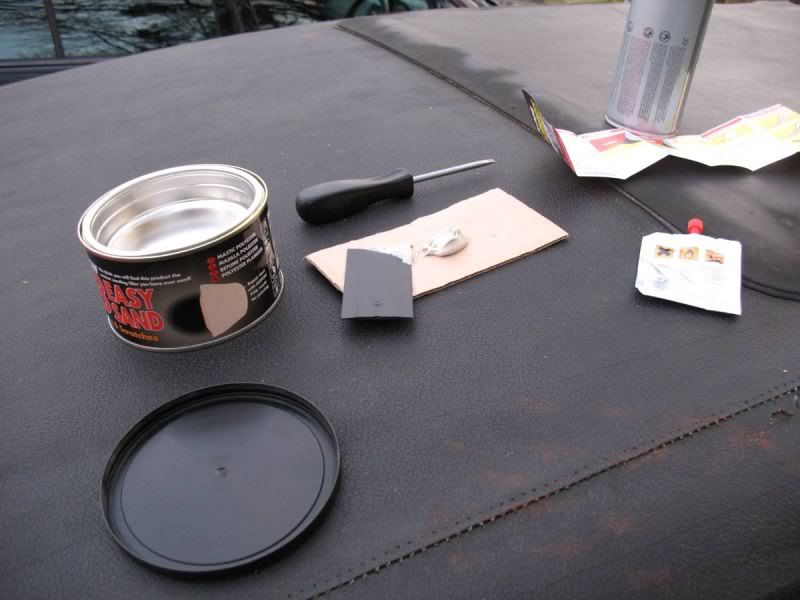 And on my palette 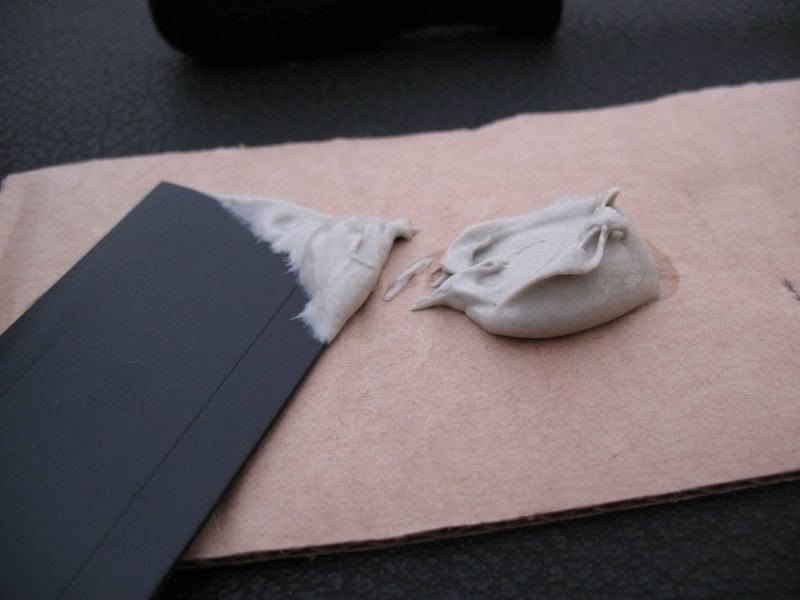 I have to say, I'm really impressed with how easy it is to use. Simply pile some filler onto some cardboard, drop some setting agent into it (the quantity really isn't overly critical), mix it thoroughly then apply it where needed, dragging a sharp-edged tool across to smooth it out and remove any excess filler. It can be made to set very quickly too, using additional activator, which is really good for doing tricky or deep surfaces/holes. This was what I did when filling in some of the trim holes - as I'm not reinstating the chrome door trims, in line with my 'clean' look After finishing the filling, I was left with two nice flat pillars with all unnecessary holes filled: 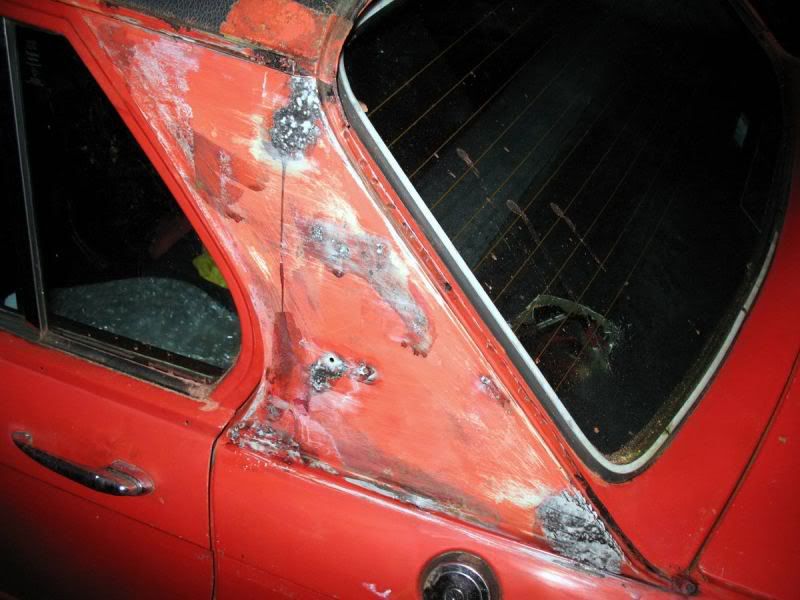  Tomorrow I'll quickly sand them back just to make sure it's dead even, then prime and paint! I also grabbed a few cans of Halfords satin spray today, to test out:  Here I'd sprayed the grill in the bonnet to see how it matched up. The Halfords satin is slightly flatter than the paint I have, which is kinda what I'm looking for - so I intend to do as much as possible in the paint then go over the car lightly with the spray, just to take the edge off and give the spot-on finish that I'm looking for That should also have the added benefit of getting any bits I missed with my rollers and brushes! I'm hoping to get a lot done tomorrow - so I hope the weather holds out! Fingers crossed! |
| |
Last Edit: Dec 20, 2008 16:45:36 GMT by Lewis
|
|
|
|
|
|
|
Dec 20, 2008 18:21:03 GMT
|
|
good luck lewis, may i suggest a different colour for the roof? a nice deep metallic purple would look the dogs knob ;D
|
| |
"quote hairnet"
I'm not paying nine pound for a pi$$!
[/quote]
|
|
|
|
|
Dec 29, 2008 15:36:49 GMT
|
Hah, I hadn't thought of the two-tone approach! There are updates but I've only just reactivated my host, so I'll get some pics in a bit. I spent a tiring few hours stripping the vinyl and have still got to get rid of most of the adhesives, horrible stuff. The pillars are primed and ready to go, as is the bootlid - and I've stripped and prepped most of the surfaces now. Managed to get it all off without removing the webasto too, which is a bonus! I have also filled a few more holes and a crease that was present in one otherwise solid arch. The door bottoms are tatty in places but to be honest, doors come off and I'd rather get it all one colour and look at it before going any further. Started looking at MG metro carburettors and an Eaton M45 as an 'interesting' alternative for induction too. Just waiting on some mockup parts to turn up. Still trying to decide what to do with the interior too - part of me wants standard, trimmed, the other wants stripped (or partially stripped) with lots of period (or earlier) gauges and switches. Will have to have a look and a think. My front windscreen seal arrived too, so that's next! Have some pics: Paint's holding well against the elements - had heavy rain, dew, frost and wind: 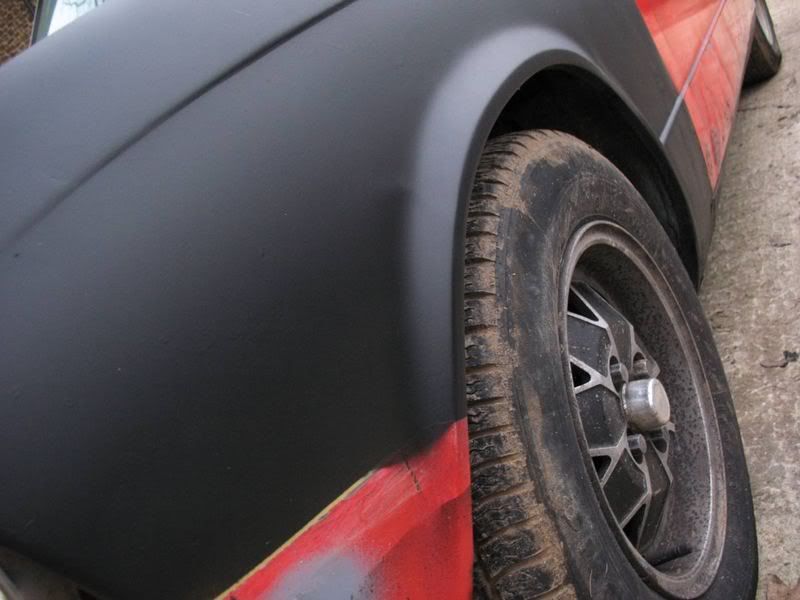 Vinyl - gone!  Arch and pillars ready to go:  Rear edge cleaned and tidied up:  .......and a comparision shot: 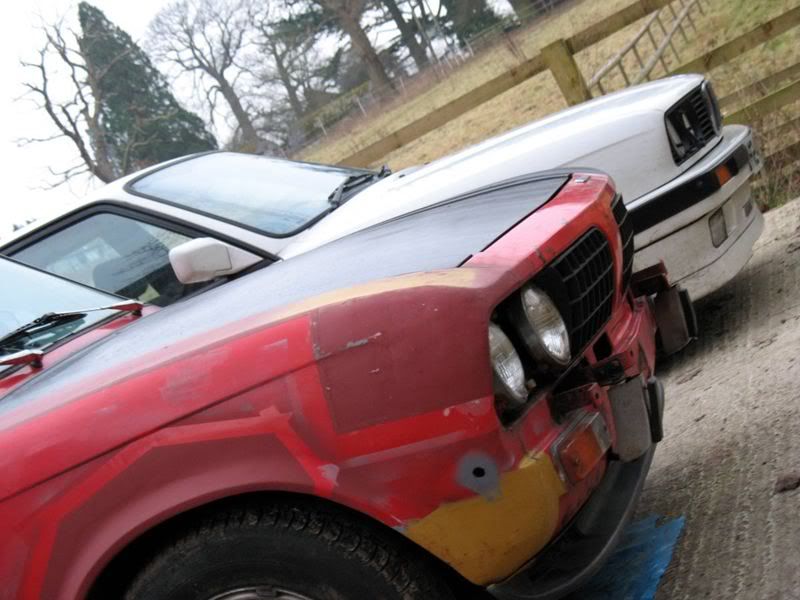 Funny how similar they appear when you look! I have use of a garage soon though, so will complete the paint job over the next few days! Being heated and undercover will give me all I need to get it done Can't wait to see (and do) it!  |
| |
Last Edit: Dec 29, 2008 18:03:44 GMT by Lewis
|
|
bazzateer
Posted a lot
Imping along sans Vogue
Posts: 3,653
|
|
|
|
|
Update!!!!!
|
| |
1968 Singer Chamois Sport
1972 Sunbeam Imp Sport
1976 Datsun 260Z 2+2
1998 Peugeot Boxer Pilote motorhome
2003 Rover 75 1.8 Club SE (daily)
2006 MG ZT 190+ (another daily)
2007 BMW 530d Touring M Sport (tow car)
|
|
|
|
|
|
|
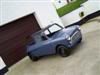
Spurned on by Baz's request, a small update! VXG is now safely stashed in a dry garage, preventing it from developing an encasing layer of ice which was making bodywork quite tricky: 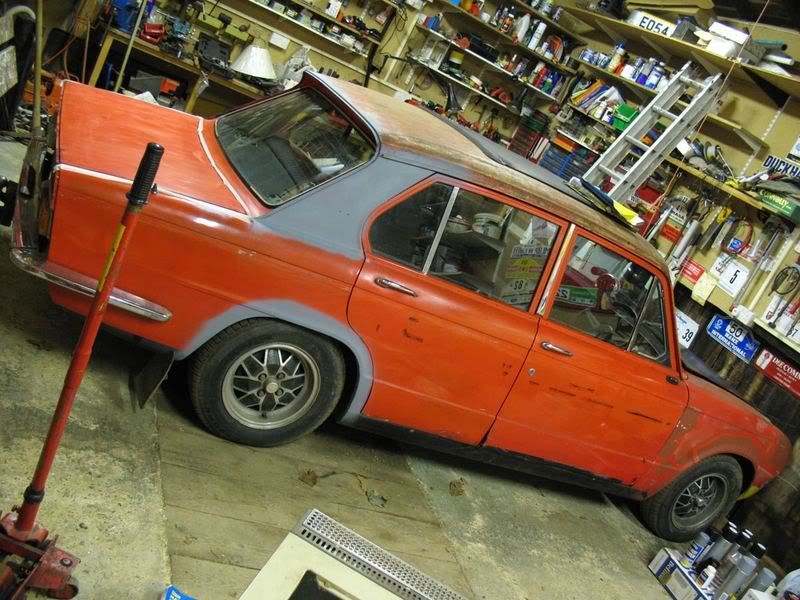 With this done I set about the job I'd been fearing the worst......getting the remains of the glue and vinyl off the roof. It's heavy duty stuff but fortunately I was saved by this little beastie: 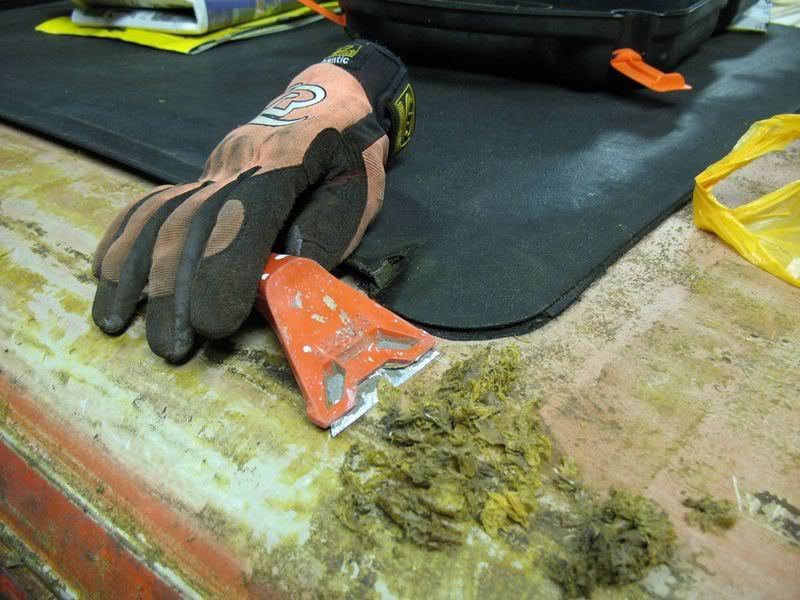 Cuts through it cleanly and quickly - and I had the majority of it off within the hour. Clean(ish) vs. not: 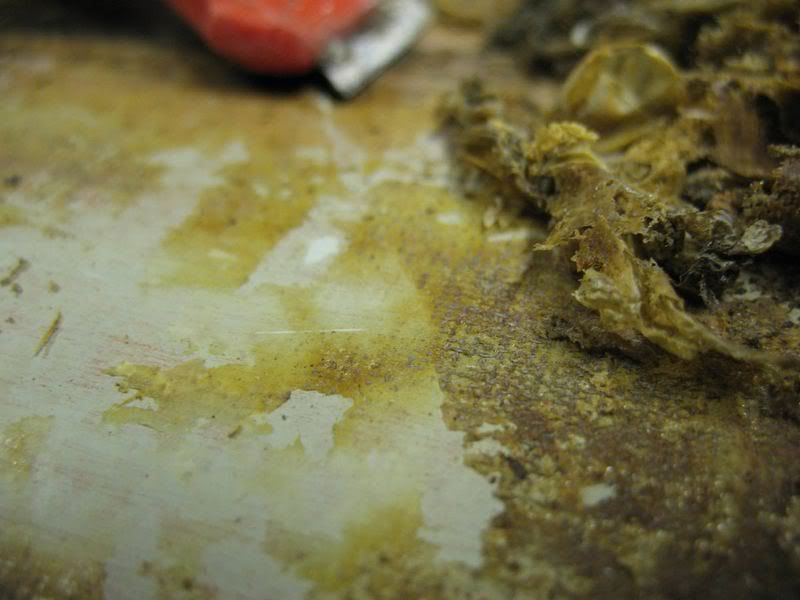 ...and working across: 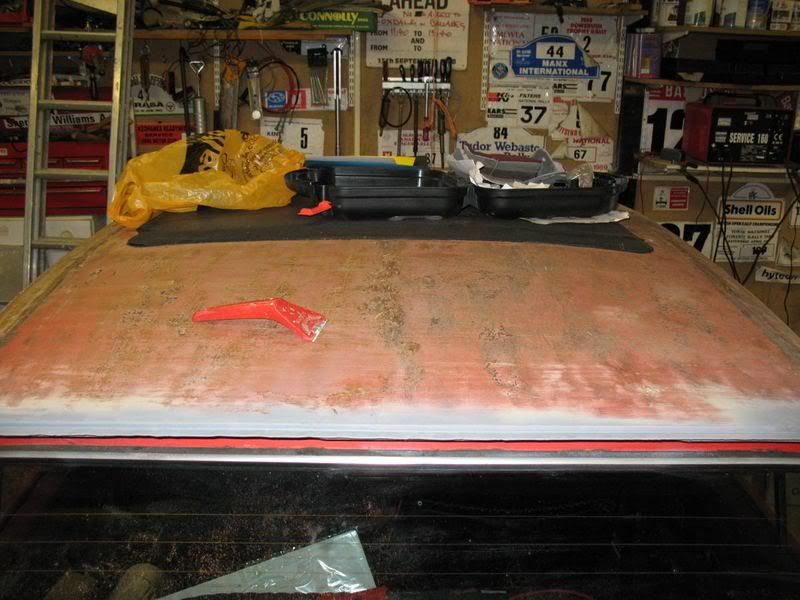 The roof's pretty much ready to go now: 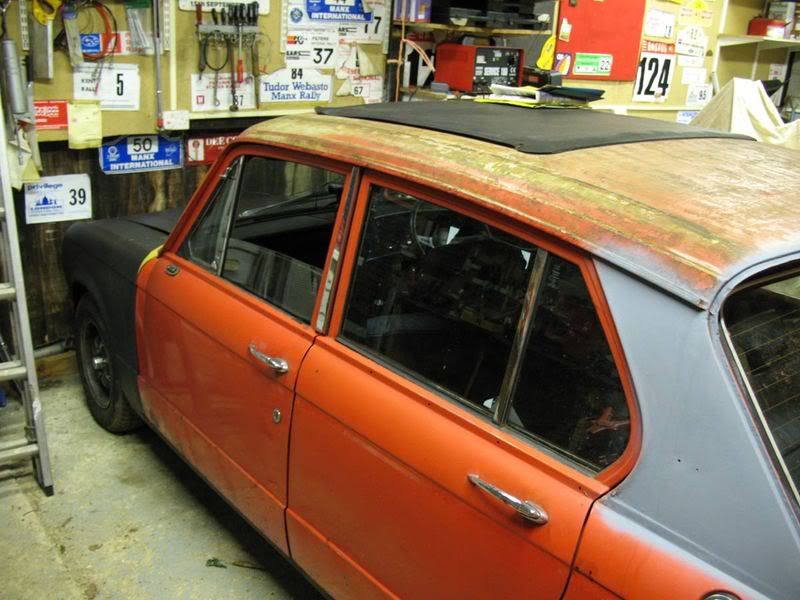 All I have left to do tomorrow is give it a quick sand, to remove any remaining deposits, then pull it outside to wash it down. That'll get rid of all the dirt and grime that's accumulated from removing the vinyl and allow me to do the final prep so I can finally start laying some paint on the exterior panels. I may pull the front windshield out tomorrow too, enabling me to get a good finish around the windscreen and replace the dripping seal at the same time. Must get the damned bumper and tow hitch off too! ;D More tomorrow! |
| |
Last Edit: Jan 2, 2009 16:54:00 GMT by Lewis
|
|
|
|
|
|
|
|
You should be able to buy some 'label remover' type stuff in a stationary shop or similar. Essentially it'll break the glue down so it'll be wiped off. Or white spirit of course!
Looking good, keep it up!
|
| |
The journey of 1000 miles starts with a single coffee.
I don't like coffee!
|
|
|
|
|
|
|
|
thinners will be bob on for removing glue. also prob prep enough to stop any reacting
|
| |
|
|
|
|
|
|
|
Had a bit of an odd one today. Realised that my prep on the roof was nowhere near adequate for paint (did a few test patches and was not impressed with the results) so that's now tomorrows task, get it really flat and smooth. Despite using spirits, sanding and scraping, there's still pits, bits of glue and roughness in patches. 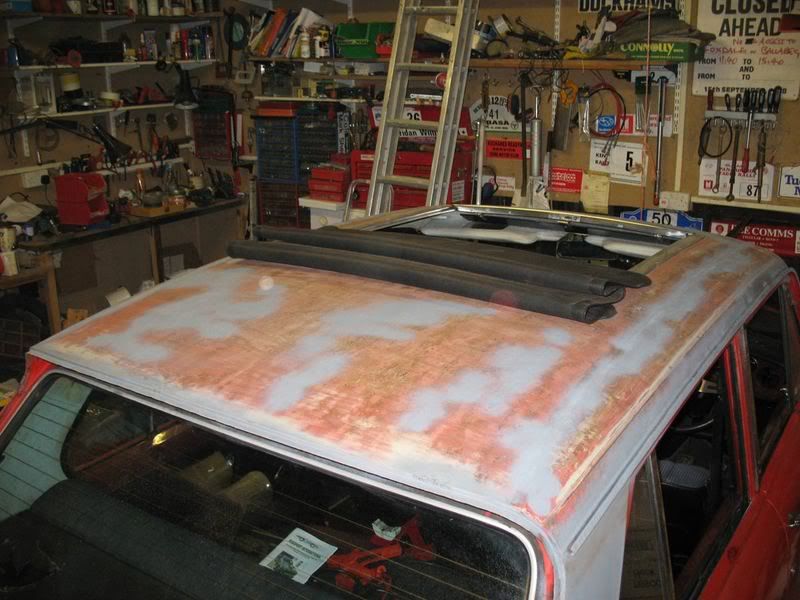 (The primer was just to cover some bare metal, I later tried some satin on it) I then proceeded to get into an argument with my roller and paint tray, for some reason the paint's acting up and not going on well and it also doesn't seem to be covering much ground. Consequently I got bored and just hit the spraycans - it's still wet in most of these shots but gets the idea across: 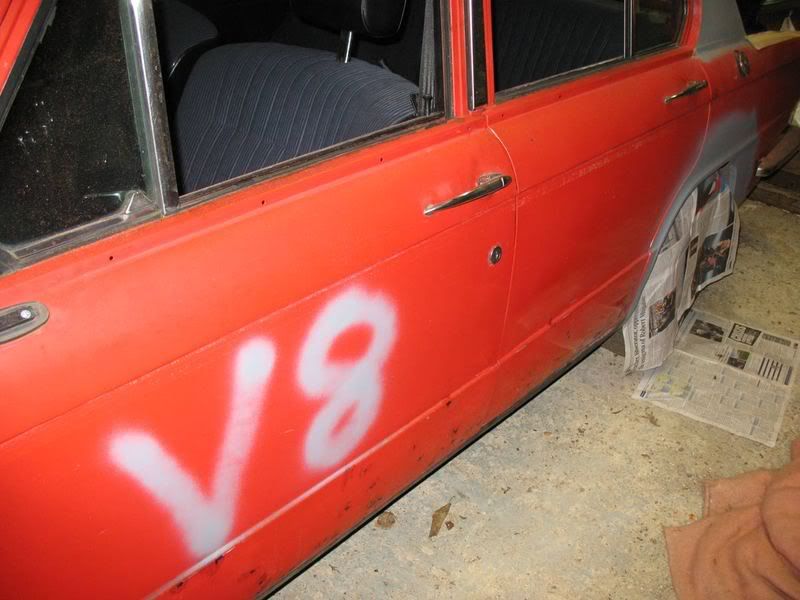 (Maybe.....) 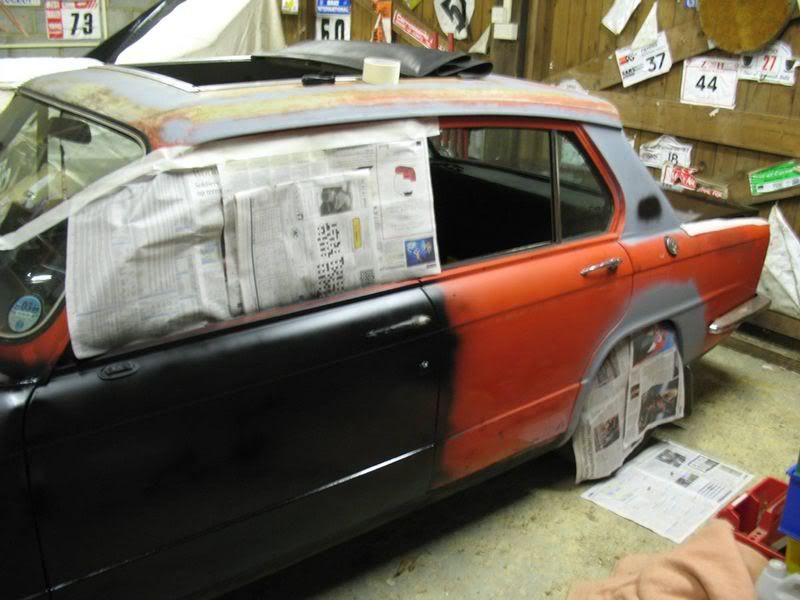  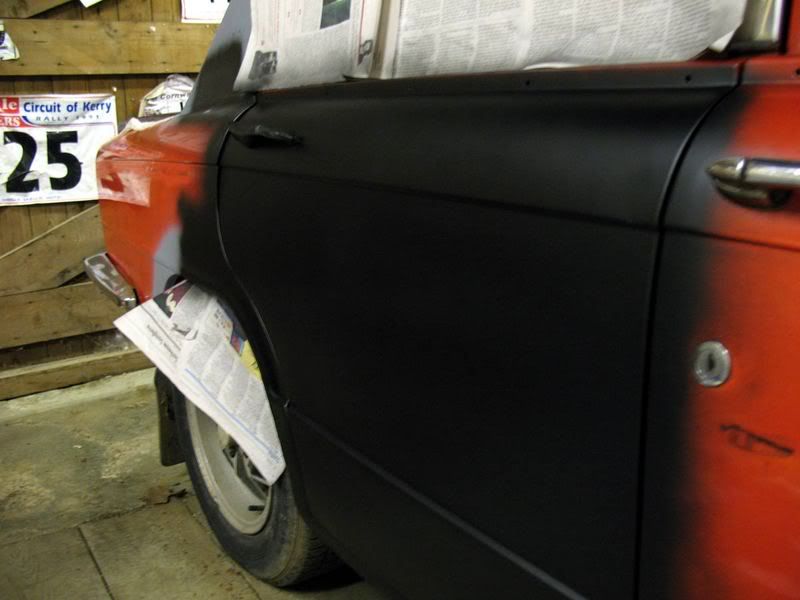 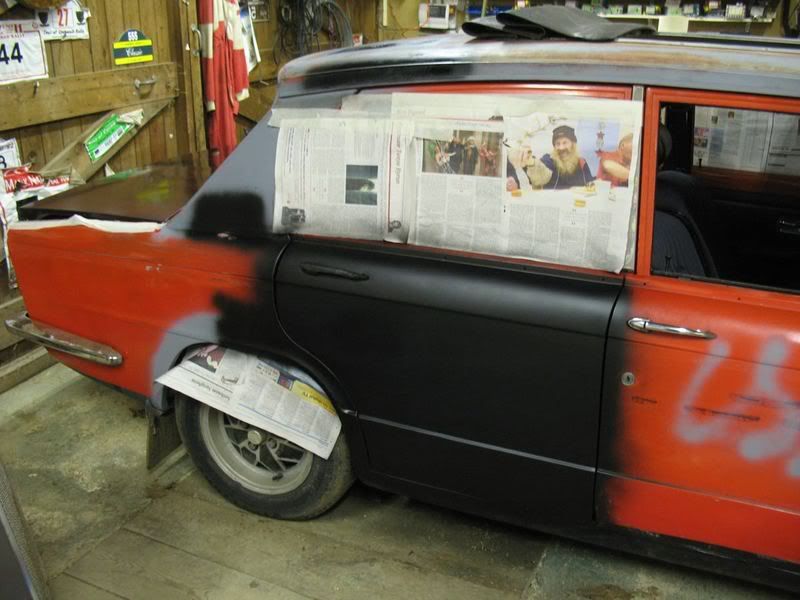 Really impressed with the mileage I'm getting out of the Halfords satin sprays, so I'm kinda inclined to just do the whole damned thing in it now and save my paint for internal panels and detail work, or bulking areas out. You get a nice smooth finish as well, provided you prep the surface to a suitable standard. Maybe I'm just more comptent with spray than I am brush, I just can't repeat the result I had on the bonnet at the moment. Tomorrow I'm going to have to prep every panel well, mask everything up and get it all good and clean so I can just get a rattle on with the cans. I also did some 'crossover' tests today on previously sprayed satin, to see how easily you can blend between the panels so I'll find out the results of that tomorrow. I still need to take the windscreen out. I also still need to take the rear bumper and hitch off. Must prep everything really well......it's all in the prep! It's boring and unrewarding but I just have to get it done so I can move on with any effectiveness. Just bumbled around too much today. Tell you what though - it's black. Turn off the lights and the satin parts just.....evaporate into nothingness! Good view through the Webasto too:  |
| |
Last Edit: Jan 3, 2009 21:37:06 GMT by Lewis
|
|
J.P
Posted a lot
I like to eat ice cream and I really enjoy a nice pair of slacks.
Posts: 1,175
|
|
|
|
|
Really liking this now! Keep up the prep work
|
| |
|
|
soggy
Part of things
Posts: 90
|
|
|
|
Noooooooooooooooo don't do it,i think i will scream if i see another car ruined by spraying it satin/mat black. why do people spend ages repairing their cars in all weathers then cop out when it comes to paint! Sorry for the rant but their are paint suppliers that can put any colour of paint you want in arosol form so why paint it black ,red always looks good when freshly painted. |
| |
16,000 mile, 88 polo breadvan.
Now in bits in the garage,watch this space!
|
|
|
|
|
|
|
Soggy - that's fair enough, different strokes for different folks! I guess it depends on what kind of satin/matt finishes you've seen before. I'm making sure it's all matching and smooth, panel gaps and all, so it will be presentable, as well as being black! Not just a quick unprepped mismatched blowover I'm not copping out anyway, I wanted it satin black soooo...... it's going to be! It's an infinite improvement over its previous coat(s) of paint(s) and will also serve to protect it from the elements, should I choose to change it to another colour at some point On another note, I spent too much of my life sanding today. Consequently the roof is in a much better shape than it was yesterday but there are still some minor areas that need finishing. 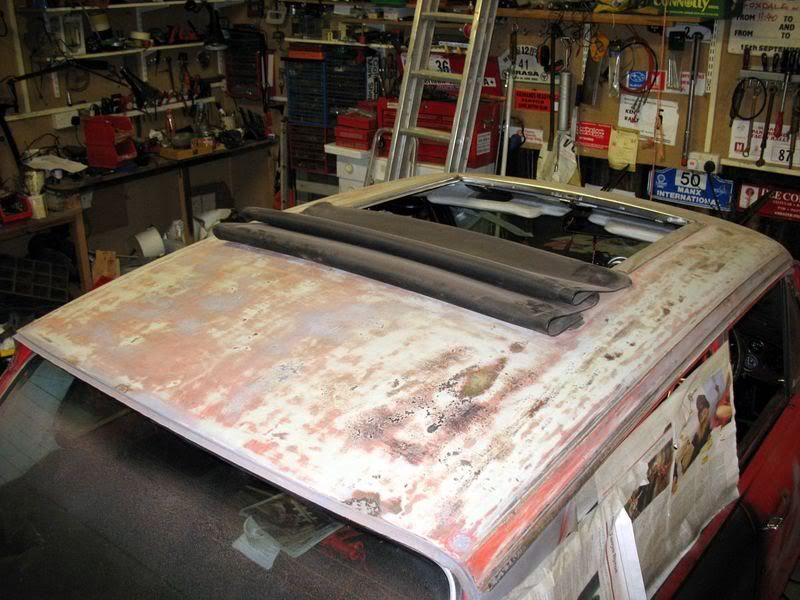 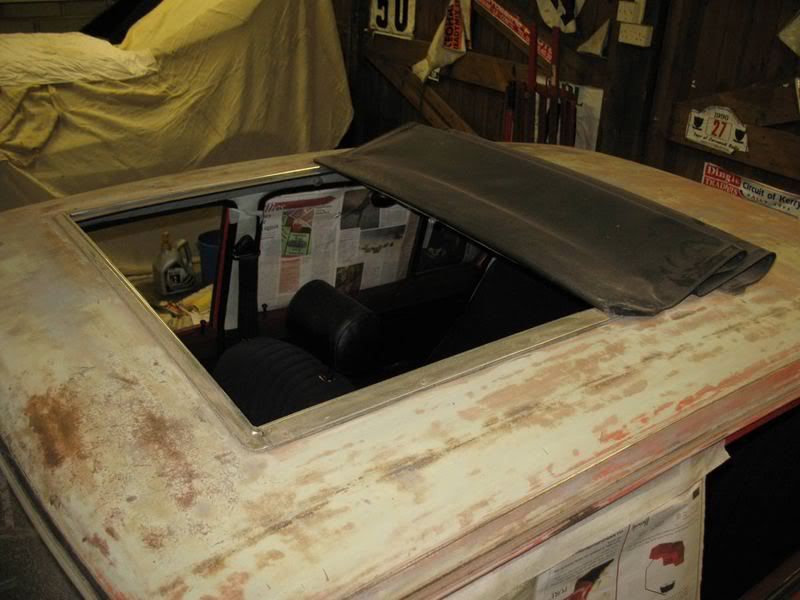 Also filled in some rust damage at the rear that I'd cleaned up, leaving minor pitting. I want a nice clean edge and it didn't require much material adding, so in went the P38: 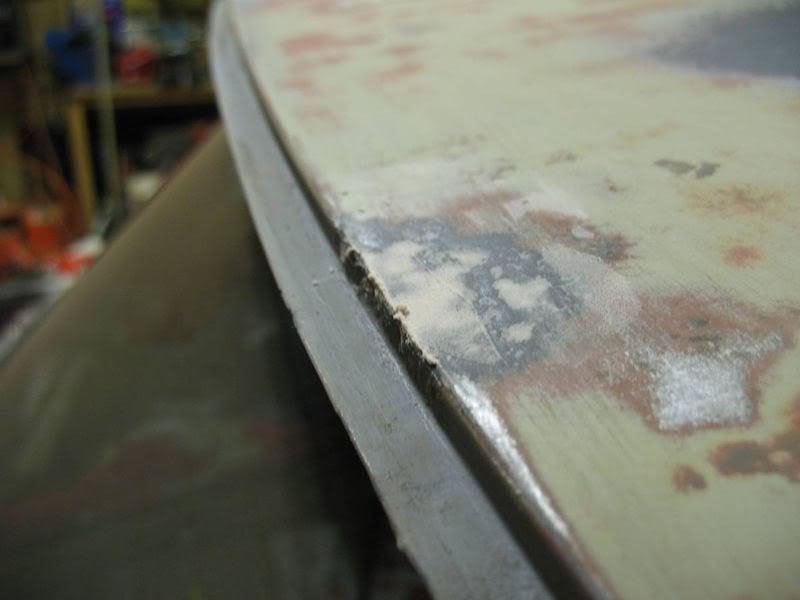 I'll sand that off to perfection tomorrow morning. Lastly, a health and safety reminder to you all: 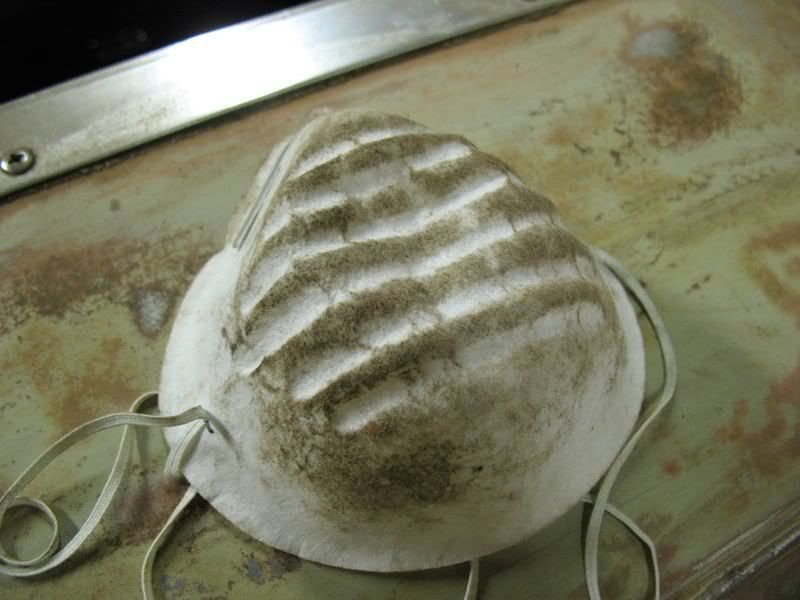 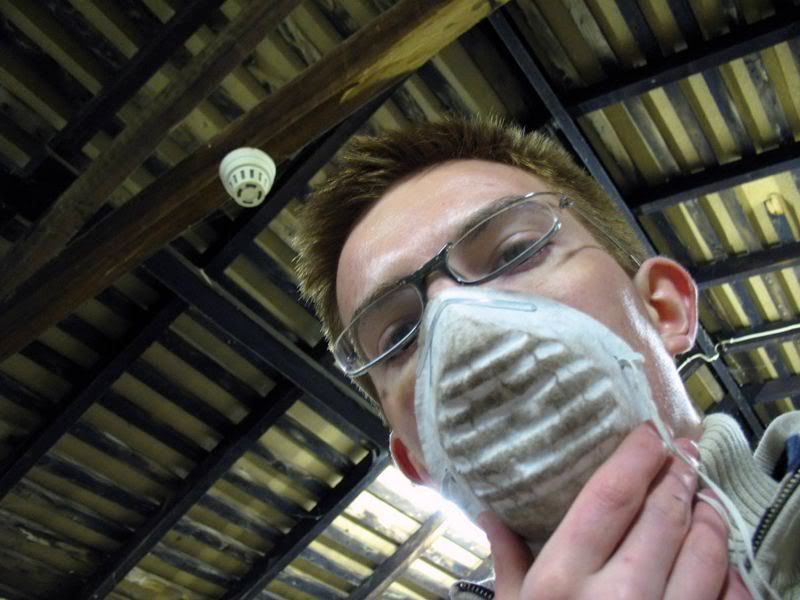 Always wear a mask when doing heavy sanding work, otherwise you'll be inhaling all that various dirt, dust, paint and adhesives. It's not pleasant and it's not really very good for you! That dirt that's accumulated on it is merely from me breathing! Hopefully tomorrow I can finally finish this roof and then the next few steps should be very quick ones! ........I hope so, at least - I'm getting VERY bored of sanding! |
| |
|
|
|
|


 I've done the 'abandon and fester' bit already, just the orange stripes to go