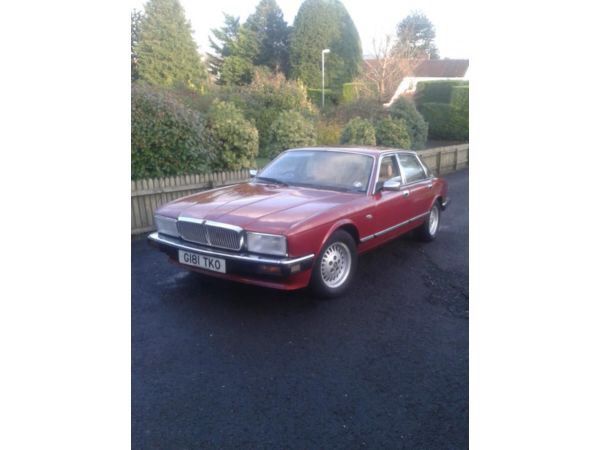
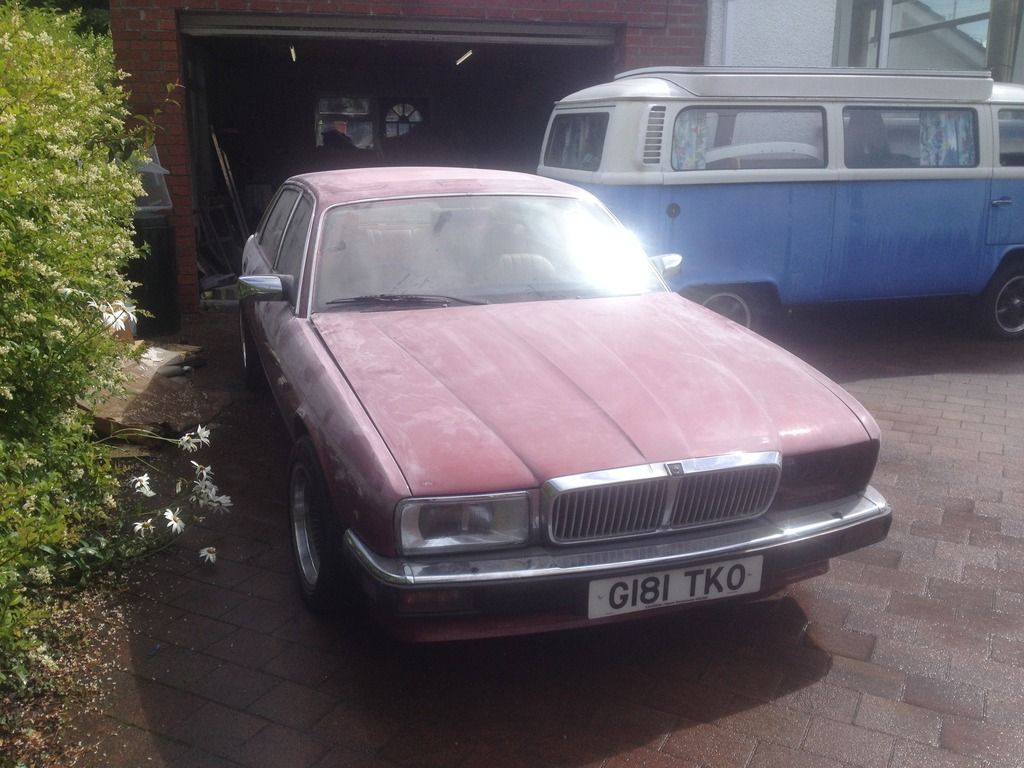
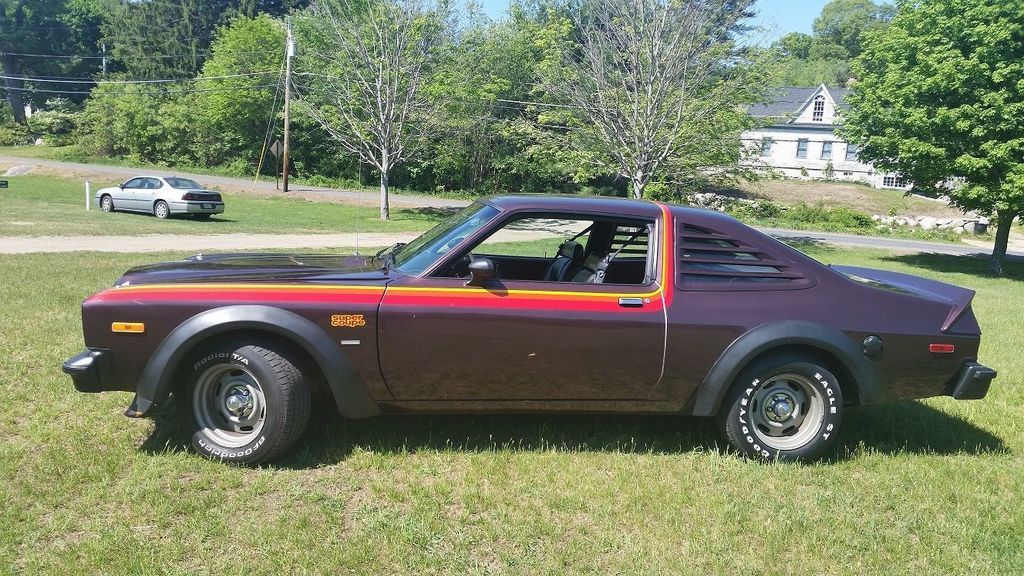
I was now at the stage with the Jag were I was starting to think about the aesthetics.
I think these cars look amazing in standard paint with wheels and a lowering but this wasn't really an option for me.
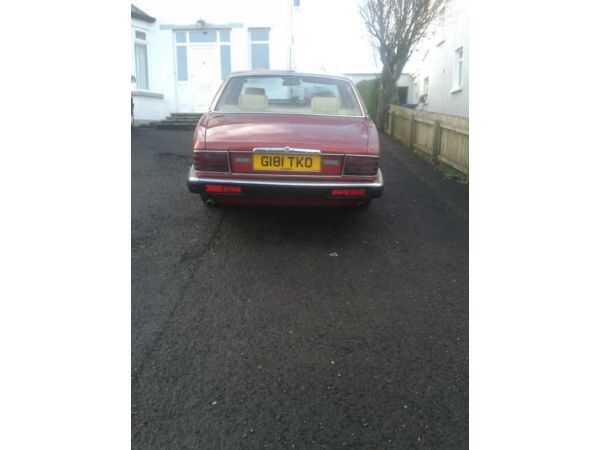
With rusty sills, small bubbles and scrapes all over and serious lacquer peel on the roof it was clear that to look smart the car would need a respray.
Having spent months scraping off, repainting and colour sanding the paint on the above Scimitar I really wasn't in the mood for a full scale shiny paint job.
There's a few guys on here who have had great results with graffiti paint so I decided this was the paint for me.
I picked a colour and ordered a dozen cans of MTN 94 and some fat caps from Graff City.
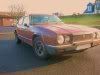
Painted up a model series III as a test:
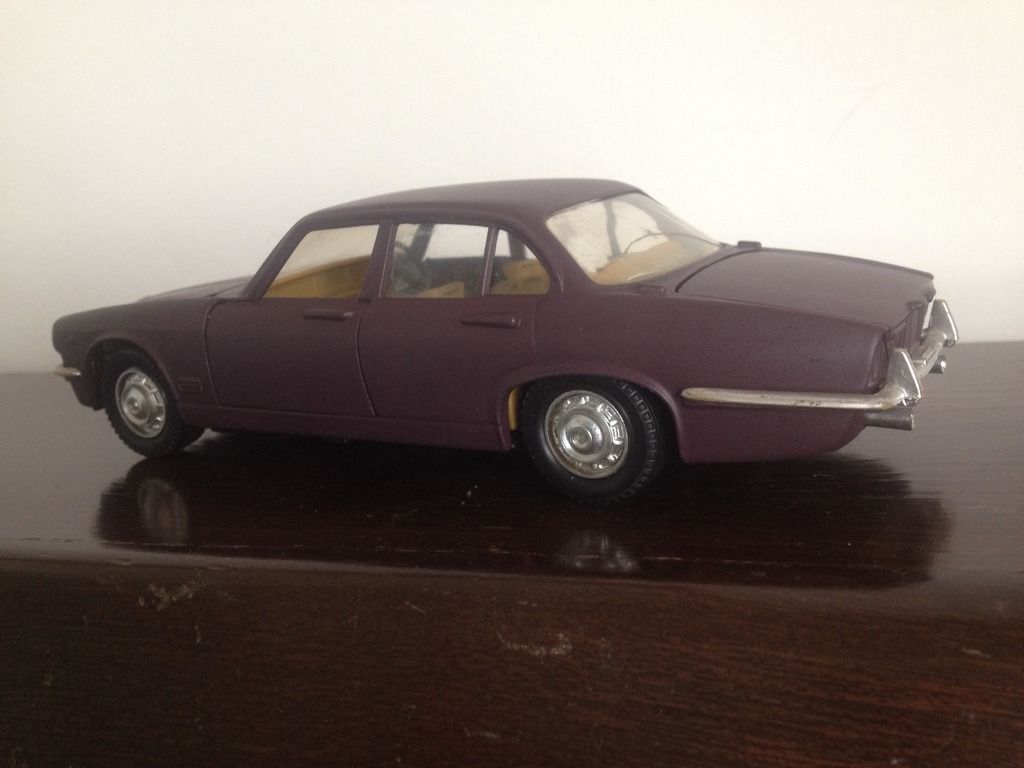
Happy with the colour and finish, this is getting exciting!
I rubbed the whole car down with 400 dry to key up for the paint, that's all that's needed. The roof was DA'd back to the primer due to the lacquer peel.
Wanting this to be a fun project I knew I wanted some really bold design going on. I spent a lot of time looking into '70s style graphics and very nearly settled on some stripes:
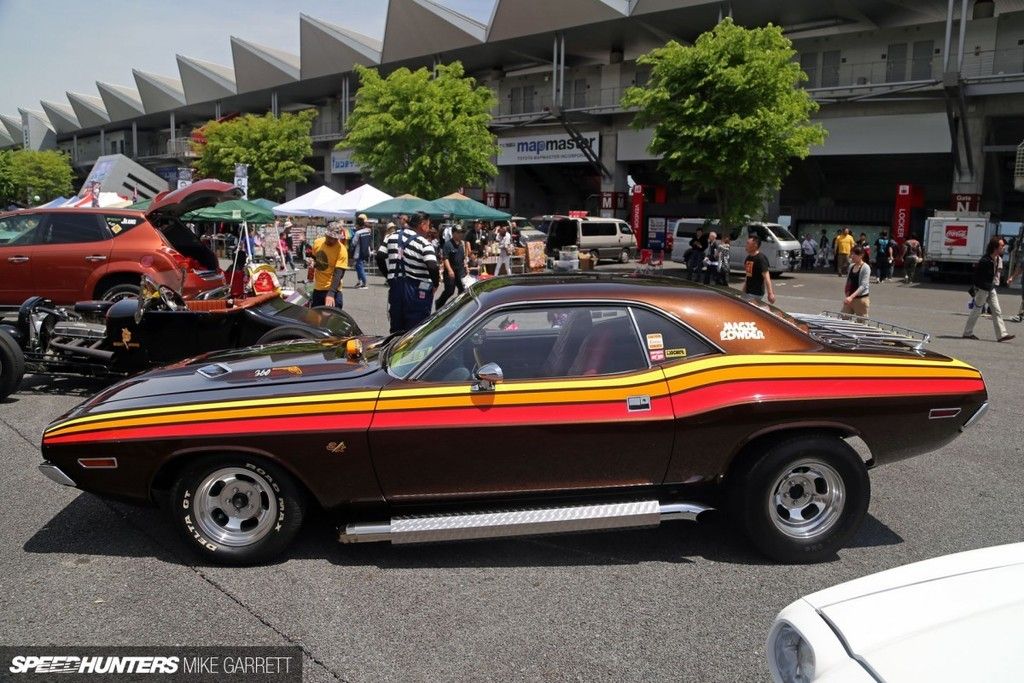
I just couldn't quite get them to work in my head with the shape of the car.
That's when I came across custom low rider style paint using flake, candy, lace and tape outs.
I knew this was the way forward so planned to have the whole roof done in this style.
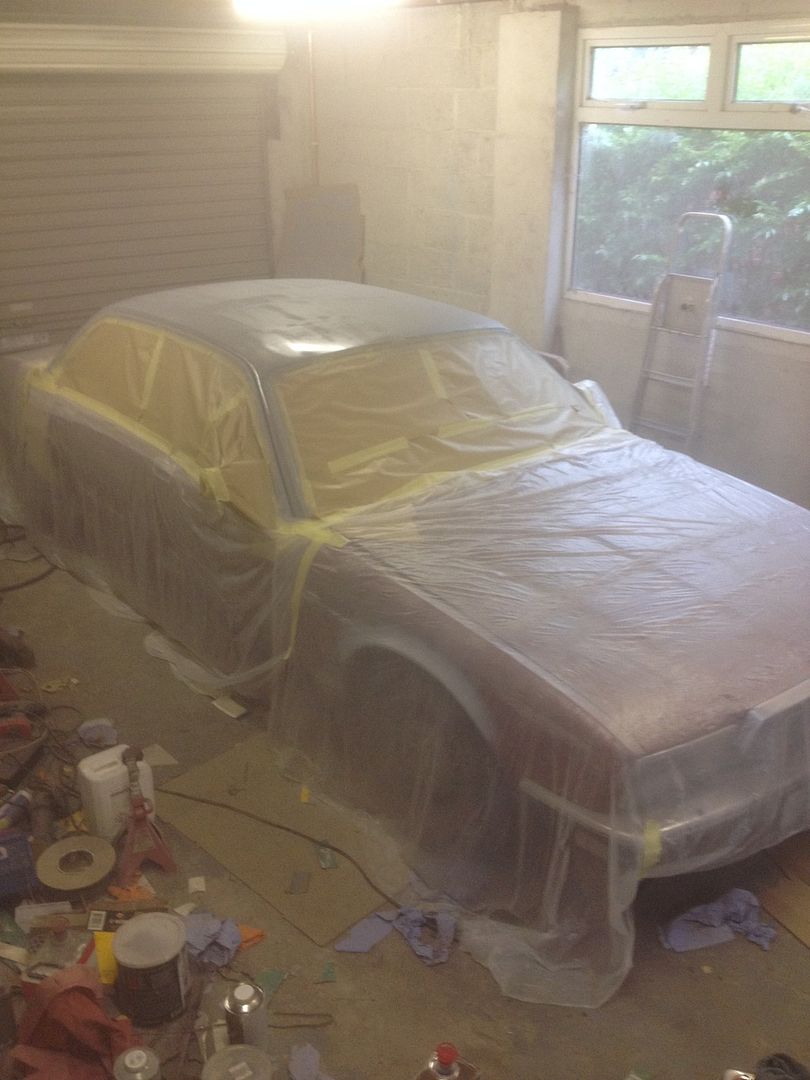
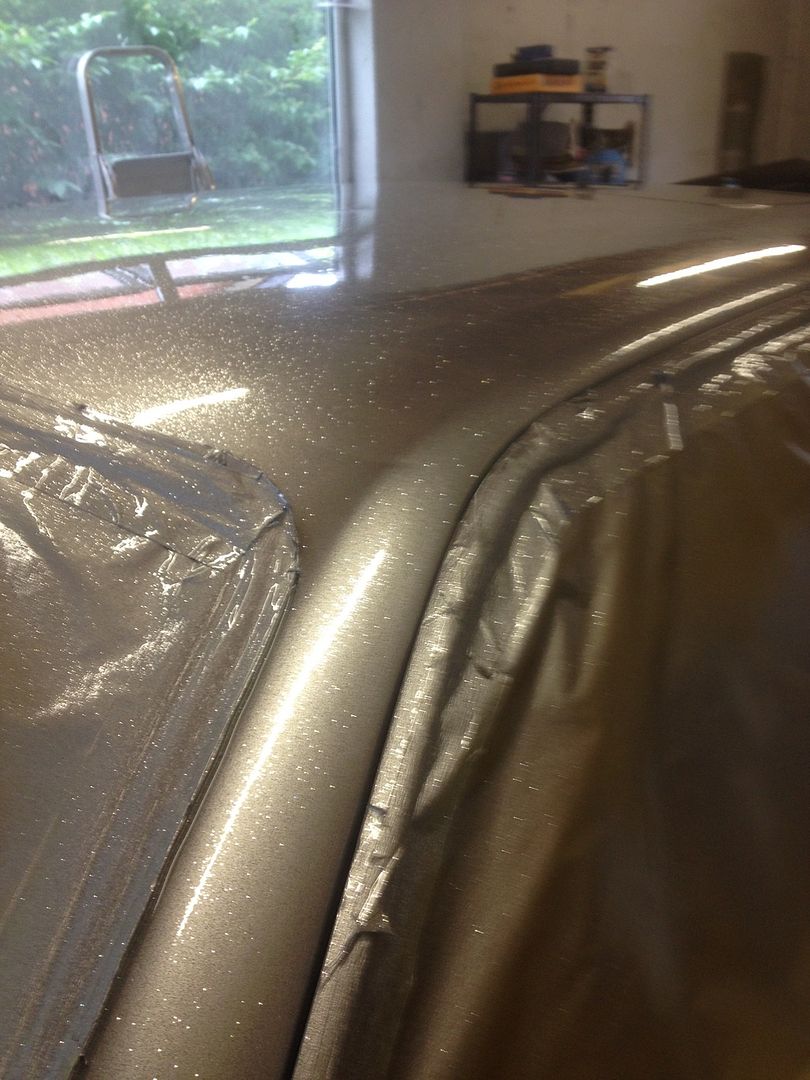
Best to paint the roof first if possible so the car was masked from the windows down, using the 'electrical wire under the rubbers' to make them easy to mask and allow the paint to continue underneath.
The basis of these paint jobs is usually a heavily flaked silver base with candy paints over the top. Sometimes subtle, other times as mad and showy off as possible.
The candy paints have a strong tint but are translucent, unlike normal paint, so the flake shines through all of the patterns giving a great effect, especially in sunlight.
Building the same candy paint up in coats gives a darker and richer shade of the same colour - very useful for adding depth to the designs.
First step then after a few coats of primer on the roof was to get some silver down.
Due to wanting to be as safe as possible i used a single pack paint for this similar to cellulose. 6 coats of metallic silver for really good coverage:
On top of this we needed to get flakey.
I got 50g of medium flake from Del at
The Custom Paint Shop very helpful guy happy to offer advice and good quality products.
You can put the flake in 2k clear but much better to use the proper flake carrier.
I got a litre from and 500ml of the appropriate thinner too.
Del advised 40g/l flake to carrier so I basically used all the flake with more or less all the thinned carrier.
Flake is really forgiving so just try to keep it even and build it up in layers.
A good tip I saw was to do the odd coat of just straight carrier in between coats of flake to really help the flake stand up.
I used a second small gun for this and it seemed to work well.
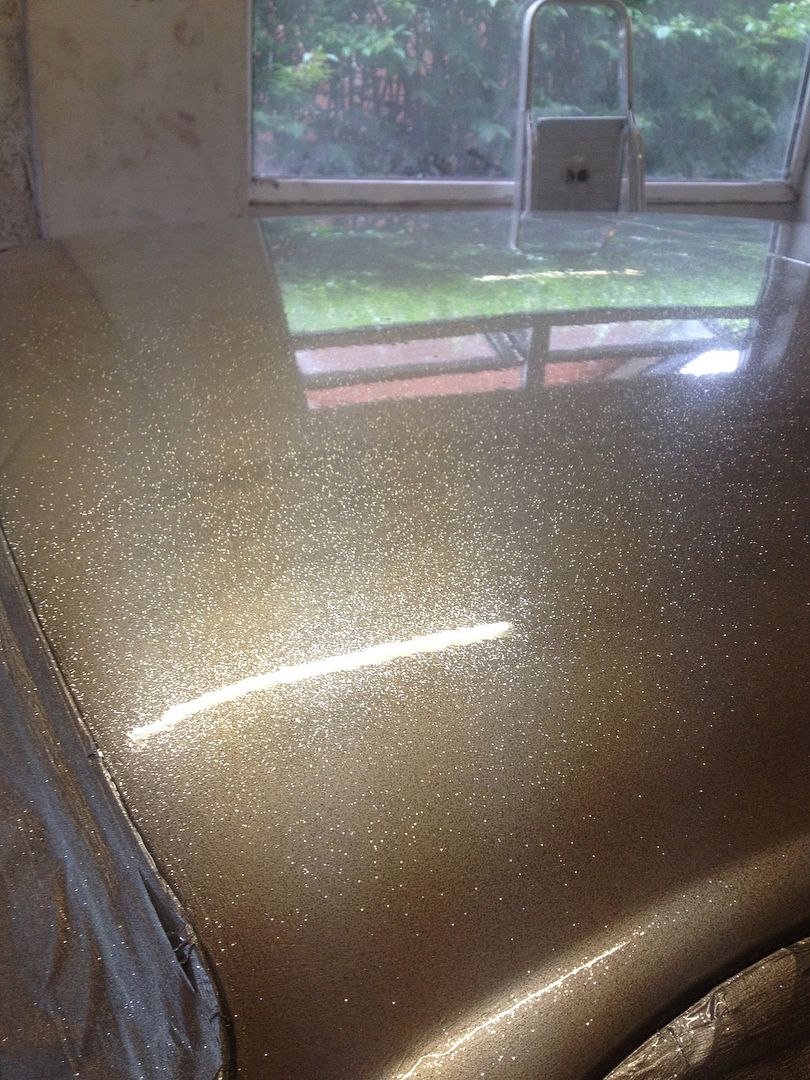
10 or so passes of flake we had a coverage I was pretty happy with:
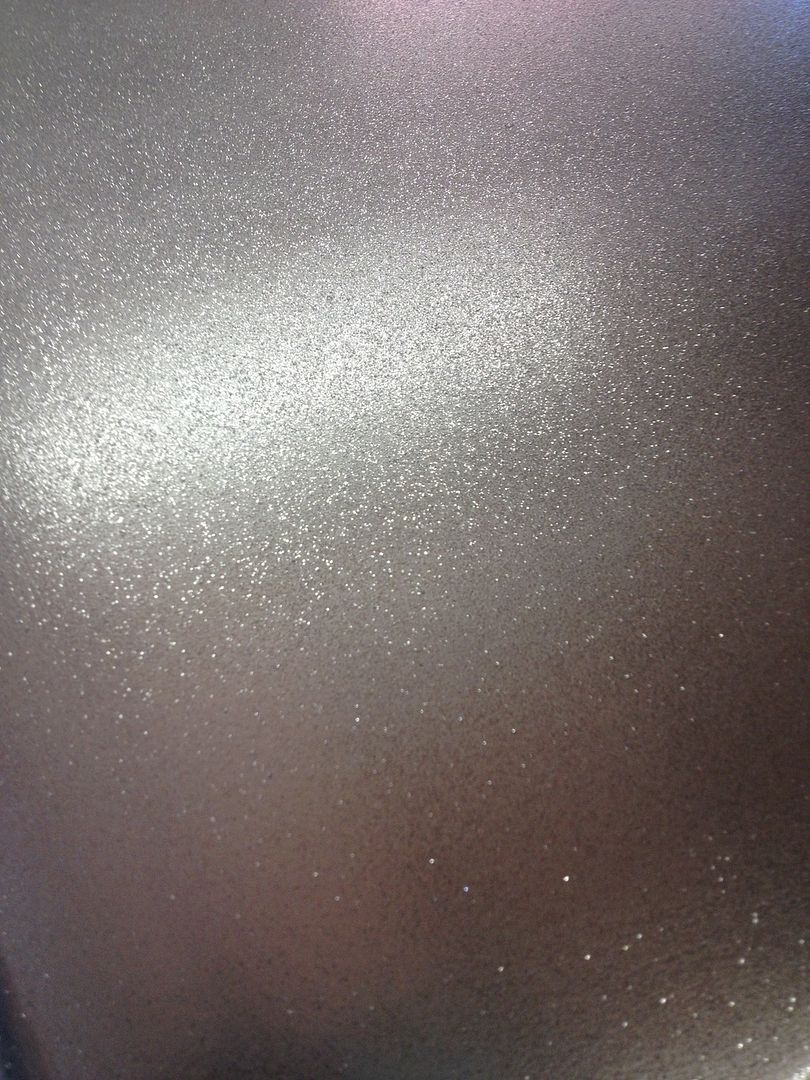
Starting to look good already.
Now, you want the flake to stand up to give depth and sparkle. The problem with this is if takes an awful lot of clear coat to bury the flake.
Ideally you would use more of the flake carrier, as an inter coat clear. As many coats as needed to cover the flakes.
My problem was I had used up all the carrier - this is my first go at this and didn't know how much to get.
A quick check with Del and he confirmed with the manufacturer that it would be ok to use 2k clear coat.
Edit: I left 3 days before shooting the clear to minimise the chance of trapping solvents from the silver and flake carrier under the 2k
I shot as many coats as I could stand in a VERY well ventilated garage and a really good 3m mask. Stopped counting around 10 coats which is madness.
I think part of my problem was using a normal speed hardener in the clear when it wasn't really warm enough - it was running a bit too much but eventually I got all but the tallest flakes buried.
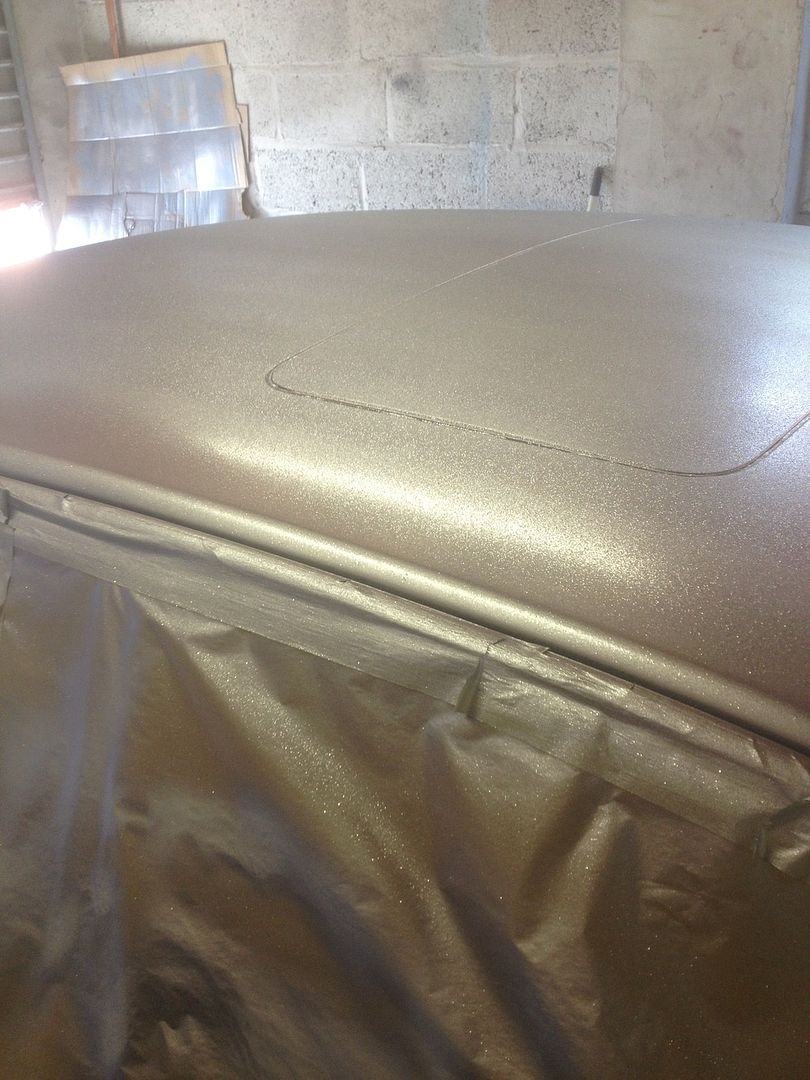
Starting to really shine now:
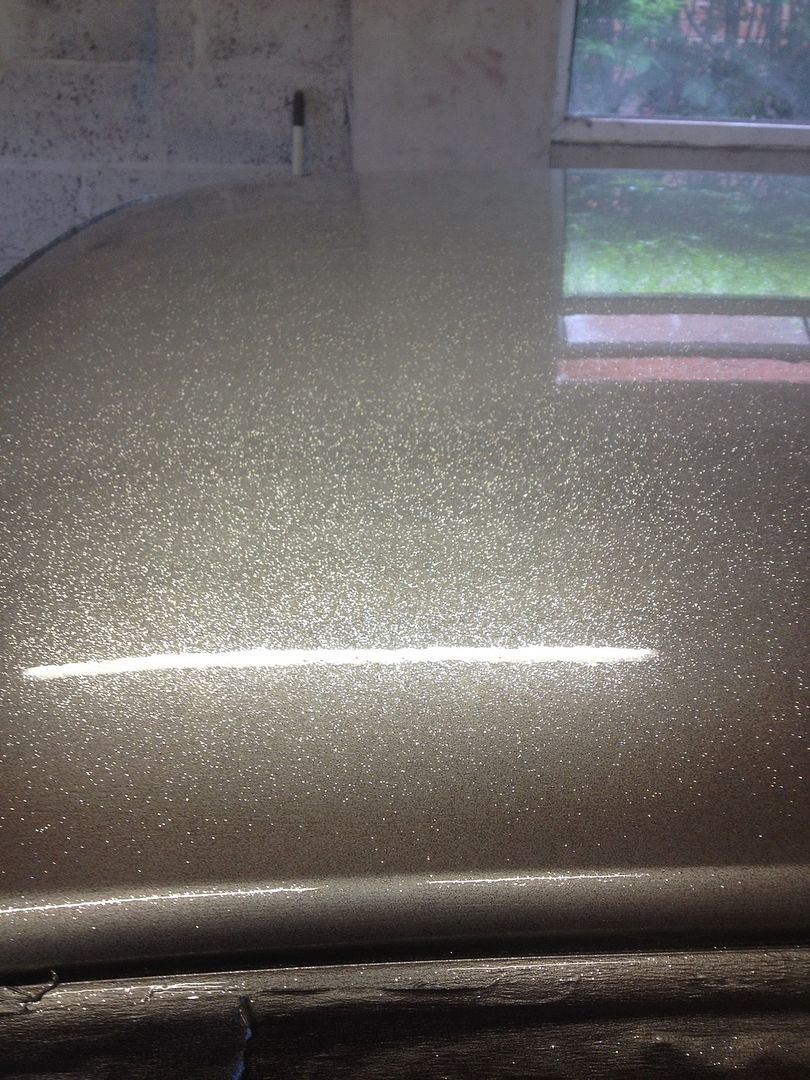
Happy with that.
Remember this is all just a base for what's to come, although I did briefly consider calling that a day with the roof! It looked good!
Next: All night fun with masking tape and Dunelm Mill...