luckygti
Posted a lot
 I need to try harder!
Posts: 4,912
|
|
Jan 29, 2013 21:20:20 GMT
|
Wait, I know what you're thinking, a Cobra bucket seat with a base, but that would be a bit easy wouldn't it?  I still have some bodywork to do on the van and I wanted to practice on something first. So, I have a couple of Cobra Monaco's in the loft, which I bought for the 205 quite a long time ago. They are very tatty and the plan was to recover them. Well, the 205 is gone and I thought I'd find another use for them so a chair for the Xbox then  Here's what I started with 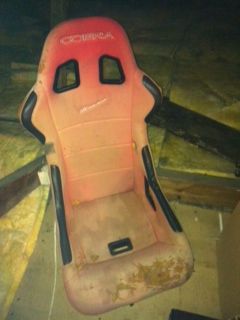 and after the cover was taken off. 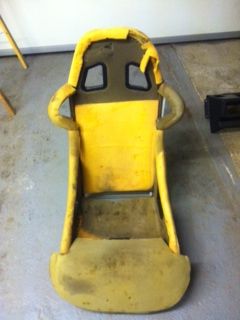 They're not particularly well put together for what they are  not to mention what they cost  Anyway, before we start, 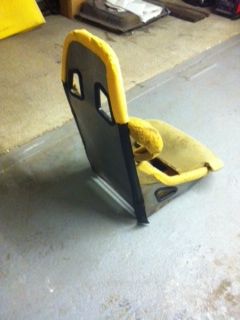  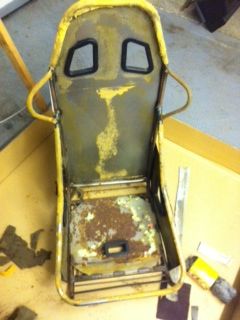 I whizzed over it quickly to get rid of the foam and glue and then cut out the side panel (because it looks sh1t!!) the plan being to fill it in with a new sheet. 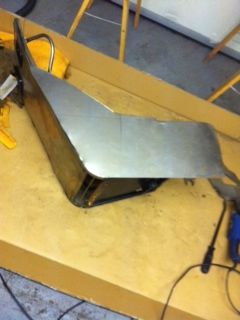 Bending it over and clamping it in place I got the hammers out and went about making the sheet fit.  Then out came the welder ;D 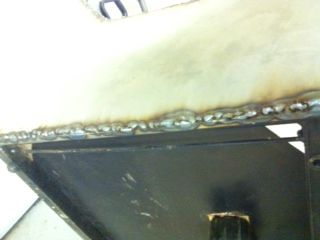 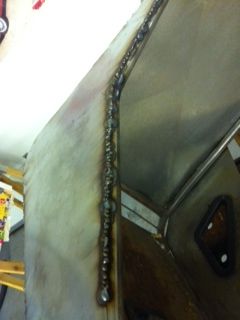 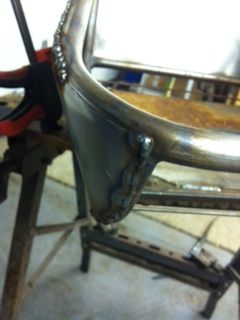 All zipped up, I attacked it with the grinder and flap wheel.  I'm pretty happy with the progress so far, more of the same tomorrow |
| |
Last Edit: Feb 13, 2013 14:16:44 GMT by luckygti
|
|
|
|
luckygti
Posted a lot
I need to try harder!
Posts: 4,912
|
|
Jan 31, 2013 22:24:00 GMT
|
So, spent a few more hours in the garage over the last couple of days, doing, well more of the same  Time to do the other side, so found a suitable piece of steel (I had bought a full height rear wheelarch for the van and ended up using just a small 8 inch square for the sill, so it seemed silly not to use it ) 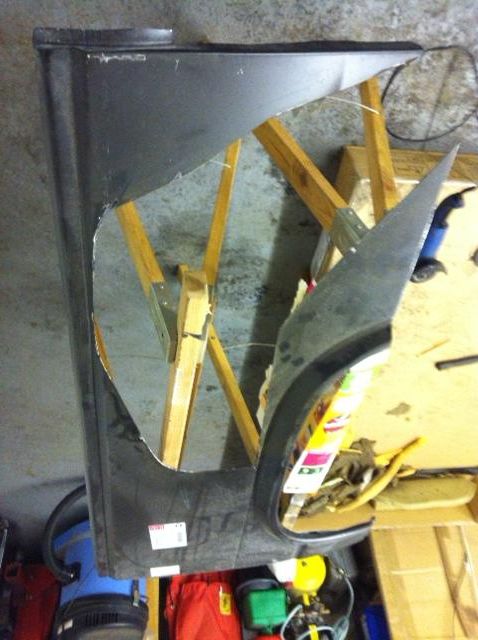 Tidy up, 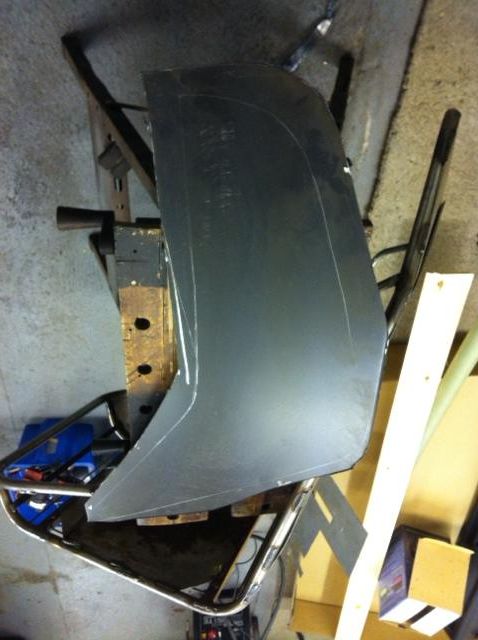 and shape 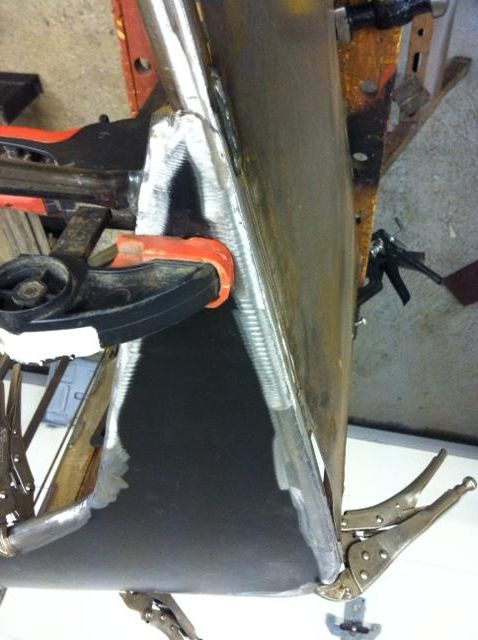 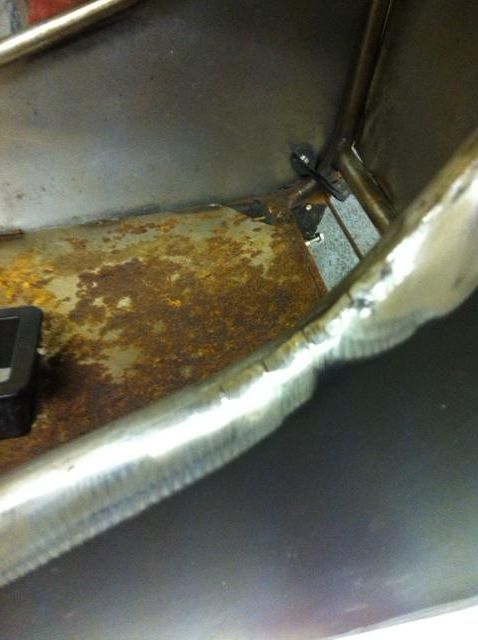 Weld, and clean up with the grinder. No pics, but it's like the other side Then I wanted to tidy up the front, started off with an old VW seatbase, which I chopped up, fiddled with and then put it in the scrap pile. 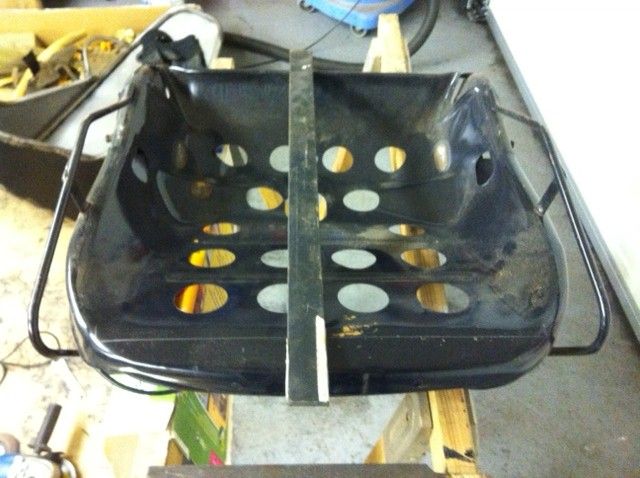 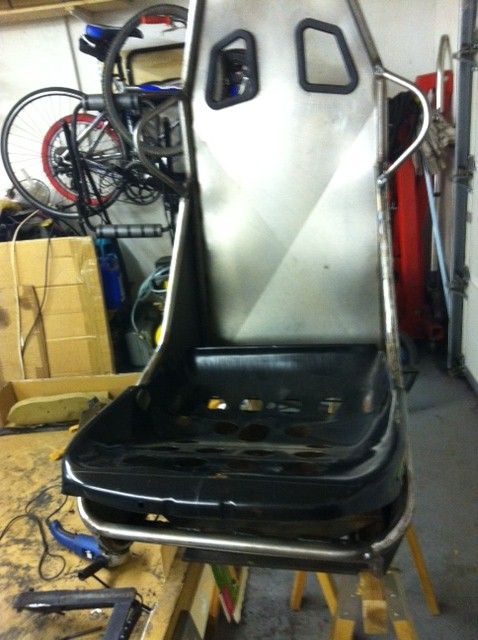 I didn't like it  That was yesterday, today, I started on the closing panel for the front. First fit, 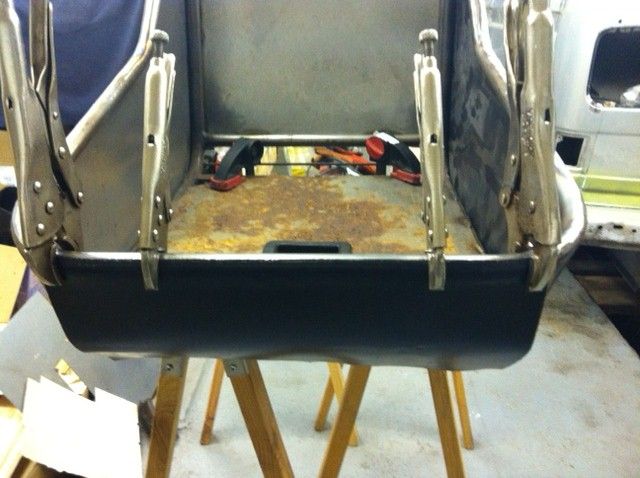 Then, I had to figure out how to make it 'fit' underneath. Into the Tonybmw folder, 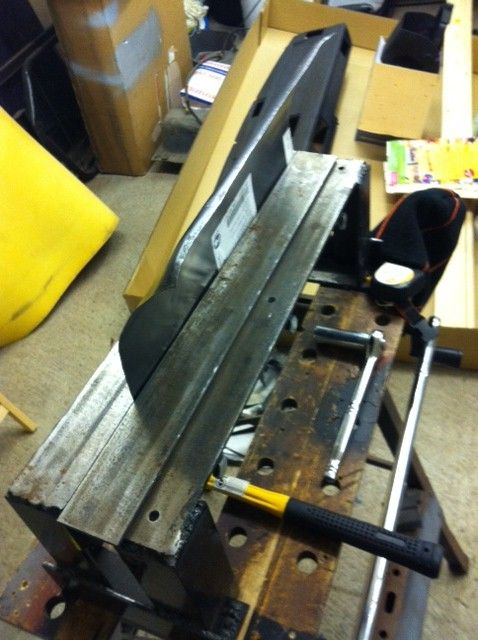 Then buzzed that in. slight miscalculation, so a bit more bending, clamping and then some welding..... 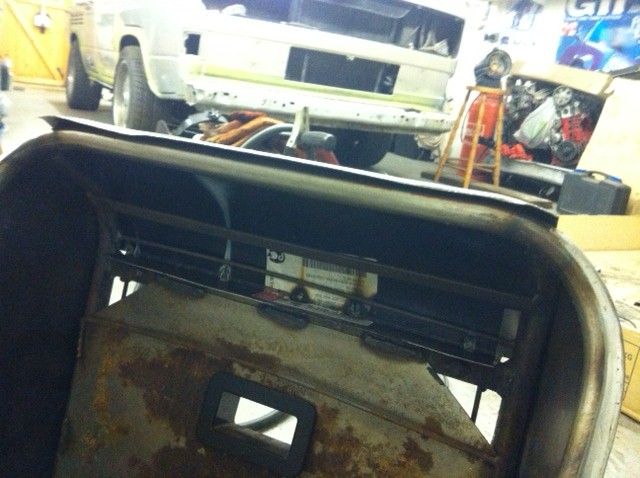 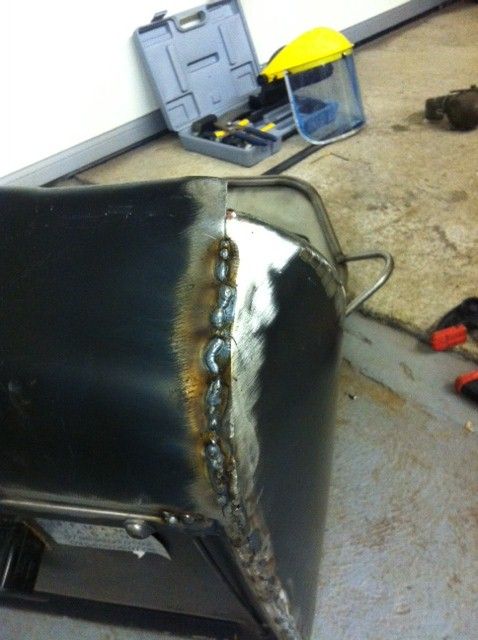 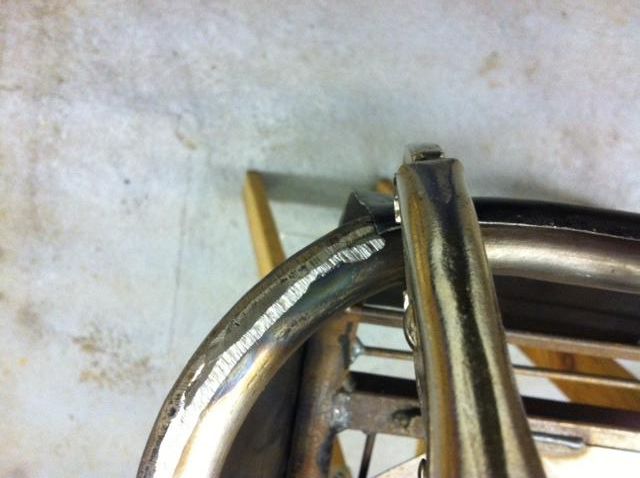 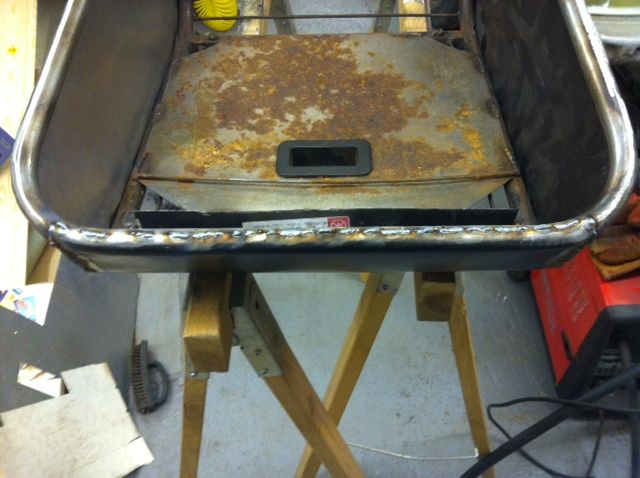 Think my welding is improving 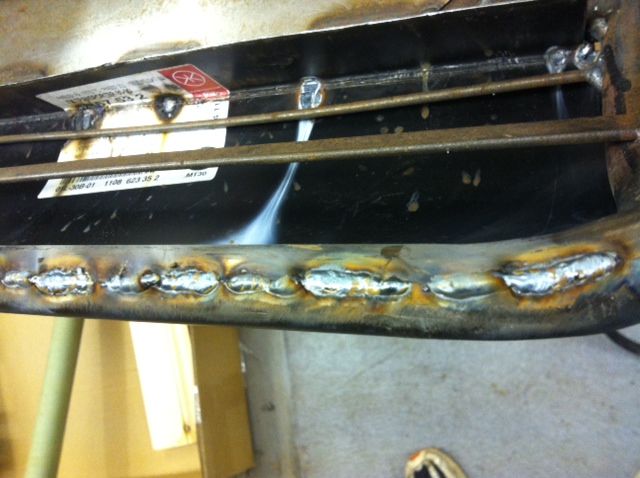 Give it a whizz with the grinder 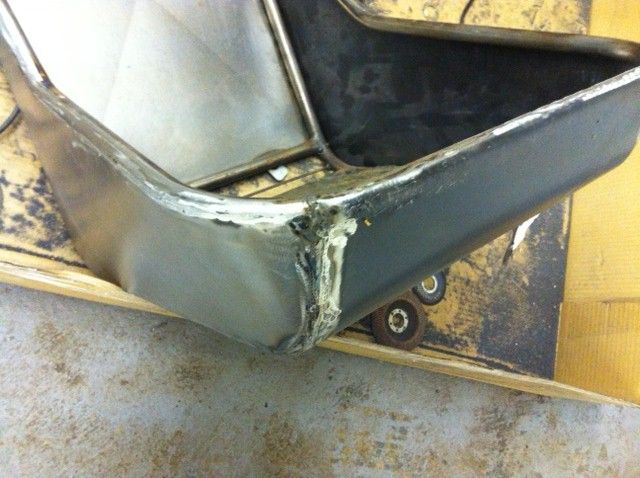 And the flapwheel 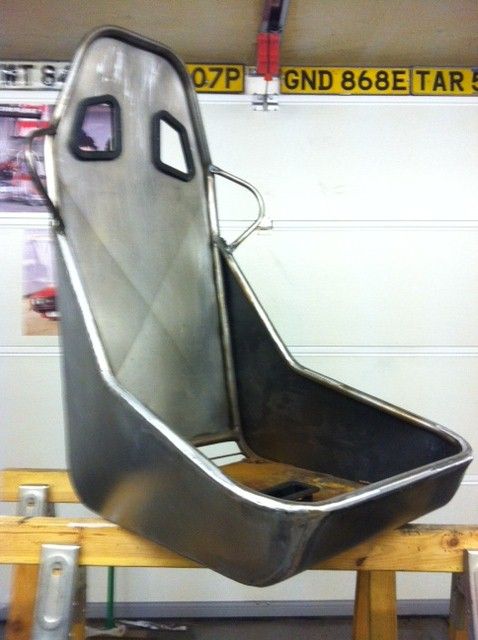 Tomorrow, it'll get some filler and a coat of paint, the plan being to get it as smooth as possible and lay on some paint from my spraygun. More practice for the van I'm very happy with it so far ;D 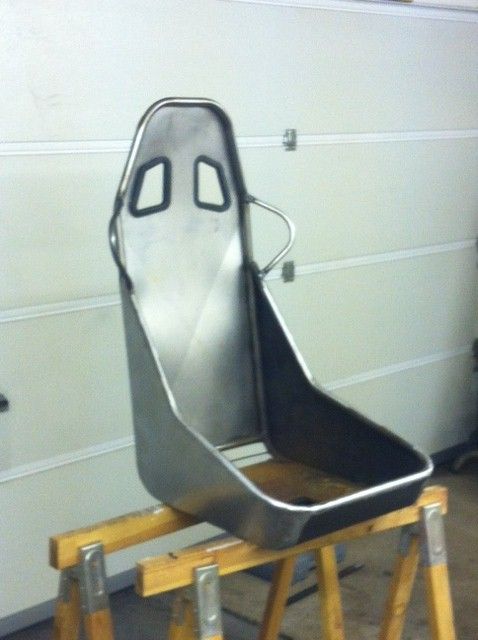 |
| |
|
|
bmw156
Part of things
Posts: 796
|
|
Jan 31, 2013 23:28:03 GMT
|
|
Looks great
|
| |
|
|
|
|
|
Jan 31, 2013 23:36:23 GMT
|
AGREED. Looking forward to seeing where this goes... |
| |
|
|
|
|
|
Jan 31, 2013 23:58:30 GMT
|
|
looks good so far !! i like
|
| |
|
|
stealthstylz
Club Retro Rides Member
Posts: 14,840
Club RR Member Number: 174
|
|
|
|
|
Looks similar to what I was planning to do with the spare Cobra seat I have in the garage, but for car use. They are really shoddily put together aren't they.
|
| |
|
|
|
|
|
|
|
|
That's going to look superb
|
| |
|
|
luckygti
Posted a lot
I need to try harder!
Posts: 4,912
|
|
|
|
Thanks guys, off into the garage to start on the filler in a bit, need to fire the heater up first! Looks similar to what I was planning to do with the spare Cobra seat I have in the garage, but for car use. They are really shoddily put together aren't they. Yep, couldn't believe how curse word they were underneath. And yep, after Bruce's comment I started to think 'I wonder what it would look like in the van.......' |
| |
|
|
luckygti
Posted a lot
I need to try harder!
Posts: 4,912
|
|
|
|
Day 4. Heated the garage up, got the DA out and gave the seat a whizz over. Then onto filler. Now, my filler work needs, er, work, so more practice for me. Got the first lot on, trying to minimise the amunt I'll need to take off by making it as smooth as possibe. Gave it some time to dry and then start sanding. Turns out that the DA is curse word  so switched to the Black and Decker sander (which is spot on) Panel wipe and the first coat of primer 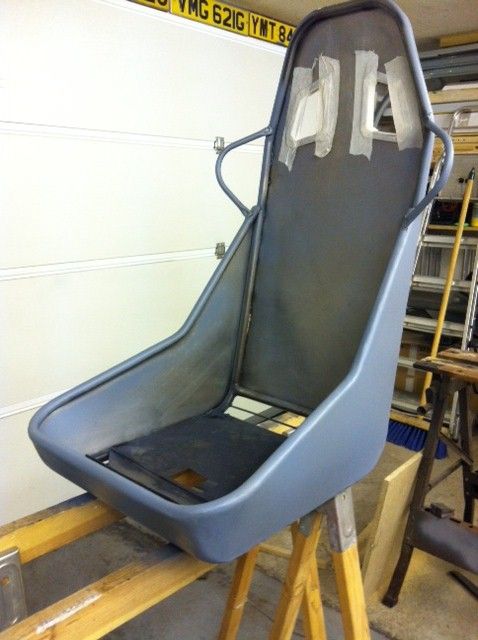 This is after the first round of filler and paint. 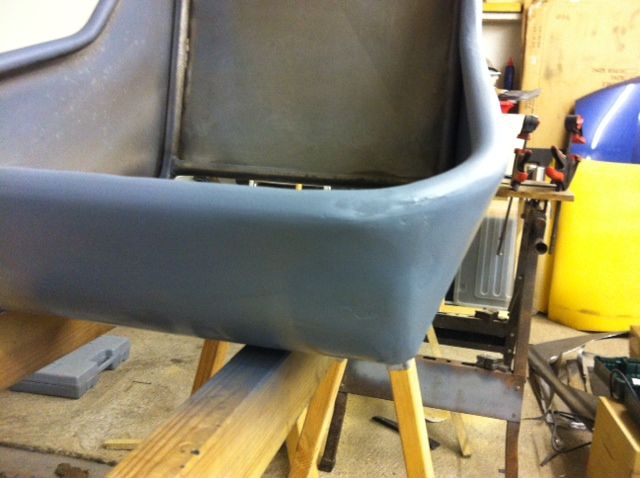 Guess there'll be a lot more of this now!! 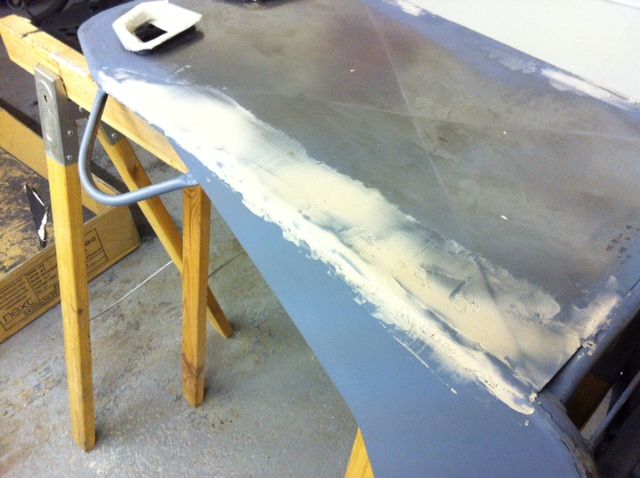 |
| |
|
|
luckygti
Posted a lot
I need to try harder!
Posts: 4,912
|
|
|
|
Well, had the weekend away so back on this today. I want to get a coat of paint on so more filler Then it was onto making a template for the seat cushion. I used a Mercedes SLS brochure (had the chance to drive one What a machine!!) Anyway, it's good thick paper, so perfect for what I need. Back first 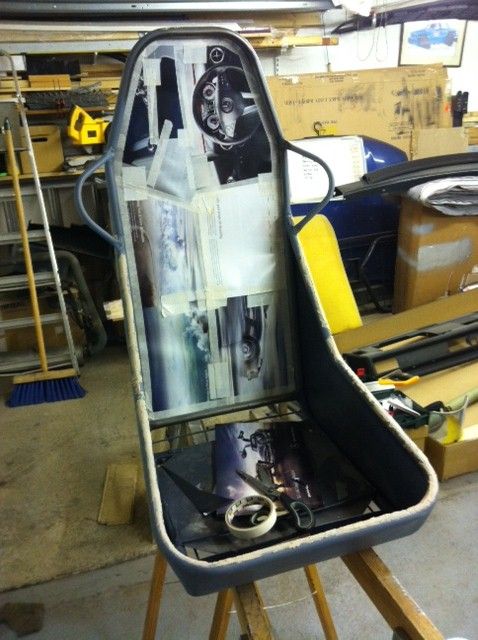 Then transfer it to the foam. I had a king size mattress topper from my Mum (from Ikea) which seems to be the right thickness, and easy to cut with scissors and a stanley blade. 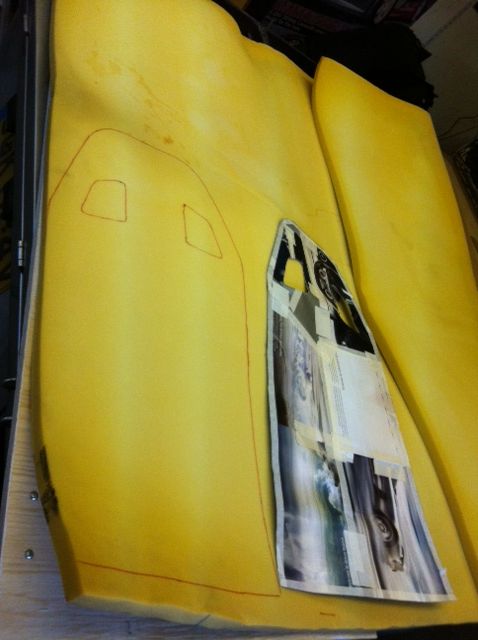 That'll do for now. 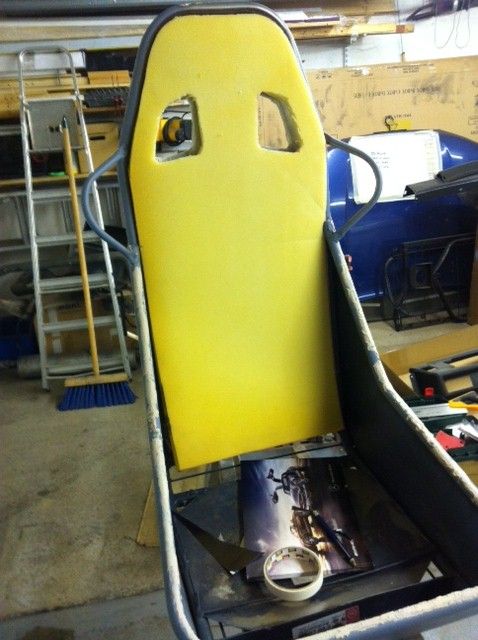 Then it was onto the base. Same method, but using 3 templates to get the height and different sizes. 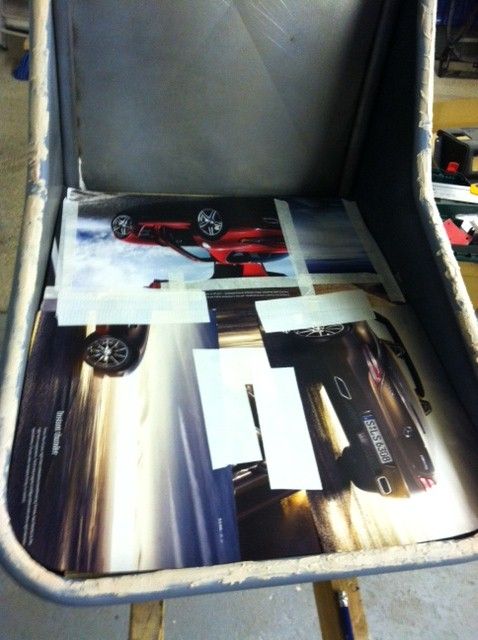 and a trial fit, 3 layers for the base, and one for the back. 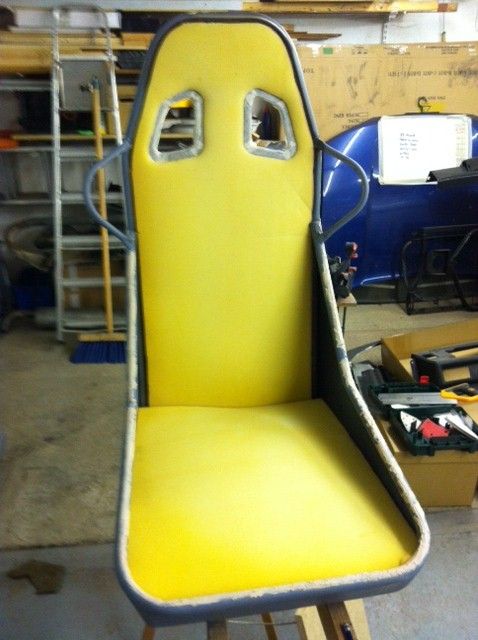 Then I had a think about the base. The TV in the 'boys' room (we don't have kids, think, Xbox, old records and record player and escape from SWMBO and you'll get the idea;) ) is set quite high up on a shelf so to make sure the chair base doesn't damage the floor I had to think of a way to have a base that could 'rock' backwards. I knew these bends from an old weights bench would be useful 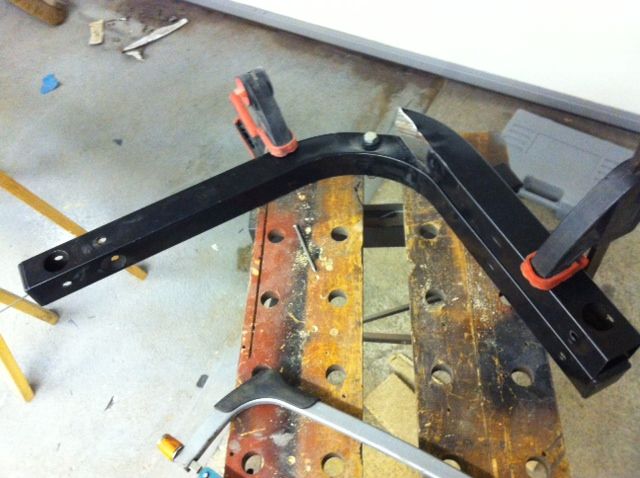 First effort was too short 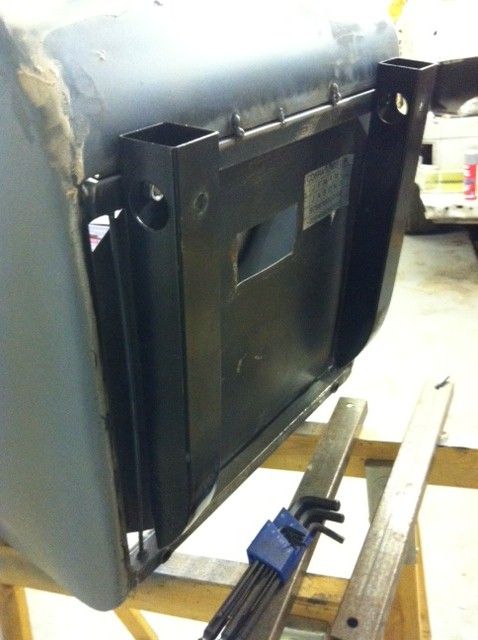 Second attempt was much better and means the seat will now sit flat without any weight in it.  Final sand, and a thick coat of primer. 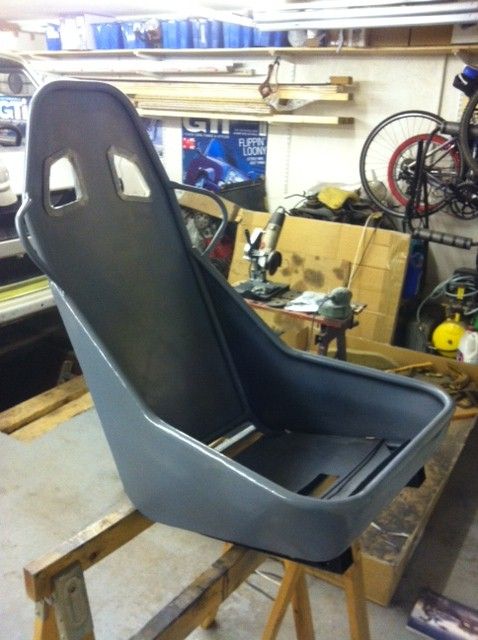 It's still not perfect, but I will be starting a new job soon and my time in the garage will be a bit limited and I NEED to crack on with the van!! So, it's drying, I'm having some tea, and it'll get a coat of paint in a minute....... |
| |
|
|
|
|
luckygti
Posted a lot
I need to try harder!
Posts: 4,912
|
|
|
|
Paint ;D 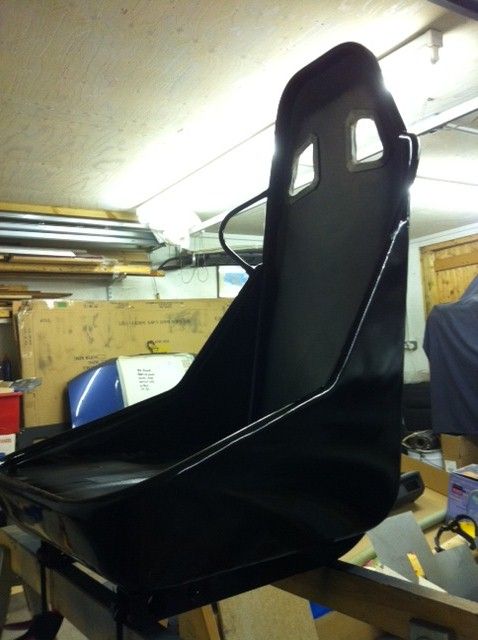 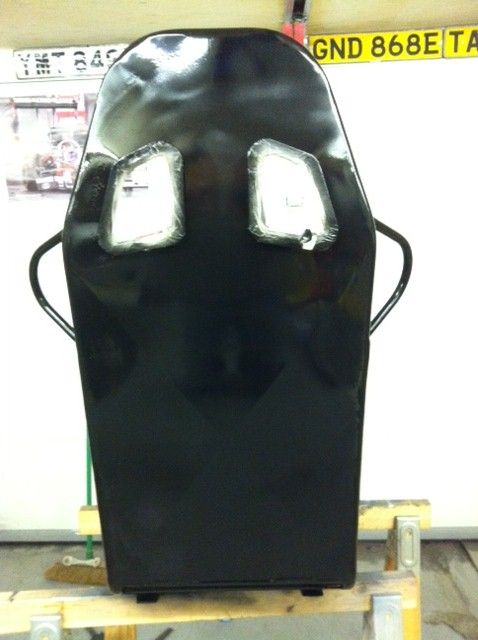 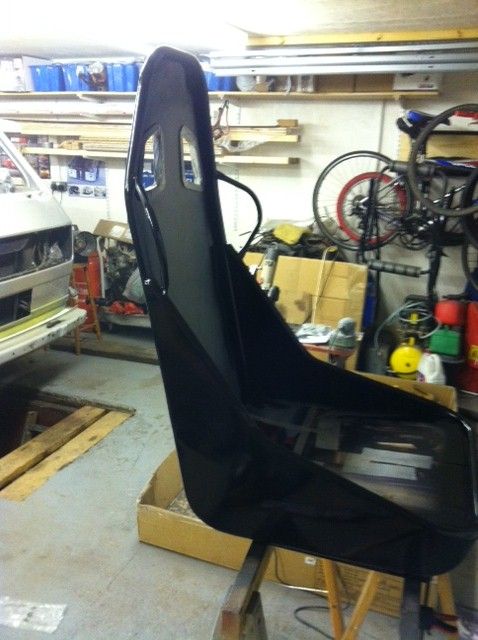 Used a can of gloss black from the pound shop, which didn't last that long, but did actually flow on quite well, and a second coat of Halfrauds gloss black. I wanted to try to spray with my gun, but I can't find it Drying now and away now for a few days, so it'll get a wet sand when I'm back. Pretty pleased with it so far though, seat covers next!! |
| |
|
|
|
|
|
Feb 10, 2013 11:39:41 GMT
|
Looks good mate could you not have used a cut down computer chair base with the wheels so you can still move it about?  |
| |
Nobody dies a virgin, because lifes curse word us ALL
|
|
luckygti
Posted a lot
I need to try harder!
Posts: 4,912
|
|
Feb 13, 2013 14:15:00 GMT
|
Ha, did think about it but I already have a bucket seat computer chair, and I didn't really need this to be moving around too much! (Especially the way I play my Xbox ) Anyway, I tackled the covers this morning. I had some old grey alcantara/suede type material that we had used as a blind at some stage. The plan was actually to use it as the headlining for the van...... But I only remembered that when I'd already started It all started off quite well, this is the first time I've tried any kind of upholstery after all, but I soon realised that I had made it a bit small...... A quick change of direction though, and using what had started as the back as the seat base, and we end up with this. 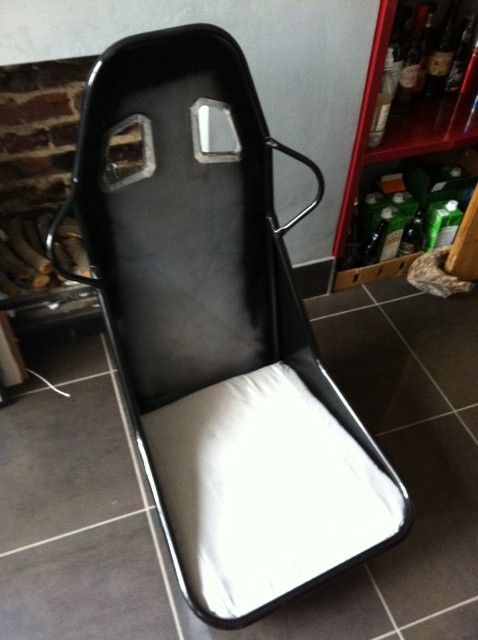 Then onto the back. The foam was only about an inch thick so instead of trying to make the edges I have just wrapped it round the back and then fixed it in place. Cutting the material for the harness holes was a bit worrying, but managed it ok, and fixed it all in place. It's not perfect, but for a first effort I'm pretty happy with it. 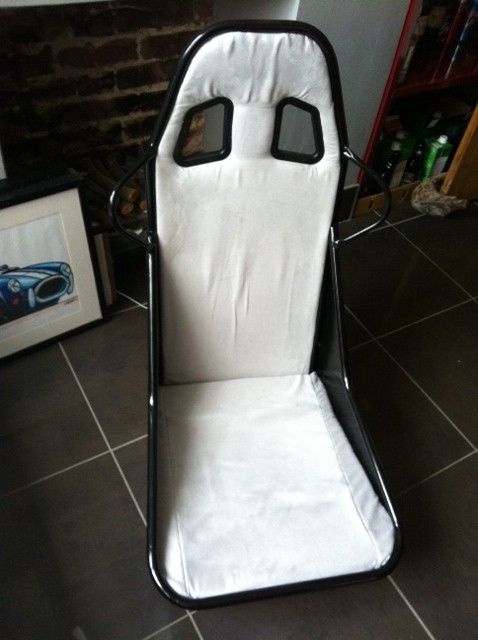 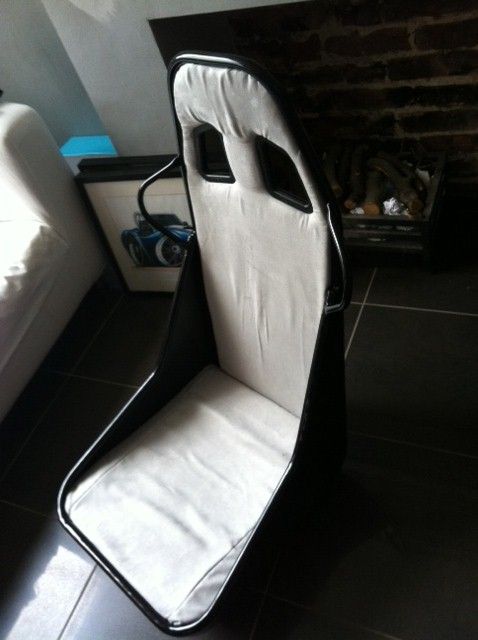 and then in it's place under the TV ;D  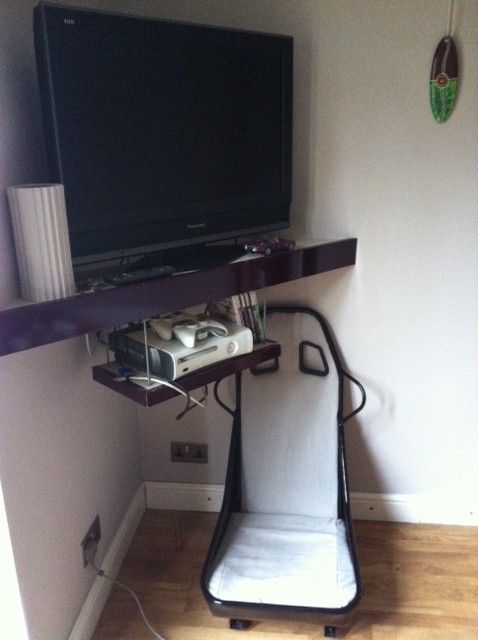 I'll get a pic of me sitting in it when Denise gets back. I'll give it a test run this evening. Pete |
| |
|
|
bmw156
Part of things
Posts: 796
|
|
Feb 13, 2013 14:53:53 GMT
|
|
Very well done sir. I likeeee
|
| |
|
|
luckygti
Posted a lot
I need to try harder!
Posts: 4,912
|
|
Feb 13, 2013 20:12:54 GMT
|
Very well done sir. I likeeee Cheers dude, was going to try it out this evening, but I appear to be half way through dropping the engine on the van..... Just stopped for tea |
| |
|
|


 I still have some bodywork to do on the van and I wanted to practice on something first.
 not to mention what they cost


 [*]
[*] [*]
[*]


 so switched to the Black and Decker sander (which is spot on) Panel wipe and the first coat of primer