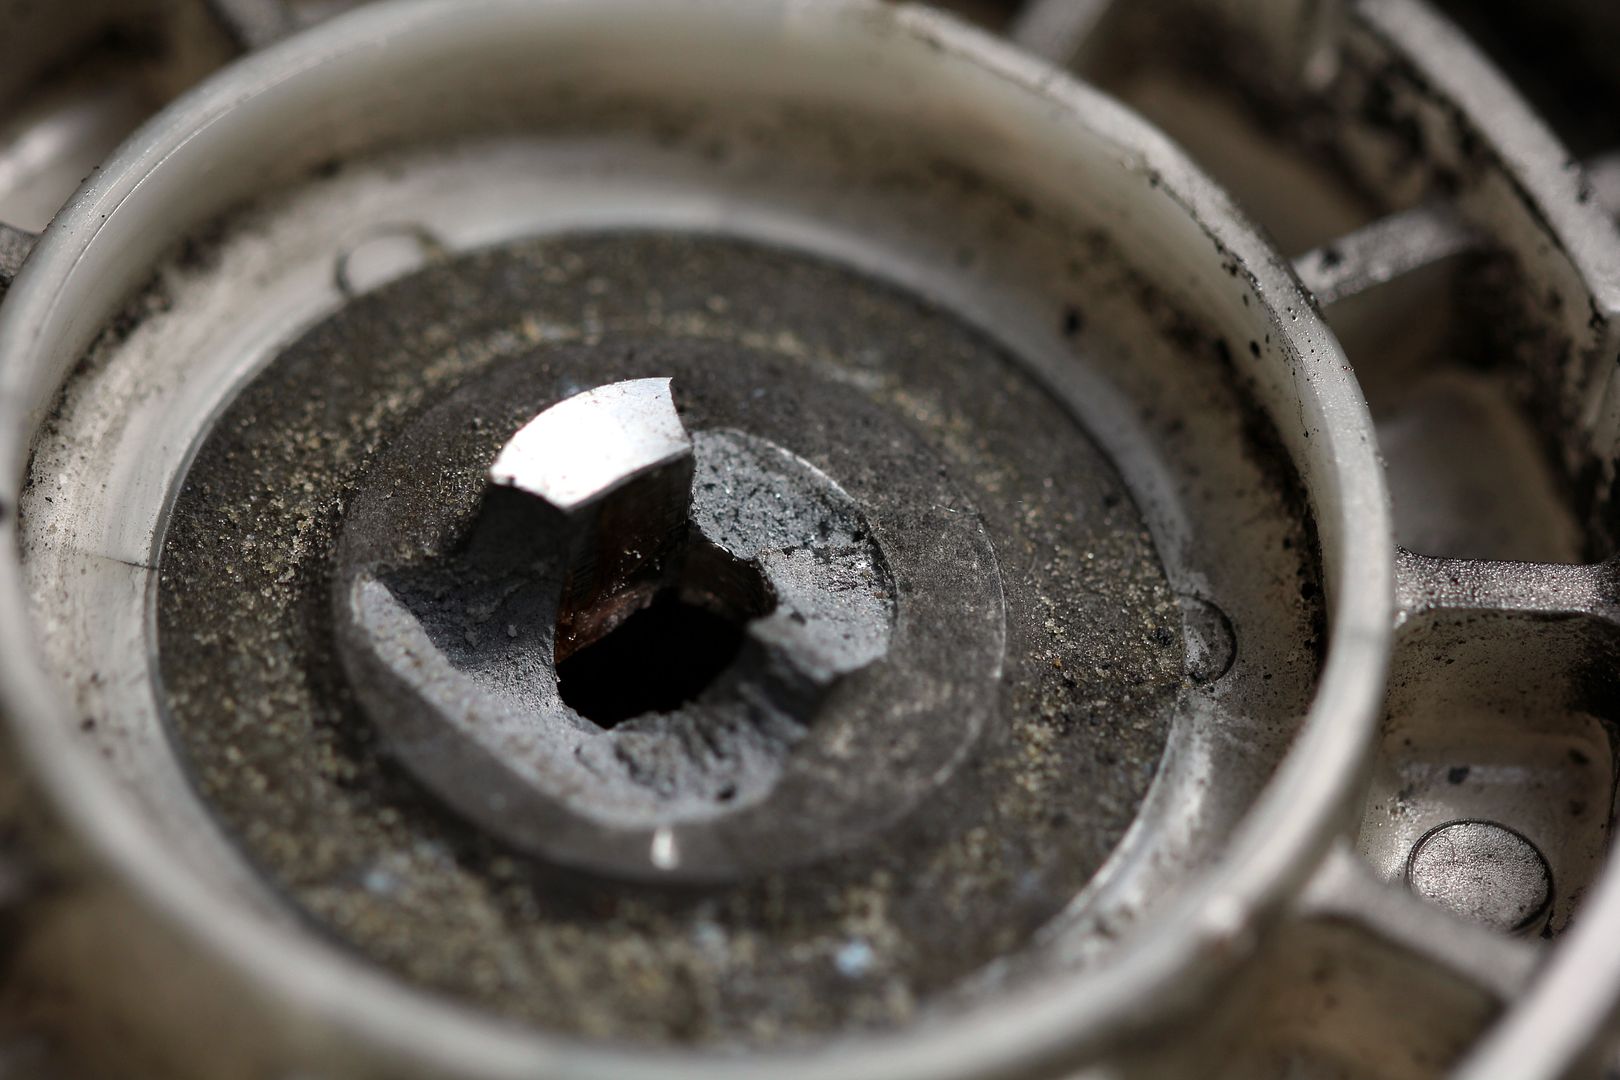
Well, following the accident to my FB the poor old FD has been doing sterling service as daily driver and parts getter. However, she's been needing some love for a while now with niggling things needing attention, and I had every intention of giving her some. Before I had a chance however, she threw me a bit of a curve ball. I was just pottering along... in fact, collecting the li'l un from his Beavers walk up on the Downs when I noticed that there didn't seem to be any boost. In fact, the turbo wasn't spinning at all. And that's a Bad Thing. In fact, I thought that if the turbo had lunched itself, I was in deep bother because there was no way I could muster 1200 quid or whatever to replace it. As it turned out, it was a bizarre but at least relatively cheap and easy fix. The problem was this;
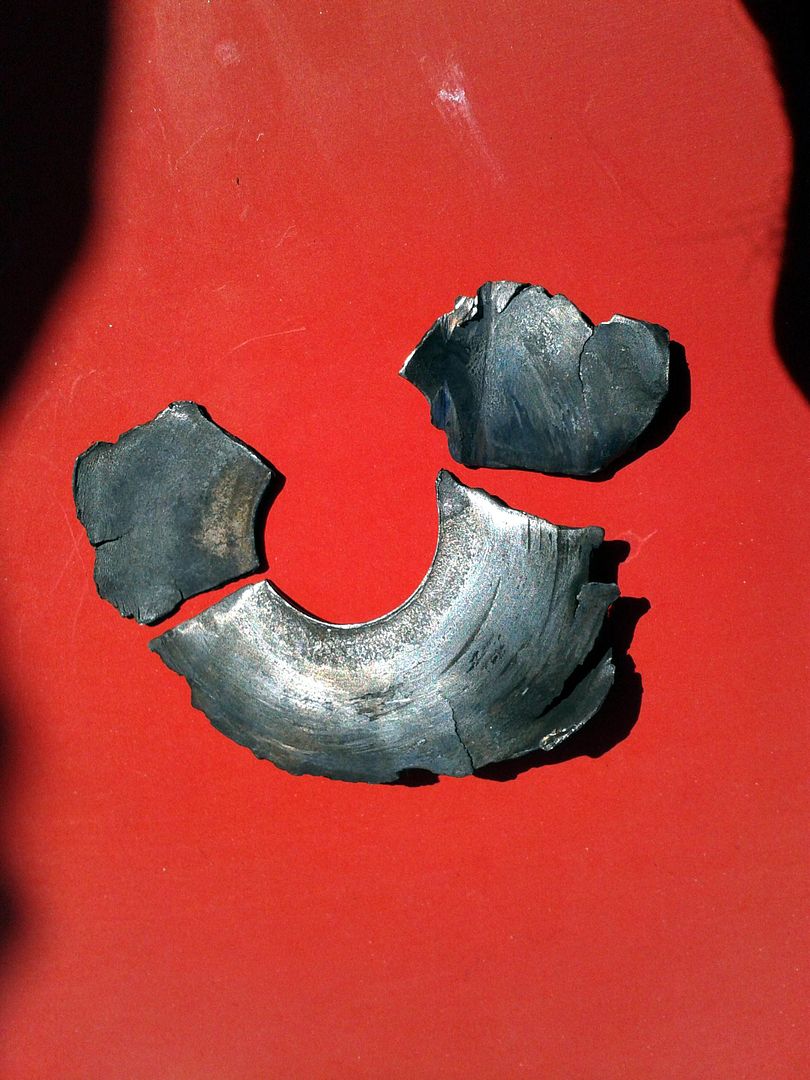
which even if you don't actually know what it is or where it should go, you can easily recognise that it didn't ought to look like that!

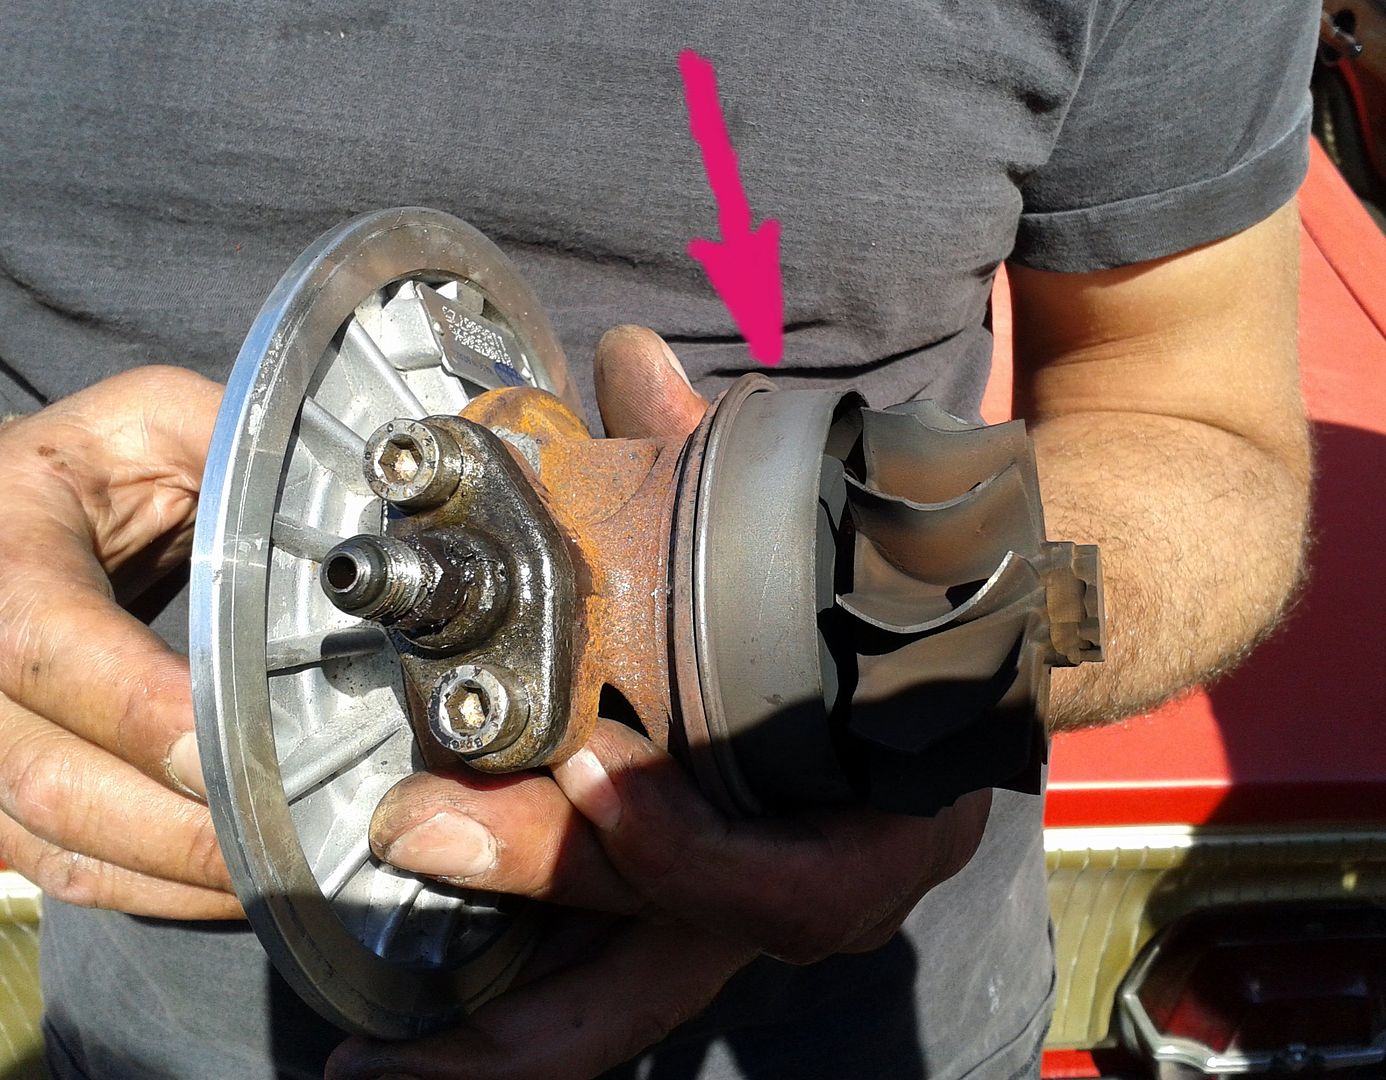
In actual fact, it used to be the working face of the turbo hotside heatshield, which is essentially an enormous cup washer that protects the core from exhaust heat and acts as a gas shroud to prevent blow-by. Somehow it had worn through, detached itself or whatever and got chewed up and wedged into the turbine wheel, jamming the whole thing up! It should actually be part of the bit arrowed here, between that and the wheel
Fortunately, Garrett parts fit this turbo and probably are slightly more robust, so we were back int he game again. Briefly...
...So I may be slack, but that doesn't mean I've been idle, lol. The FD's been a bit neglected the last year or two whilst the FB has been centre stage but since that's
still waiting on body repairs (

) it seemed the perfect time to get some stuff done on ol' Ruby. Besides the necessary (i.e. the turbo eating it's heatshield and jamming up) there were some long-standing niggles that needed sorting.
First was the oil leaks... which seem to be the one continuous feature of this car. Don't think I've ever not had some kind of bloody oil leak with her. Anyway, this time it was a relatively simple fix. The injectors for the OMP lines have a pressure relief one-way on their back so if they get clogged they vent the oil out. Mine had got so bad it was all down the engine, along the bottom and half-way to the back of the car and there was a significant puddle of oil every time it was parked up. New injectors and hurrah... fixed.
Next up was the new gauges. My dash used to look like this;
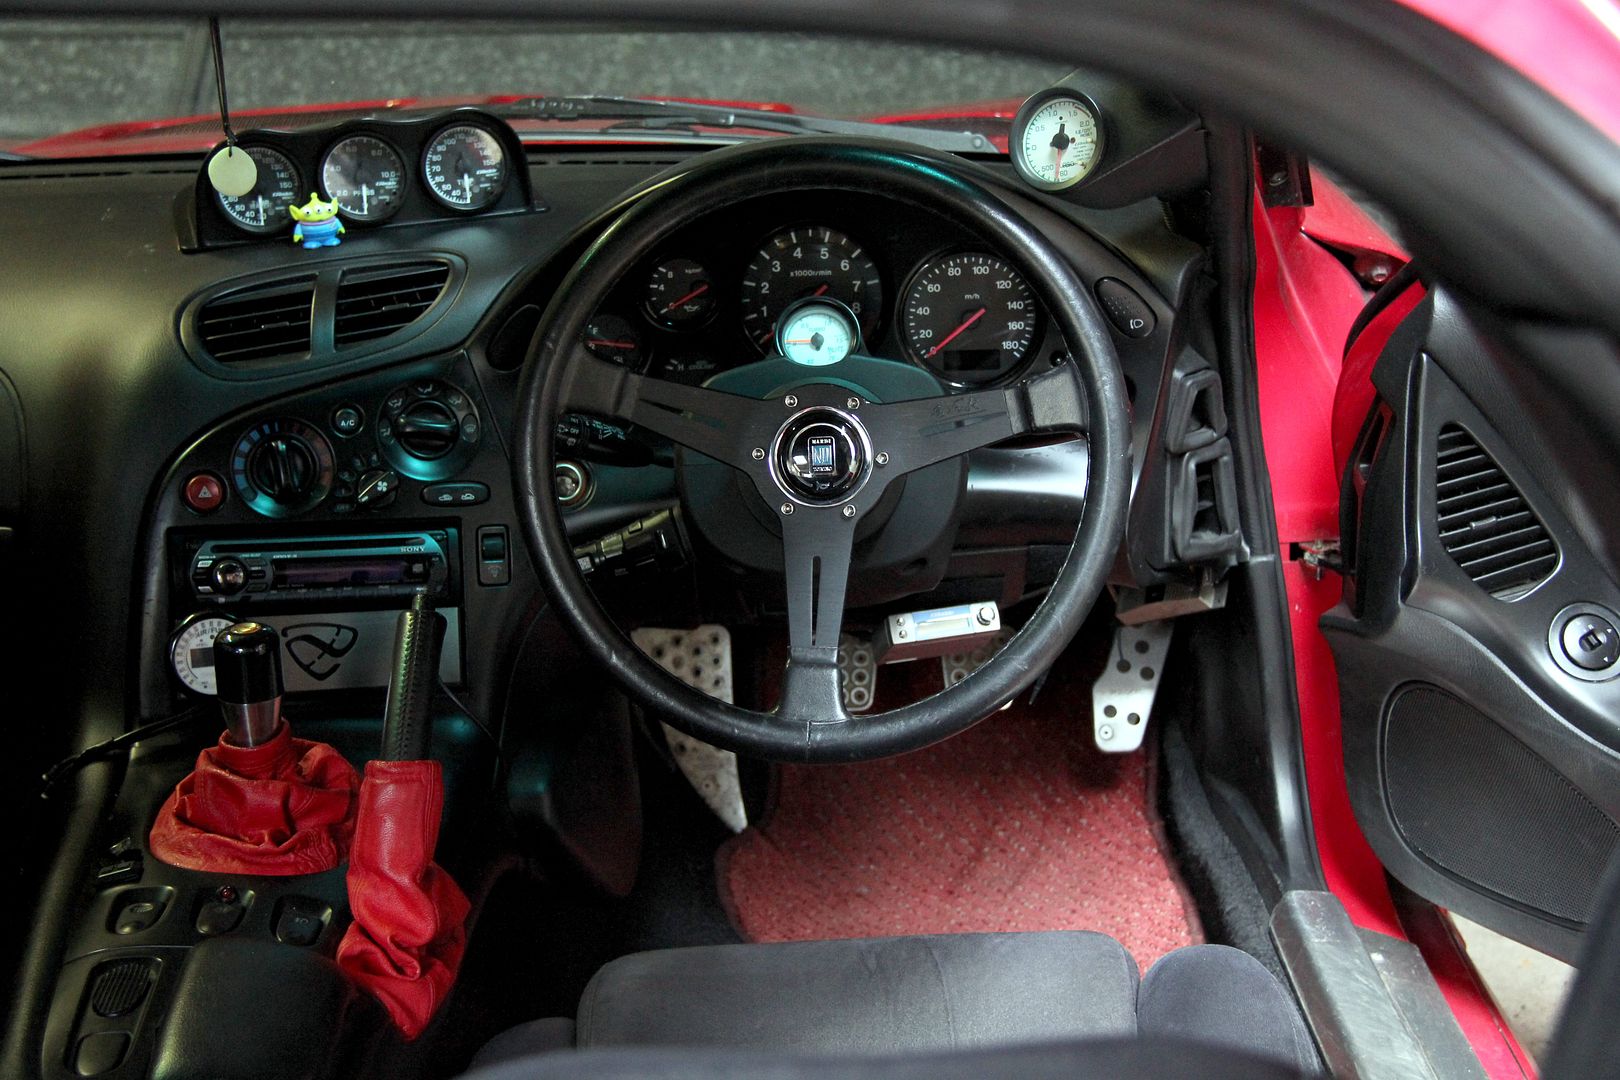
and much as I love the clearness and un-fussy simplicity of the GReddy gauges, I really hated their fragility and the fact you also have to find loads of room for the control boxes. Mine were all cable-tied under the nooks and crannies of the dash, and would every so often come loose and dangle in the pedals :eek: Add to the fact my water temp gauge hasn't managed to get above 40º for a couple of years so I've no idea what temperature the engine's at. And the boost gauge had a dodgy wire which meant every so often it'd stop working altogether until you could get under the dash and wiggle it back into life... which meant I'd never been able to get rid of the mechanical one on the steering column mount. And that in itself was annoying because it meant there was still a blue silicone vacc line in the engine bay that was a hangover from my previous Rex and it annoyed me every time I opened the bonnet.
So, when you factor in the fact that you have to trust gauges implicitly and if they don't work even 1% of the time then they might as well not work 100% of the time, I bit the bullet and splurged on some new and righteous stuff
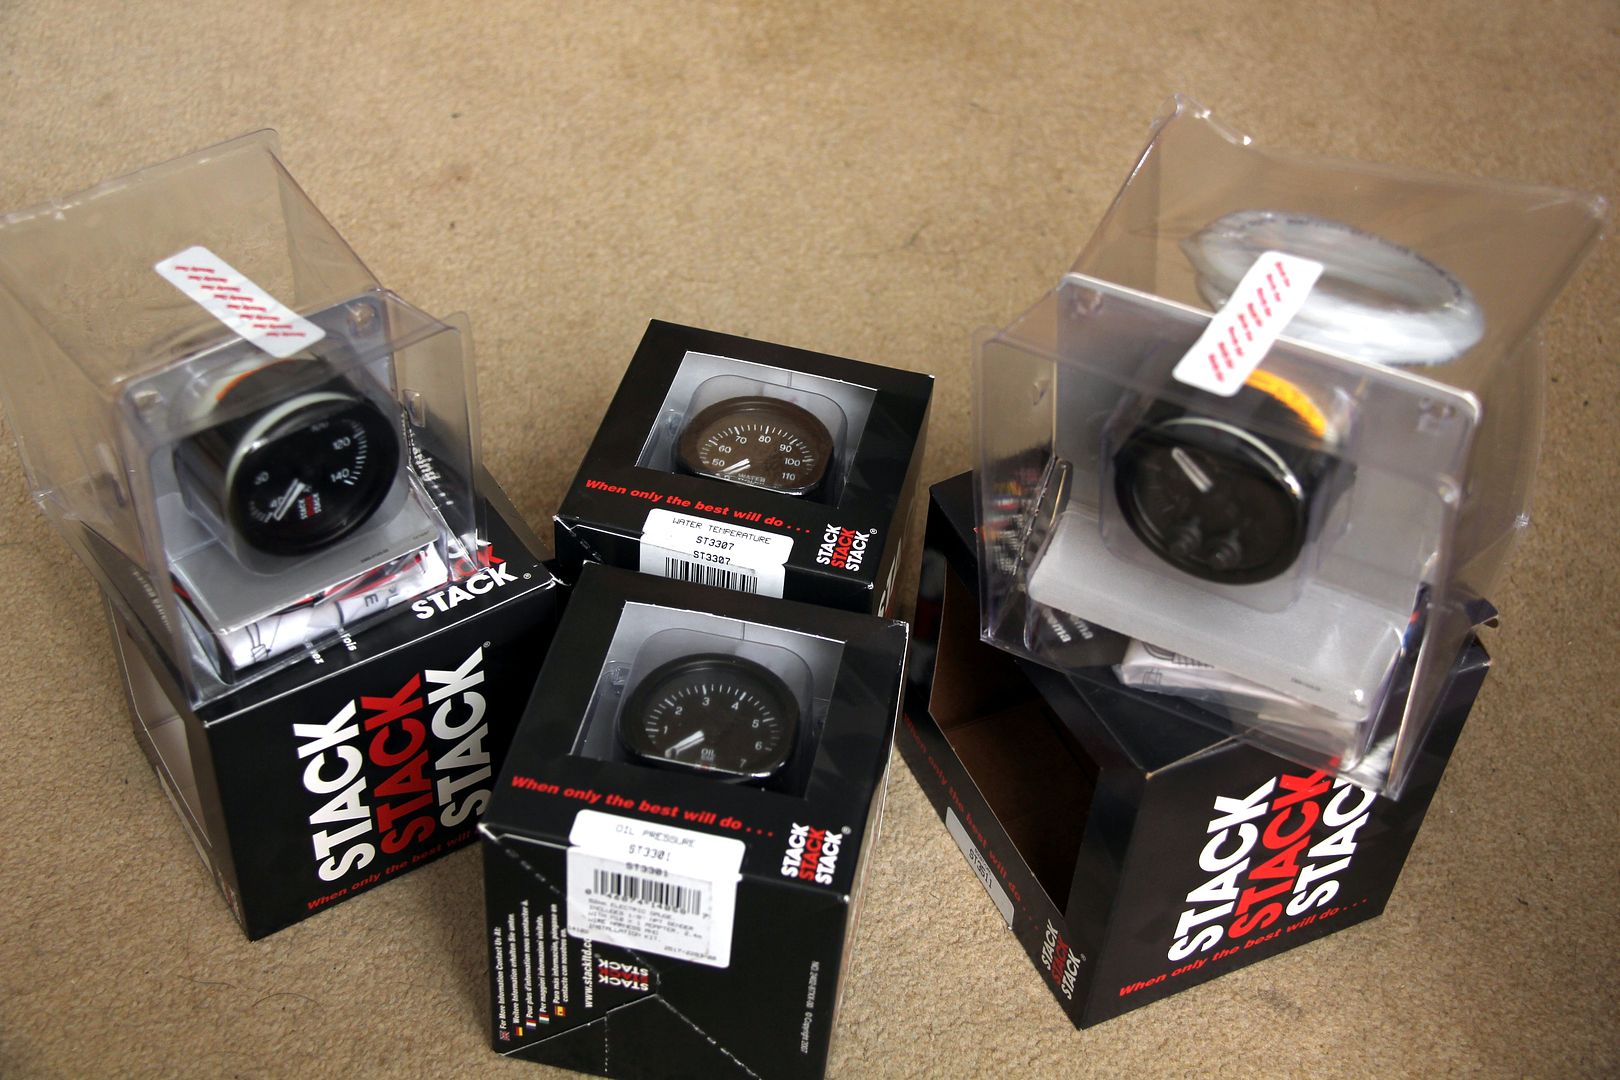
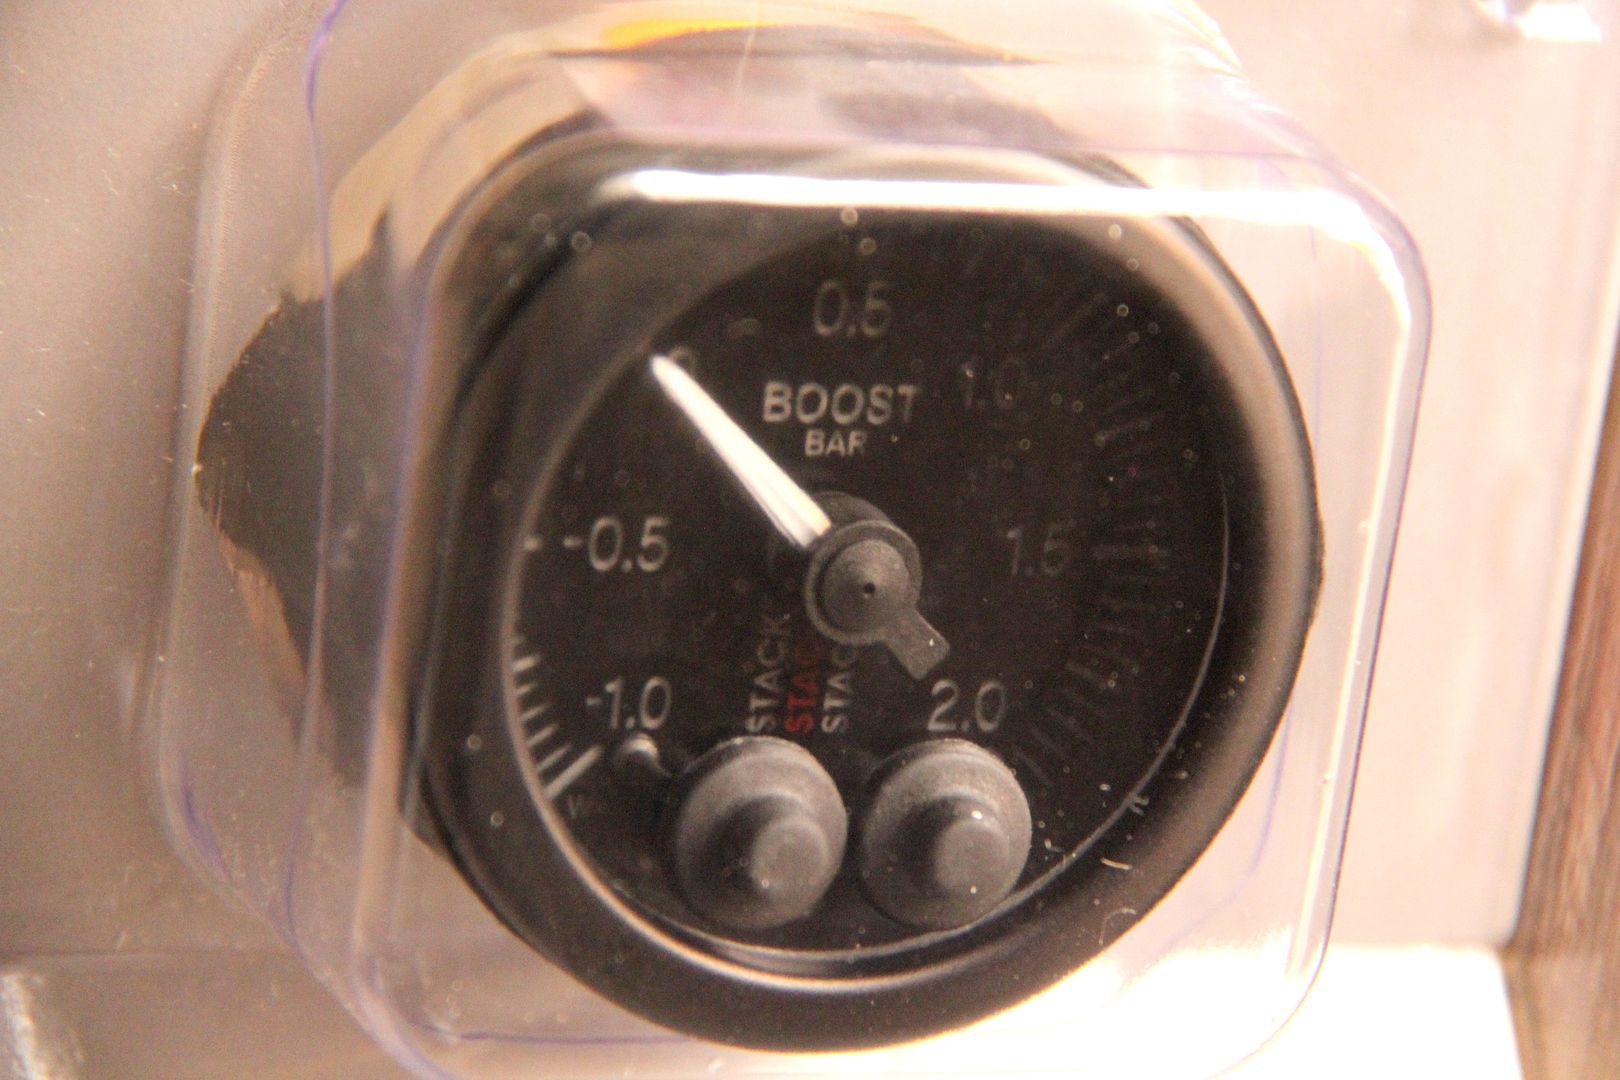
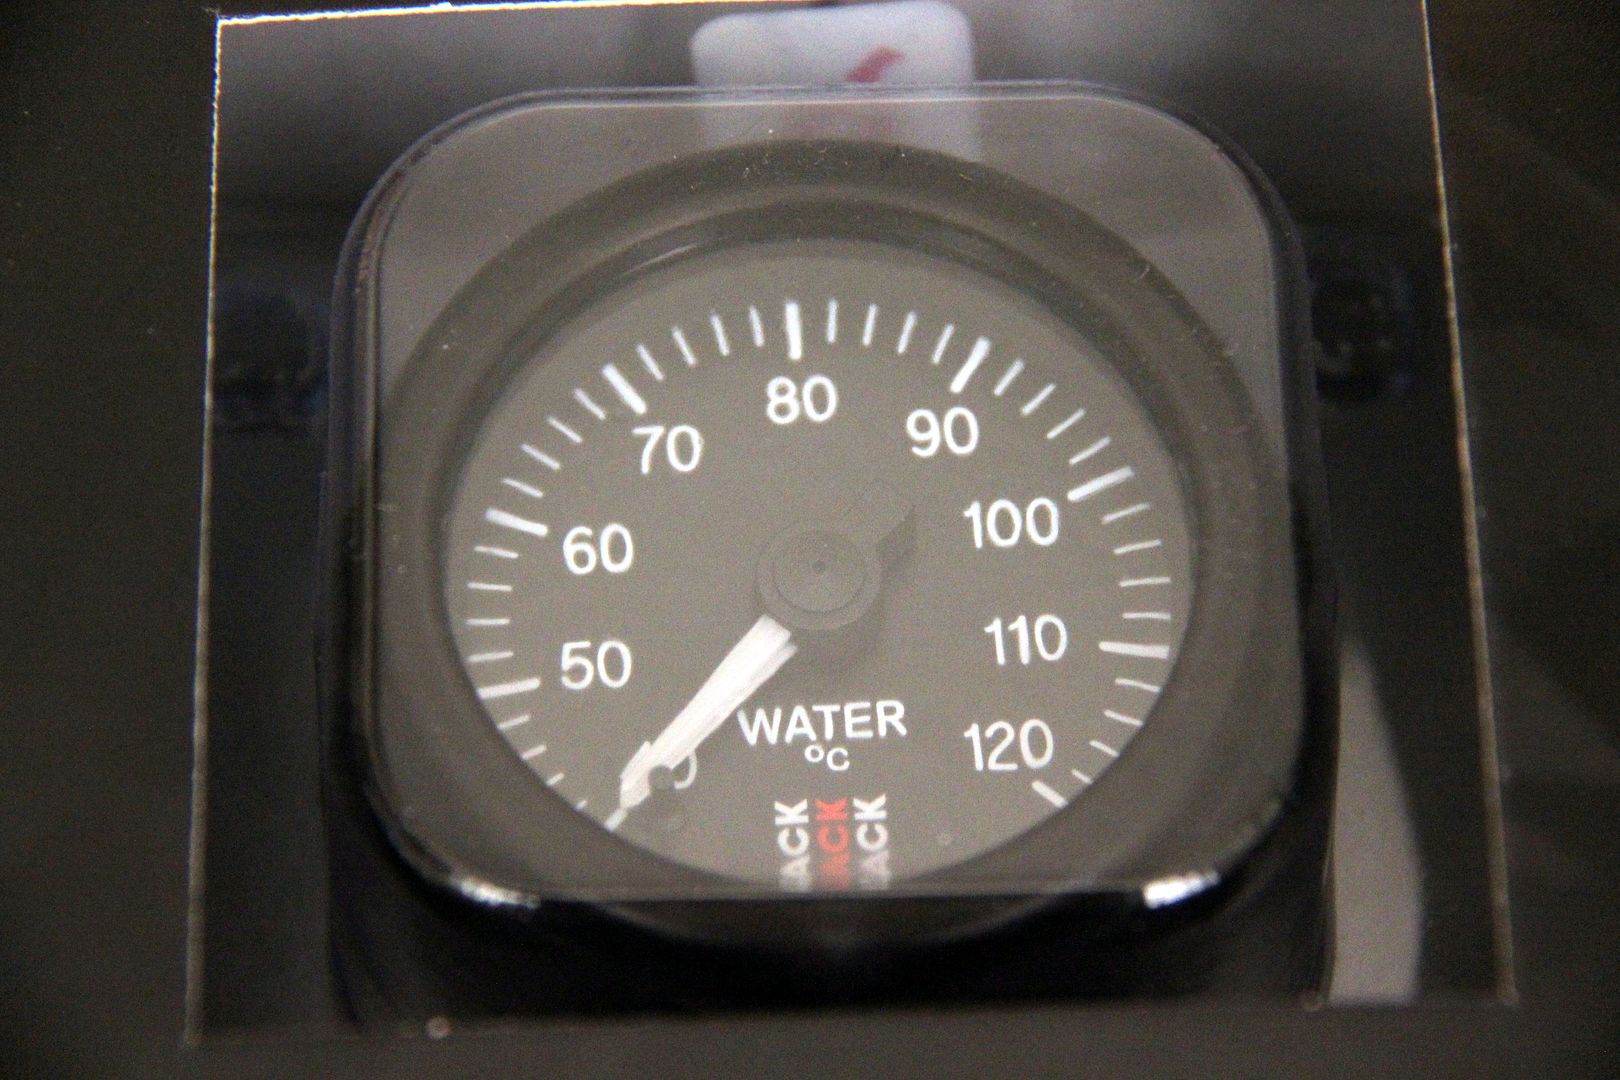
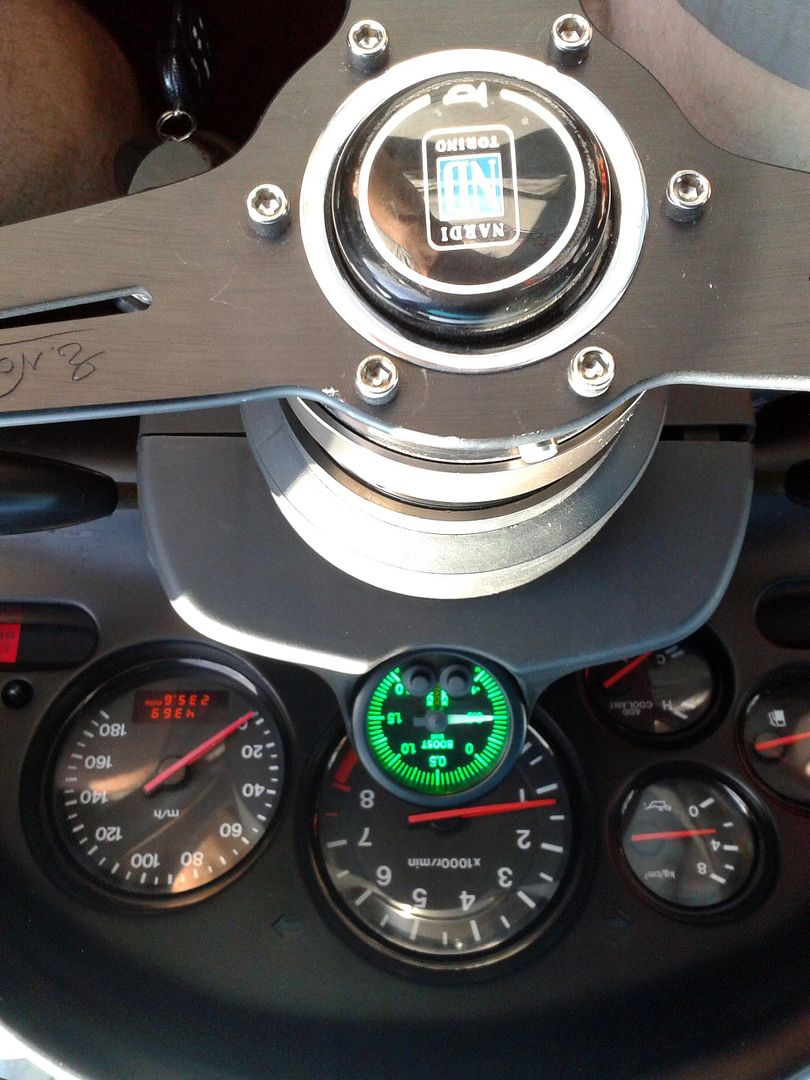
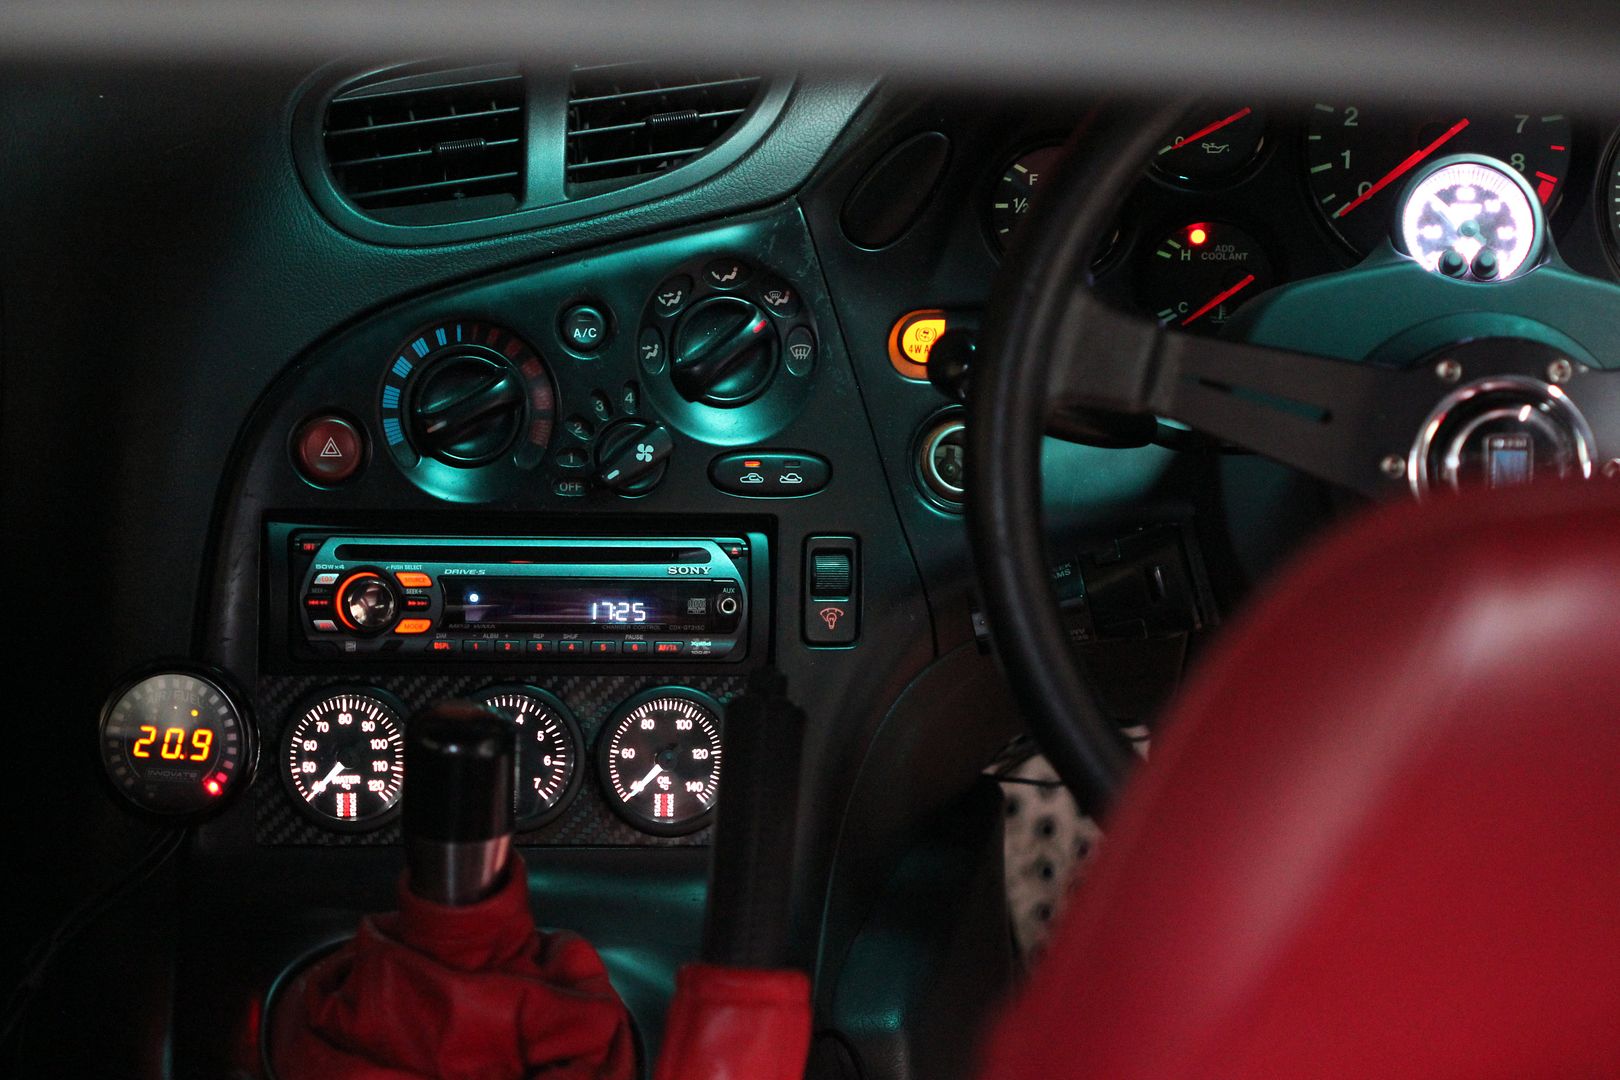
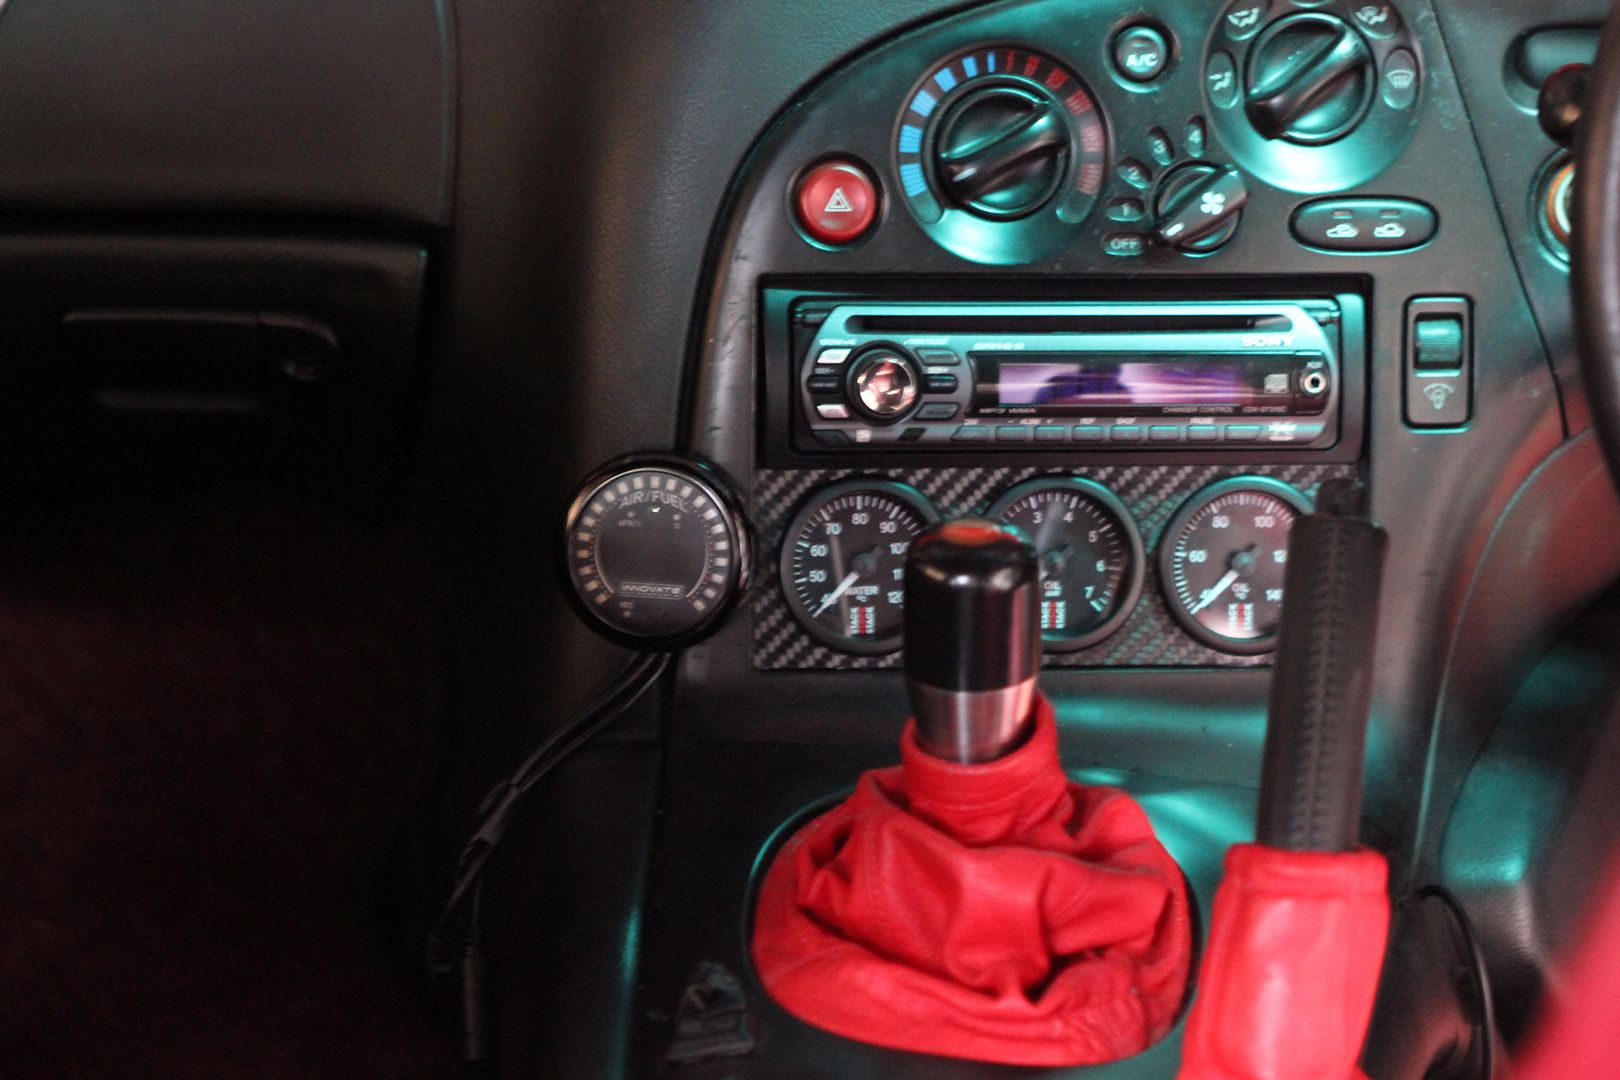
The Stack gauge I have in the FB has proved resolutely accurate and reliable, plus they have a par excellence motorsport reputation, so I figured they'd be up to withstanding the rigours of FD life. Plus, being 52mm rather than 60mm of the GReddy ones it meant I could now lose the dash-top pod and the A-pillar mount (which I've always hated, but had nowhere else left to stick a gauge). I even splashed out on a new sensor for the wideband, which had finally given in to the inevitable heat death after four years of sterling service. So, after much finegling in confined spaces we ended up with this;
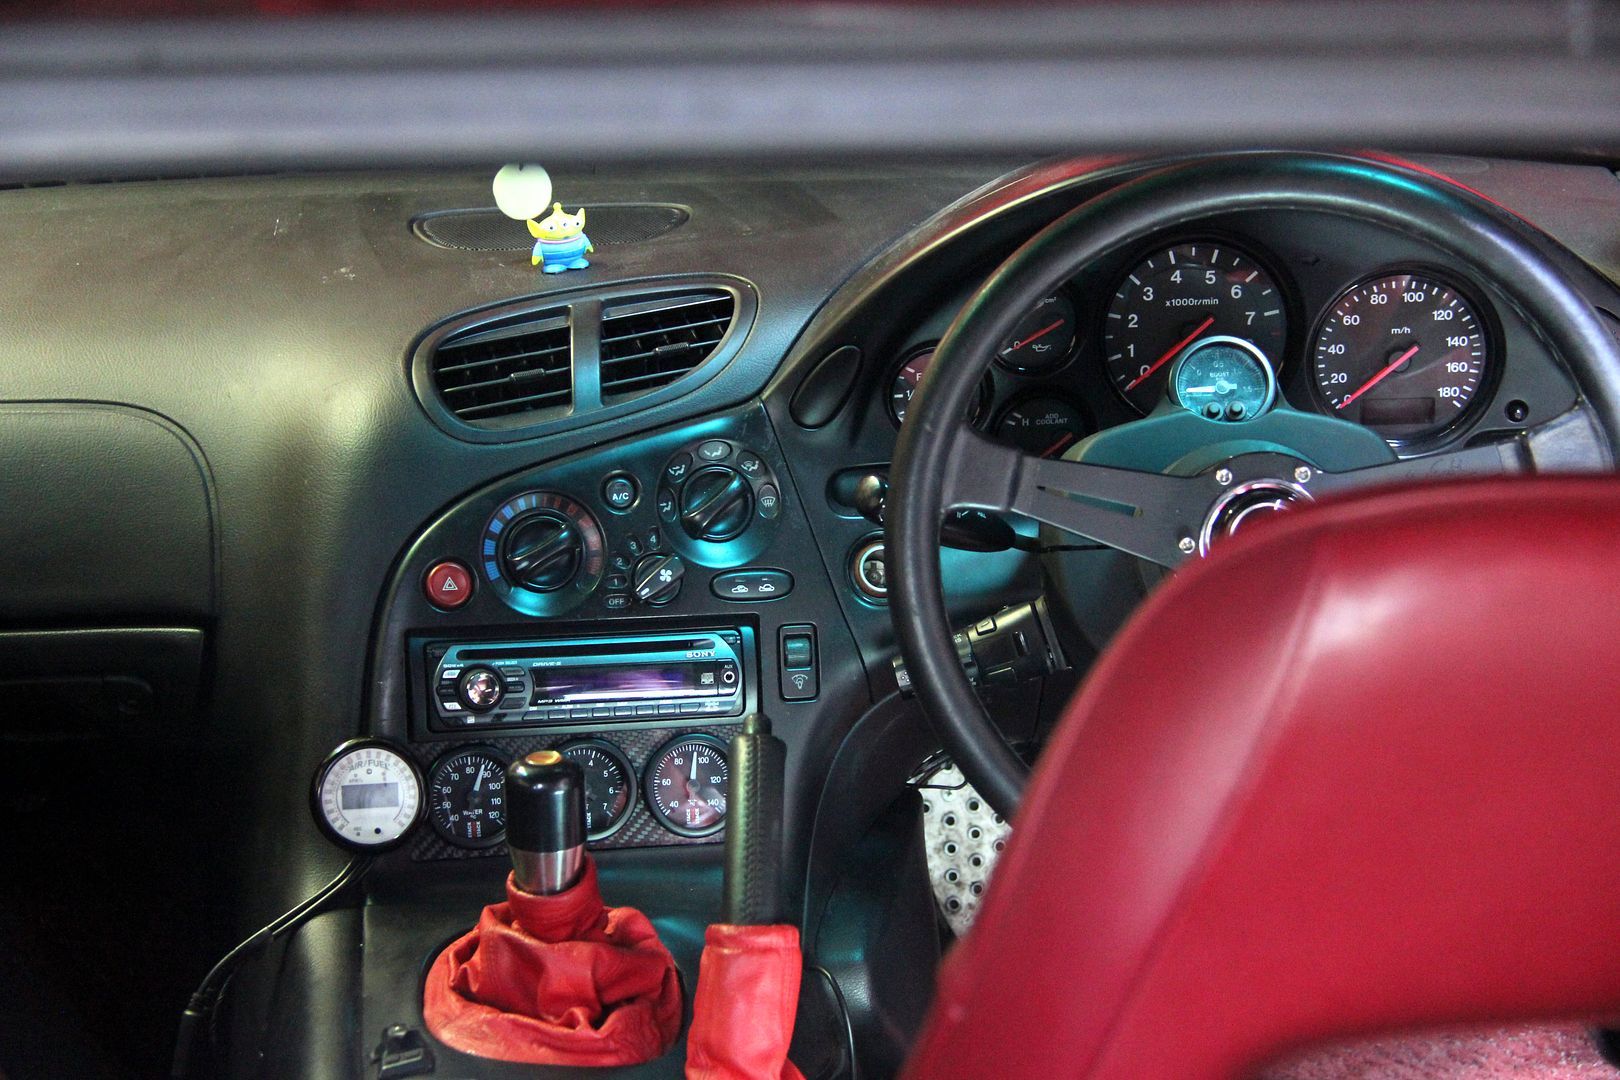
Much neater. Much, much neater

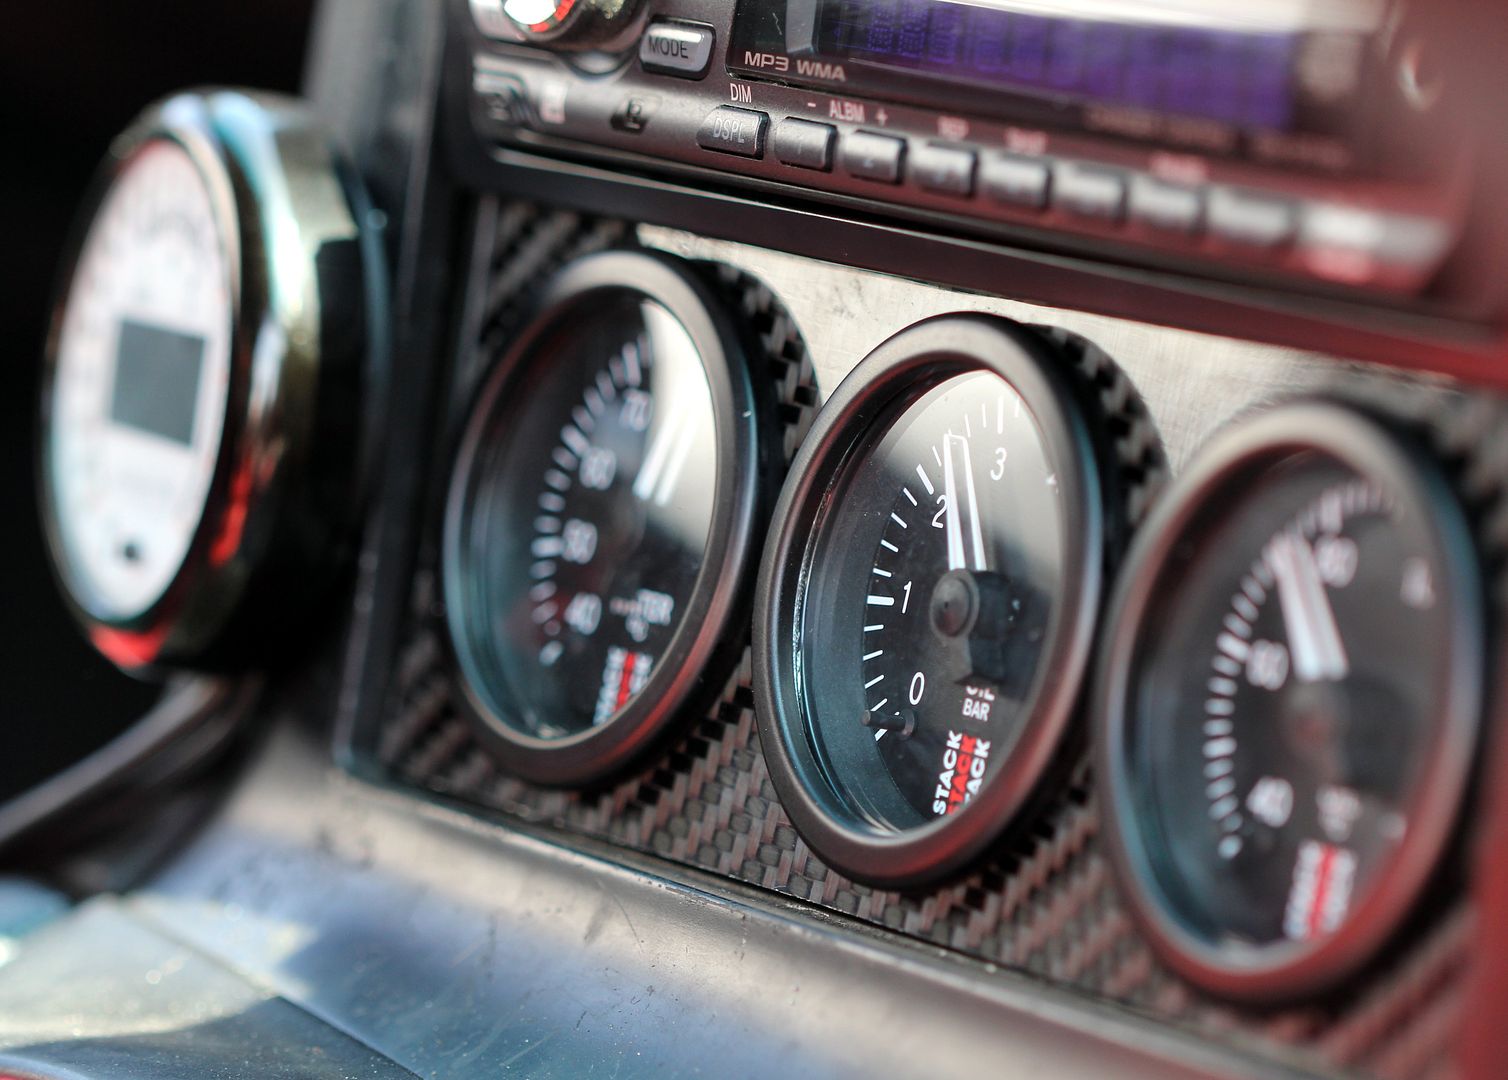
The temp and pressure gauges are just Stack's workmanlike electronic ones, but I spent a bit extra on the boost gauge and got one of the peak warning memory ones. You can even have this run outputs to control ancilliaries if you want (though there's not much point since I have a boost controller for that, lol). Also, you can set the levels and colours for warning and operational parameters. At the moment, it's green on vacuum, then goes white on boost and turns red when you hit overboost and Danger to Manifold levels. I'm such a child...
And whilst I was rootling through a drawer looking for something else, I discovered a bag with spares for the Innovate, including a really nasty chrome bezel. But more importantly, it also contained a black face which finished the whole lot off rather nicely.
So, cool as. But... there's always a but, int there? Out on a test drive, I noticed the car seemed to be boosting pretty high (easy to notice with my new
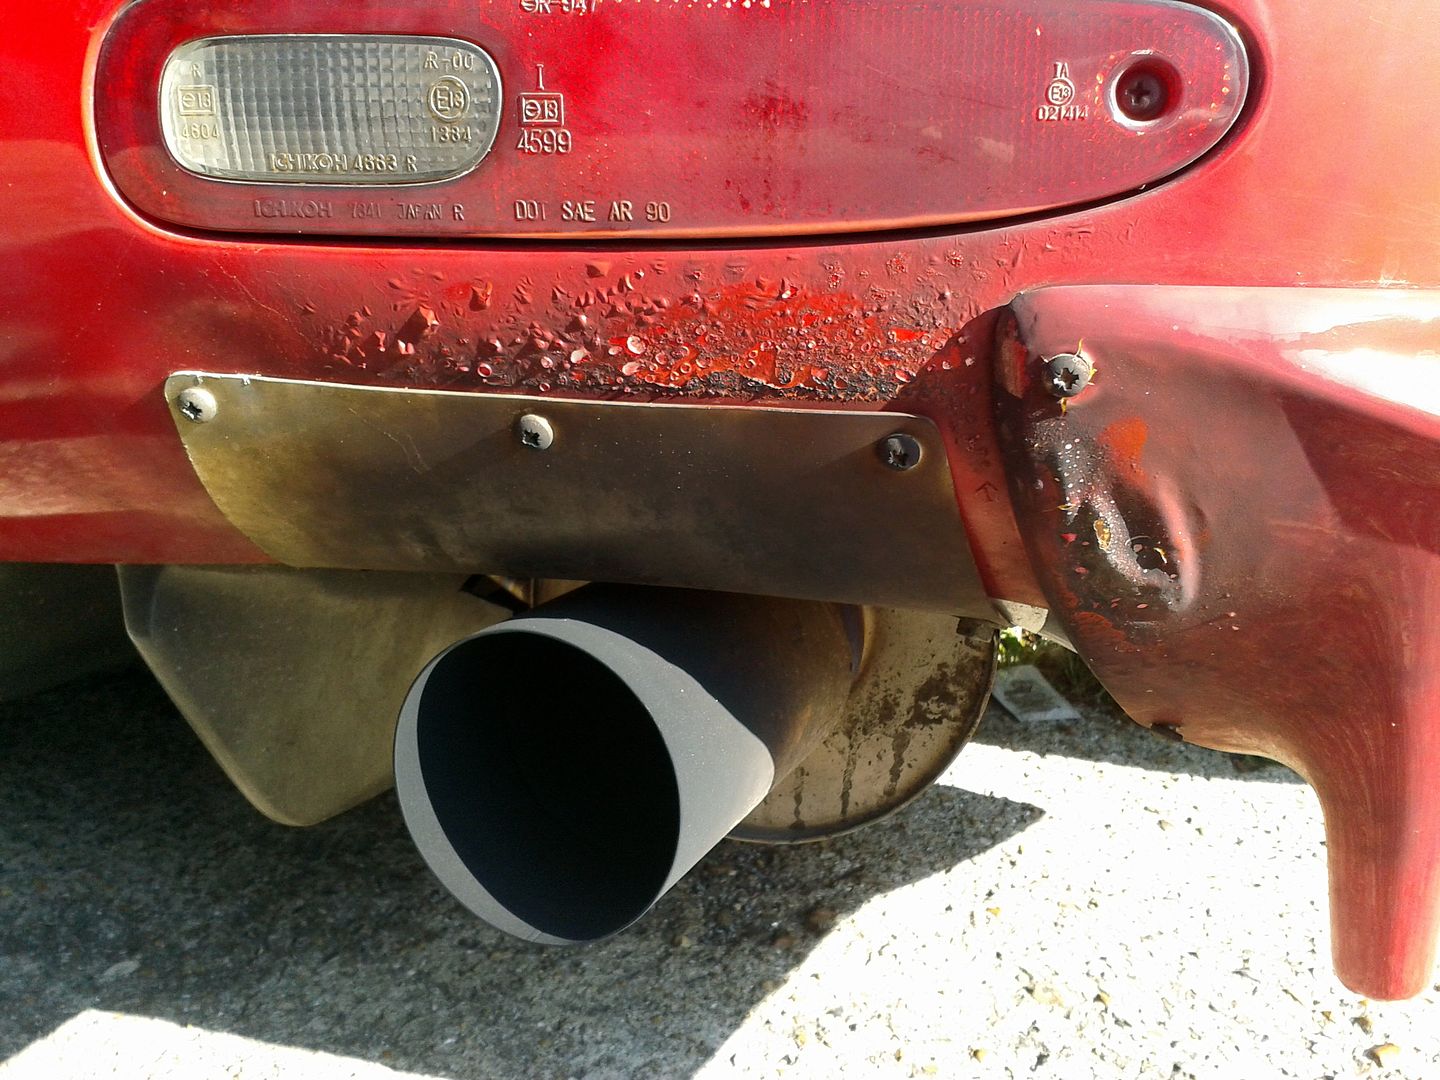
RED warning gauge, y'see). Sure enough, hindsight showed what had happened. A hose had come loose from the intercooler pipe. Just so happens this is the boost controller pipe that lets it "see" the pressure (remember I was complacent about my boost controller only a couple of paragraphs back?). This meant it was no longer able to regulate boost. Which meant the turbo overboosted to ~1.8 Bar... which in a way is good news because the last time it did that it blew apex seals to bits, so at least my kryptonite Rotary Aviation seals seem to be doing their job.
Anyway, what it did do was blow the MAP sensor off and then the ECU couldn't see the boost either and then what it did was dump absolutely bloody gallooooons of fuel into the mix to make it safe. Which the end result of is the exhaust filled with unburnt fuel and set fire to the bumper

Bit annoying, that. Anyway, since I had to get dirty in the engine bay and sort out random hoses coming off, it seemed the perfect chance to sort something that's annoyed me for ages. But first, a step back in time...
...as well as the leaking OMP injectors, I was also losing water, and as anyone suffering acute rotornoia will know, this is not something that helps you sleep easy at night on an FD. Turns out it was possibly the simplest thing to fix. It was the radiator leaking! Bit annoying, that too to be honest, since it was a nice uprated FEED (Fujita Engineering Developments, famous and excellent Japanese Rotary tuning house) one. I don't mind spending money on improving things but I always resent having to do the same things twice. Sometimes more. Anyway, a bit of research revealed that to get the FEED radiator re-cored or mended would probably cost about as much as a decent replacement. One more depressing reminder of the throwaway culture in which we live.
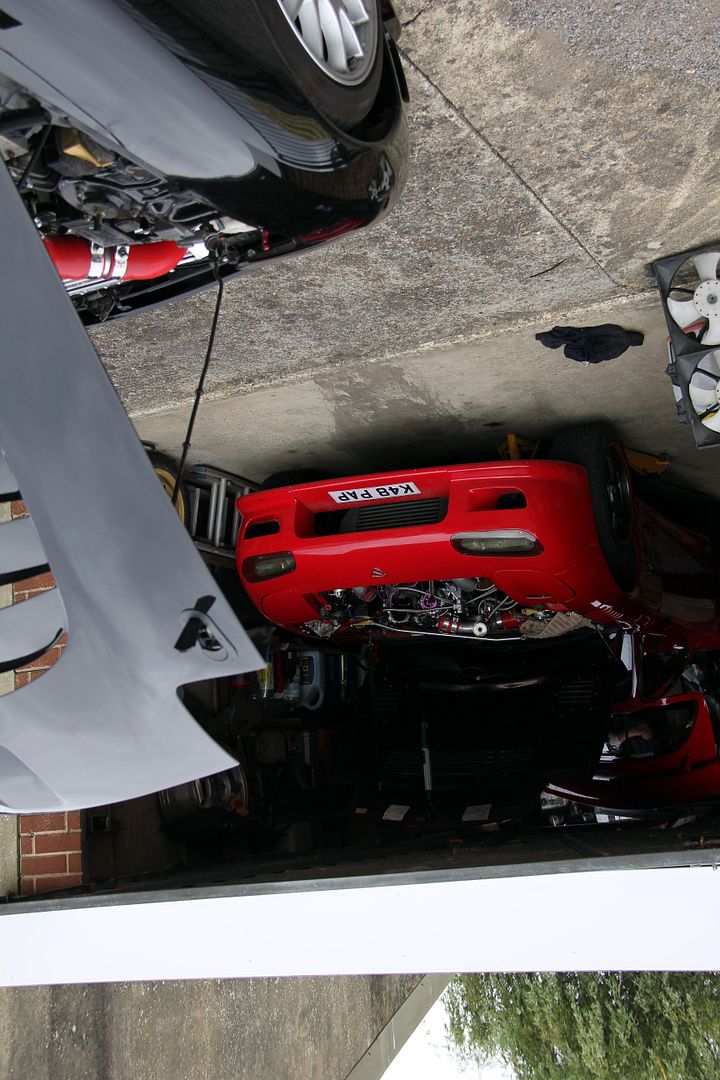
Fortunately, Blitzen was breaking his silver FD, apparently terrified by the prospect of actually having a running FD that he could actually drive. So a deal was done on a nice PWR Ally radiator;

and while we were at it, I snaffled up his old battery plinth brace thing. Which looked like this...
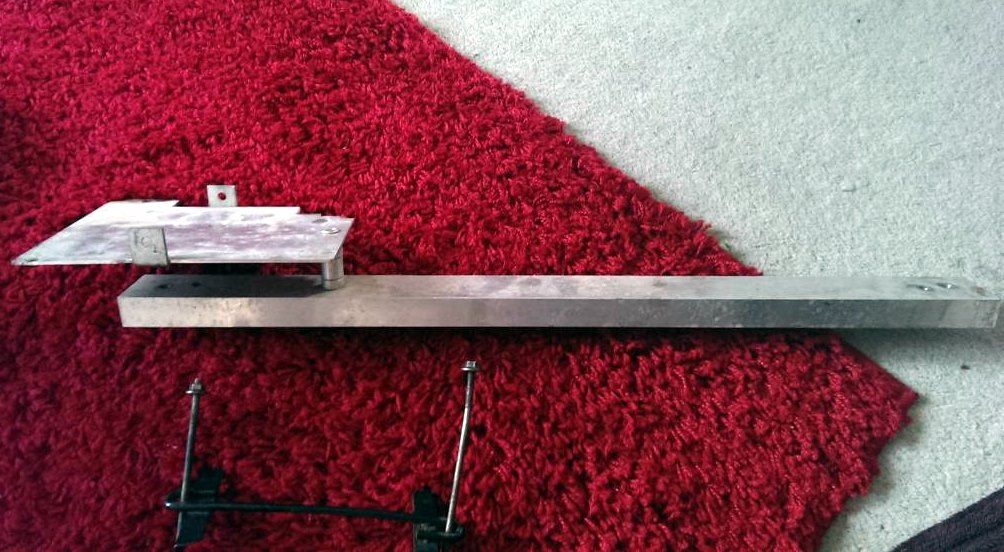
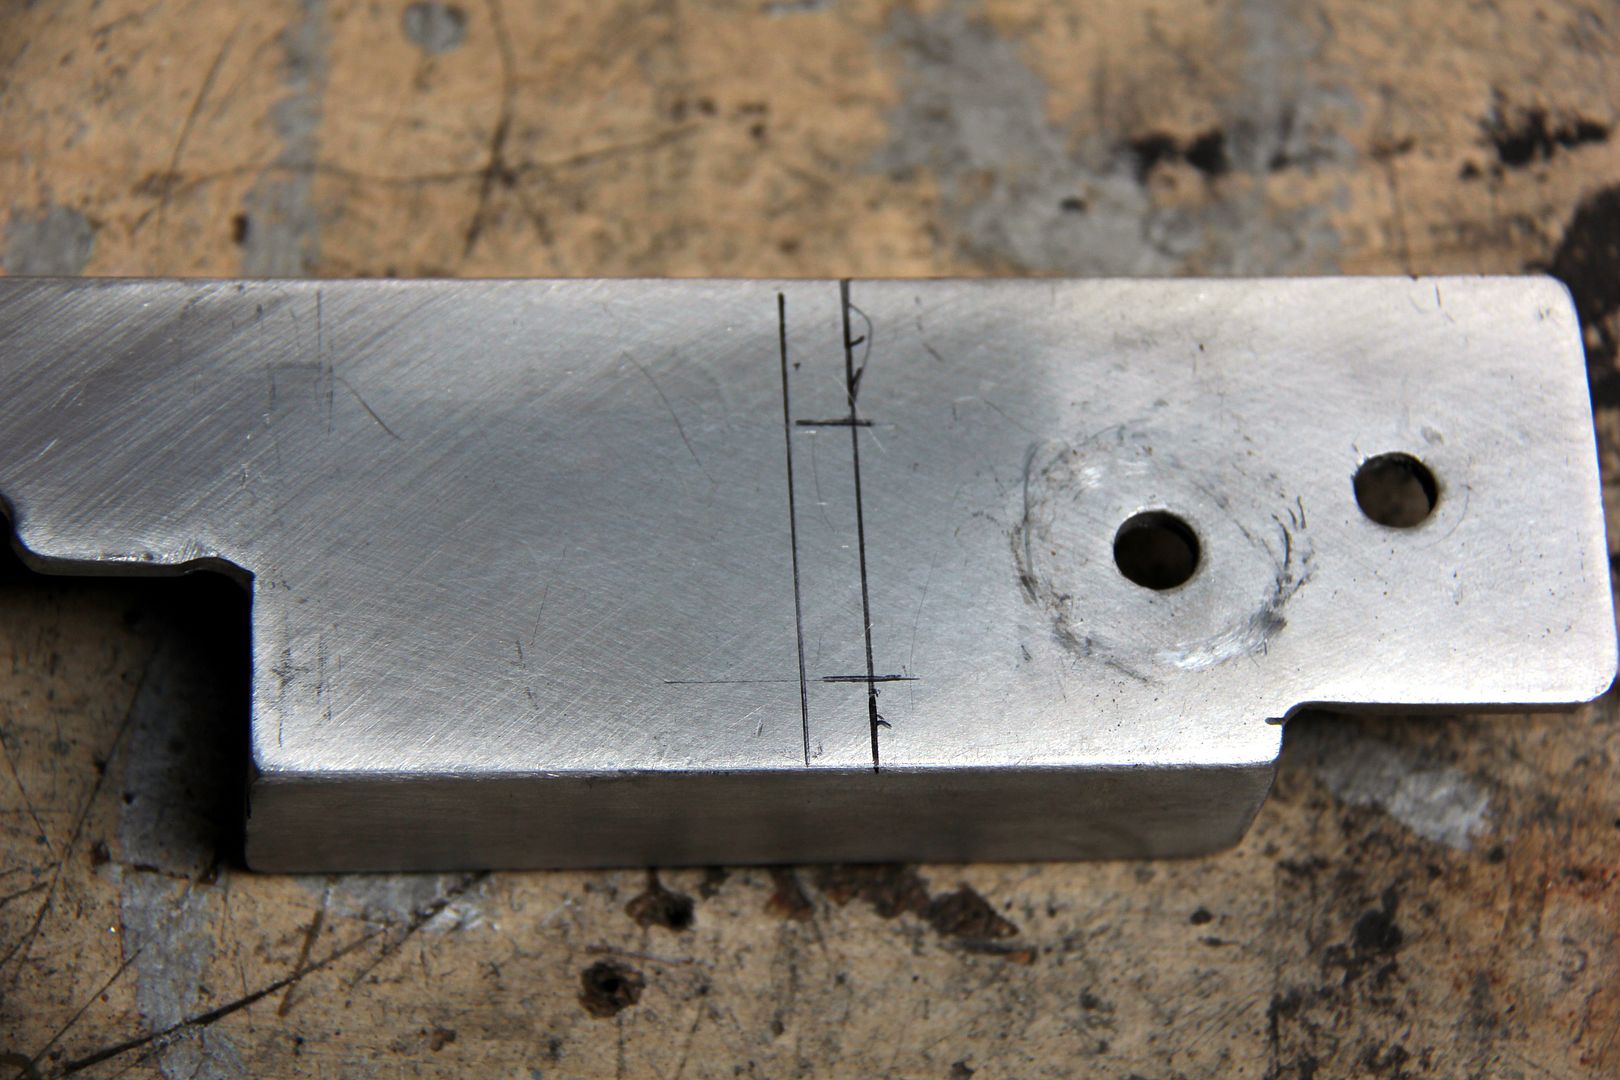
but one could see the potential in it. Conrad certainly saw some potential in it, he immediately decided it was a battle axe and went round the yard at Japshow causing havoc with his improvised weapon. Once relived of his axe, the first thing was to clean it up a bit, since it was basically a raw alloy lump with years of grime and oxidisation
While I'm plodding on with a bit of sanding, we'll take the time for a brief explanation. Basically, it all boils down to this;
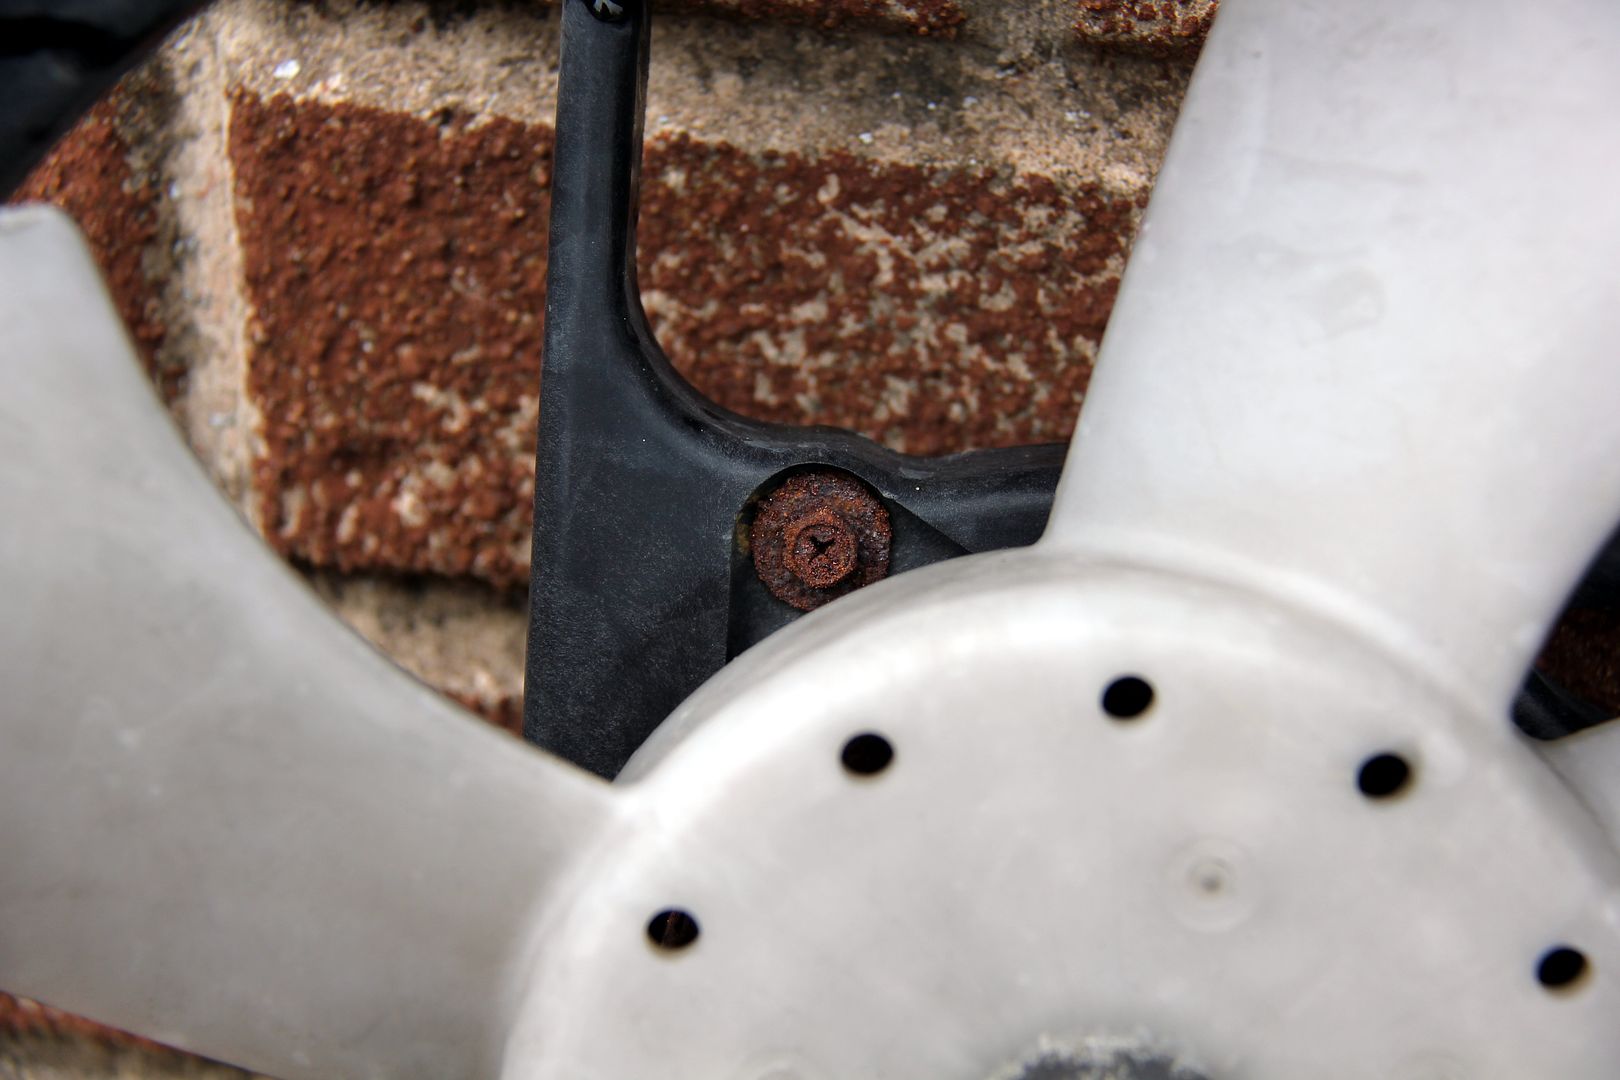
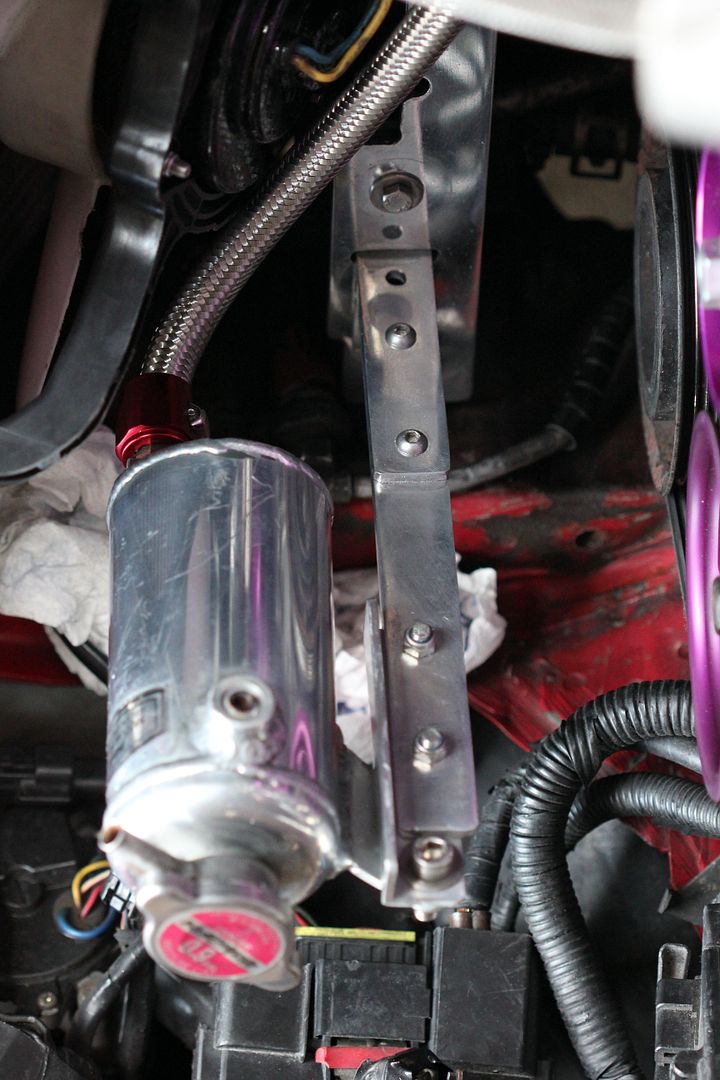
years ago a certain garage chose to mount my AST (a nice, alloy RE Amemiya one, no less and one of the first things I ever bought for an FD way back like eight years ago when I barely knew how to work an internetz and courtesy of Newera at truly eye-watering expense) on a bent piece of hastily-welded pig iron. Not just that, but they'd mounted it on one of the bolts holding the fan assembly to the radiator. So the entire weight of the tank and water in it was free to pivot on a fragile bit of the radiator surround. Hardly a well thought-out engineering solution. It's annoyed me ever since, and here was my chance to do something about it. And in case you think I'm getting too OCD about something so minor, this is the offending bracket;
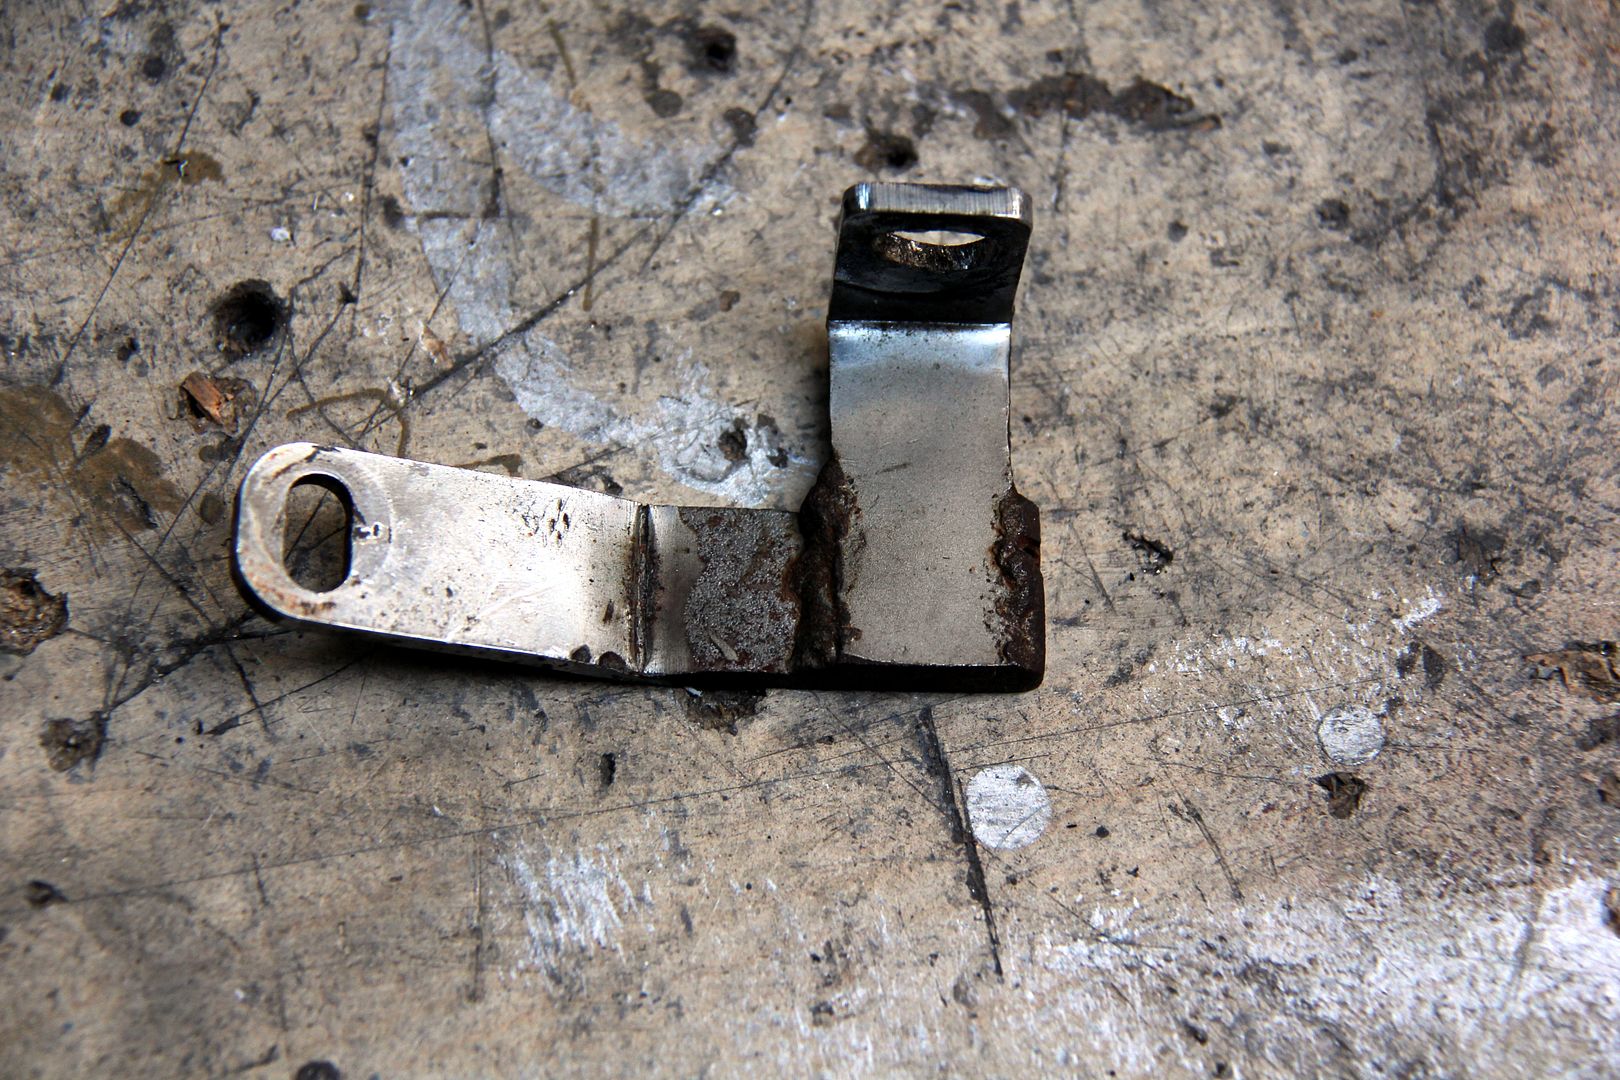
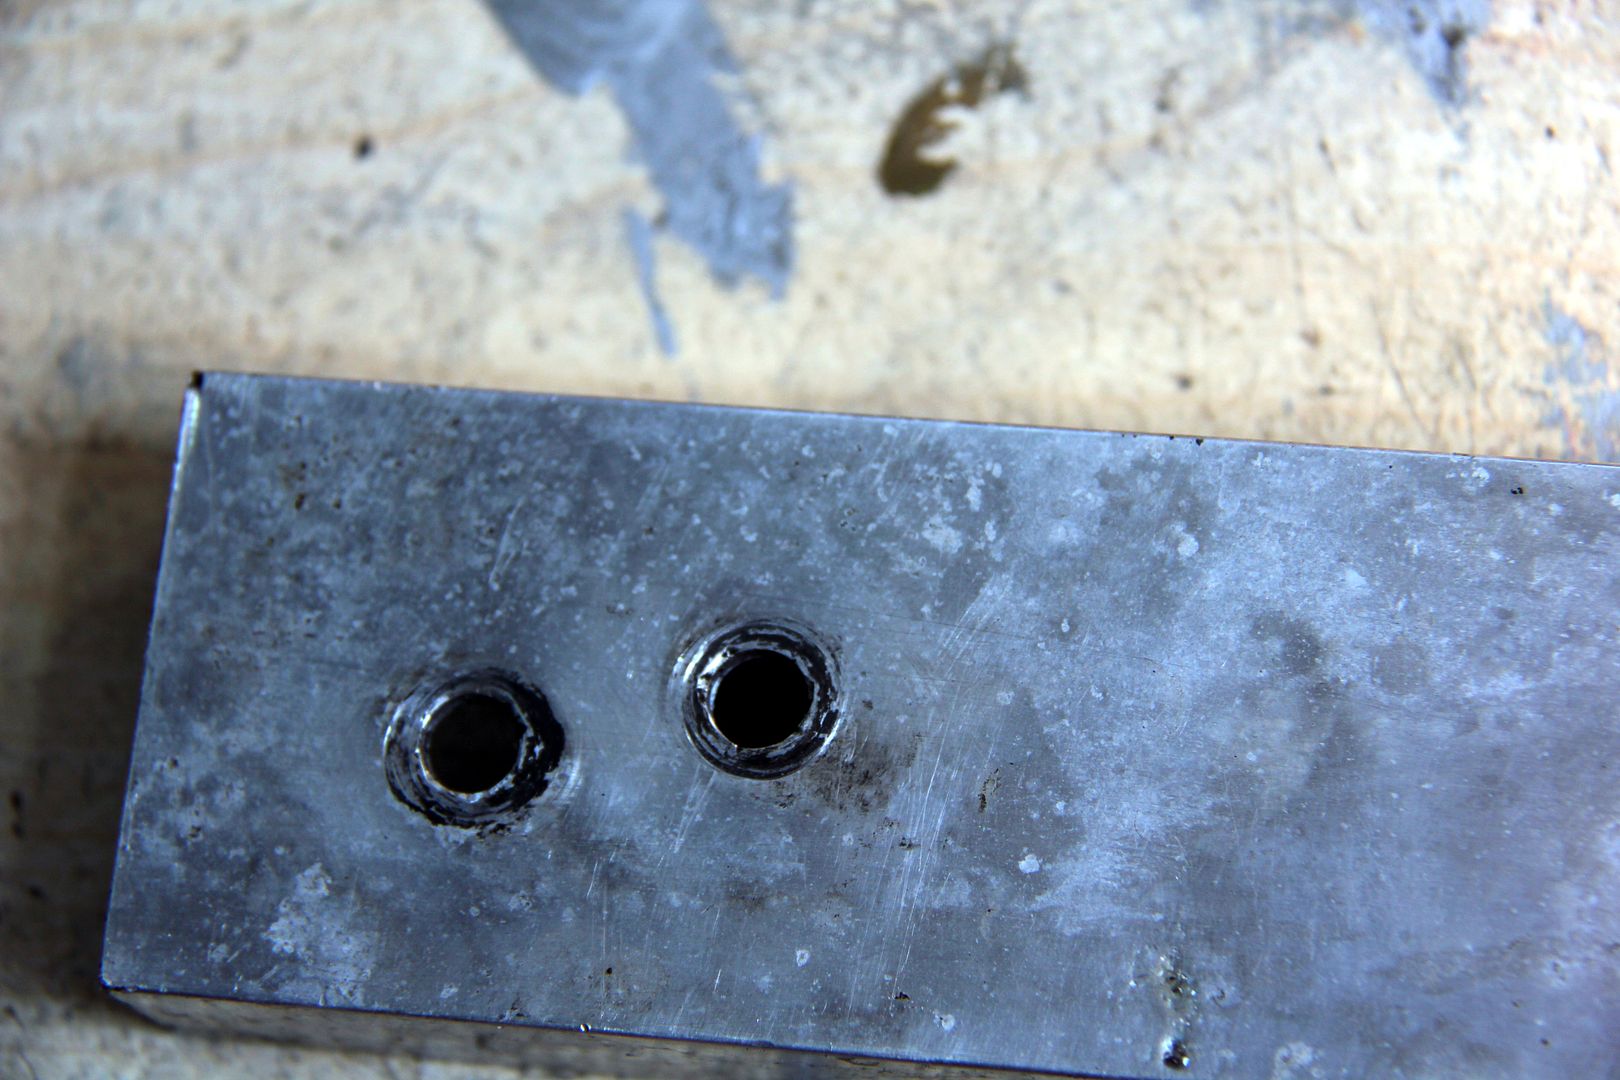
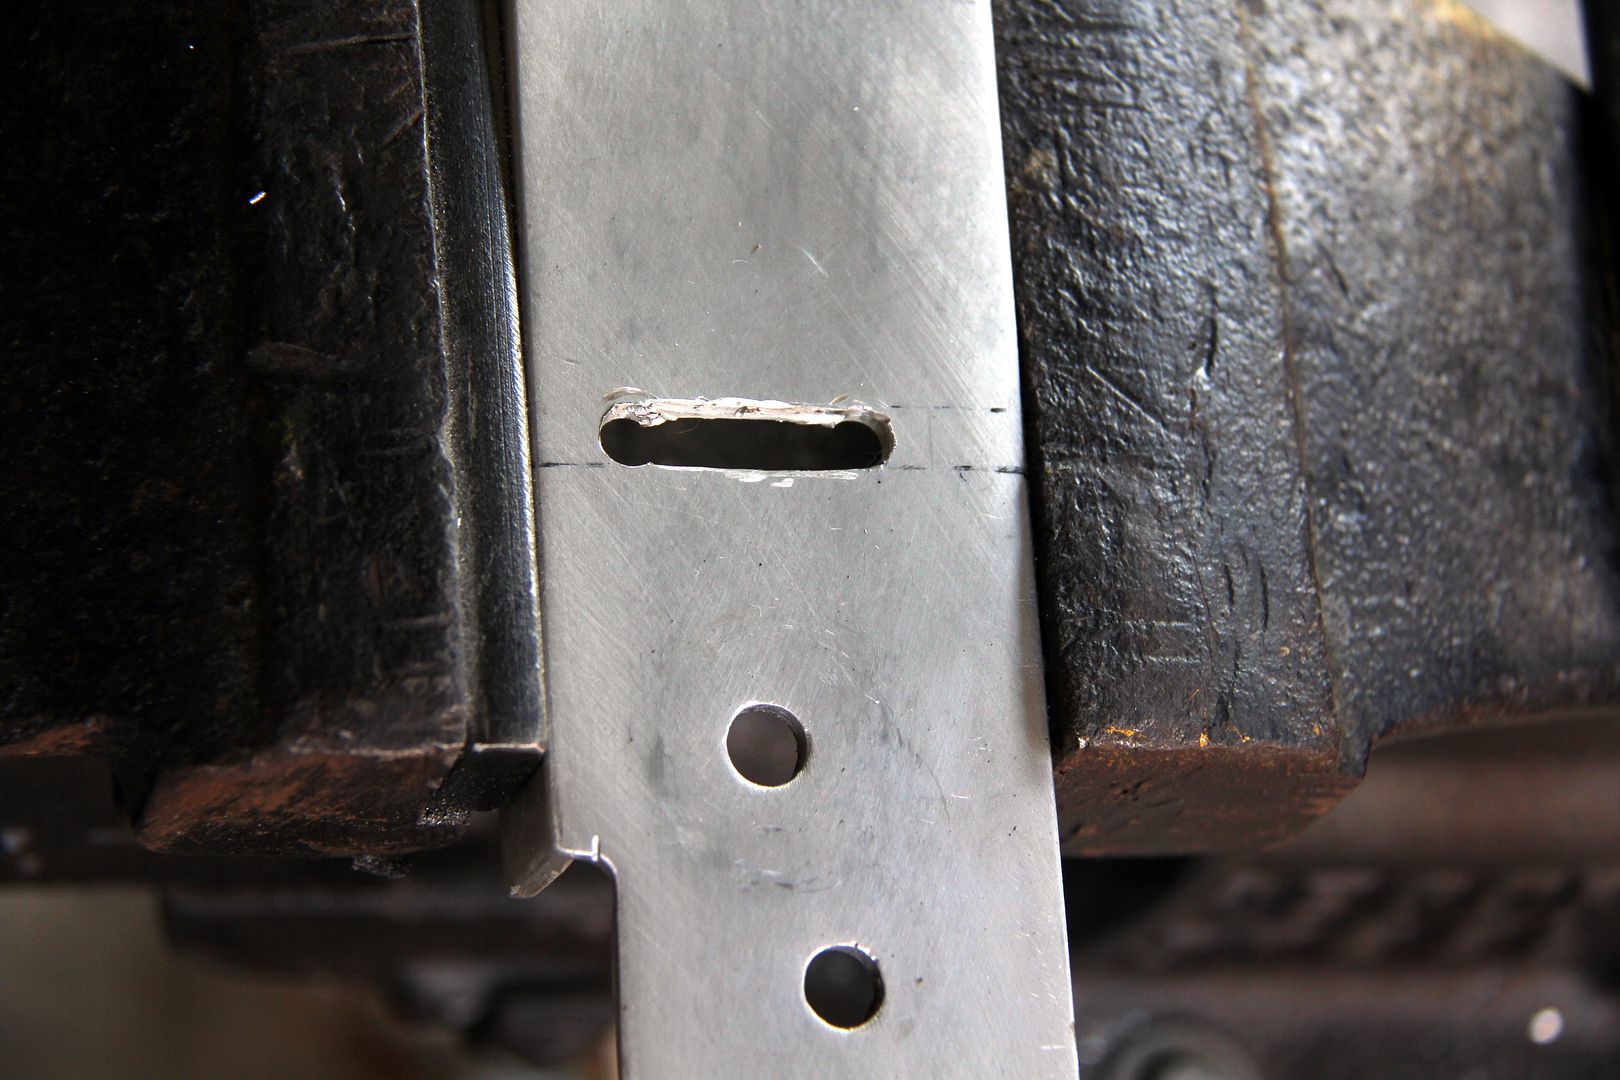
I defy anyone to be happy living with that! By the way, the AST stands for Air Separation Tank which is Mazda's customarily complicated solution to a question no-one ever asked; to wit how to remove air from the coolant. Rather than a bleed screw or even relief pipe from the filler neck, they came up with a tank and miles of plumbing to do the job. They're a famous FD weak point as the OE plastic tanks get brittle with age and heat and split, giving you a coolant leak that's often not spotted until its too late. So in short, a complete pain in the posterior but you gotta have it. So, back to the cross-brace. I set to work adapting it to hold an AST bracket and to accommodate the radiator fans. Because I have a front-mount and still have the aircon radiator too, the fan motors protruded slightly into where the brace wanted to run, so I had to clearance it rather. Read; "hack big chunks out of it". Here we are making holes for AST mounting
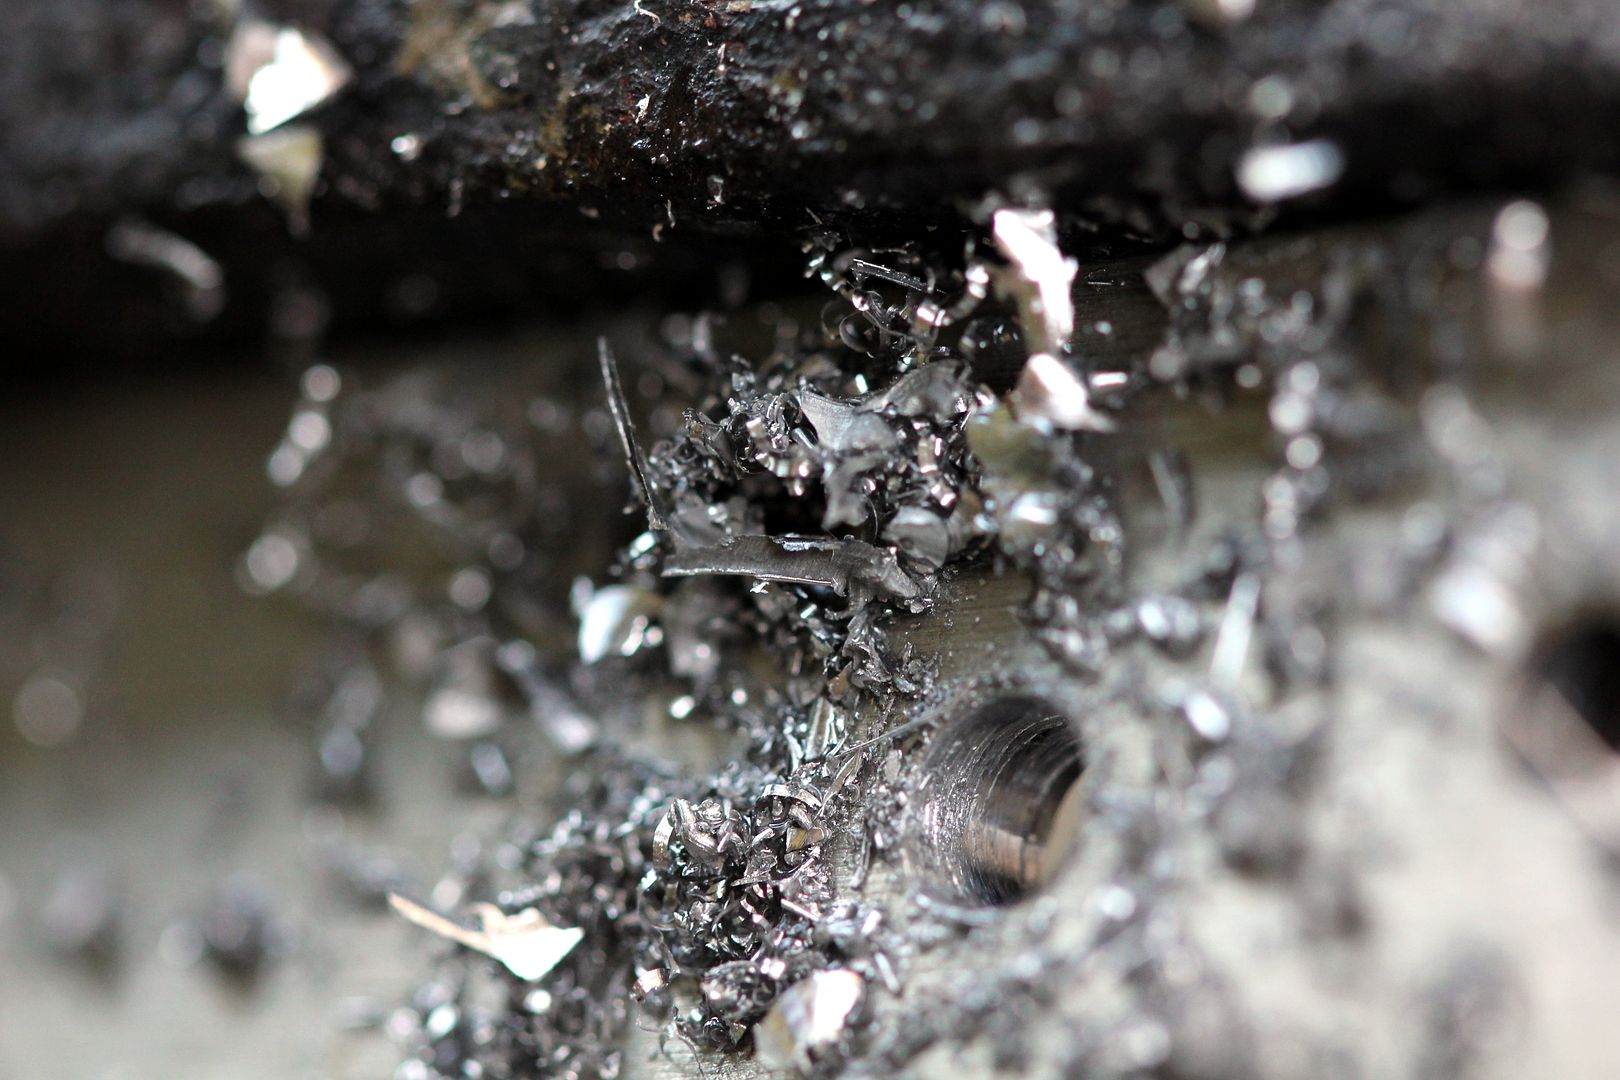
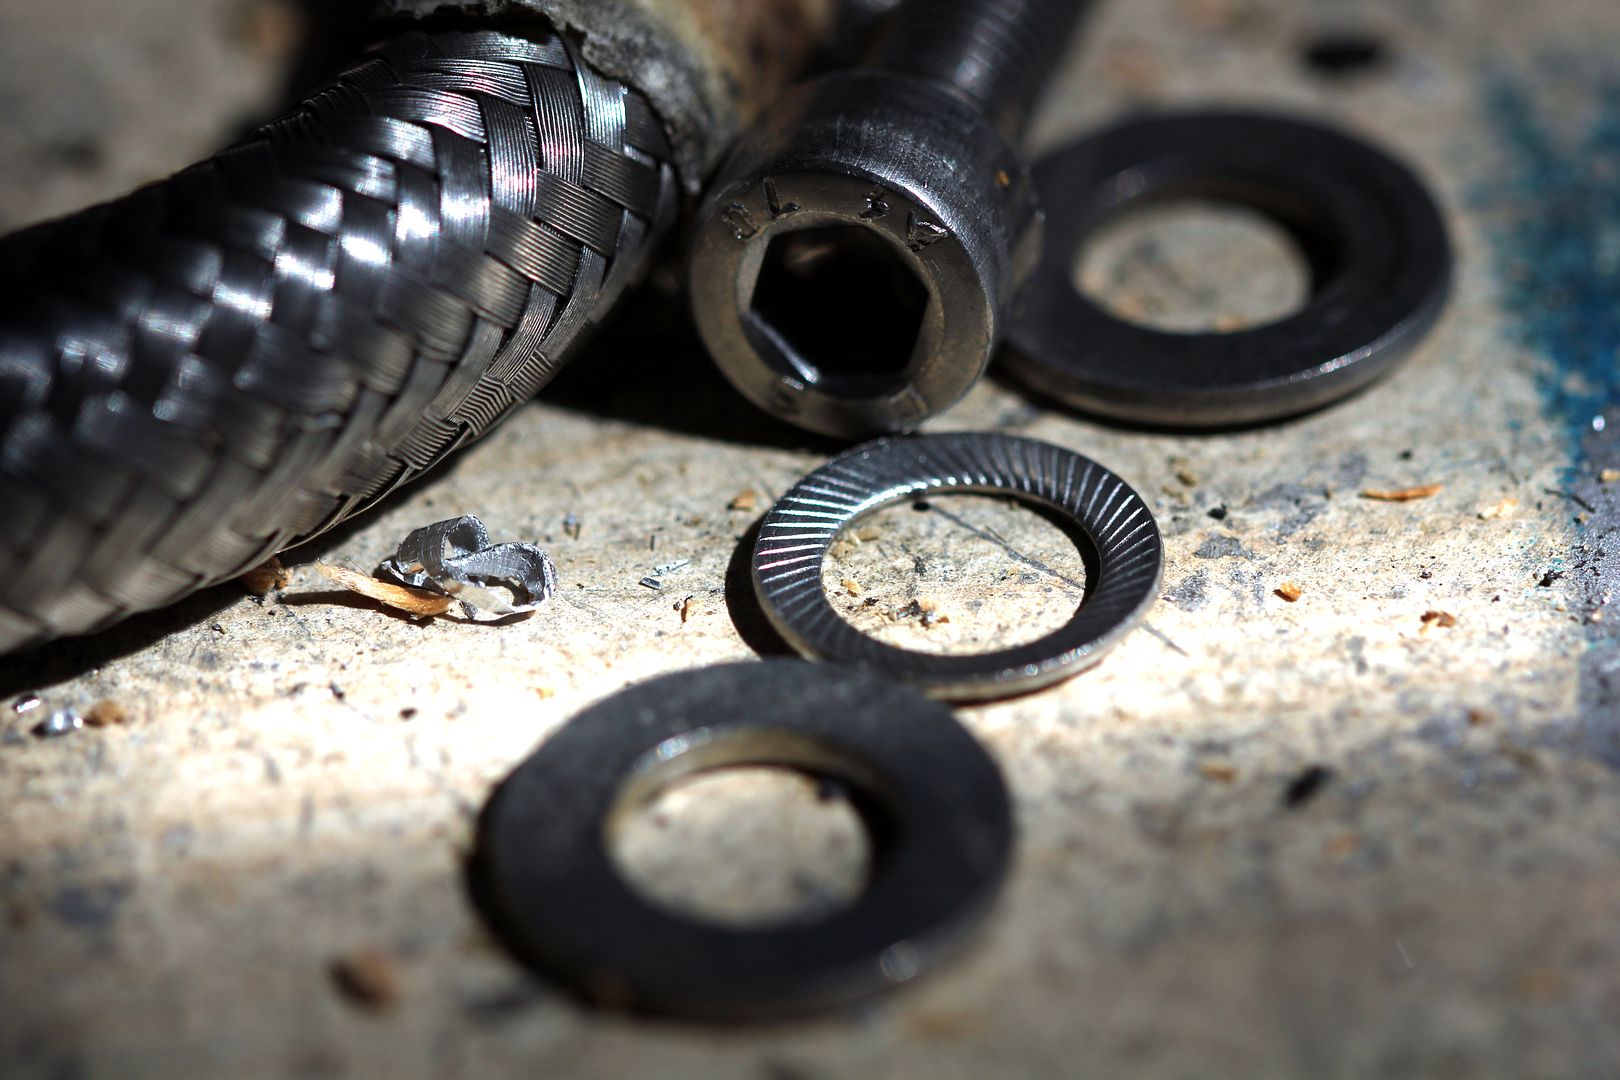
which if nothing else gave me an excuse to play about with my macro lens and try to get something arty out of humble swarf
And since the brace had lost a fair bit of its structural integrity with having to clearance the fan motors, I tried to put a bit back in. This is the sort of point at which not being able to weld becomes a right PITA
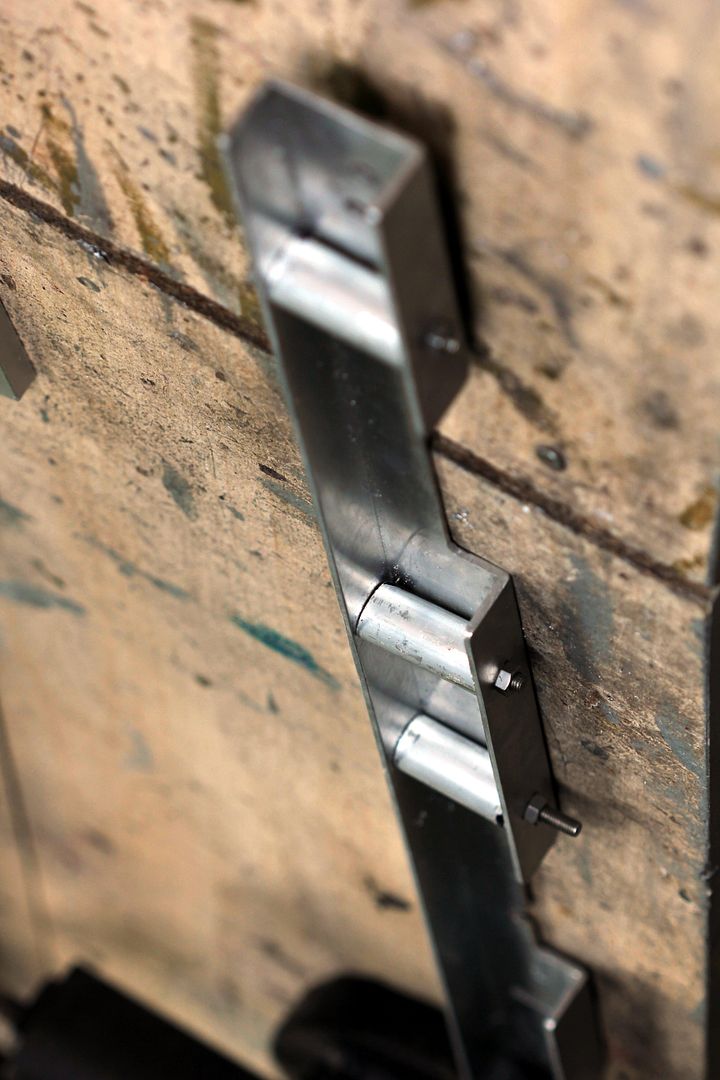
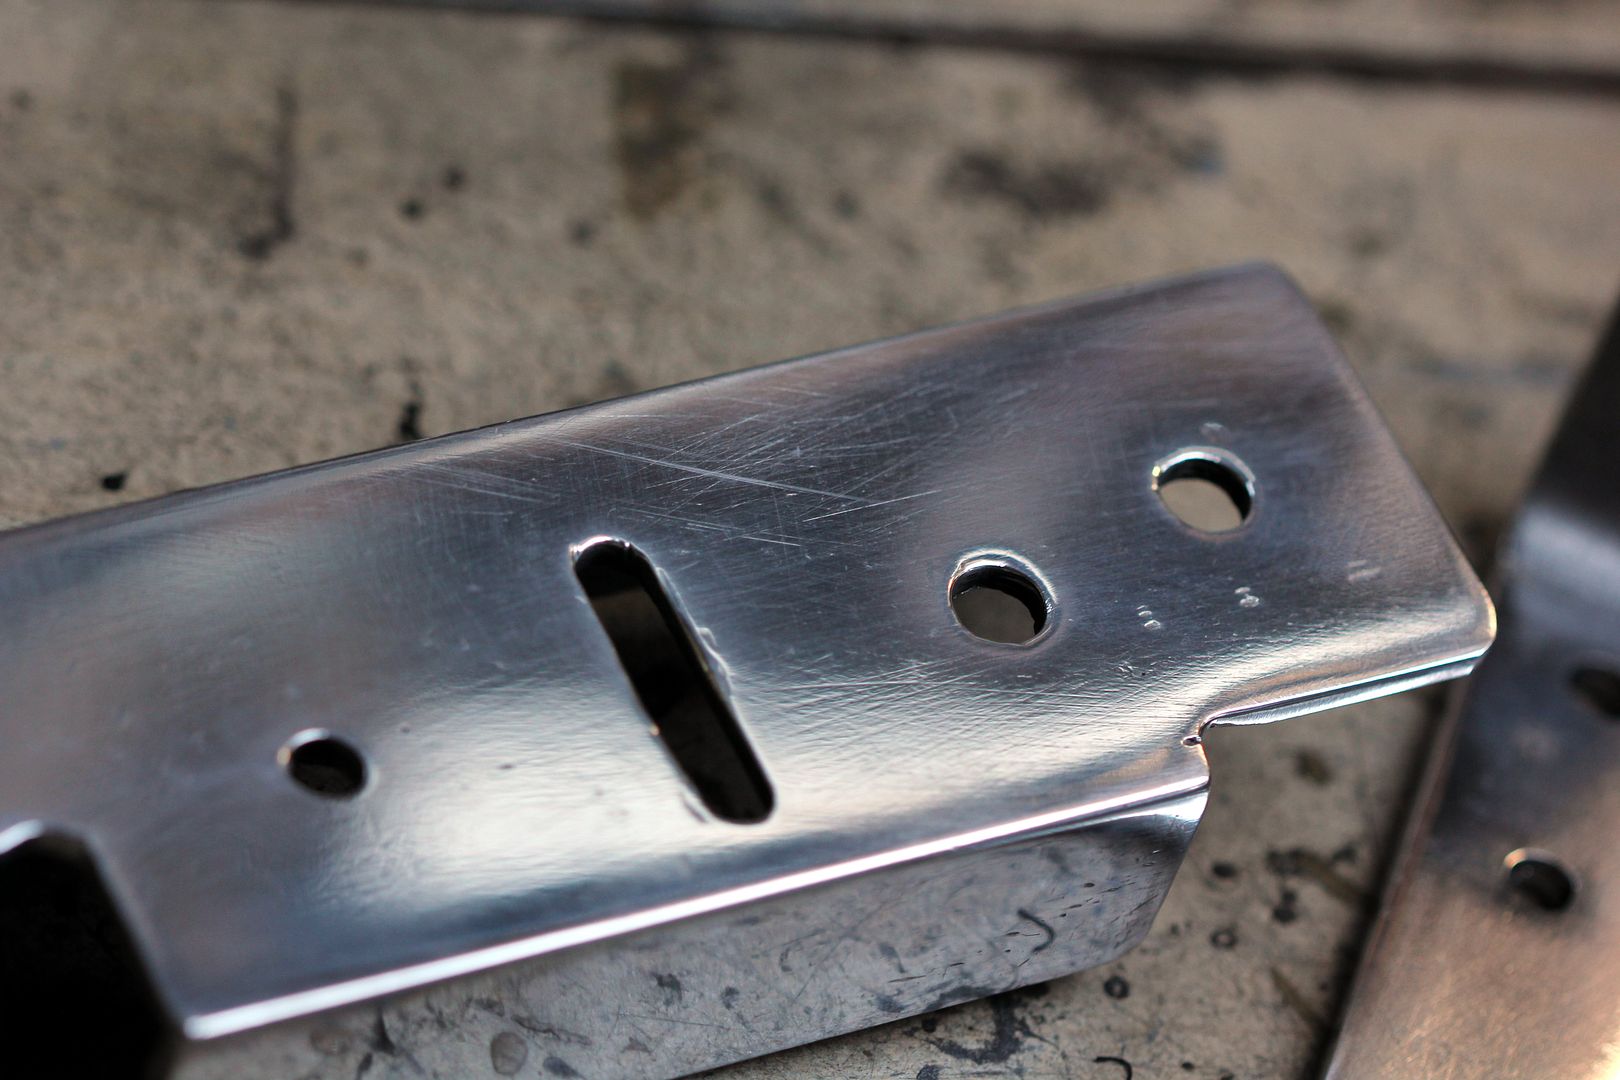
However, my bolt and tube gusseting (ooooh, gussets) seemed to reintroduce a bit of rigidity to proceedings. With all the bolt holes and slots cut, I could give it a quick polish. To be honest, it could have been a lot better but a) I was pressed for time and b) it's in a place where realistically it's not going to get a lot of love with the autosol, so it's going to dull anyway. There was no real point in making it mirror-perfect
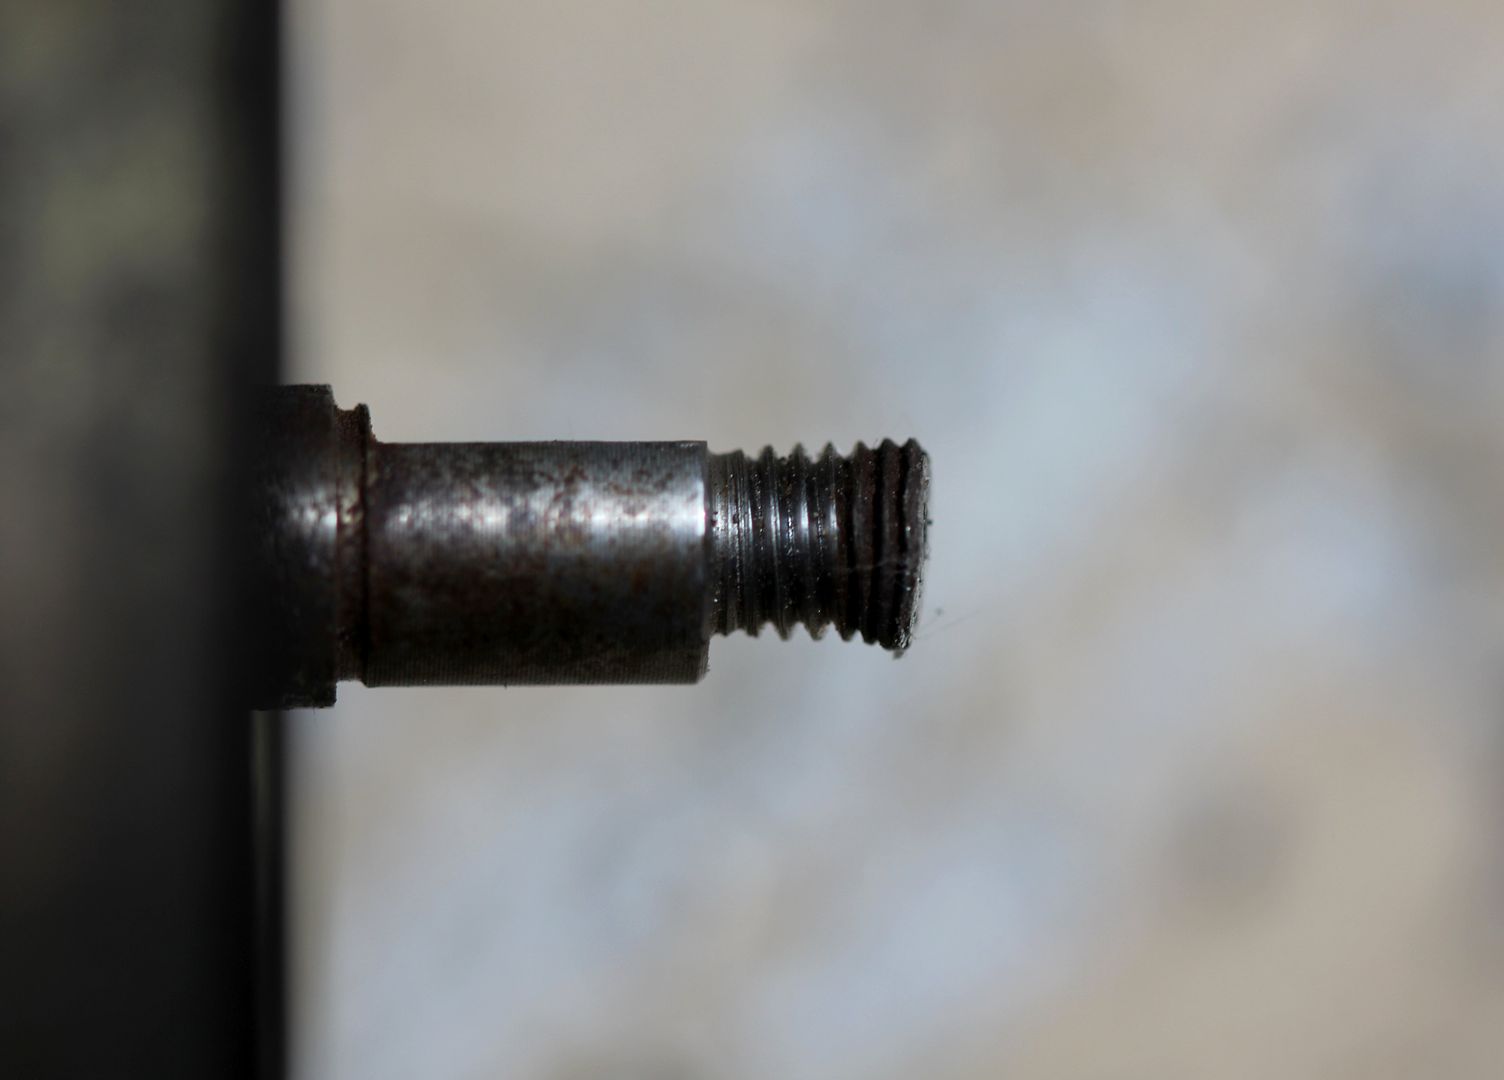
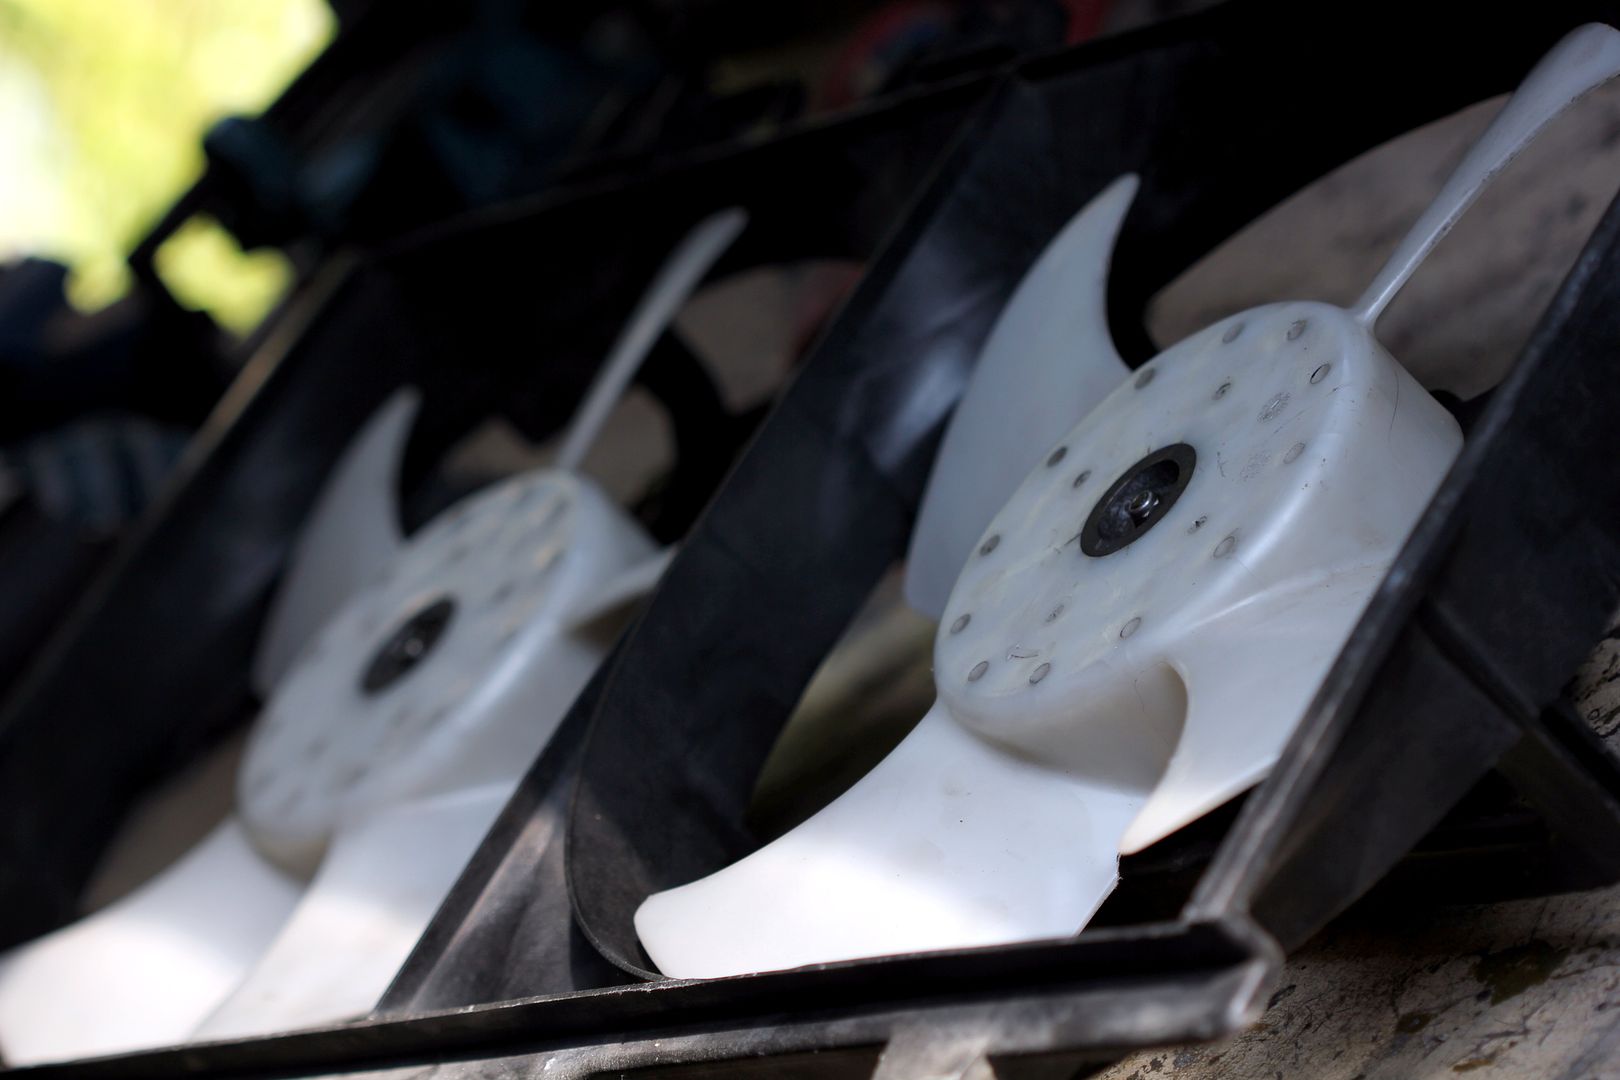
Right, on to the fan assembly. I figured if I was rootling around in that area I might as well give them a bit of love, too. Funny thing, no-one ever really seems to think about any kind of maintenance on the fans and I've noticed a lot of otherwise smart engine bays feature rusty motors and grubby fans right front and centre when you open the bonnet. So I recolved to sort mine. Bad idea. First challenge is to get the motor off the fan. The spindle on the motor is steel. The fan has an alloy insert in the centre. Yep, you've guessed it. Over the years the dis-similar metal swap ions and electrolytically weld themselves together. Twenty-two years later some fool like me tries to pry one off the other in the mistaken belief soaking them in WD40 overnight will have made any difference. The end result of this was
the weakest bit (the alloy insert) just shatters. curse word. I went for Plan B (nope, not him off Ill Manors), which was to undo the bolts holding the motor to the cage, which would then mean I could knock the motor out the other way by using a drift against the spindle. This was after scoring a second spare set of fans from RX Junkie, as I'd pretty comprehensively screwed the ones from Blitzen's radiator. This new technique had... errm.. qualified success. The first obstacle is that this is how the bolts holding the motors to the cage end up after two decades;
They took some freeing off, I tell thee. In fact, a couple were so mullered I had to end up drilling and then re-tapping the motor mounts. The next problem was that even with the drift punch, the motors spindles didn't want to relinquish their hold on the fans.
Hmmm, another one knackered then. The next problem is the appalling state the steel motor cases end up in. I managed to get a complete set of fans and motors from amidst the wreckage I'd wrought, but they needed a bit of a clean up
so I set to with the wire brush
Doing this renovation has really brought it home to me how the FD (or early ones like mine) are on the cusp of being a car that really needs restoration rather than just maintenance. They're getting to that age when time, weather and bodgery are taking their toll and stuff needs love rather than just servicing. It's no wonder that we're seeing unloved examples turning into total handgrenades nowadays. It's not even just corrosion, stuff like this needs to be considered, too;
And no, that wasn't my hamfistedness, cheeky! Anyway, after a bit of scouring the motors came up well enough to throw a bucket of Hammerite over them
Yeah, they aren't going to win any installation art awards, but at least they won't rust again
So, with the addition of some nice new stainless fasteners with nylocs, I had a shiny, clean rust-free fan assembly ready to go back in;
Ada kindly came down to give me a hand and moral support with trying to get it all to fit. Here he is, apparently praying to the Rotary Gods that Ruby will go easy on him
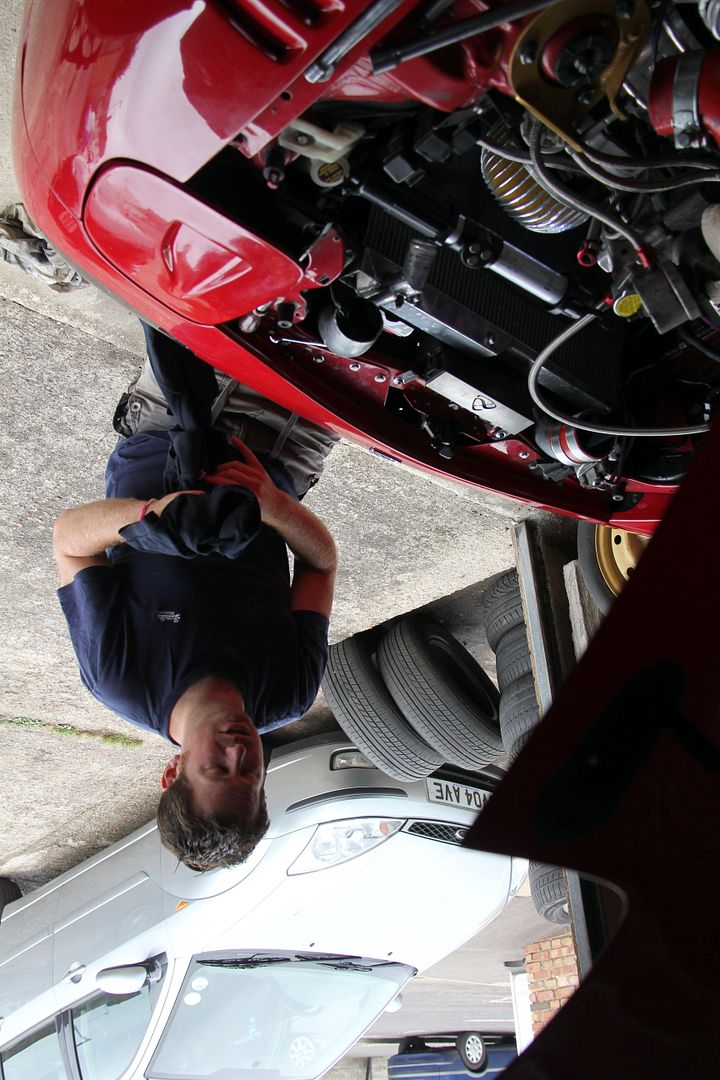
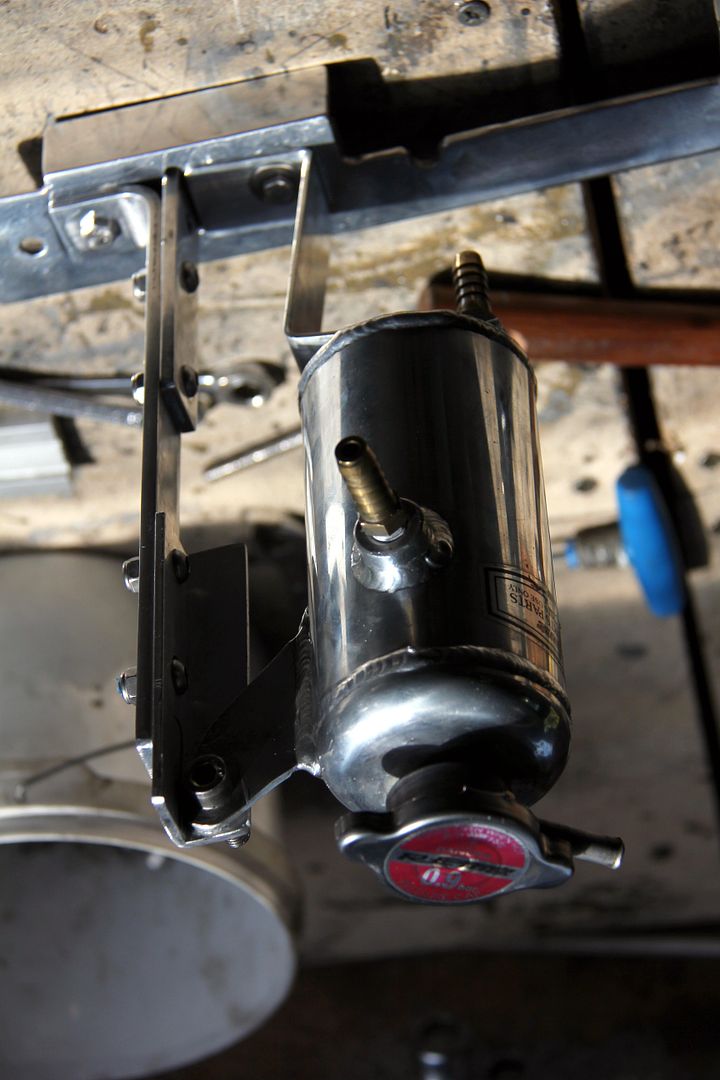
Needless to say, she didn't! Although what follows might be considered a lesson in "measure twice, cut once". Anyway, we ended up with this as an assembly ready to go in;
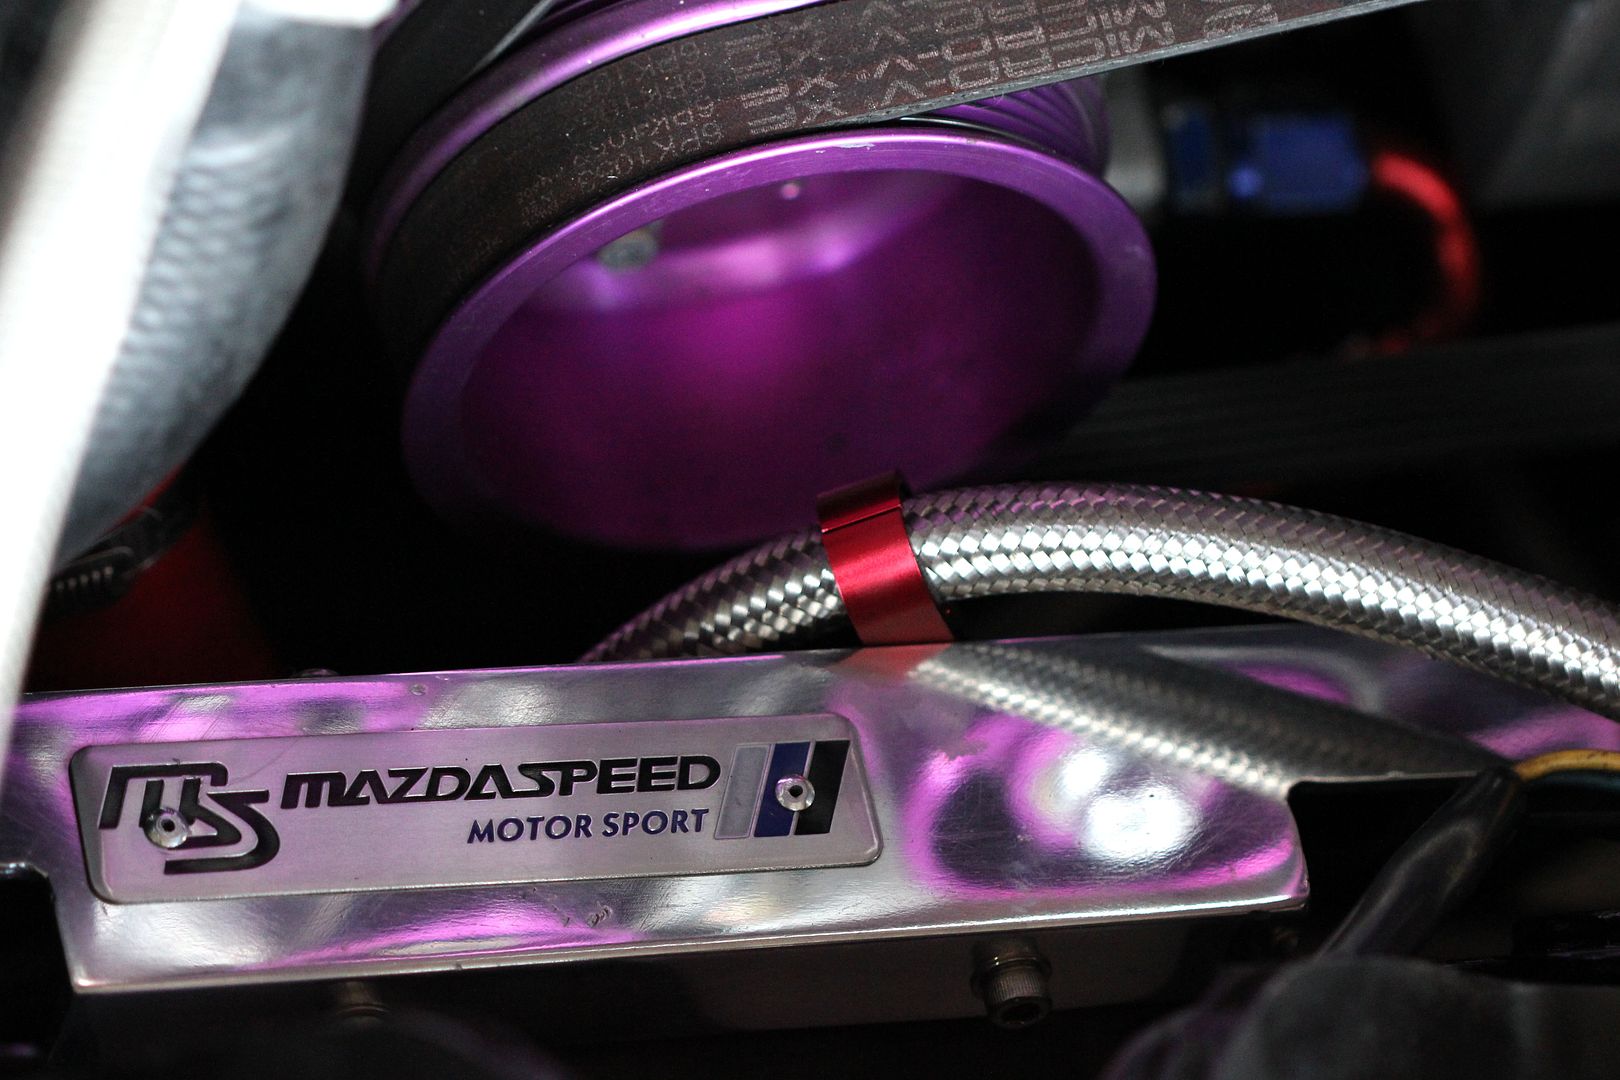
Looks good, supported the AST nice and steady (once I'd re-made the bottom bracket due to *ahem* making it too long first time). Oh, and I also cheekily added a little plaque just to make it look more like something that was supposed to be there and not something bodged up from a leftover bit of alloy by a monkey in a garage

. More macro...
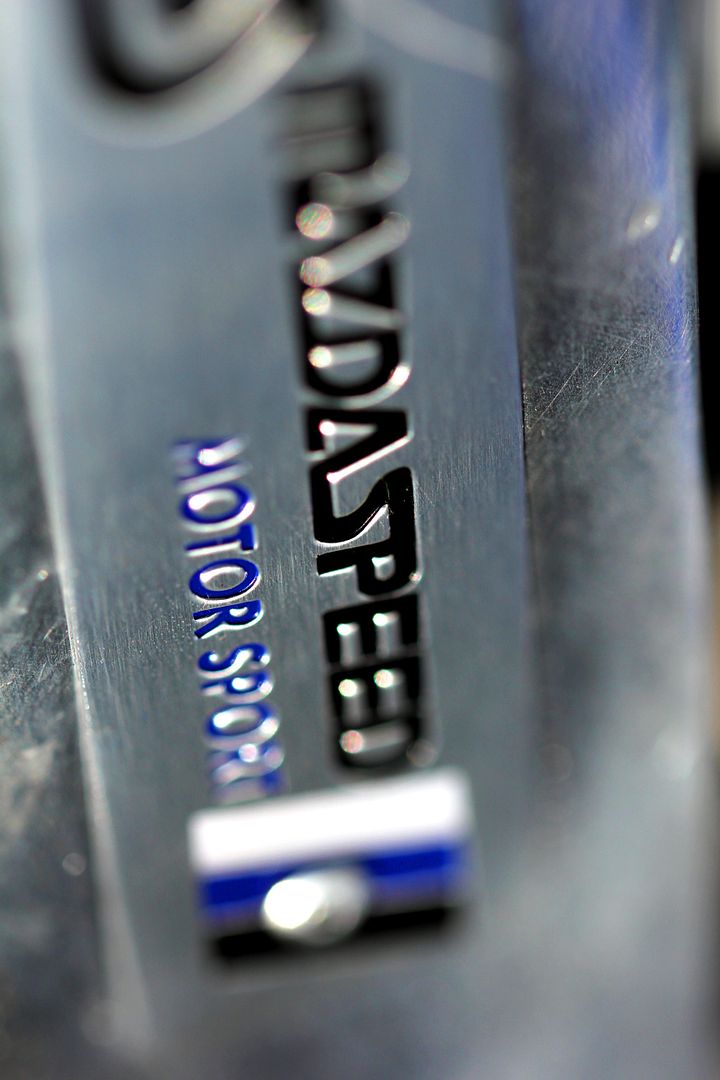
Apologies to MazdaSpeed, I'm sure they might have done a slightly better job than we did, lol. Anyway, we bolted the whole thing in, and needless to say, it didn't fit. What I'd failed to take into account was that basically mounting the AST at 180º to what it had been meant that all the unions were now "clocked". And this meant that the bottom hose to the radiator now wanted to come up slap-bang in the middle of one of the fan motors. Dang. Rexy looks on with disgust and disappointment as we hamfistedly brutalise his cousin
Some suitable swearwords later, we had mounting bracket version two knocked together;
This seemed much better, and test-fitting it seemed to imply everythign was hunky dory. The bottom hose now stuck up neatly through the fan cut-out and even made use of the spurious hole leftover by removing the battery plinth. Winning! To celebrate, here's another arty pic of a Schnorr washer and stuff
Anyway, it all looked good so I bolted it all down. The hoses for the AST were now a bit too long, so I shortened them and started re-assembling the stuff int he engine bay we'd removed because it was right in the way. Oh yeah, right slap-bang in the bloody way...
Dang. After some more swear words, I slept on it. Not literally. The next day brought mounting bracket version 3. And hoo-bloody-rah, this time it all fitted, worked and didn't interface with any single other bit of anything. Marvellous. Except that now those neat hoses I'd trimmed to exactly the correct length were too short.
DANG

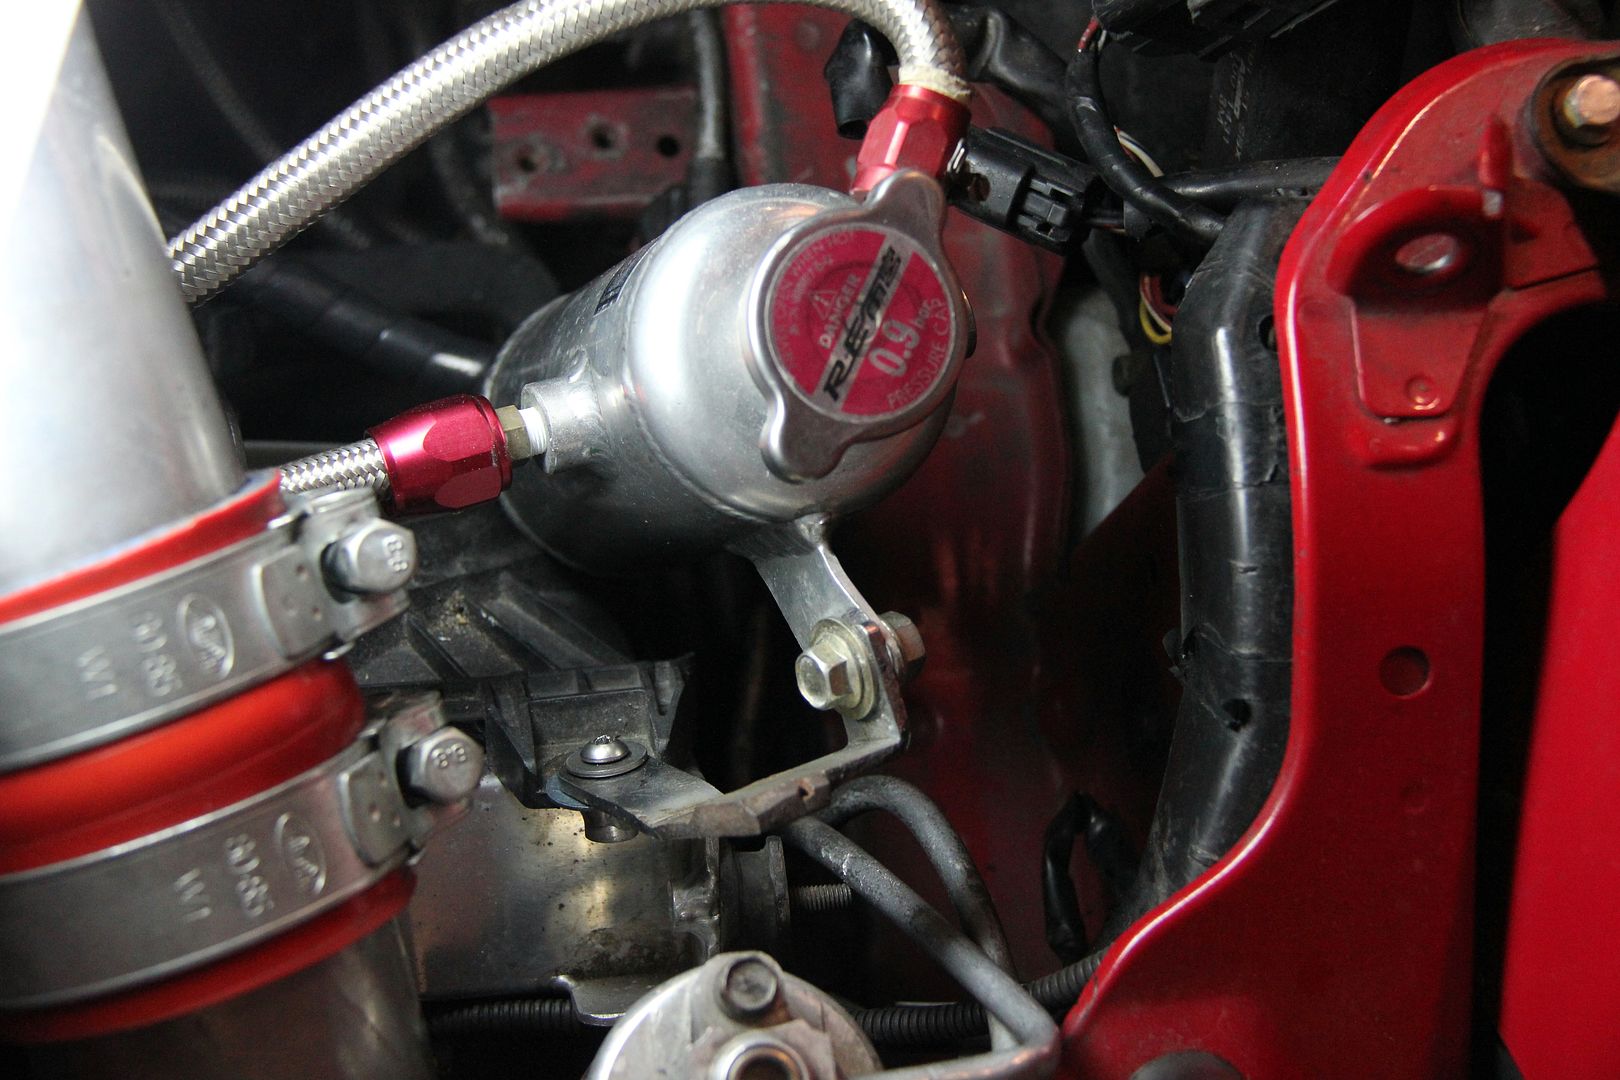
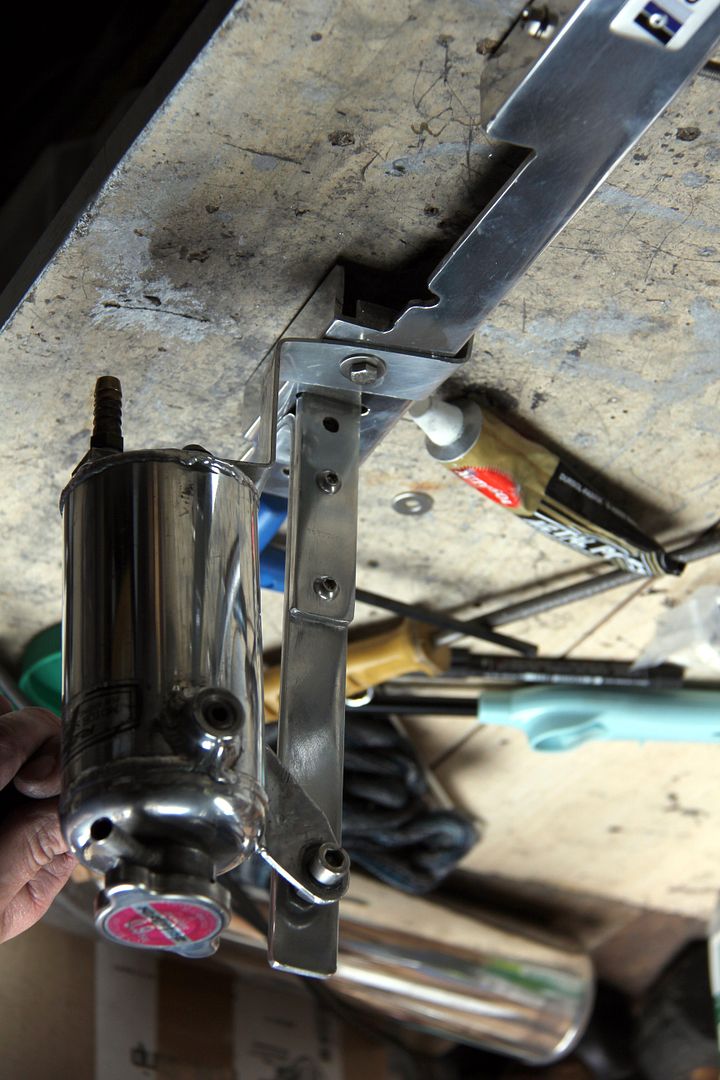
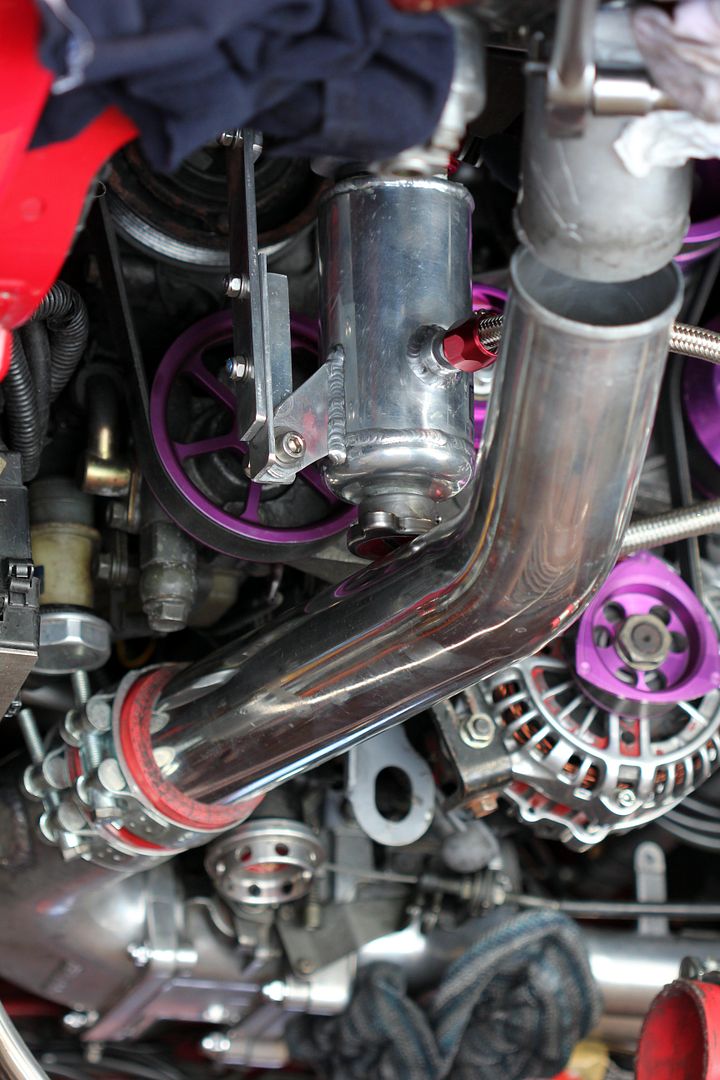
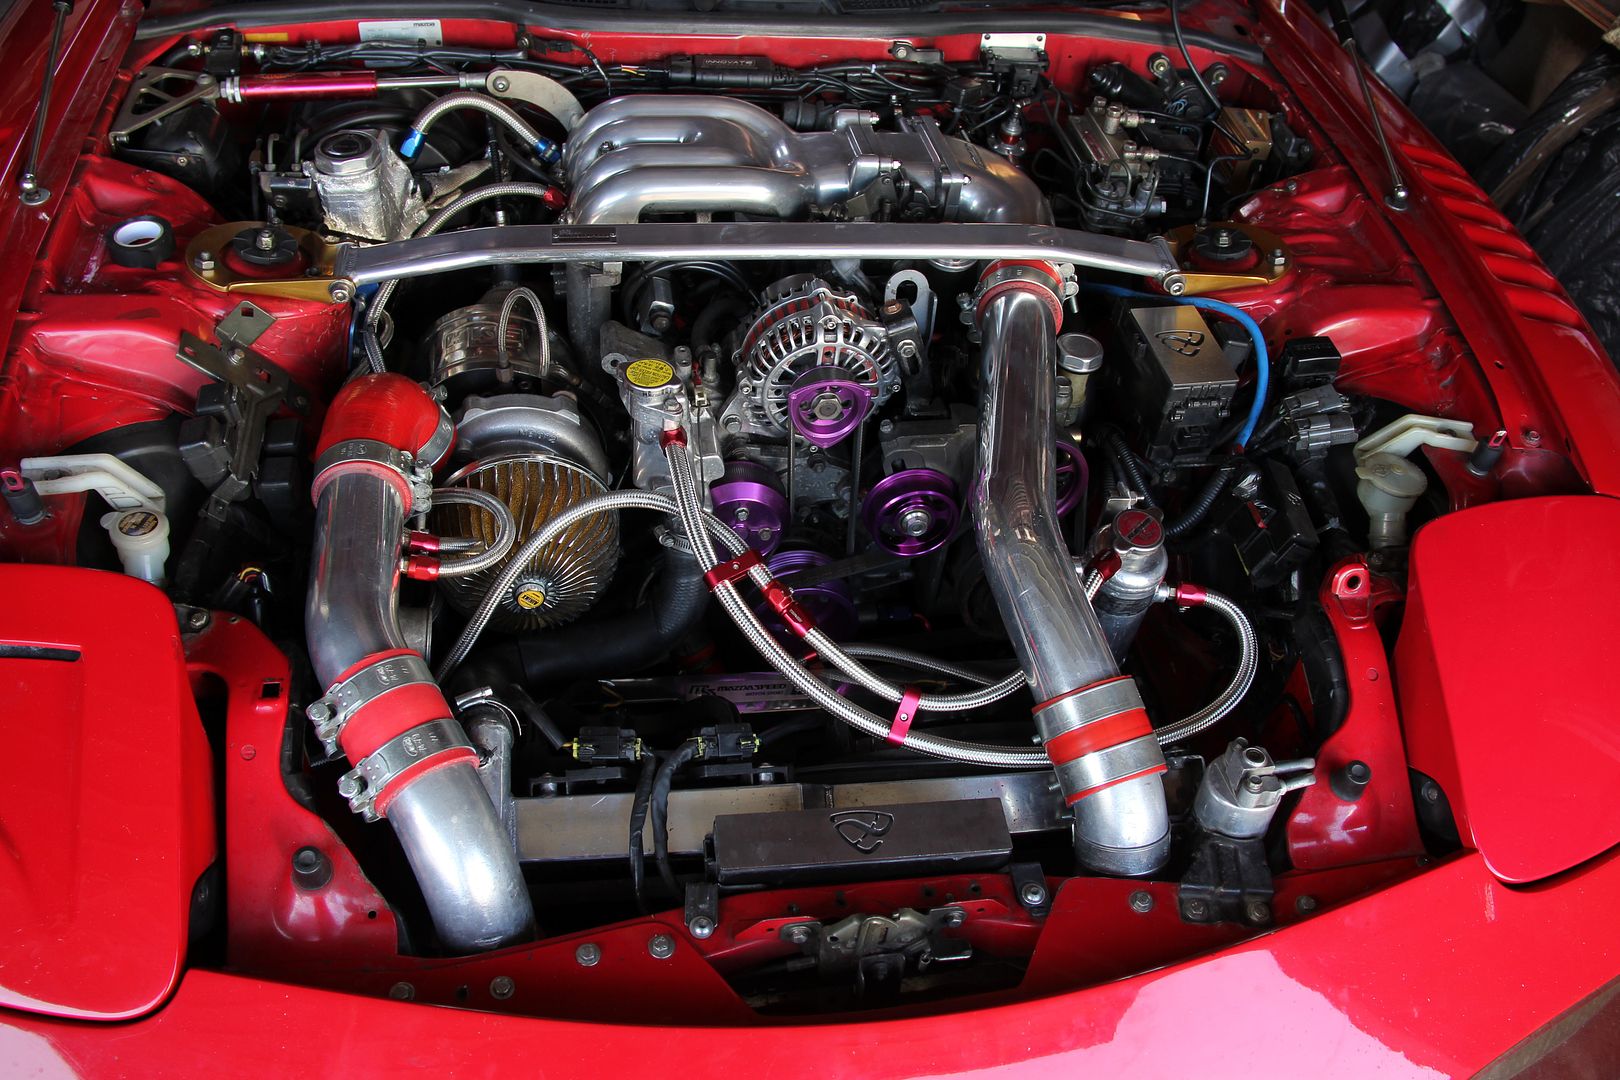
! As it was now the weekend I had a couple of days to wait for a delivery of new hose from the excellent Torques (who must now wonder if I'm re-plumbing my entire house with their products) and I could finally get the damned thing finished. Here you go then

the really annoying side effect of so many inappropriate brackets is that what I've ended up with isn't as elegant as it ought to have been, mostly because it's bolted up. If I can face ever touching the damned thing ever again I might get a tame ally welder to tidy it together for me. However, the engine bay is slightly neater than it was before, which was the whole point of the exercise. And the pig-iron bracket is gone forever. All that for one little three-inch bracket, what the hell is wrong with me

?
Anyway, before;

After;
I've only been round the block a couple of times, but so far nothing seems to have leaked (or caught fire, more importantly). Off on a longer drive in a bit, wish me luck


 [*]
[*] [*]
[*]

 Despite being much smaller than the manifold, due to staying cold, can survive all the vibration and abuse.
 Despite being much smaller than the manifold, due to staying cold, can survive all the vibration and abuse.


 In actual fact, it used to be the working face of the turbo hotside heatshield, which is essentially an enormous cup washer that protects the core from exhaust heat and acts as a gas shroud to prevent blow-by. Somehow it had worn through, detached itself or whatever and got chewed up and wedged into the turbine wheel, jamming the whole thing up! It should actually be part of the bit arrowed here, between that and the wheel
 ) it seemed the perfect time to get some stuff done on ol' Ruby. Besides the necessary (i.e. the turbo eating it's heatshield and jamming up) there were some long-standing niggles that needed sorting.


 . More macro...


 ! As it was now the weekend I had a couple of days to wait for a delivery of new hose from the excellent Torques (who must now wonder if I'm re-plumbing my entire house with their products) and I could finally get the damned thing finished. Here you go then

 ?
?


 kna what Ah means). Hurrah! Lovely. Proof it moves;