IDY
Part of things

Posts: 893
|
|
Mar 22, 2012 19:40:20 GMT
|
Another thread that should fly along  Is there a realistic timescale? John No, not realistic at all! I want to drive it this summer. Given your track record with Mayday I wouldn't bet against you Glad to see another SOC thread, I have liked them all even the ones that make my head hurt ;D |
| |
I will get round to finishing it at some point
|
|
|
|
10mpg
Club Retro Rides Member
Posts: 4,253
Club RR Member Number: 204
|
|
Mar 22, 2012 22:45:35 GMT
|
|
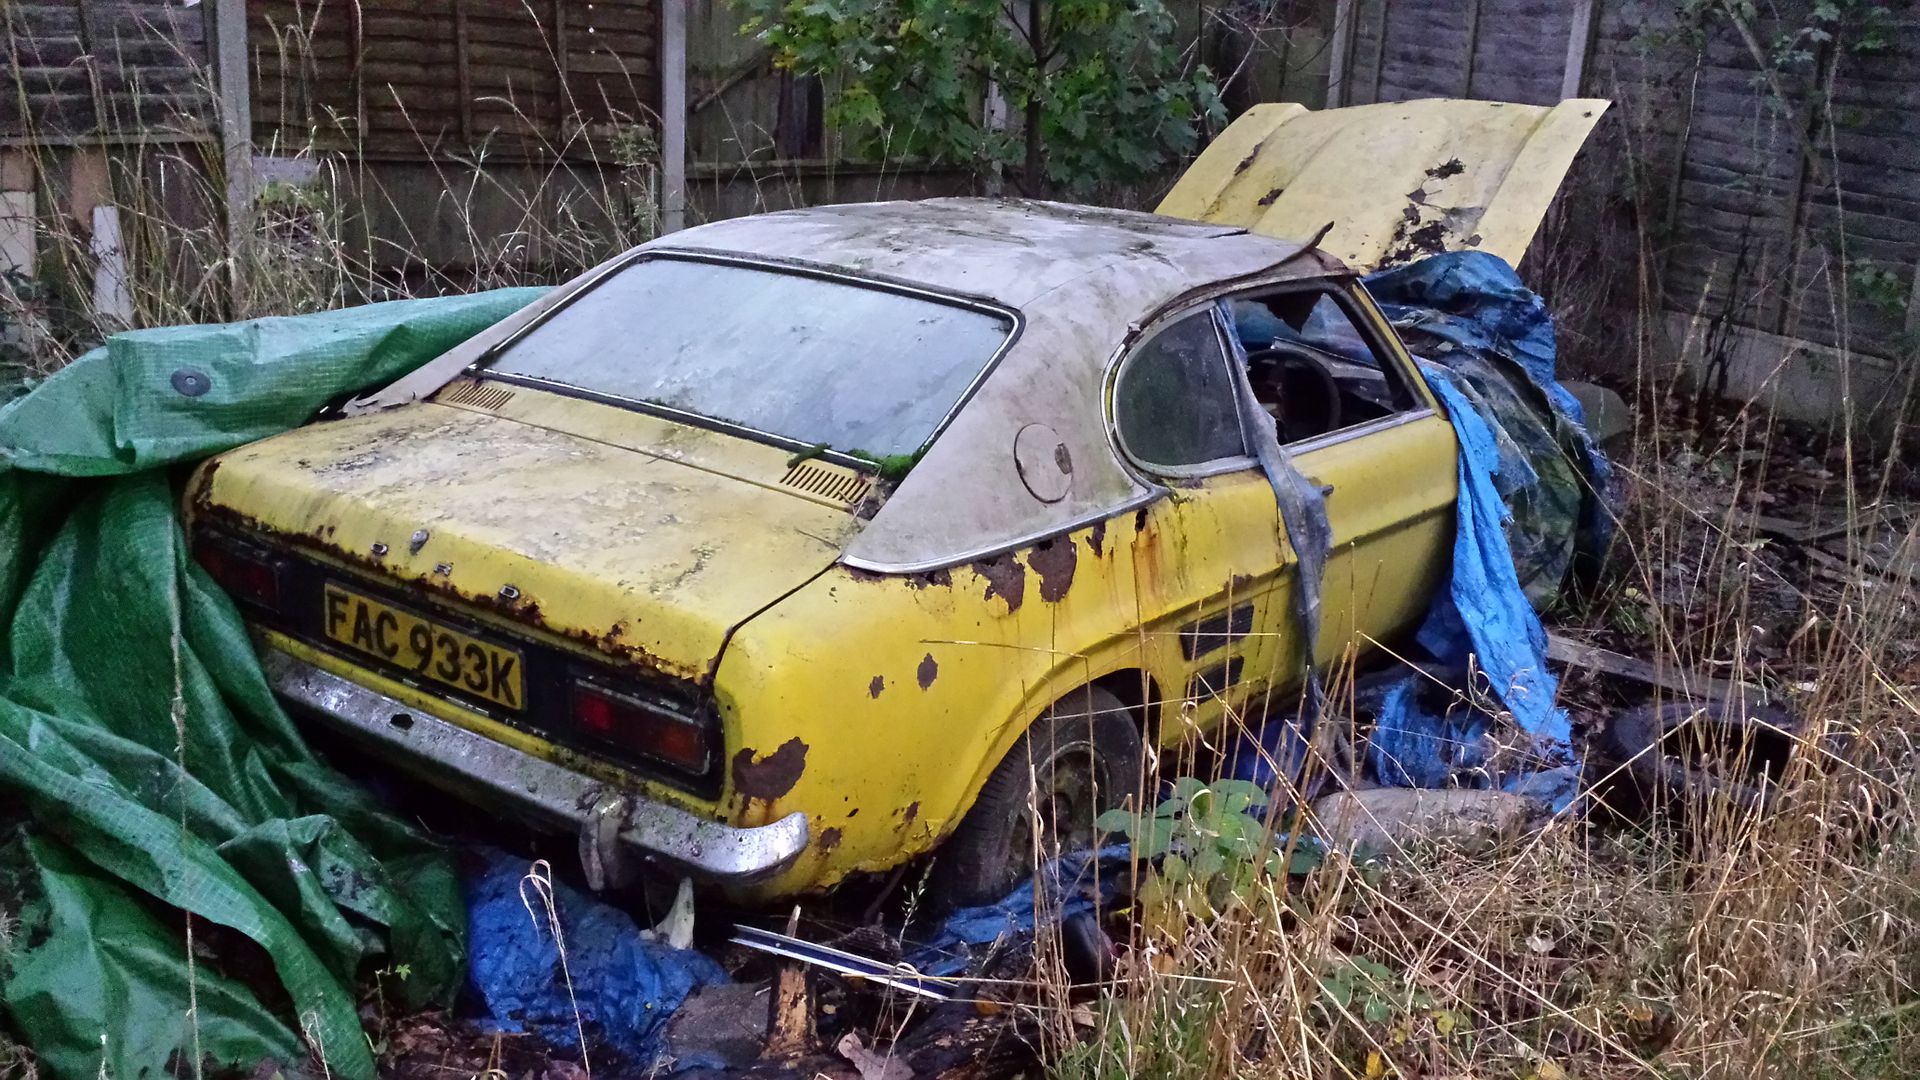
yay an SOC capri thread all my fave ingredients in one!
|
| |
The Internet, like all tools, if used improperly, can make a complete bo**cks of even the simplest jobs...
|
|
|
|
|
|
|
Now most of the rot is removed it looks like this 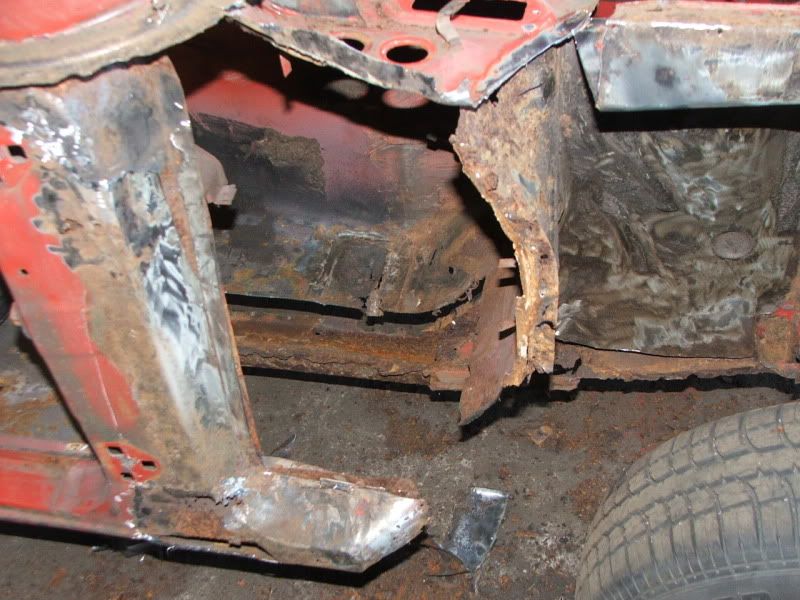 That is a big hole. However, I am convinced that you'll take the "it's only metal" approach and be done in about a fortnight.  I look forward to future installments. ;D |
| |
|
|
|
|
|
Mar 23, 2012 13:08:20 GMT
|
Well, I've been to the supermarket and stocked up ready for a weekend weldathon.  Ooops, wrong supermarket!  ASDA don't stock 1.2mm steel sheet. I bought half a square metre (500x1000) for now  |
| |
To get a standard A40 this low, you'd have to dig a hole to put it in |
|
|
|
|
Mar 25, 2012 20:22:33 GMT
|
Due to a variety of household/garden tasks I only managed an afternoon/evening welding session today, but I'm pleased with the progress. Now then, repairing the huge hole.... Once I'd figured out where I was going to start (at the top, surprisingly..) I made cardboard templates for the repair patches  Transferred that to the steel sheet  Cut it out (aldi air shears - well worth the £14 or whatever)  Add any bends... (vice and hammer for this one)  Clamp....  and weld.  Repeat with next patch  and so on...  Pretty soon I have an inner wing/bulkhead to attach the footwell panels to.  Just as soon as I've made them, that is.  Small bit in at the top, old panel gripped into place so I can see how much is missing...  So I can put it back... (panels made by the method shown earlier...)  Ready to form an edge and attach to inner sill. Hey, wait! I haven't got one....  Ah, better.  and a small bit where the front edge had gone.  Outer sill end next - predictably this had a big repair patch slapped over it and next to nothing inside. It's made in three sections because it's a really awkward shape. You can see the patch on the floor.  Next I stripped the last of the old outer skin from the A post  and made a start on putting it back. It was getting dark though, so I packed up and came home. In other news, I also removed the windscreen today, mainly to protect it from weld/grind splatter. |
| |
To get a standard A40 this low, you'd have to dig a hole to put it in |
|
qwerty
Club Retro Rides Member
Posts: 2,410
Club RR Member Number: 52
|
|
Mar 25, 2012 21:00:51 GMT
|
|
Most excellent progress!
|
| |
|
|
|
|
|
Mar 25, 2012 21:17:06 GMT
|
|
|
| |
|
|
Clement
Europe
ambitious but rubbish
Posts: 2,095
|
|
Mar 25, 2012 21:18:41 GMT
|
Very impressive amount of work! I'd have been completely lost with all that steel missing... Me wants more updates |
| |
|
|
|
|
|
|
|
Always enjoy a SOC thread |
| |
'90 Audi B3 Coupe 2.3 Auto [gone]
'92 Audi S4 Avant 2.2 AAN Turbo Auto [gone]
'93 Audi 80 Avant 1.9TDi [gone]
'96 Audi A4 Avant 2.6 Quattro [gone]
'97 VW T4 1.9td LWB [gone]
'03 Skoda Octavia 1.9TDi [gone]
'05 VW T5 Shuttle LWB 1.9TDi
'15 VW Caddy Maxi Kombi 1.6TDi
|
|
bstardchild
Club Retro Rides Member
Posts: 14,901
Club RR Member Number: 71
|
|
Mar 26, 2012 11:55:37 GMT
|
Cut it out (aldi air shears - well worth the £14 or whatever) darn- I looked at those air shears and thought they'd be rubbish........ better go and see if they have any left PS great progress |
| |
|
|
|
|
|
|
|
Mar 27, 2012 18:06:42 GMT
|
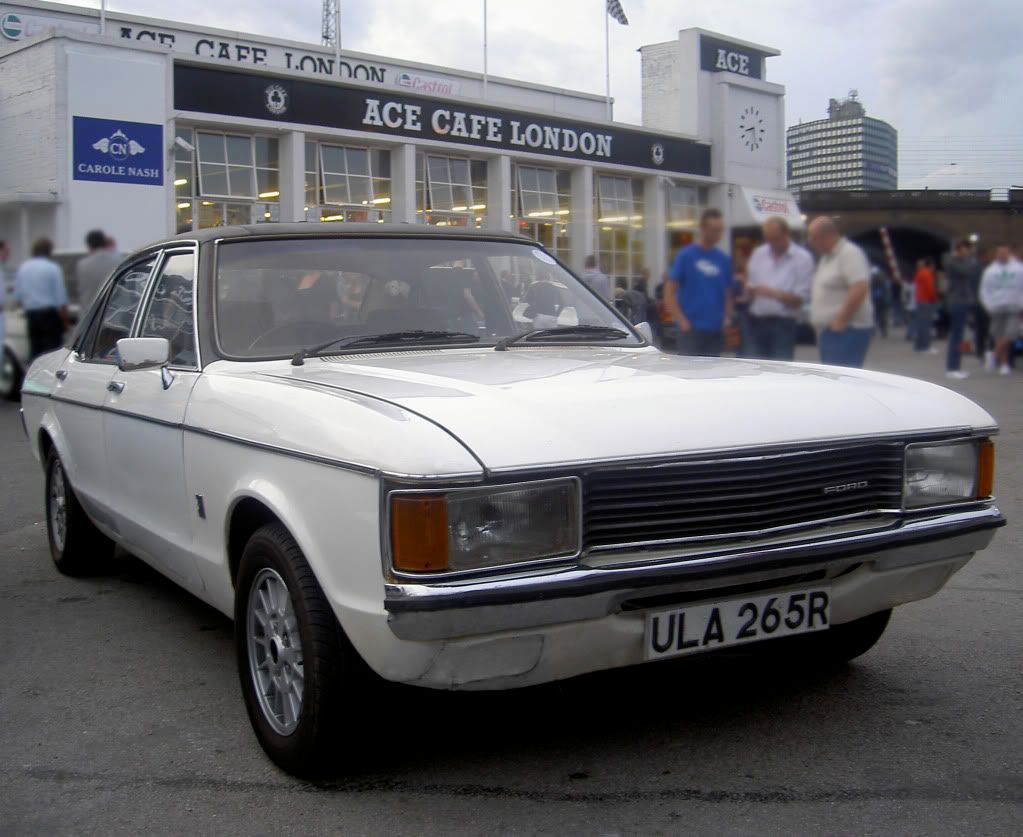
Will be watching this.Lots of handy welding tips and info for my rusty Granada! |
| |
|
|
Davenger
Club Retro Rides Member
It's only metal
Posts: 7,272
Club RR Member Number: 140
|
|
Mar 27, 2012 18:17:45 GMT
|
|
How do you make it all look so easy?
|
| |
|
|
|
|
|
Mar 27, 2012 19:35:47 GMT
|
practice |
| |
To get a standard A40 this low, you'd have to dig a hole to put it in |
|
|
|
|
Mar 29, 2012 11:11:37 GMT
|
Had a couple of hours spare this morning ;D Ideal time to finish closing that huge hole in the side of the car!  Use the old panel as template, draw round with a marker pen... the dotted line will become a bend rather than a cut.  Bing! cut out. Now I could just use it like this, but the original panel has stiffening ribs in it. hmm.....  a plank, a router and a marker pen?  One improvised jig. I tried a couple of methods of pressing it (hitting with a ball pein hammer, and hitting an oblong bit of steel into it with a 4lb hammer) the steel block method was much neater. Marker pen useful again for drawing lines on steel with.  Distorted a bit, but nothing I can't deal with while edging and fixing.  See? more or less straight again  Just about there. The line of self tapping screws is there to hold the panel to the flange behind it - I don't have any grips that will reach around the pillar. Once finished with I removed them and migged the holes up to simulate a line of spotwelds.  Blat over with primer (I wanted to see what it looks like).... More later. I'm only home for lunch. |
| |
To get a standard A40 this low, you'd have to dig a hole to put it in |
|
|
|
|
Mar 29, 2012 11:29:58 GMT
|
More later. I'm only home for lunch. Good progress today, has been a little lacking and was wondering were you having to work to put food on the table and all that. Nice to see the priorities have been considered again ;D |
| |
|
|
qwerty
Club Retro Rides Member
Posts: 2,410
Club RR Member Number: 52
|
|
Mar 29, 2012 13:14:37 GMT
|
If the welders out you might as well buzz these couple of holes up on mine |
| |
|
|
|
|
|
Mar 29, 2012 15:03:24 GMT
|
Inspirational and educational at the same time, loving this thread  |
| |
Last Edit: Mar 29, 2012 15:19:31 GMT by roccoguy
|
|
|
|
|
Mar 29, 2012 16:09:53 GMT
|
If the welders out you might as well buzz these couple of holes up on mine Just for that, I'm going to assume you mean the doors anyway, afternoon progress update - the floor repairs are waiting until some spotweld drills turn up in the post - I have to remove the centre brace from the floorpan. So I got on with the offside strut top instead.  Thick plate(2mm ish) for reinforcing - not "strictly" necessary but the car is getting a huge engine and has fibreglass wings so I think it needs all the help it can get.  Little hole was easy, slow and careful is the order of the day for the other one.  Almost through - time to grind from the other side for a bit  eventually..... ready to clean up and weld in! Camera batteries went flat right about here. I put them on charge and carried on.  This is now ready for the top cover panel (once I've put a chassis number onto it) so I moved on and did this  and this  which now looks like this  Driver's side is really getting there ;D Passenger side looks like this though...  Oh well, it's only metal ;D |
| |
To get a standard A40 this low, you'd have to dig a hole to put it in |
|
chevazon
Posted a lot
1939 Chevrolet 2 door coupe, `67 `Zon estate, `87 Ragtop Cavalier, 4 x 800 Drifters,(!) 1500 Drifter
Posts: 2,259
|
|
Mar 29, 2012 16:28:28 GMT
|
|
Another weldathon from the master of rust. Must catch up with you Andy.
|
| |
|
|
bstardchild
Club Retro Rides Member
Posts: 14,901
Club RR Member Number: 71
|
|
Mar 29, 2012 17:09:08 GMT
|
|
I like they way you do functional (better than MOT std repairs) and TonyBMW does invisible
Sort of like ying and yang
No offence intended to either of you - good to see both IMO
|
| |
|
|
|
|