|
|
|
Sept 17, 2010 10:35:23 GMT
|
Always liked the E12 and this one looks lovely. Work has stalled on my Fiat 130 for various reasons but I hope to get it done in the near future. I wondered where you had got too, really missing your Fiat Project, hope you can get back to it soon Tony |
| |
|
|
|
|
|
|
|
Sept 17, 2010 5:44:45 GMT
|
|
|
| |
|
|
|
|
|
Sept 16, 2010 17:58:33 GMT
|
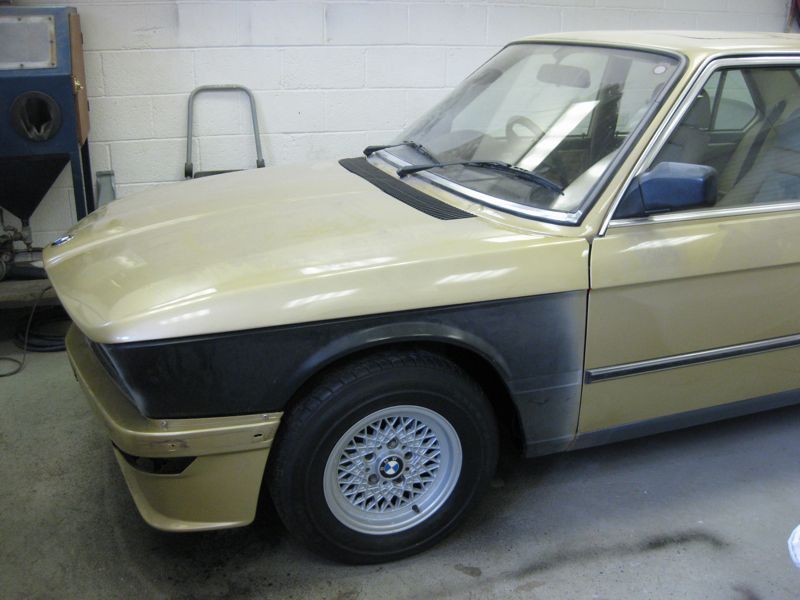
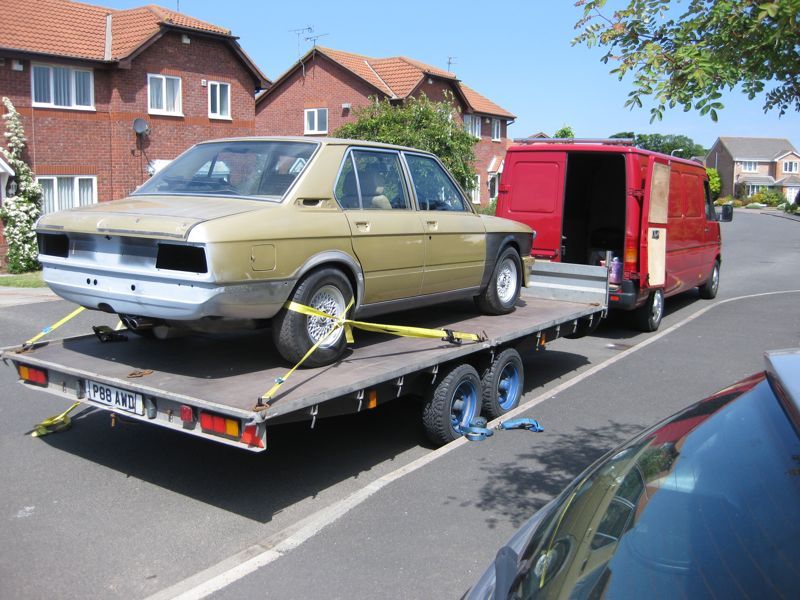
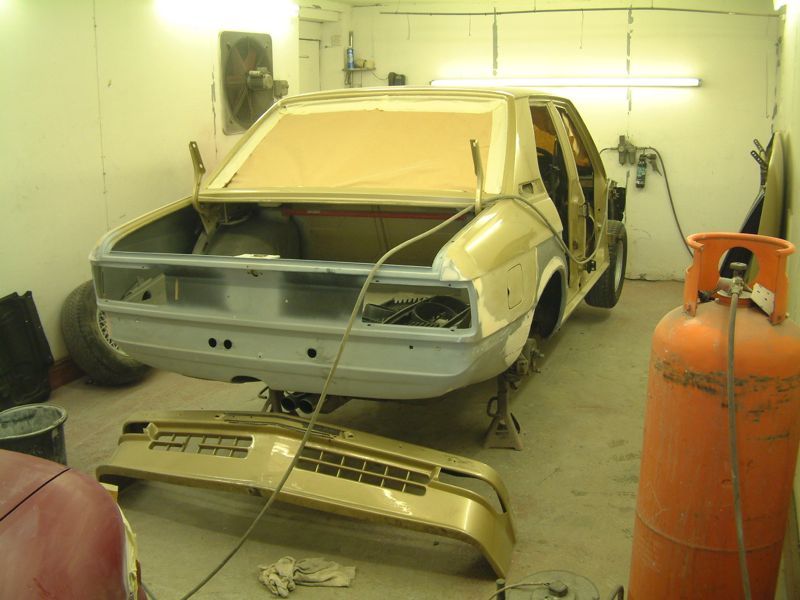
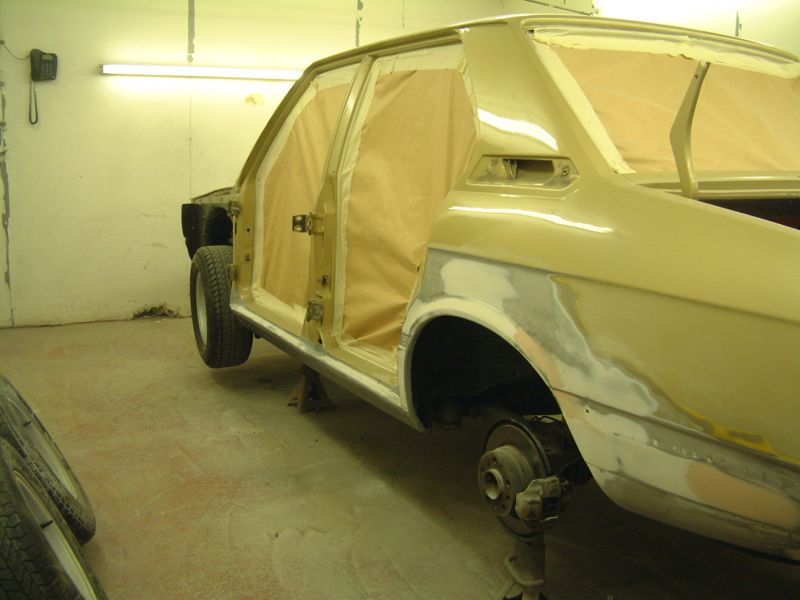
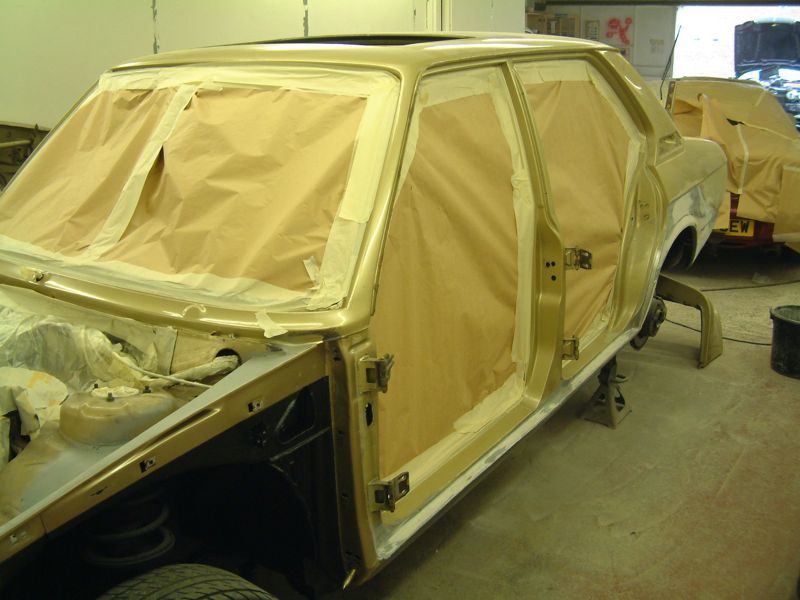
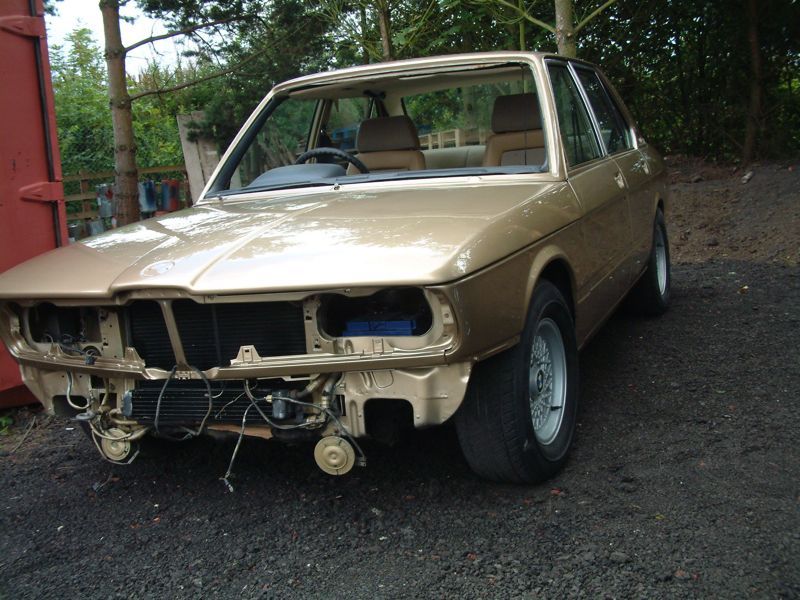
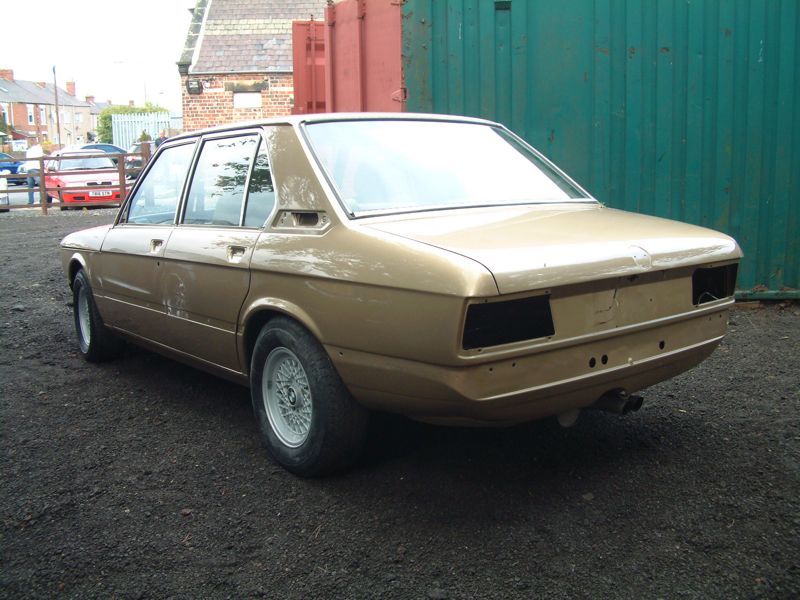
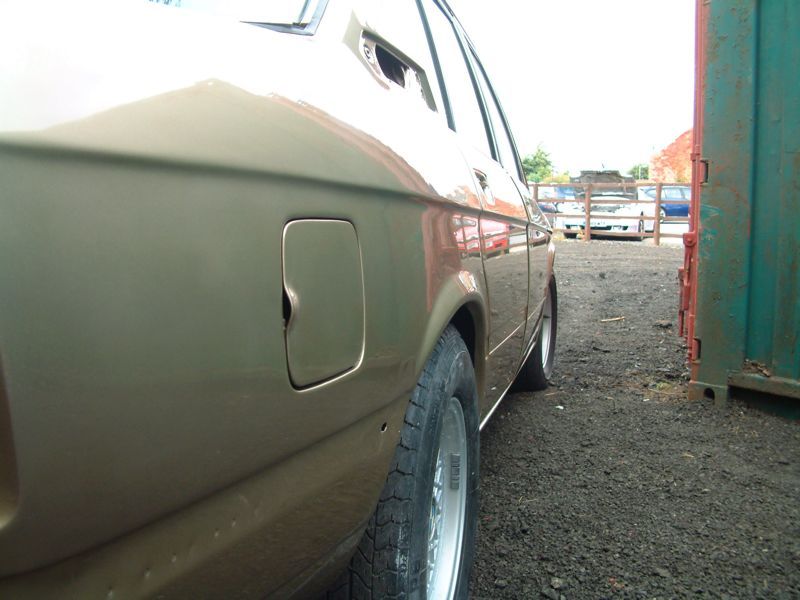
So got the car home 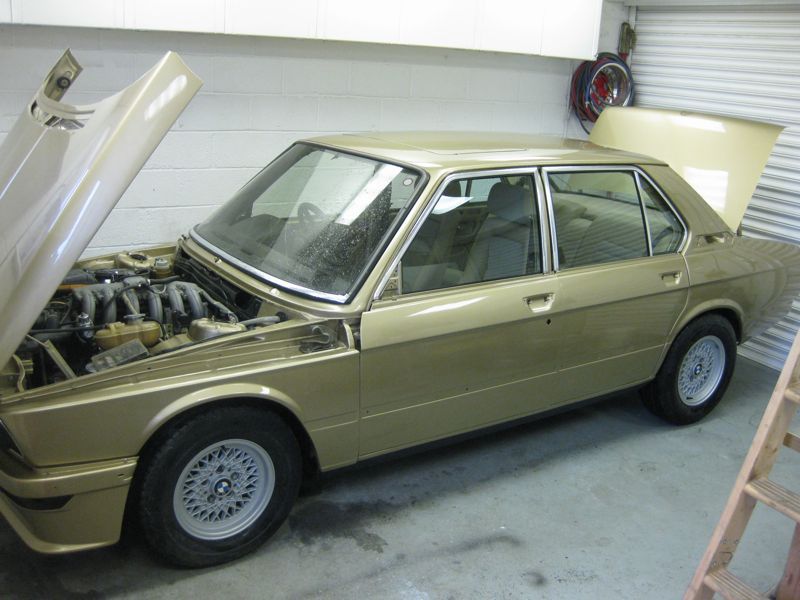 First job was to flatten and polish the sides to remove the imperfections in the lacquer, ignore the terrible panel gaps and door alignment, the painter also did not understand how to adjust the doors properly, 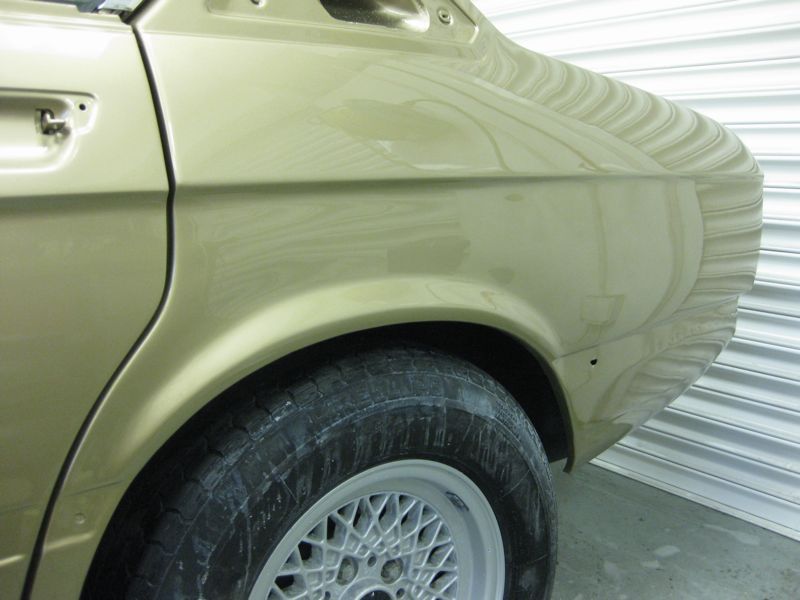 Doors aligned and polished, starting to refit the trims 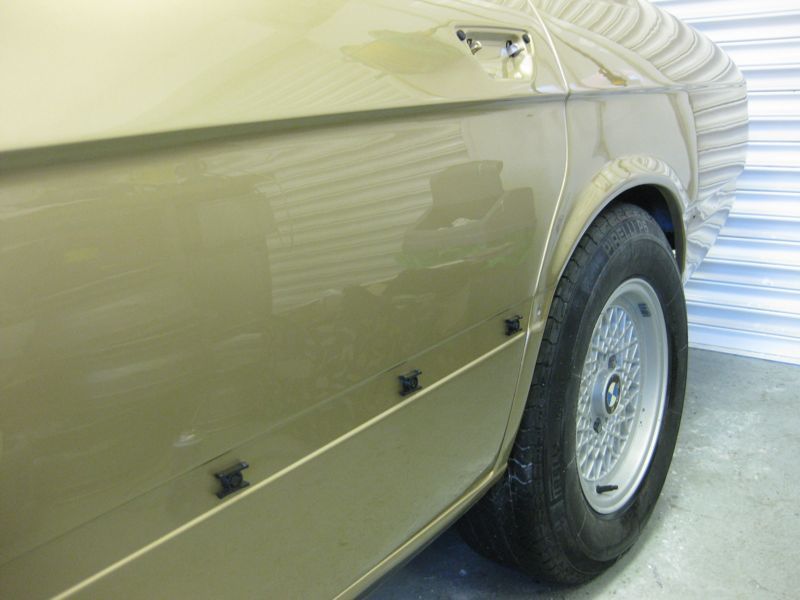 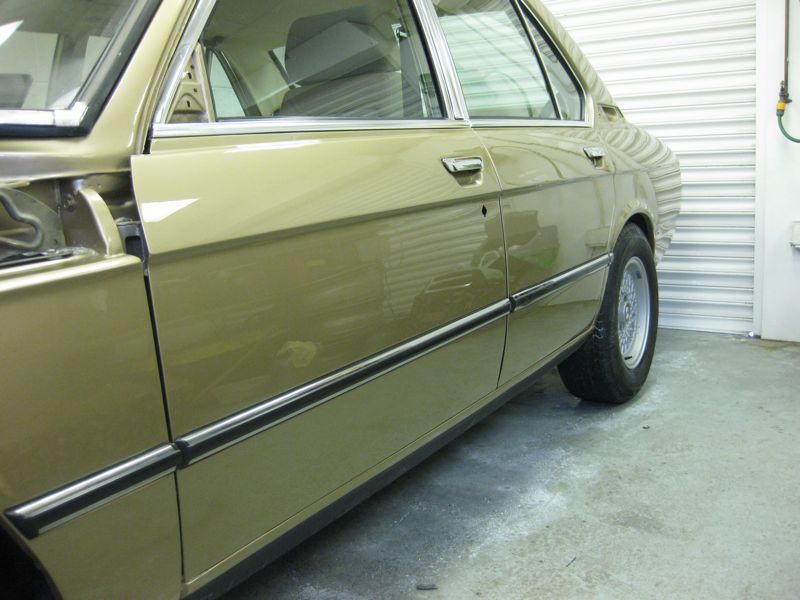 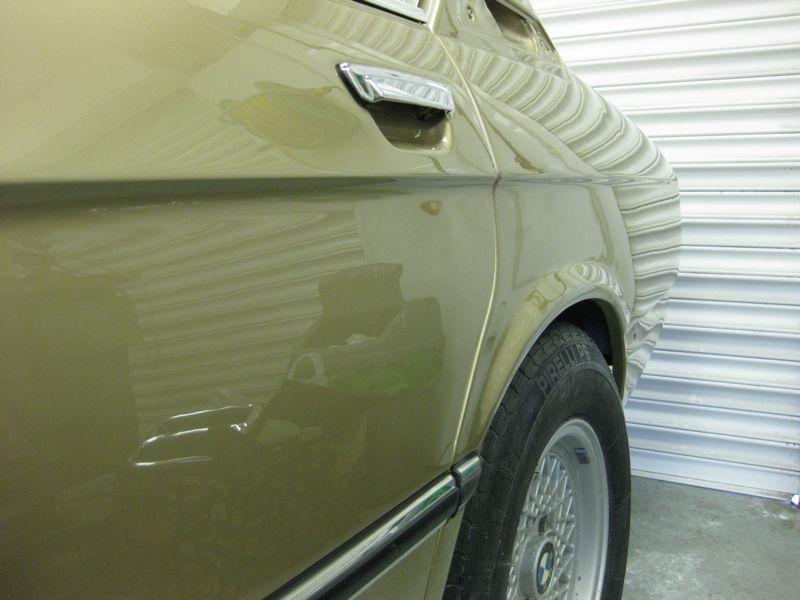 looking much more complete now 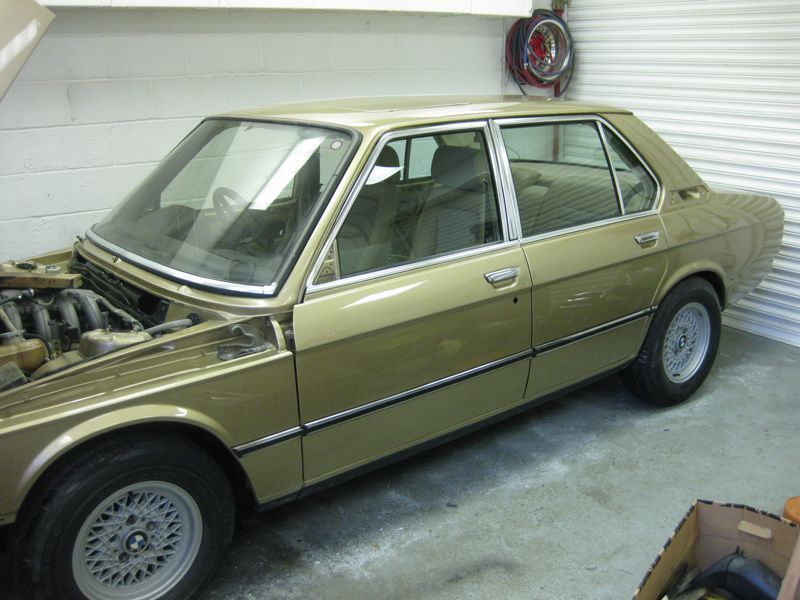 then turn around and repeat on the other side 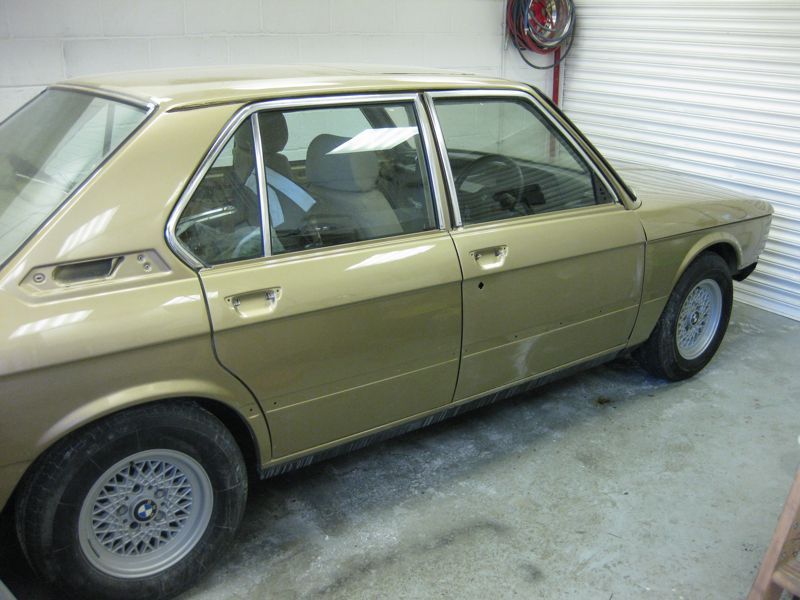 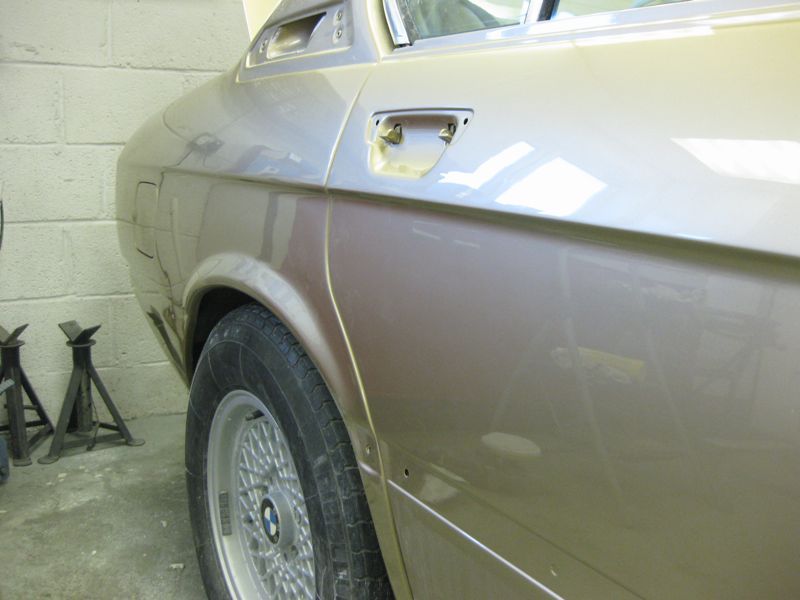 front spoiler gets built up 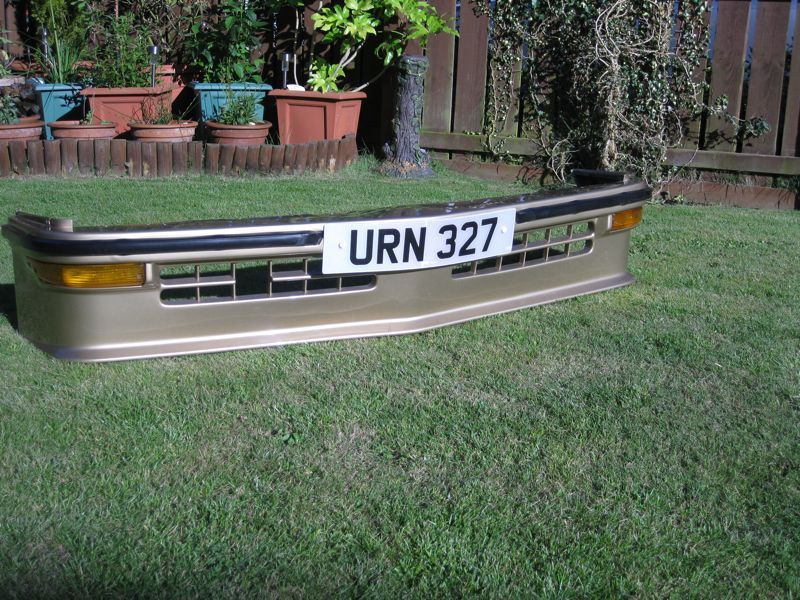 and grills start to get refurbed 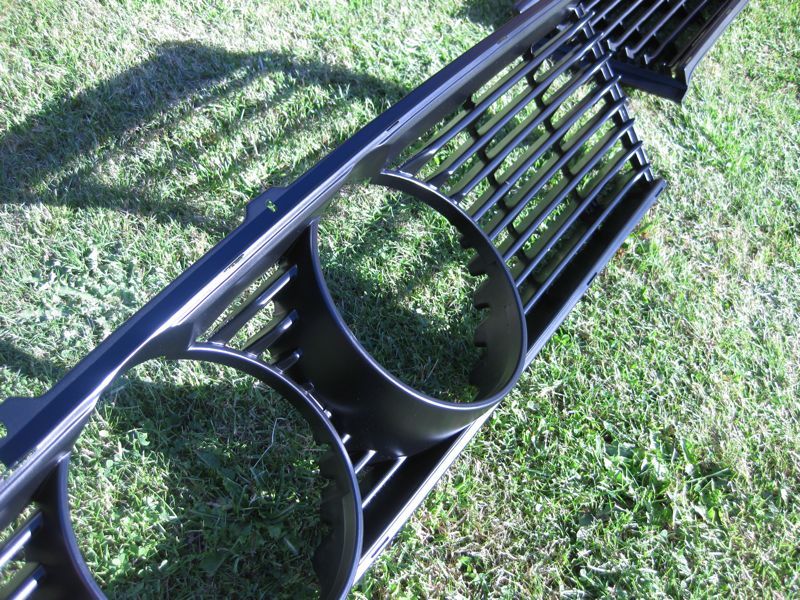 I could not get the rear bumper to sit right, I had tried it on when I fitted the back panel , but had made the mistake of not tightening it up, as when I was doing that now, it was being pulled out of line, after much head scratching I discovered that the rear bumper brackets were twisted, I suppose that makes sense as to why the rear panel was full of filler Fortunately I had some good ones to compare with bent bracket on the left, good on the right  |
| |
|
|
|
|
|
Sept 16, 2010 17:47:22 GMT
|
|
David
Your welding is improving, your tacks are very good with excellent penetration
The white smoke is the coating burning off the steel, it normally happens on Zinc coated or galvanised steel, so your car steel must have something in it
Tony
|
| |
|
|
|
|
|
Sept 15, 2010 22:33:49 GMT
|
|
David
Yes that about sums it up, but I am not convinced that the putty will prevent distortion, probably only help to reduce it, as it will only have an affect on the surrounding metal and not the weld itself, although I guess if the surrounding metal stays cool then the weld itself will stay cooler
|
| |
|
|
|
|
|
Sept 15, 2010 22:15:59 GMT
|
|
Grizz, Missed the update on the wedding , huge congrats to you and Nicola, and the new garage looks superb.
|
| |
|
|
|
|
|
Sept 15, 2010 22:02:46 GMT
|
|
Love it, I have many happy memories of my E28
|
| |
|
|
|
|
|
Sept 15, 2010 21:57:54 GMT
|
|
The photos above were actually after the second paint, what you cant see in the photos is the repair marks in the basecoat, so once I pointed these out to him, he painted it again, and to be fair the base coat has been well applied this time, its just the lacquer that has imperfections, but I can deal with those later.
Unfortunately all this work on other peoples cars, means that mine are being ignored for the moment
|
| |
|
|
|
|
|
Sept 15, 2010 18:40:58 GMT
|
|
|
| |
|
|
|
|
|
Sept 15, 2010 18:20:57 GMT
|
|
Glad you found the Making Panels thread inspiring, and doubly glad to see you trying some of the methods out, don't worry if you don't get instant results, it really is a matter or practice practice practice, and it looks as though you will get plenty of opportunities for that with the Sunbeam.
I'm with Benzboy on the use of filler, its the best stuff in the world if used correctly, but more often than not its used to hide over crusty metal and that is where it gets its bad reputation from
Re the paintwork, good paintwork is 80% preparation, you might be surprised at how nice a job can be made with the most basic of equipment and in the most unlikely places, as long as your prep was right before you started to paint, I would say that 90% of my paintjobs were carried out outside, any flies and loose objects can normally be flattened and polished out, but if you have huge ripply repairs on your doors, no matter how good your paintwork is you will still end up with huge ripples in your doors once you have finished
Tony
|
| |
|
|
|
|
|
|
|
Sept 15, 2010 18:05:41 GMT
|
|
David
Almost right, you are really getting the hang of this now,
It is really the weld itself that shrinks more than the surrounding metal, hence if you try to keep the weld as cool as possible by welding in short bursts to start with, then again the distortion, or shrinkage as you rightly point out is reduced.
If your weld was laid down huge and hot then it contracts at a greater rate, this causing more distortion
That is also why if you gas weld a joint, you can hammer it after to remove the distortion, as you reffered to in an earlier post, as this has the effect of stretching the weld area back to where it was before it shrank, it is often wrongly assumed that welding distortion is the metal expanding, but it is actually the metal shrinking, hence why most distortion in panels has a BOING affect when you push on them, the way to get rid of it is to stretch the panel.
This is not to be confused with distortion from impact or crash damage, as that is the metal stretching and it then needs to be shrunk to get it back to shape
It has been said, but I have never personally tried it as I don't have gas welding gear, that part of the problem is the differing metals between the panel and the welding wire contracting at different rates this increases the distortion, and that if you can fuse the 2 parts together without the use of any welding wire, then distortion will be greatly reduced. But to do this you need to be very good at welding and make sure your repairs are very tight and edge to edge before you start to weld them
As an example of this when I used to work on the shop floor, if we had a gap in a joint of box section or something like that, we would tack it first, and then systematically heat each tack up, and each time it cooled it would pull the joint closer together, until eventually it was tight and then we would fully weld it, also if you had a spar that was slightly out of square you could square it up by laying the weld down in a specific direction, what would happen is that as you welded along the joint the weld got hotter and hotter, and therefore the point that you finished the weld would be hotter than the point where you started the weld, and the hotter point would shrink more and the spar would be pulled that way, obviously if you welded it the wrong way then the spar would be pulled the wrong way and it would be more out of square, for this to work effectively though you must only have small tacks, as a large tack can hold the joint and prevent it from moving.
I am sure I have said it before, but once you understand how metal works, it becomes much easier to manipulate it
Hope this helps and I have not made it too complicated
Tony
|
| |
|
|
|
|
|
Sept 14, 2010 22:05:29 GMT
|
|
Just caught up with this thread, excellent stuff, bookmarked now and look forward to updates
Tony
|
| |
|
|
|
|
|
Sept 14, 2010 18:17:55 GMT
|
Carsie - Crispy notes are a good starting point  volksangel volksangel - Its mainly down to practice, and a couple of good techniques, its nothing that anyone can't learn Lenhard - Look forward to seeing your pics, the E12's continued on in South Africa for about 4 years after the UK, and there are still some good cars out there Schrickvr6 - I firmly believe that anything is possible if you take your time and put your mind to it
|
| |
|
|
|
|
|
Sept 13, 2010 21:11:34 GMT
|
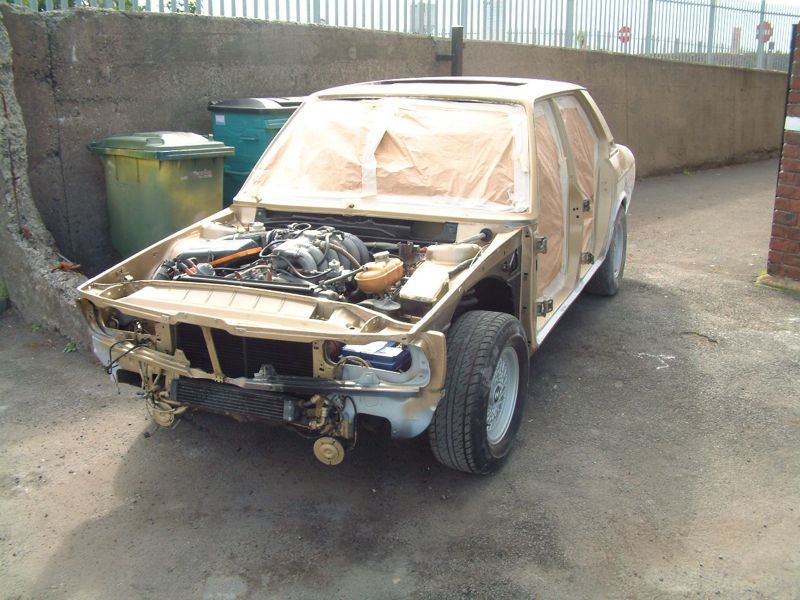
Looks like a Maserati Ghibli or Shamal in the background. Can't wait to see how the Victor turns out - when's it due back? I don't think it was anything that exotic, perhaps a Porsche 924 We really have no idea when it is due back, what they also failed to tell us was the the new super duper Nickel plating line was not actually up and running yet, and the reason they had to cut the mini in half was not to show a before and after shot, but because the biggest tank that they had access too can only fit half a mini in. Well at least the Victor will be one of the first cars to have it done, I just hope thats a good thing  |
| |
Last Edit: Sept 13, 2010 21:20:09 GMT by tonybmw
|
|
|
|
|
Sept 13, 2010 19:51:59 GMT
|
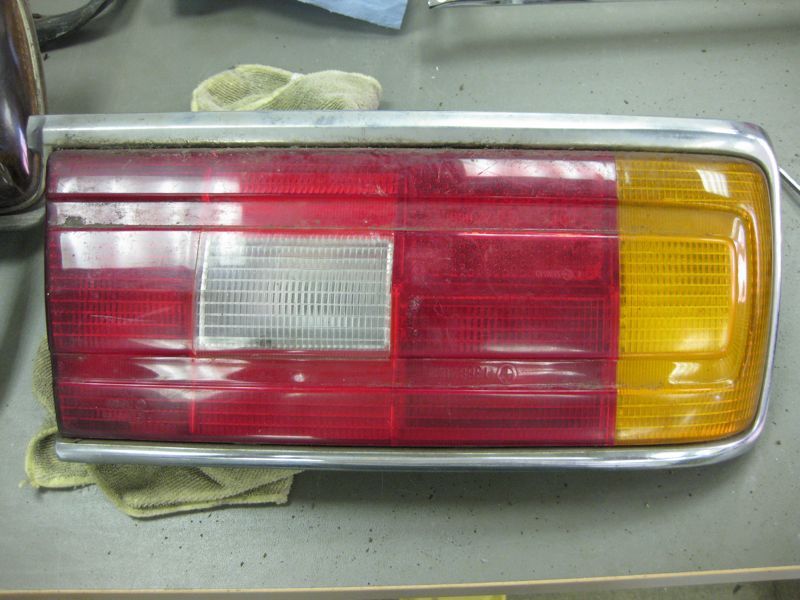
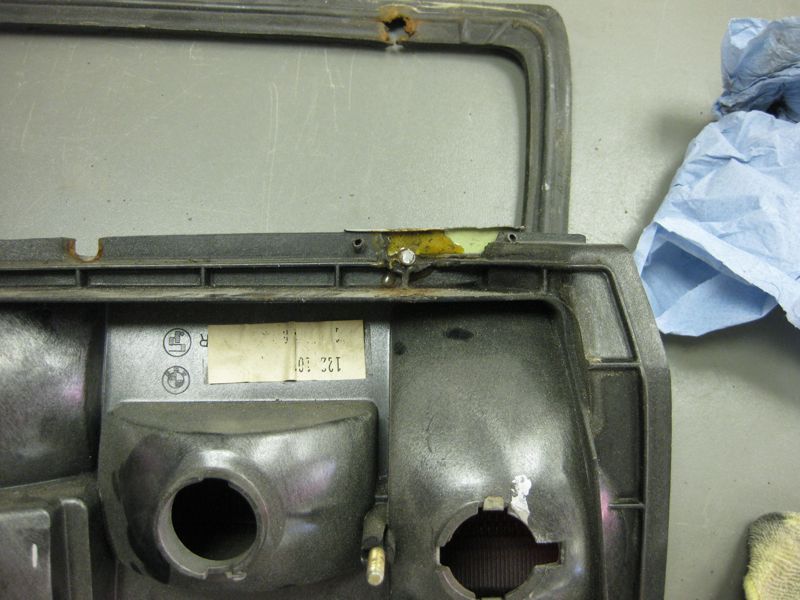
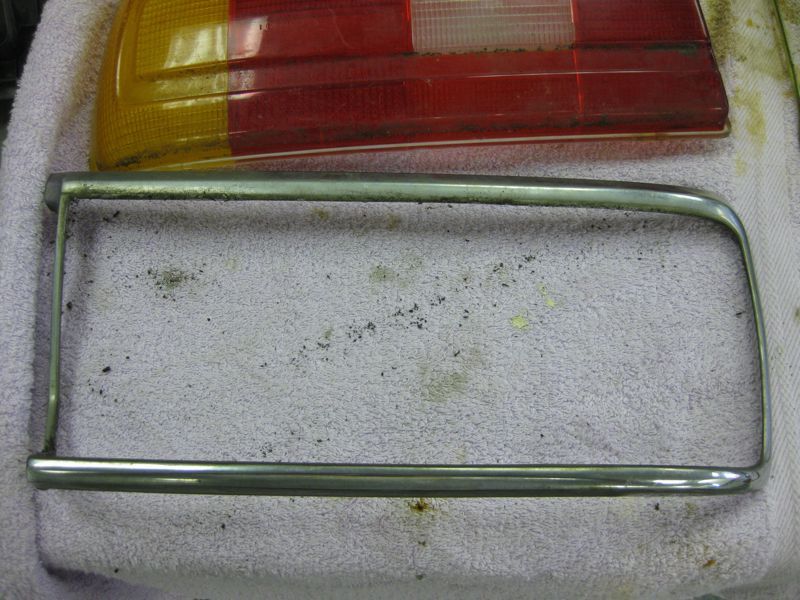
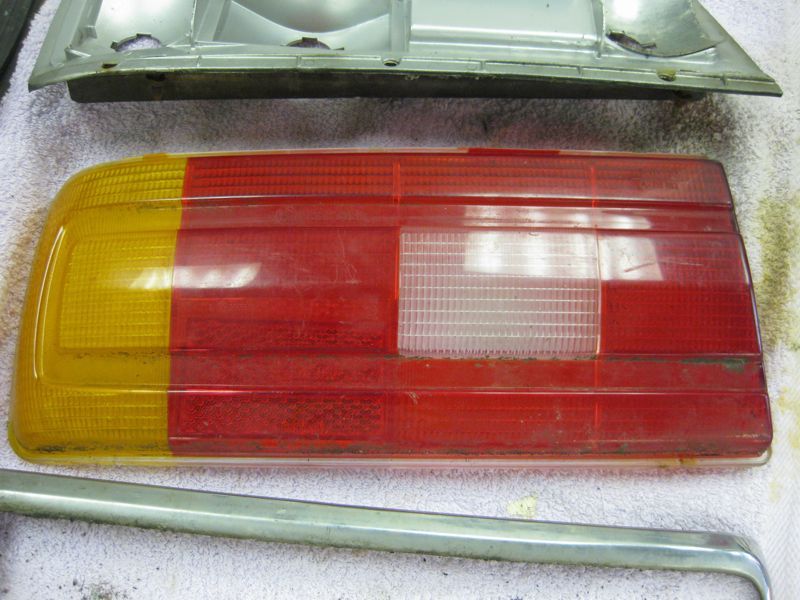
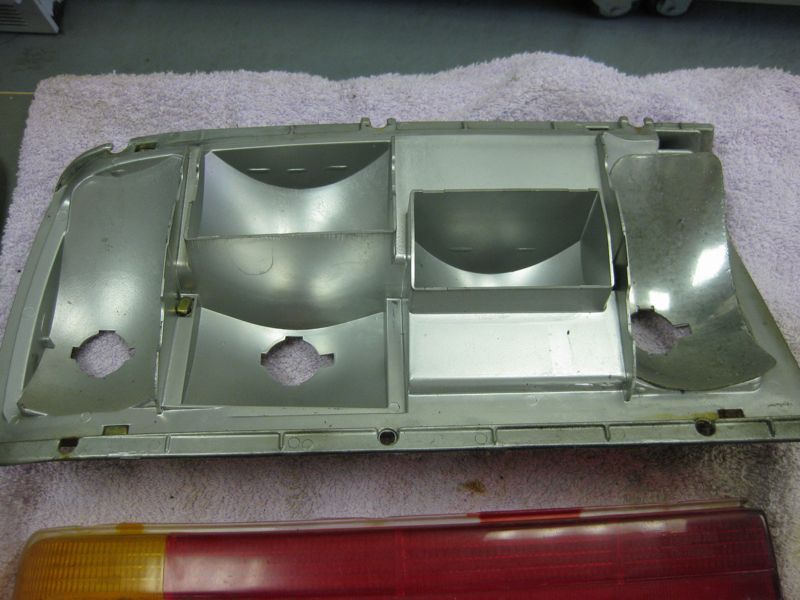
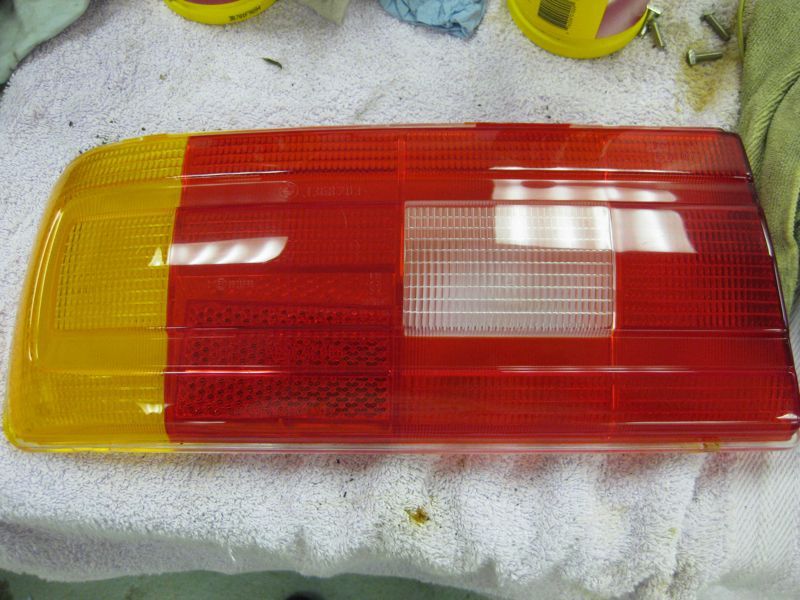
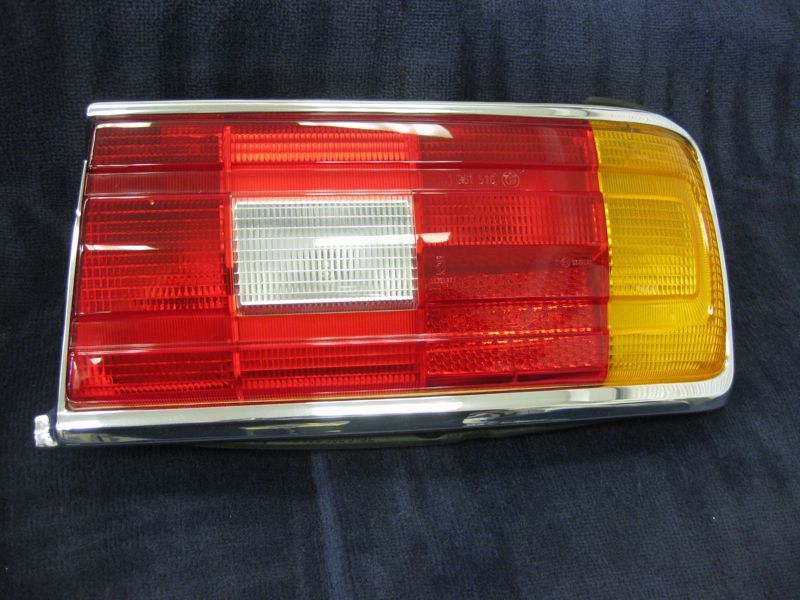
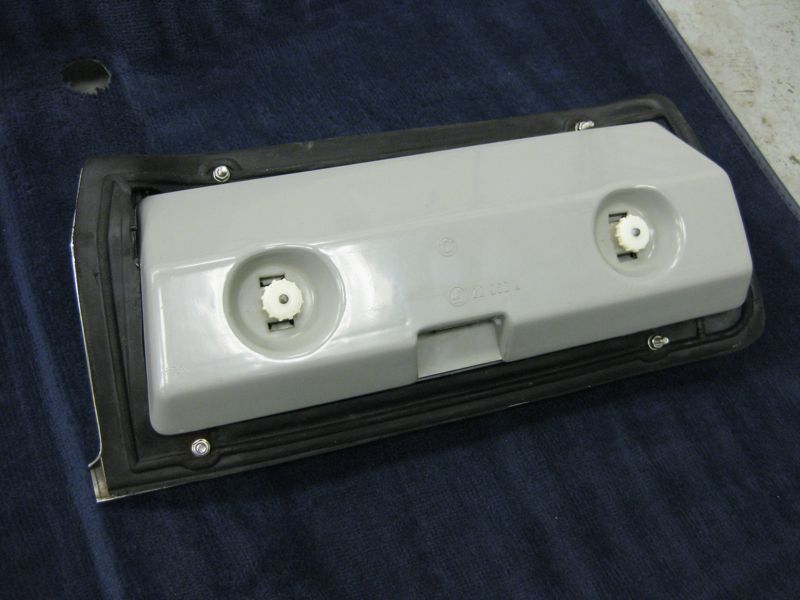
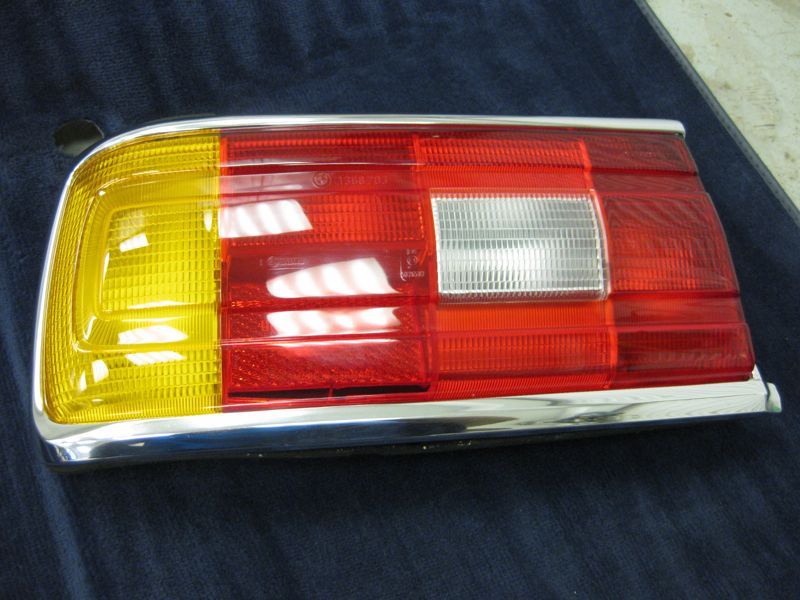
lovely, was it normal car polish you used on the lenses or something special? Cheers I used a fine polishing compound, actually Farecla G10, but something like T cut would work just as well, to remove the light scratches and then normal car polish after that. But even giving them a wash inside made a huge difference, once the insides are clean the outside looks so much better |
| |
|
|
|
|
|
Sept 13, 2010 17:55:02 GMT
|
|
|
| |
Last Edit: Sept 13, 2010 17:59:43 GMT by tonybmw
|
|
|
|
|
Sept 13, 2010 17:45:07 GMT
|
David You cant really stretch a mig weld, they are too hard, so its just weld a small bit at a time, to minimise any heat build up and therefore distortion I'll need to work on my patience then  your welds turn up very flat! I've been experimenting with copper backing as heat sink but then I have to set my MIG to a much higher amp to get proper penetration. But I guess the copper actually reduces cool-down shrinkage? In any case I've got a way to go untill I can produce welds like yours David You are dead right re the copper acting as a heat sink, I would only use that where you were trying to fill a hole or a large gap, otherwise as you say you will have to turn your welder up and then you end up with more distortion, what you can do though is clamp the copper adjacent to the weld, that way it will work as a heat sink to minimise distortion, without actually affecting the weld |
| |
|
|
|
|
|
Sept 12, 2010 20:29:16 GMT
|
Beautiful in every way |
| |
|
|
|
|
|
Sept 12, 2010 20:27:14 GMT
|
|
I love a good E28 project
|
| |
|
|
|
|
|
Sept 12, 2010 20:19:15 GMT
|
|
|
| |
|
|
|
|


 your welds turn up very flat!