|
|
|
Mar 23, 2012 20:21:56 GMT
|
|
|
| |
|
|
|
|
|
|
|
Mar 23, 2012 20:21:27 GMT
|
|
|
| |
|
|
|
|
|
Mar 23, 2012 20:19:52 GMT
|
|
|
| |
|
|
|
|
|
Mar 23, 2012 19:49:50 GMT
|
|
|
| |
|
|
|
|
|
|
|
This is proper old school engineering at its best, Love it  |
| |
|
|
|
|
|
Mar 19, 2012 19:50:30 GMT
|
|
Glad you've decided to persevere with it, and it looks great in those outdoor photos
Love your garage to, I reckon I could happily spend all weekend in there rummaging round
|
| |
|
|
|
|
|
Mar 18, 2012 18:40:15 GMT
|
Fantastic as always Tony, a real pleasure to see you at work ;D CAn I ask where you got your Roloc holder to fit on the Grinder ? I have a Roloc holder for an angle Die grinder but not one for the Electric angle grinder ? They are just a magic invention, can get in so many places that you just cant hit with anything else to blend out ;D Wish I had the air supply in the unit to use one, but an attachment for an angle grinder would be a good comprimise Can't remember exactly where I got it from, just put a search on the internet for the 3M part number as this 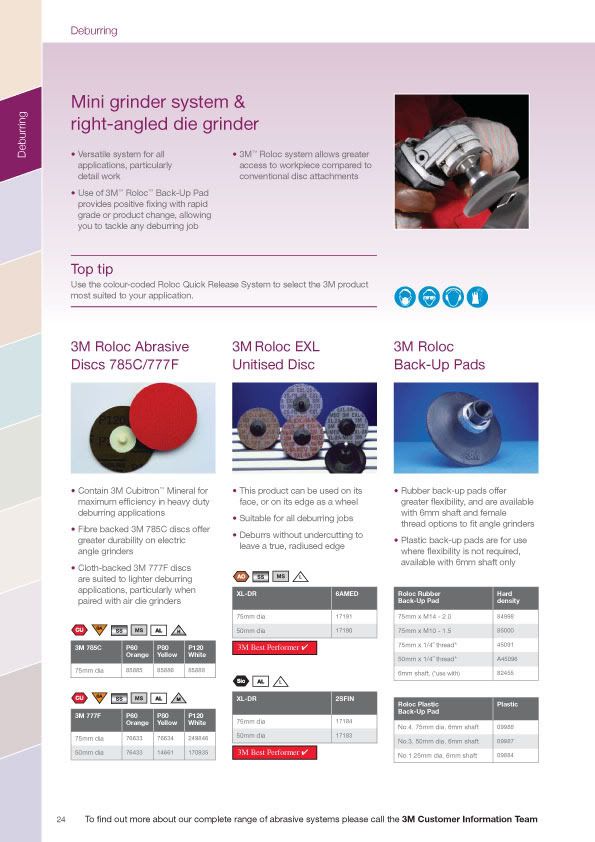 catalogue.3m.eu/en_GB/GB-ASD/Accessories/Roloc_Accessories/Rubber_Back-Up_Pad/Rubber_Back-Up_Pad%7E84998 catalogue.3m.eu/en_GB/GB-ASD/Accessories/Roloc_Accessories/Rubber_Back-Up_Pad/Rubber_Back-Up_Pad%7E84998Not much done again this weekend, had to work again on Saturday But in answer to Lincoln Danny's question, I formed the recess over the end of a bit of pipe, as that was the nearest thing I had to the right diameter. 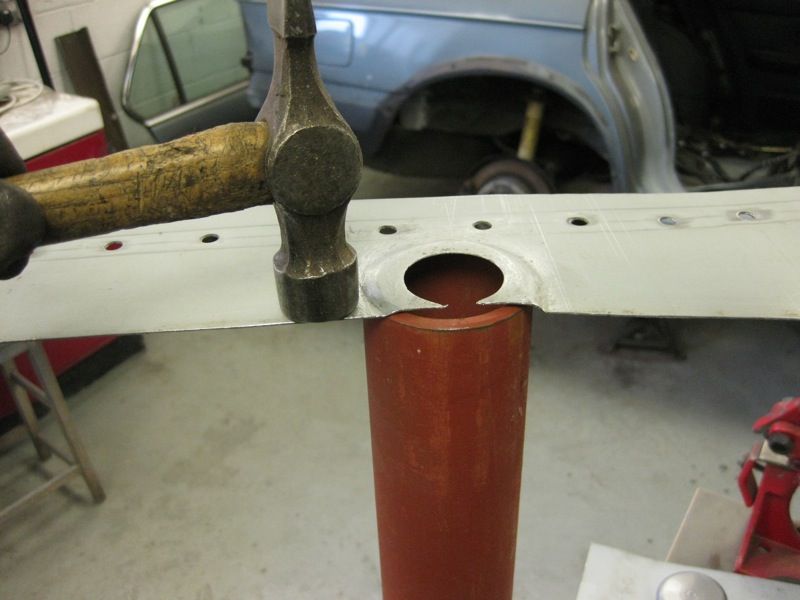 Then I painted the inside of the chassis leg 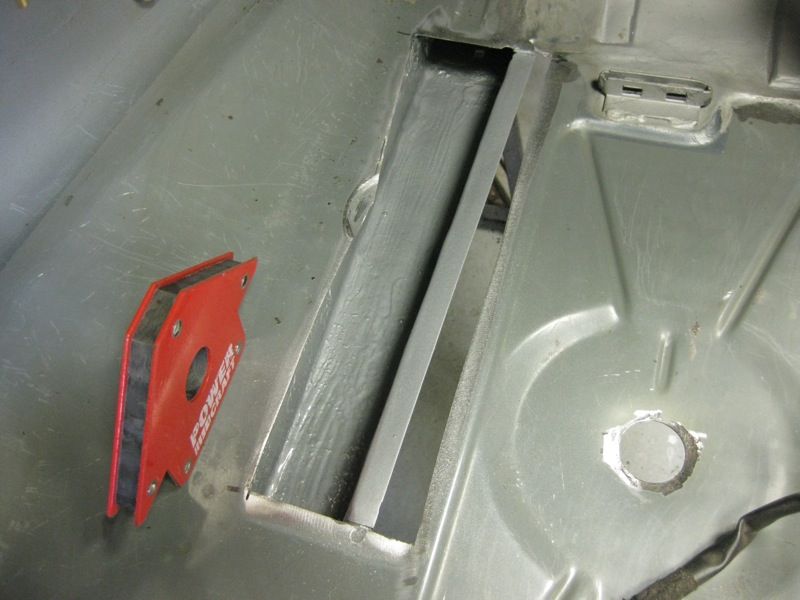 and tacked the new closing plate on 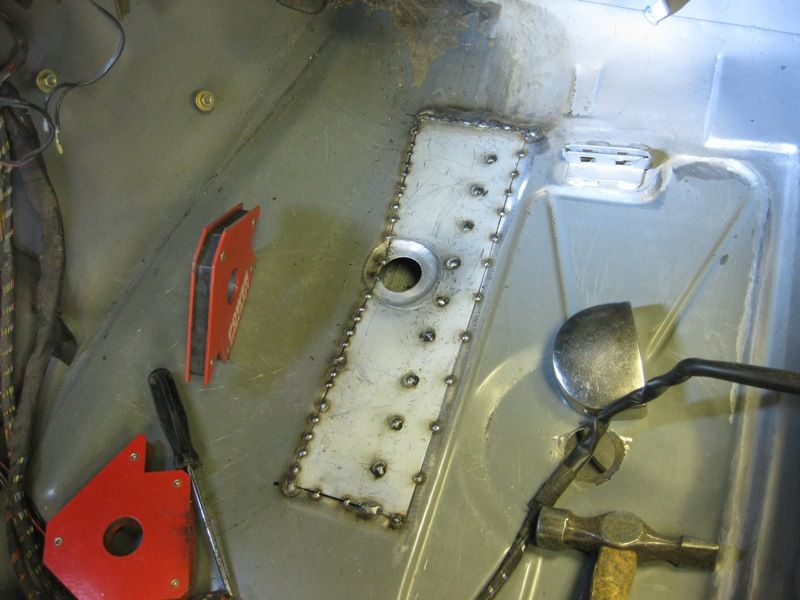 Welded 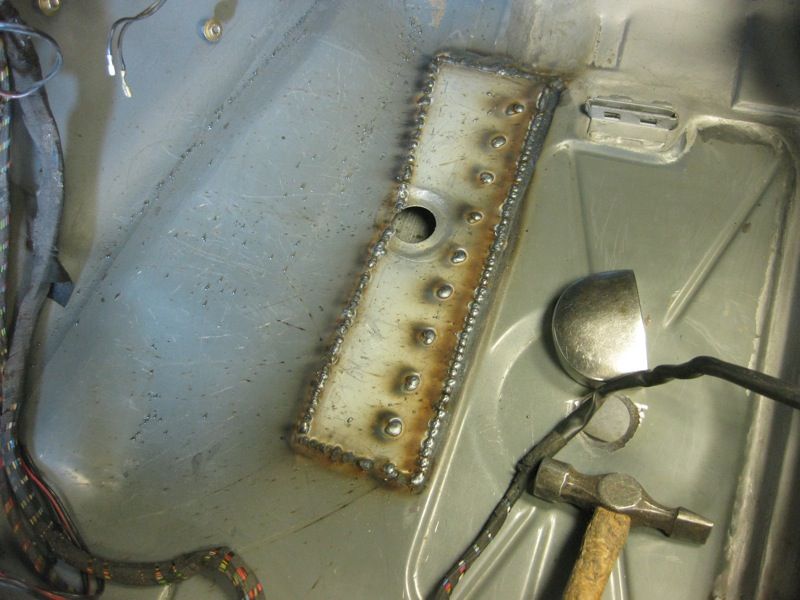 Check for penetration 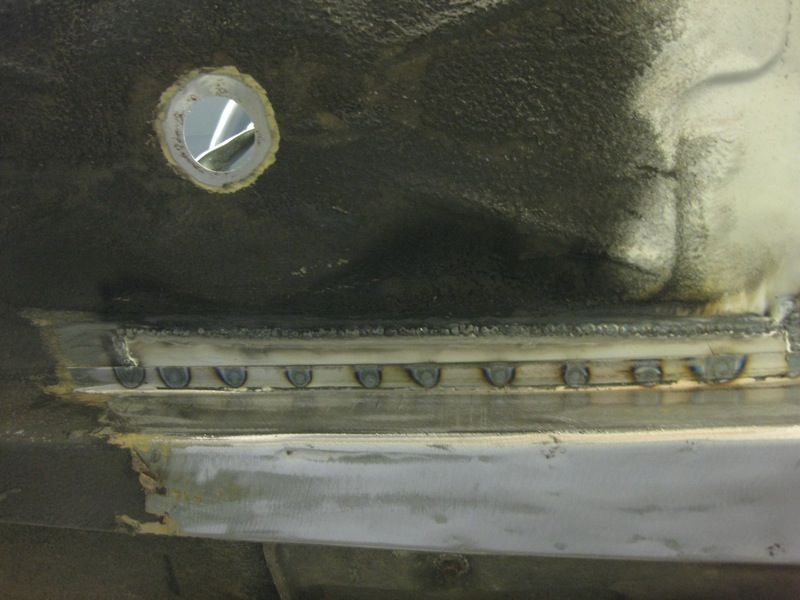 and clean off 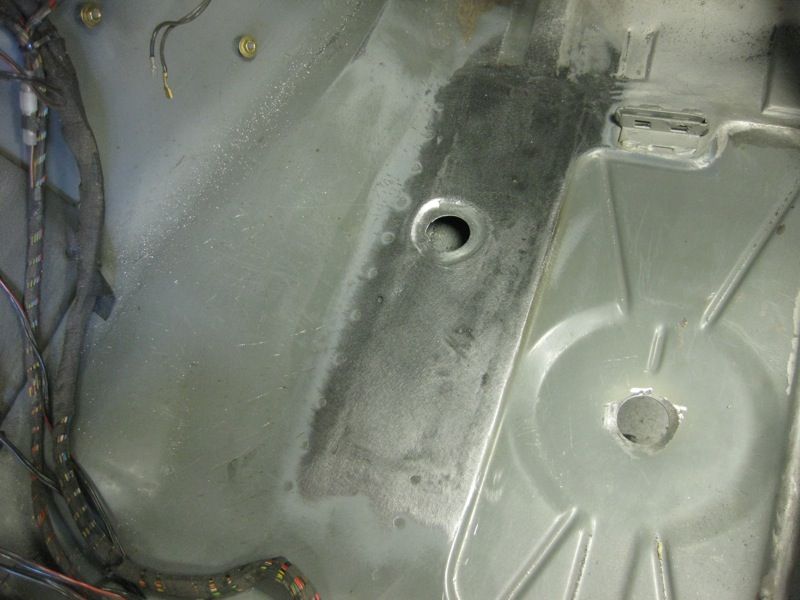  Made a new front mounting point  it goes here 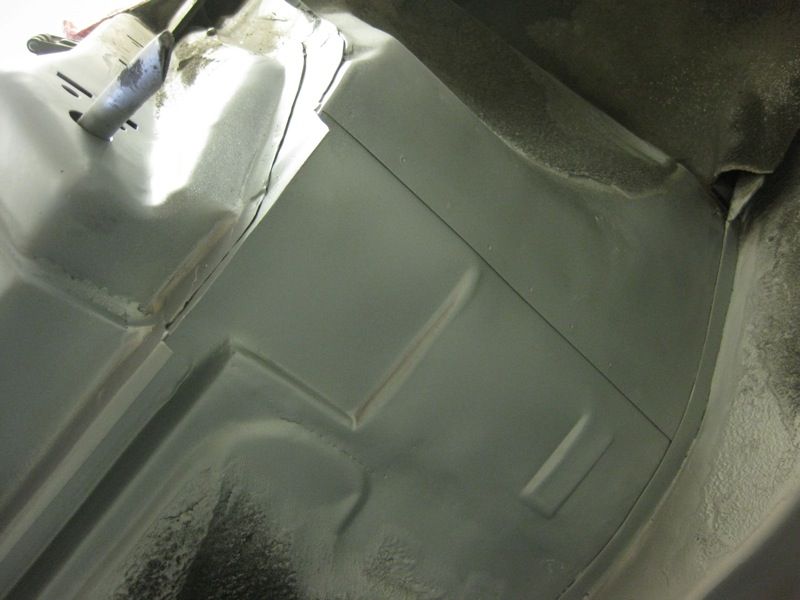 but it also needs this support making, so popped down to my friend Neils, to measure his from his E24 6 series, as they share the same floor pan as the E28's Could only measure the other side, so need to make the reverse of what I drew 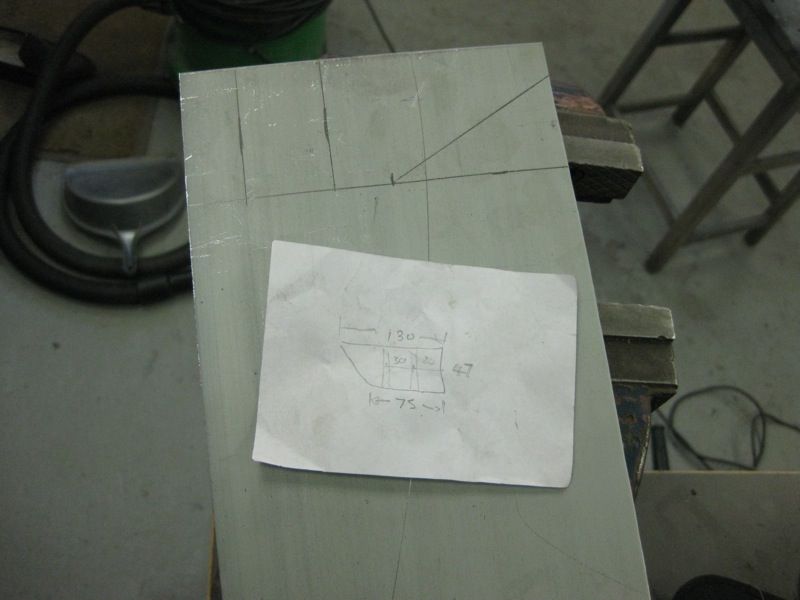 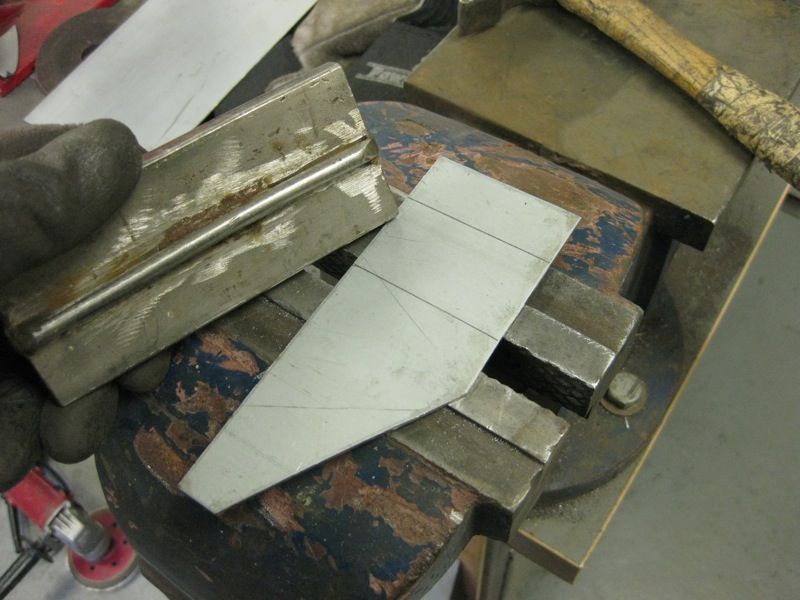 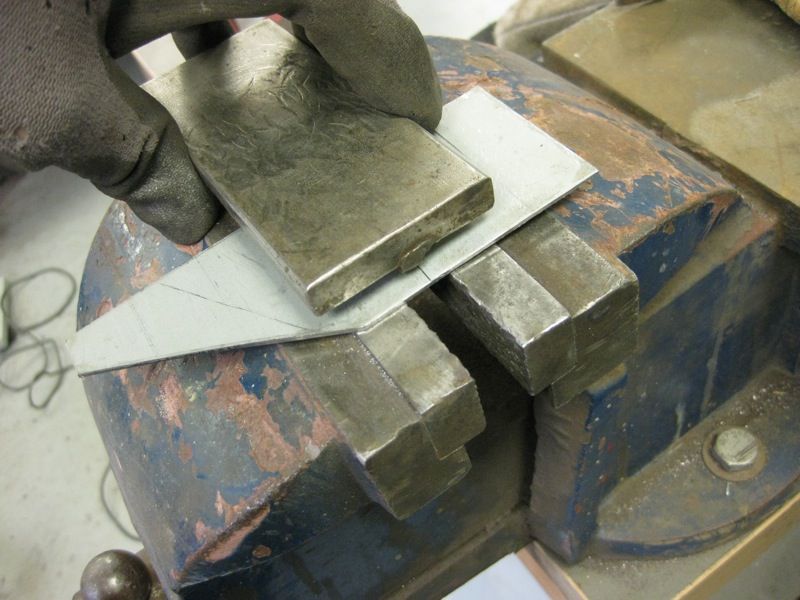 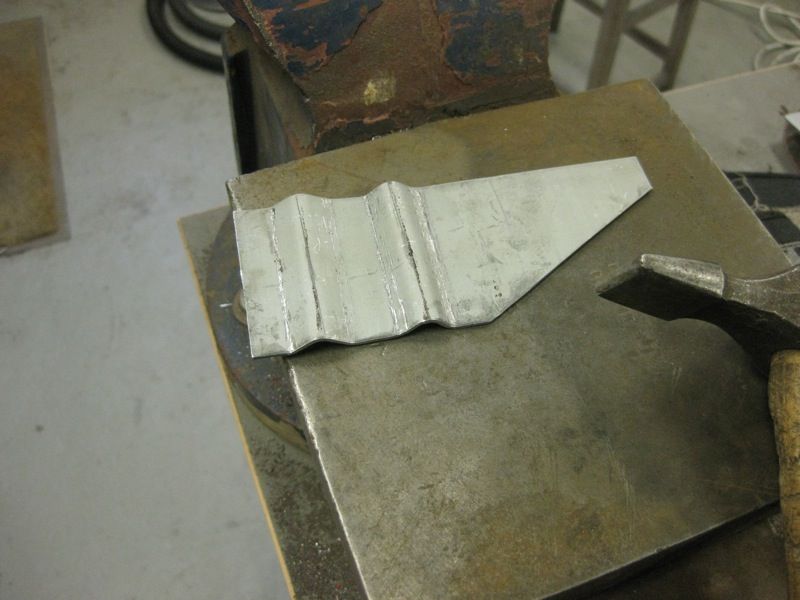 then all welded in and cleaned off 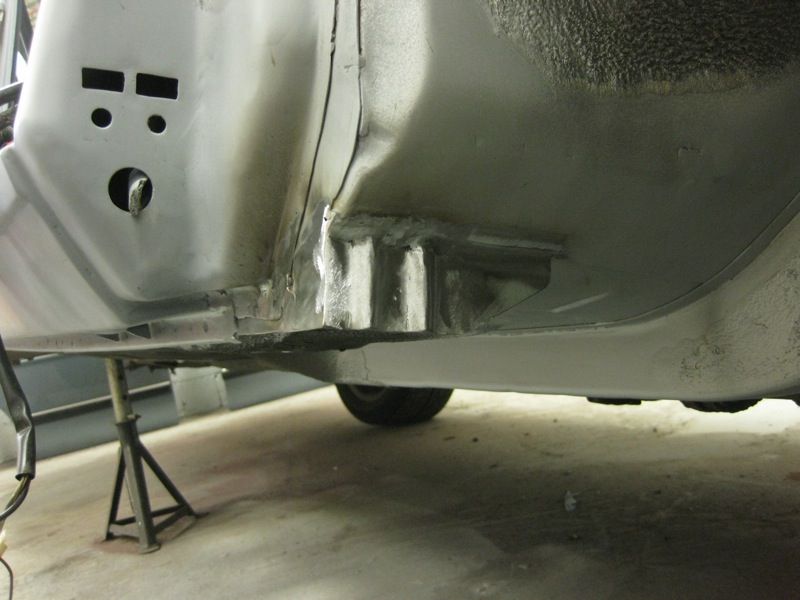 and thats it for this weekend, but at least thats the front of this side done, just the rear subframe bits to sort out now 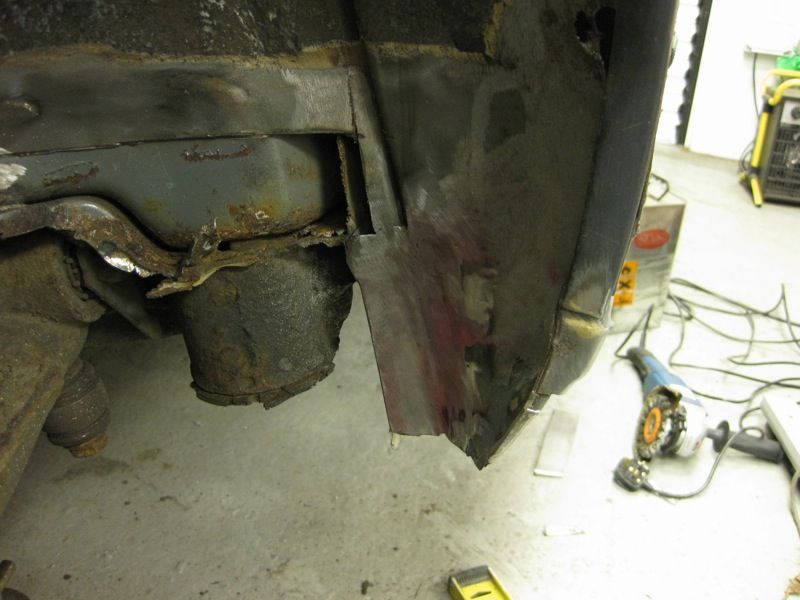 |
| |
|
|
|
|
|
Mar 17, 2012 20:02:36 GMT
|
It looks very clean underneath |
| |
|
|
|
|
|
Mar 17, 2012 14:50:38 GMT
|
|
Thats a nice looking chassis and the Car looks great as well ;D ;D
|
| |
|
|
|
|
|
Mar 15, 2012 21:22:24 GMT
|
Cheers BC, hope the trip was worthwhile |
| |
|
|
|
|
|
|
|
Mar 15, 2012 20:59:31 GMT
|
|
good luck
|
| |
|
|
|
|
|
Mar 13, 2012 19:00:44 GMT
|
|
Their Massive ;D ;D
|
| |
|
|
|
|
|
Mar 11, 2012 20:52:52 GMT
|
|
An Amazing shine
|
| |
|
|
|
|
|
Mar 11, 2012 20:23:21 GMT
|
Great work again Tony, can I ask why you made a new piece for the floor, the piece you cut out looked quite good? Claymore I was going to try to clean it up and use it again, but when I hammered it flat a few holes started appearing between where the spot welds were, so thought it better to make a new piece |
| |
|
|
|
|
|
Mar 11, 2012 19:20:37 GMT
|
Little bit more done this afternoon Scraped off the Underseal from the chassis leg and knocked the dents out 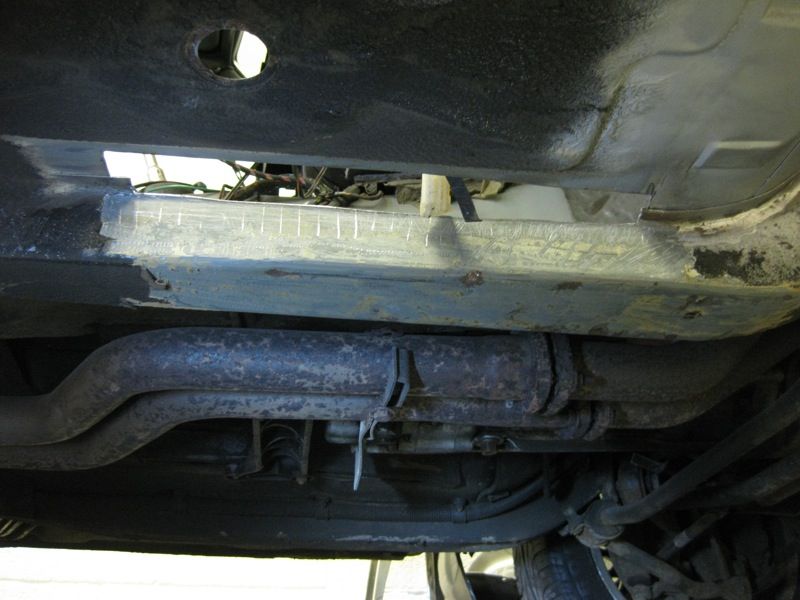 Welded on the chassis leg flange, ground out an signs of rust and applied a liberal coating Of Bilt Hamber Rust converter to the inside 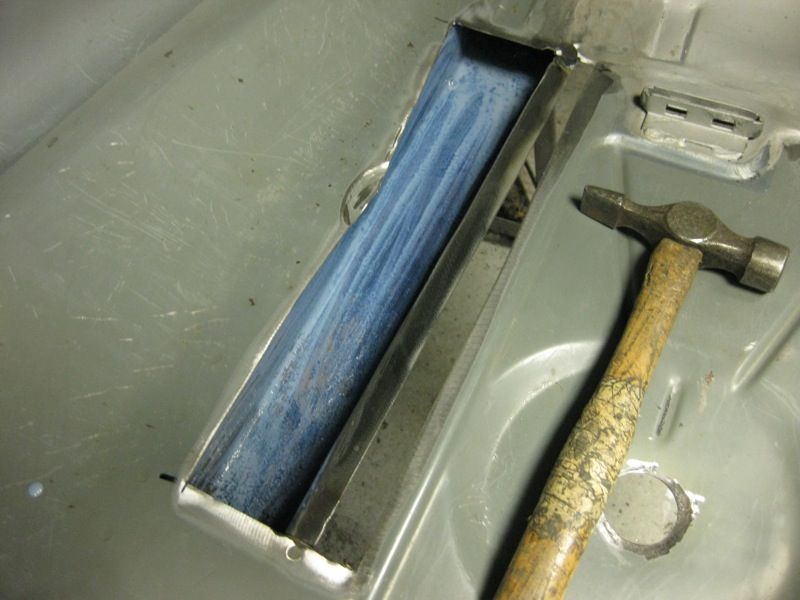 Used the bit I cut out as template 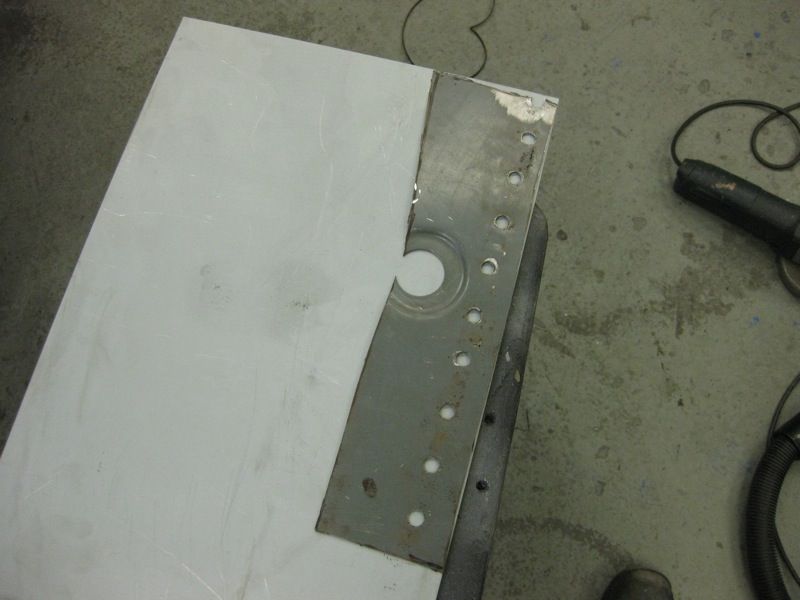 To make this 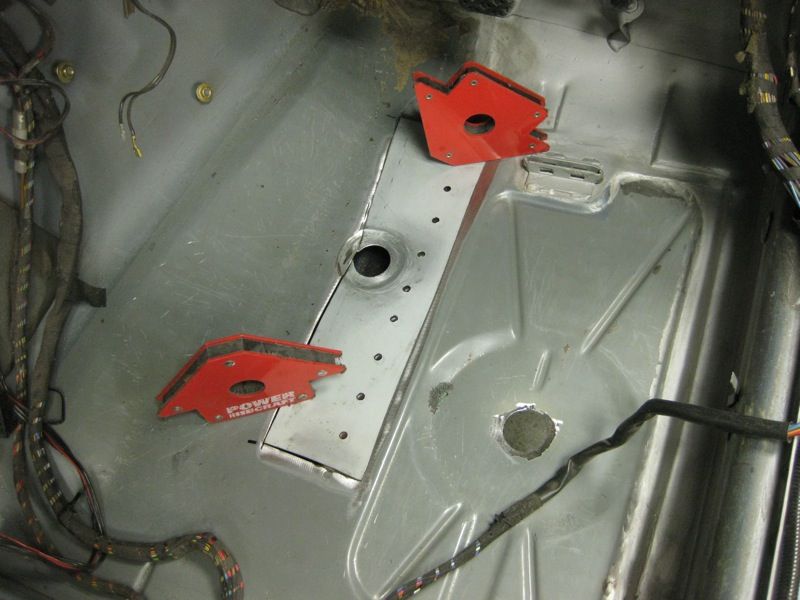 Thats all I had time for today, need to leave the rust converter to dry before applying some zinc rich primer to the inside |
| |
Last Edit: Mar 11, 2012 19:22:03 GMT by tonybmw
|
|
|
|
|
Mar 11, 2012 15:27:00 GMT
|
Now thats a nice garage |
| |
|
|
|
|
|
Mar 10, 2012 19:01:28 GMT
|
Booooooooooohh How dare you have life. Only joking. don't worry Broadie, only a temporary Glitch Although I did have to go into work this morning so only got a couple of hours done this afternoon Added some etch primer to the bare metal on the sills 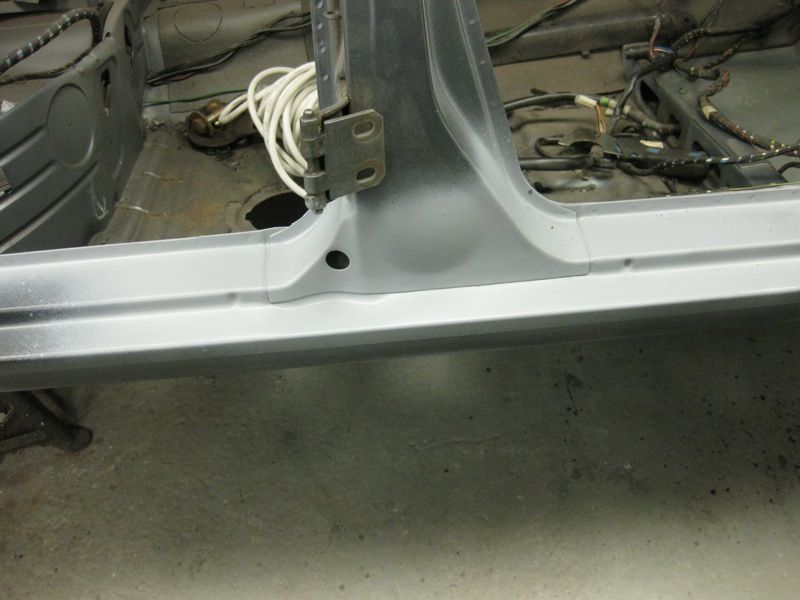 Scraped off the sound deadening pad, and cleaned up the floor with a bit of thinners 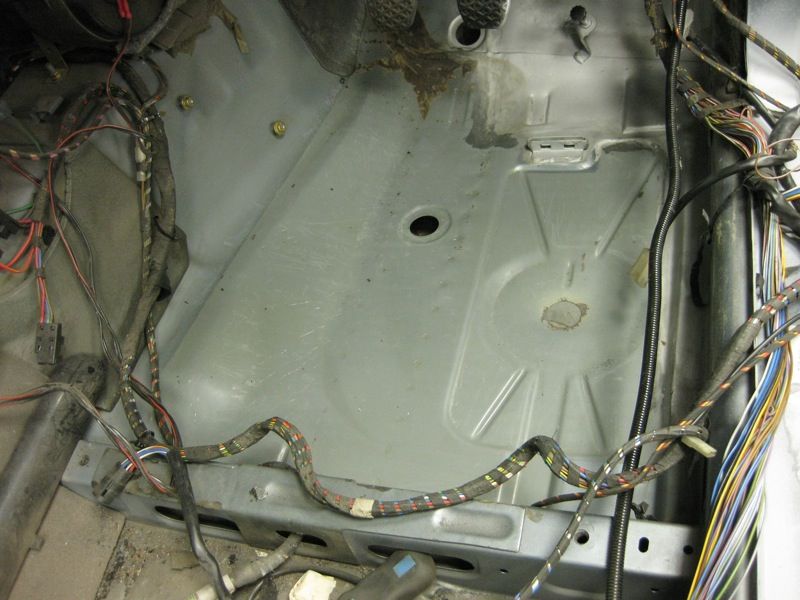 Then marked out the floor to cut out to repair the chassis flange noticed earlier, decided to cut out a wide enough section to expose the inside of the chassis leg, as its got a few battle scars and needs some dents knocking out 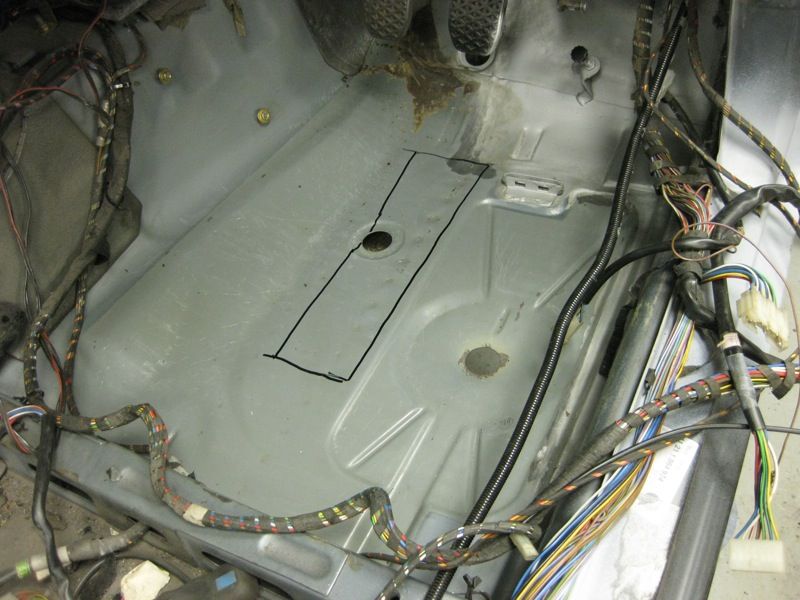 Glad I did, as it was looking a bit crusty inside 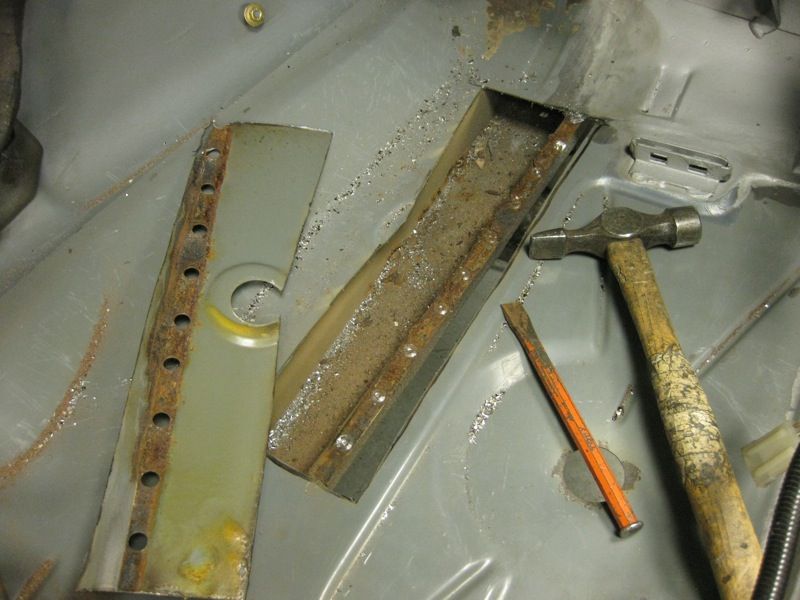 Then my tummy started rumbling and I knew it was time for tea |
| |
|
|
|
|
|
|
|
tonybmw - I have read all your posts regarding panel beating & panel forming and would like to thank you, this info has greatly improved my understanding of metal working. Thank you very much also for posting all the pictures they are a great guide & reference. Thanks Brams, I hope to get over to Gordons again soon and get an update on the reassembly |
| |
|
|
|
|
|
|
|
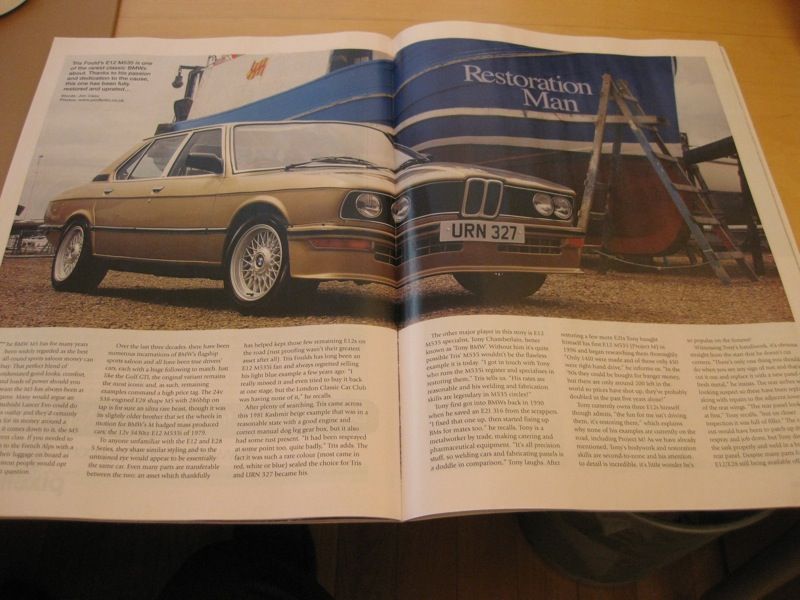
Check out Aprils Retro Cars Magazine Does it show your handsome features too?  Fame at last Tony and well deserved. Thanks Guys, you've been a great help along the way Teaboy - Inexplicably, No they don't seem to have used that shot, I guess my modelling career will have to wait a little longer ;D ;D ;D |
| |
Last Edit: Mar 9, 2012 22:07:43 GMT by tonybmw
|
|
|
|
|
|