|
|
|
Apr 11, 2019 23:31:23 GMT
|
Spray on foam for roof is quick & easy (maybe not cheap though?) but it could also be a fire hazard, so best check on that bit. We have it in 4 sheds at work, I actually tried to set it alight once, with a plumbers gas torch to see, and failed. Though I'd say any of them are volatile for the first few weeks while the VOCs are curing. It's not as cheap as sheets, but I simply haven't free time to cut and join sheets and the foam seals everything. Also closed cell is over-paintable. How do you smooth it out once cured? |
| |
|
|
|
|
|
|
|
Apr 11, 2019 14:16:50 GMT
|
Spray on foam for roof is quick & easy (maybe not cheap though?) but it could also be a fire hazard, so best check on that bit. Proper home spray foams are flame retardant. |
| |
|
|
|
|
|
|
|
It must be the season for it, my new build workshop is nearly ready for insulation too, 45x30 foot internal. The wall cavity is getting beads and the roof getting spray on closed cell foam, onto a vent card. Now, it is my turn to be jealous, there is always someone with a bigger one than yourself :-) Lets see some photos so we can really be hissed off :-) I looked into beads, but it worked out more expensive than sheets. Very interested in seeing the foam on the ceiling as I have yet to decide on how I deal with this area of heat loss. |
| |
Last Edit: Apr 11, 2019 8:46:39 GMT by nalesutol
|
|
|
|
|
Apr 10, 2019 22:26:34 GMT
|
|
Trimming 50mm thick polystyrene, using the hot wire method, so that it will fit into the recess in the new garage panels. The cut off strips will be glued together to make extra panel strips. Waste not, want not :-)
|
| |
|
|
|
|
|
|
|
My garage is a very similar construction (all be it a lot smaller) I have lined most of the walls with osb which makes a big difference but the roof was a real problem, it used to drip a limey solution which etched into the paint on my car, initially I put a false ceiling up with insulation, eventually replaced ìt with boards and felt. shingles. I'm not sure whether the poly insulation is really necessary, but it seemed logical to put it in now rather than regret not doing it later. The roof is a suck it and see situation. The suppliers reckon that my roof material doesn't suffer from condensation but I will believe this when I don't see it. |
| |
|
|
|
|
|
|
|
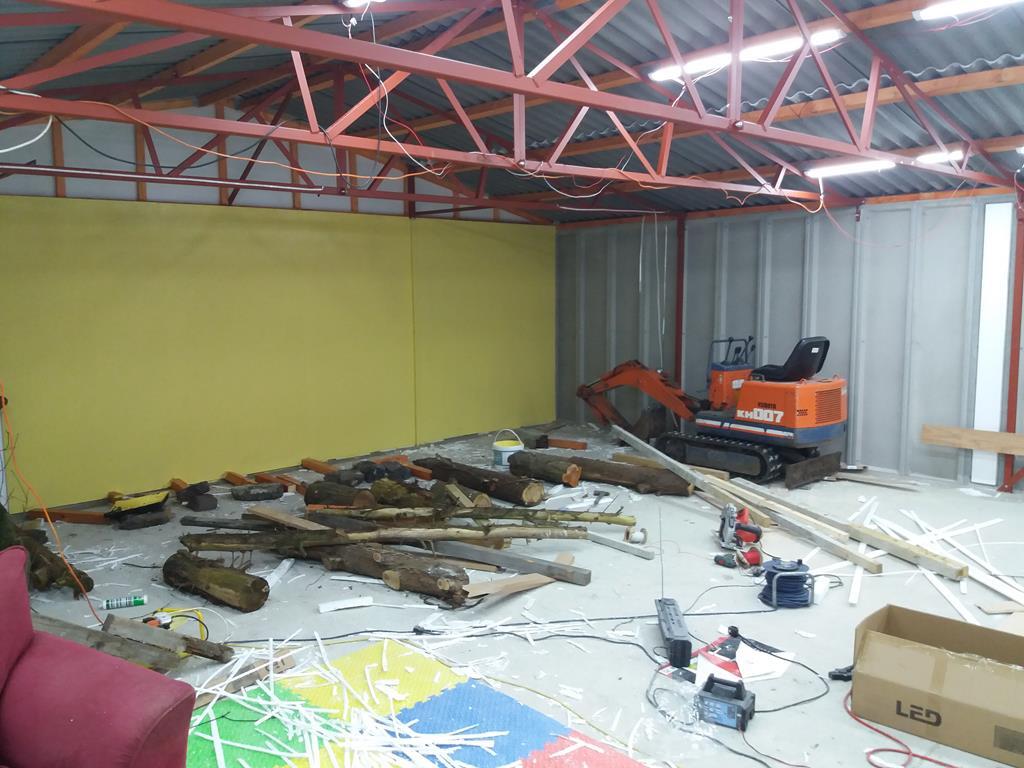
Originally I planned to paint the whole garage matt emulsion white, but thought that this would be a little stark so decided to add a little colour. Wanted a warm shade so went for 2.5l of bright yellow mixed into a 10l white pot. Almost Lotus badge colour :-) If I insulate the ceiling at a later date that will be white.  |
| |
Last Edit: Apr 9, 2019 17:54:43 GMT by nalesutol
|
|
|
|
|
|
|
Funnily enough I had a large double garage built that looks the same in as yours in style & construction, it was good but boy did the roof sweat in winter, had to seal the outside skin of the roof a few times with thompsons water seal as well Yeah, until it is up and running and I have had a full season in it I won't know what wrinkles need to be ironed out. However, it will still be way better than what I have been working in for the last 15 years :-) |
| |
|
|
|
|
|
|
|
Try to at least seal the corrugated roof to the walls - leave 3 gaps each side about 6" long so it can still breath though them or the roof will sweat. The corrugated roof came with wavy infill bits that work well, except where the panels overlap so I will seal these areas. I will leave a coupe of these unsealed on each side, as you suggest. |
| |
|
|
|
|
|
|
|
Not jealous at all, nope, not a bit, why would I want a fantastic sized garage anyway? Hope you are going to insulate the roof too? I will see how it goes but not initially as this will cost around £300. This is one job that can be done retrospectively and I need to let my finances recover a bit :-) I am a bit jealous myself :-) Can't quite believe that I will finally be able to work in comfort and warmth. |
| |
|
|
|
|
|
|
|
Racing season is upon us.... How far away are we from final build/mapping? Months, unfortunately. Work on the car has stalled due to garage build :-( |
| |
|
|
|
|
|
|
|
Insulation going up.  |
| |
|
|
|
|
|
|
|
First instalment of the flooring arrived today so I just had to see what it looks like. Another chair, coffee table and fridge still to be installed :-)  |
| |
|
|
|
|
|
|
|
Since I am already out of the closet as a lazy git, I will toss in for free the undercar drill press for the terminally lazy car restorer. Big fan of Archimedes I am.  I will now stop hijacking your threat and go back in the corner for a nap. Or a beer. Thread not hijacked when useful ideas are involved :-) Go with the beer then the nap. |
| |
Last Edit: Apr 3, 2019 8:05:08 GMT by nalesutol
|
|
|
|
|
|
|
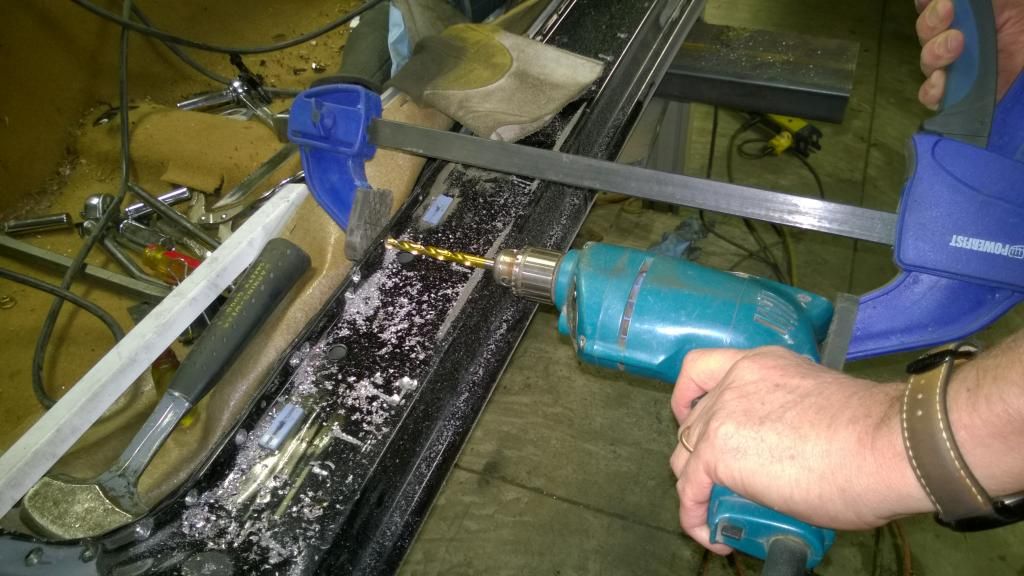
Reminds me of a spot weld cutting tool I made up when I had to dismantle a Miata down to the bare chassis one weld at a time.  Now that is a bloody good idea for lots of situations. Added to my memory bank. |
| |
|
|
|
|
|
|
|
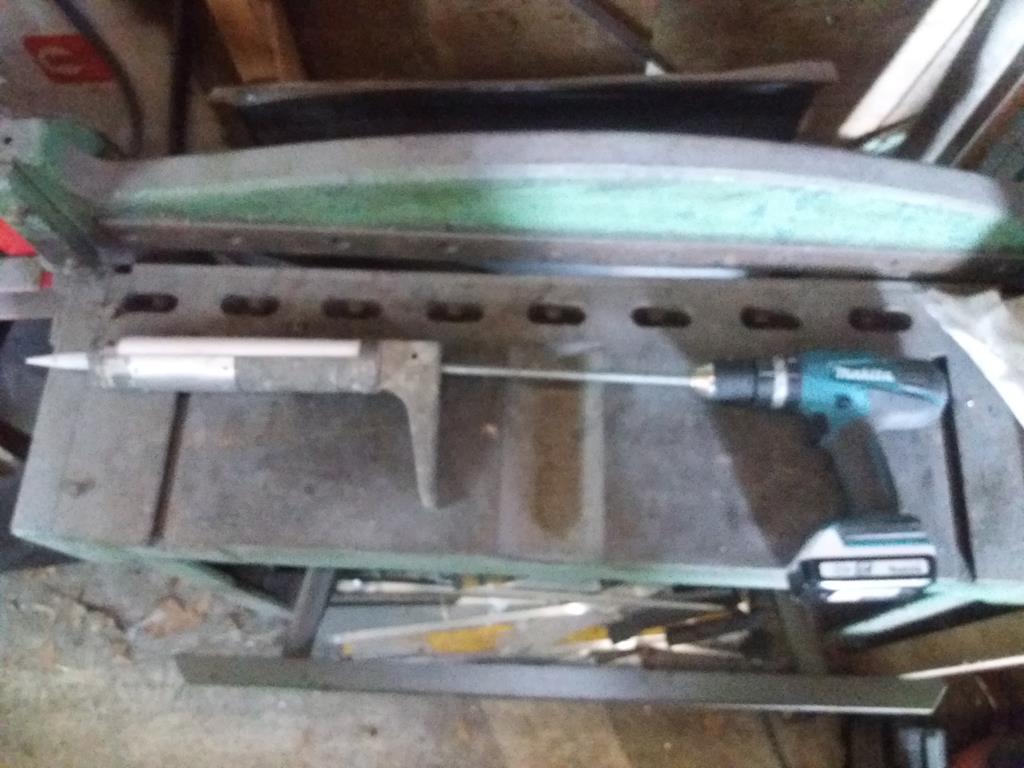
I will be sticking around 29 sheets of 8x4 plywood sheets as well as a similar number of polystyrene sheets on to the garage walls using NoNail or similar. The thought of doing this manually was not a good one. The guys who erected the garage used an electric powered gun which I thought was a great idea. However, the cheapest I could find was around £90 so I decided to make one using stuff lying around my workshop. Works fine and cost £0 :-)  |
| |
|
|
|
|
|
Mar 29, 2019 18:59:26 GMT
|
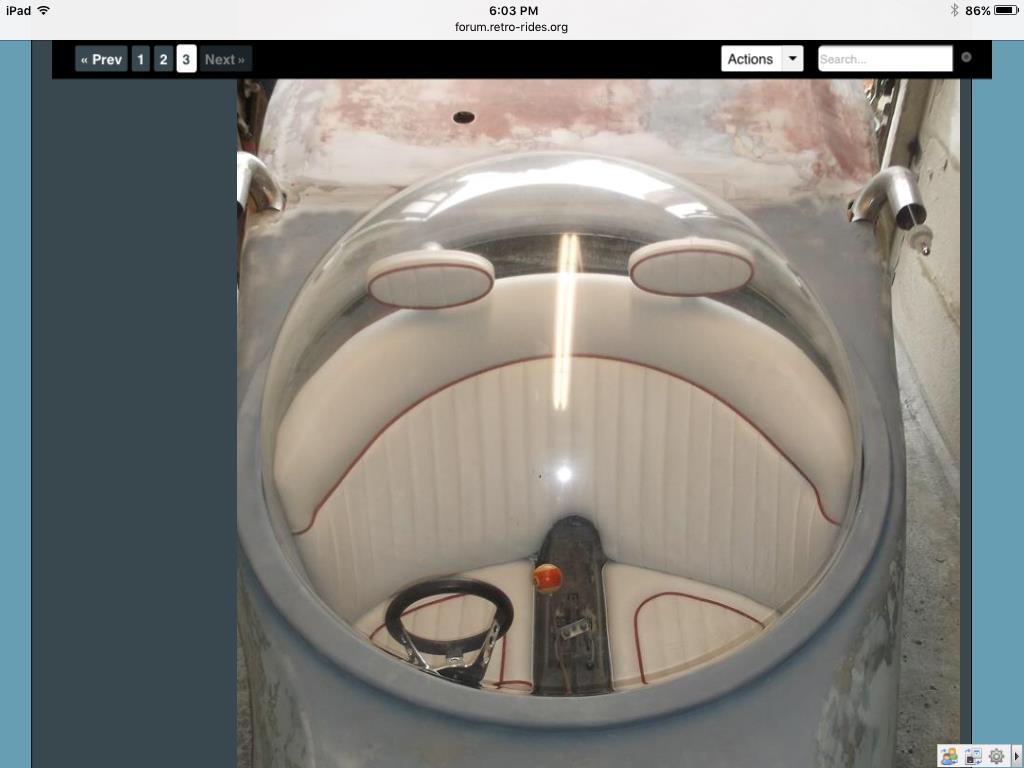
I'm guessing, based on this, my windscreen isn't going to pass either then!  As long as the vehicle was manufactured before 1985, you fit a full roll cage and the safety glazing has the appropriate E mark, it will be fine.....possibly :-) |
| |
Last Edit: Mar 29, 2019 19:01:00 GMT by nalesutol
|
|
|
|
|
Mar 29, 2019 17:30:20 GMT
|
I think it's too thin personally. You're not even allowed 3mm side windows in alot of motorsport categories. Drag racing scrutineering isn't the most thorough :-) I have no plans, at present, to enter any competitions, just trying to build the lightest car as possible within my budget and skill set. |
| |
Last Edit: Mar 29, 2019 17:57:49 GMT by nalesutol
|
|
|
|
|
|
|
Are you using MR10 grade Polycarbonate? This is a first shot experiment, so just common or garden variety. If it works and the thickness is OK, I will make the proper one once the curing oven is rebuilt to get up to 160-180 deg C |
| |
Last Edit: Mar 29, 2019 7:29:08 GMT by nalesutol
|
|
|
|
|
Mar 28, 2019 18:09:47 GMT
|
Been watching this discussion about the polycarbonate screen with interest. I have my doubts about suitability for the front screen. All my side windows, rear screen and sunroof are Lexan, the two problems I have experienced over the years are how easily it marks, wipers I think will leave marks every time they are used, the other is expansion on hot days. My side windows are ok as they are slid in the original glass channels so plenty of room to expand, the rear screen is a large panel with a support rod and can warp a bit but is no problem. The sunroof panel though was bonded in like a windscreen fine until really hot days then it would tear out of the bonding midday, by the evening it would shrink back to size and push back into place. Though a significant weight saving it could end up requiring regular polishing or you having to look through a misty scratched screen. Fitting will need some kind of expansion compensation or very secure bolts and/or bonding. I hope you can get it to work but expect a few issues. "Expect A few Issues" are my middle names :-) A few minutes on the abacus tells me that 1.5m wide polycarbonate screen will expand around 2mm with a 30 deg C temp change. If this is correct then I can allow for that. With regard to the fixings, I just discovered that polycarbonate is notch sensitive so it isn't advisable to use countersunk screws... b-u-g-g-e-r !!! Need to order some M4 titanium domehead screws :-( |
| |
Last Edit: Mar 28, 2019 18:10:21 GMT by nalesutol
|
|
|
|
|
|
|
Your tame aero man should be able to calculate the wind pressure loads on the screen for you. And also worth keeping in mind that cars can get pretty warm in the summer so consider the strength at 60C / 80C as well as at 20C. Bit left field but here are the FIA requirements for an LMP1 ! Windscreen & Glass areas Windscreen: Mandatory, made of one piece of laminated glass or polycarbonate (minimum thickness of 3.5 mm), or equivalent material approved by the Homologation Group: The upper edge of the windscreen must be : - lower than the highest point of the roof (excluding the air inlet) ; - at a minimum of 950 mm in height from the reference surface (cf. Article 3.5.1) over a minimum width of 300 mm. The windscreen must be able to be removed by the marshals with the use of a #4 Allen key. Glazing: • Side windows made of polycarbonate (minimum thickness of 2.0 mm) are permitted ; • An additional frame may be added, but it must be solidly fixed and it must not obstruct the driver’s vision defined in Article 16.7.3 ; • Additional safety fasteners are recommended ; • An opening (louvre) of 40 cm2 minimum for extracting air from the cockpit must be made on the rear part of each side window or each cockpit access ; Interesting, I would almost comply :-) |
| |
|
|


