With a garage full of half finished jobs and the impending problems to deal with enthusiasm had took a real pounding.
I needed an easy win so turned to the kitchen for a little project!
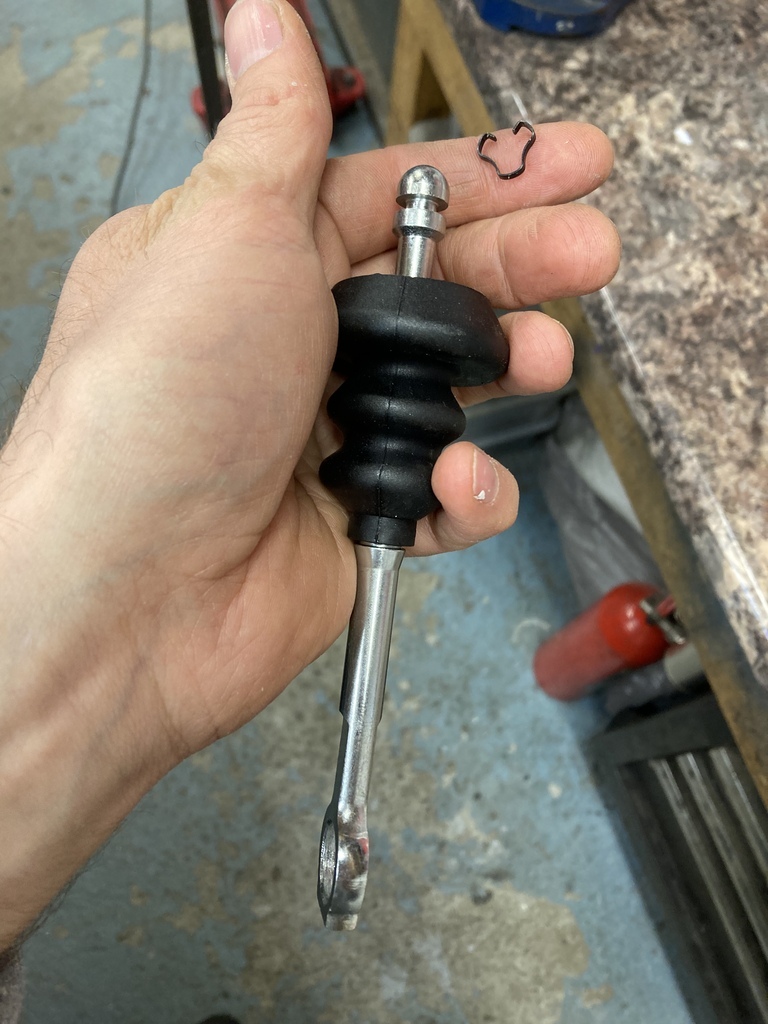
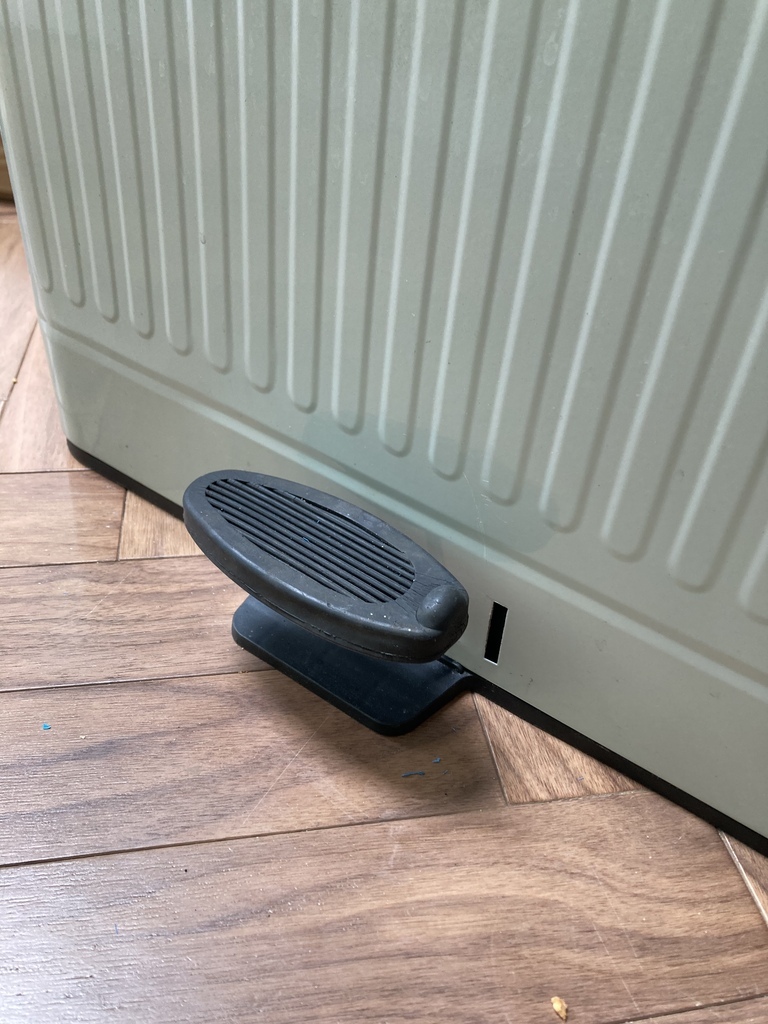
The pedal on our pedal bin had broken off.
The mechanism remained intact and was still functional but obviously wasn’t very comfortable under foot without the pedal!
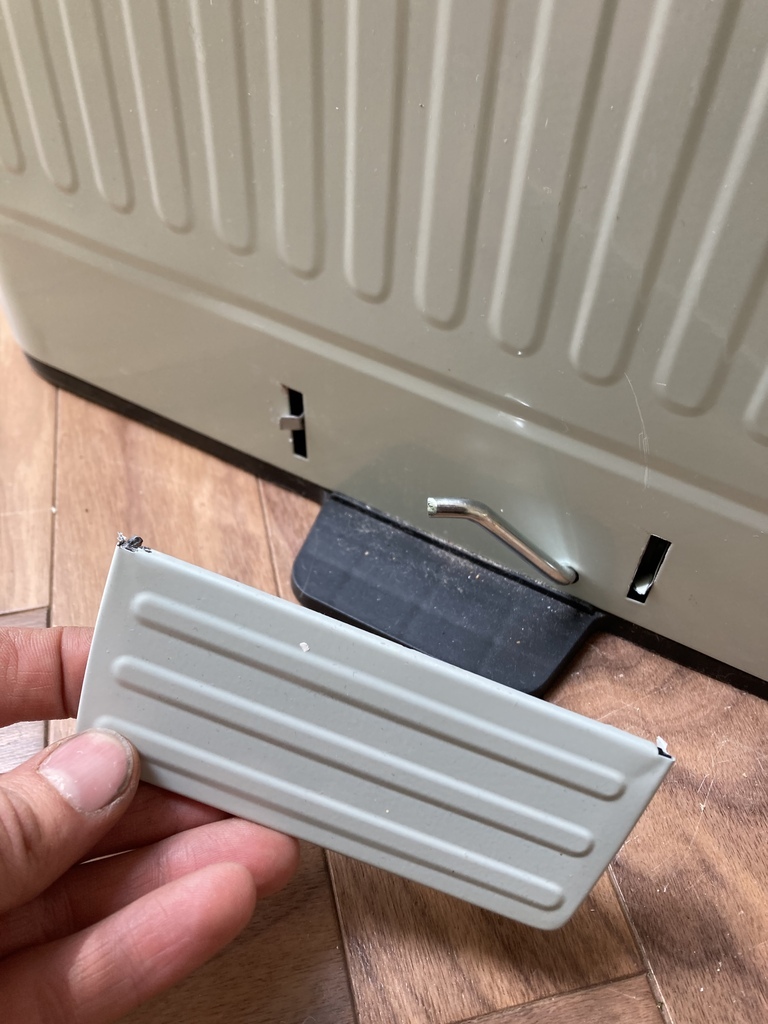
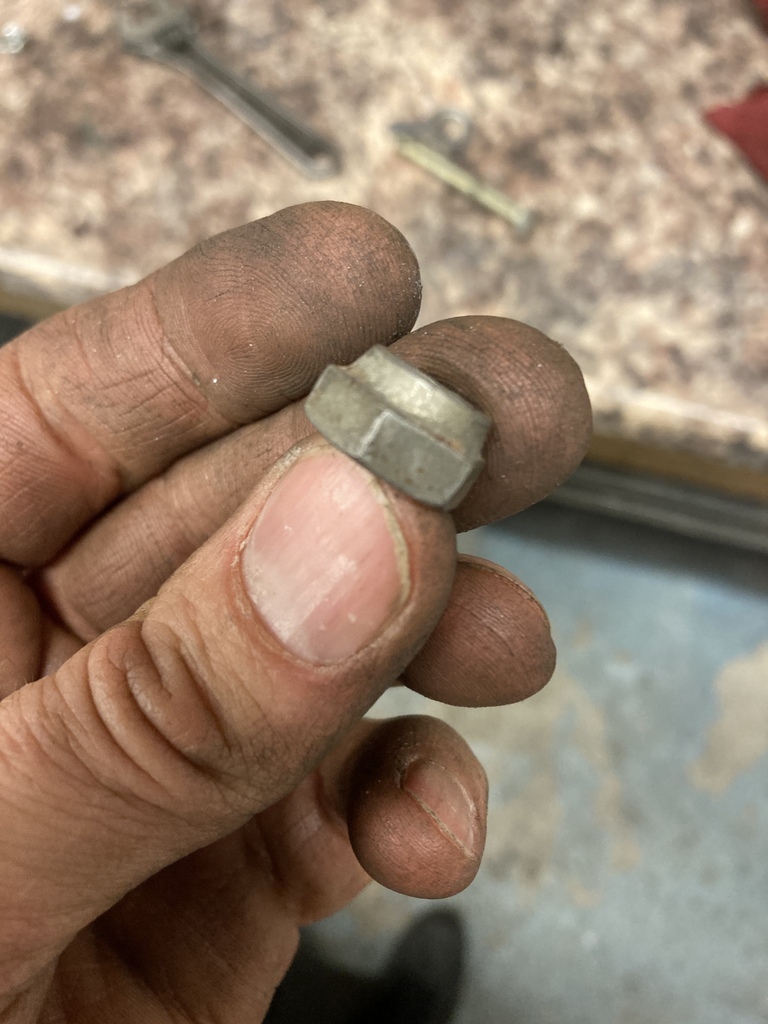
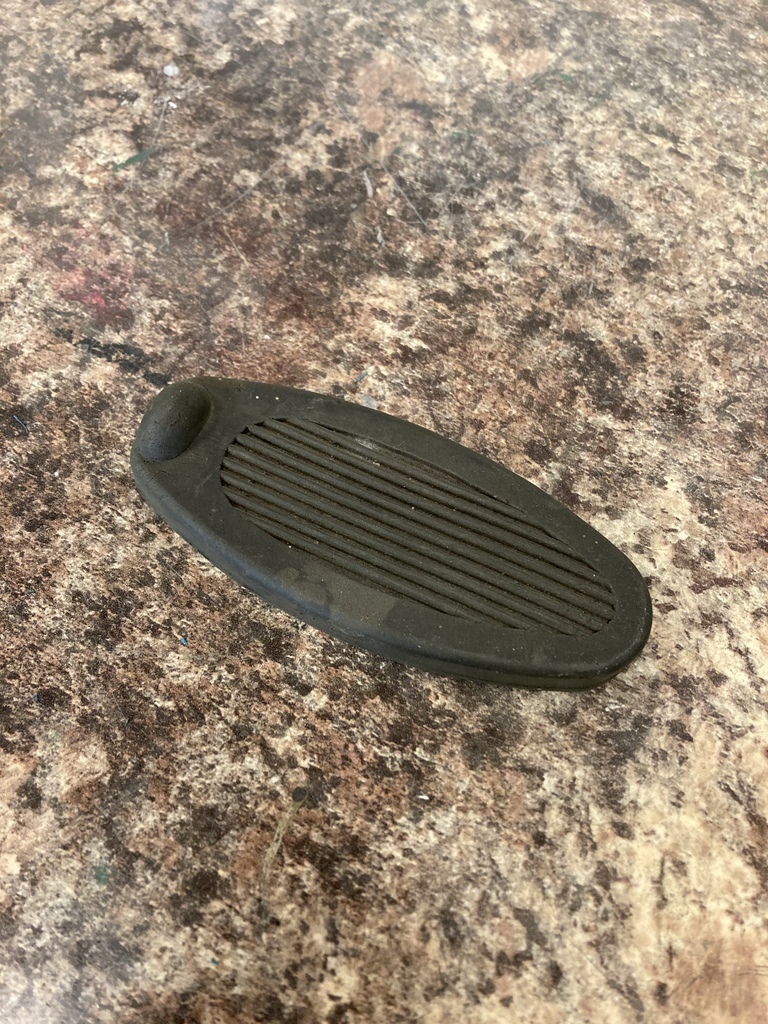
Digging around in the junk box I found this clutch/brake pedal pad from a Ford Model A.
A quick plate made from some flat….
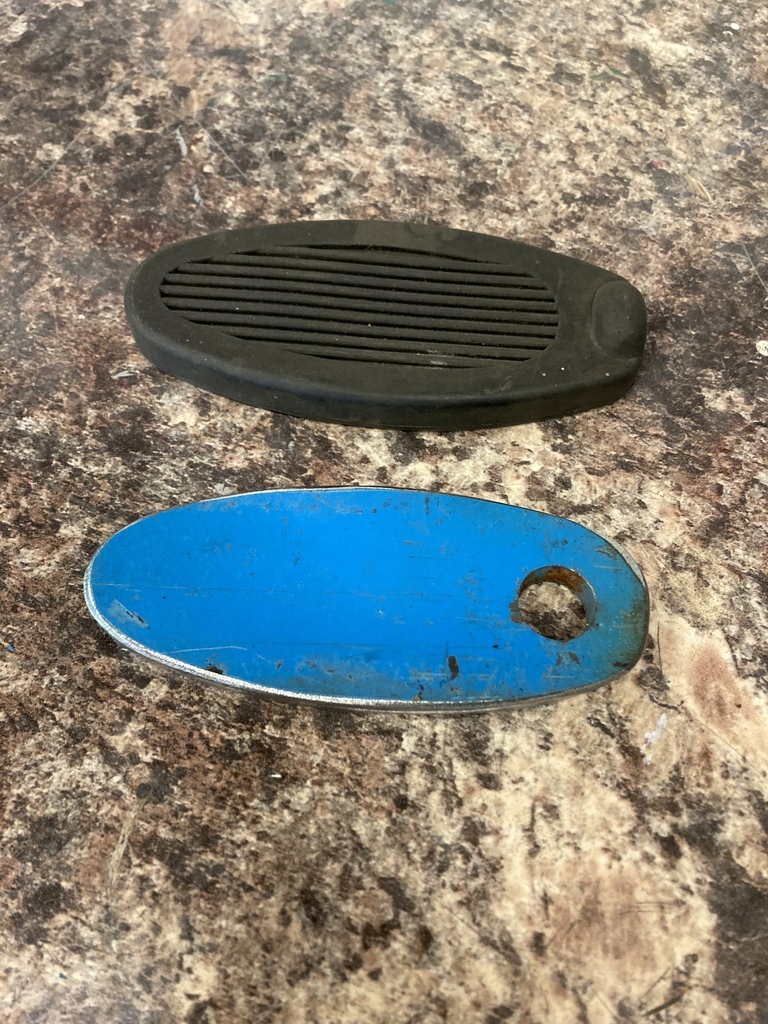
… Which got welded on.
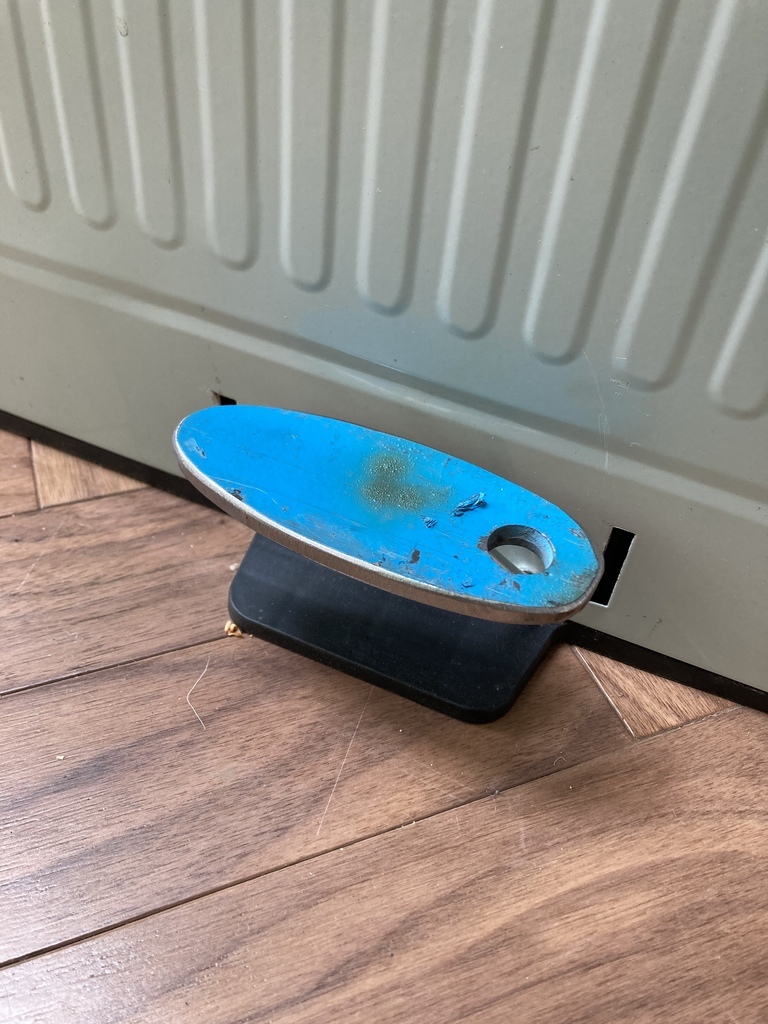
Brownie points earned.
Being a bit stuck on everything else I remembered that I had most of the new fuel system sitting in a box under the car.
To start with the tank had to come out.
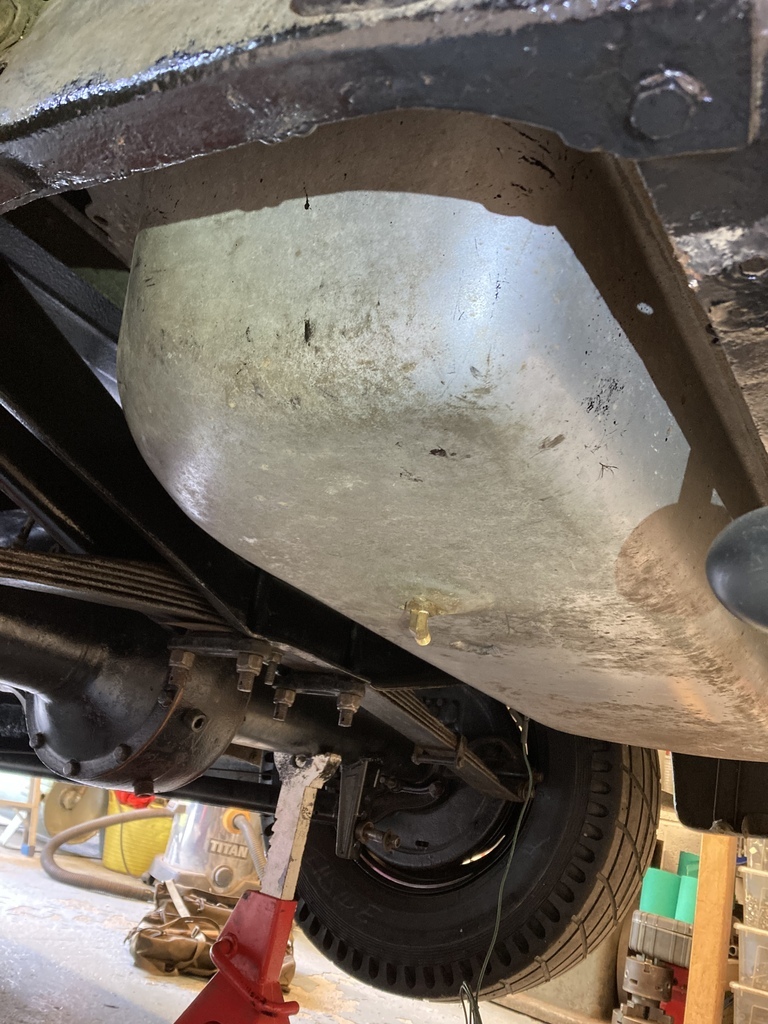
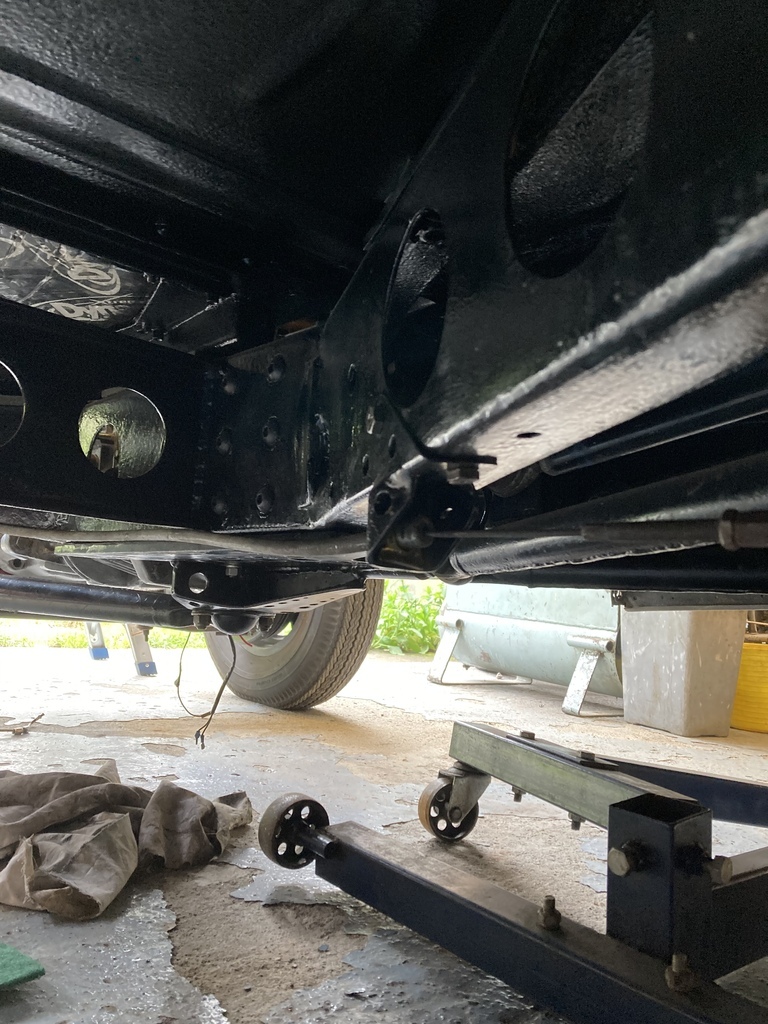
The tank sits on top of the frame rails and is sandwiched under the boot floor.
The tank was a new reproduction when I built the car originally and hadn’t been out since it was fitted.
The tank fixing bolts weren’t going to be an issue and even though it looked impossible for it to drop down between the chassis rails I was confident it would come out from underneath.
The one area that did worry me was the filler neck.
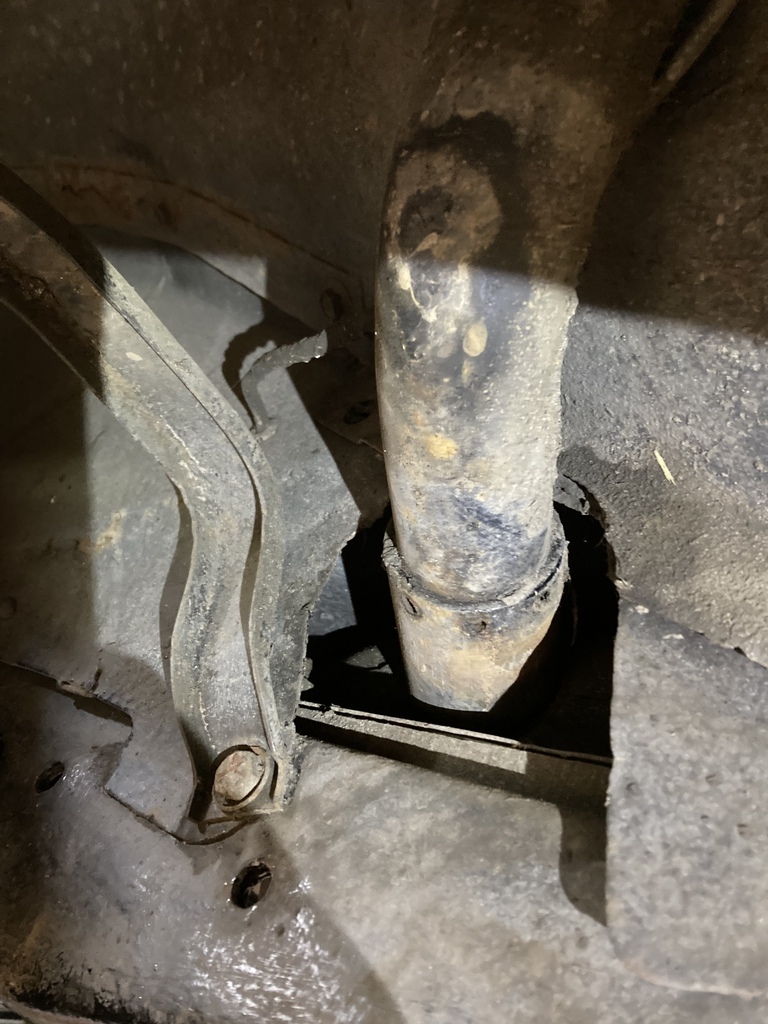
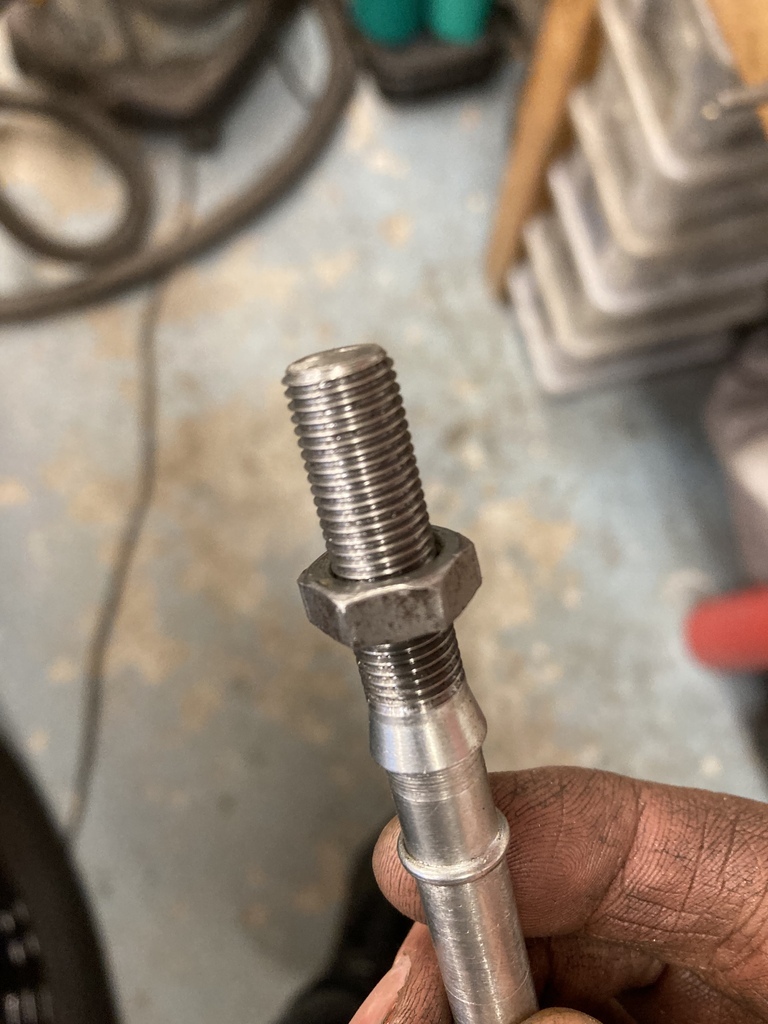
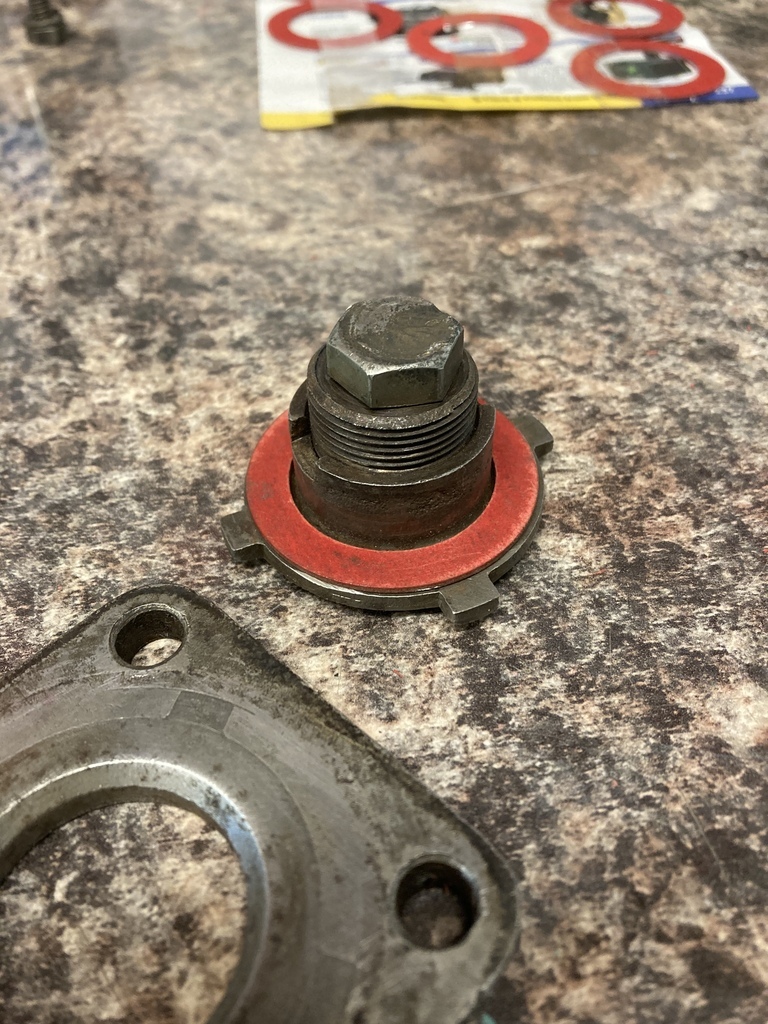
It’s a large fine thread that screws into the tank and seals on a lead washer and is exposed to a lot of the water and muck that is thrown up in the wheel arch
A pin spanner is needed screw it on and off.
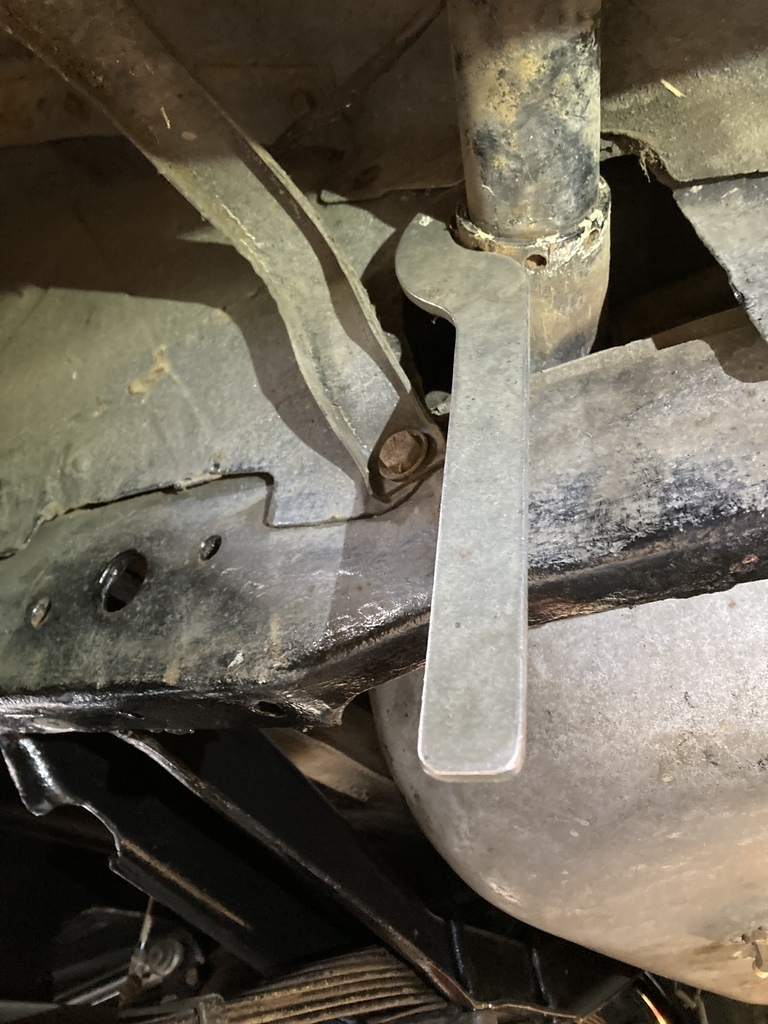
After a few goes of hanging off the pin spanner it wasn’t budging.
Time for the big guns or in this case 18” of extra leverage.
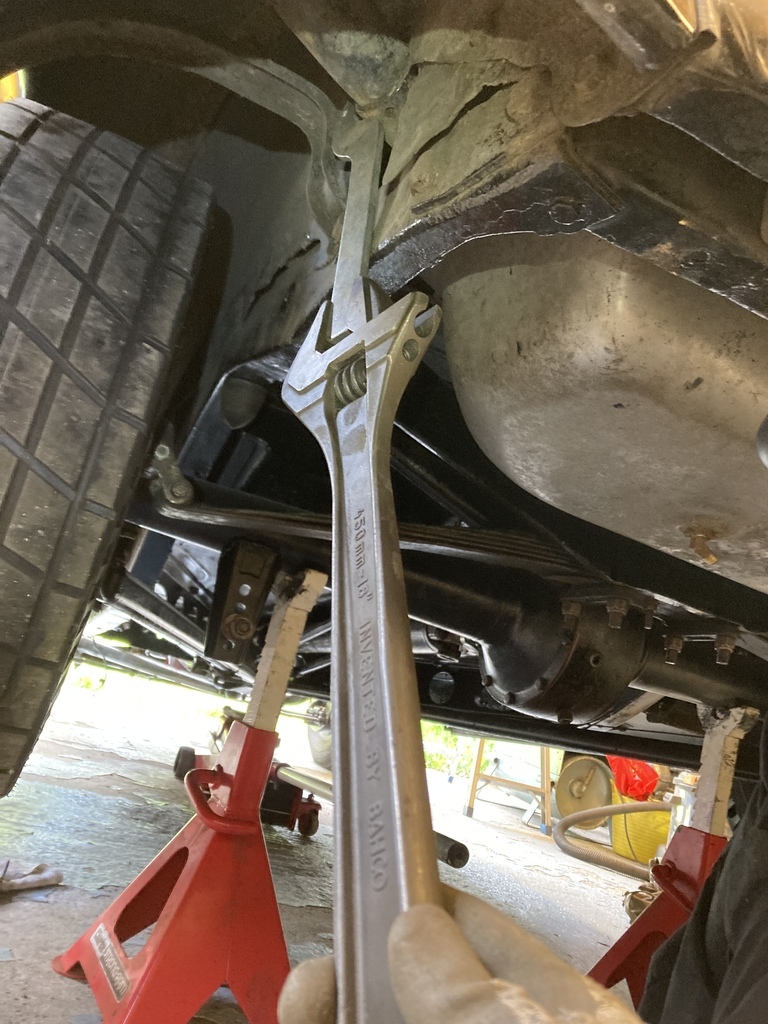
It finally let go and I could then turn it out a fraction at a time because of the lack of space to swing the spanner.
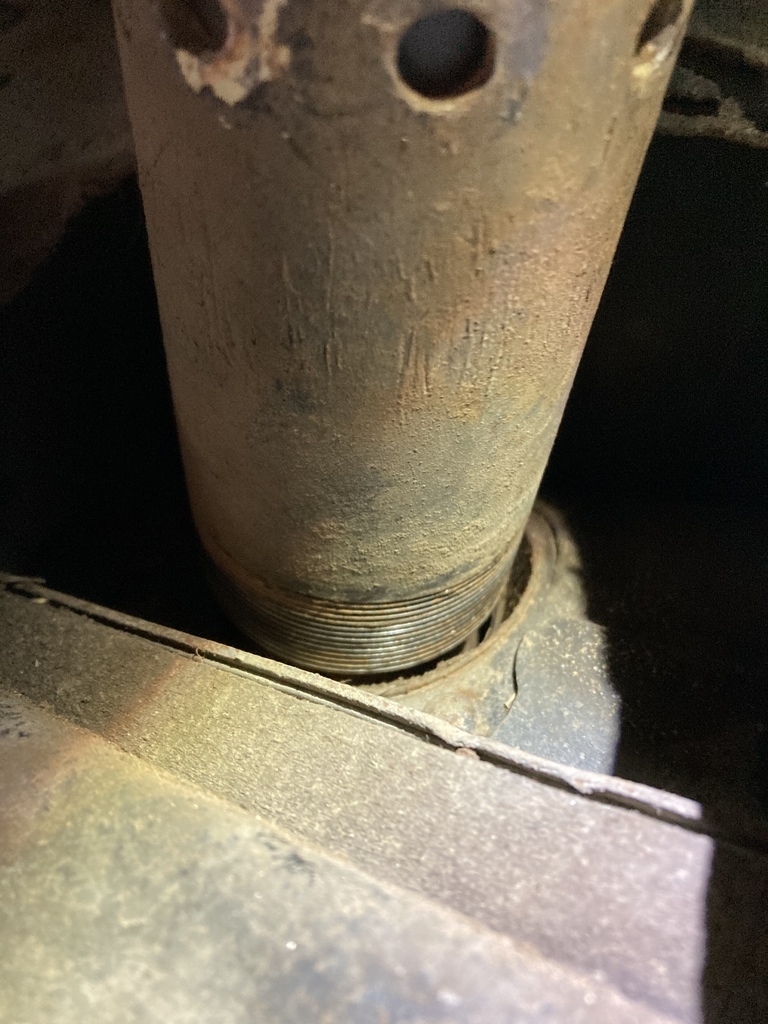
With the hard bit out the way I could drop the tank by getting it in just the right position and angle which allows it to drop out with millimetres to spare.
Look at that, no sand!
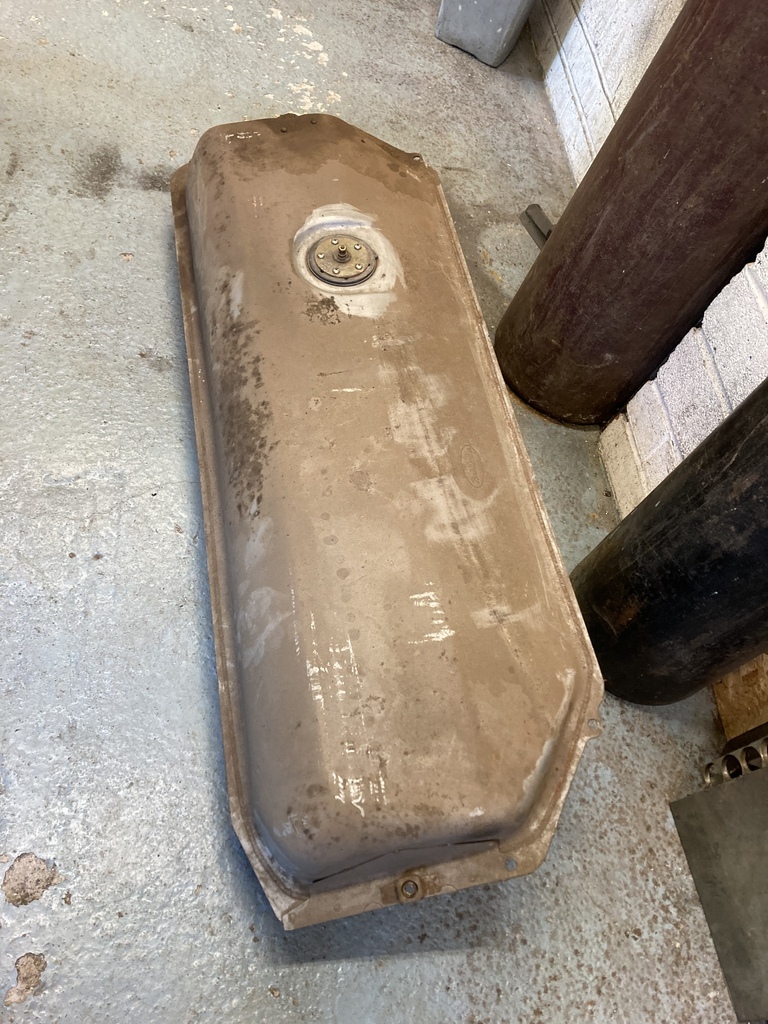
No horrors hiding behind the tank.
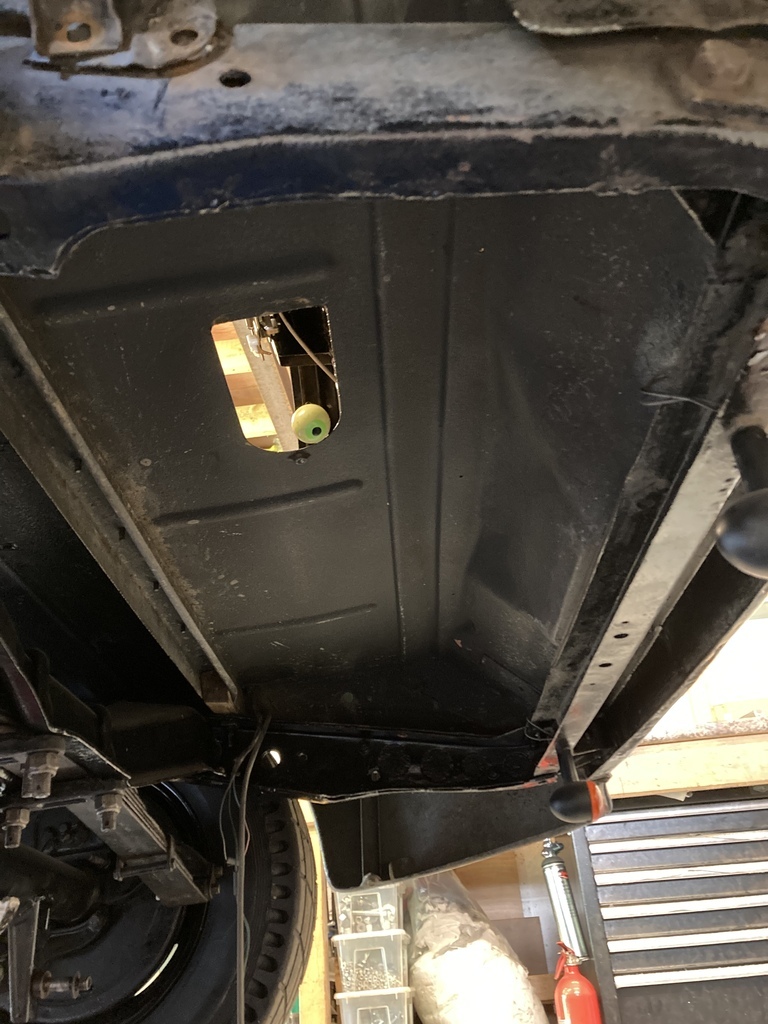
I lied.
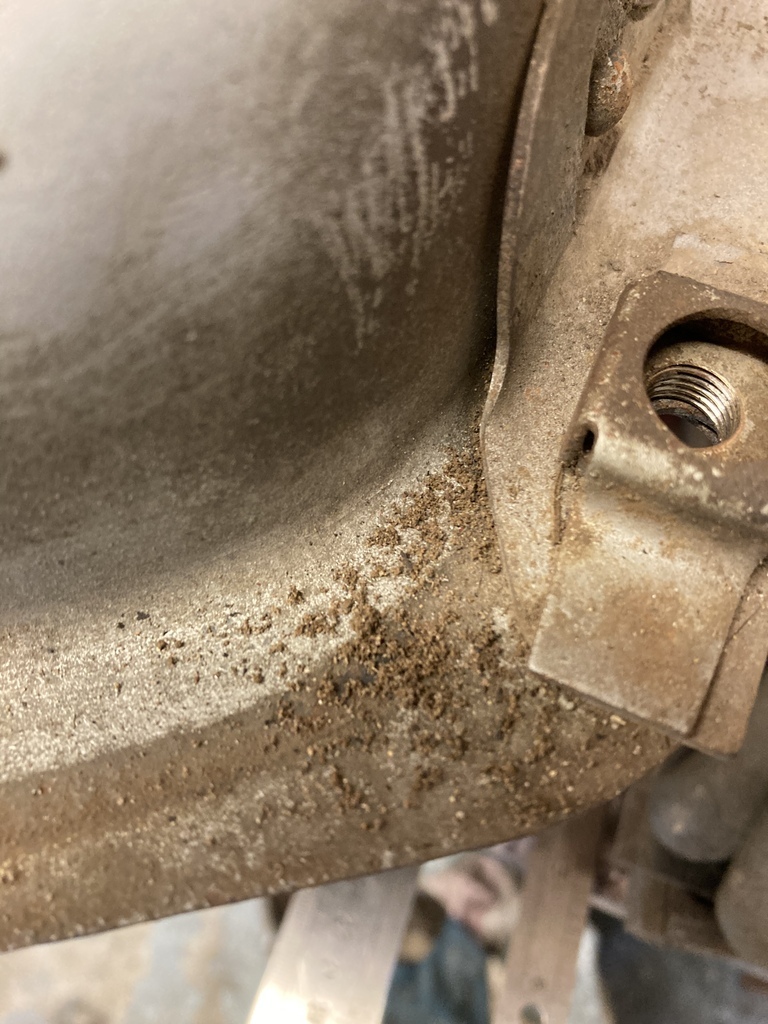
I did find the sand.
It was packed in between the tank supports. 🙄
Stepping up to EFI meant I needed to upgrade to a high pressure fuel system.
The old fuel system had been chopped and changed so many times over the years I wasn’t sad to see it go and the whole lot got removed to start afresh.
I really liked the drop-in-tank retrofit pump units that have come onto the market in recent years.
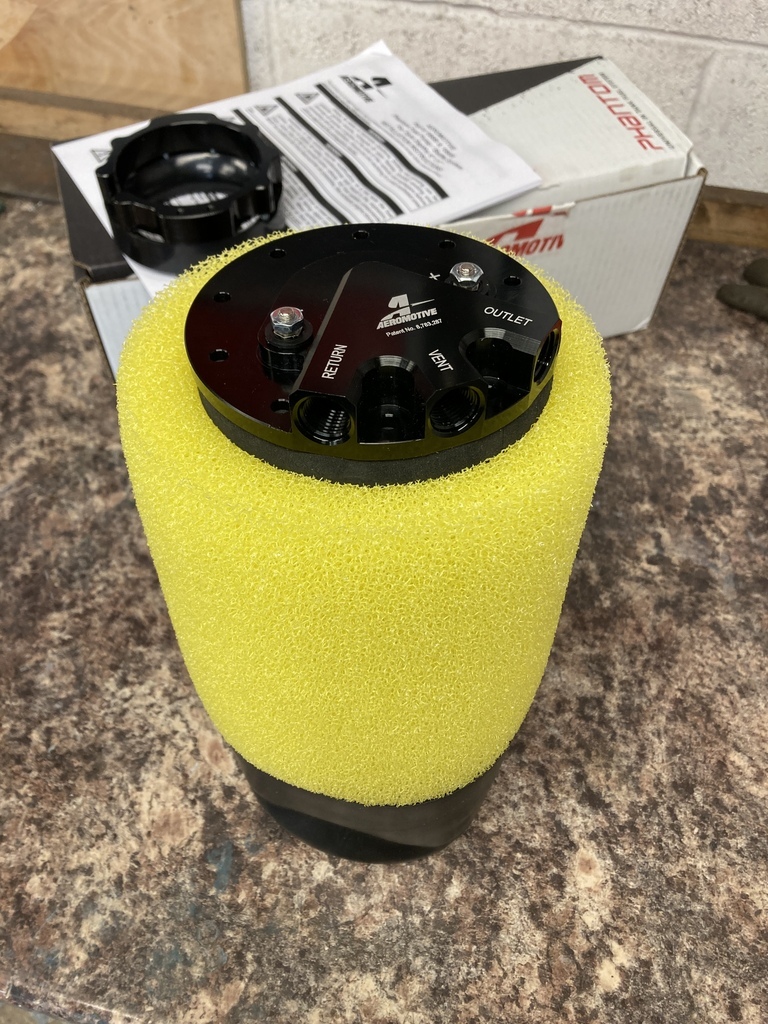
I narrowed down my choices to the Holley and the Aeromotive versions.
As can be seen above the Aeromotive unit won out for a couple of reasons.
I preferred the foam bladder over the Holley sock, the Aeromotive seemed a better quality product and because I went with the smallest pump in the range (Still 450hp rating) I could, with the right regulator, run this set-up as a low pressure system if I ever went back to carbs.
The great thing with these is everything is contained in one unit that goes inside the fuel tank. No packaging issues, the pump runs quiet, the pump runs cool, the fuel runs cool as it’s constantly be returned and the foam/socks overcome the fuel slosh issues with the lack of baffling of the stock fuel tanks.
First was to see where I could actually fit the pump.
I needed to take into consideration the fuel sender position, any internal baffle positions and also the original fuel pickup tube inside the tank when locating the pump.
Of course you want the pump as central to the tank as possible
Luckily the tank is fairly flat but the kit come with a large foam sealing ring that can overcome surface irregularities of up to 1/4” (6mm).
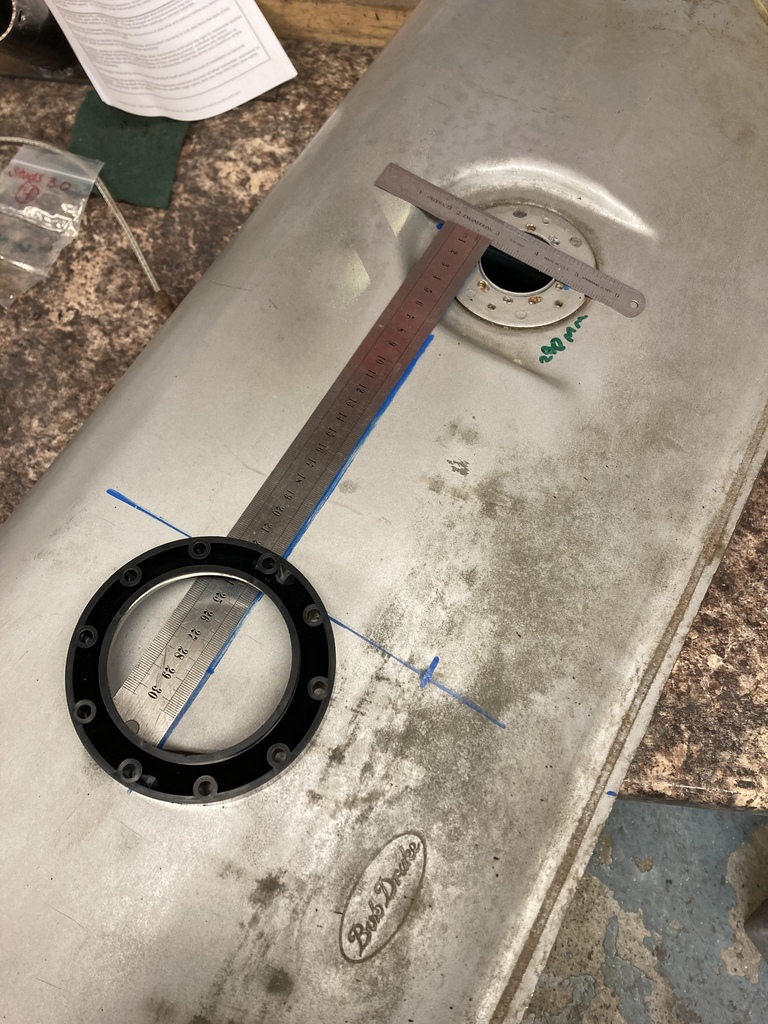
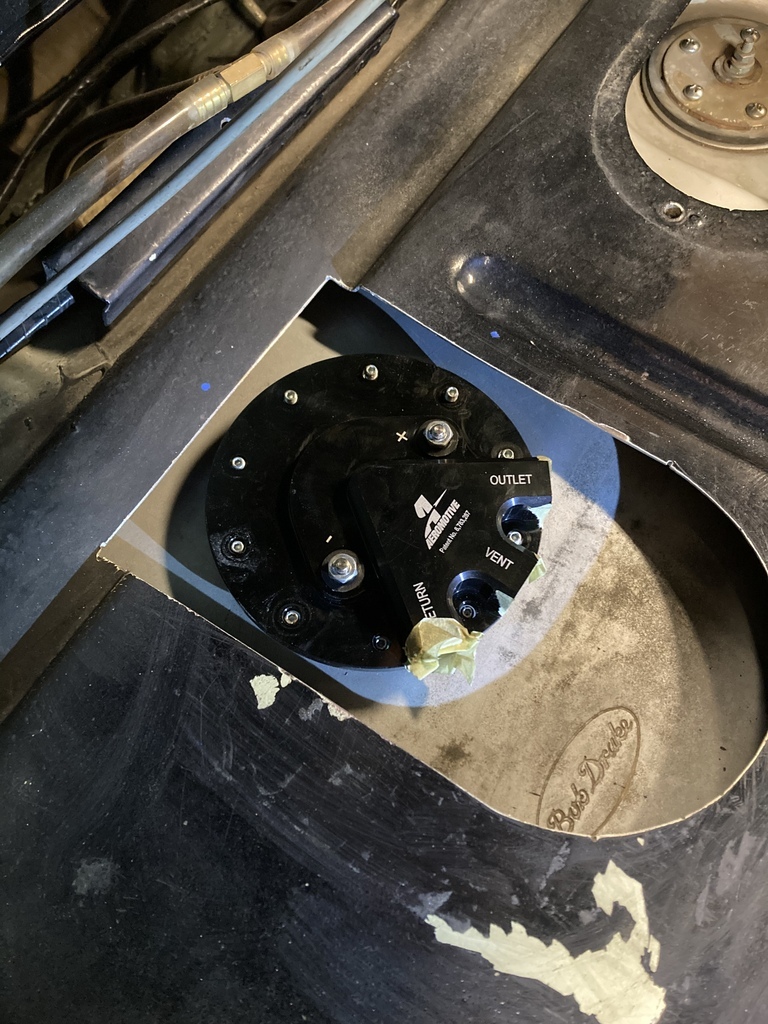
I wanted to make an access hole in the boot floor the same as the fuel sender has but for the pump.
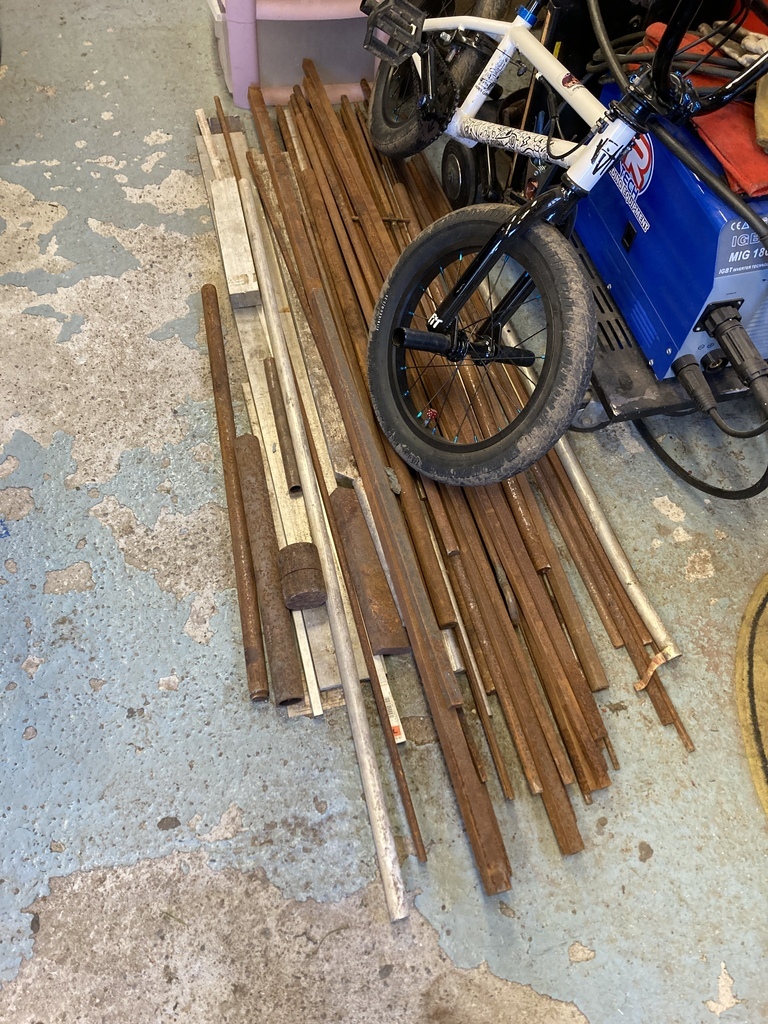
The rulers were my means of being able to work out the centre position of the pump from the sender flange when the tank was back in the car.
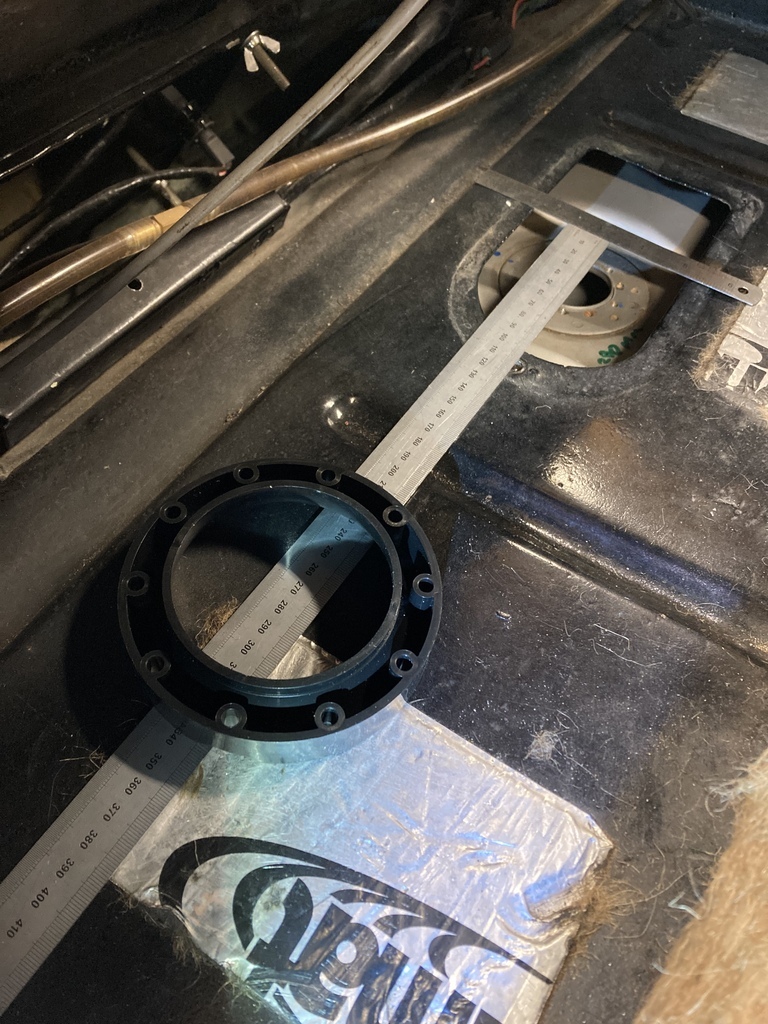
Confirming the pump position on the boot floor was in a usable position I marked out the cut lines.
Now the decision, do I cut the hole in the tank first or the hole in the floor!?
I decided to go with the hole in the floor as I could tweak the tank hole position if the measurements were out. 🤞
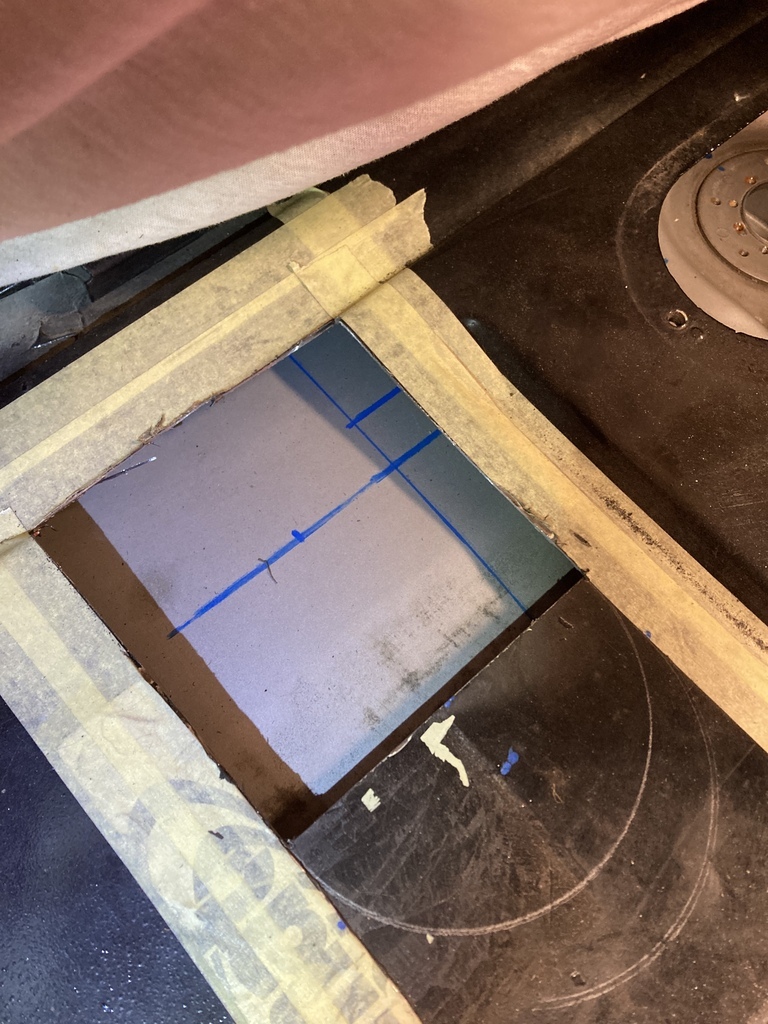
Pretty good. 👍
Being picky it was 5mm bias one side so corrected the pump position to make it dead centre.
With the positions confirmed I continued to open up the hole to the same arch shape as the sender cover plate.
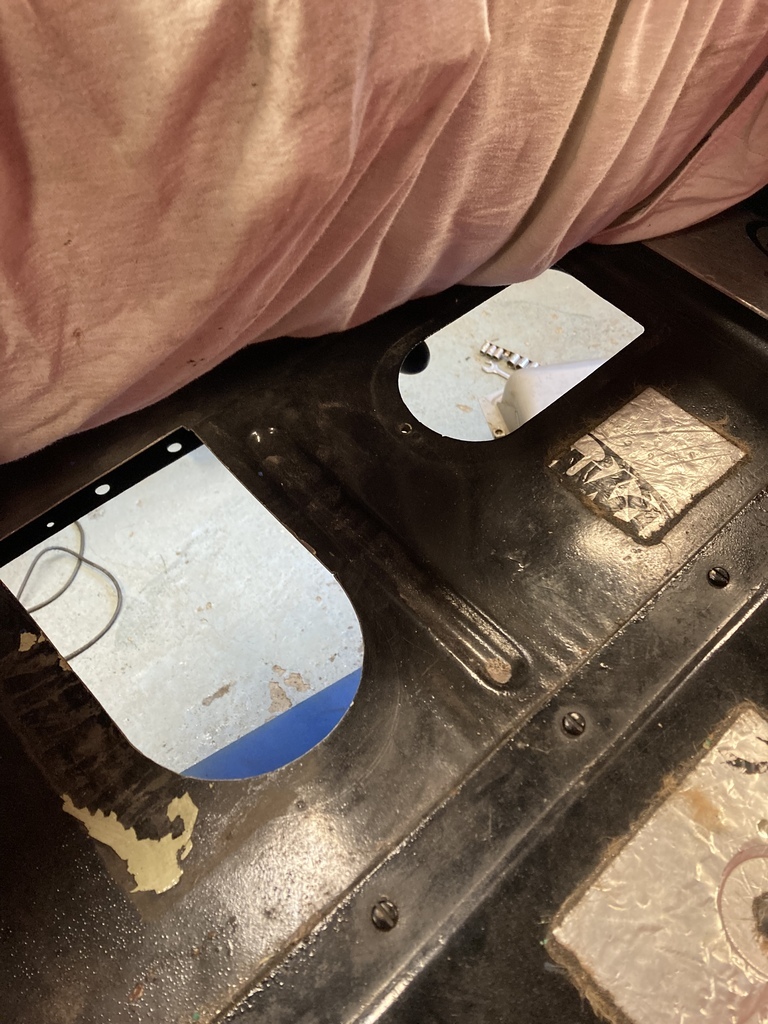
I could now start modding the tank.
3 1/4” hole saw obtained as per the instructions.
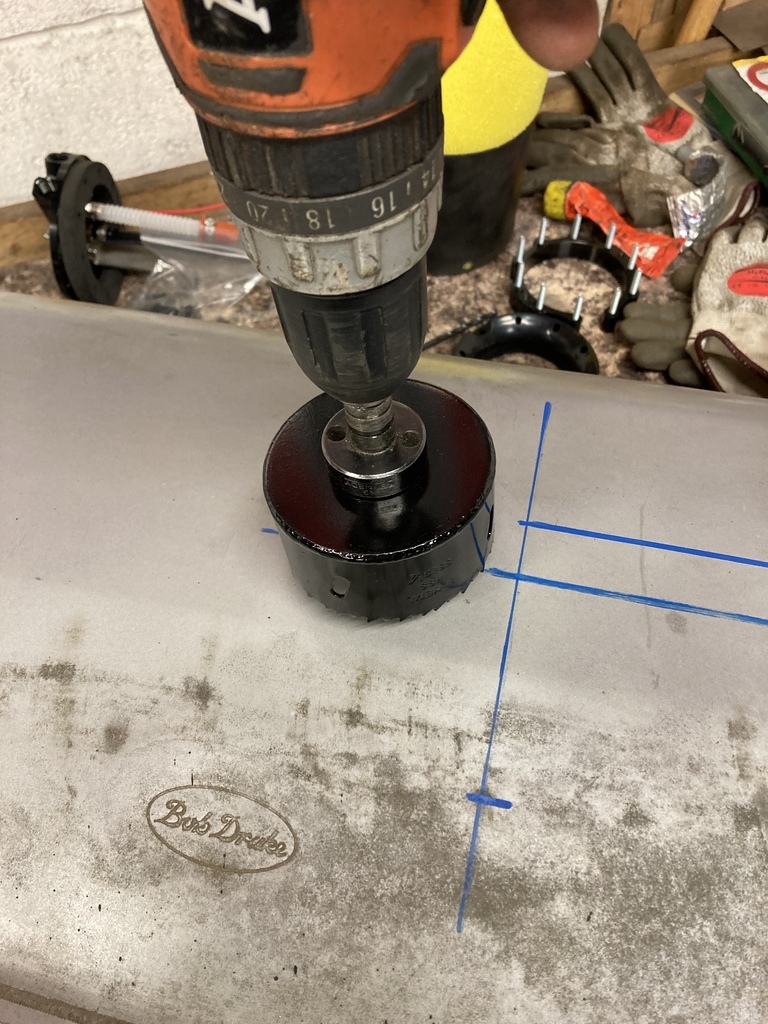
Yep, that’s never holding fuel again. 😆
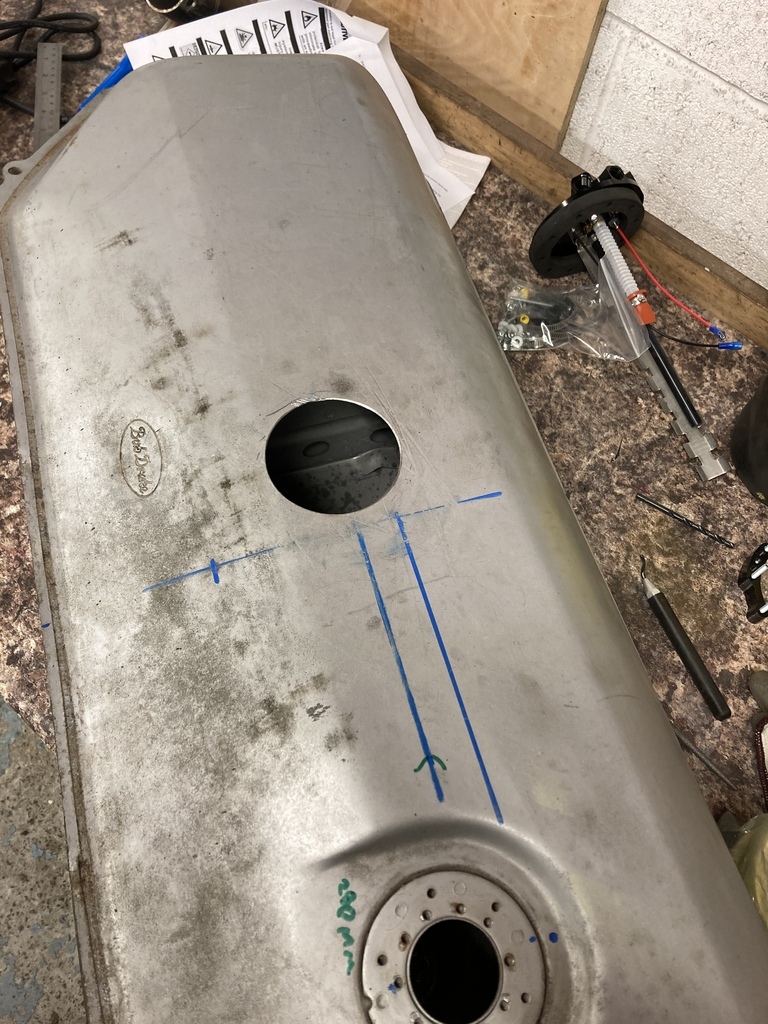
Aeromotive supply a drilling jig, which I lined up with the centre line.
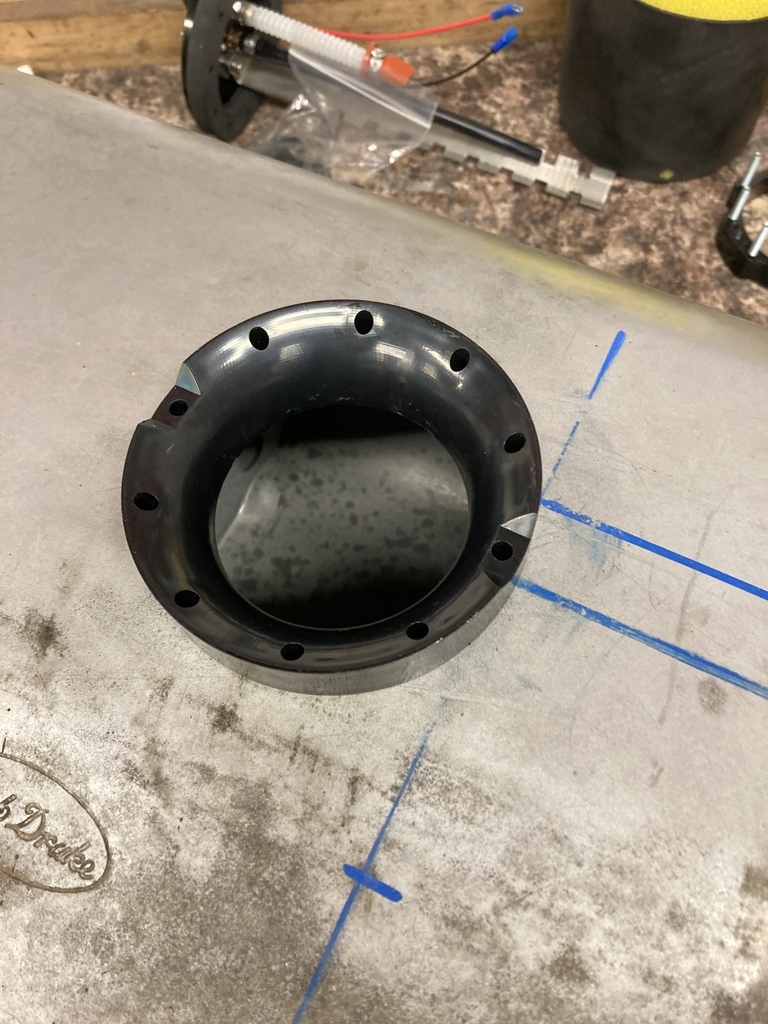
The two flats 180 degrees apart are the initial two locating holes that are drilled and two screws dropped in to hold the position.
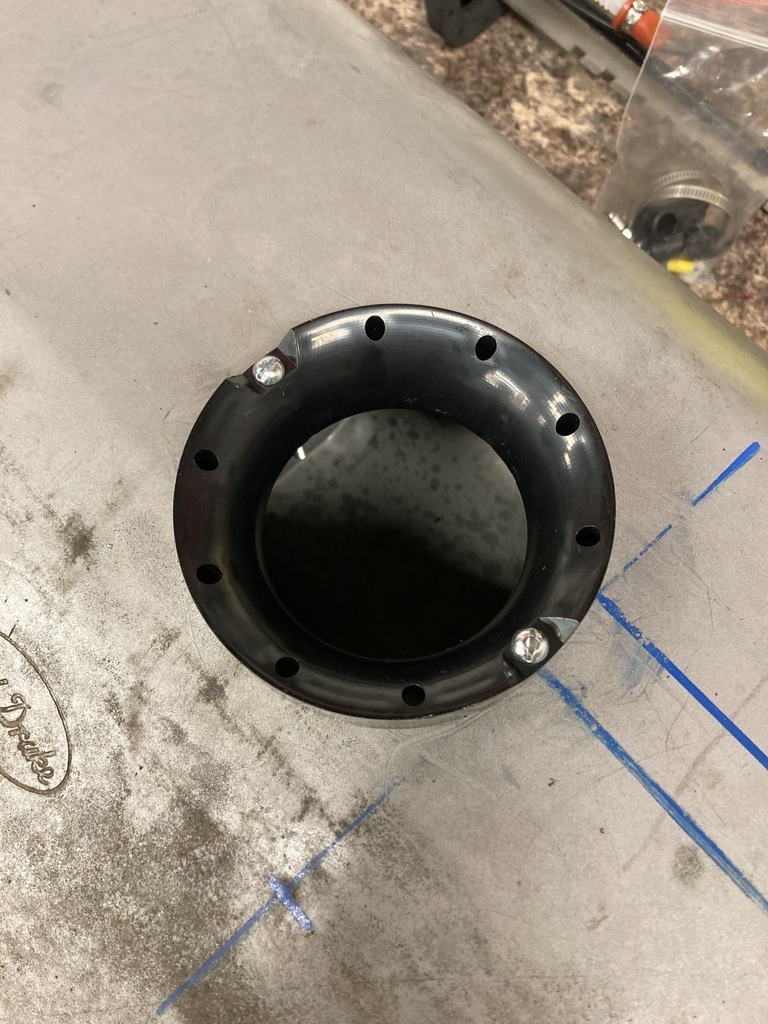
Remaining holes drilled with the supplied drill bit.
The hardest part of the whole process was deburring the holes on the backside and giving the tank a good vacuum inside to remove any swarf.
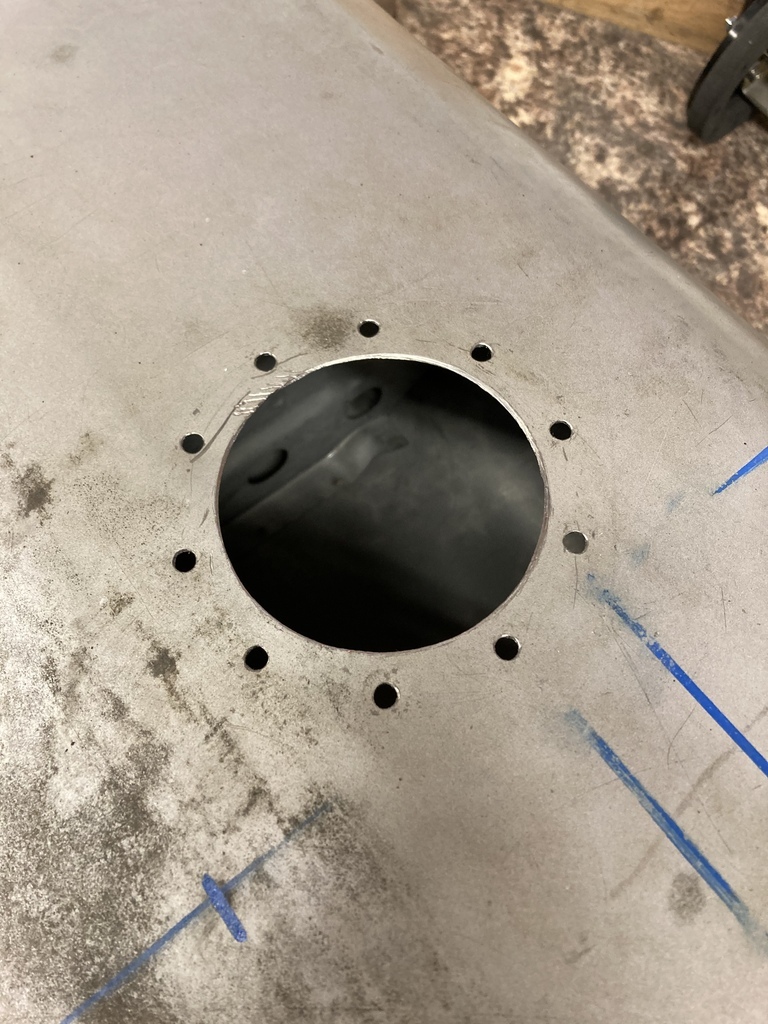
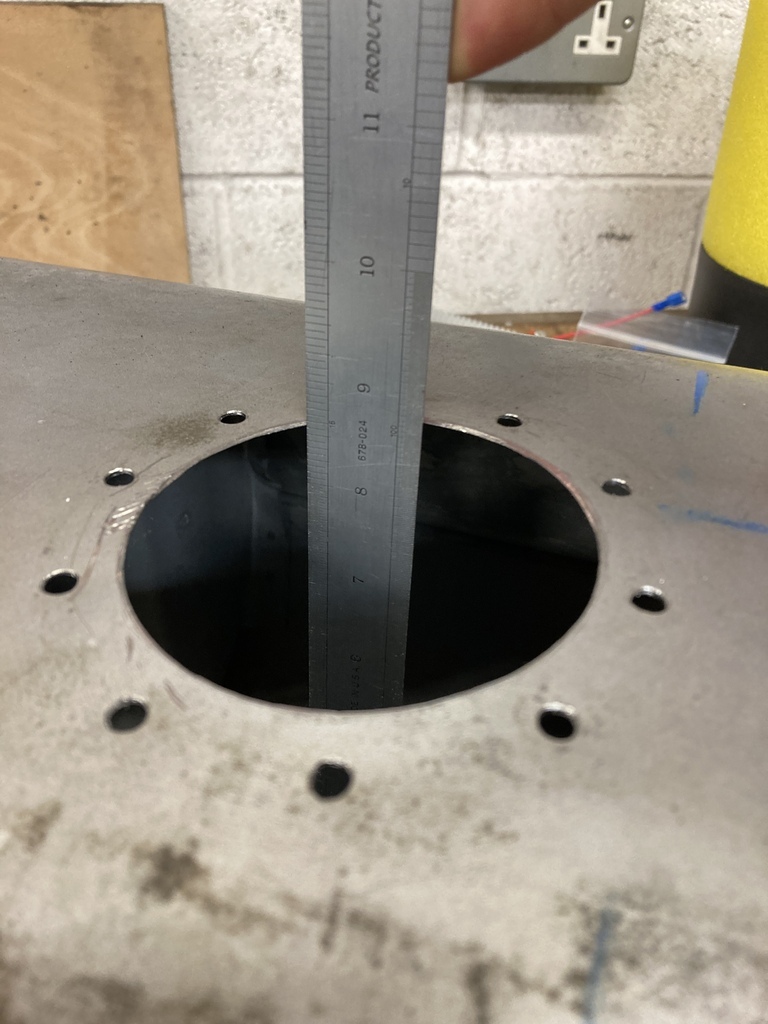
Tank depth measured.
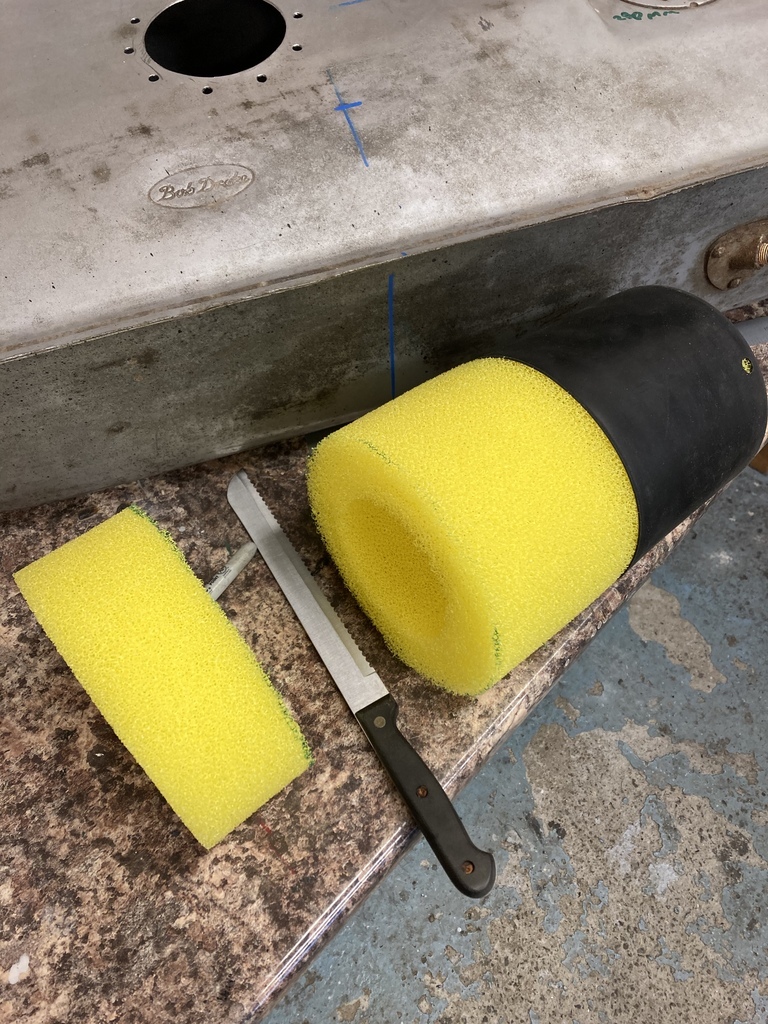
The bladder is cut to length.
Bread knife is always a winner when cutting foam.
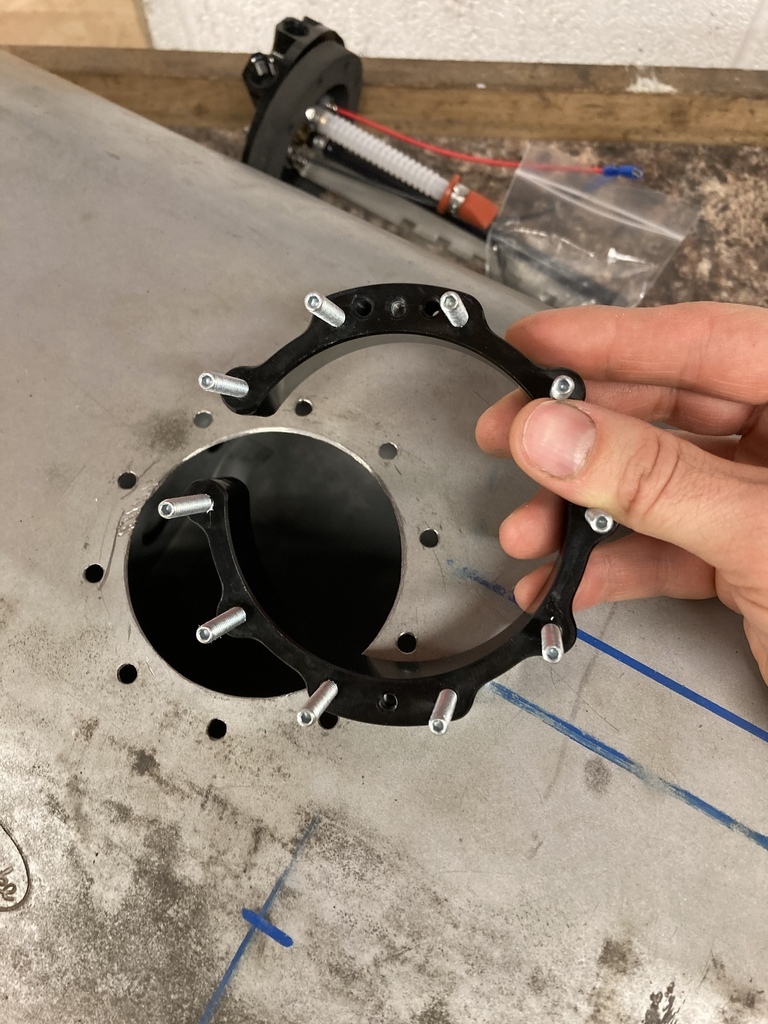
The retaining ring can go in.
It has a cut out so it can be hooked into the hole.
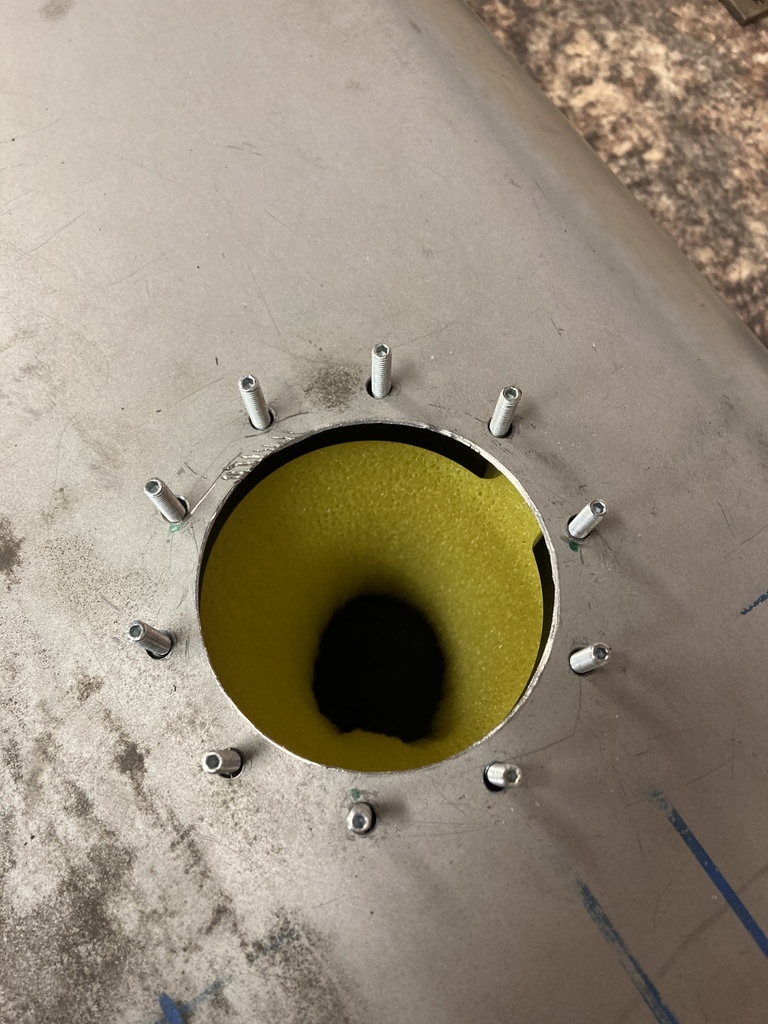
Pulled up into position.
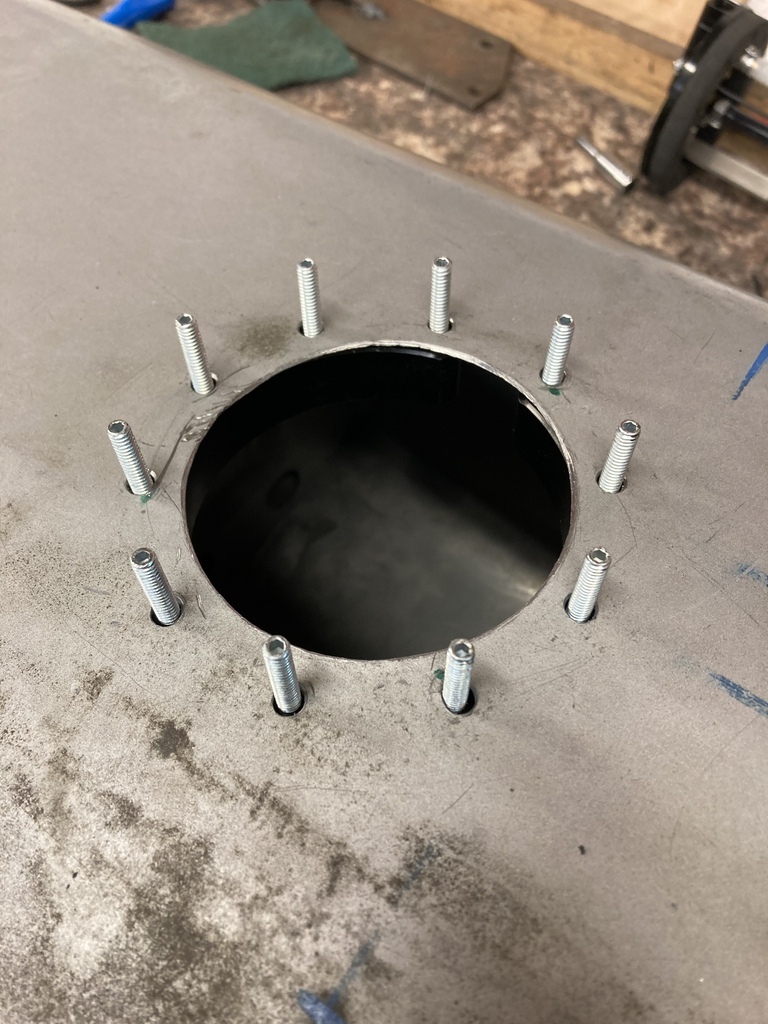
The drill jig comes back as a guide for the bladder to get pass the raw edge.
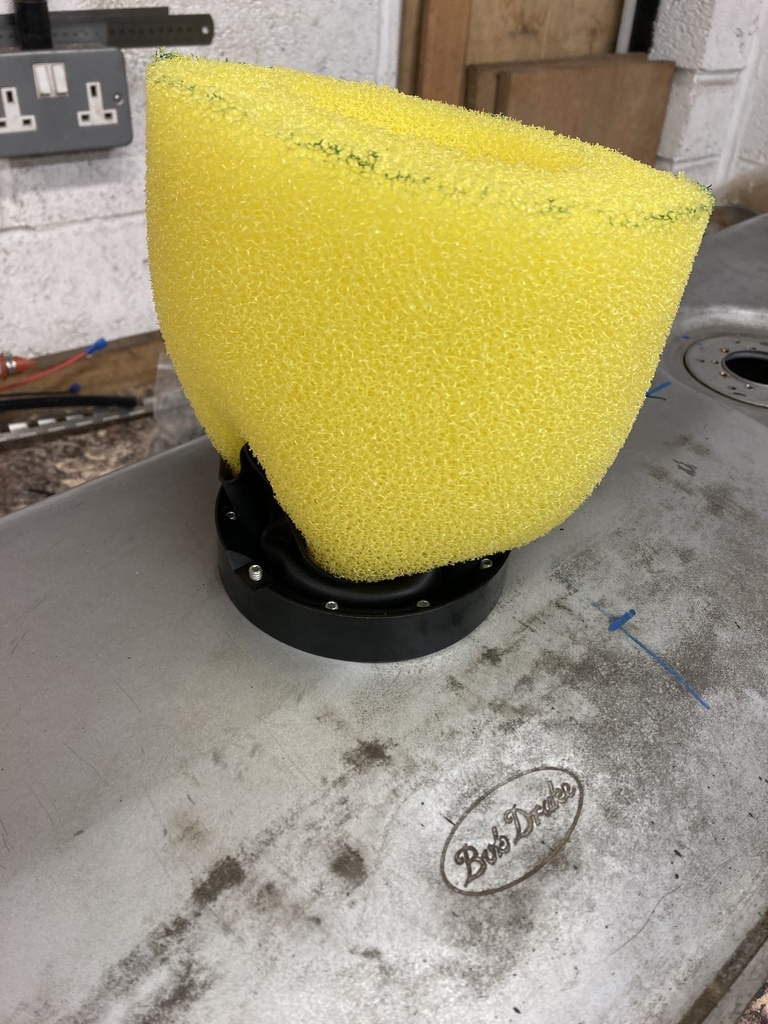
And set into place.
Onto the pump.
The strainer goes on.
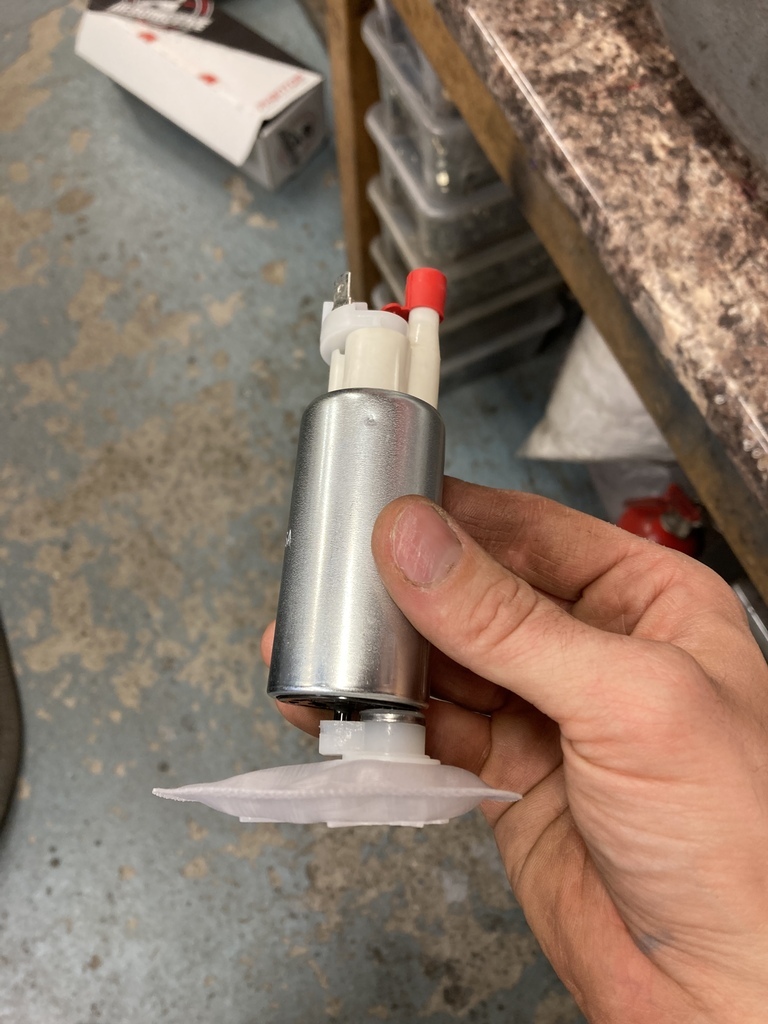
The pump bracket and fuel hose are cut to length so the strainer will sit on the bottom of the tank.
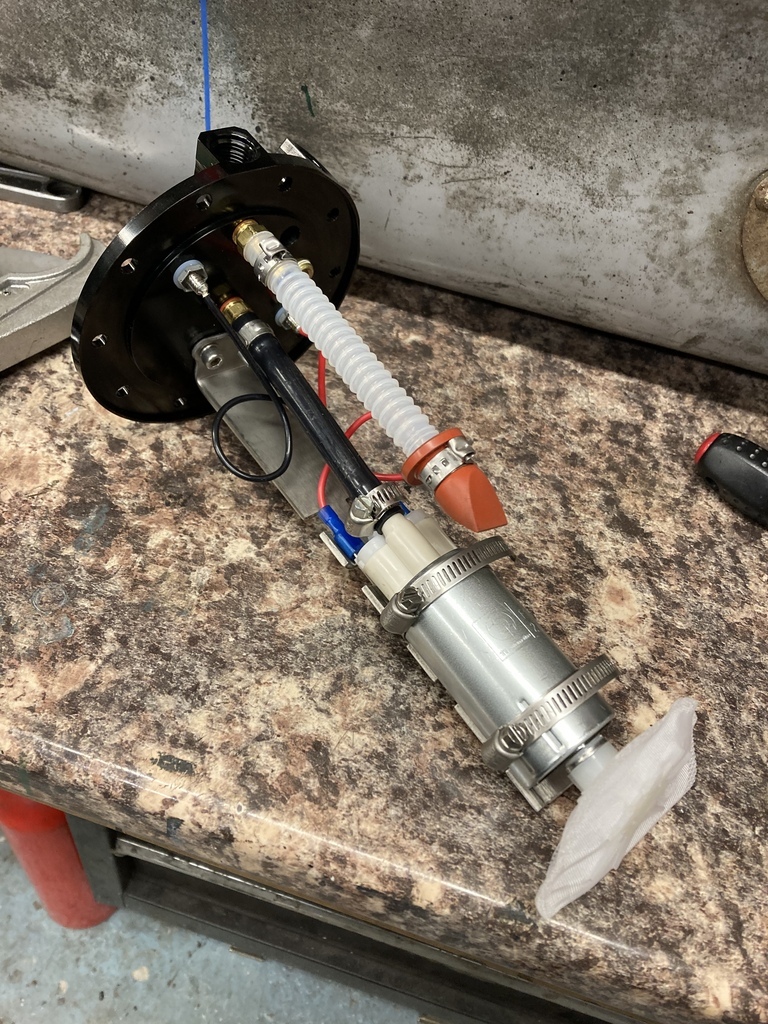
The whole lot drops into the tank and job done, which I neglected to take a picture of.
I slid the tank back in to check fitment.
Two issues, the access hole needed to be extended on the back edge. Not an issue as I’d marked it out on the tight side as it’s easier to remove metal than add it.
Second was the unit sat above the floor. I was a little disappointed with this as I was adamant it would sit below the floor. It now meant I would need a box to cover it rather than a plate.
More effort and a hump in the boot floor. 🙁
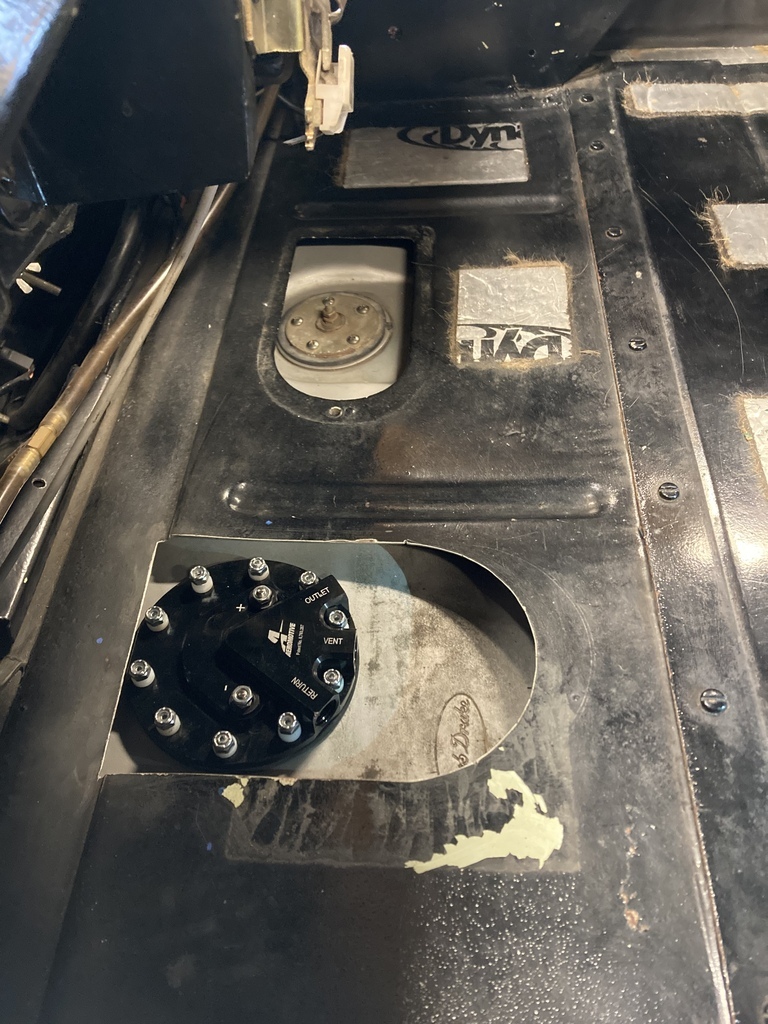
I took a little more out of the back edge to complete the opening.
I’ve also purposely left a large gap in front of the unit so I would have plenty of room to manoeuvre and connect the fuel lines.
