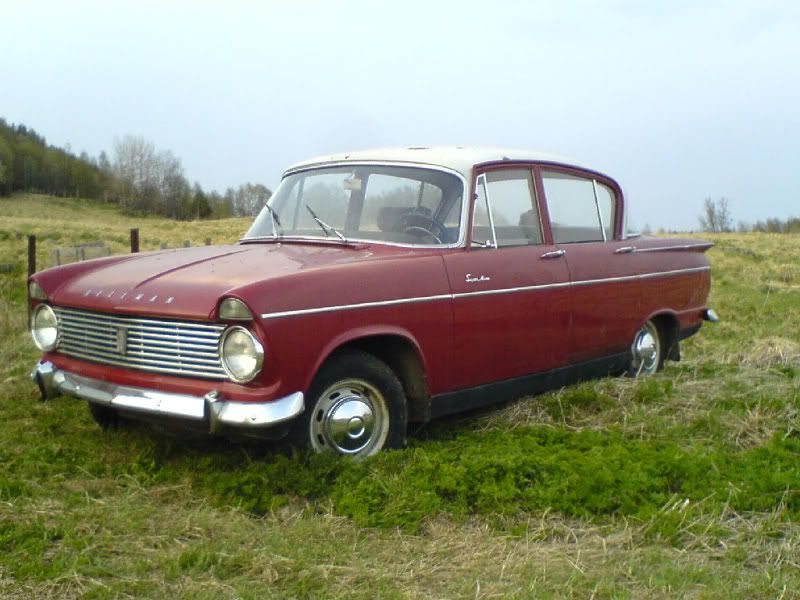
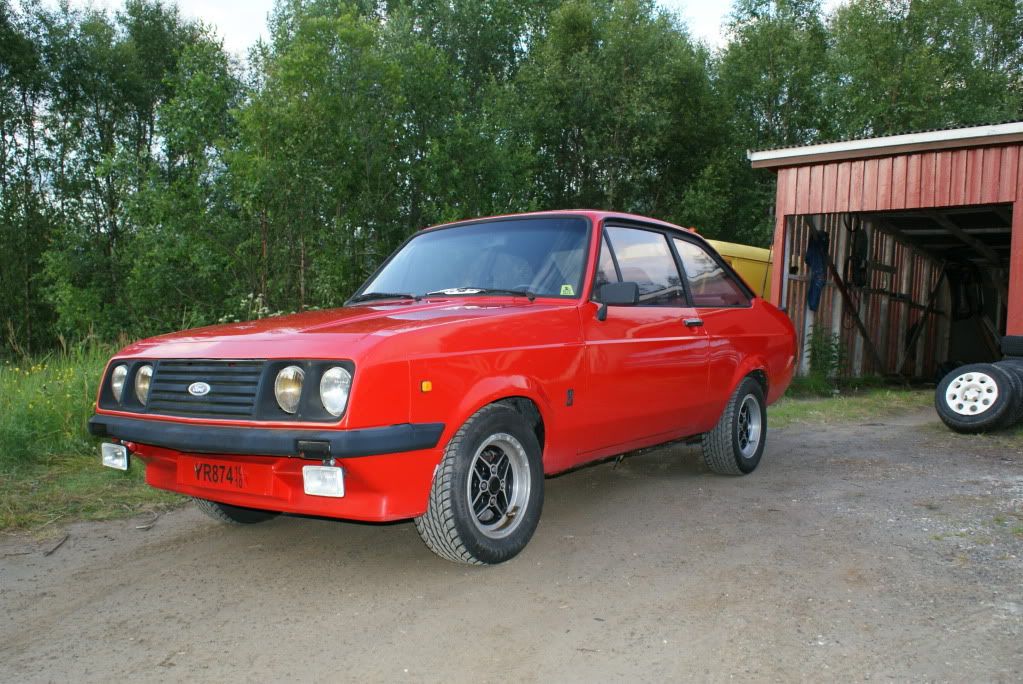
Loving that, such a good looking car, such a shame we didn't get it over here

that transit looks pretty useful as well. A proper tat hauler

The transit is very usefull, and it was alot better to drive when we got the 2.5 turbodiesel and the 5 speed in it
Jävla frän bil hördu!

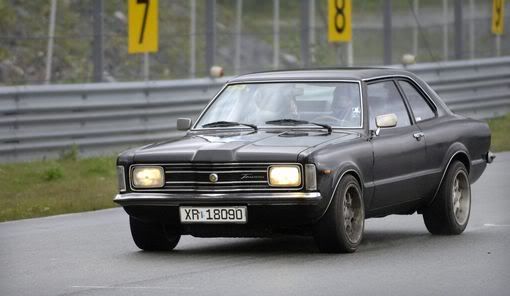
Always liked this shape of taunus much better than the later ones, that were more square, dull and boring in my eyes...
My father had one like this in the 80s and he painted it black too... I think that is a very suitable color for them.
Tackar så mycket! Jeg har lest prosjekttråden for PV'n din også, bra lesning.
Det blir en kul bil når den blir ferdig
Black is beautiful

Well, I thought I'd tell about the efi-conversion now.
Some years earlier I had a 1977 bmw 320I E21 that was rebuilt from carb to kjetronic.
It was a constant hassle when may tank level dropped below quart.
It would draw air in every bend and almost stop because of the lack of a swirl pot.
To avoid this in the Taunus I decided to install a proper swirl pot.
This is the easy way to get a swirl pot in the stock Taunus/Cortina fuel tank:
Split open a scorpio/granada fuel tank.
Here you can see the fuel line, and the fuel return.
I cut off and removed the fuel return from the swirl pot,
because I used the fuel return through the tank level sender, as it was where the original went.
I just used the old fuel return line from the engine

Bend the tabs holding the swirl pot, lift pot off from the tank after I cut off the feed pipe.
Imagine where to cut swirl pot mounting plate off from tank:
(making sure I left enough metal for later)

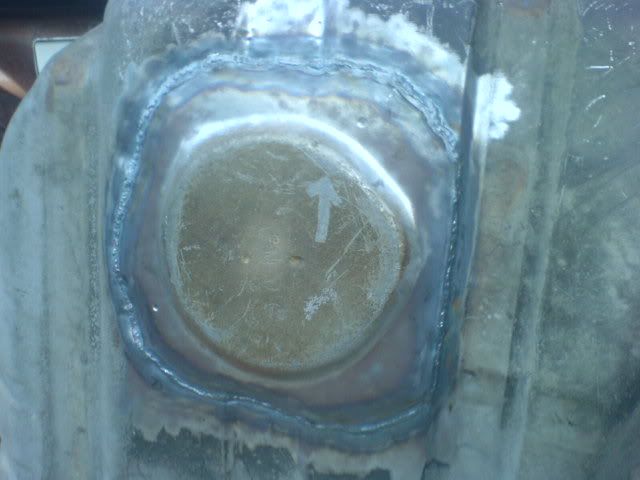
Make a template of the position of the swirlpot and cut hole needed in cortina tank. Make sure hole isn't too small for the swirl pot to come through.
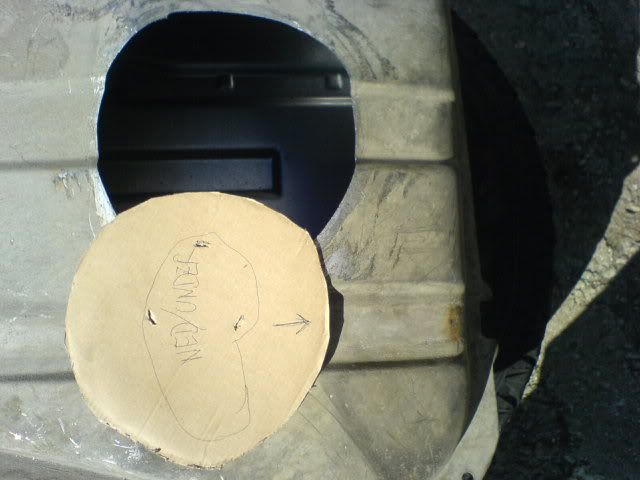
Roughly scratch circle where the outlet is going to come through the side of the tank:

Place swirl pot on mounting plate from granny tank, drill hole for feed pipe, and test fit:
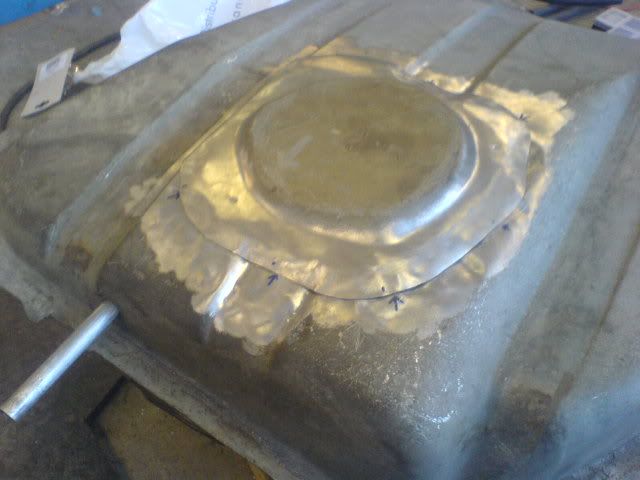
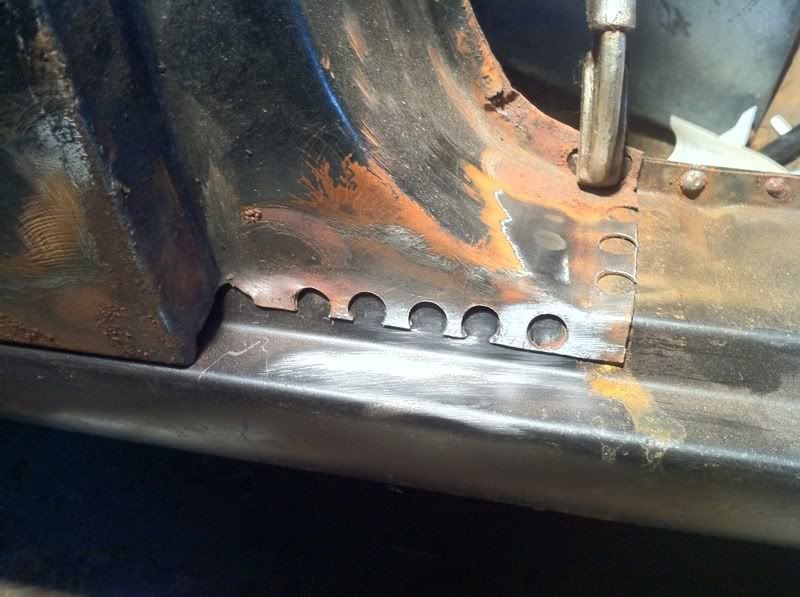
Weld properly, making sure I've got good penetration and no holes:
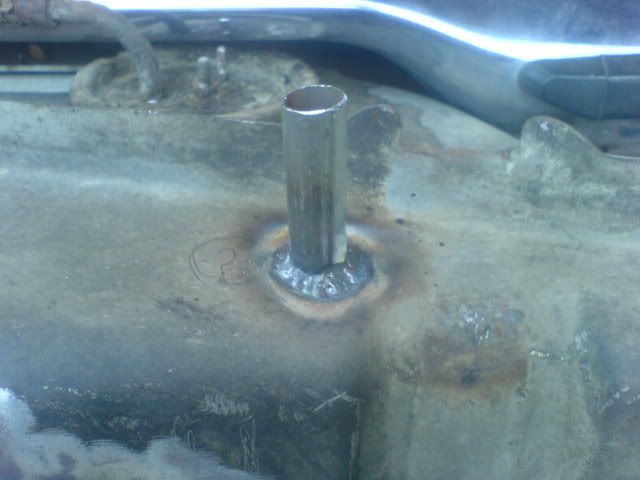
Feed pipe was quite close from where I thought it would be eh?
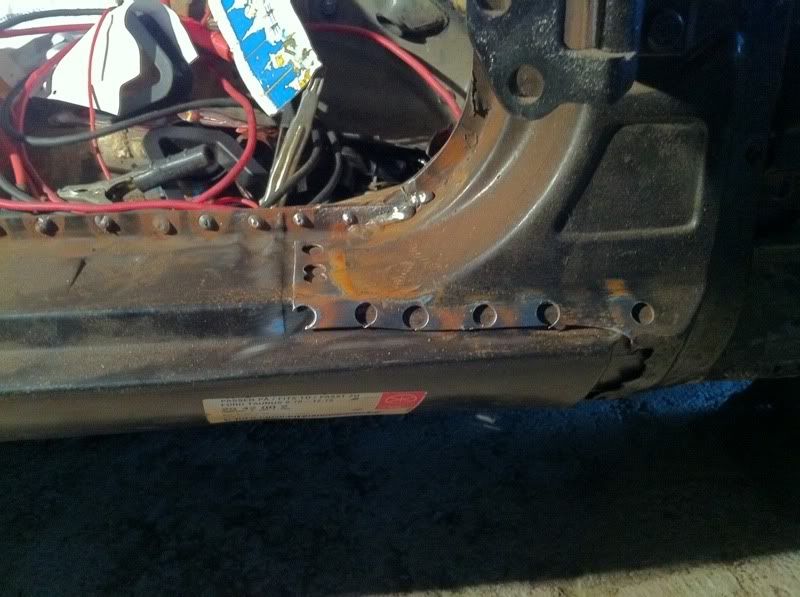
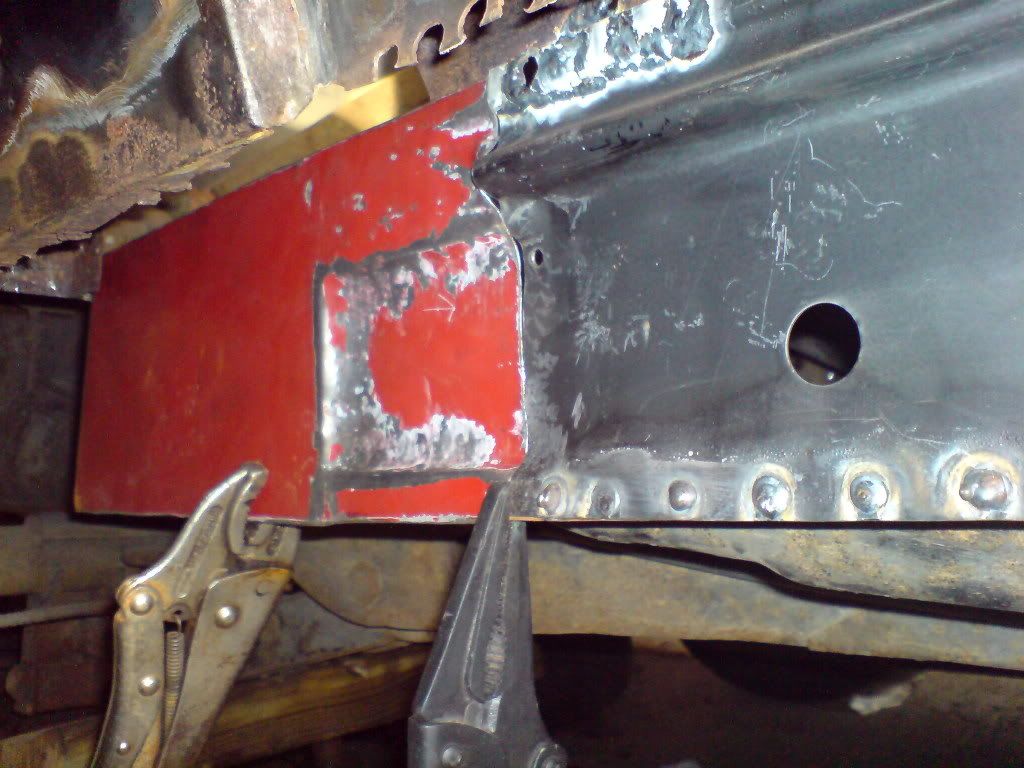
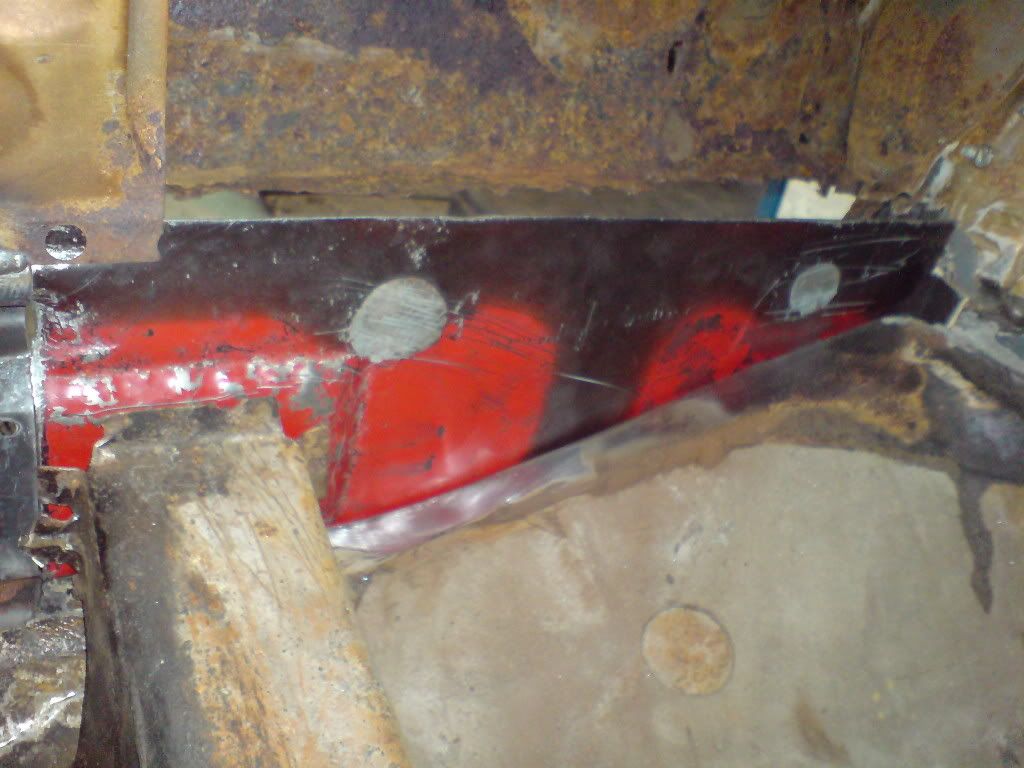
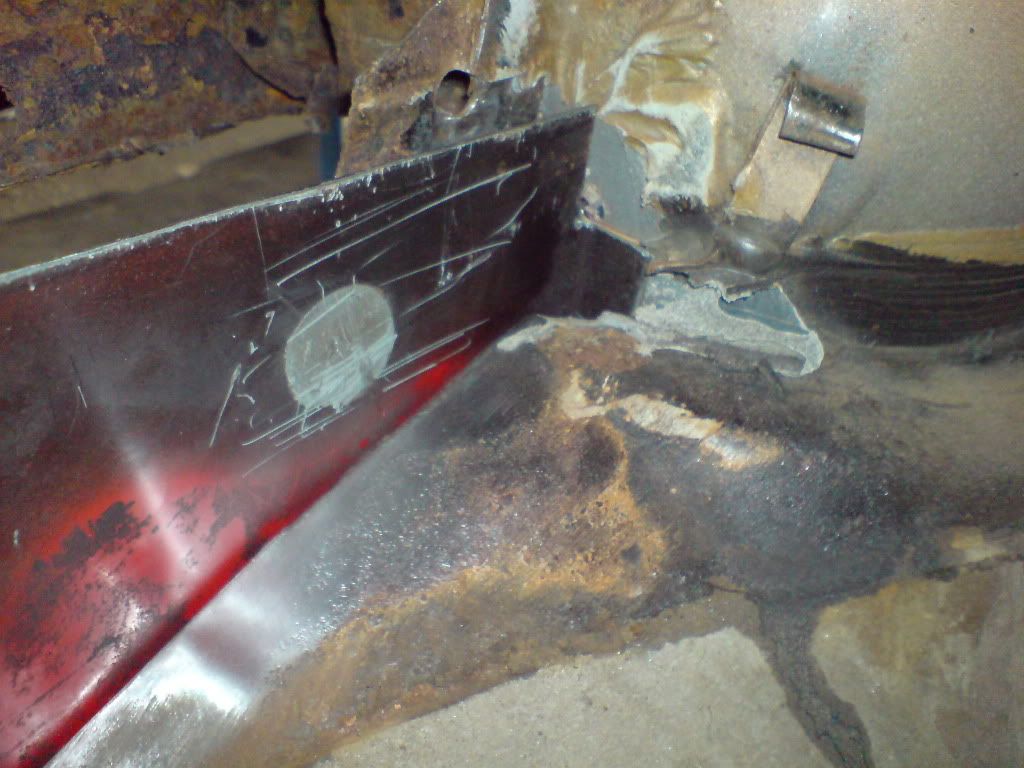
Benefits from this mod is that the original fuel tank is in place, looking stock.
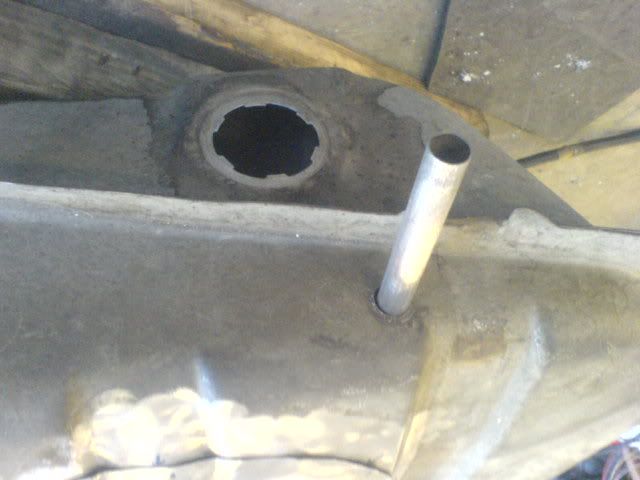
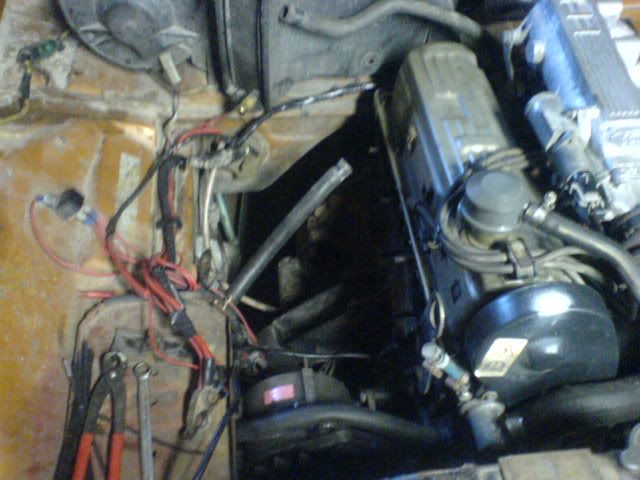
No other mods was made to the car other than drilling a hole in the boot floor for the fuel line to go to the fuel pump, and through to the front of the car.
Fuel pump in the boot.
The fuel pump in the boot is going to get relocated to under the car this summer, cause I can't seem to get rid of the smell of petrol

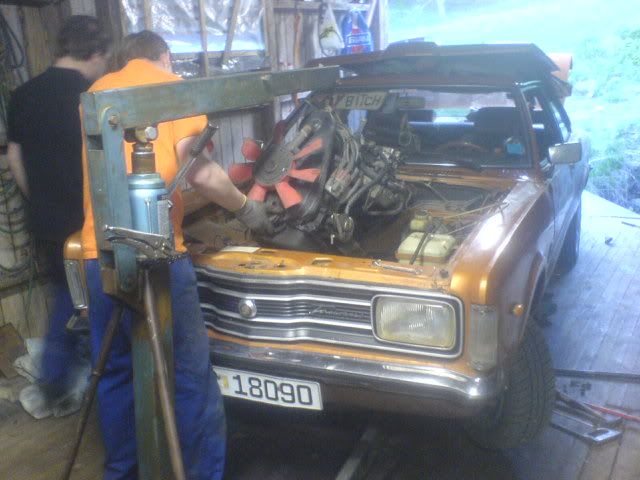
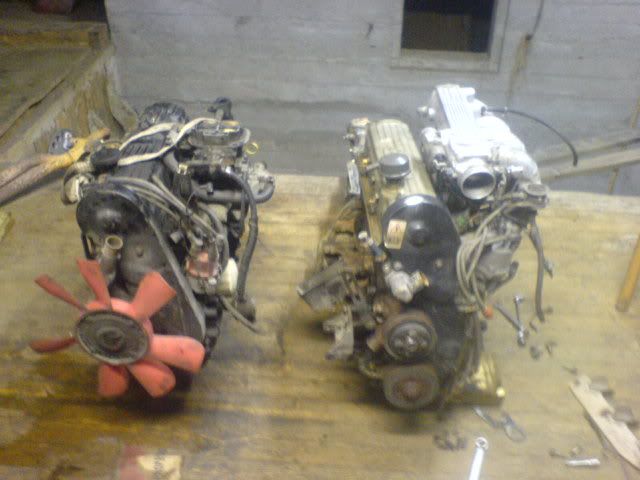
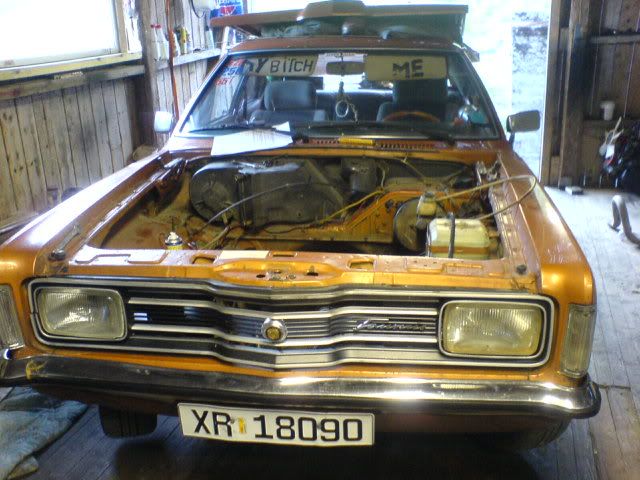
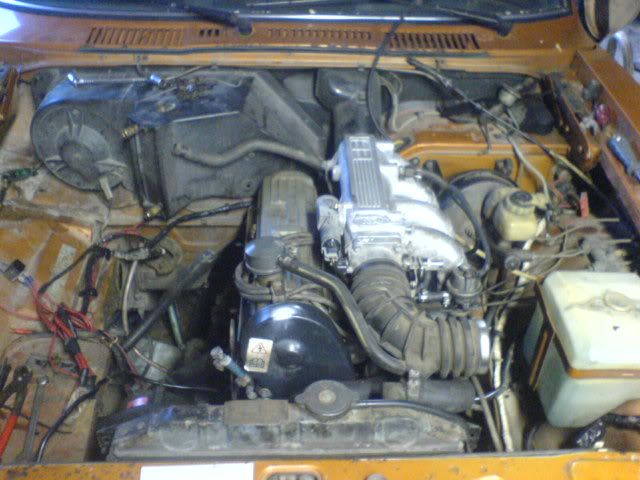
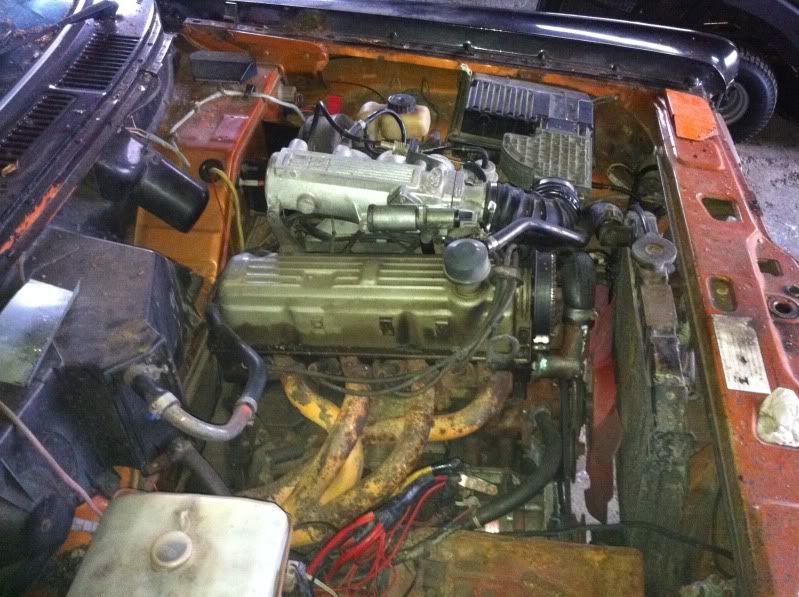
Next came the engine.
Out with the old pinto 2litre carbed engine.
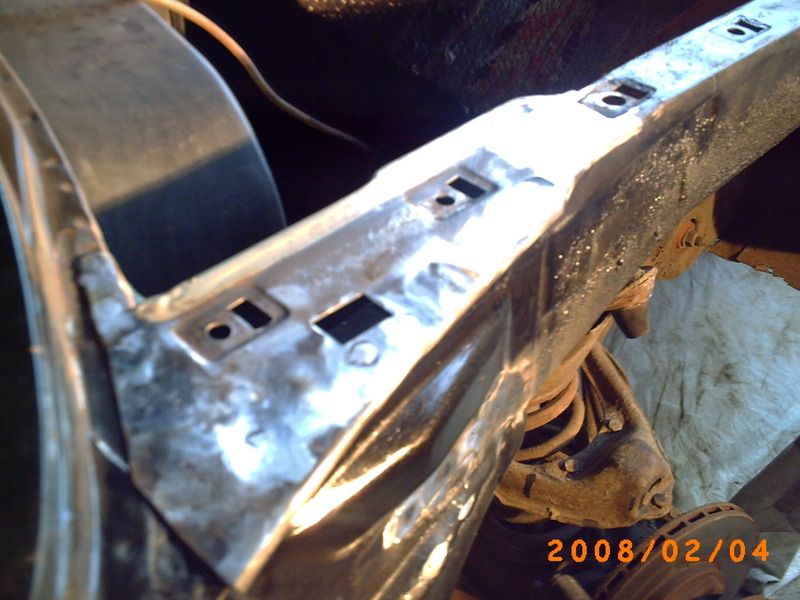
Next step was to swap over engine mounts and stuff like that:
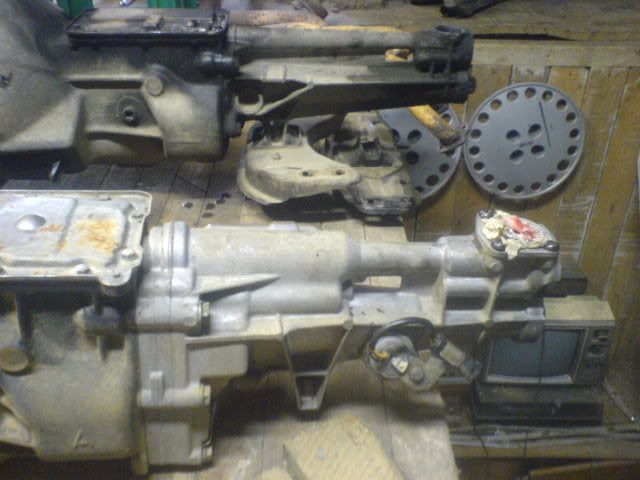
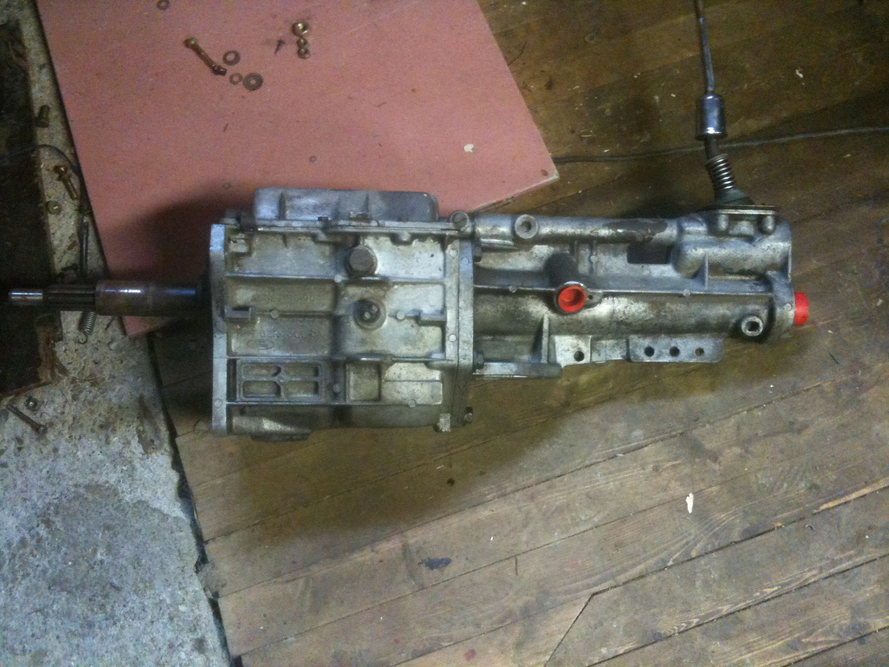
Checking the output shaft length from the 4speed to the 5speed.
They were spot on, same length and all, the gearbox mount was slightly further back than the 4 speed,
but that sorted itself out with modding of the stock 5 speed bracket from the scorpio/granada.
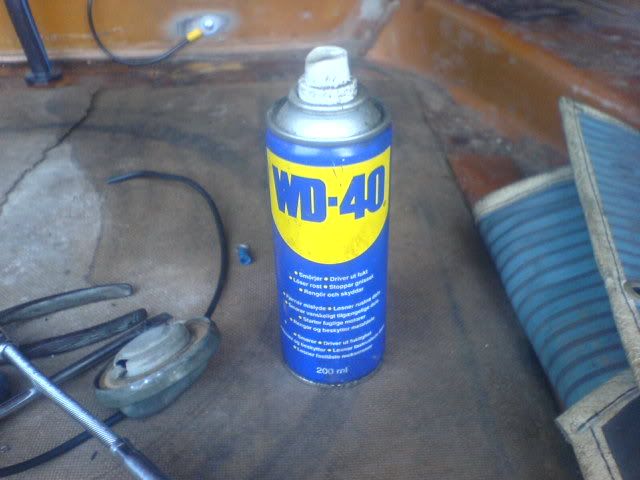
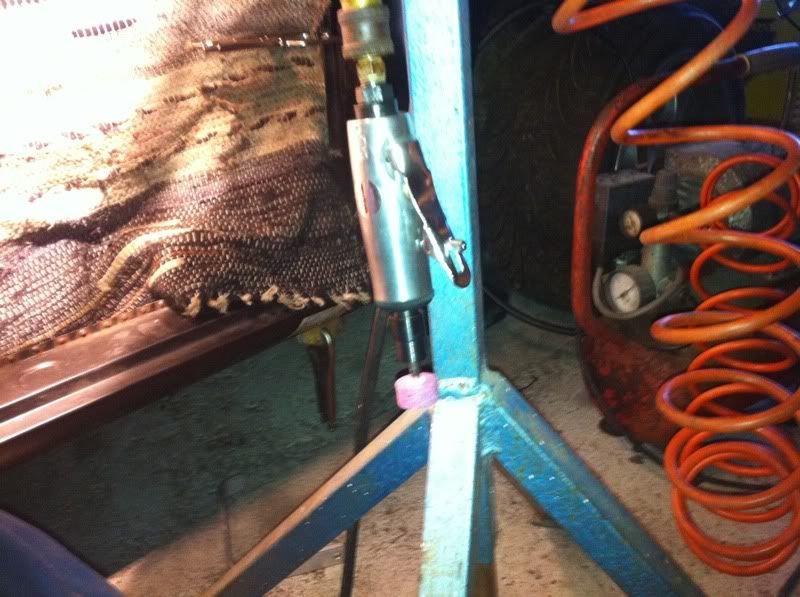
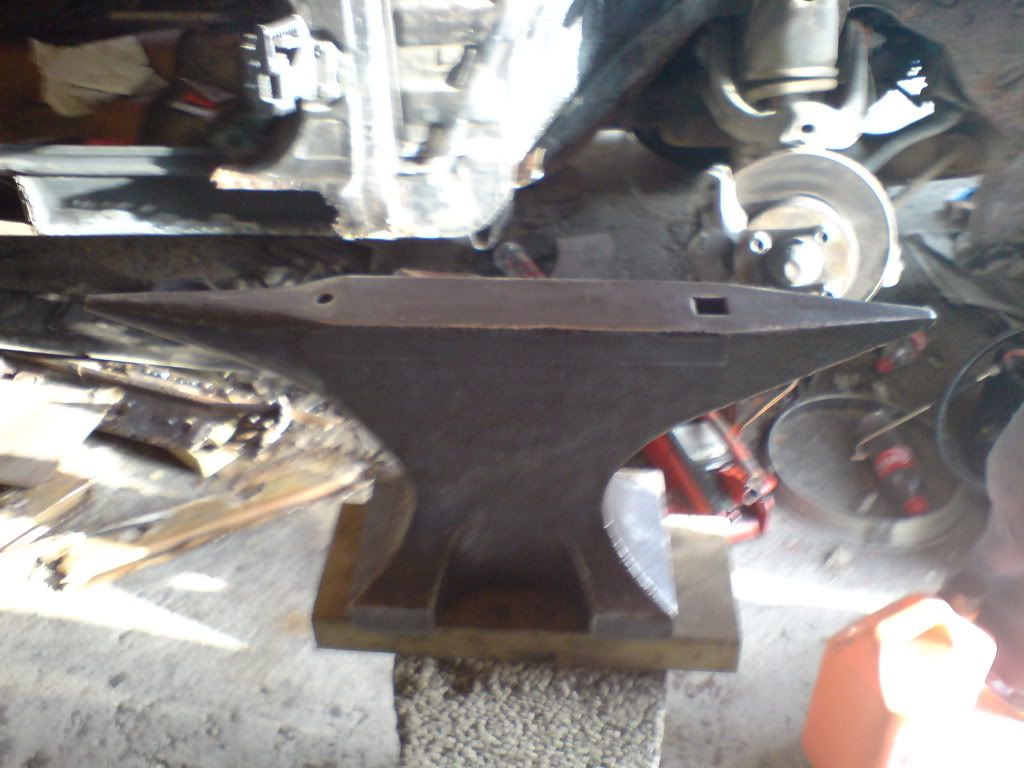
Useful tool when working on old fords
:
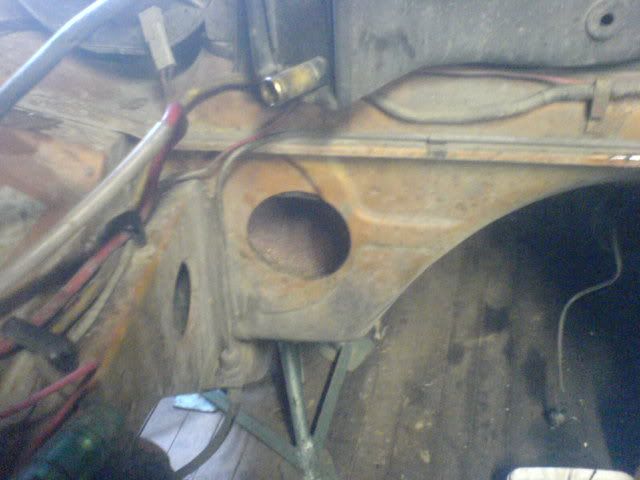
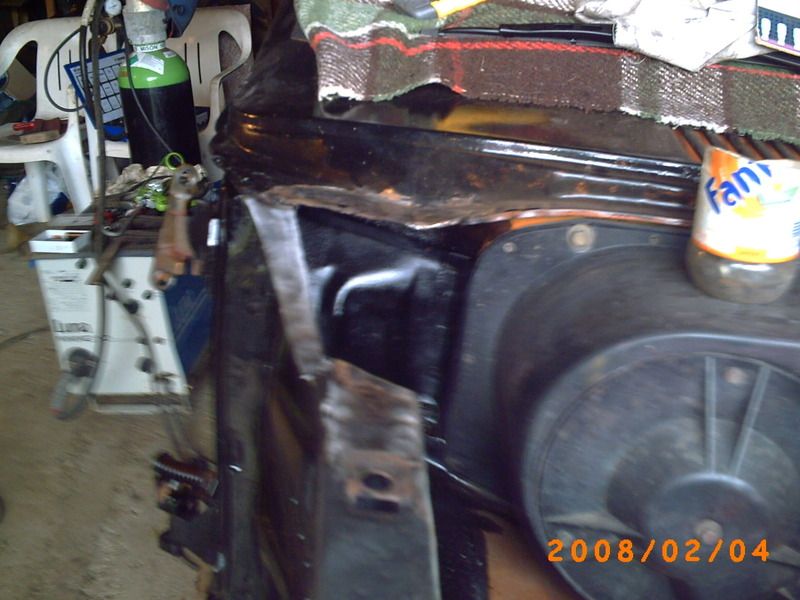
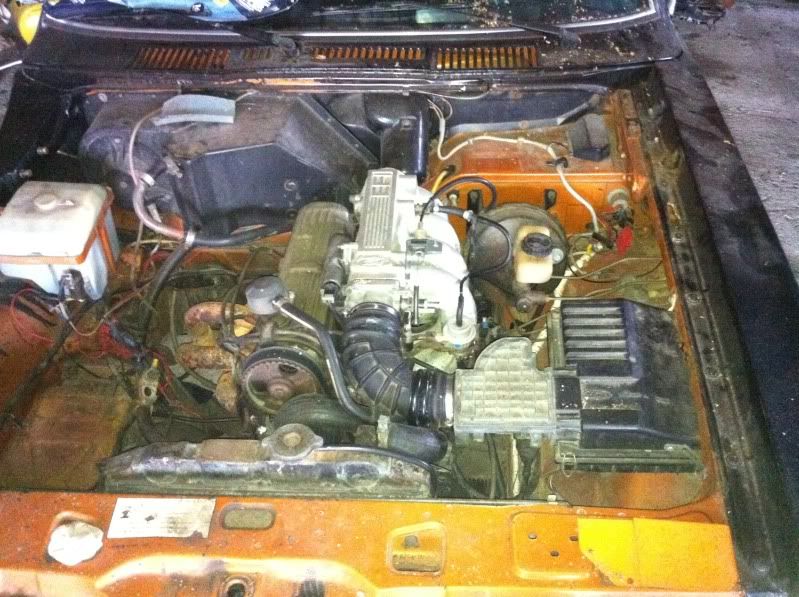
This is where I put the Granada/Scorpio engine wiring loom through:
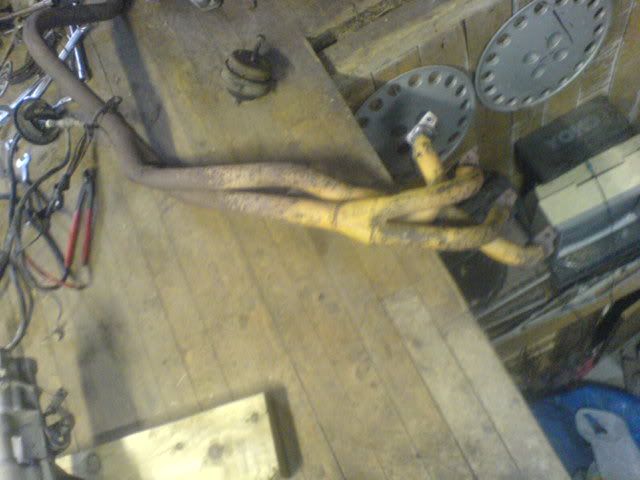
4-2-1 manifold waiting for install:
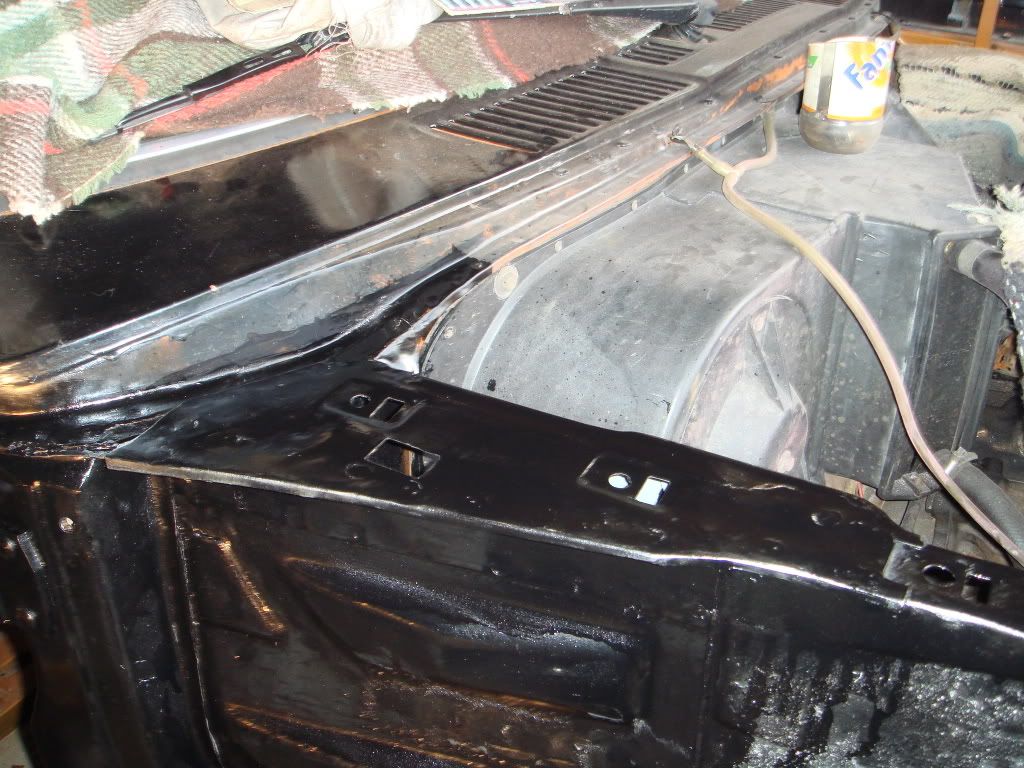
Engine bay ready:
Engine complete with mounts and all ready:
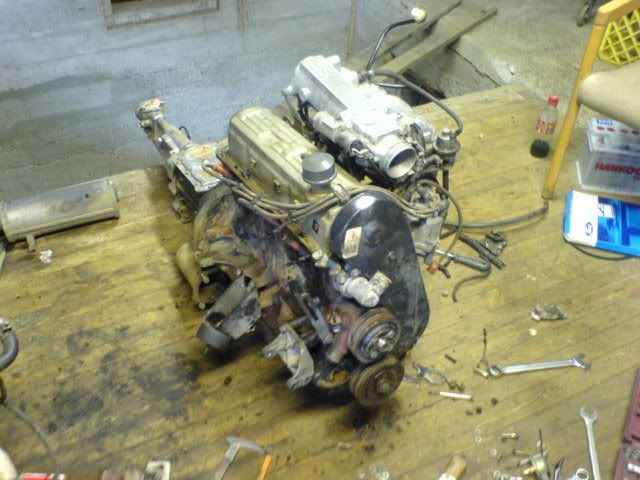
Engine
manhandled eased gently in:
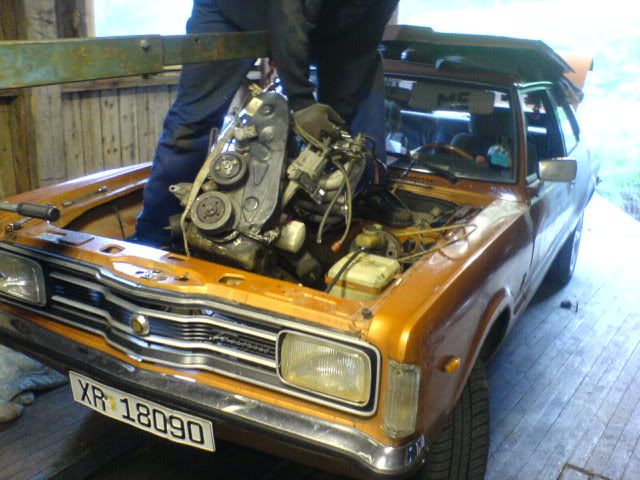
All mounted up, propshaft and gearbox and all.
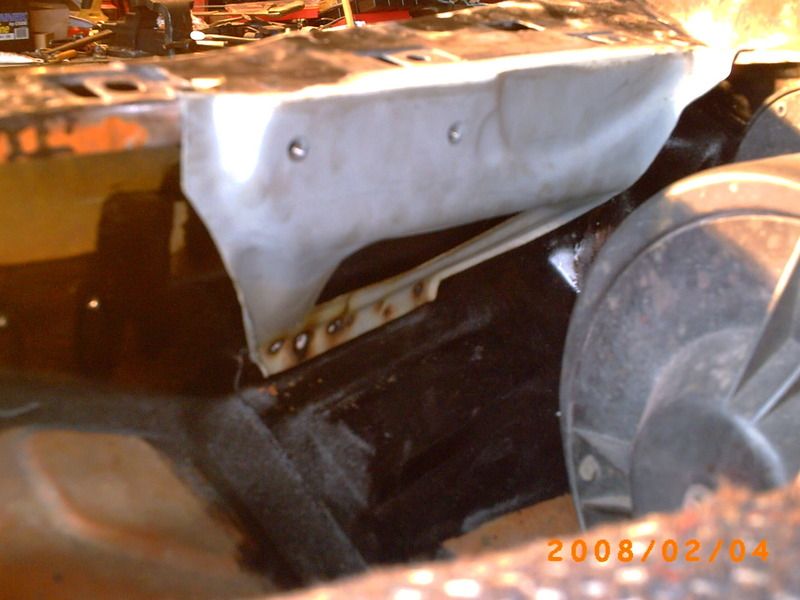
All that was left to do was to sort out the exhaust and the air flow meter/air filter box.
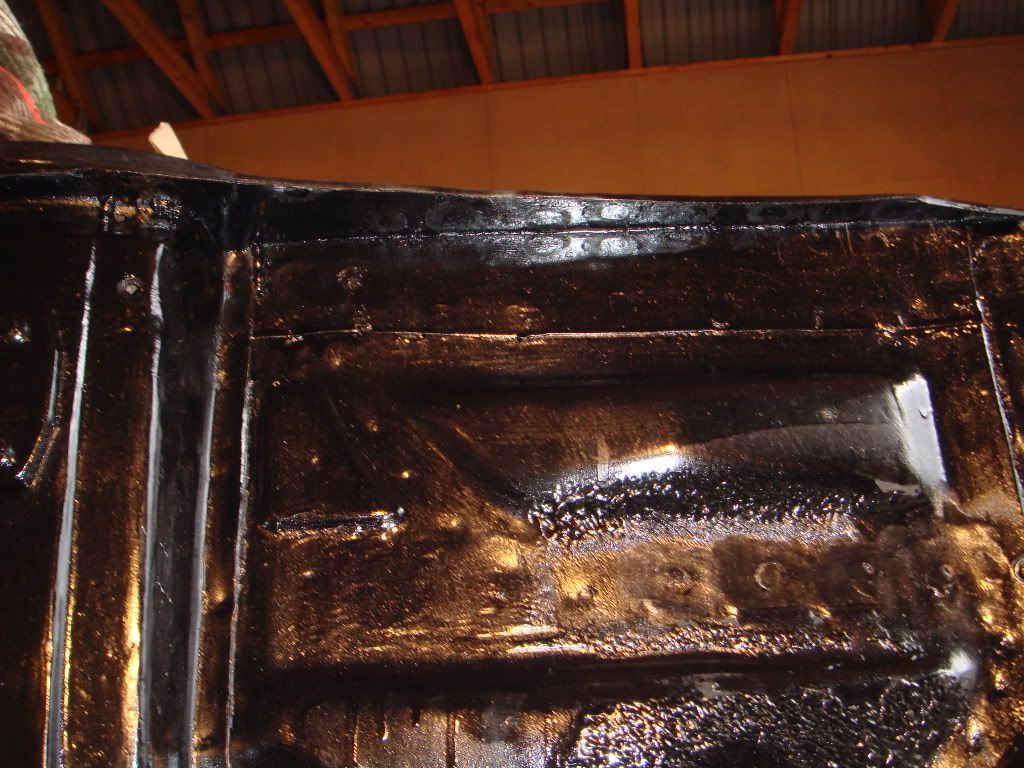
Good clearances:
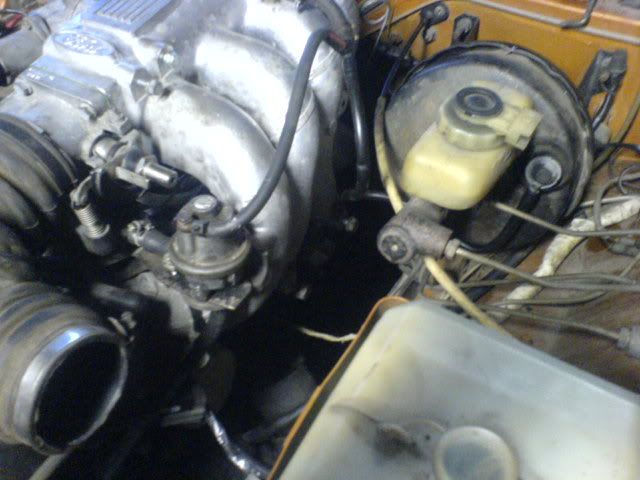
Awesome room for exhaust:
The only thing that bugged me was that the gearbox had an electronic speedometer sender.
I got used to it by using the rpm to tell me the speed.
Maybe I'll install a sierra gearbox later on.
I also thought about installing this:
But that would require a v6, or a v8, so that idea was put on the shelf for the time being.
Many other mods was also during my ownership.
Things like Capri 2.8i vented disk brakes, complete set of polyeurethane bushes front and rear, Koni adjustable progressive oil dampers, 2" lowering springs, and so on. I can't remember them all.
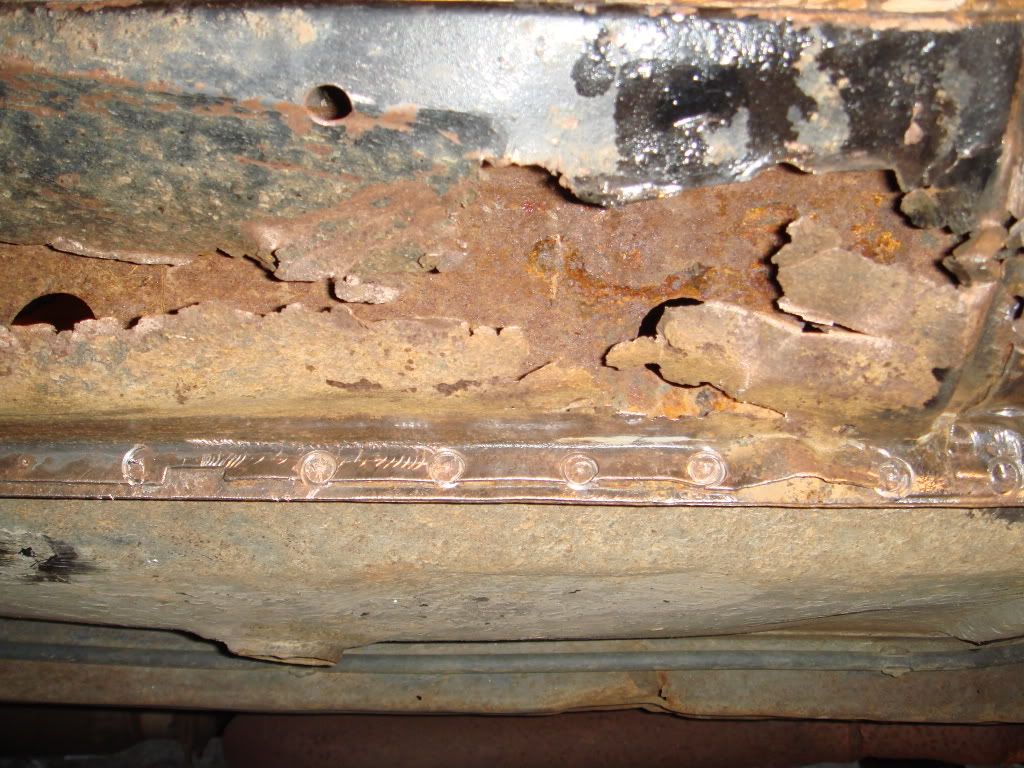
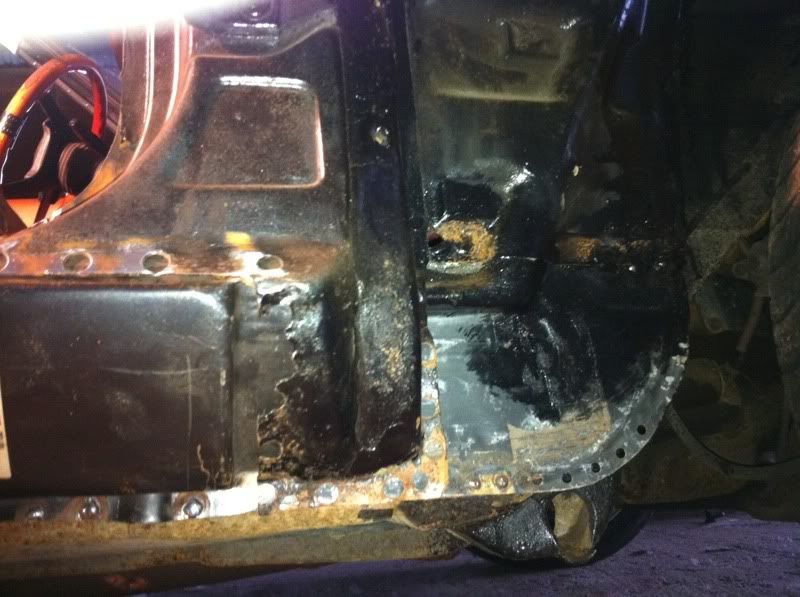
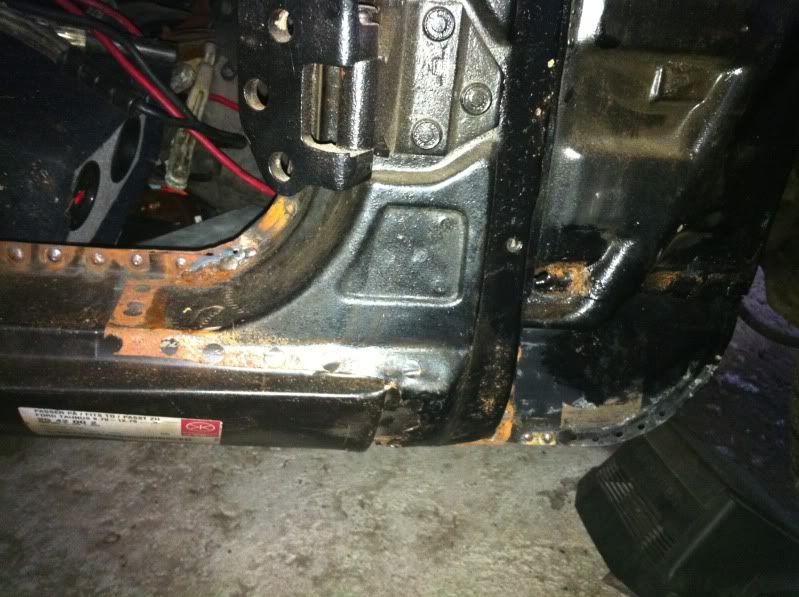
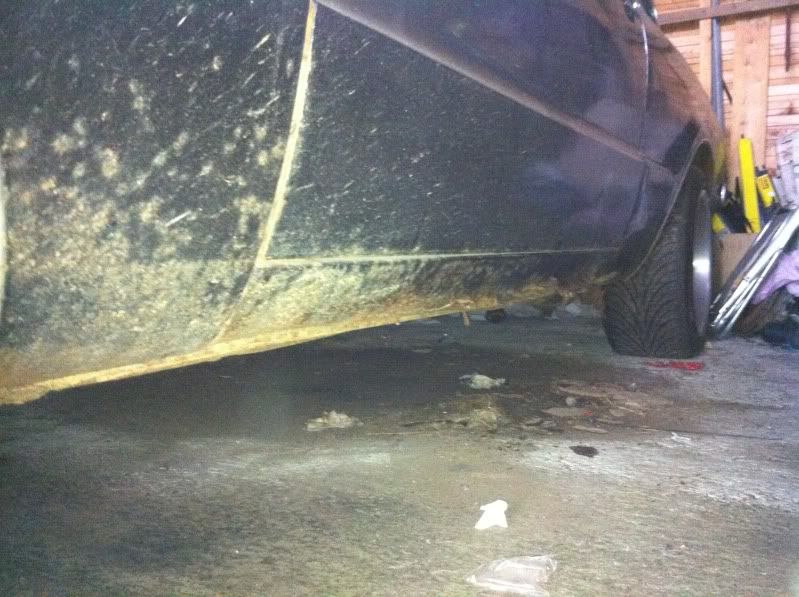
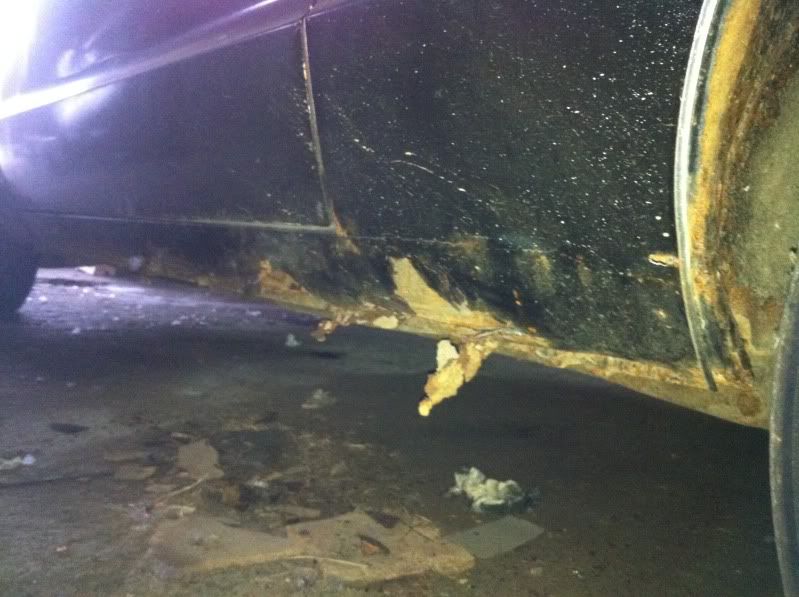
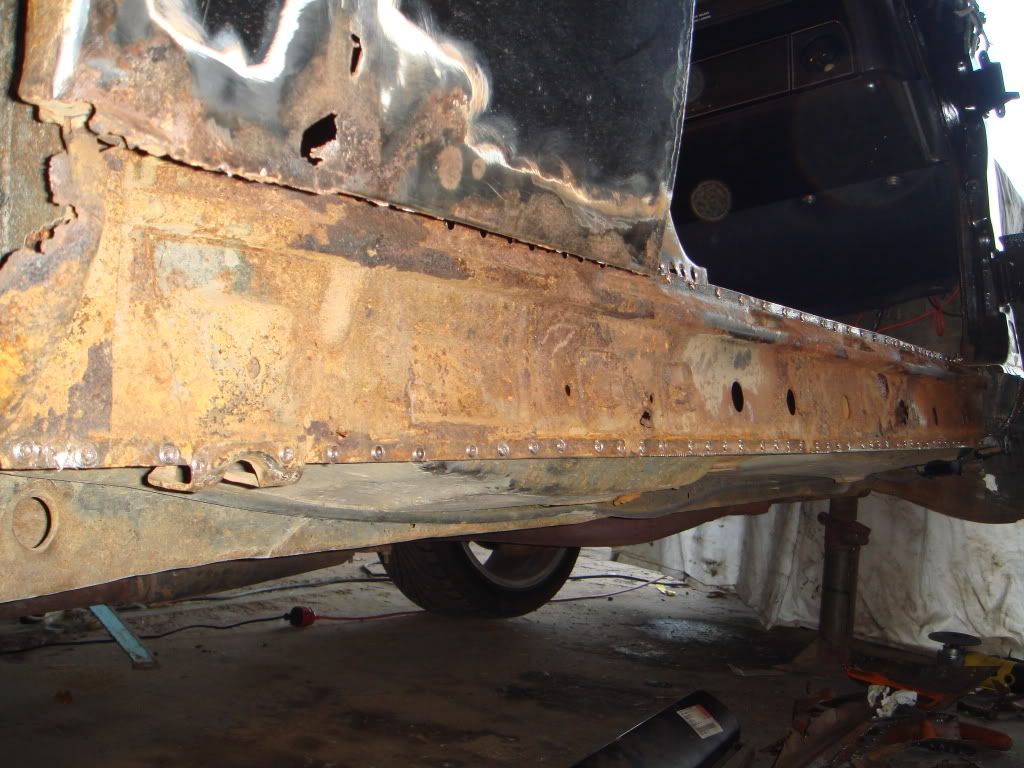
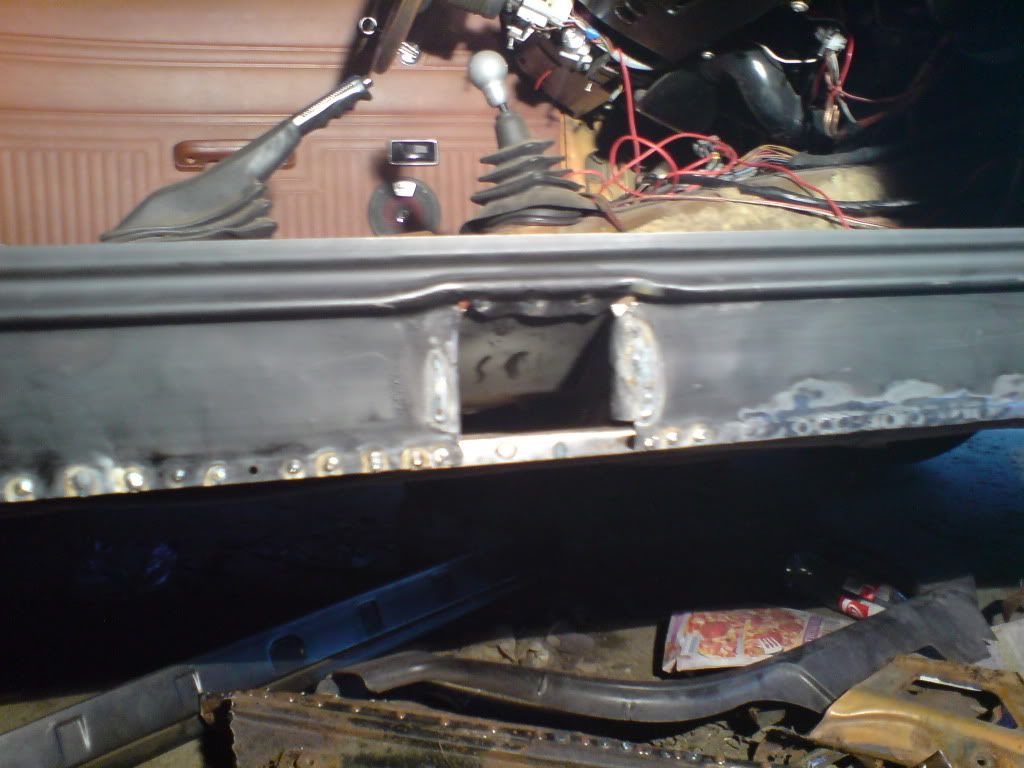
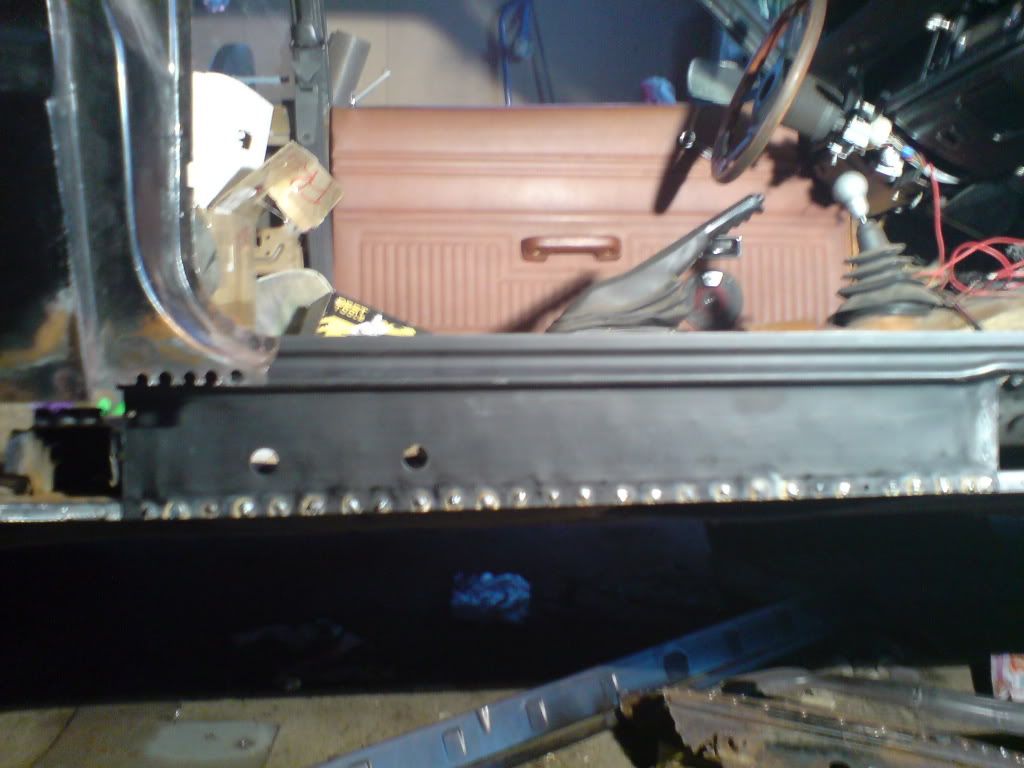
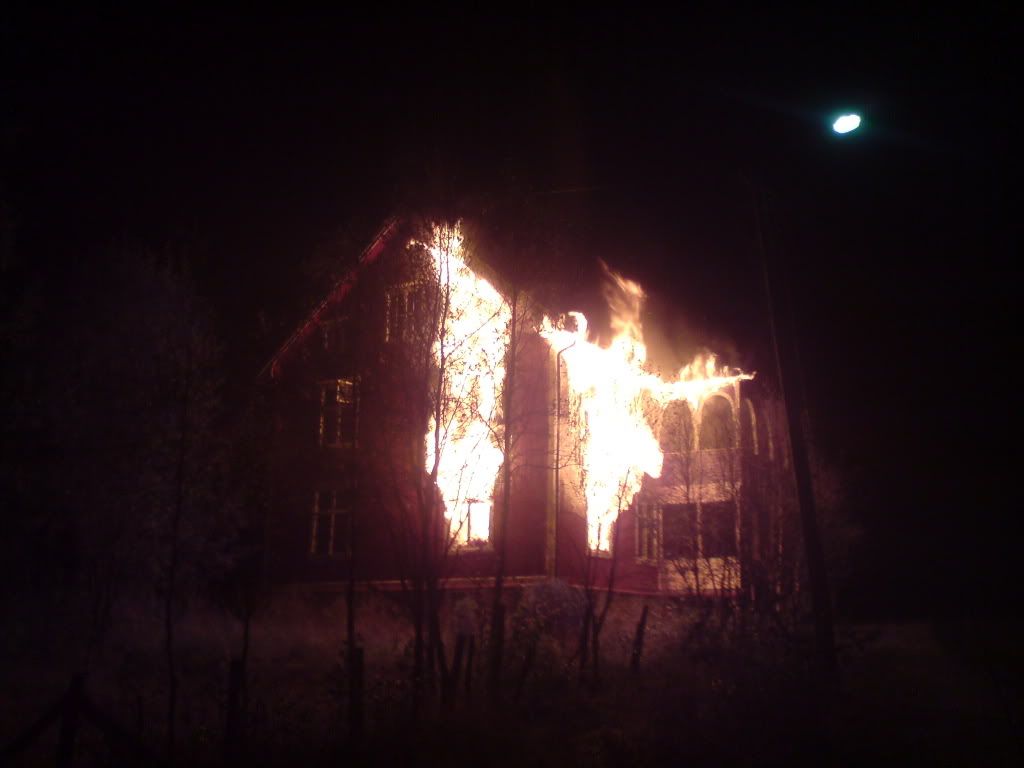
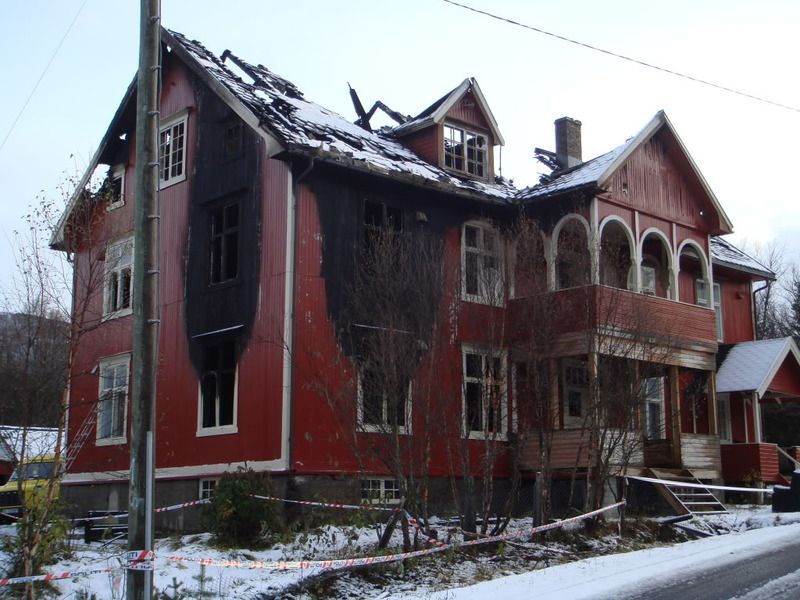
Then in 2008 as the crustiness of the sills, and the overall appearance made me want to start removing rot.
Oh boy was I in for a surprise.
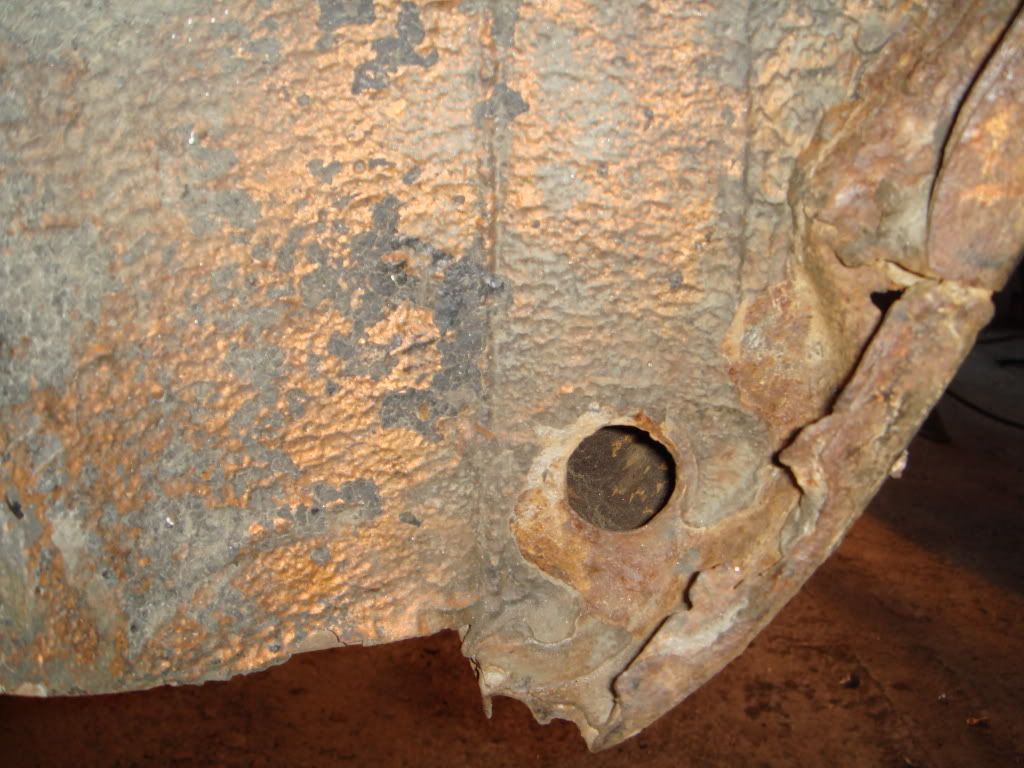
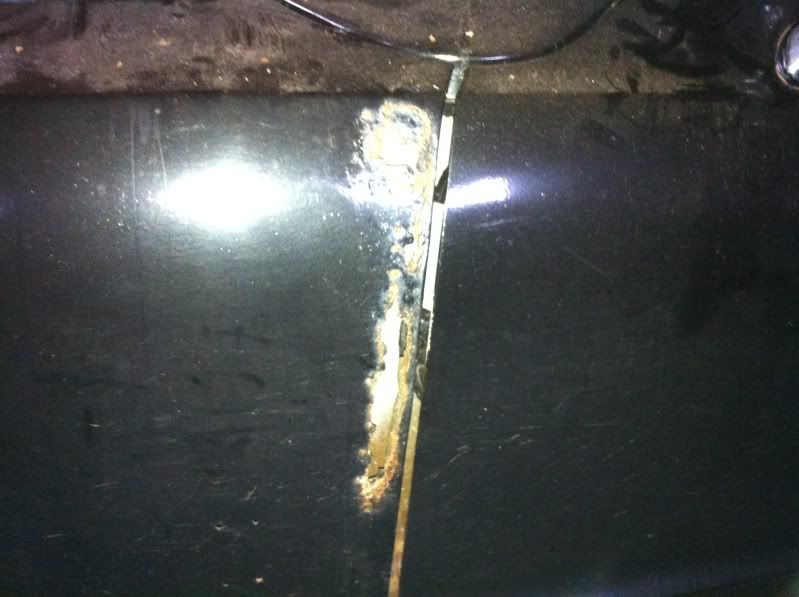
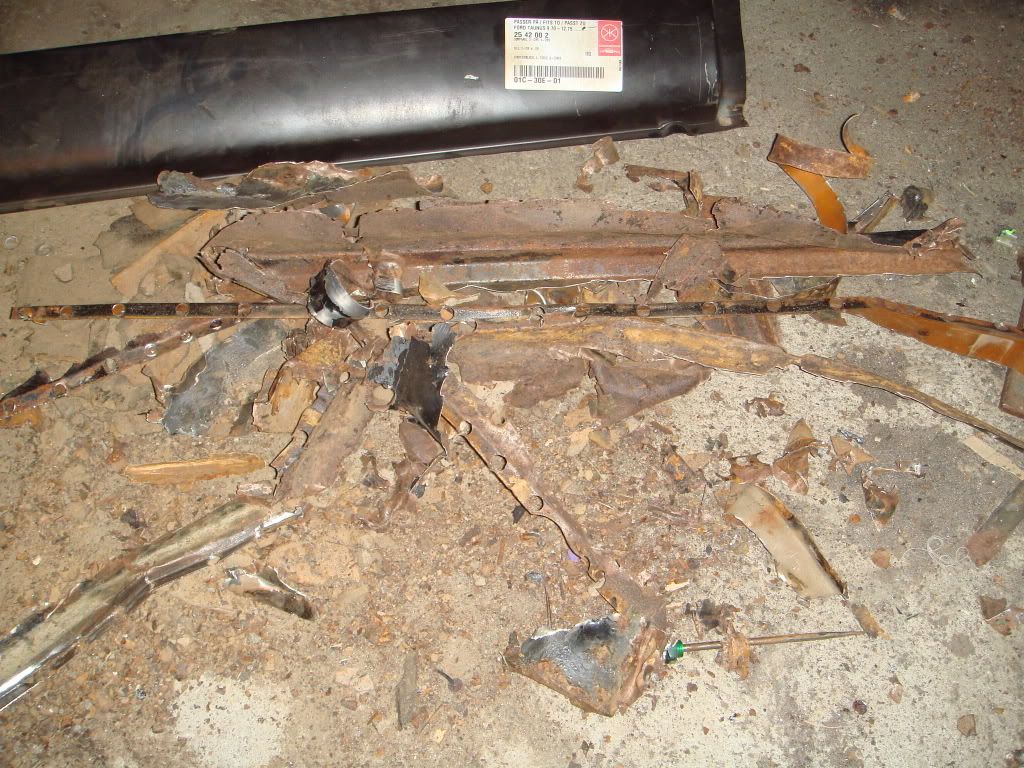
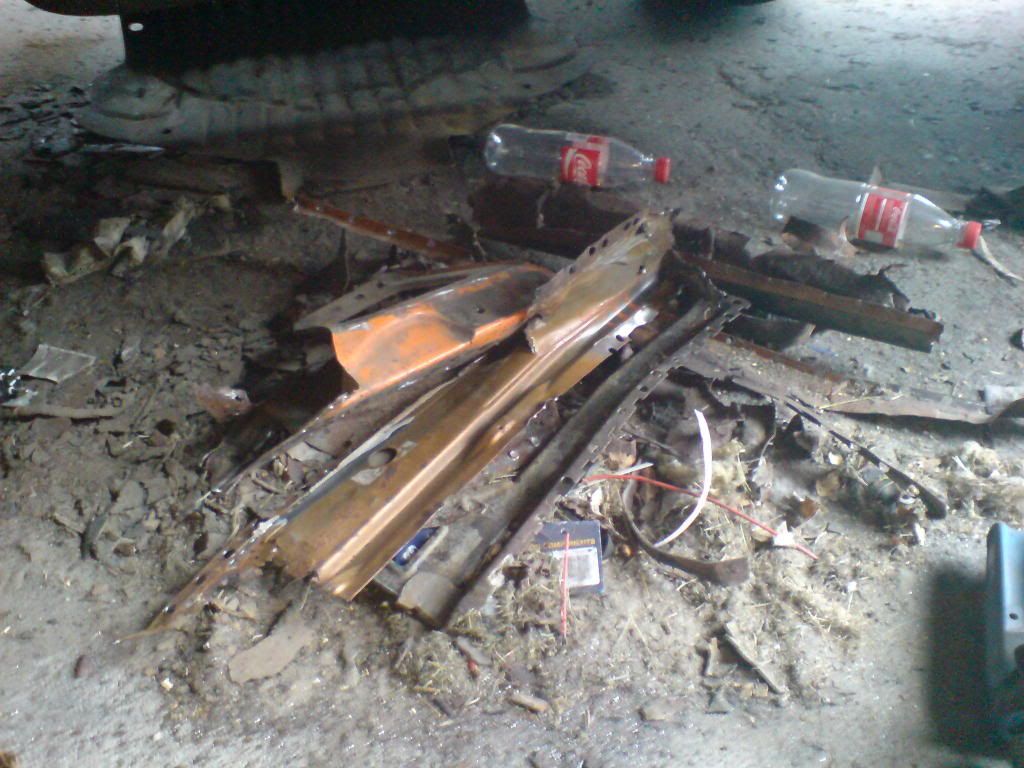
Both sills were rotten, through and through front to back. Inner and outer.
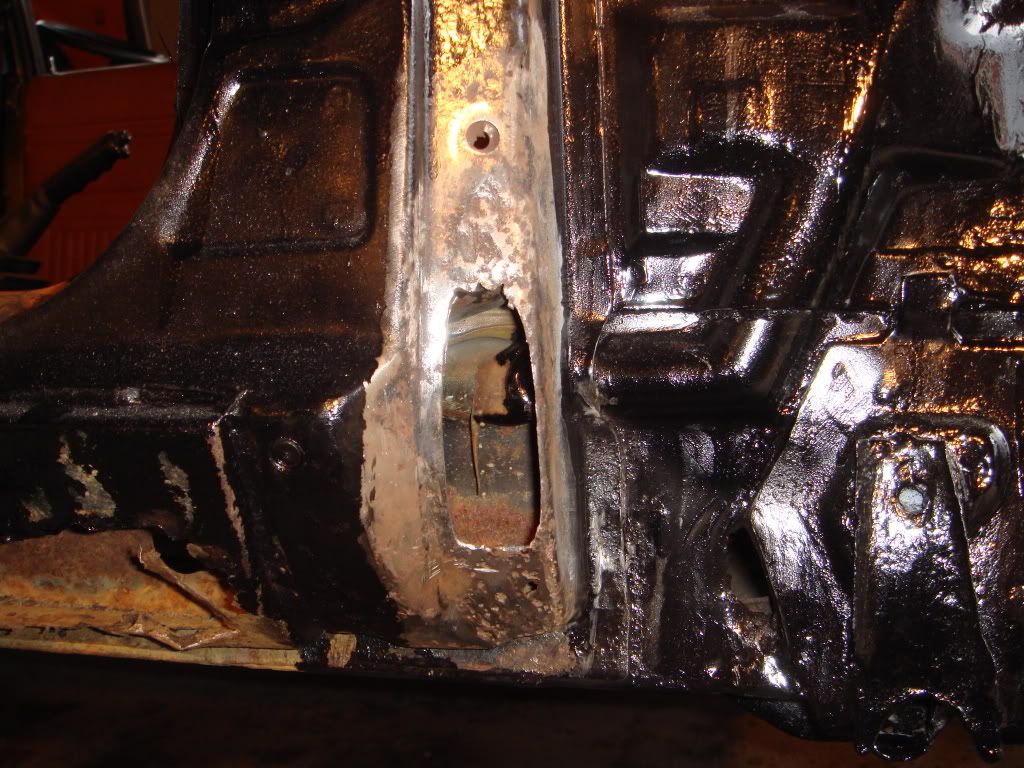
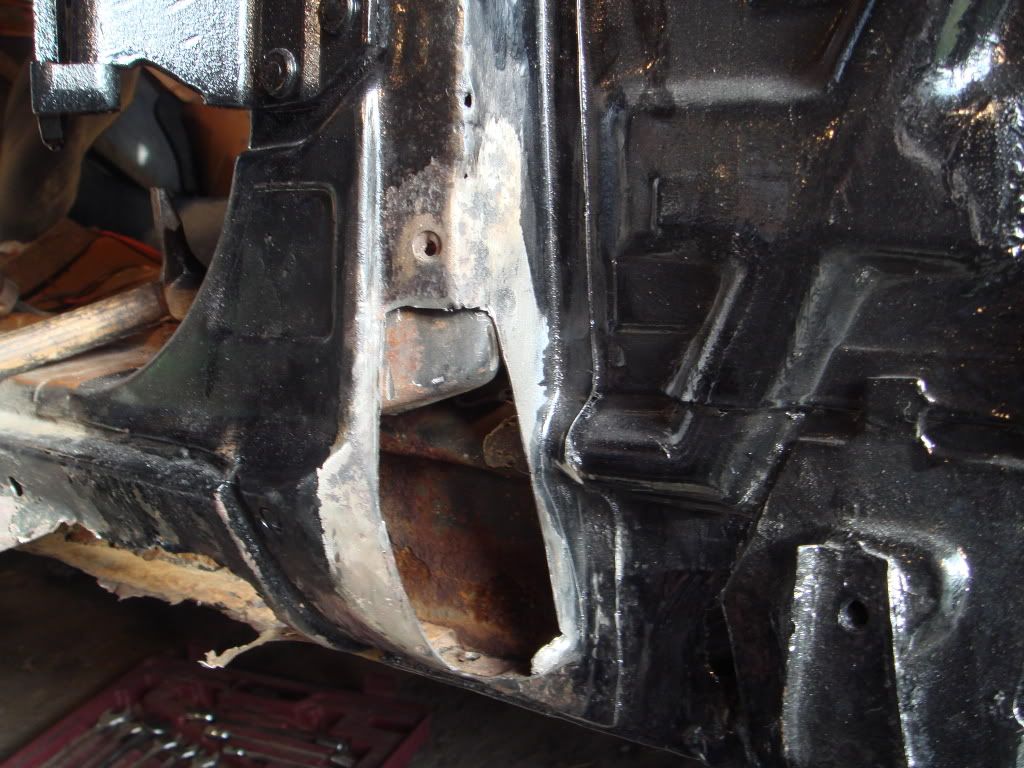
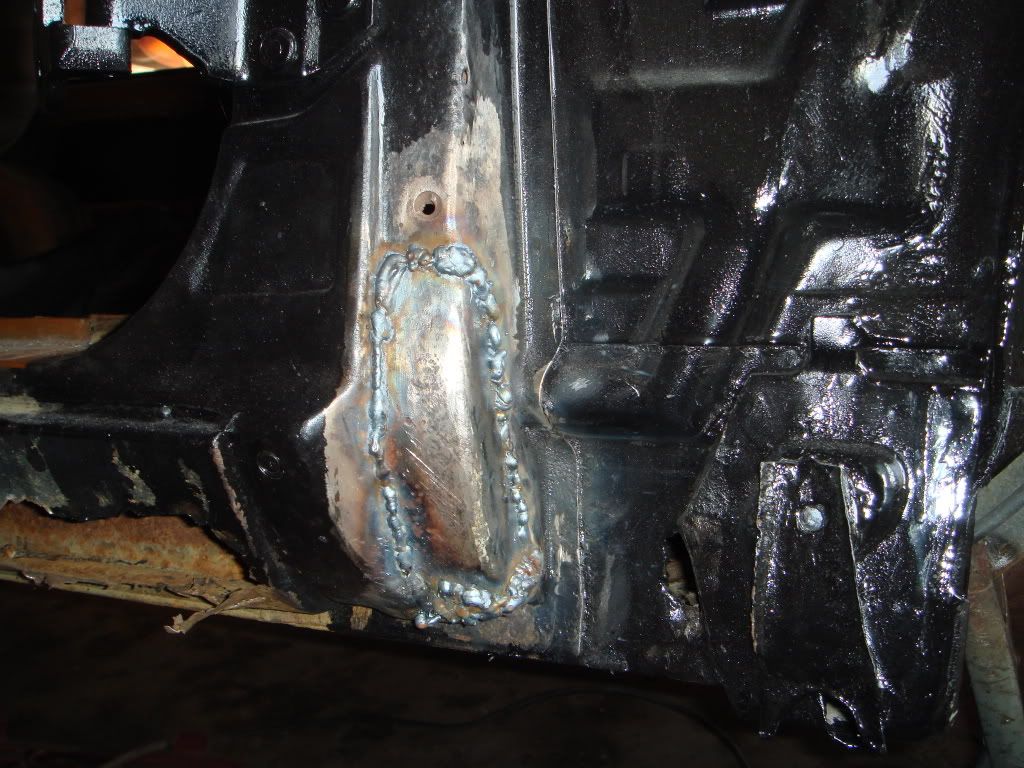
The fendermounts were rotten, the bracket for the bonnet hinge was rotten, the bottom of the a-pillar was rotten and so on.
I started this in autumn of 2008.
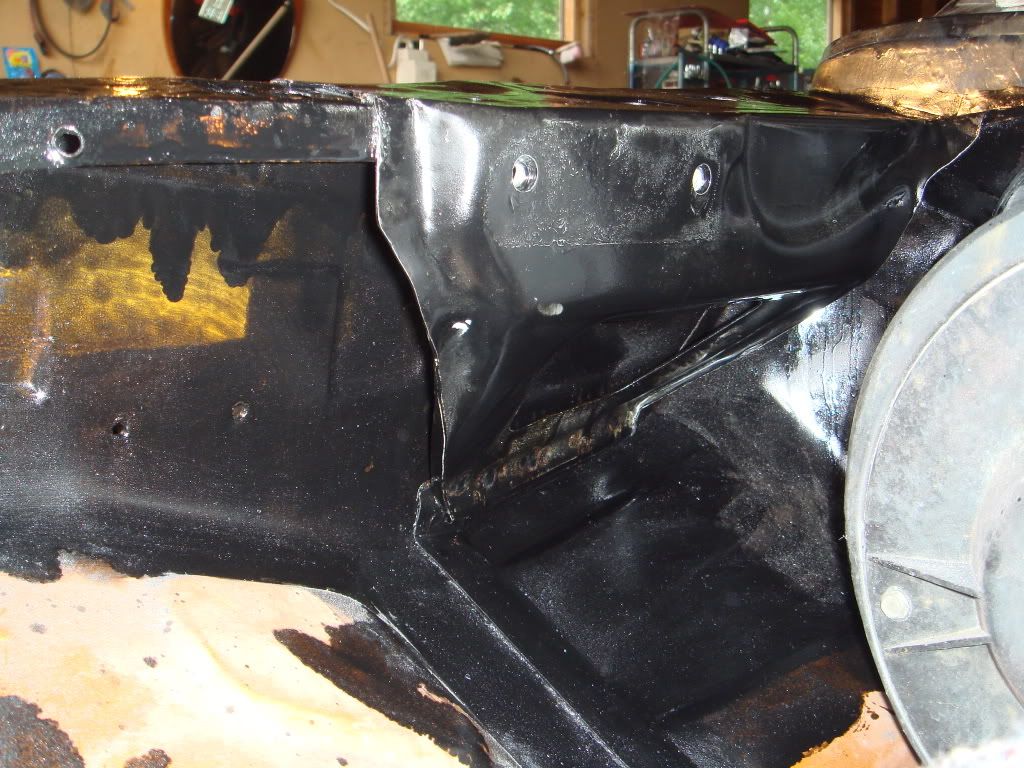
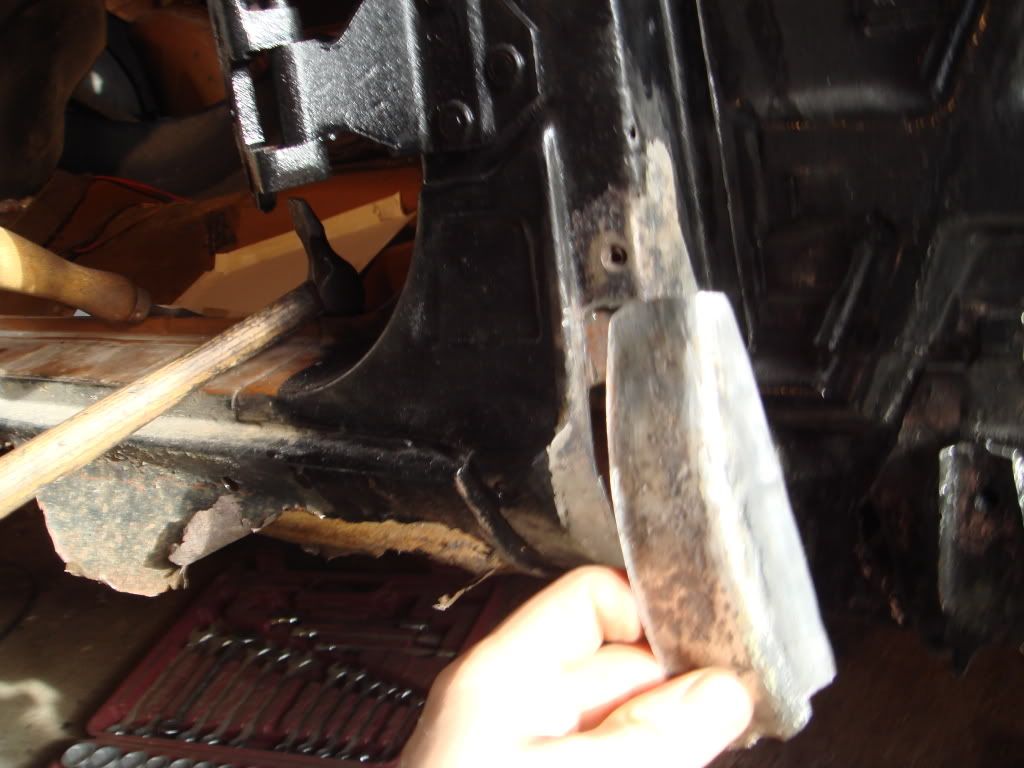
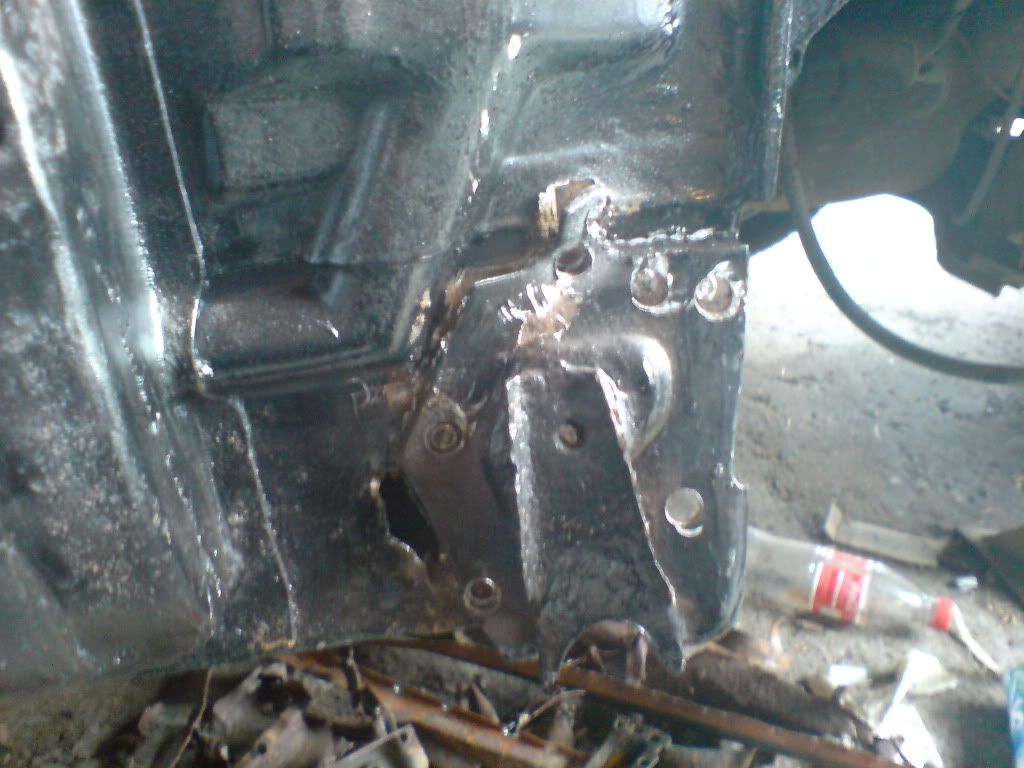
I removed the right side fender and found that the bonnet hinge bracket was almost all gone, along with a bit of the inner fender:
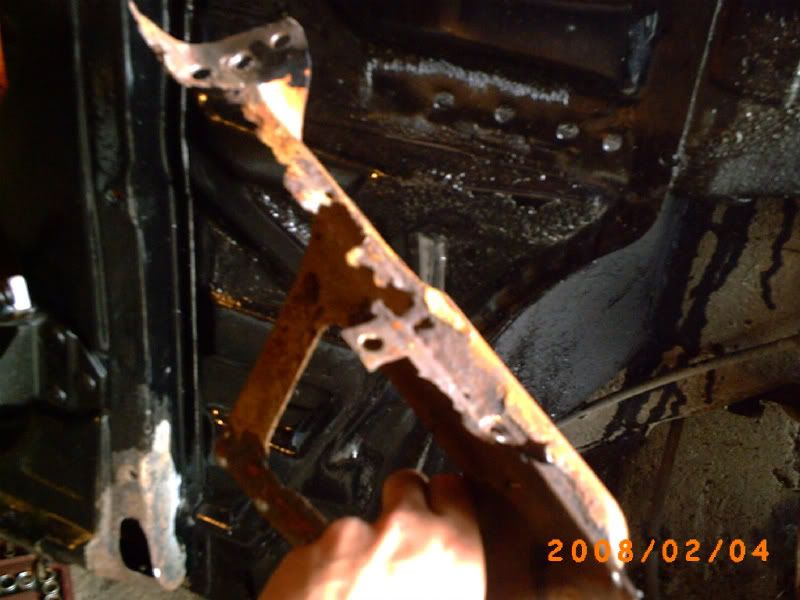
Then I went to my 1982 Taunus parts donor to drill out all the spot welds to get the bracket free.
All done:
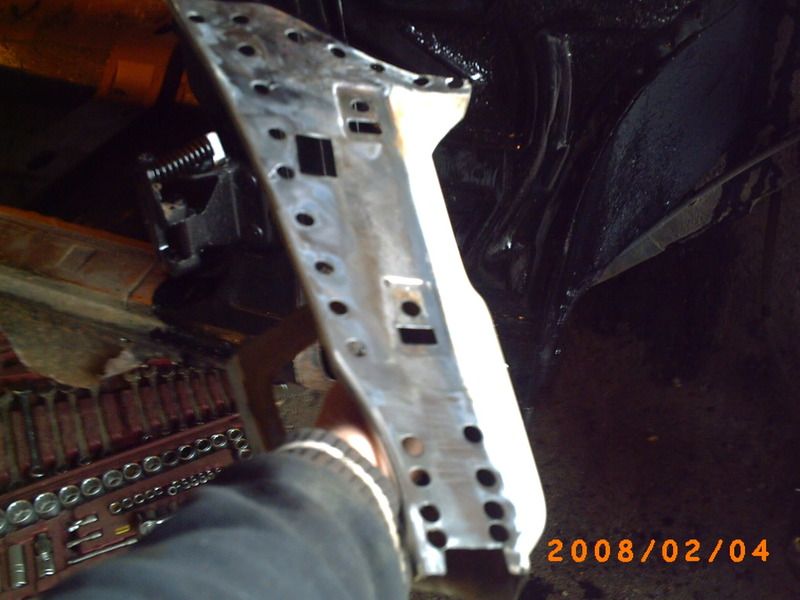
Me in action:
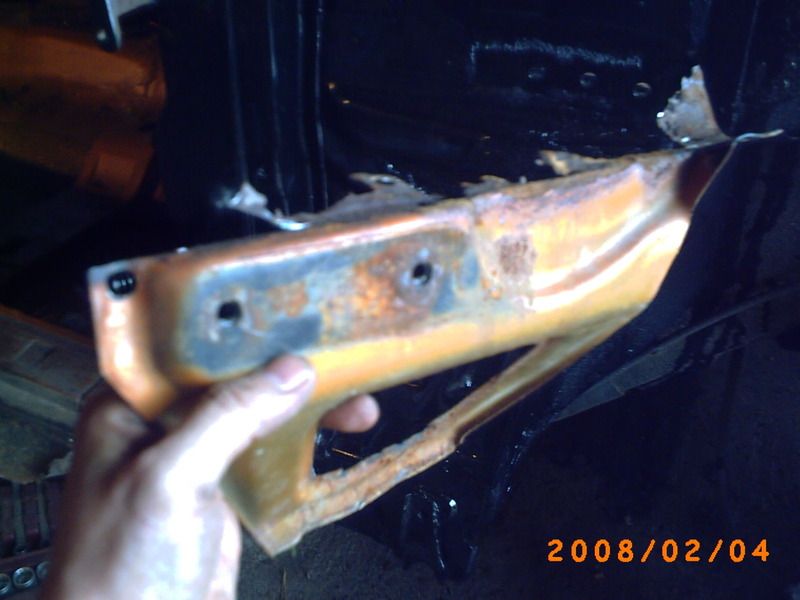
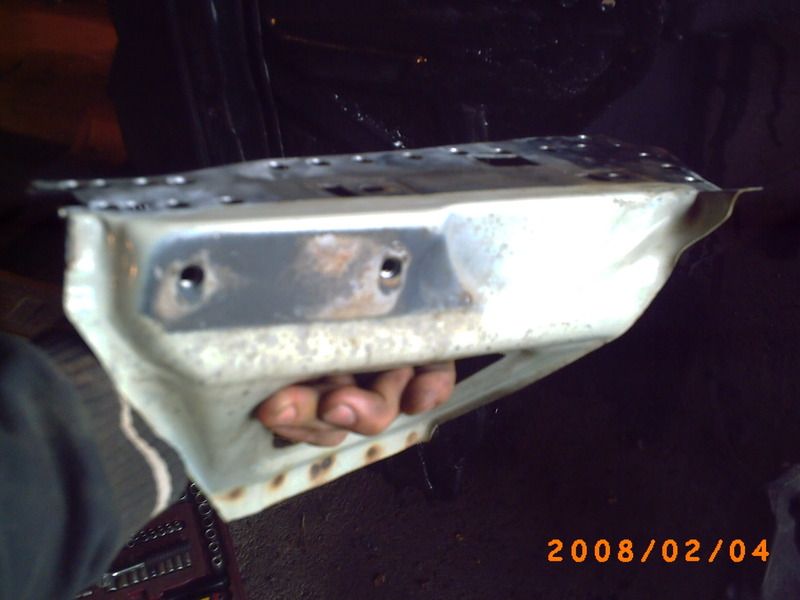
This was where the bracket was going.
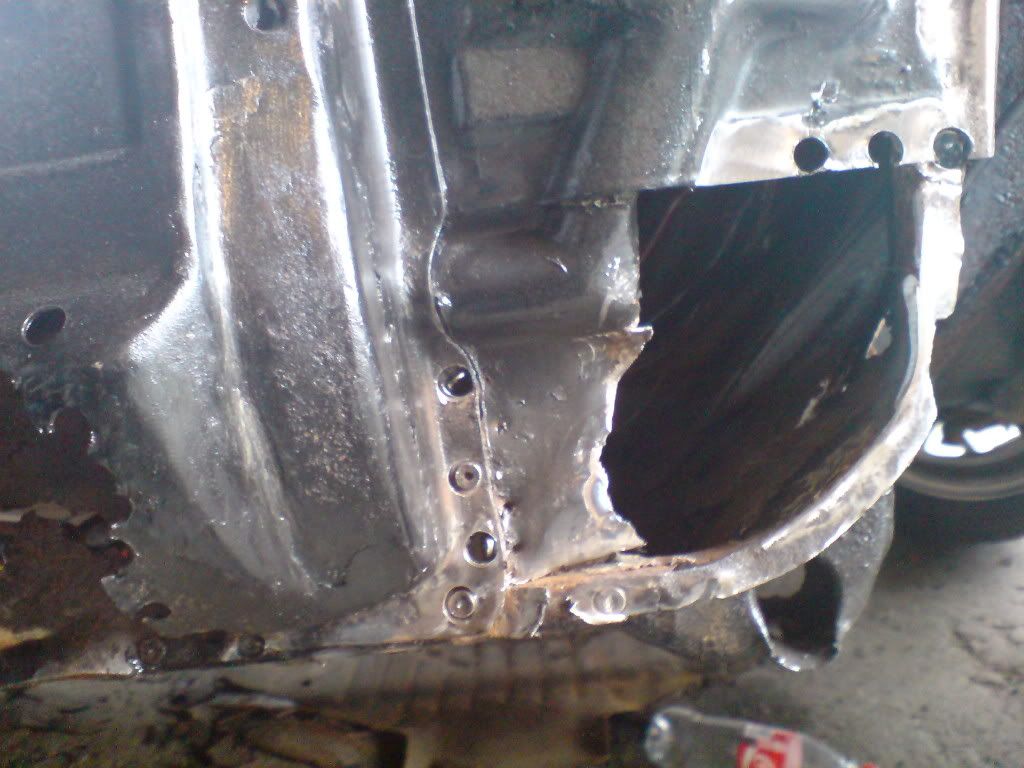
I already replaced the edge where it was to be spot welded to the inner fender because it was rotted as well.
The shiny edge that is:
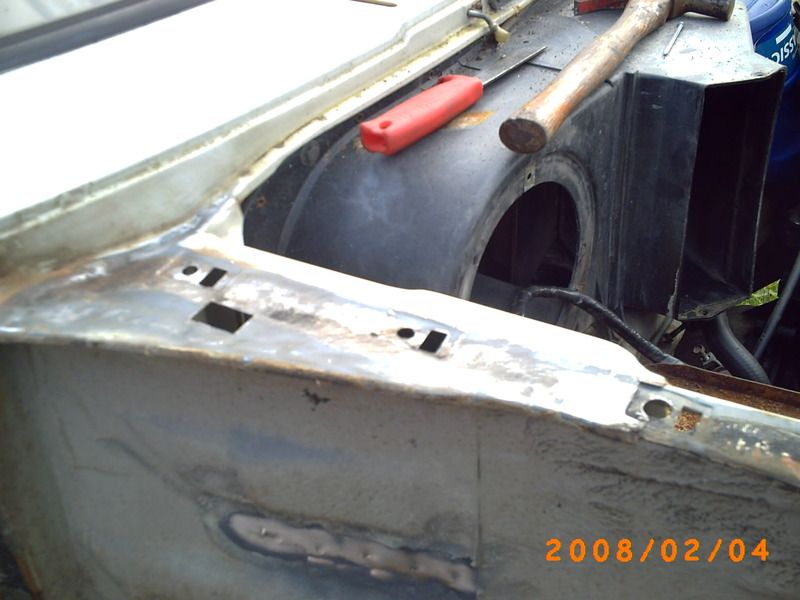
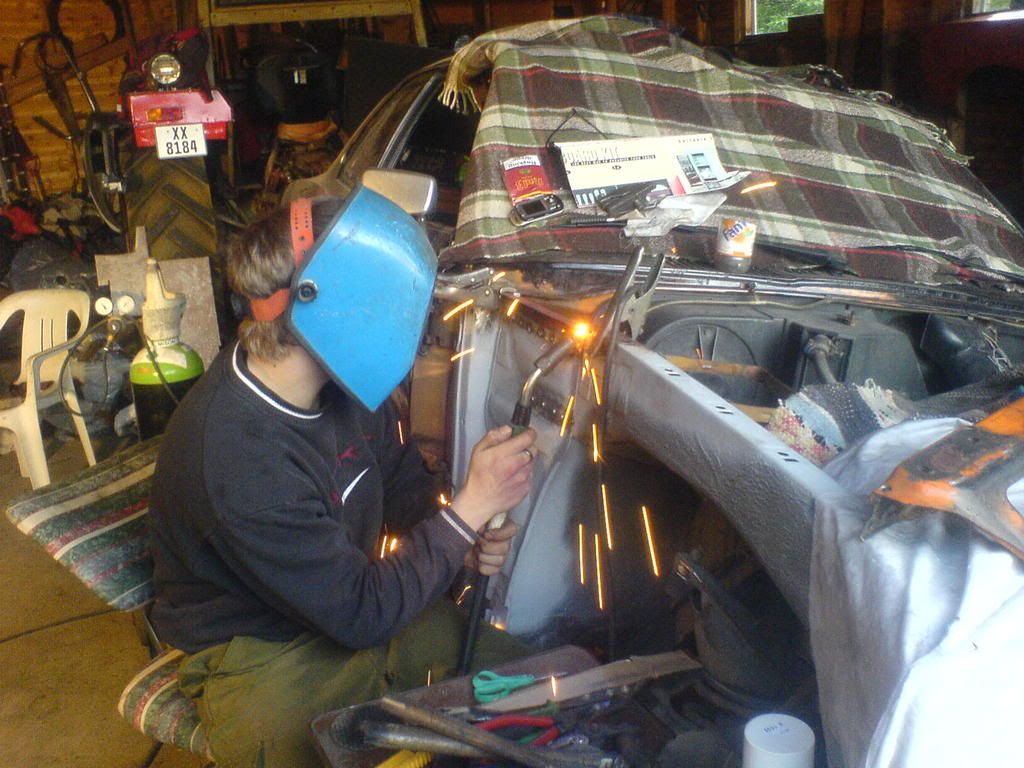
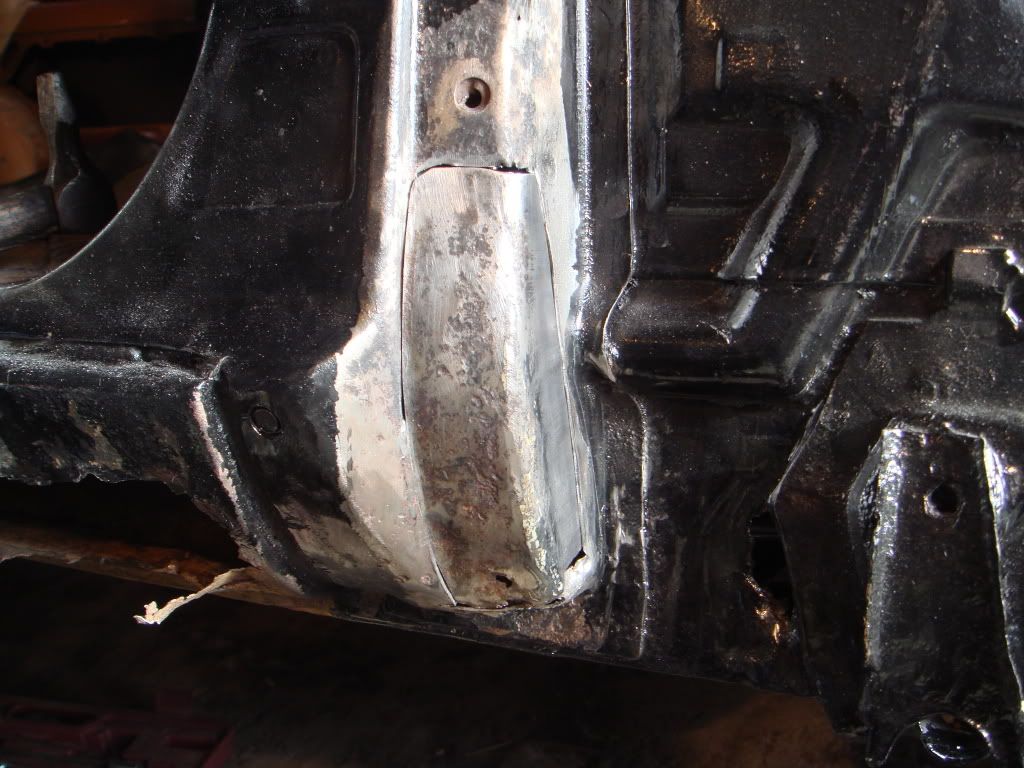
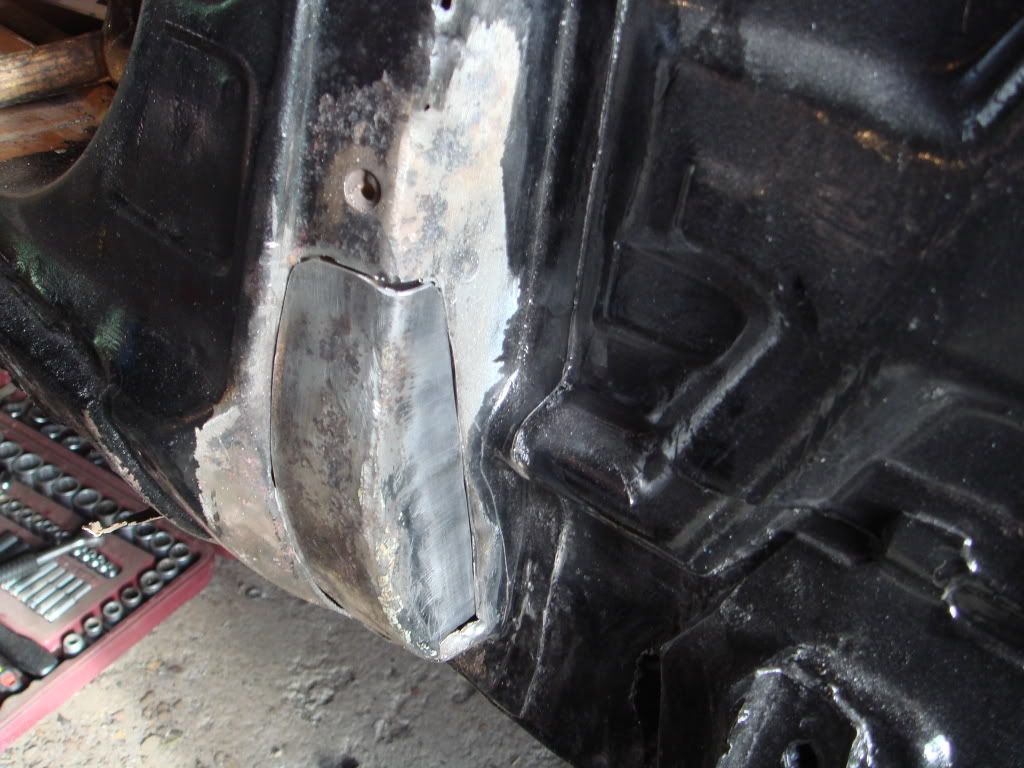
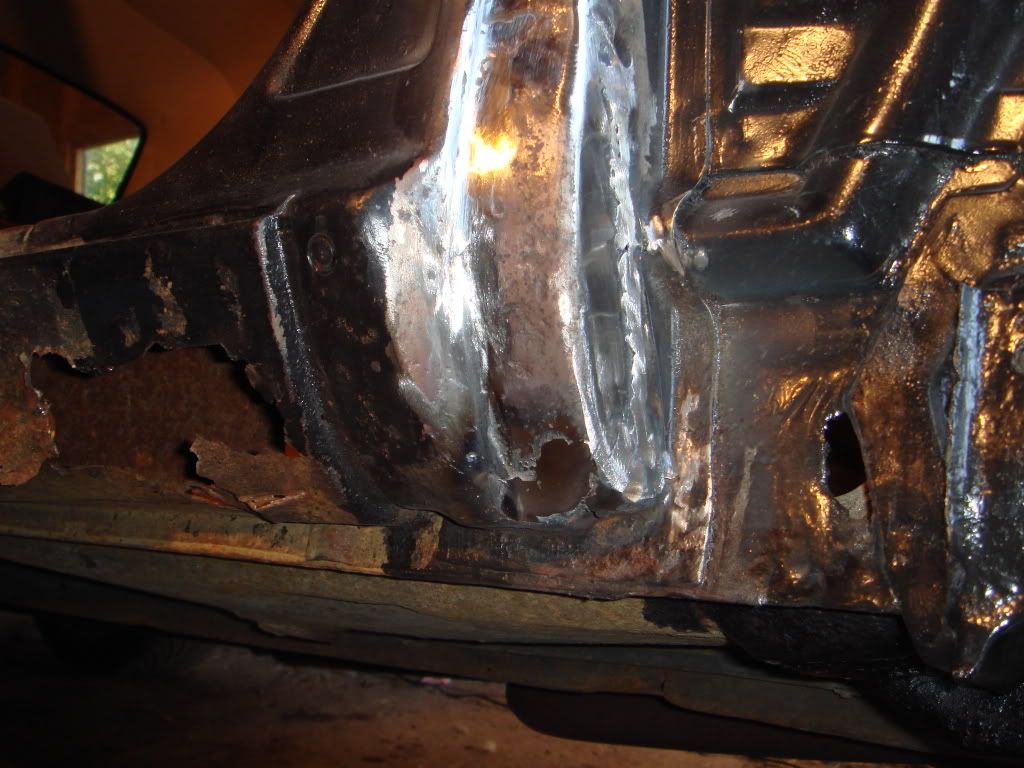
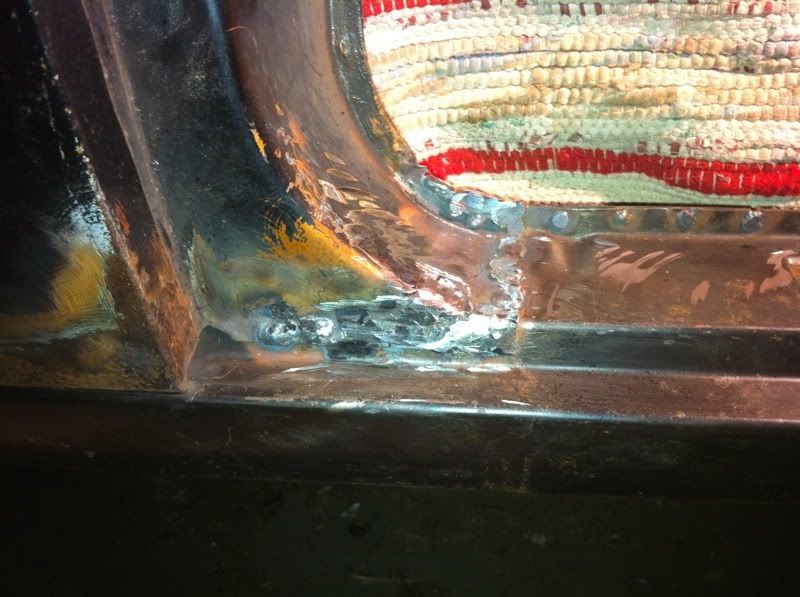
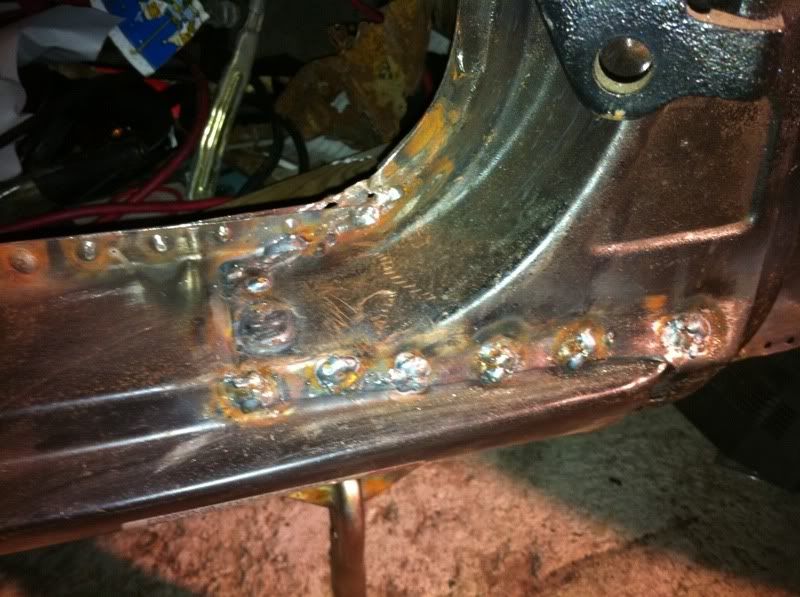
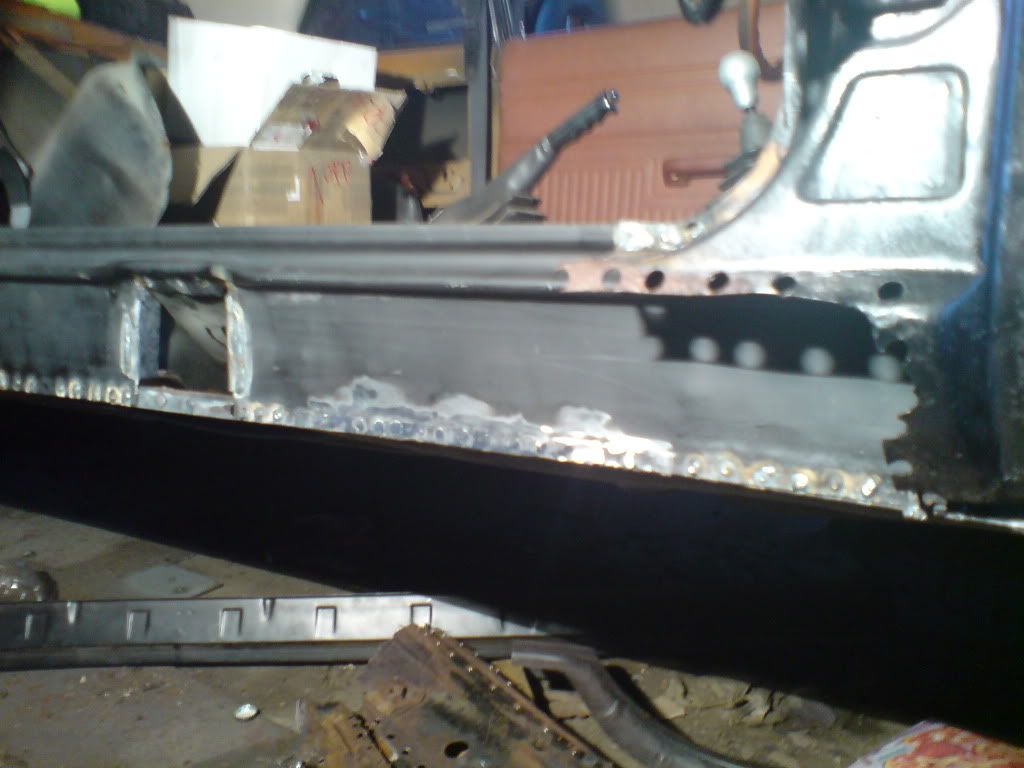
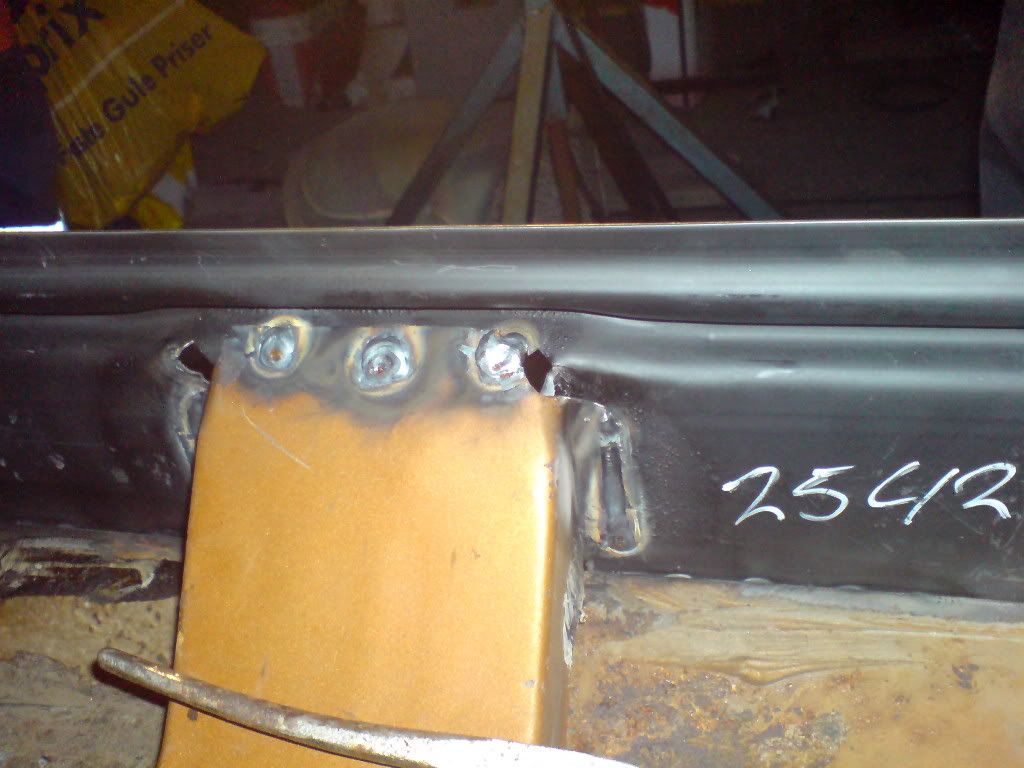
This is after the spotwelding, and the ground down welds:

And after a layer of Isotrol bare metal primer:
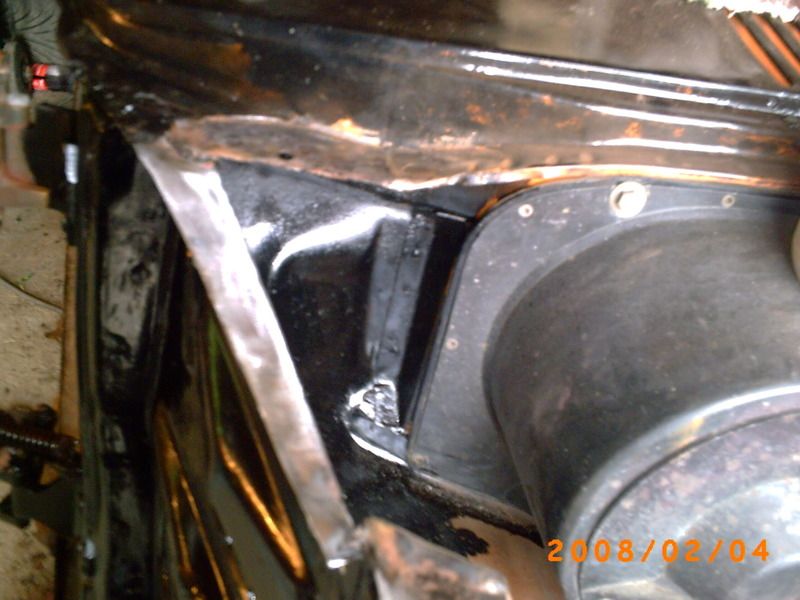
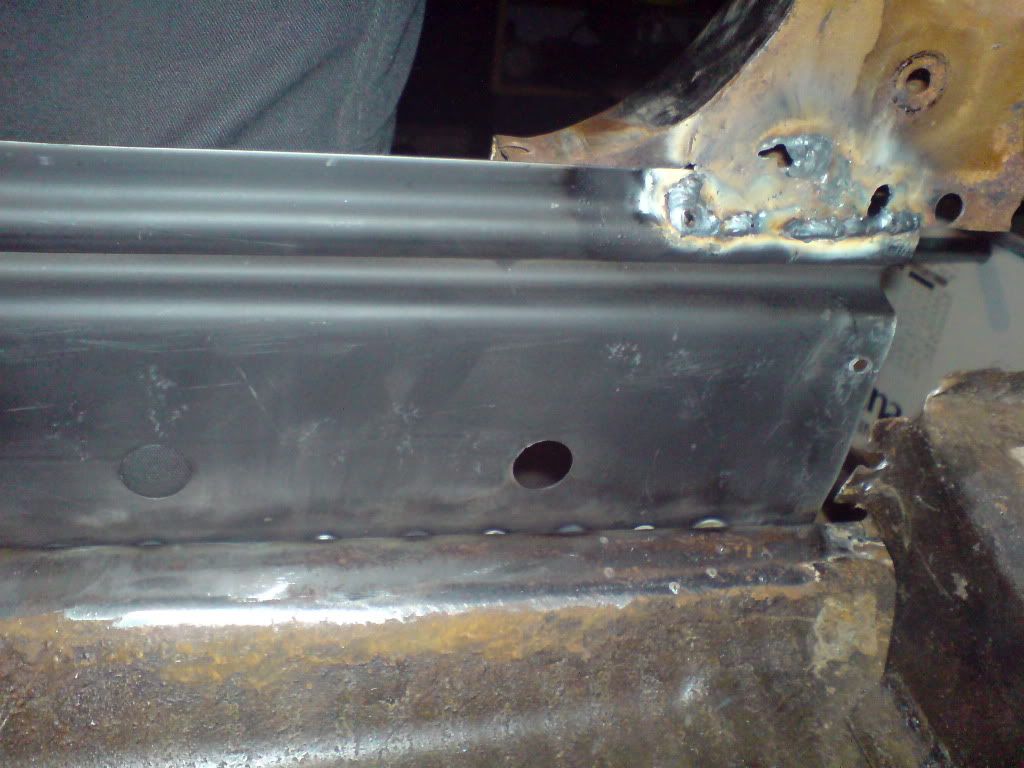
Here you can see the repair plate I had to fab up for the bracket to weld on to:
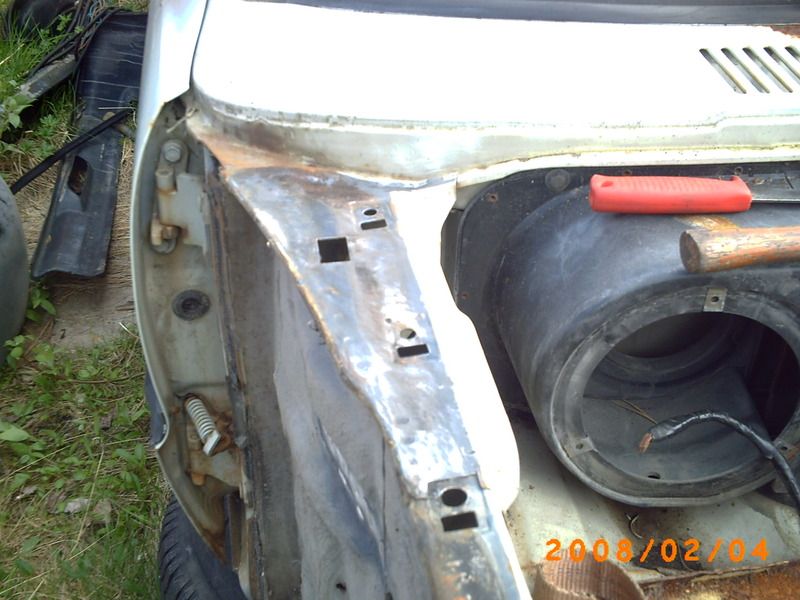
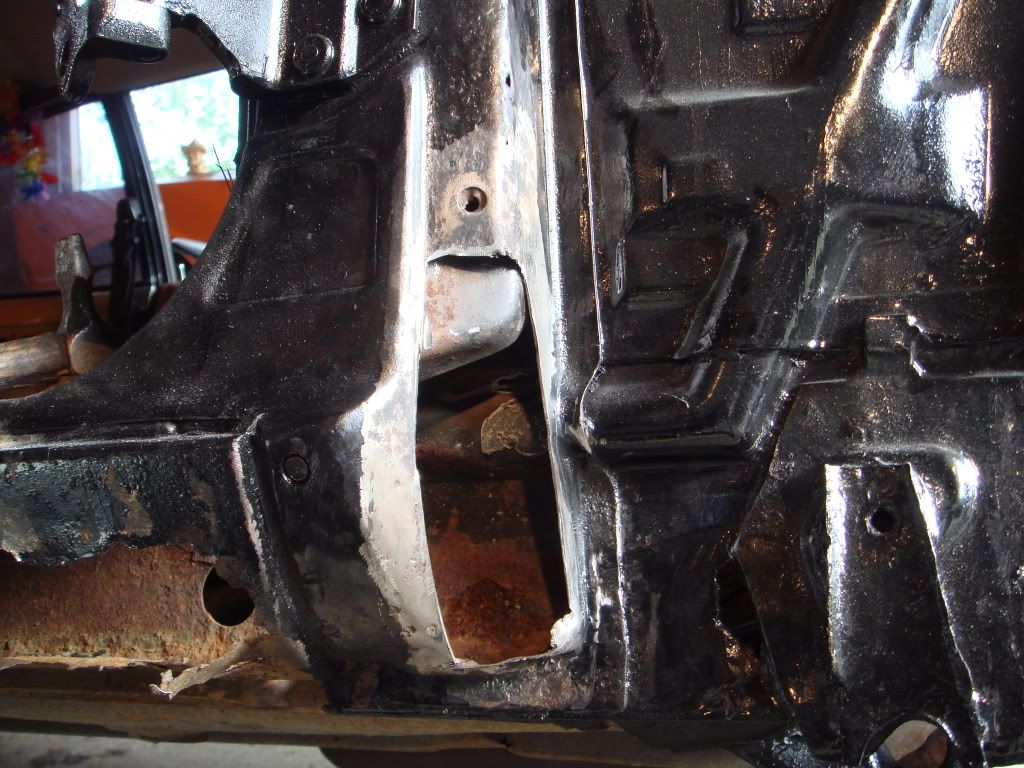
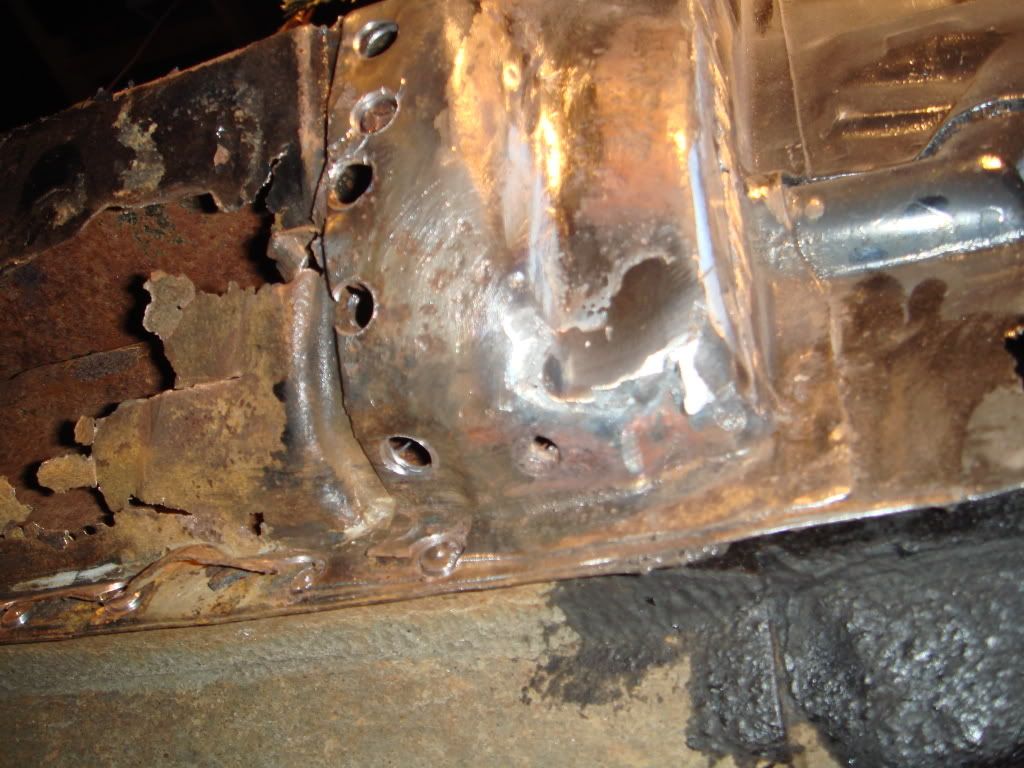
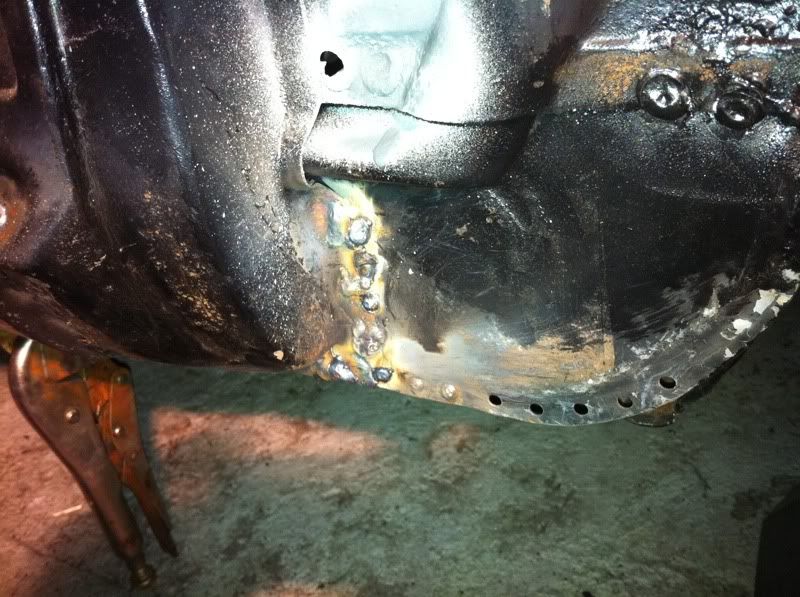
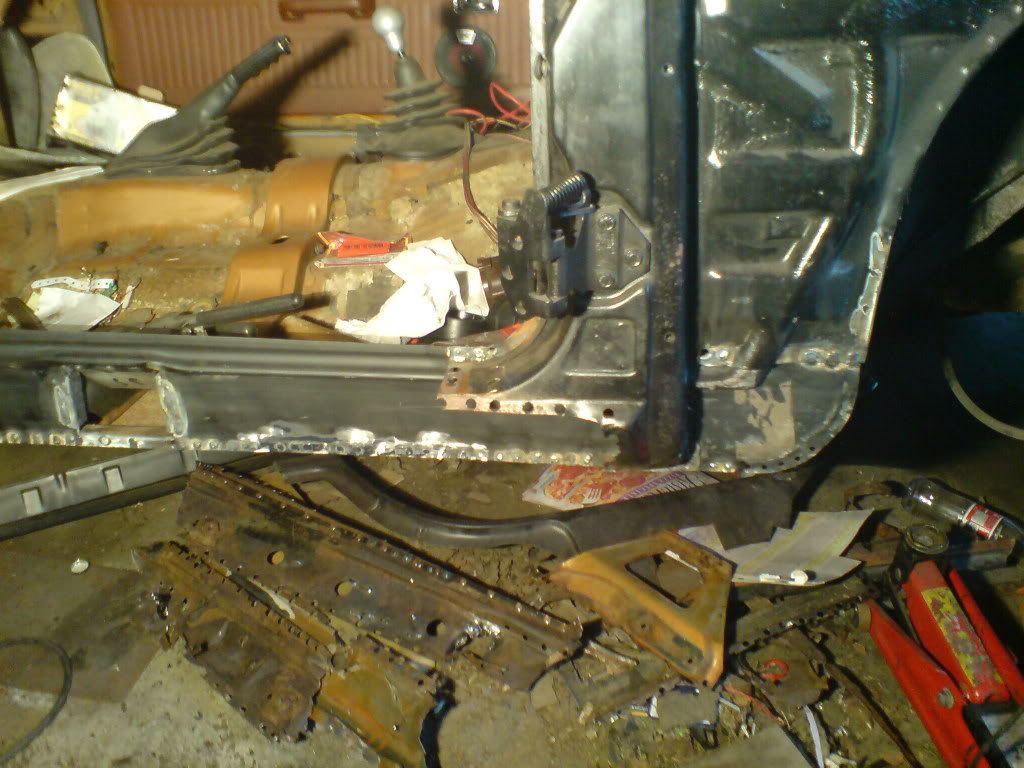
Here was the next challenge, the bottom of the A-pillar:
Bigger cut made:
This piece was cut from the donor car:
Made to fit:
The fit was so good that I just placed it over the hole, and it sat there.
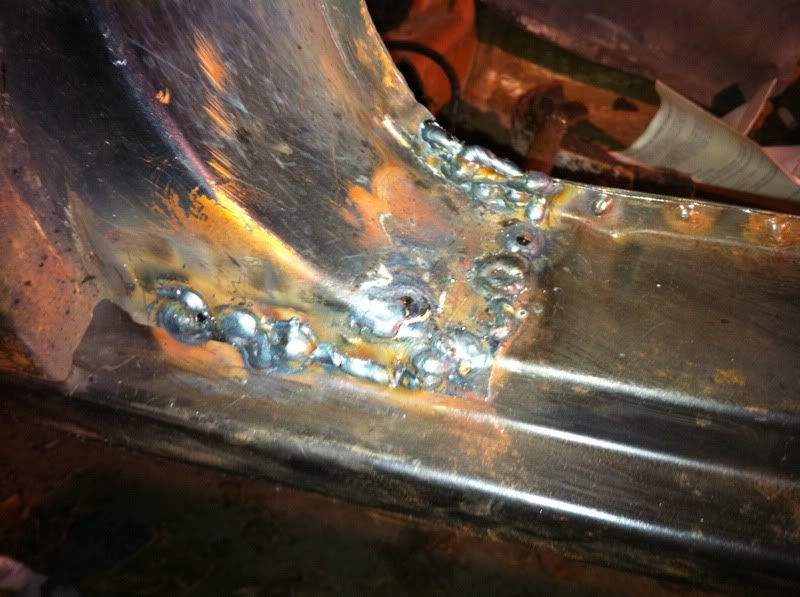
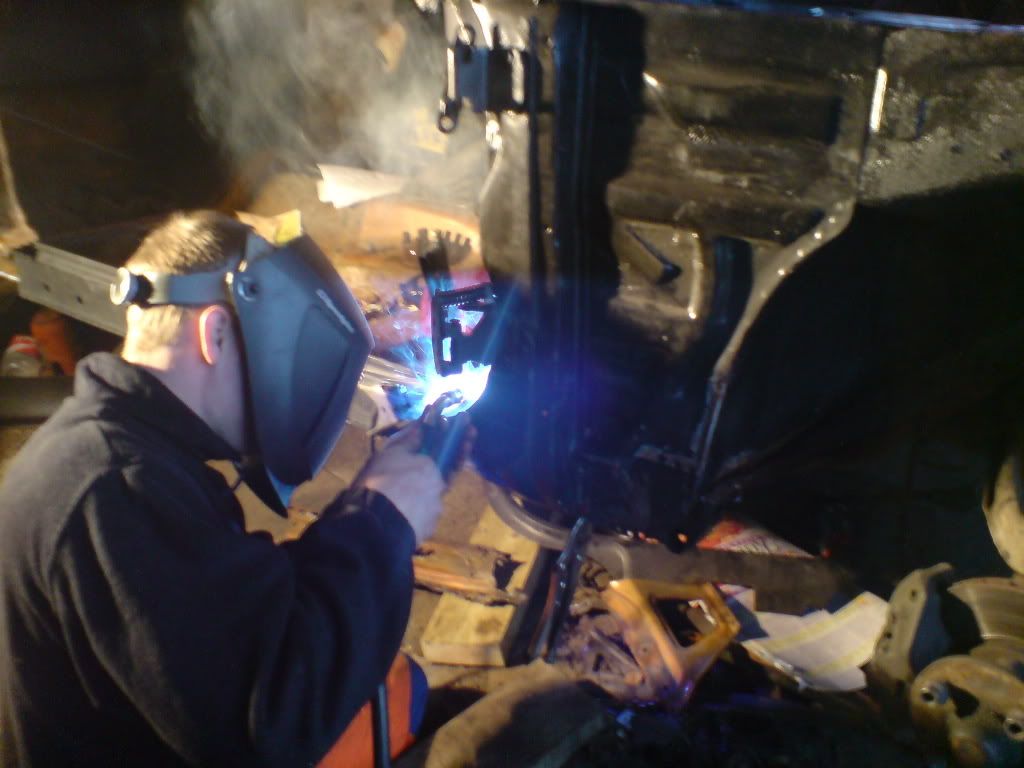
Welded:
Welds smoothed over with the angle grinder:
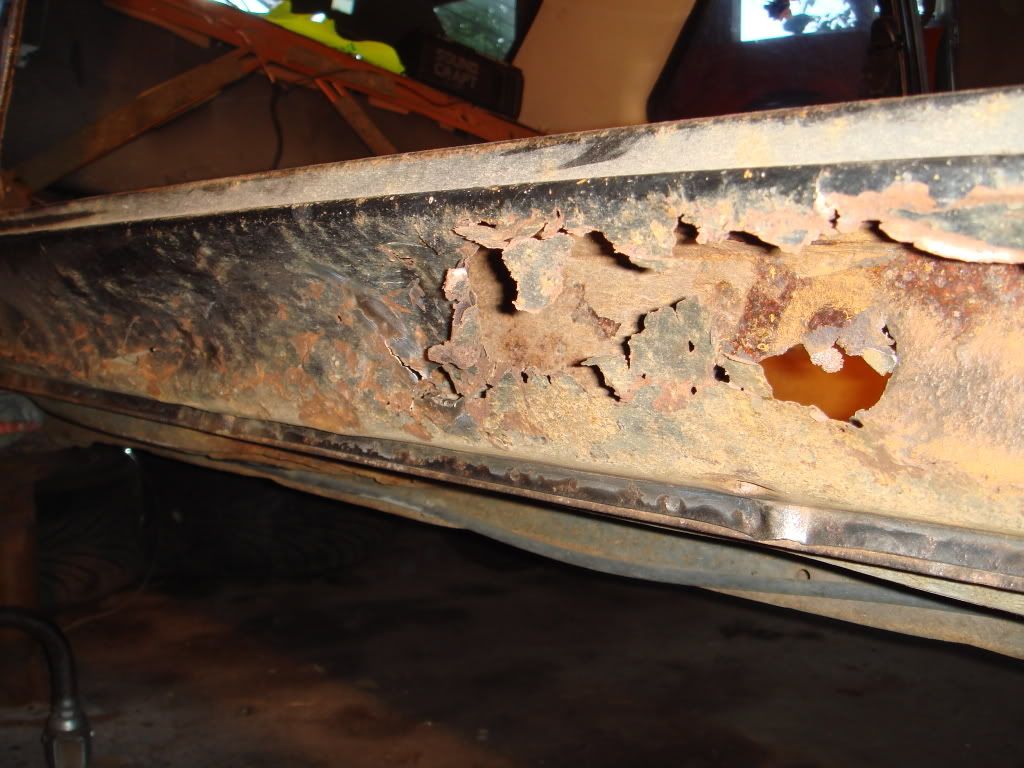
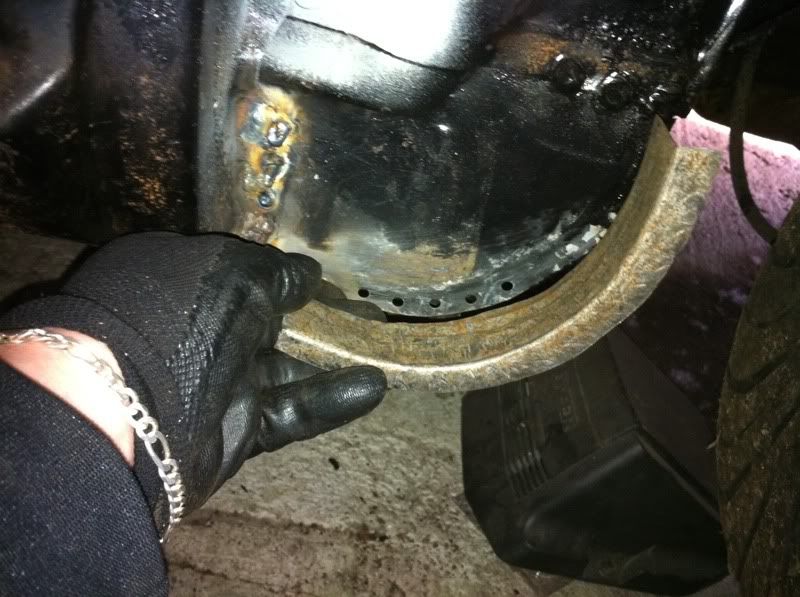
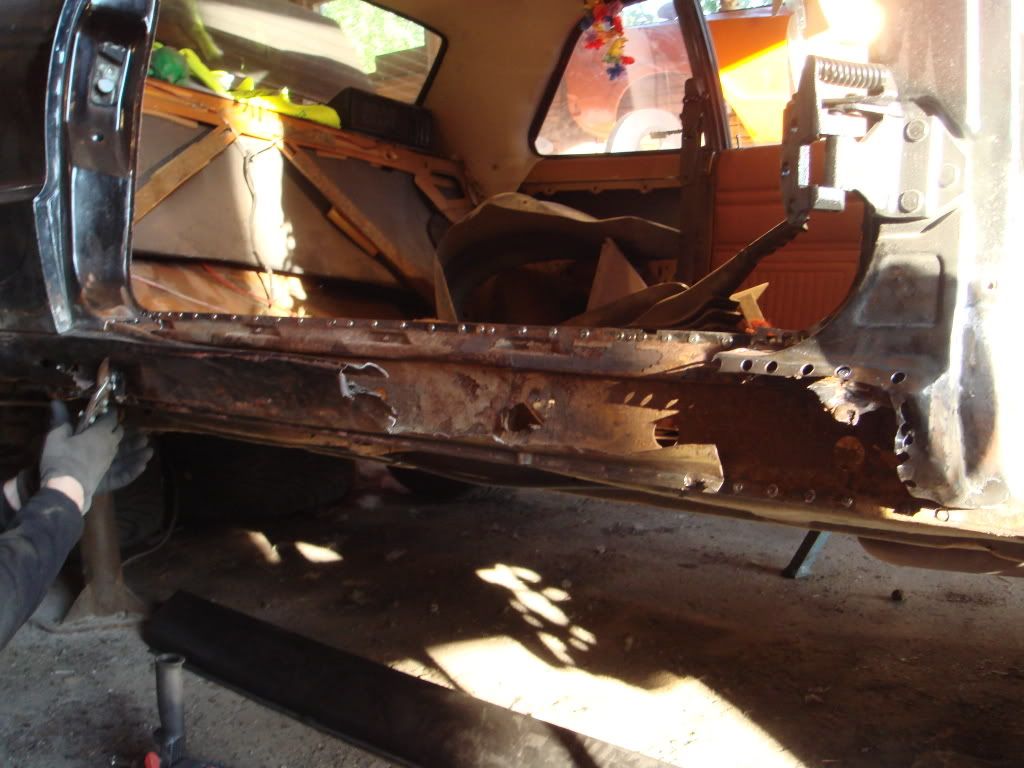
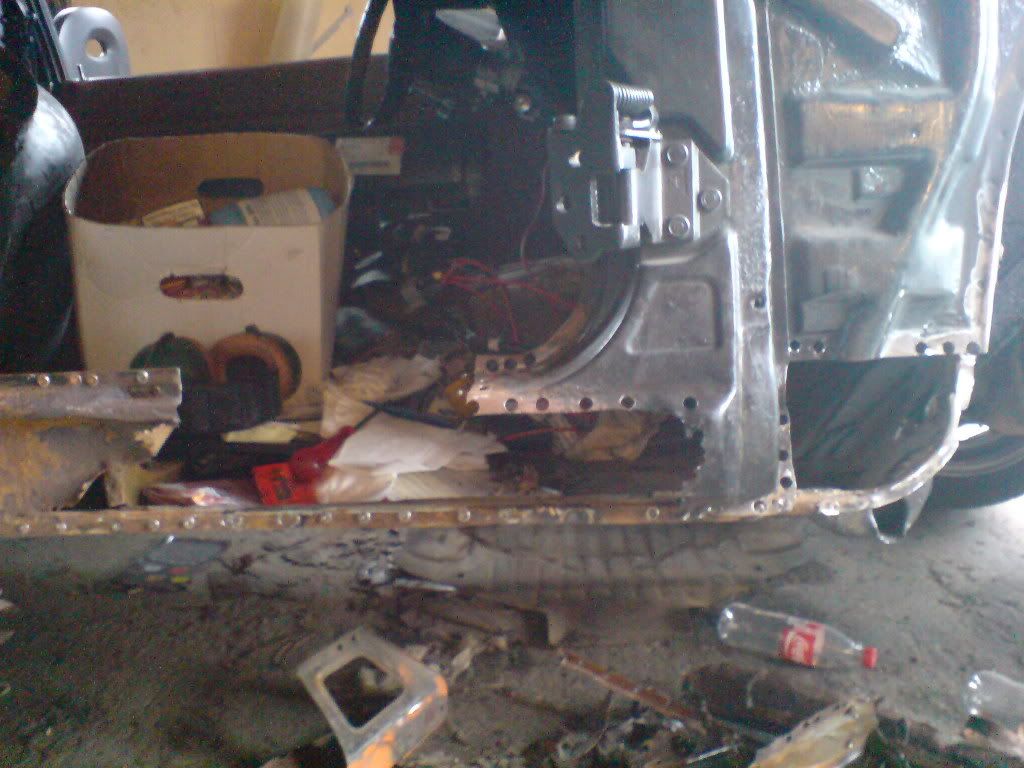
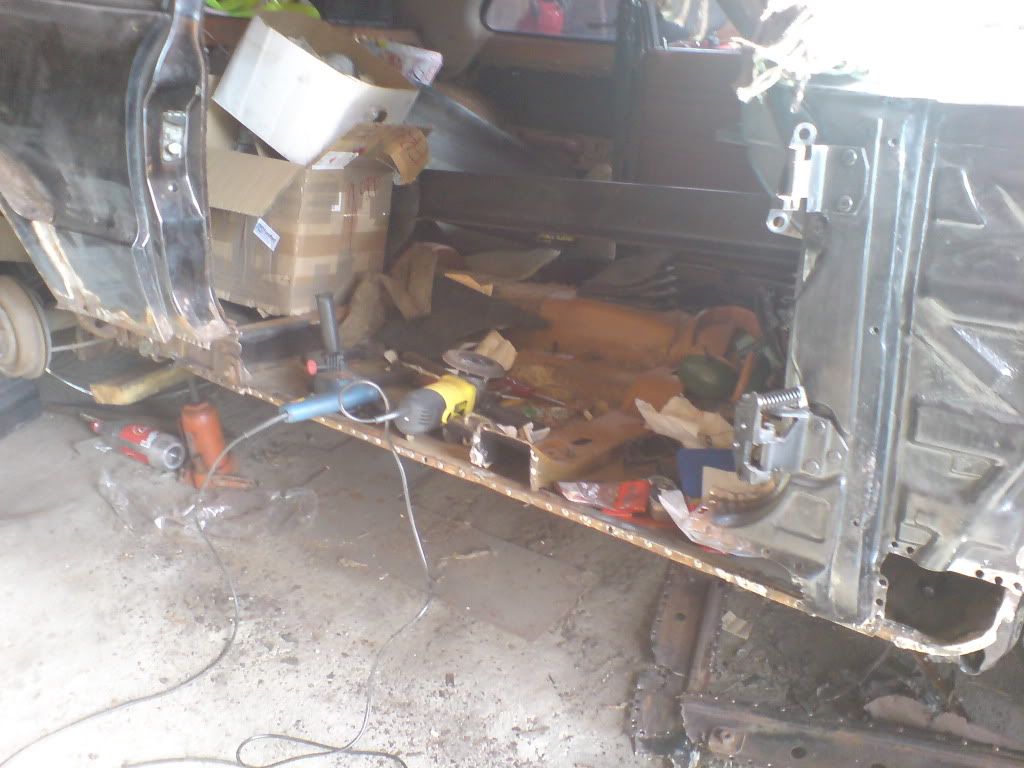
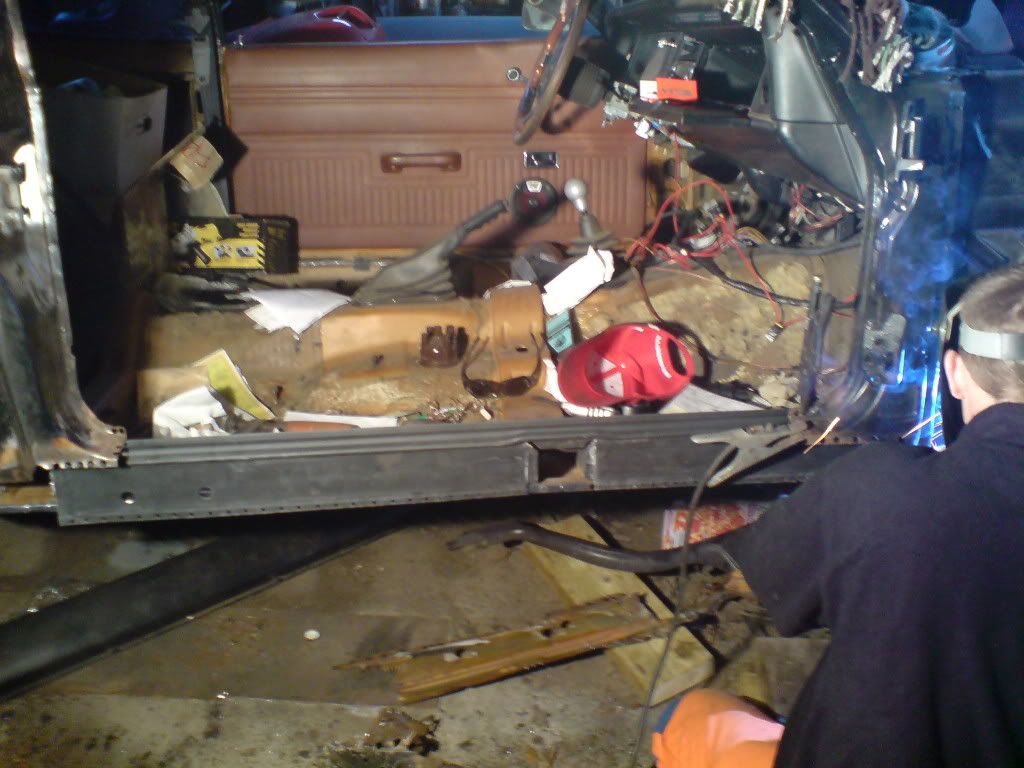
Starting to drill out the spot welds for the Sill:
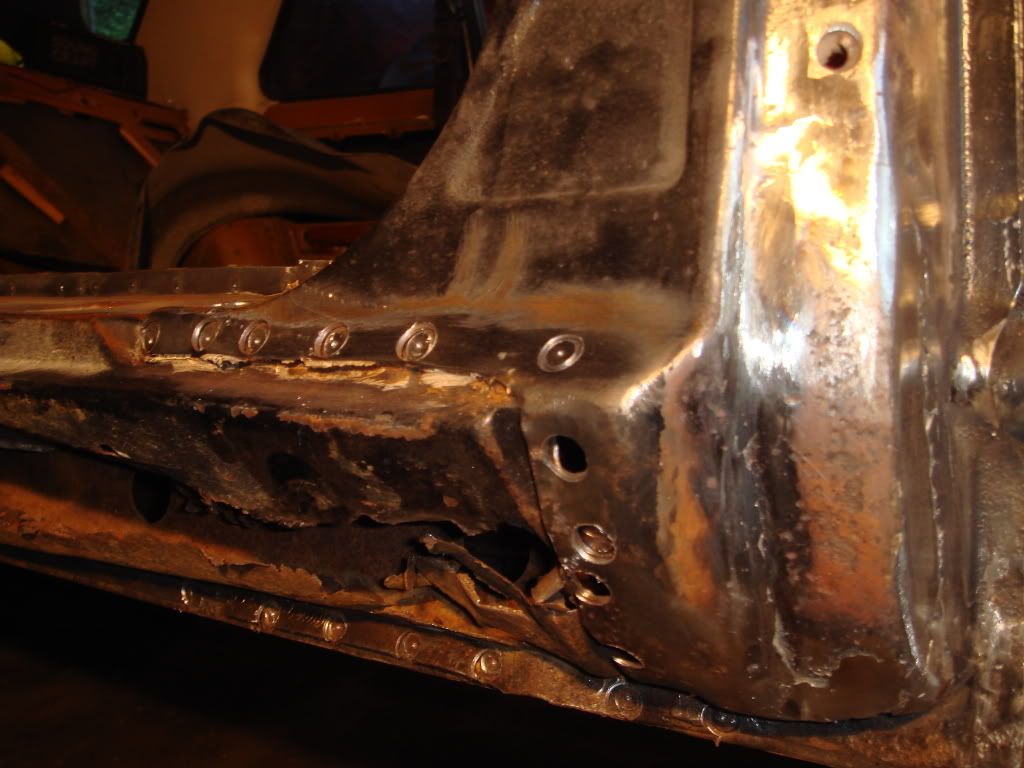
I was having a rough time trying to get the
damn spot weld drillbit to stay in one place.

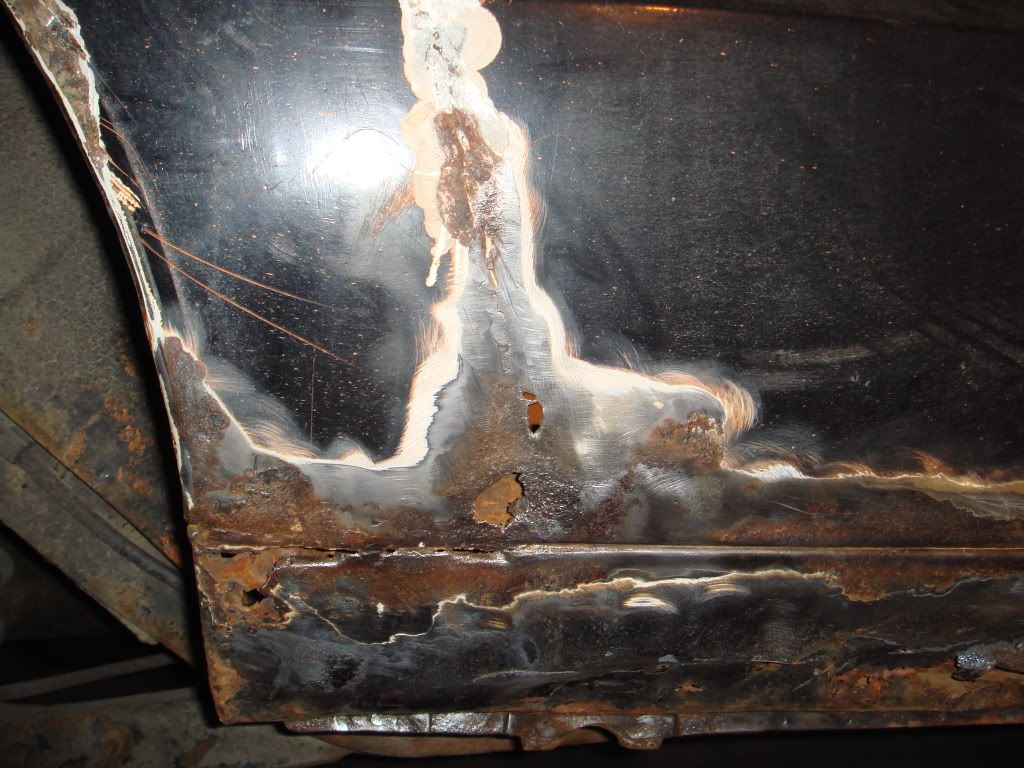
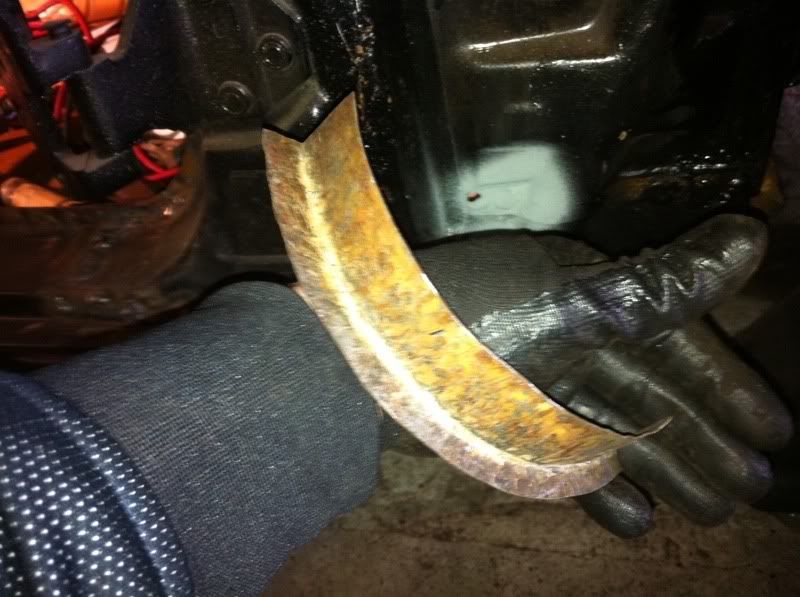
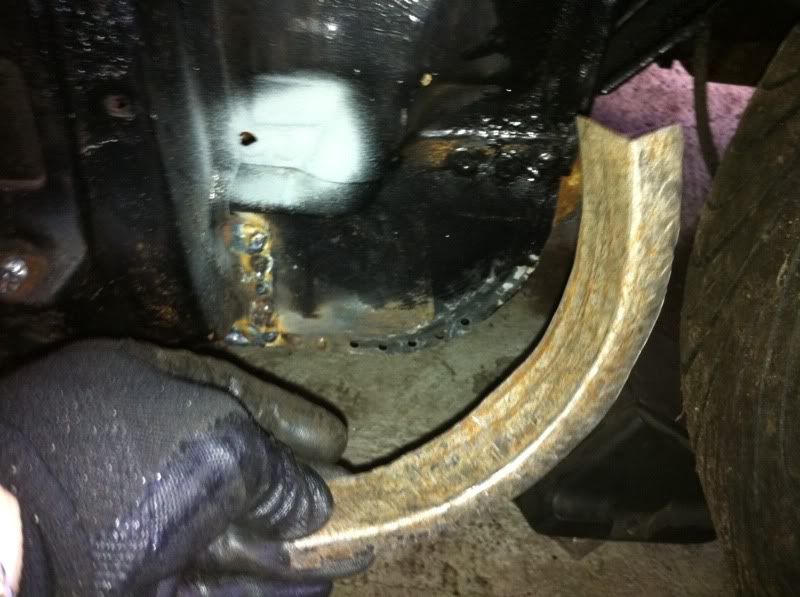
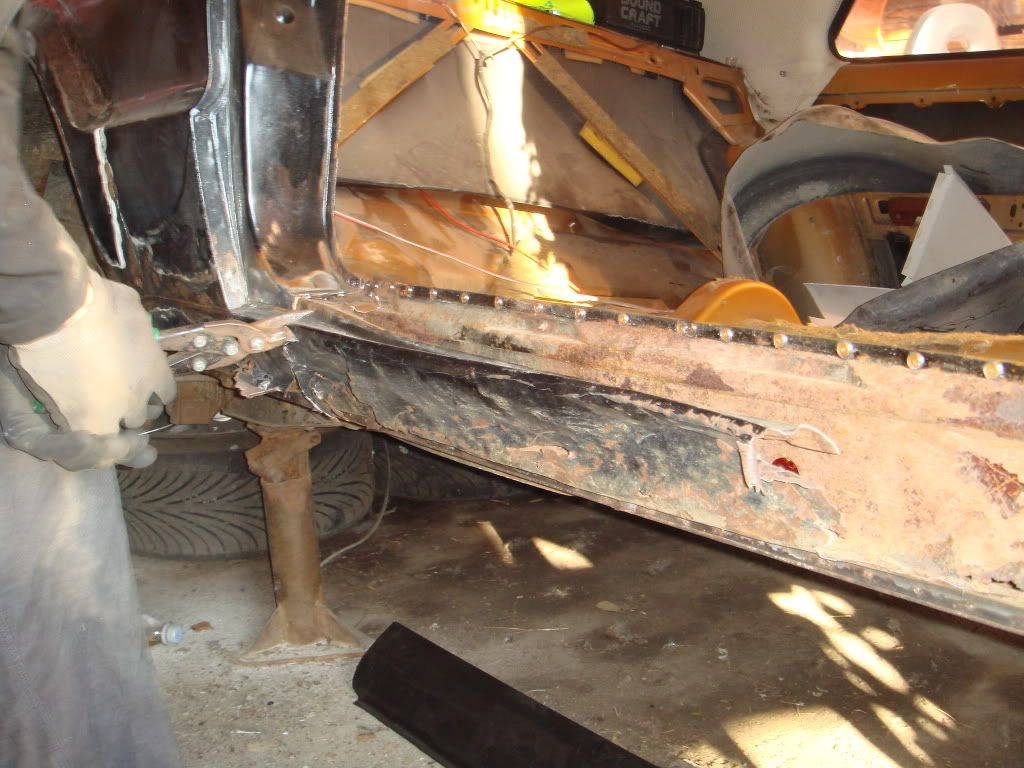
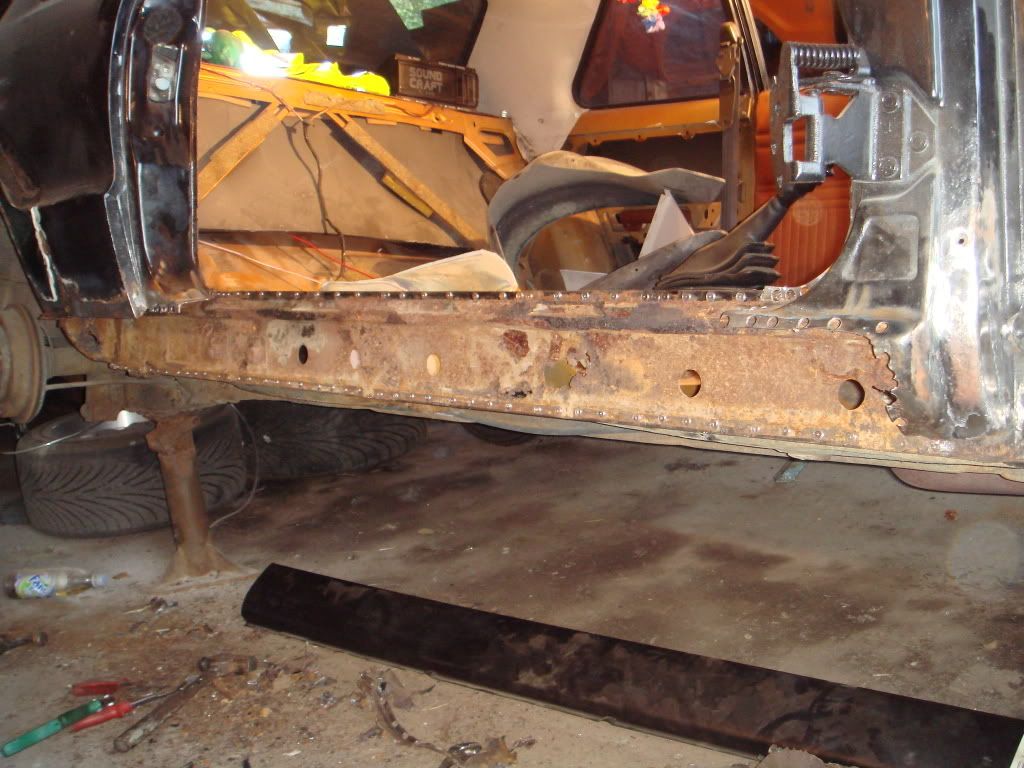
Here you can see the old sill.
The sill was so rotten I made the dents by hitting it with my hand

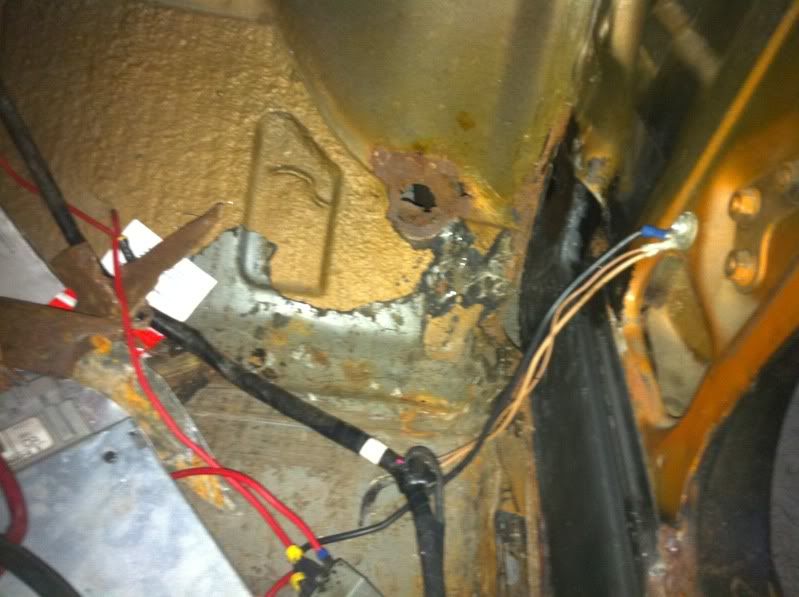
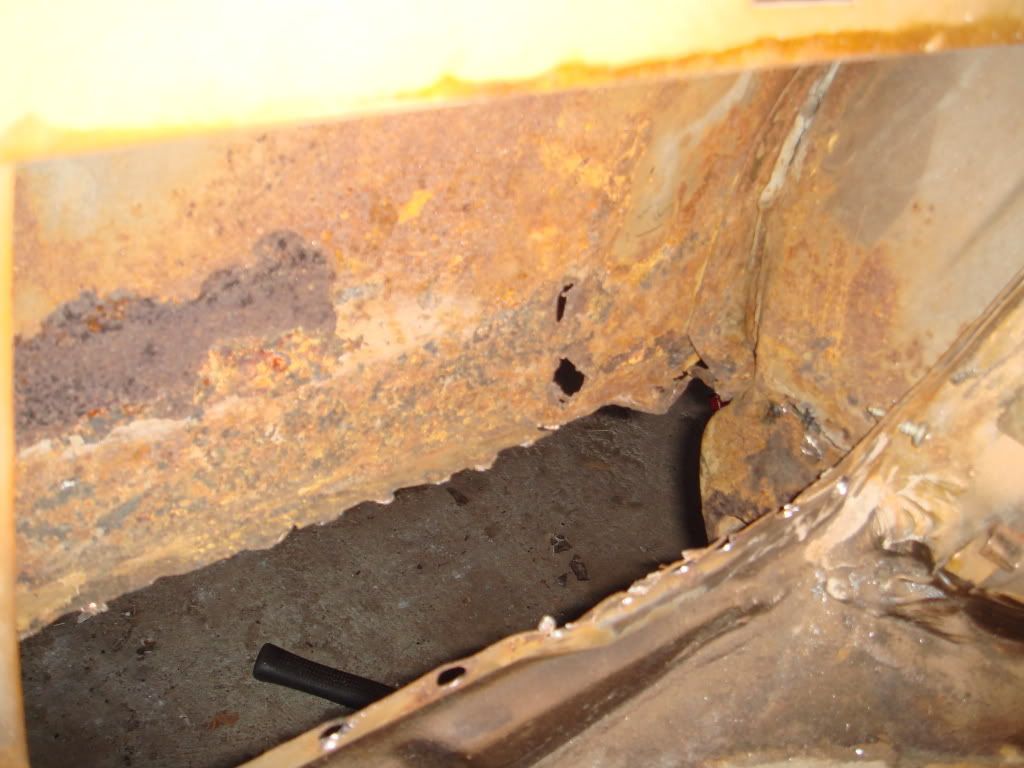
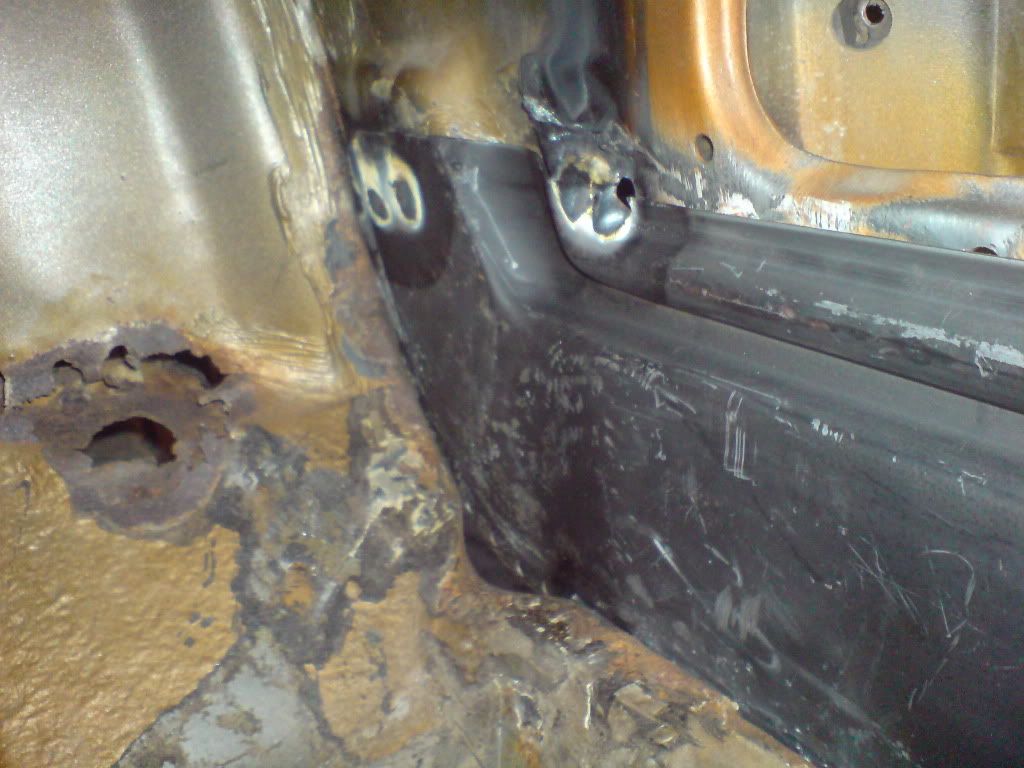
This is the inside of the rear quarter panel. (is that the right word?)
A lot of rust from a bodge wheel arch job done many years ago:
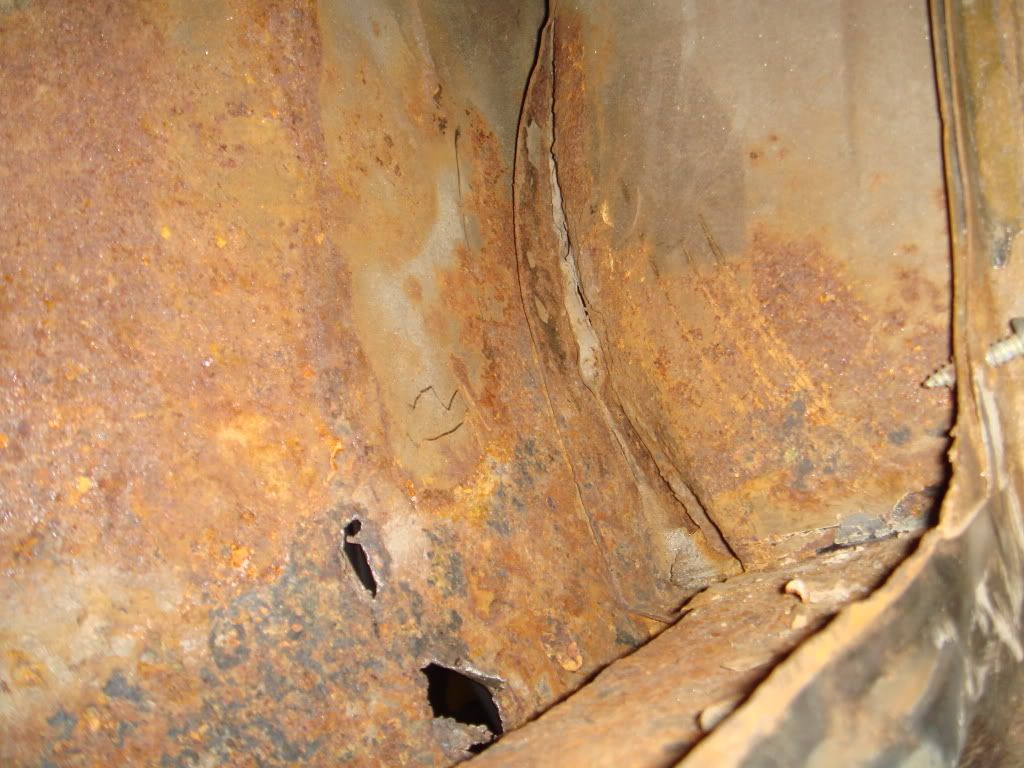
The end of the sill inside the rear wheel arch:
Found more rot under an inch of filler. I have to replace this panel as well when I'm done with the sill:
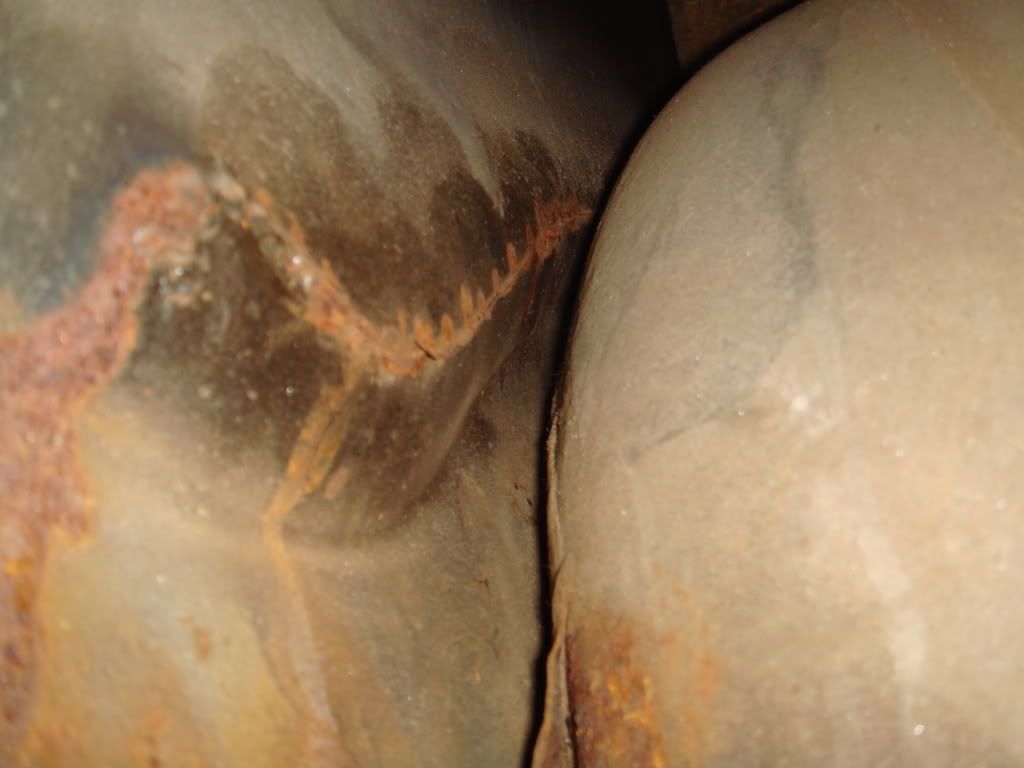
More on the rust welding later
Edit: spelling


 that transit looks pretty useful as well. A proper tat hauler