|
|
|
|
|
|
gorgeous! - and you've got away lightly on the rust front!
I'm hoping my cav will be the same as this is the next job on the list. Nice to see the black epoxy mastic being used as that is what I am about to buy, is it easy enough to work with?
|
| |
- '80 Mk1 Vauxhall Cavalier Saloon, 3.0l 12v... in progress with some special plans ahead
- '94 106 Rallye, Endurance Rally Car
|
|
|
|
|
|
|
|
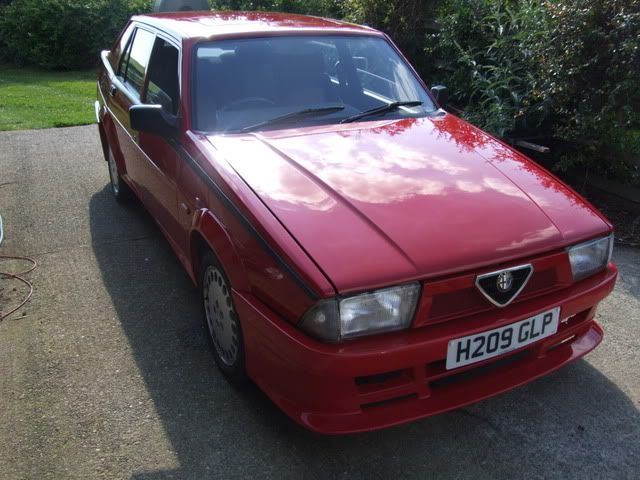
Looks like a top example, should be top drawer with the small rust repairs and a good paint job.
|
| |
|
|
|
|
|
|
|
gorgeous! - and you've got away lightly on the rust front! I reckon so, but it's the right time to start preserving it properly. I find the Epoxy Mastic ok to work with. It's a 2 part paint so it needs to be mixed 50/50 and as I'm doing small bits at a time I'm finding it tricky to mix the right quantities, but other than that it goes on just like thick paint. |
| |
|
|
|
|
|
|
|
I've not had chance to keep this thread up to date recently, but I have been hard at work on my car though. I've pasted in notes I made at the time so I didn't get it all done in one weekend like it might read! I got into a routine of removing parts, scraping off flakey underseal and paint, cleaning up the steel and then covering it with Expoxy Mastic working around the front of the car on both sides of the panels where possible. I then moved round to the drivers side and started cleaning up inside the wheel arch and bulk head. 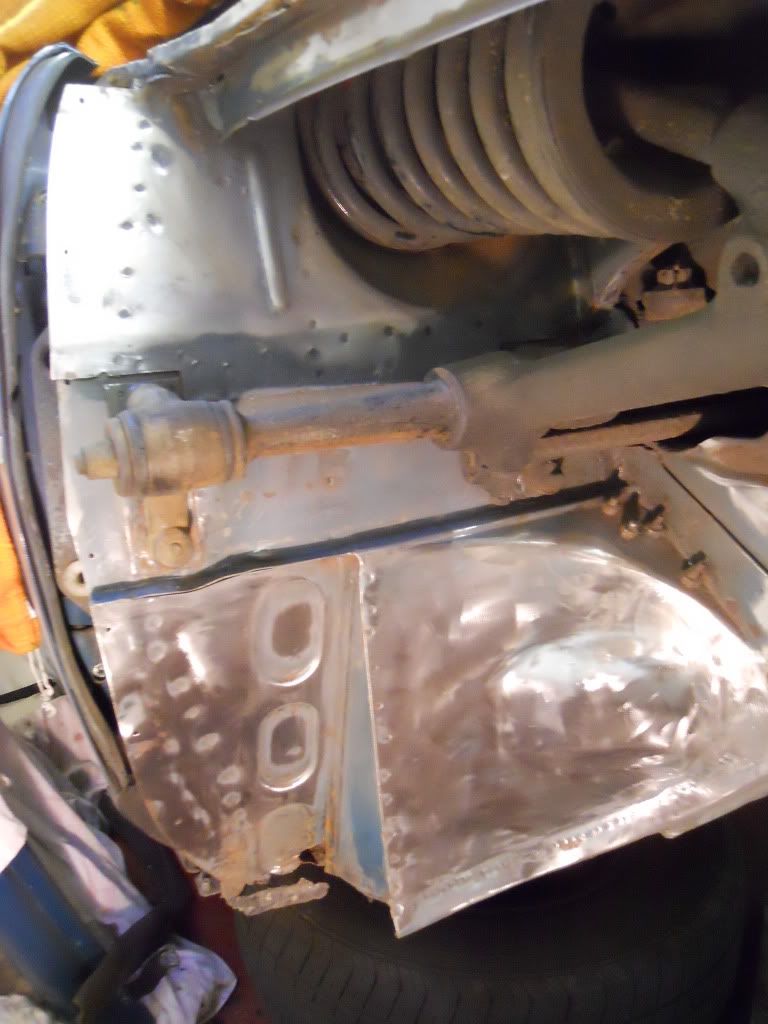 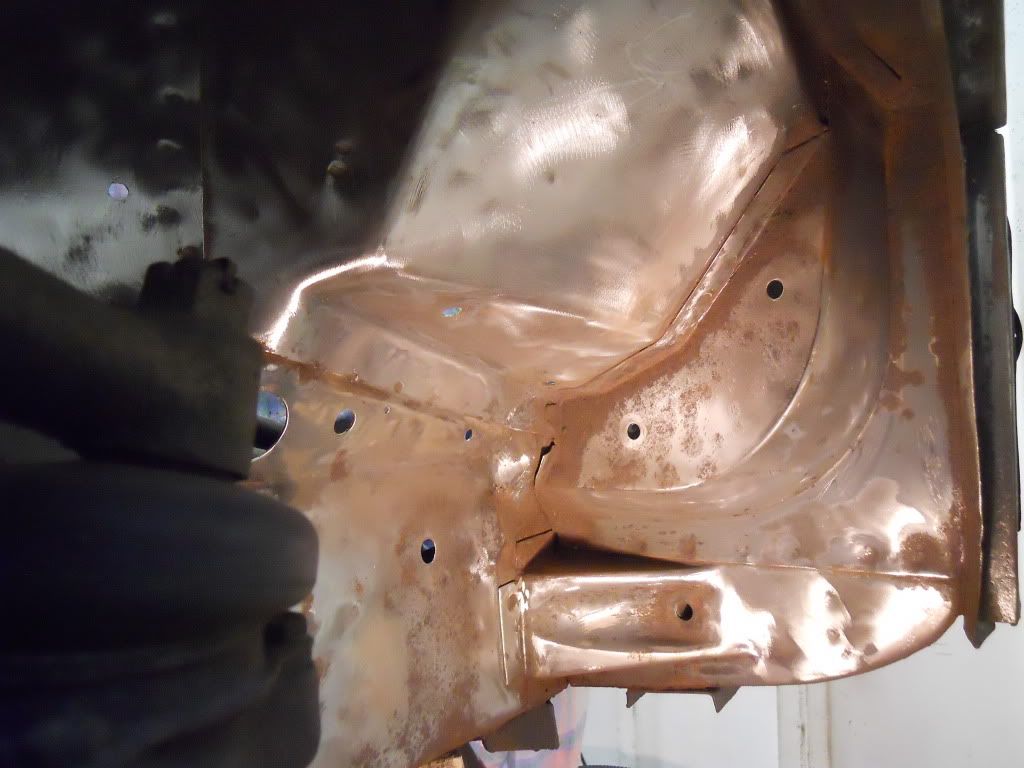 I got bored of sitting with my head under the car and constantly looking at that hole which needs to be repaired, so I moved to inside the engine bay instead. I lifted the servo unit out and untangled the wiring loom and power steering hose which were woven through the brake lines. There's lots of surface rust around here as the previous owner had the servo replaced twice and who ever did it didn't bother wiping up the spilt brake fluid. 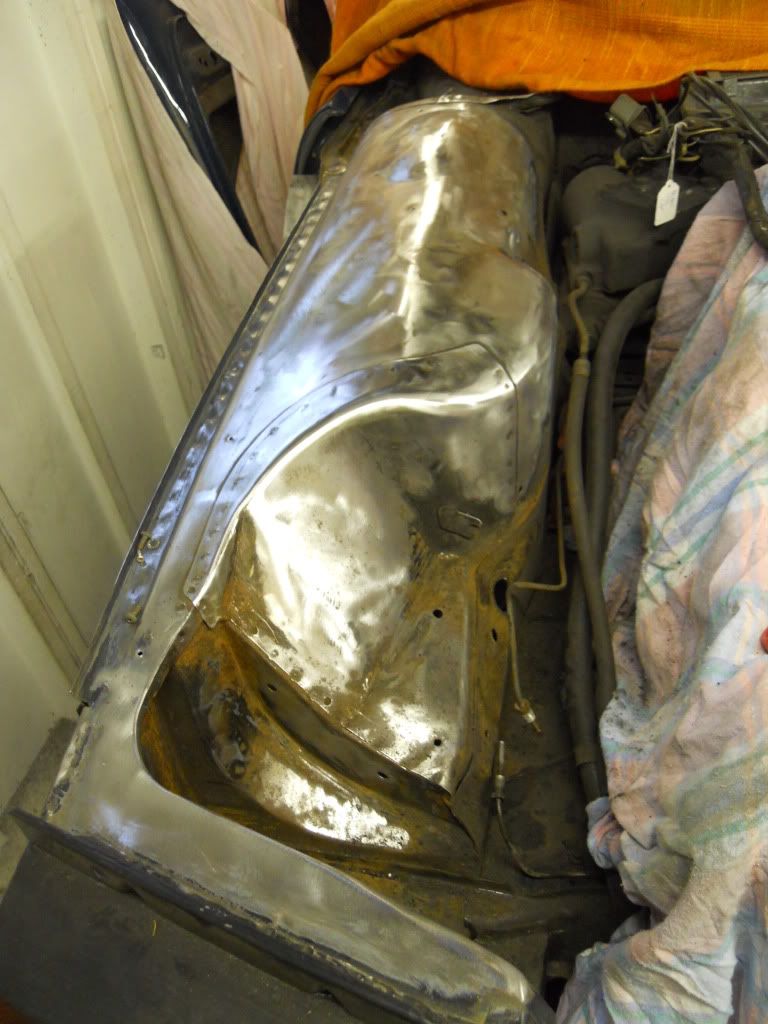 That's all cleaned up and gone now, covered with more Epoxy Mastic for an instant feel good factor! 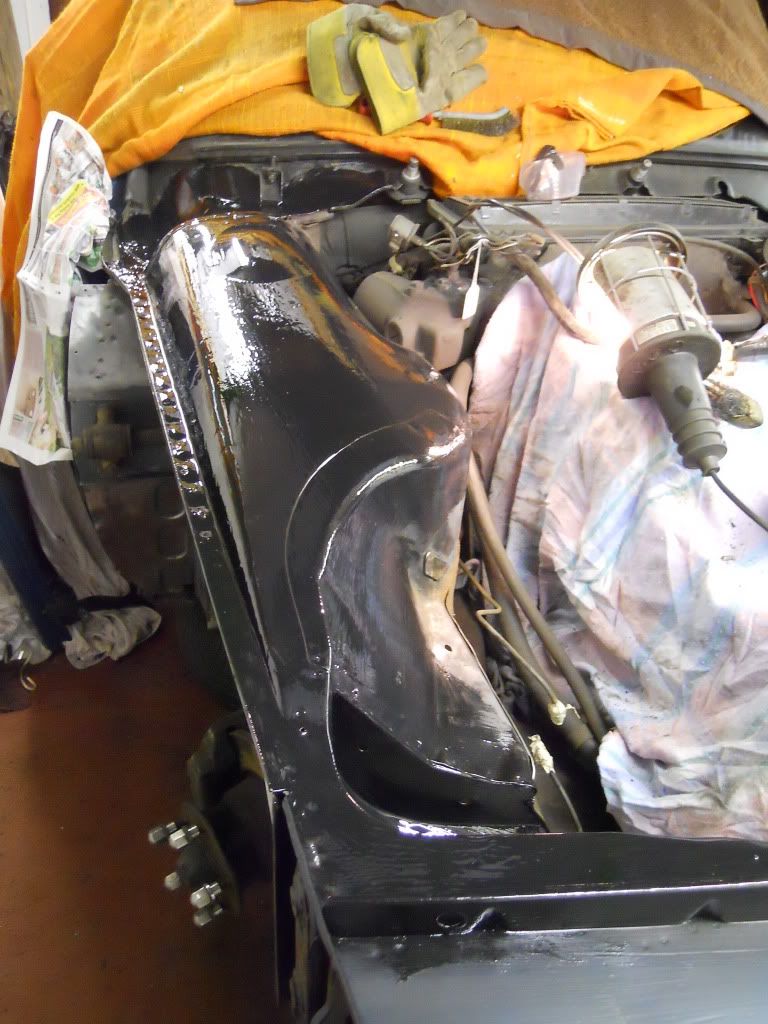 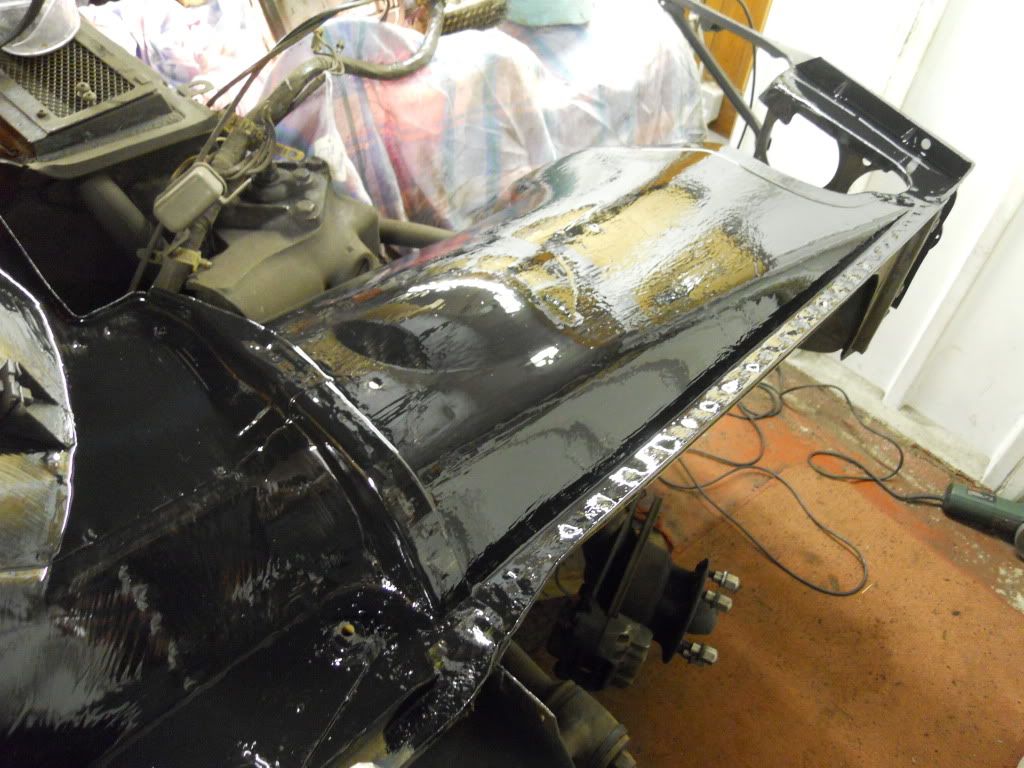 . Made some decent progress this weekend by getting paint on the inside of the off side wheel arch. 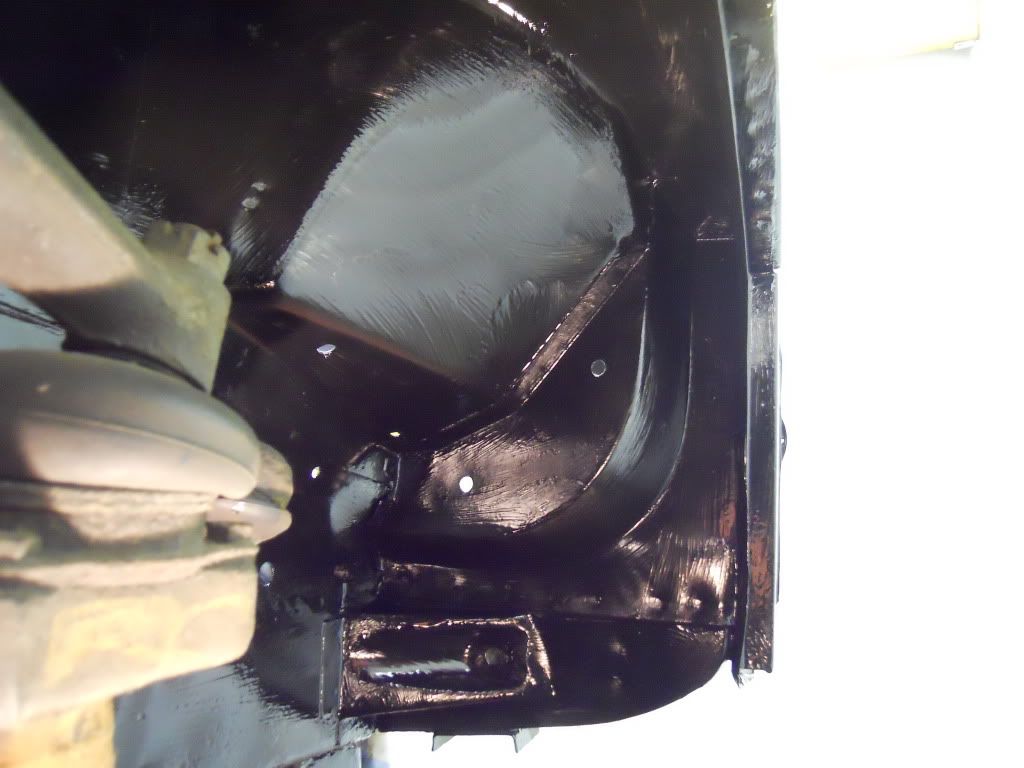 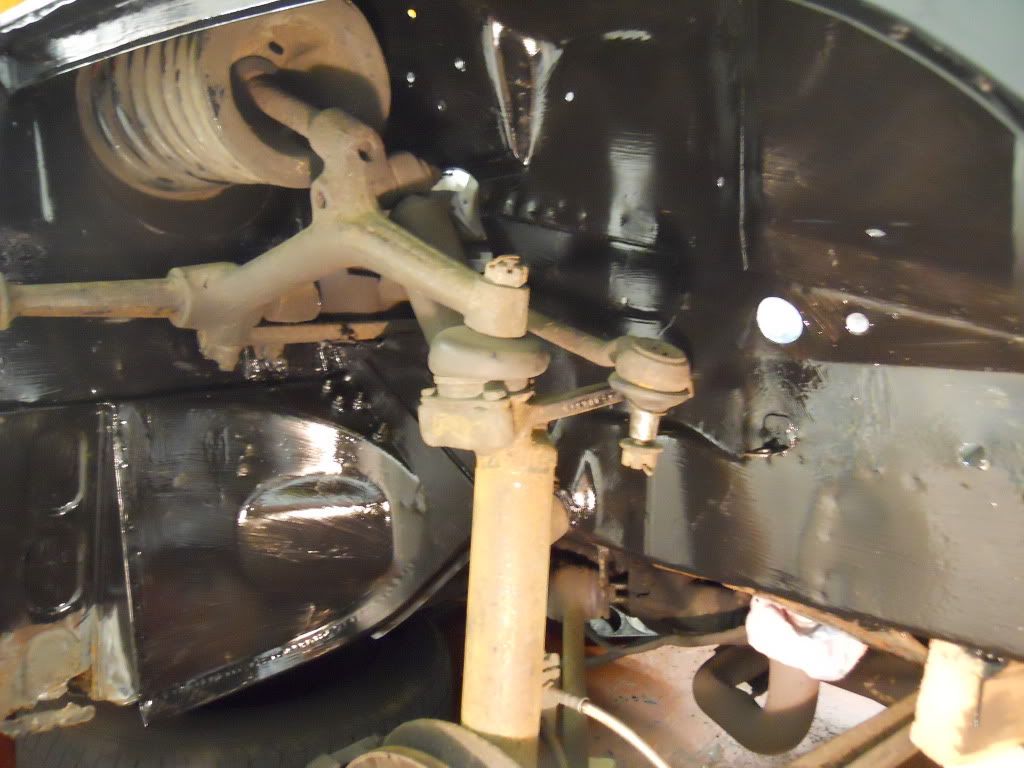 I also painted lots of fiddly bits inside the engine bay such as under the slam panel and behind the headlamp bowls. So that's one thick coat of Epoxy Mastic over the whole front end now. I wasn't going to touch the chassis rails inside the engine bay, just wipe the down, but as I did that the old paint came away with the cloth so they both got stripped and coverd in Epoxy Mastic too. Here's some finished shots.  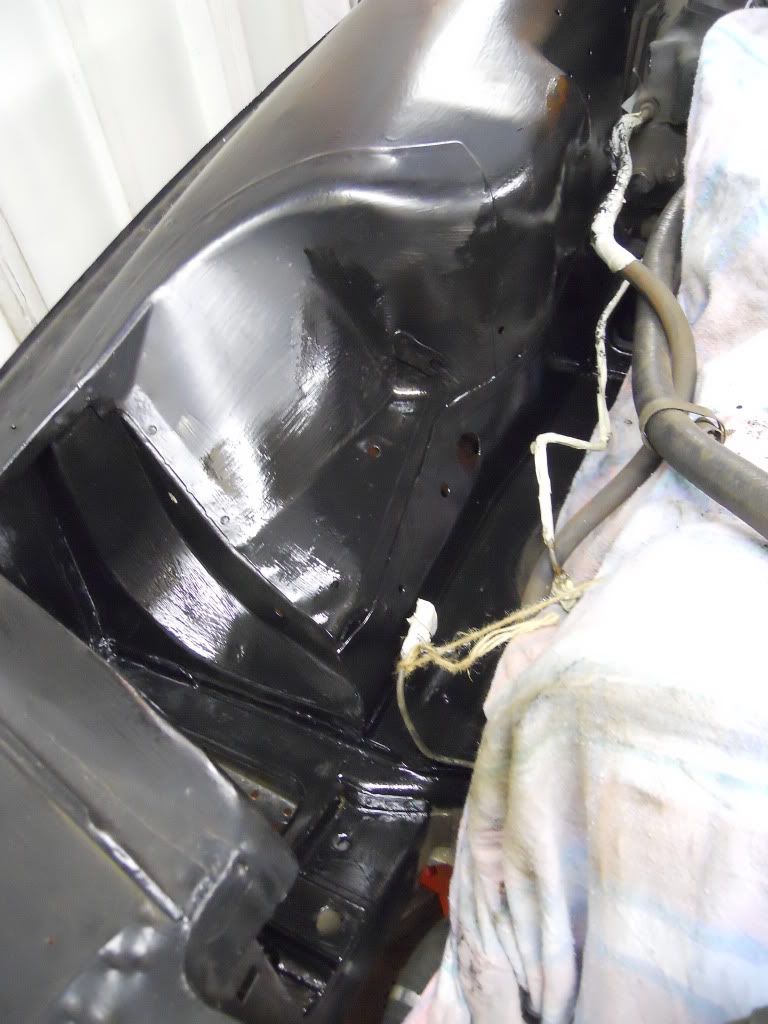 I'm happy that there's a good cover of paint to protect the steel in the engine bay so I just then to flat it down and spray a cosmetic coat of satin black over the top then I can put the front back together. I'll also add a second coat of Epoxy Mastic to the wheel arches and suspension mounts to finish it off. Another highlight of the weekend, apart from poisoning myself with fumes, was finding out why my wipers weren't very good - two of the three motor mounts are broken, so that's another little problem solved. More to follow soon.... |
| |
|
|
|
|
|
Mar 29, 2011 11:24:50 GMT
|
25/02/11I managed to get the second coat of paint on the chassis rails and both front wheelarches - no photos as it's not very interesting. As I mentioned last time I've removed the wiper motor and mechanism to clean and refurbish on the bench and I've now also removed the heater box too. I've had this out before, about 4 years ago, to replace the heater matrix but last year it seemed to be throwing out less and less heat so I wanted to soak it with kettle descaler to clean it out. With the heater box out of the way I gave the bulk head a good brush and vacuum out. I don't think I need to do much here as it's all solid and can't be seen.  Whilst the heater matrix was soaking through I started on removing the windscreen. The seal was perished and it leaked occasionally (on to the passenger!) when driving at speed in heavy rain so it needed replacing. With the surrounding trim off I found some little squaters - a small wasp or bees nest lurking inside the A pillar.  The screen came out fairly easily and is tucked away down the side of the car waiting to be cleaned. The foam seal between the lower edge of the screen and the base unit looked suspiciously orange and when I peeled it away chunks of metal came away too. So now I have an inch wide strip just below the edge of the dashboard which needs to be welded up.  I'm not sure I've seen rust like this in other peoples P6 restoration pictures, but it's easy to see why it happened with a thick foam seal glued to the base unit holding moisture next to the seal. I've had a practice at welding with my Dad now he's a bit better and I'm confident that I can tackle this and make a good repair. One thing I do need to do first now that I've finished painting inside the wheelarches is reasemble the front suspension and get it back on it's wheels as it's too high for me to reach comfortably with the welder. More to follow soon......
|
| |
Last Edit: Mar 29, 2011 14:36:48 GMT by testrider
|
|
75nut
Part of things

Posts: 512
|
|
Mar 29, 2011 12:34:23 GMT
|
|
Nice work, going to stay a solid car for a long time yet after such careful prep!
|
| |
90 Alfa 75 3.0 V6 Cloverleaf
79 MGB Roadster
88 Saab 900i Convertible
94 MK1 MX5 1.6
05 Volvo V70
|
|