teaboy
Posted a lot
   Make tea, not war.
Posts: 2,125
|
|
Jan 25, 2024 22:15:43 GMT
|
Once you have the metalwork completed and are preparing to reassemble the car, do you anticipate using any sort of stone chip, a la Wurth, for example? John Yes, John, there will be some sort of protective coating to finish it off. I haven't decided which one it will be yet though. I was going to have a night off tonight because it is cold and drizzling but then I remembered that the Doc was going to be late home because she was on another secret mission so I put an extra top on and went out to do a bit more. I am working towards getting the axle panel in for the final time. The first thing I had to take care of was this extra hole in the rear wheel well. 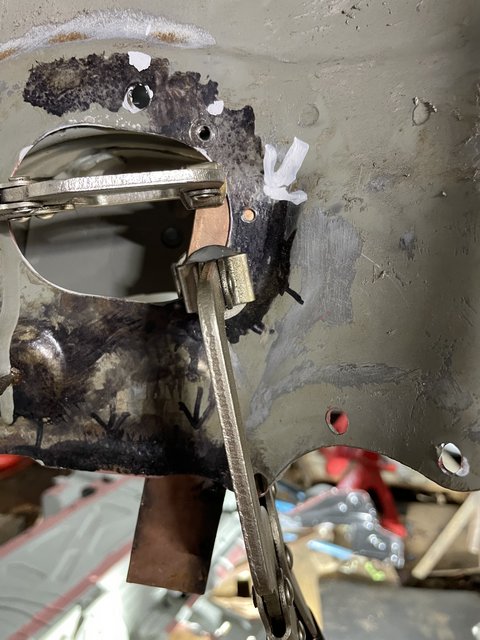 That is where that pipey thing that I finished off yesterday emerges at its other end. I had got a bit trigger happy when removing the old one and drilled out a non existent spot weld. It was easy enough, apart from having to drag the welder and the gas bottle down from the shed. 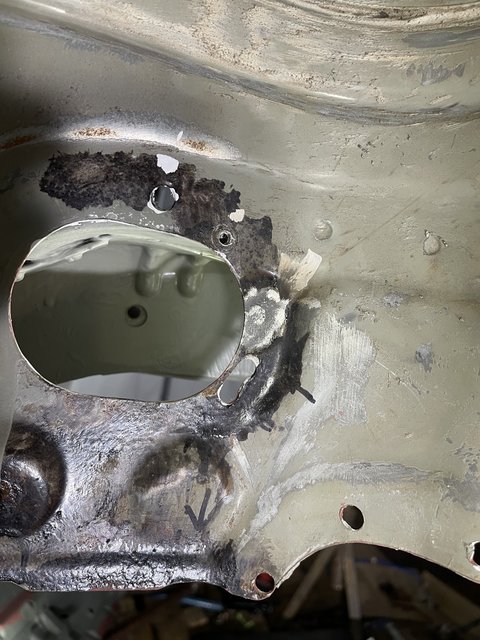 With that filled in I had to sort out the rest of the places where the axle panel is going to be welded. I had previously marked through all the holes that I had drilled for plug welding with tippex. I had to sand all those bits down to bare metal. Here are some of them. 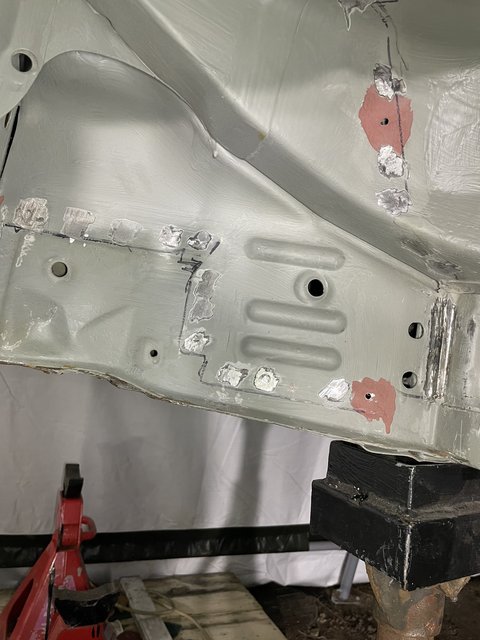 When they were all sanded I mixed up a drop of 2k weld through primer and re-painted all the bits where I had just sanded the paint from. 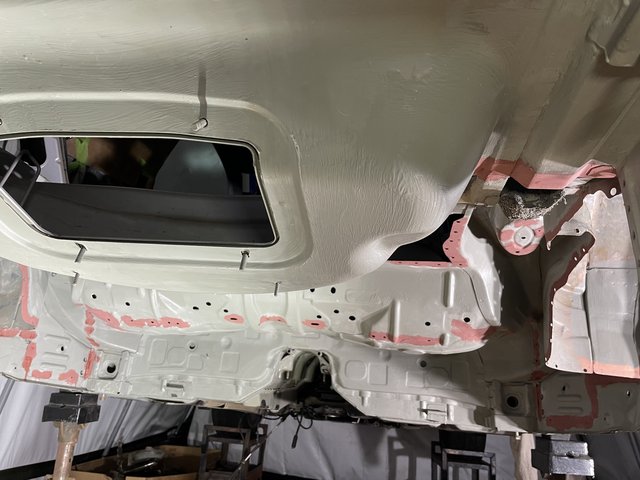 That was thoroughly boring yet essential and it took me two hours to do. The panel is another step closer to going in. I don't know, maybe I'm just dragging the job out because I'm nervous about messing it up... Cheers. |
| |
|
|
|
|
teaboy
Posted a lot
   Make tea, not war.
Posts: 2,125
|
|
Jan 26, 2024 19:16:08 GMT
|
It has been quite a pleasant day today, weather wise. I saw ten degrees and sunshine today when I was in Skegvegas. It has really cooled off now, though. Nevertheless, I decided to continue with my axle panel fitting procrastination routine. There is this grommet hole in the near side wheel well. 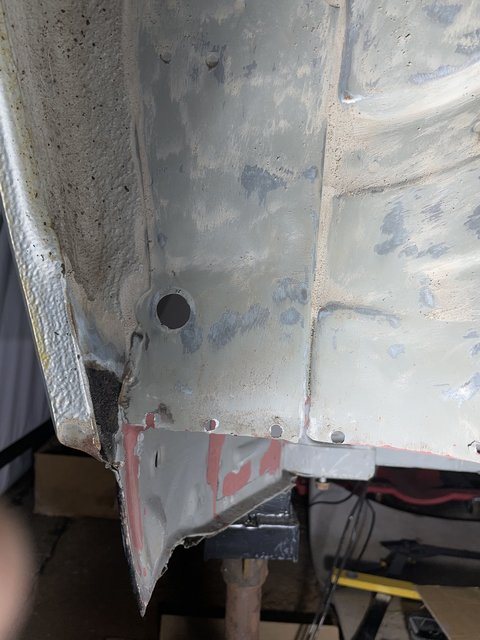 You may be wondering why I would bother to do that when there is absolutely no trace of rust around it. Well, there was a corresponding hole in the other side wheel well, it looked like this. 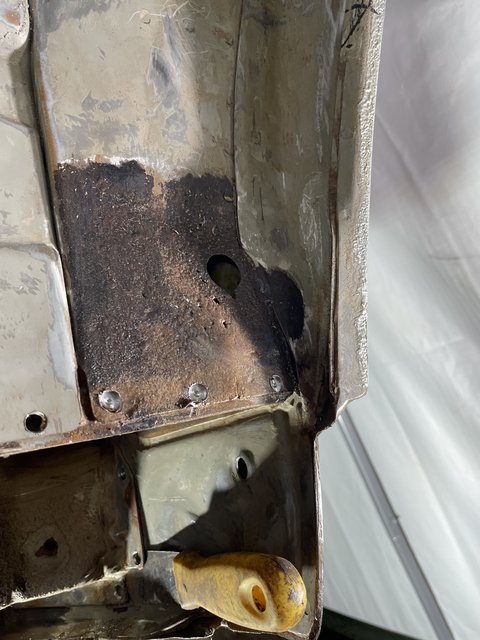 From the inside it was no better. 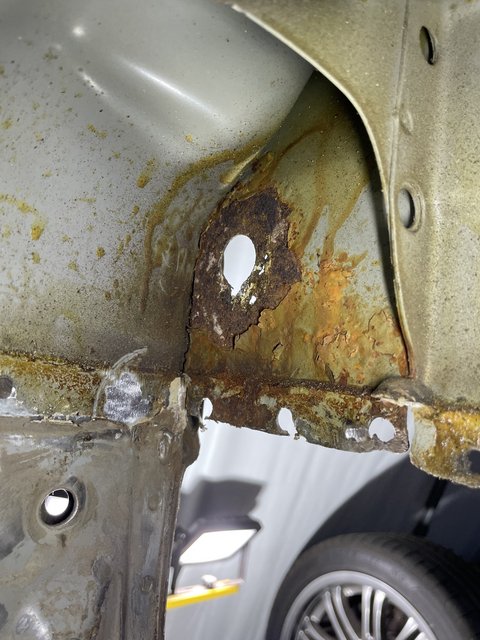 I had to replace a large section to tidy that up. 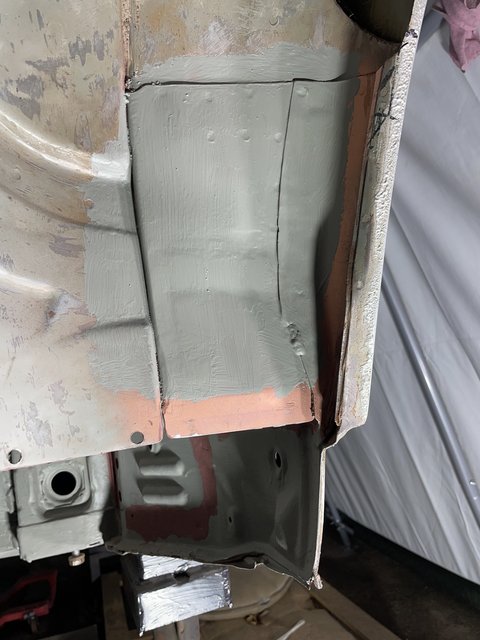 Obviously we don't want to encourage that kind of thing in our wheel wells so it has to go. The first thing I did was to cut a disc like this. 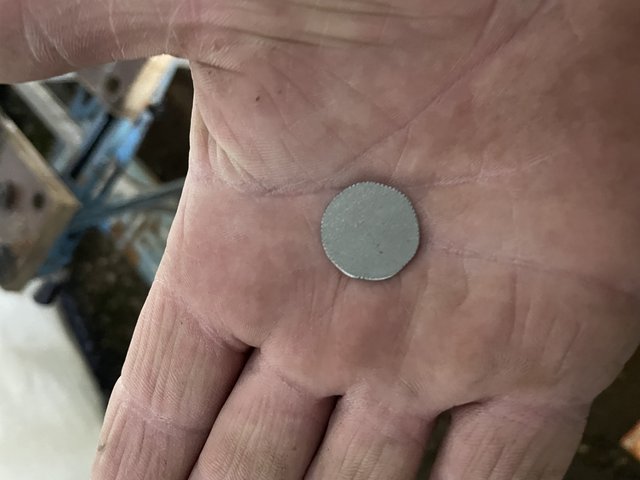 Then I threw it away because I made it from 1mm steel instead of 1.2mm. Once I had one the correct thickness it was just a case of clamping it in place. 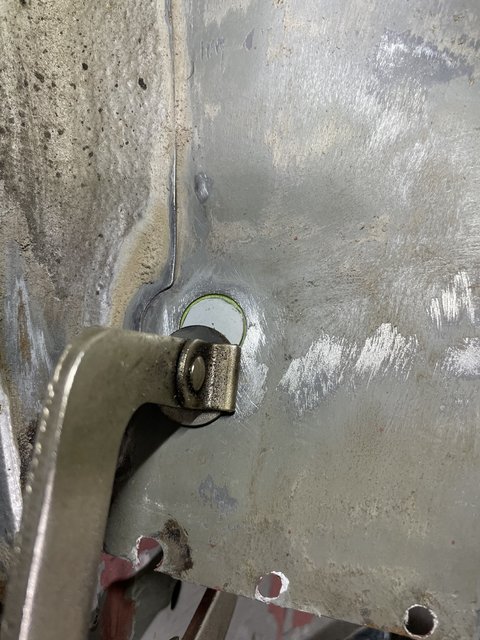 Welding it in. 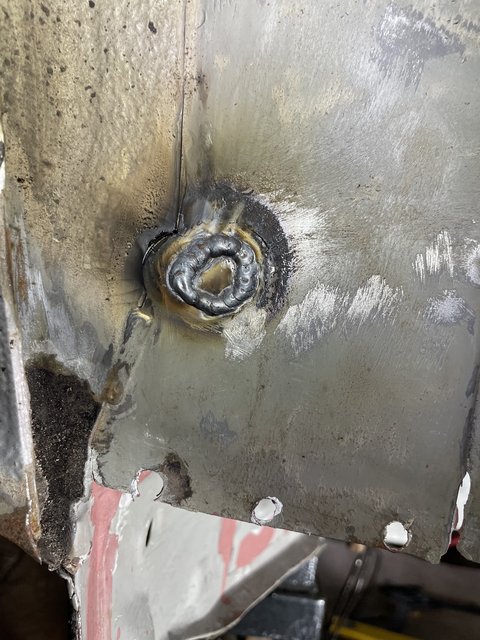 Tidying it up. 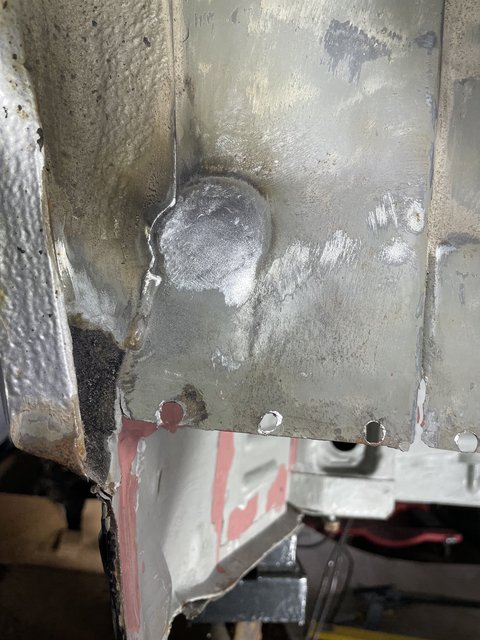 And splodging a drop of spooge on it for now. 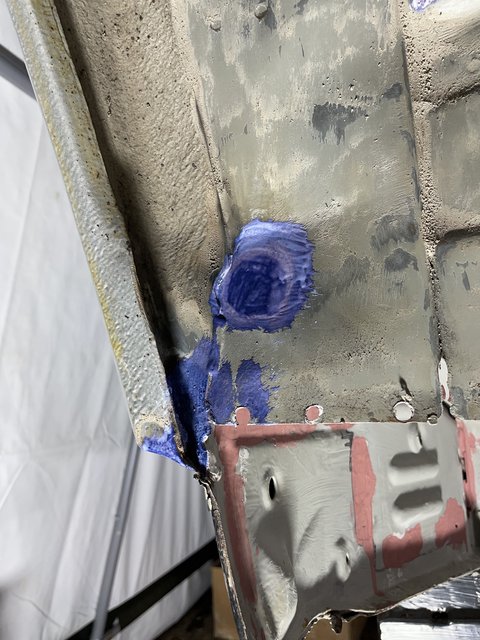 I just spooged it because it wasn't worth mixing epoxy just for that little bit. That was enough for me for tonight because my toes have frozen and fallen off. Well, maybe not that bad but my feet are cold. I'm sure I'll be able to find something else that 'has to be done' before the axle panel goes in. Right, the Doctor and my daughter want me to go and buy them pizzas so I had better get myself organised. Cheers. |
| |
|
|
|
|
|
Jan 26, 2024 22:20:30 GMT
|
|
Not being familiar with those cars......where are you with this project??
Is it near finished or??
|
| |
|
|
teaboy
Posted a lot
   Make tea, not war.
Posts: 2,125
|
|
Jan 26, 2024 22:53:48 GMT
|
Not being familiar with those cars......where are you with this project?? Is it near finished or?? I've still got a bit to do; Fit axle carrier panel, repair rear inner arches and I still have a bit to do on the driver's side floor. There is also a little bit on the rear edges of both sills. |
| |
|
|
glenanderson
Club Retro Rides Member
Posts: 4,353
Club RR Member Number: 64
|
|
|
|
Not being familiar with those cars......where are you with this project?? Is it near finished or?? I've still got a bit to do; Fit axle carrier panel, repair rear inner arches and I still have a bit to do on the driver's side floor. There is also a little bit on the rear edges of both sills. And an oil tank… Don’t mention the oil tank! I mentioned it once, but I think I got away with it… |
| |
My worst worry about dying is my wife selling my stuff for what I told her it cost...
|
|
teaboy
Posted a lot
   Make tea, not war.
Posts: 2,125
|
|
Jan 29, 2024 21:34:18 GMT
|
Don’t mention the oil tank! I mentioned it once, but I think I got away with it… You started it!  Well, the weekend came and went but I didn't get the opportunity to do any work on the old banger. I did manage to get my old watch back from being repaired. You might remember I dropped it on the kitchen floor and did this. 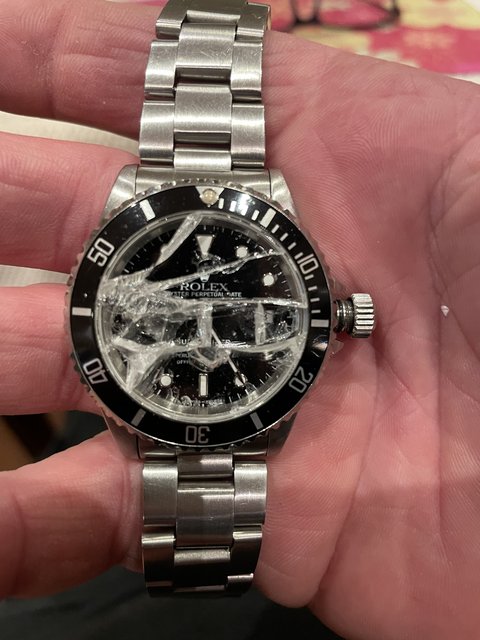 The price Rolex wanted to fix it was absolutely absurd, offensively so. To pay that would have been like being mugged, twice. Anyway, the lovely Doc found an independent place not too far away who did a super job for less than 20% of the price. 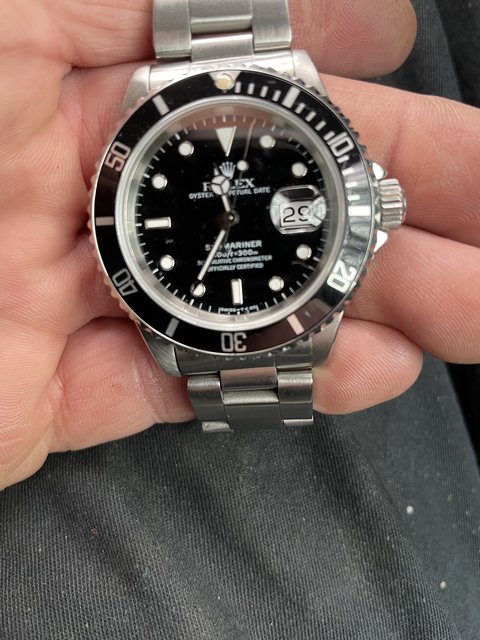 The car then, I need to get the two parts of axle panel screwed on to the car and properly positioned. I had to swap the clecos I originally used to join the two parts together due to lack of access when the part is installed, so I fitted some Tek-screws. 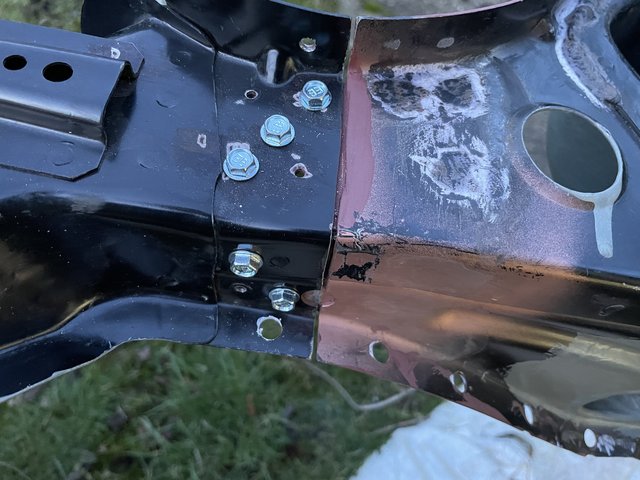 Once I was happy that I had a repeatable joint I separated them and started to get them into position under the car. 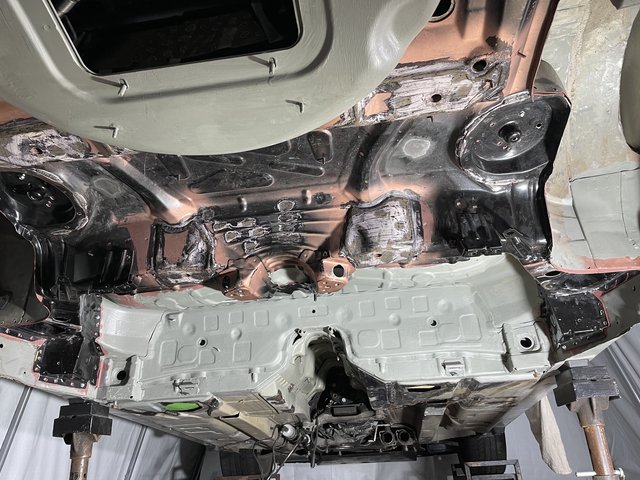 This it not the easiest of tasks because it is a large and unwieldy lump of tin. I had to use jacks and blocks of wood but it would have been a piece of cake with another pair of hands to help me. I got it juggled about and jacked into the position where it looks most comfortable. 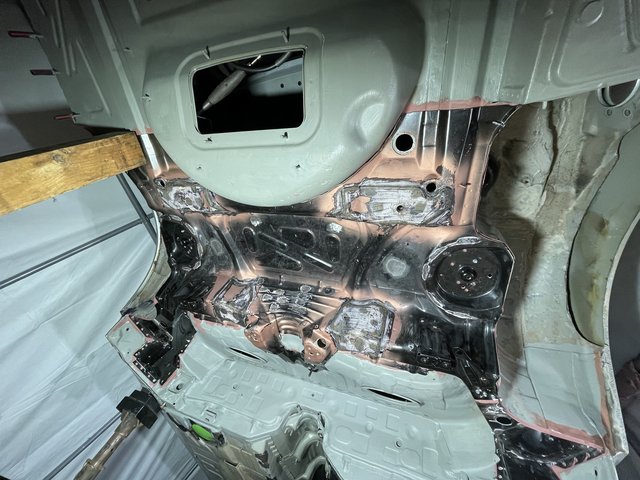 I didn't have enough energy left after that to fit the thingmy-jig but that will be the next job. The plan is to get the whole assembly jigged up, measured up and set in its exact position then I will weld in the small front part that has that pipey bit on it. This is the other end of the pipey bit. 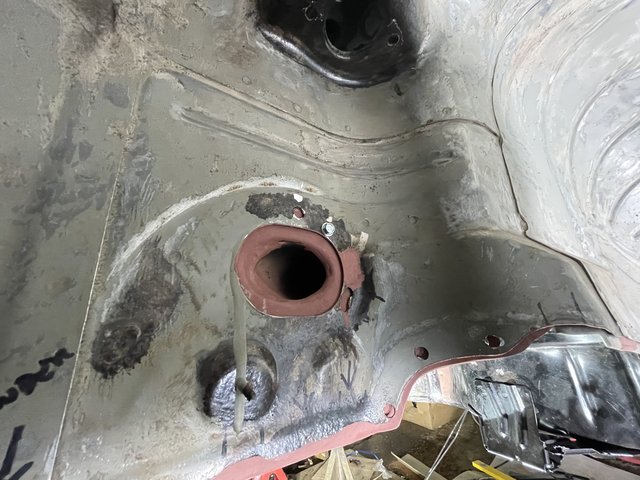 Once that section is fully welded in I will remove the main bit again so that I can paint the inside where I welded the pipey bit. Then it will be a quick bish bash bosh, chuck the main bit back in and weld that up... Or, more likely, I will spend ages messing about with it until I am happy, then I will weld it in. I am happy with this joint once the two pieces were in place and screwed together it was exactly as it should be. 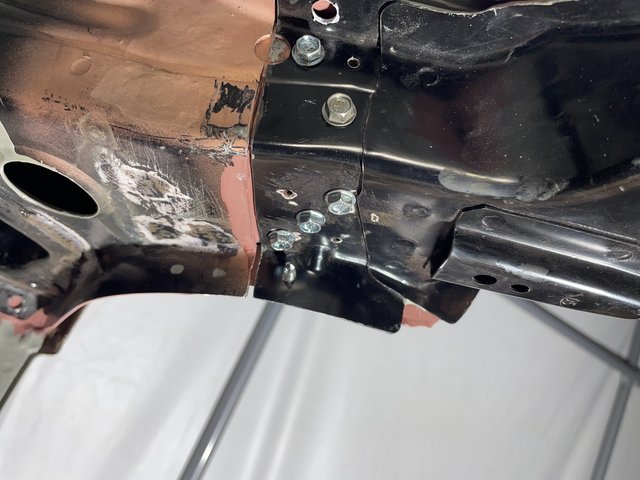 It is starting to look promising. Cheers. |
| |
|
|
|
|
|
|
|
|
"I am happy with this joint once the two pieces were in place and screwed together it was exactly as it should be."
Celebratory cake ?
|
| |
|
|
teaboy
Posted a lot
   Make tea, not war.
Posts: 2,125
|
|
Jan 30, 2024 20:49:28 GMT
|
"I am happy with this joint once the two pieces were in place and screwed together it was exactly as it should be." Celebratory cake ? I would love some cake but my supplies have dried up. There will be cake for sure once the axle panel is finally in. Right then, tonight the plan was to get the thing fully jigged up, checked, measured, adjusted as needed then get the small front bit welded in. This is it before.  I want the thingmy jig, the cradle bit which goes under the diff which, for some reason, is called a push rod and the V brace all fitted up to make sure that everything is in the right place. The push rod is secured by the front two bolts on the thingmy as well as by two pairs of small m8 bolts. After a bit of a struggle I got the thingmy and the push rod on with the four main bolts but I couldn't get the four m8 bolts in. I eventually took it all back off and discovered that the holes for the small bolts had become filled with epoxy primer when I had painted the inside of the panel. Once I had tapped out the threads they went on properly and then I got the V brace on. 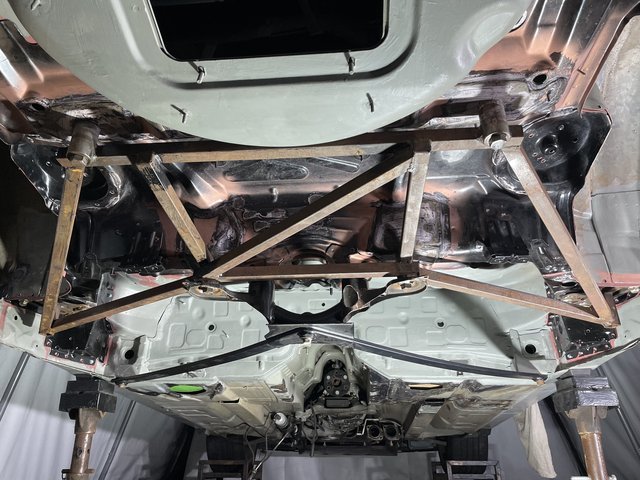 The V brace bit fixes to the push rod in the middle here. 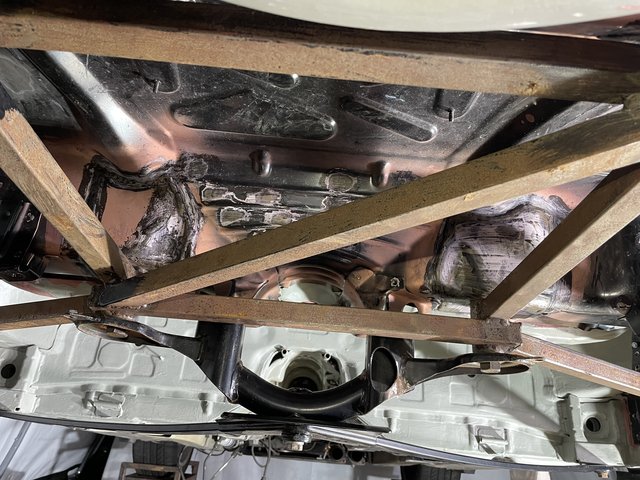 It took me nearly two hours of messing about to get it all jigged up. I started measuring everything up to verify the position and it is looking reasonable but I was starting to get very cold by this point so I left it at that. I am going to be doing some more measuring and checking to satisfy my paranoia about getting it in the wrong place. If it ends up weaving all over the road when it is done it will be due to the bad driver and not the dodgy repairs. Cheers. |
| |
|
|
jamesd1972
Club Retro Rides Member
Posts: 2,921  Club RR Member Number: 40
|
|
Jan 30, 2024 20:54:44 GMT
|
|
Suspect it’s significantly straighter than most body shops would have it at this point!
Cake earned for sure
James
|
| |
|
|
braaap
Posted a lot
  
Posts: 2,746
|
|
|
|
^^^ Perhaps even better than the bavarian motor workers on a late friday evening. Or on a monday morning. Whatever.  |
| |
|
|
teaboy
Posted a lot
   Make tea, not war.
Posts: 2,125
|
|
|
|
Suspect it’s significantly straighter than most body shops would have it at this point! Cake earned for sure James ^^^ Perhaps even better than the bavarian motor workers on a late friday evening. Or on a monday morning. Whatever.  You will soon see how accurate I am.  Yesterday was quite cold and when I got home the Doc said, 'It won't be very nice in the tent tonight, why don't we go to the carvery instead?' I thought that was an excellent idea so that is what we did. No offer of meals out tonight though, so I had to go into the tent. I started by doing some more measuring. I have a few diagrams with the correct dimensions to work to. Tonight I was using this one in particular. 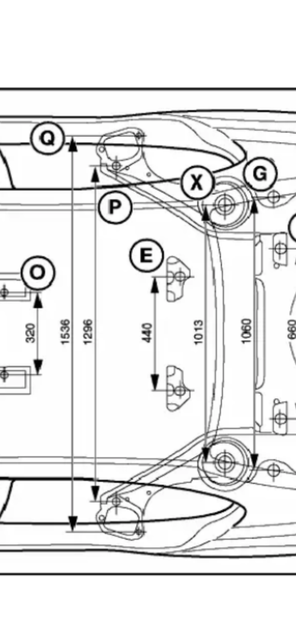 If I could draw your attention to dimensions 'Q' and 'P'. These are the mounting points for the rear trailing arms. My measurement for 'Q' is good but the measurement for 'P' that I have is 4mm short. I can't see any way I can get that 4mm back. I have measured various things and this dimension is the only one which is off. I did fret about it for a while and drank some tea. What did I come up with? I decided to ignore it, of course. Let me explain my rationale; firstly, the panel is central as verified by various diagonal measurements so that means that the inaccuracy in the mounting holes is 2mm per side. Secondly, the rear trailing arm mounts are slotted for adjustability. 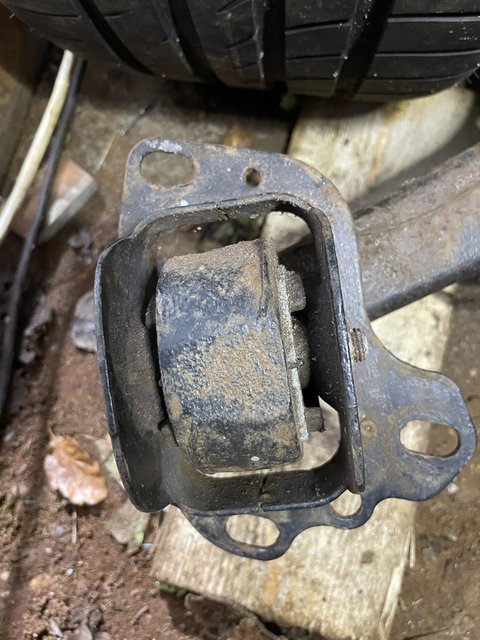 Those slots look large enough to me to be able to accommodate a 2mm discrepancy when I come to set the geometry. Finally, the thing is jigged up on those points exactly replicating the original panel so it really should be ok. Nothing else for it, I need to start welding it in. I started with the easy ones, inside the wheel well. 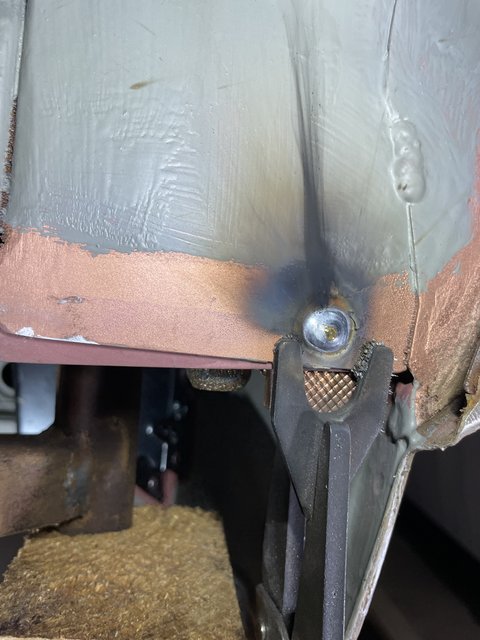 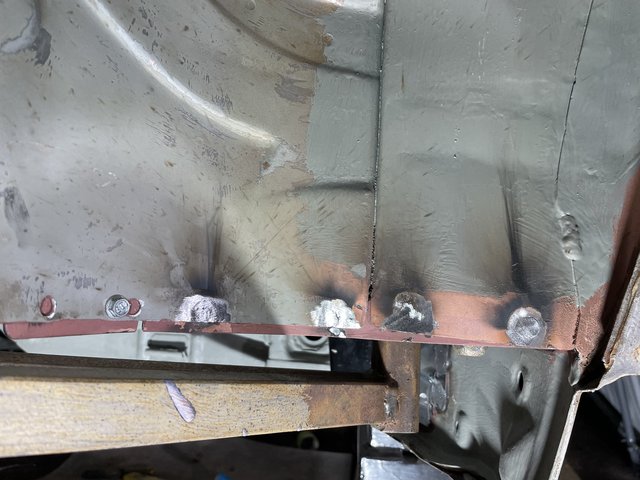 When I built this thingmy jig,  I just made it to pick up on the mounting points and I didn't consider what it would be like to access the bits I needed to weld when it was in situ. This made it very awkward and uncomfortable whilst I was trying to do it. This area, for instance. 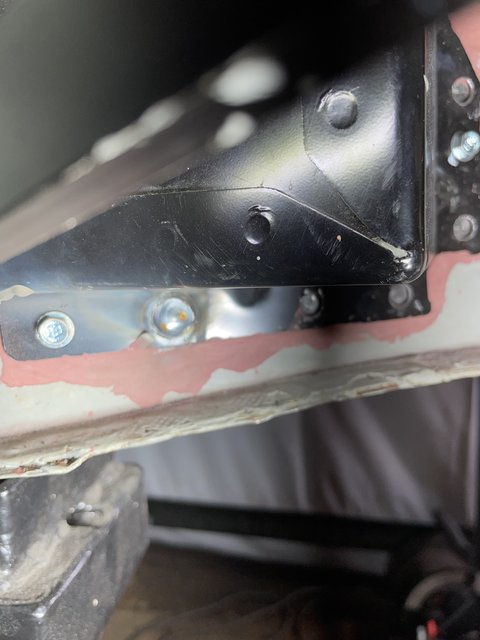 As you might notice from the rubbish picture, I could hardly get in with the camera let alone get my head in there with a welding helmet on. I did them one at a time then ground them down because it gave my neck a rest as I didn't have to squeeze my head in at an odd angle when I didn't have the helmet on. 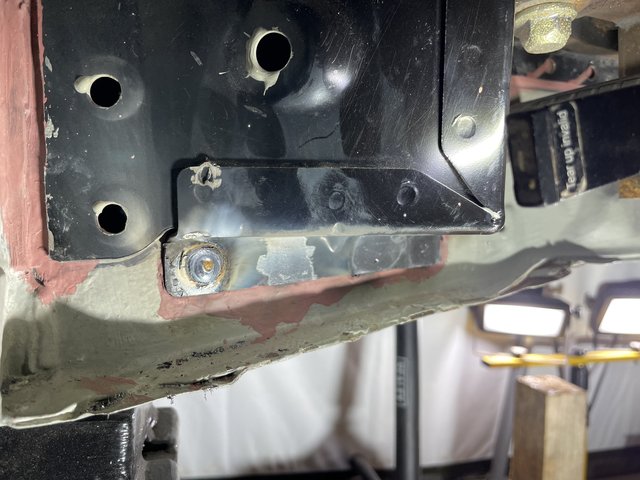 Once I had gone round the bottom bit, I started up the front part. 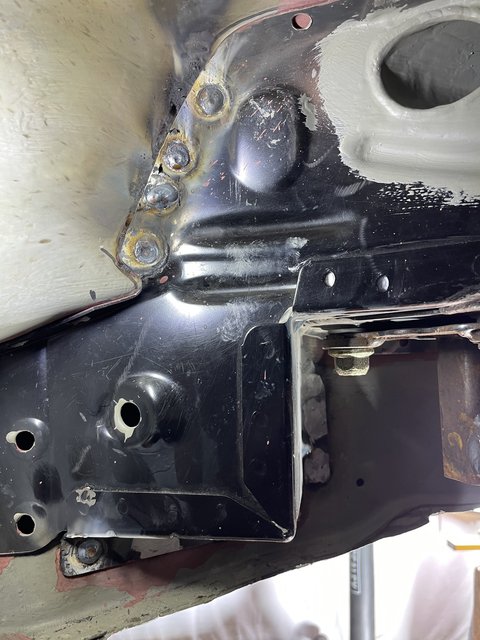 I want to get it fully secured before I take the jig off to get at the ones that are directly upwards, into the seat base. To prepare for those I went inside the cab and wire wheeled the sealer off the area where the welds will be, I don't want to set it on fire whilst I'm underneath. 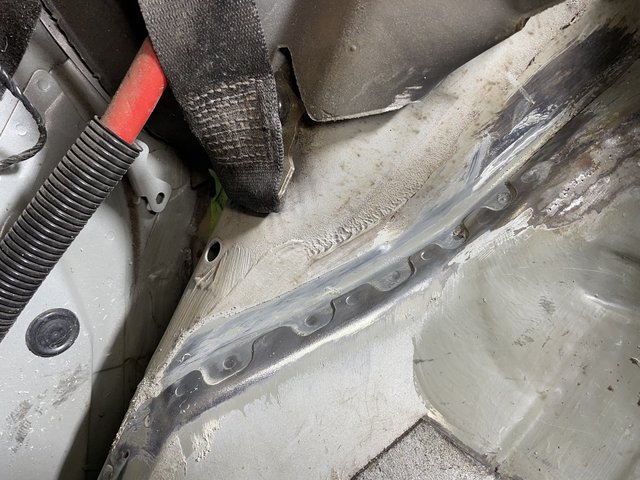 I think I might put a couple of tek-screws through there to secure it in position then I should be able to remove the jig to finish welding it up. In more important news, the Doc sent me a picture from the creamy bun cake shop with the message, 'Do you want anything?' 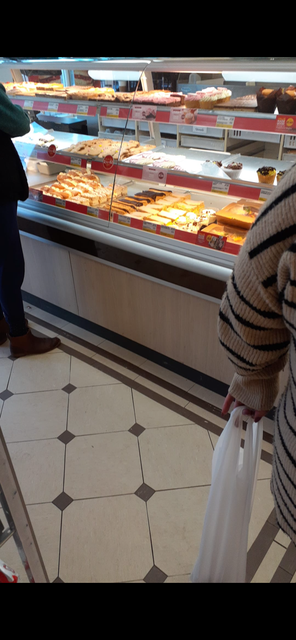 Get me everything! Cheers. |
| |
|
|
|
|
|
|
|
|
It’s finally being welded on!👏👏
|
| |
|
|
braaap
Posted a lot
  
Posts: 2,746
|
|
|
|
|
There surely must be some tolerances for the measures in Your diagram?
|
| |
|
|
|
|
|
|
|
Never mind the tolerances/ dimensions what we want to know is - How many welds to the cake !!  |
| |
|
|
|
|
|
|
|
|
Most manufacturers have a general tollerance of something like 3mm, the reality is they put damn great slots in things because they need them to get it to fit together, usually there will be one or 2 holes with no slots that are the controls and are jigged as the body is assembled, the rest just end up roughly in the right place.
Once you put big great rubber bushes in the axle moves around all over the place during use anyway, if it's central and dead parallel to the front axle that's probably better than most oem's manage.
|
| |
|
|
teaboy
Posted a lot
   Make tea, not war.
Posts: 2,125
|
|
|
|
It’s finally being welded on!👏👏 Yay! There surely must be some tolerances for the measures in Your diagram? There has to be, Shirley!  Never mind the tolerances/ dimensions what we want to know is - How many welds to the cake !!  Not many, this is why it is taking me so long... Most manufacturers have a general tollerance of something like 3mm, the reality is they put damn great slots in things because they need them to get it to fit together, usually there will be one or 2 holes with no slots that are the controls and are jigged as the body is assembled, the rest just end up roughly in the right place. Once you put big great rubber bushes in the axle moves around all over the place during use anyway, if it's central and dead parallel to the front axle that's probably better than most oem's manage. Cheers, dude, I pretty sure there must be some margin to work with. I didn't have any energy left after work on Friday so I just thought about what I should have been doing but wasn't... I spent most of Saturday messing around with the Doc's emergency backup Audi. What kind of job requires the removal of the radio and heater controls. 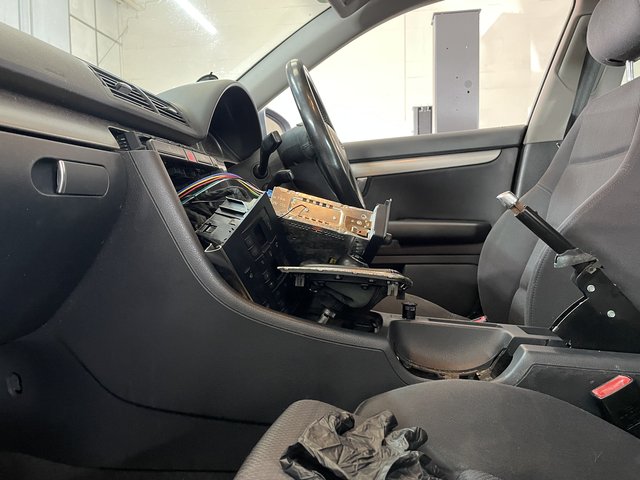 As well as the exhaust. 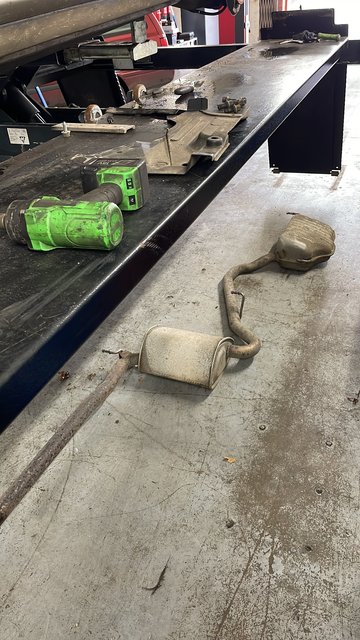 That's right, the handbrake cables. I eventually got into the tent this afternoon. The plan was to finish welding in the front cornery bit then weld the other end of the pipey bit and then drop off the main section of axle panel to paint inside where the pipey bit had been welded. The first thing I did was to drop off the V-brace to give me some room to maneuver. I cleaned up the front cornery bit, next to the V-brace mounting box. 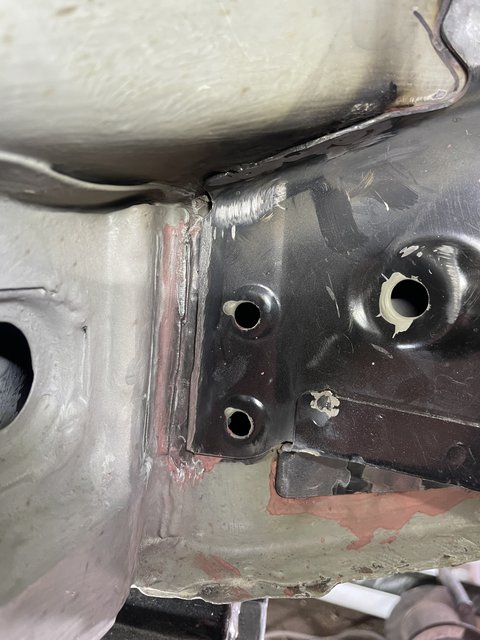 I started welding it but the welder started playing up. The result wasn't too pretty. 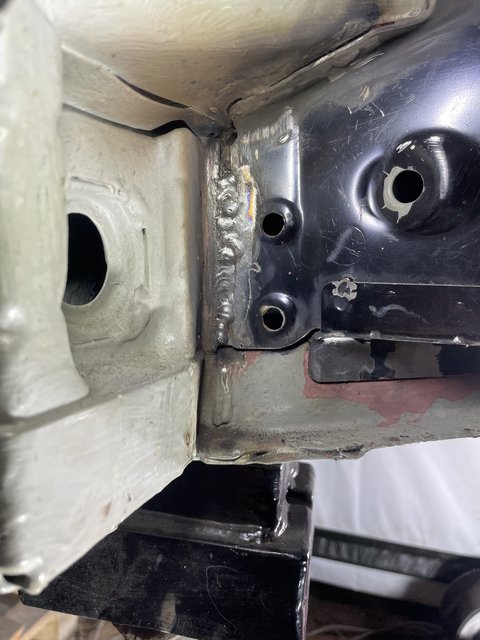 The welding wire kept burning back, as though the wire speed was too low. Eventually I realised that the wire was sticking on the spool and then the feed rollers were slipping and unable to feed. It doesn't help that the welder I am using is just a cheapo and the wire feed mech. is not very robust. As a temporary solution, I would give the spool a couple of turns to loosen off the wire. This was usually enough when doing the remaining plug welds. 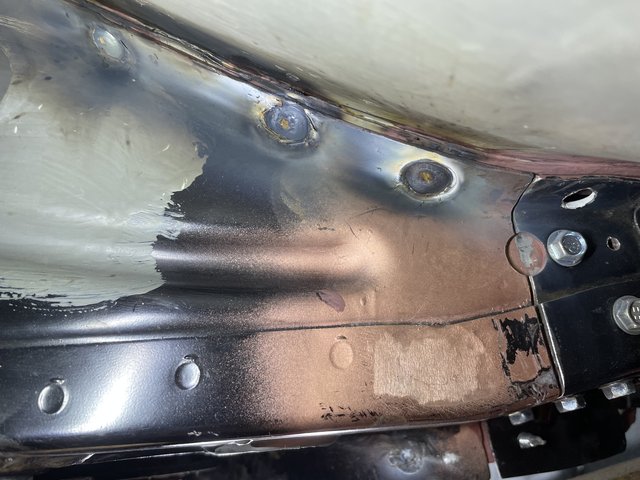 Once the upside downey welds were done there were just four left to do which I couldn't get at because of the thingmy jig, so the jig had to come off for those. 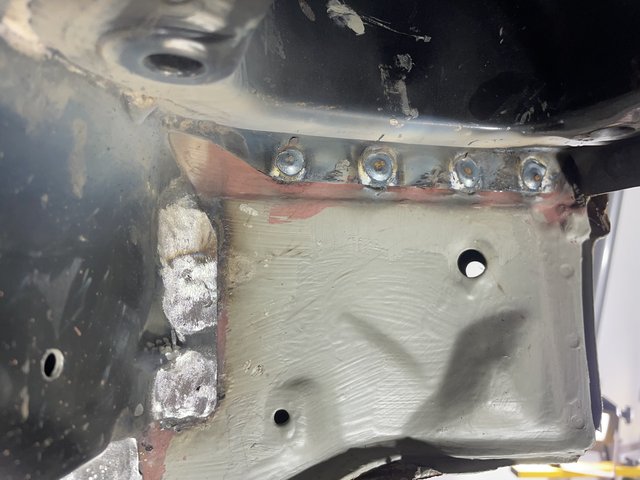 With that, the front section is welded on so now it was time to drop the main part of the axle panel. I supported it on a jack then removed all the tek-screws. When I lowered the jack, the panel stayed in position. I tugged and pulled on it but it was stuck solid. After a cuppa it dawned on me that I had put the rear seat and seat belt bolts in as part of the positioning procedure. No wonder it wouldn't come off. With that unforced error taken care of, I got the pipey thing secured. 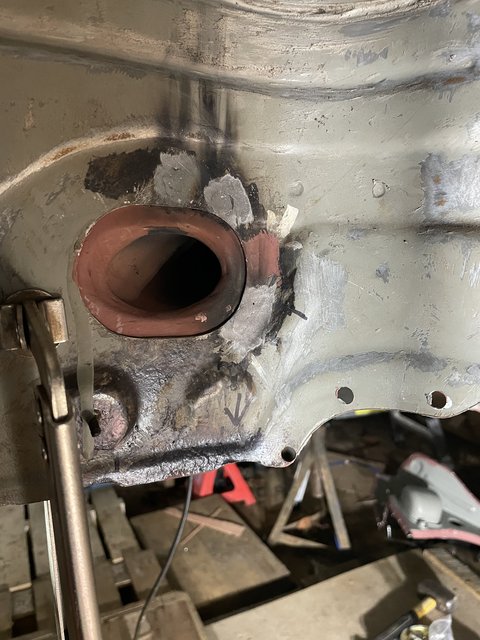 The flange on the pipe is sandwiched between the wheel well and the boot floor, so there were a couple of plug welds to do inside the boot. 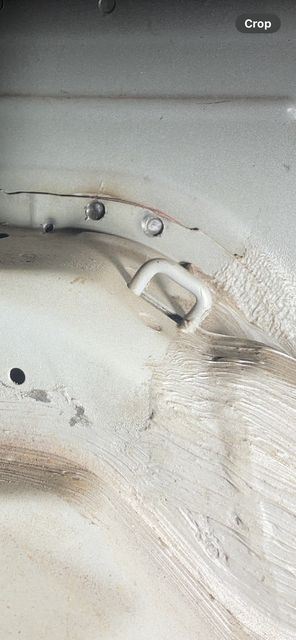 I ended up doing those from the back seat and leaning through into the boot, it was not particularly comfortable. 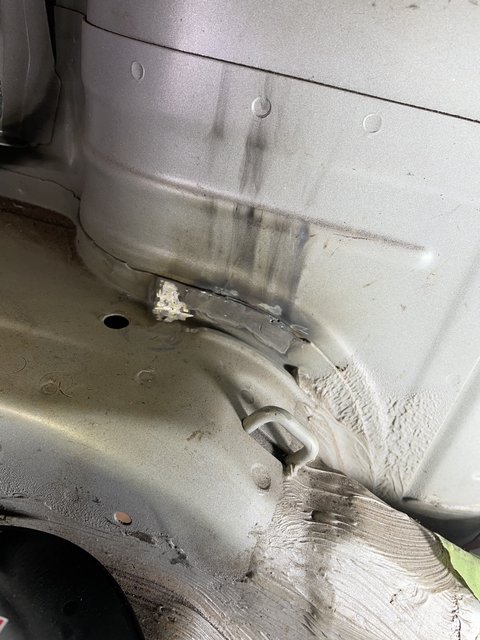 I had had enough by then so it hasn't been cleaned up and painted yet. I think I might have to drag the big welder down to the job when I put the main section of the axle panel in. Cheers. |
| |
|
|
teaboy
Posted a lot
   Make tea, not war.
Posts: 2,125
|
|
|
|
Tonight after work I carried on with what I had hoped to get done yesterday. I had three hours in the tent tonight so in hindsight, I might have been a bit optimistic in thinking that I could have got it all done yesterday afternoon. Last time, I left this pipey bit plug welded in through the holes where the original had been spot welded. Like this.  What I wanted to do was to seam weld it like I had at the other end, here. 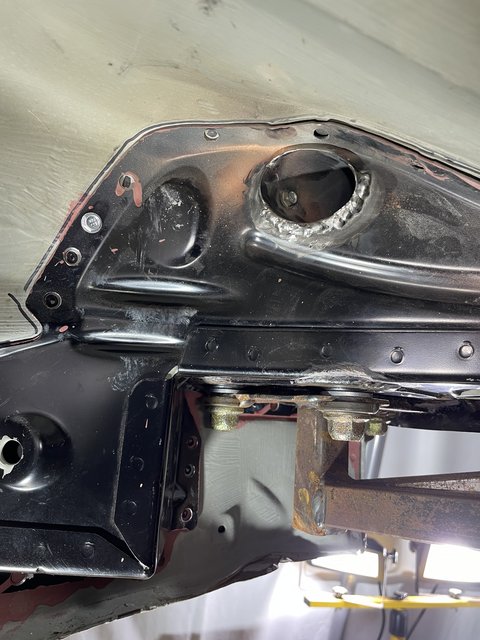 I did that and then spent ages sanding stuff ready to splodge a bit of epoxy on it. I can't abide sanding, five minutes of it feels like two hours. Anyway, I must have been sanding for about a decade until I was ready to get a first coat of paint on it. 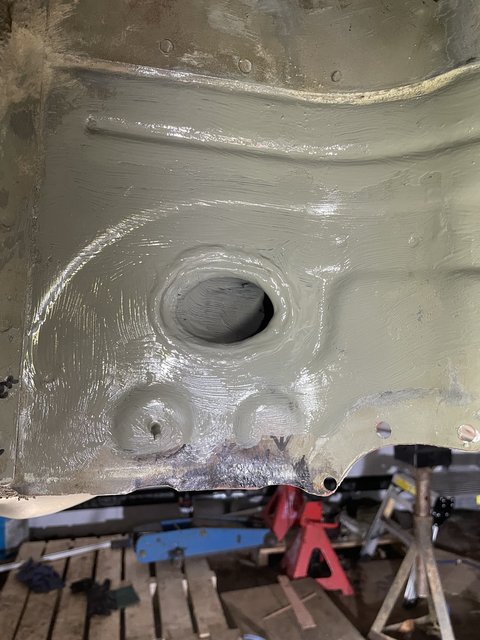 I did that bit in the wheel well where it had been welded. 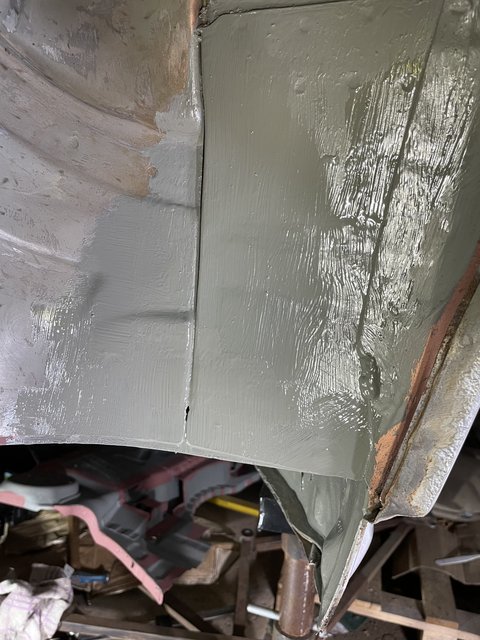 There was a bit in the other wheel well which I didn't take a picture of and then there was the front cornery bit itself. 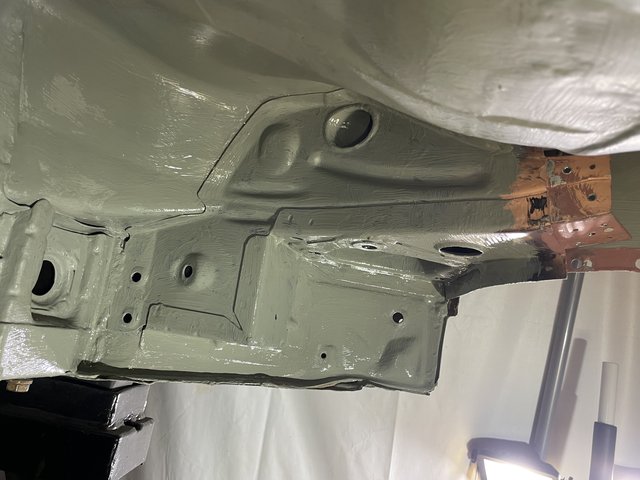 I should soon be getting the main piece of the panel back in and it shouldn't need to come back out again. Cheers. |
| |
|
|
teaboy
Posted a lot
   Make tea, not war.
Posts: 2,125
|
|
|
|
It wasn't the best start to the day this morning because I found myself in A&E. My eye started hurting last night and by the morning I couldn't open it. I didn't do any grinding in the tent last night but I did do some at my last job at work. I must get some new goggles because the ones I have don't seal against my face very well. Maybe I could keep the goggles and get another face because being such a handsome devil can be both a blessing and a curse.  Anyway, they prodded out the tiniest little black dot imaginable. It was half a brick when it was in there but microscopic when removed. They gave me this James Bond edition stuff to put in it which should give me X-ray vision.  I went to work in the afternoon, once I could see where I was going but the late start meant I was late home. I obviously didn't want to do anything too risky when I got home but I thought that I would be able to get the axle panel screwed back in place. Oh, I did't show the pipey bit now it is welded in and painted. 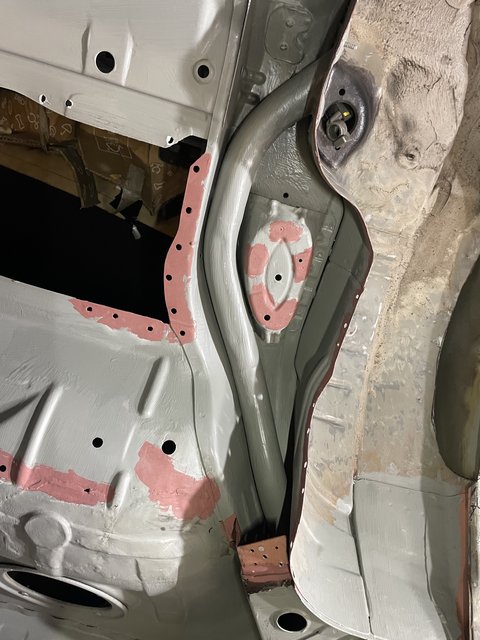 This is the reverse of the outlet that I seam welded yesterday. 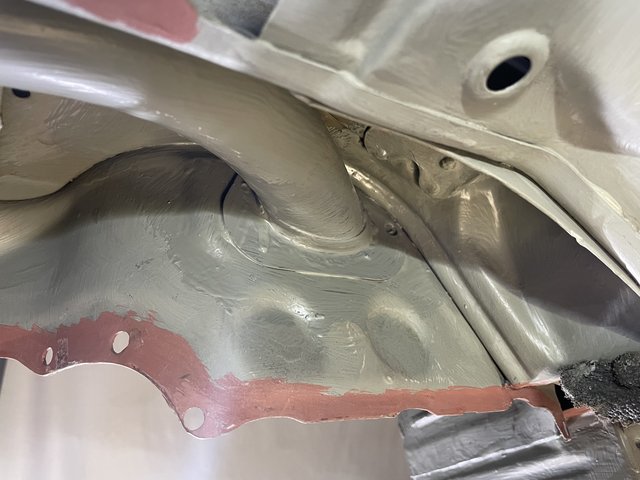 Now that is protected I can stick the panel over it. There is a special procedure for this which involves me laid on my back with my legs up in the air like a dying fly. once I had it balancing on my feet above my head I stuck a couple of screws in finger tight before it all came tumbling down and smashed my head in. I got there in the end, though. 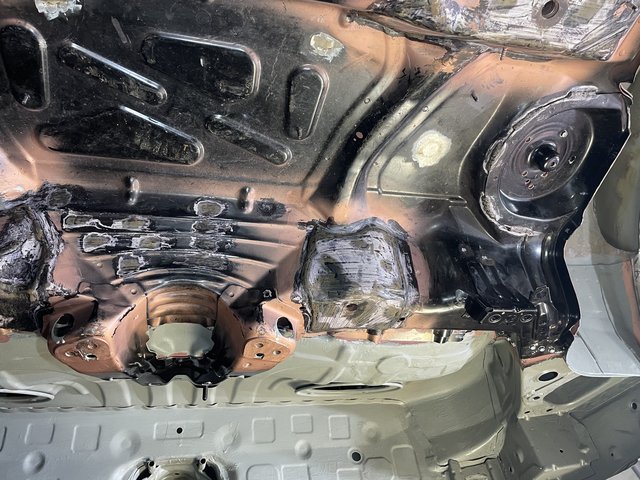 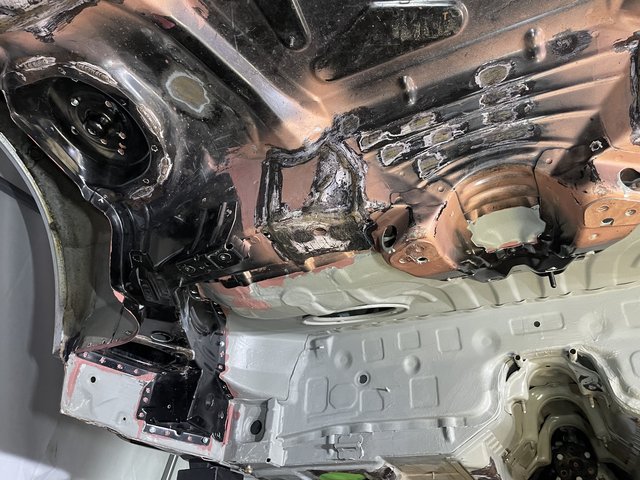 The first bit to be fully secured was the joint between this panel and the bit that I cut off that is already welded in. 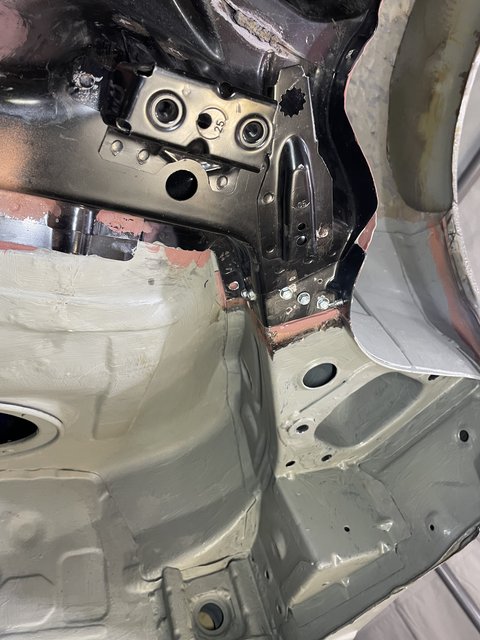 There are five screws in that joint because the position of the main panel is non-negotiable vis-a-vis the cornery bit. luckily all the holes lined up and I was able to start all the screws by hand. Once that was done and I had fitted all the rest of the screws I just needed to stick the thingmy jig back on to make sure that everything was where it should be. 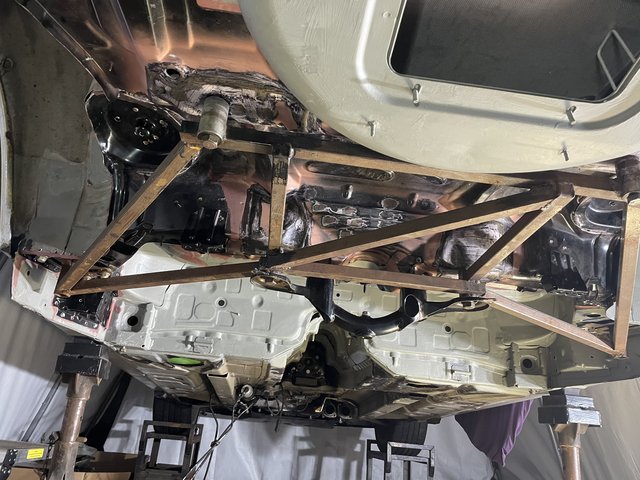 Remarkably that fitted too and I was also able to start all the bolts by hand. I will drop the V-brace back on just to double check before I start welding it in. That will have to wait because it is quiz night tomorrow. Cheers. |
| |
|
|
teaboy
Posted a lot
   Make tea, not war.
Posts: 2,125
|
|
Feb 11, 2024 22:57:54 GMT
|
Hello there, the last time I was here I advertised my impending quiz participation and I have no doubt that you have been on tenterhooks awaiting the results. Well, we came absolutely nowhere but I'm claiming force majeure because a third of my team were absent. Back to the main event, what has been happening? Not that much it has to be said. Thursday was snowing and as I mentioned previously, I need to drag my old welding set down to the tent to do the next part of the job and although I might have been able to get it down there I probably wouldn't have got it back up the slope without a team of Sherpas. Friday was hammering down with rain and I didn't want to be dragging big bertha around in that. On Saturday I met up at Ten Acres with my old Pal Keith who is from Pontefract, or Ponte-Carlo as it is known locally. I have not seen him for a while so we spent all morning catching up. If everything goes to plan, Keith will be sorting the paintwork on the BMW when I have finished welding it. Saturday afternoon saw me fitting new rear brake calipers to the Doc's Audi. That was a lot of waffle explaining why I haven't done anything on the car, wasn't it... This afternoon I finally dragged the old welder out and, after some last minute checking and measuring, I started to fix in the axle panel. 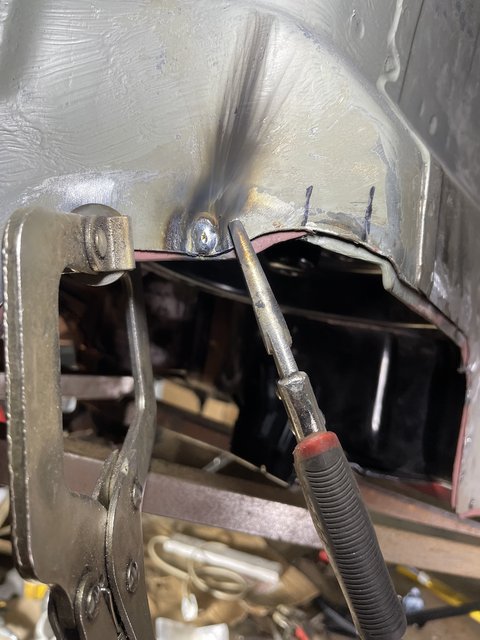 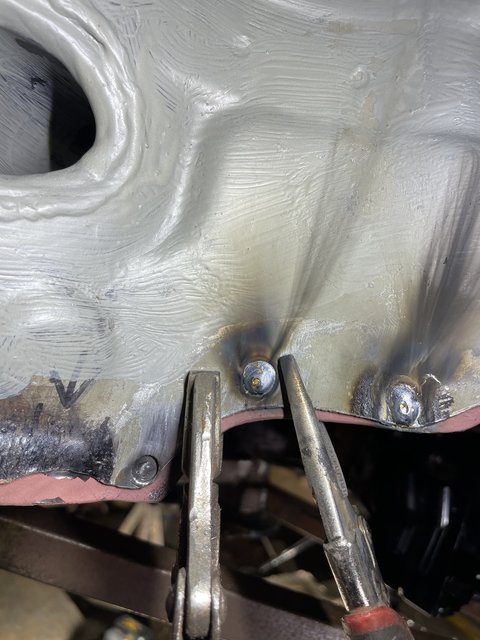 I ended up on my knees doing the ones in the wheel wells which, after a while started to become very uncomfortable but I pushed on through the pain barrier. Stiff upper lip and all that. Well, stiff knee joints... I want to get it as secure as I can so that I can then remove the jig to do the ones I can't get to with it in place. I did a bit in the driver's side. 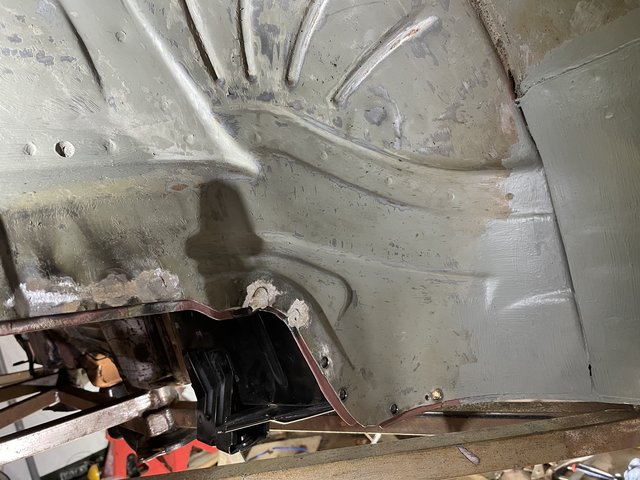 Then the passenger side. 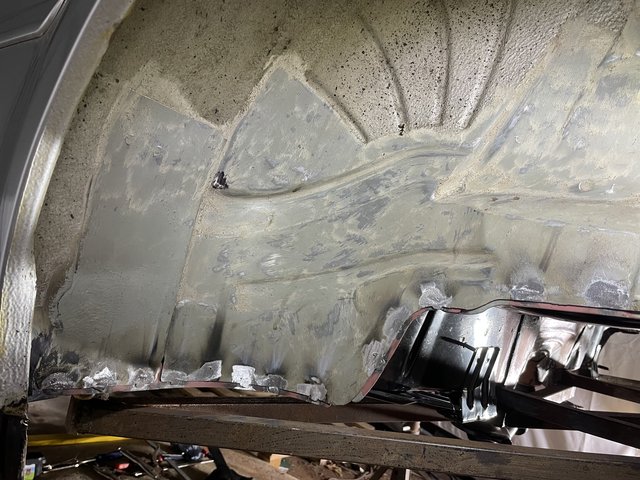 Then a bit more in the driver's side. 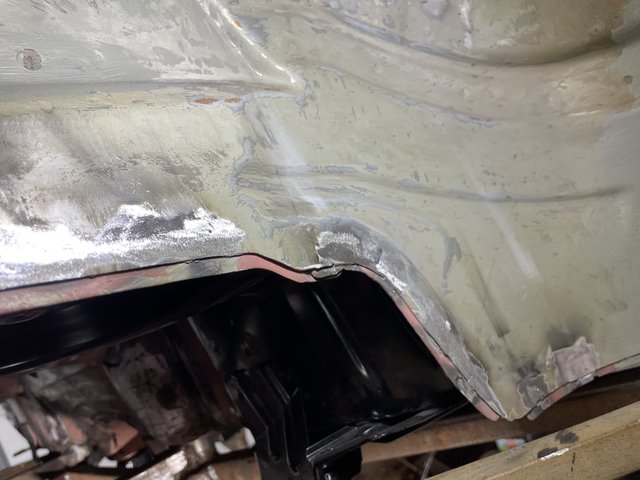 I did a few through the boot. 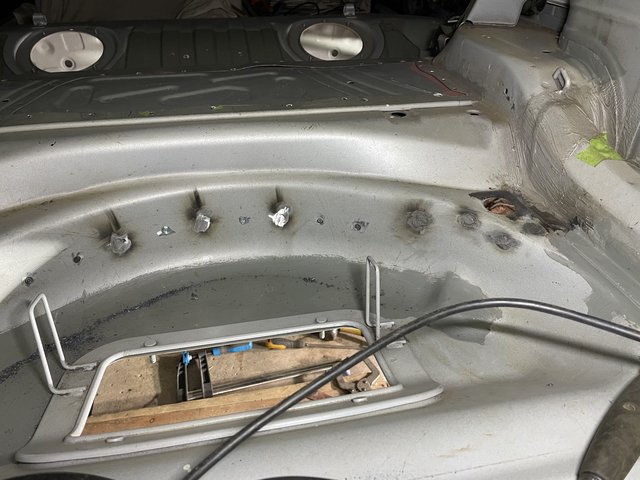 And some in the left hand front corner. 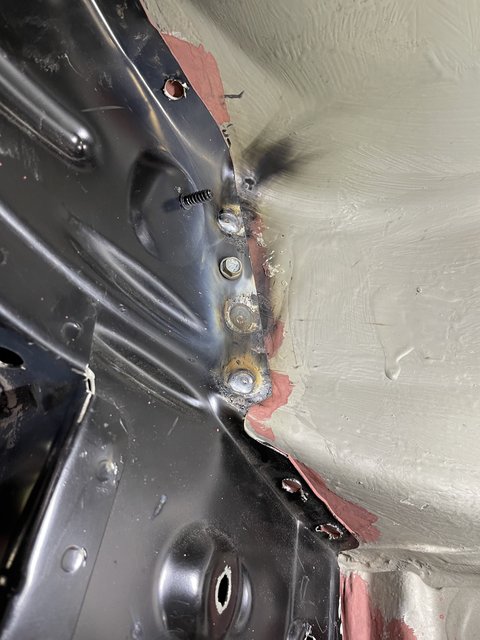 I tended to sand them down as I went along because I didn't fancy doing a whole load of grinding off in one go. It is more in than out now. The next session will be welding from inside the car which I didn't do today because it was getting late and my knees weren't keen on doing much more kneeling. Cheers. |
| |
|
|
teaboy
Posted a lot
   Make tea, not war.
Posts: 2,125
|
|
Feb 12, 2024 20:16:35 GMT
|
Amazingly, for England in February, it has been rather a pleasant day. The sun came out and it didn't rain. It wasn't what you would call balmy as the temperature didn't make double figures but I'm not complaining. I've tried complaining before but nobody is interested. I got home from work at the normal time, which was similarly amazing so I dragged Bertha down to the tent to do a bit more. I started on the bit which fixes to the underside of the rear seat. 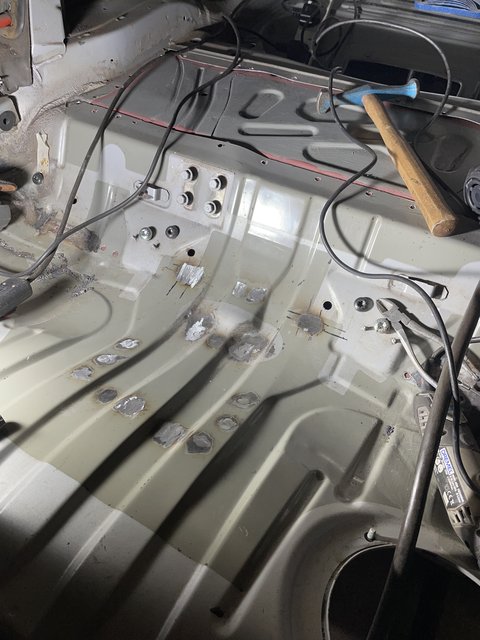 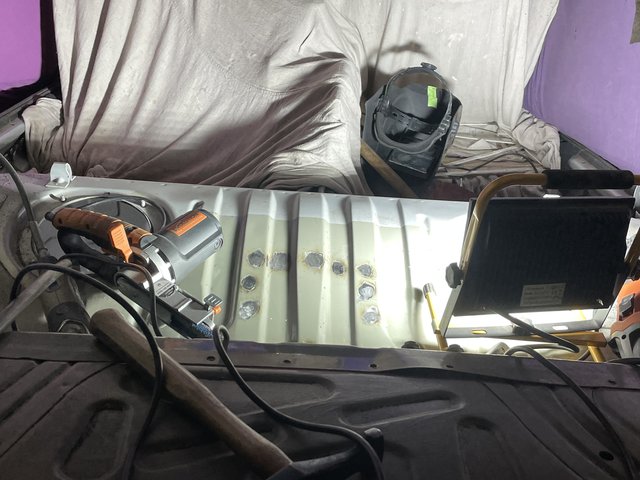 I was working from inside the cab welding through the seat and onto the axle panel. The rear seat base is very thin and the axle panel is quite thick which makes things a little bit awkward because you need enough heat for the thick bit but not too much that you burn away the thin bit. The best way seems to be to start in the middle of the hole and to work outwards towards the thin bit and not to linger for too long on the trigger once you get to the thin part around the edge of the hole. I was hoping to get a bit more done than that but my back legs have gone and it started to get cold. Oh, I put a bit of spooge on the stuff I did yesterday for protection. 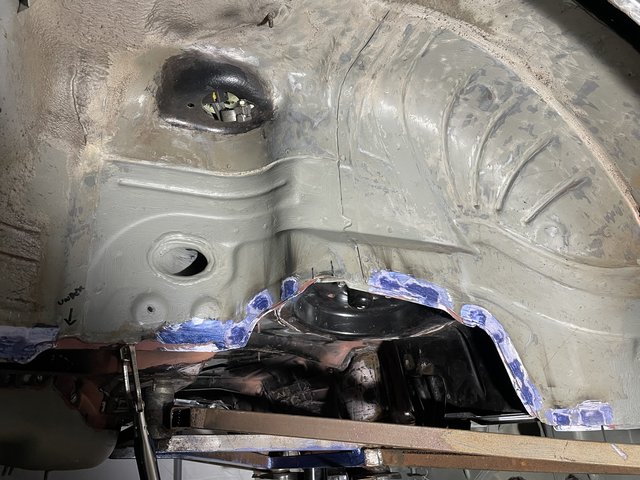 I might be late home tomorrow so we will have to see how it goes. Cheers. |
| |
|
|


