Thanks for the comments, The jig was a bit of a pain to setup but I had it all planned out in my head about a month before starting so I had a good idea about how to go about it.
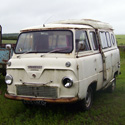
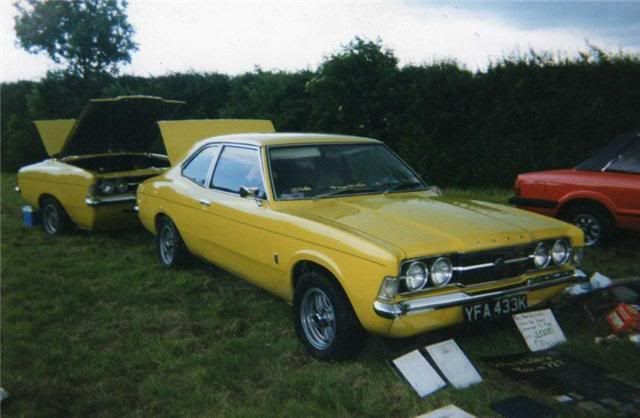
Just to recap - The suspension at the front will remain standard, the layout will anyway. Its got double wishbones at the front with quite a bit of adjustment considering its a 50 year old van. I will change all the bushes ofcourse and depending on the weight of the engine and other stuff I'll need to fit tougher springs and shocks. It would be good to have a balance between comfort and handling. The brakes will get changed to discs. At the rear I'm going for a Ford Capri rear axle as its the exact same width and I know it can handle the power.
The steering could be changed to powersteering but id need to find a car that has a power steering steering box as its old school and isn't a rack and pinion . I know some Mercedes used them so I'll need to have a rake around the scrap yard. The Scorpio V6 does have a power steering pump though.
I want to try and find a Ford Granada Scorpio, the first model, because that has the same 5 stud bolt pattern (5x112). That way id have everything, the 24V V6, the gearbox, the discs brakes and hubs, the ECU etc....
As far as entertainment I'm happy with a cd/MP3 changer and a few decent speakers, I also have the idea of getting a TV which would mount flush to the headlining then flip down to watch. A cheap car PC or laptop to go with it would be good. I'm not going to go 'pimp my ride' style mental though and have a candy floss machine inside a candyfloss machine or some stupid curse word like that.
For cooking I'll just have a basic double hob with a grill underneath. It does kind of scare me a bit that I'll have a flame less than foot from curtains or other flammable material so I'm going to plump in a racing car style fire extinguisher with pipes above the cooker and along the inside. That way if it catches on fire I can press a button and the whole inside of the van will be extinguished.
I managed to fix the works spare plasma cutter so my boss has let me borrow that and a guy I know form another forum has let me borrow his sandblaster so that is a huge help!
I've been a bit busy again but managed to get the tilter pretty much finished.
First thing I had to do was Clean up the chassis where I want to bolt the plates onto

I measured and cut up the plates, then drilled the holes out.

Then I bolted the plates to chassis and tacked them together, that way I knew it was going to be a good tight fit.

Unbolted the plates and welded them up. Before I welded them I tacked a few bracers between the angle so it wouldn't distort with the heat.

Whilst the plates were cooling down I took out the first bottom of the dodecagon and positioned it to where I needed. It took a while because your working with 3 different axis of movement and the only thing I had to hold it was a black and decker workmate. I first made sure the van its self was level then I leveled the dodecagon, trying to keep it centre to the van and then level it the other way. Awkward.

With that done I measured up for the supports, first the horizontal one was cut and tacked in.

Then the vertical.

Once all tacked I jacked the van up and let the frame drop. I tacked in a few more braces and welded it all up, gave it a quick dress up and bolted it back on the van. That was the first test over, if it would actually hold it and not bend or warp, which it did, success!


It looks like I'm advertising a can of GT85 but I'm really putting in the bolts so the top half doesn't come off when it gets rolled over.

The next again weekend my brother came along to give me a hand with the rear. He done a god job of stripping the axle out and disconnecting various bits. Then he cleaned up the chassis for me,.


just chilling out on the floor

Whilst he did one side I was measuring, cutting, marking and drilling the plates for the brackets. Same story as the front, bolted them up and tacked them.

Here you can see the bracers I tacked on so it wouldn't warp when welding up.

.
That was that for that day. My brother had to go home for his dinner (family man) so I took the brackets to my work and welded them up there. Last weekend I went with my girlfriend for a wee cheeky long weekend away up north for our 4 year anniversary and she was kind enough to not be intoxicated off with me by letting me to go to the garage on the Sunday afternoon. I forgot to take photos as I was going along though, I think it was because I got intoxicated off after spending an hour trying to level up the rear dodecagon and cutting the horizontal supports when I suddenly realized that, yes I had everything level but the rear ring wasn't level with the front. Luckily I noticed just in time as it was off by about 40mm. Once I got it packed up it went pretty much the same as the front did.


It was good to see my creation starting to actually be complete. Next step was figuring out how to slide the trolley wheel frames underneath. For the rear I managed to just lift the van up myself and kind of kick and shuffle the frames under. The front is a bit heavier so I jacked that up , as I did the whole back off the van started to veer towards the wall. Once I put the brakes on the wheels I jacked it up again and slid the front wheels underneath.
Front:

Back:


I tested the van to see if it would actually tilt and I got it onto its first step. I want to brace the inside of the van properly before I go any further but atleast I know it works so far. I recorded it on my mobile so the quality isn't the best.
I also made a video of it being rolled about on the trolley wheels. I have a bit of a cold and sore throat so I pretty much cough all the time.
Next up I need to brace the van and make struts so that when its tipped over it will stay there and not roll back. Then finally , finally I can actually do something to the van , woohoo!


 .
. 


 Hats off to ya mate.


 Ax GTi Turbo
 ) is the steering box and pump from a suzuki vitara.


