|
|
|
Sept 12, 2010 19:35:10 GMT
|
|
|
| |
Last Edit: Sept 12, 2010 20:37:29 GMT by tonybmw
|
|
|
|
|
|
|
Sept 12, 2010 19:41:03 GMT
|
As high a quality as ever. You'll be sure to snap us a pic when the painting is done?  |
| |
|
|
david
Part of things
 
Posts: 55
|
|
Sept 12, 2010 19:53:04 GMT
|
|
As always, i'm pretty impressed by your work! and as always i have questions!
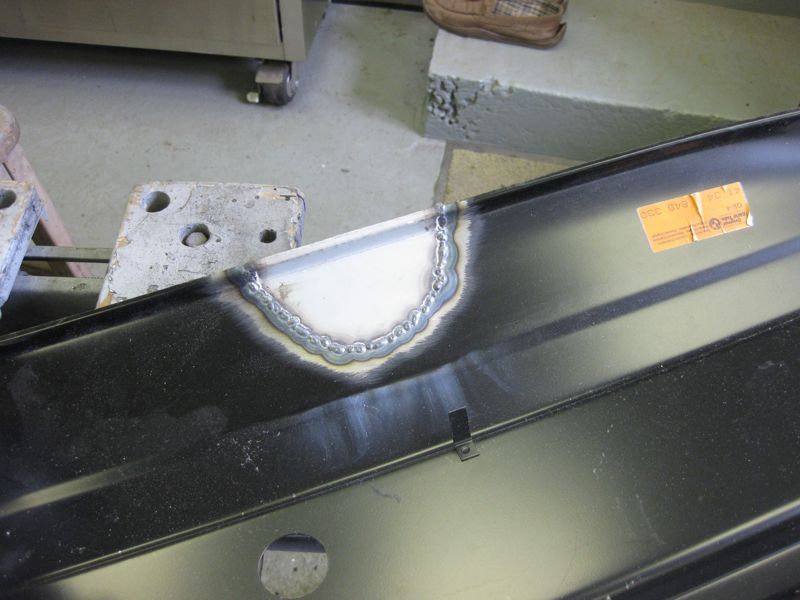
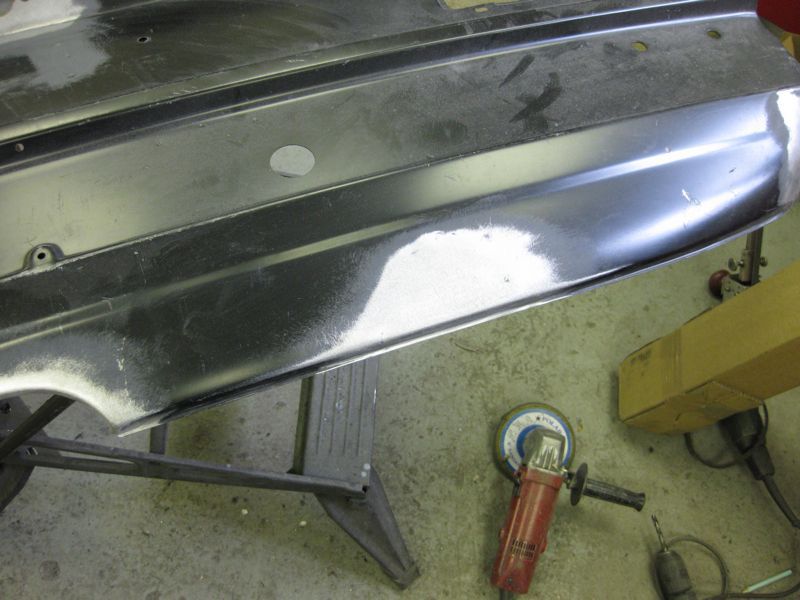
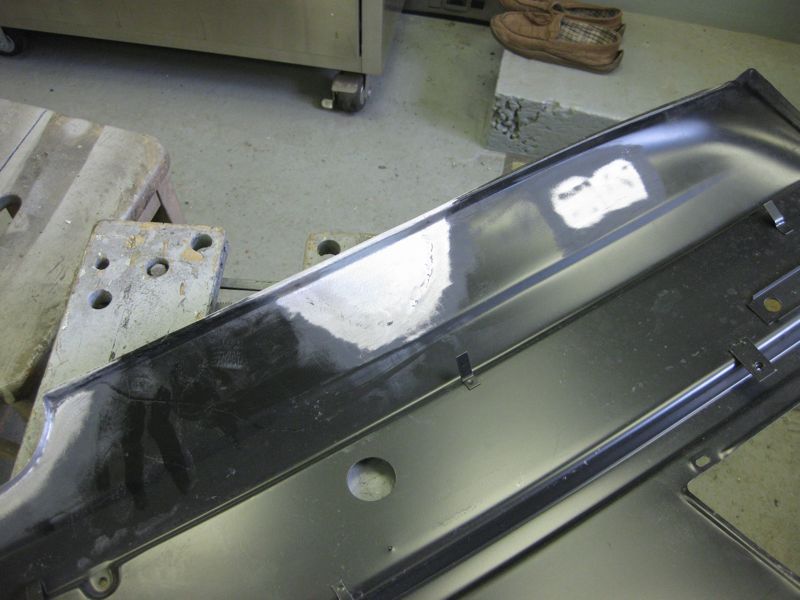
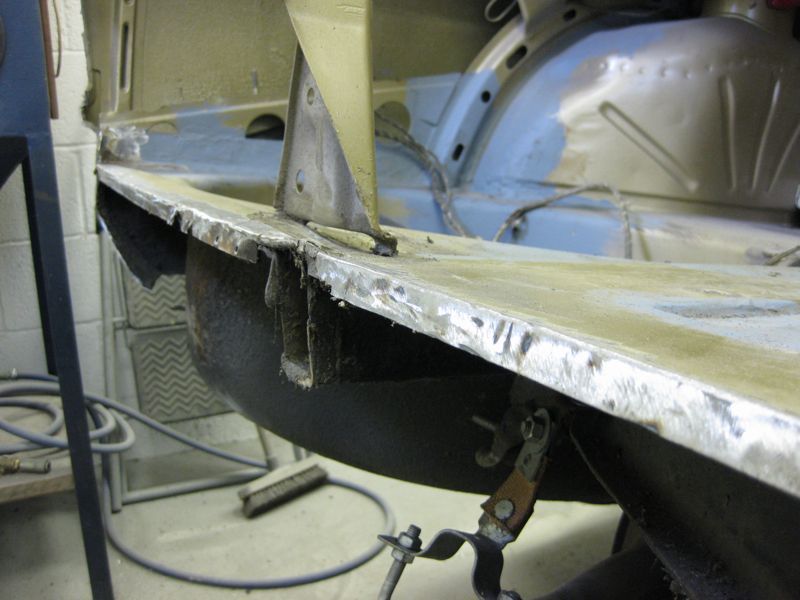
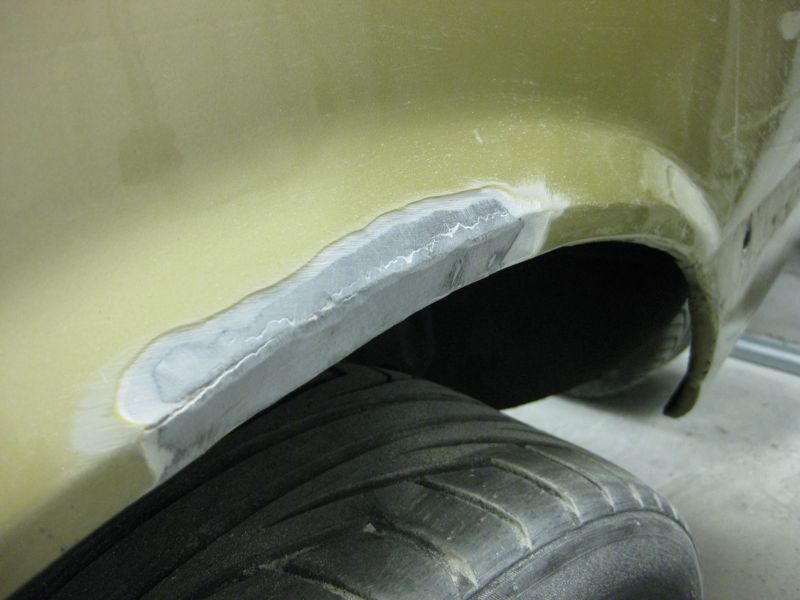
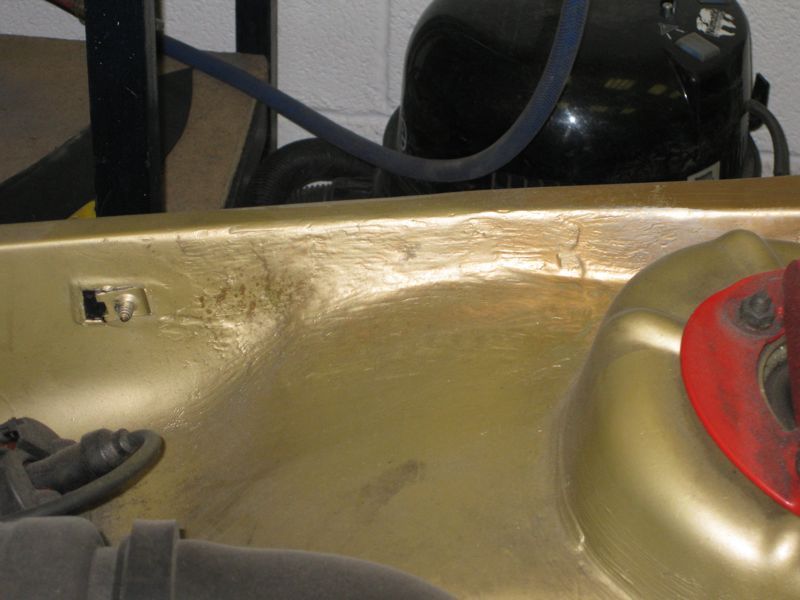
When you ground down the welds. Did you restretch any shrinkage from the welding or was is just ground down?
|
| |
|
|
|
|
|
Sept 12, 2010 20:03:13 GMT
|
|
|
| |
Last Edit: Nov 28, 2011 20:12:19 GMT by tonybmw
|
|
|
|
|
Sept 12, 2010 20:05:12 GMT
|
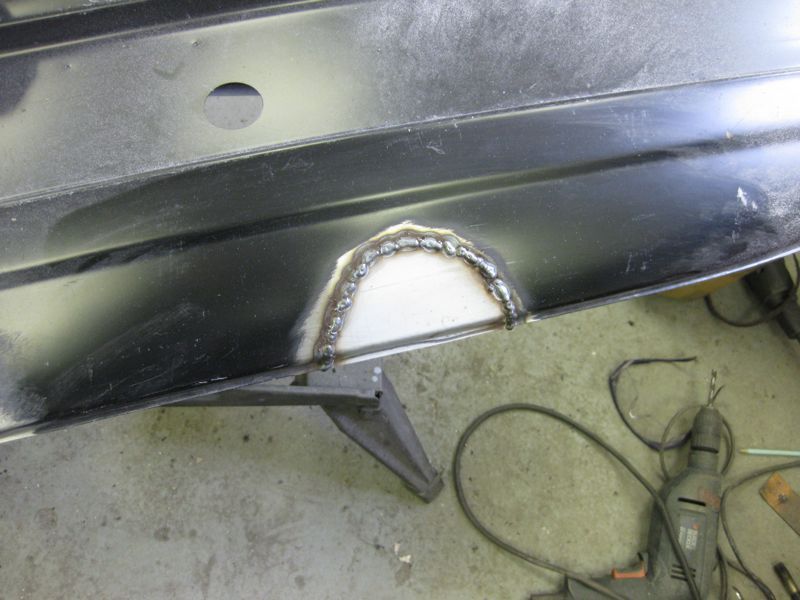
As always, i'm pretty impressed by your work! and as always I have questions! When you ground down the welds. Did you restretch any shrinkage from the welding or was is just ground down? David You cant really stretch a mig weld, they are too hard, so its just weld a small bit at a time, to minimise any heat build up and therefore distortion |
| |
|
|
|
|
|
Sept 12, 2010 20:08:50 GMT
|
As high a quality as ever. You'll be sure to snap us a pic when the painting is done?  The car is already painted so more photos soon |
| |
|
|
|
|
|
Sept 12, 2010 20:19:15 GMT
|
|
|
| |
|
|
|
|
|
Sept 12, 2010 20:40:29 GMT
|
|
As ever the quality of your working is something else. Lovely car as well.
|
| |
|
|
|
|
|
Sept 12, 2010 21:27:10 GMT
|
Very impressed by the standard of work - looking forward to seeing it finished  |
| |
|
|
david
Part of things
 
Posts: 55
|
|
Sept 12, 2010 21:34:57 GMT
|
As always, i'm pretty impressed by your work! and as always I have questions! When you ground down the welds. Did you restretch any shrinkage from the welding or was is just ground down? David You cant really stretch a mig weld, they are too hard, so its just weld a small bit at a time, to minimise any heat build up and therefore distortion I'll need to work on my patience then  your welds turn up very flat! I've been experimenting with copper backing as heat sink but then i have to set my MIG to a much higher amp to get proper penetration. But i guess the copper actually reduces cool-down shrinkage? In any case I've got a way to go untill i can produce welds like yours  |
| |
|
|
|
|
rob0r
East of England
Posts: 2,743
Club RR Member Number: 104
|
1981 BMW E12 M535i - Goldrob0r
@rob0r
Club Retro Rides Member 104
|
Sept 12, 2010 22:09:26 GMT
|
|
Tony, amazing stuff once again...
|
| |
E30 320i 3.5 - E23 730 - E3 3.0si - E21 316 M42 - E32 750i
ETC
|
|
|
|
|
Sept 13, 2010 8:57:00 GMT
|
|
Wow - cannot wait to see this finished
|
| |
1967 Morris Traveller 1971 Series IIA Land Rover 1991 Golf GL 4+e 1992 Corrado G60 1986 E28 BMW 528i |
|
|
|
|
Sept 13, 2010 9:57:02 GMT
|
|
Great stuff as ever - impressed is an understatement
|
| |
|
|
|
|
|
Sept 13, 2010 17:45:07 GMT
|
David You cant really stretch a mig weld, they are too hard, so its just weld a small bit at a time, to minimise any heat build up and therefore distortion I'll need to work on my patience then  your welds turn up very flat! I've been experimenting with copper backing as heat sink but then I have to set my MIG to a much higher amp to get proper penetration. But I guess the copper actually reduces cool-down shrinkage? In any case I've got a way to go untill I can produce welds like yours  David You are dead right re the copper acting as a heat sink, I would only use that where you were trying to fill a hole or a large gap, otherwise as you say you will have to turn your welder up and then you end up with more distortion, what you can do though is clamp the copper adjacent to the weld, that way it will work as a heat sink to minimise distortion, without actually affecting the weld |
| |
|
|
|
|
|
Sept 13, 2010 17:55:02 GMT
|
|
|
| |
Last Edit: Sept 13, 2010 17:59:43 GMT by tonybmw
|
|
|
|
sparko
Posted a lot
  
Posts: 1,627
|
|
Sept 13, 2010 19:03:42 GMT
|
|
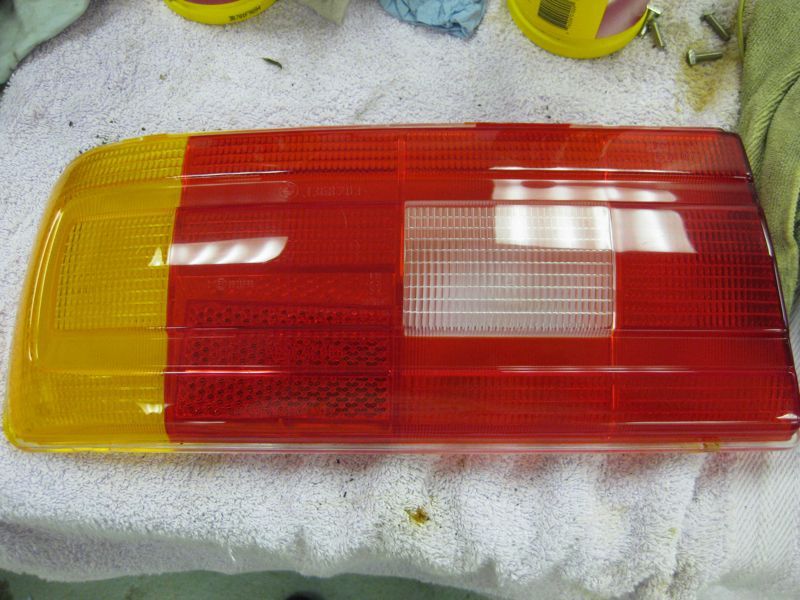
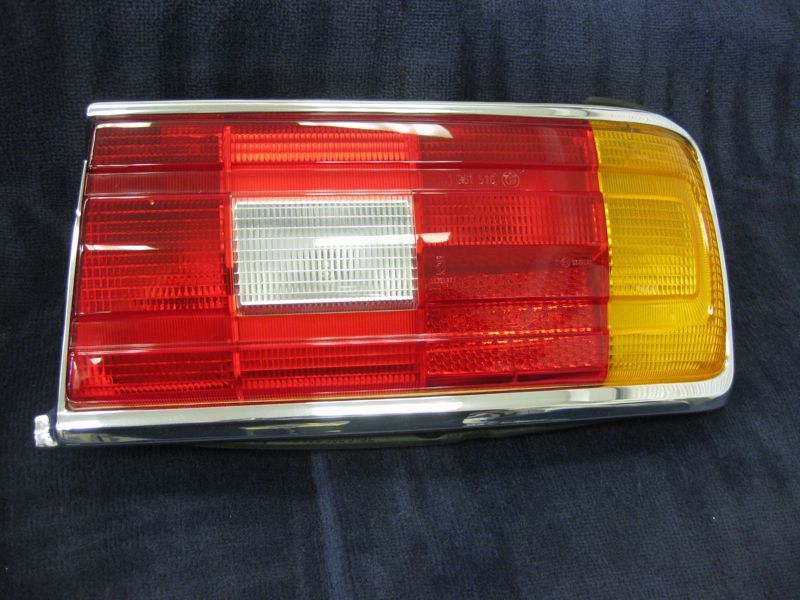
lovely, was it normal car polish you used on the lenses or something special?
Cheers
|
| |
|
|
|
|
|
Sept 13, 2010 19:51:59 GMT
|
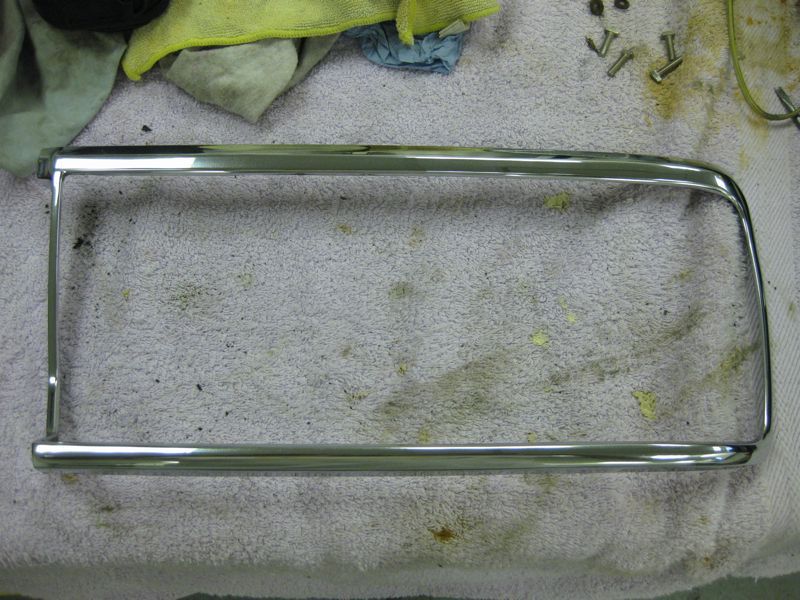
lovely, was it normal car polish you used on the lenses or something special? Cheers I used a fine polishing compound, actually Farecla G10, but something like T cut would work just as well, to remove the light scratches and then normal car polish after that. But even giving them a wash inside made a huge difference, once the insides are clean the outside looks so much better |
| |
|
|
|
|
|
Sept 13, 2010 19:55:38 GMT
|
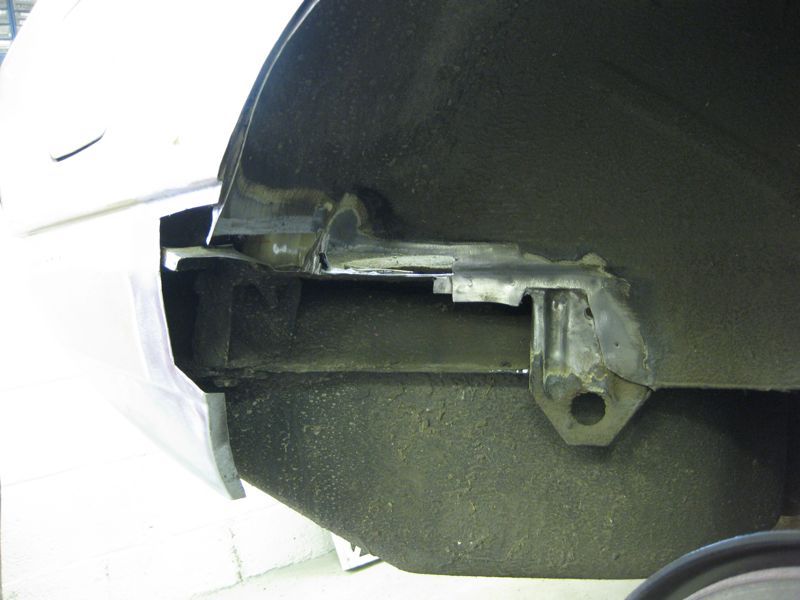
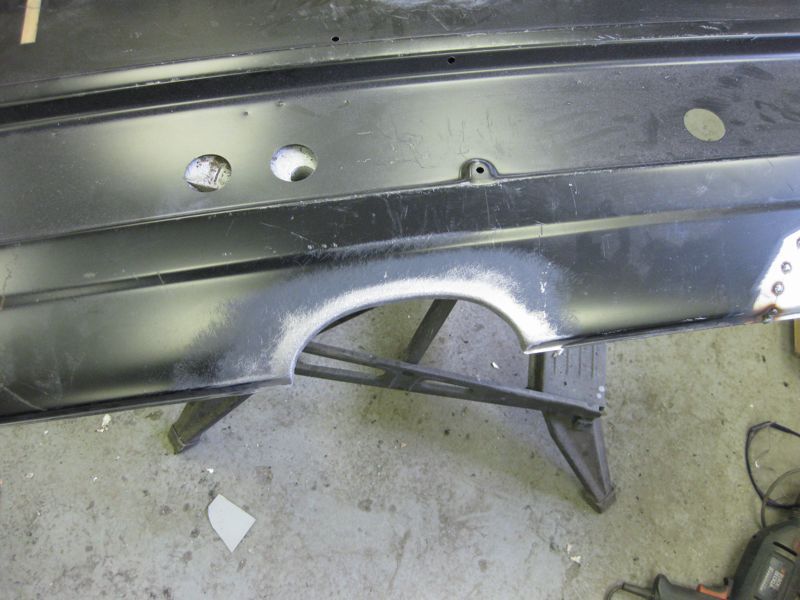
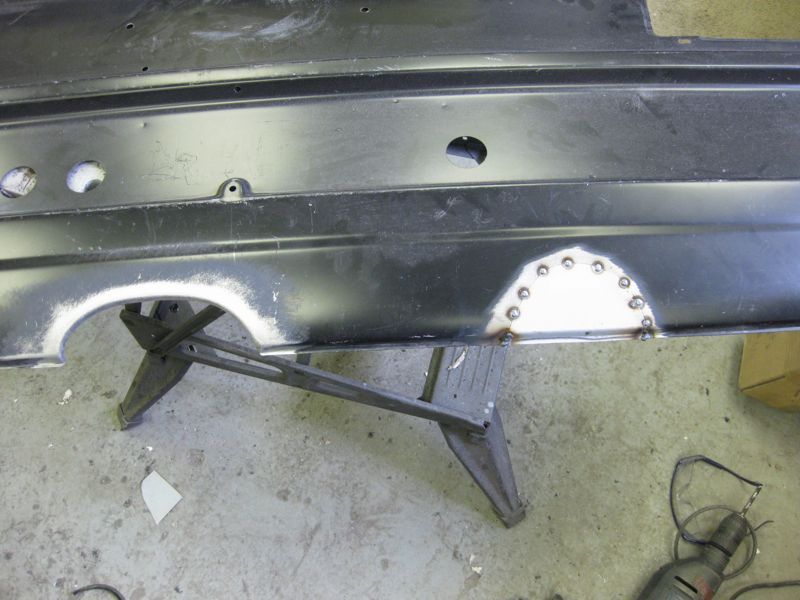
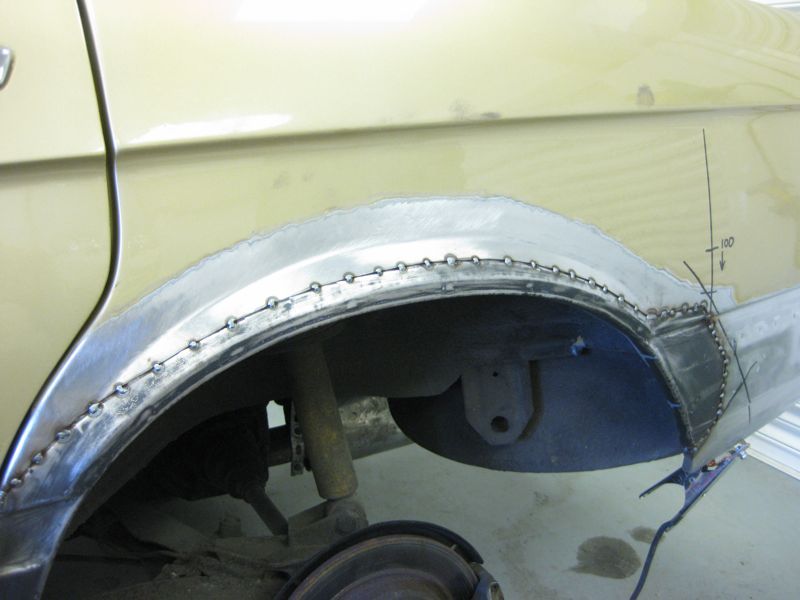
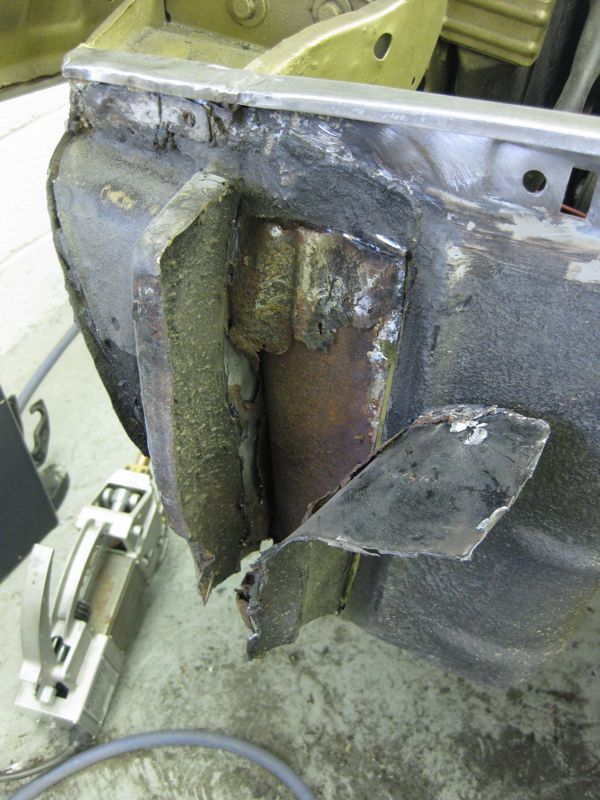
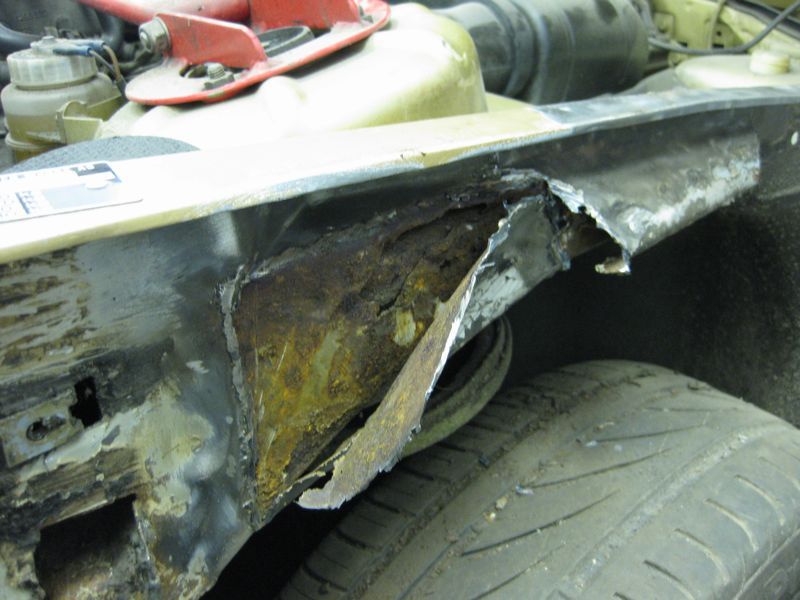
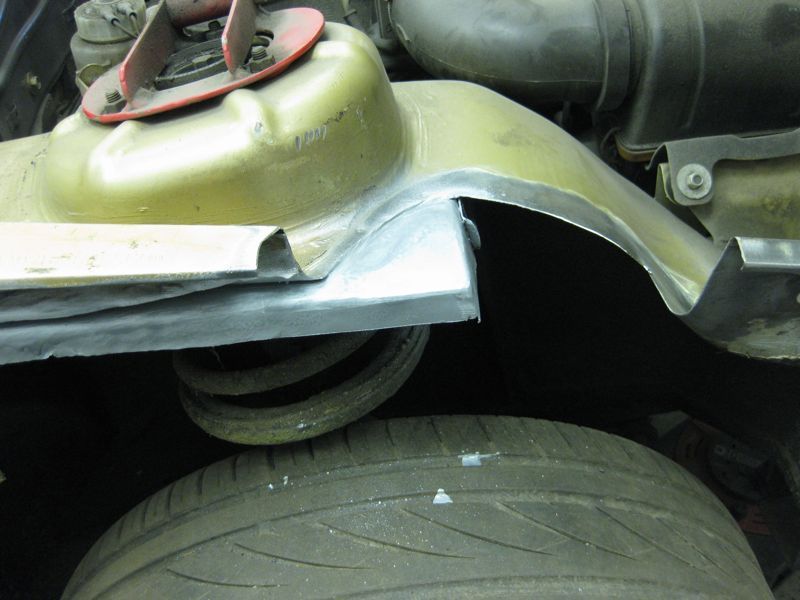
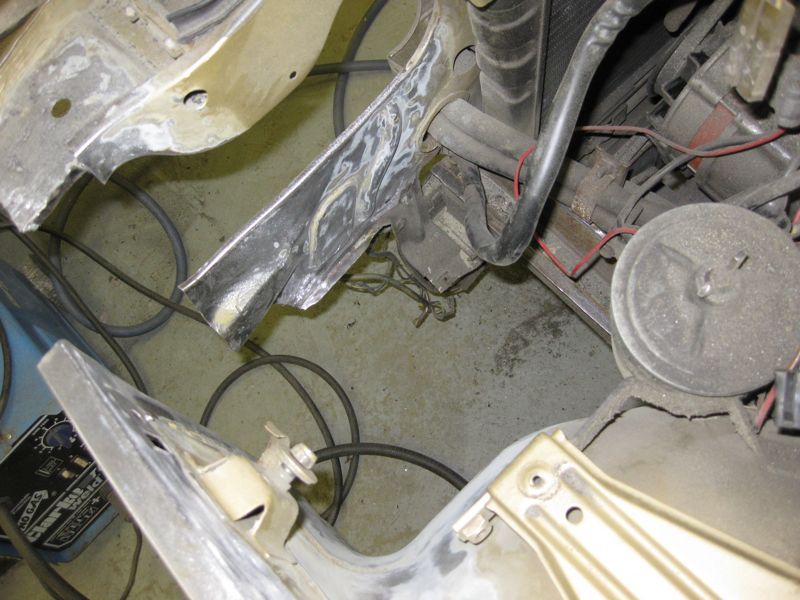
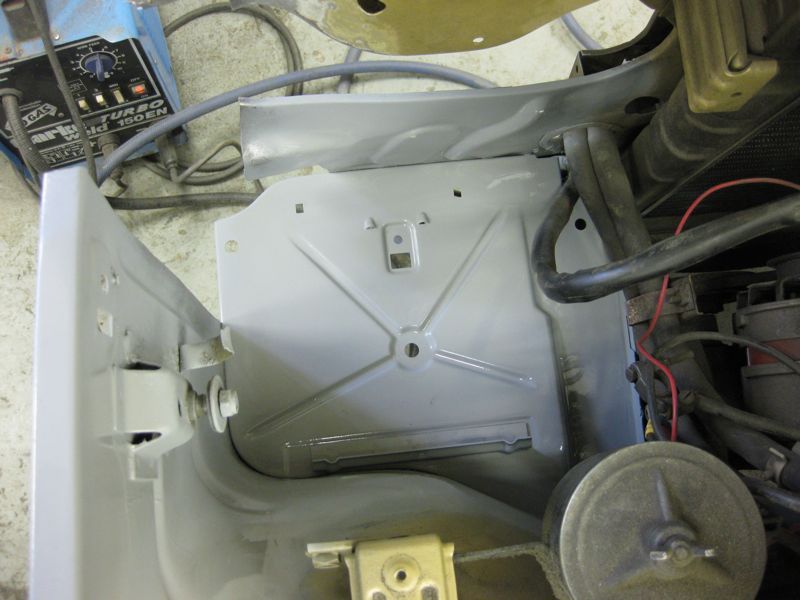
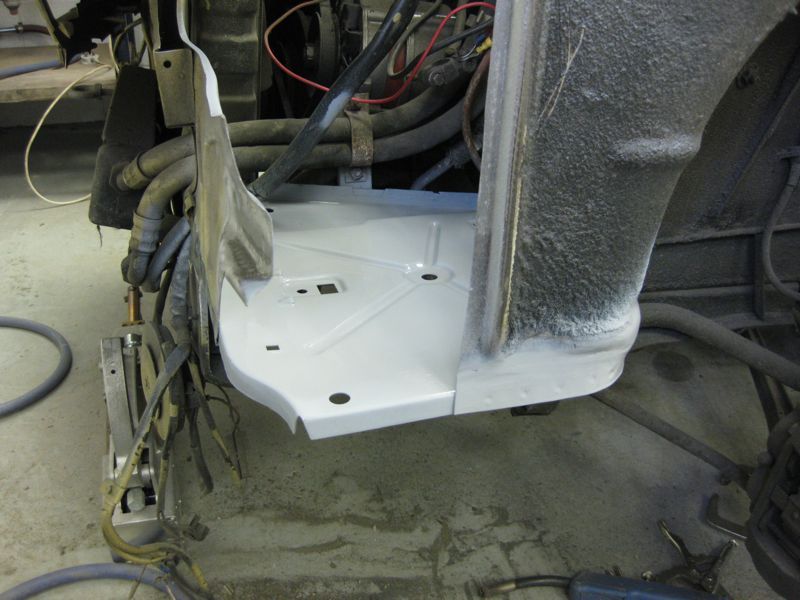
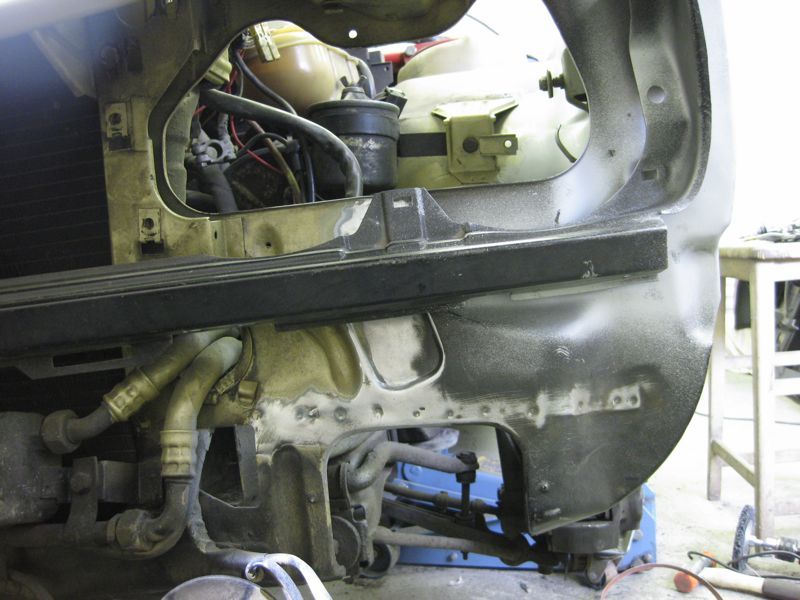
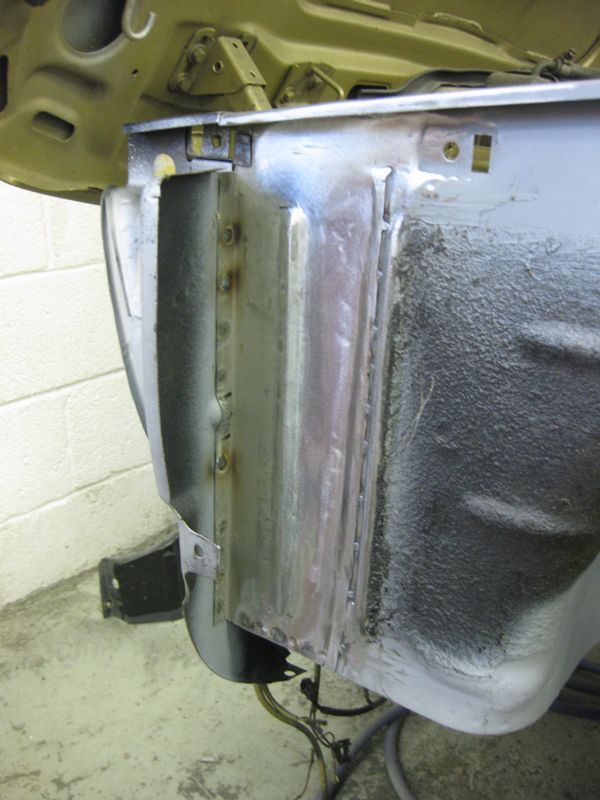
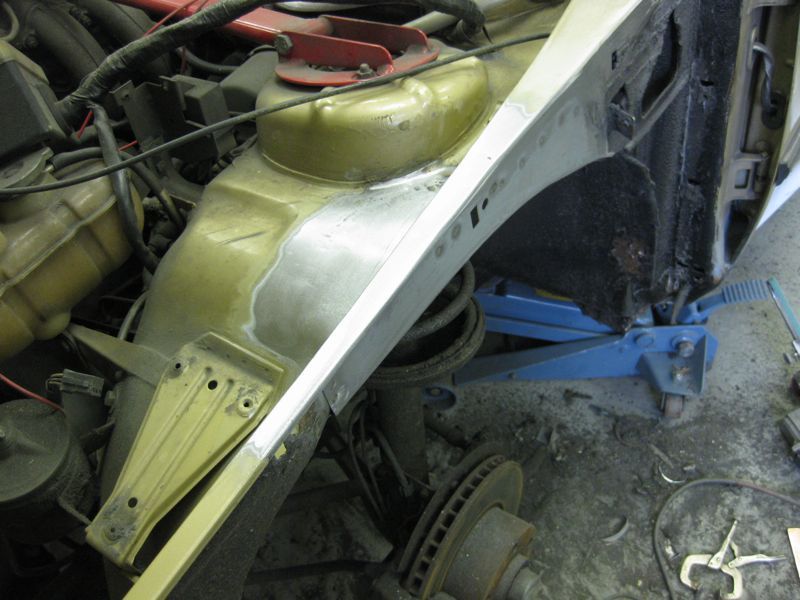
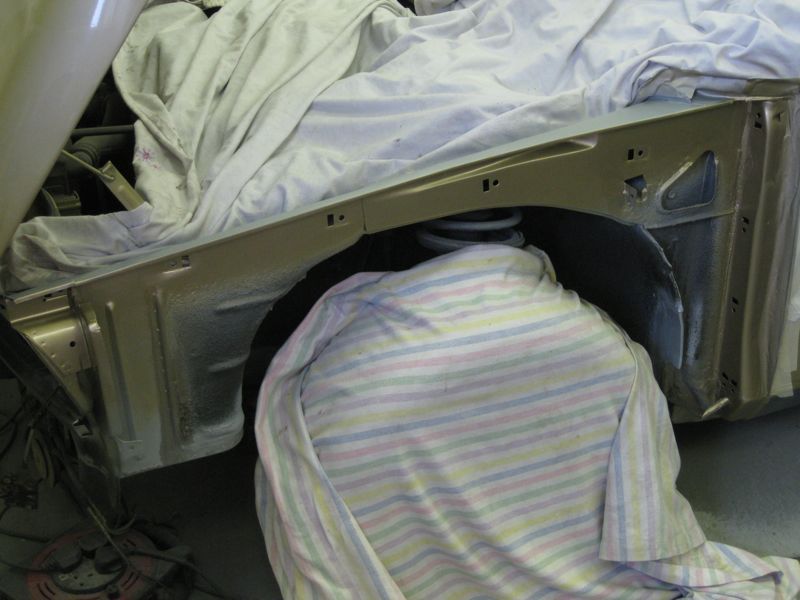
The standard of your repair work is very high indeed. The welding on those rear arches and inner wings is superb.  I bet it's gonna look fantastic in its new paint, keep the pics coming. |
| |
|
|
Carsie
Part of things
 
Posts: 127
|
|
Sept 13, 2010 20:07:31 GMT
|
Hi Tony  , I have to say that you're the master of the understatement - lol! "Just cut and let this section in" " stripped it down, polished it and then just re fitted it...." " I thought this wing might just need a bit more work"..There's some lovely workmanship on this site but - and I know I've said this before - Tony you're work is seriously impressive! I've got my eye on one of the last of the old XJ40's (actually a V12) - I think it'll be winging it's way up the A1 past Morpeth if I could ever persuade you with some crispy notes! Very impressive - I like! Thank you, as ever, for your posts. Absolutely stunning work! |
| |
|
|
|
|

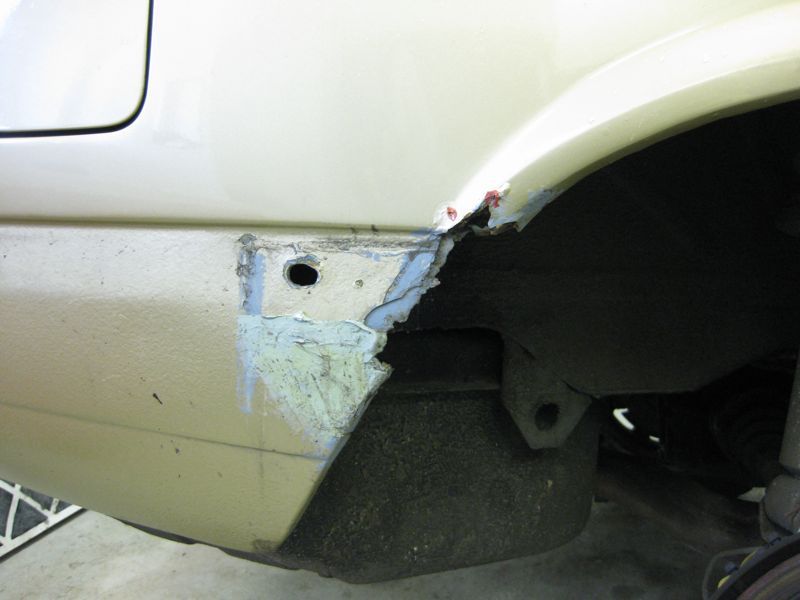
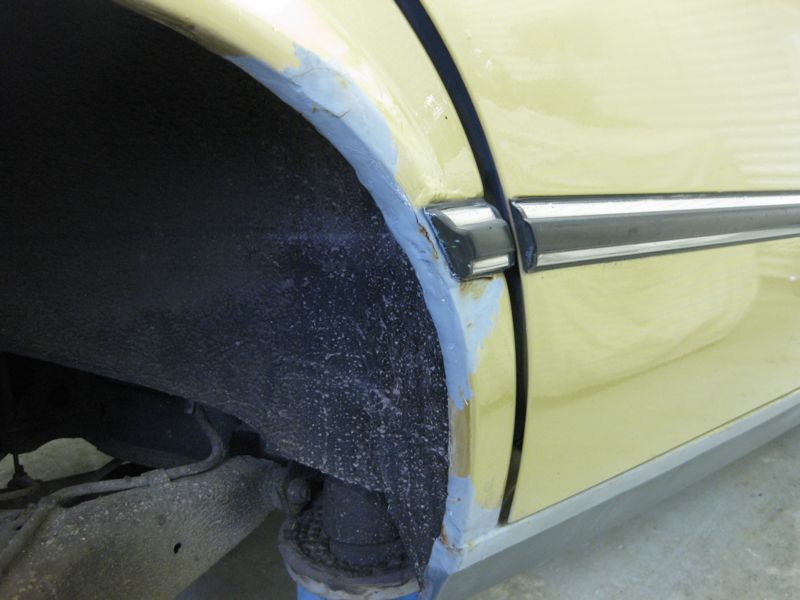

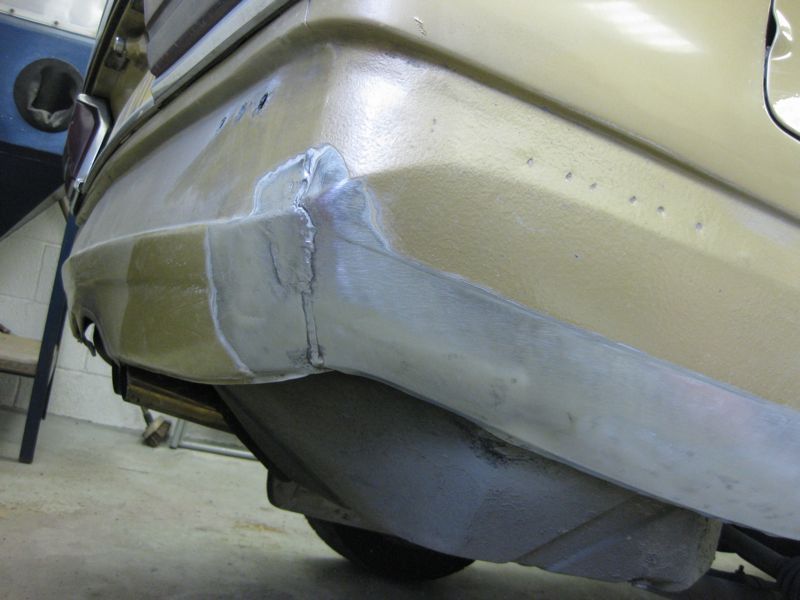



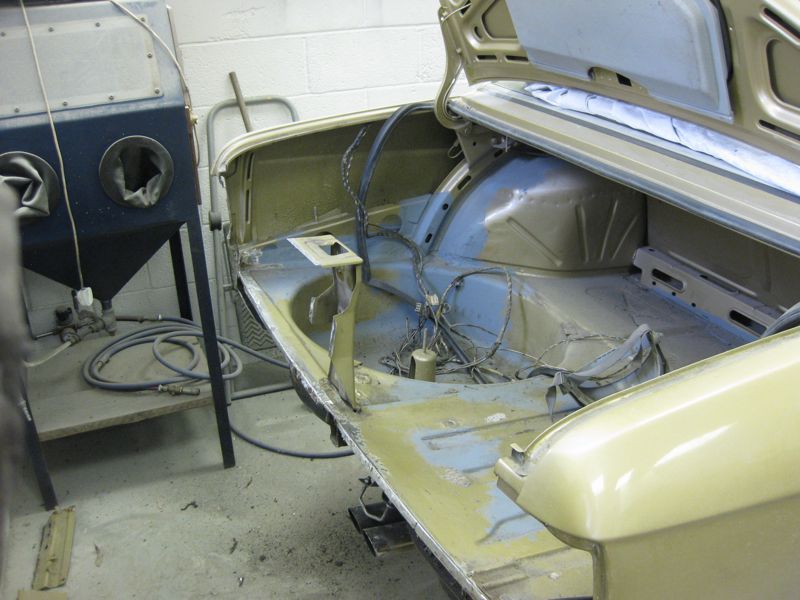
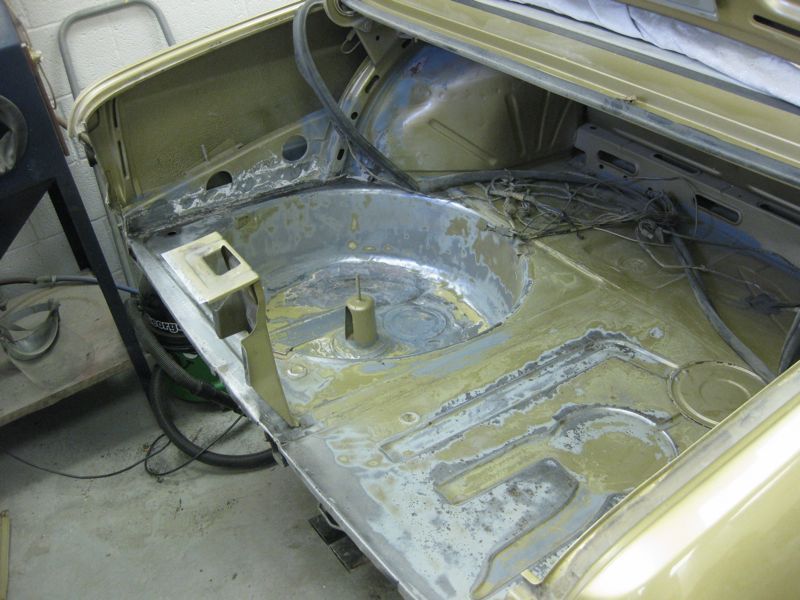


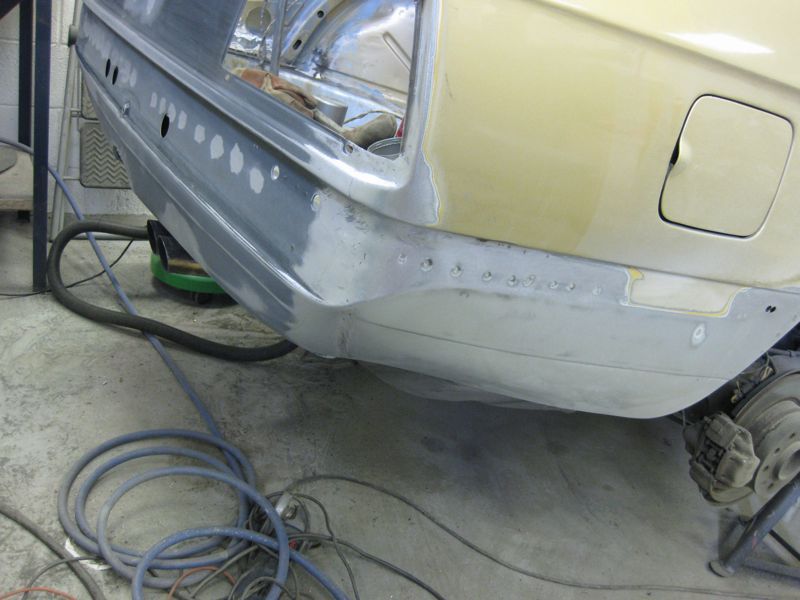
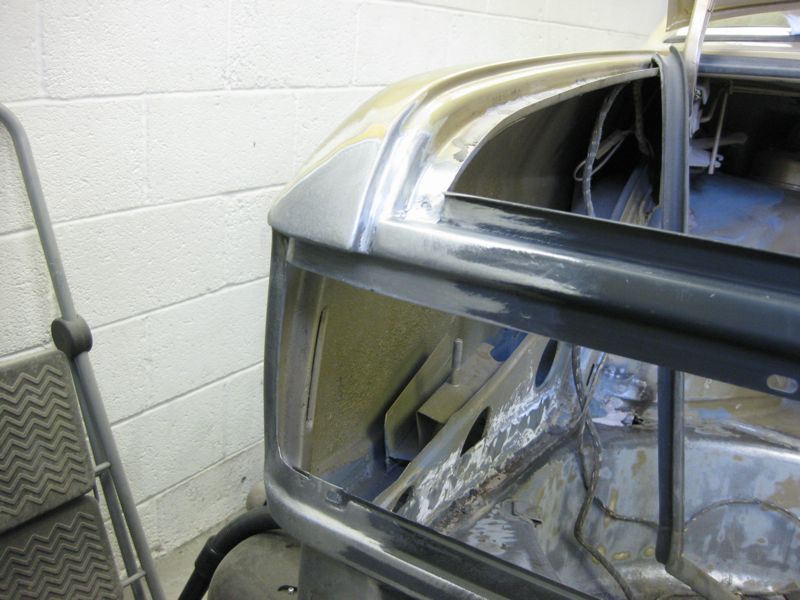























 your welds turn up very flat!


