


Every year, my local RC car club does a demonstration race meeting at the Newark Kit Car Show, running classes for touring cars, Tamiya Minis, and anything else the club members fancy bringing along.
I race in the Mini class, and instead of the normal Rover Mini shaped Minis that everyone else race, last year I ran:
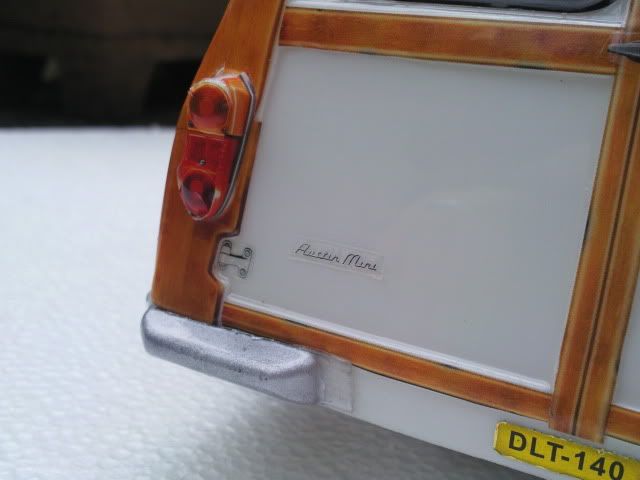
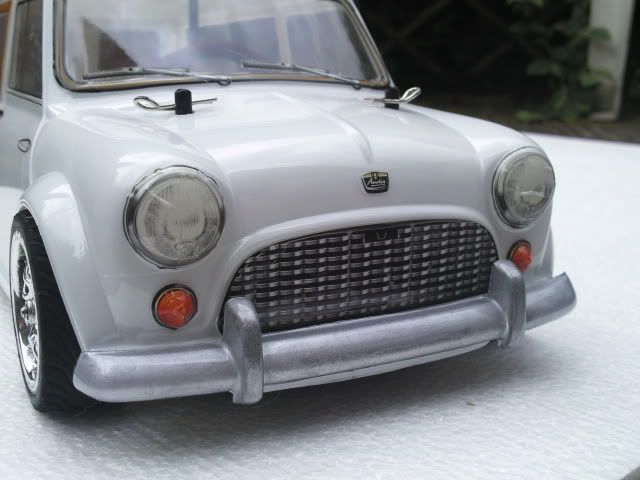
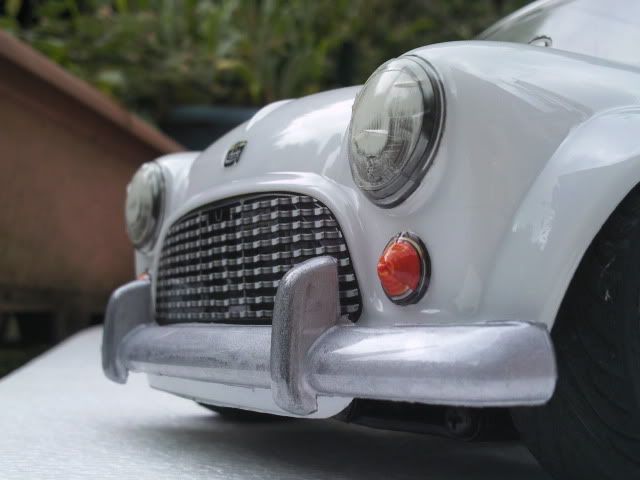
Which was an ABC Hobby Mini Traveller. It looked great and did the job of getting the young kids and the not-so-young parents taking, but its now long gone
So, how to go one better?
Introducing, Project Moggie! Its a Kamtec Morris Minor Traveller body, designed for the Mardave V12 chassis, but with a little fettling, will fit the Tamiya M05. I don't think it'll fit the M03 though because of the raised area where the servo mounts to the car.


I wanted to do it in a classic colour scheme, BMC Almond Green with wood frames:

But unfortunately Halfords were out of the exact shade, so in replacement for a 60s/70s green shade, I got Vauxhall Leaf Green (which according to the paint chart, was a 70s Opel colour, so period correct).

So, onto the work.
The first hurdle was getting it cut out and mounted into my Tamiya M05 chassis. I had a bit of a headache solving a battery problem though. The pack has wires exiting the end, right where the body goes, so it bends it outwards. The initial plan was to trim the battery pack casing (its a hardcased Yeah Racing 3200 LiPo) and make the wires go upwards, but as you can see from the pics, space was tight and bent the sides of the body outwards.


Next, was to break out the Dremel....
2 mins with it had the wires exiting the top of the case, and a small notch was taken out of the chassis to match. Now the body sat nicely.


Along the way, the windows were attacked with Mr Dremel and they fell out. Then, paint. I made it easy to rotate the body without touching the surface, by using double sided tape and a large tin of Plastikote. :lol:

Building up the colour.


Final finish. Its a lot closer to the original BMC green than I expected, so that was an unexpected bonus.


I didn't want it mint, as its going to be used on track, so its a bit orange peely, but I don't mind. Next job was to get woody...
Its Halfords Rover Maple, from the early 1990s (the can has a photo of the jellymould Granada/Scorpio on it, thats old!), and the finish is textured, so I'm guessing its bumper paint? Either way, it looks great.
Masked up


Building up the colour


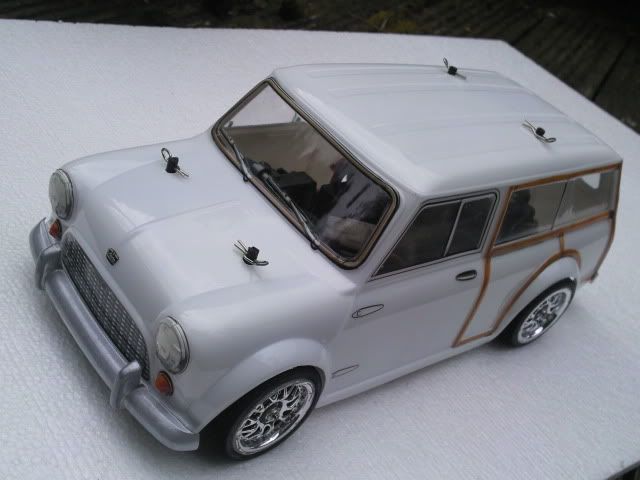
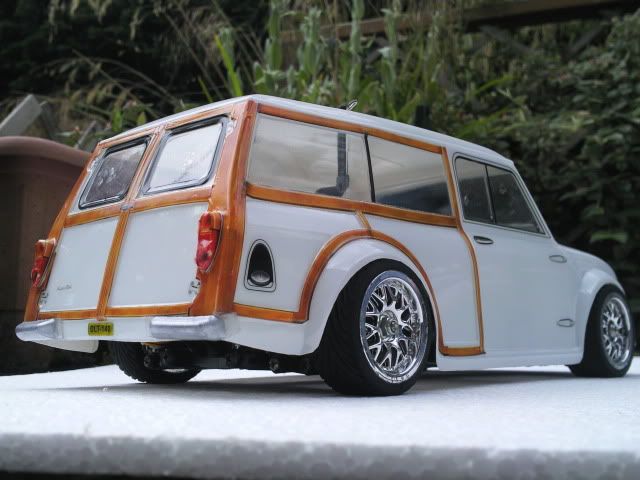
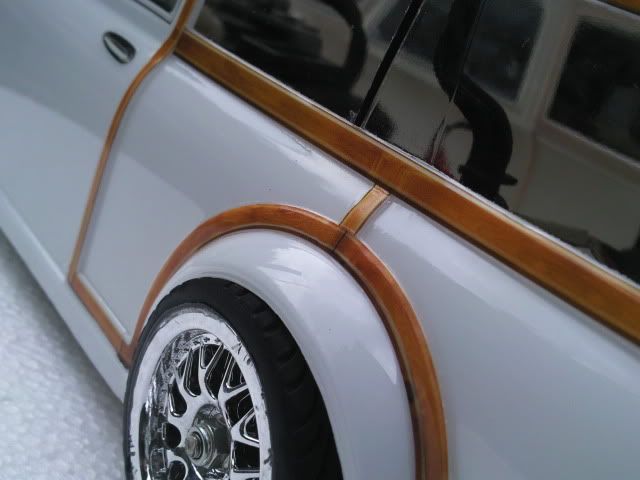
Wood done


And onto the final stretch, painting the metalwork. It was masked off and sprayed with a chromey-effect Plastikote, I've used it before lots of times and although its not mirror chrome, its more than bright enough in the sun.
Heres how it ended up, masked up

Building up the colour with chrome Plastikote


I forgot to take pics of the previous painting of the rear bumper

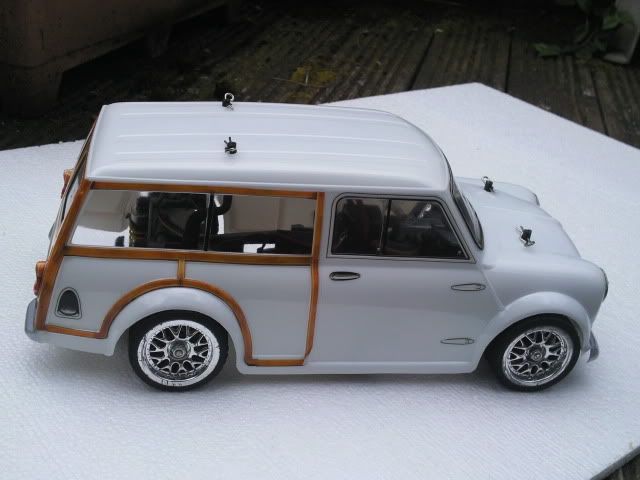
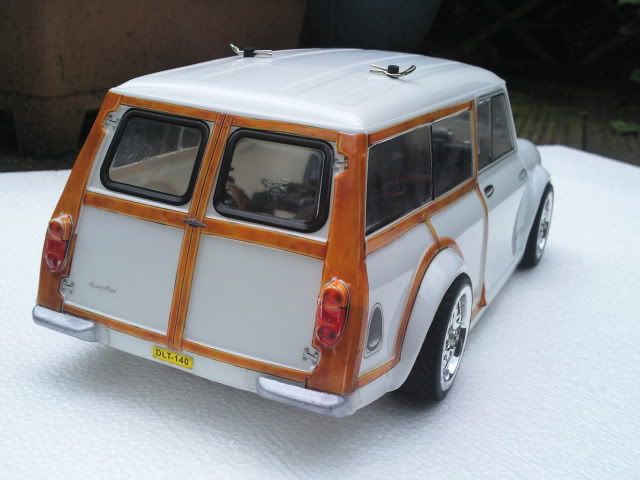
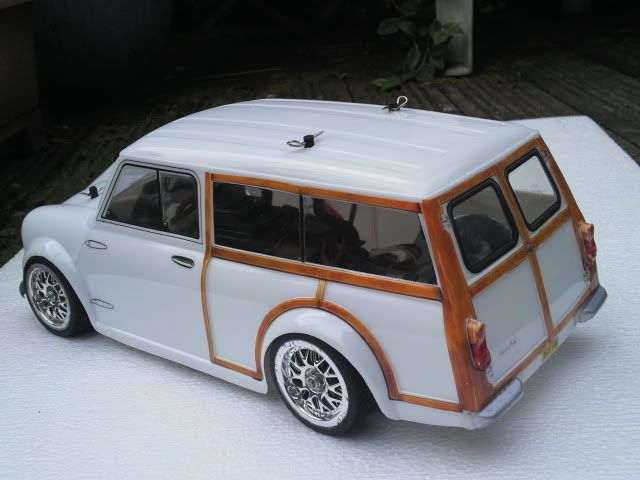
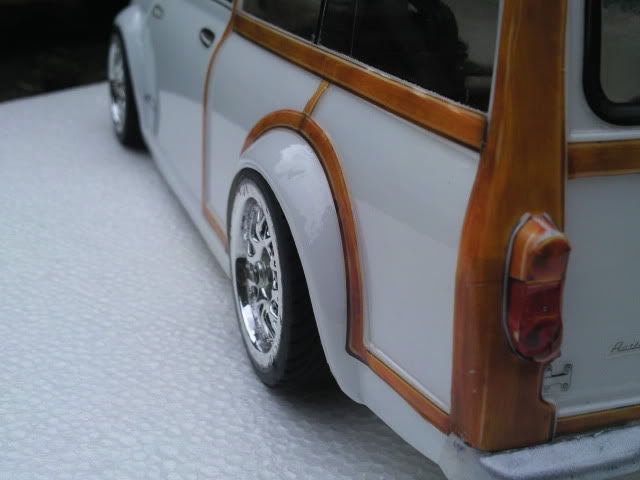
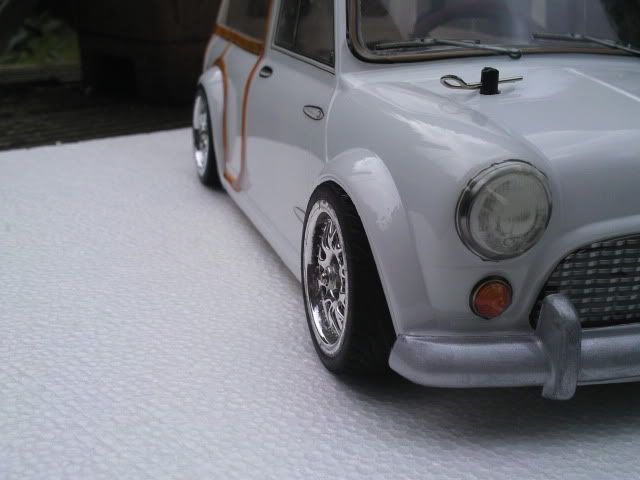
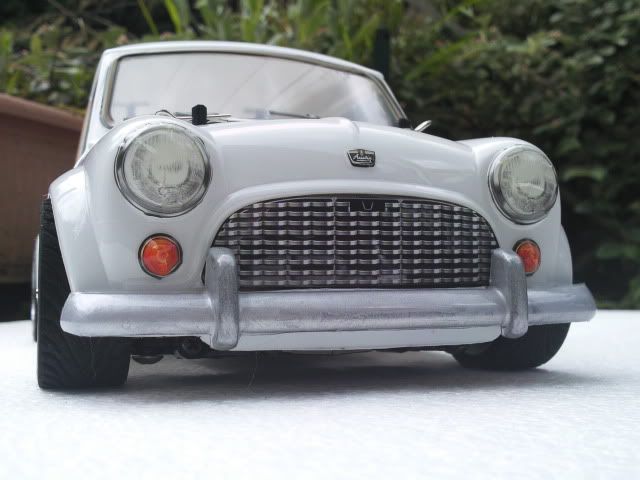
And finally, how it sits now


So there you are. The bodyshell was less than a tenner, paint and materials came to about £15, the rest was just time, patience and a steady hand. I hope you enjoyed it, I did.
I race in the Mini class, and instead of the normal Rover Mini shaped Minis that everyone else race, last year I ran:
Which was an ABC Hobby Mini Traveller. It looked great and did the job of getting the young kids and the not-so-young parents taking, but its now long gone

So, how to go one better?
Introducing, Project Moggie! Its a Kamtec Morris Minor Traveller body, designed for the Mardave V12 chassis, but with a little fettling, will fit the Tamiya M05. I don't think it'll fit the M03 though because of the raised area where the servo mounts to the car.
I wanted to do it in a classic colour scheme, BMC Almond Green with wood frames:
But unfortunately Halfords were out of the exact shade, so in replacement for a 60s/70s green shade, I got Vauxhall Leaf Green (which according to the paint chart, was a 70s Opel colour, so period correct).
So, onto the work.
The first hurdle was getting it cut out and mounted into my Tamiya M05 chassis. I had a bit of a headache solving a battery problem though. The pack has wires exiting the end, right where the body goes, so it bends it outwards. The initial plan was to trim the battery pack casing (its a hardcased Yeah Racing 3200 LiPo) and make the wires go upwards, but as you can see from the pics, space was tight and bent the sides of the body outwards.
Next, was to break out the Dremel....
2 mins with it had the wires exiting the top of the case, and a small notch was taken out of the chassis to match. Now the body sat nicely.
Along the way, the windows were attacked with Mr Dremel and they fell out. Then, paint. I made it easy to rotate the body without touching the surface, by using double sided tape and a large tin of Plastikote. :lol:
Building up the colour.
Final finish. Its a lot closer to the original BMC green than I expected, so that was an unexpected bonus.
I didn't want it mint, as its going to be used on track, so its a bit orange peely, but I don't mind. Next job was to get woody...
Its Halfords Rover Maple, from the early 1990s (the can has a photo of the jellymould Granada/Scorpio on it, thats old!), and the finish is textured, so I'm guessing its bumper paint? Either way, it looks great.
Masked up
Building up the colour
Wood done
And onto the final stretch, painting the metalwork. It was masked off and sprayed with a chromey-effect Plastikote, I've used it before lots of times and although its not mirror chrome, its more than bright enough in the sun.

Heres how it ended up, masked up
Building up the colour with chrome Plastikote
I forgot to take pics of the previous painting of the rear bumper
And finally, how it sits now
So there you are. The bodyshell was less than a tenner, paint and materials came to about £15, the rest was just time, patience and a steady hand. I hope you enjoyed it, I did.


 Ax GTi Turbo

