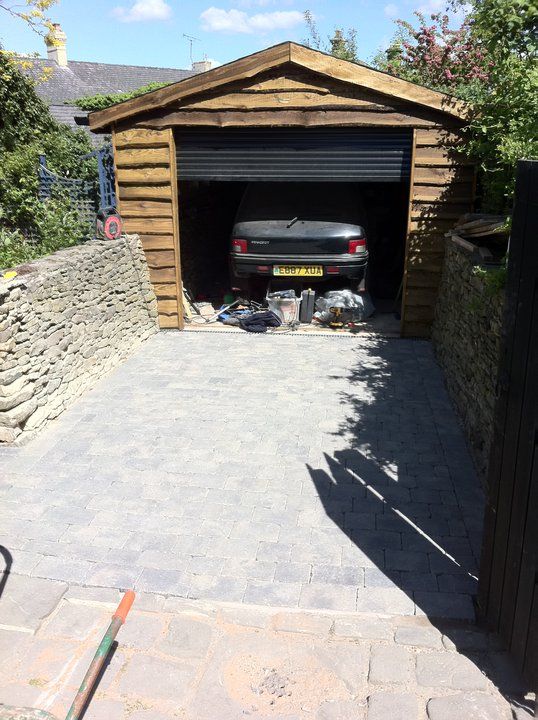
|
|
|
Oct 17, 2010 21:13:38 GMT
|
Well this weeks progress has ticked a few of the todo's off the list 1) make end fascia boards done2) cut shingle to match done3) seal shingle edges down 4) make door batens done5) make window frames 6) get windoow glass 7) refit side fascias 8) fit guttering 9) finish lining inside walls done10) finish cutting roof insulation boards 11) finish lining roof 12) install plug sockets done13) install lights done14) fit wiring doneI also had a bit of a major clear up in there as i got fed up of working in a complete disorganised mess, with wood & rubbish thrown everywhere. Once i'd cleared a bit of space and could see the floor once more i was able to move the milling machine to its new position. With the scaffold bars it meant i could do it on my own with just bit of pushing and shoving. Spinning it the 180 degress was the toughest part! 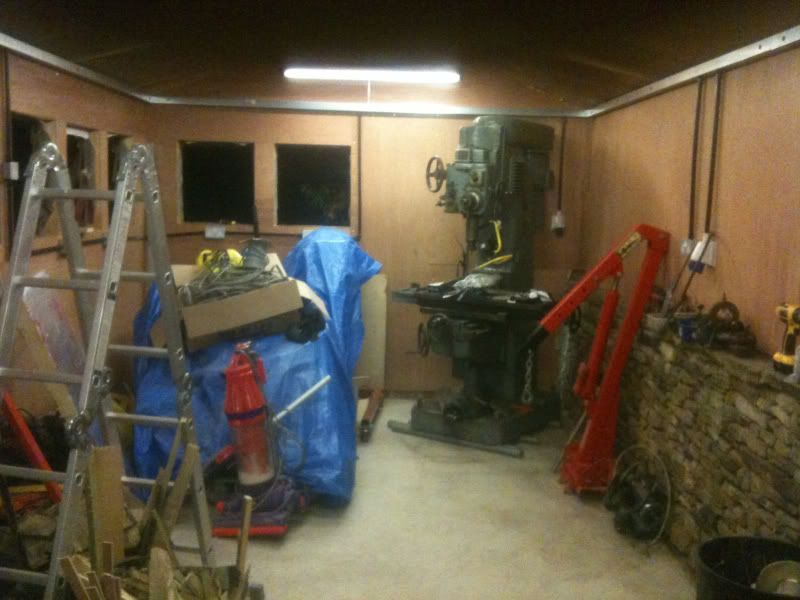 Anyway the light at the end of the tunnel is becoming a bit brighter now!  |
| |
|
|
|
|
|
|
|
Oct 24, 2010 20:46:31 GMT
|
Mini update, i've 90% finished all of the woodwork! thank god! I spent the last couple of days cutting and fitting the window frames for the 8 (yes 8!!  ) windows in the shed. I also got some glass cut for them at a local glaziers And whilst I was picking up the glass for the windows I got talking to the guy about double glazing and he told me i could just make some cheap double glazed units with 2 sheets of glass, some wooden beading to seperate them and silicone them together, so thats what i've done  (well in the process of..) I've ordered some silica beads as well (the kinda stuff you find in sachets in new trainer boxes) which will absorb any moisture and i'll just stick some of that in the bottom of each of the windows   oh and i've bought a load of 4"x2" to make a chunky ass workbench!  |
| |
|
|
Graham
Posted a lot
  
Posts: 1,282
|
|
Oct 25, 2010 17:05:51 GMT
|
|
Excellent work ;D
|
| |
Maximum signature image height: 80 pixels
|
|
|
|
|
|
|
|
A very impressive project.
P.
|
| |
|
|
|
|
|
|
|
thanks chaps, then end is near now  I've managed to knock a few more things off the todo list over the past week 1) make end fascia boards done2) cut shingle to match done3) seal shingle edges down done4) make door batens done5) make window frames done6) get windoow glass done7) refit side fascias done8) fit guttering done9) finish lining inside walls done10) finish cutting roof insulation boards 11) finish lining roof 12) install plug sockets done13) install lights done14) fit wiring doneso really the main thing left is to finish fitting the roof boads and cutting up the ply lining boards to go over them, its a real PITA job that i've been putting off, but once i've finished my workbench thats pretty much all there is to do.(did a bit more on the work bench this evening)   as you can see from the list of things done above i managed to get all the windows in, the DIY double galzing has worked a treat! It really keeps the sound out and conversely should hopefully keep any banging and crashing i do in there from being heard by my neighbours You can see the silica beads previoulsy mentioned in the bottom of the panes  I've bought a 4HP VFD Invertor off ebay (4 days from China inc weekend and no import tax/duty, well impressed, winner!!!!) to run my milling machine off which i've mounted on the wall next to it, so that needs wiring in as well,but that shouldn't take long. It converts single phase 240v into 3 phase 240v, fortunately the motor on the milling machine is dual voltage meaning it can run 240v or 400v by changing the wiring configuration. The collet chuck on the milling machine was a bit of a strange one, the collet system was an old make called Clare which noone seems to do anymore, so i've bought a new chuck and some ER32 collets. The only thing is, i think i will have to make a new drawbar (the long bar that goes through the milling machine and pulls the cutting chuck up into the spindle) as the one that's in it at the moment has an american 1/2" 13tpi thread on it but the new chuck has a M12 metric thread so i'll have to make one to match that. And finally whilst the credit card was out I bought a new Halfords Pro Industrial tool chest as they were on offer this week, 1/3 off and a further £25 of if you spent over £200 so that will be going in there once i've got a bit more space tidied up  and next week i've got a couple of builders (well professional drystone wallers) coming who are going to put a gap in the drystone wall between the garden and the drive behind the gates. This is so that i can get straight to the garage without having to go out my side gate and open the double gates to the driveway. Also they are going to use all the left over stone to clad the breeze blocks visible round the bottom of the shed so that it blends in with the rest of the wall. Hopefully the weather will hold for them! |
| |
|
|
|
|
|
Nov 11, 2010 12:20:30 GMT
|
Love this build  |
| |
|
|
v8ian
Posted a lot
  
Posts: 3,832
|
|
Nov 12, 2010 16:05:55 GMT
|
|
As a "get you running" with the drawbar, use a length of 12mm studding, add a big washer at the top, somebody broke the drawbar at work, and just left it for someone else to find, 1/2 studding did well for a couple of weeks until I made a new one
|
| |
Atmo V8 Power . No slicks , No gas + No bits missing . Doing it in style.
Austin A35van, very different------- but still doing it in style, going to be a funmoble
|
|
|
|
|
Nov 21, 2010 21:12:09 GMT
|
v8ian > good idea i've got some M12 threaded bar left over so i'll knock one up out of that last week i had the builders in for a couple of days, and yet again i'm pretty disappointed with the finish!!! To be fair they've done a pretty good job but its the final finishing off that's curse word me off. They were asked to put a gap in the dry stone wall for me and also clad the breeze block base with the dry stone wall stone so that it blends in . However whats really annoyed me is they've just dumped cement all over the top of both bits which just looks curse word in my opinion! The rest of the wall had a layer of mortar put along the top with the final row of stones pressed in so god knows why they have felt the need to essentially plaster cement all over the top! anyway i think i'll just sort it myself AGAIN! 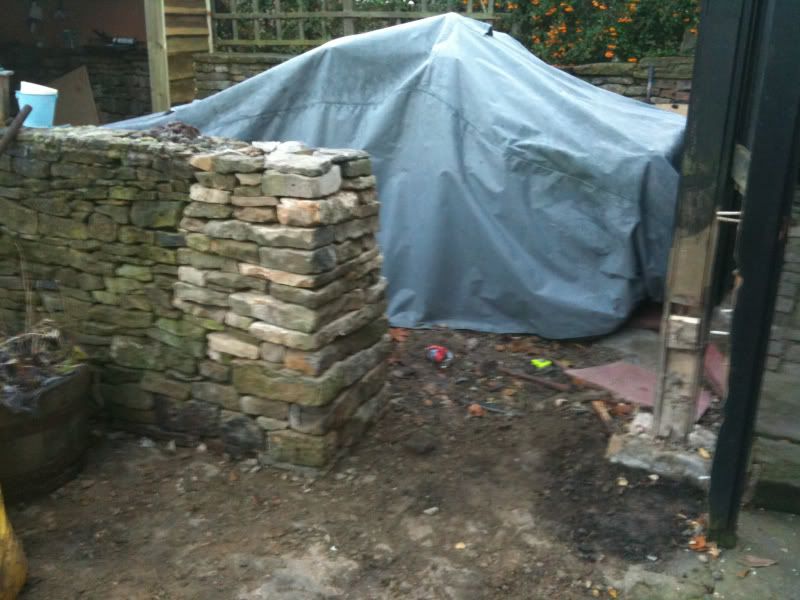 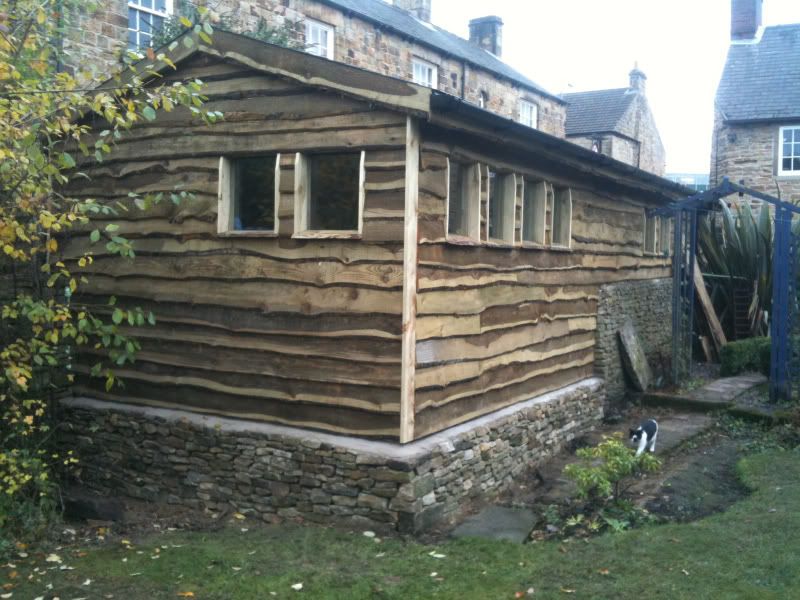 Anyway beside that i need to say a big thanks to my mate Henry for coming round during the week and helping me with the final bit of insulation cutting for the roof. Between us we manged to get it all done finishing at 12.30am! so its just the covering boards left to do then everything is done woo hoo!!! I've also managed to finish my bench, had a big fire of all the left over wood (love a good fire!!) and started to bring a few bits and pieces back into the workshop 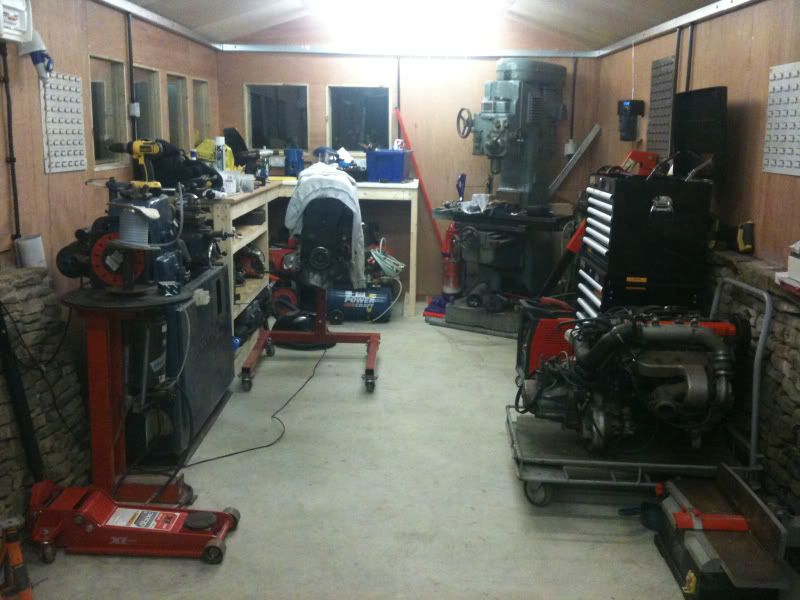 |
| |
|
|
|
|
|
Nov 29, 2010 20:11:13 GMT
|
|
Looking really nice. Bit of a shame about the concrete topping, but doesn't look too bad.
Lewis
|
| |
|
|
|
|
|
Dec 12, 2010 21:28:53 GMT
|
I've started moving everything back into the shed and looks like i need a bigger shed  I got the car lift into its pit and it fitted perfectly  you would have thought i'd have actually checked it fitted before now wouldn't you!! I had to dig both my 205s out of the snow last week as my CTI was sat ontop of it but after a few hours i managed to lever it into place on my own. Anyway i also plugged it in and fired it up for the very first time since i bought it and guess what it worked a treat!!! whoop whoop. However there was a slight weeping from the main hyraulic ram so i removed it and will get a couple of new seals for it this week. I looks like that some numptey(not me!!) at some pointed painted the end of the ram but too far down so that some of it got eaten up by the seals and knackered them. New seals are only about £15 so not expensive at all. I've also managed to get the milling machine running off the VFD, it took a bit of jigging about with the paramters in the VFD but in the end i got there and it's working a treat, so hopefully santa will bring me some cutters for xmas and then i can make some stuff with it  Next job is to have a proper tidy up, and sort some more storage out as i think i actually have less storage now than i did before due to bigger toys  ! doh anyway heres a few pic of the curse word tip as it stands! 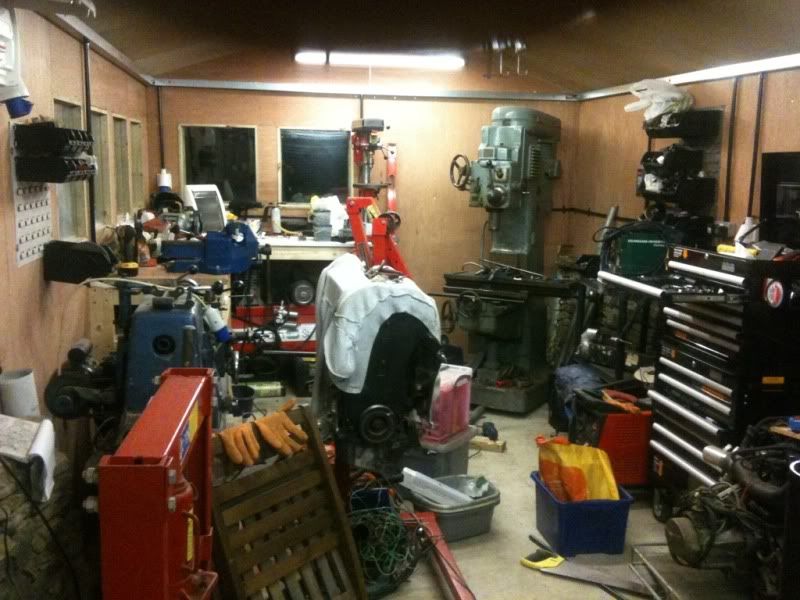 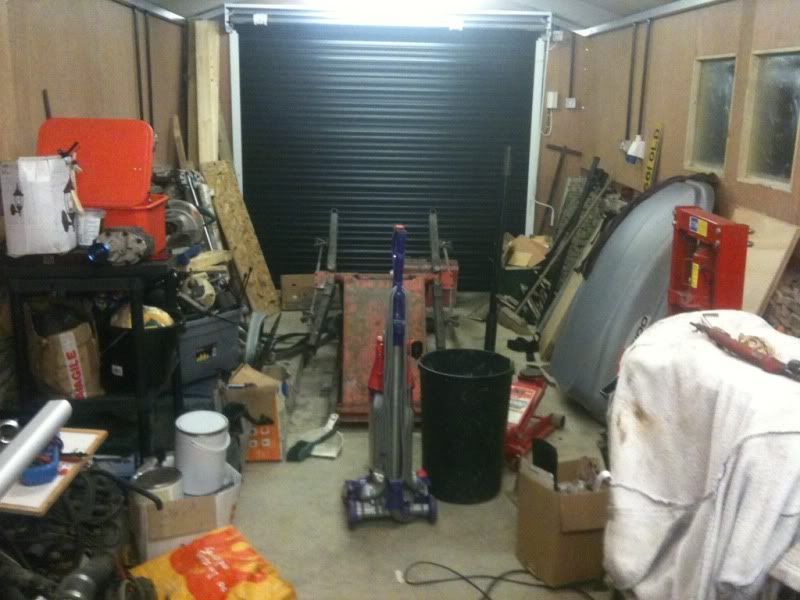 |
| |
|
|
|
|
maxlee
Posted a lot
  
Posts: 1,200
|
|
|
|
|
|
| |
|
|
|
|
|
Dec 13, 2010 10:19:24 GMT
|
brilliant garage and looks in keeping with other propertys a pro job ;)could you pm me details on the 205 build as its very interesting as thinking this way myself well similar  |
| |
|
|
|
|
|
Dec 13, 2010 22:37:38 GMT
|
|
|
| |
Last Edit: Dec 13, 2010 22:39:12 GMT by matt205gti
|
|
|
|
|
Apr 29, 2012 22:55:10 GMT
|
|
|
| |
Last Edit: Apr 29, 2012 23:00:45 GMT by matt205gti
|
|
|
|
|
|
|
|
Looks really well... I presume you're happy with the result...
|
| |
Ich habe kein Geld!
|
|
|
|
|
Apr 30, 2012 10:06:06 GMT
|
|
Looks great really well finished!
|
| |
|
|
|
|
|
Apr 30, 2012 11:06:05 GMT
|
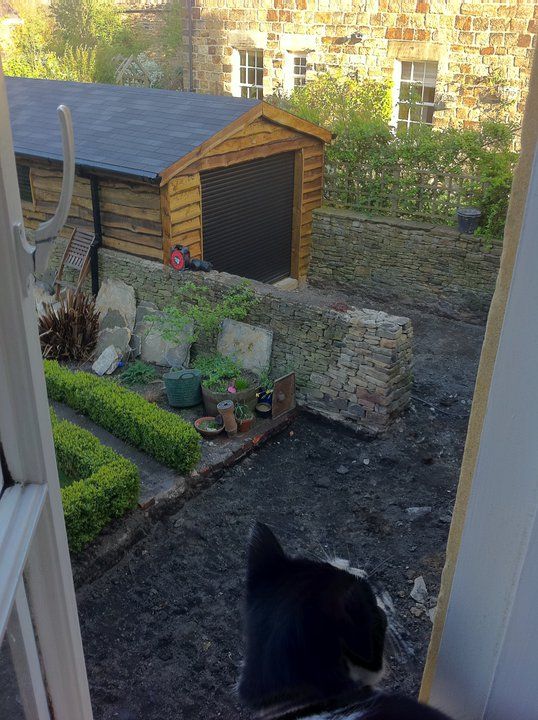
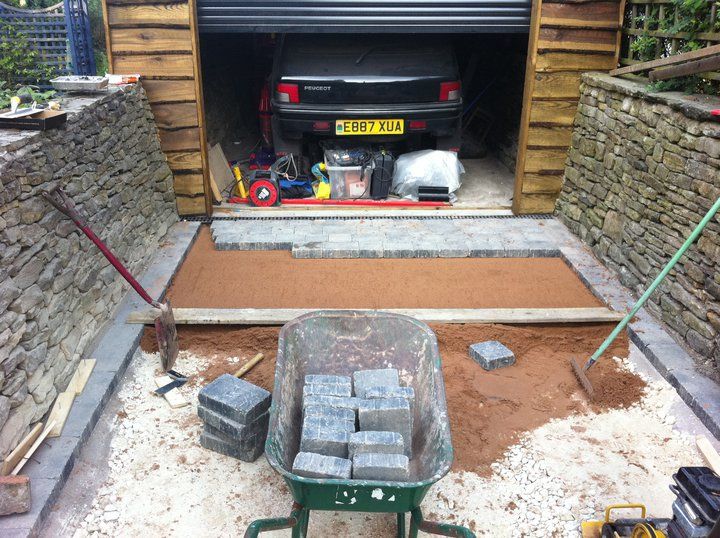
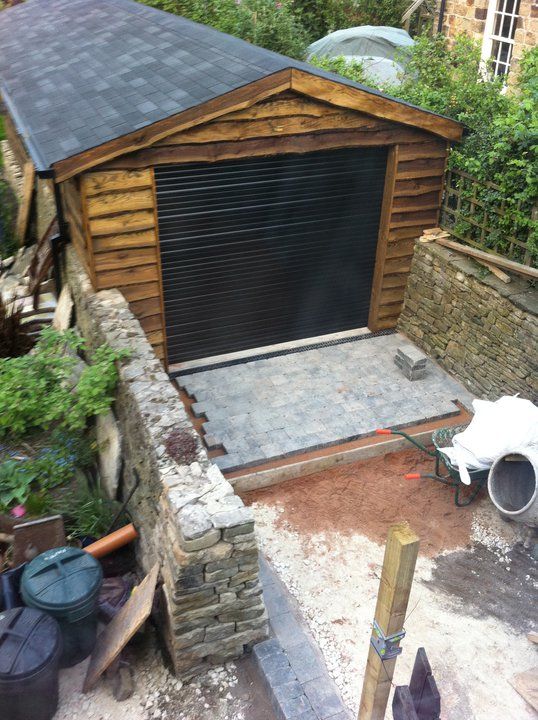
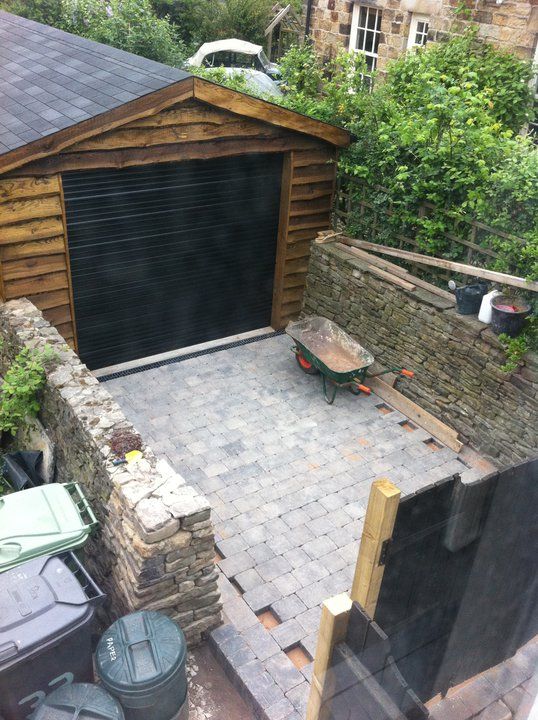
Cheers, yeah very happy with it Only thing is the we've put the house up for sale! Any takers?? the new place we're hopefully buying has a similar sized garage though  |
| |
|
|
sphinx
Part of things
 
Posts: 219
|
|
|
|
|
That looks fantastic! Top job!
|
| |
|
|
mirafioriman
Posted a lot
   My next project.......
Posts: 1,361
|
|
Jun 26, 2012 21:49:05 GMT
|
|
Excellent job the paving really sets it off.
|
| |
|
|
|
|
|
Dec 10, 2012 13:56:38 GMT
|
|
Nice job chap! A metre wider would be really useful . Is there a Moggy convertible lurking next door ?? Or is it yours ? Envy all the way!!
|
| |
|
|
|
|


 ) windows in the shed. I also got some glass cut for them at a local glaziers And whilst I was picking up the glass for the windows I got talking to the guy about double glazing and he told me i could just make some cheap double glazed units with 2 sheets of glass, some wooden beading to seperate them and silicone them together, so thats what i've done


