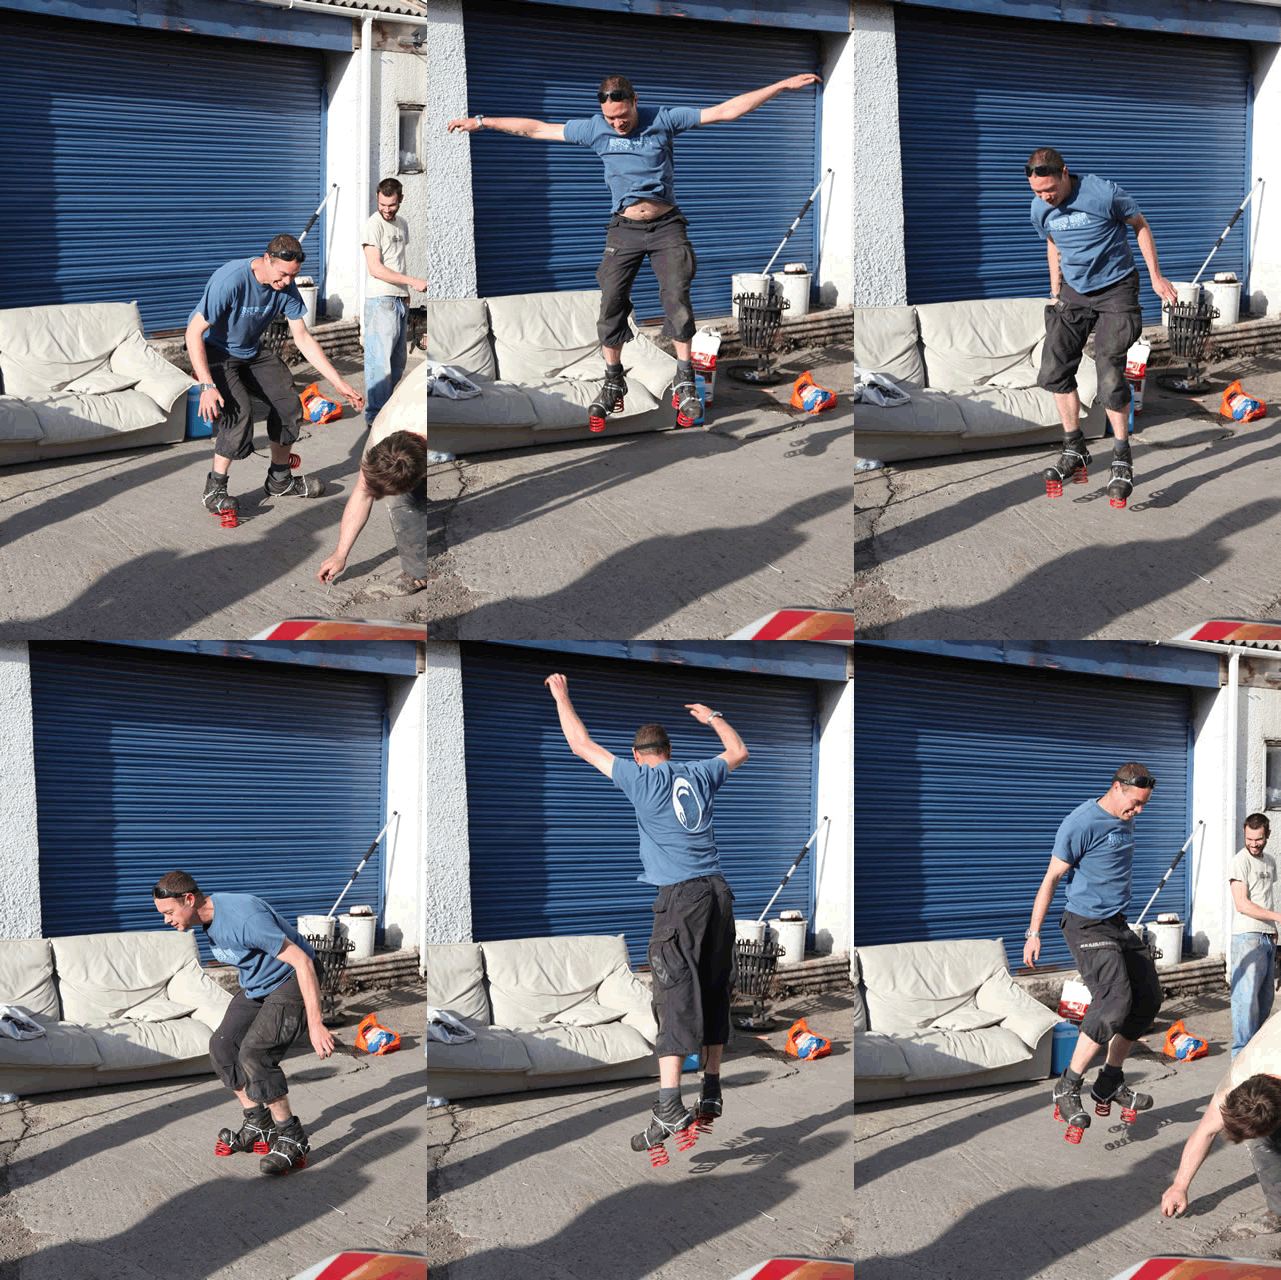
10mpg
Club Retro Rides Member
Posts: 4,253
Club RR Member Number: 204
|
|
|
|
|
If you have any probs with the wiring or putting it together, give us a bell I 'may' remember how it all went together..
I have some proper large CO2 bottles here ex MOD, empty, but will happily swap them for a few bottles of Hobgoblin if they'll help someone out, used to get them filled for much cheapness from a fire extingusher place but now i'm lazy so I just use BOC.....
|
| |
The Internet, like all tools, if used improperly, can make a complete bo**cks of even the simplest jobs...
|
|
|
|
spiny
Club Retro Rides Member
Wiki Admin
I am abivalent towards car electrics ...
Posts: 1,331
Club RR Member Number: 167
|
|
|
|
I also have a 'pub' co2 bottle goign spare - I got given it by my local pub landlord, but just never got round to getting the adapter for my welder. it has 'some' gas in it, but not much. is it of any use ? it's purple if that makes a difference  |
| |
|
|
Colonelk
Posted a lot
  
Posts: 3,742
Club RR Member Number: 83
|
|
Nov 12, 2009 19:21:35 GMT
|
|
|
| |
Last Edit: Nov 12, 2009 19:24:01 GMT by Colonelk
|
|
Colonelk
Posted a lot
  
Posts: 3,742
Club RR Member Number: 83
|
|
Nov 12, 2009 19:22:34 GMT
|
|
Id also be interested in a cheap / beer tokens spec gas bottle.
Do you have to get traveller co2 refills or will any gas company refill them with the argon mixes?
|
| |
|
|
|
|
|
Nov 12, 2009 23:43:55 GMT
|
Now that Photobucket is working again, I can finally upload the pics of last Saturday where some top RR people descended on Area52 to help get the lift installed. Tim & I had already spent an evening working out where the lift was going to go....2 hrs of trial & error moving the parts around to find the optimum position for it. Friday night I then marked the drill holes for the floor anchors: 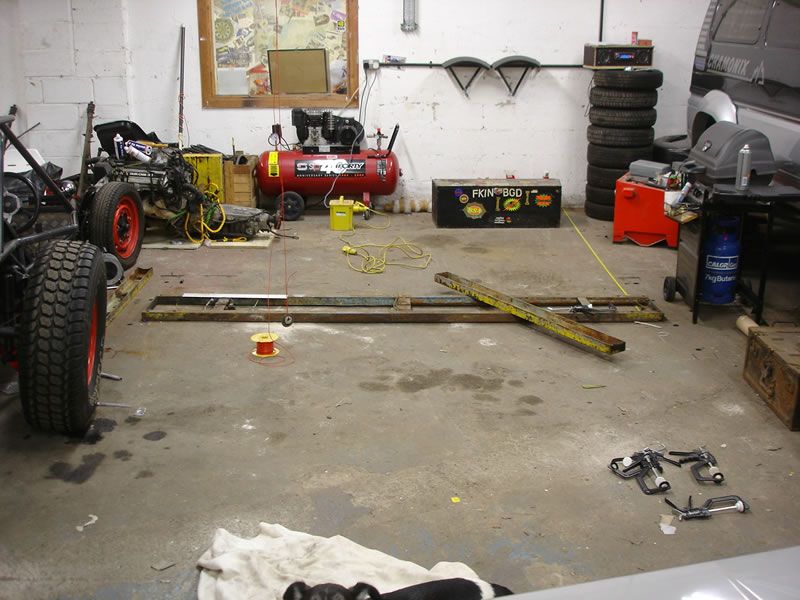 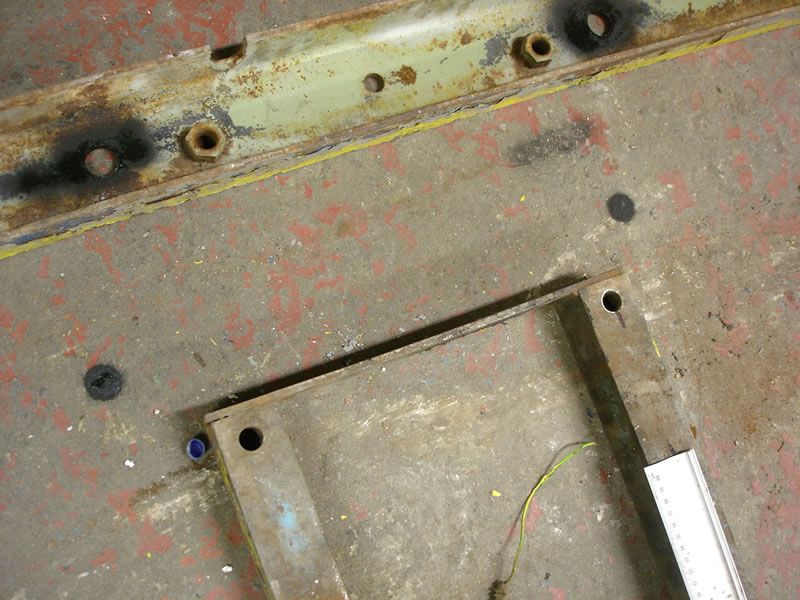 I had decided to use resin to set threaded bar into the floor rather than expansion bolts. This was a decision that ended up causing a lot of aggro but also a lot of laughs! First job of Saturday was to drill the holes for the threaded bar. Luckily Tom (who rents part of the unit) happened to have a beasty SDS drill because the one I had borrowed turned out to be a bit comical! Here is the 'real' drill in action - it drilled 7 x 9" deep holes in the time it took the other drill to do one hole! I was on drill duty, James (EightSix) on guidance and Ben on sucky sucky duty 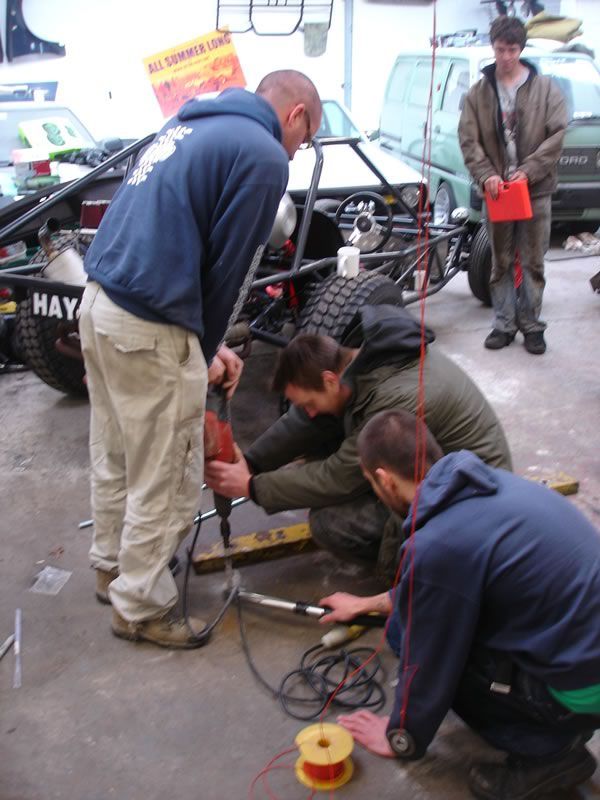 Comedy 20yr old SDS in action! 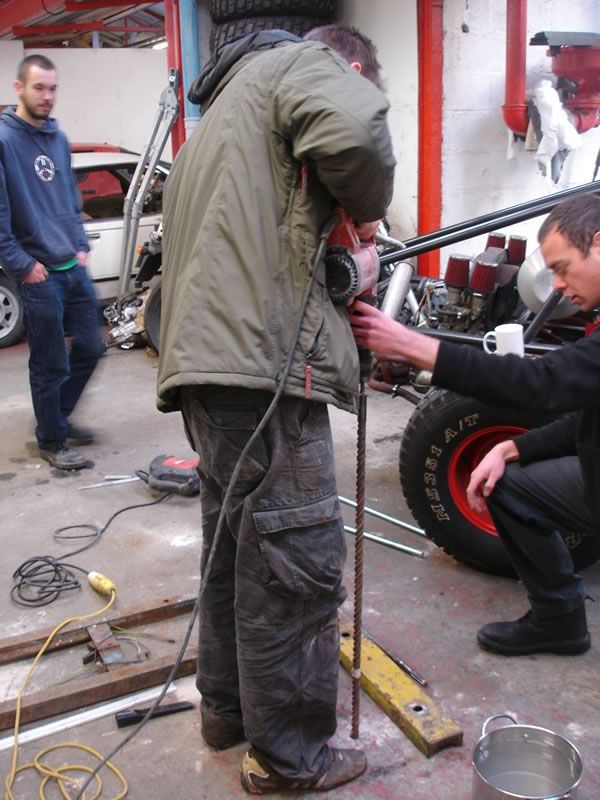 The big drill really did make light work of everything. James in charge with JoeTheFish on guidance watch 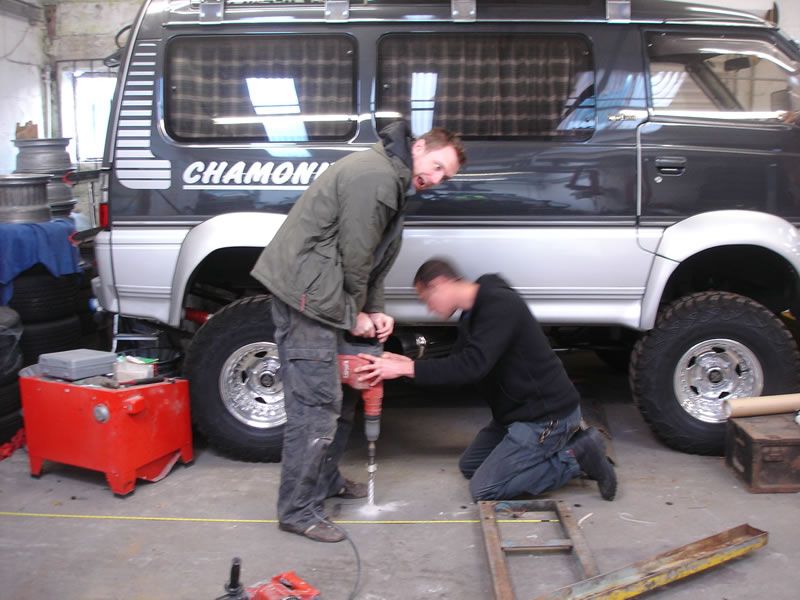 Lucie wasn't too impressed with it though! 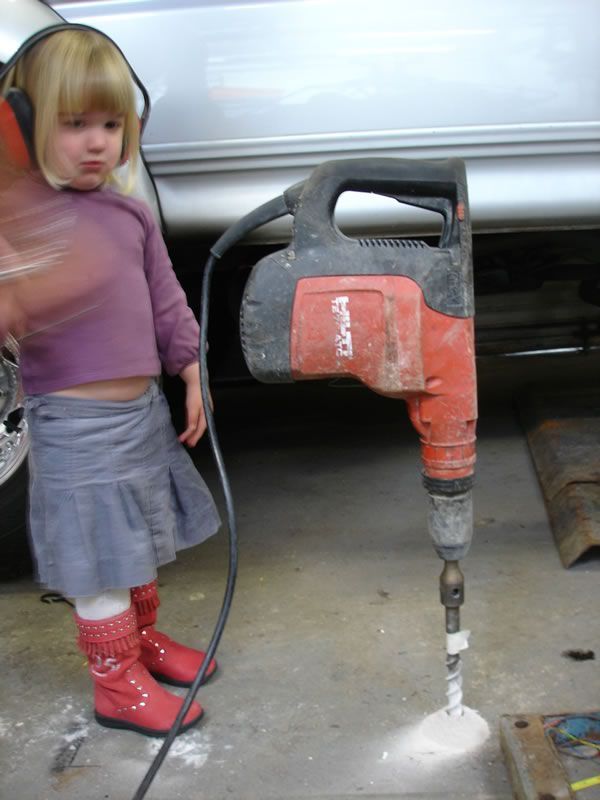 James giving the holes a quick shake&vac to get rid of all the excess dust 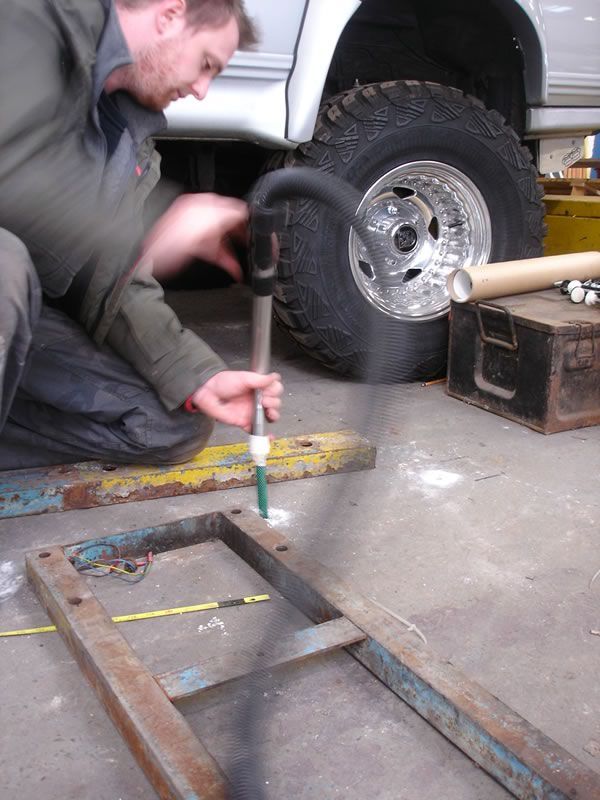 Airline used to blow out the remaining dust 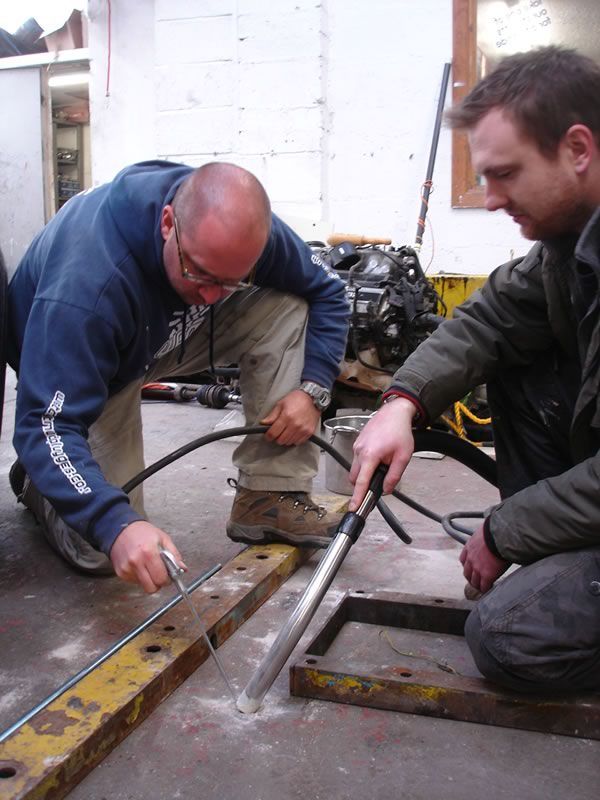 This was when the fun began! The resin I had bought needed a special gun. It turned out the special resin gun I had borrowed didn't work with these resin cartridges! Tim devised a way of getting it to work with bits of chopped bar, some socket extensions and some prayers! 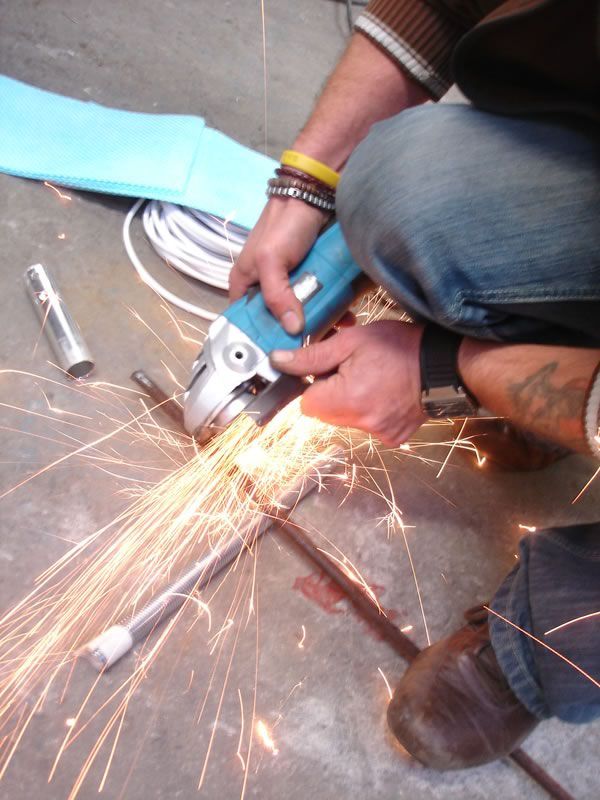 Mission aborted - despite his best efforts, Tim couldn't get the cartridges to mix evenly.....so it was back to basics..... ....mix the resin & hardener manually and press it into the holes ourselves. 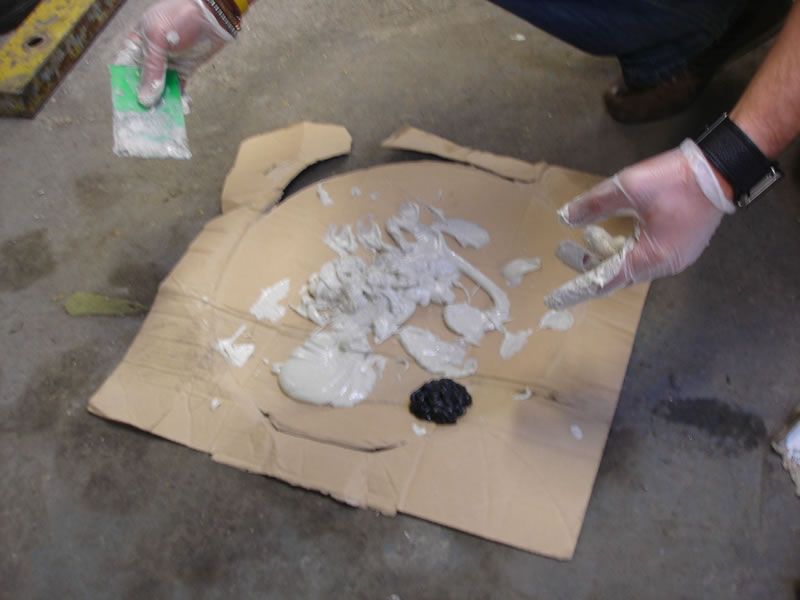 You had to be there - the fanny fart noises made while pushing the resin into the holes was just hilarious! So was the 'splatter' that everyone seemed to end up covered in. 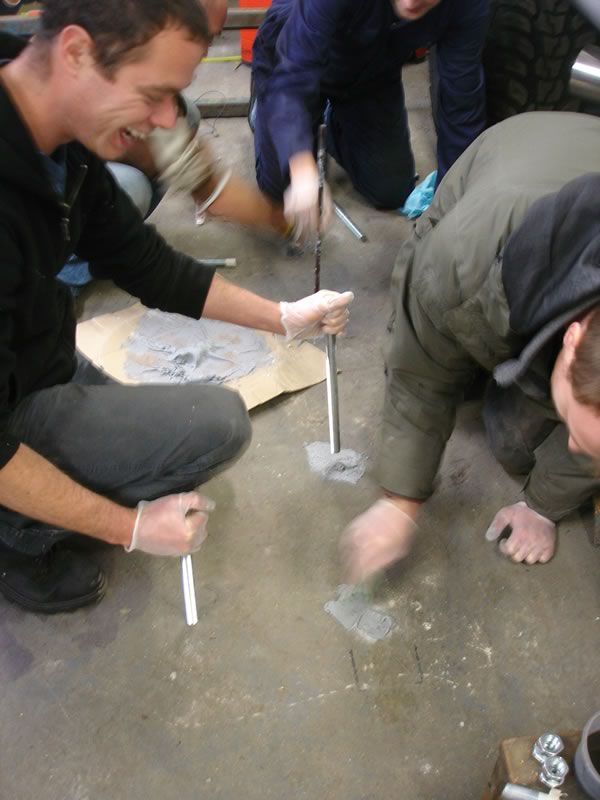 Finally the bars were all set into the ground 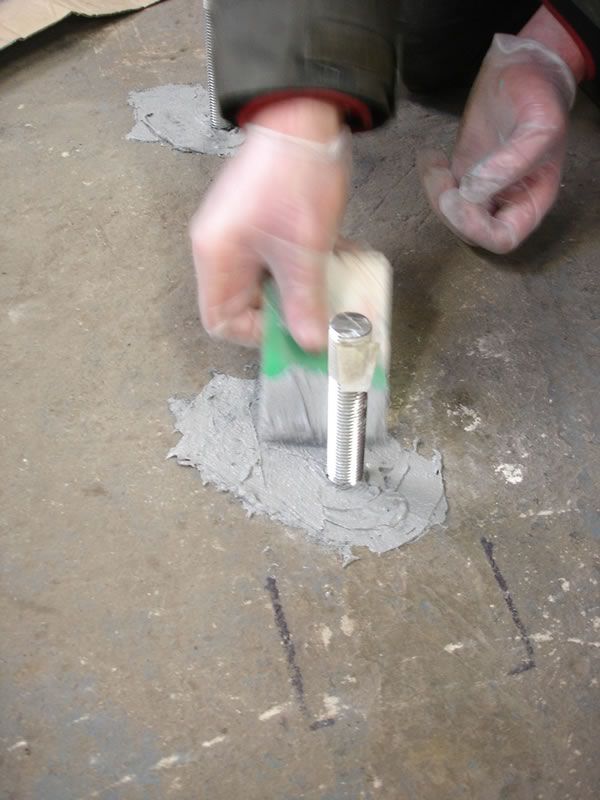 The stabiliser feet were placed over to make sure the bar set in the correct positions - James approves 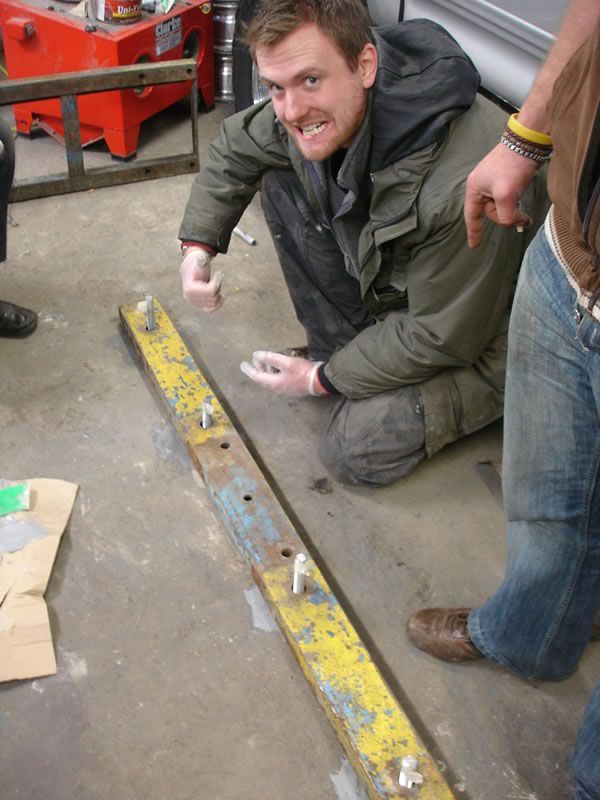 Some of the mess created just to get the bars set into the floor 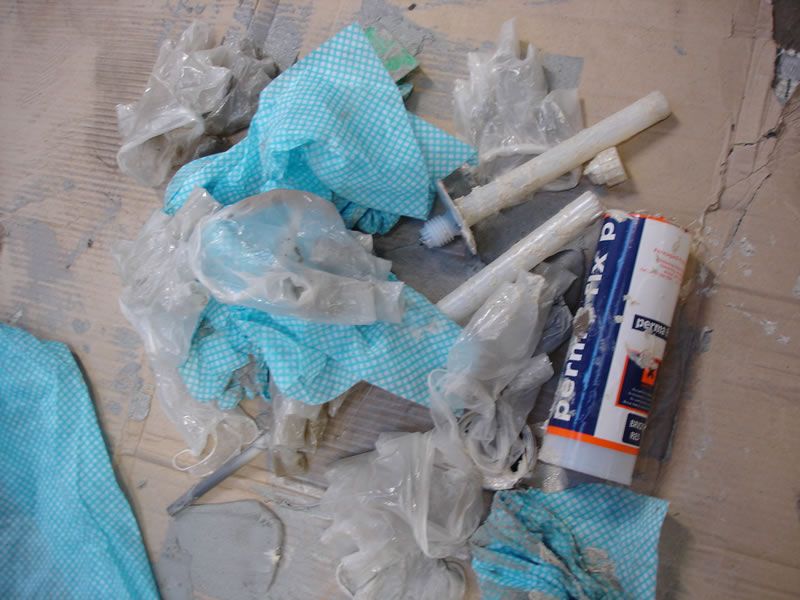 Then James (Jrevillug) got to work on rewiring all the microswitches - no scocthblocks here - all soldered and heatshrunk (as wiring should be  ) all previous wiring which had been adapted/added to and amended over the years was binned 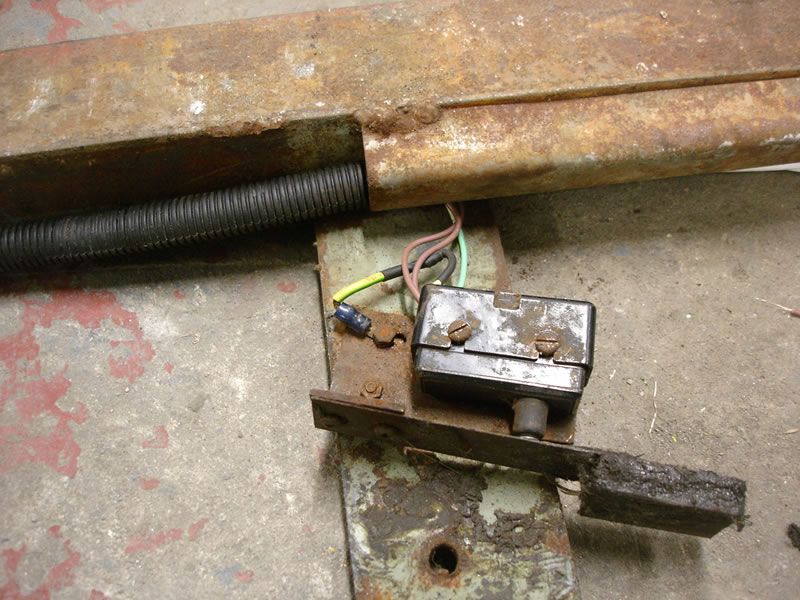 New wiring throughout complete with extra conduit for added protection 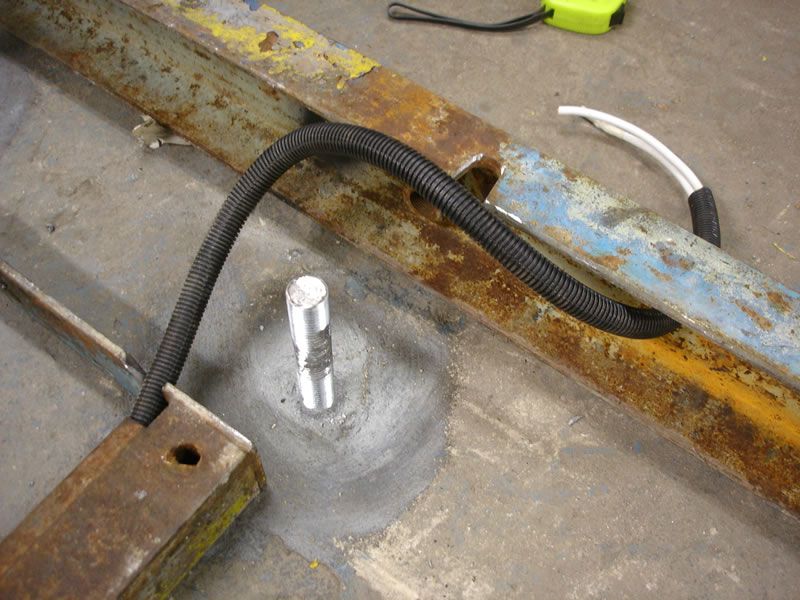 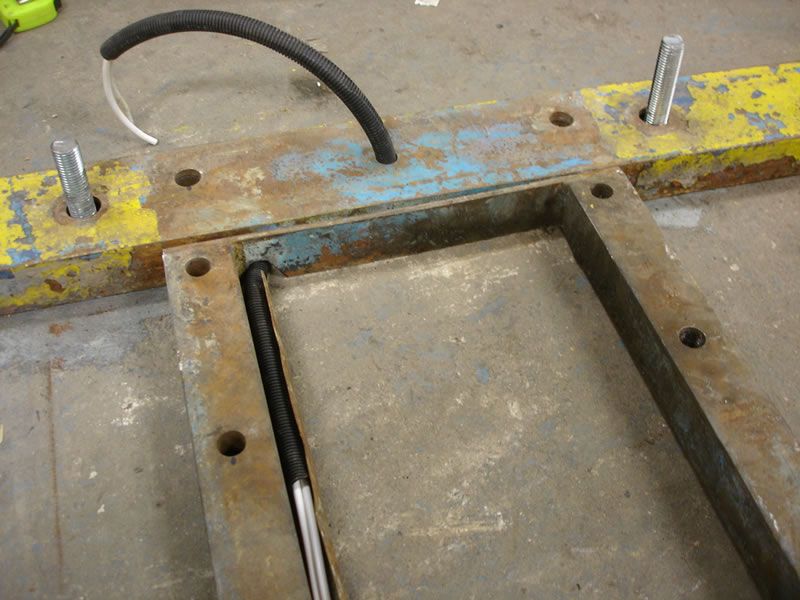 ....and that was as far as we got because the next step was to fit the posts themselves and we decided there just wasn't enough manpower to risk doing this job. Time was getting on and James, Ben and myself still had Ben's Volvo to pull apart then put back together so we decided to leave the rest of the lift installation until next weekend (PlayDay III on the 14th) when there would be plenty of people to help with the lifting and fitting of the posts. Thank you again to everyone for coming along, helping out and getting the lift that much closer to being more than a large ornament! I can't wait until it is in and working..... A parting shot - Phil (Swollen) and his wife Clare popped in for a cuppa and chat - along with their little Rascal. I just had to get a pic of him next to the Rascal ;D 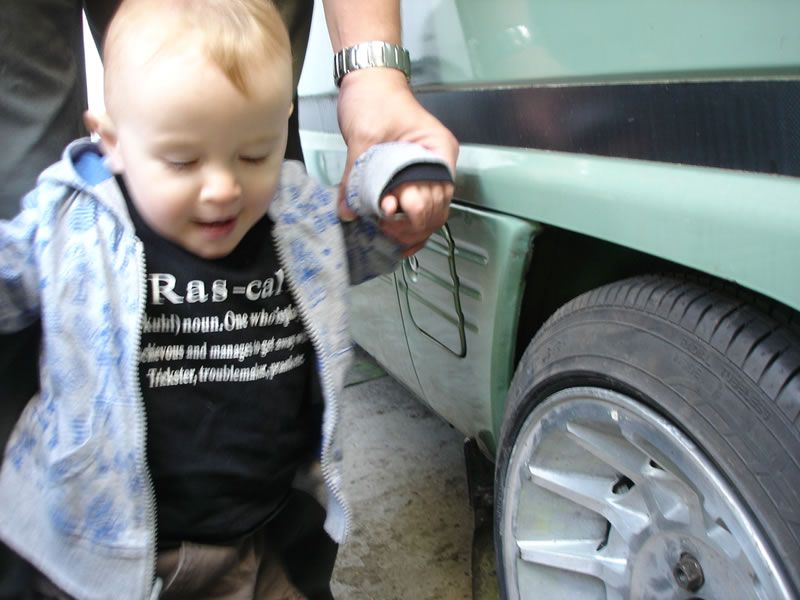 |
| |
|
|
|
|
|
|
|
The day after returning from that trip to Wigan with Ben and his Volvo I find myself heading over to Street in Somerset to collect a van full of wood and a trailer full of metal! Upon arriving at Street, Phil (Swollen) jumps in the van and we head over to his friends (Darren) who is selling off a load of racking. I am picking up the remains of the 'small stuff'......the proper heavy duty racking that Darren has for sale will be finding its way into the 'Parts for Sale' section very soon. I didn't buy the really heavy duty stuff because it's just a bit too much for poor old Area52. When he says there is a lot of it....he means A LOT!! Here is the wooden shelves - this lot fitted into the back of the Delica! 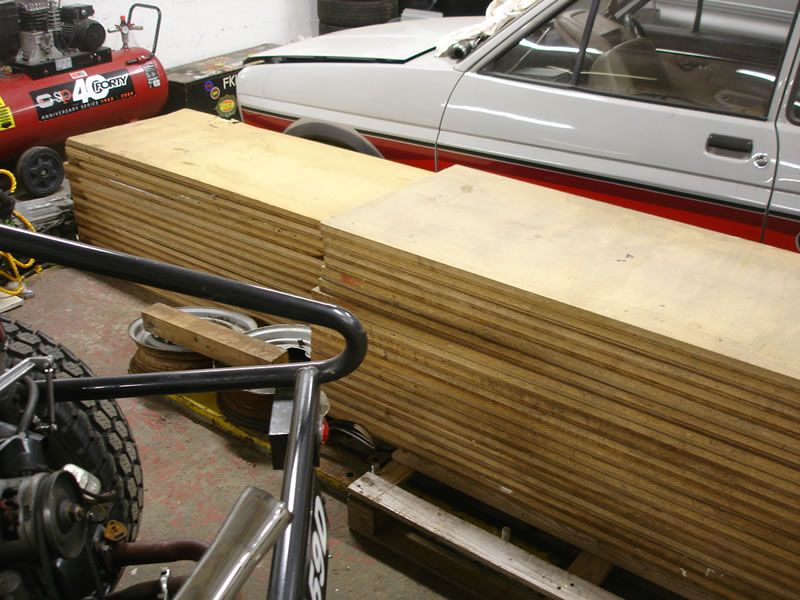 The metalwork: crossbars & uprights......not particularly heavy individually - but this much of it weighed a hell of a lot! With all that wood in the back and all the metal being towed behind, my Delica really did slow down on the hills! 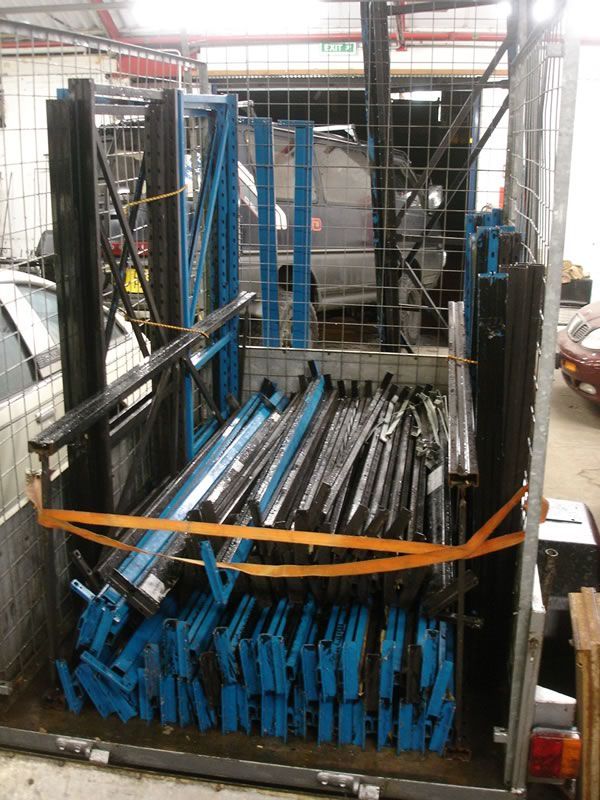 Thanks again for the help getting it all loaded Phil. It meant I still had some energy left to unload it all back at the unit  The reason for getting the racking is because the unit is getting a bit chaotic with all my stuff, Morgs' stuff and also HTW's stuff....some organisation is needed 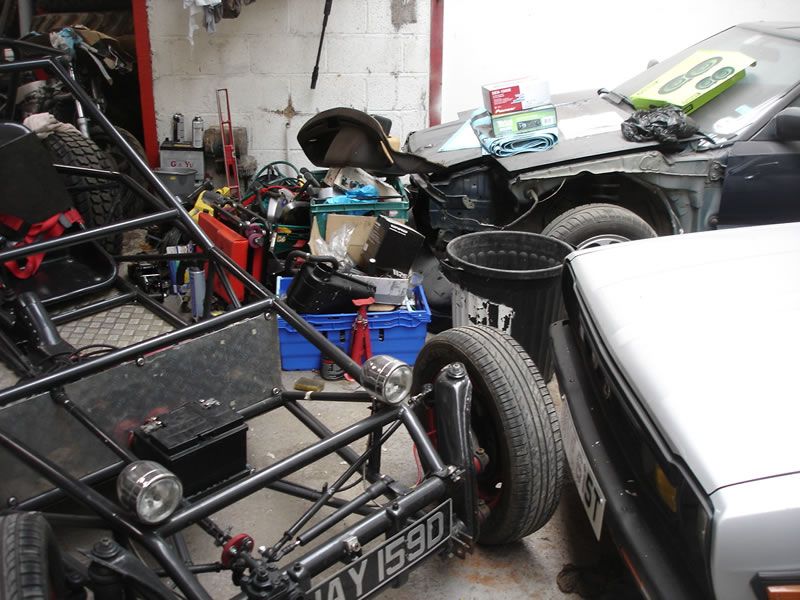 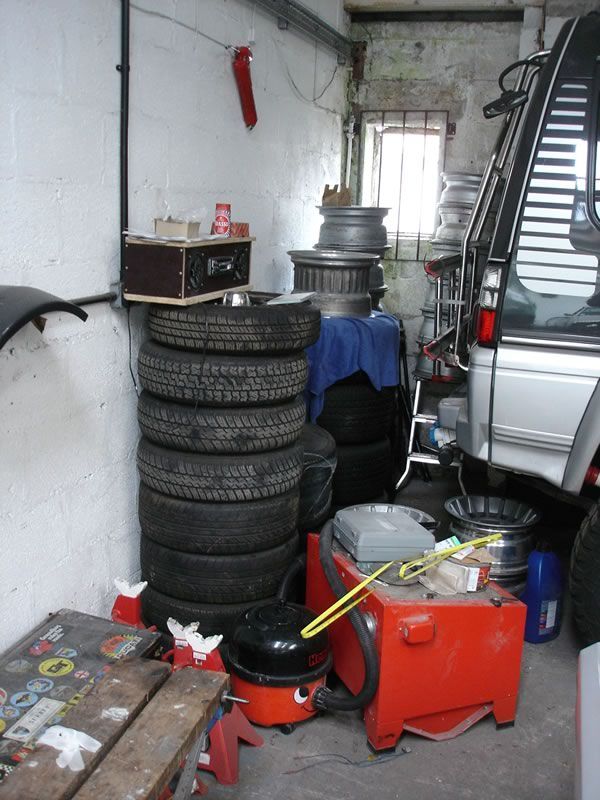  First job is to weld all the uprights back together. Darren had cut most of them down to fit into a certain area of his old workshop. I wanted them back to full height, so had to crack the welder out for some more welding practice. Here you can see one upright laid out ready to be joined back together with some of the other uprights awaiting their reuniting 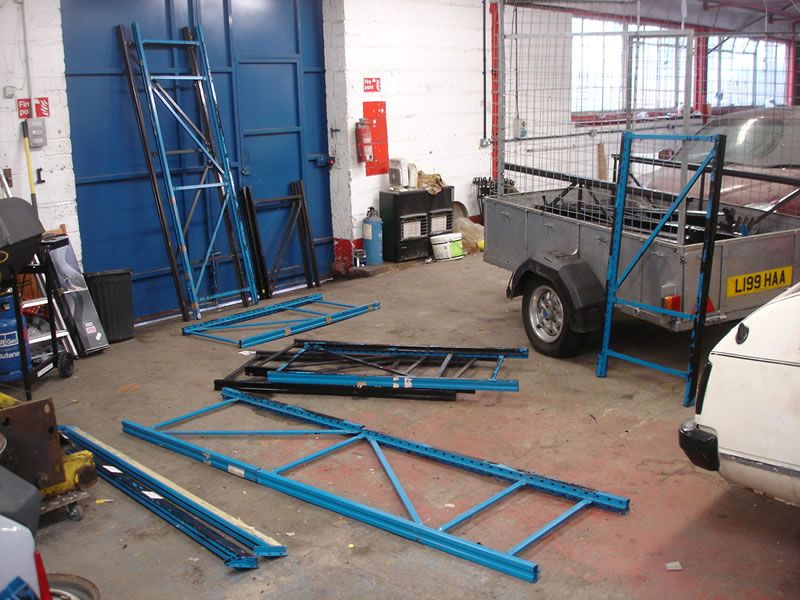 Clamping the two parts against a full length upright meant I could get it straight and true 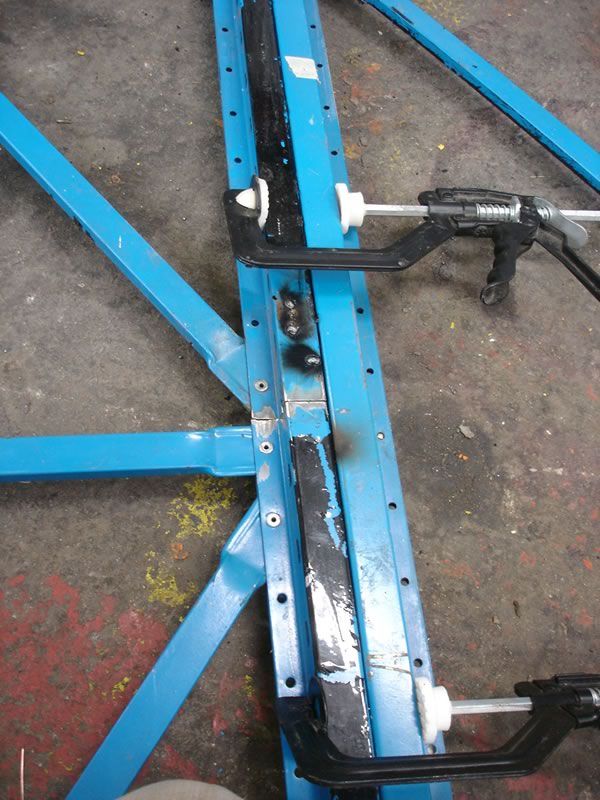 Some melted metal later, all the uprights are back to full height 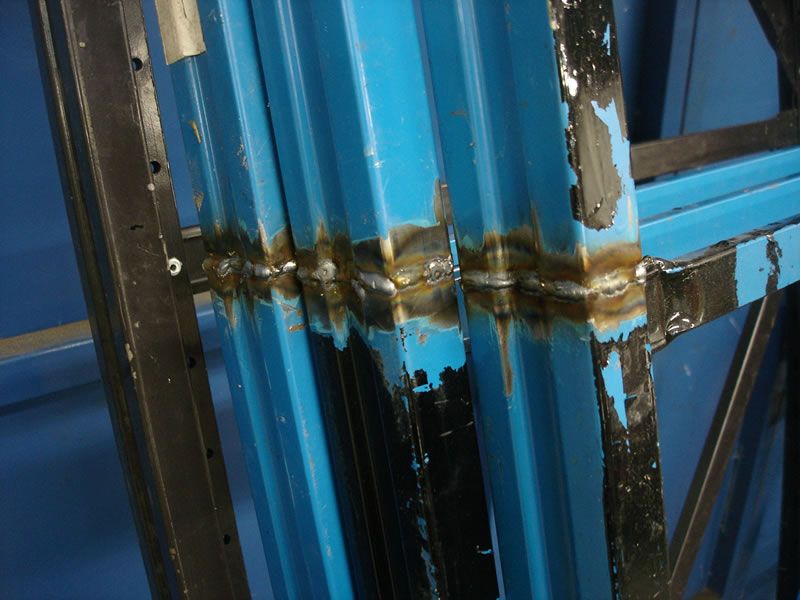 Don't you just love flap discs?? 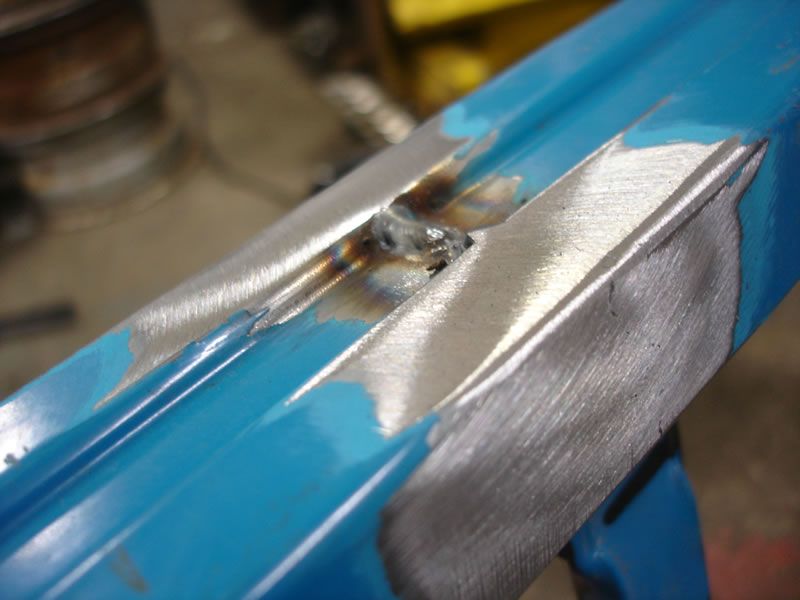 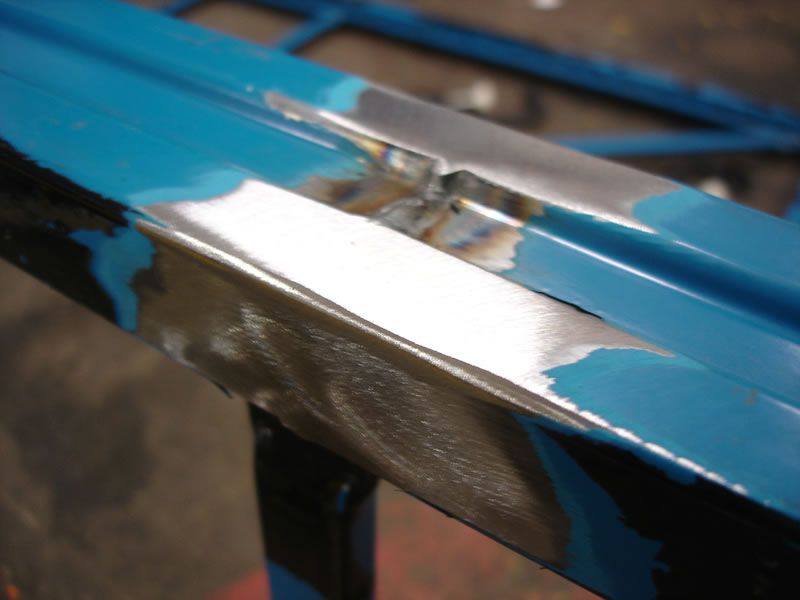 Putting it all together was simple in principle, but trying to get it all assembled on my own was a proper workout - especially lifting the big wooden boards ontot the upper shelf supports! 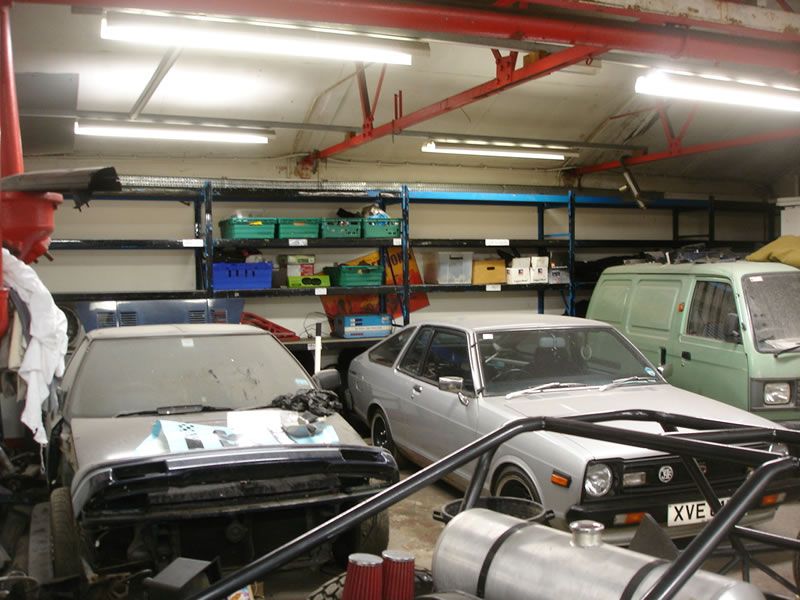 The racking runs the full length of this area - and I mean full length! Not even 1mm spare!! I adapted the end bay to fit really snug - maximising storage with no wasted space 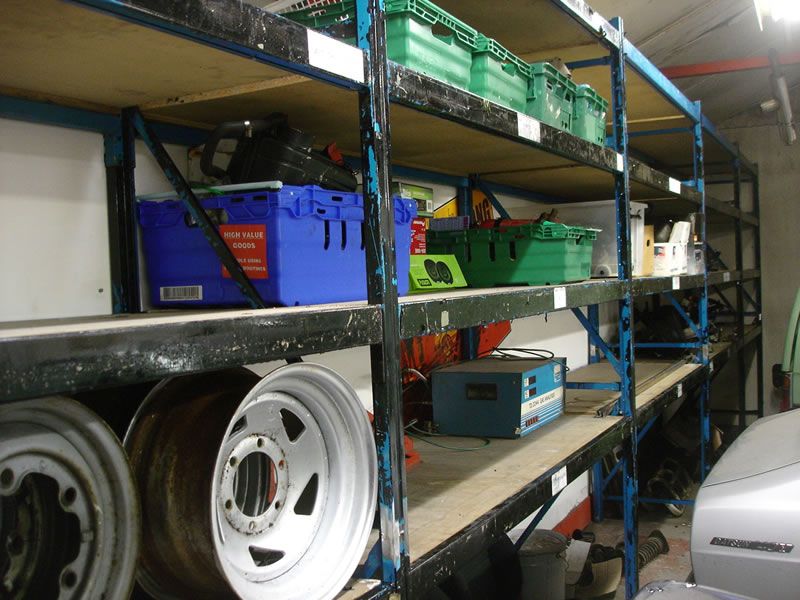 The lowest part has enough height to store seats, engines....anything fairly bulky which is quite handy because there are lots of bulky things dotted around the workshop. The shelves are strong enough to hold gearboxes which is a good thing seeing as there are currently four lying aorund the workshop floor! 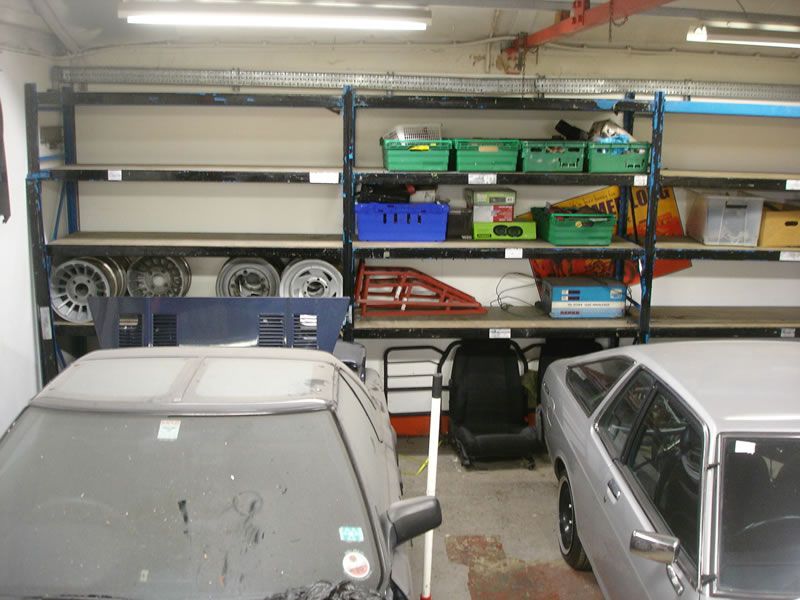 This racking really should transform the workshop - giving more (a LOT more) floorspace as well as allowing me to get things more organised....so I can actually find things when I need them. There is also enough racking left to make a nice large workbench and some more shelves. Excellent value I reckon for £150! |
| |
|
|
Steve
Posted a lot
   Making progress in small, easy to handle chunks of awesome
Posts: 2,038
|
|
|
|
|
Mr MysteryMachine..........I'm deeply in love with the unit!
|
| |
|
|
|
|
|
|
|
Looking good Bruce, but I should point out the my daughter had only just woken up. She drilled 32 holes in the floor later that day, you just didn't see her.  Chris |
| |
|
|
|
|
|
Nov 13, 2009 10:00:26 GMT
|
|
is that a uva fugitive ?
|
| |
|
|
|
|
|
Nov 13, 2009 10:14:48 GMT
|
|
That racking is spot on mate.. looking forward to all the changes being discussed over a beer tomorrow.
|
| |
Daily: Spazda Mx5
'A52's Fastest steak eater 2010'
|
|
|
|
|
Nov 13, 2009 10:47:31 GMT
|
|
the racking is awesome shame its covered over the poster though
|
| |
2001 Micra 998 - Daily
1986 Mini Mayfair 998 - Former Daily - Garaged
 |
|
eddbmxdude
Part of things
  Yeah, its a turbo!
Posts: 524
|
|
Nov 13, 2009 11:12:52 GMT
|
|
NICE RACK! ;D
|
| |
Old skool cool!
Signature image maximum height: 80 pixels
|
|
|
|
|
Nov 13, 2009 11:37:56 GMT
|
|
Think you missed a trick with the racking Bruce, they could have been used as bunk beds rather than parts storage!
I am now insired to make my own racking units for the garage and ditch the old kitchen that is in there.
|
| |
|
|
|
|
|
Nov 13, 2009 11:55:09 GMT
|
Sure is....it seems to spend most of its time as a communal 'quick blast' vehicle on play days Here is BiAS and Miss BiAS just coming back from a run in it 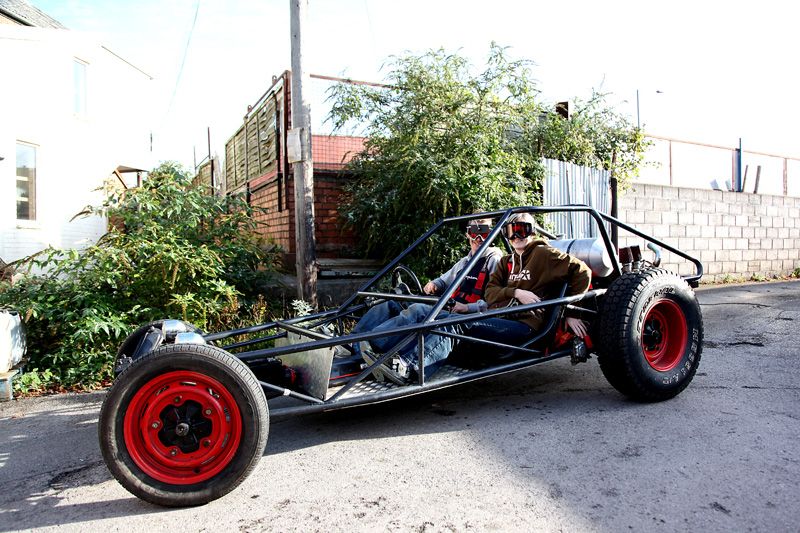 JoeTheFish and ColonelK just heading out for a quick fix of flys & grit in the teeth! 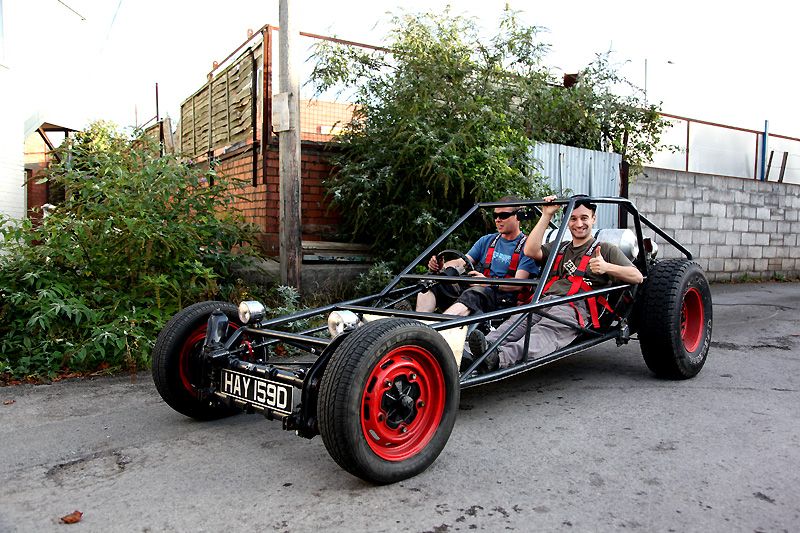 It's AWESOME fun!  no creature comforts at all!  But I do get out & about in it.... 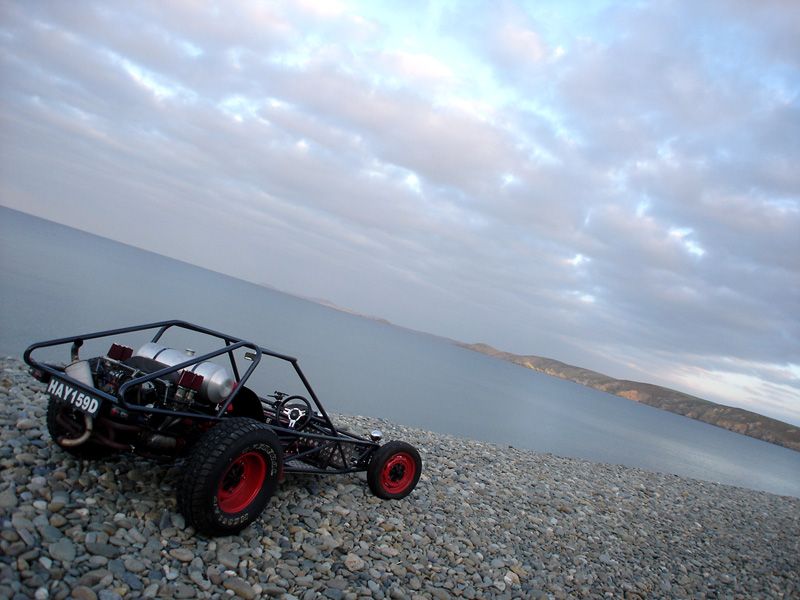 |
| |
|
|
|
|
|
Nov 13, 2009 11:59:30 GMT
|
Think you missed a trick with the racking Bruce, they could have been used as bunk beds rather than parts storage! I am now insired to make my own racking units for the garage and ditch the old kitchen that is in there. When I was setting the shelf heights I did think it would make some awesome bunks for PlayDay weekenders! Wouldn't want to be higher up though! Might have to clear the entire bottom shelf run for people to sleep on tomorrow night ;D As for making some for your garage, you're welcome to have any crossbars & boards left over once I've got the workbench and other shelves made up. They are mega strong, so a good cheap base to start making your own racking.....  |
| |
|
|
|
|
|
Nov 13, 2009 12:02:03 GMT
|
the racking is awesome shame its covered over the poster though Yeah - I'd put the poster up before I knew about the racking  Not to worry though - I can easily print another one and there is the smooth wall to the left of the MR2 (left hand end of the racking) which will probably be the new place to paste up all the cool posters that are being donated to the unit. Thanks for all the kind comments everyone.  P.S. Chris, the 32 holes Lucie drilled will make for a good mini-putting course LOL |
| |
|
|
stealthstylz
Club Retro Rides Member
Posts: 14,960
Club RR Member Number: 174
|
|
Nov 13, 2009 12:15:20 GMT
|
|
Looking good mate, hope you left room for those tyres to be hidden away lol
|
| |
|
|
|
|
|
Nov 13, 2009 12:23:05 GMT
|
Looking good mate, hope you left room for those tyres to be hidden away lol LOL - they are behind the MR2 under the first shelf where the wheels can be seen. They just fit! They might be getting some rims fitted this coming week. Good times  |
| |
|
|
|
|
|
Nov 13, 2009 13:32:12 GMT
|
|
Wow, amazed it fitted so well. looks good.
plenty of room for more gubbins... sweet!
Had Edward grinning from ear to ear at the picture of himself. ;D
|
| |
Full of automotive and culinary delights visit:  1994 Subaru Legacy Estate Turbo 1985 Vauxhall Nova SR 1995 Fiat Cinquecento Sporting |
|
Mark
Club Retro Rides Member
Posts: 2,097
|
|
Nov 13, 2009 13:54:52 GMT
|
Yo mark, i'm gonna be in gatwick dropping my muvva off friday morning, Dunno when or where you're flying in but the offer of a lift in a westward direction is still there. Although I won't be going straight to Area 52 as i'm on the doors friday night. Hey dude, Only seeing the offer now. Ta! I'm on a bus on my way down to Bruce's now  I can't believe the price of public transport over here - craziness. See ye all tomorrow! P.S - Your rack looks awesome (thats not the first time I've said that) |
| |
Last Edit: Nov 13, 2009 14:07:01 GMT by Mark
|
|





 [*]
[*] [*]
[*]


 ) all previous wiring which had been adapted/added to and amended over the years was binned


