|
|
|
Jan 26, 2010 18:43:29 GMT
|
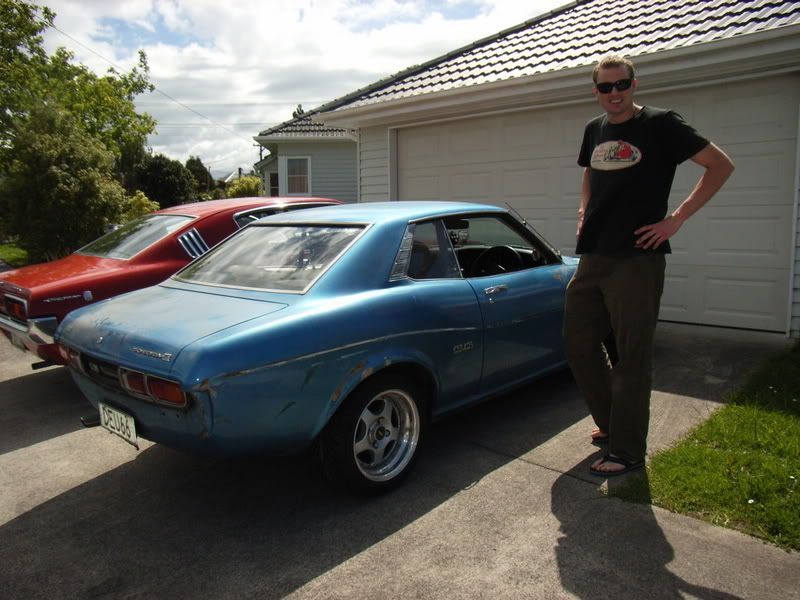
a quick introduction, Ive been lurking around the site for a while now and I thought I should try to give something back to the site. Ive copied my build thread from another site so it might not make sense in places. I hope you like it and I hope someone gets a bit of inspiration for their own project. I built the car in melbourne and bought it back to New Zealand with me when I came back. its running a 1JZ with a W55. it has a comminwhore LSD, coilovers, nolithane and all the other bits. 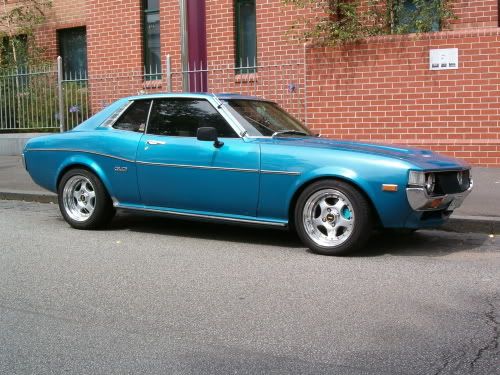 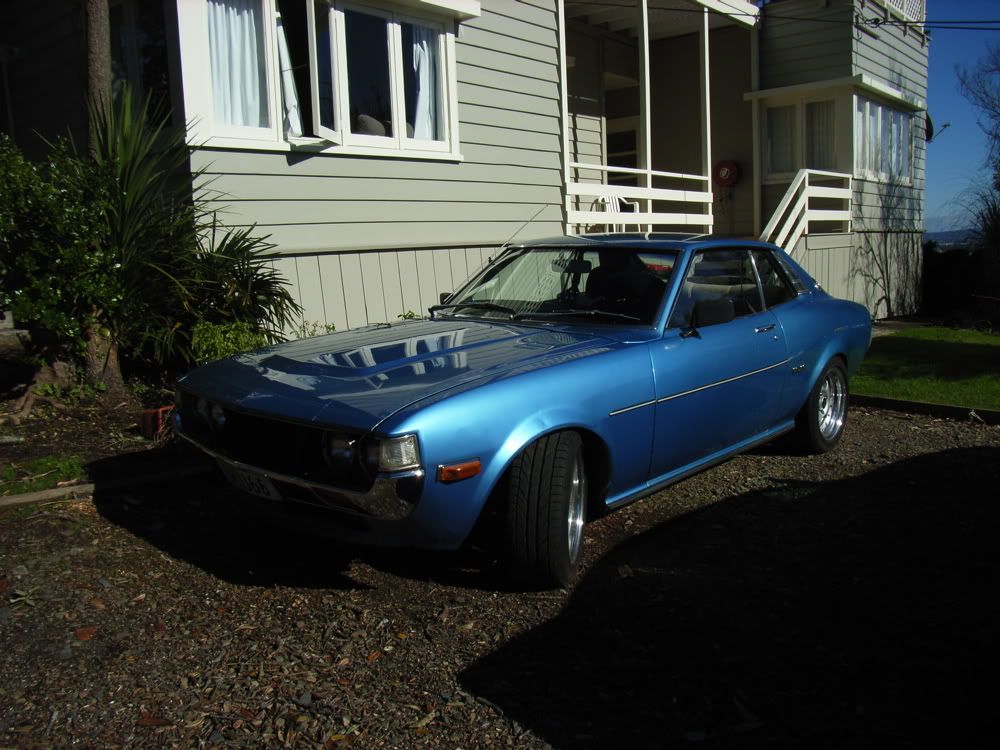 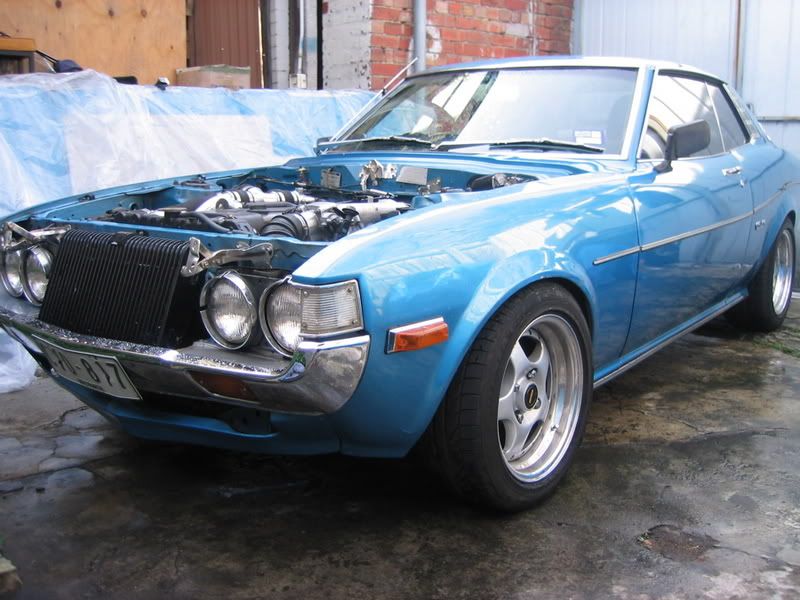 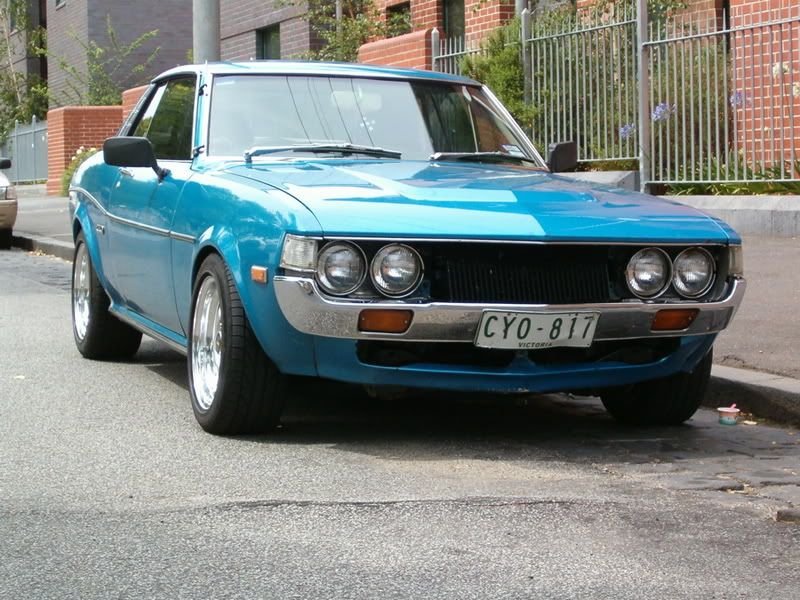 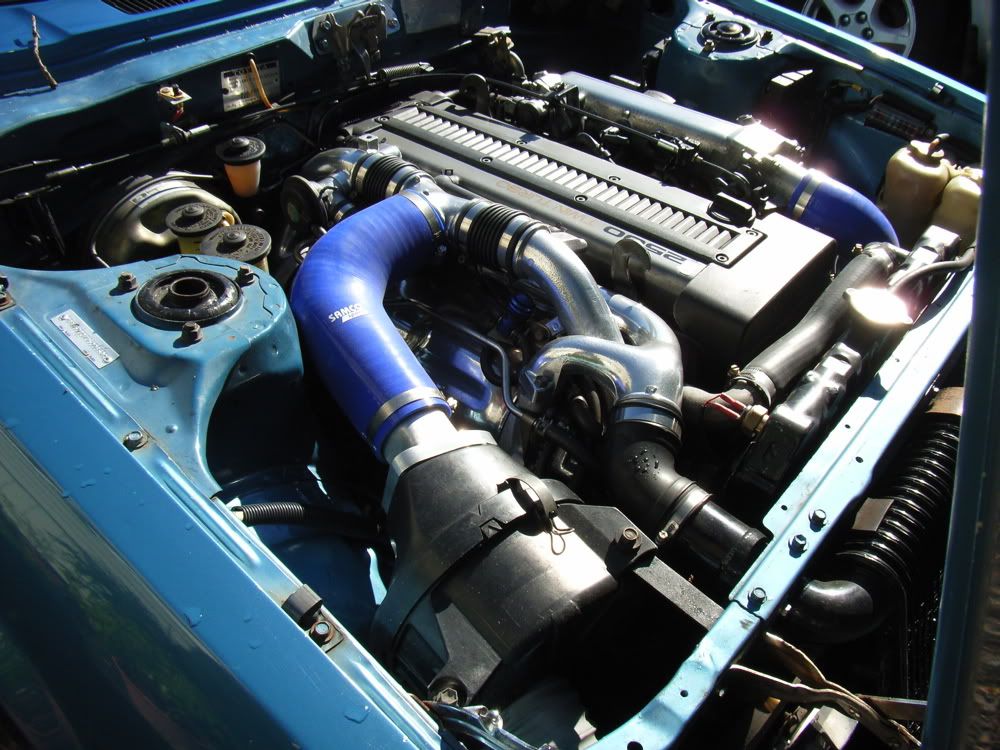  then I decided to bend it. 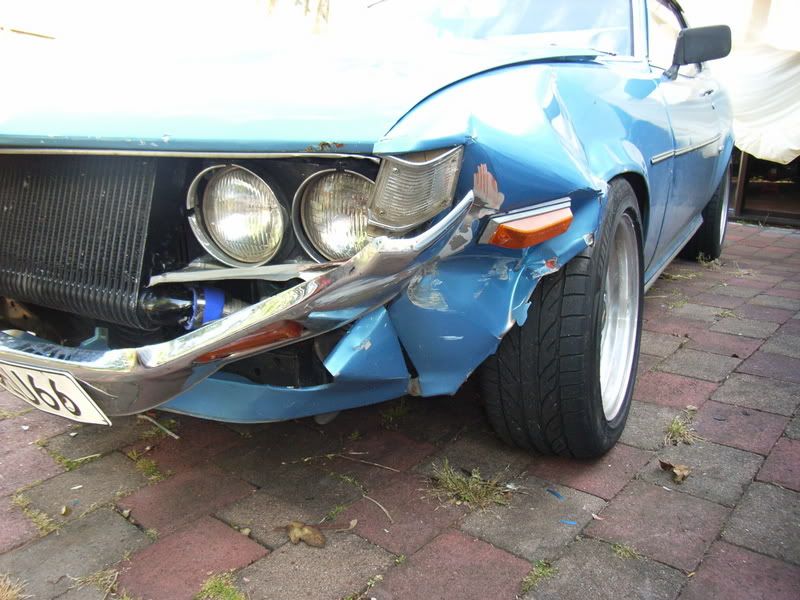 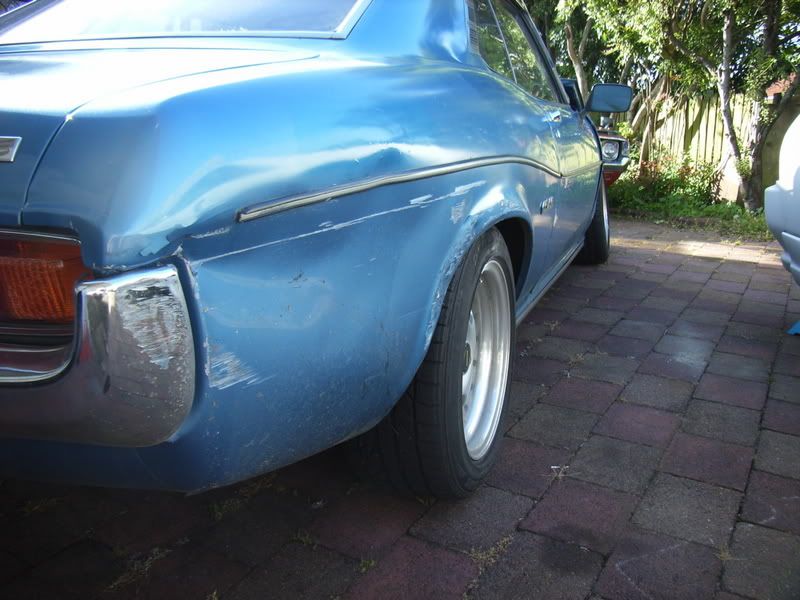 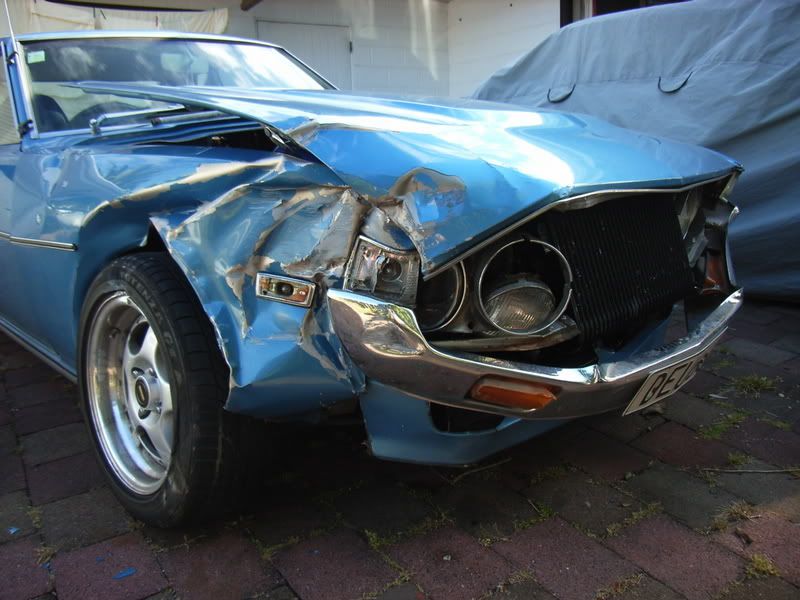 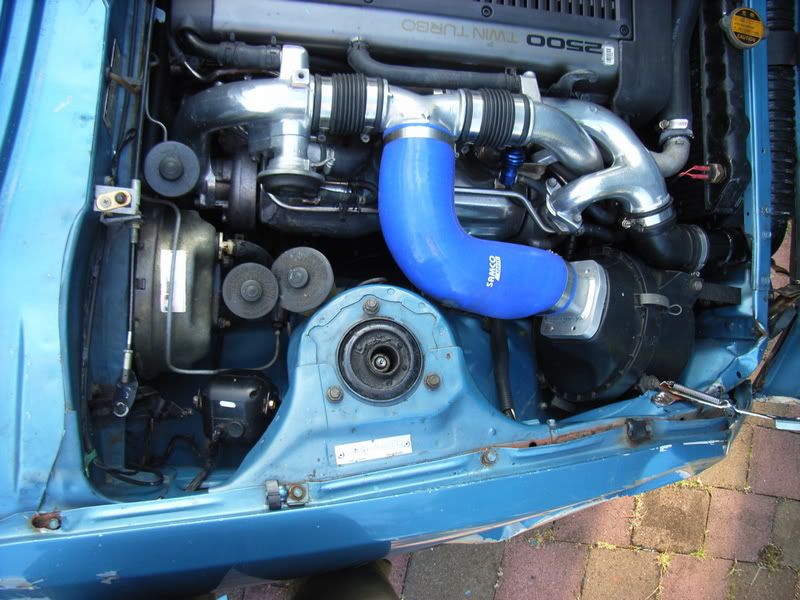 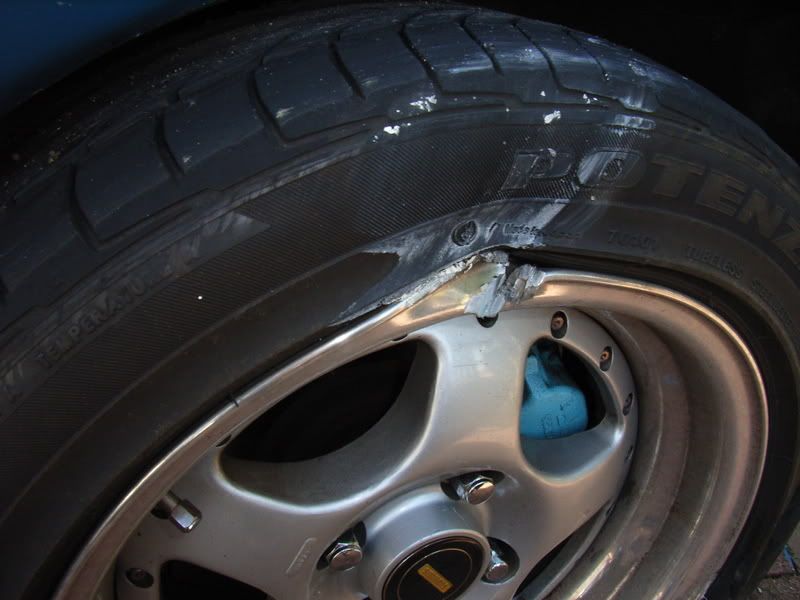 its currently in a million bits. the front has been straightened and Ive got most of the bits I need to re-build it. the next stage is to get the paint done then ill put it back together. latter, Sheepers.[/quote] |
| |
Last Edit: May 9, 2017 18:44:45 GMT by sheepers
|
|
|
|
|
|
|
Jan 26, 2010 18:44:17 GMT
|
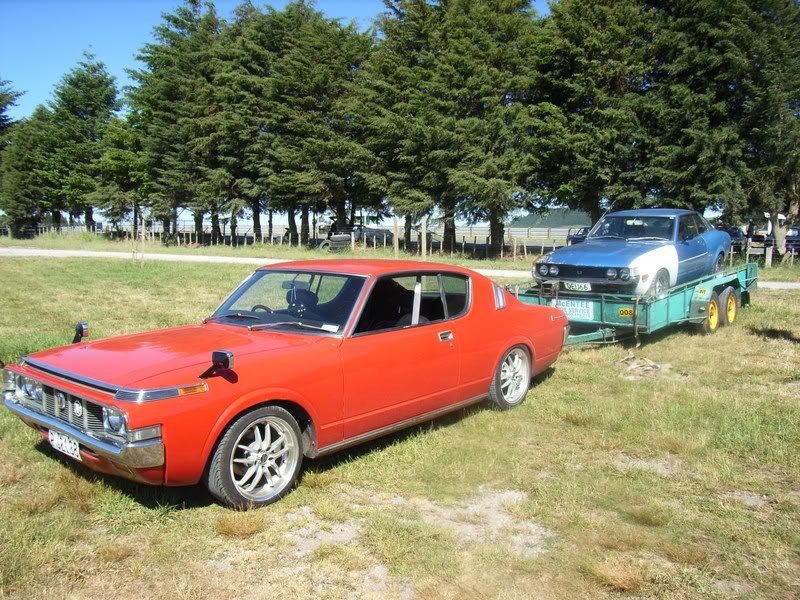
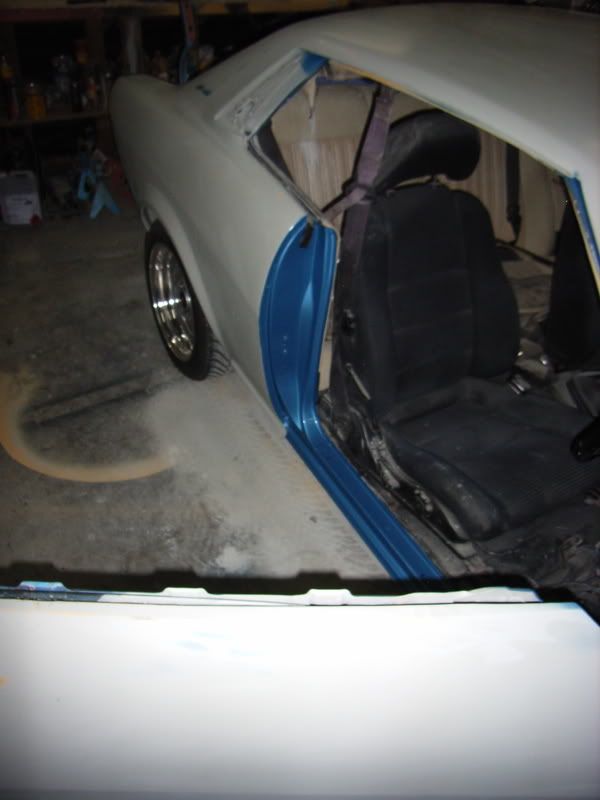
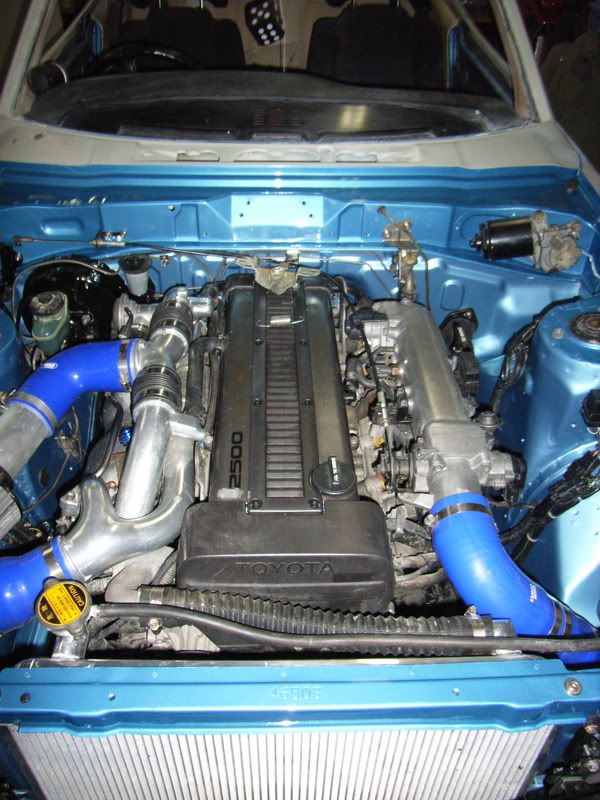
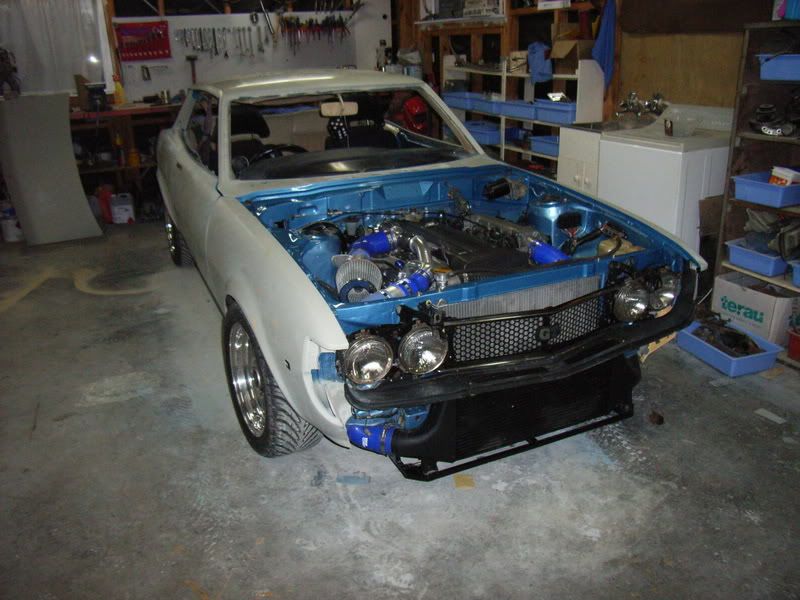
well, ive done a few bits and pieces to the celica and my plan is to get it going before crissy. at this point I'm not trying to build a show car, i just want the thing back on the road. 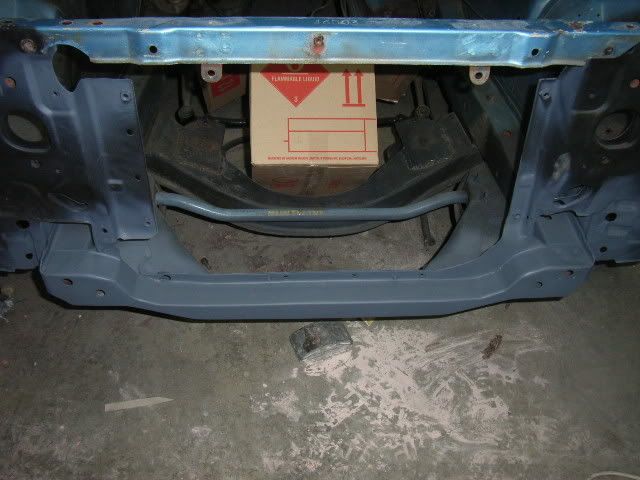 ive changed the front crossmember so i can move the radiator forward. a custom alloy radiator is being made now, this will allow me to put the fan behind the radiator and clean up the whole front layout. 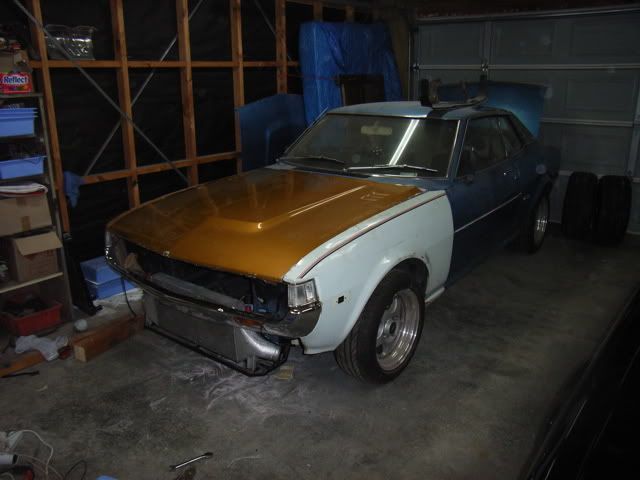 this is a trial fit of the pannels to make sure everything fits and will line up. so far so good. 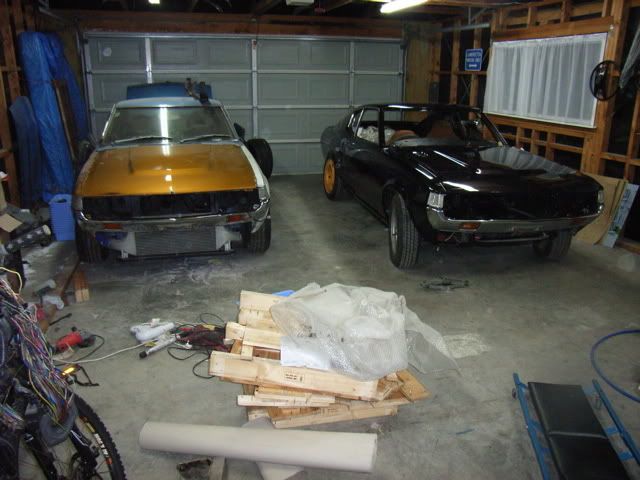 and this is my two most prized possessions sitting in the shed collecting dust and not being driven. the next thing I'm have to do is get the bonnet,and gards dipped. then its trial fit the motor and get all the bits and pipeces in the right place, then paint the bay.... latter, sheepers |
| |
|
|
|
|
|
Jan 26, 2010 18:45:04 GMT
|
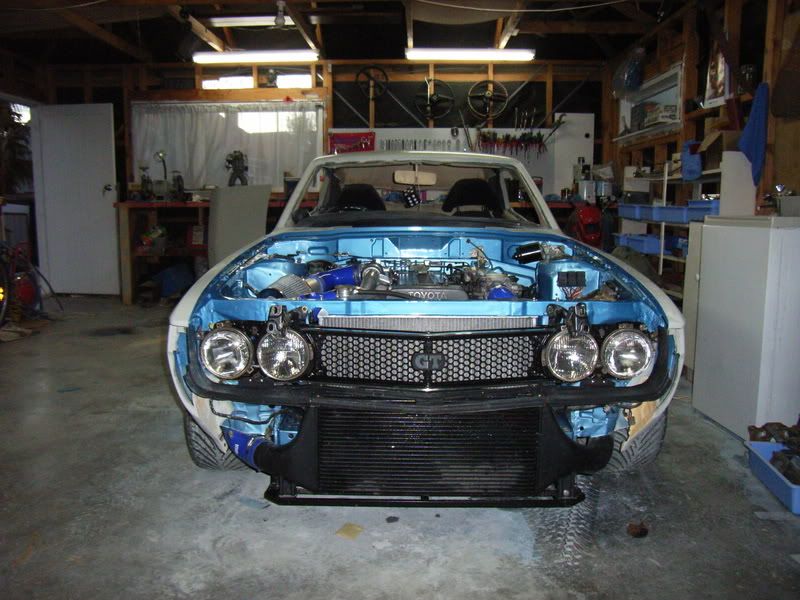
i have been very busy trying to get the car back on the road. i have made a new exhaust and sorted out the intercooler/ radiator mounting. the engine bay is going to be painted on the 27th of this month so ive been busy getting the bay ready for paint. 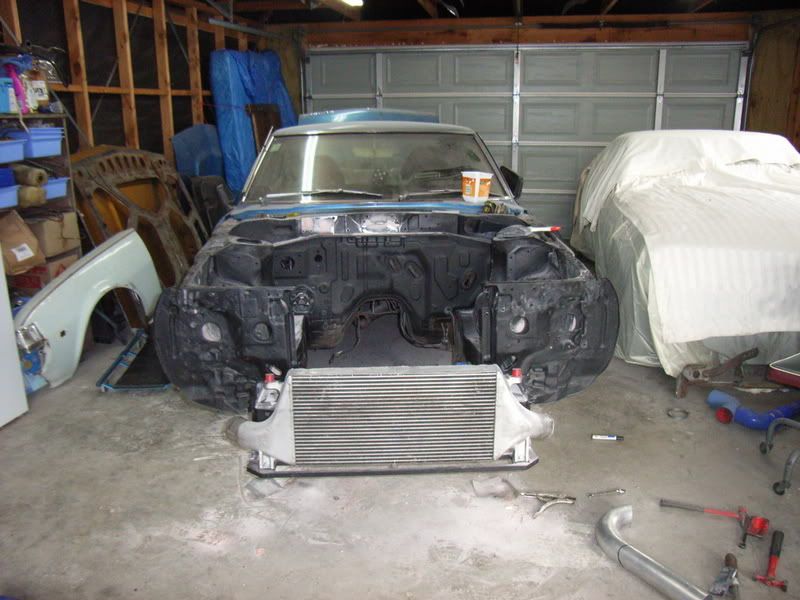 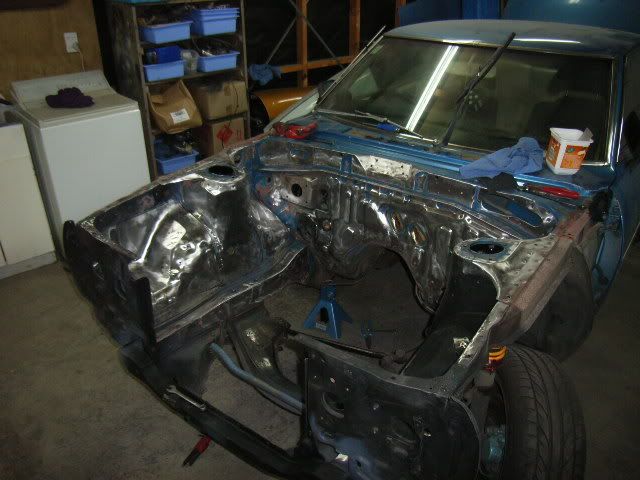  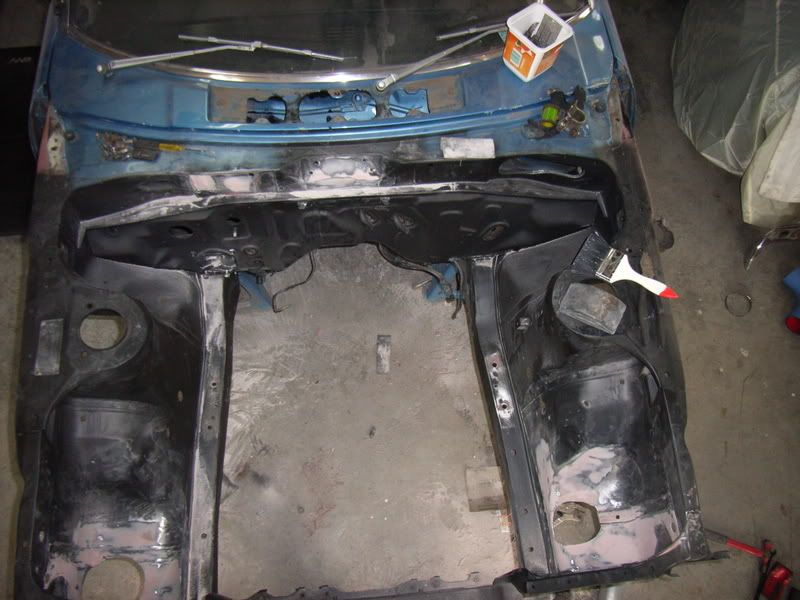 looks very weird with no front to speak of and basically complete from the fire wall back. i can lift the front off the stands, it weighs nothing.....  next week will be priming/sanding spot priming etc, then paint. then i can put the motor back in propperly and start it. i might have to do some little skids just to make sure all is cool before we paint the rest of the car |
| |
|
|
|
|
|
Jan 26, 2010 18:45:58 GMT
|
curse word BANG!!!!!!!  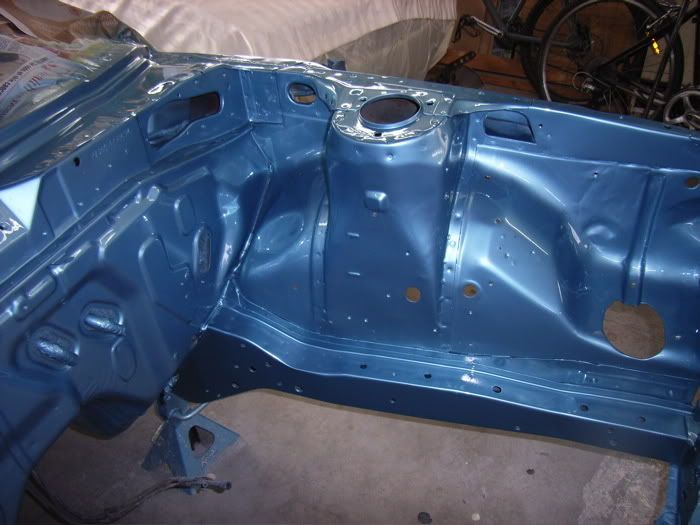 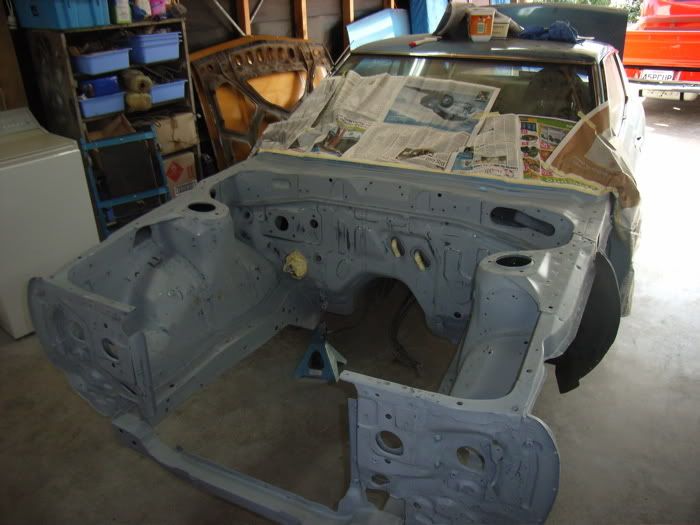 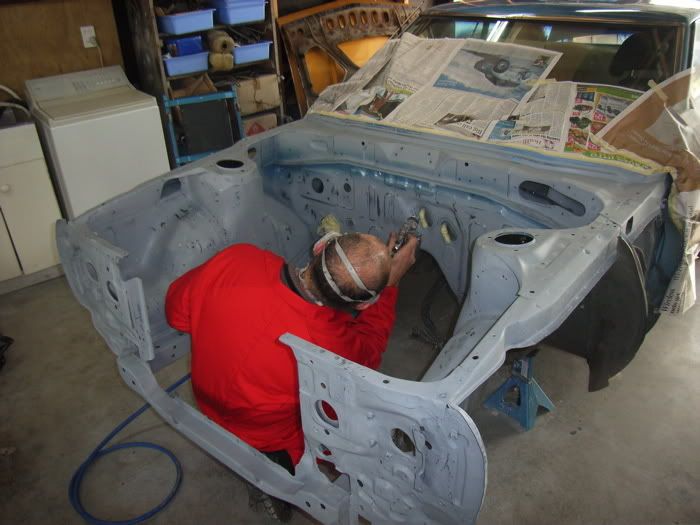 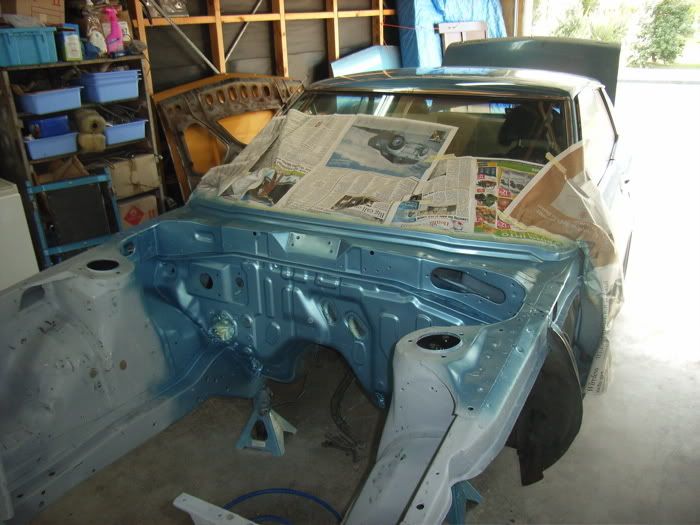 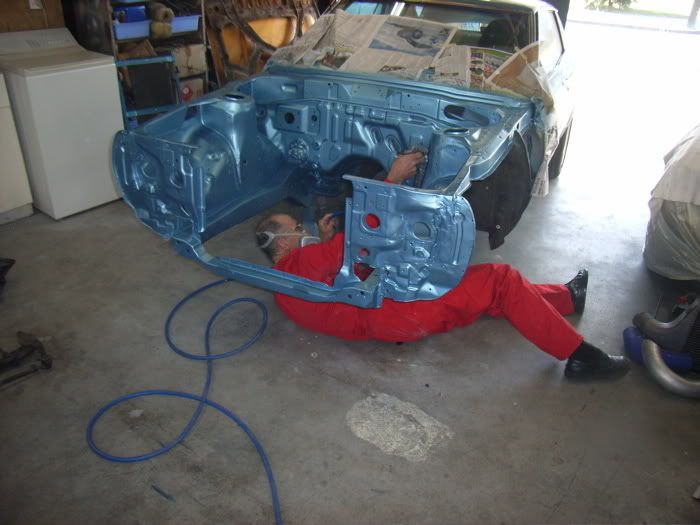 Sam and Peter talking curse word when Peter should be painting my car... 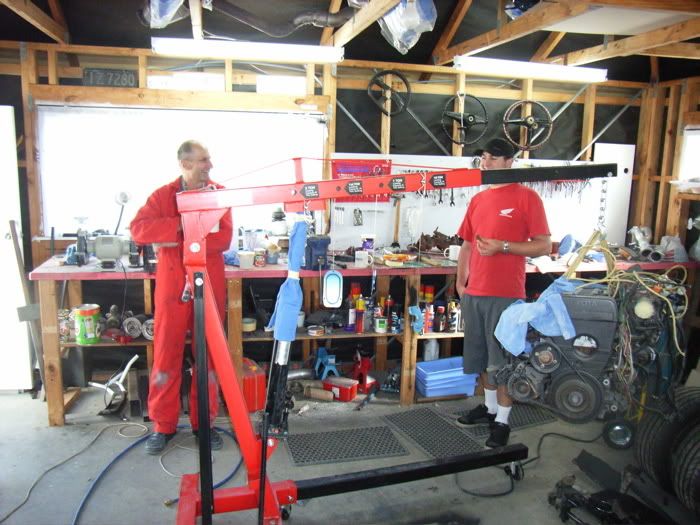 check out old school garage sheepers 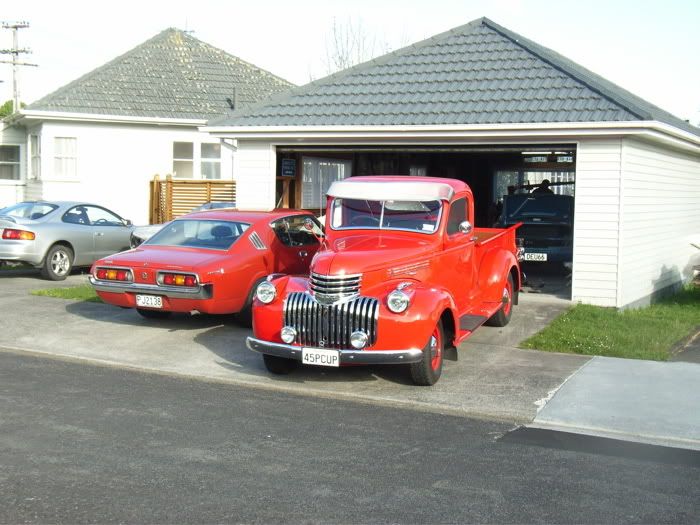 next is put the motor back in, get it running again, then paint the rest of it. i have to spend next in brisbane so that will suck a bit, but you cant have everything... latter, sheepers |
| |
|
|
|
|
|
Jan 26, 2010 18:47:23 GMT
|
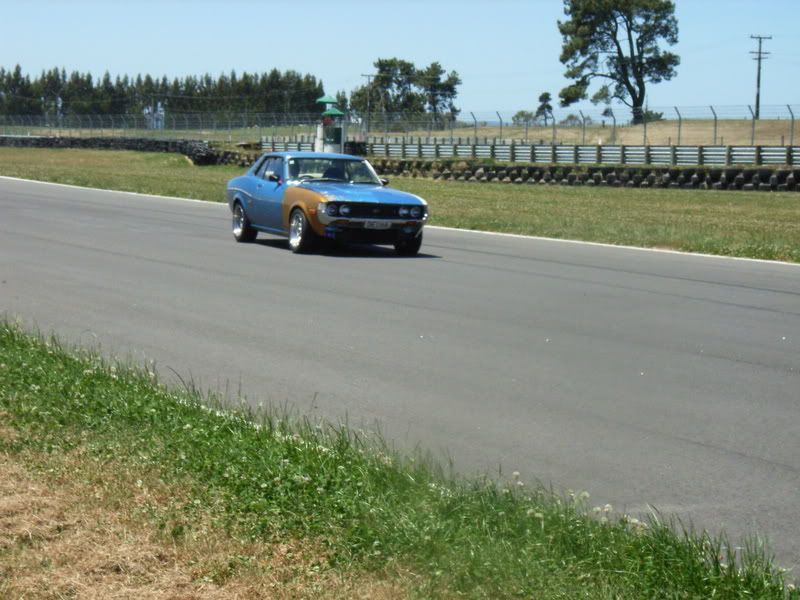
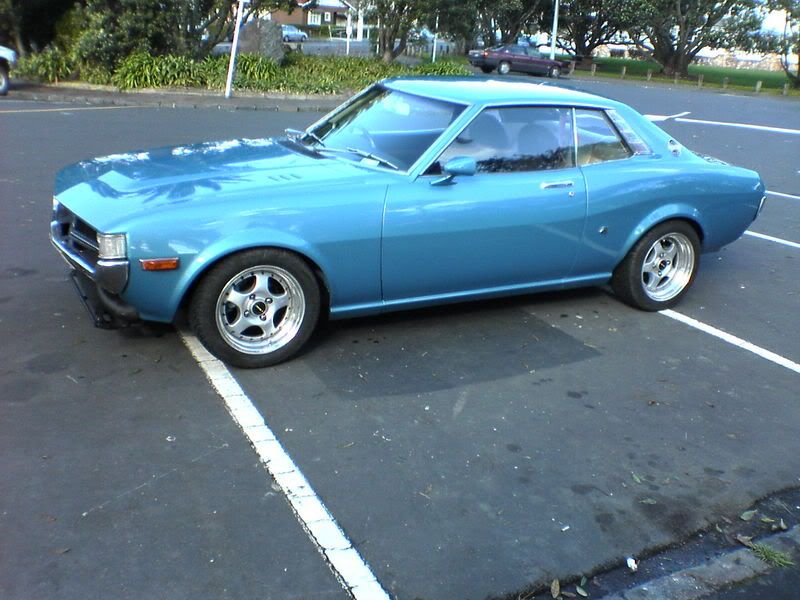
 today i drove it!!! its minus a few bits, like a paint job and a bonnet, but it goes fine, its really powerful compared to how it was!! it put the curse word up me, might have plenty to do with the front end being all over the place, no wheel alignment and such. but on the whole its sweet. goes well and no hickups yet.... I'm going to a track day next monday which will be totally cool. il let you know how i get on.... latter, sheepers p.s, check out my racing boots! |
| |
|
|
|
|
|
Jan 26, 2010 18:48:04 GMT
|
|
|
| |
|
|
|
|
|
Jan 26, 2010 18:49:02 GMT
|
Gasped out load when I saw the "after prang" shots, but looking good again now.  |
| |
There is no such thing as a curse word car just overstretched expectations................. Herald 10/10 Gasser 10/10 Total score 20/10 |
|
|
|
|
Jan 26, 2010 18:49:06 GMT
|
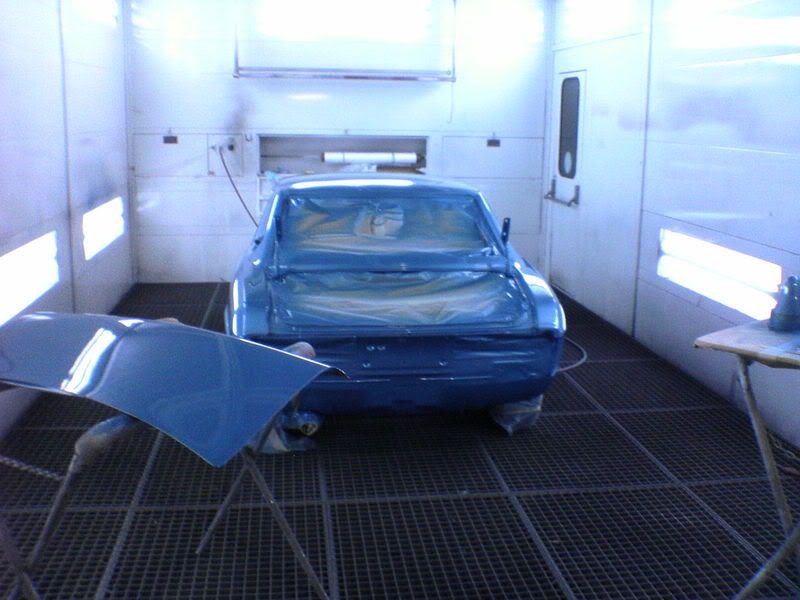
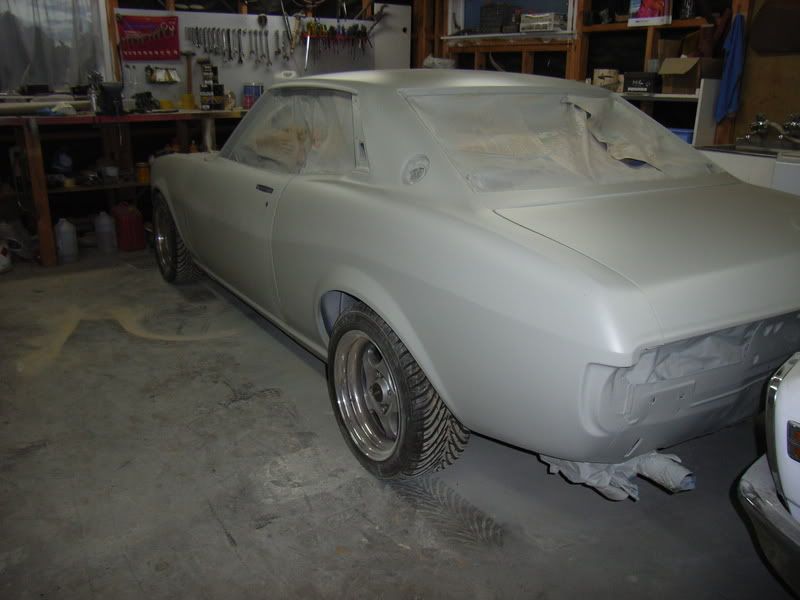
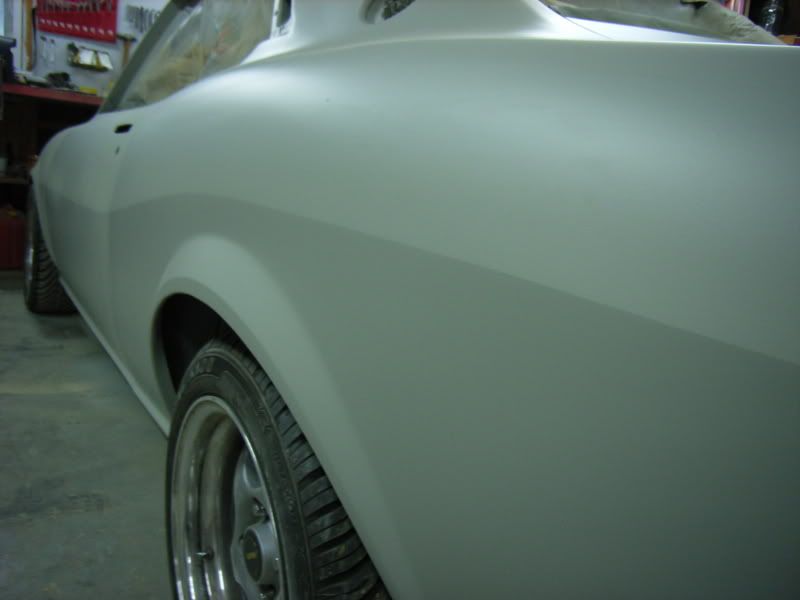
its finally ready to paint!!! it has taken me ages to finish the prep work because ive never done a whole car before and it takes a bit of time when your usless. ive just put the etch primer over the bare steel, ready for two pack primer. the front guards and bonnet are being file finished by my pannel beater mate. but I'm pretty happy with how its looking so far. 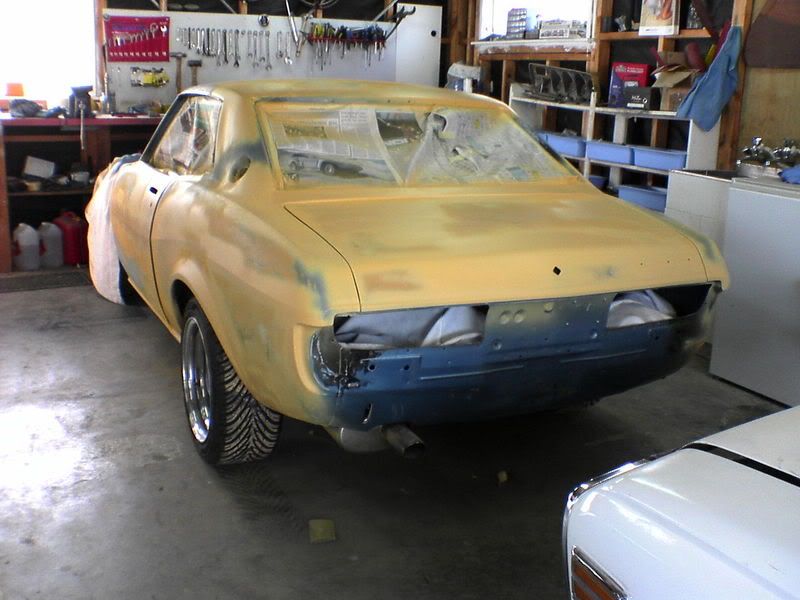 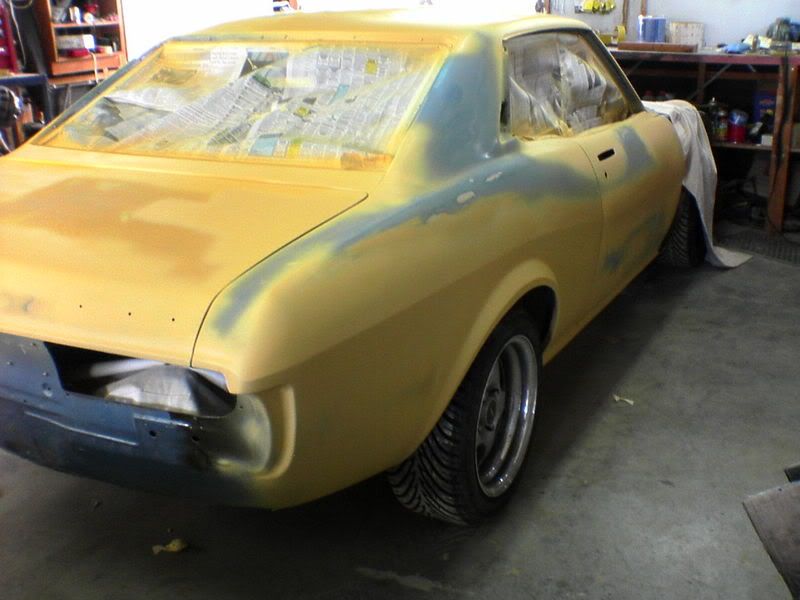 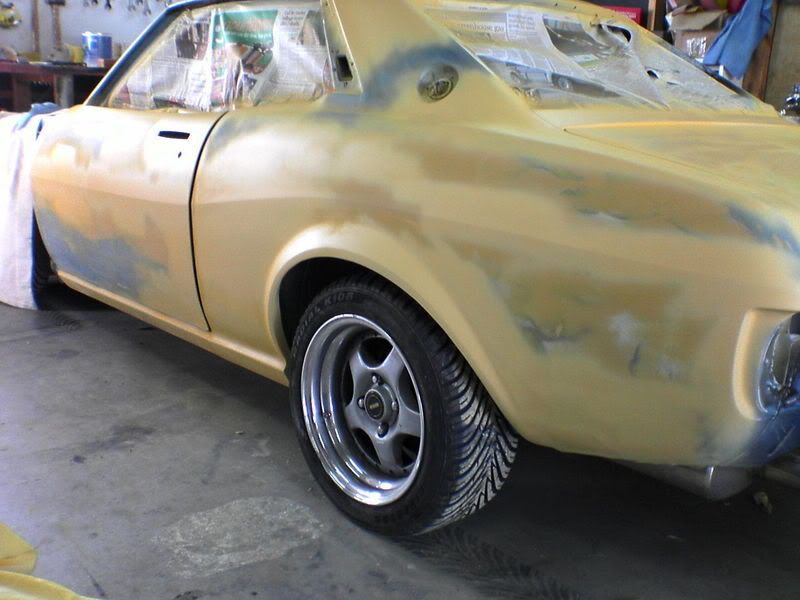 ill be back on the road soon and I'm pretty happy about that. latter, sheepers |
| |
|
|
|
|
|
Jan 26, 2010 18:49:50 GMT
|
  booked into the booth for final coat on the 24th |
| |
|
|
|
|
|
Jan 26, 2010 18:52:20 GMT
|
|
Same colour again or new?
|
| |
There is no such thing as a curse word car just overstretched expectations................. Herald 10/10 Gasser 10/10 Total score 20/10 |
|
|
|
|
|
|
Jan 26, 2010 18:54:32 GMT
|
|
|
| |
|
|
|
|
|
Jan 26, 2010 18:55:07 GMT
|
|
|
| |
|
|
|
|
|
Jan 26, 2010 18:56:12 GMT
|
Ive always hated the way the car sat so high at the back. its been like that since day one and its curse word me off completely. not to mention the handling issues associated with having the  in the air. anyway, there has been some talk about height adjustable rear suspension so i thought i would post what i had done. really not a difficult job. i now have a completely height adjustable rear, and i can change spring rates with straight off the shelf parts. and because i have a good relationship with my suspension parts supplier i can try any spring i like and if its no good i can give them back with no charge! sweet. there's more than one way to skin a cat, but this is how i did it..... first you have to remove the old spring cone/bump stop. just drill out the spots. 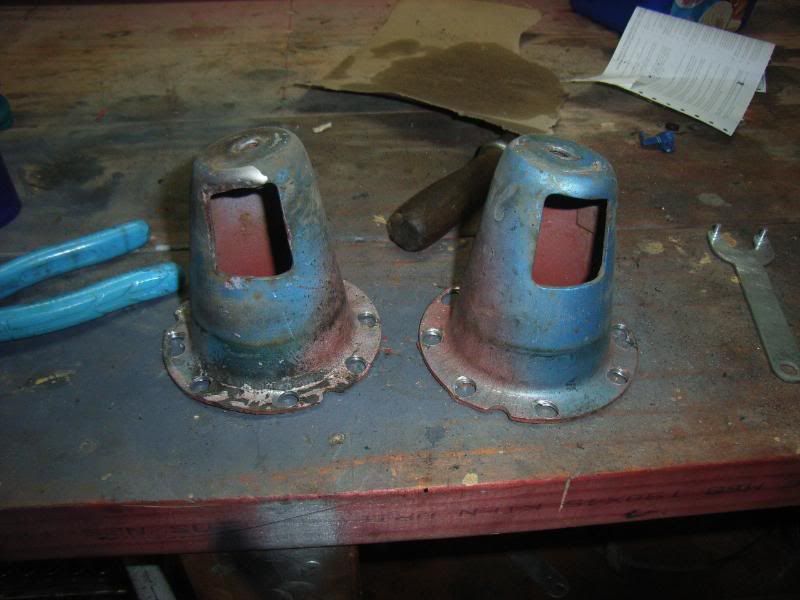 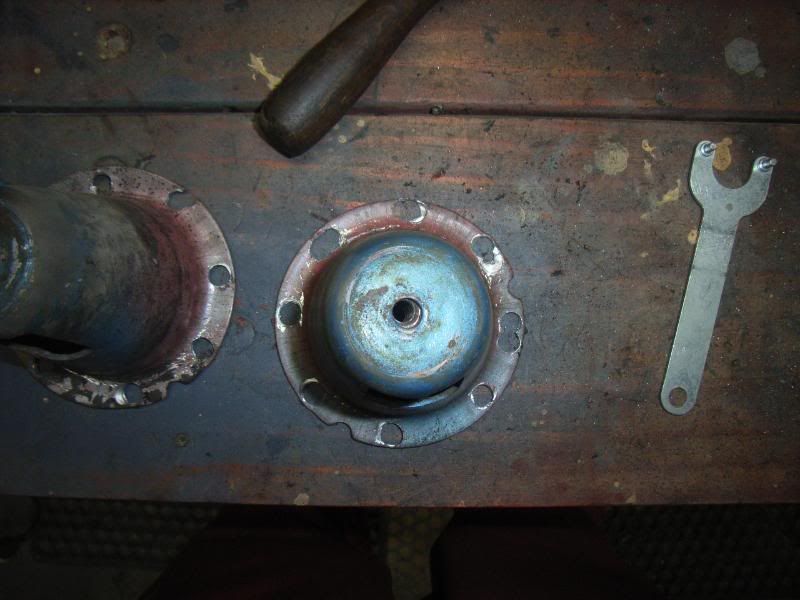 then get some 2 1/2" pipe (63mm OD) and cut two lengths about 20mm long. make two disks from 2mm plate about 90mm in diamater and weld an M8 nut in the center. then weld the bits of 2 1/2" tube onto the disks somewhere near the middle. i don't have a picture of these before i welded them to the car but this is one welded to the car. you cant see it in the photo very well but 90mm is about the same diameter as the spot welds that held the original cone in place so it makes it easier to line up the new plate when your tacking it into place. 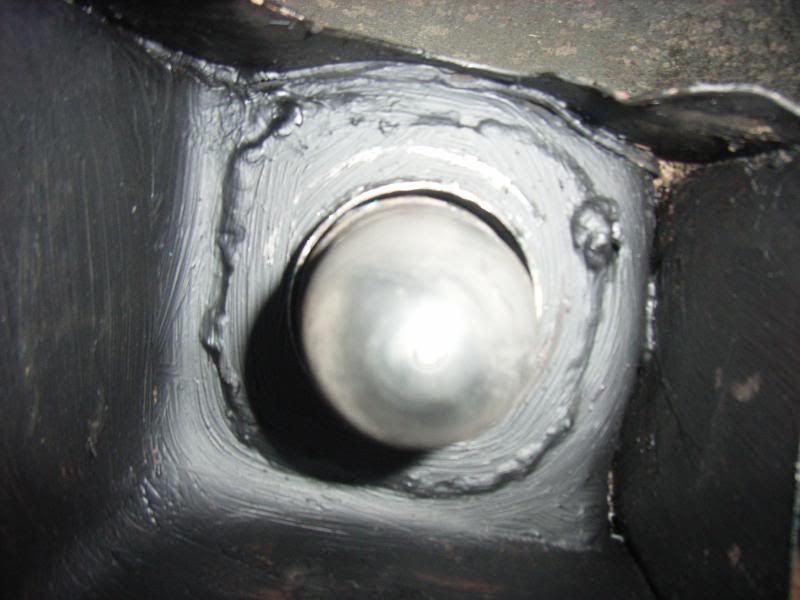 NOTE, once i had welded the plates into the car i then used the nut as a guide and drilled and tapped an M8 thread right through the body of the car. and this photo shows the stock bump stop in place. next i got some standard coilover sleeves and welded them onto the original spring perches. 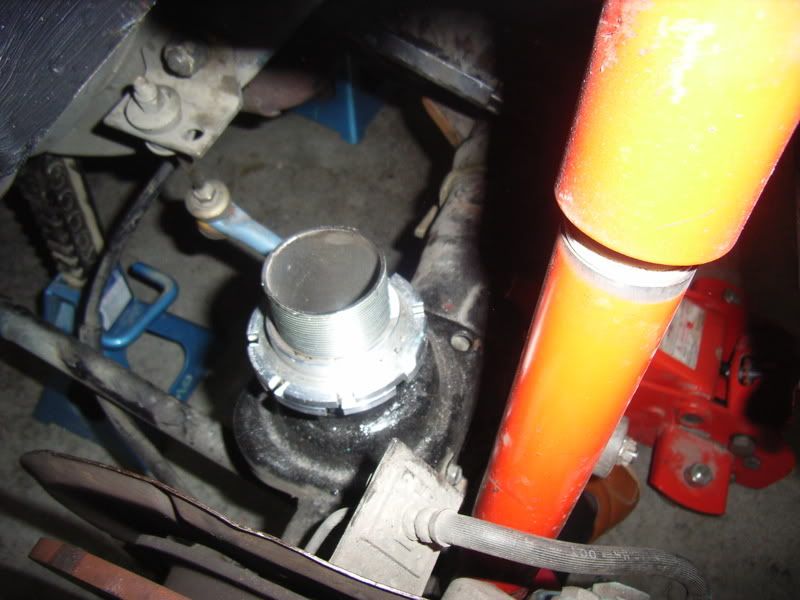  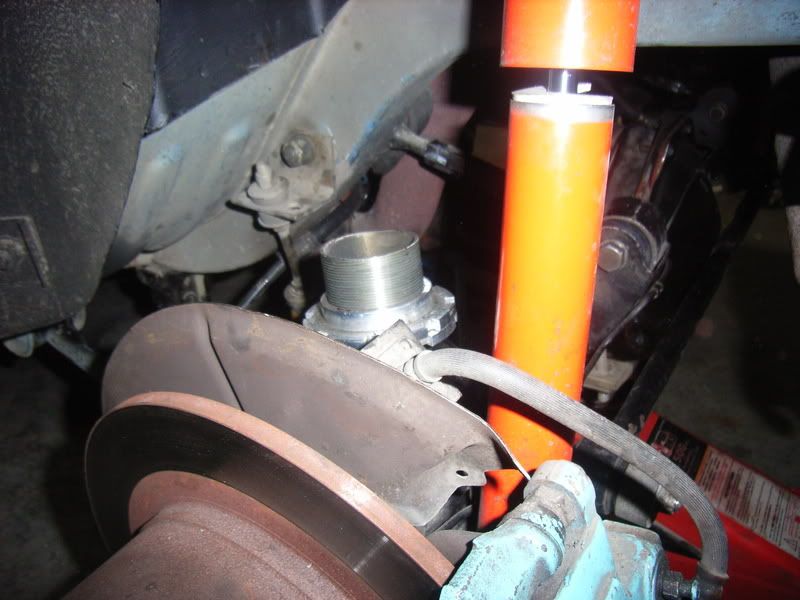 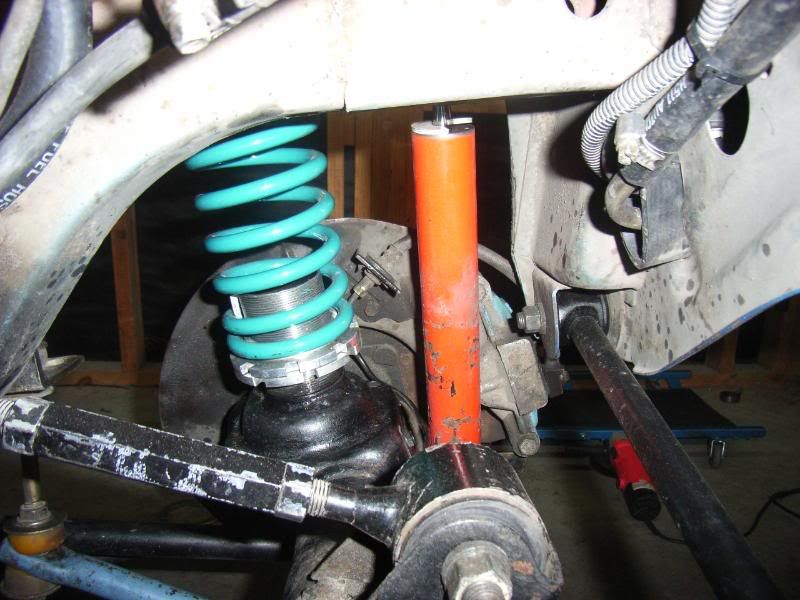 this takes a bit of curse word around and you'll probably have to put the diff in and take it out a few times to get the angles right. as the diff doesn't move directly up and down (especially as it gets to the top of its travel) you need to compromise with the fore and aft angle of the adjuster sleeve. these two photos show how much the top of the sleeve moves back as the diff goes down. in the "up" photo the bump stop is inside the top of the sleeve, i intend to make a tube with a solid top to go inside the sleeve for the bump stop to push on. the bump stop will not go into the sleeve when its all finished. 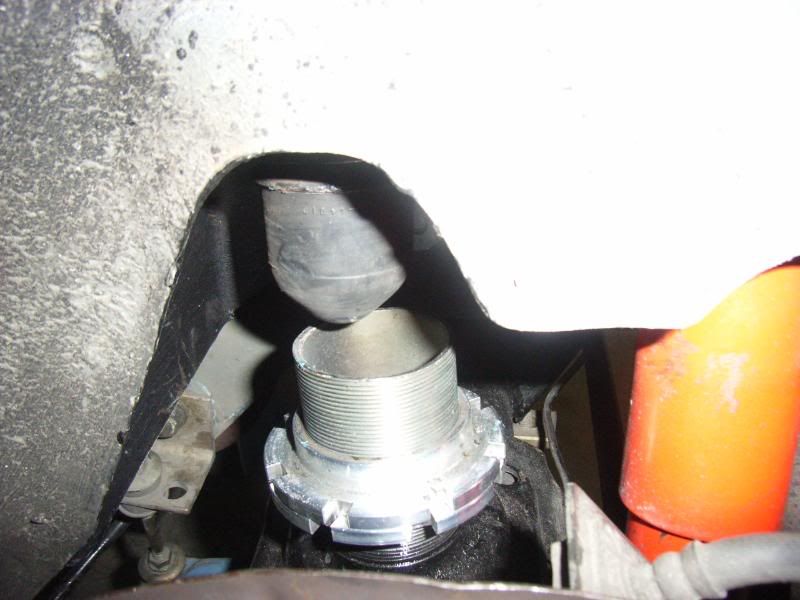 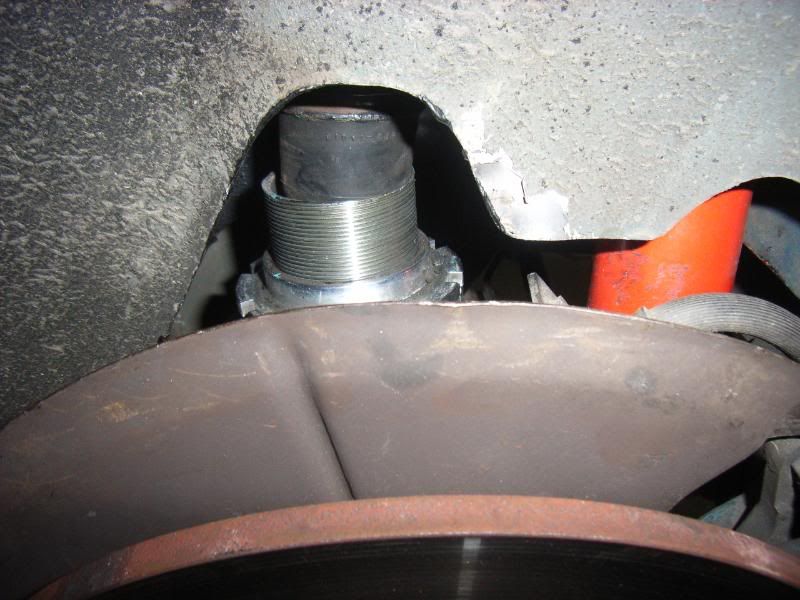 then all you need is to adjust you height till it suits what you want and once your happy with the height and spring rate get your shocks shortened to keep it all captive. i have koni shocks that have enough travel to allow the drop in height at the back of the car with out binding but you'll need to check what you can get away with. oh, i also made some extensions for my bump stops so they would have some support rather than just the nut. all i did was cut some lengths of tube about the same diameter as the backing plate on the bump stop and extended the M8 stud that sticks out of the back of the bump stop. you can kind of see it in this pic. 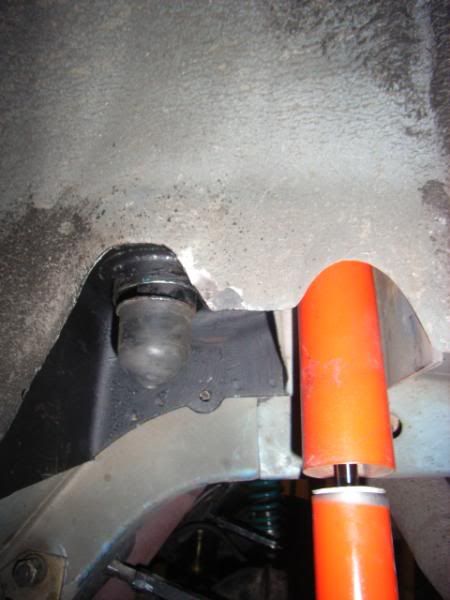 i have dropped the back of the car by 65mm and i lowered the front by 20mm. it has made a huge difference to how the car handles and ive only had it back on the road for a week, cant wait for the next track day.... ill post some pics of the car if it ever stops raining. if you have any questions just ask. it stopped raining. 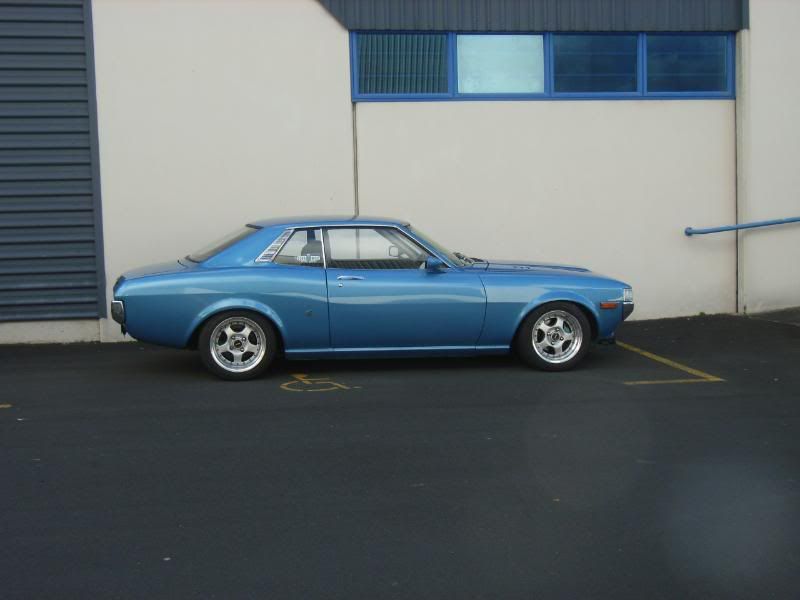 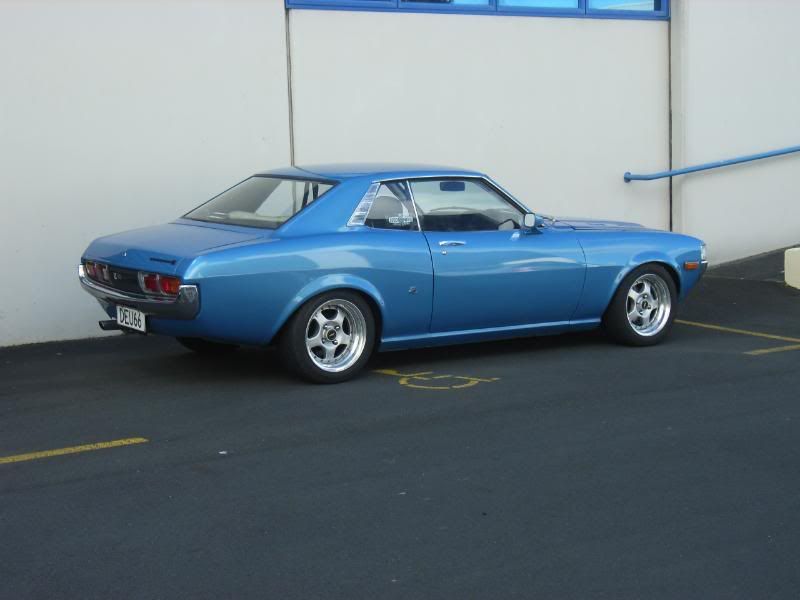 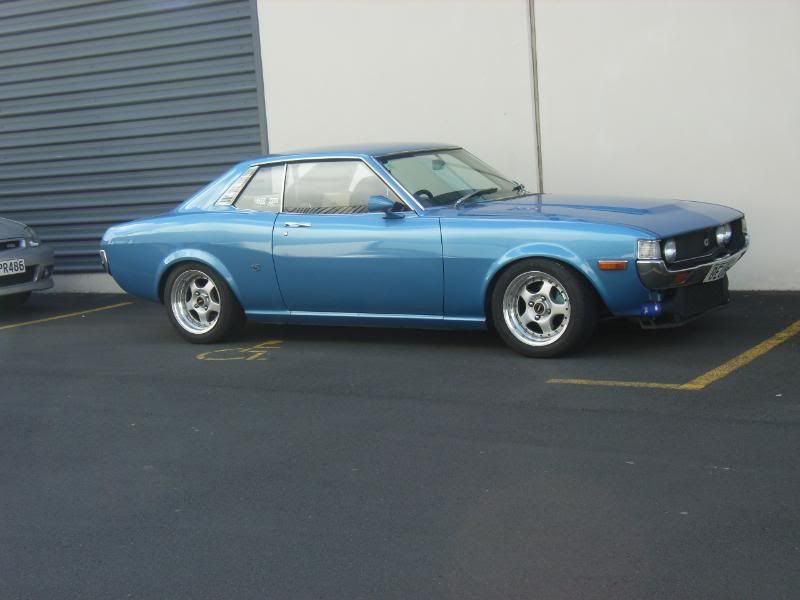 latter, sheepers |
| |
|
|
|
|
|
Jan 26, 2010 18:57:57 GMT
|
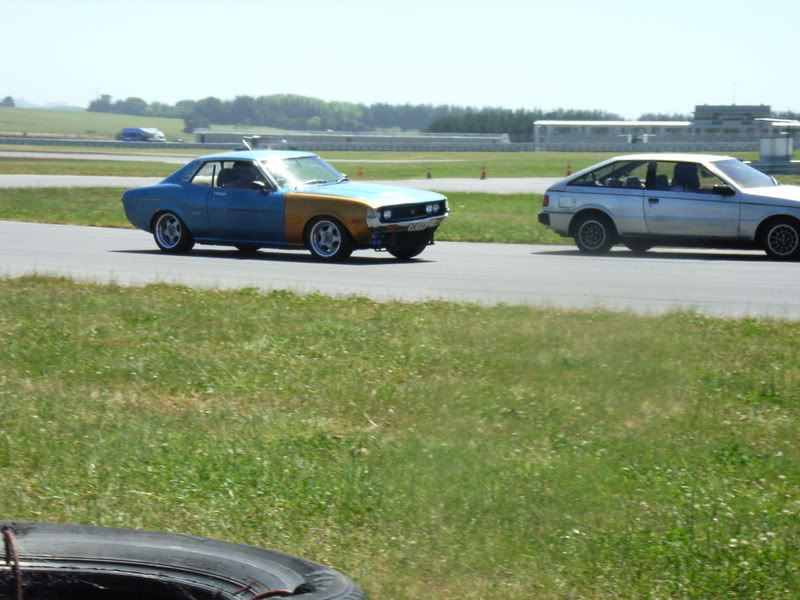
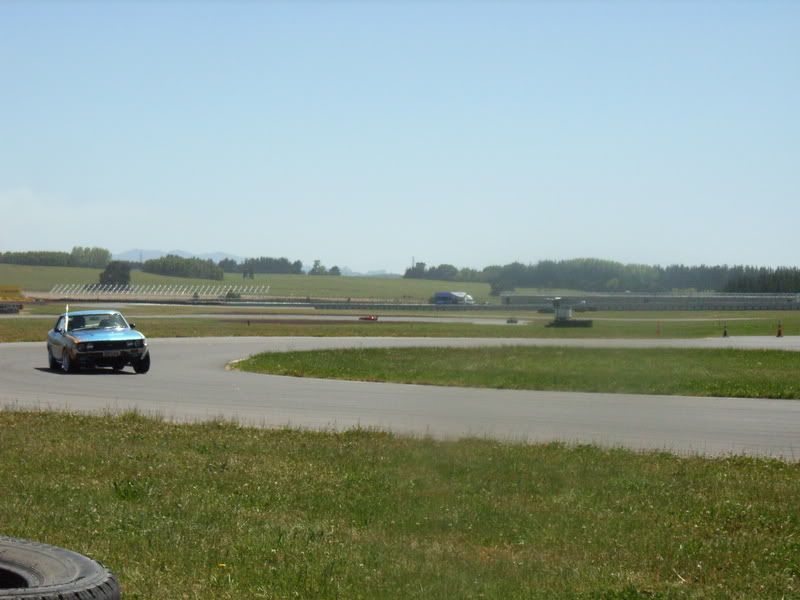
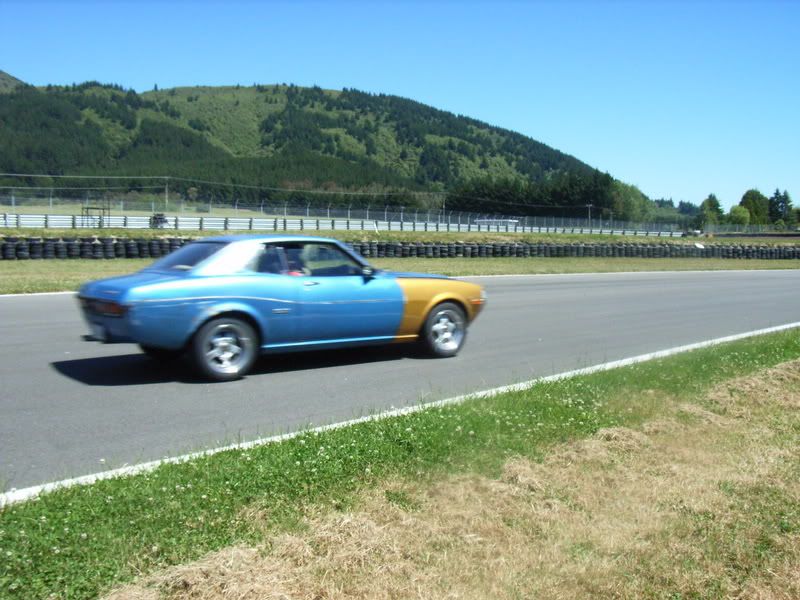
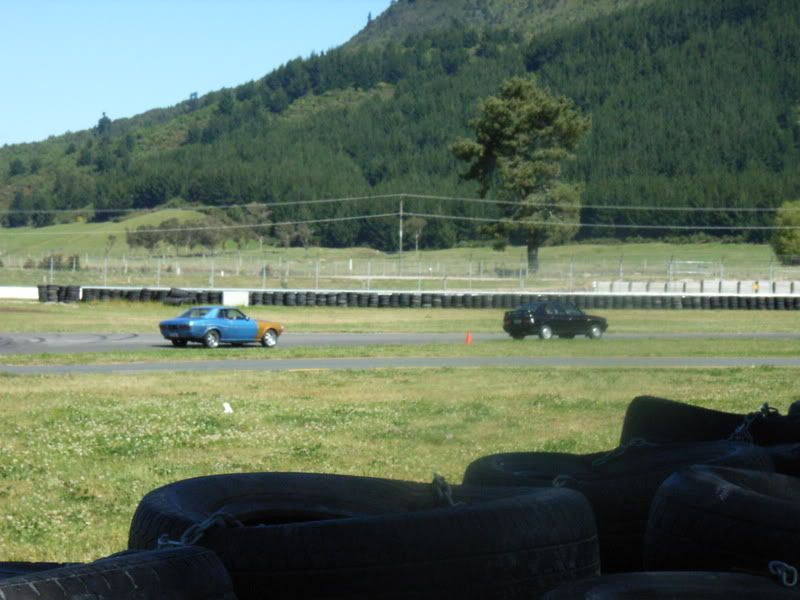
drove to Taupo on saturday, raced all day sunday, then drove back, a total round trip of about 750k's. Toyo R888's are my new beast friend, i had the best time and went quicker all day and there is heaps of inprovement i could make to go faster. (all with my driving, car was willing me to go faster) car couldn't have been better, brakes were excellent (i never had the balls to push them further than they would go) and the tyres!! i would marry them if i could, as i say, i drove about 750k's on them, got through a whole tank of gas on the track so plenty of track time was had, and they still look good, they look better than when i bought them! the new rear setup worked so well, could chose between over steer or under steer when i wanted, lost it a couple of times (it rained at one point) and was easily able to get it back on track. realistically this just means i wasn't going fast enough but that will come, I'm yet to drive the same track twice so plenty of learning to go. some pics, not the best but you get the idea. with some luck my friend has shot some video from his car (followed me for a bit) and it will be on you tube. ill link it if it comes about. i started to get a missfire at full load. fairly common for higher boosted 1JZ's so I'm going to look at plugs and coils first (they havent been out since i built the car 6 years ago) 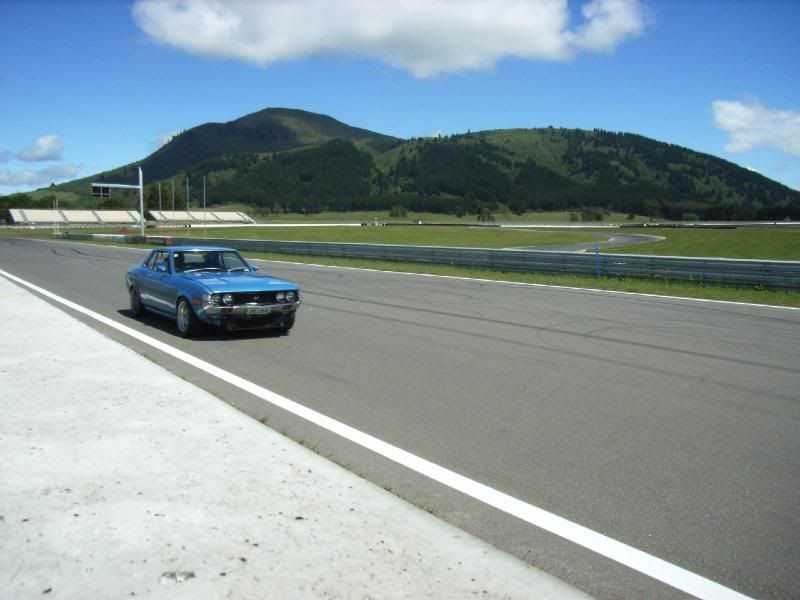  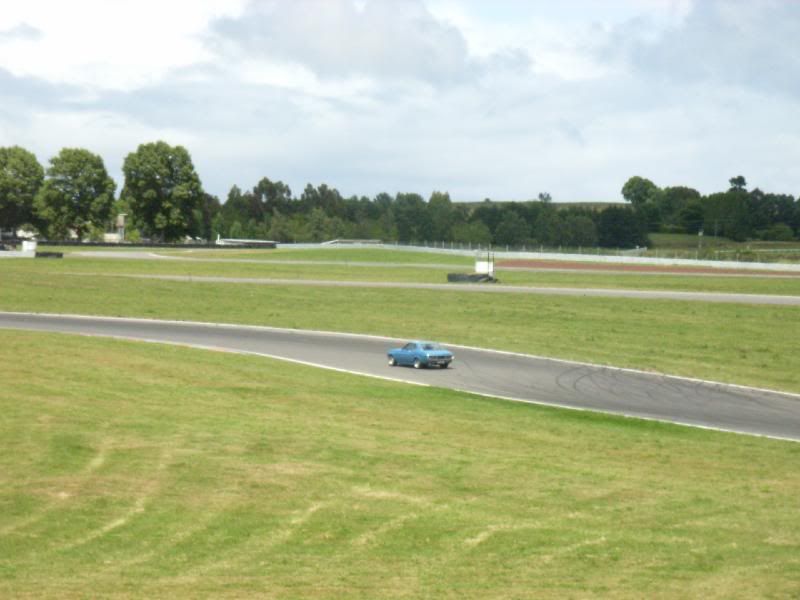 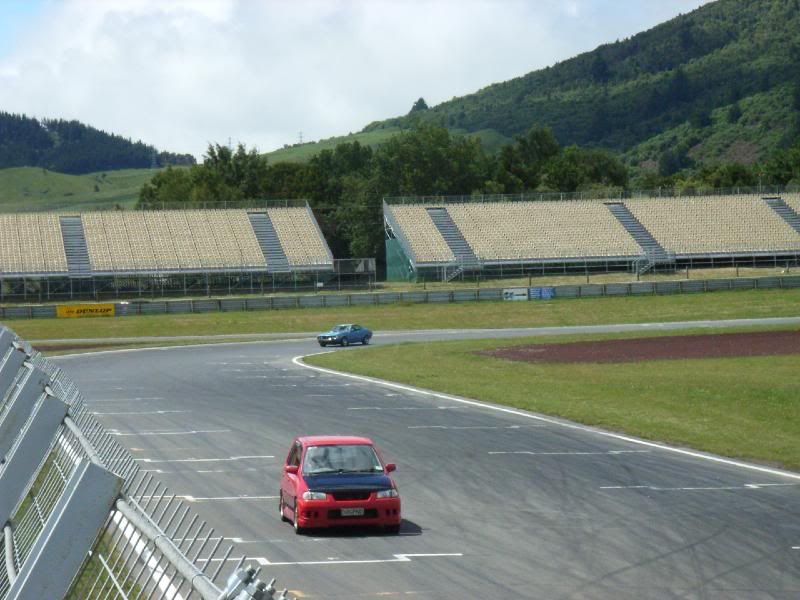 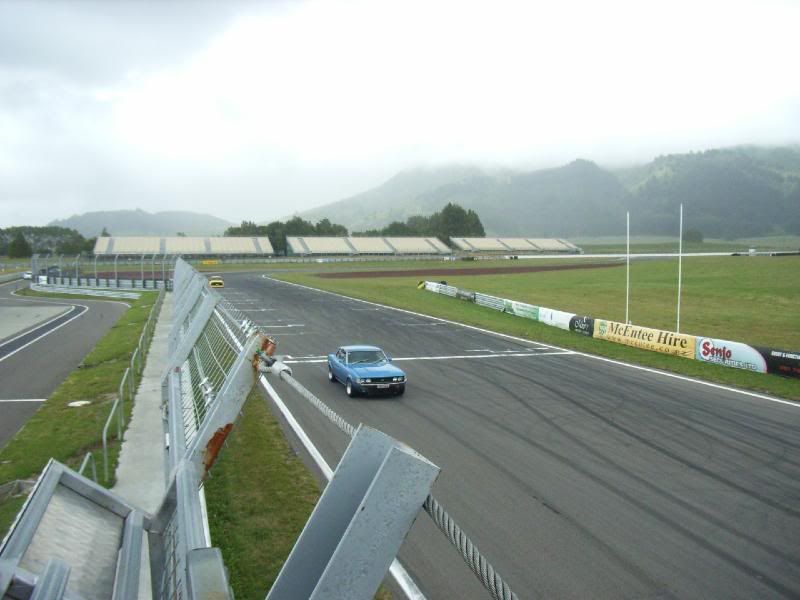  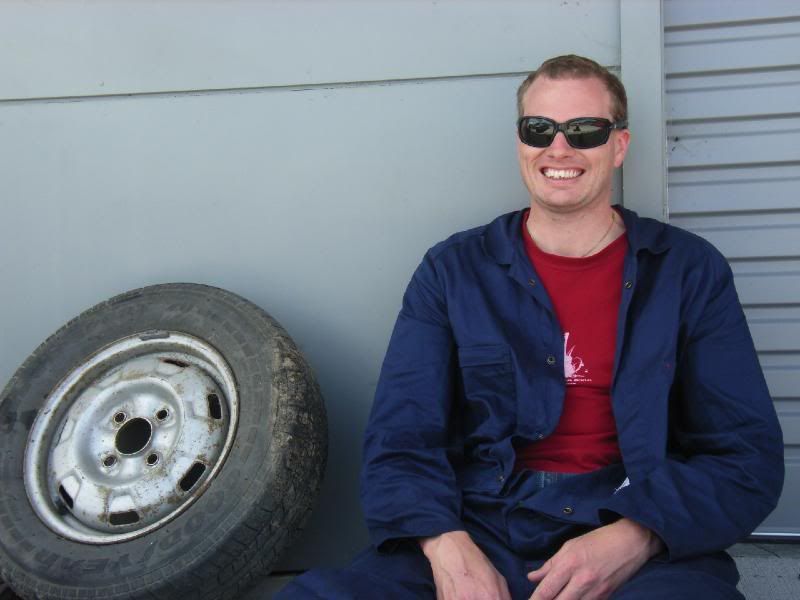 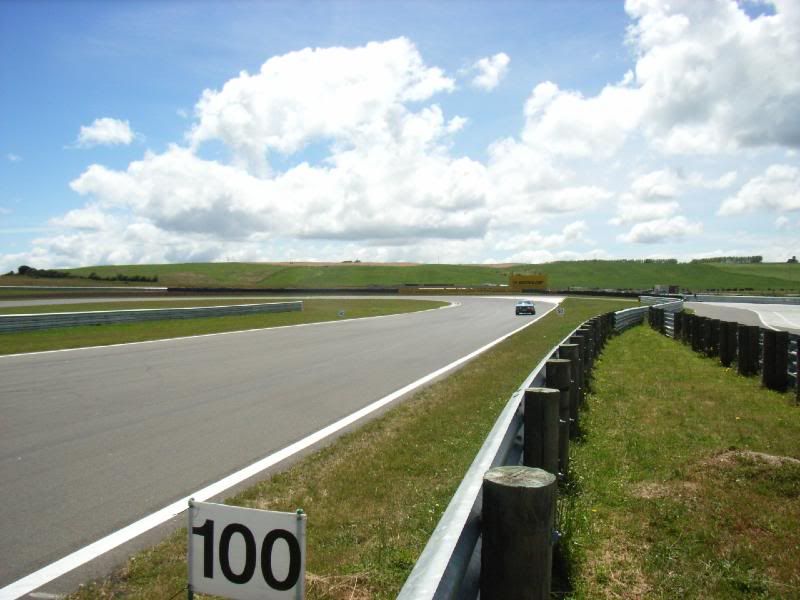 some vids, no in-car yet but heres hoping, the guy in the yellow starlet had the camera so hopefully some good footage.... sheepers |
| |
|
|
|
|
|
Jan 26, 2010 19:00:53 GMT
|
i have finally got around to cutting and polishing the paint which has been un touched since it was painted. i used 1200 dry on a palm orbital, followed by 3000 diamond pads that are used wet on the orbital. then a cut with a standard foam pad/polisher and cutting/polishing compound. then finally a wax with mothers something or other step two stuff for the swurls. as per usual the pics don't show how good it looks in real life but these will give you an idea. 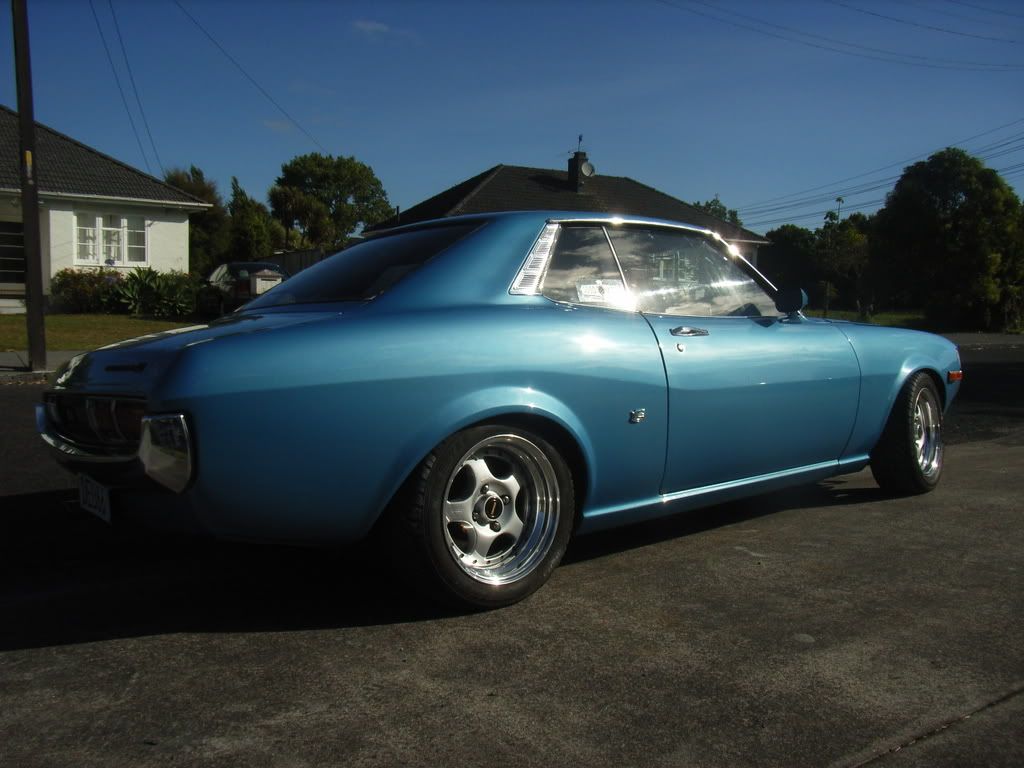 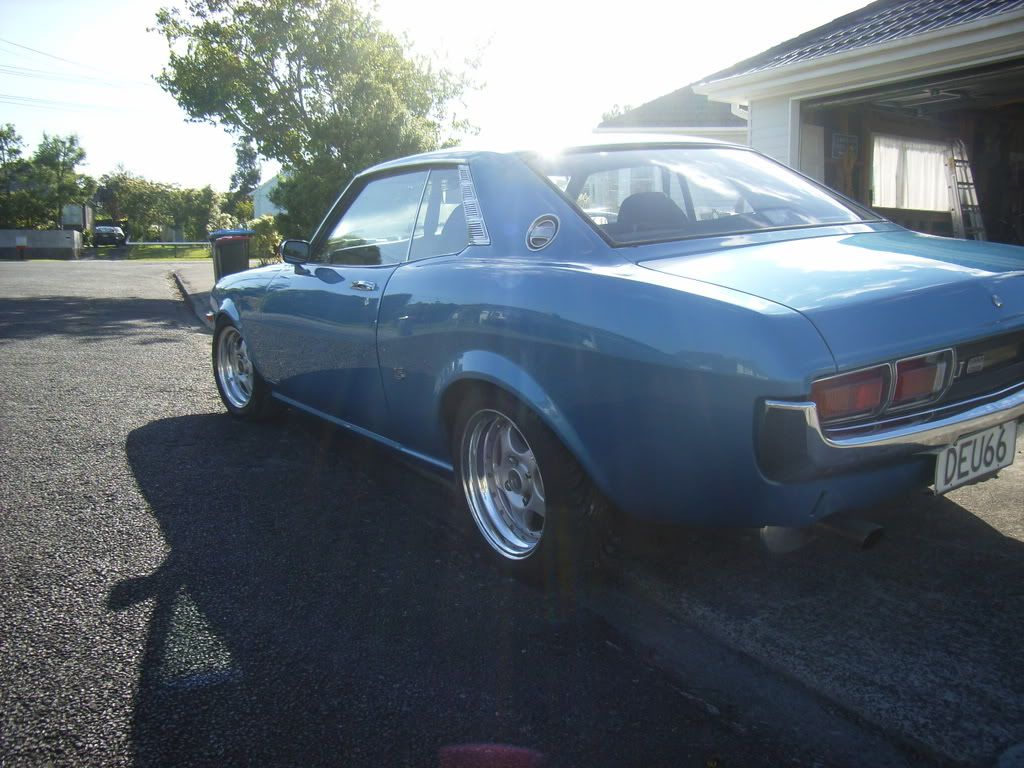 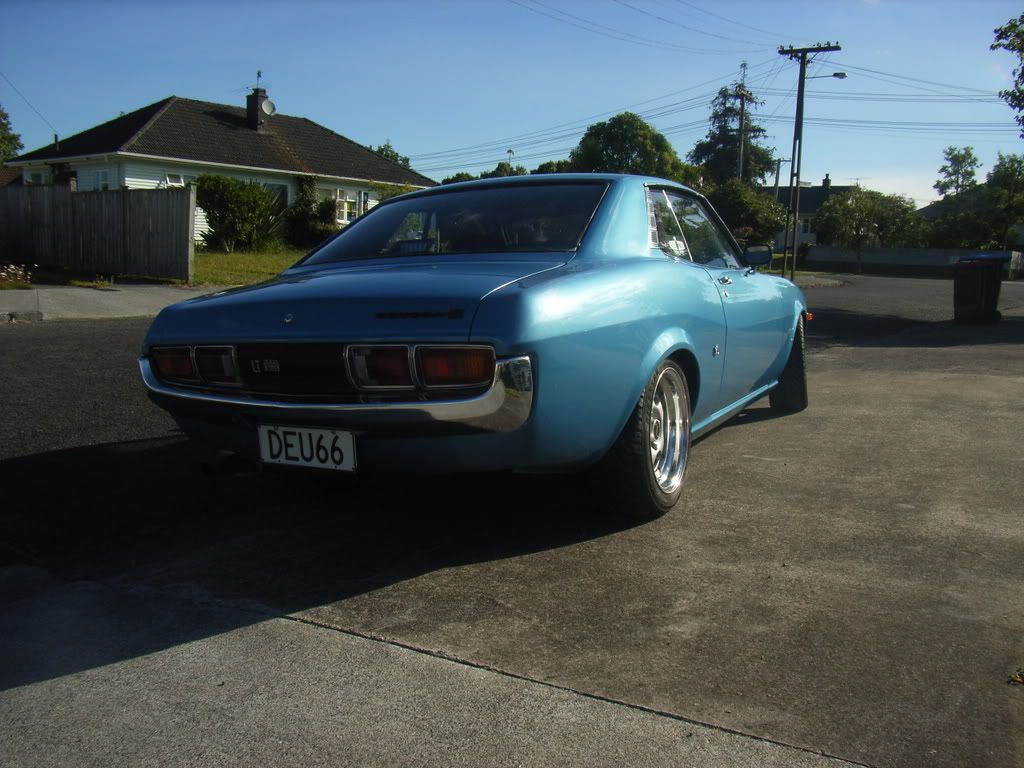 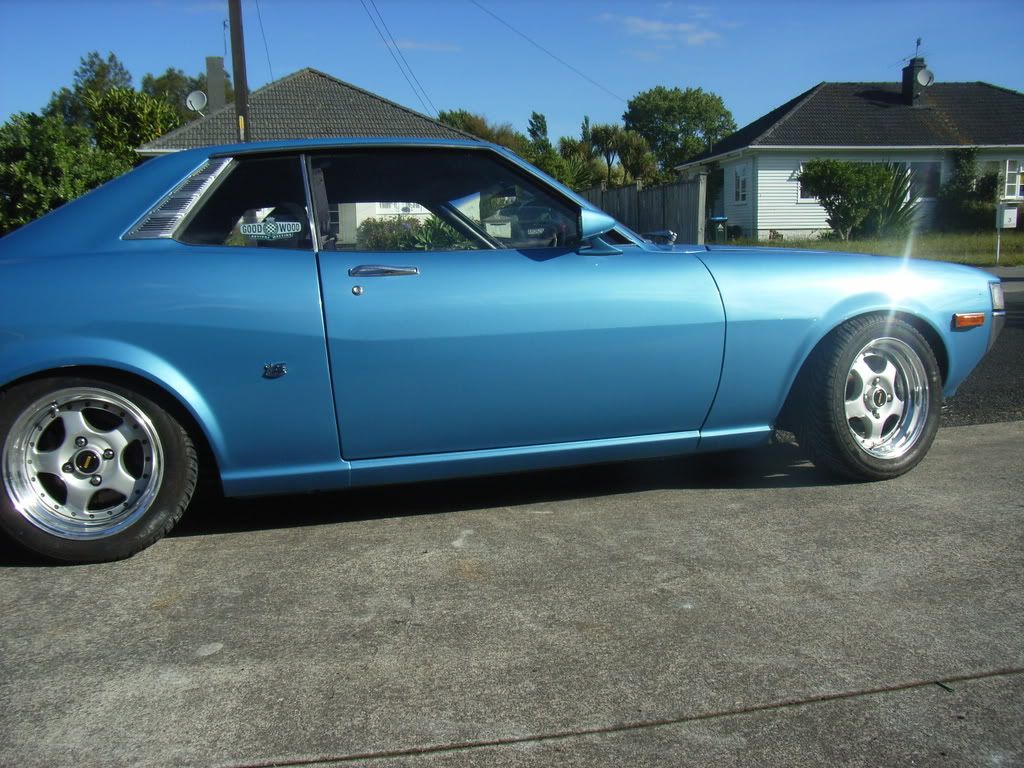 sheepers |
| |
|
|
|
|
|
Jan 26, 2010 19:02:51 GMT
|
this happened at the last track day. 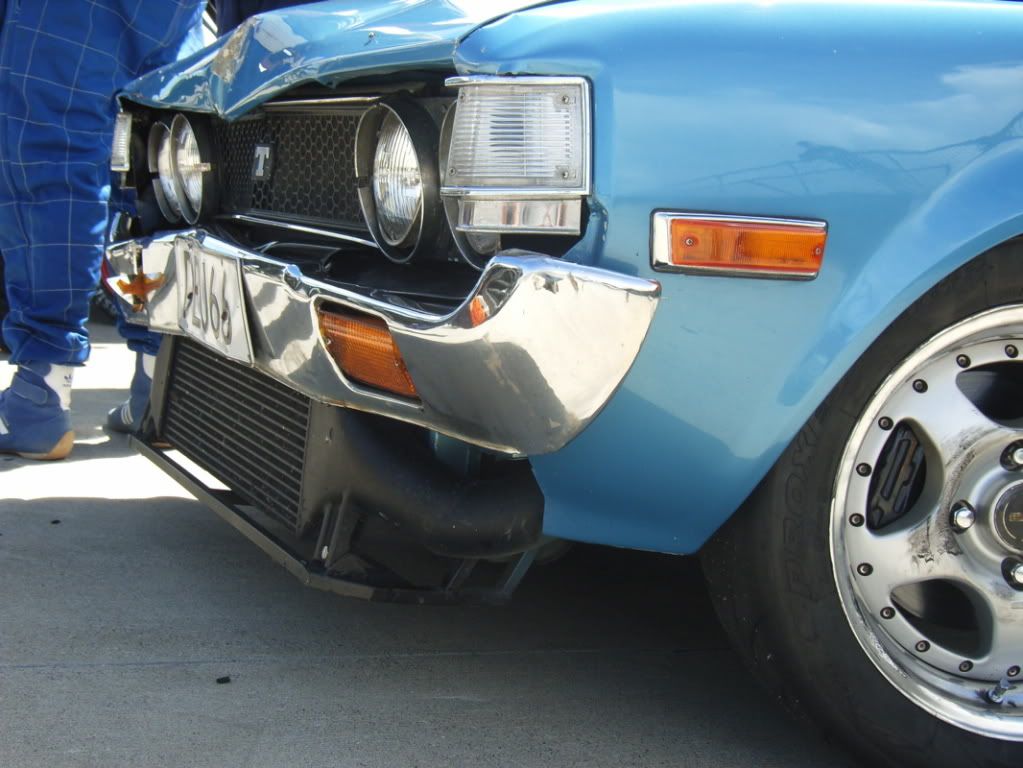 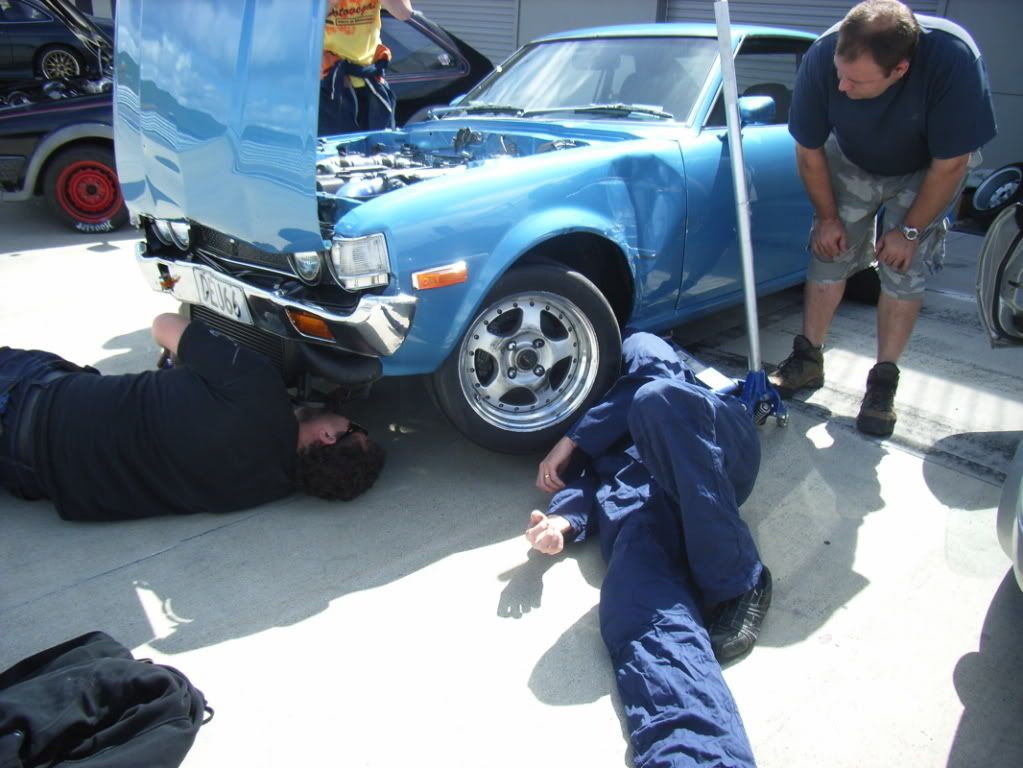 after the incident my and KK checked the car over and decided all as well, a little bent on the outside but the important bits were ok, so i went back out and raced for the rest of the day. the car was fine (except for the radiator fan falling off) i did a 1.25.1 before the crash and i did the same time latter in the day. the car felt fine so I'm sure nothing fundamental was bent. skip forward a few months and I'm now back from holiday and getting stuck into fixing the damage. ive pretty much fixed all the little bits that were bent, my great friend Peter is going to fix the gard and the bonnet but the rest is done and ready to go back together. if i really needed to i could drive it to work on monday so all in all, not to bad. ill hold off re-spraying the gard/bonnet for the meantime. i want to concentrate my time (and more importantly my money) on getting my RA28 going. its been waaaaaaaaaayyy to long since that car has moved under its own power. my only regret is nothing. i built this car to race, and race i shall!! sheepers |
| |
|
|
|
|
|
Jan 26, 2010 19:05:22 GMT
|
i borrowed some 1" wide spacers to see if i could get away with wider wheels on the back. the answer is "yes i can!" 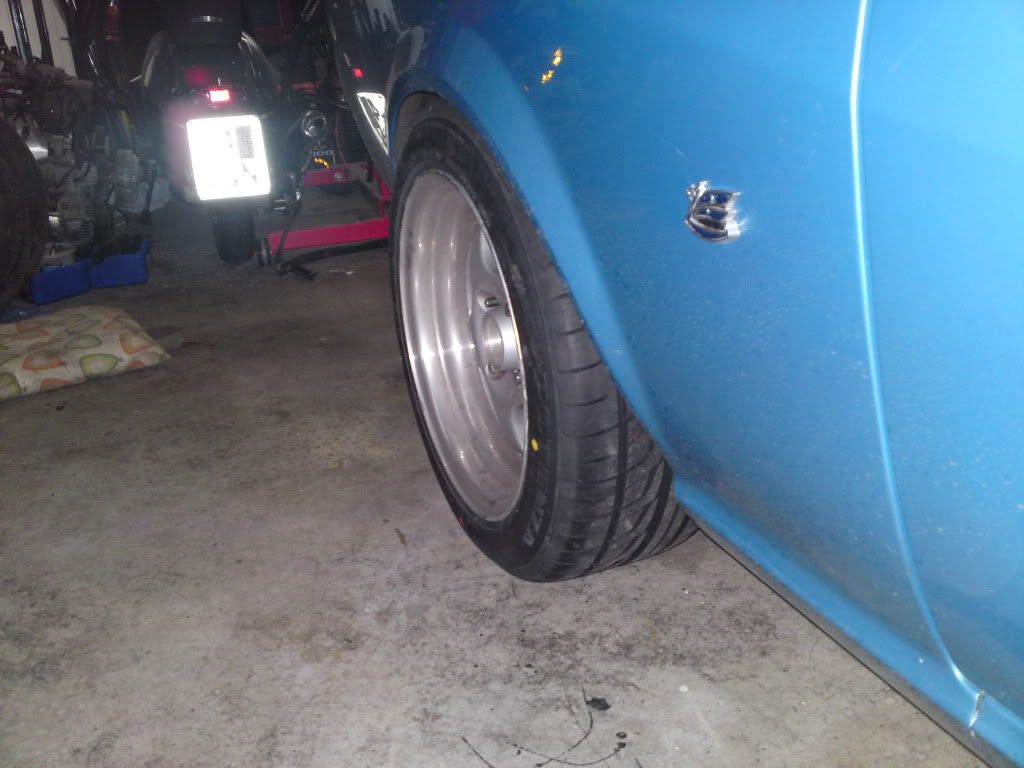 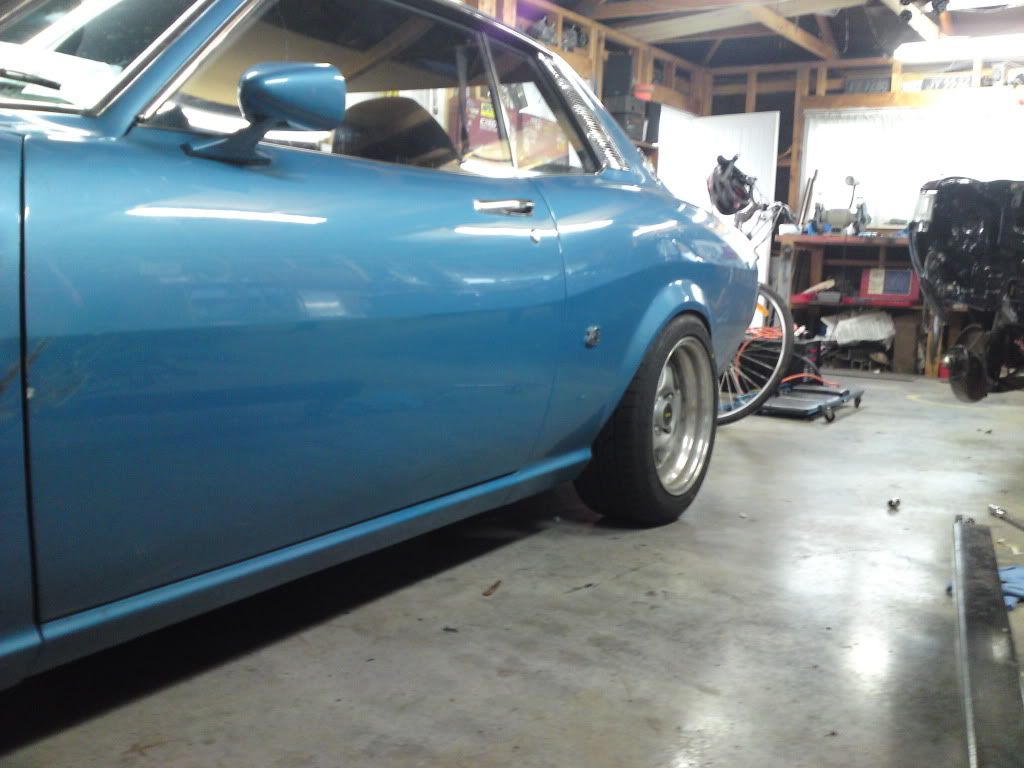 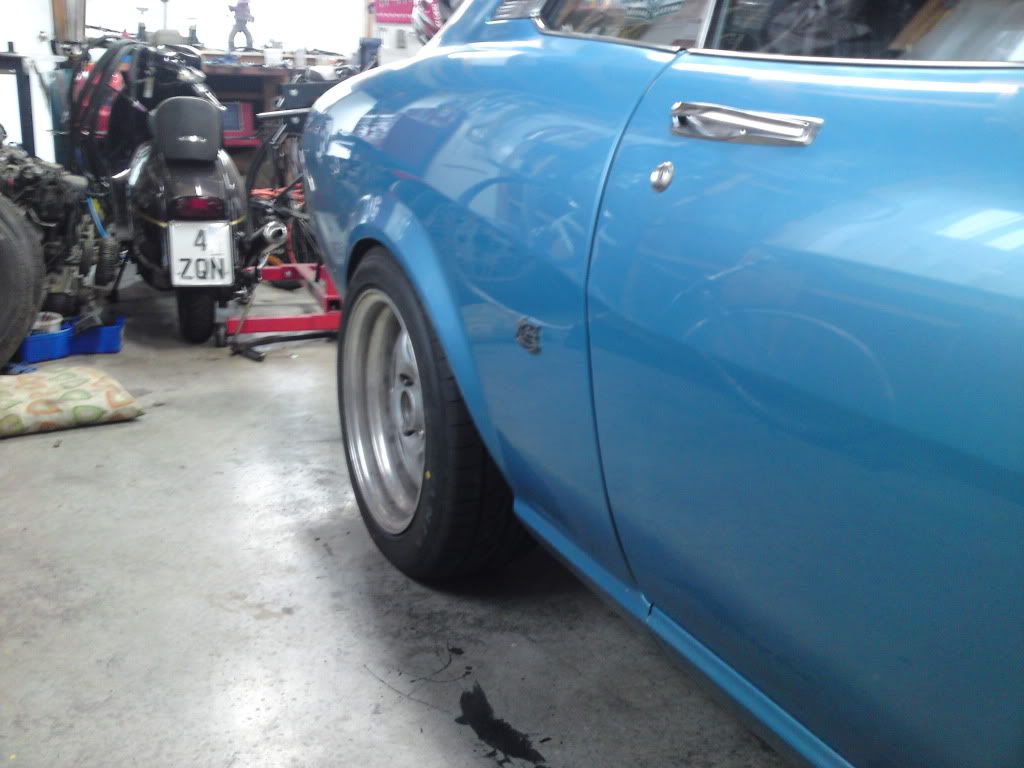 with the springs removed and the car sitting on the bumps the inside wheel rubs, i can still turn the wheel by hand so its not much, with the addition of an adjustable panhard rod and the tyres being on a slightly wider rim it will give me enough clearance between the tyre and the guard. the plan is to get some 1" wider outer shells for my rear wheels. go the dish. this will give me 15 x 9 rears with 0 offset. ill be running 205 50 15's on the back (this is the widest they make my chosen tyre in). it will be tight but so, so worth it. sheepers |
| |
|
|
|
|
|
Jan 26, 2010 19:07:01 GMT
|
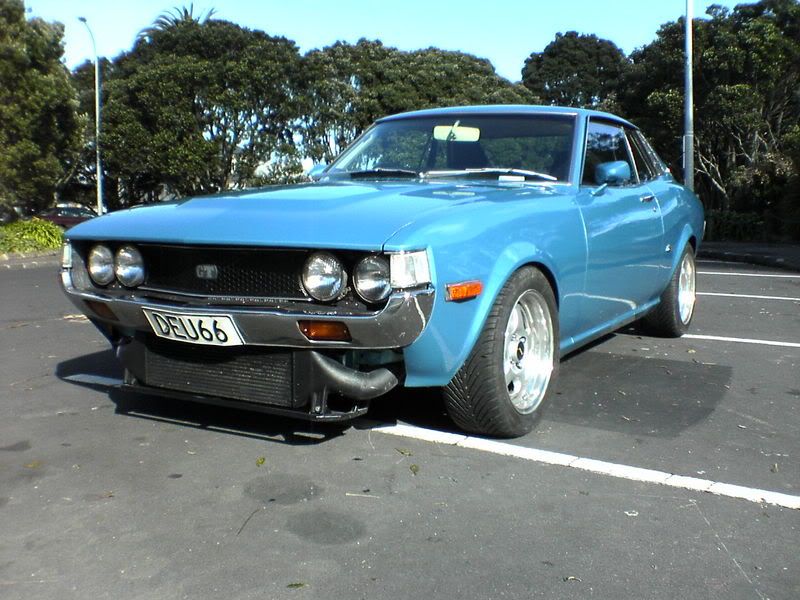
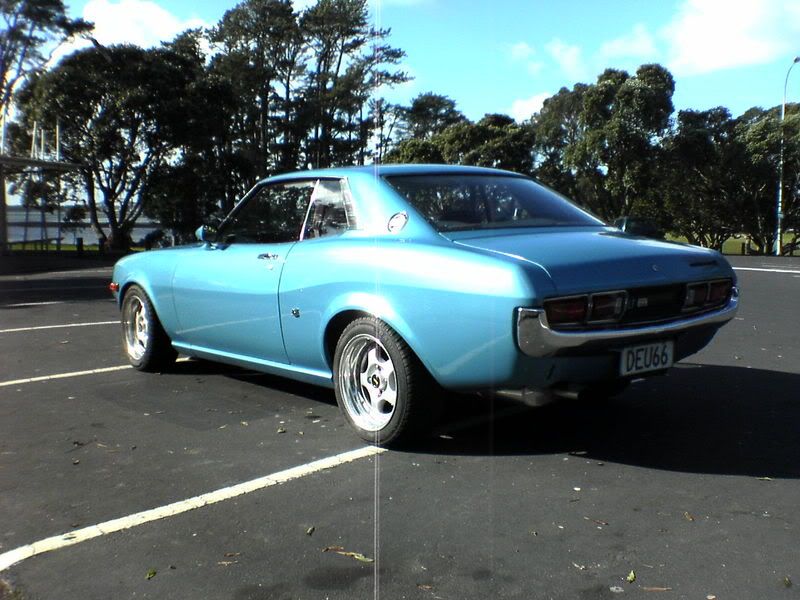
aaaaaaaannnddddd, were back, 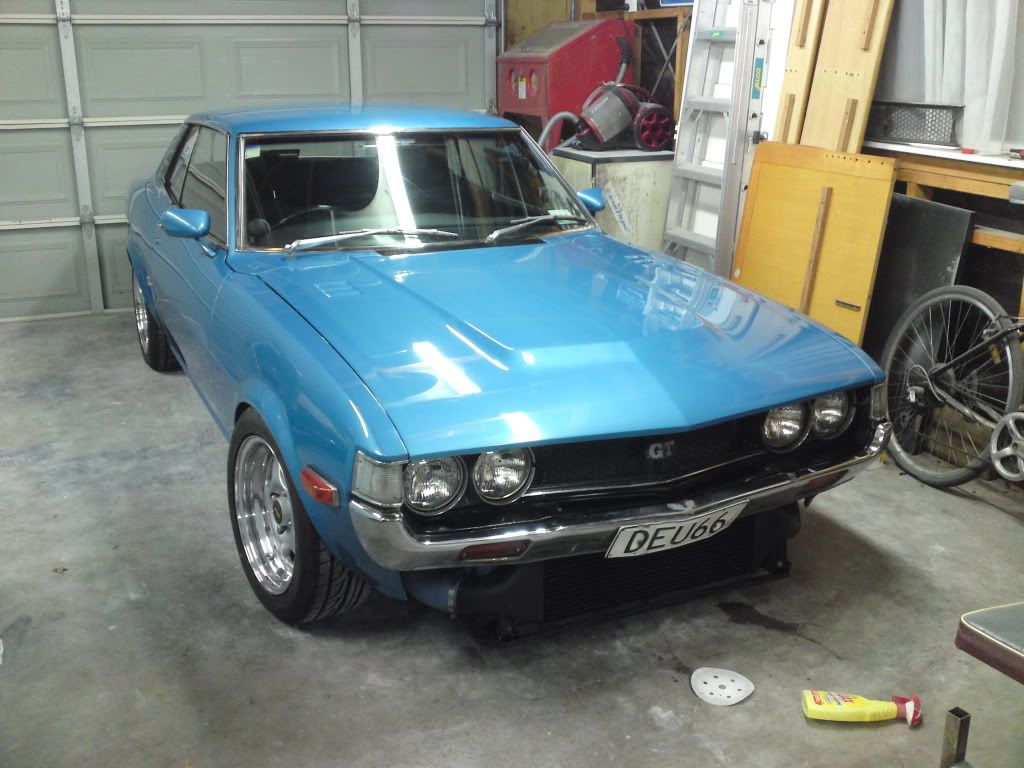 better pics tomorrow but you get the idea. she's all back together and straight. sheepers. |
| |
|
|
|
|
|
Jan 26, 2010 19:09:56 GMT
|
|
Looks the Mutt's nut, that Starlet needs to be introduced to the forum as well as I'd love to see more of it/read about it.
|
| |
There is no such thing as a curse word car just overstretched expectations................. Herald 10/10 Gasser 10/10 Total score 20/10 |
|
|
|
|
Jan 26, 2010 19:11:58 GMT
|
the only pics i have of it since t he re-spray.  |
| |
|
|
|
|