|
|
|
|
|
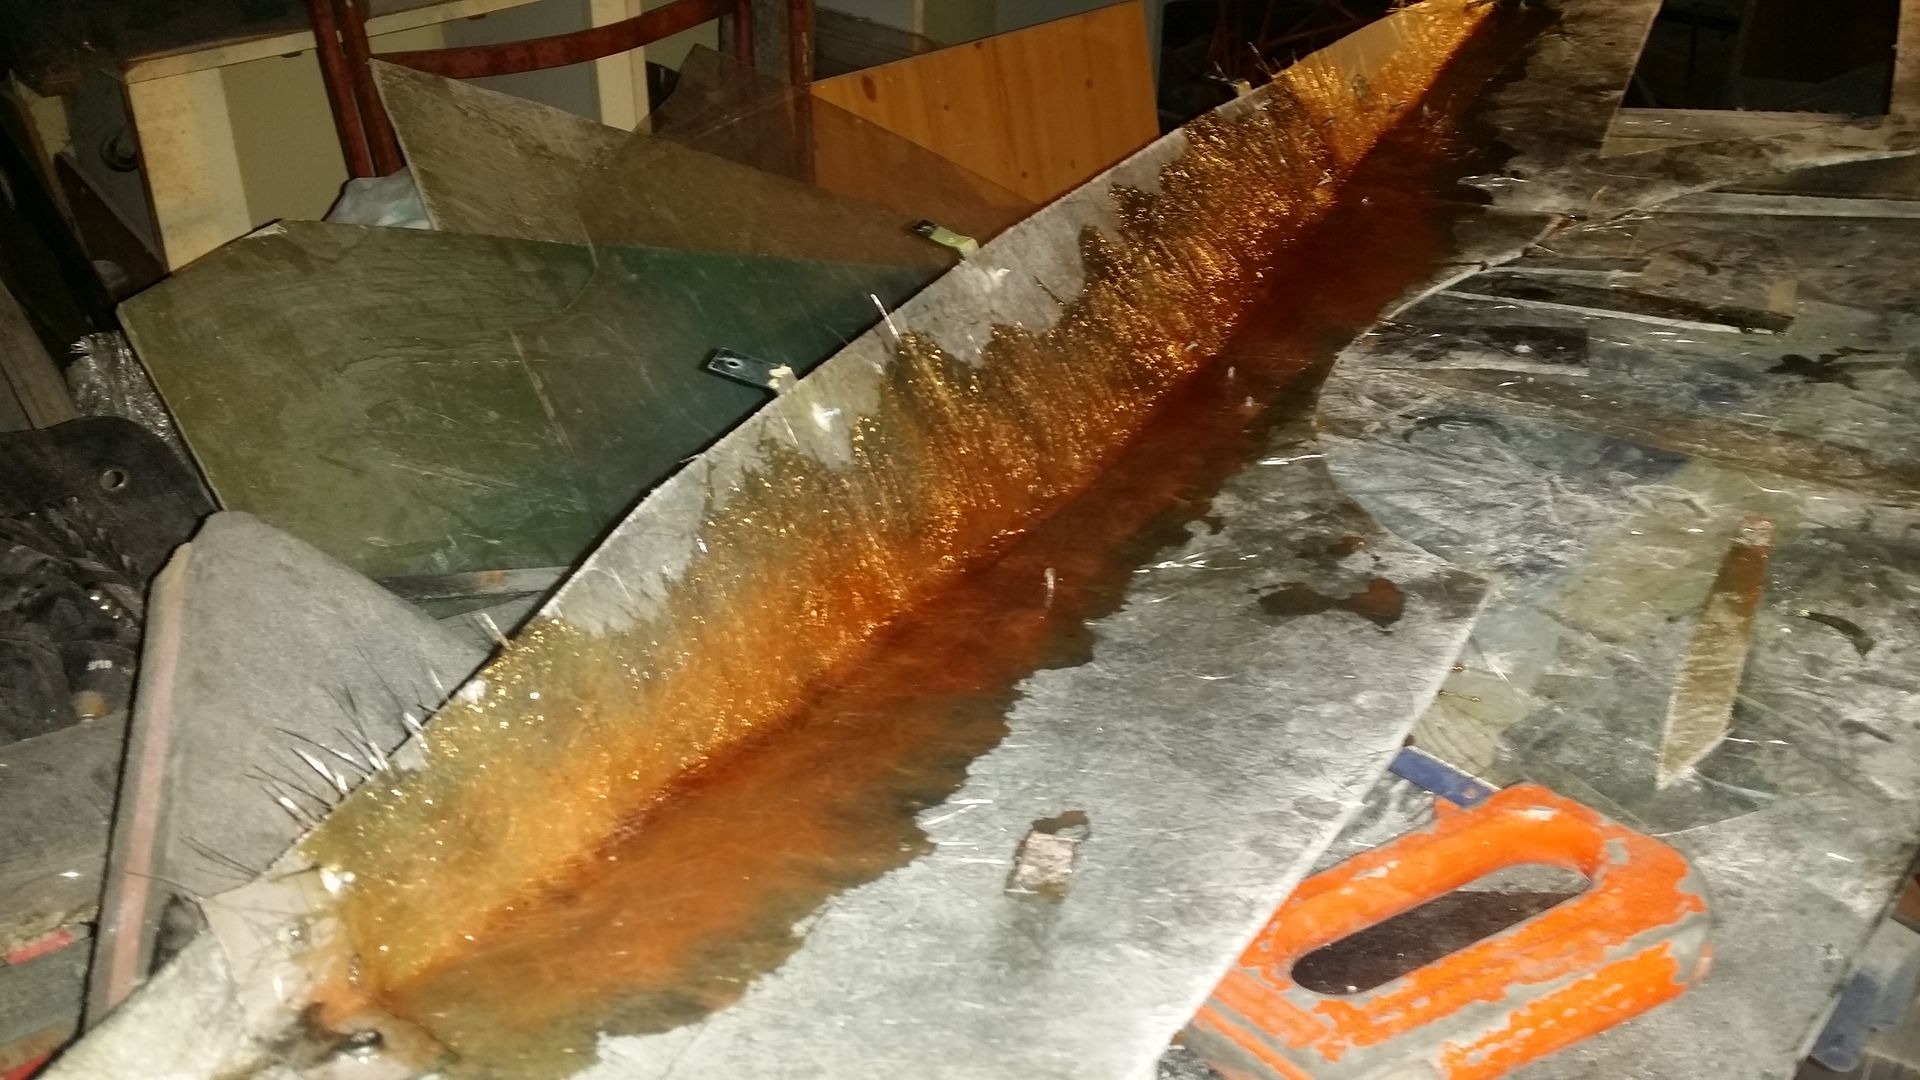
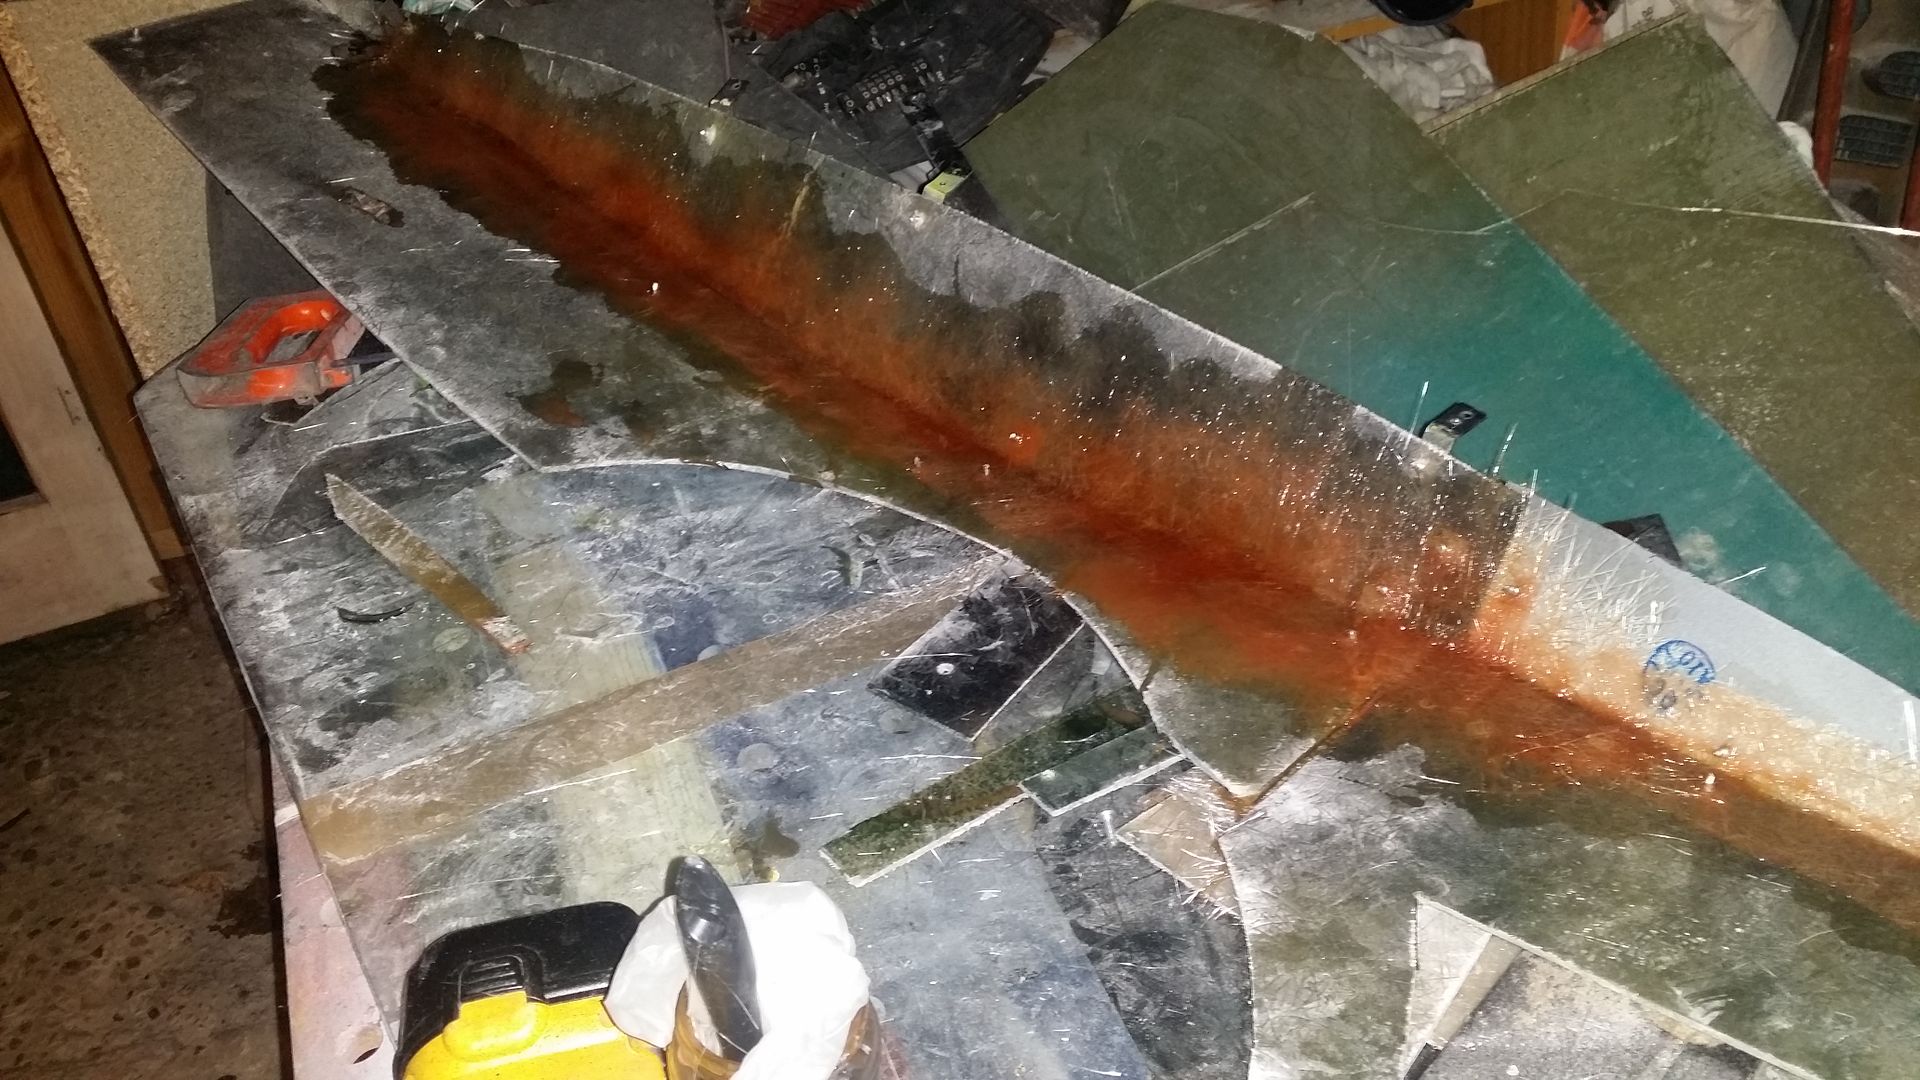
Finally making a start on the last arch: Three layers of chopstrand on a piece of glass: 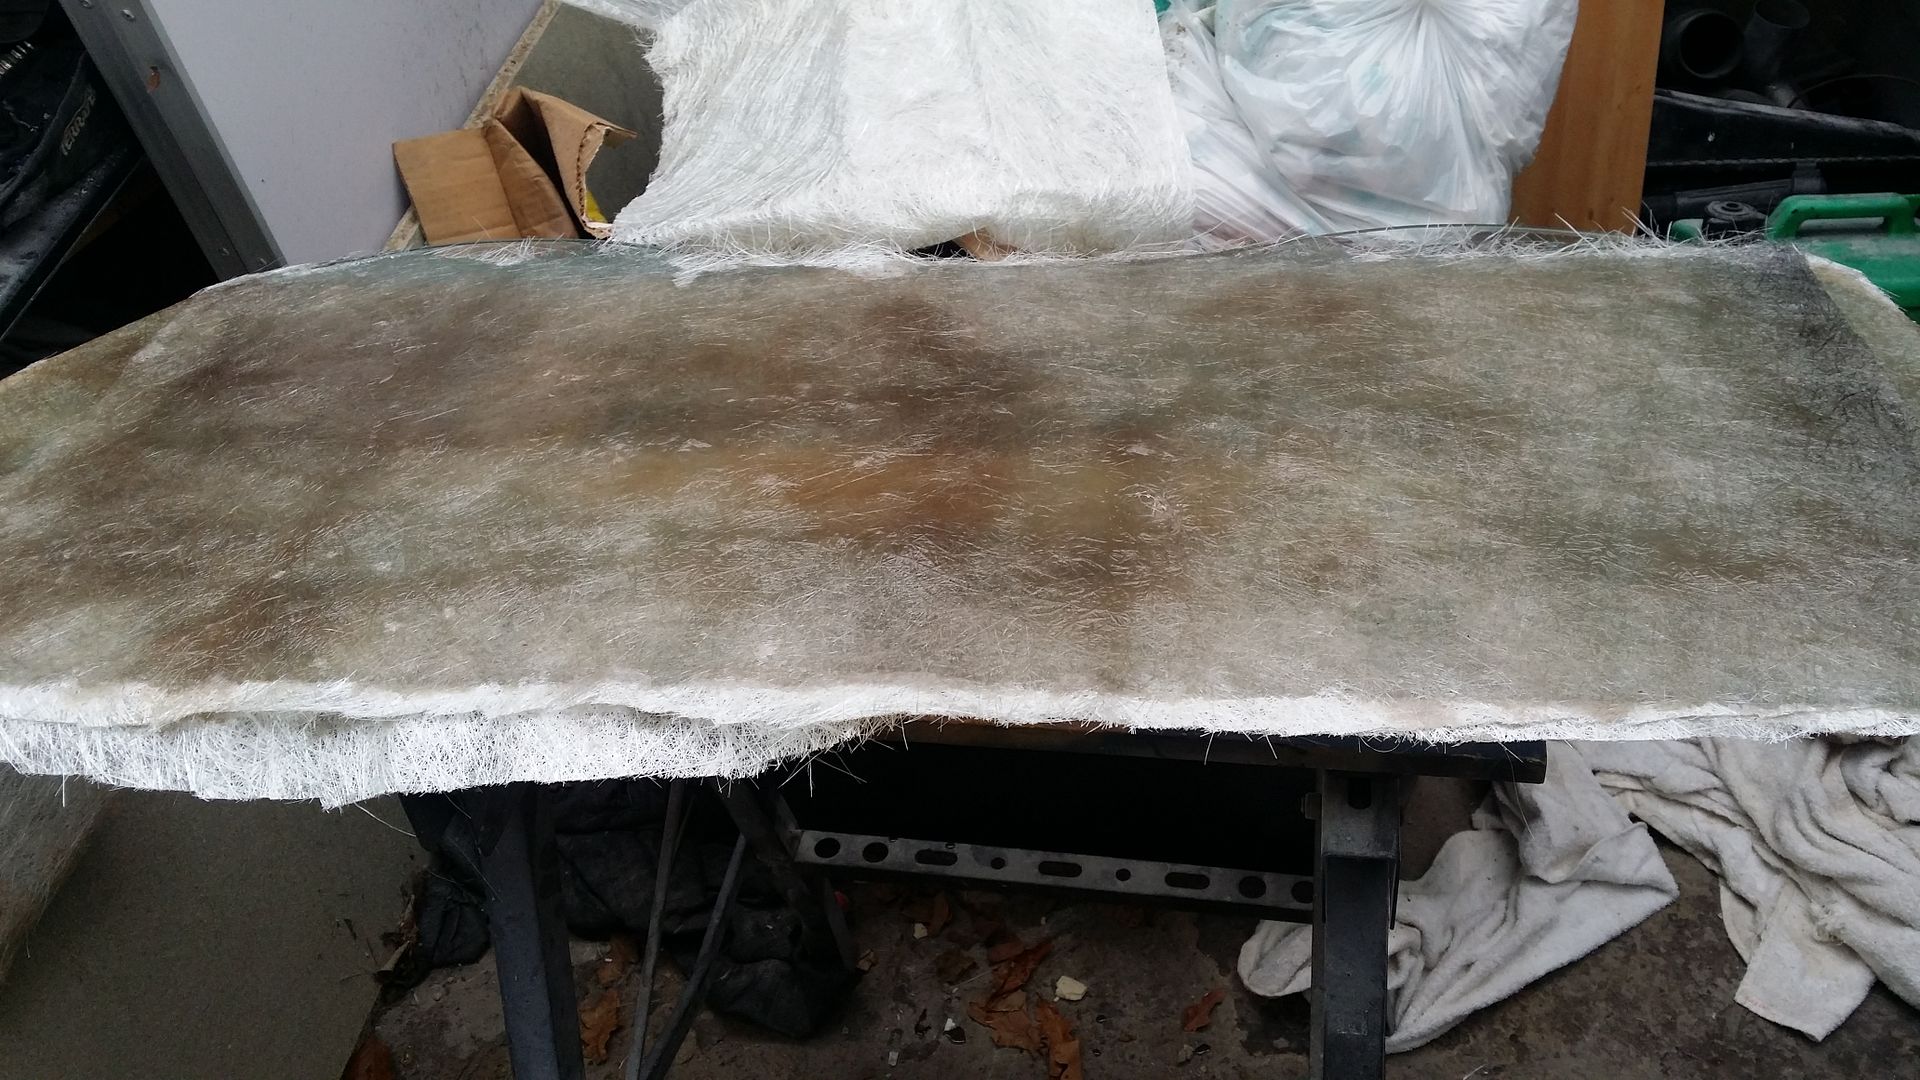 screwed a couple of aluminium strips on to get the rough shape: 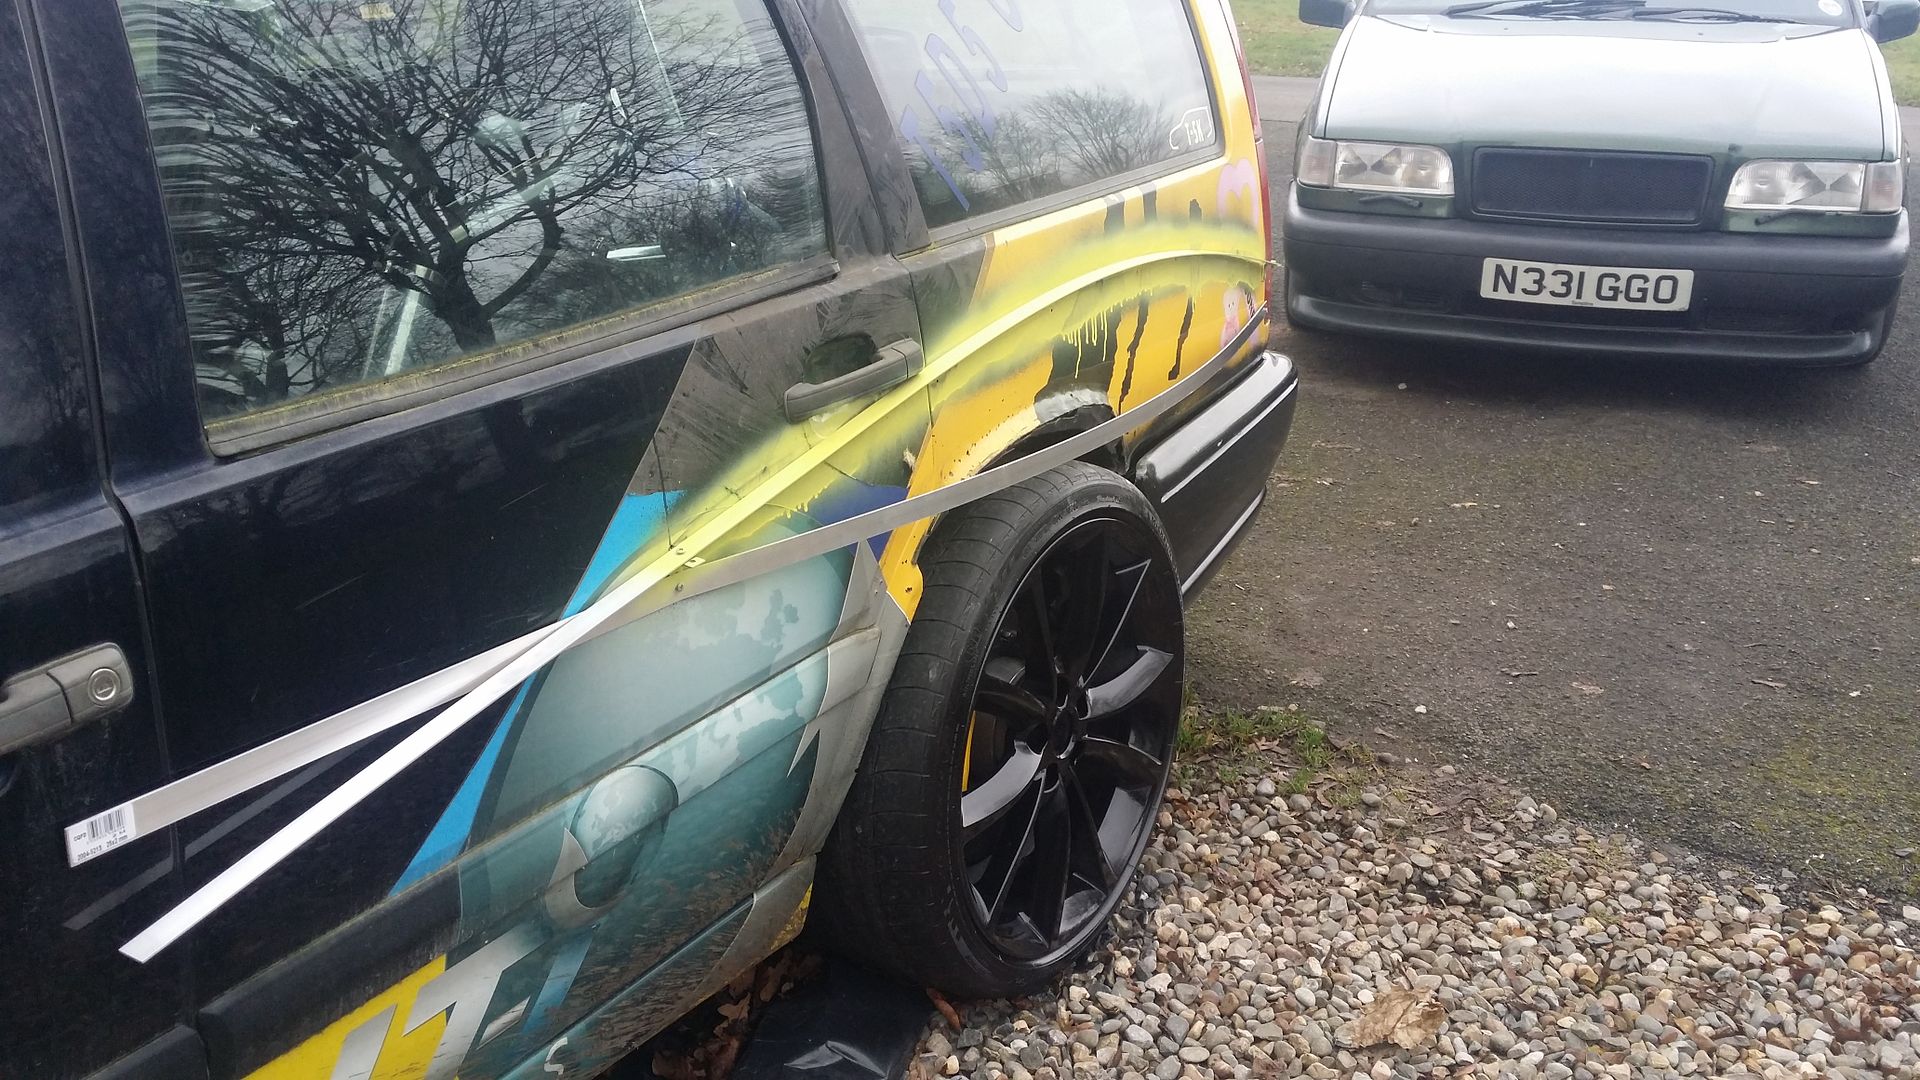 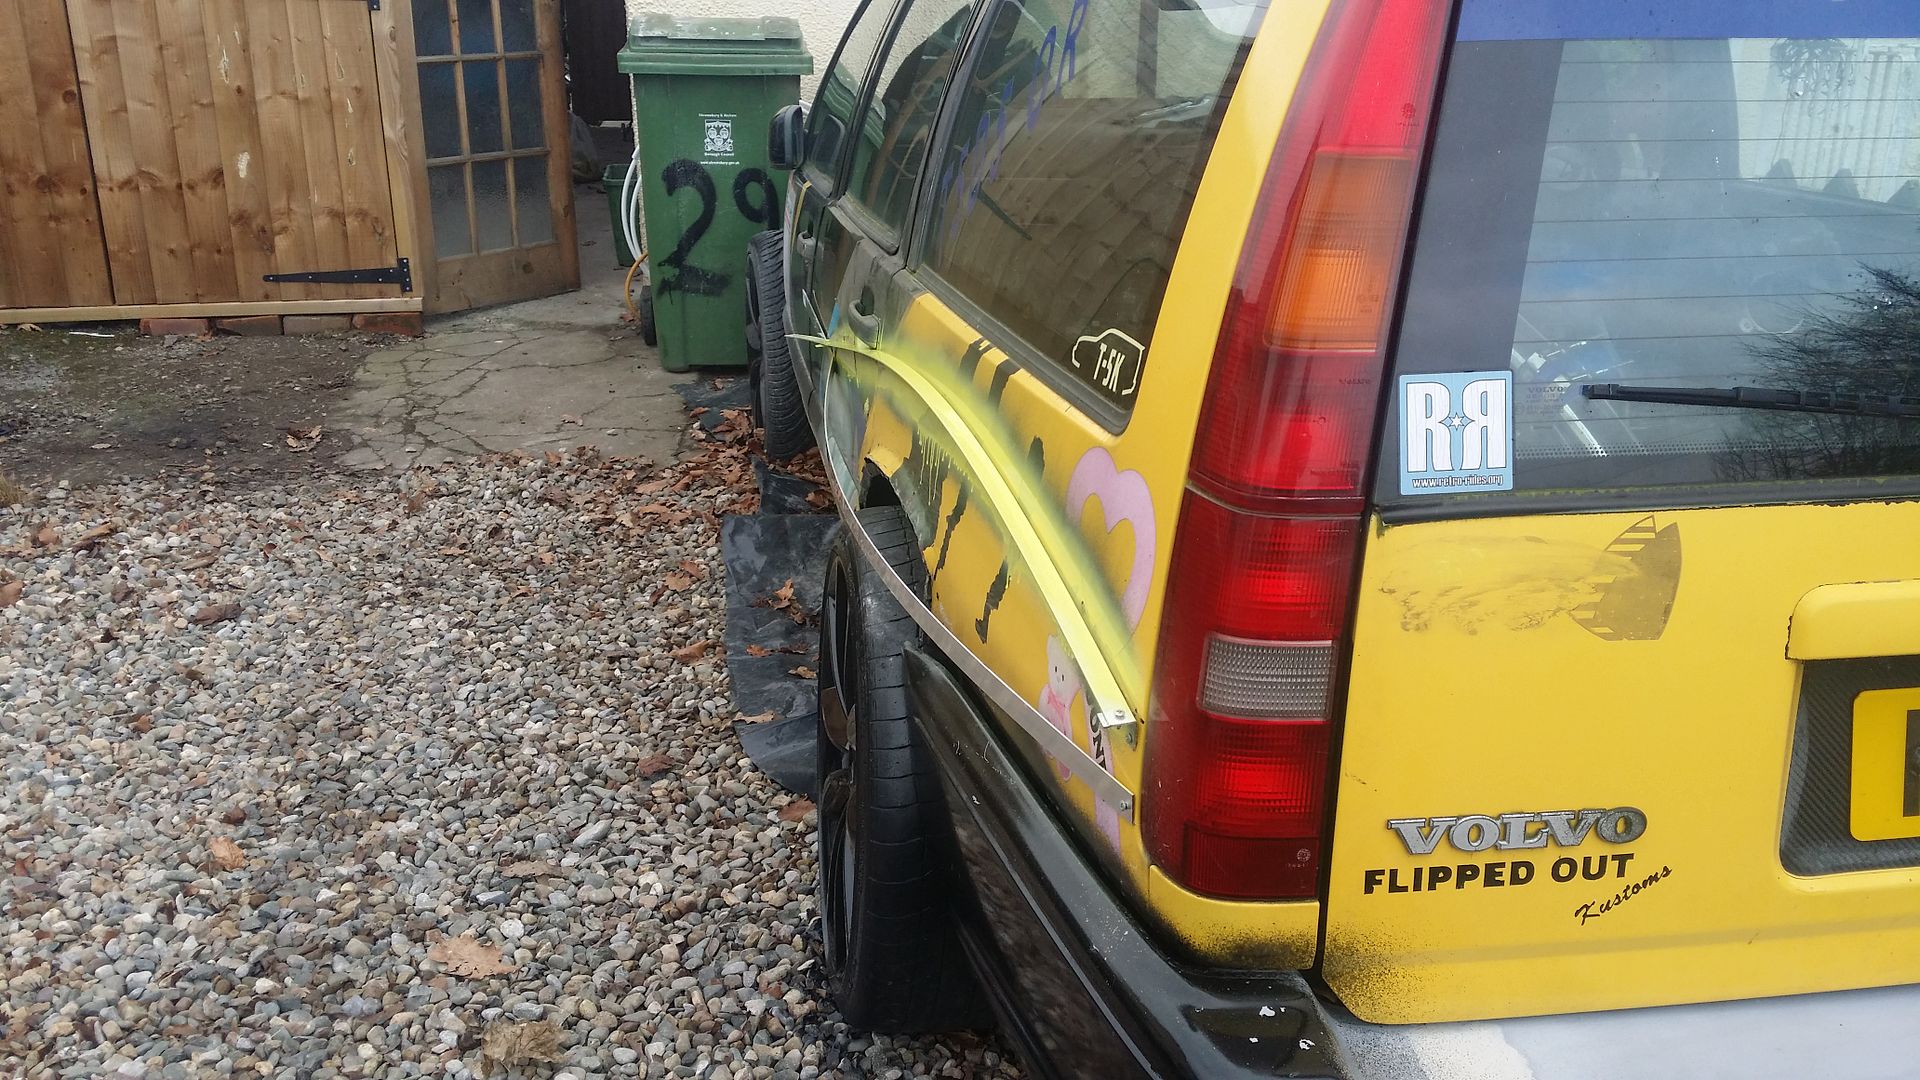 next screwed a sheet of glass onto the aluminum. 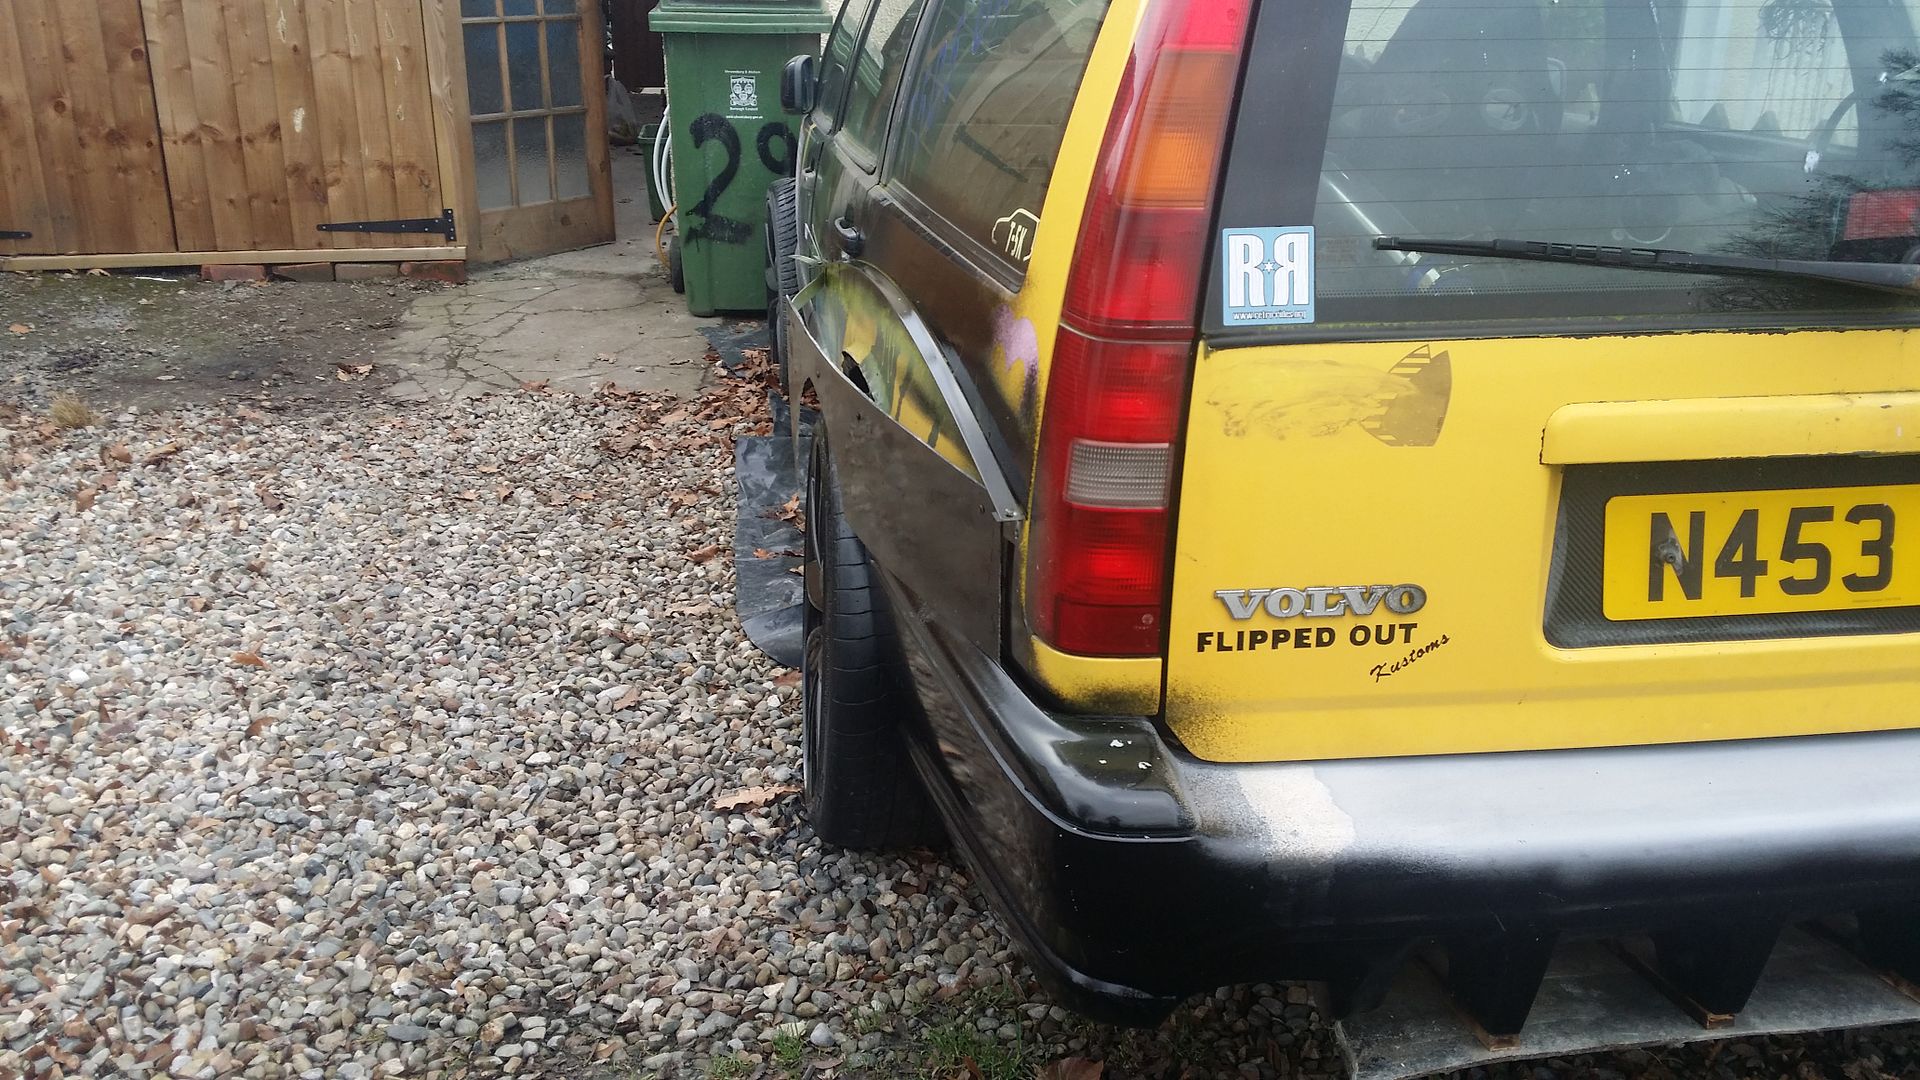 Put some tape on to check the shape. 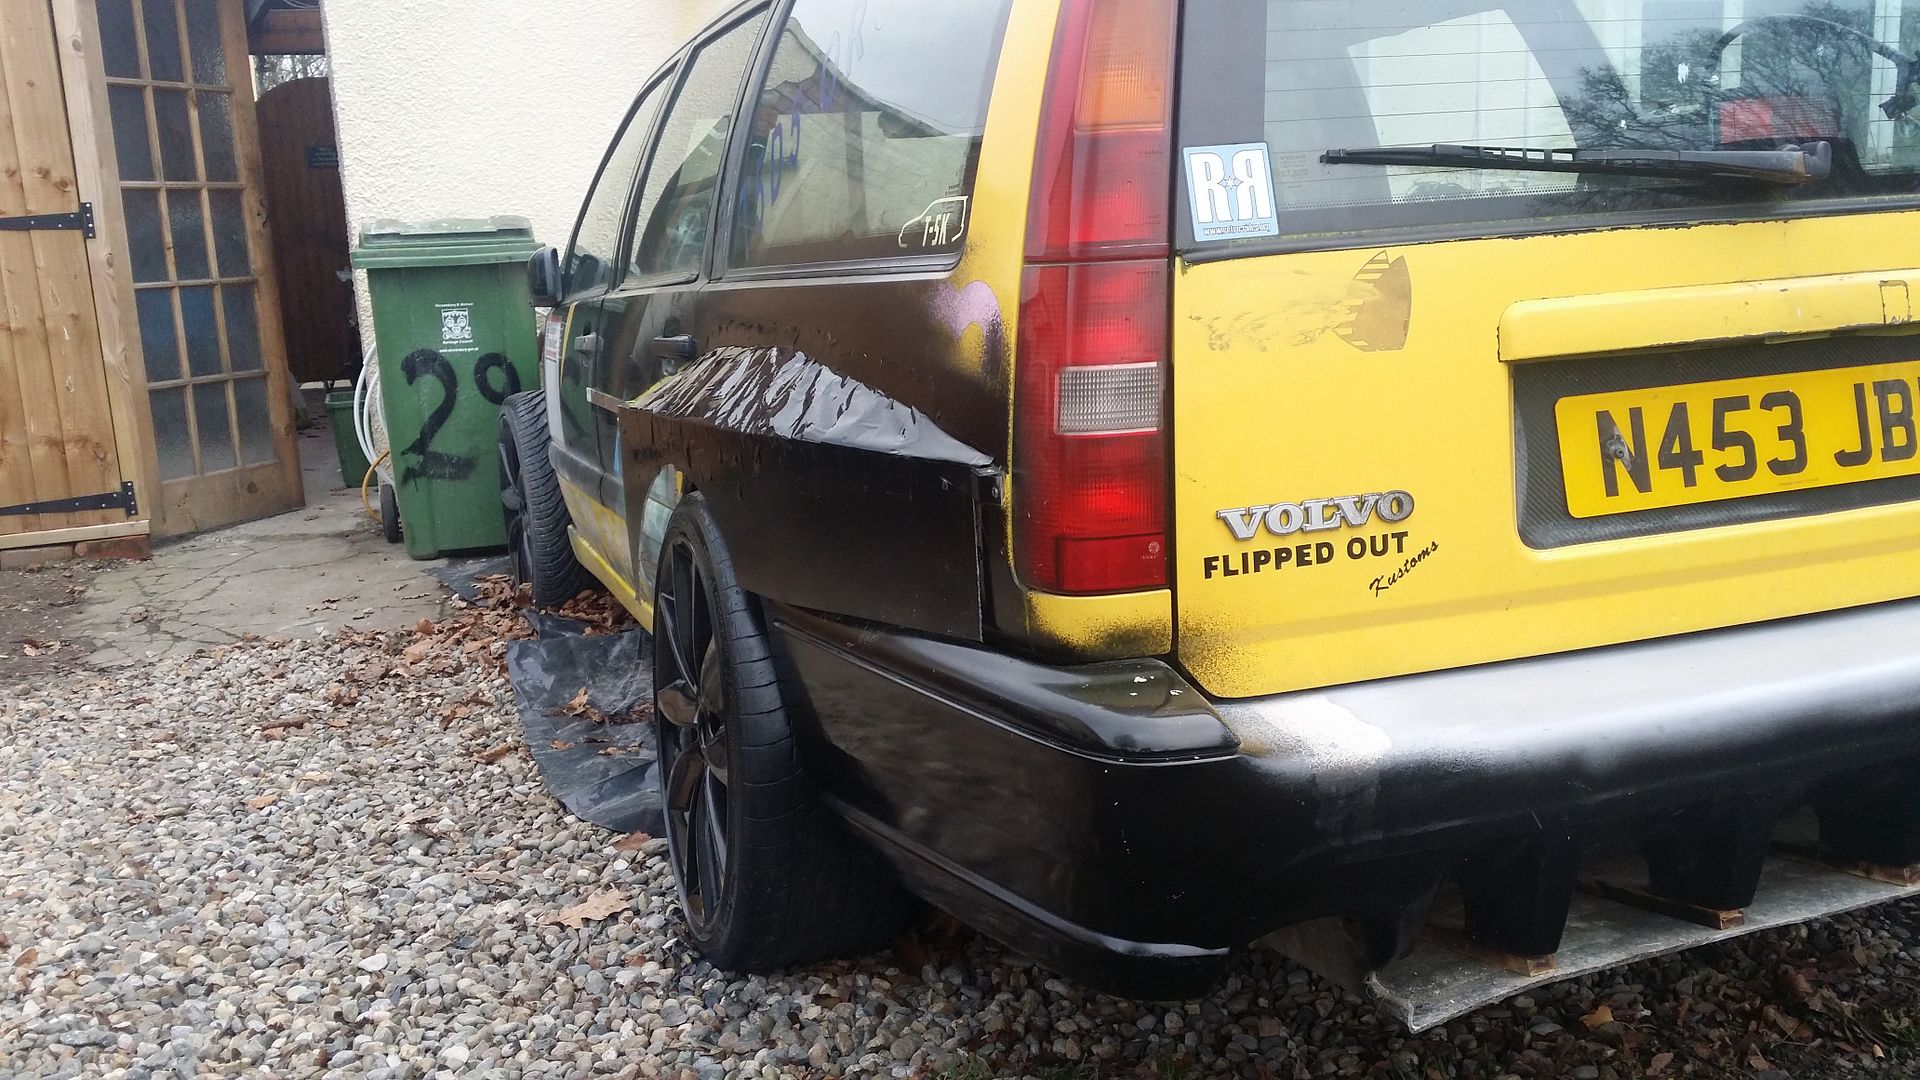 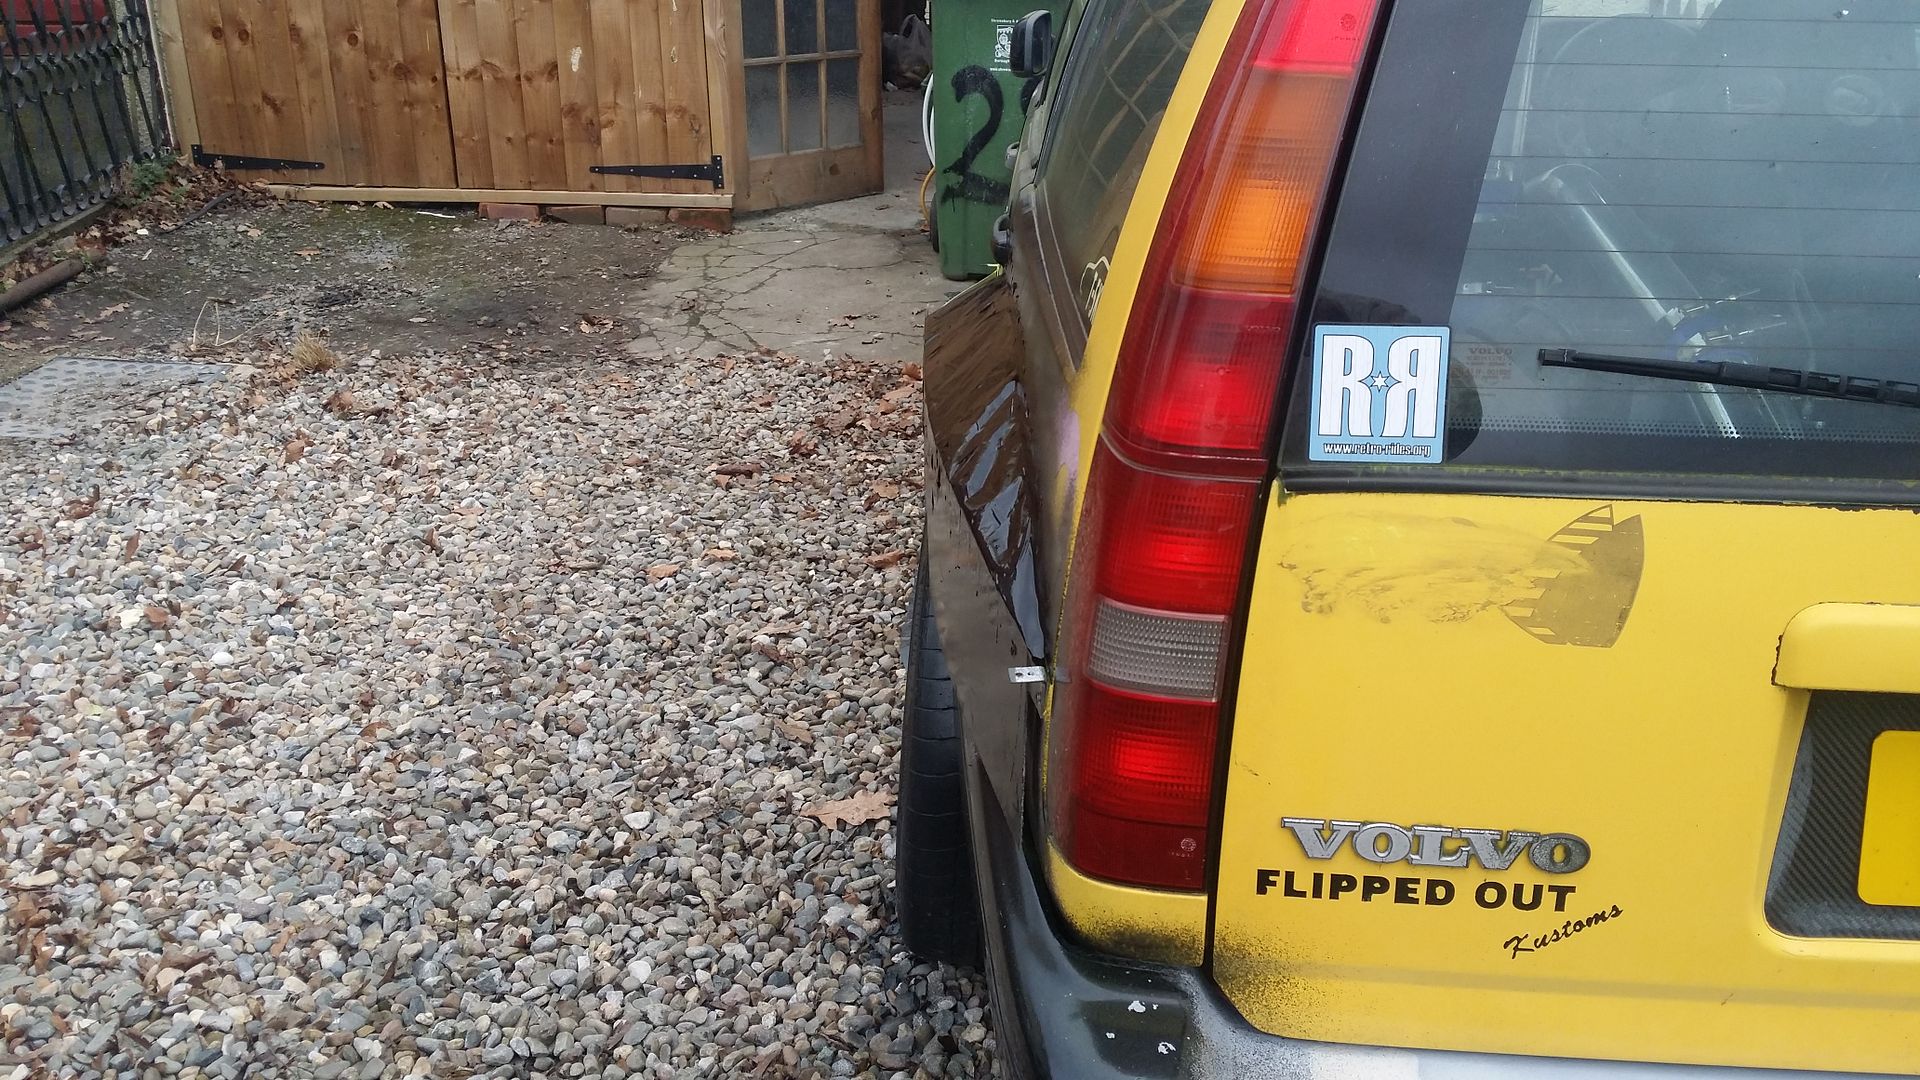 screwed the top piece on. 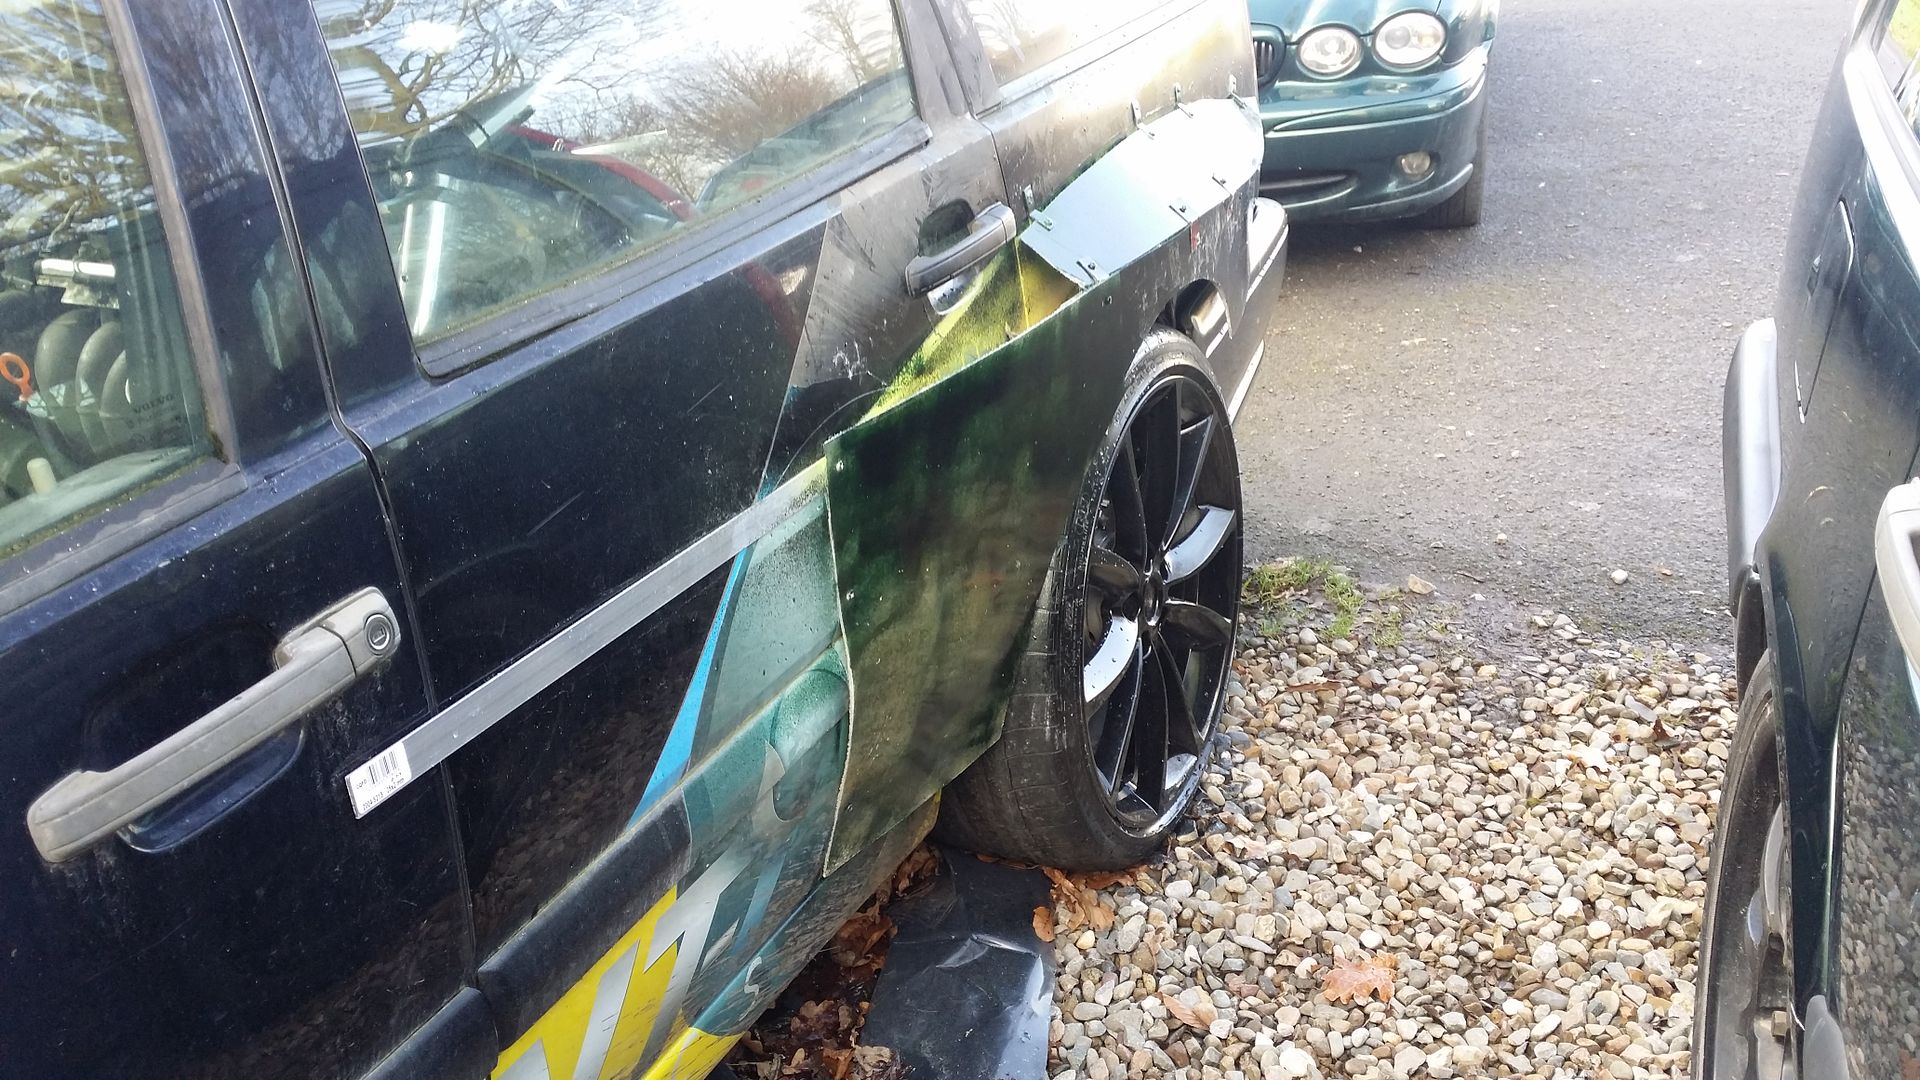 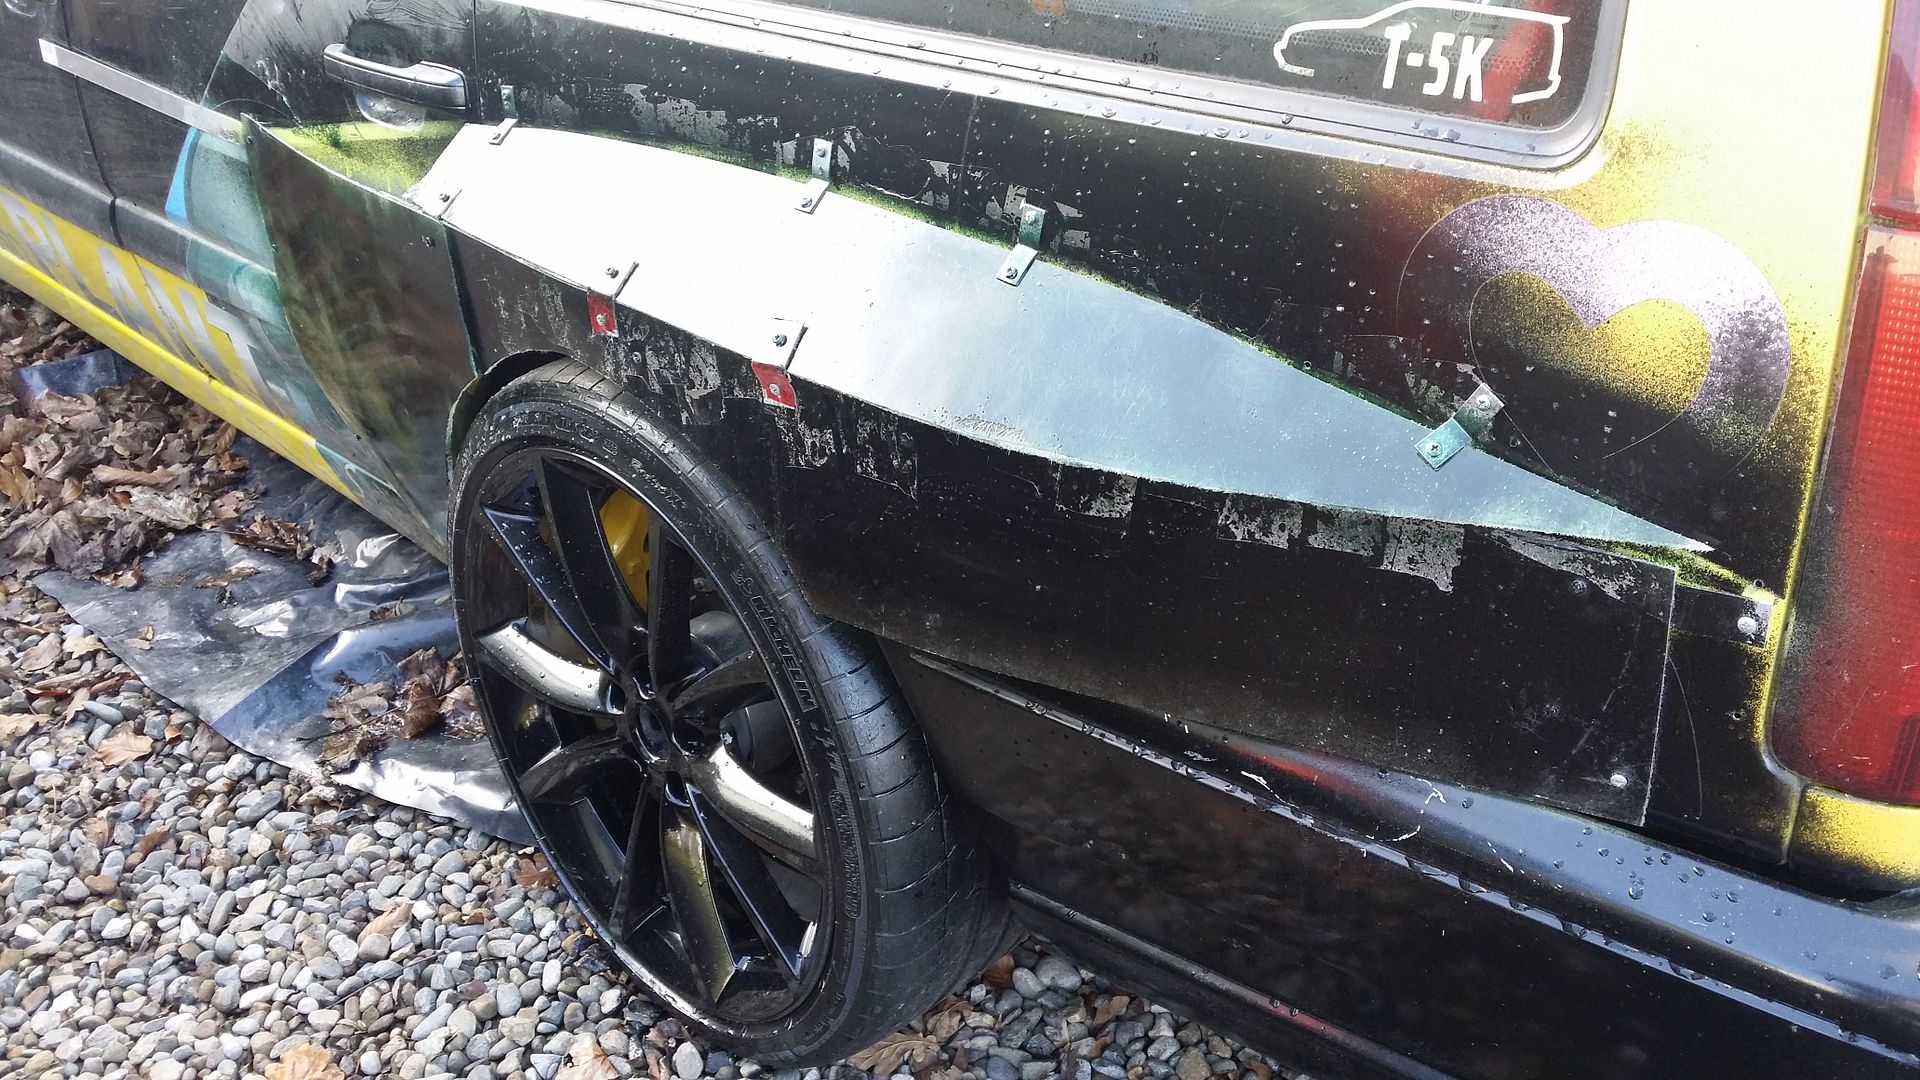 I think I'm going to make them like this: 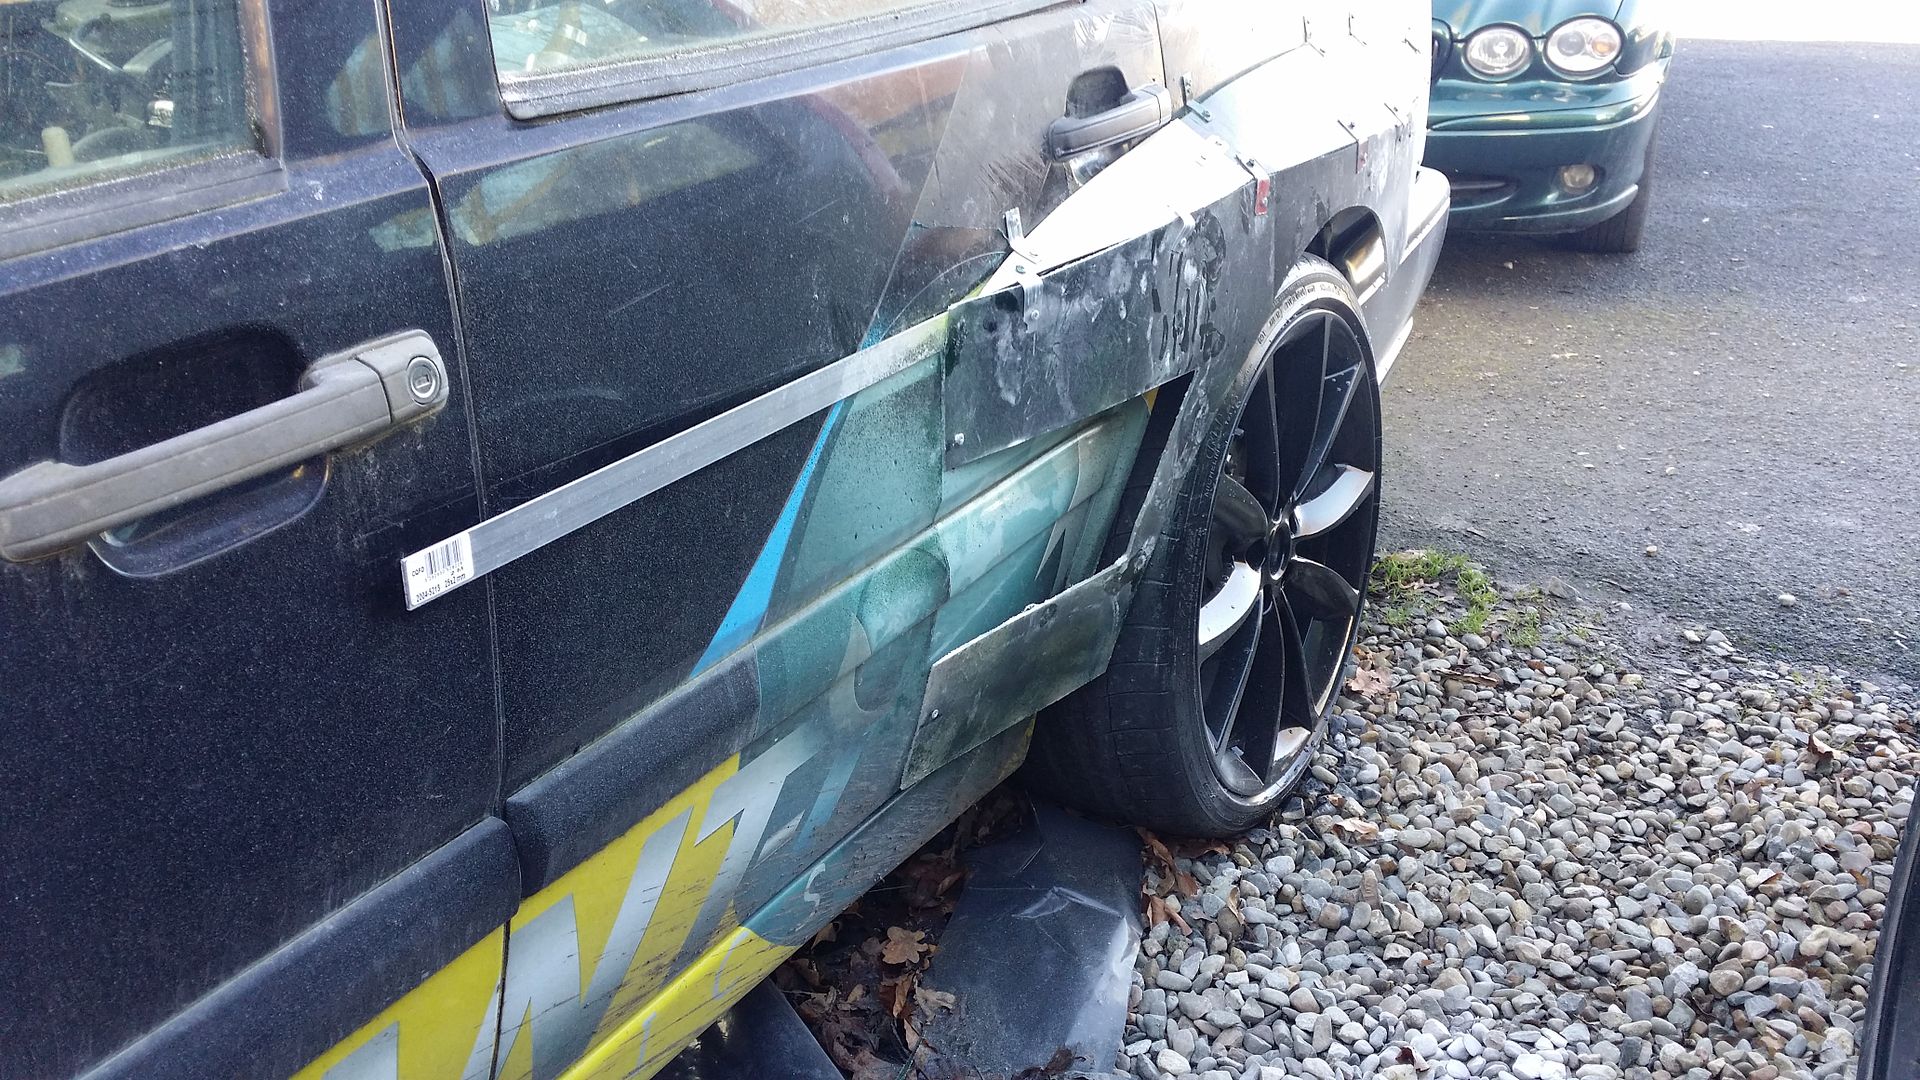 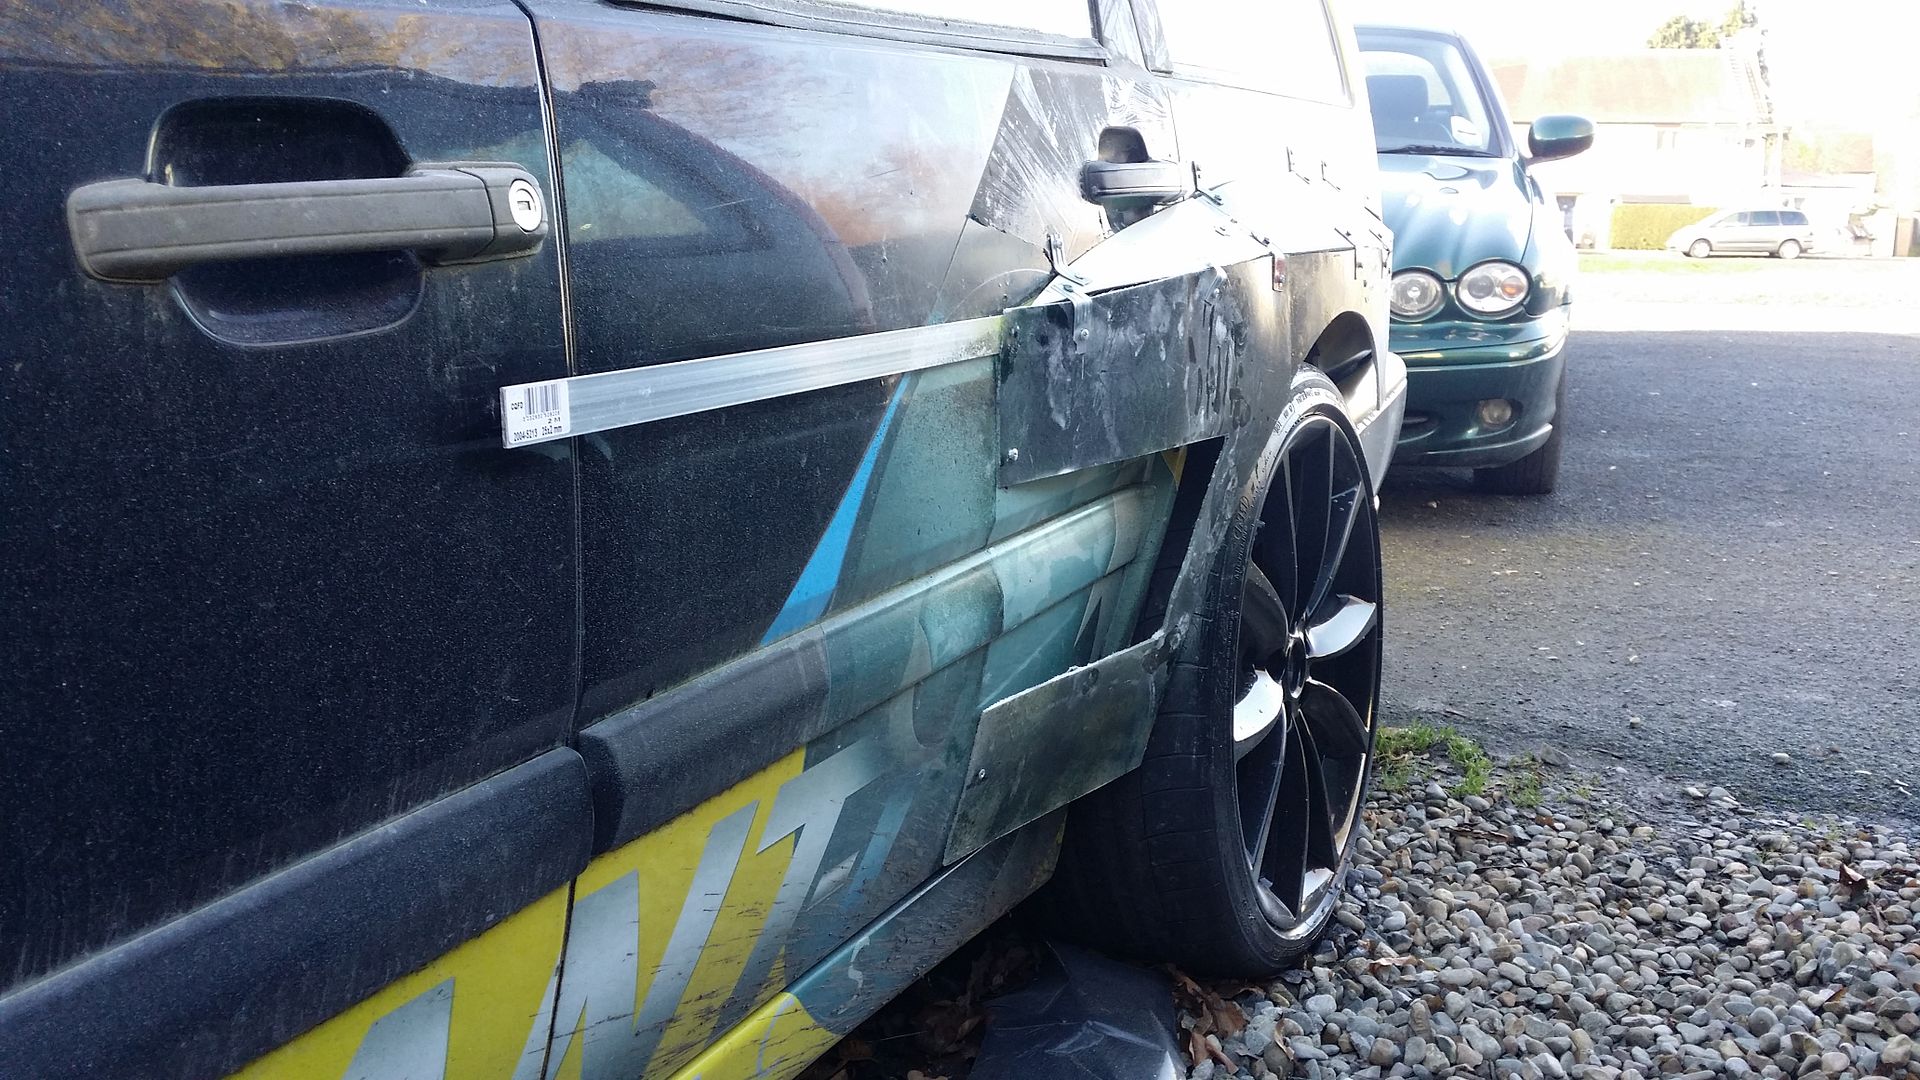 |
| |
|
|
|
|
bstardchild
Club Retro Rides Member
Posts: 14,971
Club RR Member Number: 71
|
|
|
|
|
So you making a mold that you can remove and then glass up the inside - I've very little experience with glass fibre so interested as I think I may need to up-skill myself soon
|
| |
|
|
|
|
|
|
|
|
Nothng that complex Ian, once it's all clipped together, I'll take it off and just glass up the inside, then I'll glass along the joints on the outside, then a skim of filler on the outside, sounds easy...lol
|
| |
|
|
|
|
|
|
|
|
|
|
|
|
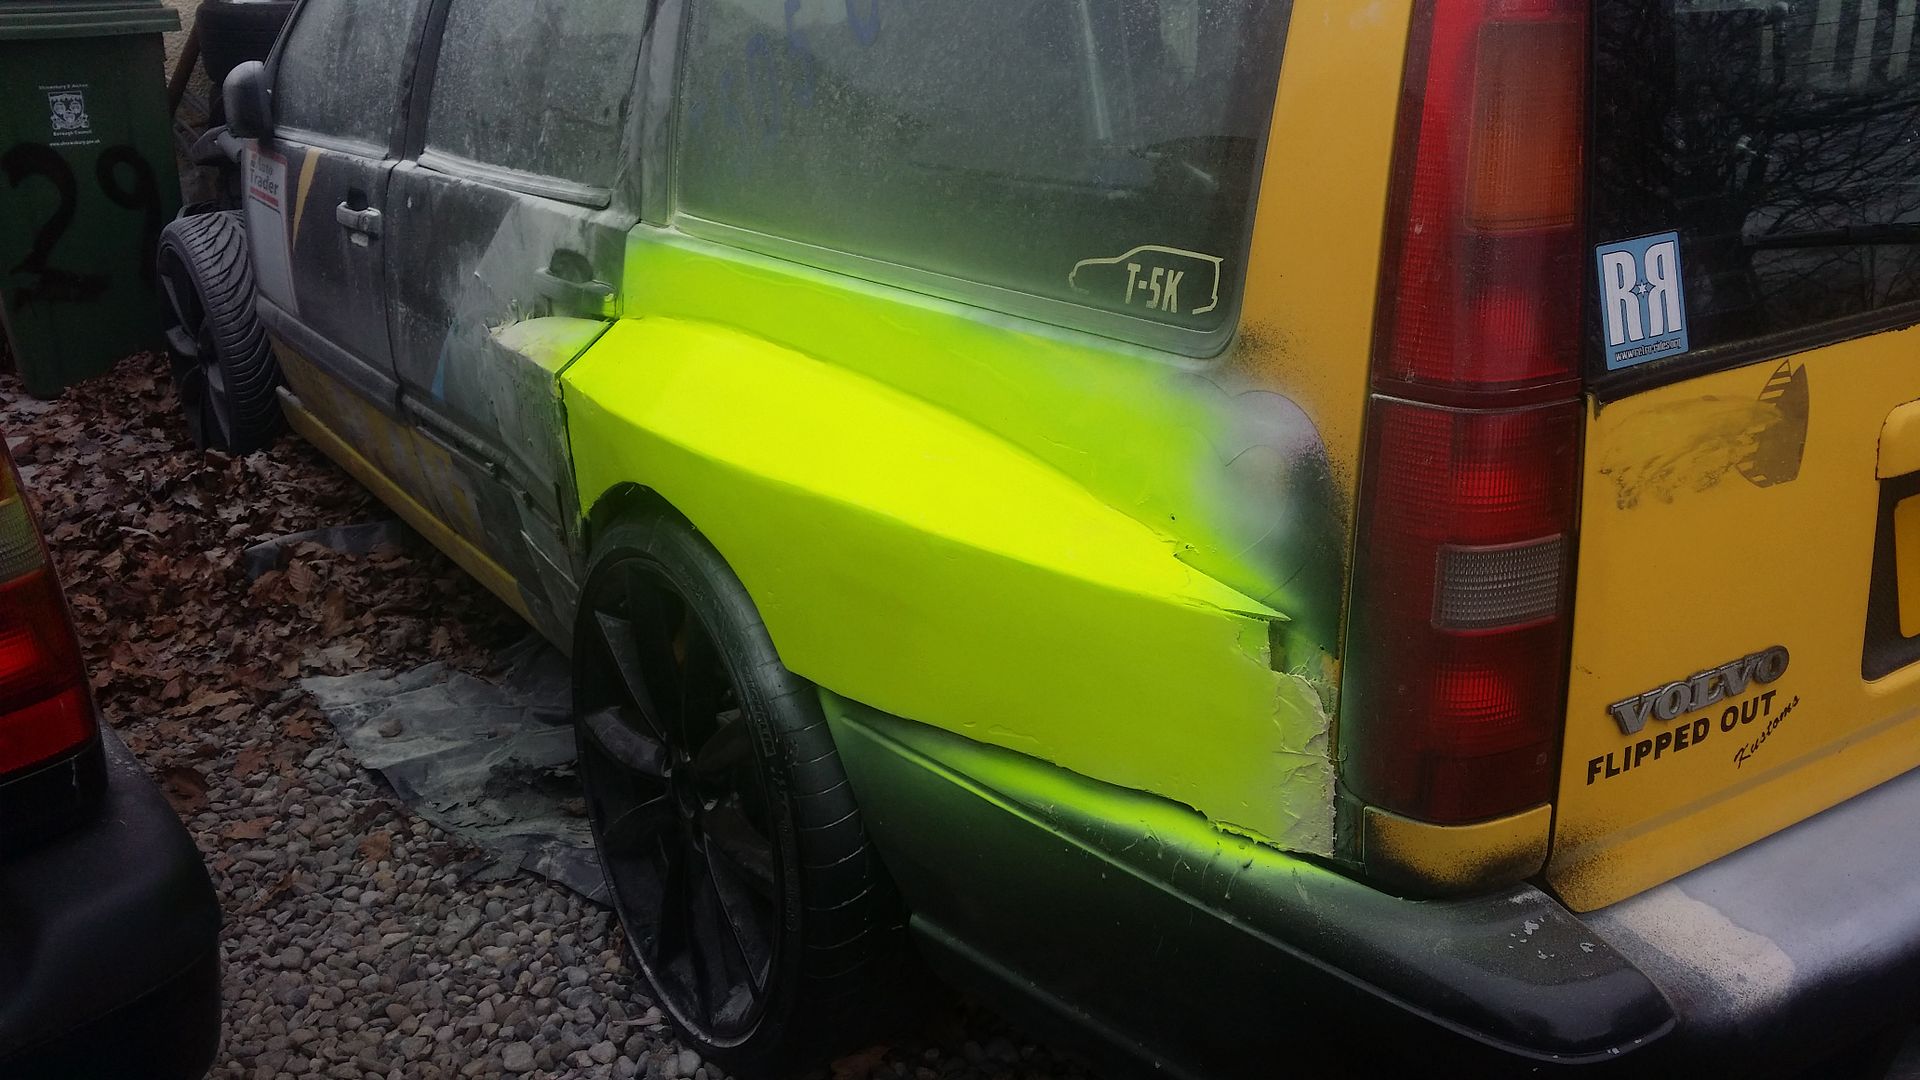
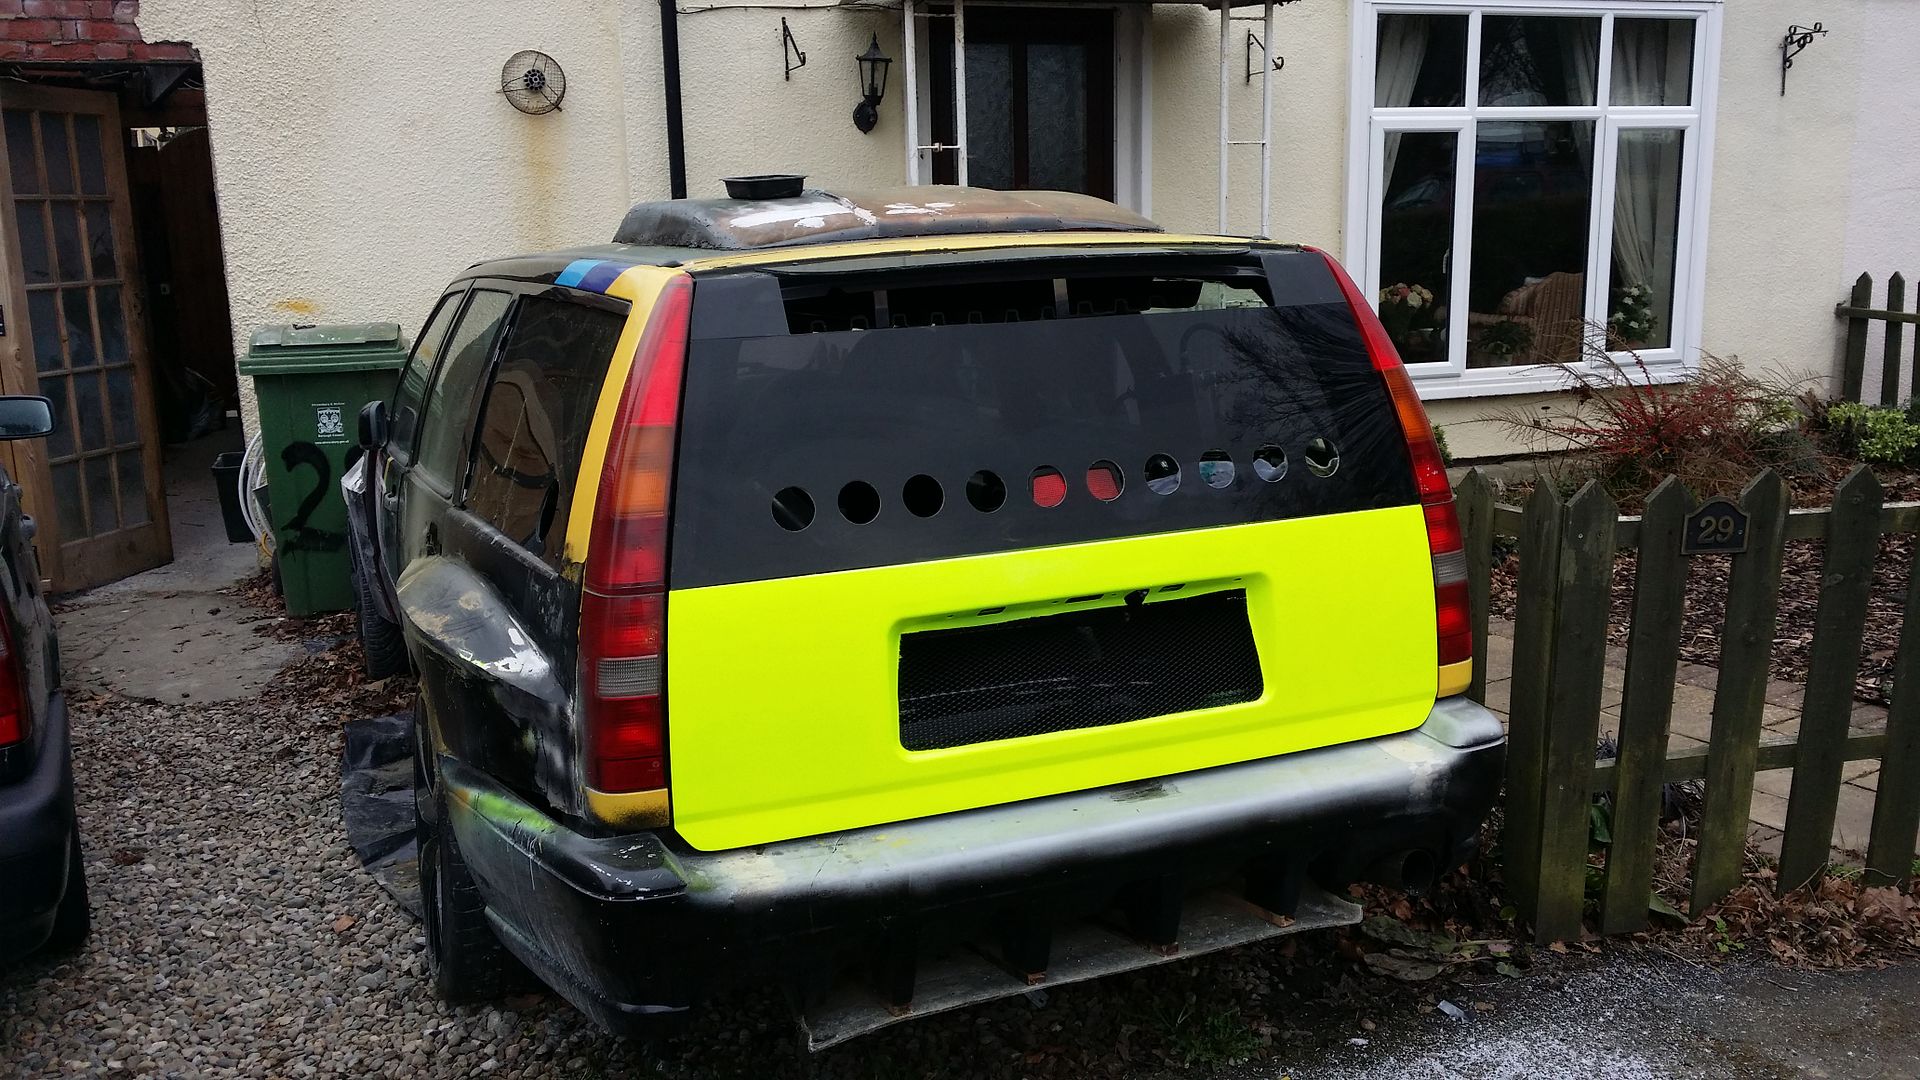
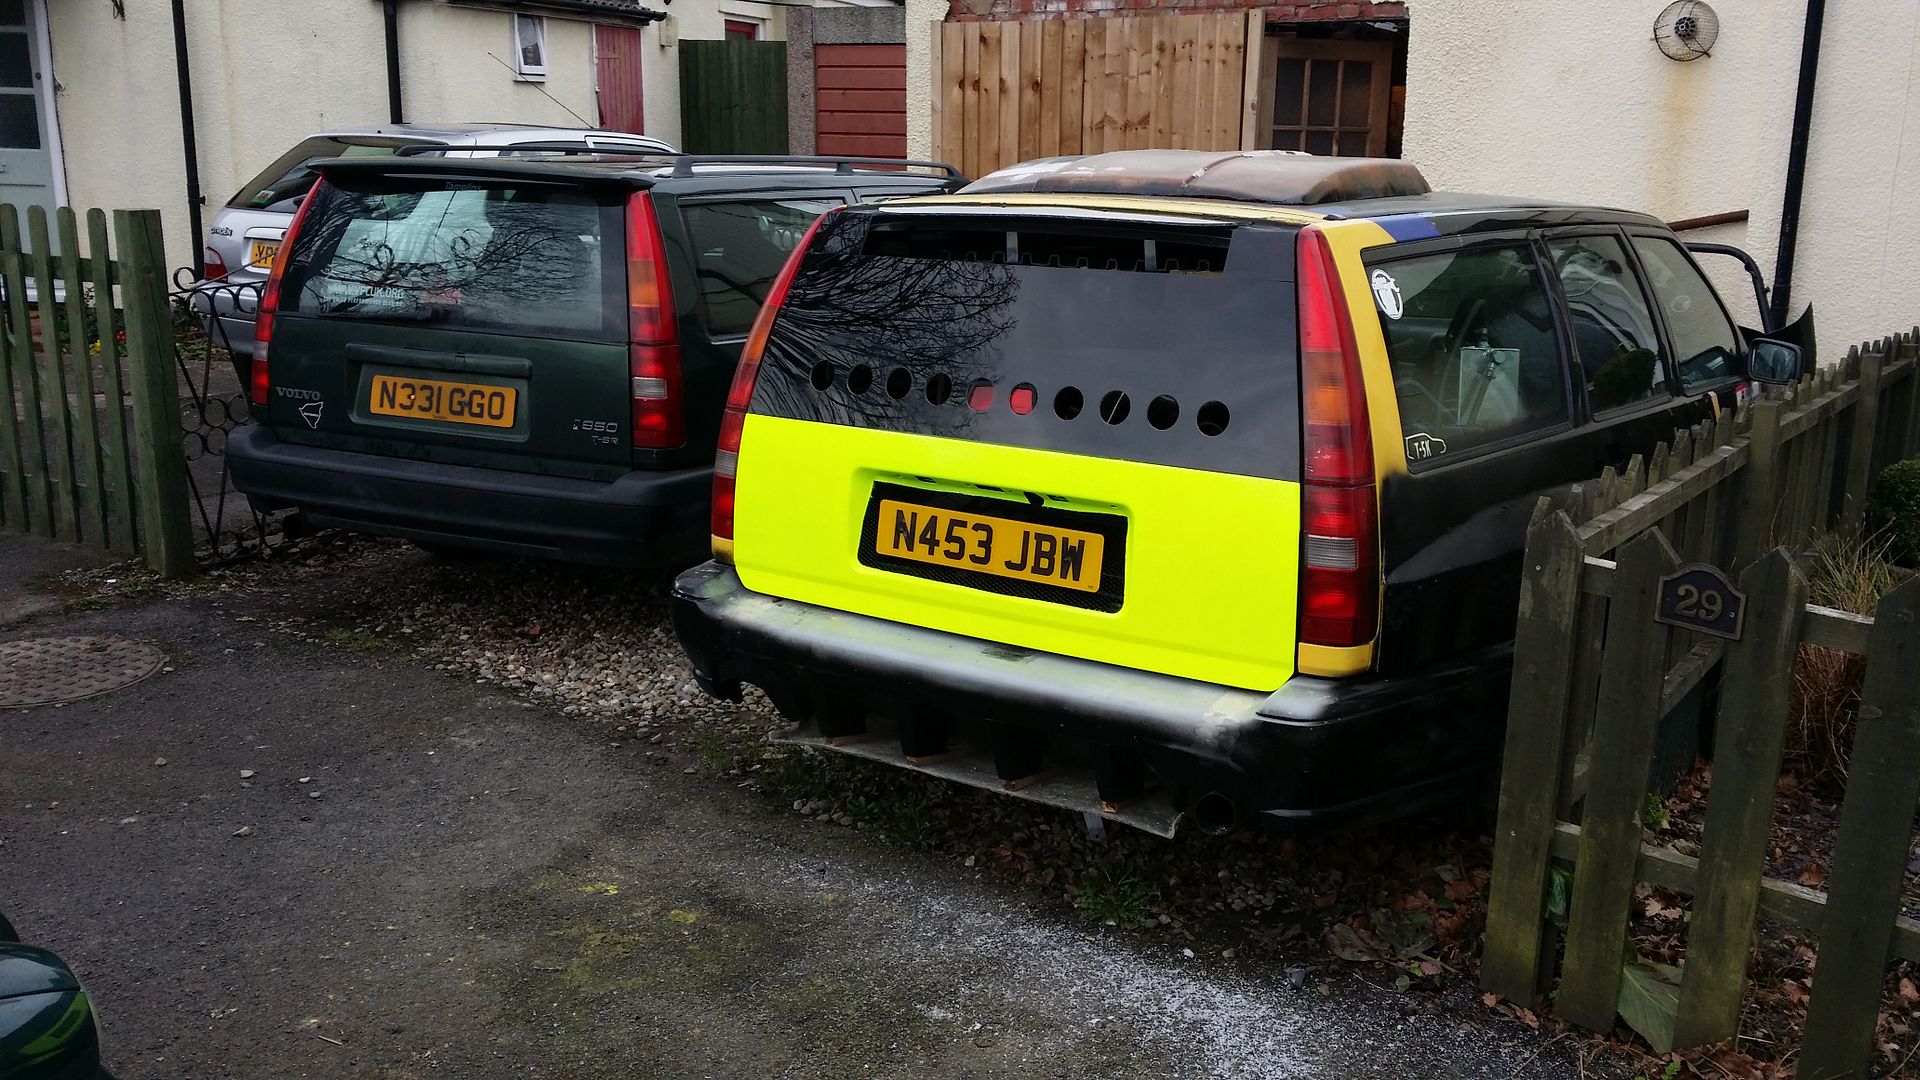
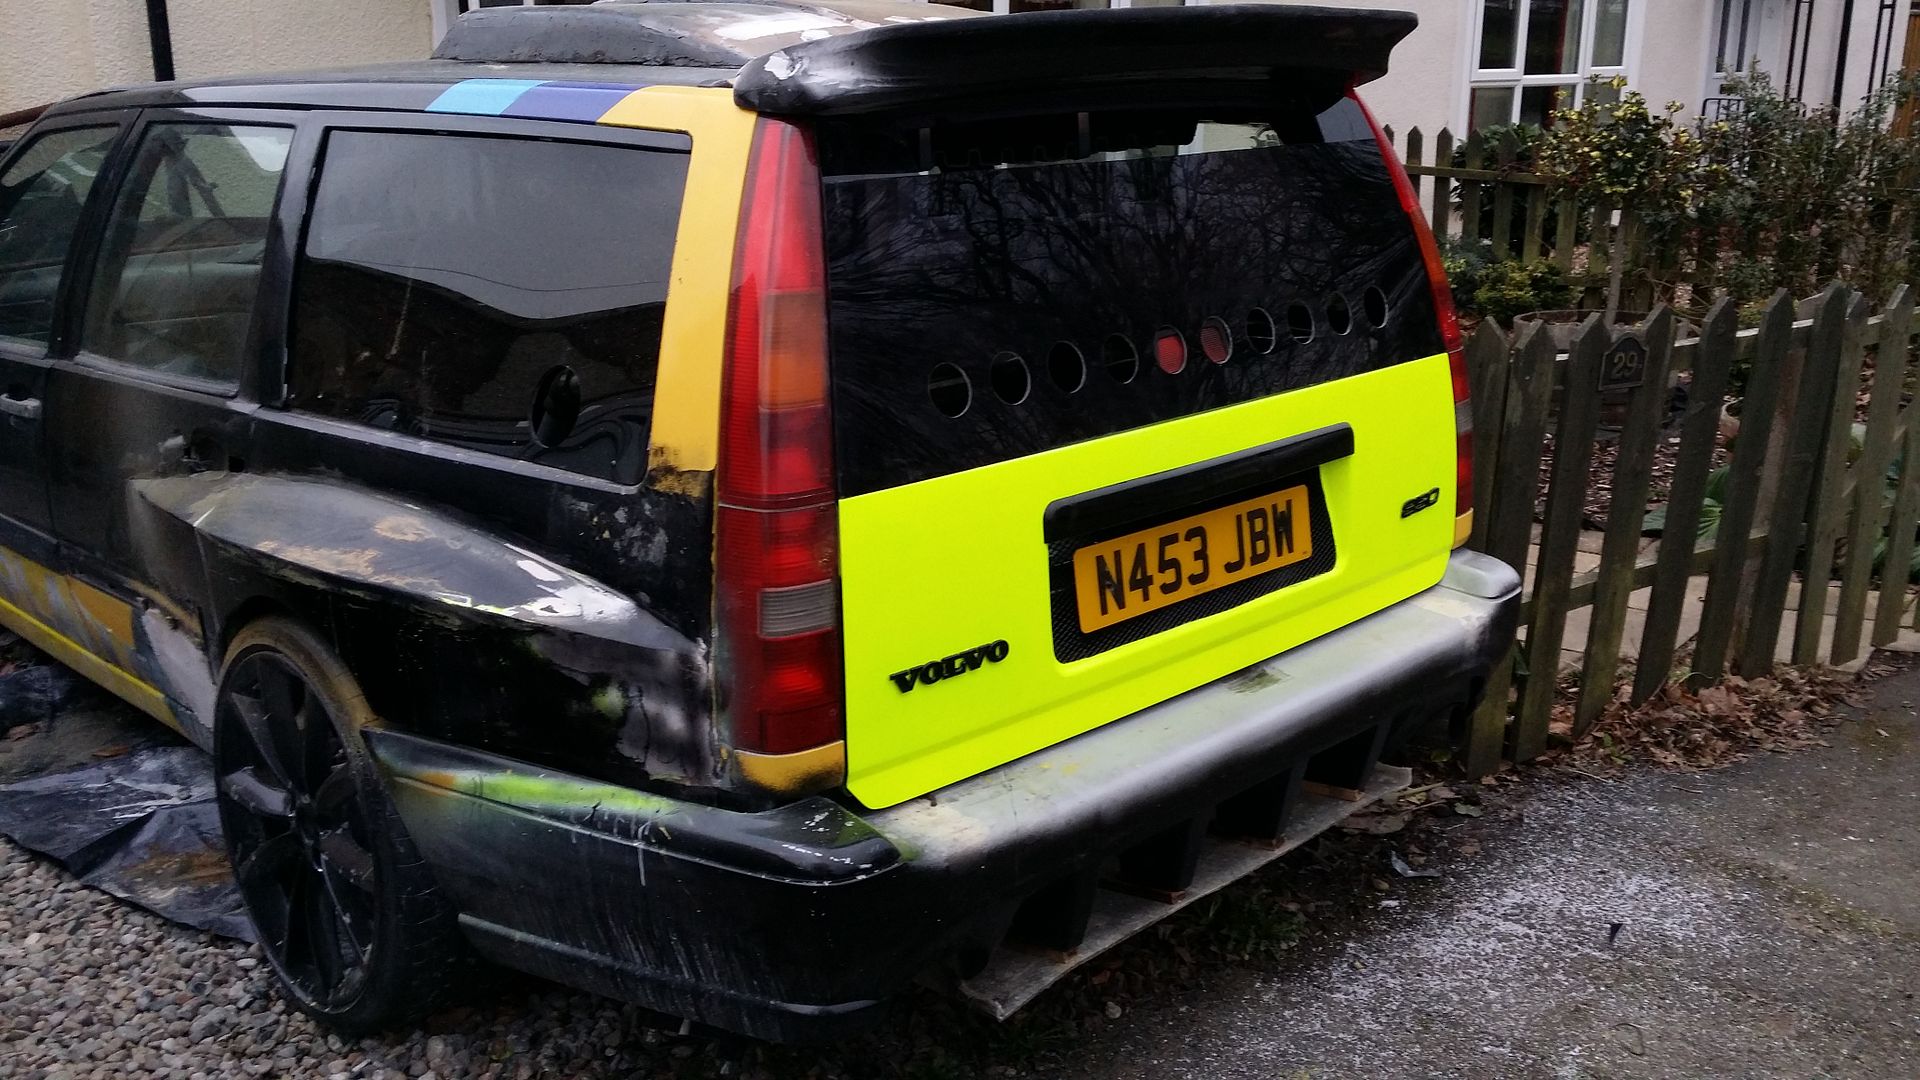
Wow!! That's very bright!!!
|
| |
'96 Volvo 850T5 x2, '97 Alfa 145 Cloverleaf '96 Alfa 155, '91 XR2i 2.0 Zetec (sold), '88 BMW 520i slug (sold), '81 Escort Mk3 Project, '68 Mk1 Escort Estate, Berlingo Parts Chaser.
|
|
Smiler
Posted a lot
   I no longer own anything FWD! Or with less than 6 cylinders, or 2.5ltrs! :)
Posts: 2,492
|
|
|
|
Crickey, that certainly grabs your attention! It's certainly no sleeper.  |
| |
www.Auto-tat.co.uk'96 Range Rover P38 DSE (daily driver) '71 Reliant Scimitar SE5 GTE 3.0ltr Jag V6 Conversion '79 Reliant Scimitar SE6A 3.0ltr 24valve Omega Conversion '85 Escort Cabrio 2.0 Zetec - Sold '91 BMW 525i - Sold '82 Cortina 2.9i Ghia Cosworth - Sold '72 VW Campervan - Sold '65 LandRover 88" - Sold
|
|
|
|
|
Feb 23, 2015 13:44:04 GMT
|
|
|
| |
|
|
adam73bgt
Club Retro Rides Member
Posts: 4,998
Club RR Member Number: 58
Member is Online
|
|
Feb 23, 2015 15:15:55 GMT
|
Reminds me of the Lancia S4 roof intake but on steroids  |
| |
|
|
|
|
|
Feb 23, 2015 17:03:19 GMT
|
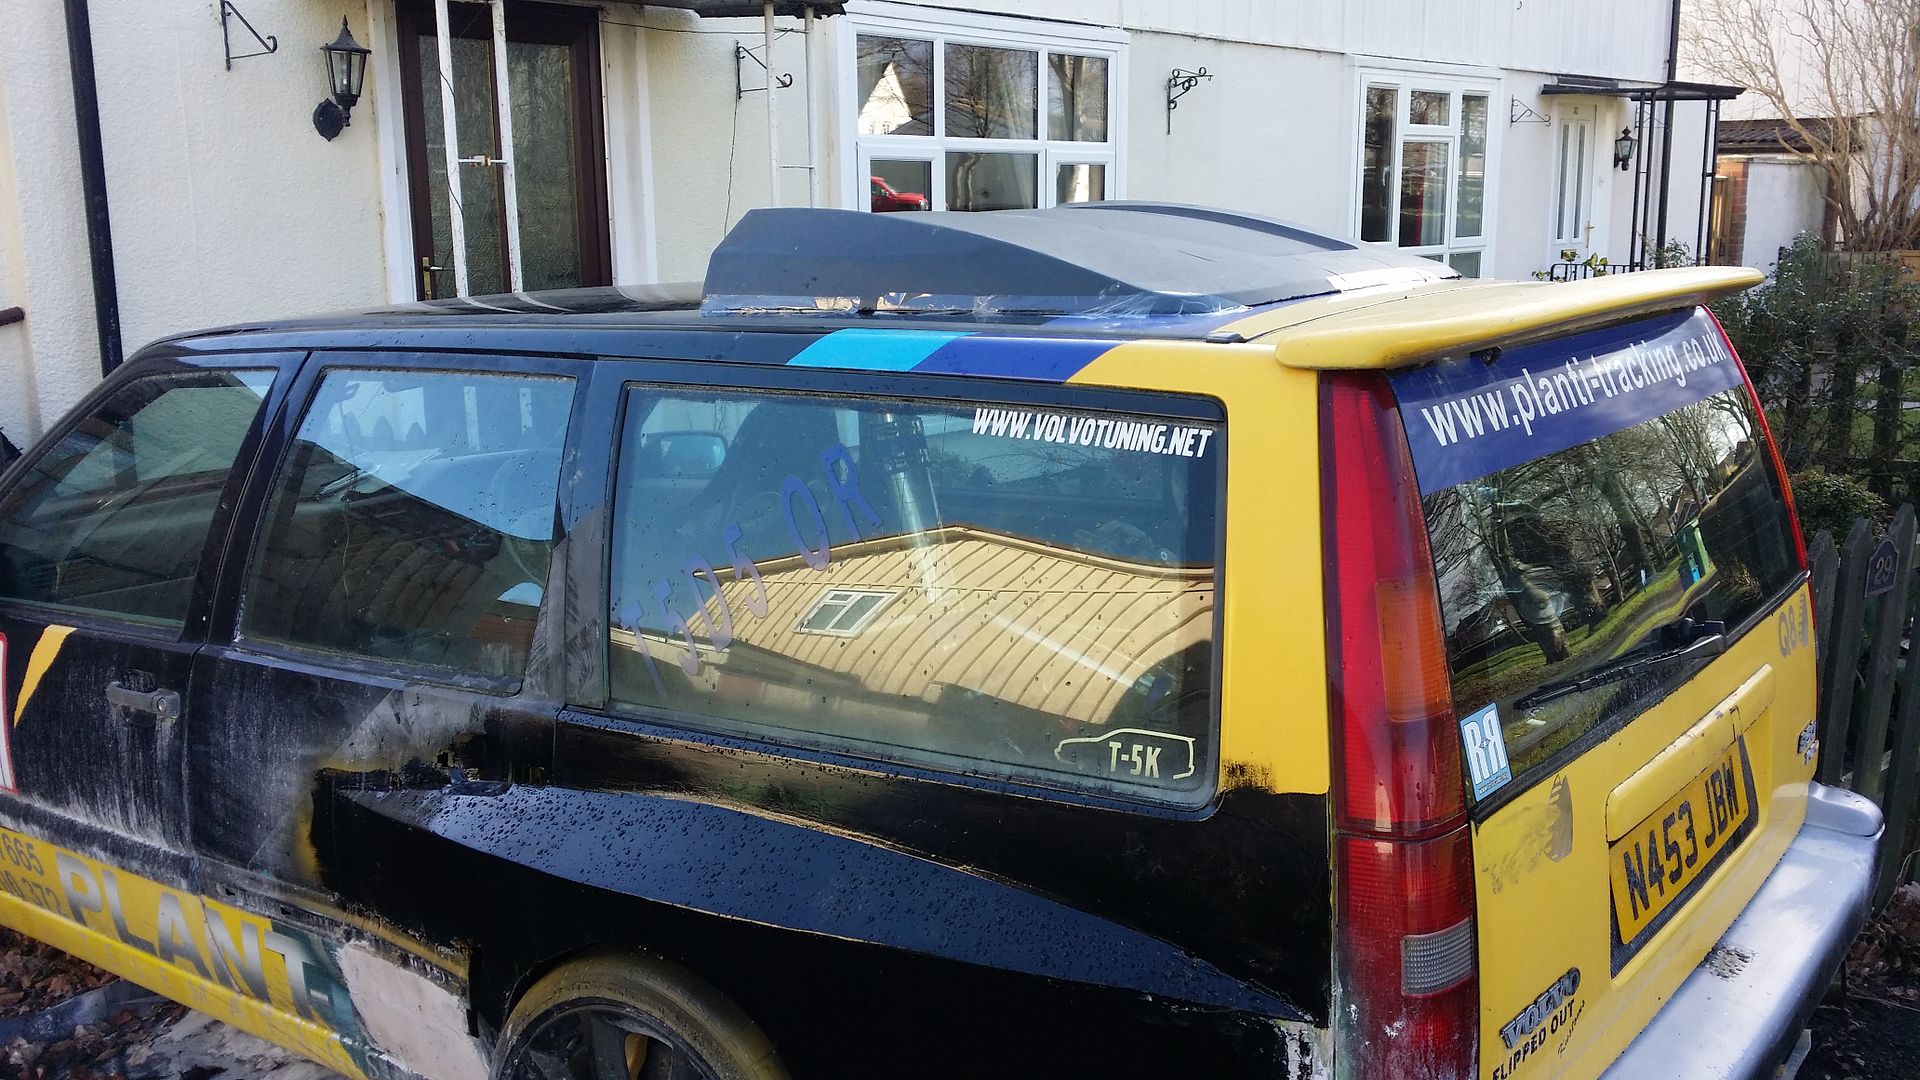
Reminds me of the Lancia S4 roof intake but on steroids  Cross between an S4 and RS200. I think it will look better than the one I originally made. |
| |
Last Edit: Feb 23, 2015 17:03:45 GMT by claymore
|
|
|
|
fer4l
Posted a lot
   Testing
Posts: 1,497
Club RR Member Number: 73
|
|
Feb 23, 2015 21:34:12 GMT
|
Love the way this is heading!  |
| |
|
|
|
|
|
Feb 24, 2015 23:01:19 GMT
|
|
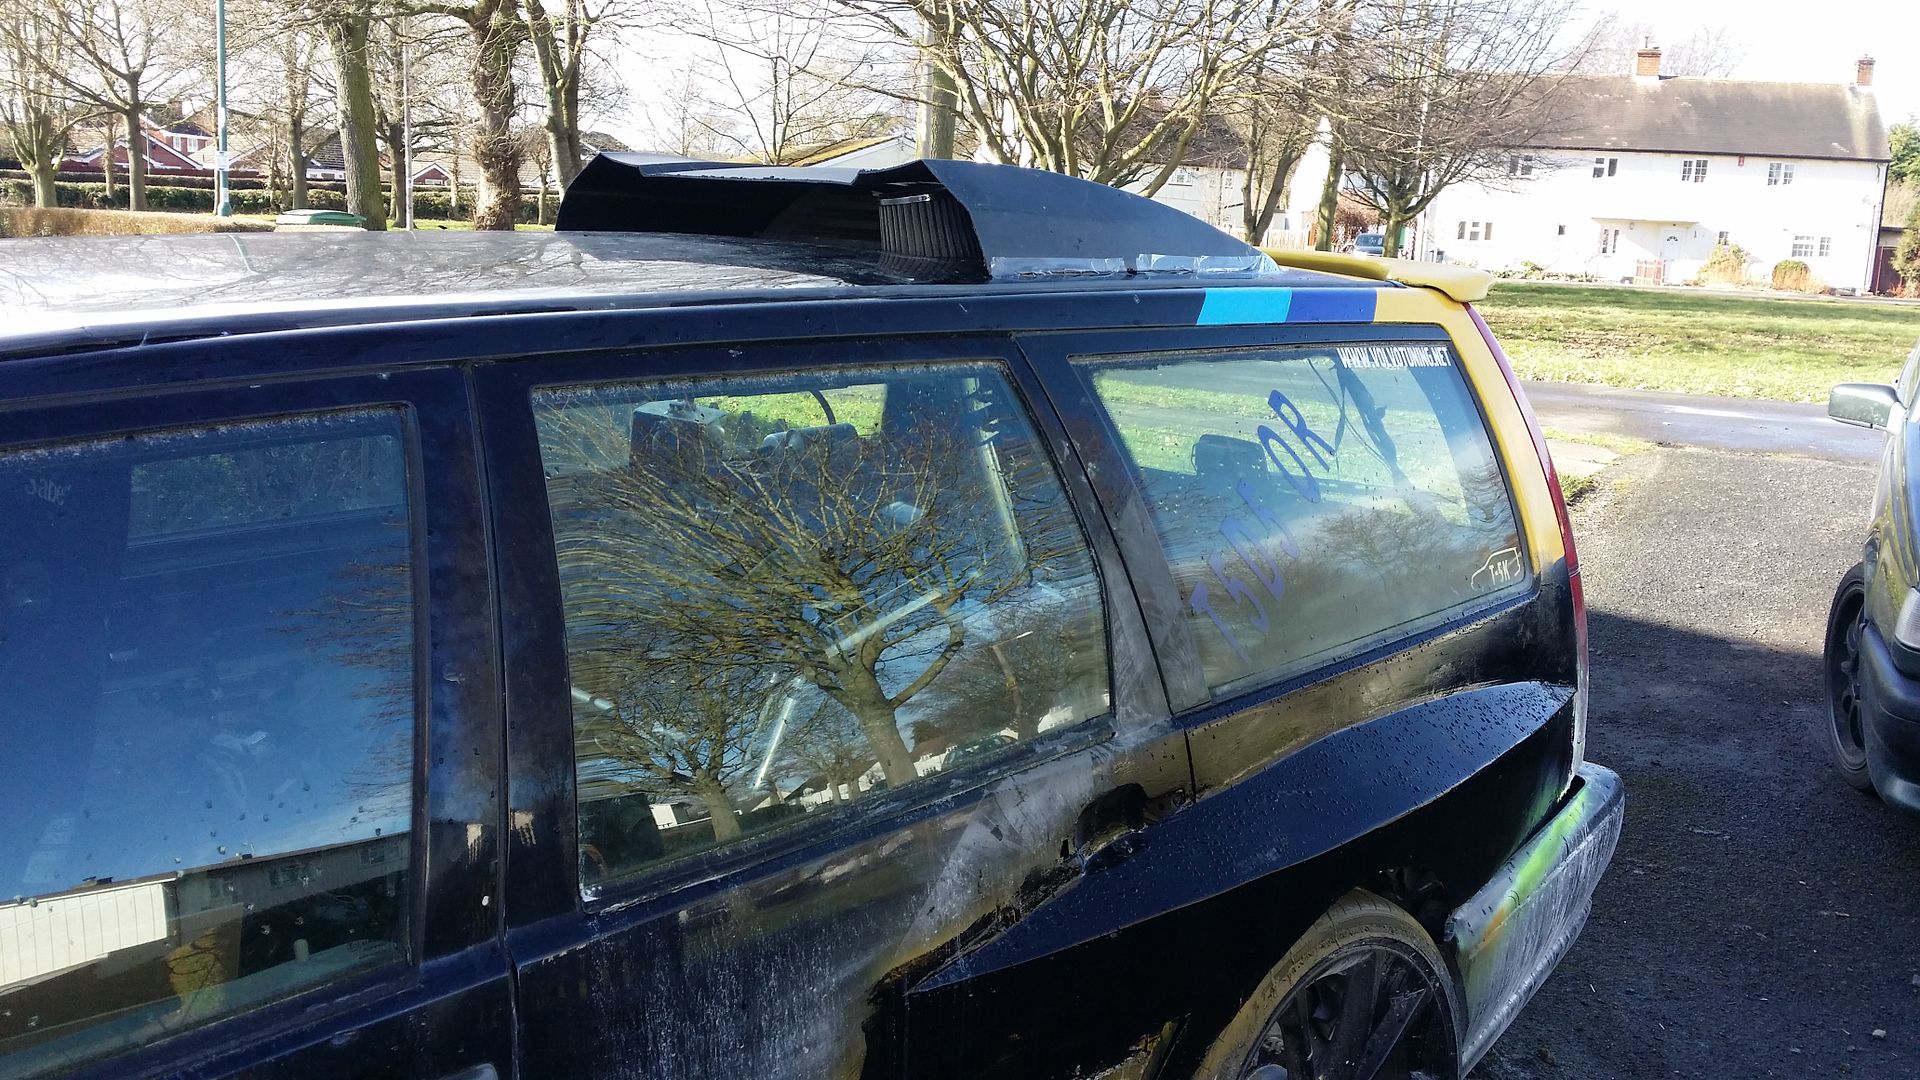
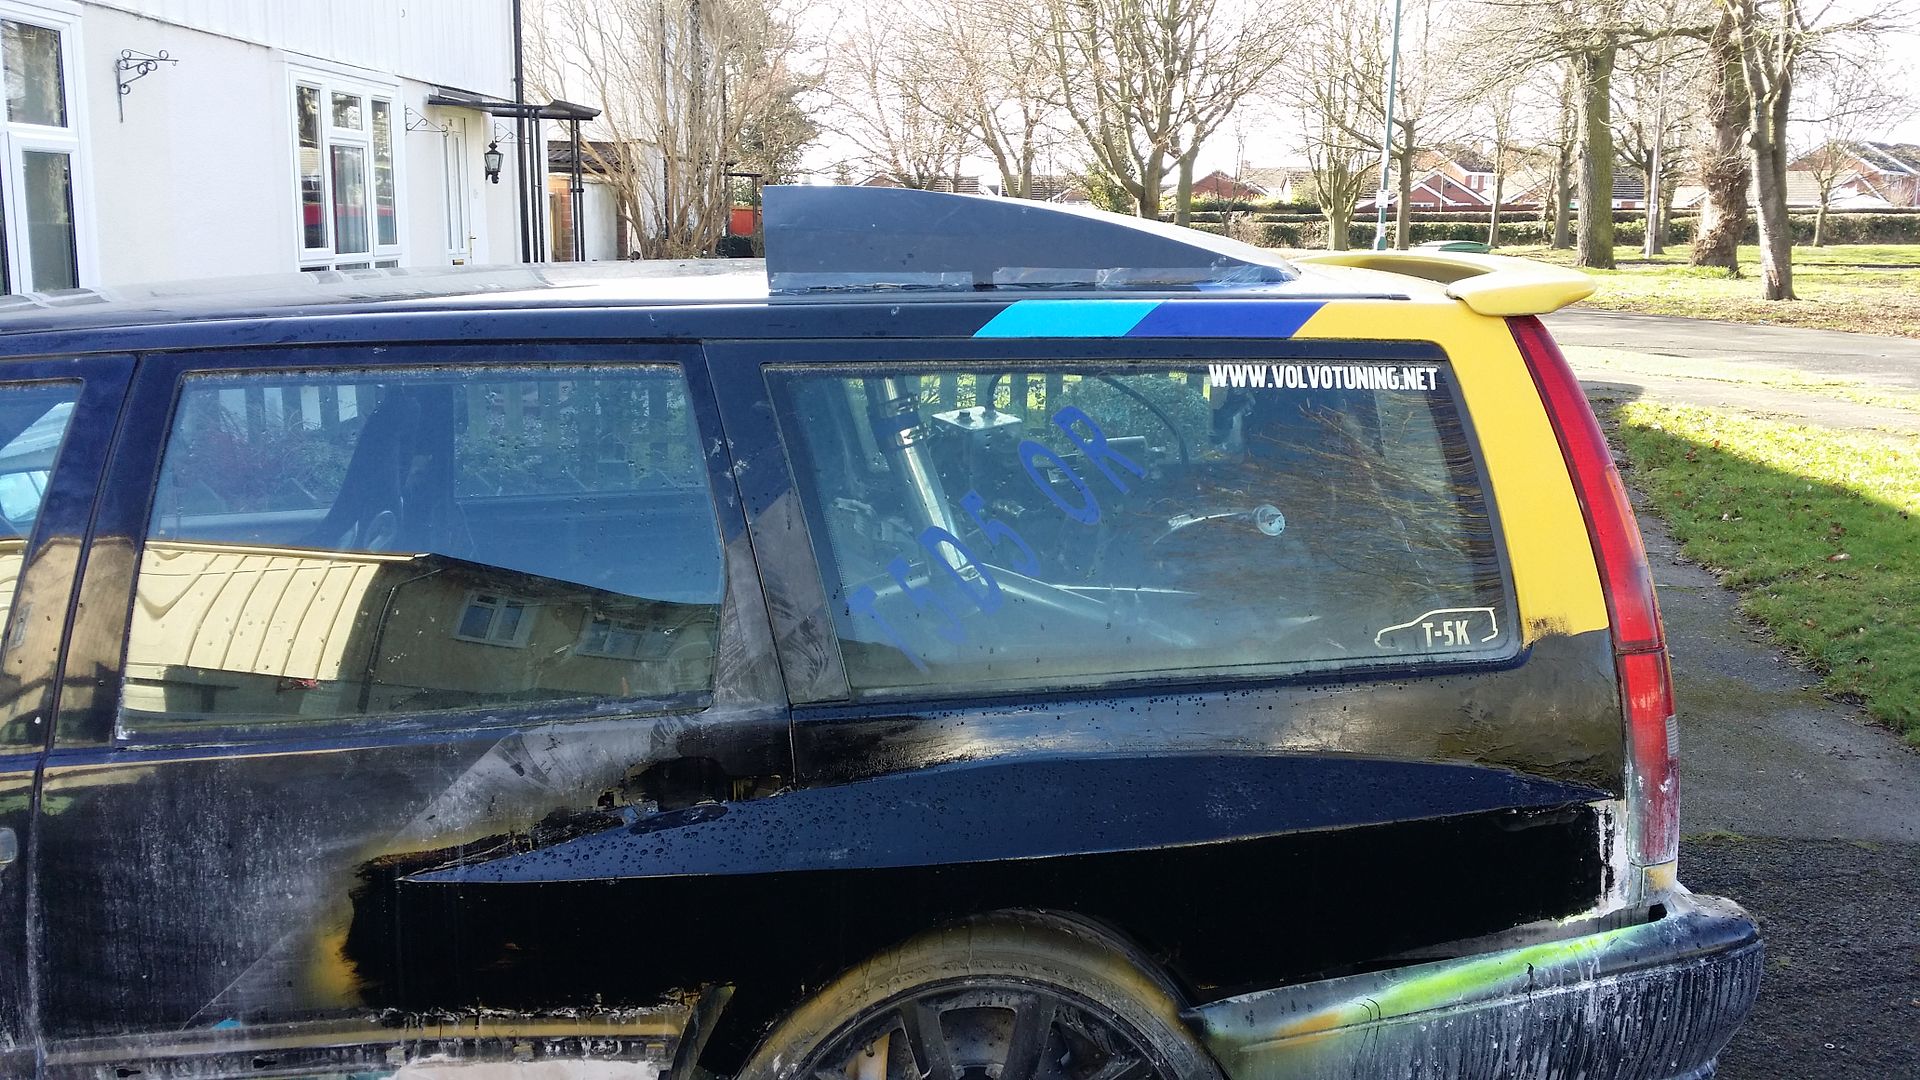
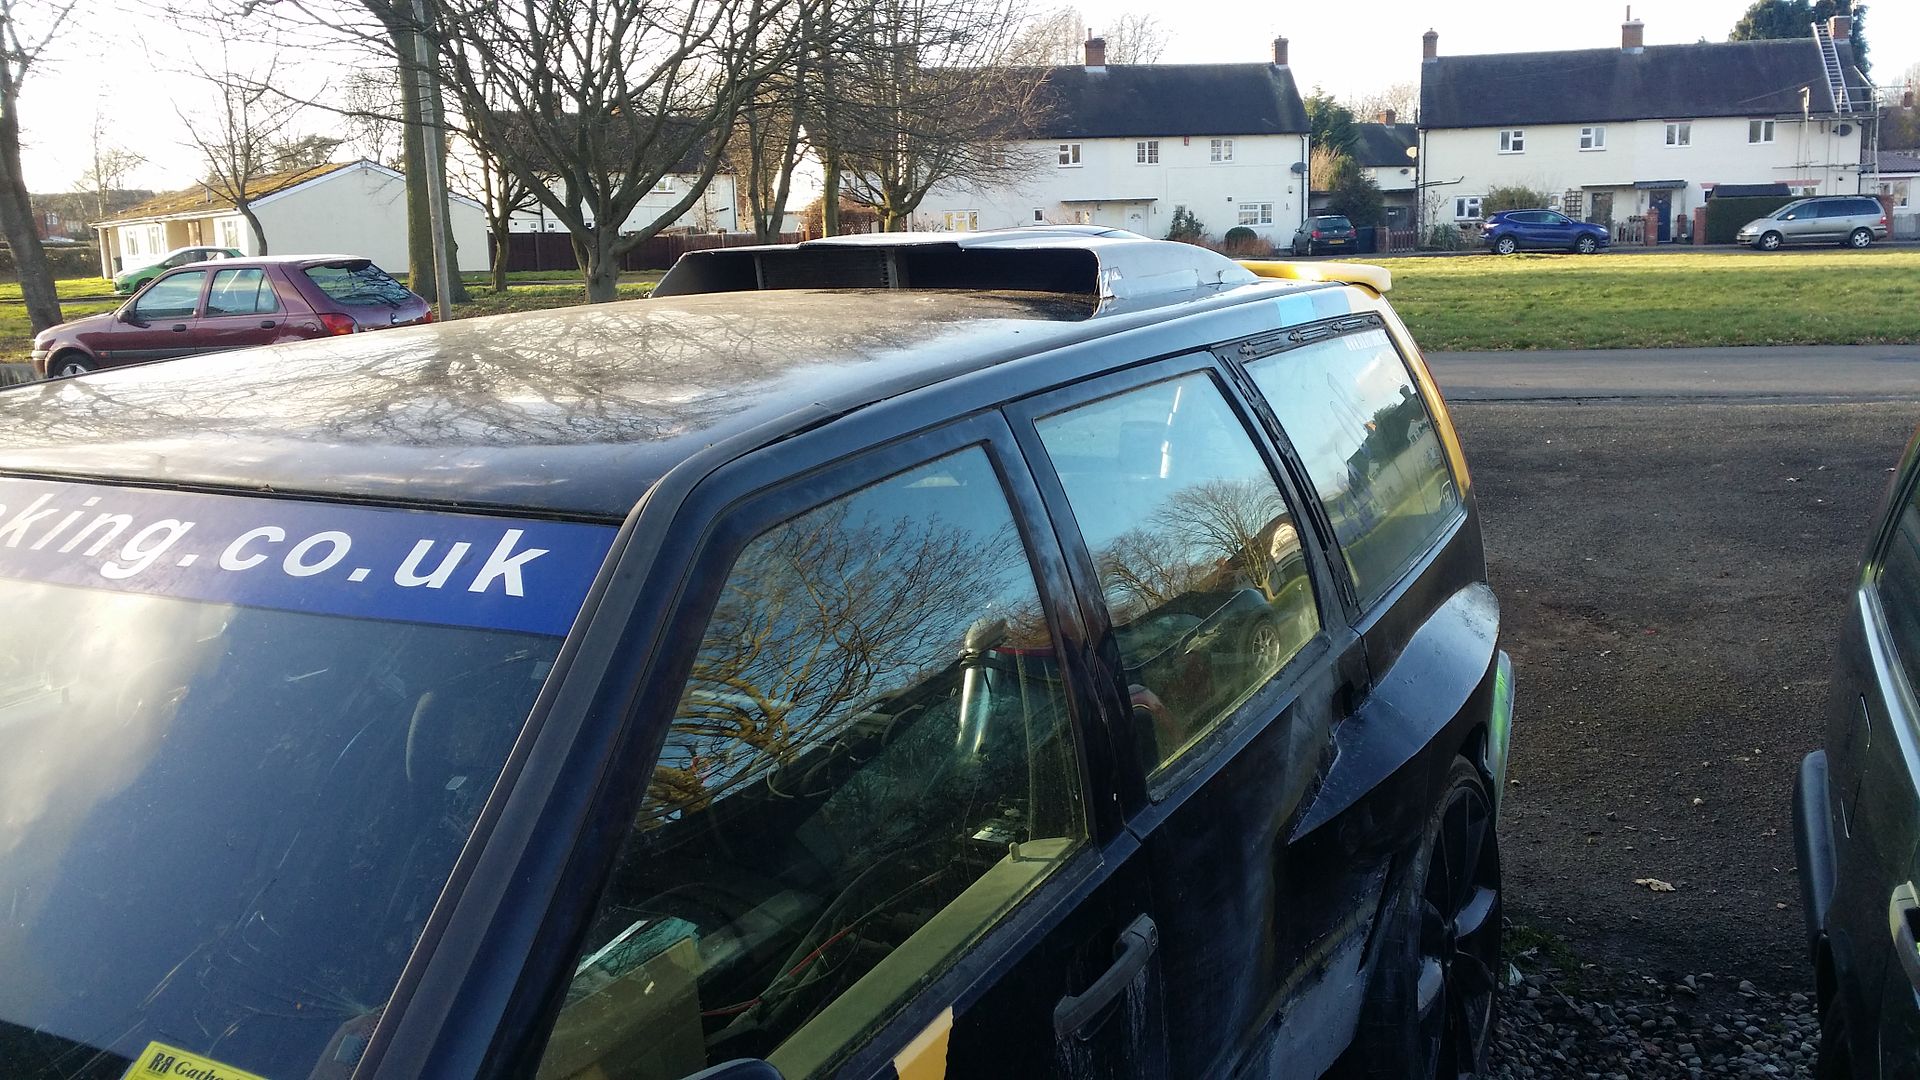
I reckon your roof duct should work pretty well. You could possibly even put a downward pointing leading edge on it, which would also help stiffen it there.
It isn't so much about having a funnel shaped entry (it really won't need a very big intake area at all) but to prevent air pressure inside the duct from reversing back out again and escaping. I also reckon you might need to seal the filter tube where it passes through the roof skin to prevent airflow (and rain) getting into the car!
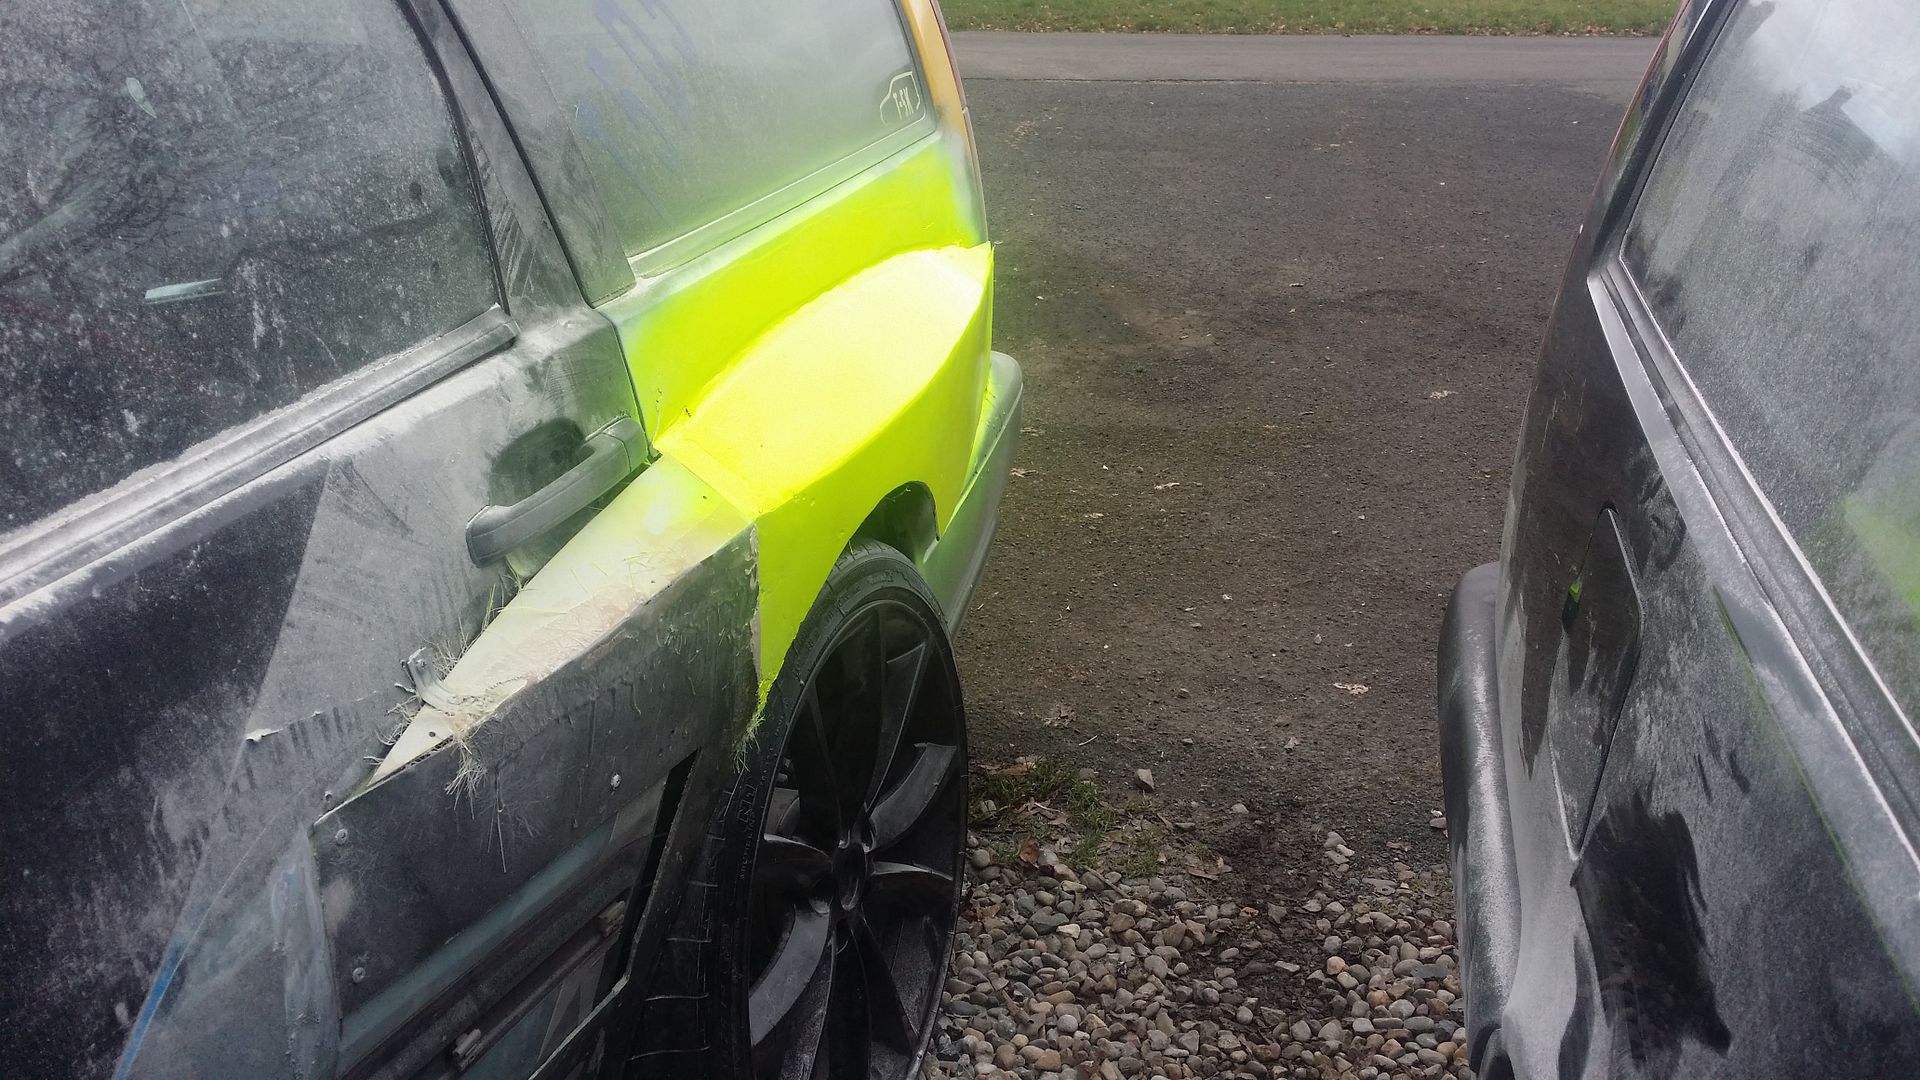
Are you still intending to split the new arch extensions at the door gap? I would have thought that you would have wanted to retain rear engine access via both rear doors as well as from the tailgate?
I'm really curious to hear how this will drive with both engines!
|
| |
|
|
|
|
|
|
|
|
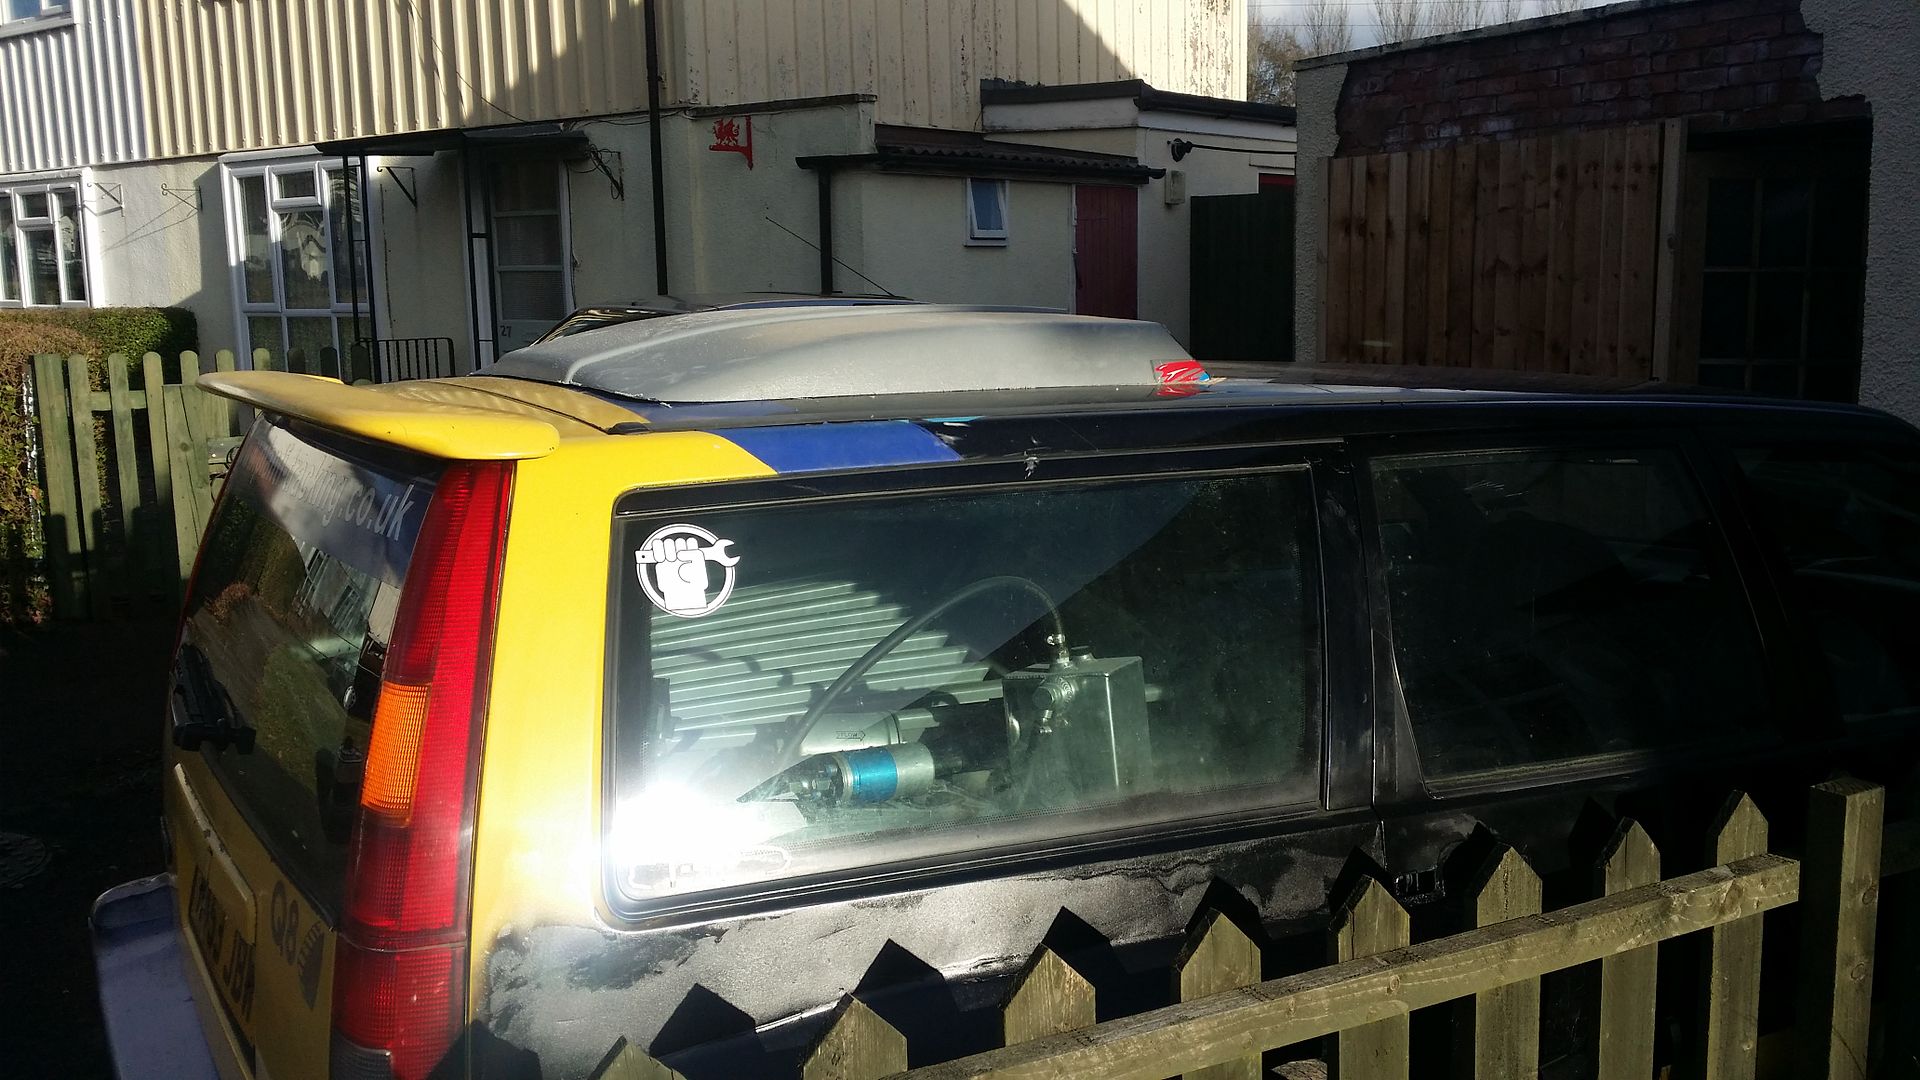
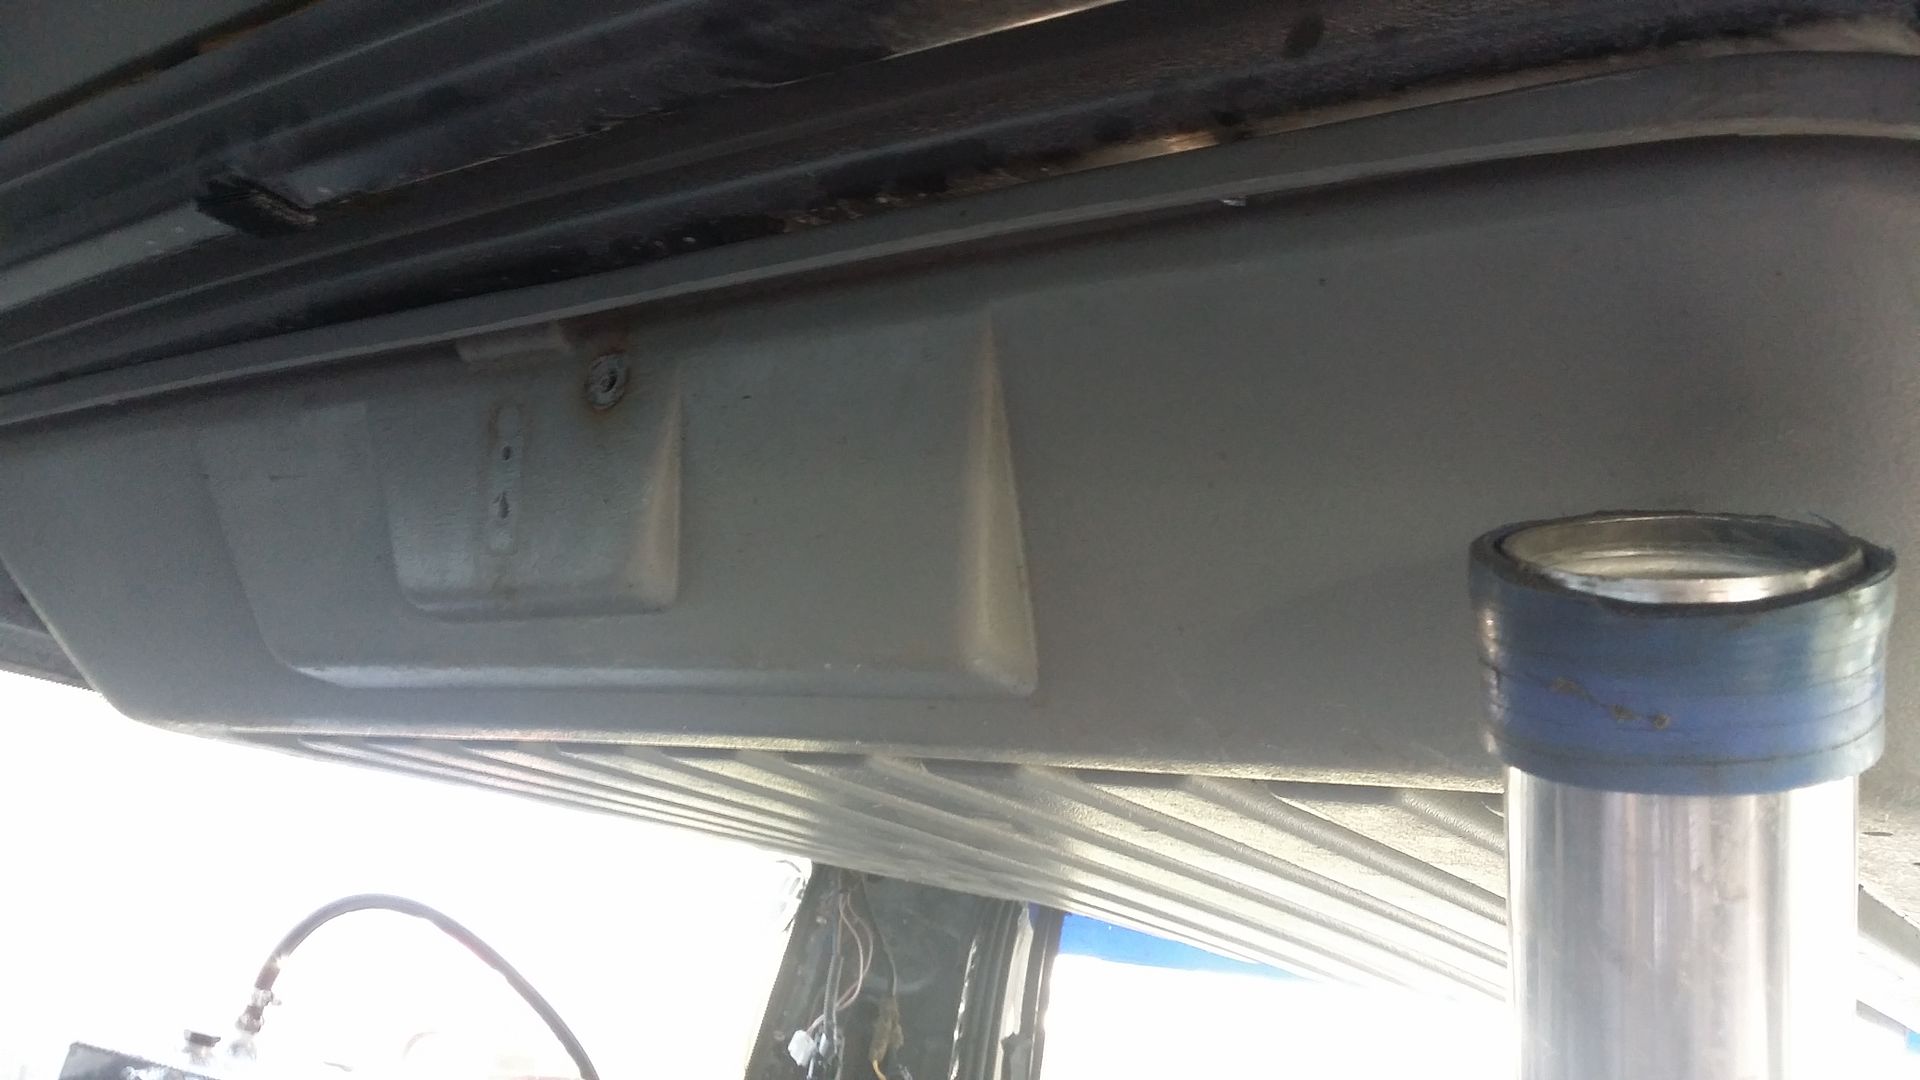
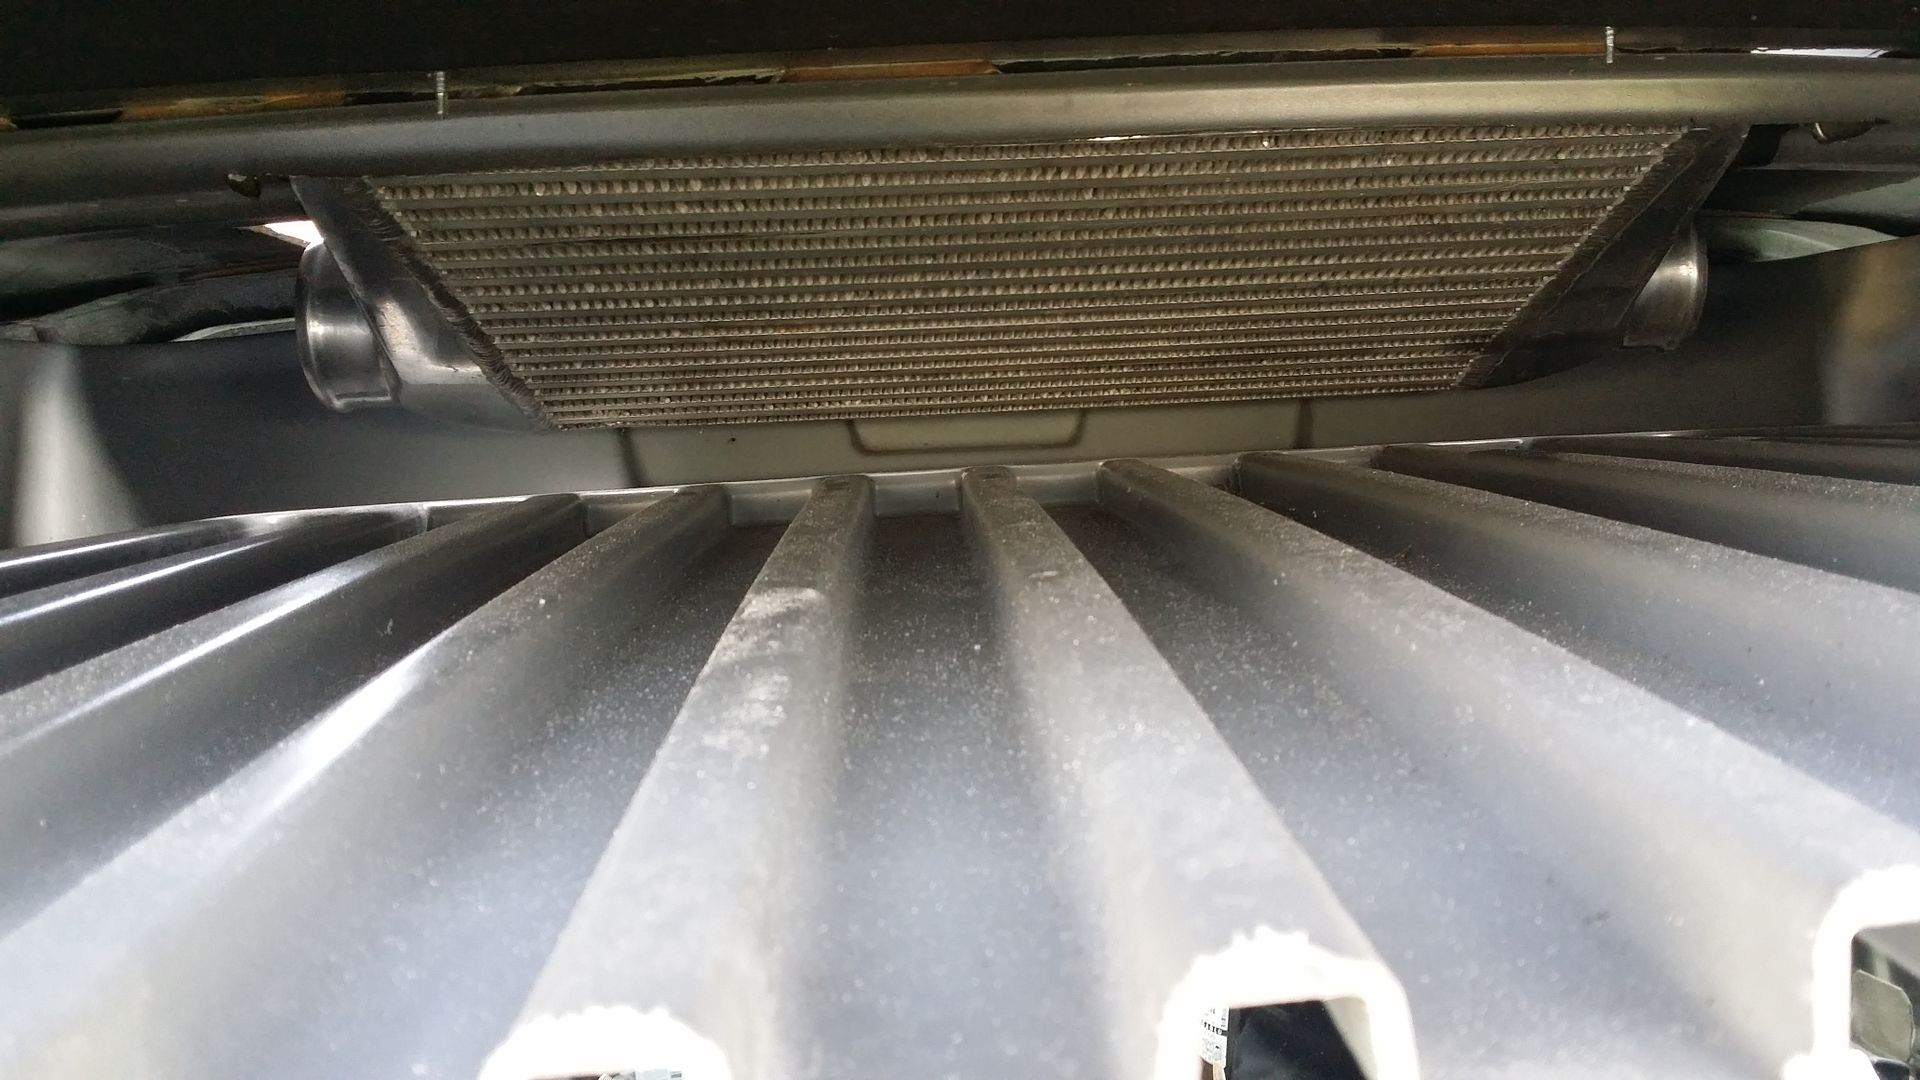
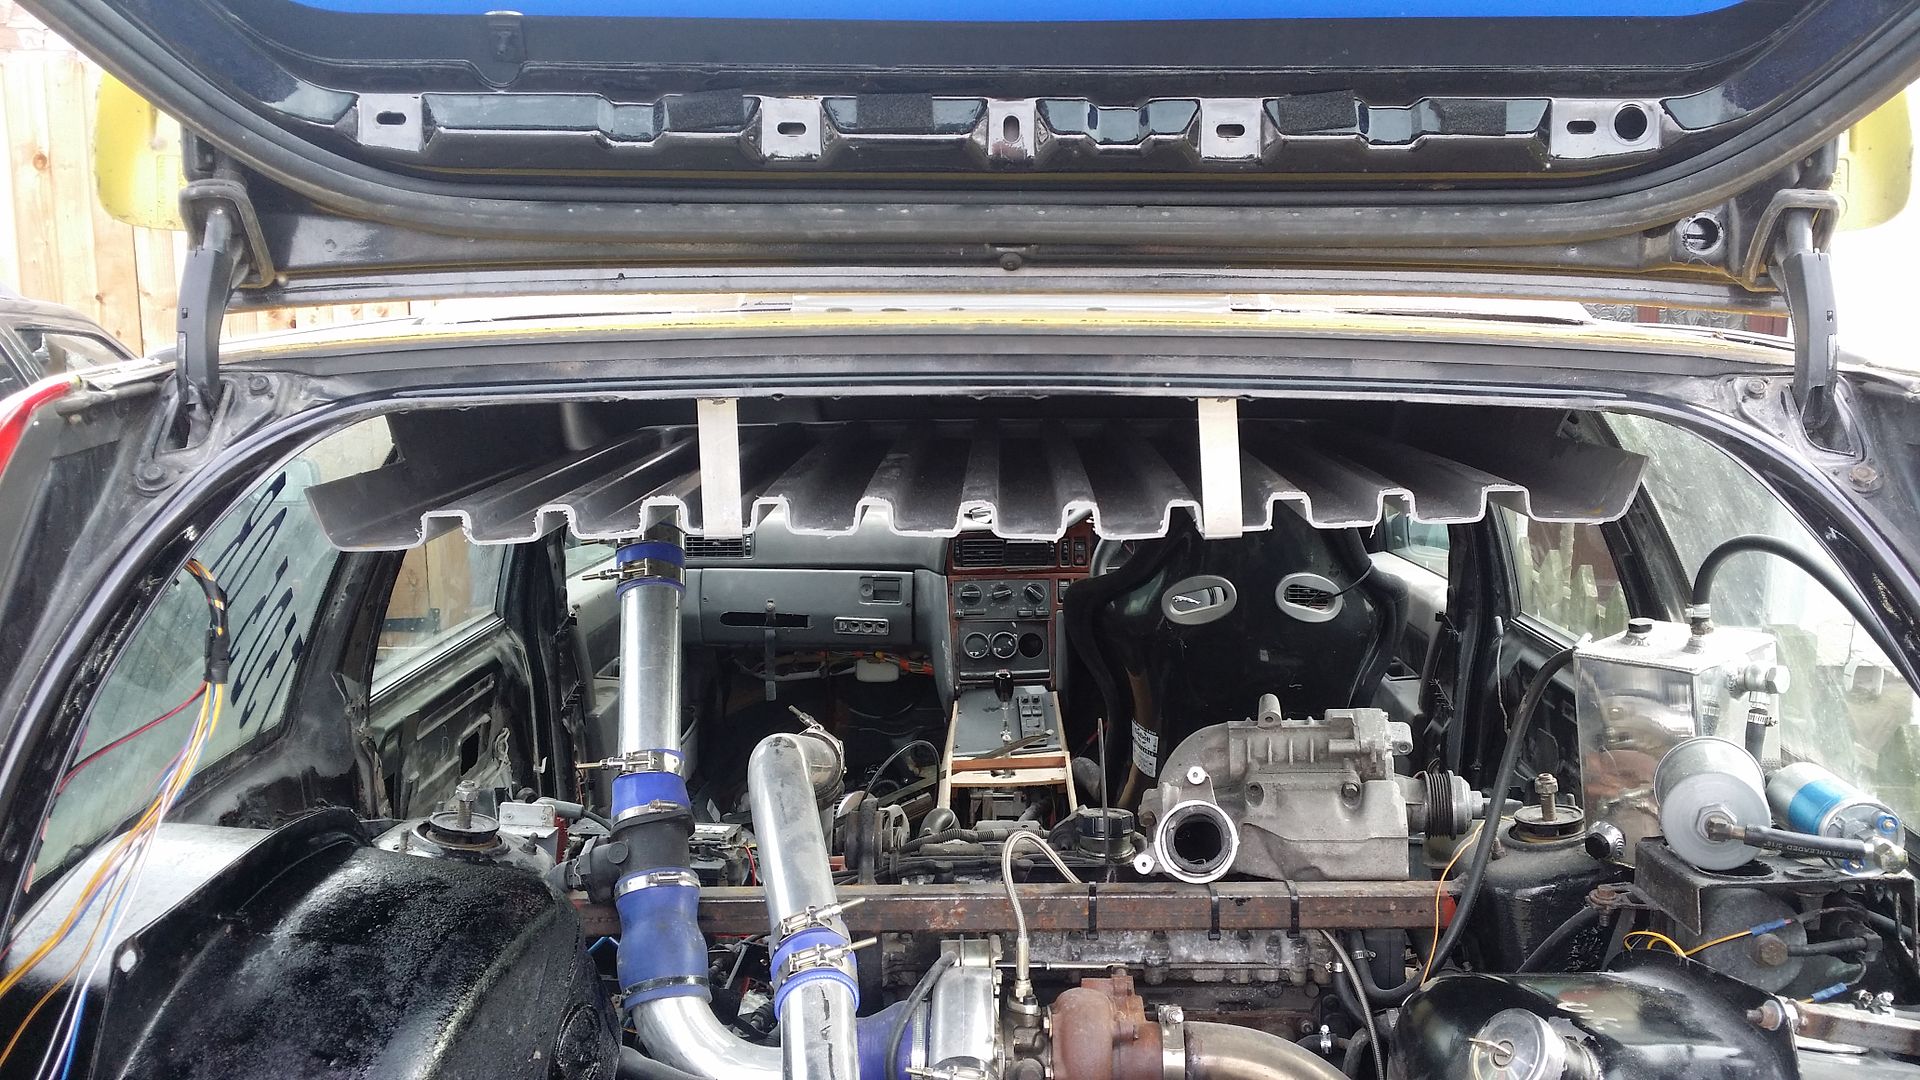
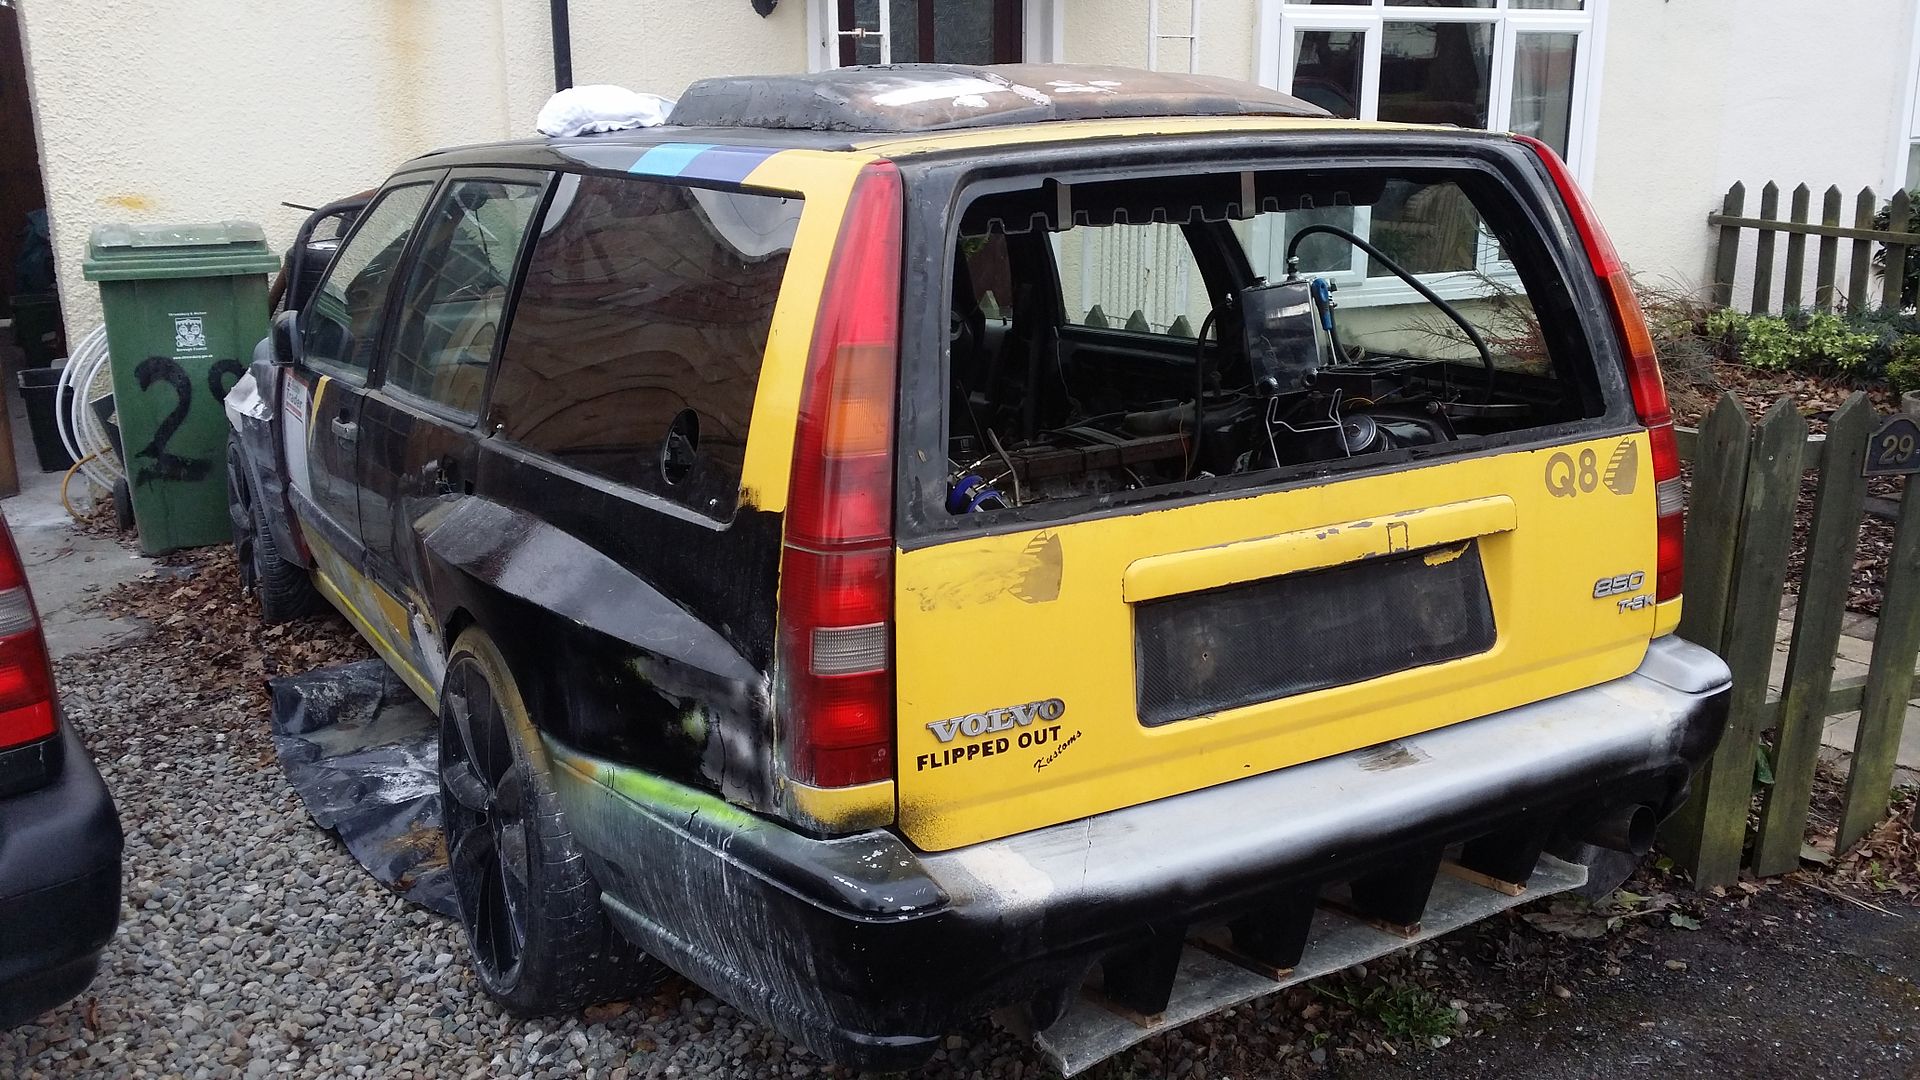
The duct that is taped to the roof at the moment is just a piece of plastic which will be used as a mold to make a fiberglass one, there will also be duct on the inside of the roof to direct the air out of the rear hatch (All will become clear as time goes on)
and yes the rear doors will still be usable, I wont split them until the arches are all filled smooth.
|
| |
|
|
|
|
|
Feb 27, 2015 18:50:17 GMT
|
|
|
| |
|
|
|
|
|
Feb 27, 2015 19:01:32 GMT
|
|
That is pretty much how I envisaged this looking when you explained it to me in the pub the other night Colin. Good to see the progress is still moving on at pace, keep it up mate....Gary
|
| |
'96 Volvo 850T5 x2, '97 Alfa 145 Cloverleaf '96 Alfa 155, '91 XR2i 2.0 Zetec (sold), '88 BMW 520i slug (sold), '81 Escort Mk3 Project, '68 Mk1 Escort Estate, Berlingo Parts Chaser.
|
|
|
|
|
|
|
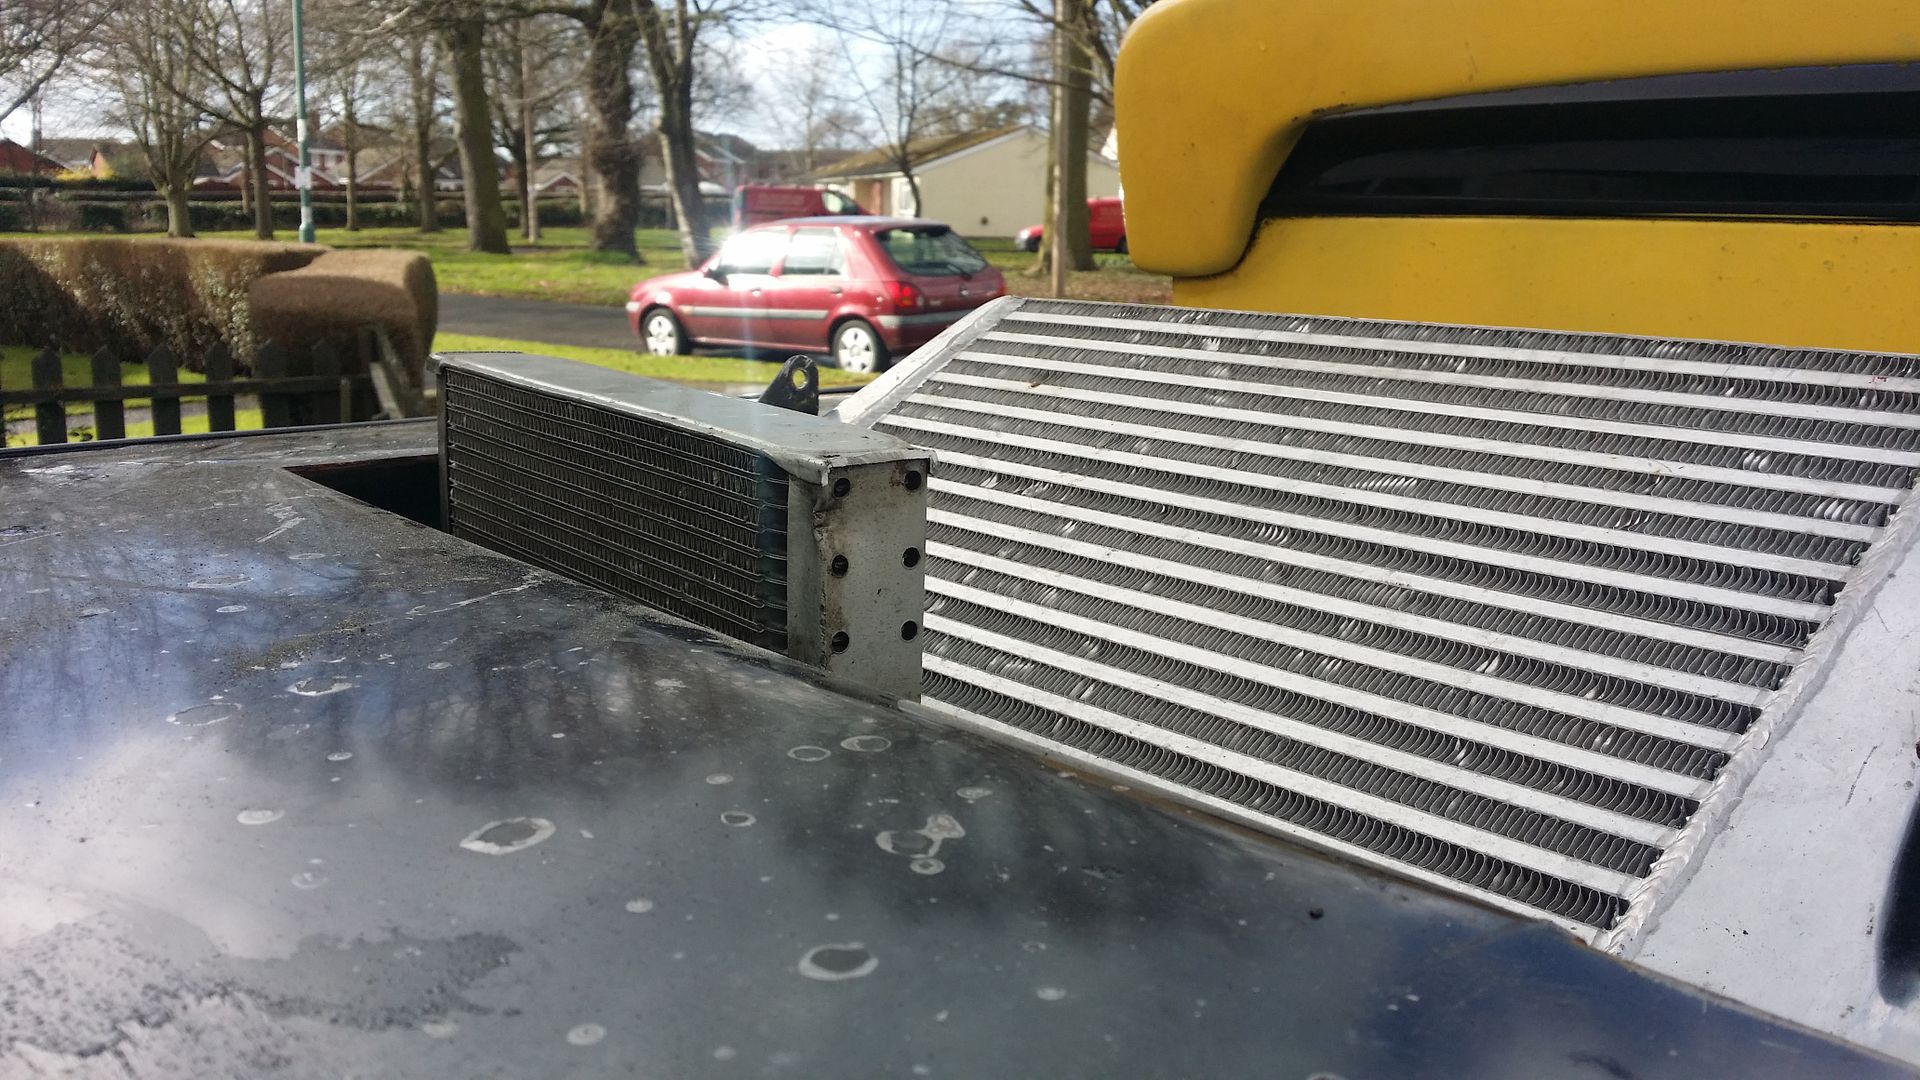
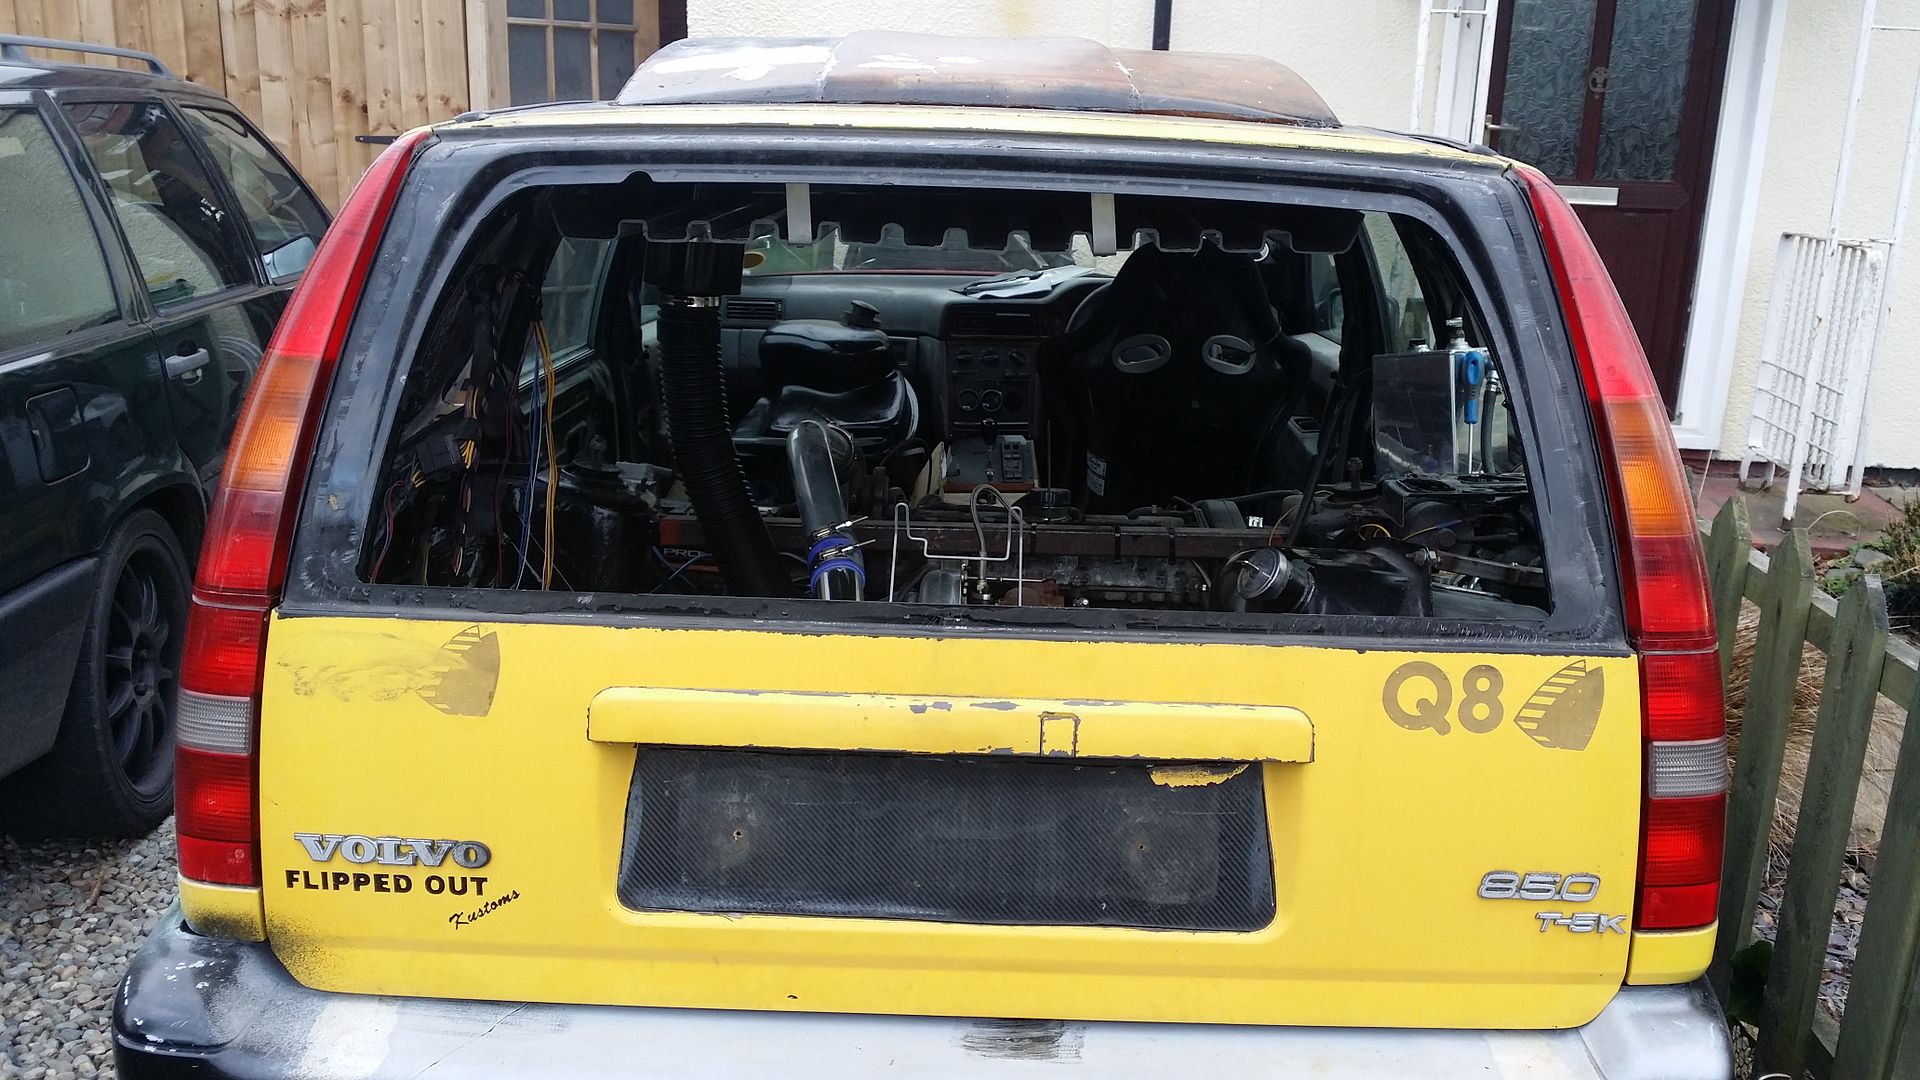
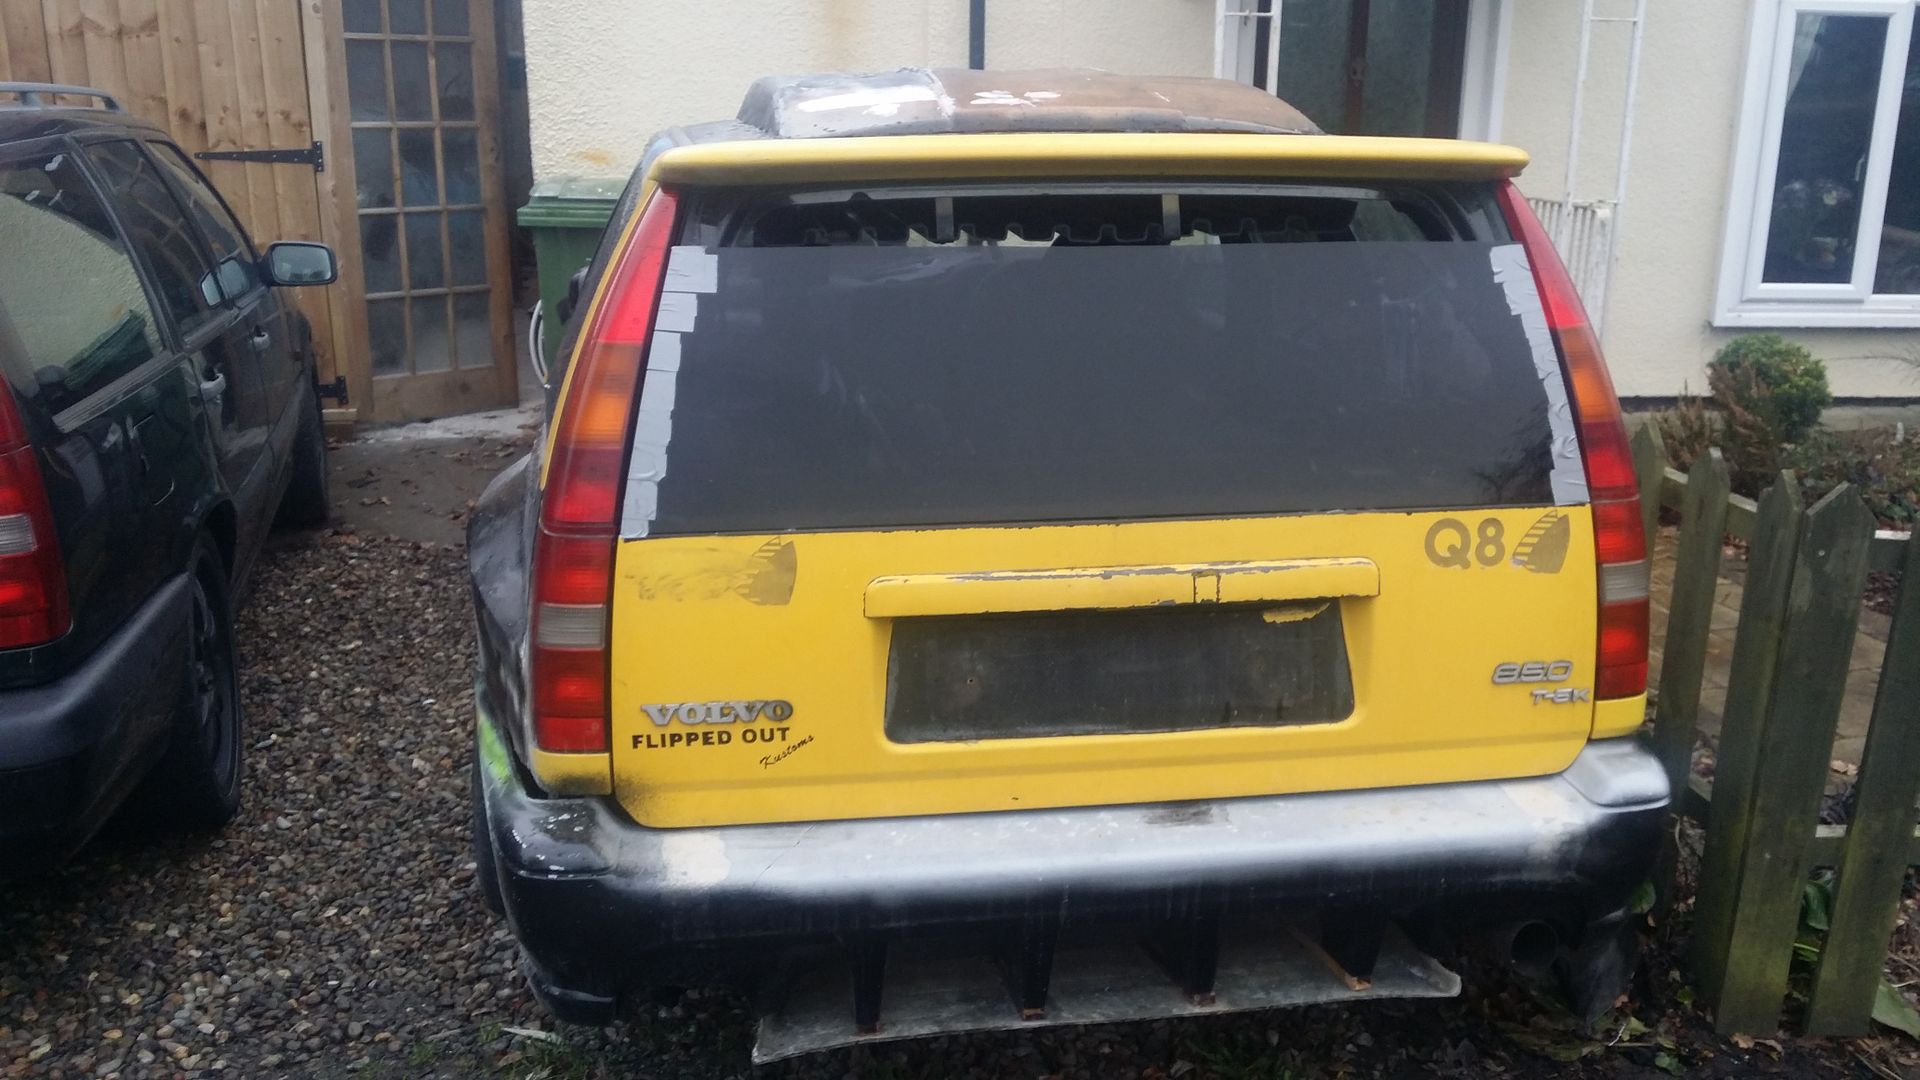
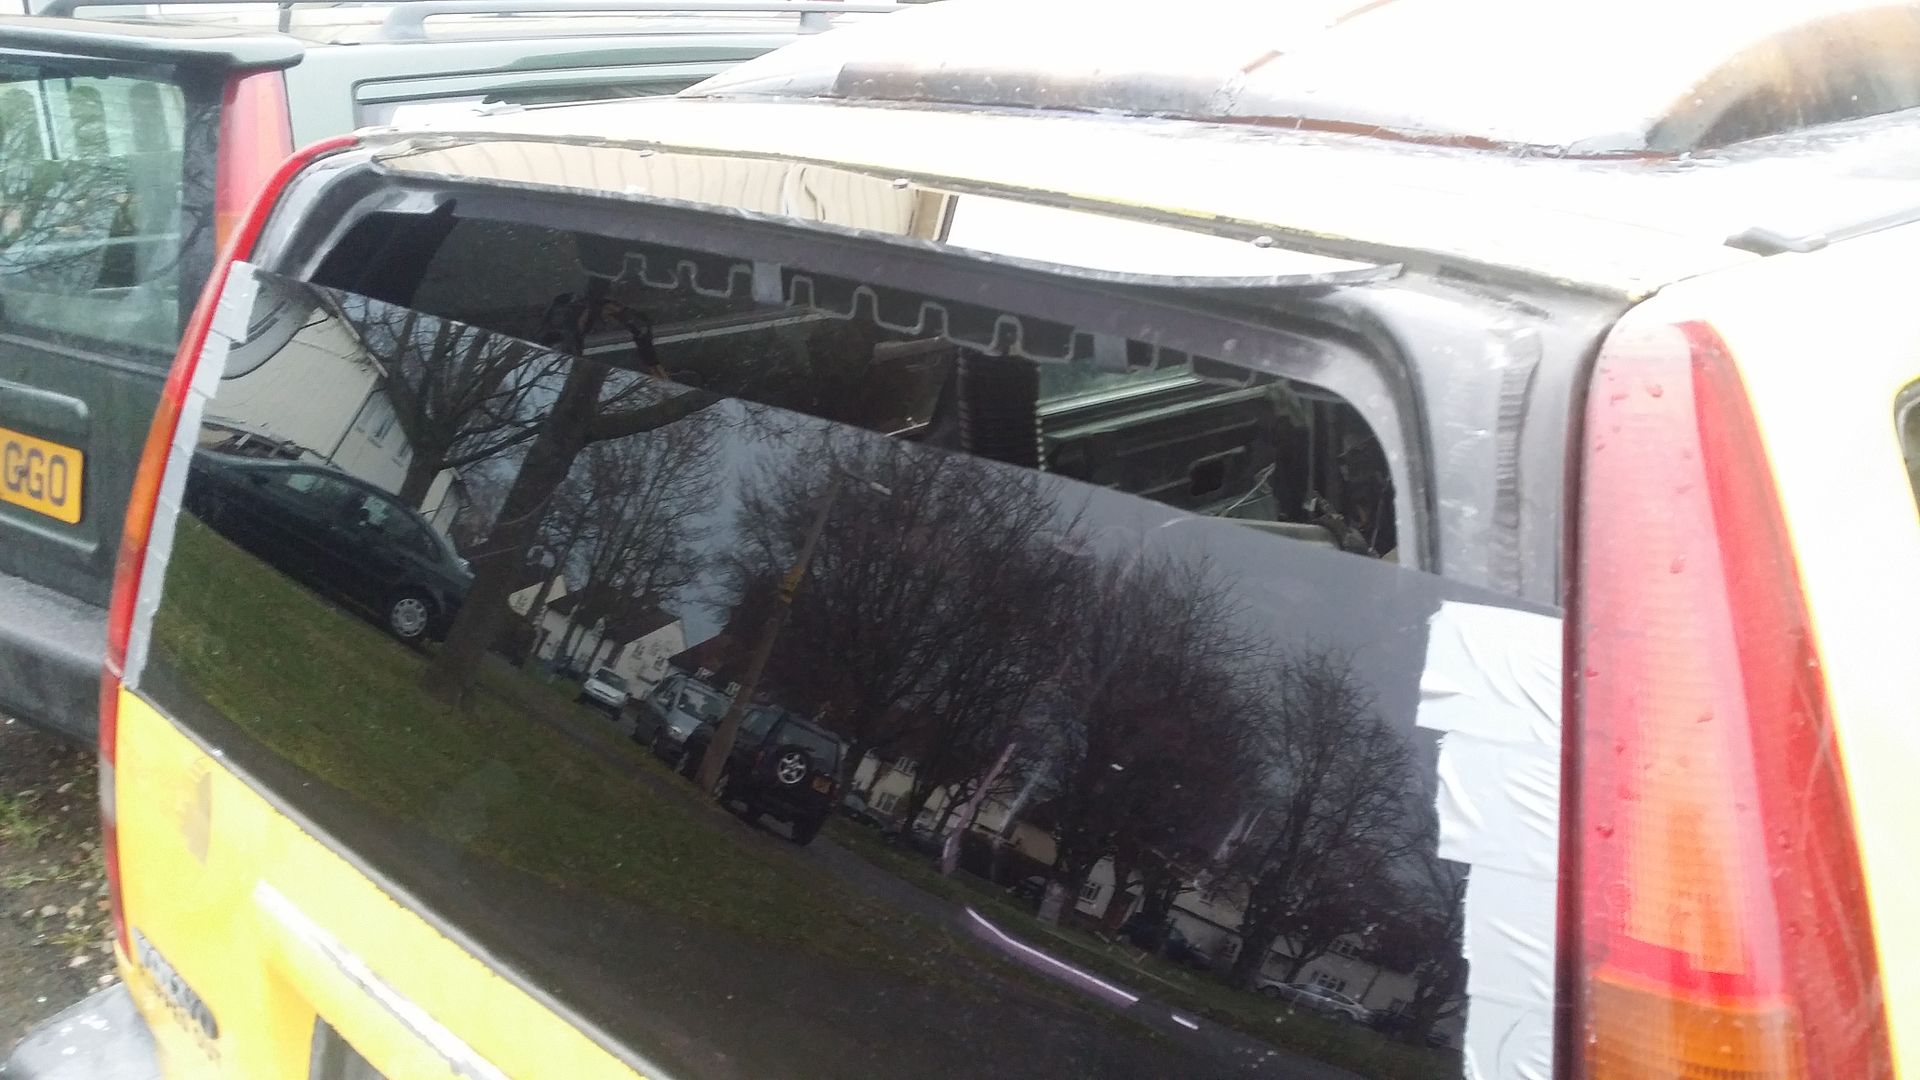
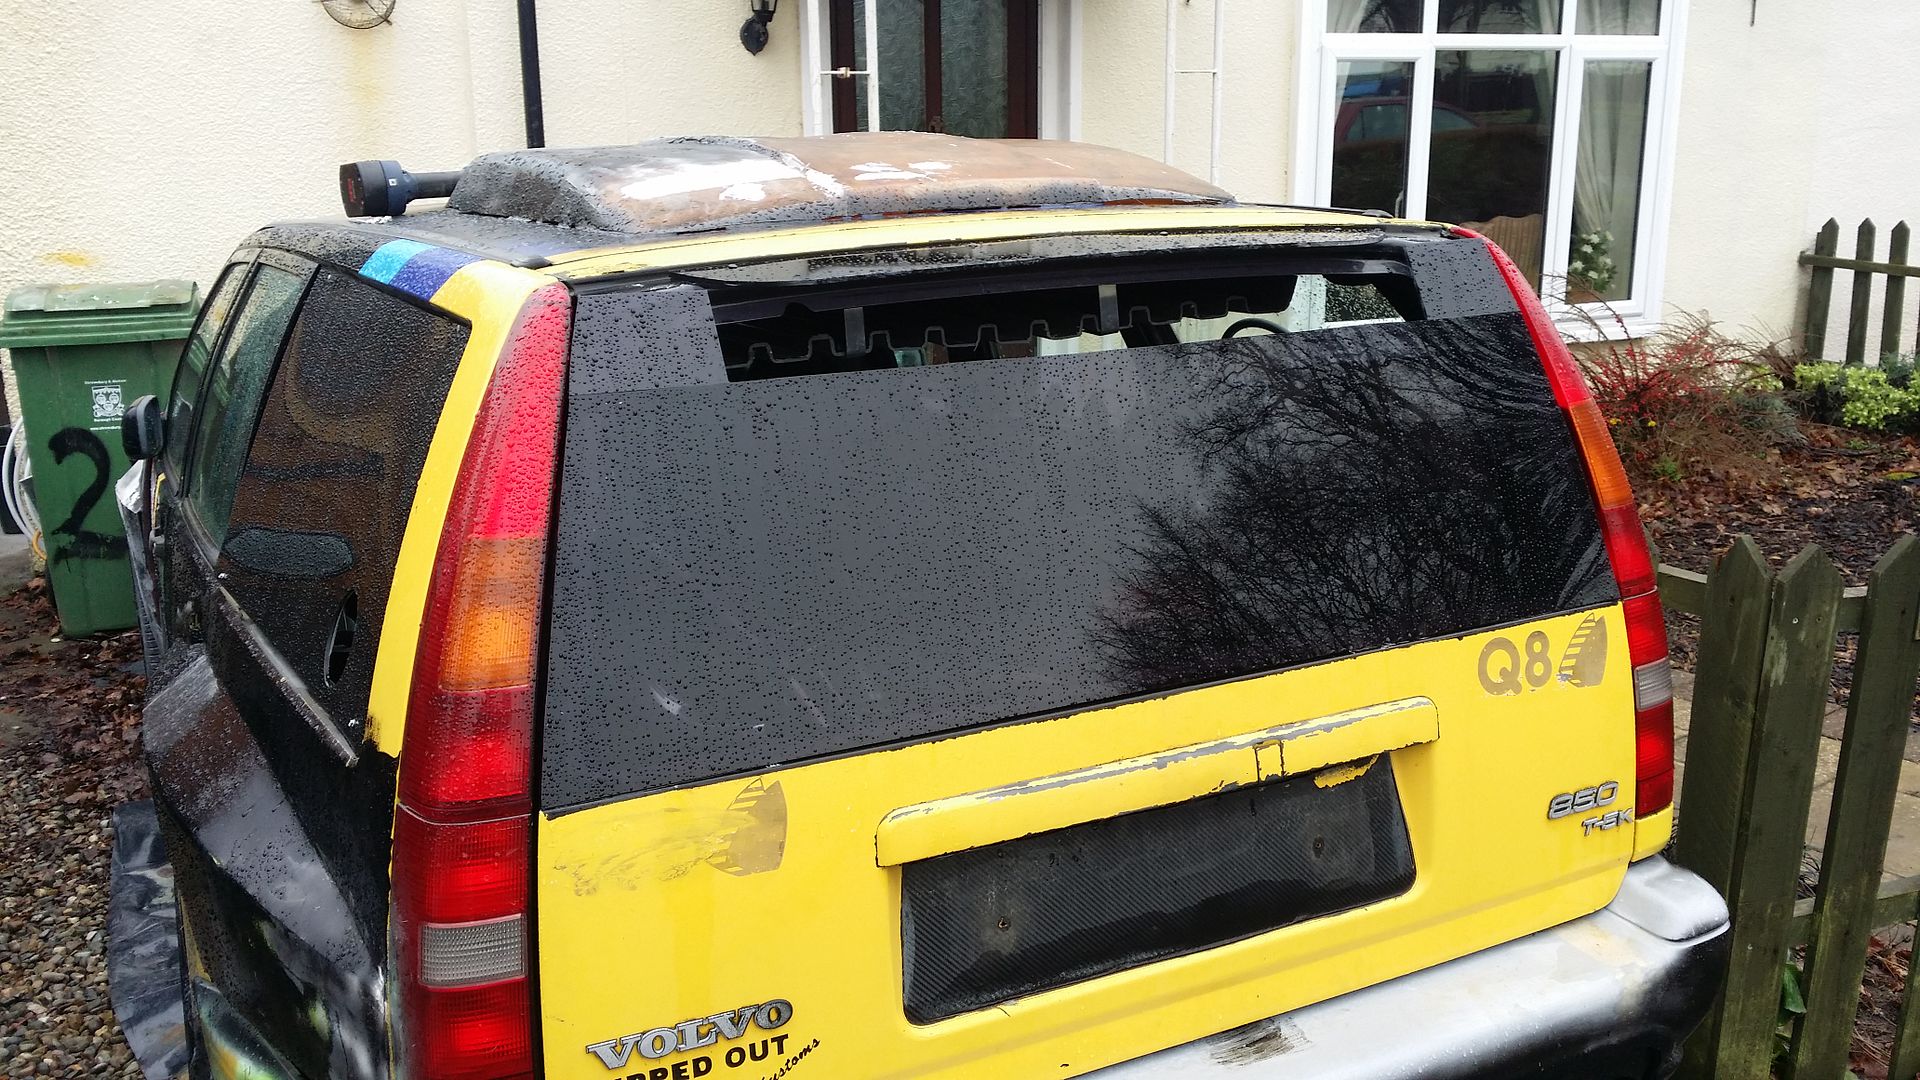
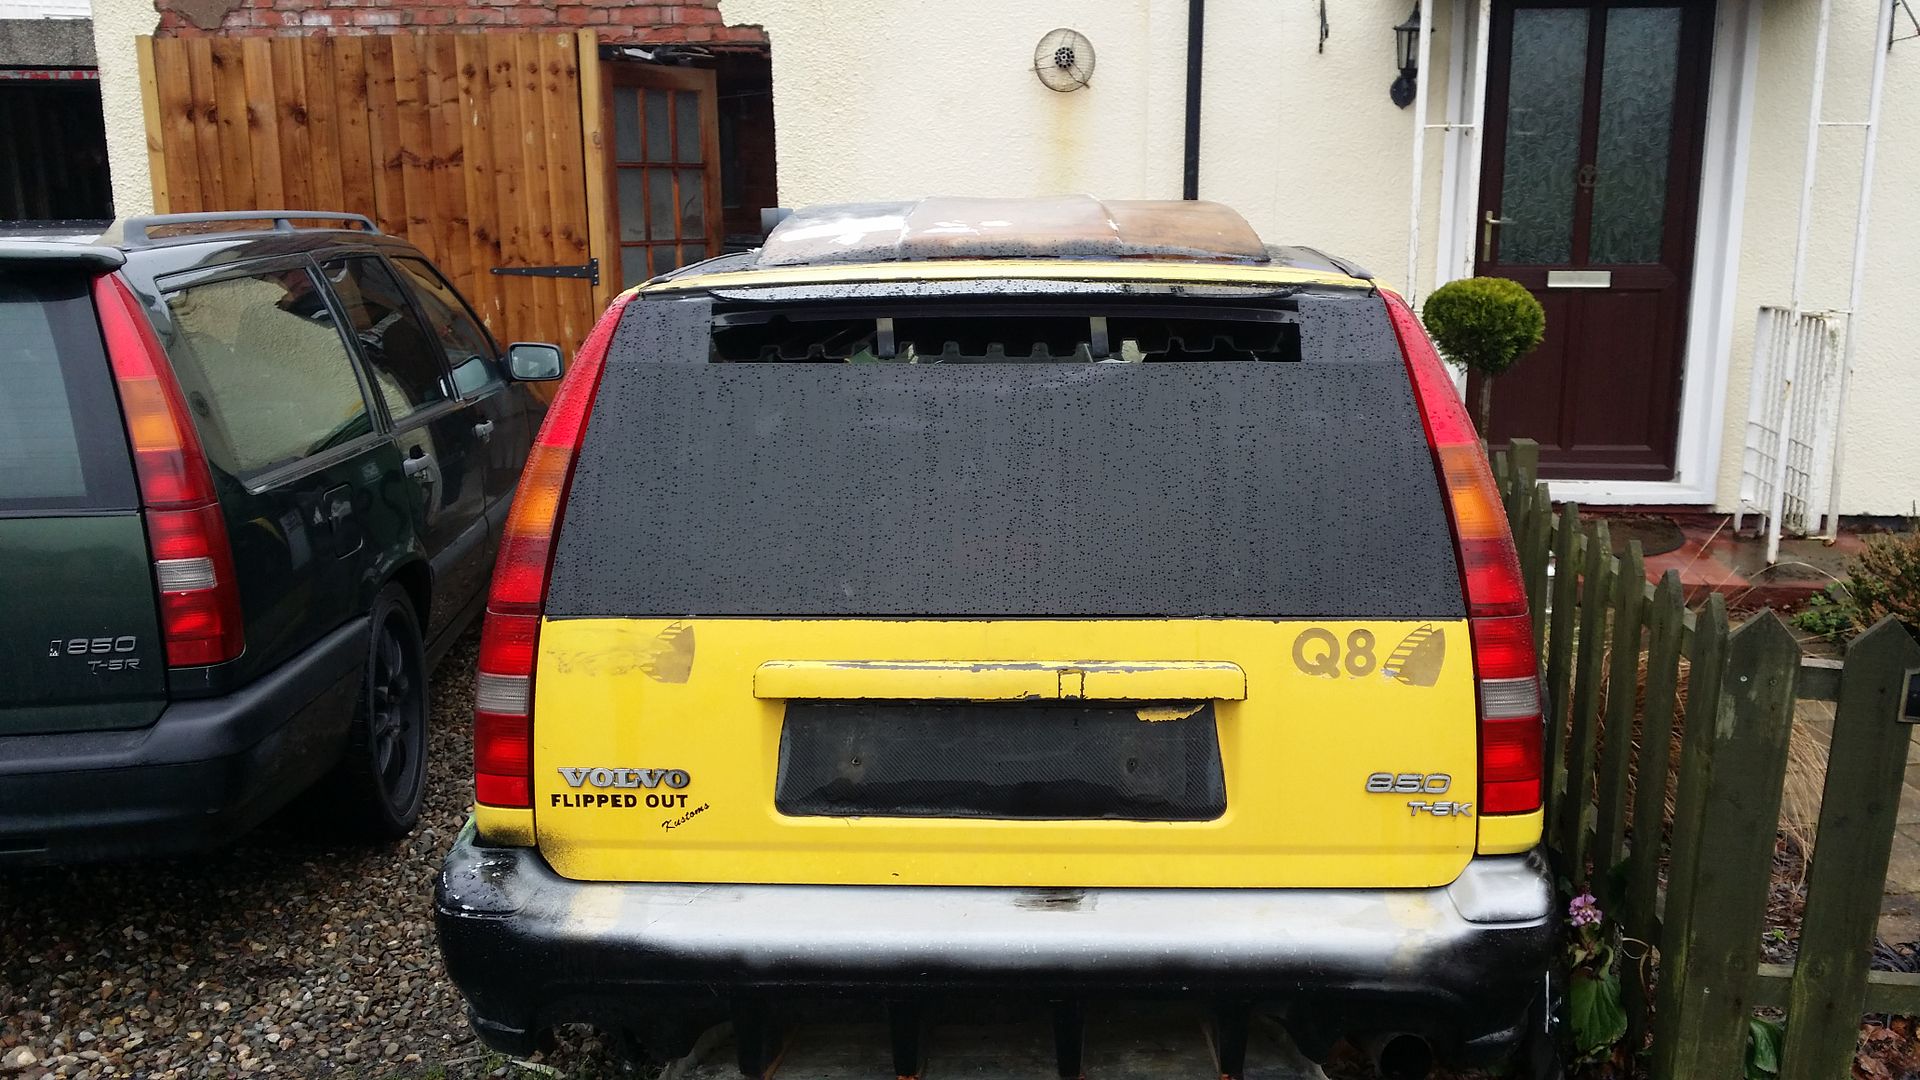
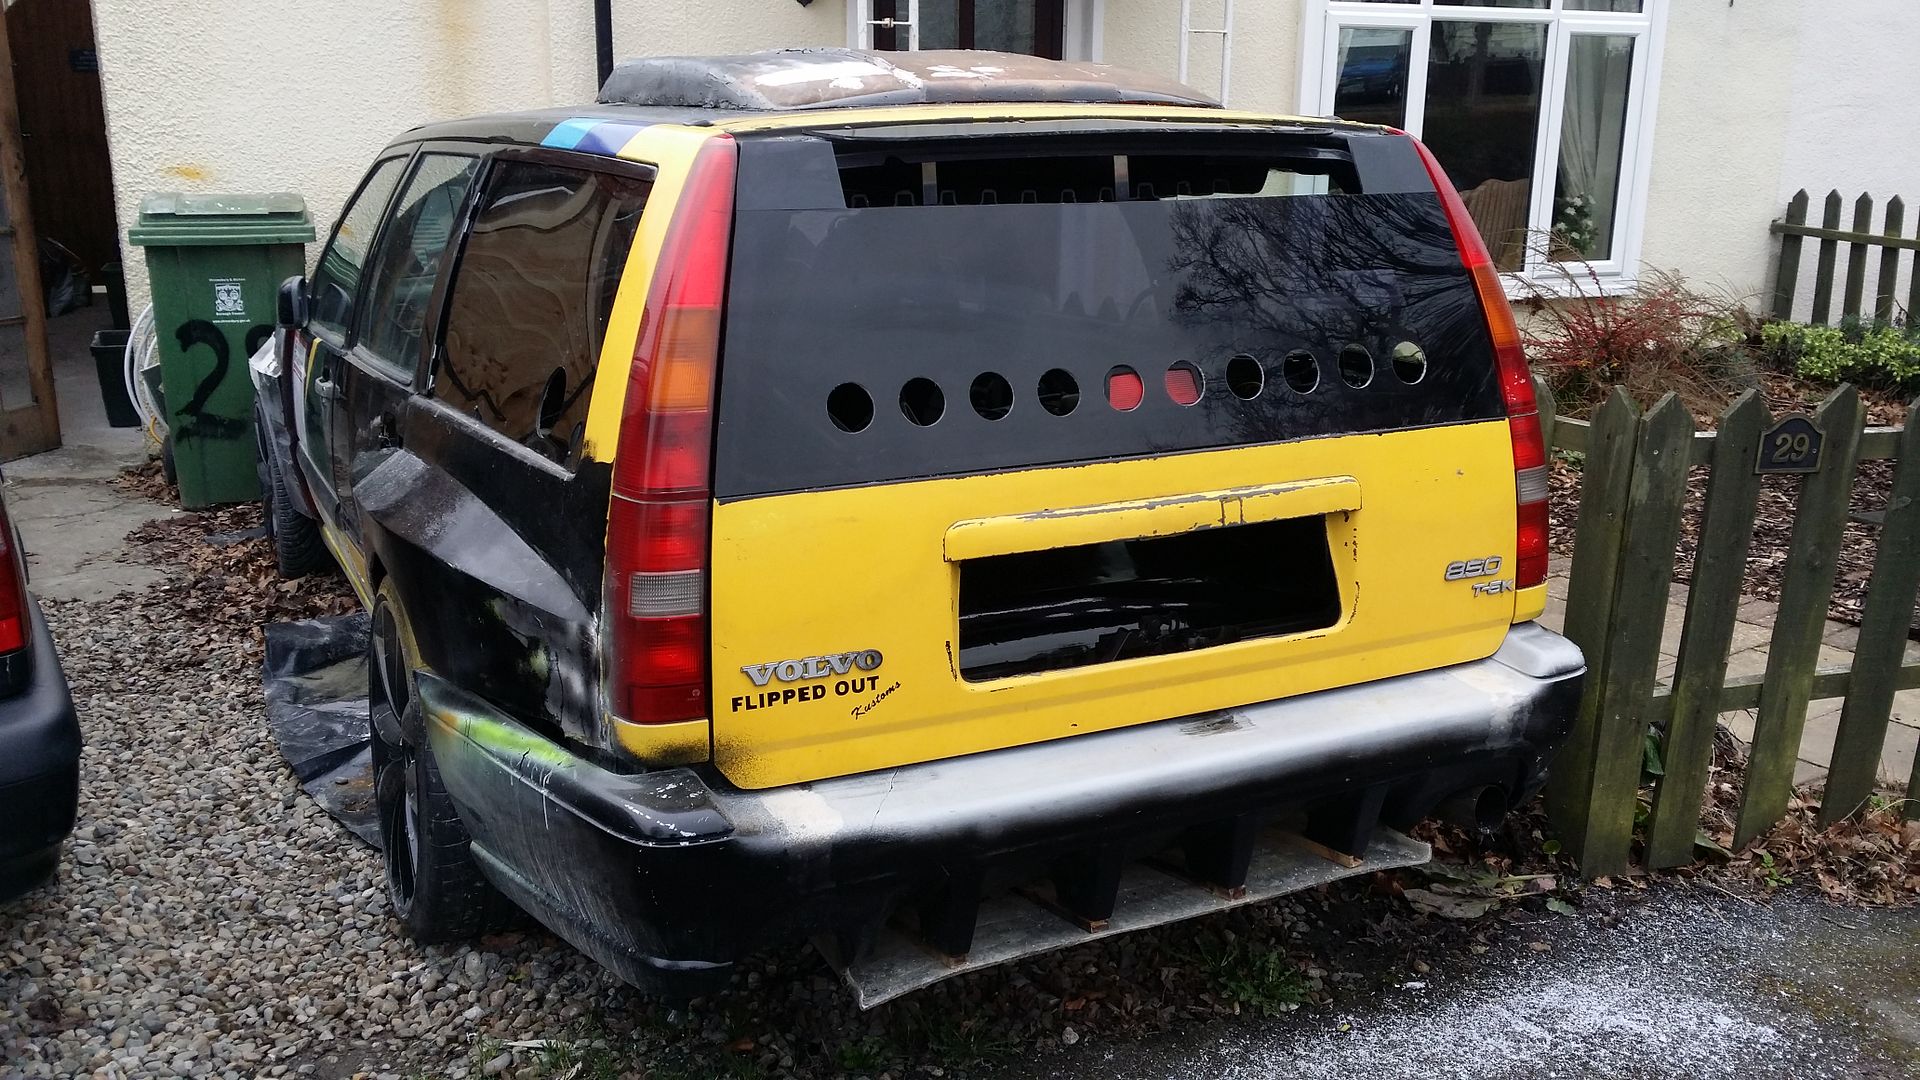
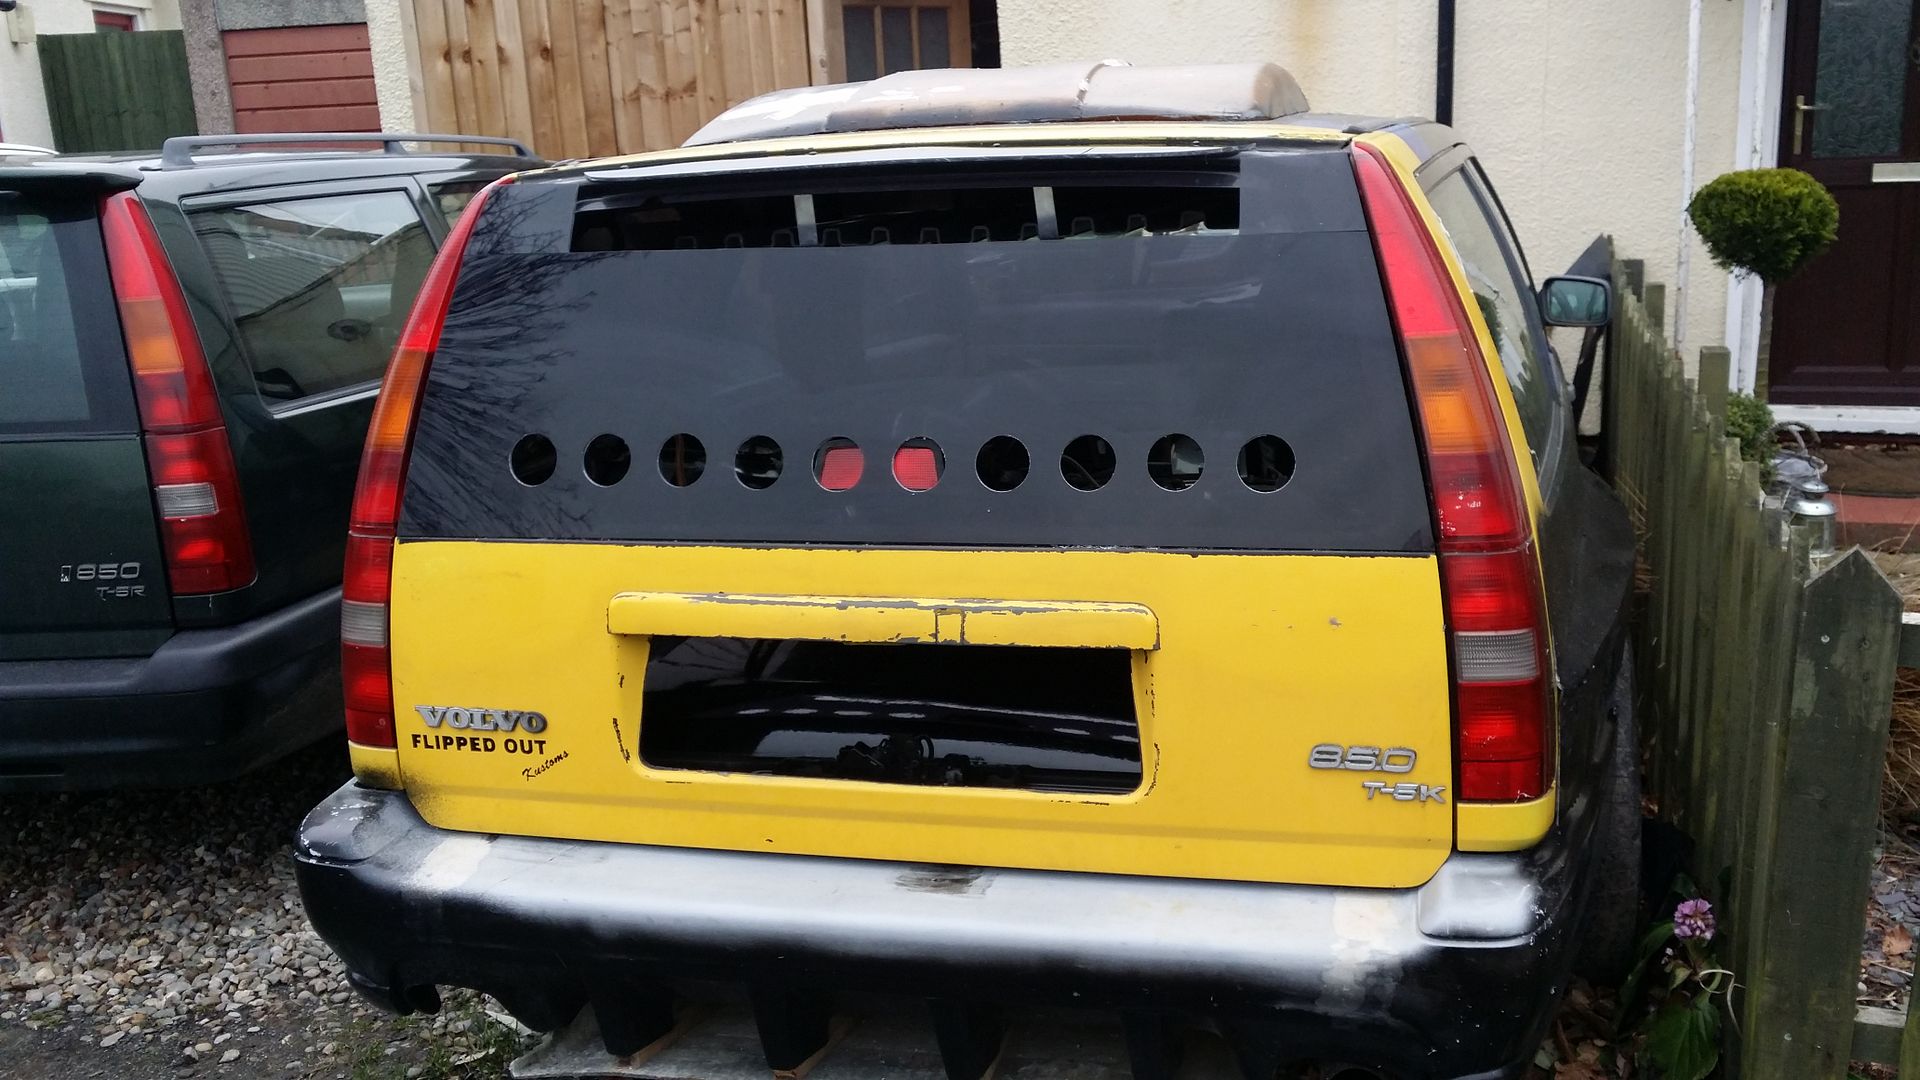
That is pretty much how I envisaged this looking when you explained it to me in the pub the other night Colin. Good to see the progress is still moving on at pace, keep it up mate....Gary Cheers mate  . Still plodding on, one thing I've been putting off, is rotating the tanks (which is the way they have been intended from day one) because of the bonded side glass, but a couple of days ago I bit the bullet and just taped the inside and outside up with gaffa tape, then 1 quick whack with a lump hammer and it's out, just a bit of cleaning with a craft knife and all is well. 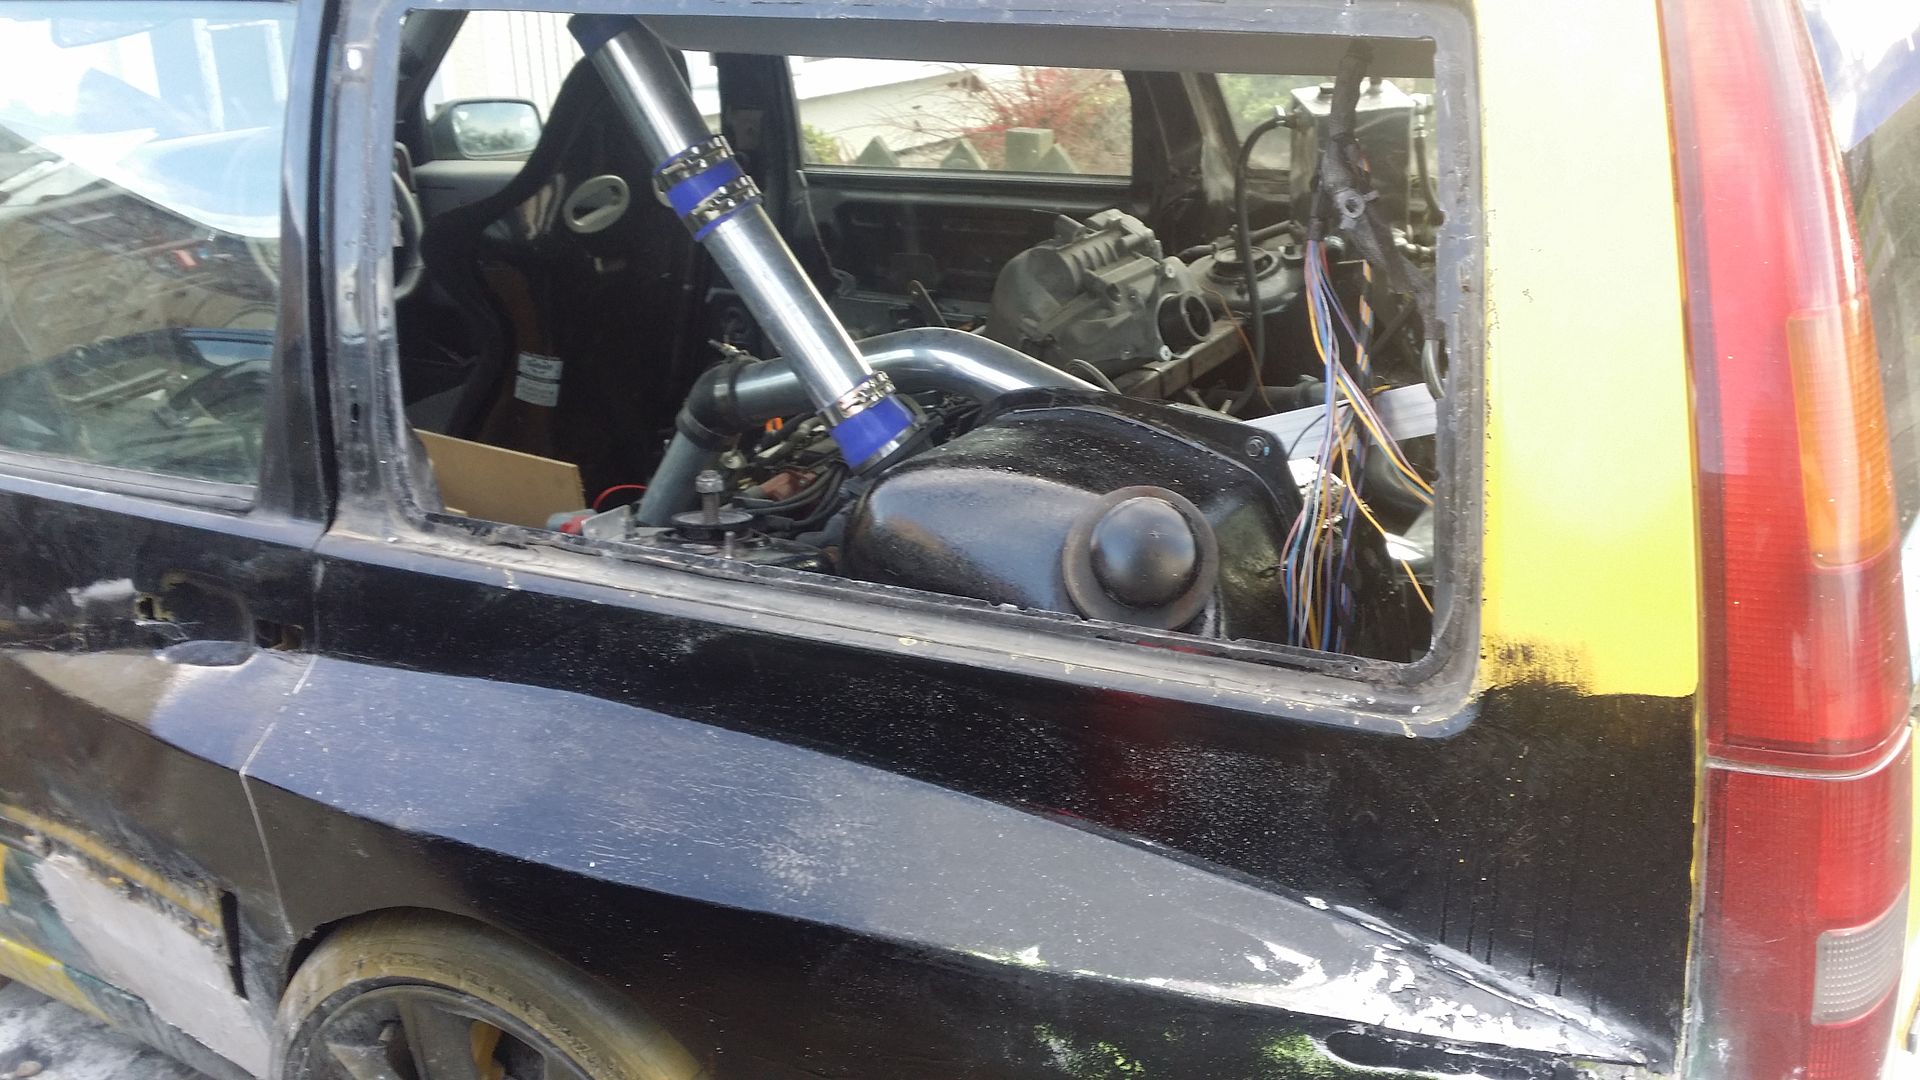 next just 4 temporary screws to hold the lexan in place. 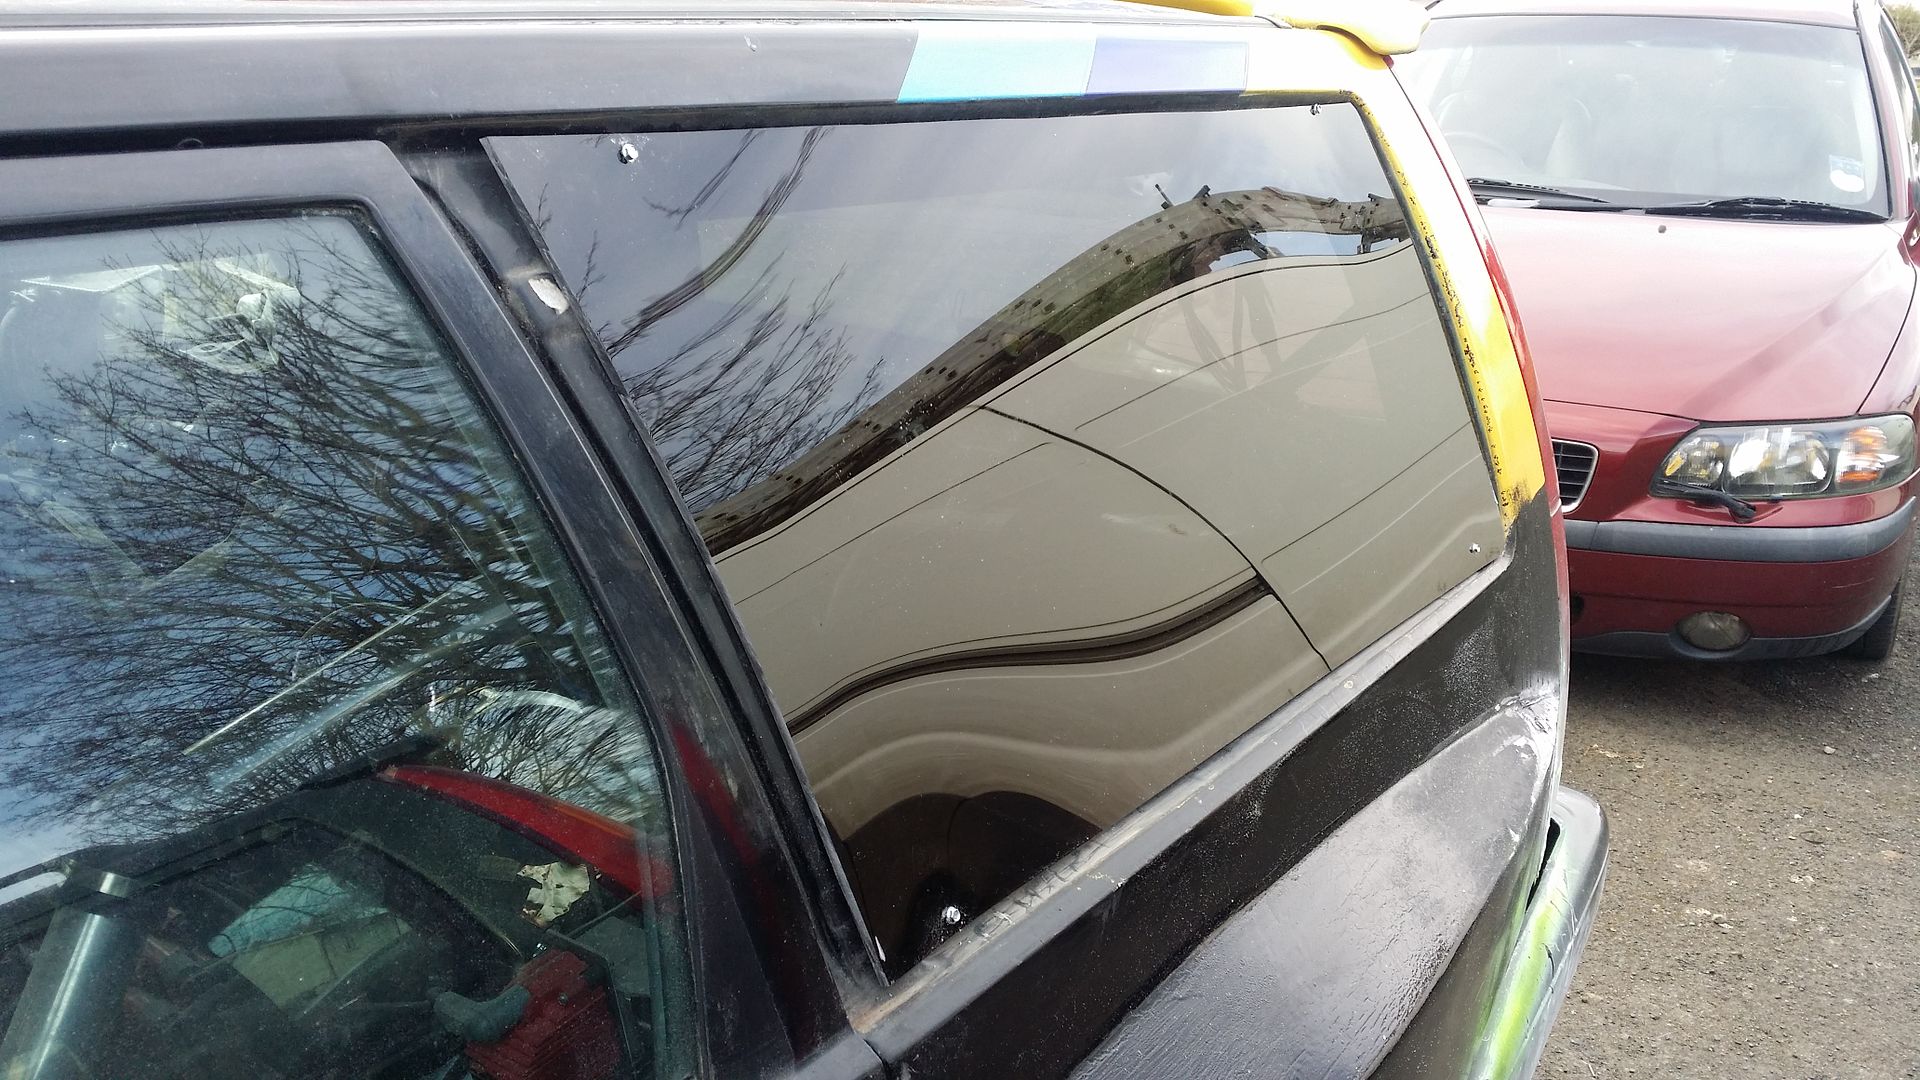 Out with the hole saw and job done  , next week I'll do the other side and the tailgate. 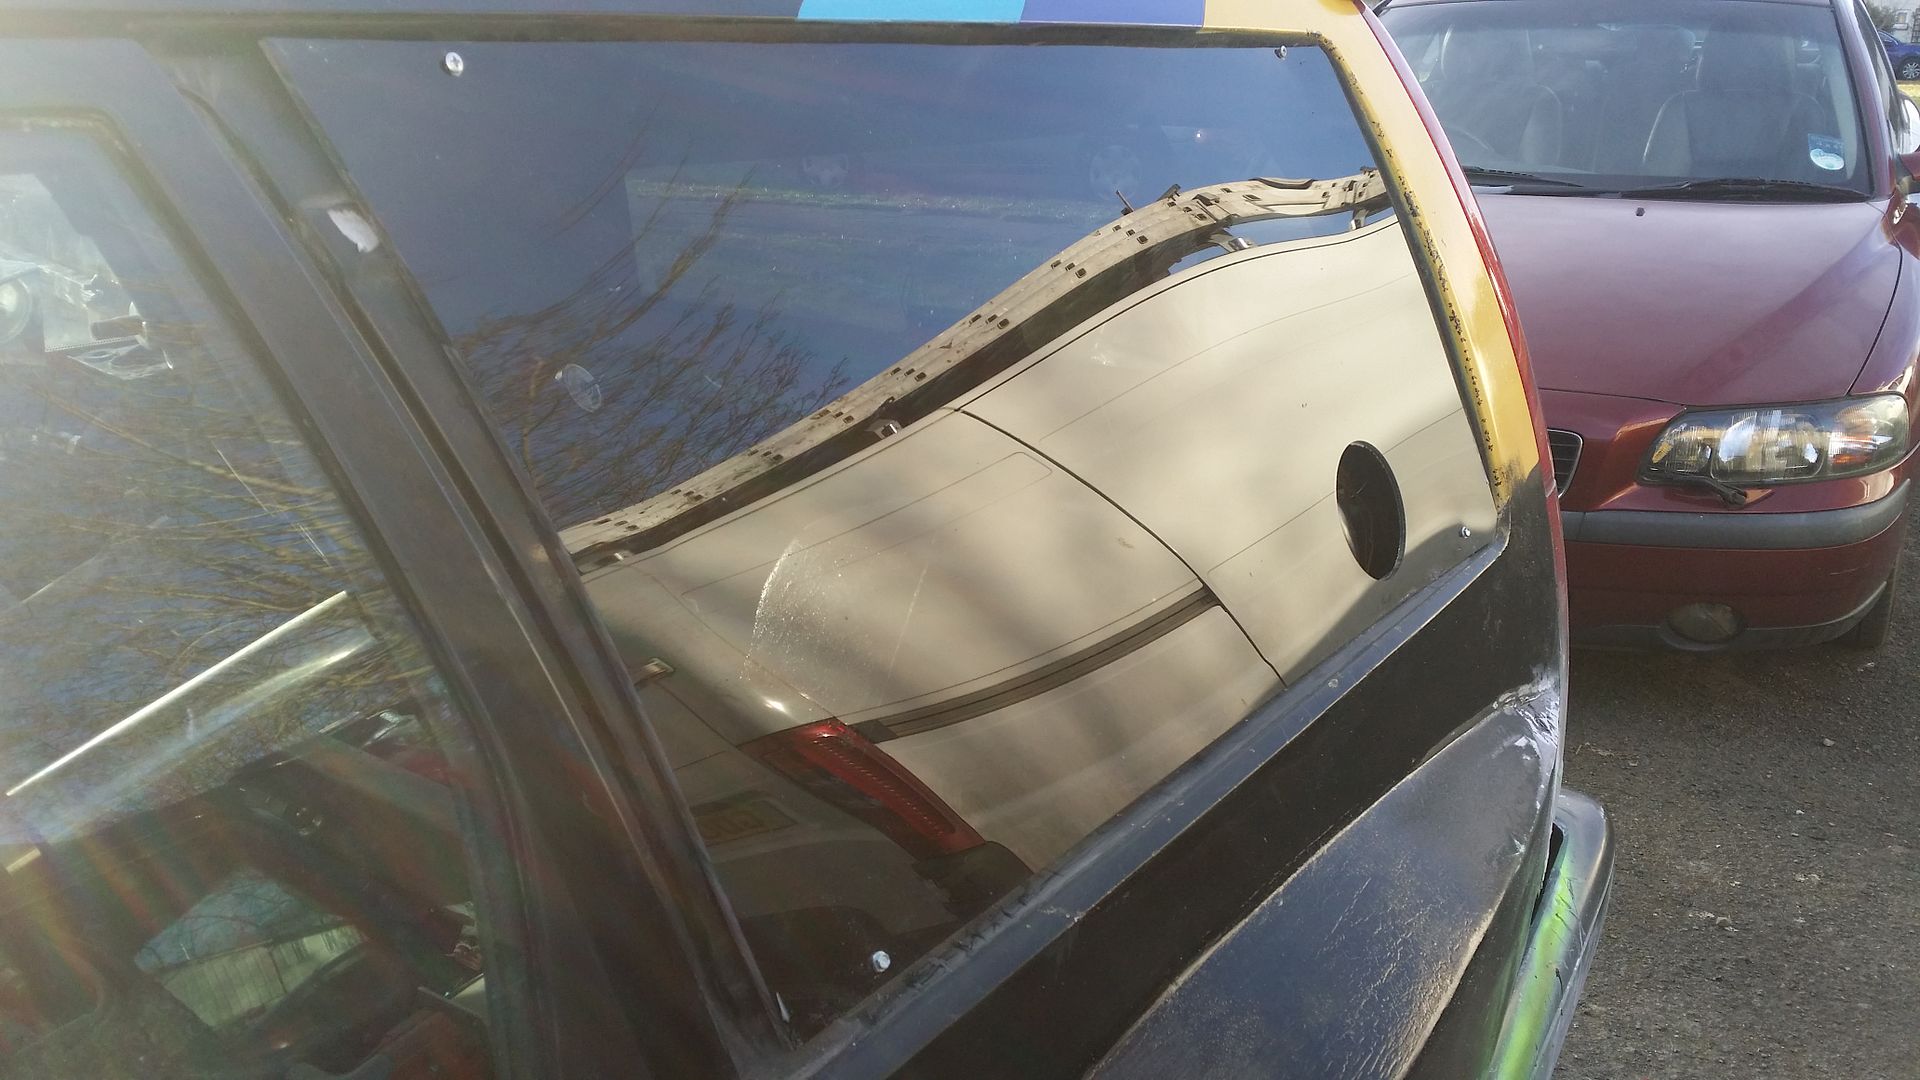 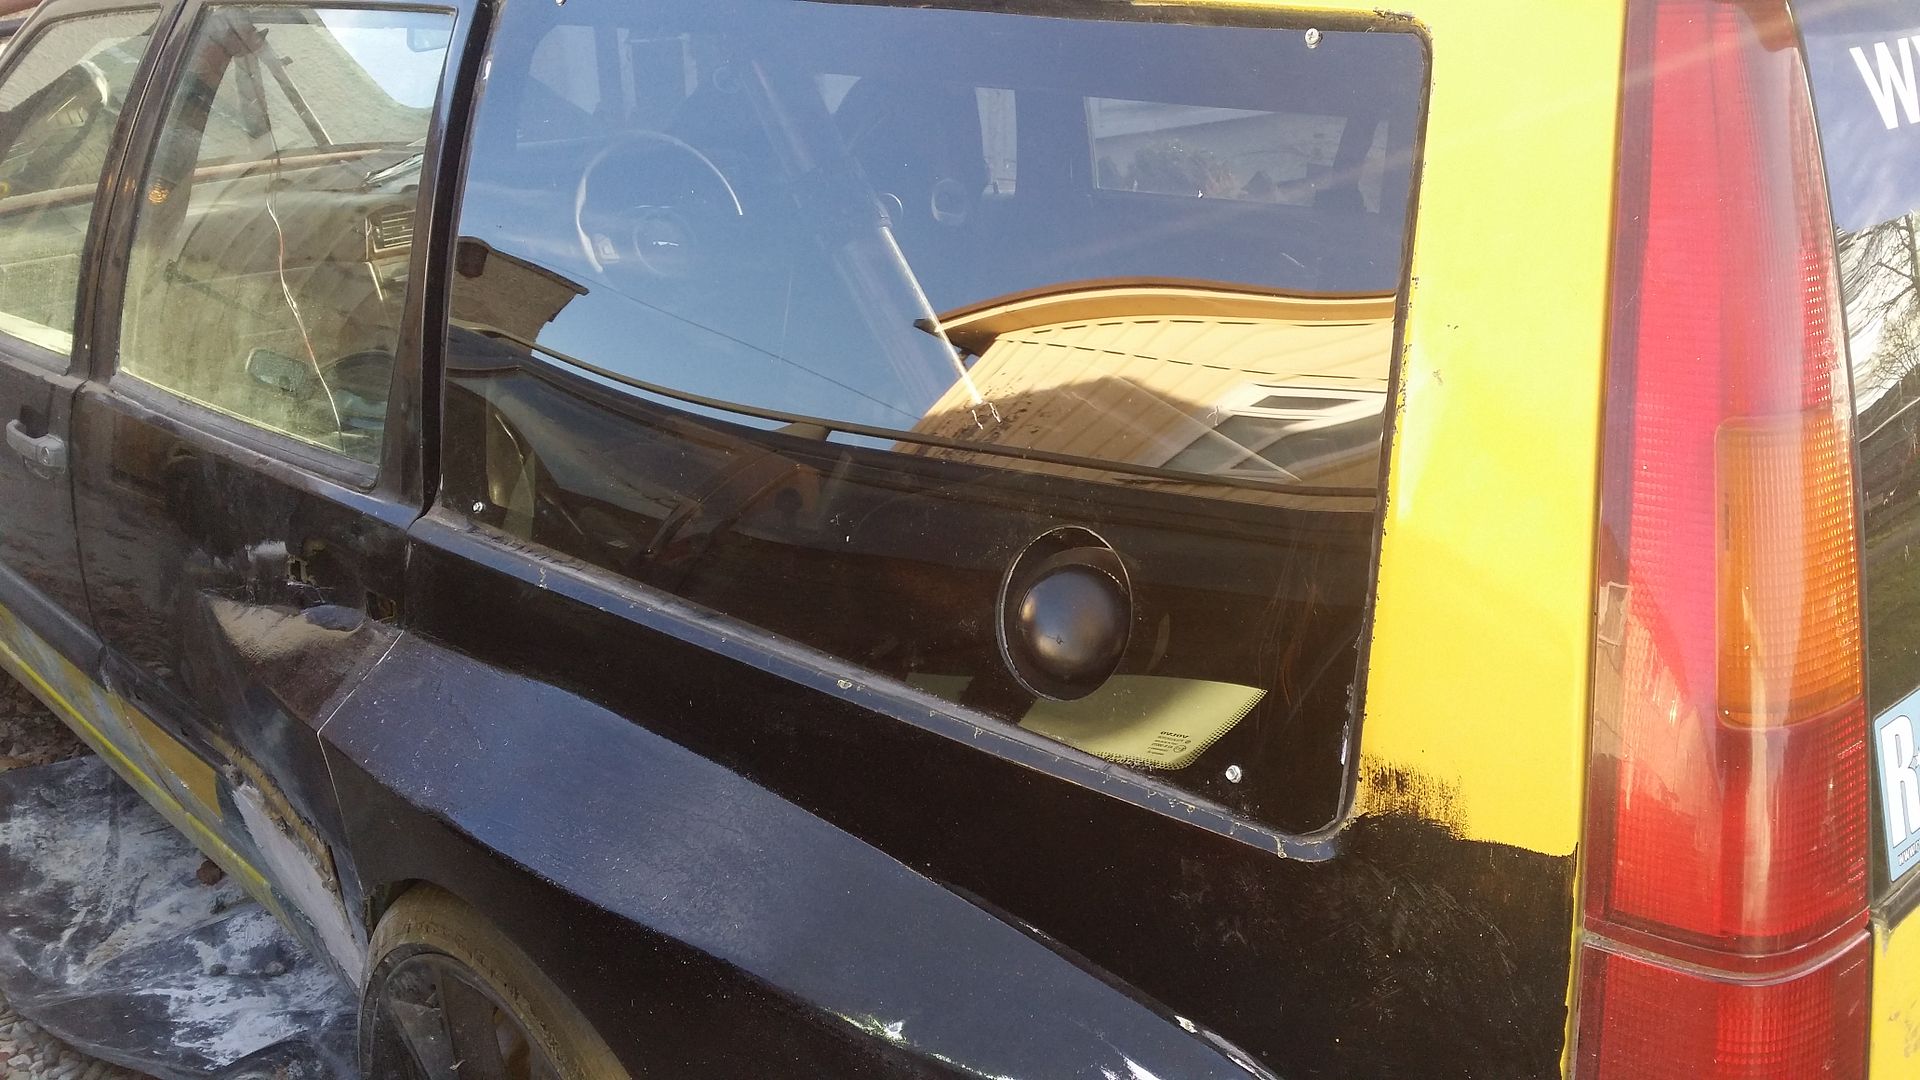 Next on the agenda is the air intake. So out with the hole saw again. 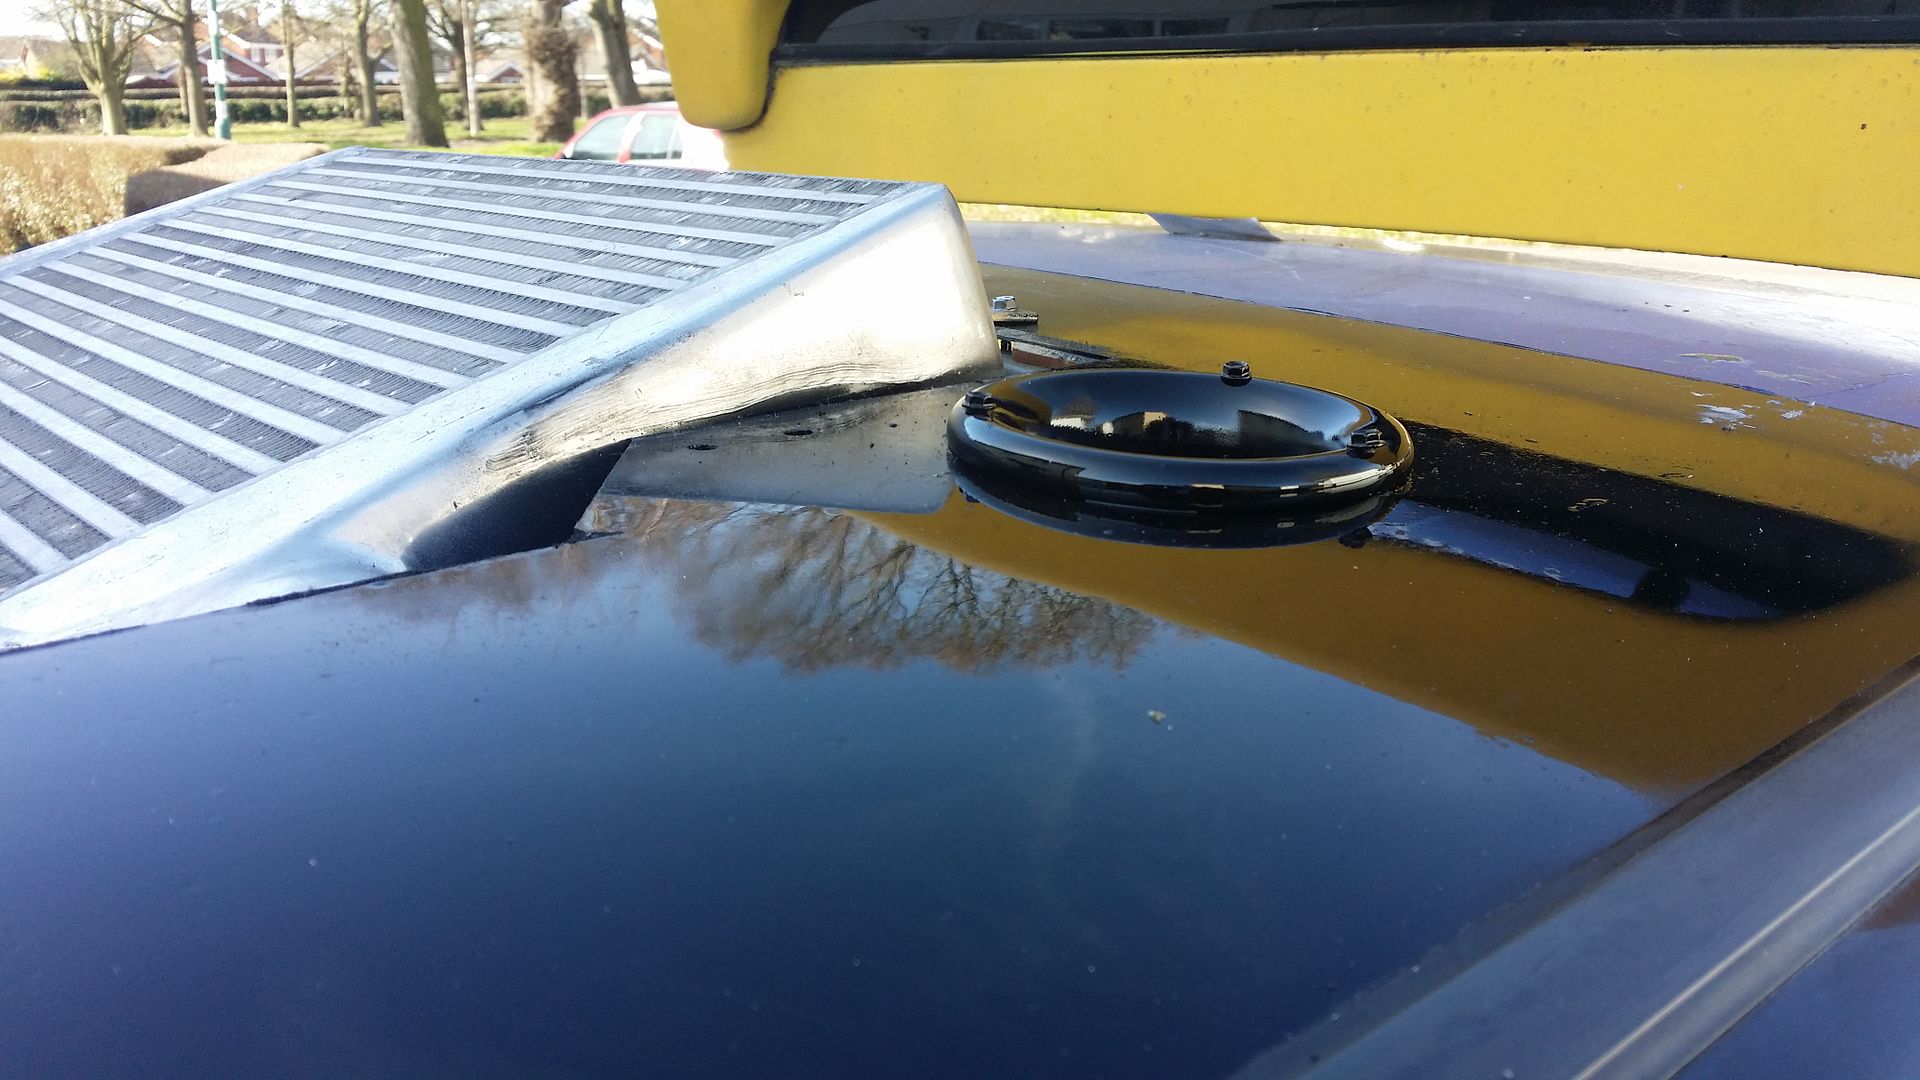 Then a bigger hole saw. 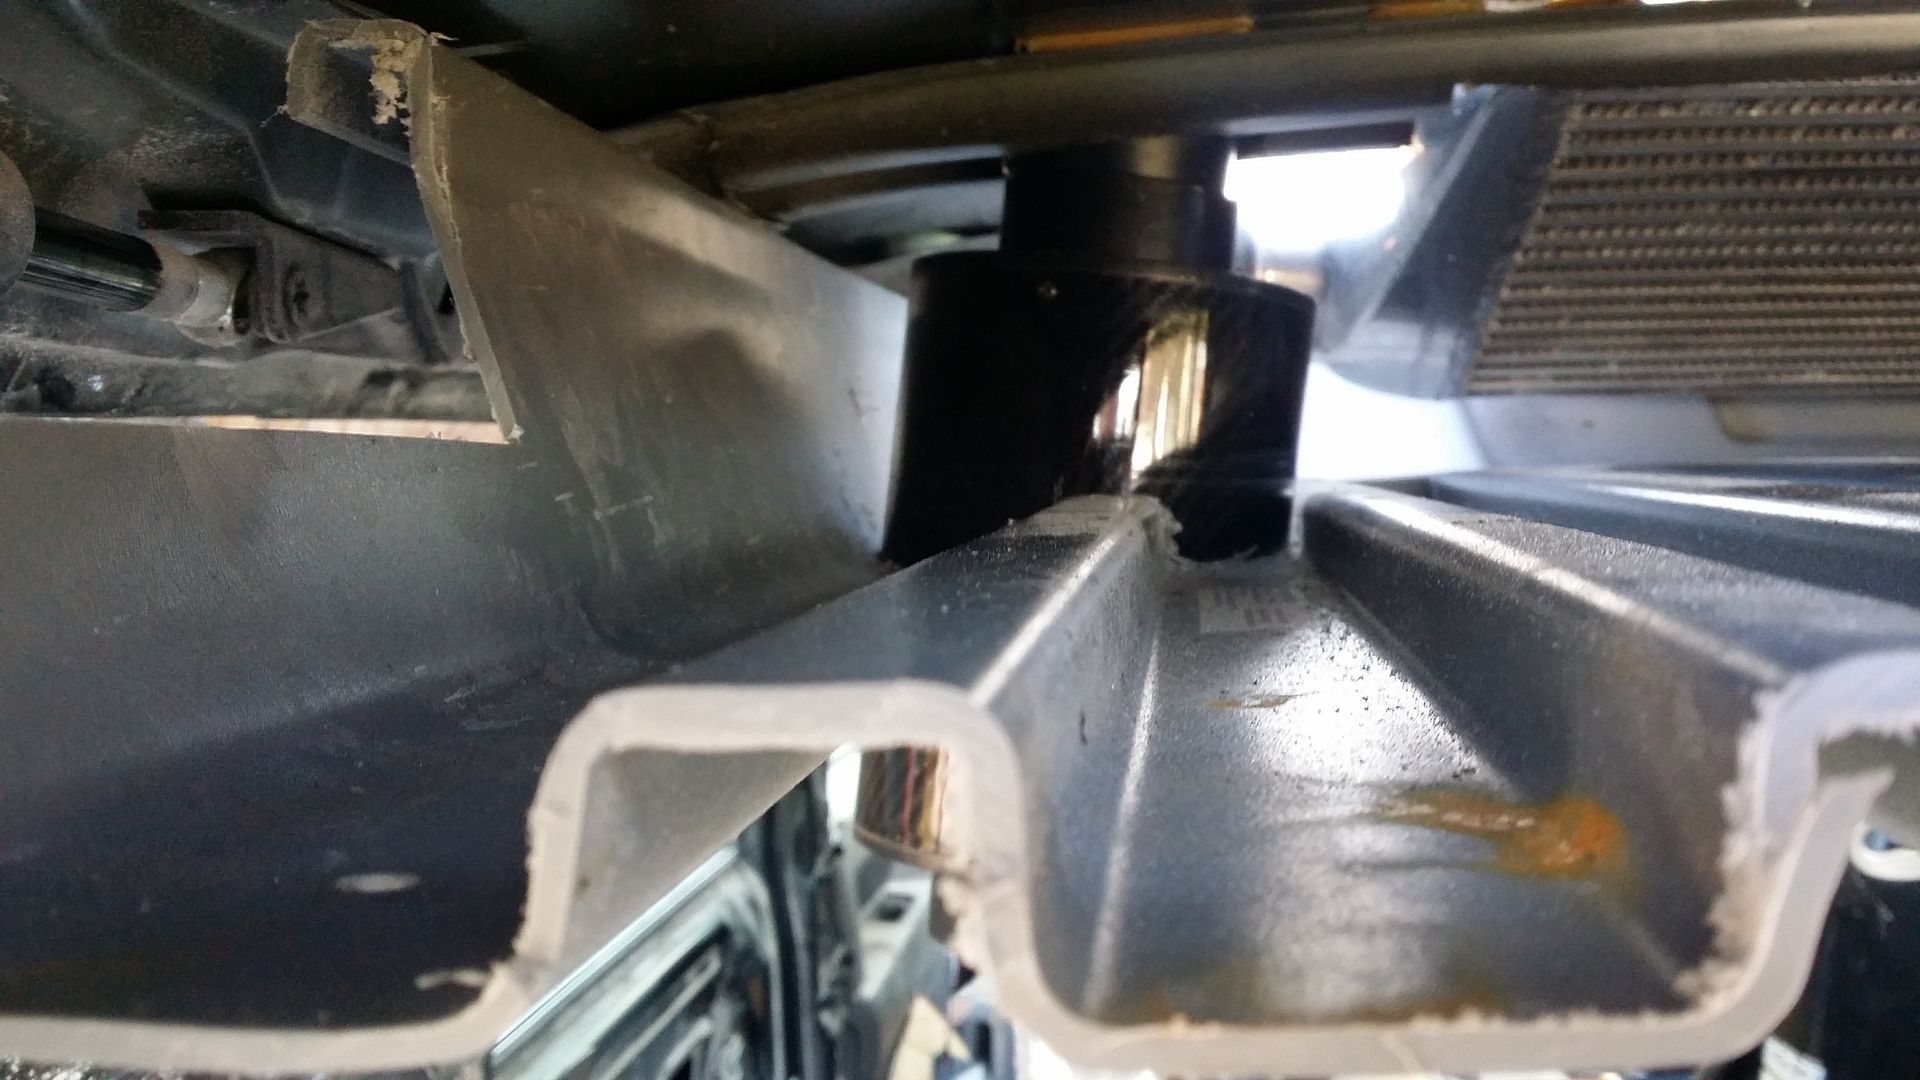 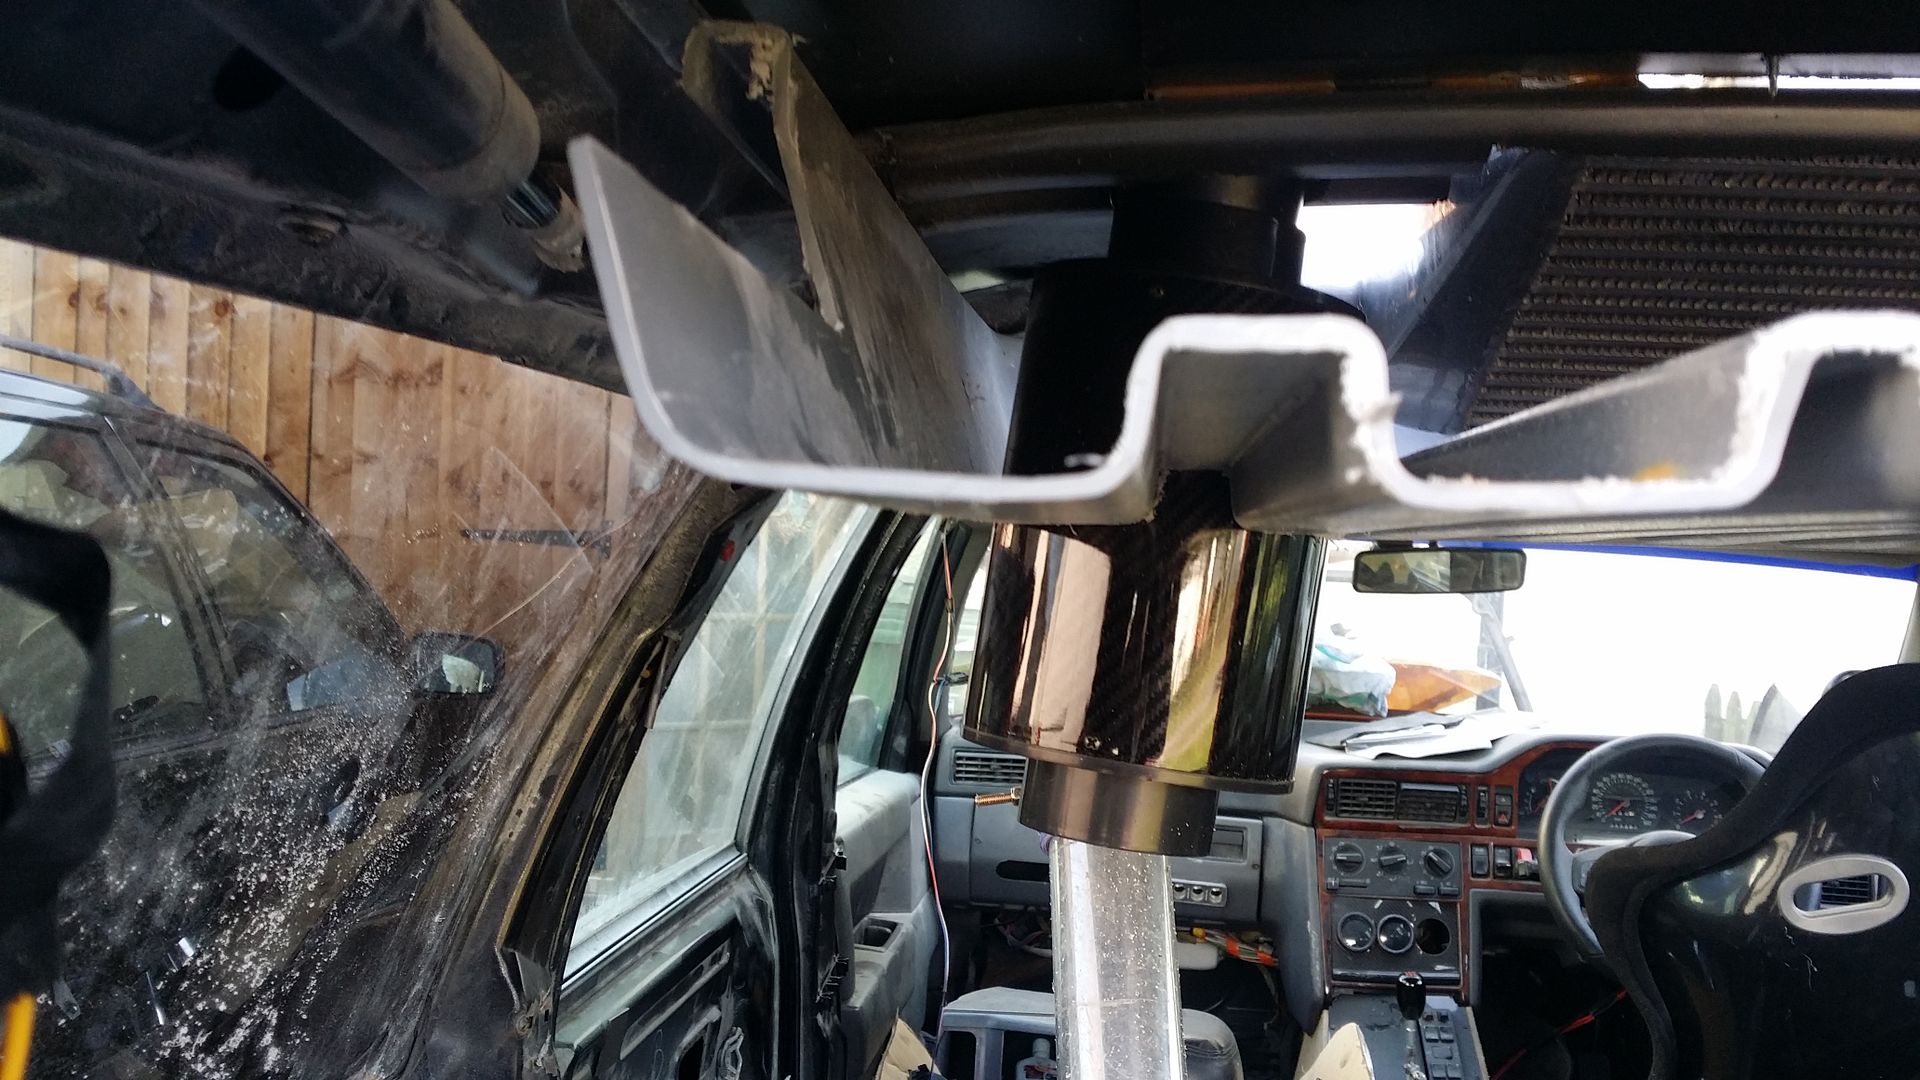 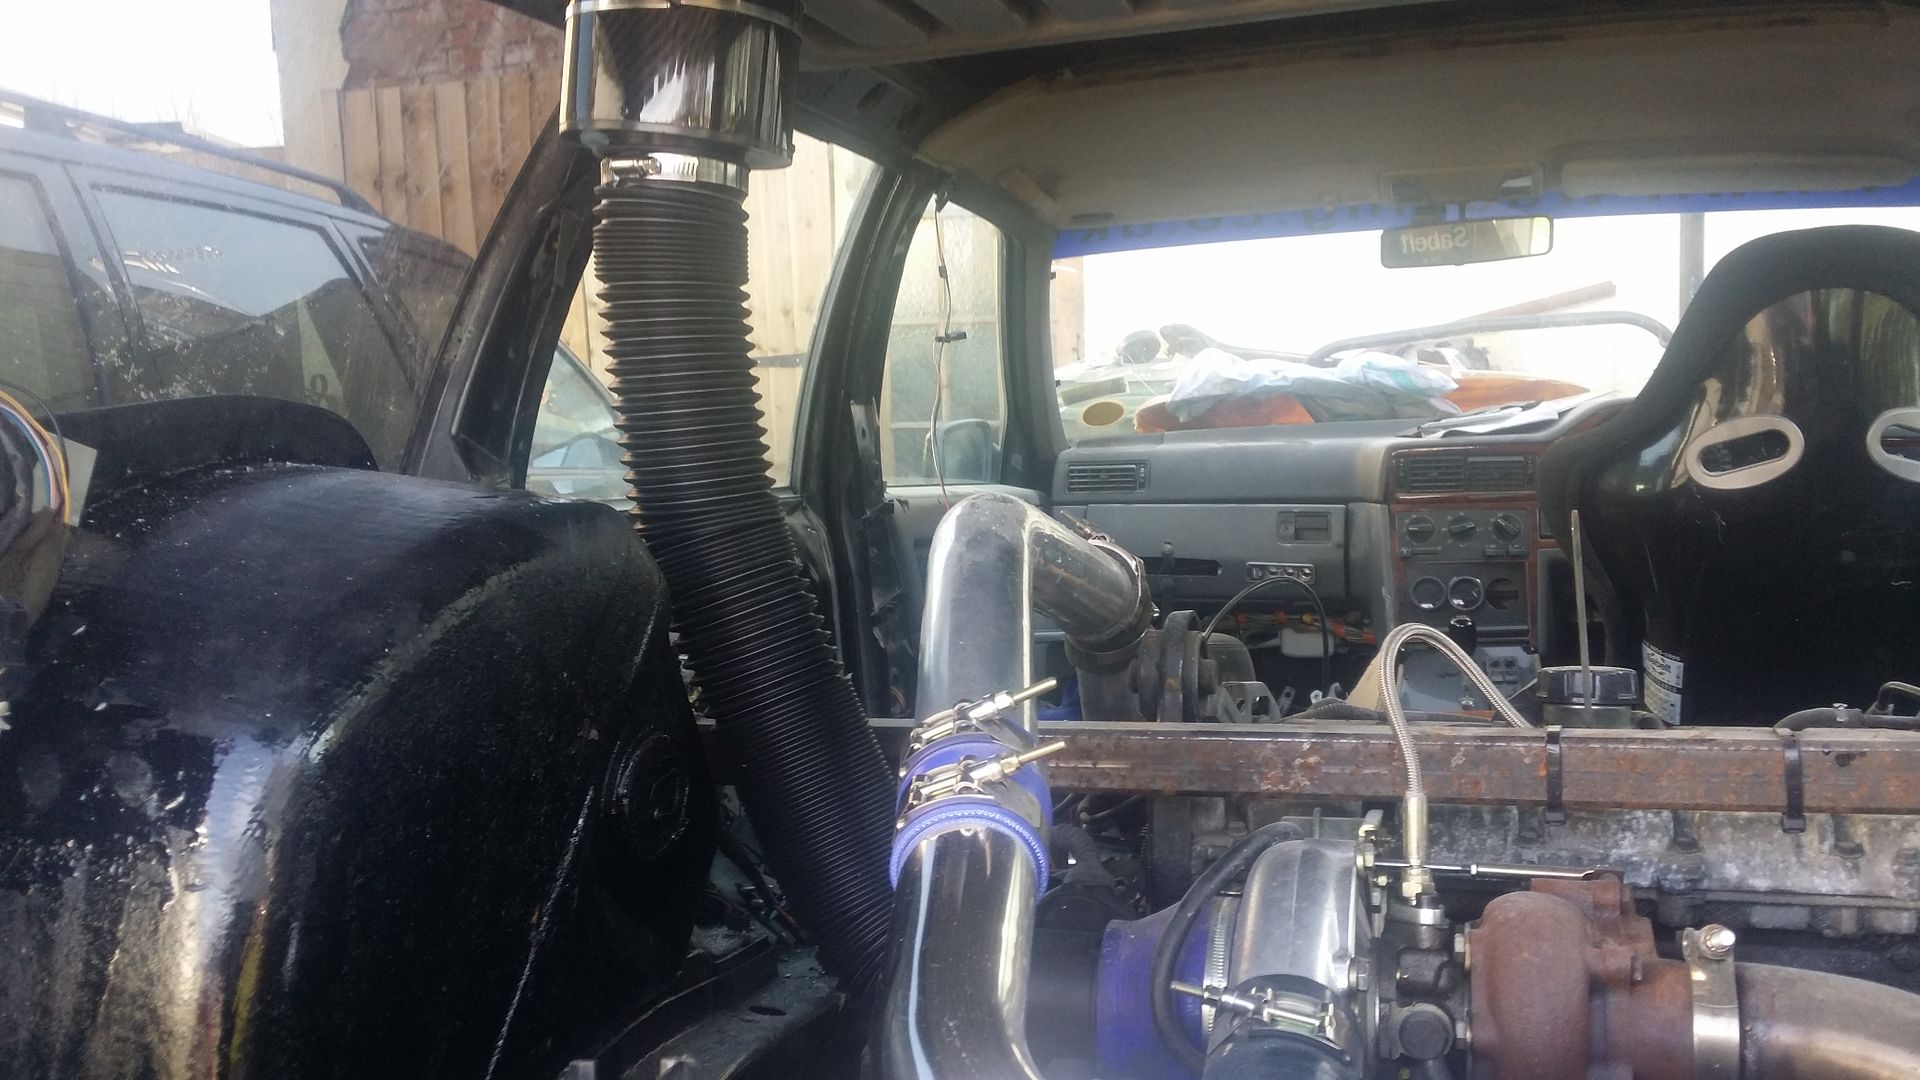 and finally fiberglassed a duct into the roof scoop. <a href="http://s170.photobucket.com/user/claymore2k/media/T10%20Projects/20150307_155231.jpg.html" target="_blank"><img src="http://i170.photobucket.com/albums/u258/claymore2k/T10 Projects/th_20150307_155231.jpg" border="0" alt=" photo 20150307_155231.jpg" style=""></a> |
| |
|
|
|
|
|
|
|
Mar 15, 2015 19:03:33 GMT
|
|
|
| |
|
|
bstardchild
Club Retro Rides Member
Posts: 14,971
Club RR Member Number: 71
|
|
Mar 15, 2015 20:20:29 GMT
|
Puts on sunglasses - yep that's better  |
| |
|
|
chubz
Part of things
 
Posts: 339
|
|
Mar 15, 2015 20:47:26 GMT
|
|
what a awesome build....!!!
|
| |
|
|
|
|


