|
|
|
Nov 11, 2009 21:57:17 GMT
|
|
|
| |
Last Edit: Nov 11, 2009 21:57:58 GMT by bonkeye
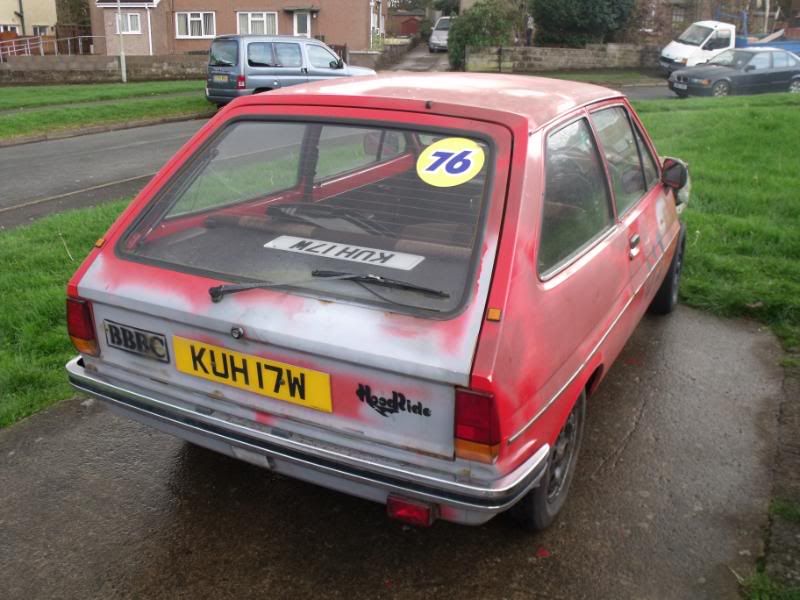
 Work in progress |
|
|
|
luckygti
Posted a lot
 I need to try harder!
Posts: 4,912
|
|
Nov 11, 2009 23:23:44 GMT
|
Looks like a good find. What are the plans for it after a tidy up? AX in your sig looks nice too  |
| |
|
|
|
|
|
|
|
|
just the normal stuff
130 spec zetec engine but not sure on 1.8 or 2.0 but must be 130
bike carbs
rs turbo gearbox if I'm lucky to find a cheap one but if i cant find one i'l use a mk2 XR2 box
rs turbo recaro's
cage
capri 13" 4 spokes
better brakes but must fit under the capri wheels
ashley exhaust & manifold
the list goes on but any up dates i'll be posting them up but the first jobs are sorting the front end then start stich welding it all
|
| |
Work in progress |
|
VWPowered
Europe
No-Rice - Est 2002
Posts: 1,450
|
|
|
|
|
cant argue fer 50 notes *thumbs up*
|
| |
81 Bedford CF 2.3D Cavalier Coachman Stratus
86 Volkswagen Polo Mk2 1.6 8v
87 Austin Montego 1.6HL 'Daily'
91 Rover Montego 2.0TD Countryman Estate
93 Rover Montego 2.0LXi Estate
|
|
|
|
|
Nov 12, 2009 17:22:25 GMT
|
|
Looks well, tidy solid shell, can you still get the front panel and wings? well worth the £50!
|
| |
|
|
|
|
|
|
|
|
yeah you can still get the panels new but as I'm on a buget I'm looking for new panels that people bought which they havent used it cheaper that way, i found a wing £20 but waiting for him to get back to me on P&P but still looking for a front panel
|
| |
Work in progress |
|
chaz
Part of things
Posts: 403
|
|
|
|
|
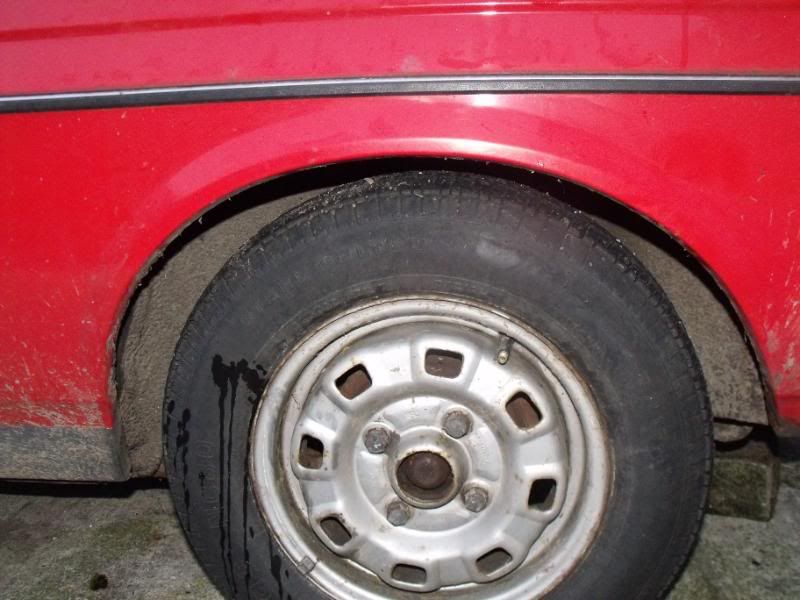
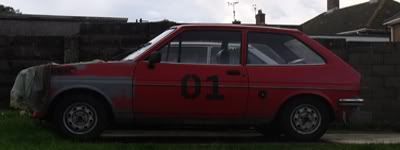
Nice find mate, first pic looked like it needs work,
but it looks solid from the rest of the pics.
|
| |
|
|
ruffgeezer
Posted a lot
Attracts french tat.
Posts: 1,252
|
|
|
|
|
Always fancied one of these, and despite the looks of the first glance, it seems a goodun, are you gonna change the colour?
|
| |
|
|
|
|
|
|
|
|
yea deffo changing the colour but i got a few in mind & cant decide which, its gonna be a matte colour i can spray it myself then on the drive with tons of rattle cans + wont matter about spraying a panel on diffrent days
|
| |
Work in progress |
|
Sven
Part of things
Posts: 341
|
|
|
|
|
Amazed you saw the potential in it. The car looked such a shed until you started taking it apart ...
-Steve
|
| |
1969 Chevrolet 4x4 C10 Pickup
1969 VW extended cab pickup (doka)
1980 Volvo 240DL
1995 Mazda Miata MX-5
2007 Toyota FJ Cruiser
2007 Dodge Ram 2500 Cummins Diesel
2011 MK Indy R (building)
|
|
|
|
|
|
|
Nov 22, 2009 11:18:16 GMT
|
Love it ! ! ! £50 worth it no matter the condition  |
| |
|
|
|
|
|
Nov 22, 2009 12:24:02 GMT
|
|
nice find its very clean. my gf has one with the 2ltr 130 zetec in. are you on Shitbox racing forum?
|
| |
|
|
|
|
|
|
|
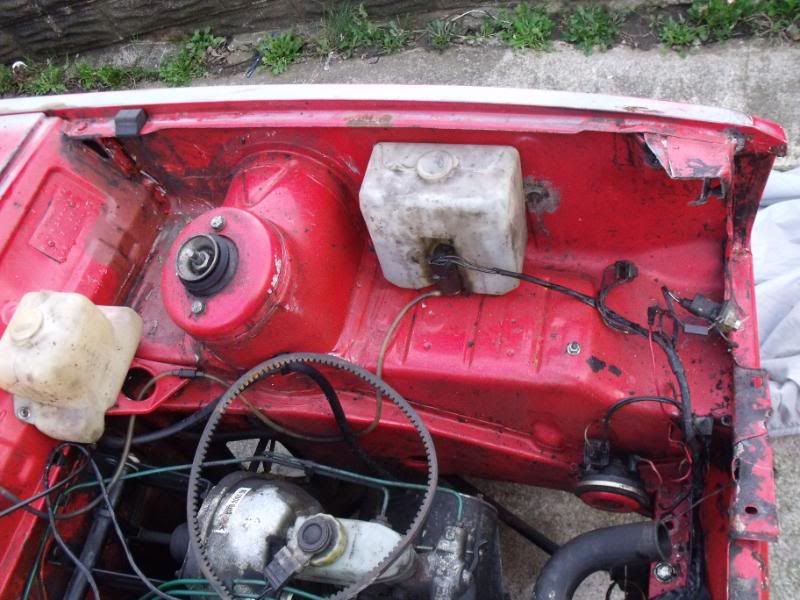
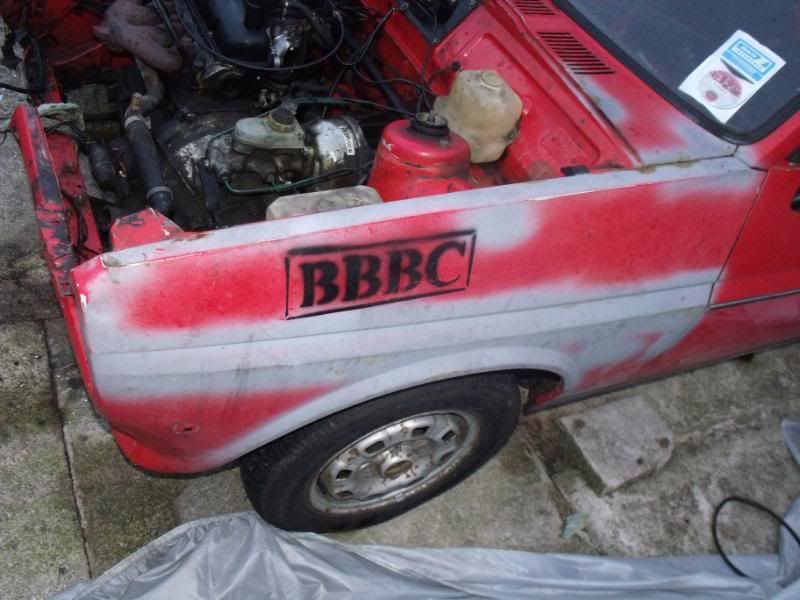
sorry guys completely forgot about this thread DOH!!!!! bigkris - no mate but i'll have a look on there in a bit anyyway ive a bit of work since my last post got the old engine out  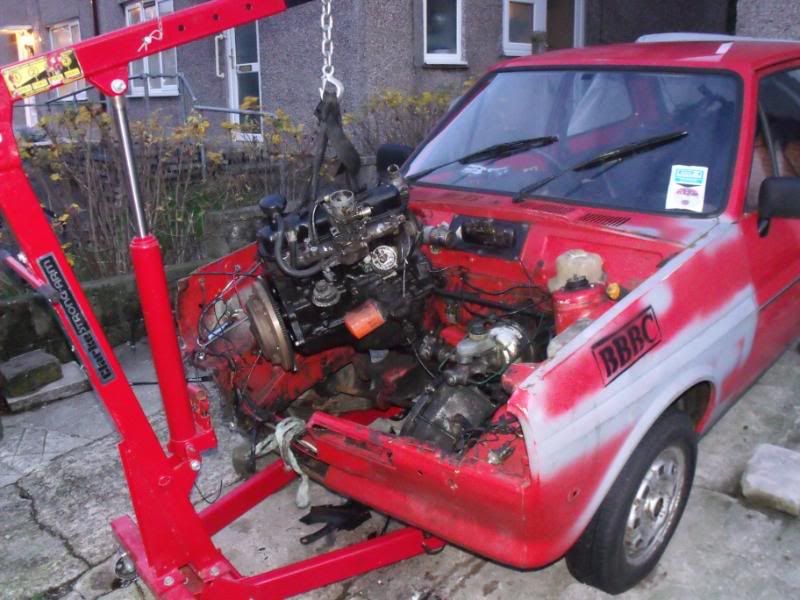  also i picked up a new passenger wing & front panel 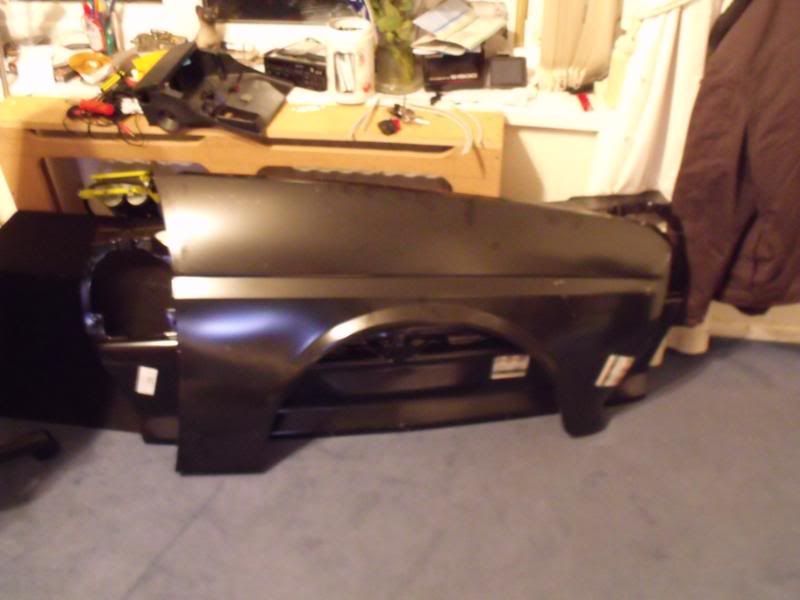 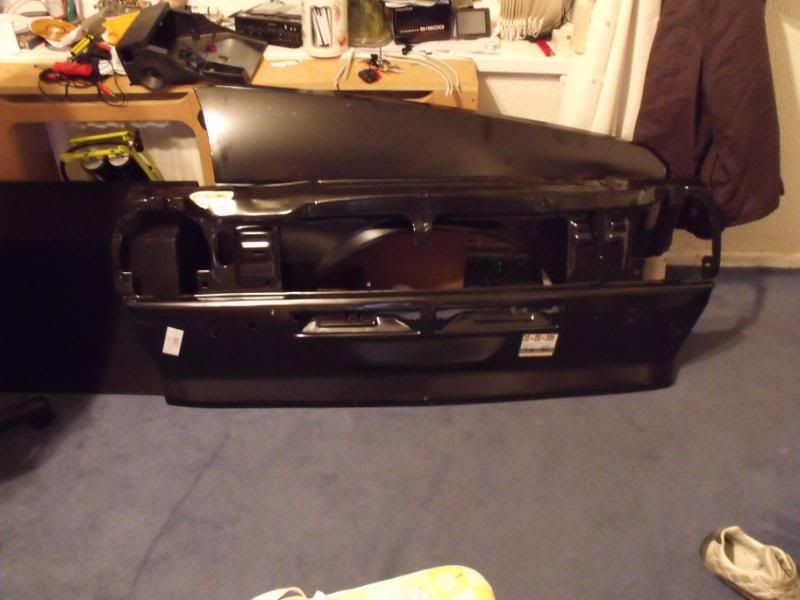 i started to take the rest of the old front panel off & also started to take the pass wing off as i seen abit of rust on the end of the scuttle panel taken before i took the wing off 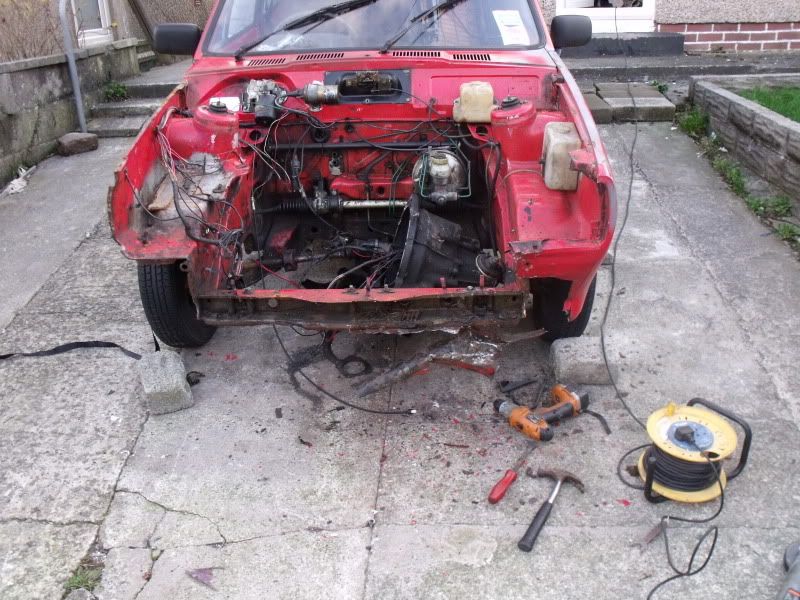 also bought some lights of ebay & got hold of a XR2 engine mount cage then got the rubber mount part + i ordered a fiesta centre CVH engine mount, this will be fun to weld on with only a little clarke 90 welder lol think some no nails might hold it on better! 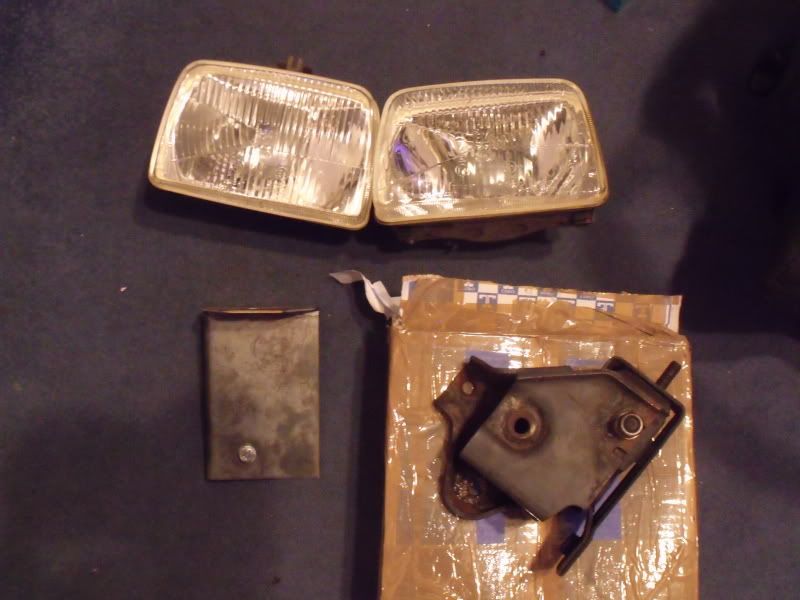 i finished off getting the front panel off & ground back the little spot welds that were left from me drilling them off then i put the front panel on just to see how it lines up since its a pattern part but wont be puttong it on until i get a passenger wing so i can line it all up tidy  also here's the worst rust on the car so gonna be fun sorting that  started off taking the battery tray & engine mount off  had some holes to weld up from the spot welds i didnt drill out tidy :oops: but all done now just needs tidying up 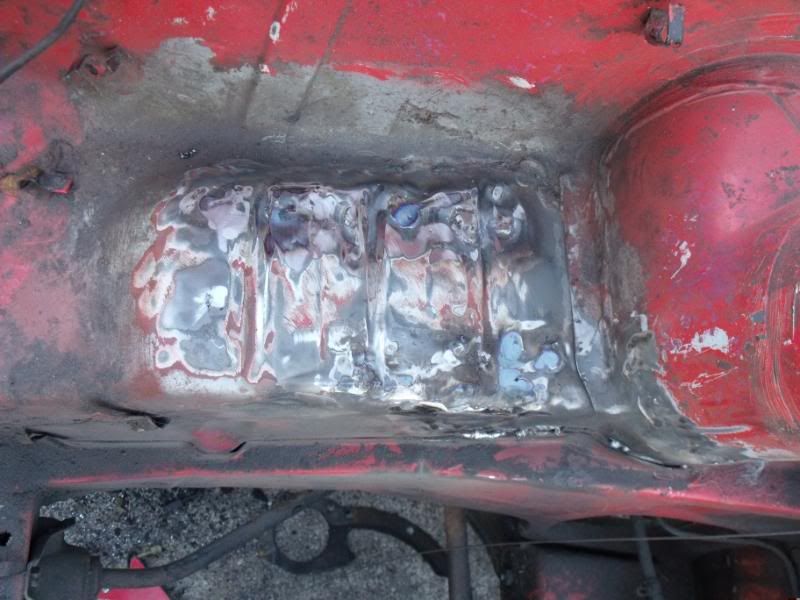 also cut out a section of the inner wing for the water pump pully + started to stich weld the engine bay & yes i know my welds are shocking lol 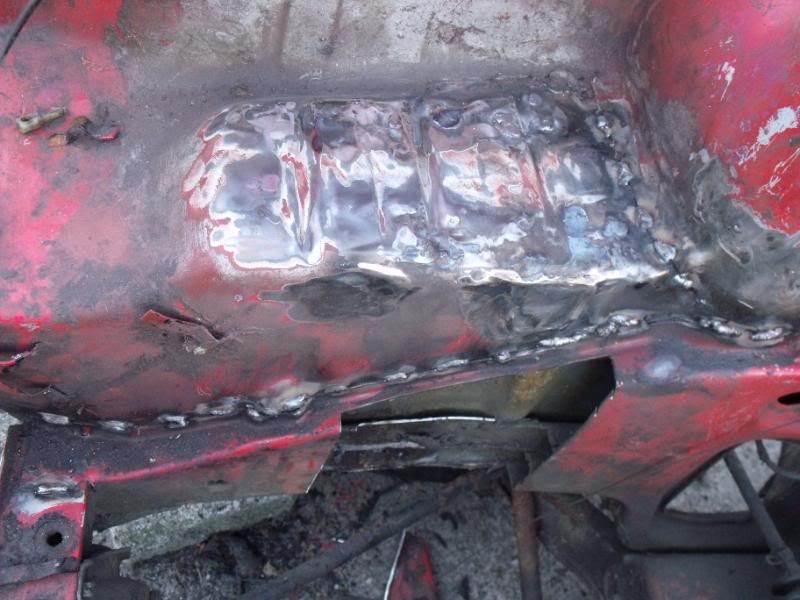 |
| |
Work in progress |
|
|
|
|
|
|
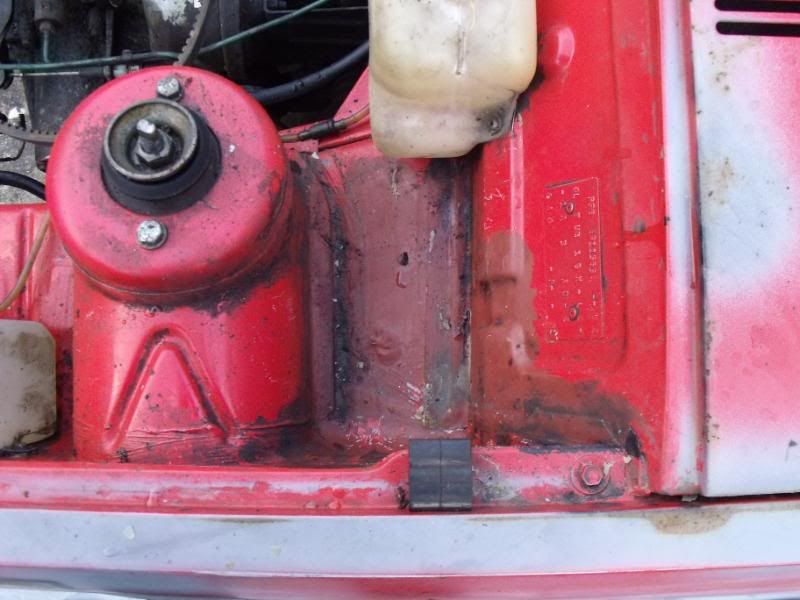
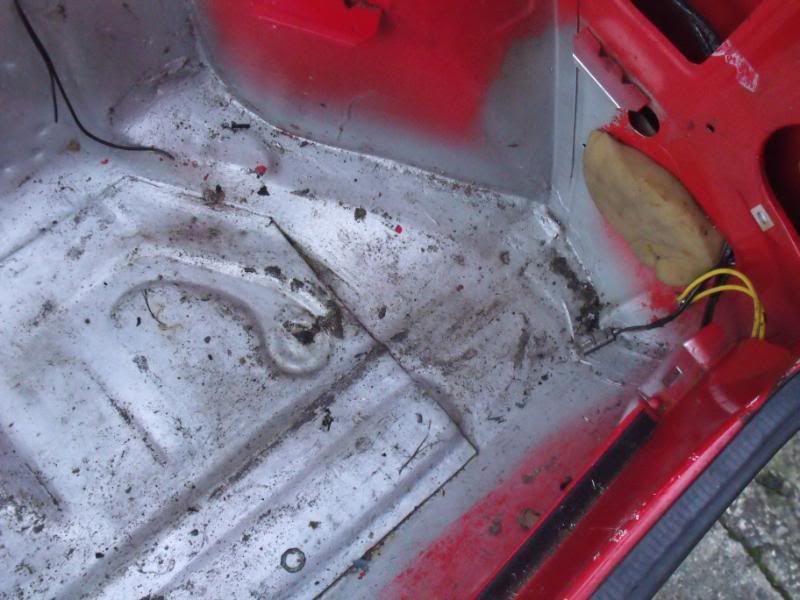
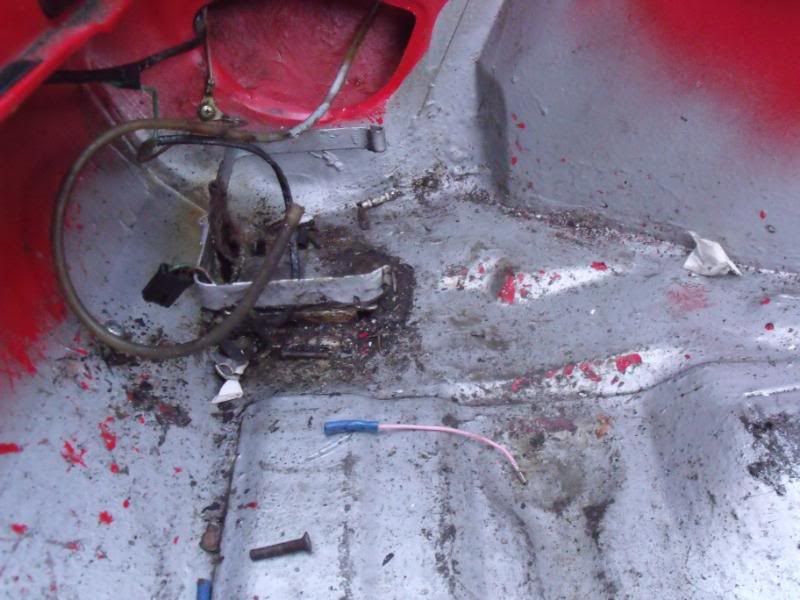
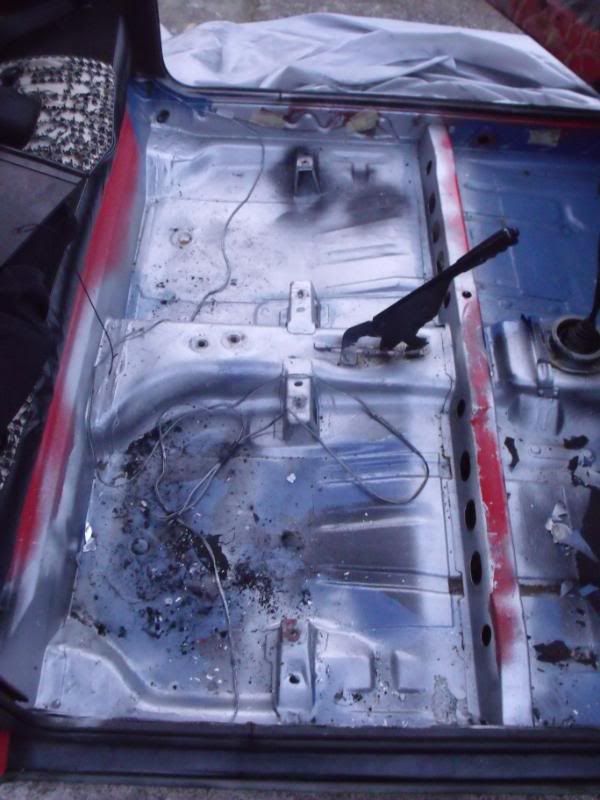
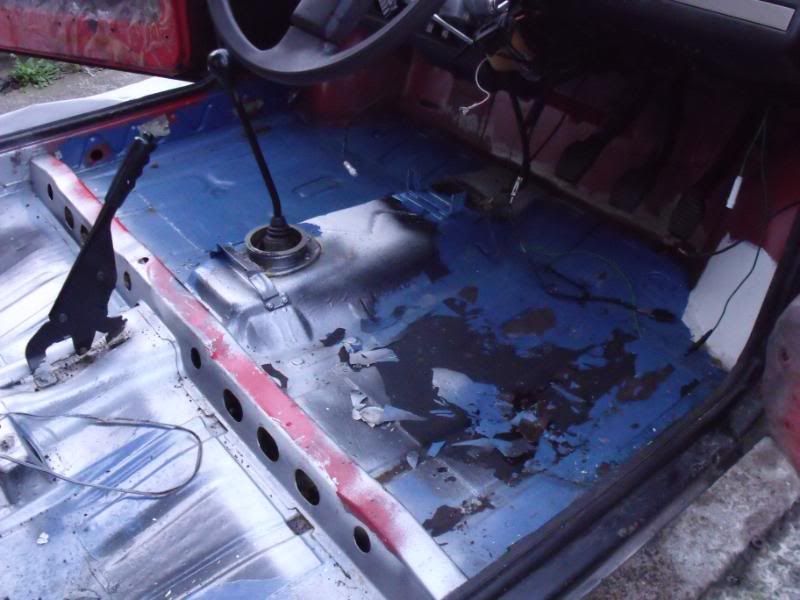
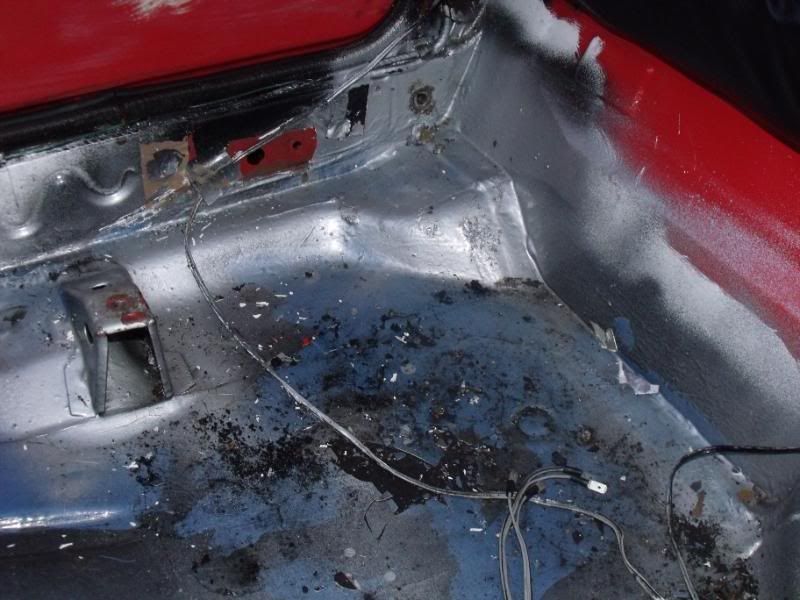
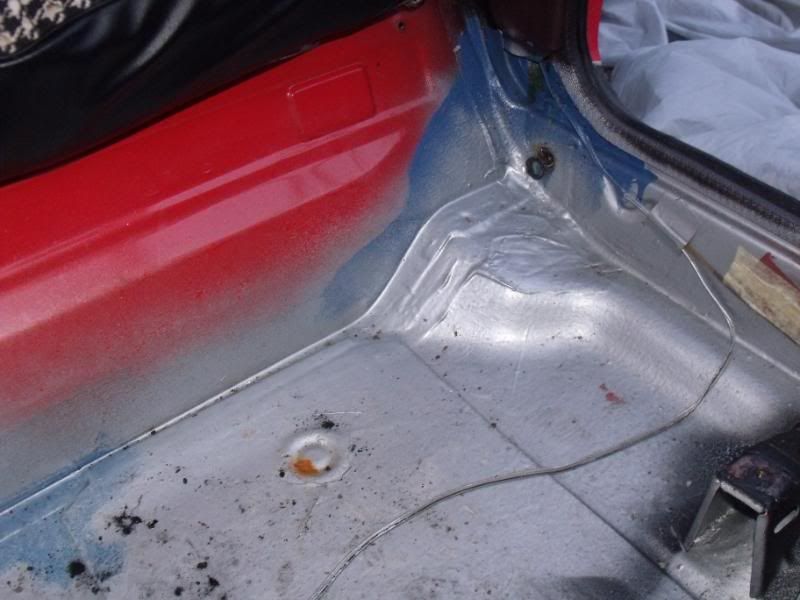
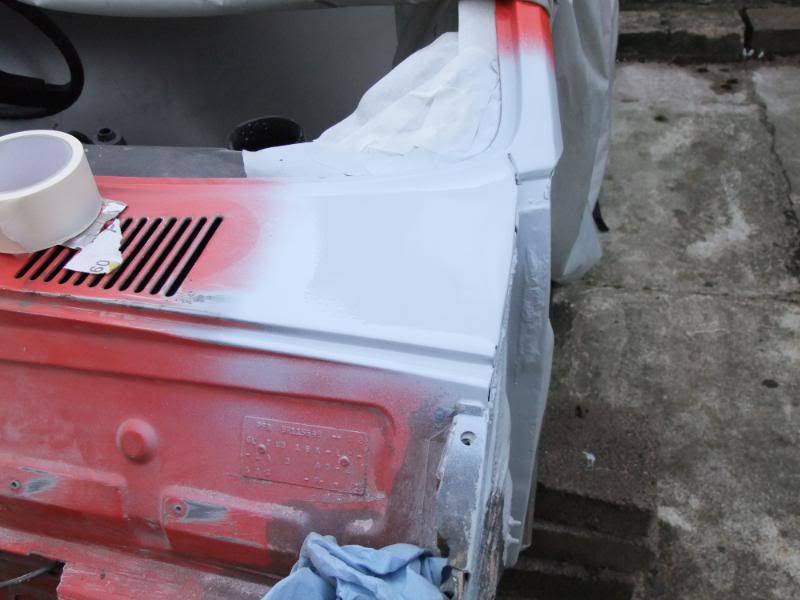
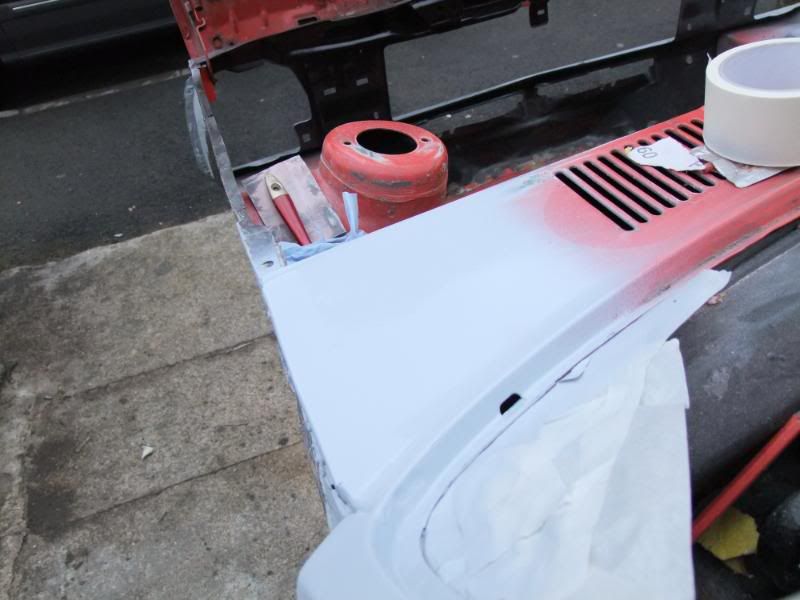
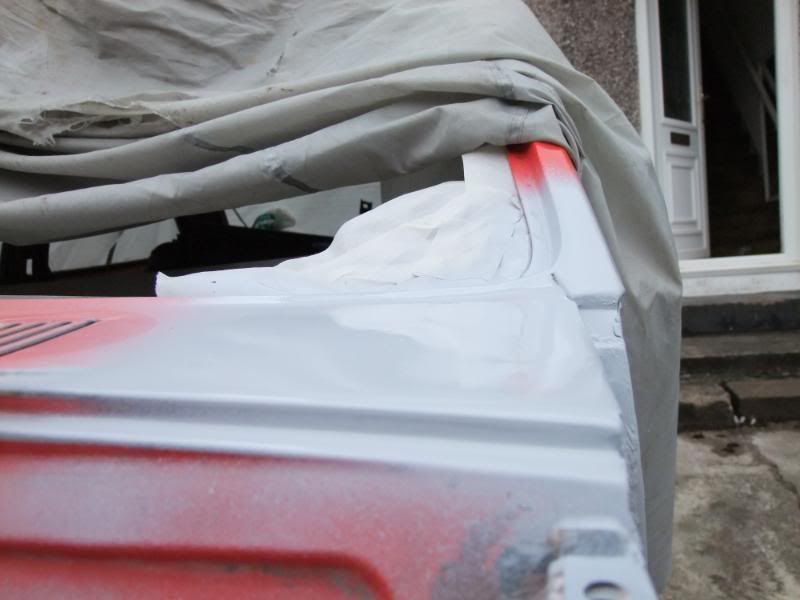
BEFORE, 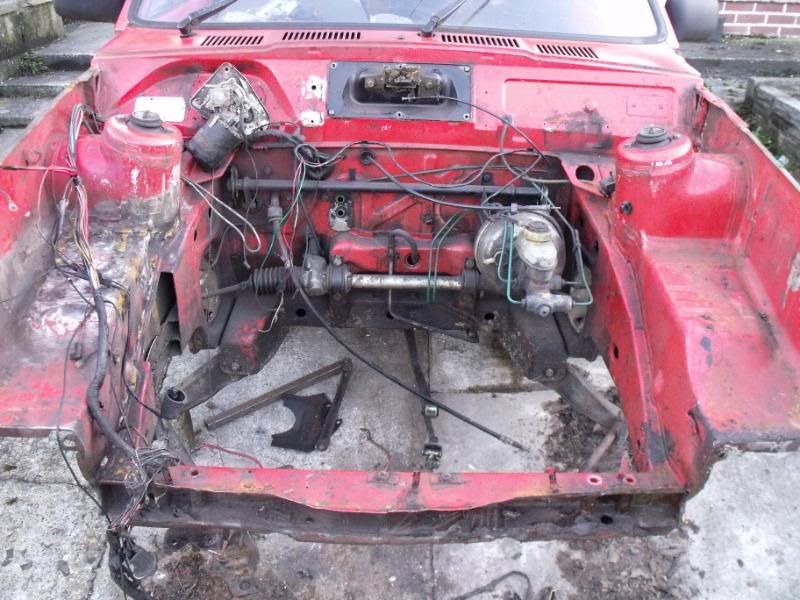 AFTER 2 DAYS OF SCRUBBING & 1L OF GUNK!!!!!!!!!  still got some cleaning to do on the lower part of the bulkhead as it looks to have been there since 1981 so is rock solid & very hard to get off! 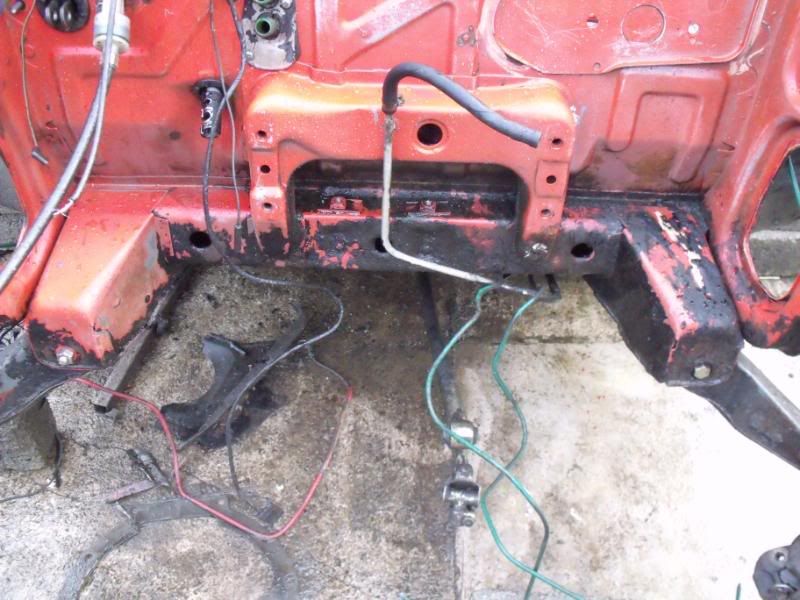 got to soaking the engine bay with petrol to help remove the wax curse word that was left when a previous owner when he/she had the cavaties wax coated, stuff was all over the place, inside the front crossmember its gonna be half inch deep of the stuff after that was done it was time for a tea break so while of the break i started looking at a few pics on here on where they cut the passenger side inner wing for the gearbox to have enough room so i set about cutting the wing away 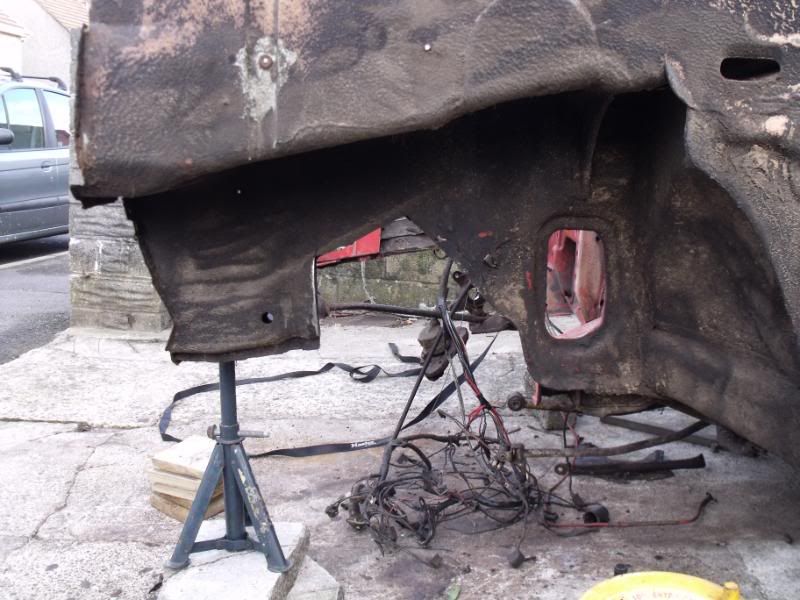 also trimed the other side to match  with the inner wing cut away i could mount the gear box so i dug it out 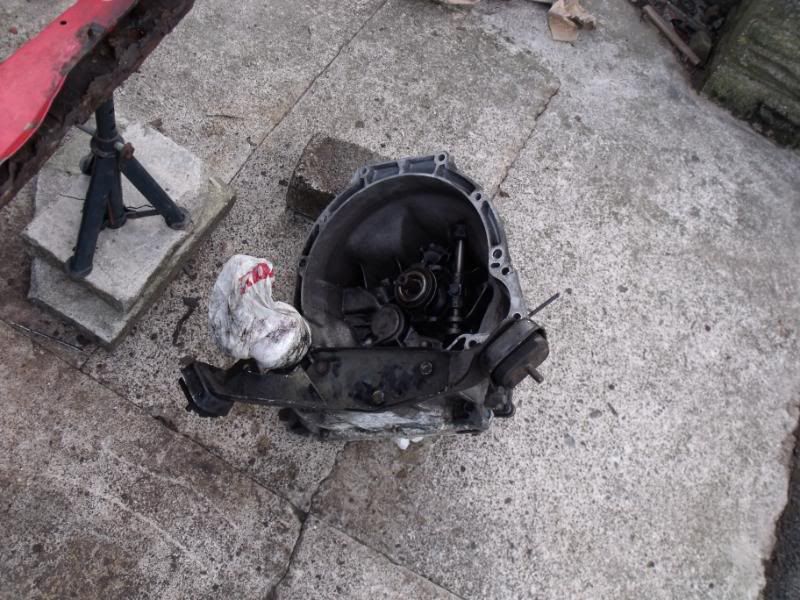 i bought a mk1 fiesta XR2 craddle & bearer thing few weeks back so was time to use it but i had to cut it a little so the bolt holes would line up as it was fauling on the mk2 XR2 inner CV so once that was cut i could mount the box & engine   but once mounted i noticed it was rather close to the inner wing so gonna have to rethink the fitting there 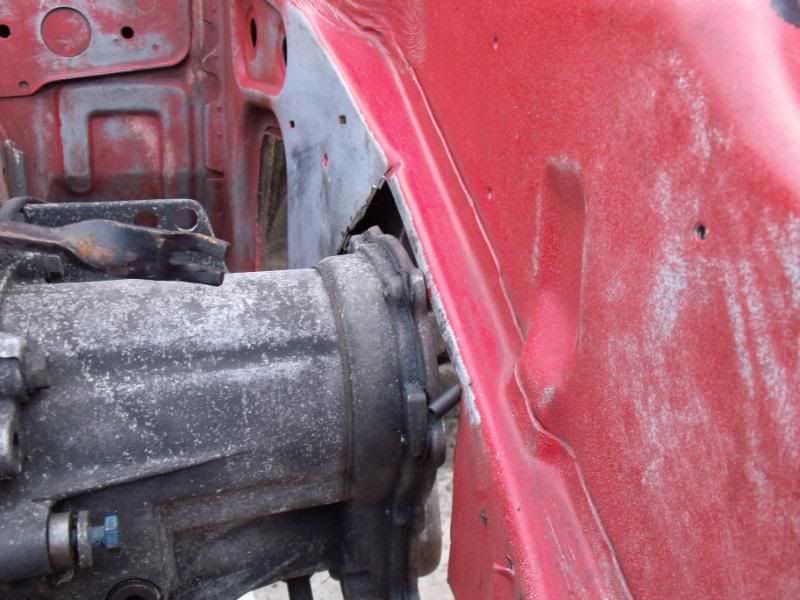 now the engine was mounted I'm a little worried about the clearance on the drivers inner wing 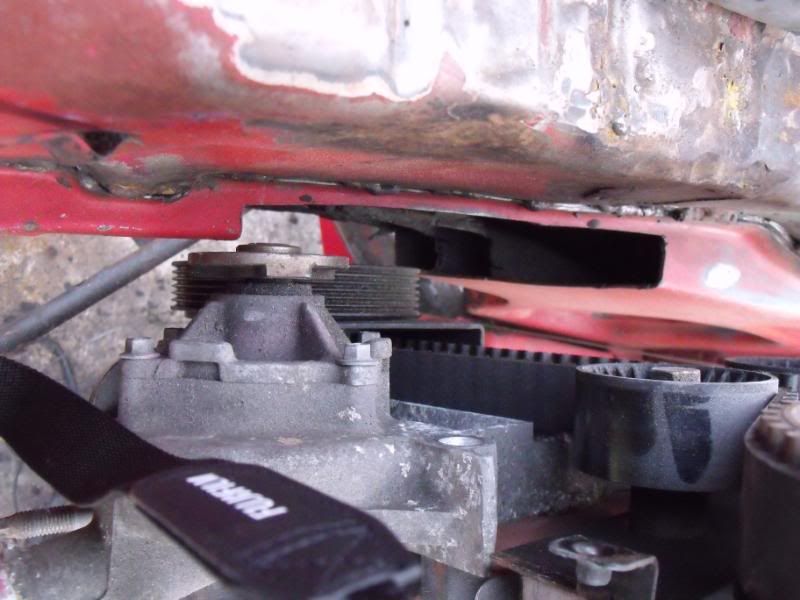 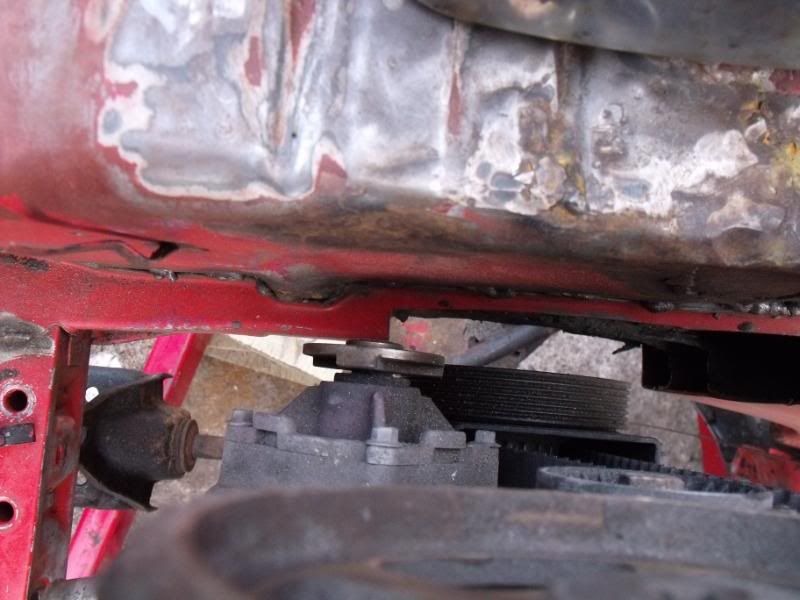 also need to trim these studs off so they don't catch 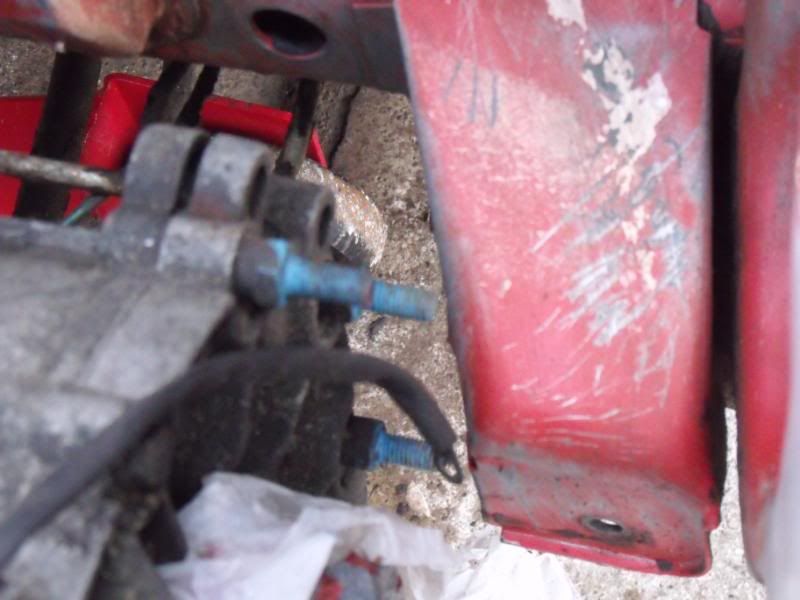 i had to make some spacers as the gearbox sits about just over half inch to high as it sits on a craddle so the spacers will lower it to the correct hight now since I'm a tight fisted sod i refuse to go out & buy stuff if i could make it myself so i had a look through my shed & scrap pile & turns out i got some metal i could use long as i double it up so i cut them to lenght 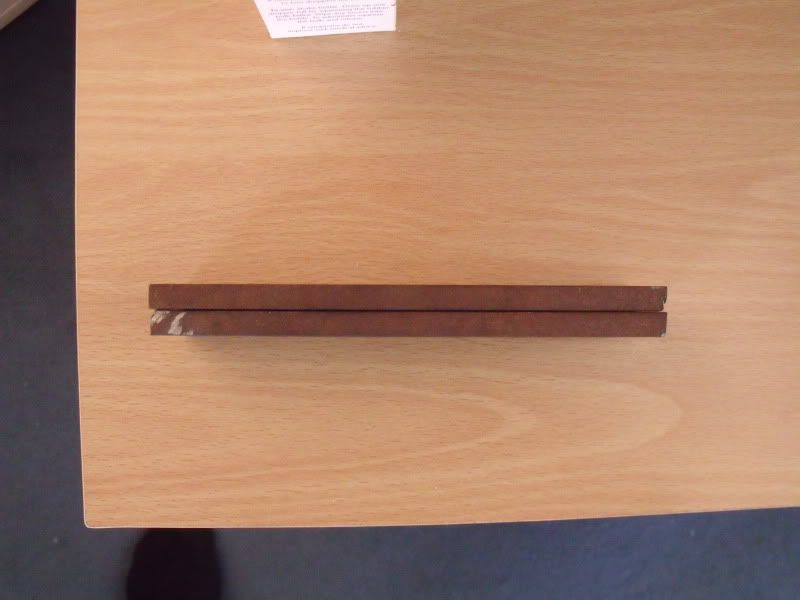 i spot tack welded them together so i could drill them as one to make sure the holes are perfect in line no i only have a clarke 90 welder so it don't weld thick metal very good lol so I'm gonna get some one to weld them together  spent ages drilling   now drilled & waiting to test fit them as it was dark when i finished so i'll check them tomorrow, i also puddle welded the old holes up & ground them flat also takeing some burs left over from the drilling 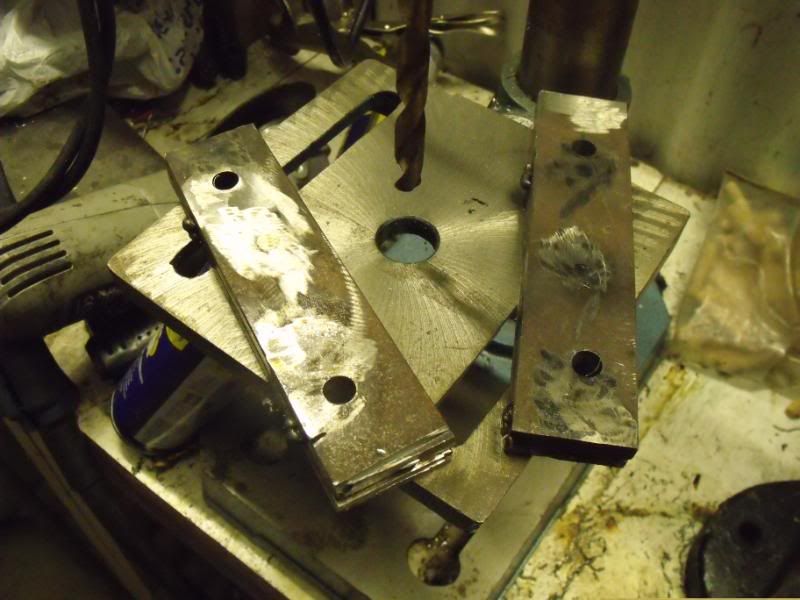 ive fitted the front panel but still needs welding here to make it nice & strong, also fitted the bonnet for when I'm ready to fit the wings able to set the panel gap i had to spray the bonnet in primer as i had some flattening to do as there was some stone chips & two big scratches on there so best get it covered 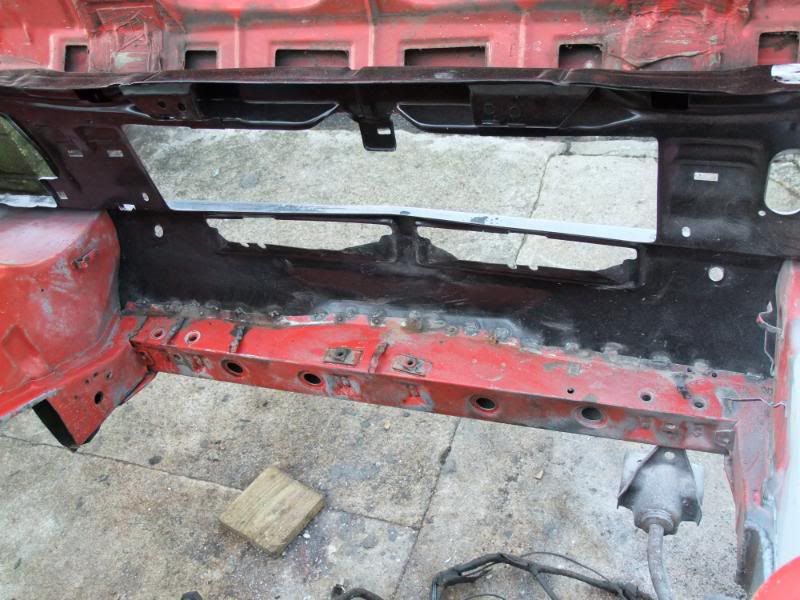  the engine mount has been welded into place also has the crack pulley cut out but this still needs finishing on the bottom part  took the windscreen out today & that was nerve racking lol i was sjaking while doing it as i was worried i was going to crack the screen, it was taken out so i could address the small rust hole that was on the drivers side & some serface rust starting on the passenger side + the scuttle panal needs sorting as its rotten on the one end 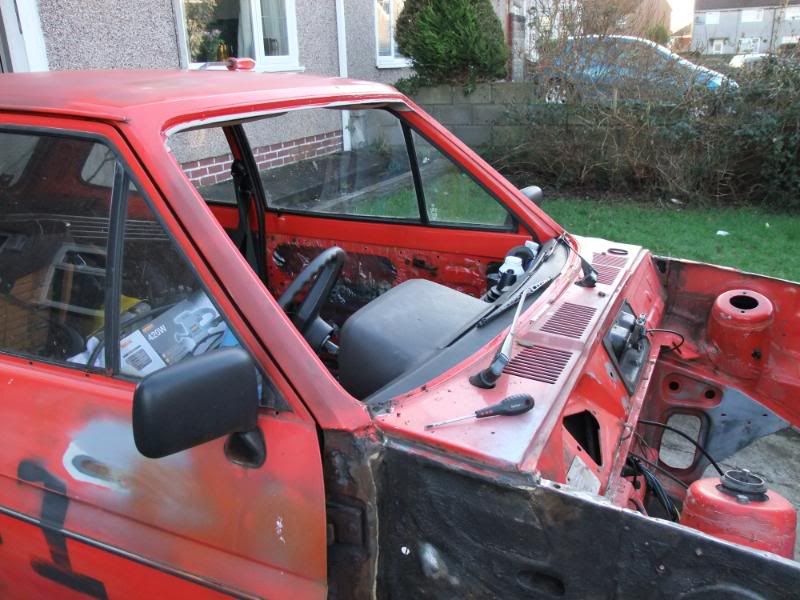 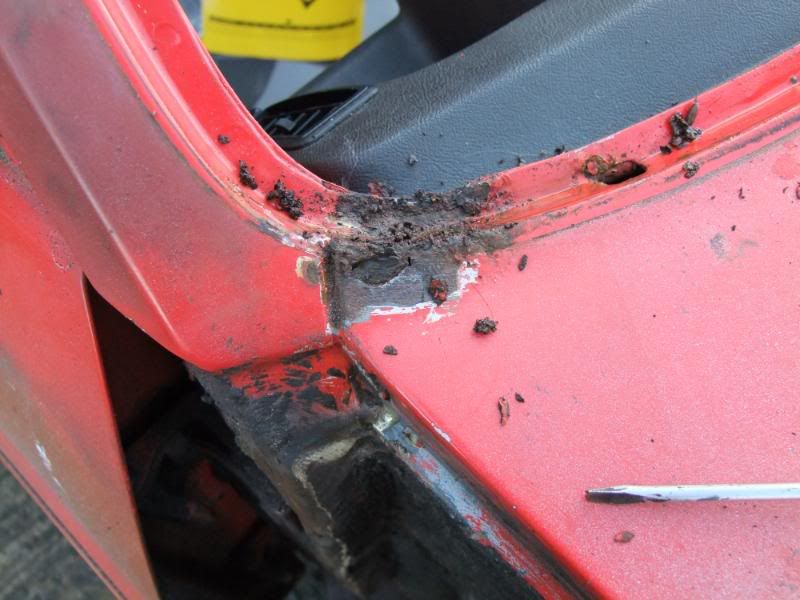 should be some fun metal work |
| |
Work in progress |
|
|
|
|
|
|
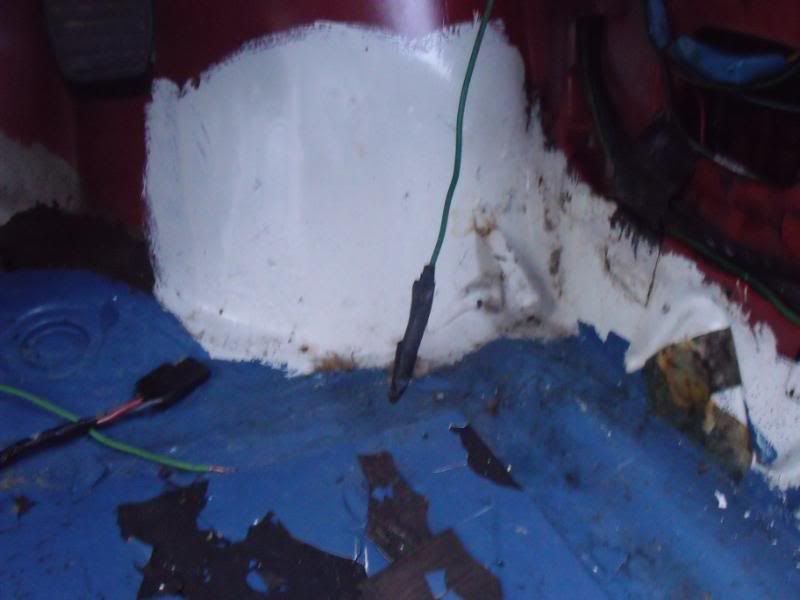
bit more work this afternoon but not much as I'm hungover as hell & cant be bothered to do much as everything is spinnning! started off by fitting the wing to see how much work is needed as its a pattern wing & isnt that bad to be honest! alot less than ive had in the past the wing is on clamped & not welded yet door gap needs sorting but i think if i push the door foward that will close the gap enough to look alot better 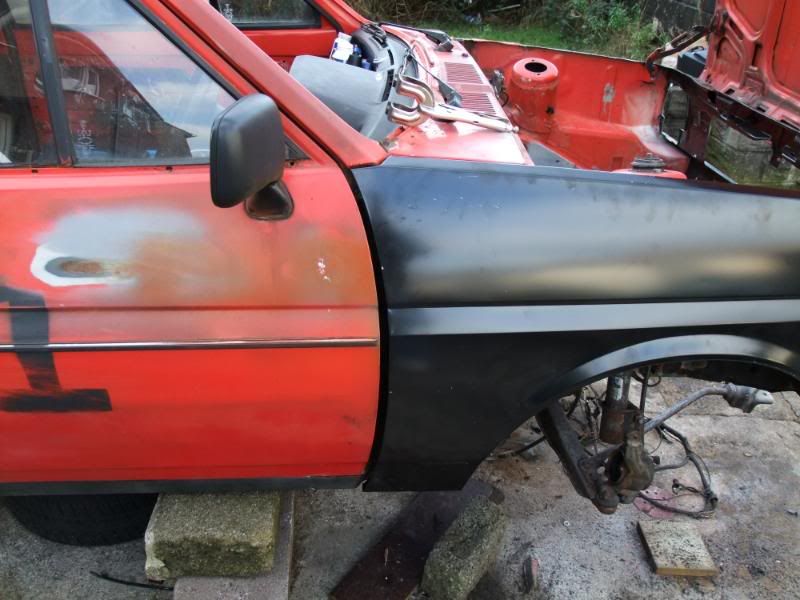 can see the door gap there is really tight  top of the wing needs trimming to allow the gap to close 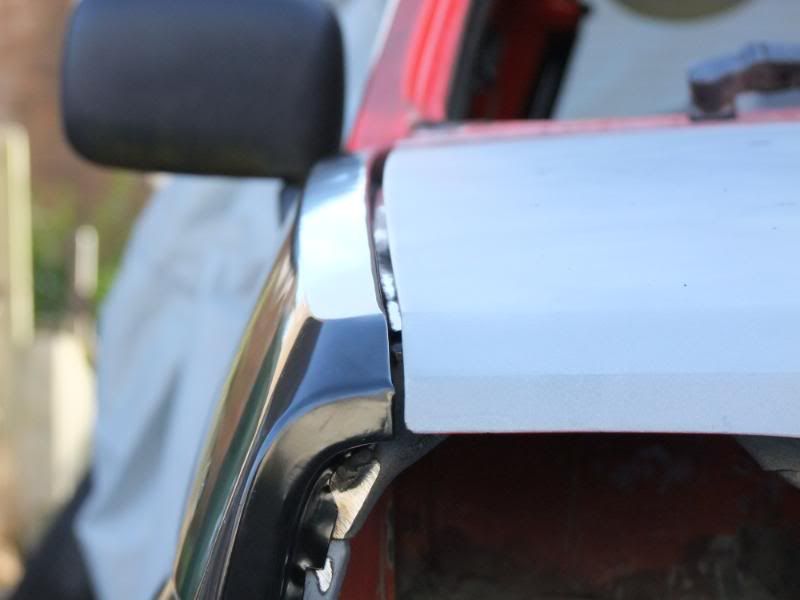 down on the lower part of the wing were it meets the front panel could do with abit of adusting but its now to bad, 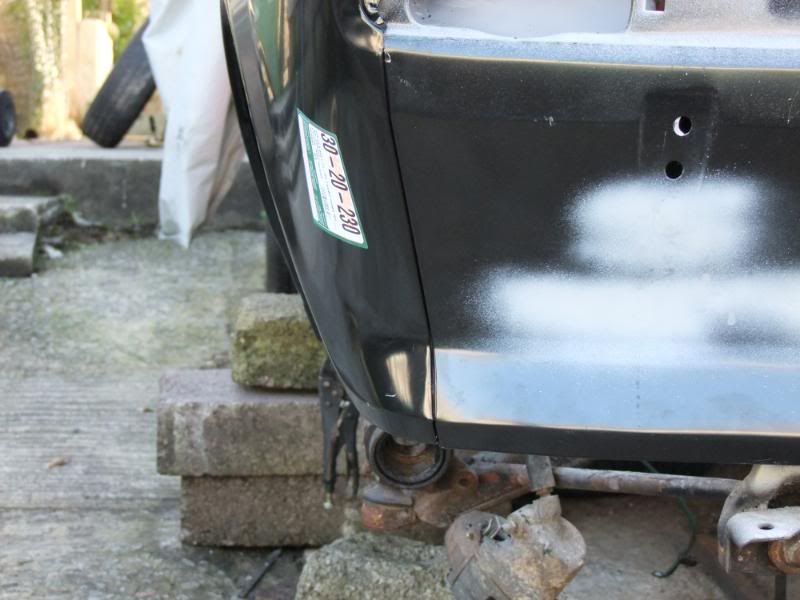 by this point i was feeling alittle better so thought id crack on with the serface rust that was on the inner wing & lower part of the A piller 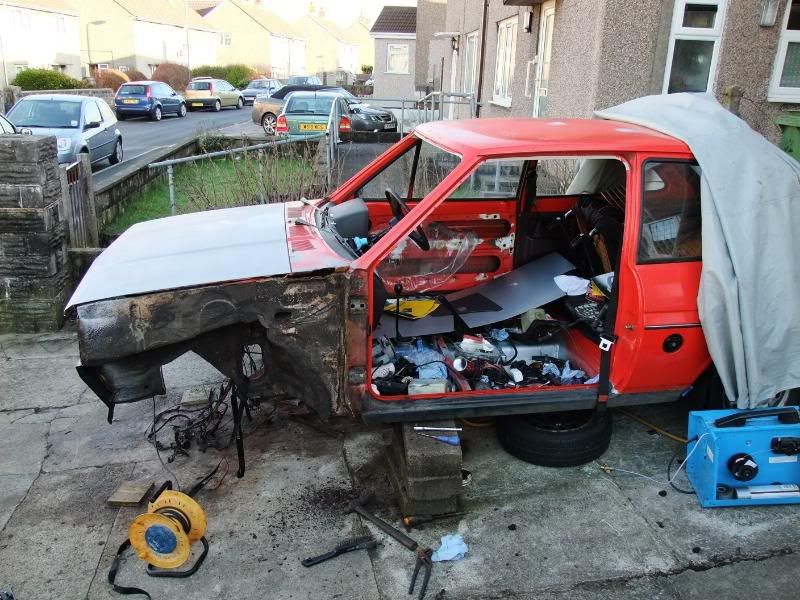 you can see its not to bad & hasnt gone through anywhere apart from the end of the scuttle panel  lower part of the A piller were it meets the sil is in near perfect condition just a slight bit of serface ruct that a quick going over with the wire wheel came up really good  proof i do work lol 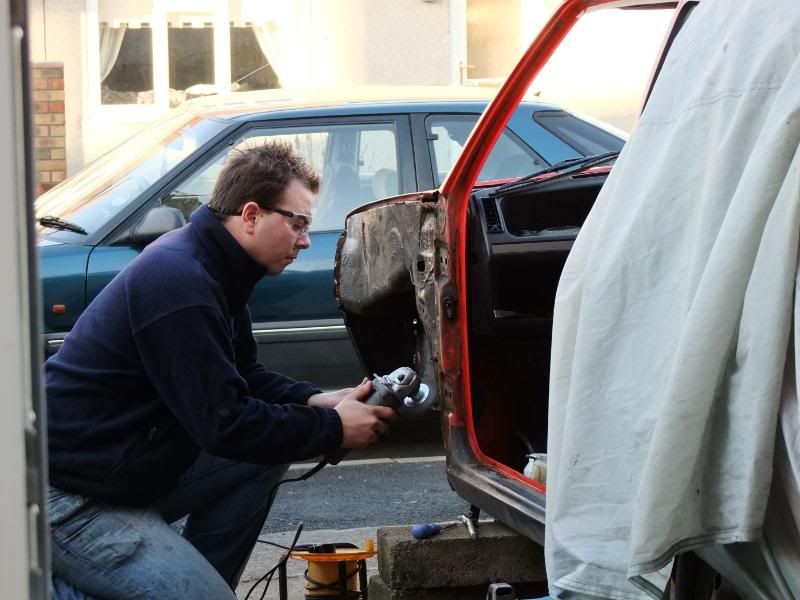 all serface rusy gone & ready for some metal treatment 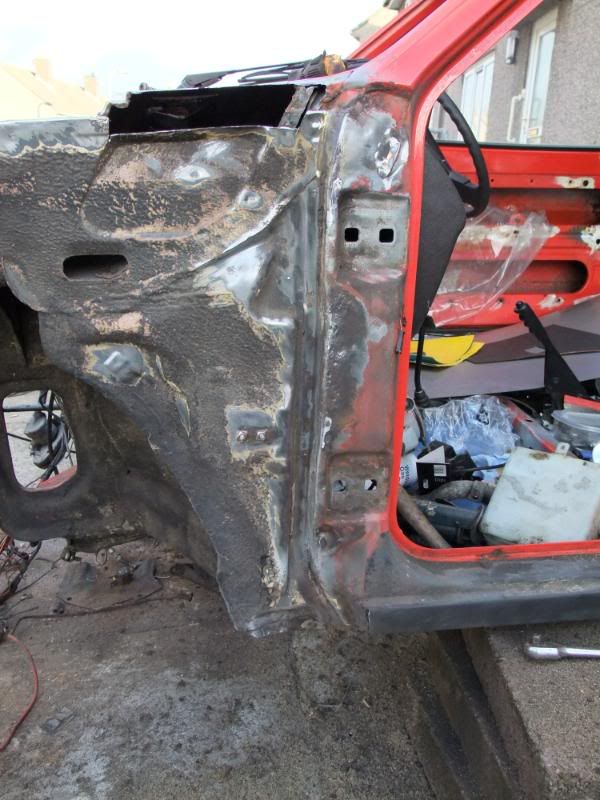 also started work on the end of the scuttle panel (please take a deep breath as you about to see shocking metal work lol) i cut out the scuttle were the rust had taken hold, i could have bought a repair panel but since i didnt have one to hand & also abit pointless as its only abit of bent metal i done my best & had ago of making one to fit. 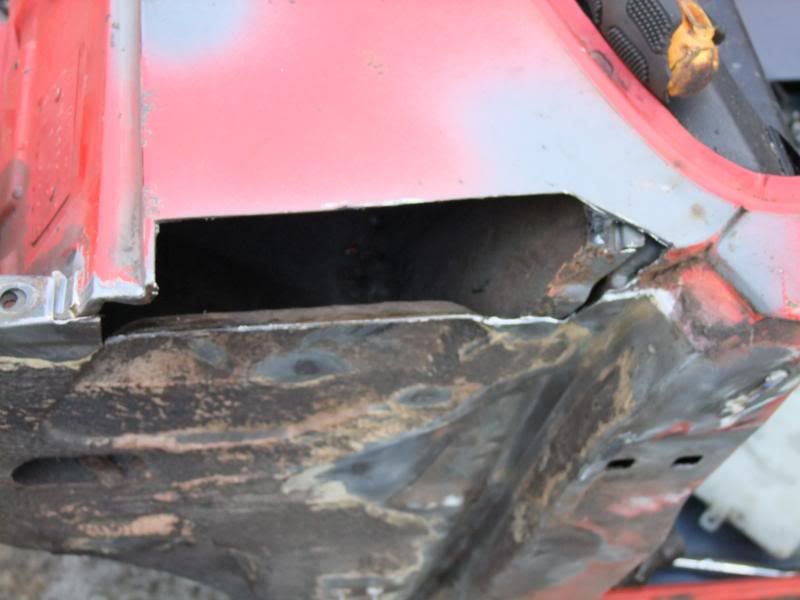  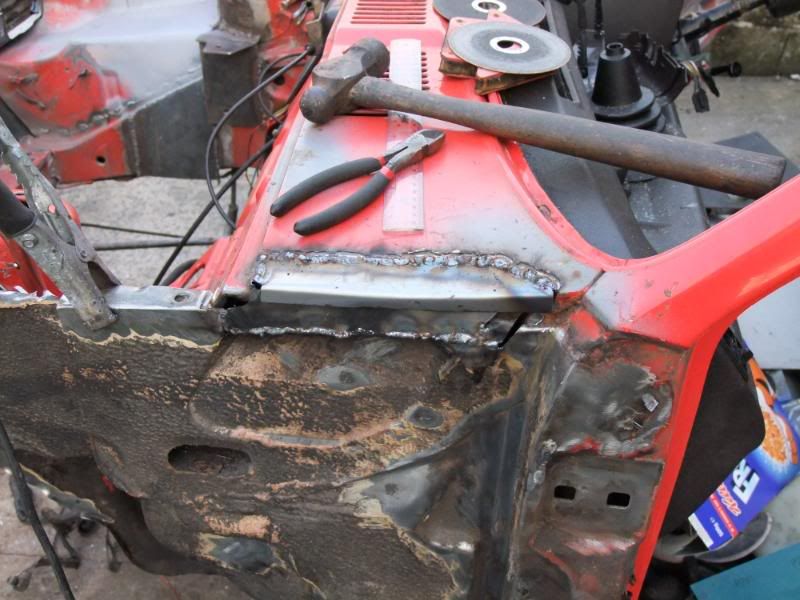 all the welds gound flat 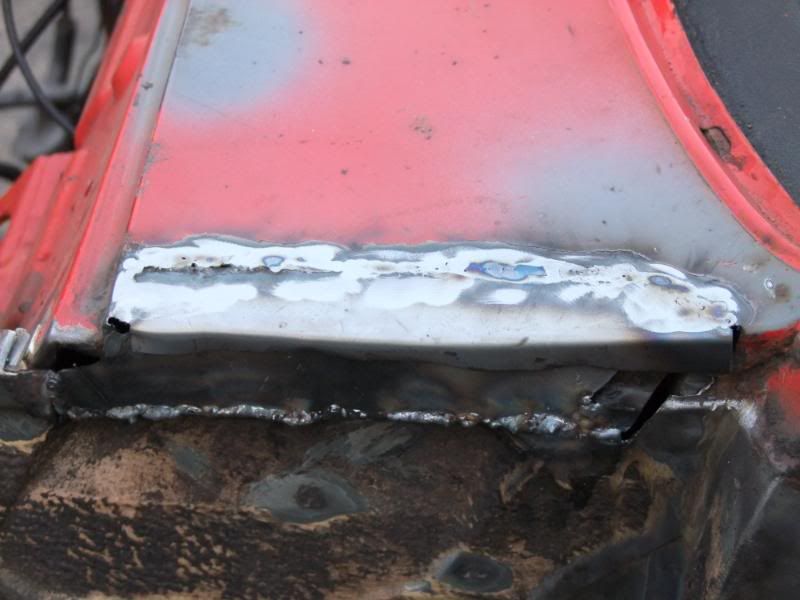 nearly there hust needs a few spot weld on the flap & abit of touching up here & there  at this point my young apprentice came out & wanted to help so i was kicked to the side lines & watched him play with the tools & yes there were all turned off & unpluged  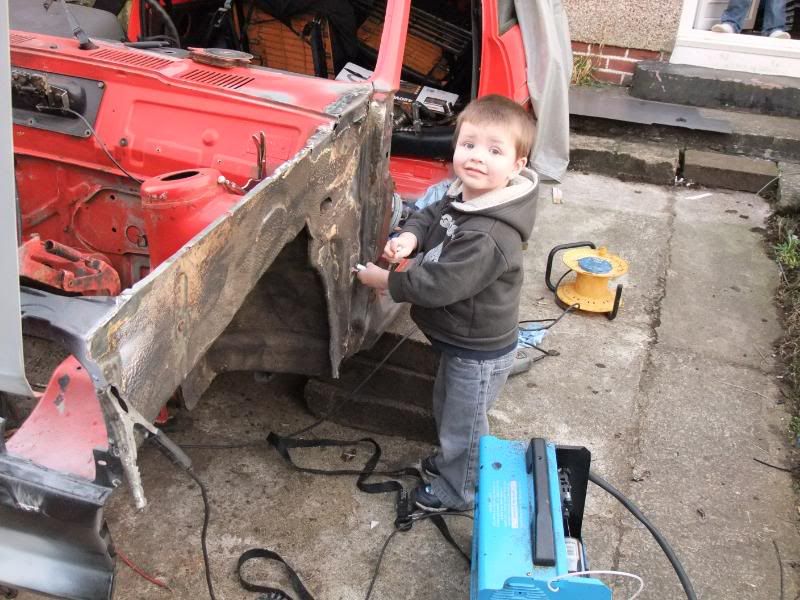 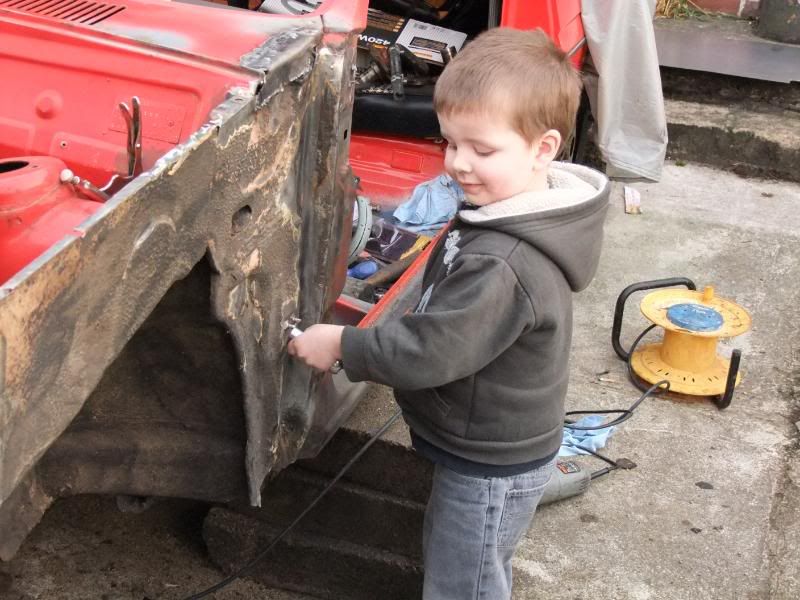 he was turned by the dark side i now call him DARTH WELDER!!   since it was time to put the tools away he suddenly disappeared & was instantly sacked! |
| |
Work in progress |
|
|
|
|
Jan 30, 2010 10:21:37 GMT
|
|
|
| |
Work in progress |
|
|
|
|
|
|
new rad arrived this morning but its curse word down so gonna have to wait before i make a start on making any mounts its a new saxo VTS rad & cost £30 delivered, got a few bent fins but nothing that cant be put stright  i had a quick look at how to mount it & should be stright forward enough needs to holes in the cross member with rubber bungs 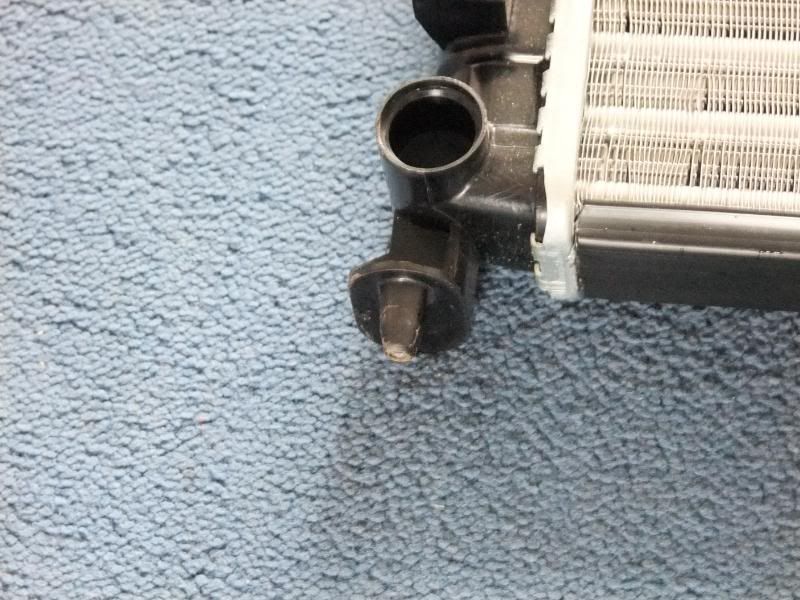 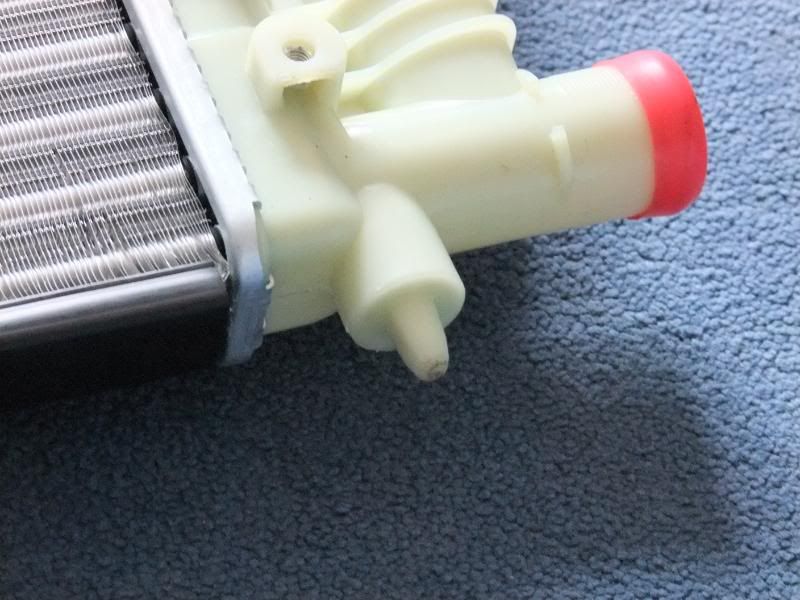 fits good though 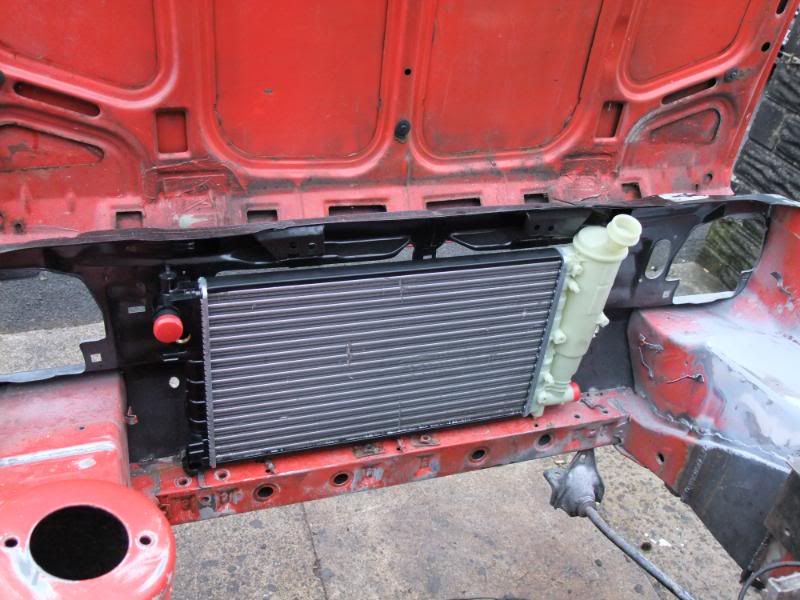 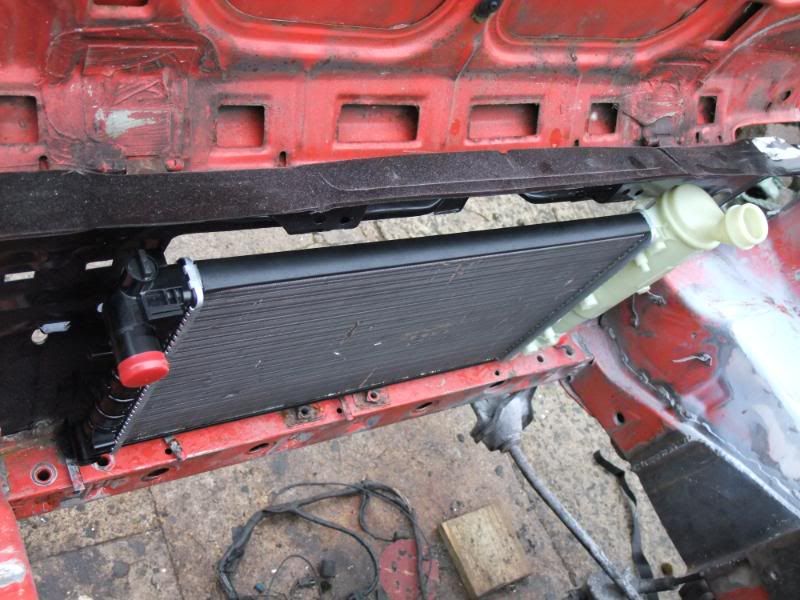 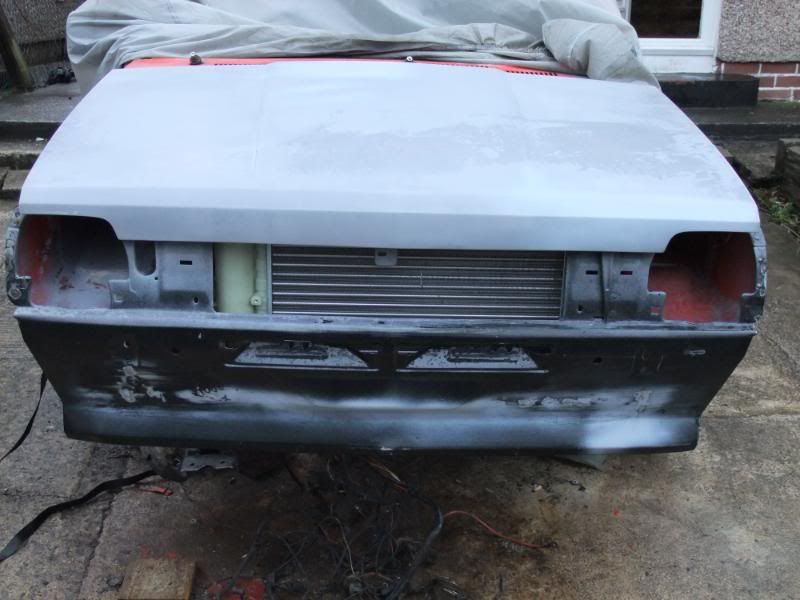 hight wise its not bad, its gonna drop about 1/4 inch when the 2 holes are in the cross member but need to buy a cap but where the rad sits now the filler neck is right under one of the bonnet ribs so the rad needs moving either side of that but I'm sure it will fit under it anyway 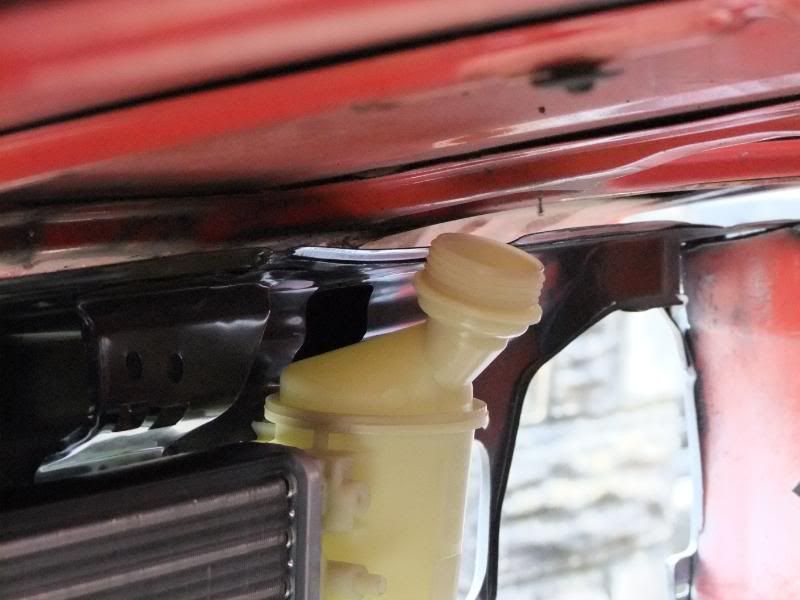 |
| |
Work in progress |
|
|
|
|
|
|
Good work mate  |
| |
1992 Sierra XR4x4
|
|
|
|
|
|
|
Nice project, keep plugging away and all will come good |
| |
There is no such thing as a curse word car just overstretched expectations................. Herald 10/10 Gasser 10/10 Total score 20/10 |
|
|
|
|
|
|
few weeks ago i had to cut out the inner wing so the 5speed box would have room to fit so time has come to weld it up so into the shed & get some metal work done, at this point i wish i had a metal bender but i aint so had to sort something out so some 2x2 angle iron & 1.5"x1.5" box section came to the rescue half way through bashing it 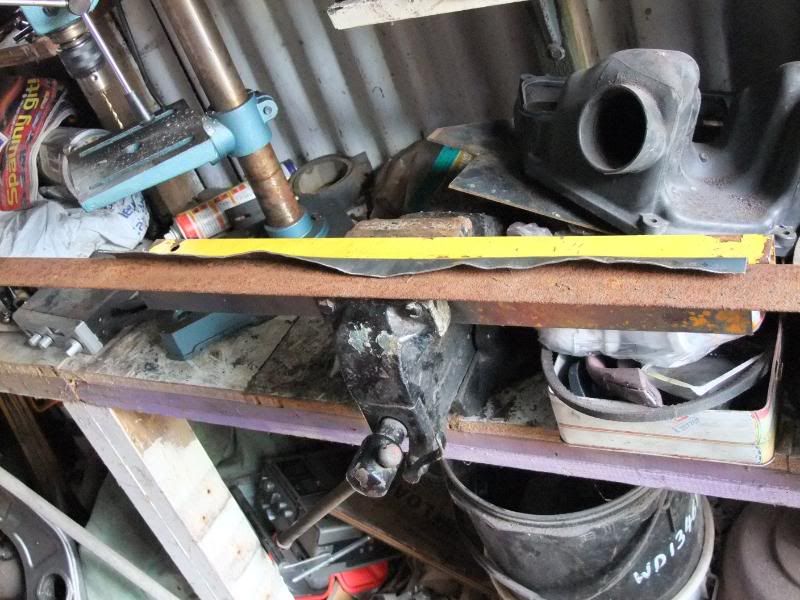 bent both sides over 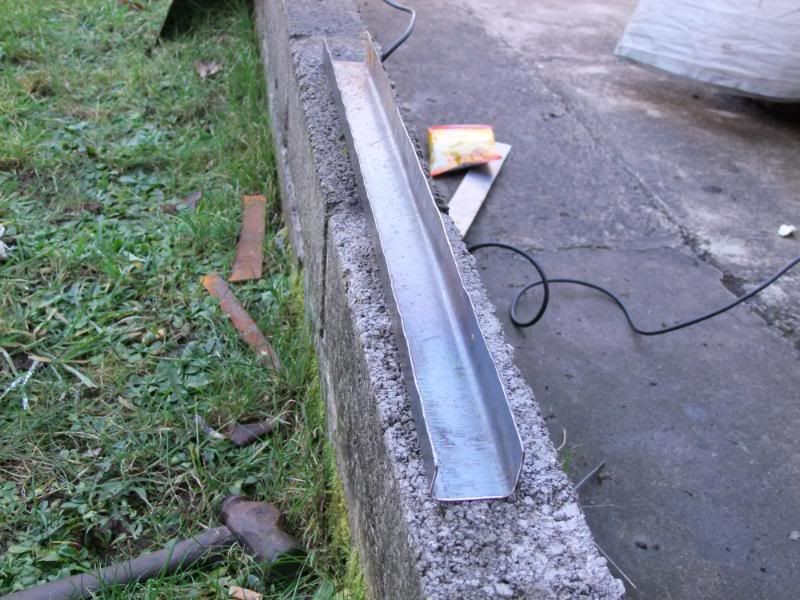 cut & bent to fit the hole + when i was inplace i added triangle bits to close the gap  all welded into place 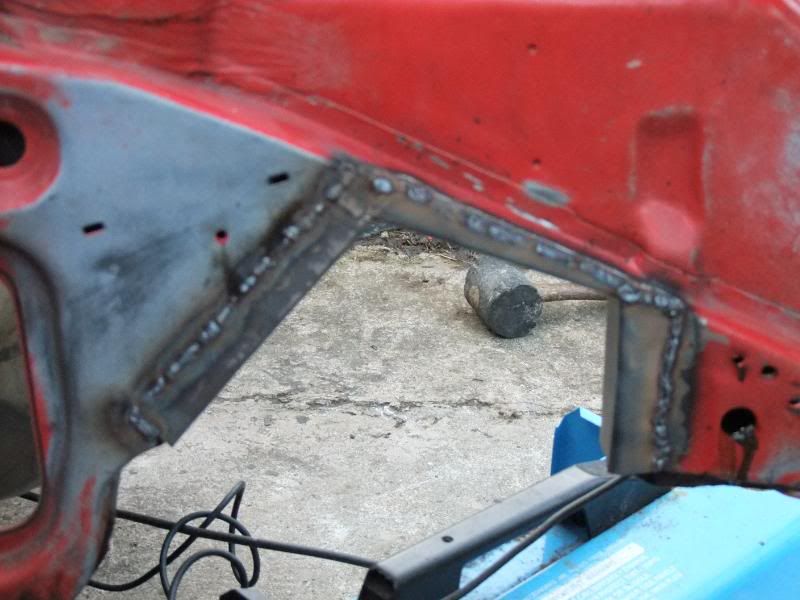 since i had to cut the inner wing out i lost some of the strength in the wing so some how needed to et the strength back so i made a brace to go under the gear box, from the wish bone bolt to the front tie bar bracket first i had to weld a nut in the 1" box section then weld a small plate over the top with a hole in the back 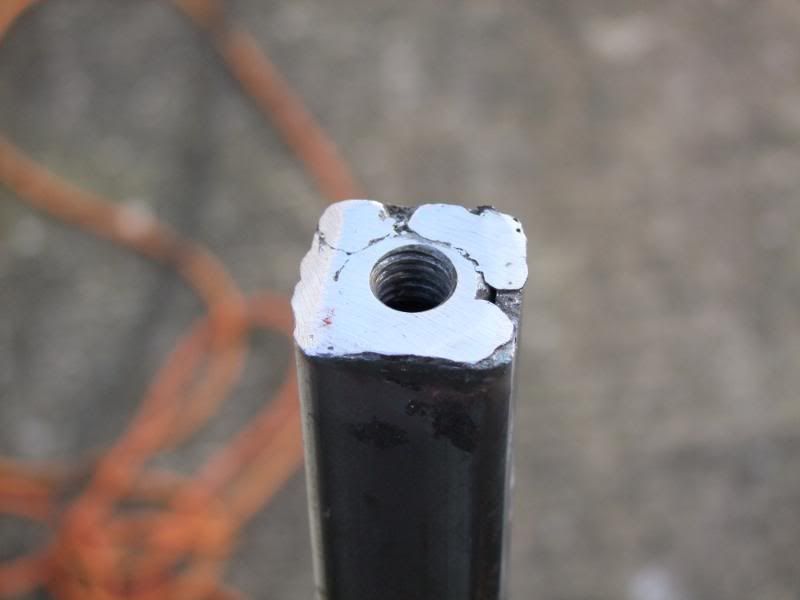 then bolt it to the body 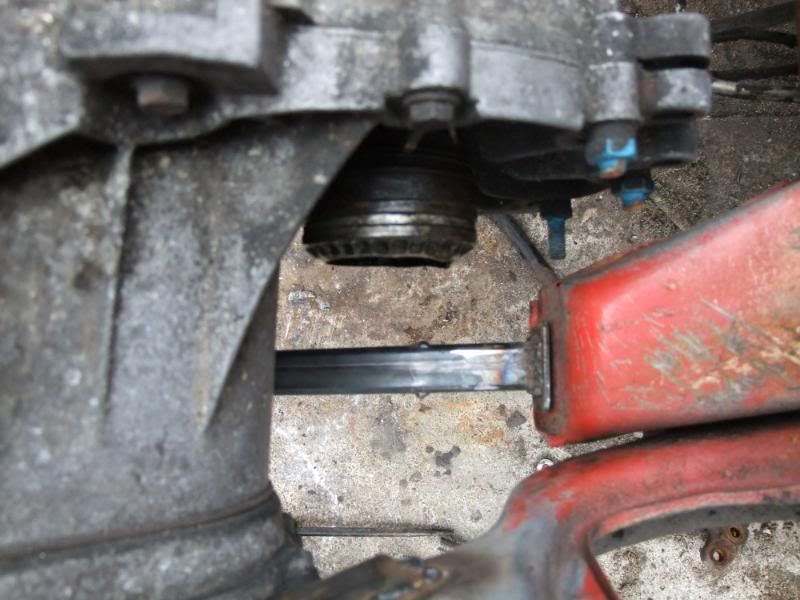 then i had to take it on & off cutting notches so it would go round to bottom of the box 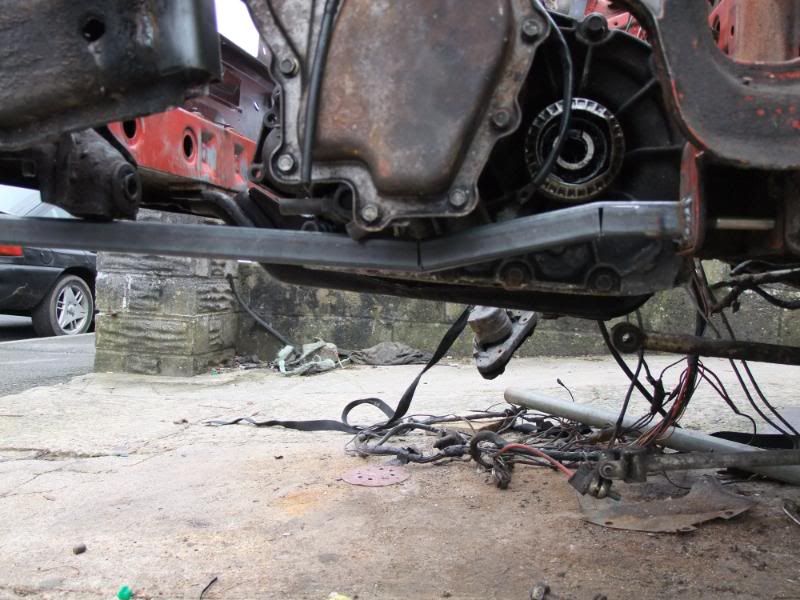 once all tacked into place it was shocking welding time!! 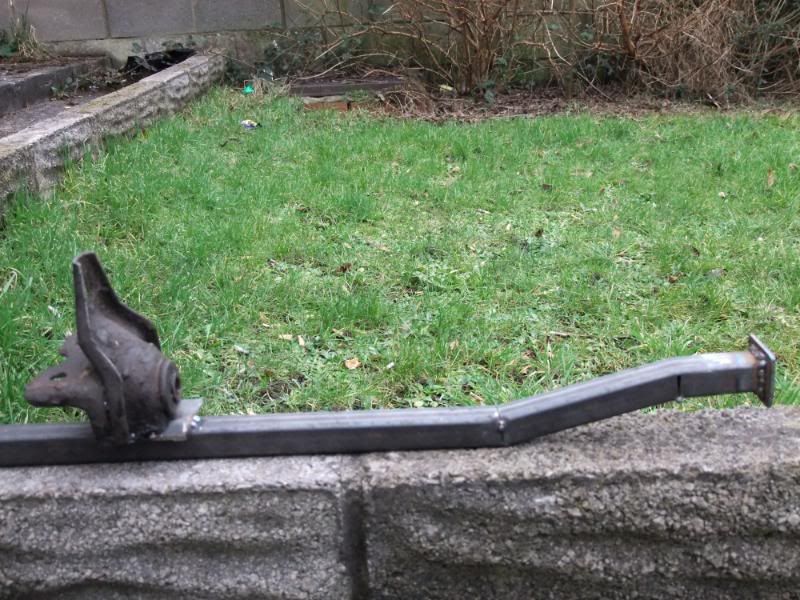 also weled in to triangle bits to ad strength + checked for tie bar clearance 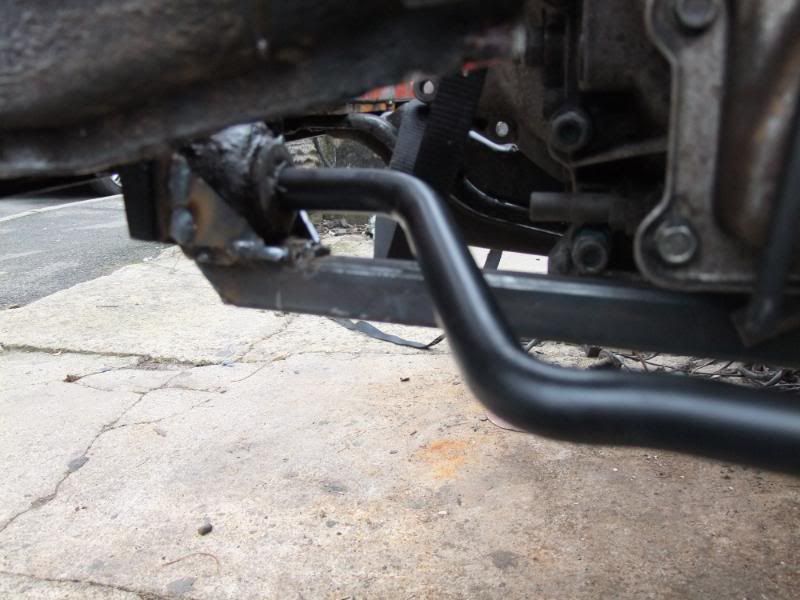 but then it all when tits up & noticed a big problem! i might not have left enough room for the drive shaft but wont find out until i get hold of one  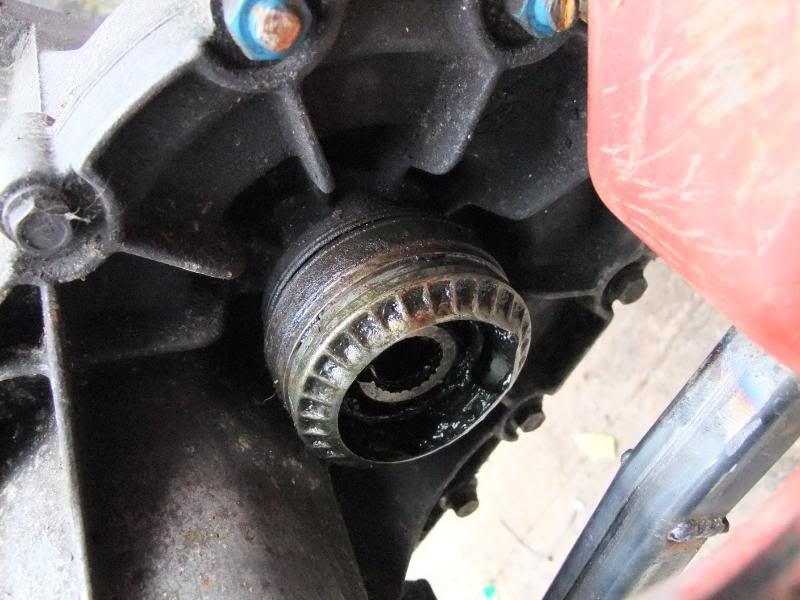 hope theres enough room as i hate doing jobs twice just cant believe i didnt think of it when i was making the dam thing! just so curse word off at the moment anyway i moved on to checking the passenger wing as its a patten part so wont fit good but isint a bad fit to be honest need alittle adusting 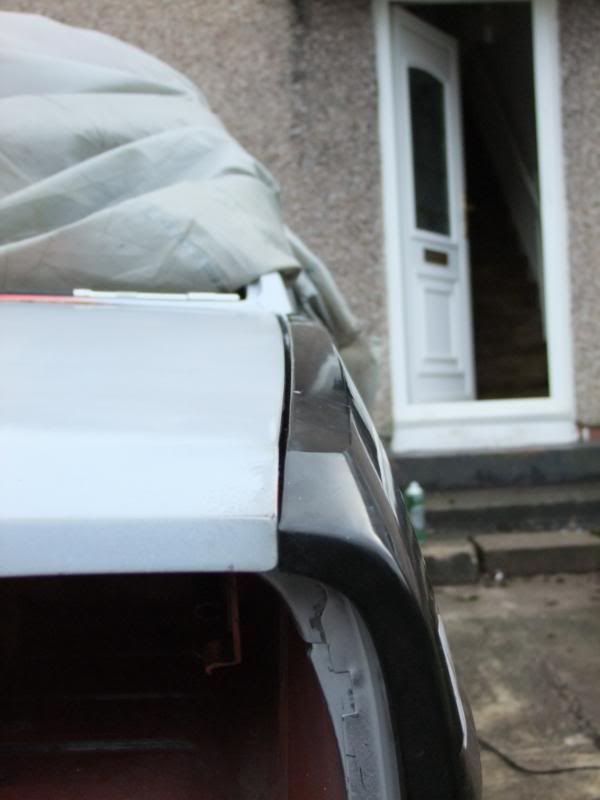 a good fit here 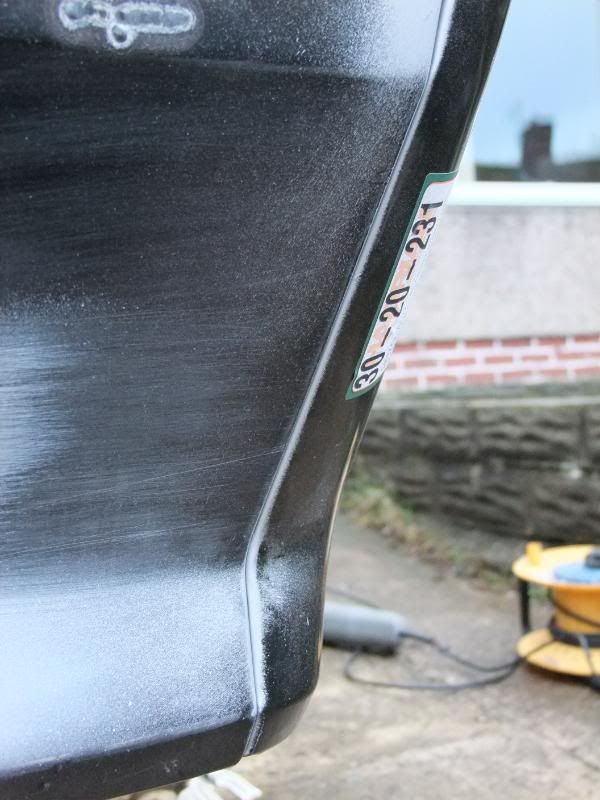 but i was a little shocked by my scuttle repair! needs to come up alittle 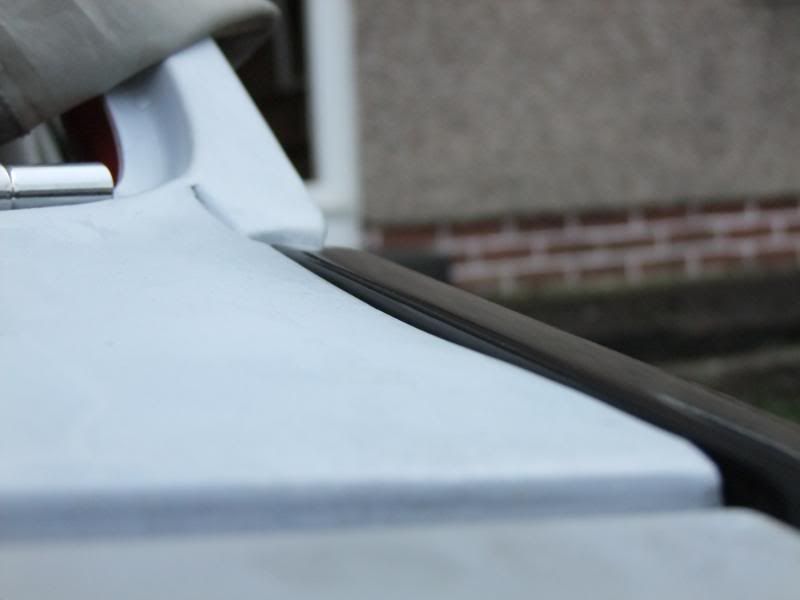 |
| |
Work in progress |
|
|
|