|
|
|
May 17, 2011 11:26:17 GMT
|
|
I've found that if it's curved in many directions (as that appears to be) it might be easier to make several smaller repair sections than try to do it all in one go. It depends on what type of finish you are looking for.
It's hard to say in any more detail until we see the pics from the other side. First thing, though, is remove the underseal and get a good idea of how much of the panel needs replacing, so go over it with a knotted wire brush so anything quite tender will go through.
|
| |
|
|
|
|
camper damper
Part of things
  Another car bites the dust
Posts: 606
|
|
May 17, 2011 12:19:16 GMT
|
|
ok i've took more pictures but can't find camera cable but i'll up load later tonight
|
| |
|
|
camper damper
Part of things
  Another car bites the dust
Posts: 606
|
|
May 17, 2011 13:32:31 GMT
|
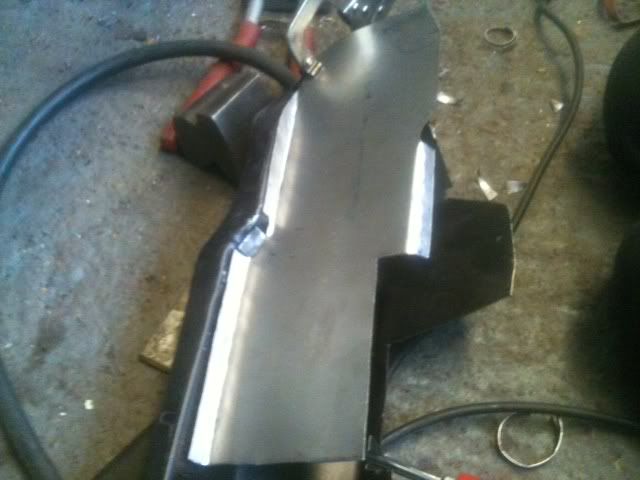
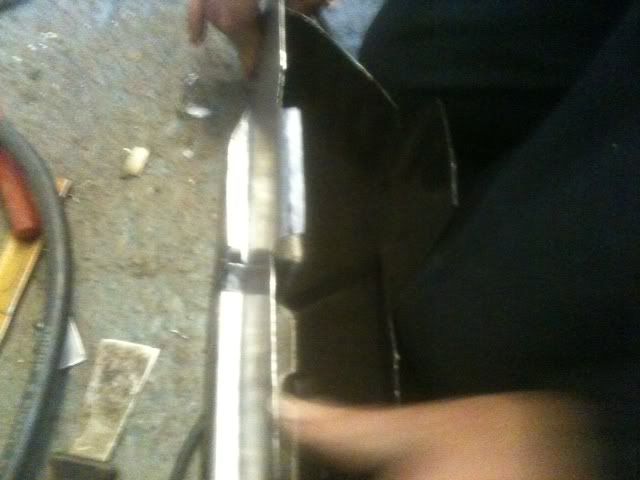
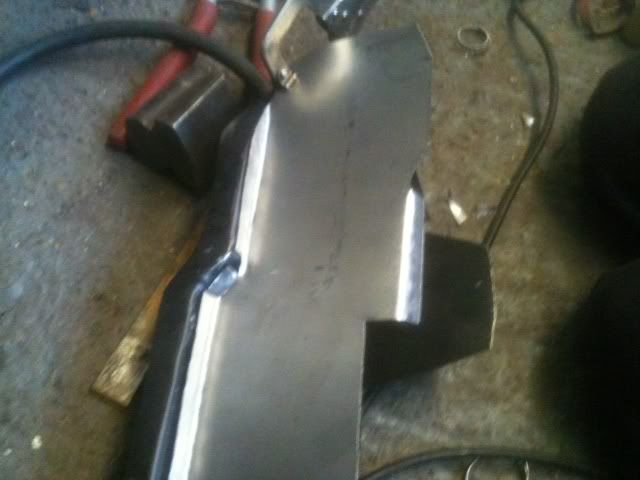
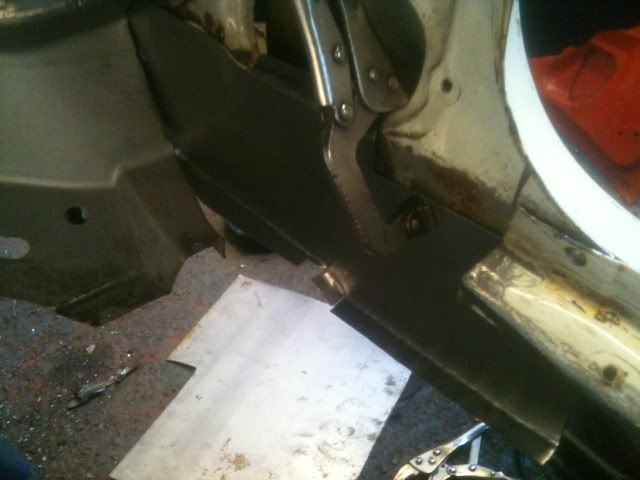
Ok found the camera cable and upload some photos on to my facebook profile so not to over load this tread with photos but you can see the inner wing a A post and tell me I'm i mad trying to repairer this www.facebook.com/media/set/?set=a.10150190675882996.325169.607907995&l=49cb7b95c4As you can see there ain't much metal there and I'm trying to get it look like it was done by Vauxhall the right side ain't too bad but as seen a botch or two |
| |
|
|
|
|
|
May 17, 2011 18:09:32 GMT
|
|
I would be sorely tempted to see if I could find a replacement inner wing or repair panel, the Billing Aquadrome Show in July nearly always has parts like this
Failing that then as Droopsnoot says, make smaller sections and weld them together, use paper or thin card to make suitably sized templates, anywhere that the card needs to be folded, or wont follow the shape then cut a section out or start another template, it will soon fall into place
Then transfer to the steel, use a section of tube or round bar to form the sheet around to create the curved sections, again making into separate smaller sections where needed
It wont be an easy job, but if you break it into smaller sections it will certainly be achievable
Good Luck
Tony
Tony
|
| |
|
|
camper damper
Part of things
  Another car bites the dust
Posts: 606
|
|
May 17, 2011 18:44:42 GMT
|
|
Thanks i have looked for a repair panel and can't find any so I'm going to do what you said and i need all the luck in the world
|
| |
|
|
megzy
Part of things
 
Posts: 364
|
|
May 17, 2011 19:41:42 GMT
|
epic mental work in here. thought I would show mine I am rubbish at welding thin sheet I just blow holes in it or get bird poo lol so I looked at other methods to get nice flush welds the buttom of the piller on my beetle was toast so I bought the repair panel and went a head and tried to butt weld it. did all the spots to hold it and was fine then I went to fill in the gaps and I blew massive holes in the metal  . I am a perfectionist so this was no good and I wasnt going to cover it in filler. so I invest in some tools and set to work first tool air joggler and hole punch  air shears  air nibbler hammer and dollys I made a paper template  I then drew this on to my sheet metal measure the flange my joggler gave me. and added quarter of an inch all the way to my template on the sheet metal. I used the air sheers to cut the rough template out and the nibbler to trim it to size then carefully went all the way round with my joggler. to give me  I mocked this into place  and used the dollys and hammer to put some shape into it  then I used the punch on the joggler to put loads holes in the flange this can then be spot welded in from behind (this I can do with my welder) finnished  not perfect but tommorow i will do a very light skim of fillers and it ll looks like new Matt |
| |
Last Edit: May 17, 2011 19:44:04 GMT by megzy
|
|
|
|
|
May 17, 2011 19:47:06 GMT
|
|
Excellent work, butt welding isn't necessary all of the time, this type is perfect for most applications, just be sure to seam seal it well to prevent water creeping into the joint
|
| |
|
|
super66
Part of things
  Singer Chamois Coupe 1969
Posts: 396
|
|
May 19, 2011 16:46:16 GMT
|
|
A great thread and once uni is finished i would love to start to learn how to do this kind of stuff. I have been looking for a panel beating kit, and have found that there are wooden handles and fibre glass handles to the hammers, from experience, would you recommend a certain type?
|
| |
|
|
|
|
|
May 19, 2011 18:16:42 GMT
|
|
I've never tried fibreglass handles, but if it helps all the best panels hammers have Hickory wood handles.
But unless your doing really special stuff that wont be painted or coated then a basic set from Machine Mart or Halfords will be more than good enough
Tony
|
| |
|
|
|
|
|
May 25, 2011 11:42:49 GMT
|
|
I bought a cheap set of panel beating hammers and dollies from one of the shows, and it wasn't bad at under a tenner. But... one of the hammer heads has snapped off (the round end of the cross pein hammer) and you can see the castings on the dollies are rough. But to get practice and on basic jobs they're plenty good enough. I bought a "decent" replacement for the broken one from a show, and that was £20 just for the one hammer.
|
| |
|
|
|
|
|
|
|
May 25, 2011 11:46:32 GMT
|
Thanks I have looked for a repair panel and can't find any so I'm going to do what you said and I need all the luck in the world At least you have the other side to refer to. I've had similar on my hatch, just ended up replacing one rusty bit after another while cutting out as little as possible so as to retain the shape. Once you've got one bit repaired, you can hit the rest in bits and you'll be surprised how quickly it starts taking shape. |
| |
|
|
funkyhunk
Part of things
  Old Ford's R Us
Posts: 265
|
|
|
|
I made this repair plate after reading up on your stretching metal posts, tonybmw. I had to make a repair plate for the floor-to-inner-sill area right hand side in the footwell. Where the inner sill is spot-welded to the floor, as it were before. It will be explained better in the piccies.  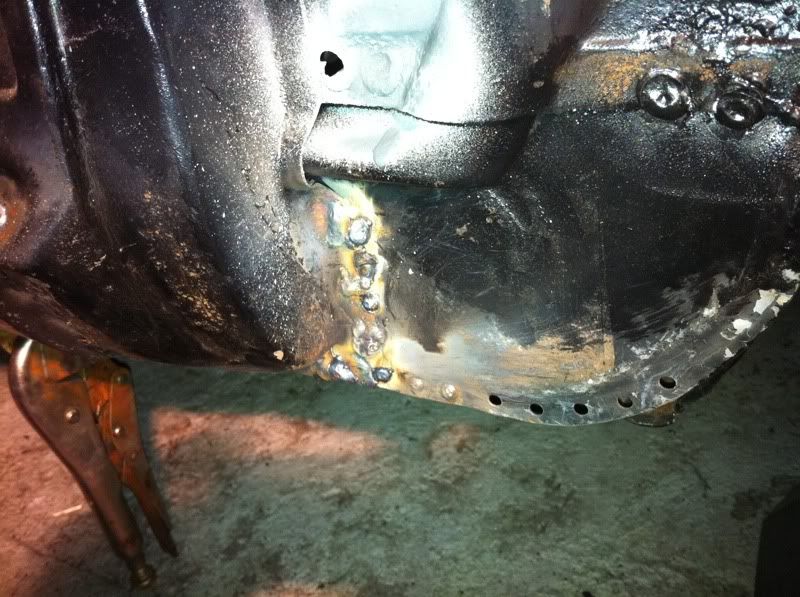 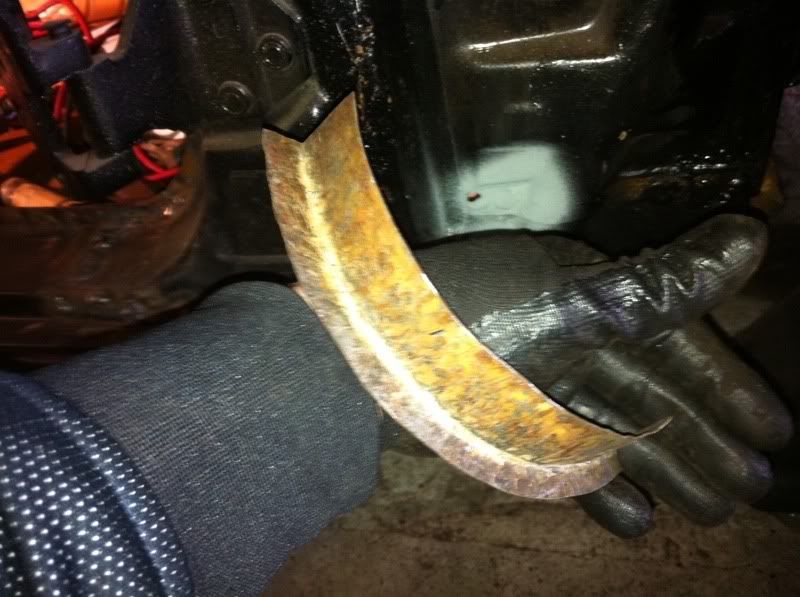 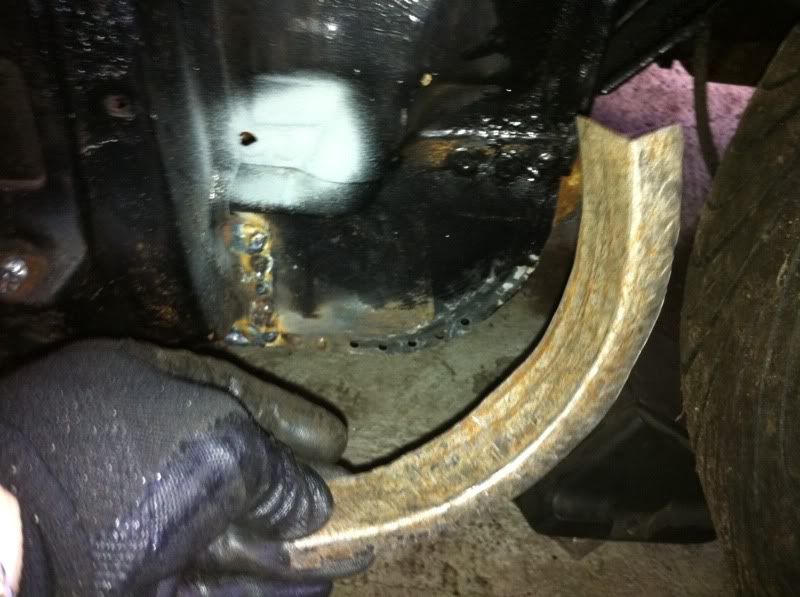 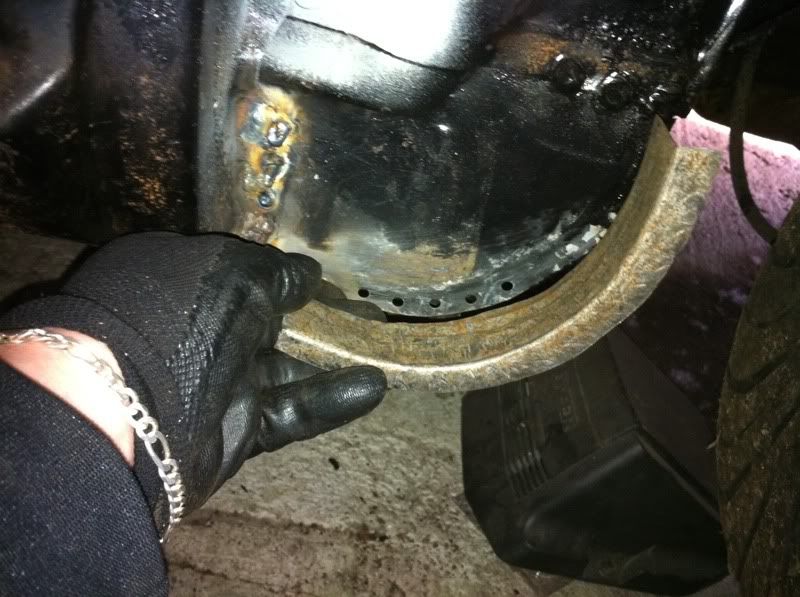 Thanks for a brilliant thread, and keep the welding/panel beating tips coming  Here's the project thread if you fancy a read: retrorides.proboards.com/index.cgi?board=readersrides&action=display&thread=96974 |
| |
|
|
|
|
|
May 31, 2011 20:18:02 GMT
|
Excellent work Funkyhunk, and extra marks for wearing Gloves too   |
| |
|
|
jozi
Kinda New

Posts: 3
|
|
|
|
First post here after finding a link to this thread via another forum. I wish I had found this thread earlier it would have helped greatly with my own project, there's nothing but really helpful advice in here and it's defo a source of inspiration to work on the car (and just proof that everything can be made). I was hoping I might get some advice/help replicating part of my cill. Here's the hole I have cut because of rot. 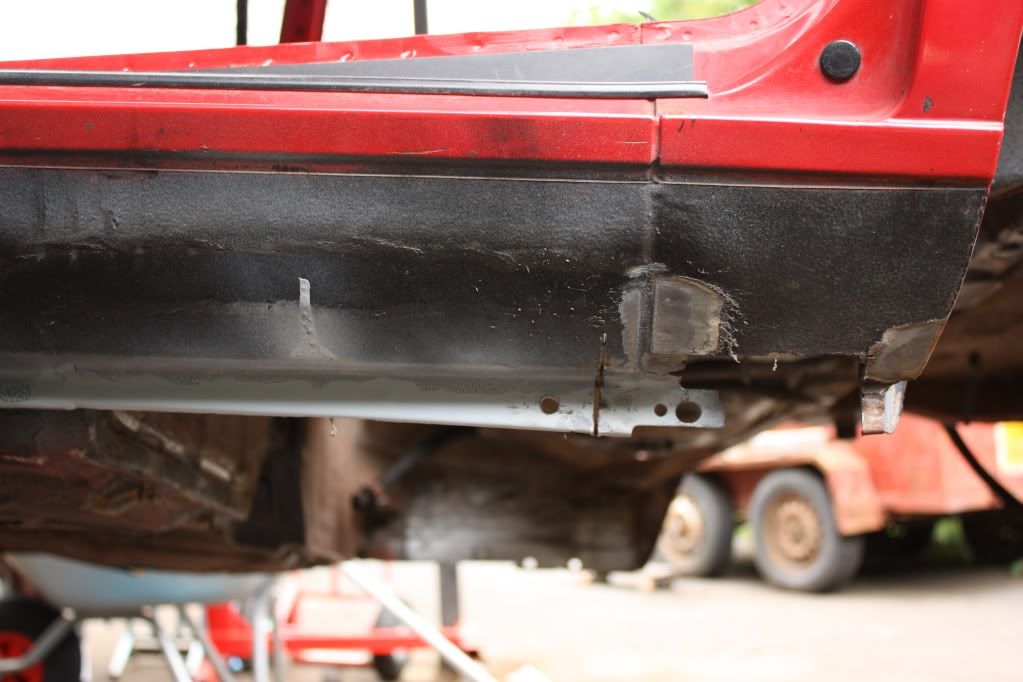 And what it should look like once I figure out how to remake this section. 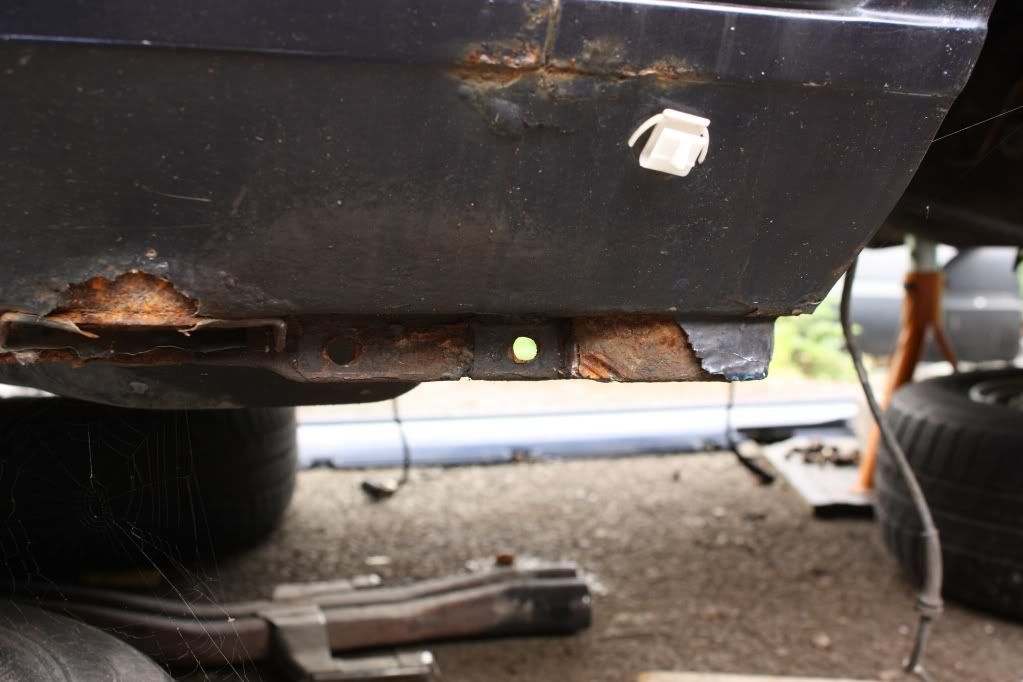 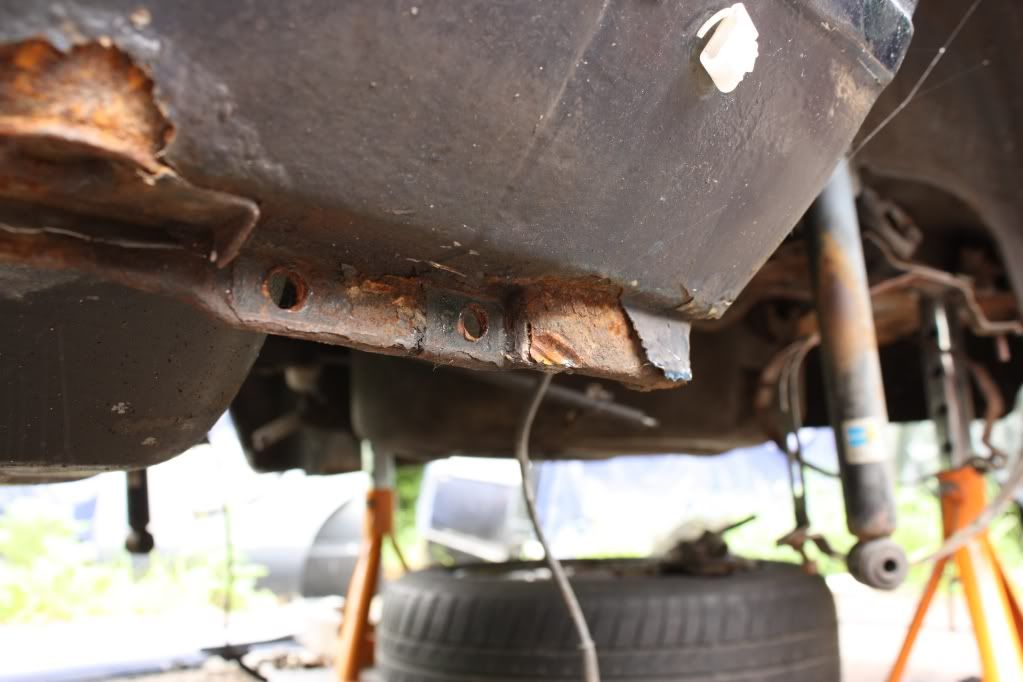 The bit where there's a step in the seam is throwing me of, how do I go about making it up? Am I best of making up the cill as a straight piece with the seam and then making a separate piece for the bent seam and welding it on to the cill and the seam, cutting away the excess straight part? And just to add to the thread, no before pics unfortunately, this is one of the two boot pockets on my E30 which had a small enough hole in it. That was until I started cutting and poking at it, here's the first part of patching it up 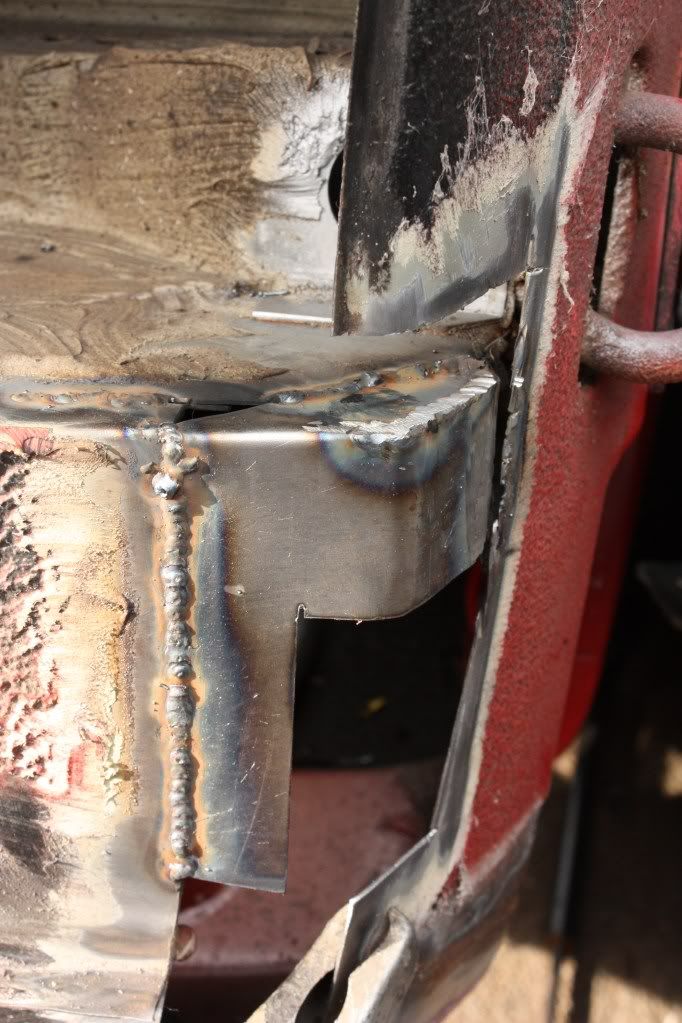 Same again only tidied up a little with the angle grinder  And the other patch making up the rear valance after a bit of a tidying.  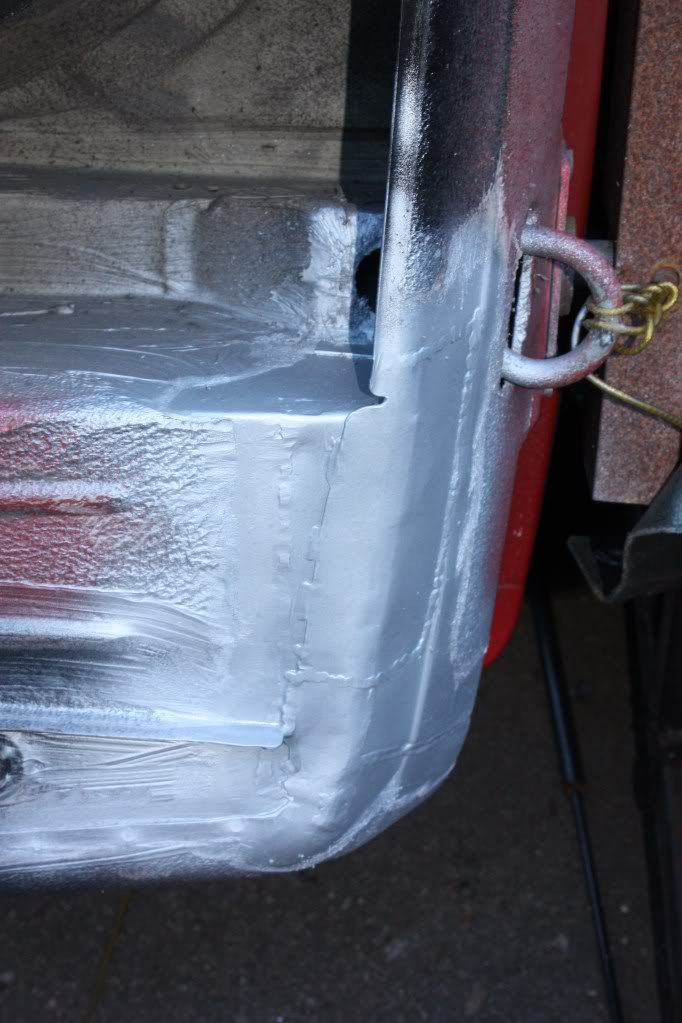 It's not quite 100% how it was but it's many times better than having a rotten hole thats getting bigger. More cill surgery, doesn't look to bad in the picture 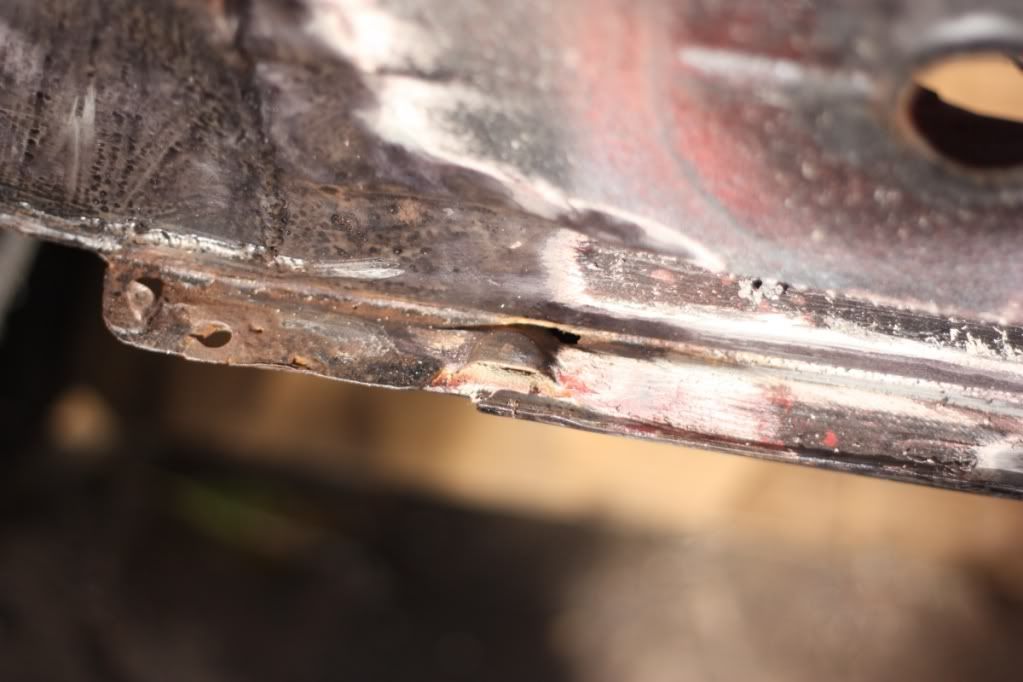 Hole cut, couple of different pieces of metal all coming together here or inside the car 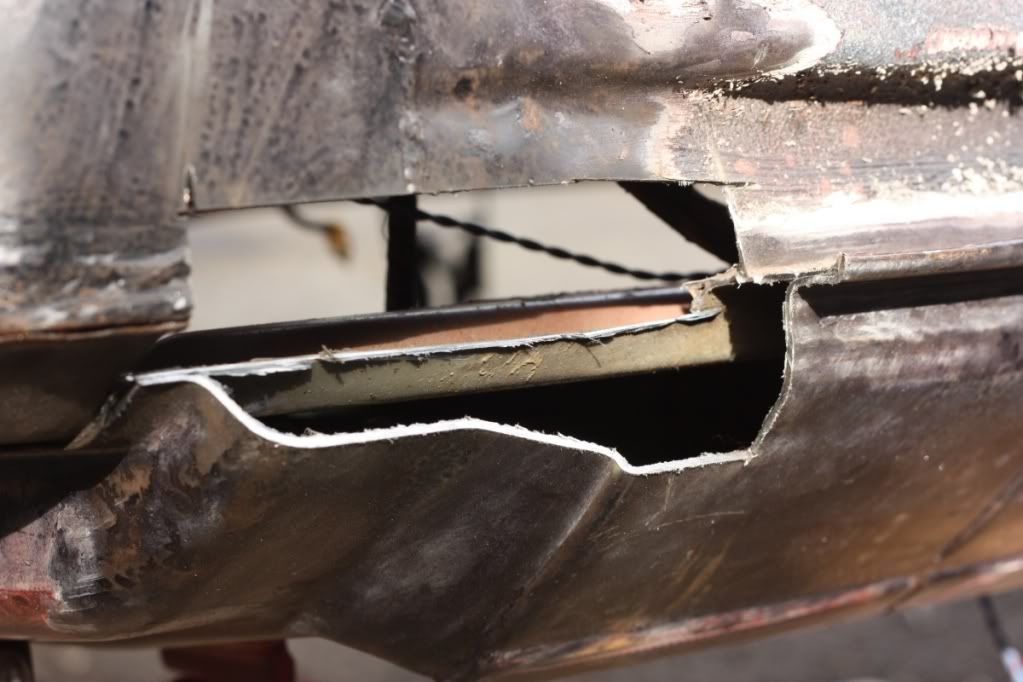 My first attempt at it wasn't so good so I cut it all out again, 2nd time was a little better. First piece 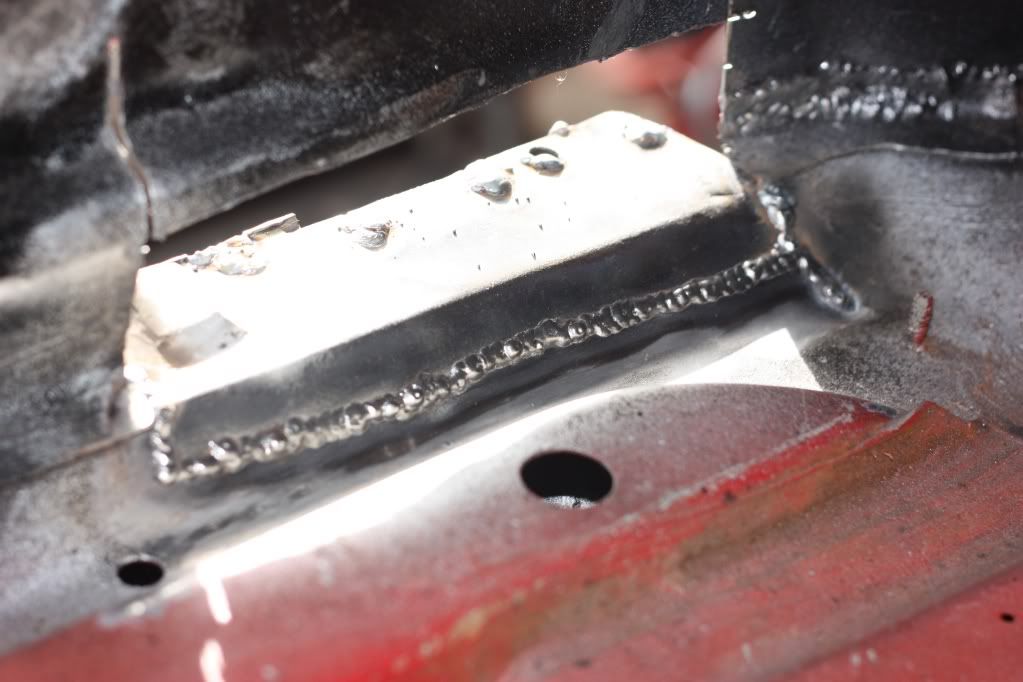 And 2nd piece which was plug welded inside the car to the 1st piece  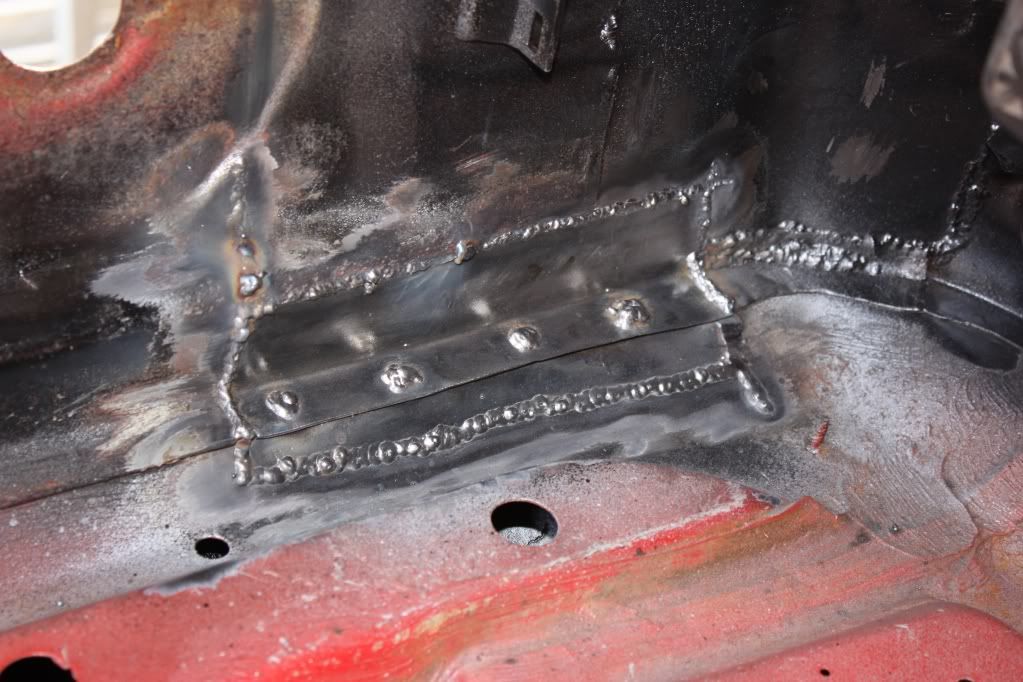 The drain was a rectangular piece with a diagonal slit cut at the two top corners and the whole lot beaten down on a piece of bar, welded and cleaned up a bit before welding it on to the seam. I re-used the outer part of the cill, it was clean enough to be re-used and welded back in place 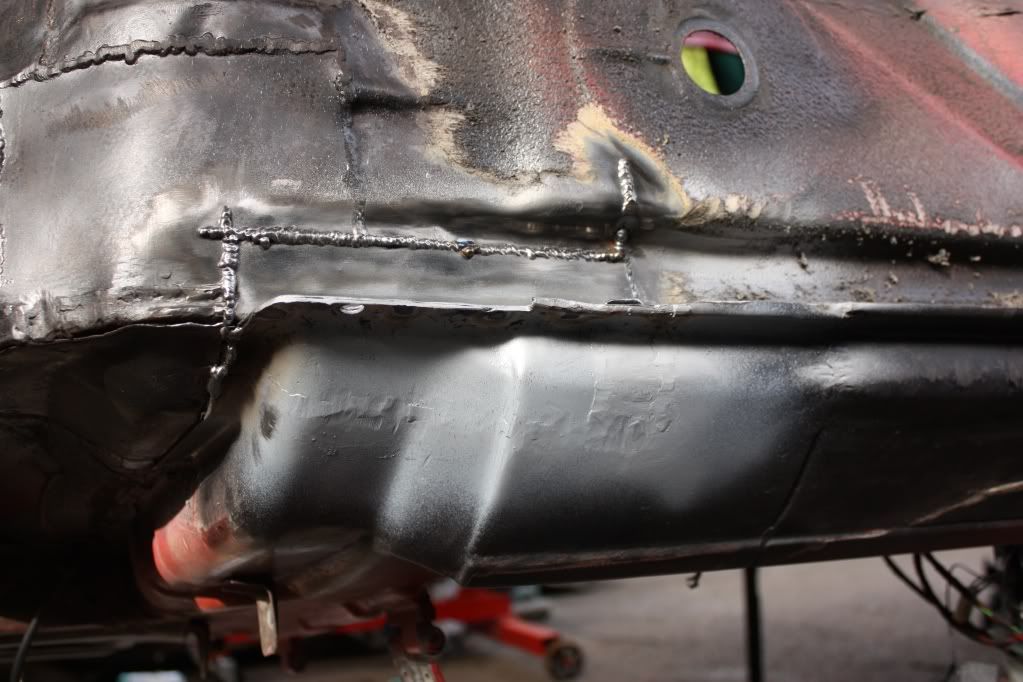 Thats about the height of it, the rest was mostly welding in plates, some careful card template making, fitting and tweaking and not rushing it, nothing to the same extent as shown in the earlier pages of this thread. |
| |
|
|
|
|
|
|
|
|
Jozi - It would certainly be a lot easier making that stepped section in two bits, you could bend both the vertical flanges on, stepped as shown, but then the angled section to join them together would be welded in separately
Your other repairs look very thorough and well thought out
Tony
|
| |
|
|
jozi
Kinda New

Posts: 3
|
|
|
|
|
Hi Tony, thanks for the reply and compliment. I think some times it easier to cut a massive big hole and have a little more welding to do than to have a small awkward to work on patch to make up.
I have the back part of the sill made as a straight piece, only took 2 attempts, and the stepped seam I have to make a 2nd time as well. I've decided to cut the front section of the cill (with the holes in it) out as well just for piece of mind. I'll get back to it once it stops raining long enough to get something done and will post an update.
|
| |
|
|
jozi
Kinda New

Posts: 3
|
|
Jun 17, 2011 11:16:03 GMT
|
Looks like it took me 9 days to make up the repair piece  Not 9 full days, there was time of and doing nothing involved also  I ended up with this made up of 2 pieces 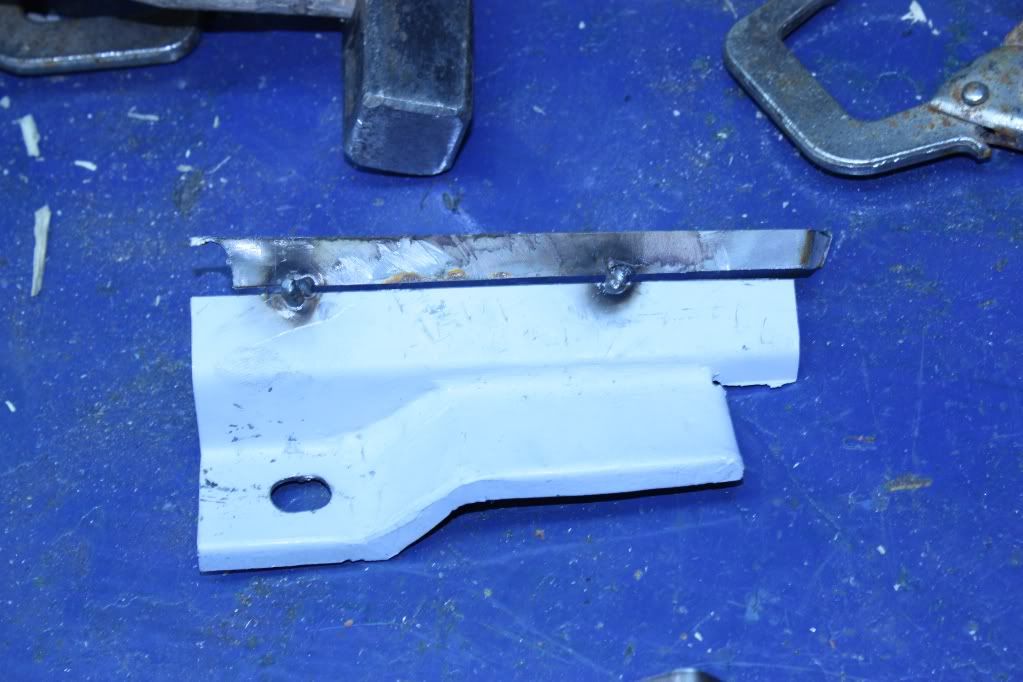  But when I made the repair panel for the rest of the cill it wouldnt fit anymore! I think it took me four and ahalf attempts at making that little piece before everything fitted nicely! I ended up making the whole stepped seam and welding it to the under side of a folded piece and trimming of the excess. The first time I made the sill as if it were straight and welded on the stepped piece. I ended up with this: 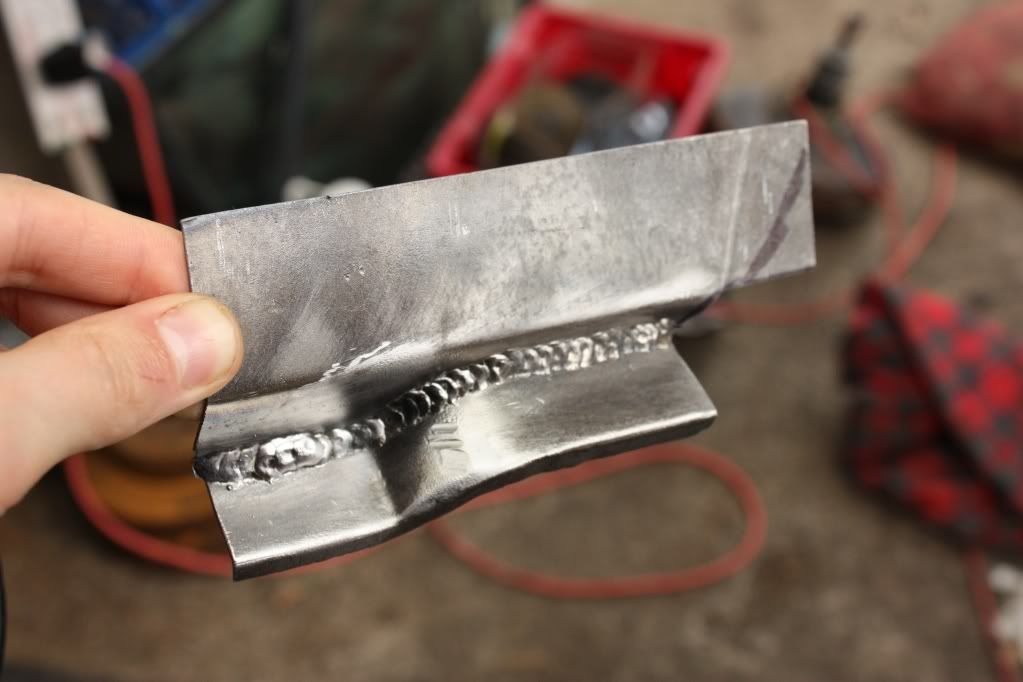 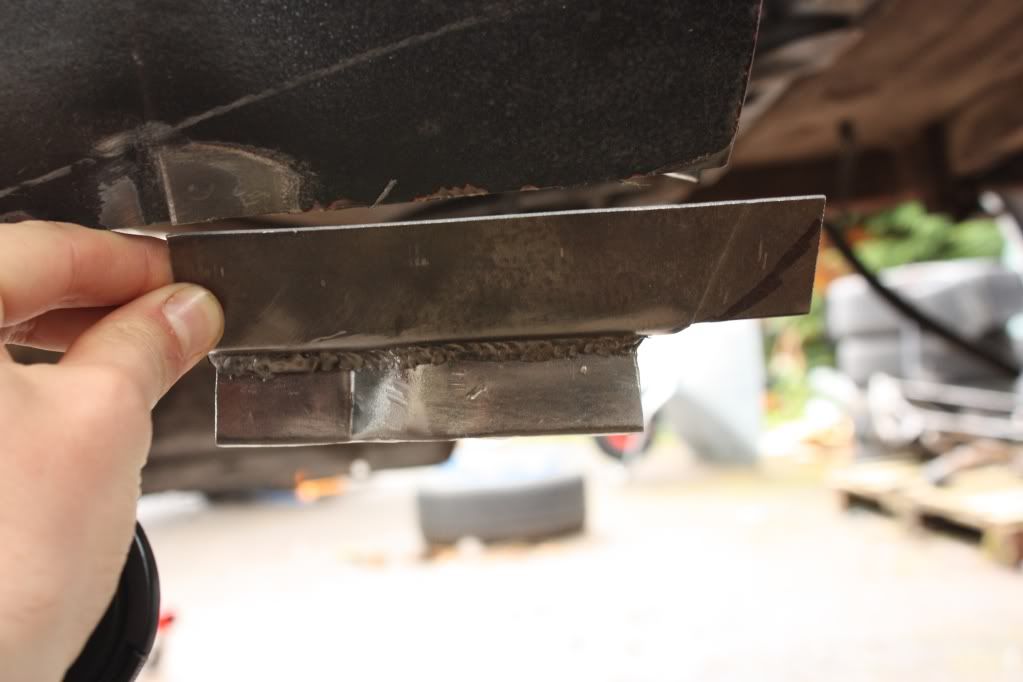  Made up the same for the other side while I was at it. Here's the other sill repair piece that made me make the above again and again... 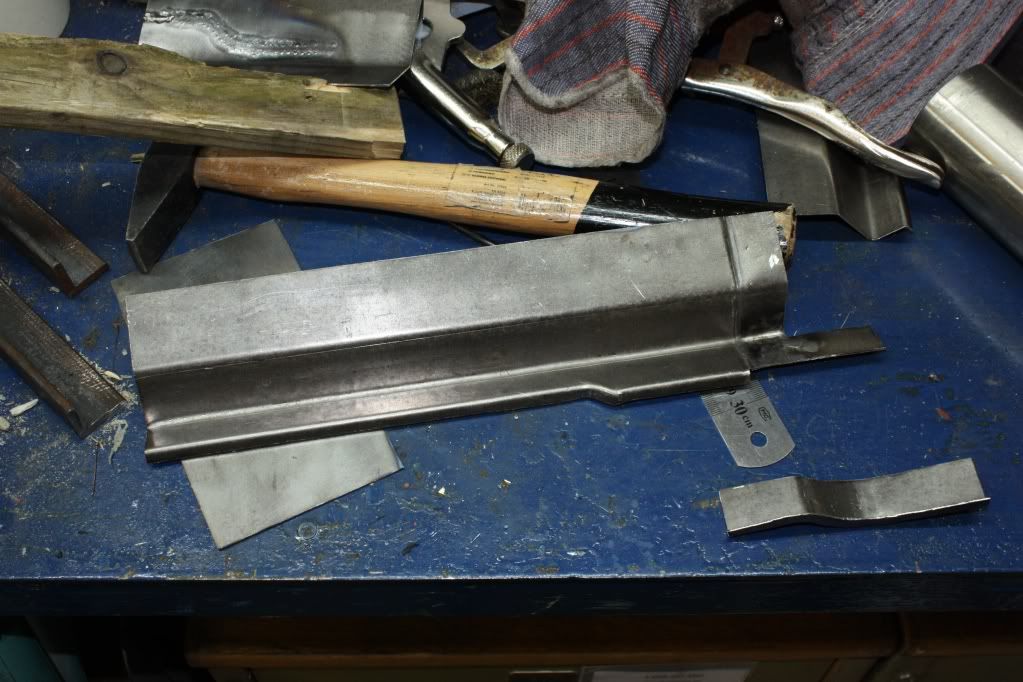 I also made the back panel for the sill, tried some ribbing  I'll have to read over the posts on how to do it again cause it's looking a little battered! What i found hardest was lining the piece up on an edge and stopping it from moving. Not really having the tools probably doesn't help either, I'm using a vice with 2 angles for clamping and a square headed hammer with a wedge shaped tail. Another thing I struggle with, when folding pieces I have no problem getting a nice tight bend in the steel. On parts like my sill the bends aren't so tight, the metal has a curve to it where it changes angles. I started using a RHS of aliminium with curved corners to get softer bend in the metal, however marking where the bend begins isn't a bit trial and error. This is probably as much down to how I measured the sill profile. Again, thanks for the posts in this thread, wouldn't have undertaken these repairs 2 months ago before finding this thread! |
| |
|
|
|
|
|
Jun 17, 2011 17:18:32 GMT
|
|
Nice job Jozi, and 10 out of 10 for persistence, the extra effort will be worth it in the end
Keep practicing the ribbing, your on the right track
Tony
|
| |
|
|
hamps
Posted a lot
   www.medwayrscentre.co.uk
Posts: 2,077
|
|
Jun 17, 2011 18:47:05 GMT
|
Here are some panels we have to make for the mk3 escorts we restore sorry no pics as we made them front floor section 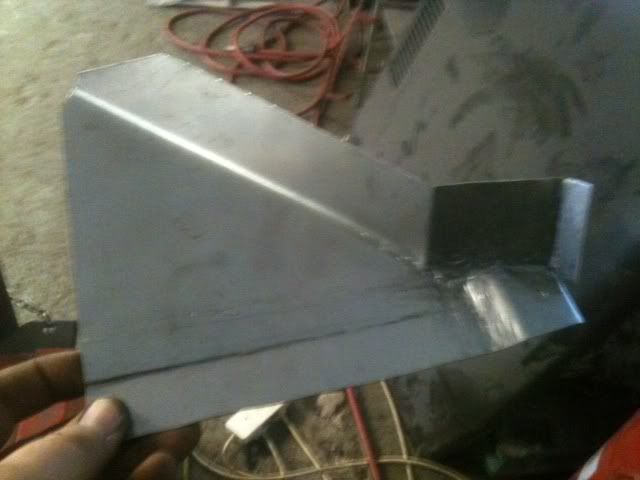 floor repair panel 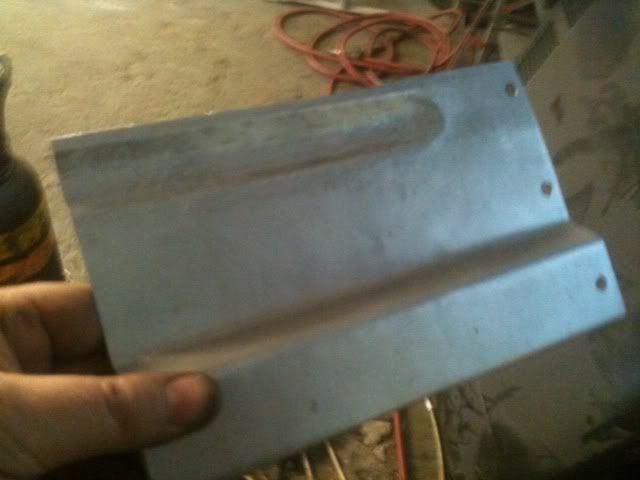 sitting in place 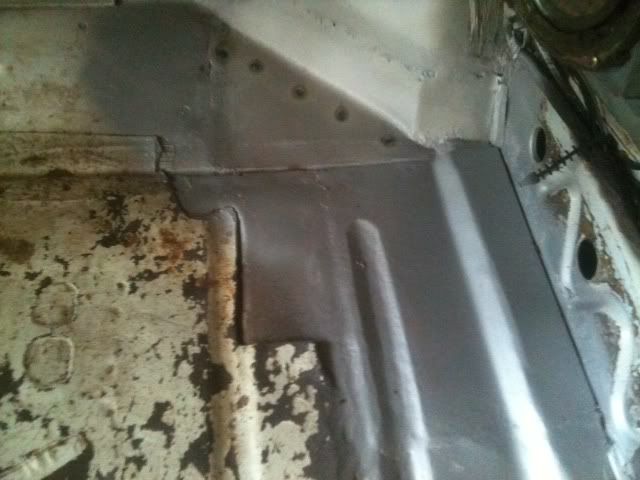 |
| |
|
|
hamps
Posted a lot
   www.medwayrscentre.co.uk
Posts: 2,077
|
|
Jun 17, 2011 18:49:19 GMT
|
|
|
| |
|
|
|
|


 . I am a perfectionist so this was no good and I wasnt going to cover it in filler. so I invest in some tools and set to work


 Not 9 full days, there was time of and doing nothing involved also


