|
|
|
Sept 12, 2014 12:18:03 GMT
|
|
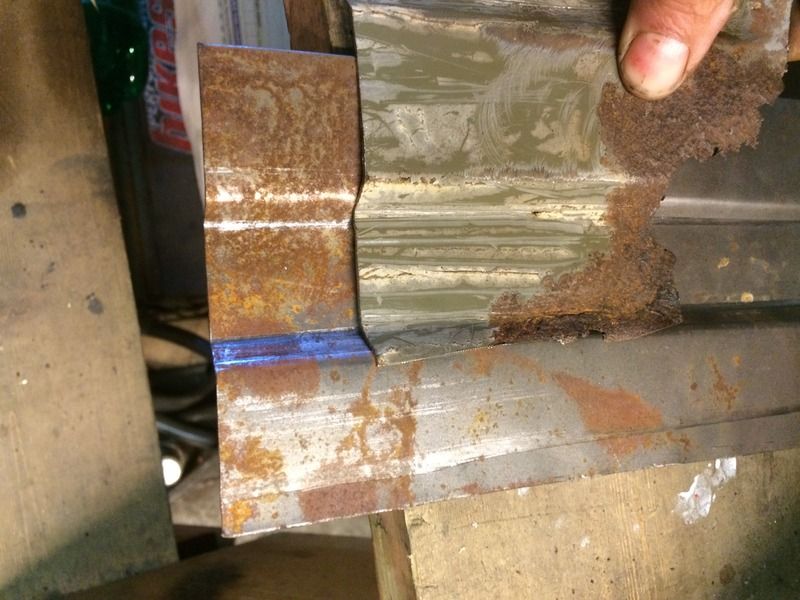
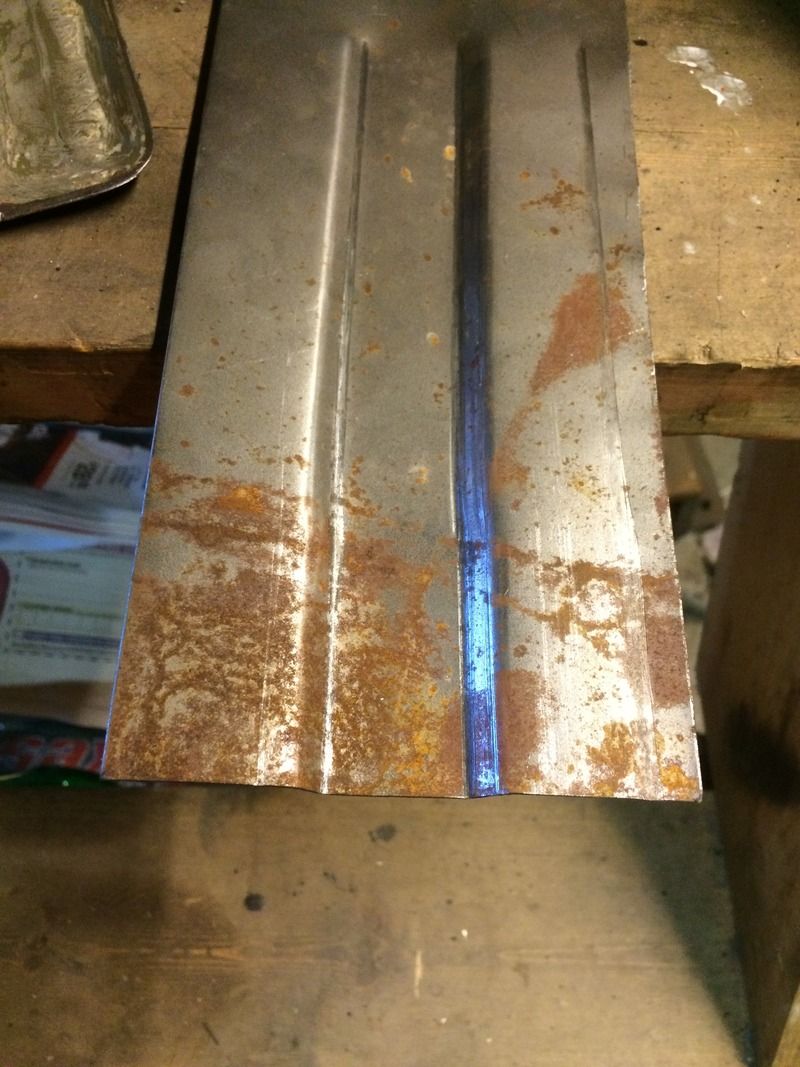
I'm with you on welding down from above wherever possible. Welding upwards requires some modification to settings on the welder, and I've had enough trouble getting those somewhere near correct without messing around more. On steel thickness I tried to match what was already there on my seventies car, so I've used 18g for the floor, and 16g for the chassis sections. I think the 16g is thicker than original, but the original had a lot more shape pressed into it for strength that I can't replicate.
I've had the same issues as you have with gaps that needed to be filled, but remember, that's only because the panel isn't the exactly correct shape, or possibly not fitted the way you intended when you made it, so perhaps for you it ended up with an overlap across the rear that wouldn't have been there (or been smaller) if you'd held it down to the chassis section first. I've really tried on my project to make every repair section so that it fits without needing to be pulled into place under tension, but I've still got some where there's a gap like you describe and when I've spent four or five hours shaping the repair, adding ribs, flanges and so on, I just can't bring myself to start all over again. At the end of the day only you can decide whether you want to spend all the extra time re-doing something, or whether the job you've done is going to be strong and better than what you started - looking at what you have I wouldn't have re-done it either.
|
| |
Last Edit: Sept 12, 2014 12:23:48 GMT by droopsnoot
|
|
|
|
|
|
|
Oct 17, 2014 15:40:38 GMT
|
|
This is a fantastic thread with some really cool contributions. I'll be bookmarking this one for sure.
|
| |
|
|
Wilk
Part of things
 
Posts: 528 
|
|
Sept 7, 2015 19:27:00 GMT
|
Hi Tony, Have now read this thread more times than i can remember, Awesome work sir! Sorry to jump straight in with a few questions but here goes.. Have understood how you create the lip and wheel arch edge in the early posts but I have an additional crease that i'm unsure how to go about or recreate. Any advice is welcome. I have both shrinker and stretchers at my disposal, a manual miller and Harrison lathe. I'm able to use all to a reasonable level but by no means a professional 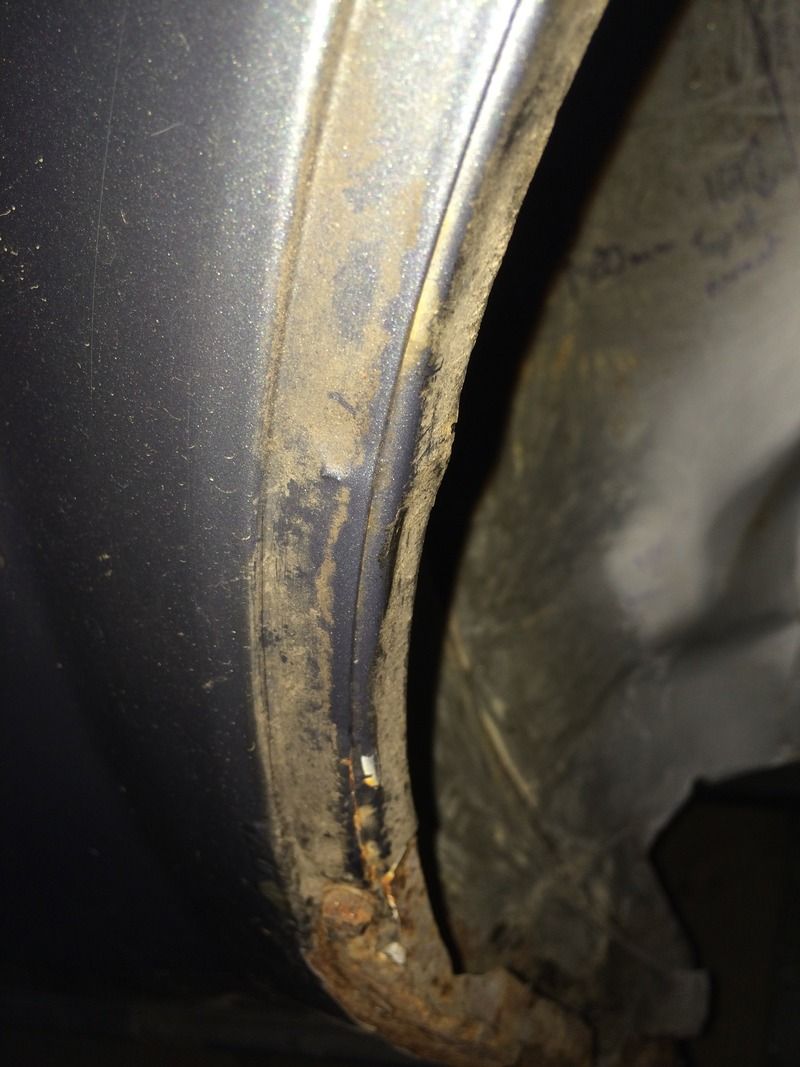 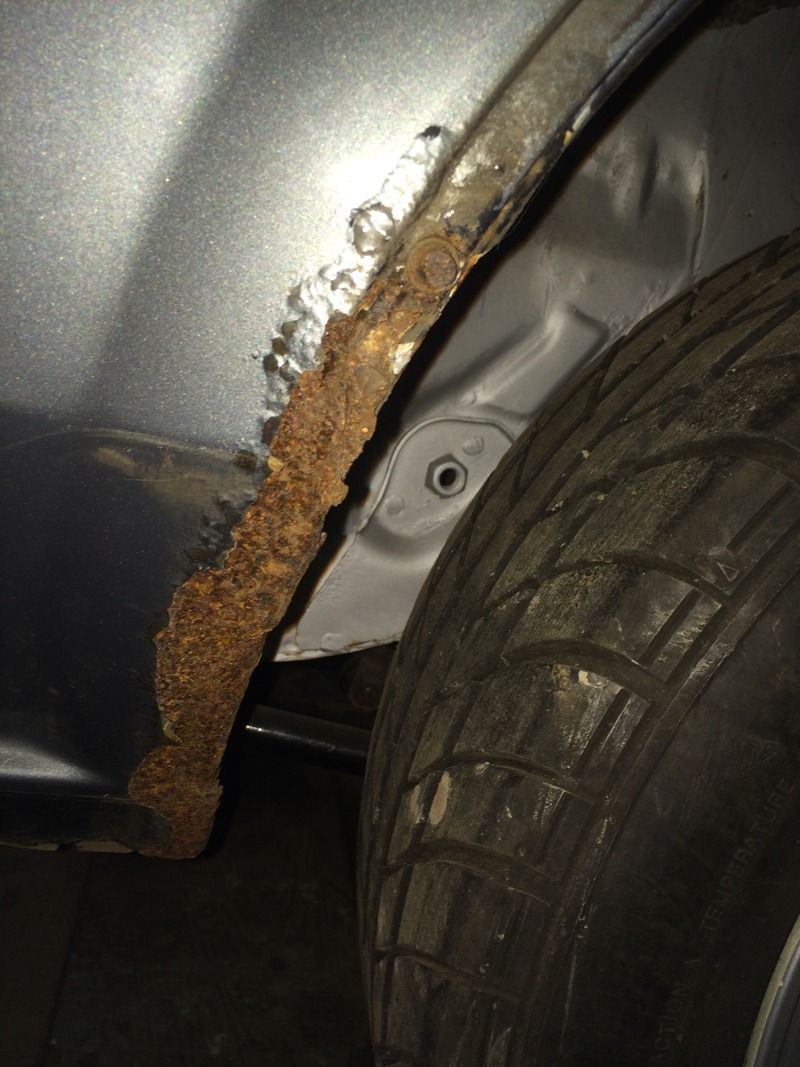 Also could you please advise how to best create the stopped ribs as in the picture below. I have access to a 20 tonne press and a manual mill but not sure how to best tackle the task of creating the indents. i thought of turning male & female wheels for use on a swager but done have a frame. 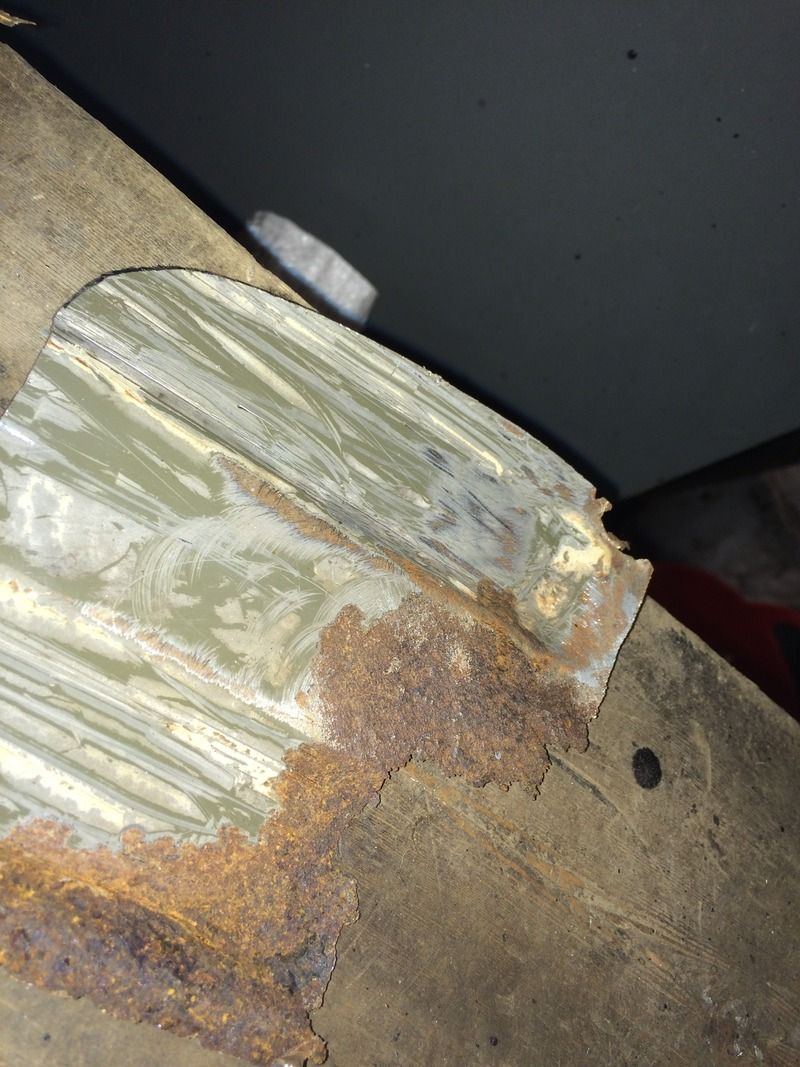 I've managed to start work on creating an end to the rear pocket but it needs to be bigger...oh well try again 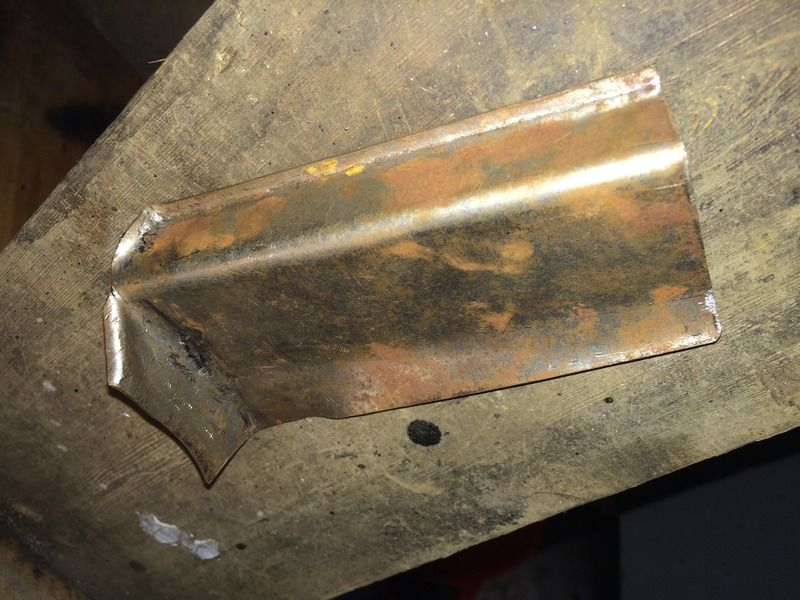 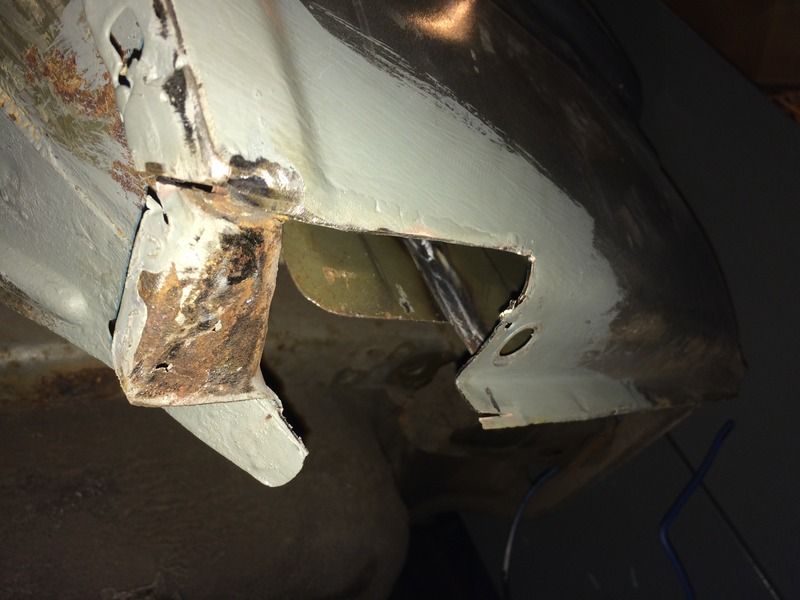 |
| |
If it can be fixed with a hammer, then it must be an electrical fault
|
|
|
|
|
Sept 8, 2015 10:38:55 GMT
|
|
In that first photo, it looks as if the wheelarch edge is a separate piece to the outer wing section that has the step in it. If that's the case, I'd do it as two pieces again, which will also make it much easier.
You can make the outer piece as a straight panel with a step in it (I stick mine in a vice, bend it over to form the first part of the step, then turn it around and use stuff like wide chisels to form the other bend, but I don't have a press), then use your shrinker and stretcher to form the curve by stretching the section outside the step, and shrinking the section inside the step. Then make an L-shaped section to form the edge of the wheelarch, use the stretcher to form the curve around the shape of the wheelarch (where it joins to the other piece) and the shrinker if you need to form the arch to tuck in to the sill area.
In fact even if they're not two pieces, I'd probably make them as two and then join them together - I don't have the skill required to make them in one piece. I've no doubt some could do it, but you could spend a lot of time practising when just dividing the job down will get it done quicker.
|
| |
Last Edit: Sept 8, 2015 10:39:30 GMT by droopsnoot
|
|
Wilk
Part of things
 
Posts: 528 
|
|
Sept 21, 2015 21:44:57 GMT
|
|
Thanks for the advice. I managed to remake the pocket end successfully and have welded it in place this afternoon. Just needs cleaning up now. I'll put some pics up once sorted for forum scrutiny.
Next task is to try to recreate the indents for the rear pocket panels. Bit of head scratching required as best way to go about it first.
|
| |
If it can be fixed with a hammer, then it must be an electrical fault
|
|
Wilk
Part of things
 
Posts: 528 
|
|
Sept 27, 2015 18:26:45 GMT
|
Just as an update as to the way I've gone about the indents.... Not started the arch yet I bought an old hand swager and made a pair of anvils to match the original pressing. I've yet to make a chisel type drift for closing off the ends Here's the first test piece done freehand without the necessary fence for a straight edge 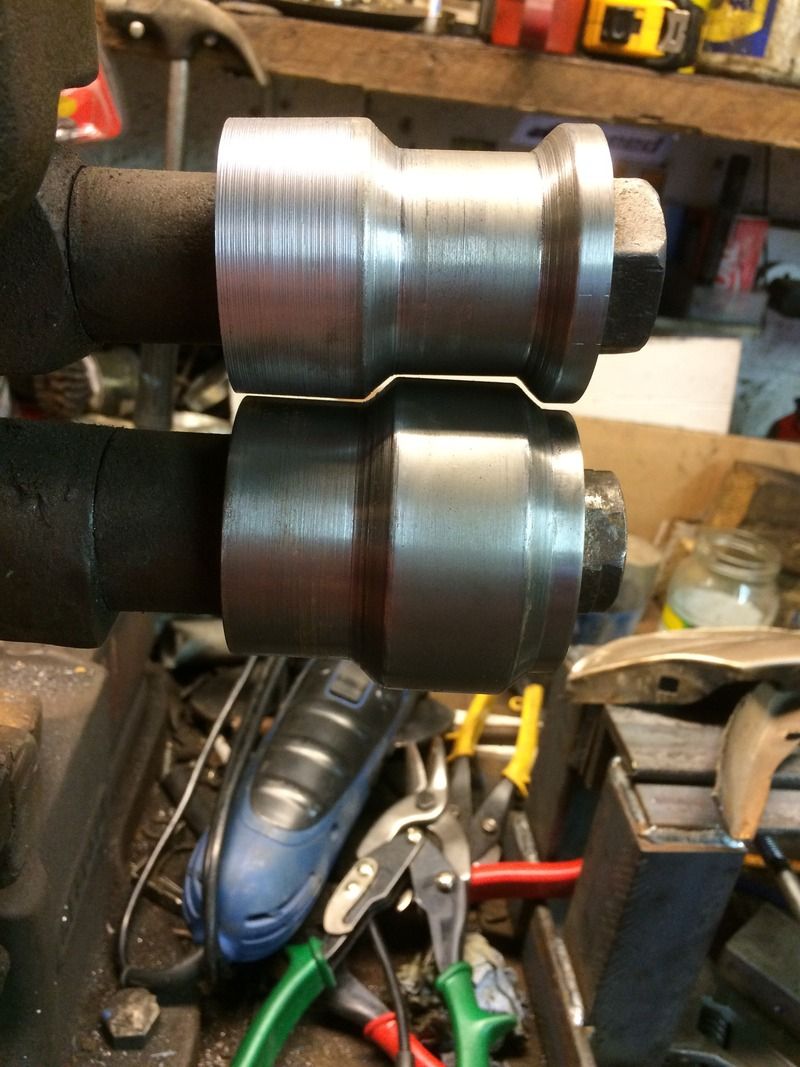 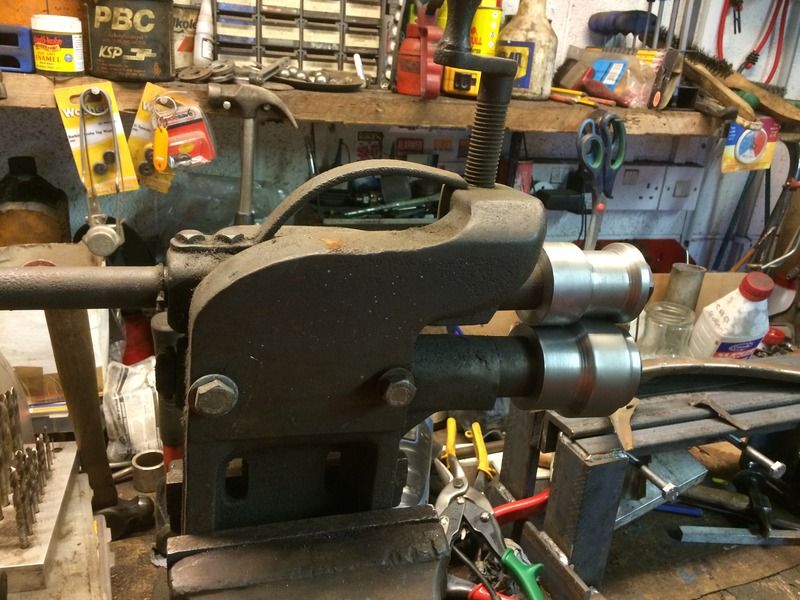 |
| |
If it can be fixed with a hammer, then it must be an electrical fault
|
|
Wilk
Part of things
 
Posts: 528 
|
|
Sept 27, 2015 18:31:52 GMT
|
|
|
| |
Last Edit: Sept 27, 2015 18:33:33 GMT by Wilk
If it can be fixed with a hammer, then it must be an electrical fault
|
|
|
|
|
|
|
|
Nice, I wish I could find stuff like that, a hand swager would have given me a neater job in a few sections of my car.
|
| |
|
|
Wilk
Part of things
 
Posts: 528 
|
|
Oct 10, 2015 14:04:01 GMT
|
First attempt at closing off the channel ends of the practice piece..... First I made a piece of solid bar fit into the original channel. I then welded that to a thick piece of plate to use as a bashing dolly This is the target finish 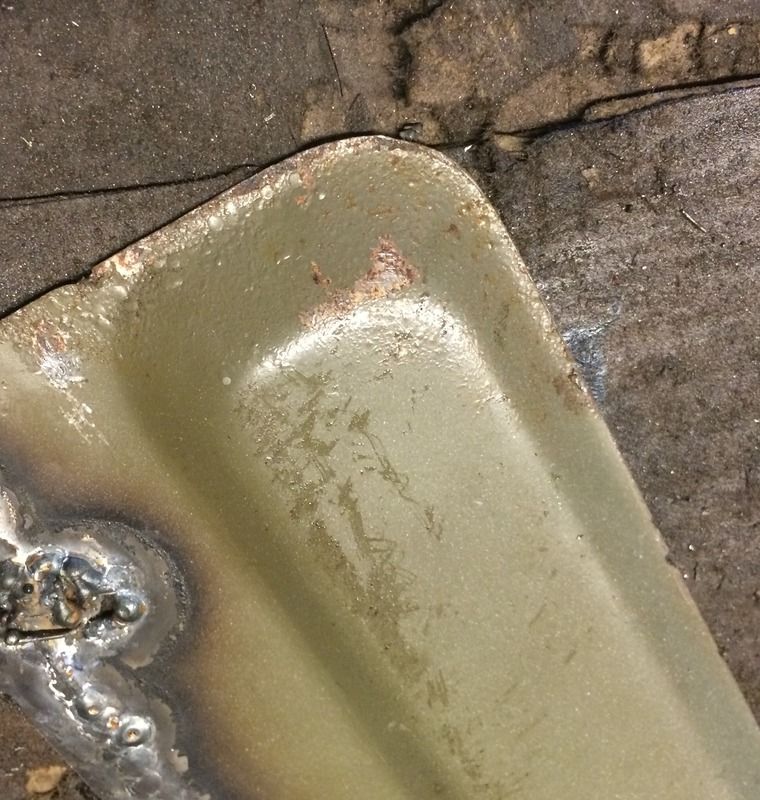 Here's the dolly I made 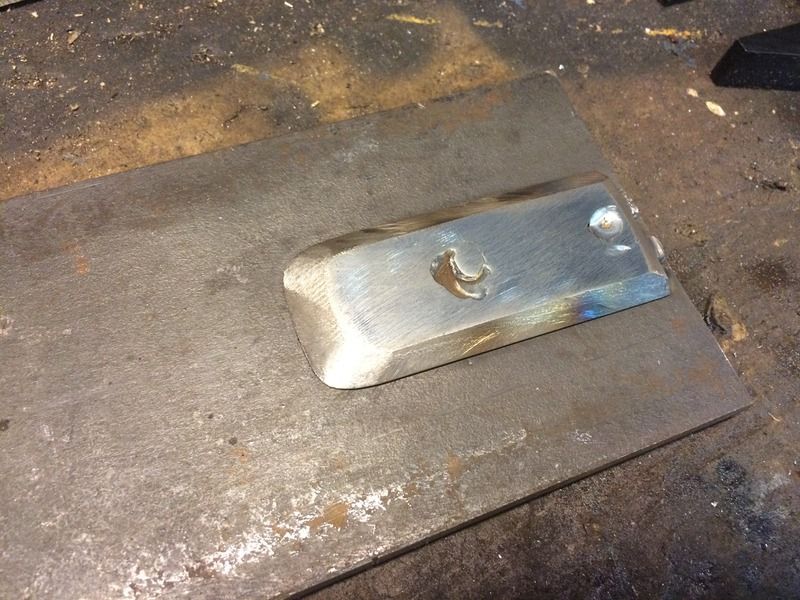 This is the first practice piece. A bit of room for improvement but initial version gives me enough confidence to keep heading in the same direction 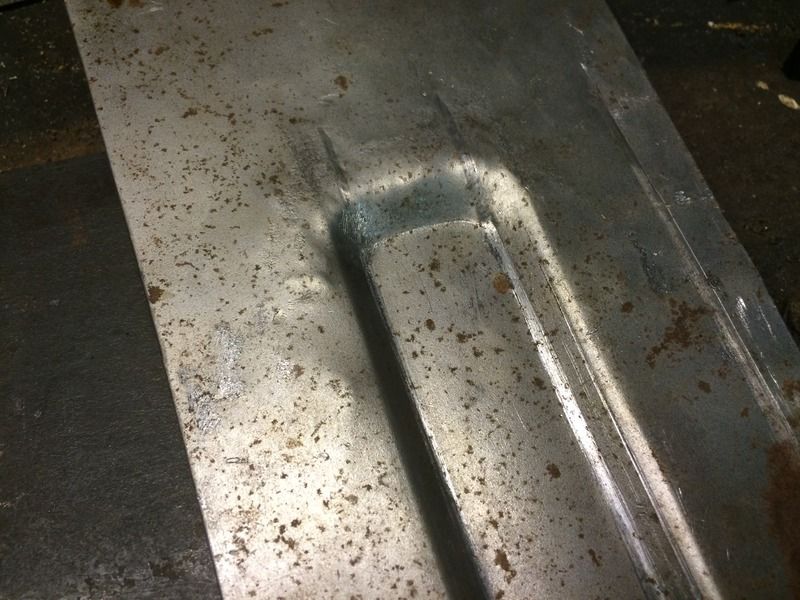 |
| |
If it can be fixed with a hammer, then it must be an electrical fault
|
|
Fungus
Part of things
 
Posts: 960
|
|
|
|
|
Awesome thread, so much knowledge!
I've found myself restoring a 1956 Bentley S1 on my days off from uni, and I'm making all the panels. Here's a few pics of various bits.
I've never done any panel making before so this thread was perfect. I used a piece of round-bar with a slot in the end to create the beveled edges, it even worked on the foglight mounting hole.
(pics won;t work, hold on)
|
| |
Last Edit: Nov 3, 2015 17:46:45 GMT by Fungus
|
|
|
|
Fungus
Part of things
 
Posts: 960
|
|
|
|
|
|
| |
|
|
|
|
|
|
|
|
They look pretty good to me, especially for zero experience.
As I get closer to being able to put paint on, I can say that anything you can do to reduce the use of filler is a Good Thing. Not least because it's not easy to put on and flat down into any kind of decent shape. Flat, maybe, but shapes are hard to do, to the extent that I've almost considered re-doing some of mine as I've had so much trouble getting the repair blended in. And I'm not talking about using 0.5" thick gobs of filler here, just covering joins.
|
| |
|
|
|
|
|
Nov 18, 2015 13:45:46 GMT
|
|
Fungus
Excellent progress with that front end
Tony
|
| |
|
|
|
|
|
Nov 18, 2015 17:06:09 GMT
|
|
quote from above 2nd post down from top, there was a gap between the floorplate and the new rail
you could have just used nuts and bolts, washers to pull the chassis leg panel together to the new floor panel. then you could just weld up the holes. Or gently jack the panel from underneath, just to stop it moving down, whilst placing a heavy weight on the floor panel to get them closer together. Otherwise v good work. Panel making freehand is difficult.
I wish I still had access to all the tools I used in my coach-building jobs. But that was 25 years ago when you could pick up a badly mutilated AC Cobra or AC Ace from the USA for 10,000 pounds.
They usually has jag rear ends, riveted on front ends and wheel arches and v8 engines. I used to build bodys for cars such as Cobras, Aces and Bugattis and even Austin 7 and Aston Martin from scratch from aluminium sheet. I used gas welding then not Tig like a lot of people prefer these days. Anyway keep up the good work.
|
| |
|
|
|
|
|
Nov 21, 2015 12:06:15 GMT
|
I consider myself to be a smart guy, but now i am a bit lost. I have some bad spots onto the Monte Carlo and this is one of them, its the passenger side door catch. I need to replace the bad spot, only catch is the doorcatch has to come back at the exact same spot, there is a wiggle nut on the opposite side of the catch pin (torx). because of the odd shape i cant figure out how to make sure that with the new sheetmetal that the catch is back in the same place. if any can help it would be appreciated and the picture can be butchered to make something clear to me. its been haunting me for weeks this spot and i am afraid to get started on this spot.  Second picture is going to be a challenge as well its under the roofline besides the quarter window glass.  |
| |
|
|
|
|
|
|
|
Have made the move to cut the rot out, and the little square is where the door catch has to come back. Q: can i weld the right side from the backside? and all the rest from the front side? the right side is exactly in the inner edge of the dooropening and welding from the backside involves less cleanup work.  |
| |
Last Edit: Dec 9, 2015 18:11:22 GMT by collector
|
|
|
|
|
|
|
|
If your more comfortable welding from the back then that is fine
However as long as you get good penetration, then no problem at all welding from the front and cleaning up
|
| |
|
|
|
|
|
Dec 21, 2015 20:22:34 GMT
|
Someone pointed out to me that if i weld it from the backside its the weld that gets the most stress, every time the door slams shut thats where the metal would like to flex a little. Better is to make a new plate that goes trough the 90 degree bend. This should be better: 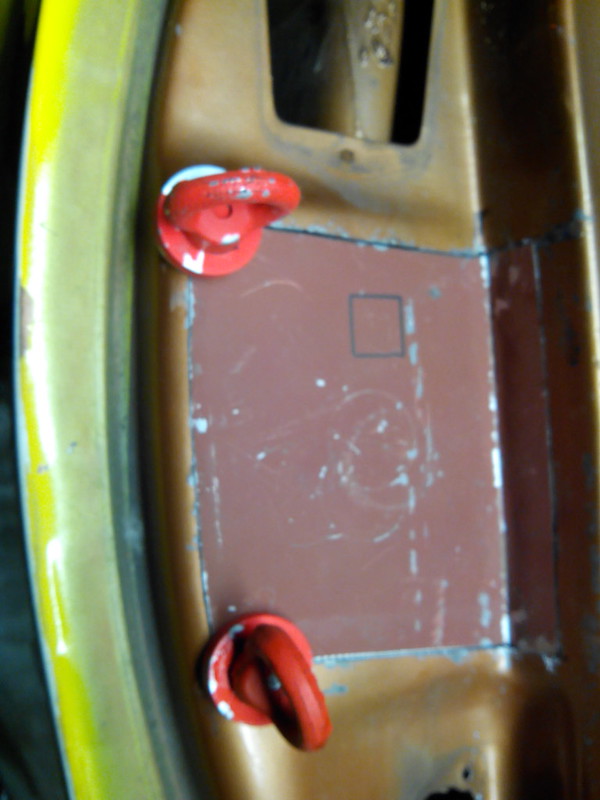 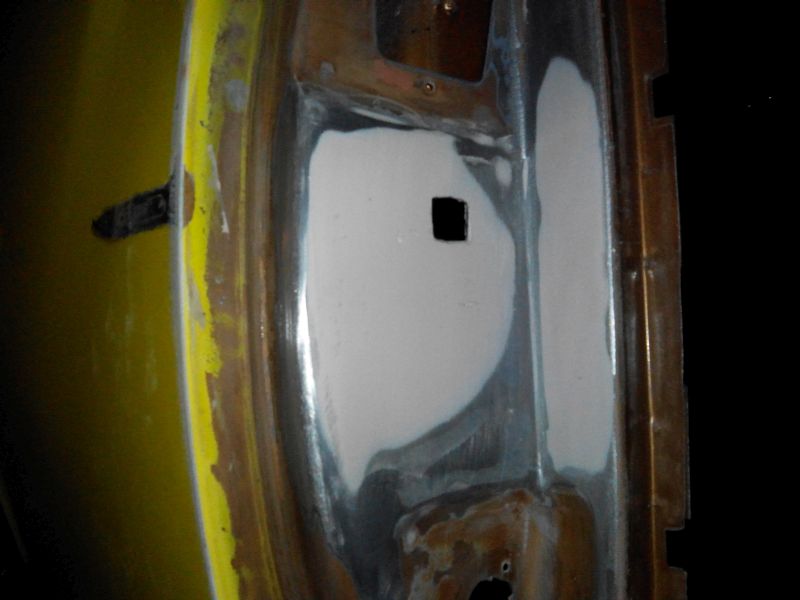 |
| |
Last Edit: Dec 27, 2015 18:27:57 GMT by collector
|
|
rbs
Part of things
 
Posts: 64 
|
|
Jun 20, 2016 19:48:06 GMT
|
|
Great reading this. Lots of info.
Looks like this thread has died but hope not.
Recently bought a 1975 304 Peugeot cabriolet which as you can imagine is rotten. I have a question as follows:
There is an inner, centre and outer sill plus a 4th decorative screw on outer which can be ignored for now. The lower flanges of the outer and centre sill join together with the floor flange and the inner sill flange joins onto the floor on its own.
So there are 3 panels joining together (outer and inner sill and floor). I am planning to cut out the outer sill for access to the centre sill as the bottom of this is rotten. Do I spot weld the 2 sills together and then spot weld the floor to the centre sill or do i try to join all 3 panels as one? (The floor pan will be new metal as the floor doesn't exist at present)
Thanks in anticipation.
|
| |
|
|
|
|
|
Jun 22, 2016 20:57:30 GMT
|
 Hi rbs , Some suggestions & tips below (I guess everyone else is busy or out in the sun) Once you remove metalwork you will find it difficult to reposition the bits correctly so be gentle. If both sids need doing, do the *worst* side first. This will let the stronger side support the shape of the car  Make a new floorpan (with lip) to mate onto the existing center sill. Fit the new floor temporarily (self-tapper screws?) to give you a reference point. Measure carefully from the floor to the top of the inner sill (door tread) and make a note of the gap. Get a new outer sill (and inner if you're not making it from flat sheet). Remove the old outer & center sills, fit the new center and the outer sills (tacked in place) carfully measure eveything including floor-doortread gap above. If everything is good, remove the floor (for access) and properly weld the inner and center sill. weld in the new floor. Or listen for better suggestions from other folk. 
|
| |
|
|
|
|




 Hi
Hi 