|
|
|
|
|
|
|
|
|
|
|
| |
.  |
|
|
|
|
Jan 11, 2010 19:02:23 GMT
|
Got the last bit of that rear lower repair done today The inside bit needs making and fitting to go in here  I kept the bit that came out so I could use it as a template 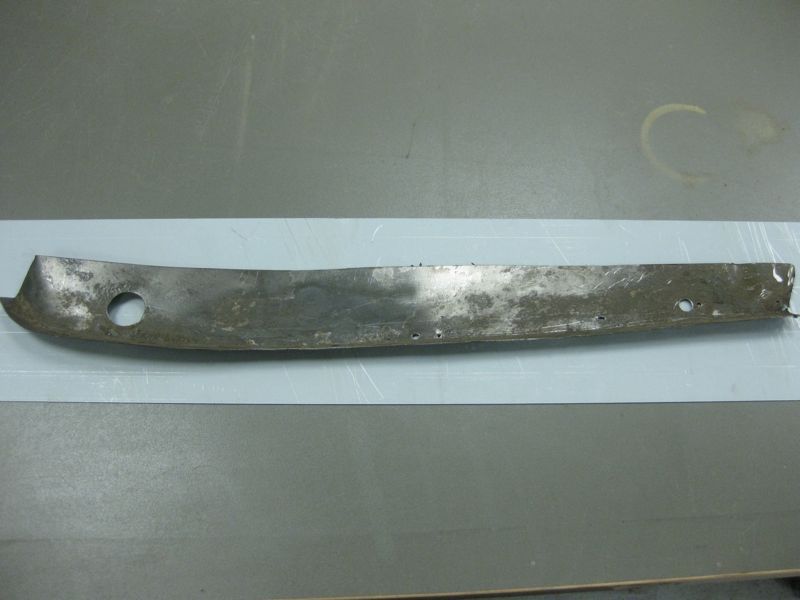  Then cut out with my New Throatless shear that I got for Christmas, Santa must have got my note ;D 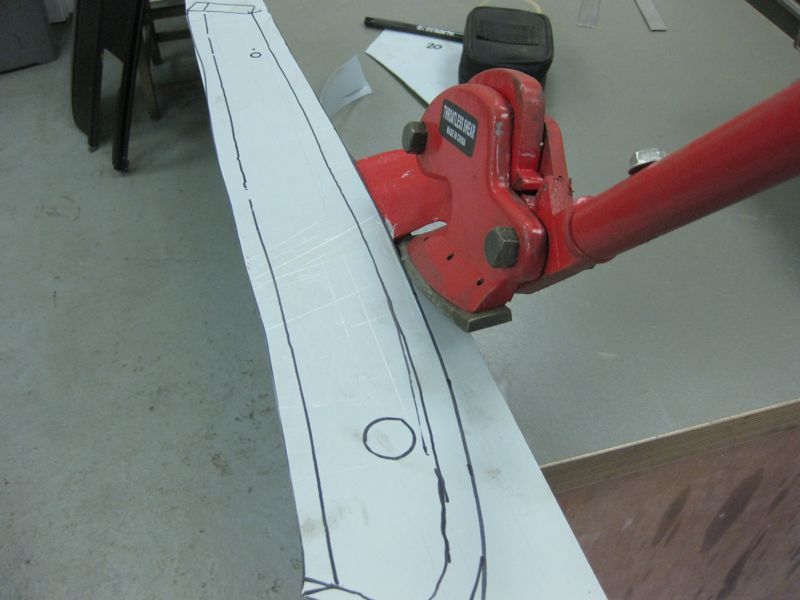 and drilled the holes 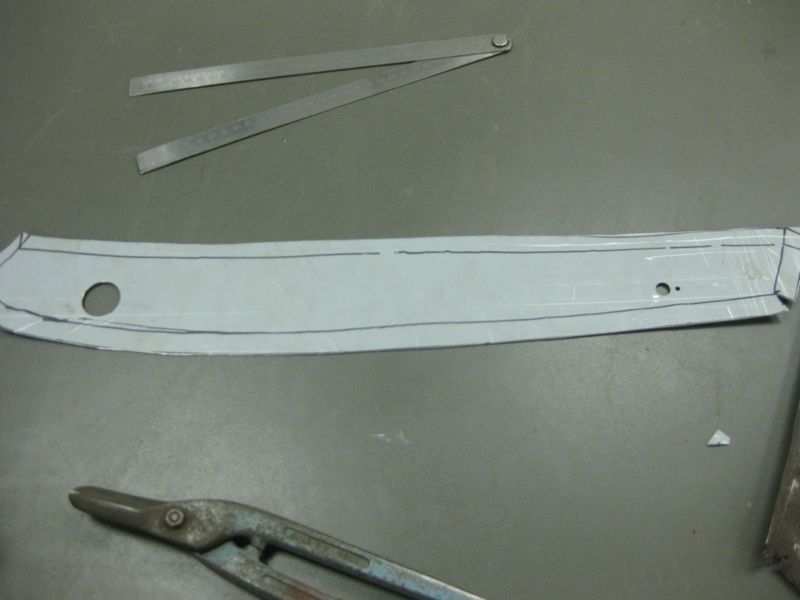 and started to bend up  what you cant really see from the photos is that the flange does not run straight along the panel, it is more like a gentle curve, and then the more pronounced curve at the end This means it will be harder to form, so after I bent part of it on, I slid the piece along and did a bit more 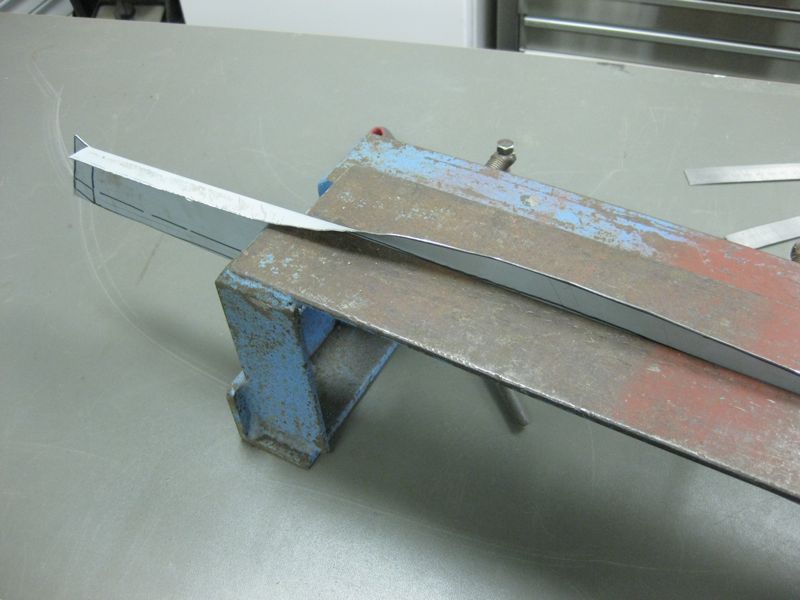 and then used the dolly on the really curved bit 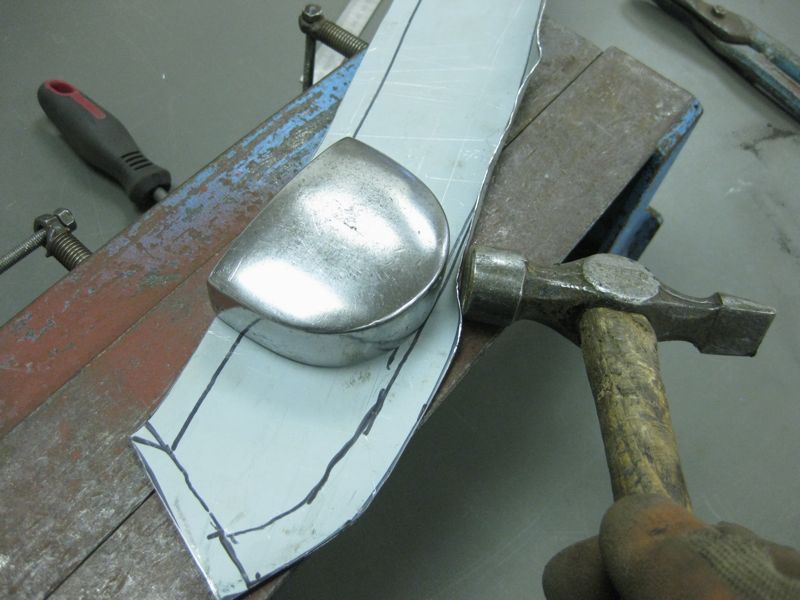 and there you go  buts thats not it, because the flange runs along a curve then the material naturally wants to curve also, so when you look at it from the side, then it is like this  the flange needs to be shrunk to pull the panel straight again, we could use the shrinker stretcher, but we wont   Instead we will hammer down onto the edge of the flange against something hard and flat  this flattens the panel, but causes the flange to pucker  so then we shrink it with the rawhide mallet against the dolly  these steps were repeated at least 10 times, until it was flat  I left the very end bit as that is supposed to be curved 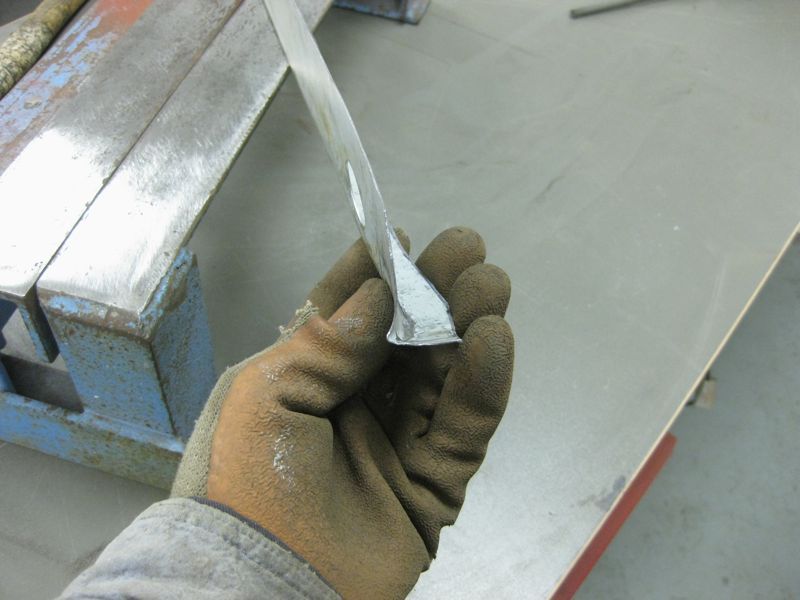 so bend the end up  and a bit of tweaking to get the flange at the right angle and we have this 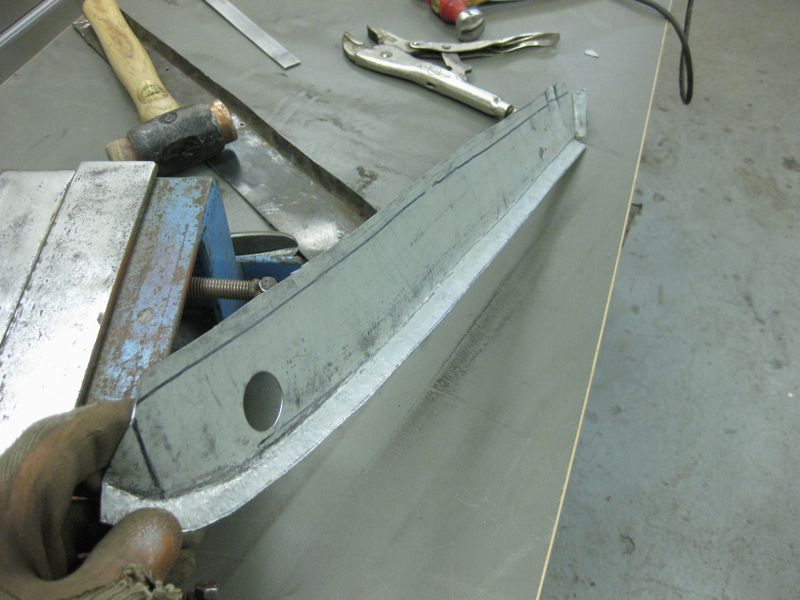 tried on for size  welded 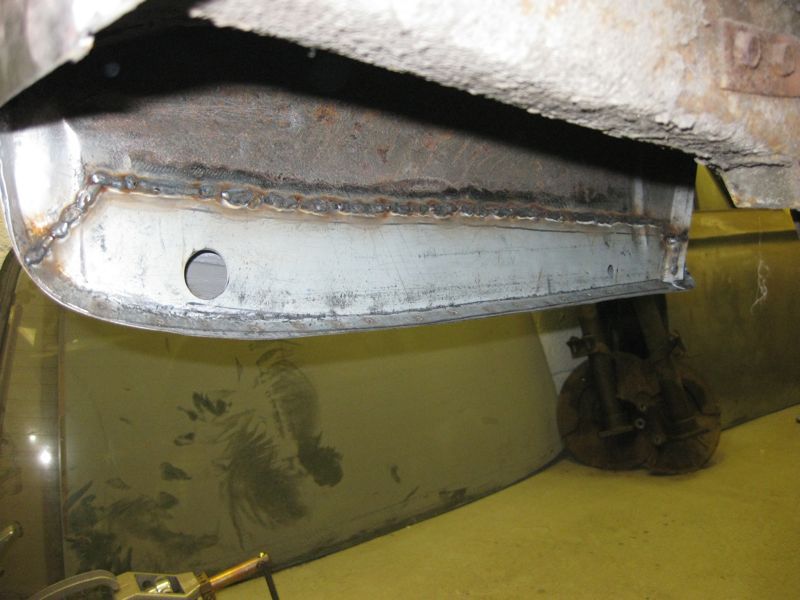 and dressed off 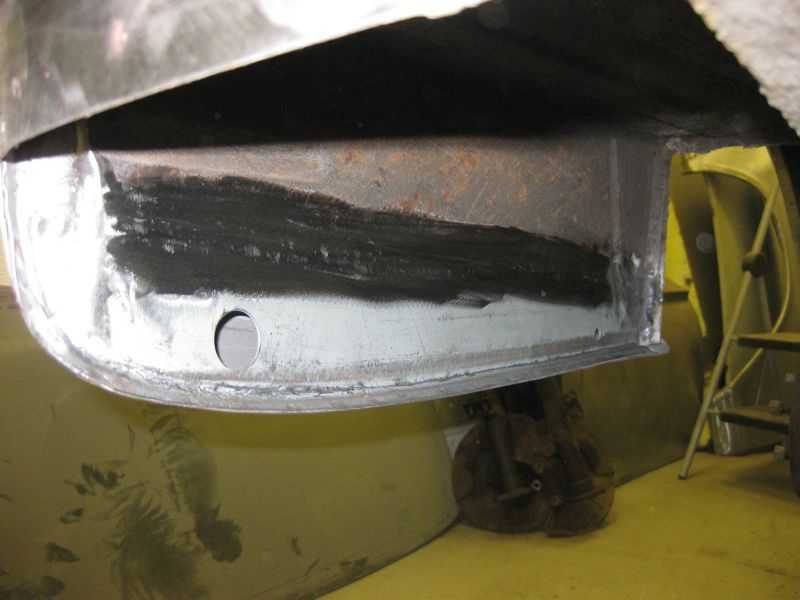 the dressing was never going to be perfect as I could not get to the rear of the panel, to push it out as needed when tacking it, but as its under here out of the way, then it will be fine Fingers crossed, I think that is the last of any panels that need to be made, just a couple of small jobs to weld and clean up and then drop the rear axle and prime the bare metal. oh and a repair to one of the front wings   |
| |
Last Edit: Jan 11, 2010 19:30:54 GMT by tonybmw
|
|
|
|
|
Jan 11, 2010 19:18:11 GMT
|
fantastic stuff mate you make it look so easy  . i look forward to seeing the finished article gonna be a lovely car when done |
| |
|
|
fogey
Posted a lot
  
Posts: 1,623
Member is Online
|
|
Jan 11, 2010 19:22:07 GMT
|
|
Quote: 'the dressing was never going to be perfect' You kidding? All the metalwork is perfect!!!!
|
| |
|
|
mirafioriman
Posted a lot
   My next project.......
Posts: 1,361
|
|
Jan 11, 2010 20:32:50 GMT
|
|
Nice job! Another question if I may? How do you cut out the rotten pieces so neatly without destroying them?
|
| |
|
|
|
|
|
Jan 11, 2010 20:48:08 GMT
|
Nice job! Another question if I may? How do you cut out the rotten pieces so neatly without destroying them? Generally drill out the spot welds where I can, then split the joint with a small cold chisel And then when I need to cut a panel, I use the 1mm thick cutting discs for slicing through them, they cut quickly and don't cause too much damage. They don't last that long either, but it seems like a worthwhile trade off. |
| |
|
|
mirafioriman
Posted a lot
   My next project.......
Posts: 1,361
|
|
Jan 11, 2010 21:50:48 GMT
|
|
I have some of those discs. I guess I just need to practice cutting neatly and accurately with them.
|
| |
|
|
Macoli
Part of things
 
Posts: 181
|
|
Jan 12, 2010 10:54:27 GMT
|
|
I found it's really easy to break those 1mm discs if you use too much pressure or if it jolts - then you're picking bits out of your teeth - so I always like to have lots available. Getting better now though, I don't break them as often.
I think because it cuts so fast the temptation is to really load the disc up to make it cut faster, but this eats the disc up too.
|
| |
Wanted: mk2 Cavalier front valence
|
|
|
|
|
Jan 12, 2010 11:48:42 GMT
|
|
As always, very impressed by your work! Btw, what are those holes in the inner lower rear wing section for?
|
| |
|
|
|
|
|
|
|
Jan 12, 2010 12:38:26 GMT
|
|
EXTRAORDINARY!
|
| |
1974 Lancia Beta Saloon
1975 Mazda 929 Coupé
1986 Mazda 929 Wagon
1979 Mazda 929 Hardtop
1982 Fiat Argenta 2.0 iniezione elettronica
1977 Toyota Carina TA14
1989 Subaru 1800 Wagon
1982 Hyundai Pony 1200TL 2-dr
1985 Hyundai Pony 1200 GL
1986 Maserati 425 Biturbo
1992 Rover 214 SEi 5-dr
2000 Rover 45 V6 Club
1994 Peugeot 205 'Junior' Diesel
1988 Volvo 760 Turbodiesel Saloon
1992 Talbot Express Autosleeper Rambler
2003 Renault Laguna SPEARS OR REAPERS
|
|
mac1
Kinda New

Posts: 1
|
|
Jan 12, 2010 22:11:22 GMT
|
|
Congratulations on your award at teh Awards night, well merited
|
| |
|
|
|
|
|
Jan 13, 2010 18:32:59 GMT
|
|
|
| |
|
|
|
|
|
Jan 13, 2010 18:39:35 GMT
|
|
|
| |
|
|
|
|
|
Jan 13, 2010 18:53:40 GMT
|
Thanks Grizz, nice to meet you yesterday |
| |
|
|
|
|
|
Jan 13, 2010 18:57:38 GMT
|
I found it's really easy to break those 1mm discs if you use too much pressure or if it jolts - then you're picking bits out of your teeth - so I always like to have lots available. Getting better now though, I don't break them as often. I think because it cuts so fast the temptation is to really load the disc up to make it cut faster, but this eats the disc up too. I'm with micoli on that one, definitely best to let them cut at their own pace and not force them As always, very impressed by your work! Btw, what are those holes in the inner lower rear wing section for? Paul, the large hole to the left is a grommet hole, note sure what for, perhaps used during manufacture, the 2 smaller holes on the right, had a sort of small rubber flap thing attached, which I guess lets air into the boot or perhaps water out, I will try to get a photo |
| |
|
|
Carsie
Part of things
 
Posts: 127
|
|
Jan 13, 2010 22:54:53 GMT
|
|
Totally deserved Tony...... totally deserved. As I said before, a real treat to see your work. Massive thumbs up from me!
|
| |
|
|
jo0lz
Part of things
  FucT FiAT
Posts: 321
|
|
|
|
WoW! What a thread Simply inspiring Found this with Google Image search....  says it all....... |
| |
|
|
|
|
|
Jan 16, 2010 23:26:57 GMT
|
PaulH This is that photo of the little rubber thing that fits in the 2 smaller holes  the small pin goes in the small hole and the rubber strip covers the larger hole, it must be to let water out. Meanwhile took the rear axle off yesterday 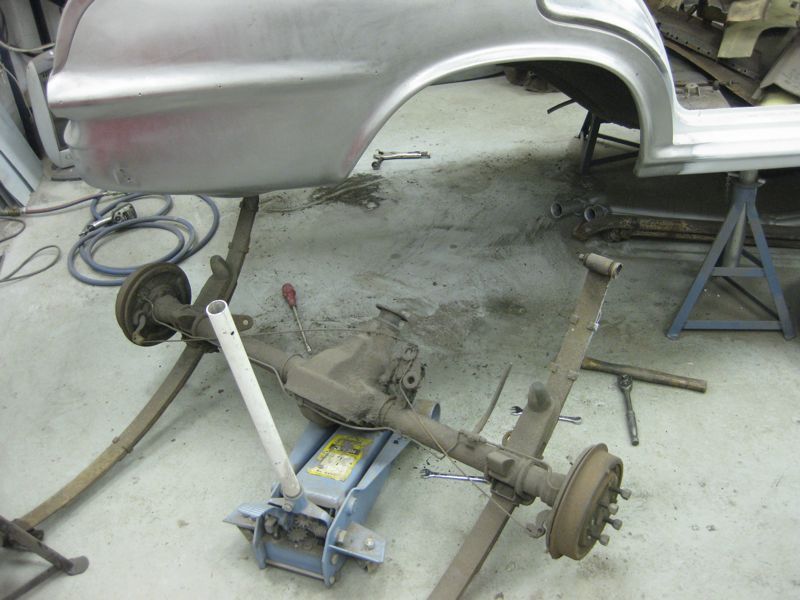 and stripped it down to save space 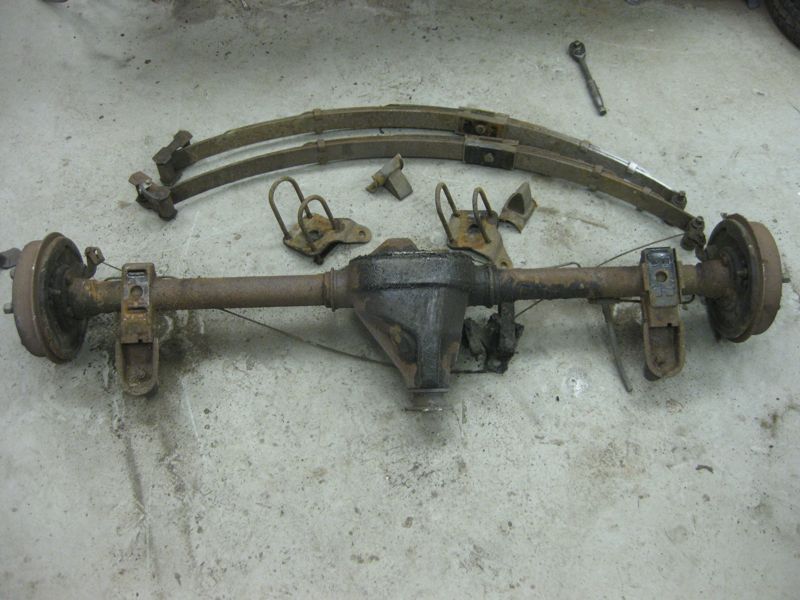 Then today had a bit of a poke underneath and found this on the side of the spare wheel well  so cut it out  made patch  clamped  Tacked  welded  and cleaned off  then went to look at the passenger side sill, pic from earlier  cut a strip of steel and bent it over a bit of round bar, purposely overbent  then opened it out with my hands  it was overbent so that it would form the correct shape when opened back out  then trimmed down and welded in  and cleaned off  So now apart from a little bit of cleaning off to do on an earlier repair, then I think this is the last of the welding on the shell, hopefully tomorrow I will get the bit done on the front wing then that will be it apart from the primering to do    Gordon and I were talking on the way back from the Ace Cafe on Wednesday and we are determined to get the car at least to "rolling shell status" in time for us to take it down to the Vauxhall Opel Show at Billing sometime around July, so if any of you go to that, we will hopefully see you there    |
| |
|
|
mirafioriman
Posted a lot
   My next project.......
Posts: 1,361
|
|
|
|
|
Great work there again. Is it one of those strip and clean discs that gets you back to the shiny steel?
|
| |
|
|
|
|




 . i look forward to seeing the finished article gonna be a lovely car when done