stevek
Yorkshire and The Humber
Posts: 728
|
|
|
|
tux - Only finger tight!  My breaker bar is 1/2" and was right at its limit, but I would expect a 3/4" bar + scaffold bar extension to breeze it. I hope mine are done up sufficiently tight, I wonder how critical it is. Update - I arrived home tonight to my latest purchase, brake pads... 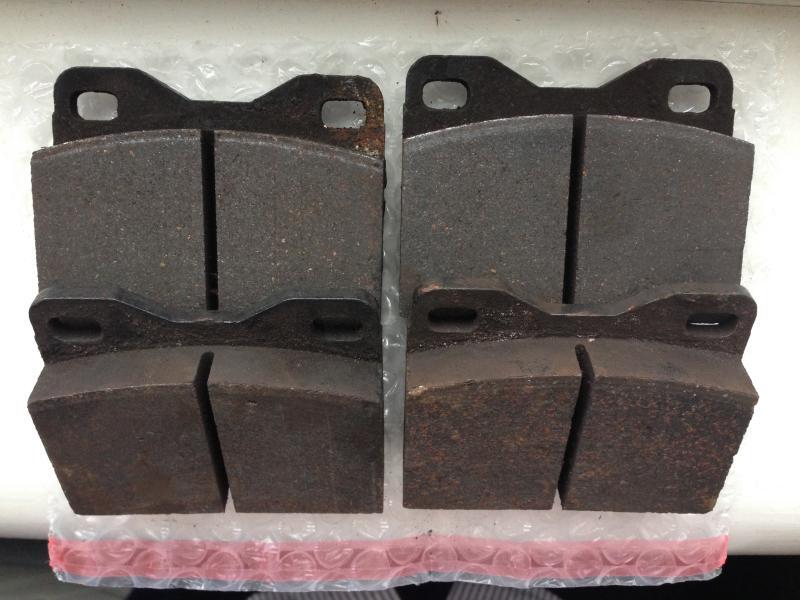 ...Wooooo, 2nd hand eBay specials. How cheap am I! They are Pagid's with an even 2mm less than new thickness, 99p + £3.50 delivery. So I slung them in... 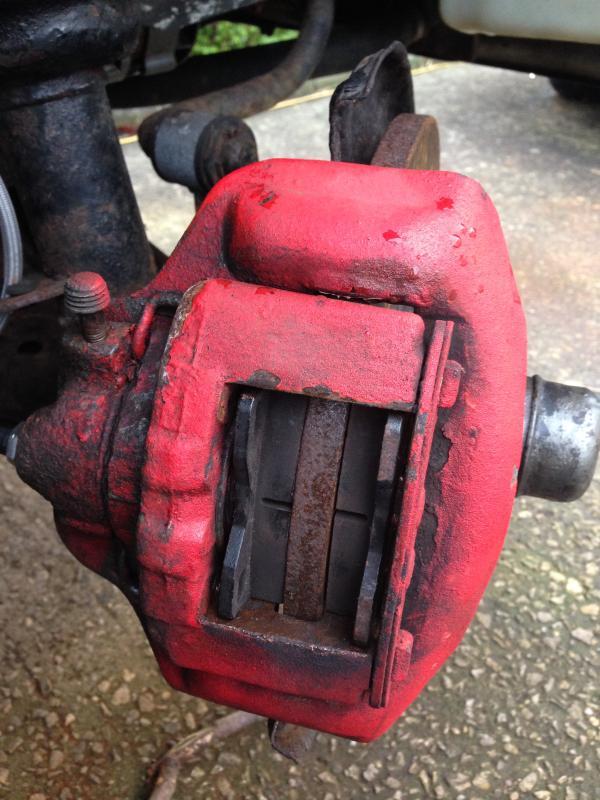 and fitted the pins back in... 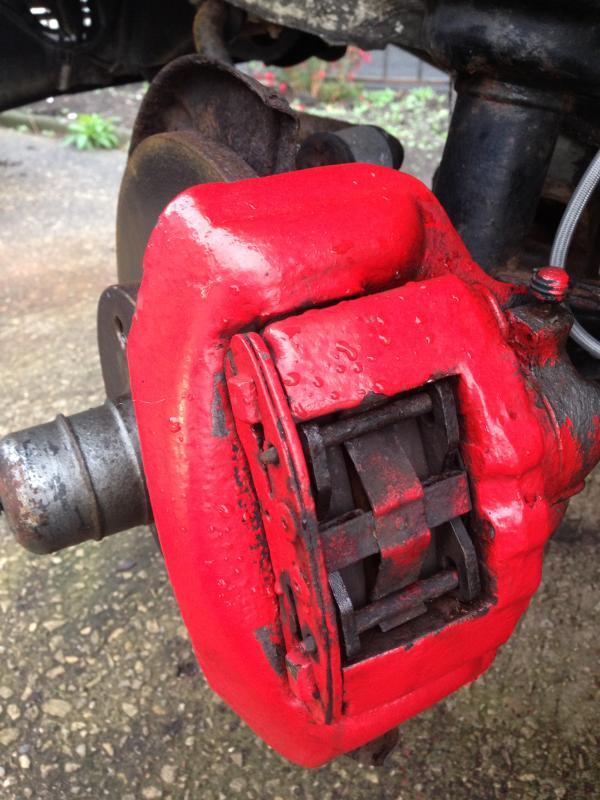 ...that'll do. I don't like the red paint either but I have plenty to do before faffing with such trivialities. Though the red painted drums on the back did offend me enough to grind that off when I did those, I prefer the rusty look to the chav look. Its just plain wrong to tart up drum brakes. -Steve-
|
| |
Last Edit: Dec 31, 2017 13:48:30 GMT by stevek
|
|
|
|
|
|
|
|
|
|
HI ITS LOOKING GOOD I HAVE A TURBO thasts in the same state as yours have just been given an old cebora welder which i cant
use would love you to teach me how to use it or give me some tips nevre done anything like what your doing
help help pls
|
| |
|
|
|
|
|
|
|
|
do you think you could give me some tips my cars just like yours all the same holes as
yours and i have never done any welding ?
just been given a old cebora 130 just about got it going
need help help
|
| |
|
|
stevek
Yorkshire and The Humber
Posts: 728
|
|
Oct 10, 2014 18:23:33 GMT
|
coley23 - First you need to get some practice with the welder before doing anything on the turbo. Check you can hear some gas coming through and the earth clamp is on clean metal. Get some scrap panels or some off cuts of sheet and start trying to lay a weld in a line, not joining it to anything to begin with just putting a line down some scrap sheet. I suggest putting a thread up in the 'The Technical bit...' section of the forum and adding some clear pictures of what you get. It might look like curse word but post it up and 'we' will be able to suggest how you need to adjust things. The pictures are very important as it will help people advise you a lot easier than only describing it. Once you are getting the hang of the welder then we can help with the way to tackle the repairs on the turbo. This was my thread from when I was first starting out ... Shield your eyes, I'm new... , you'll find some good info in there! I'll finish on an important tip, Get an automatic welding mask (£30ish). Don't even bother trying to learn with a normal mask they just aren't worth it. -Steve- PS. Good Luck, it's a skill worth learning if your into old cars!
|
| |
|
|
stevek
Yorkshire and The Humber
Posts: 728
|
|
Oct 10, 2014 18:41:50 GMT
|
I finally took a few pictures of the pipe work... 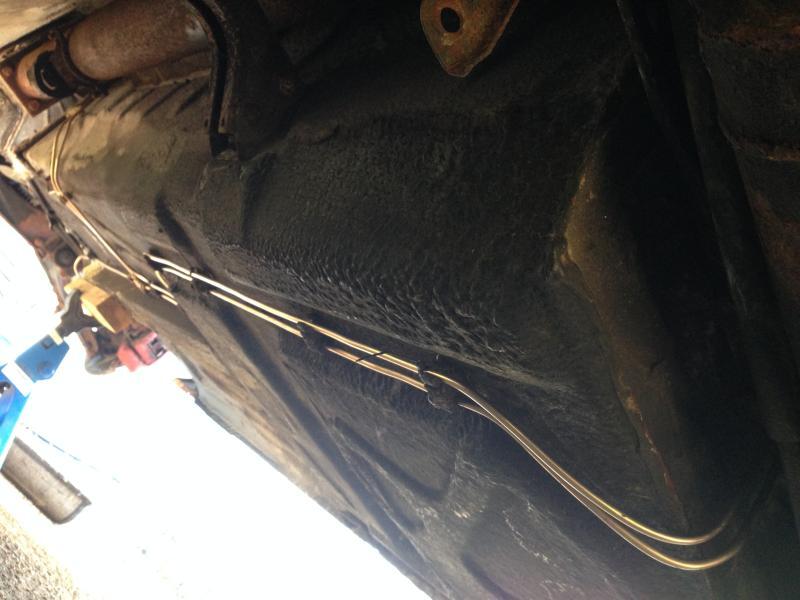 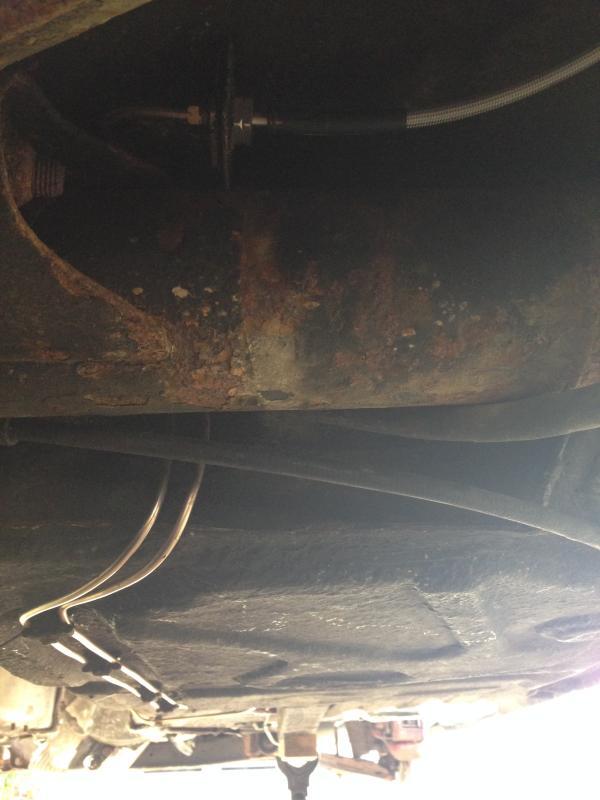 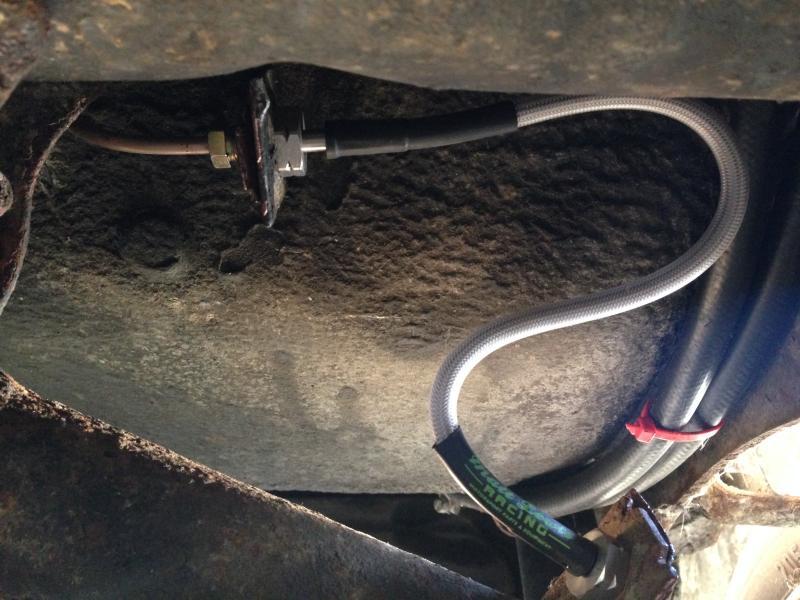 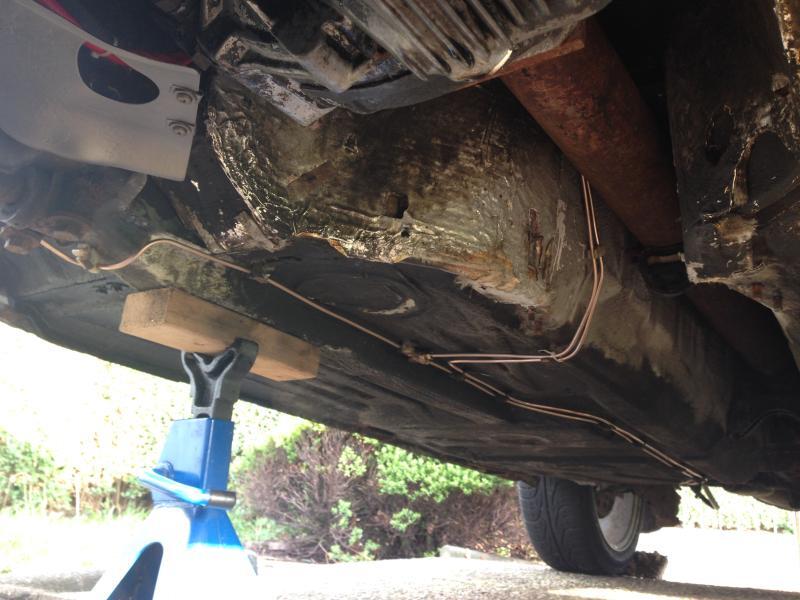 ... I found it quite difficult along the way, mainly due to working on my back with next to no space, but it came out well in the end  . Tonight I refitted the exhaust heat shield and the exhaust back on too. -Steve- |
| |
Last Edit: Dec 31, 2017 13:50:15 GMT by stevek
|
|
stevek
Yorkshire and The Humber
Posts: 728
|
|
Oct 23, 2014 18:46:32 GMT
|
Last Saturday I finished the last little sections of brake pipe and on Sunday Toby came round to give me a hand bleeding the system through. It should have been straight forward but I forgot to tighten up loads of the unions so brake fluid kept spewing everywhere! Yes, that was pretty silly of me but once everything was tightened and bled the pedal felt nice and firm. I have only driven it 50yds up the road and back to test but the brakes seem to be working better than before. They are still quite weak but the 'new' front pads need bedding in so that might account for it. I have also done a bit of shopping in preparation for a light service... 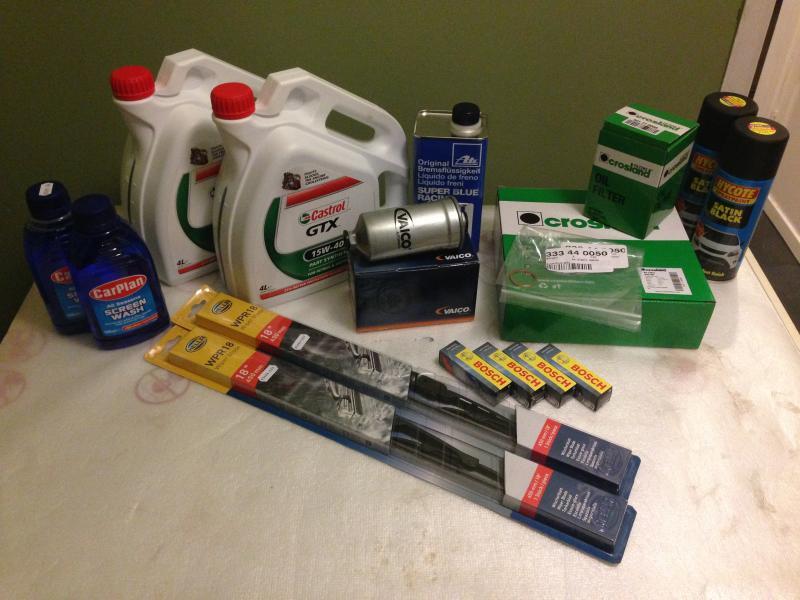 I can't believe how cheap some of this stuff is (I used a couple of discount codes but still). £26.00 - 8ltr Castrol GTX - Asda £10.15 - ATE Super Blue brake fluid - EuroCarParts £7.96 - 4x Bosch Super Plus Spark Plugs - EuroCarParts £7.02 - Vaico Fuel Filter - GSF £4.92 - Pair of Hella Wipers (With 2 free 500ml bottles of Screenwash concentrate!) - GSF £3.76 - Crosland Air Filter - EuroCarParts £1.60 - Crosland Oil Filter - EuroCarParts £0.35 - Sump Plug Washer - EuroCarParts Total £61.76 Plus a couple of cans of satin black at £3.08 each, just because. -Steve- Edit: Forgot to mention that the weird indicator/horn interaction (indicating beeps the horn!) has come back so that will need checking out further! |
| |
Last Edit: Dec 31, 2017 13:50:49 GMT by stevek
|
|
stevek
Yorkshire and The Humber
Posts: 728
|
|
Oct 24, 2014 18:47:37 GMT
|
I had a tinker tonight, firstly by dismantling the indicator storks to see if I could spot anything obviously wrong. I unclipped this little cover and dropped the white plastic bit on the floor, after finding that and seeing no problems in there I set about resembling it but that little spring had other ideas and it shot past my face! 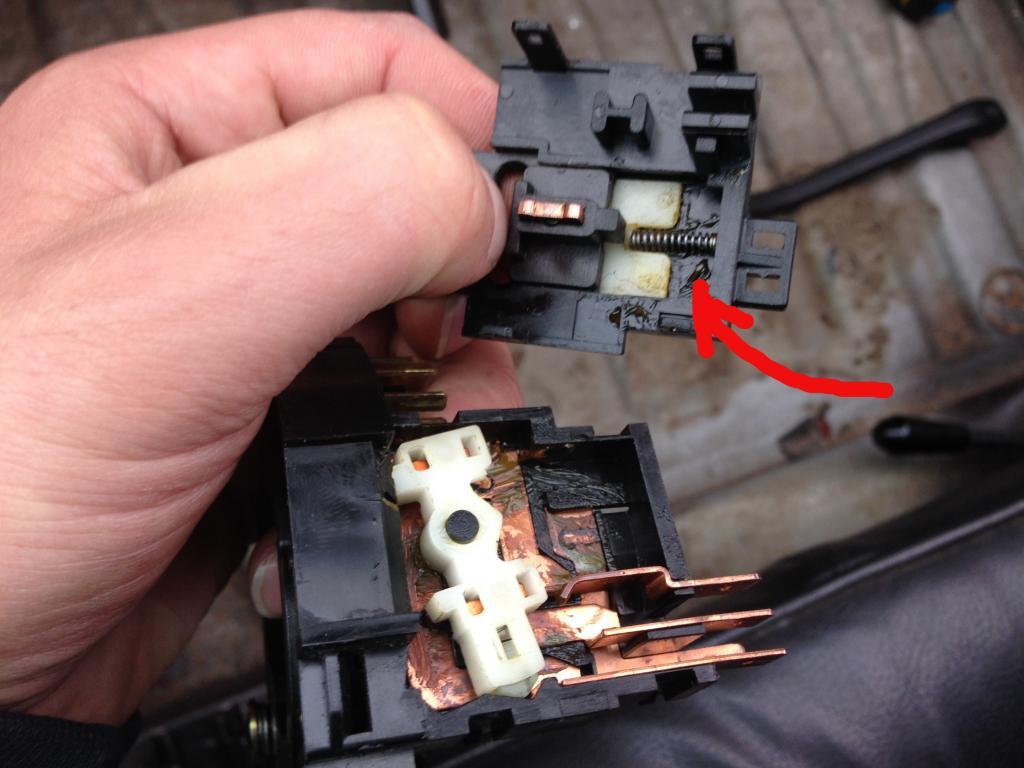 I saw it go up but didn't see it come down so I was searching up on top of the column, in the loom, in the heater ducts, everywhere but I couldn't see it. I went in the house for a lamp and then kept looking but found nothing. I had pretty much given up and was sat in the seat quite annoyed with myself when for some reason I put my hand on my head and there it was stuck in my hair! I didn't see anything wrong with the stork so I reassembled it and refitted it. It turns out the bottom screw that holds the stork on had stripped most of its thread... 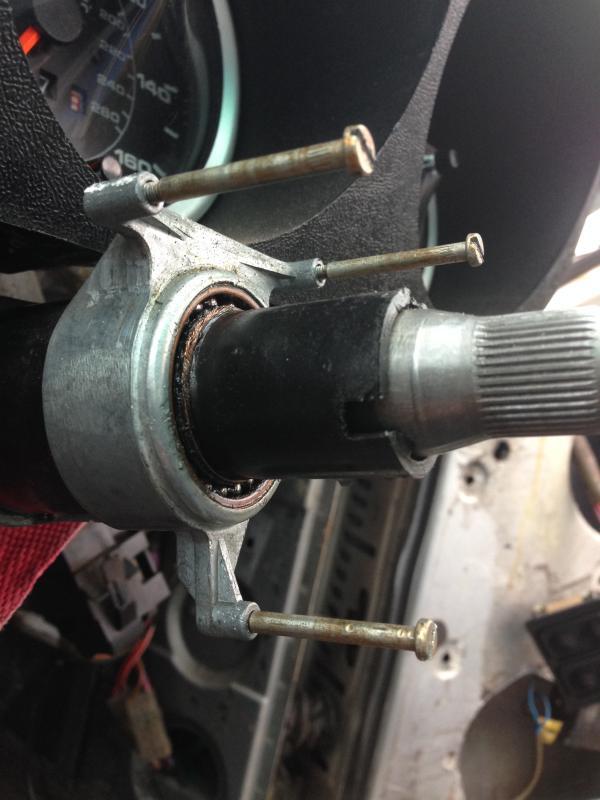 ... the bottom one could slide in that far but could just manage to cling onto the last turn of thread. I think this was the problem as it was allowing flex in the stork housing. Luckily the mount is threaded all the way through and there was plenty of thread left further down. I found a longer screw and sleeved it with some heat-shrink... 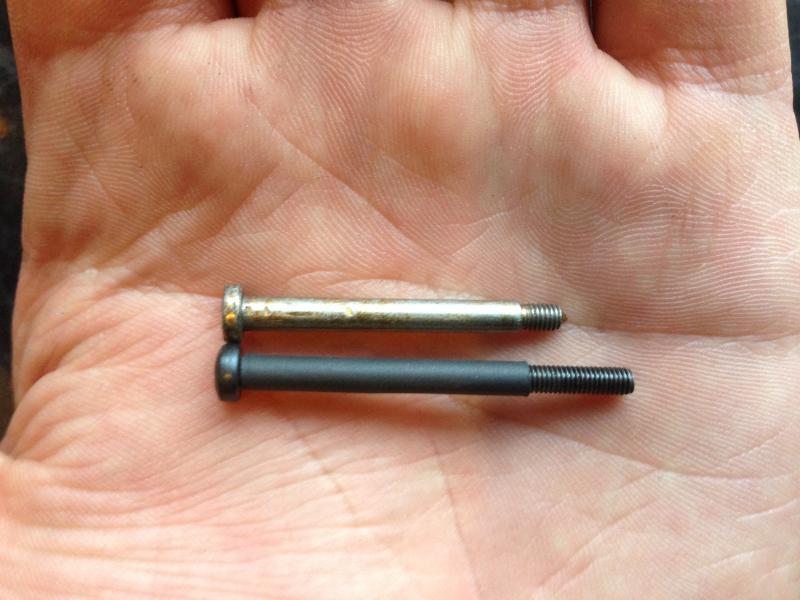 ...and bolted it back in firmly. First impressions are that that's fixed it  . But the horn has stopped working again!  I could hear the relay clicking and the horn clicking too, so I tested it direct onto a battery and confirmed its dead for good this time. I have fitted an old spare one... 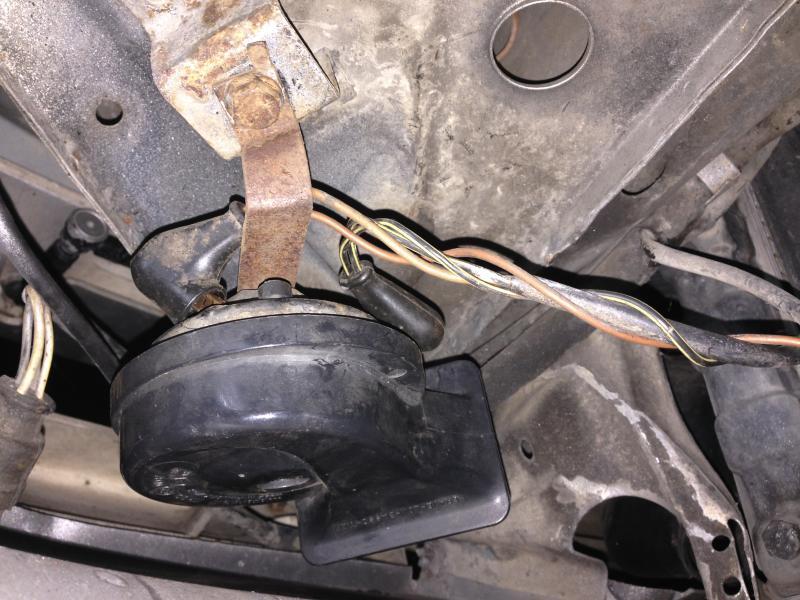 ... this one is a single horn and it earths through the chassis so there it some redundant wiring but its working and that's what counts. I took a cheeky test drive round the block and surprisingly The Shonky Rocket seems to be functioning pretty well now! The brakes were working better and all the essentials seem to be working  . -Steve- |
| |
Last Edit: Dec 31, 2017 13:52:36 GMT by stevek
|
|
stevek
Yorkshire and The Humber
Posts: 728
|
|
Oct 25, 2014 18:22:57 GMT
|
Its a very picture heavy update today, but not so many words. The bottom of the drivers side front wing has a big rust hole so I picked up a wing on eBay for 99p... 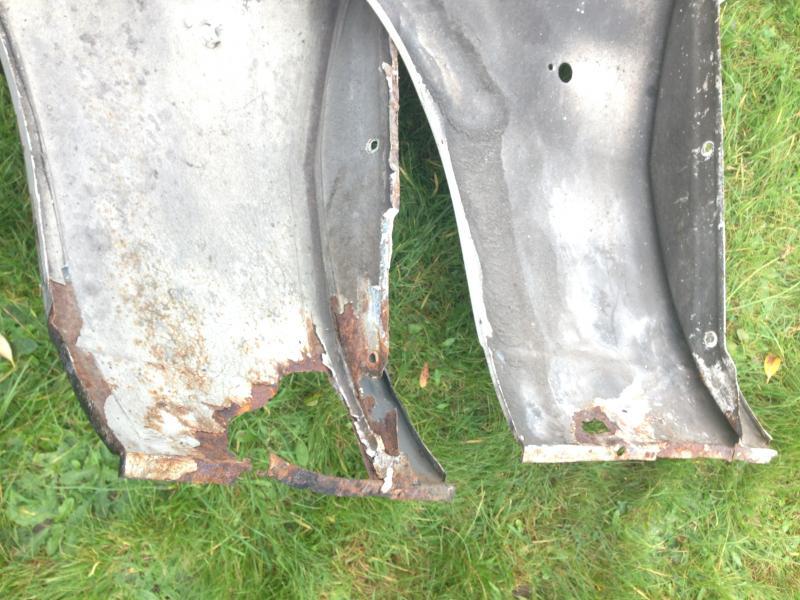 ...which is less rusty but has a big dent on the front end. The aim is to make one good (ish) wing from the two. I'm not looking for perfection but would like something better than a rusty hole and massive dent. It would seem to make sense to just cut the bottom piece off the rusty wing and use the other as a repair piece but there is a deep double fold which I couldn't work out how to tackle. Instead I decided cut them in half and use half of each wing. I needed to make sure I cut them both in the same place so I used a bit of cardboard and a bolt hole as the reference point... 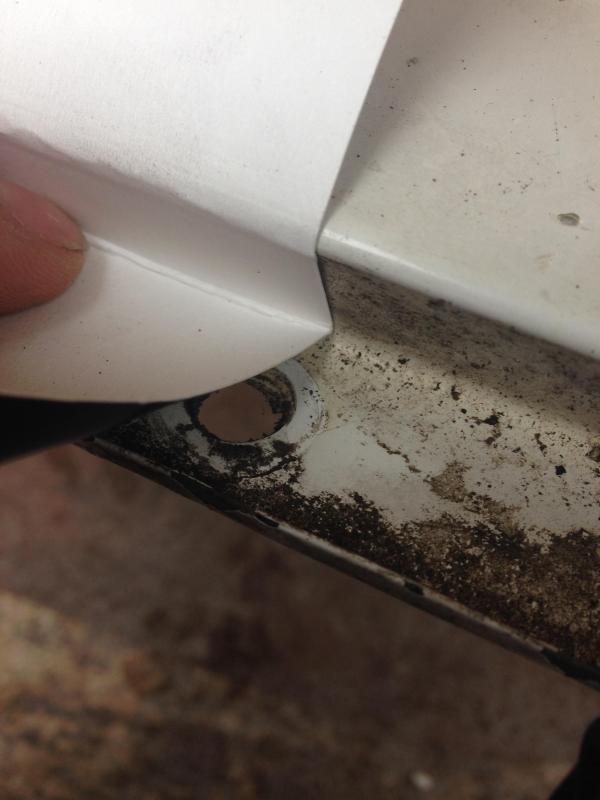 Marked the line... 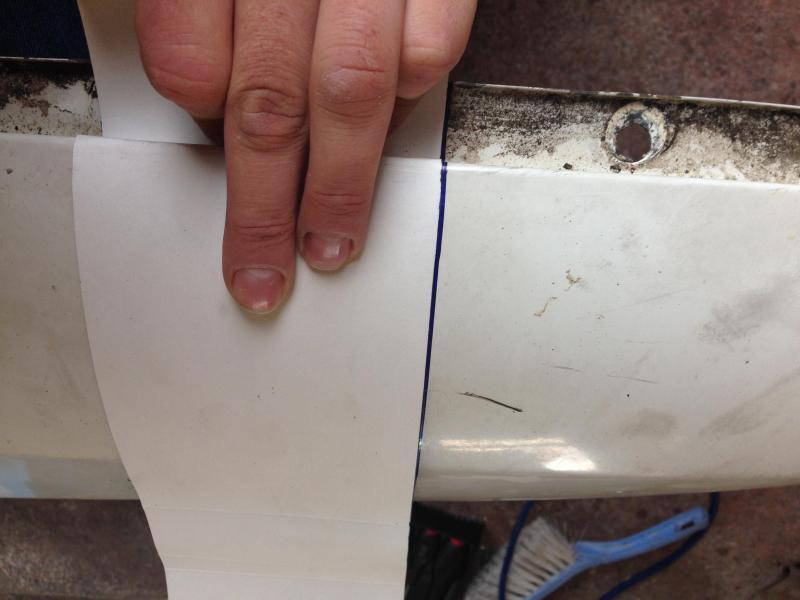 Both marked up... 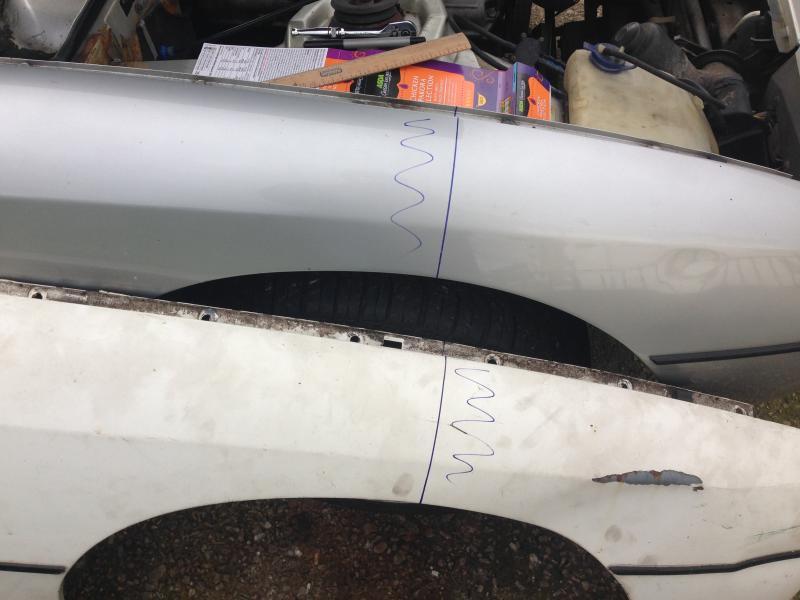 And chop... 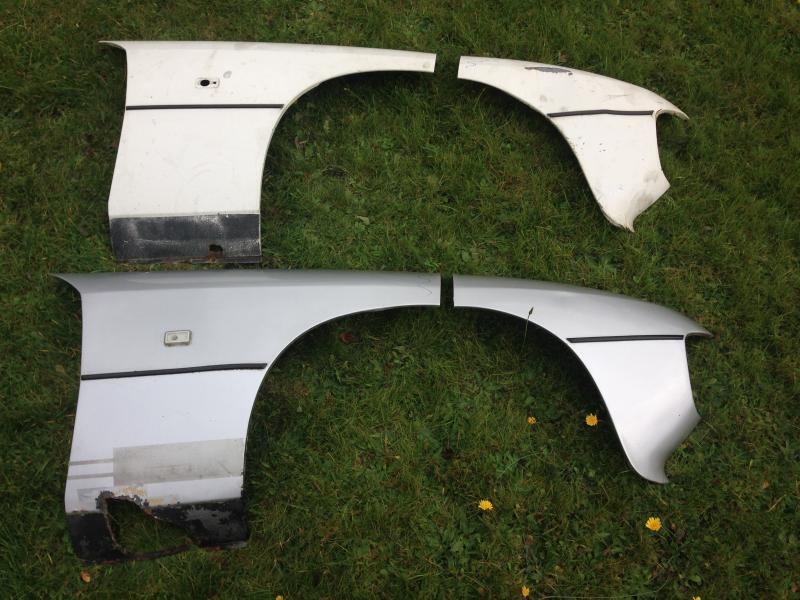 Bolted back up... 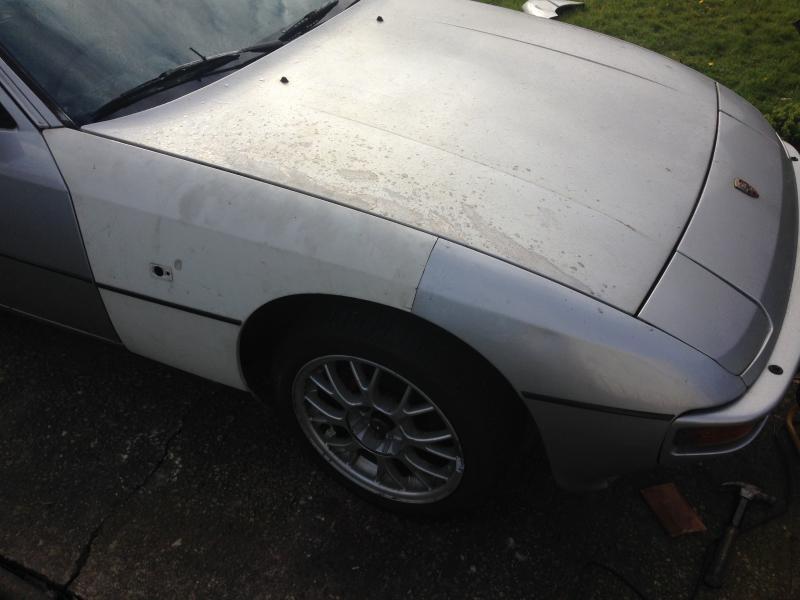 It needed a little tweeking but came out better than I had expected... 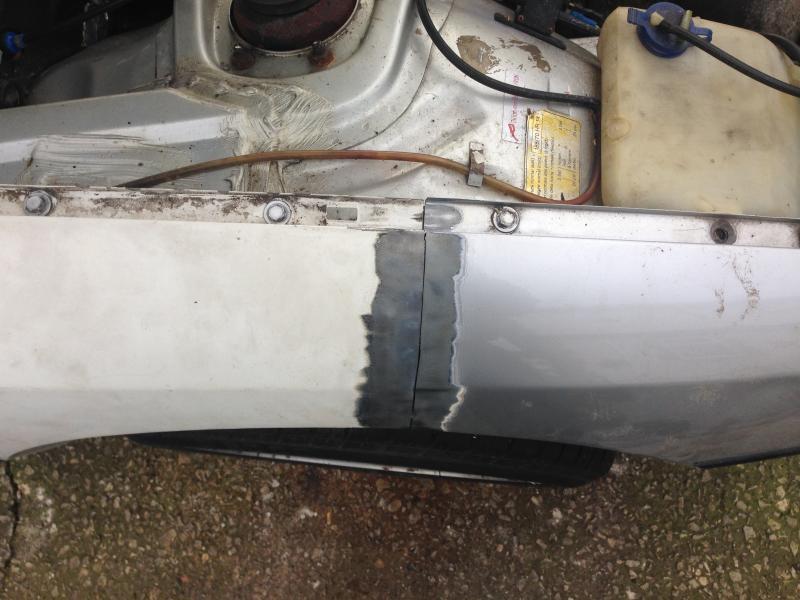 I have had some issues starting welds on cold metal so this time I pre-warmed it with a heat gun. 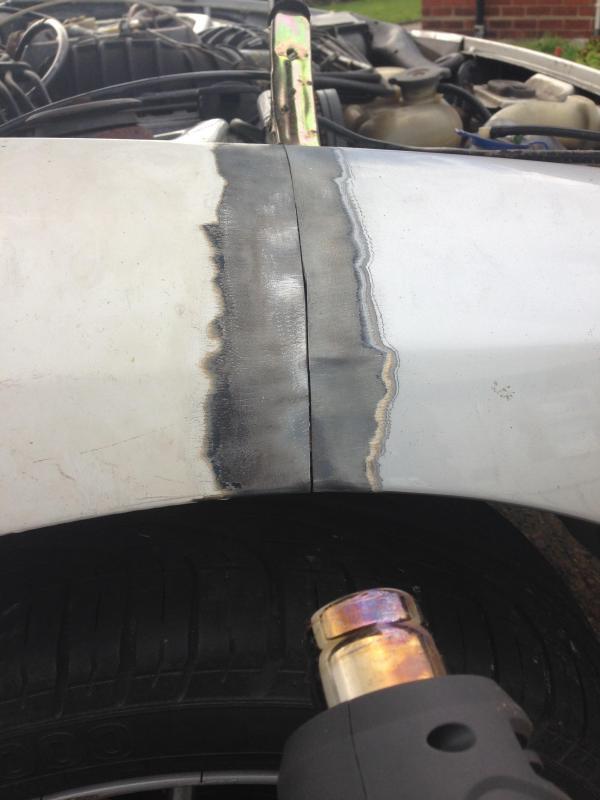 I tacked the bottom and middle first and then joined them up... 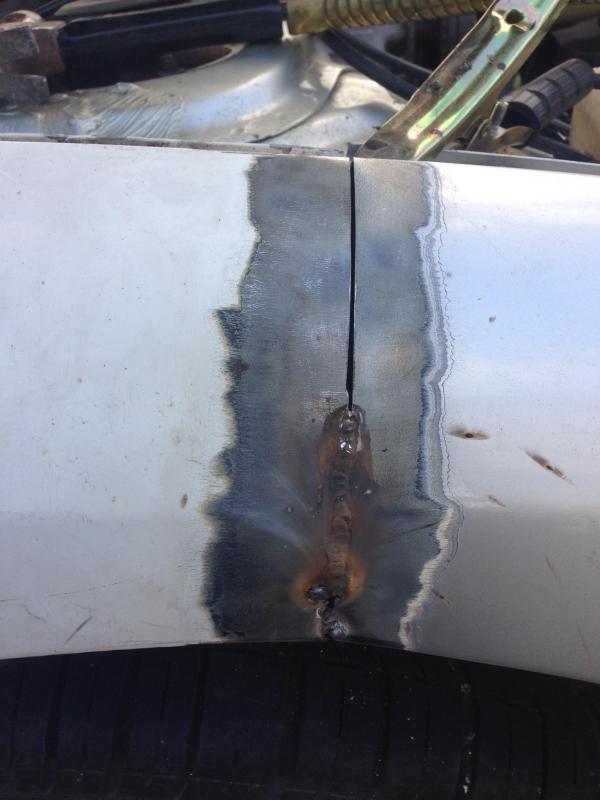 Carried on... 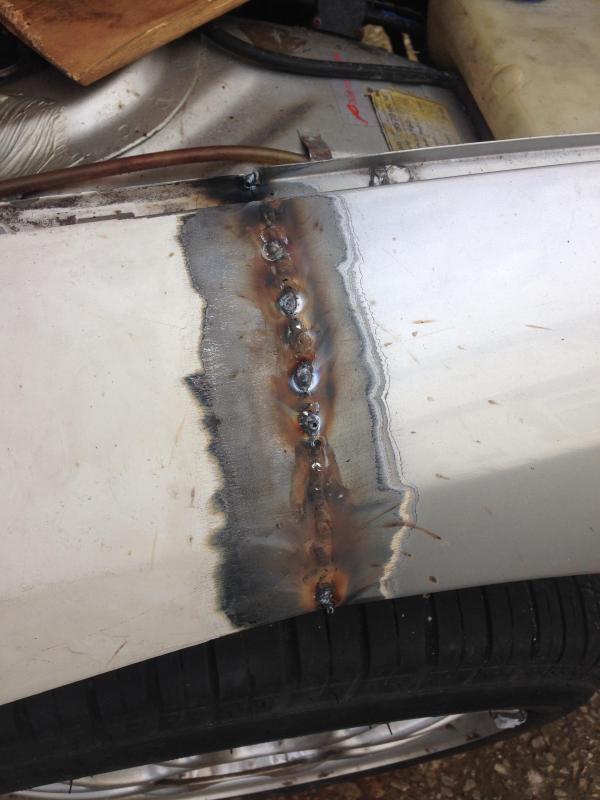 Ground back... 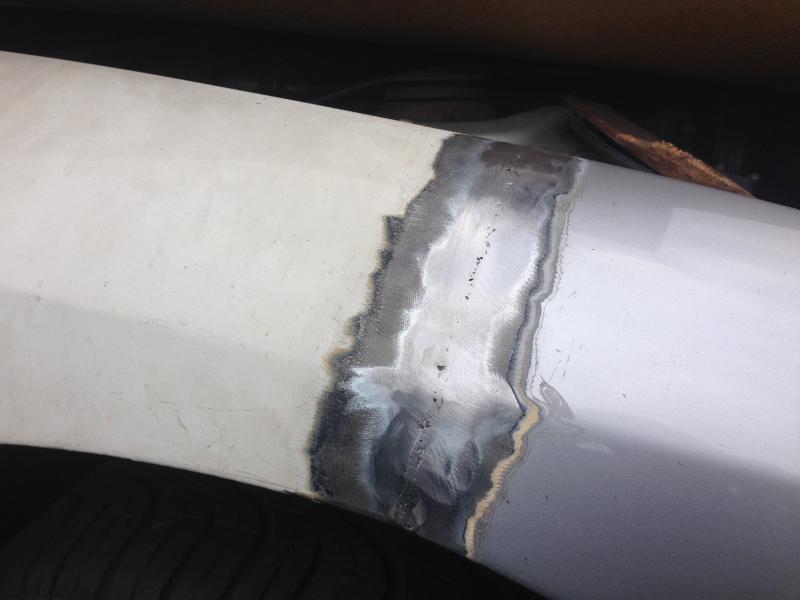 Inside looked OK to me... 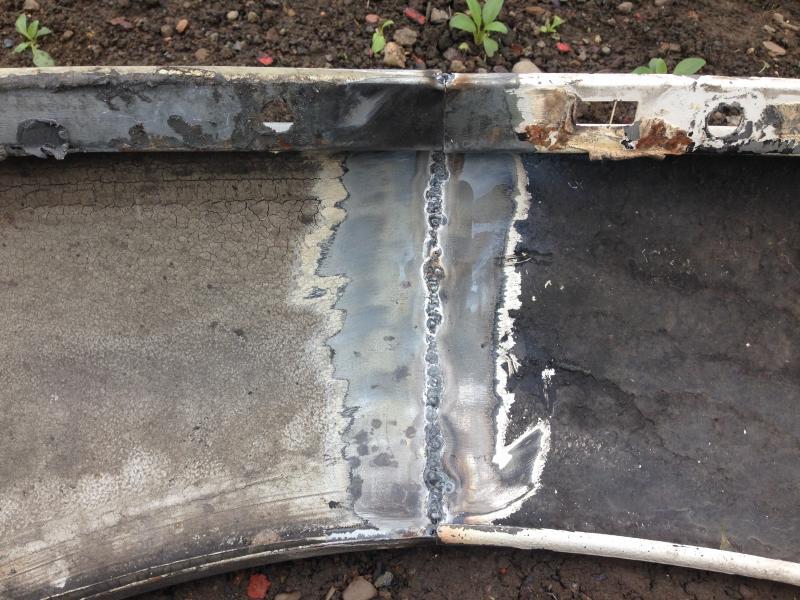 Next up was to repair the little rust hole at the bottom... 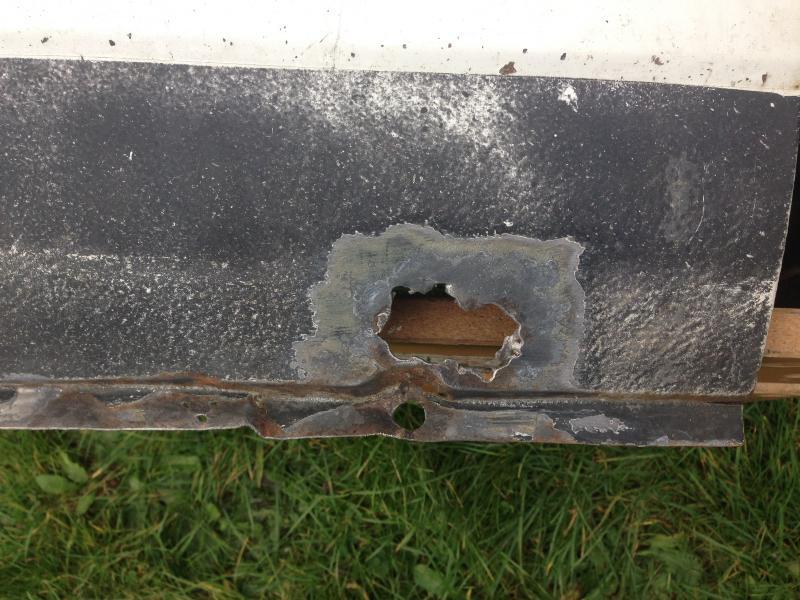 There was just enough left on the other wing to cut a repair piece... 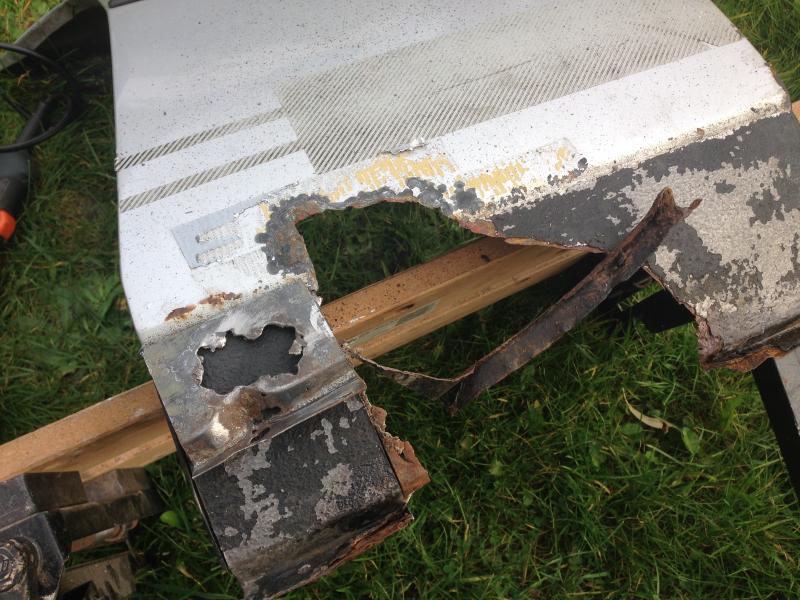 It's not ideal but was much easier than making a new piece to fill the gap... 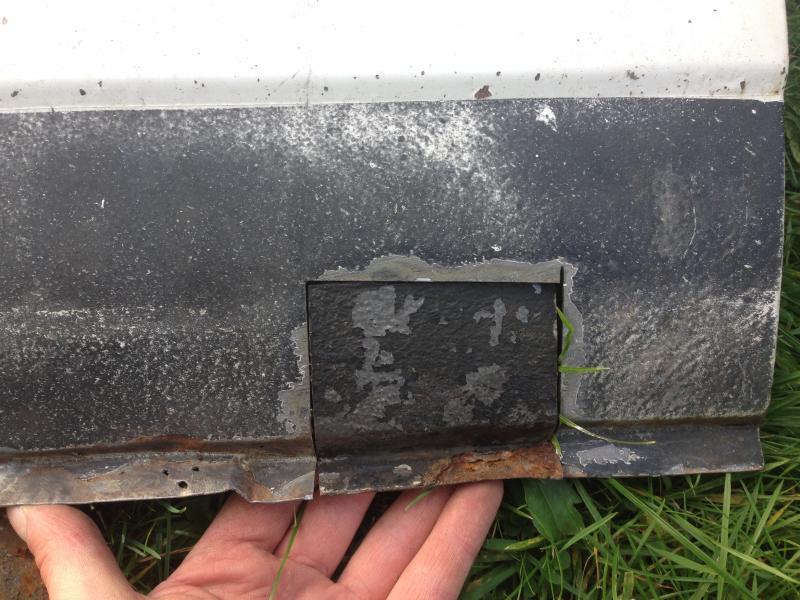 I'm starting to master the back street garage art of welding rust to rust! ... 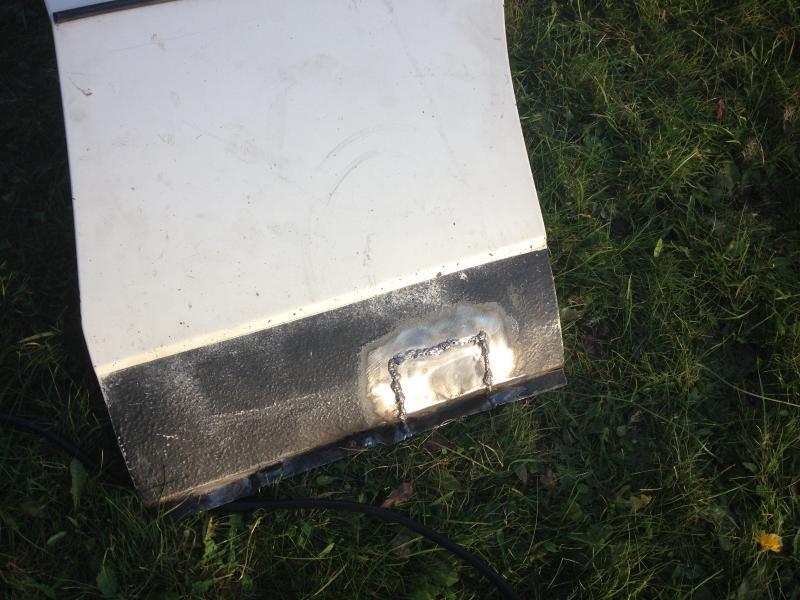 The frankenwing... 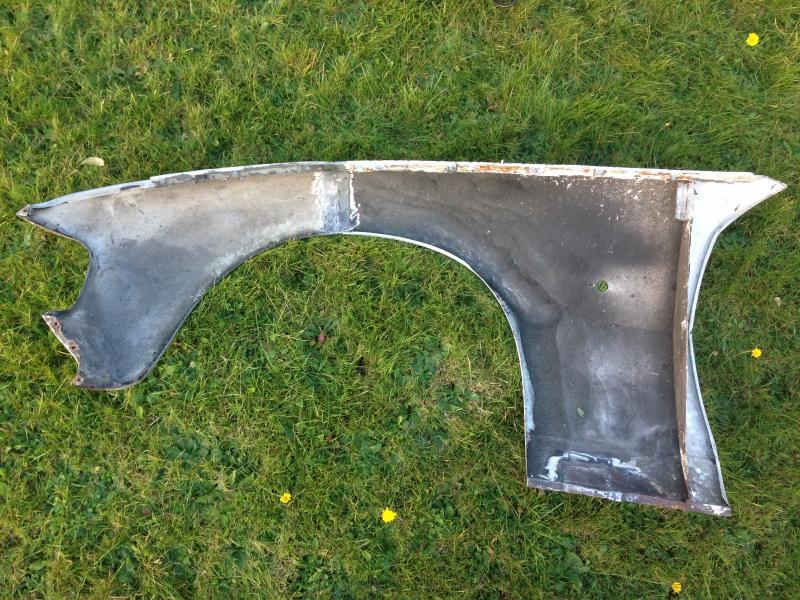 It still fits, pretty well in fact, but not 100%. The shut line is good and the swage line is good too, but the arch line has a little bit of a kink to it... 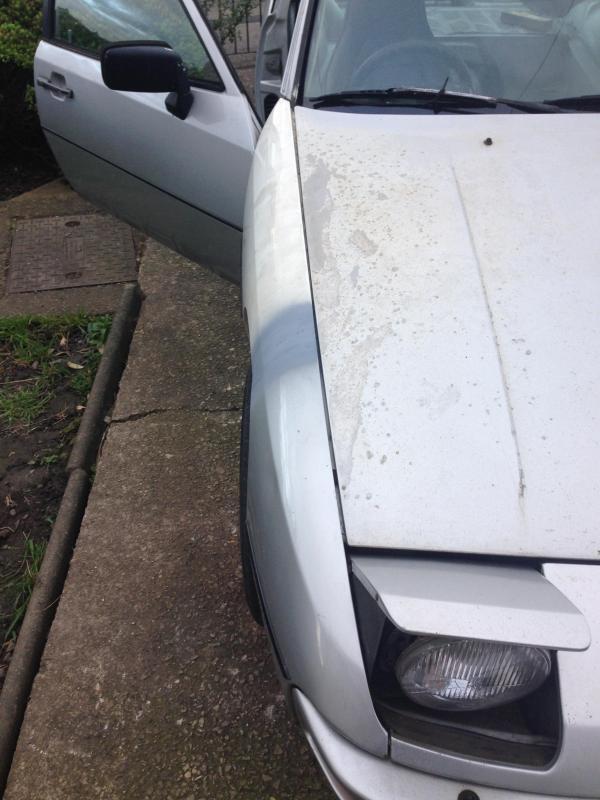 That is just a coat of primer to get some protection on it, no filler yet... 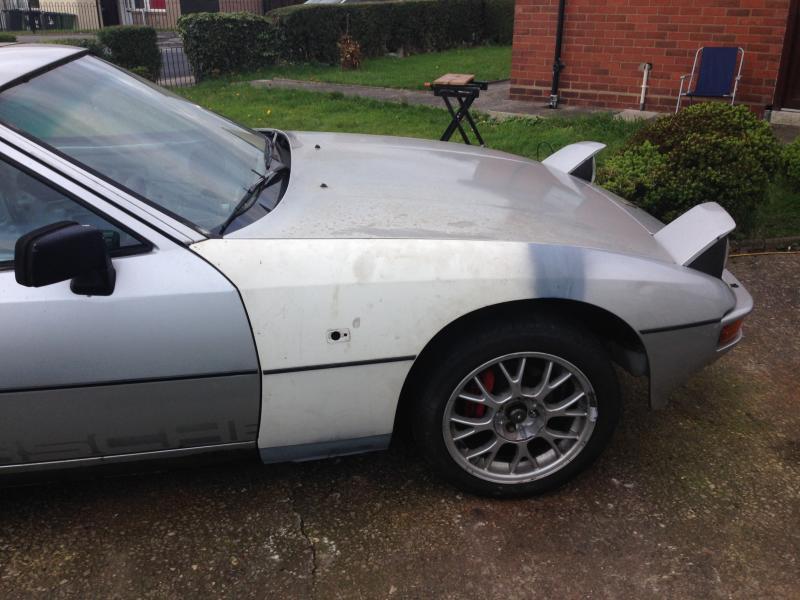 It may stay looking like this for a while. It was more about getting rid of the 'sharp edges' ready for an MOT than about the appearance at this stage... 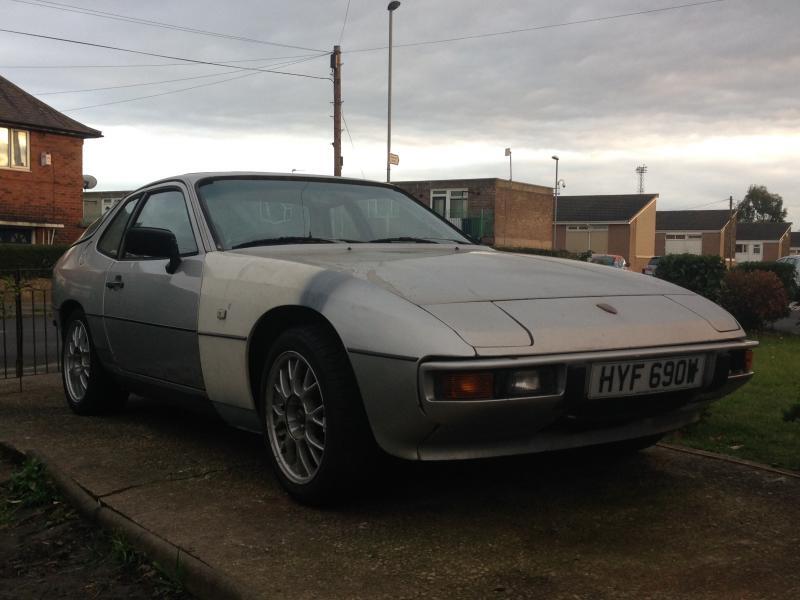 That's all for today, well done if you made it all the way through today's post! -Steve- |
| |
Last Edit: Dec 31, 2017 13:58:44 GMT by stevek
|
|
stevek
Yorkshire and The Humber
Posts: 728
|
|
Oct 26, 2014 17:06:59 GMT
|
This afternoon I put a skim of filler on it... 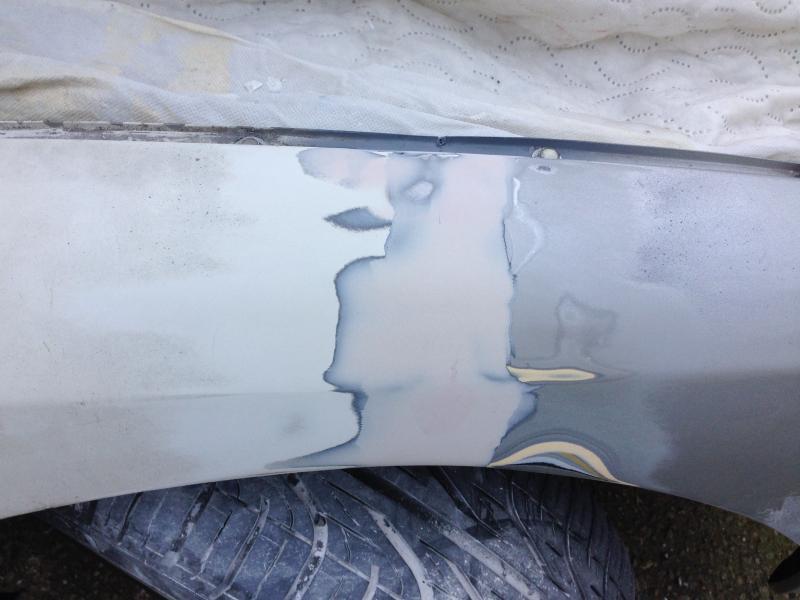 It hardly seems worth the effort though with such bad paint on the bonnet! (and the rest of the car too)... 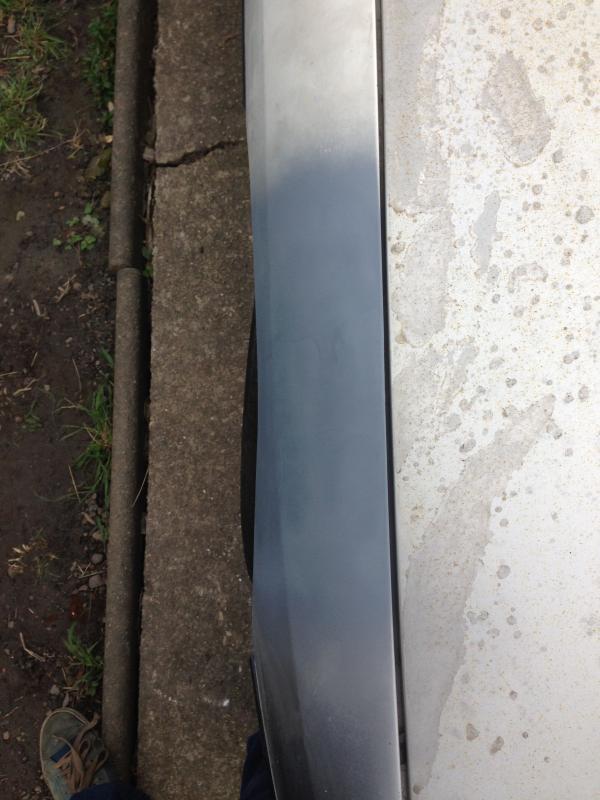 ... but I am pleased. -Steve- |
| |
Last Edit: Dec 31, 2017 14:00:58 GMT by stevek
|
|
|
|
|
Oct 26, 2014 18:58:21 GMT
|
|
This takes me back. I've had 5ish 924/44 I think. I've started to look for another before they do the aircooled pricing revolution.
|
| |
|
|
|
|
|
|
|
Oct 26, 2014 19:44:56 GMT
|
|
What a bargain for £50! Well done saving it bud, love the wheels and the colour, keep at it and keep the pics coming.
|
| |
|
|
stevek
Yorkshire and The Humber
Posts: 728
|
|
|
|
Last weekend I tidied up the trailing wiring loom and changed the wipers etc. I had an MOT test booked for Sunday afternoon, I was pretty excited (and also a bit nervous). I took the car up there only to find out they didn't have a tester available! Anyway this is how it looked... 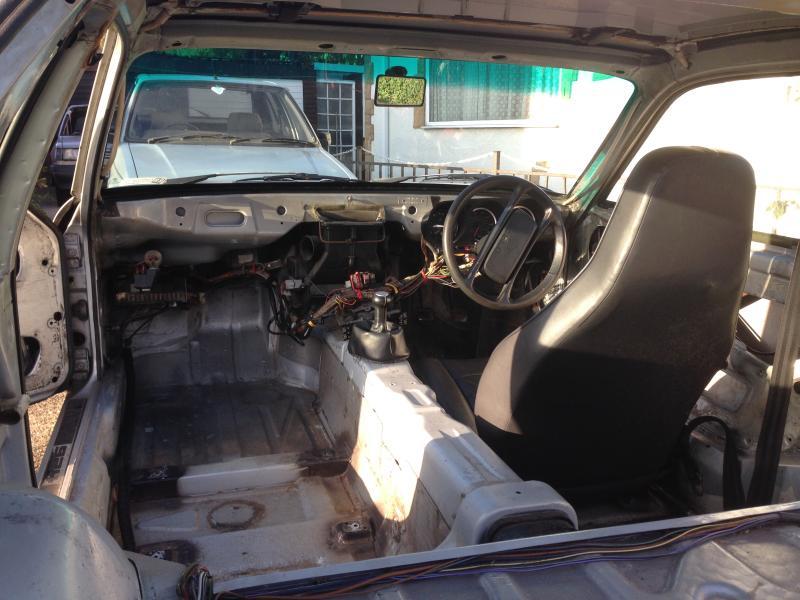 Headlight switch ziptied to the ignition barrel... 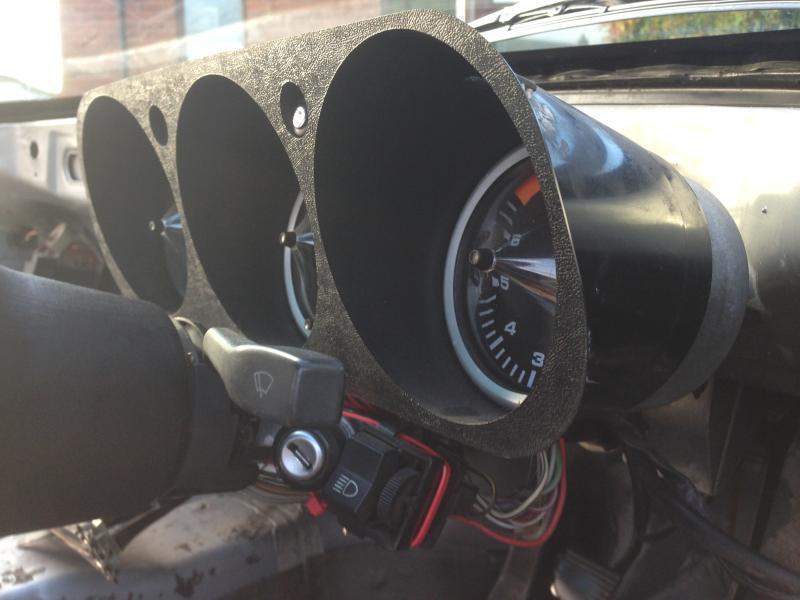 Hazard & fog light just tied to the loom... 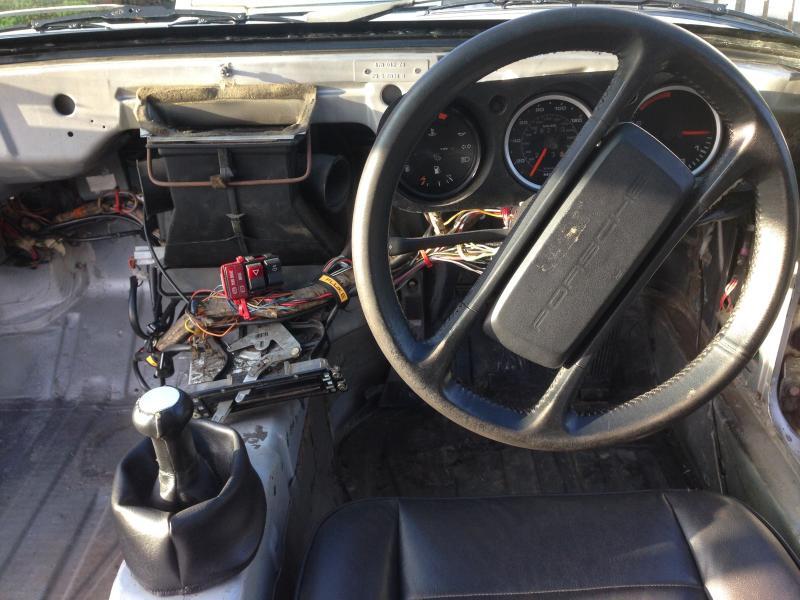 Quite empty... 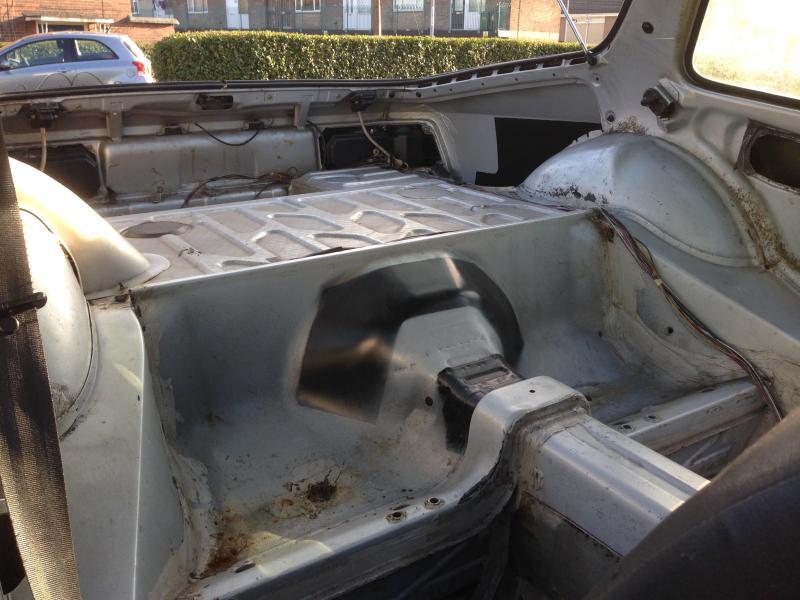 Is it ready? 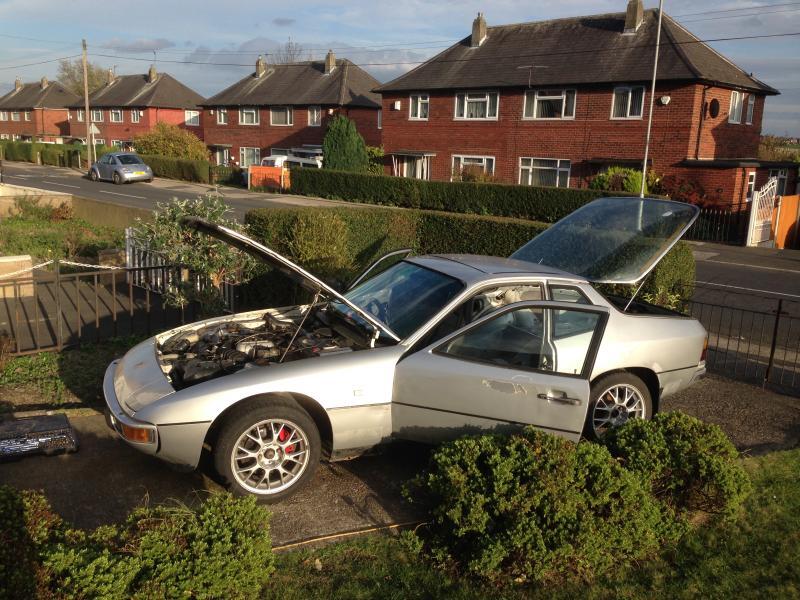 |
| |
Last Edit: Dec 31, 2017 14:02:39 GMT by stevek
|
|
stevek
Yorkshire and The Humber
Posts: 728
|
|
|
|
Well today I got to find out... 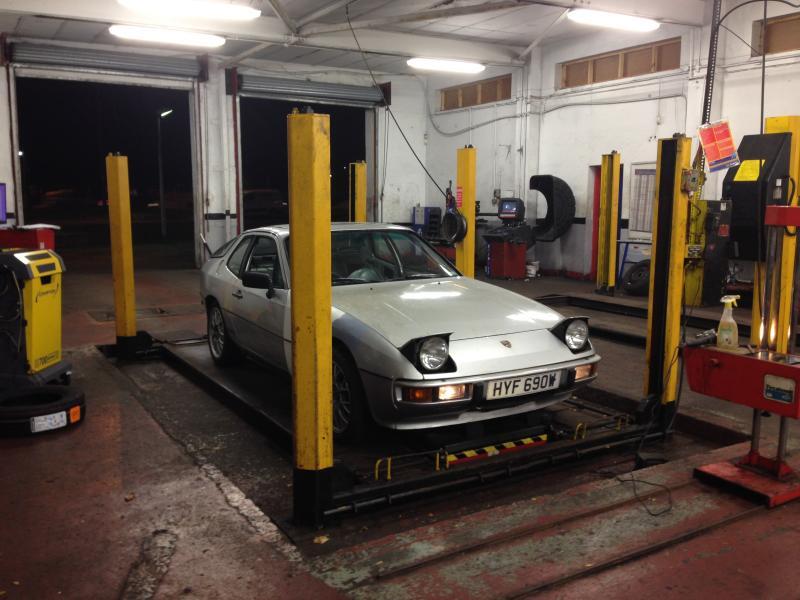 And got a nice surprise... 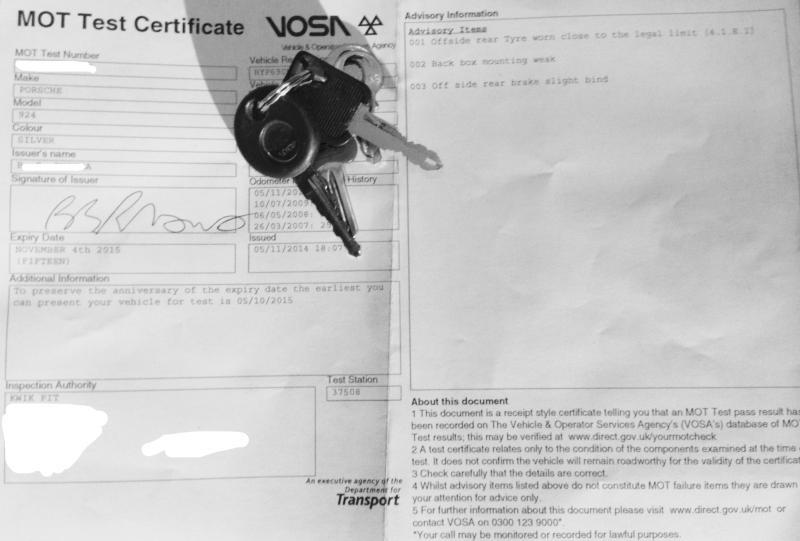 :party: :party: :party: -Steve- |
| |
Last Edit: Dec 31, 2017 14:03:45 GMT by stevek
|
|
|
|
Ian
Part of things
 
Posts: 977
|
|
|
|
|
Congratulations, it seems like its been worth the effort you have put in!
|
| |
|
|
|
|
|
|
|
Great news!! Health to enjoy  |
| |
|
|
stevek
Yorkshire and The Humber
Posts: 728
|
|
|
|
varelse, Ian, baggabones - Thanks for the comments. I wanted to update with some 'out on the road' pictures really, but a week on and I still haven't sorted out the insurance and tax yet  . It seems a bit trickier to get insurance if you declare 'has no interior', many places won't quote at all. I had the similar trouble insuring my LHD import Toyota (non original 5K engine) too, I just need to ring more places. I'll try harder tomorrow. -Steve-
|
| |
|
|
|
|
|
|
|
|
Just been catching up with this thread. More very nice work going on and well done on the ticket. "Another twelve months trouble free motoring, Sir". Yeah right!
|
| |
|
|
stevek
Yorkshire and The Humber
Posts: 728
|
|
Nov 12, 2014 15:20:33 GMT
|
All the documents are now in order, it's legal and ready to roll. georgeb - Never mind "Another twelve months trouble free motoring, Sir" I'm half expecting it to breakdown as soon as I turn out the end of the street! Well I'm going to find out in about 10min, I'm going out for a drive. |
| |
|
|
|
|
|
Nov 13, 2014 12:57:42 GMT
|
|
I hear cling/glad/ceran/plastic wrap is a suitable interior cladding. And it stops the ingress of water!
|
| |
|
|
|
|
 My breaker bar is 1/2" and was right at its limit, but I would expect a 3/4" bar + scaffold bar extension to breeze it. I hope mine are done up sufficiently tight, I wonder how critical it is.


 My breaker bar is 1/2" and was right at its limit, but I would expect a 3/4" bar + scaffold bar extension to breeze it. I hope mine are done up sufficiently tight, I wonder how critical it is.


 .
.


 . But the horn has stopped working again!

 .
.


 . It seems a bit trickier to get insurance if you declare 'has no interior', many places won't quote at all. I had the similar trouble insuring my LHD import Toyota (non original 5K engine) too, I just need to ring more places. I'll try harder tomorrow.