madmog
Club Retro Rides Member
Posts: 1,160
Club RR Member Number: 46
|
1967 Morris Minor madmog
@madmog
Club Retro Rides Member 46
|
Sept 21, 2011 22:22:46 GMT
|
Some Morris Minors had plain steel window surrounds and quarterlights & others, I think Travellers had them in stainless steel. The surround isn't usually a problem but the non stainless-steel quarterlights always seem to rot as condensation finds its way between the glass and steel. I picked up a stainless steel quarterlight with slightly weld-spattered glass at a Minor show so removed the glass (which I gave away at the next year's Minor show). With my original quarterlight, the reusted steel virtually fell away. 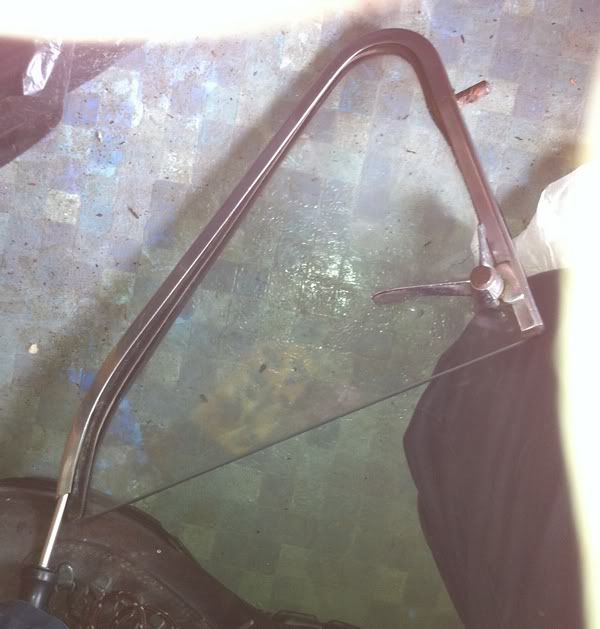 Good glass removed. New wiring loom lurks below. 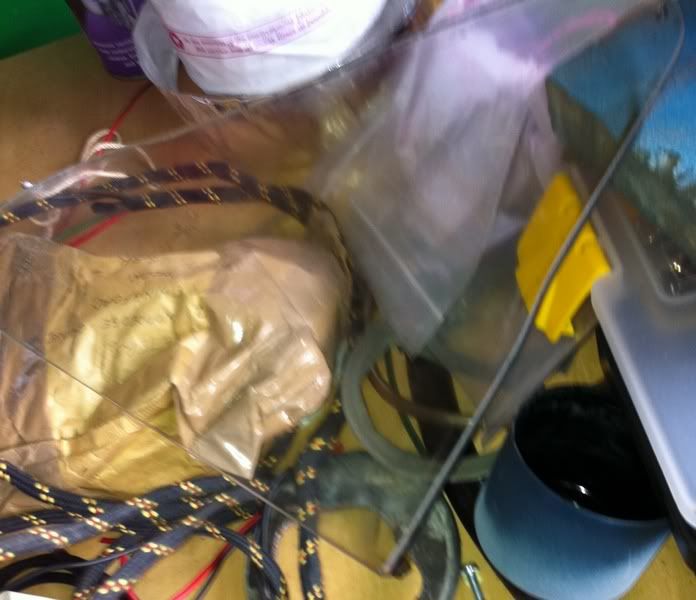 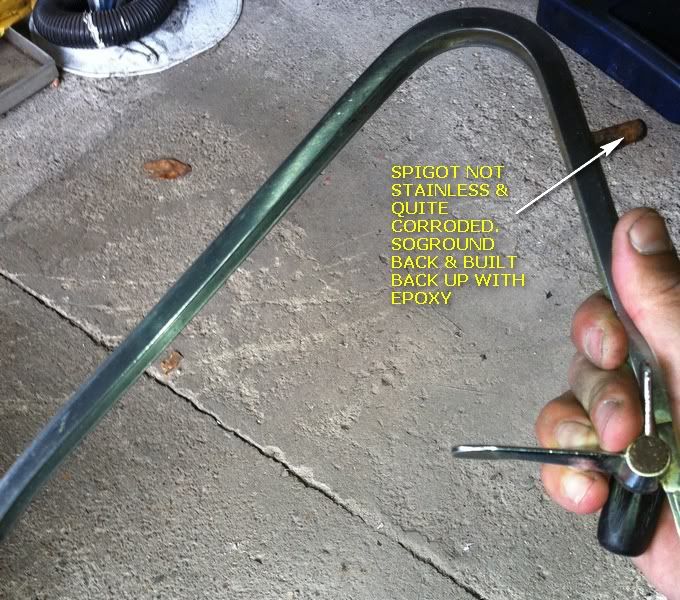 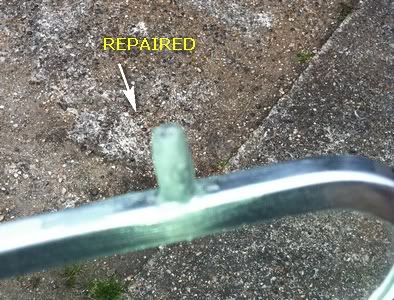 Ultra grabby glue/tigerseal. razored off the glass once cured. 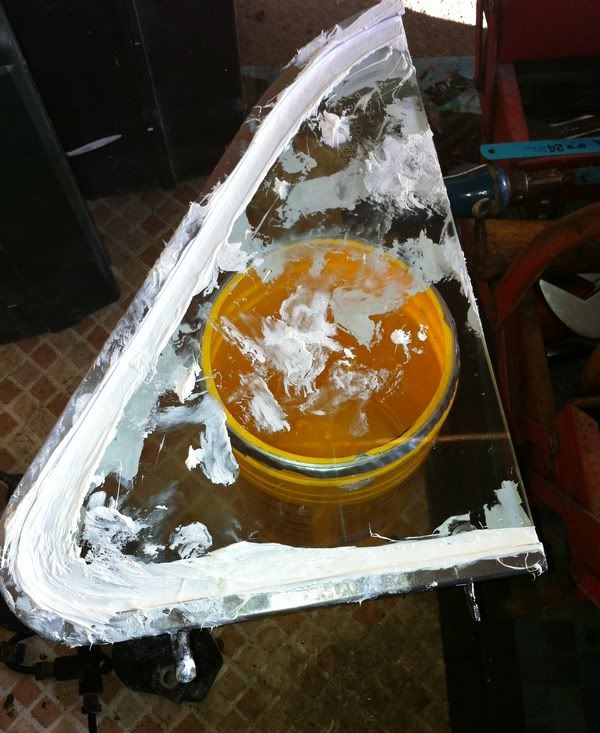 Masked up & aerosoled 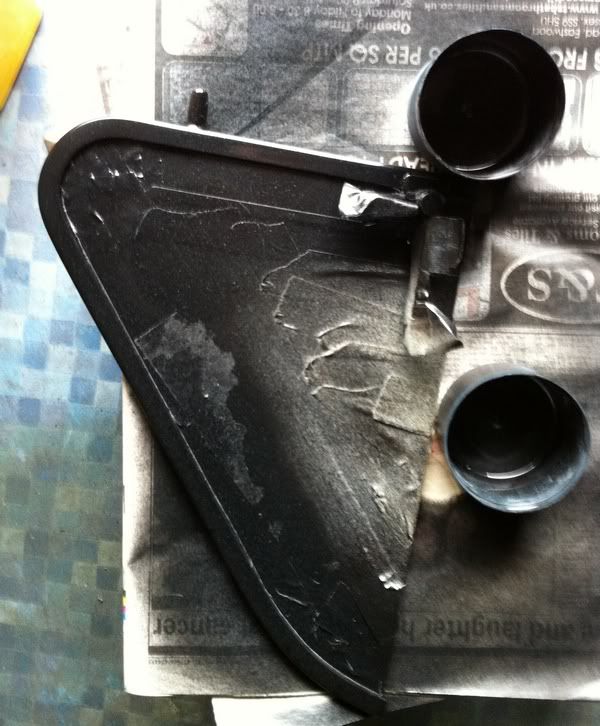 Refitted 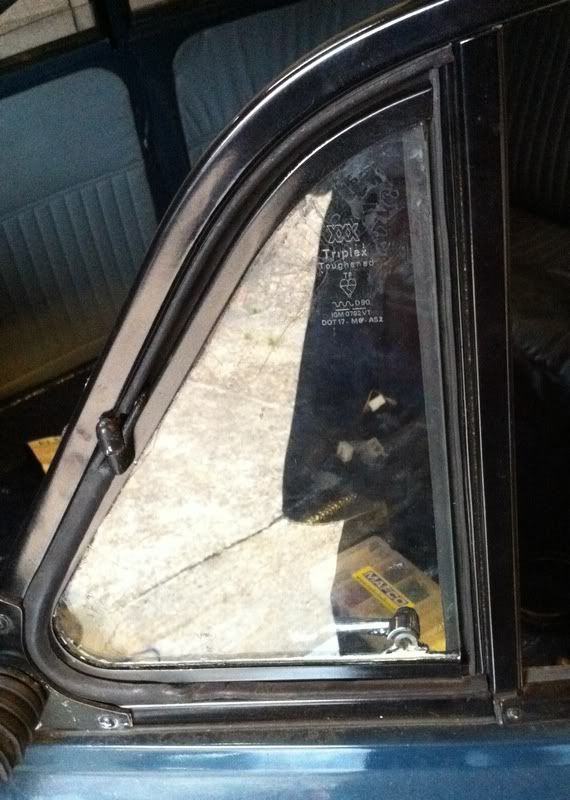 |
| |
|
|
|
|
madmog
Club Retro Rides Member
Posts: 1,160
Club RR Member Number: 46
|
1967 Morris Minor madmog
@madmog
Club Retro Rides Member 46
|
Sept 21, 2011 22:39:52 GMT
|
Fire effects on wiper. wiper worked but little plasticy relay switch didn't work quite right so replaced. Note to any Mini owners, if your wiper motor is playing up, it's probably the plastic part the wires go into. You can try opening it and bending the bronze arms or new switches are out there.  Lump of ally for mounting wiper can be a lot smaller and curvier so this will be cut about as will be seen  Wire brush in angle grinder makes short work of the crud  Prime directive 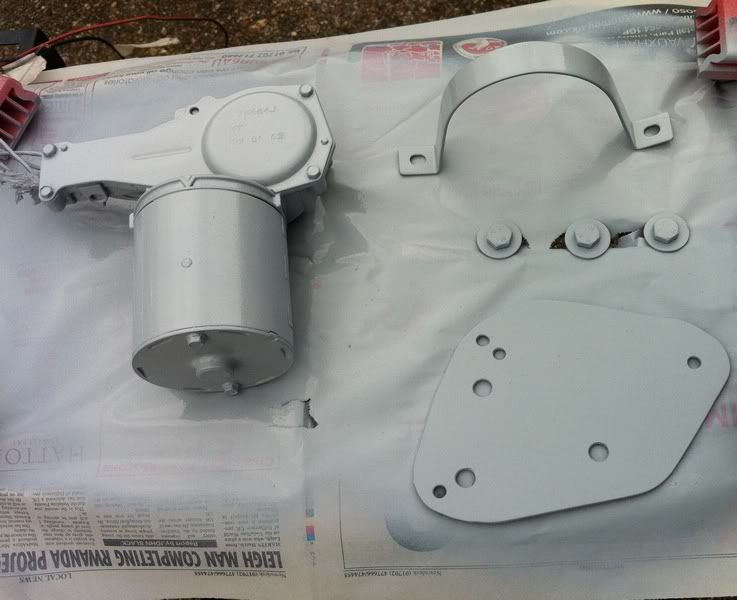 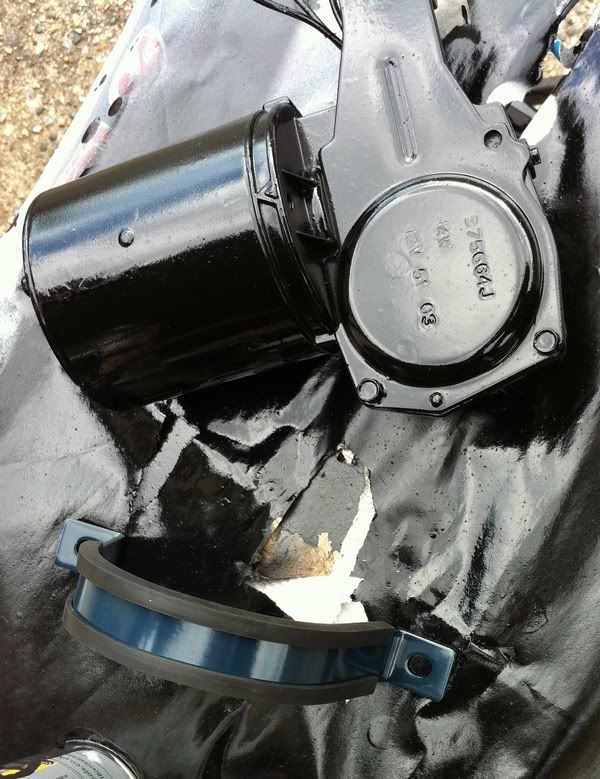 Not to self, black electrical tape (the non sticky type) over the red wires later. 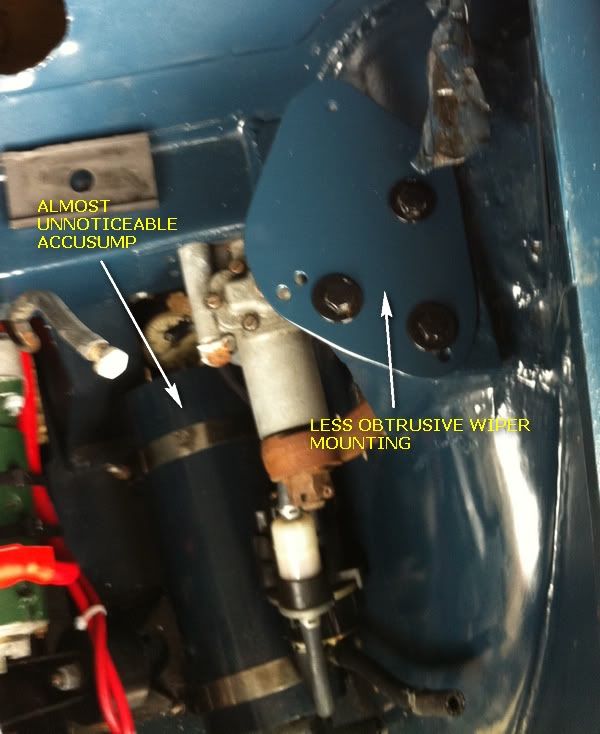 Much more factory 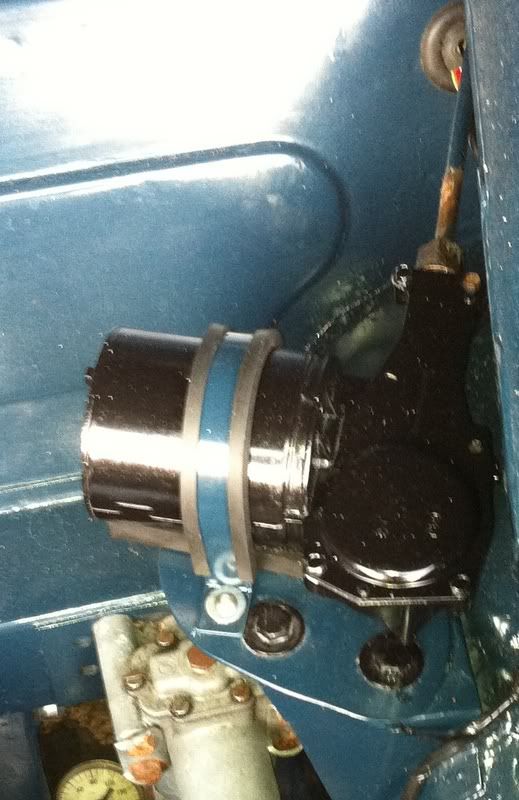 While the rattle cans are shaken and the weather is nice, a few more bits 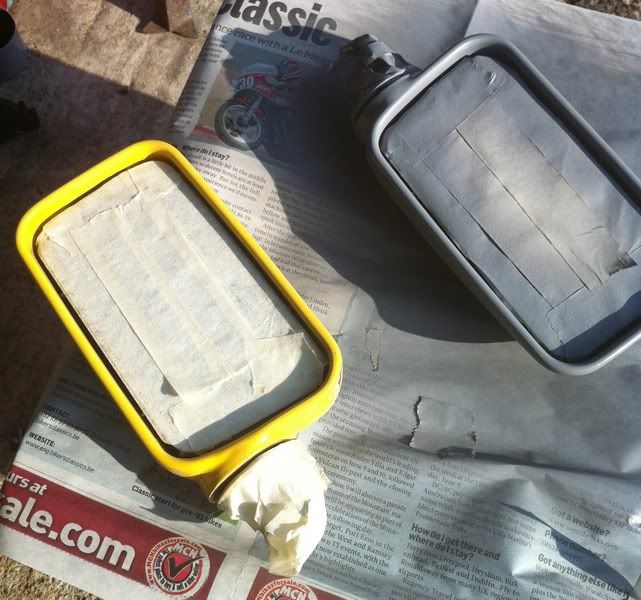 Baby Vittalonis my a*$e. These mirrors are Fiat Cinquacento. They are the same mirrors as Fiat Panda (currently fitted) but have a different attaching mechanism with a lever to allow adjustment from the inside. Rude not to. 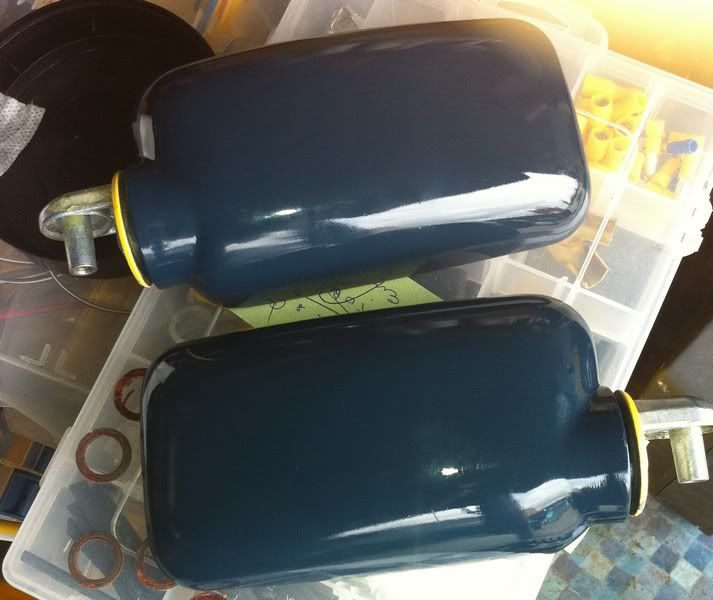 Rear light fittings 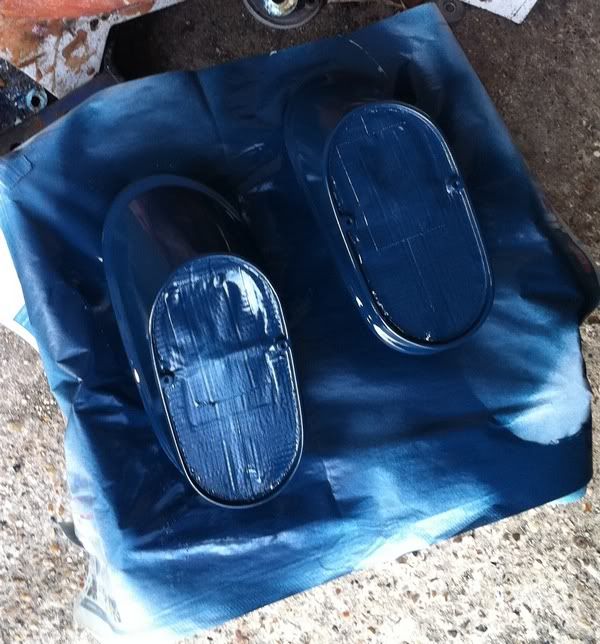 Glovebox baremetalled as it was quite grotty. Don't you just love how modern digital cameras can capture the orange peel?  Sand with 1200 grade and polishing paste later  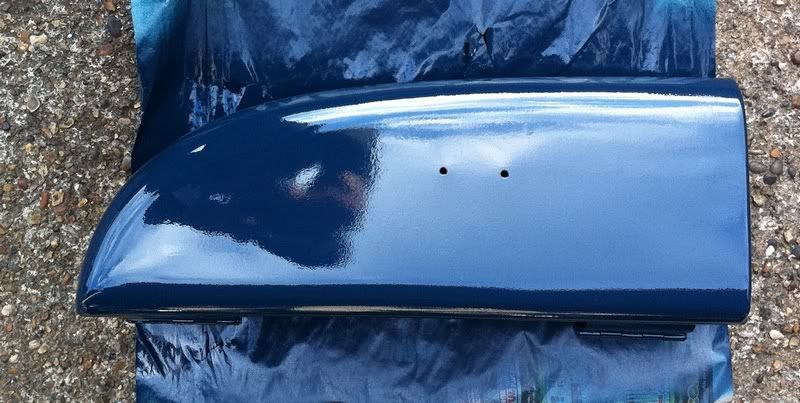 |
| |
|
|
madmog
Club Retro Rides Member
Posts: 1,160
Club RR Member Number: 46
|
1967 Morris Minor madmog
@madmog
Club Retro Rides Member 46
|
Sept 21, 2011 23:14:23 GMT
|
The Fiat engines in Minors sit quite low and forward of the front wheel-centres making the the sump vulnerable to being hit by speed bumps. I don't hoon around but some of the humps are quite nasty even at slow speeds. Time for a sump guard. I asked on here & aluminium seems to be the stuff to use. Square of aluminium sitting under car 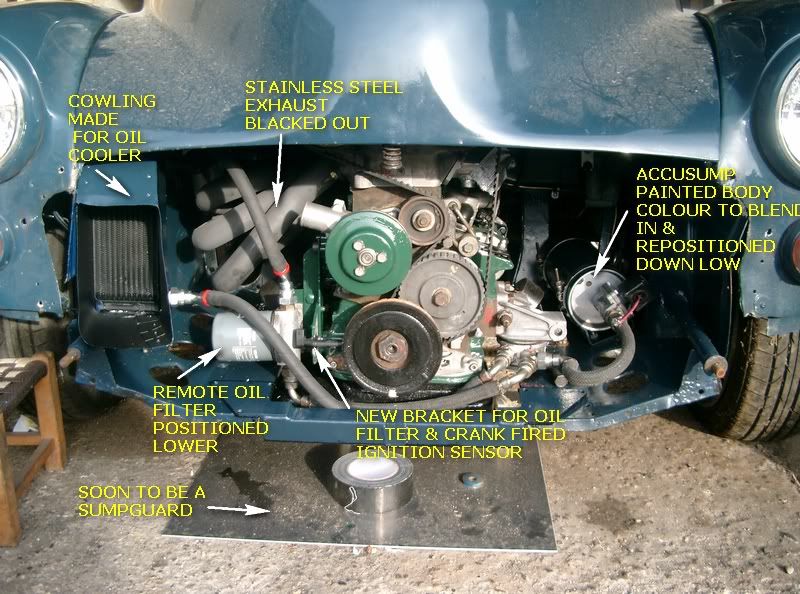 Cut to a shape where as much air as possible is still free to escape the engine bay without compromising protection. Hole for sump plug added. Heated and bent into shape with a club hammer. Or for the engineers, annealing and work hardening through plastic deformation. 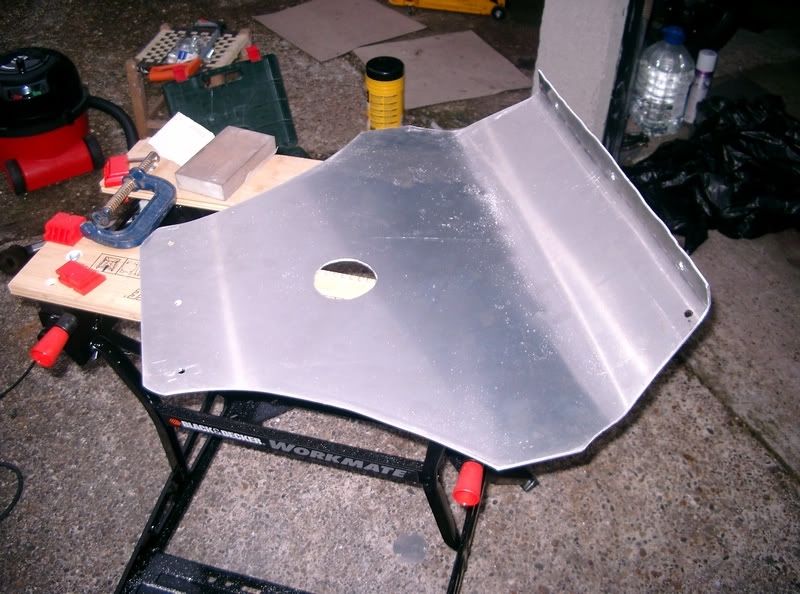 Extra chunk of checkerplate at the front. The checkers are ground down at the bolt area to allow the domed bolts to lie flush on the surface. 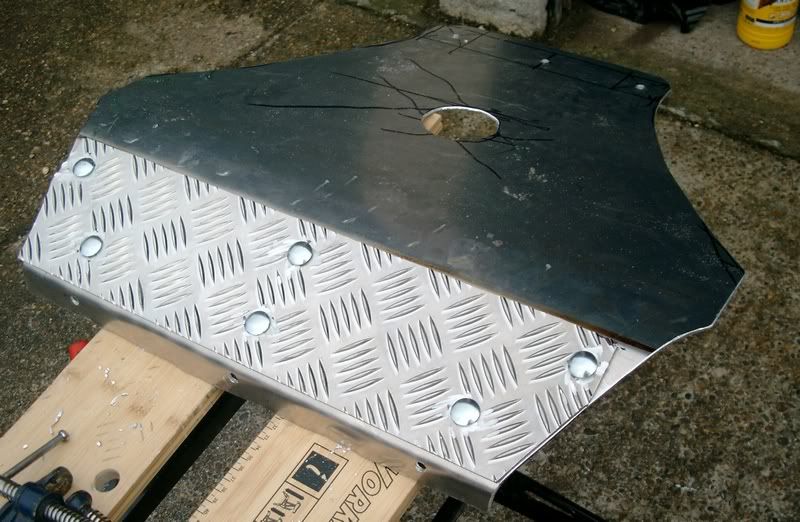 Visible part blacked out 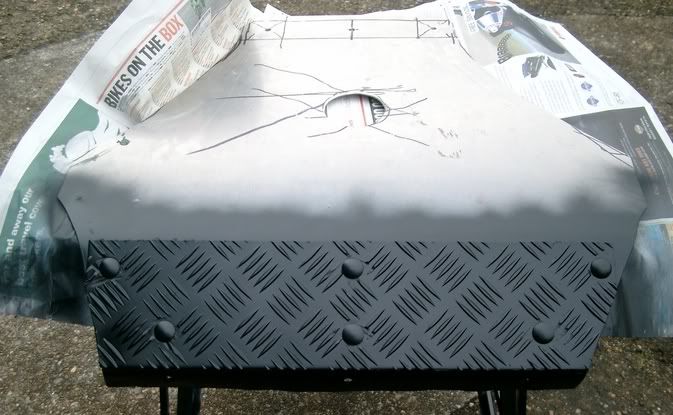 Finished. Just visible is camping mat foam between the sump and the sumpguard to prevent any stones getting in there and hammering their way through the sump (with thanks to J Beardmore for inspiration). 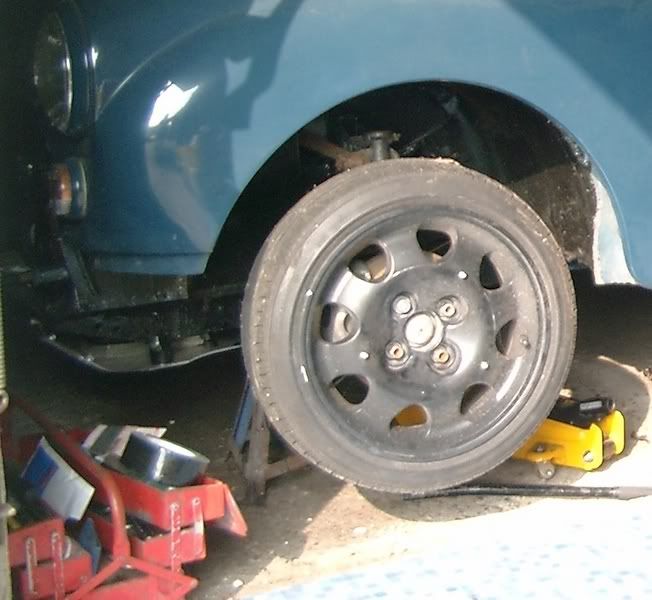 |
| |
|
|
madmog
Club Retro Rides Member
Posts: 1,160
Club RR Member Number: 46
|
1967 Morris Minor madmog
@madmog
Club Retro Rides Member 46
|
Sept 21, 2011 23:32:32 GMT
|
There were three (that I know of) types of front panel for the Minor. You almost never see the first two sorts. The first is known as a lowlight because the lights were lower. What most people know as a Minor front is actually a change from the original lowlight design to satisfy US light laws. I don't have a picture of one & don't want to pinch one so if you are interested, here's a link: www.flickr.com/photos/rxpell/4738282425/The second type of grill is similar to the first but with raised lights. I chanced upon a fibreglass copy of such a grill cheap at a Minor rally. so grabbed it since it was cheap and gave the possibility of a bit more engine room since their are no slats behind taking up space. Here's the grill put over my car. The indicator lights would need to be moved, possibly to where the inner holes are. The side chrome 'hockey sticks' are slightly different on the early panel also. 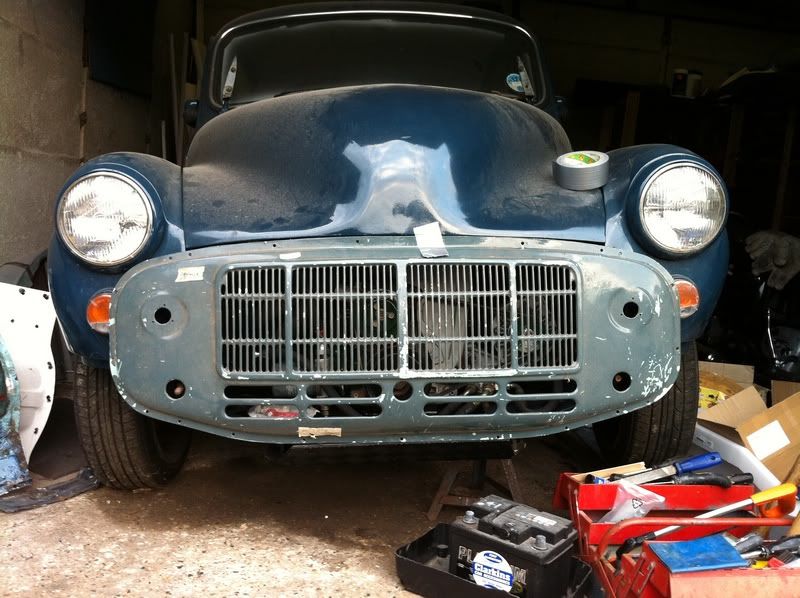 In the end I decided to stick with the original* panel but reinforced the spindly areas with a bit of kevlar and added extra fibreglass as it was quite flimsy generally. I sold on the early panel. *Its not an original metal panel but the fibreglass one that's been on for many years. 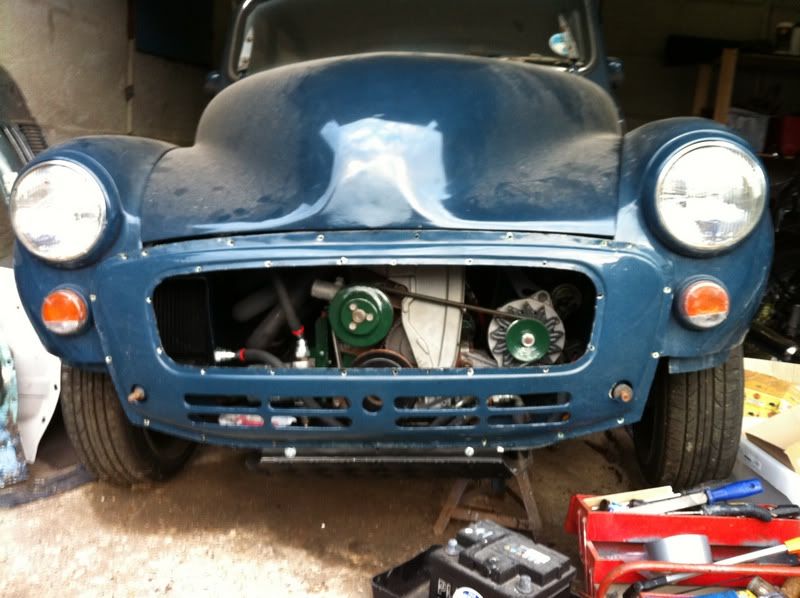 |
| |
|
|
madmog
Club Retro Rides Member
Posts: 1,160
Club RR Member Number: 46
|
1967 Morris Minor madmog
@madmog
Club Retro Rides Member 46
|
Sept 21, 2011 23:53:38 GMT
|
Minors have bolt-in gearbox covers which is really handy when you are fitting larger gearboxes. You can pull the cover and chop it about in a more comfortable place. My first effort, many years' ago did the job but was a nasty mix of ugly welding and fibreglass. 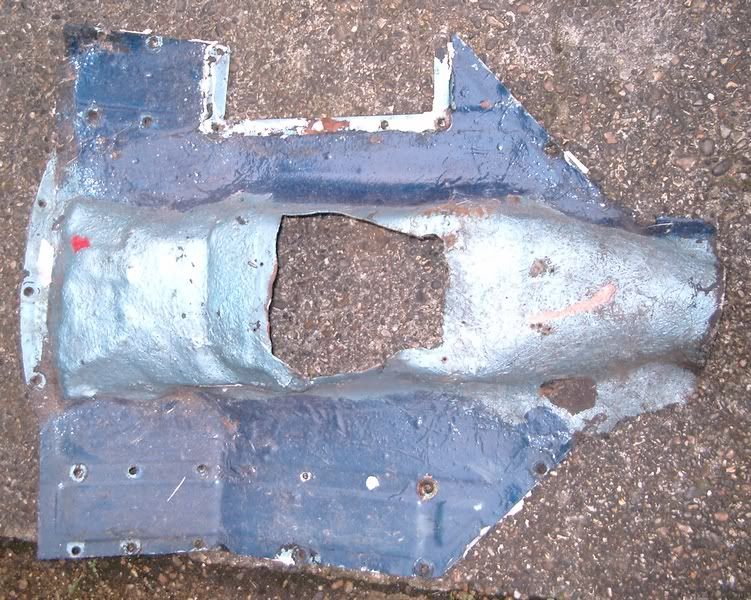 The next effort was a bought modified cover that needed further modifying for the Fiat gearbox. Again, does the job but not something I am pleased with 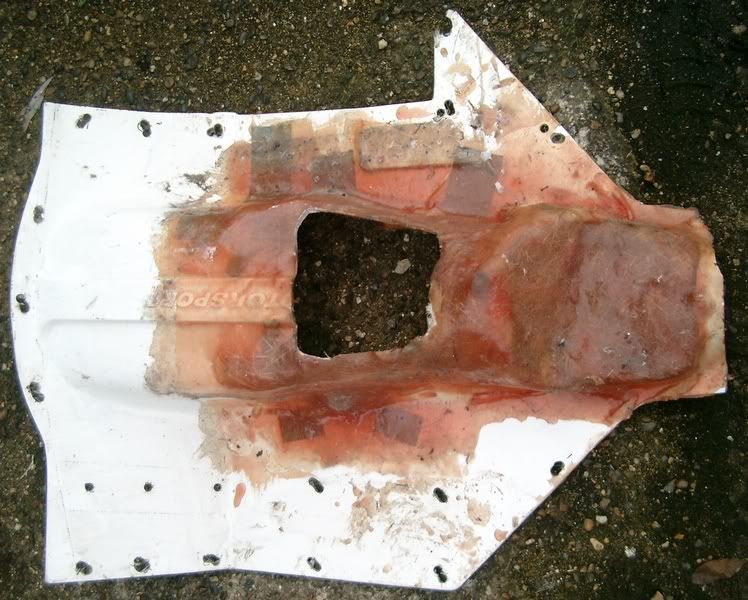 So, time to make one from scratch. This will be kevlar sandwiched between fibreglass. The flywheel area of the gearbox is forward of the cover in the engine bay, so there's no question of a burst flywwheel coming through. Just in case anything else on the road wants to come through though the kevlar should keep it out. First step, templates made from old lever arch folders 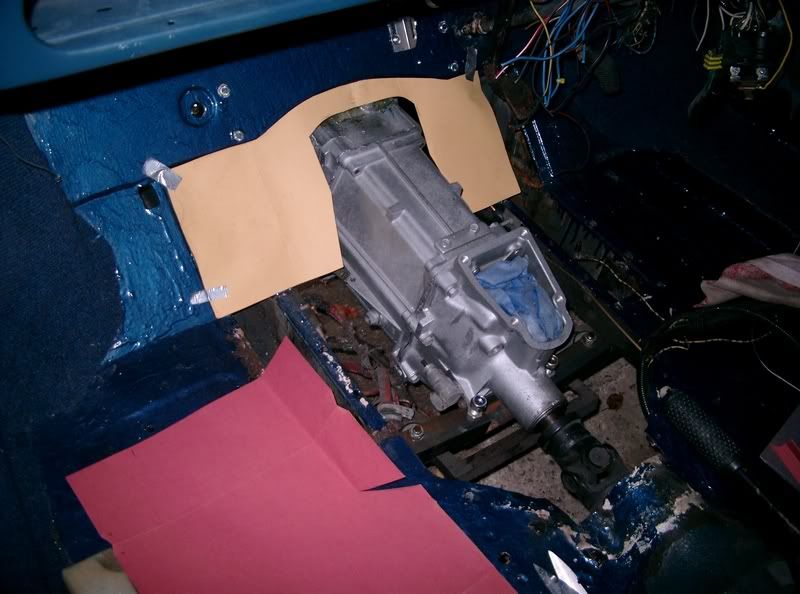 Transfer to MDF 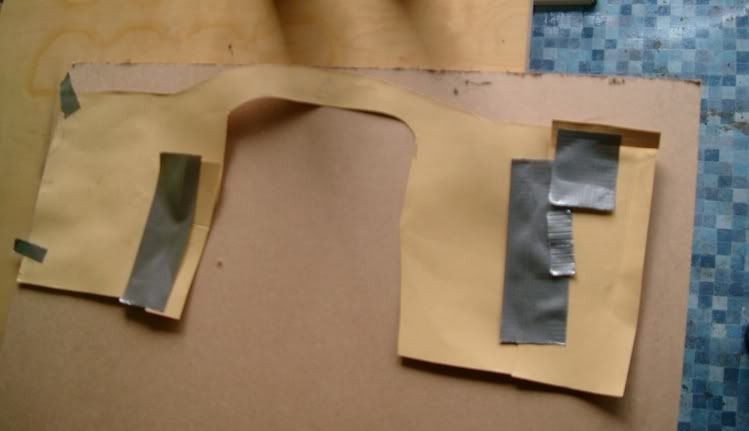 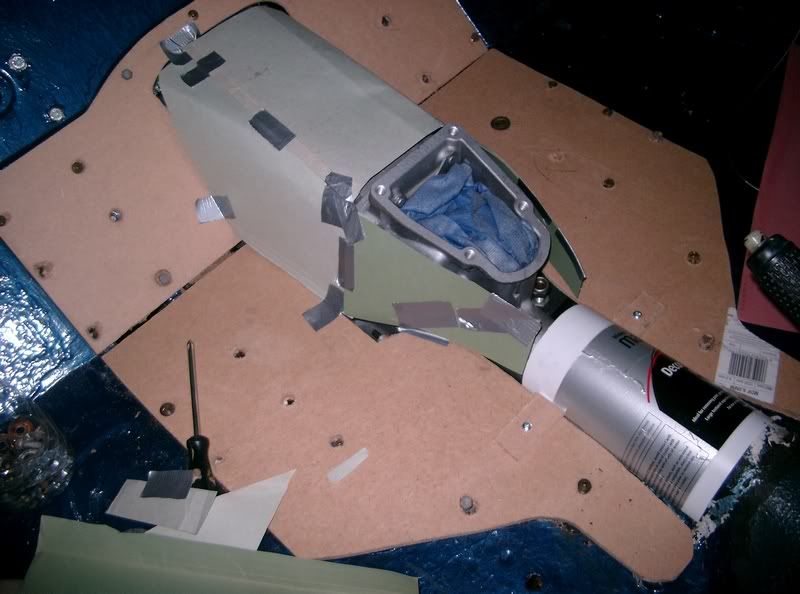 Foam packing used under bendy MDF and plastic tube to keep a minimum distance between cover mold and gearbox. Looked nice enough to use as the cover  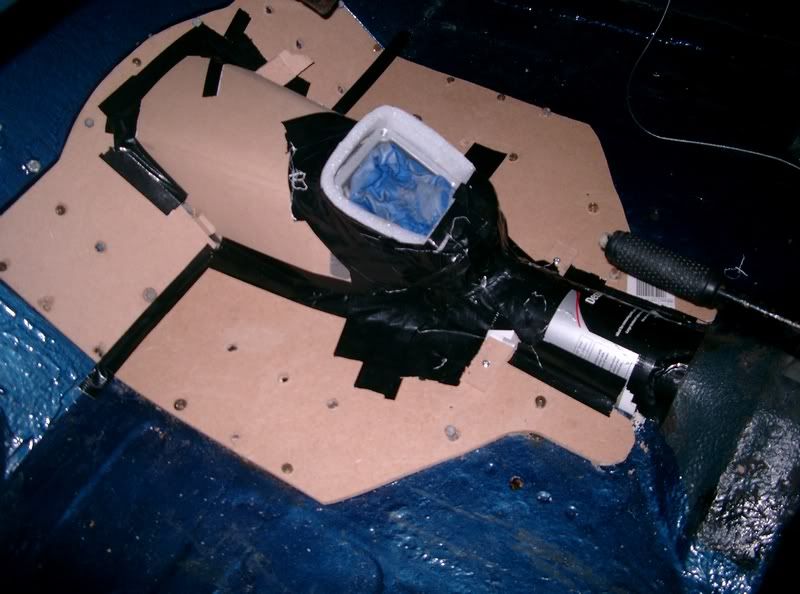 Layer of fibreglass over the MDF will be the buck 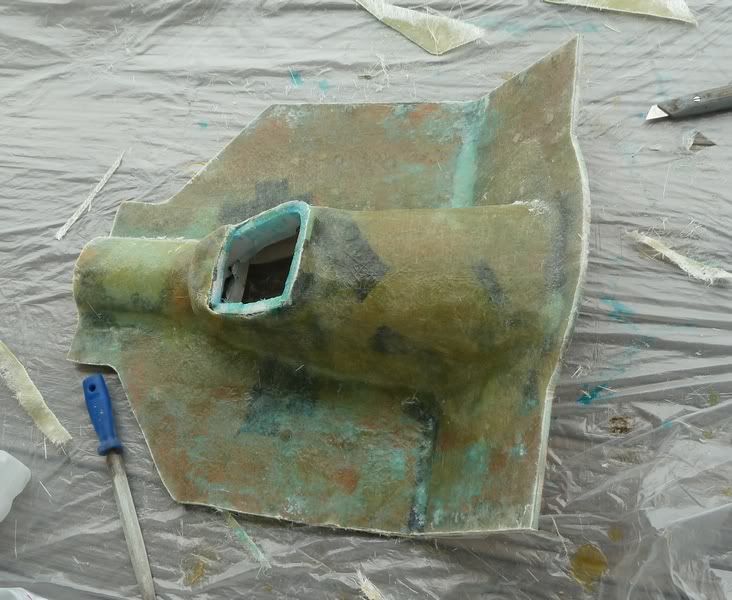 Holes drilled through from MDF so positions known. 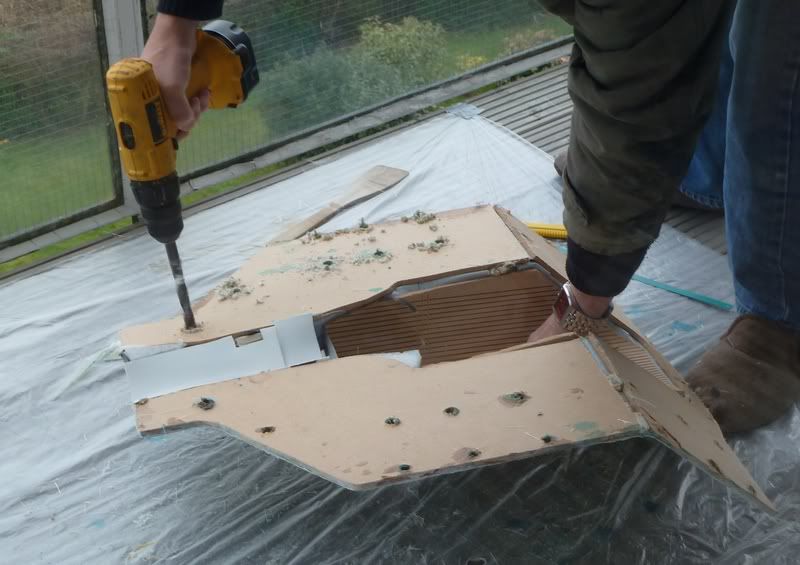 Much laying up and trimming later 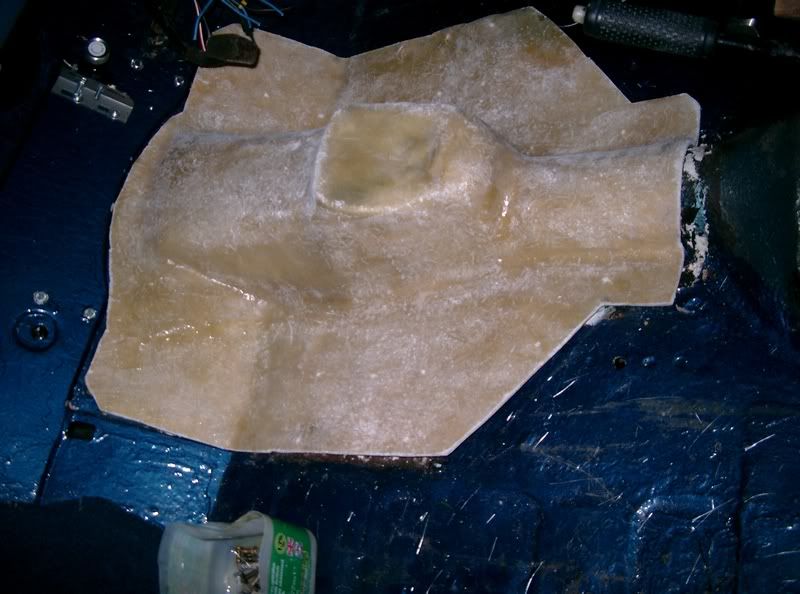 Finished item, large washers to spread load. Bottom is coated in stone chip protect. For Minor owners, the master cylinder is no longer in the r/h chassis rail so cover can be one-piece. 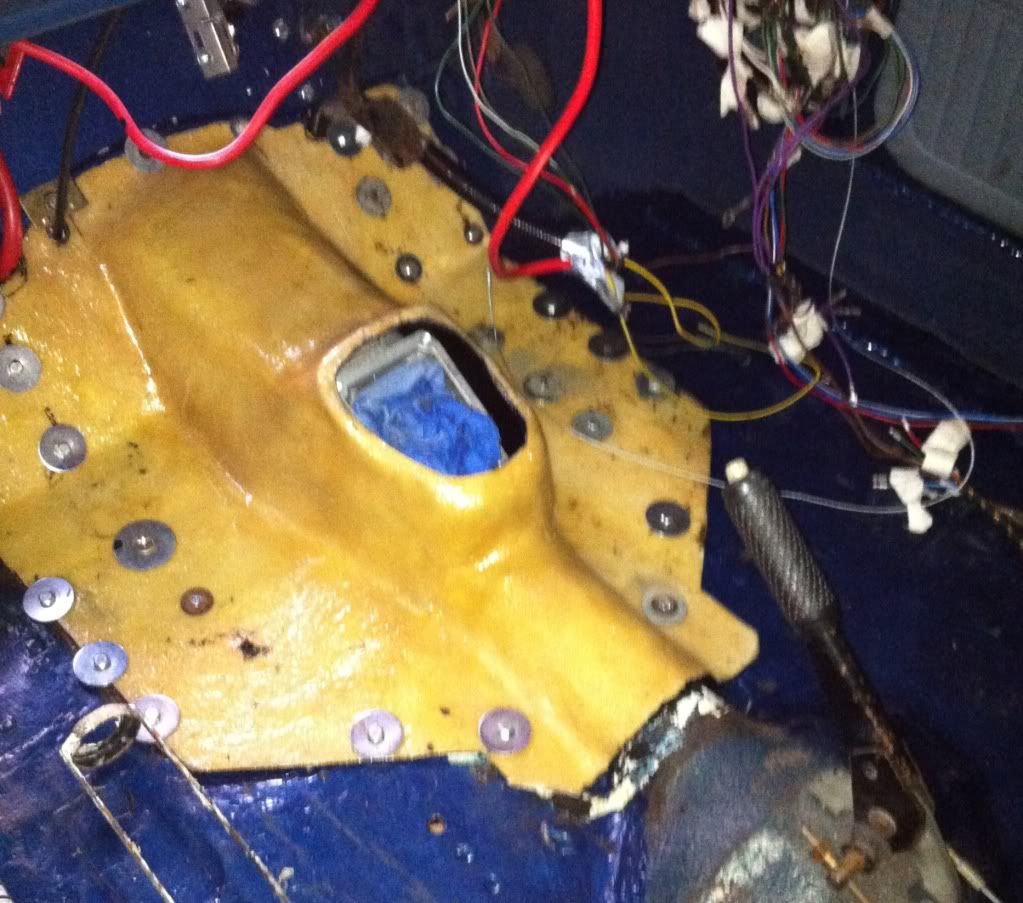 |
| |
|
|
madmog
Club Retro Rides Member
Posts: 1,160
Club RR Member Number: 46
|
1967 Morris Minor madmog
@madmog
Club Retro Rides Member 46
|
Sept 22, 2011 0:18:26 GMT
|
Holes to be panelled in 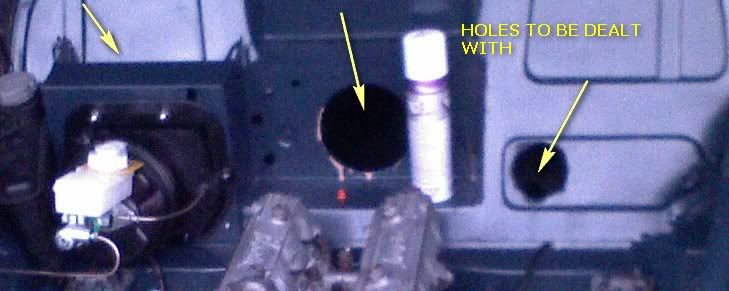 Top of this box area is reinforced from behind as it takes the strain of the clutch cable being pulled against it. It used to flex slightly but doesn't now. More cardboard templates. 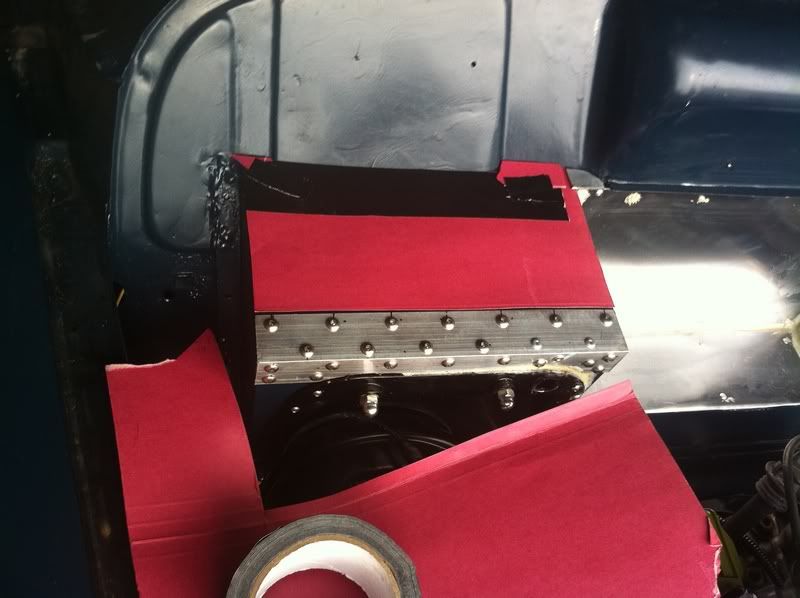 Transferred to aluminium 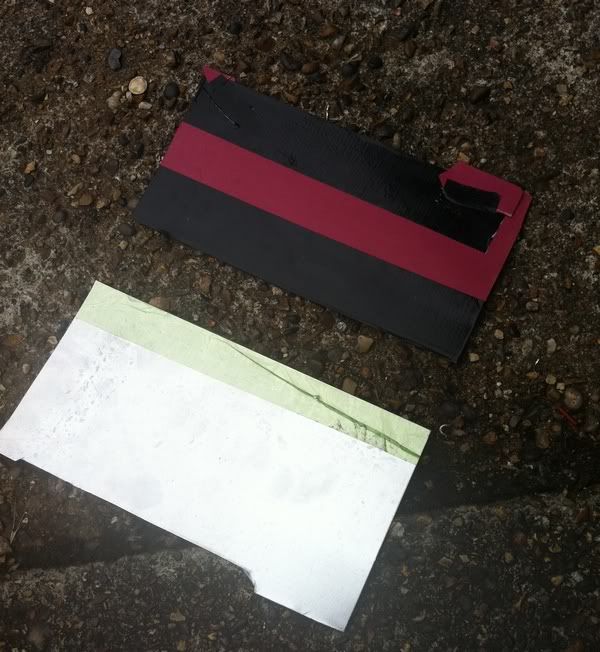 This panel needs to be removable as does one of the brackets in order to access the end of the clutch cable. It is eventually screwed down onto silicone sealant to be more fumeproof. 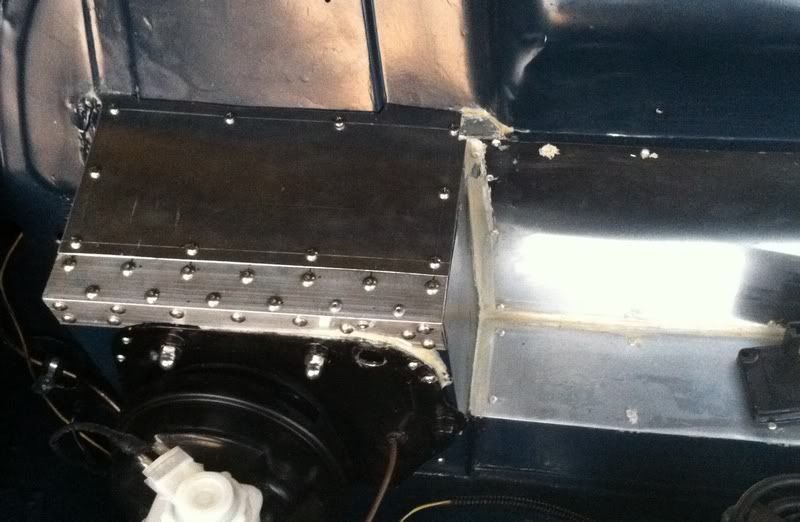 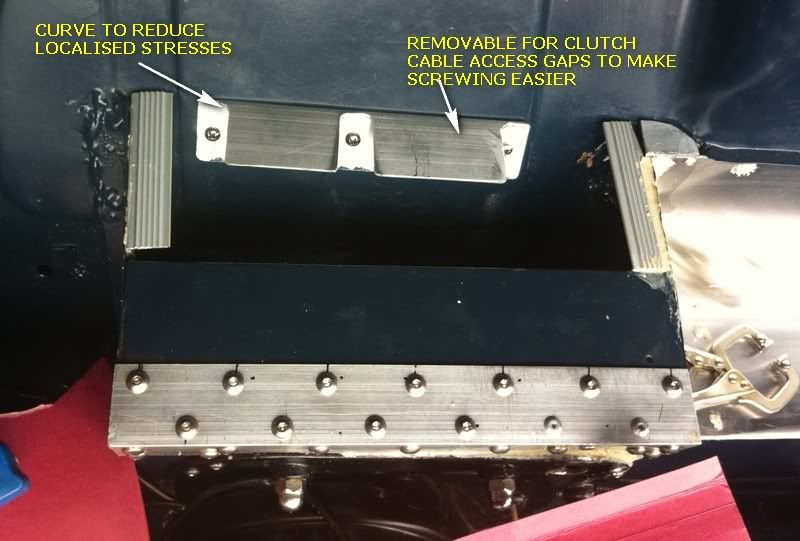 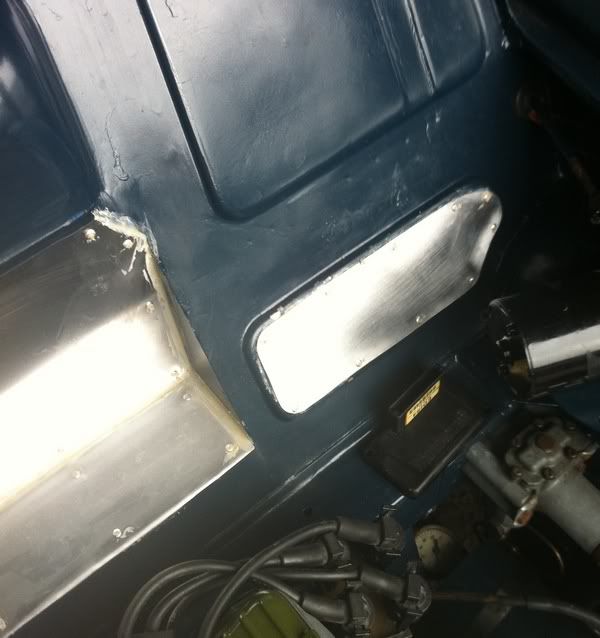 Masked up with a value painting dustsheet. These would make a good survival tent or tarp: costs £1 or £2, fits in your pocket & opens out enormously. Would blow away and is not strong but if you want to cheat a survival weekend, throw this over your frame when no-one is looking then cover with the usual vines/cowpats/twigs for effective waterproofing with the authentic look. 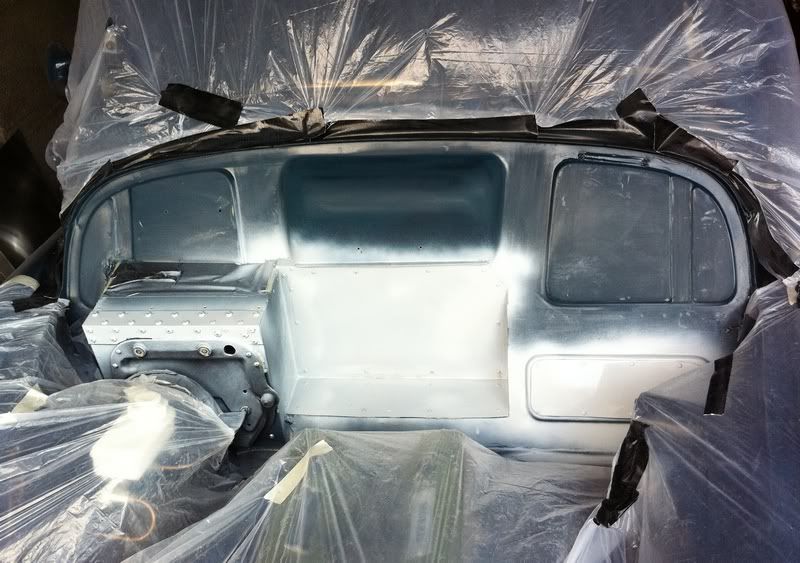 Rattle canned 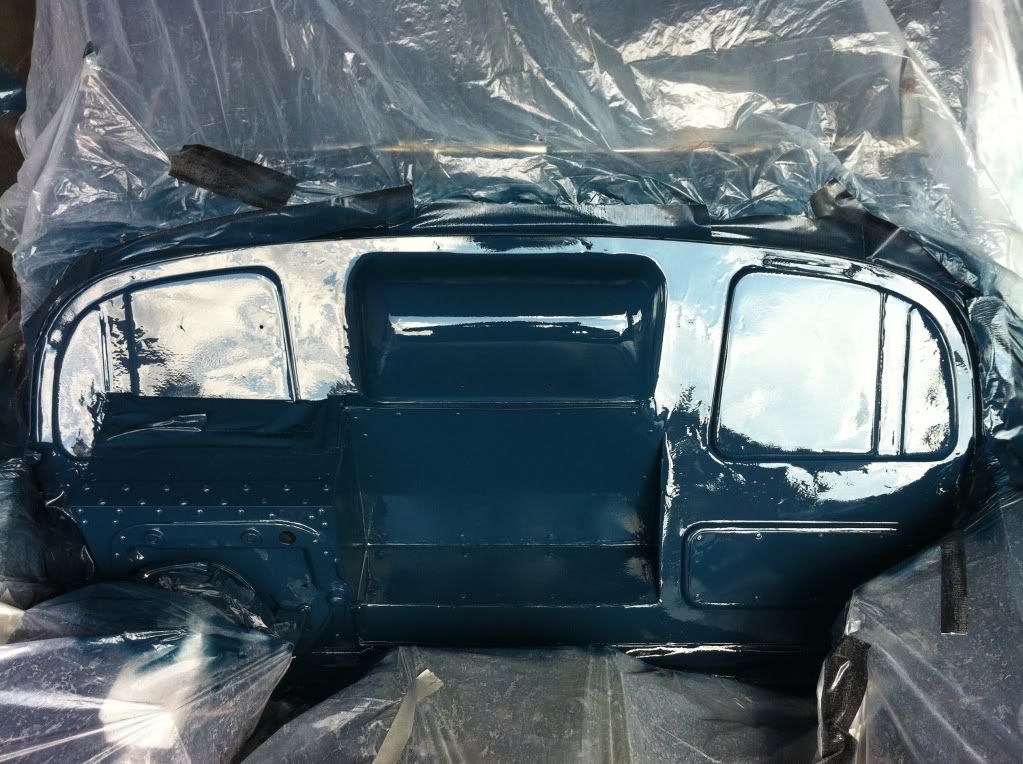 I use rattle cans because the lock up had no electricity and it's a residential area where a generator and compressor would get me thrown out. I used to line up the electric-requiring tasks so the generator was only running for short periods. I've since got electricity but not paint equipment. |
| |
|
|
|
|
|
Sept 22, 2011 0:29:08 GMT
|
Excellent work!!! I'm inspired to do some work on my minor now... shame i live 150ish miles away from it  |
| |
|
|
madmog
Club Retro Rides Member
Posts: 1,160
Club RR Member Number: 46
|
1967 Morris Minor madmog
@madmog
Club Retro Rides Member 46
|
Sept 22, 2011 0:51:45 GMT
|
I saw someone's thread on another forum some time ago where they made up a lightweight heater - I wish I could remember where so I could credit that person for this. The Minor heater is not very effective, bulky, in the wrong place & I suppose heavy for its function. A heater is only a matrix, an electric fan and a box when you think about it. So a modern heating Matrix of a suitable size from Ebay: 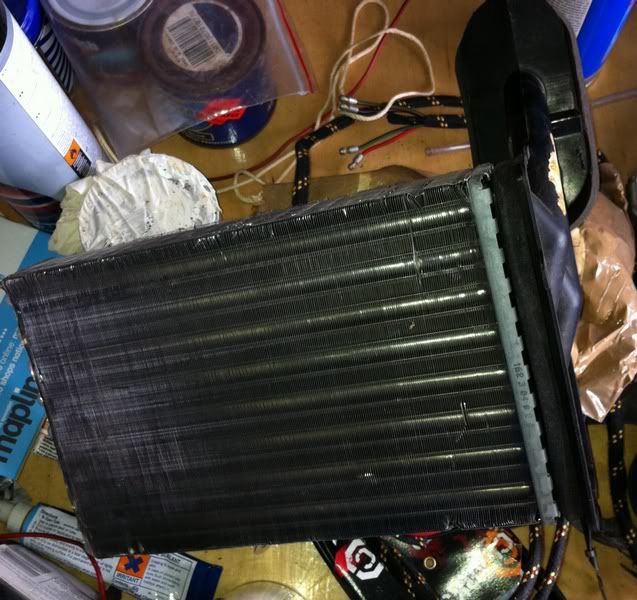 Camping mat foam: 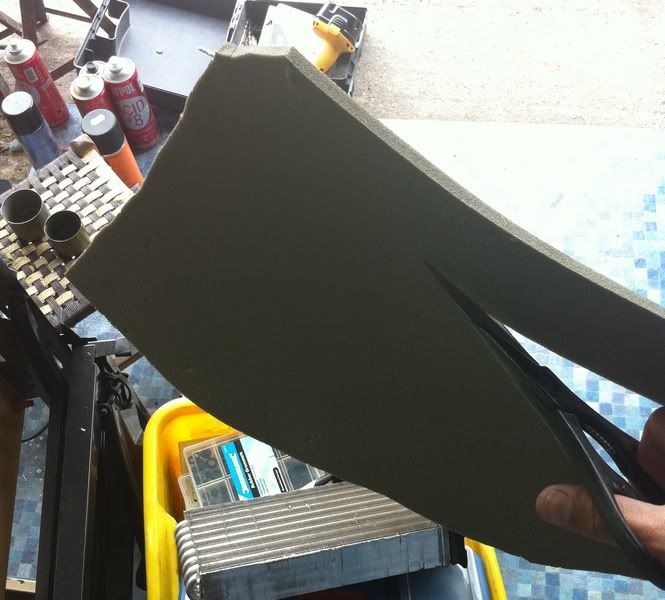 Bits of aluminium cut to size 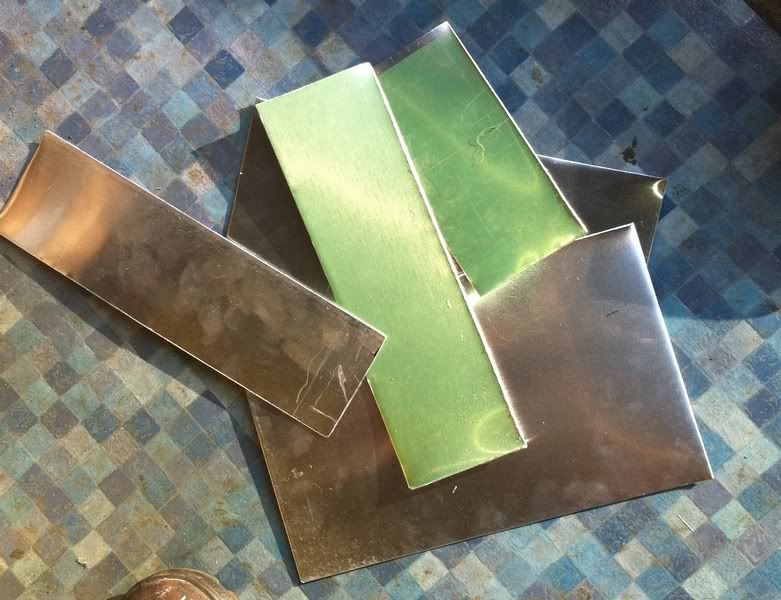 Bits of aluminium angle 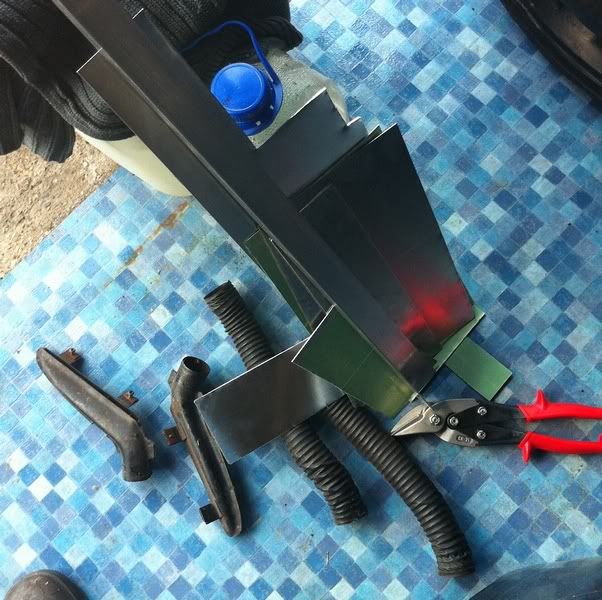 My new favourite toy - a coping saw that has a long 'c' shape and takes thin metal-cutting blades. Allows intricate cutting. What I am doing is creating the spigots that the tubes above will attach to. I start with drilling holes at the corners to act as stress relievers. 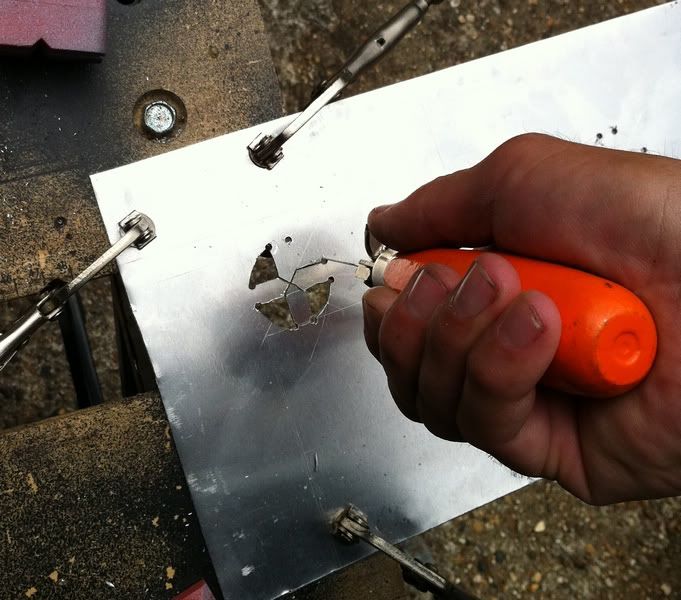 Better pic of saw 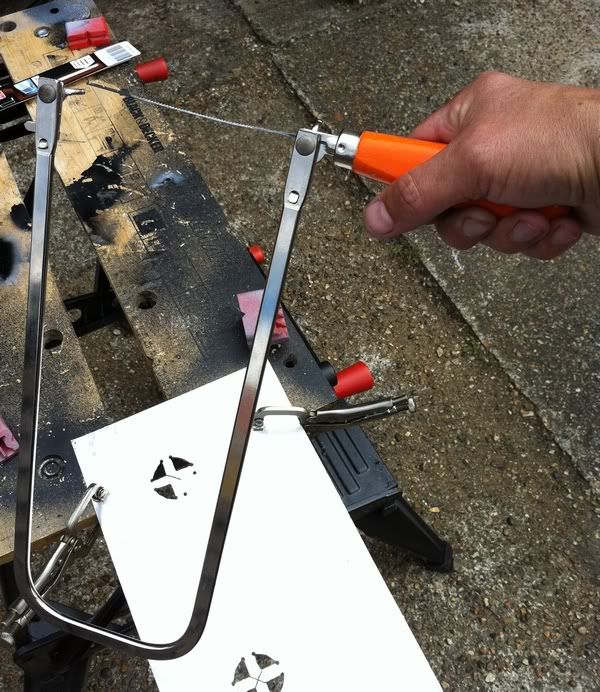 resulting fingers bent up. These will be pop-rivetted to a circle of metal to give a strong fix. For good measureand air-tightness the edges are epoxied. I don't have access to Tig welding and don't trust epoxy alone to hold the spigots 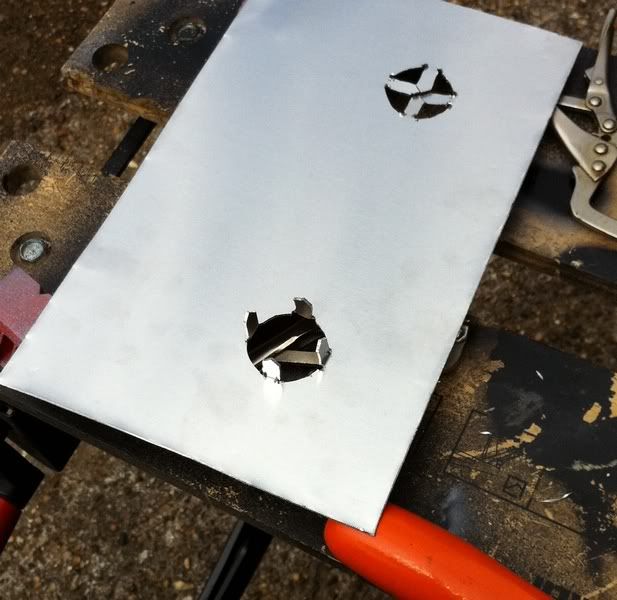 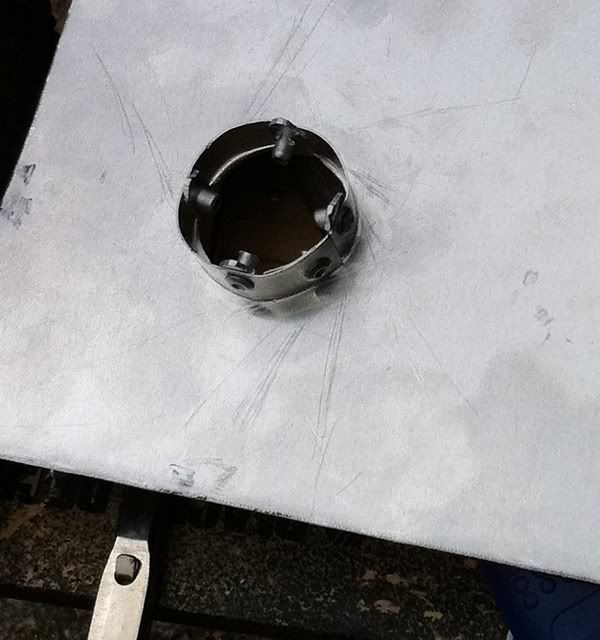 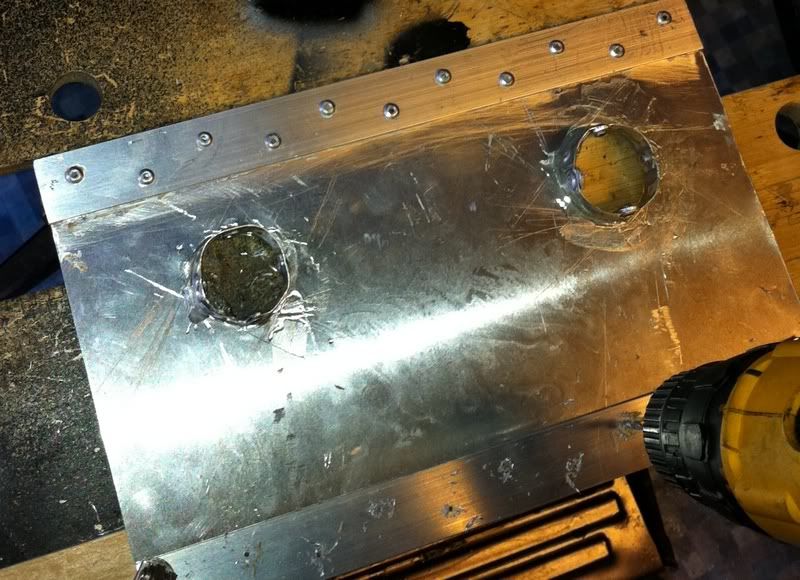 Box starting to take shape. cutouts for two PC cooling fans. Not the normal ones, the ones that case-modders use to cool over-clocked CPUs. Nice and powerful 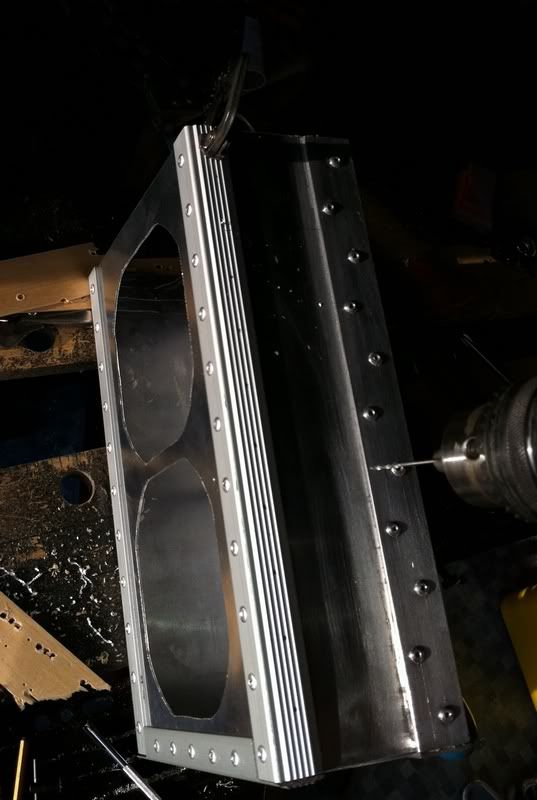 More templating 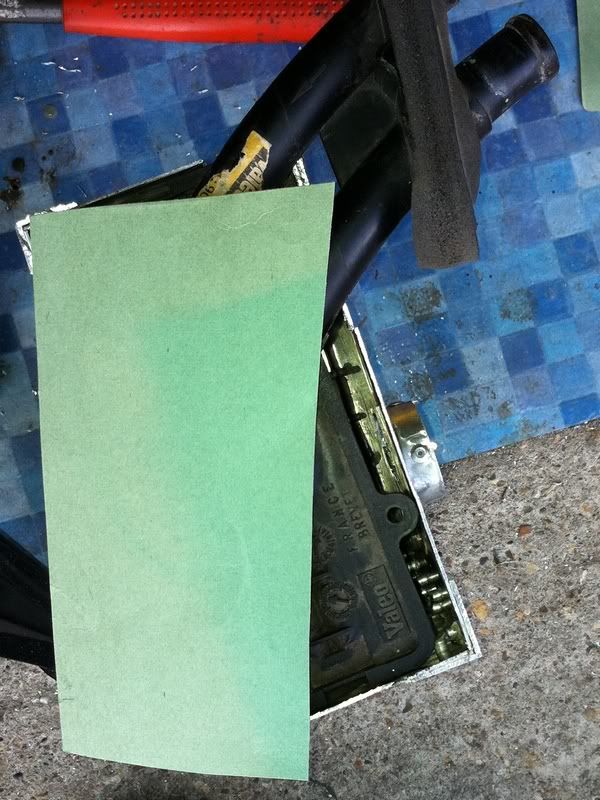 Can you tell what it is yet?  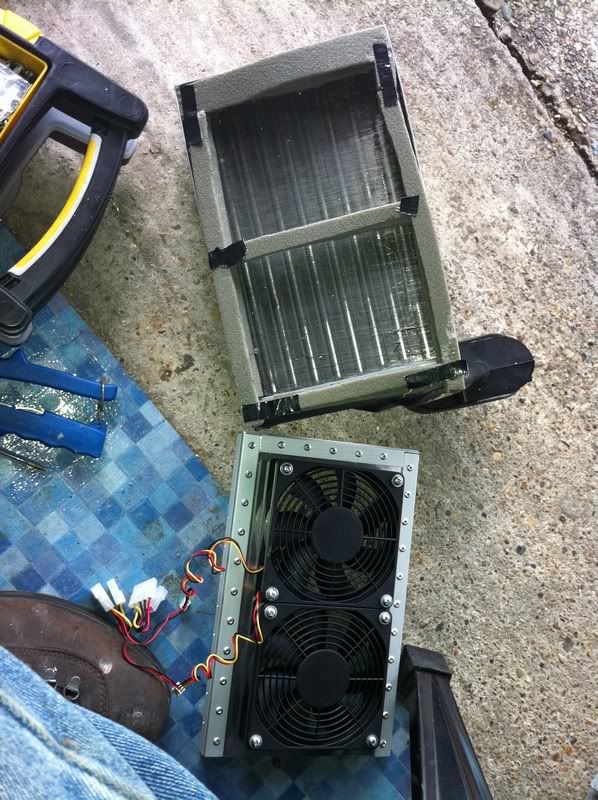 Mounting brackets added 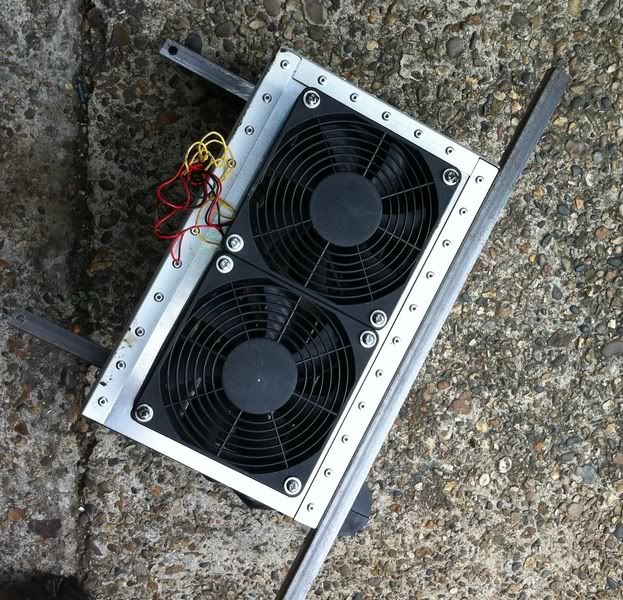 Tight fit up behind the speedo out of the way. 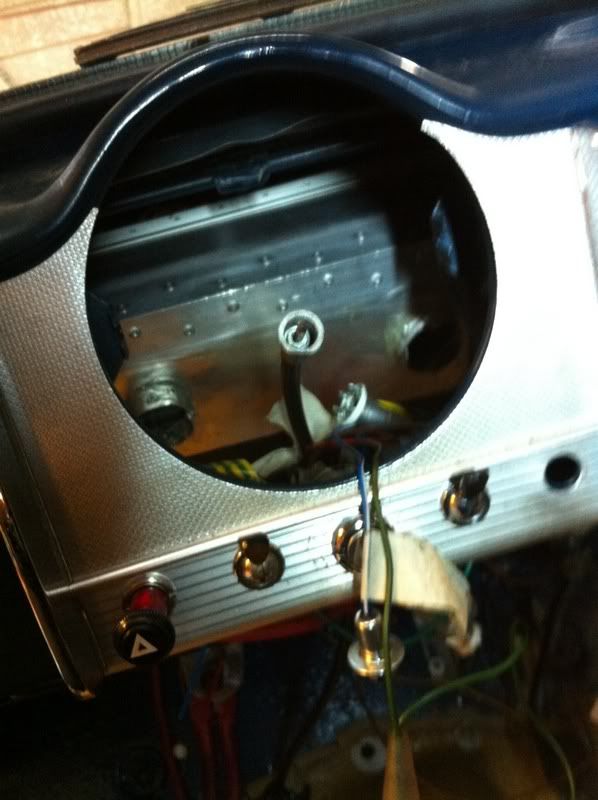 From another angle 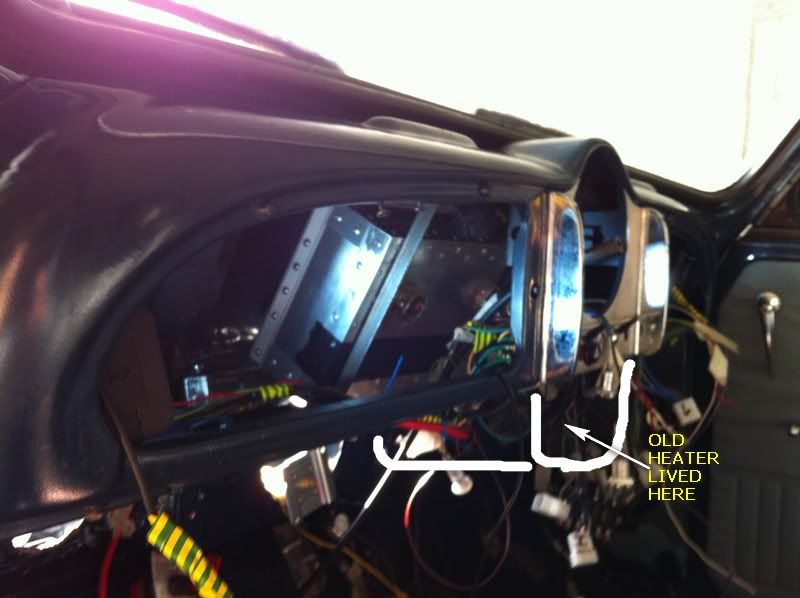 With two fans I suppose I could have 2 speeds but I prefer the simplicity of on or off. I've also made the decision not to have the heater able to blow cold air. With the Fiat Lancia engine there's a design weakness in that the water supply to the heater also cools cylinder 4. If you have a design, as Fiat did, where this circuit is blocked to isolate the matrix then cylinder 4 overheats. You need to have a bypass or just always have water flow through the matrix and insulate it so it doesn't heat the cockpit when the fan isn't blowing. I designed and started to make a bypass utilising a central heating bypass valve BUT theres lots of extra piping and I would prefer it simple so the matrix always gets supplied. Means there's no cold air blow except from the windows. If it's unbearable later I can always add the bypass later. |
| |
|
|
|
|
|
Sept 22, 2011 10:08:31 GMT
|
|
Some top quality work going on there, can't wait to see this finished!
|
| |
1953 Minor (Long term project)
PT Cruiser
|
|
madmog
Club Retro Rides Member
Posts: 1,160
Club RR Member Number: 46
|
1967 Morris Minor madmog
@madmog
Club Retro Rides Member 46
|
Sept 22, 2011 14:05:22 GMT
|
Some top quality work going on there, can't wait to see this finished! Me too  Still got quite a few photos to put up and quite a few to take to get up-to-date. |
| |
|
|
|
|
madmog
Club Retro Rides Member
Posts: 1,160
Club RR Member Number: 46
|
1967 Morris Minor madmog
@madmog
Club Retro Rides Member 46
|
Sept 22, 2011 20:21:19 GMT
|
Bits of the old wiring loom. Anything in the engine bay was burned. Given the modifications it's quicker to start with a new Minor loom. I salvaged the useful parts of the old loom, (mainly the wires going to the rear lights and the bulb holders that fit in the speedo), cleaned them up and rolled them for future use. Where the function already existed on the Minor Eg lighting circuits, I used the new Minor loom shortened or extended with wire of the same colour and rating. For additional items such as reversing light, electric radiator etc I went with the Lucas wiring codes. That way, a Minor wiring diagram and an A4 sheet help me trace future problems. I hope there won't be any though. 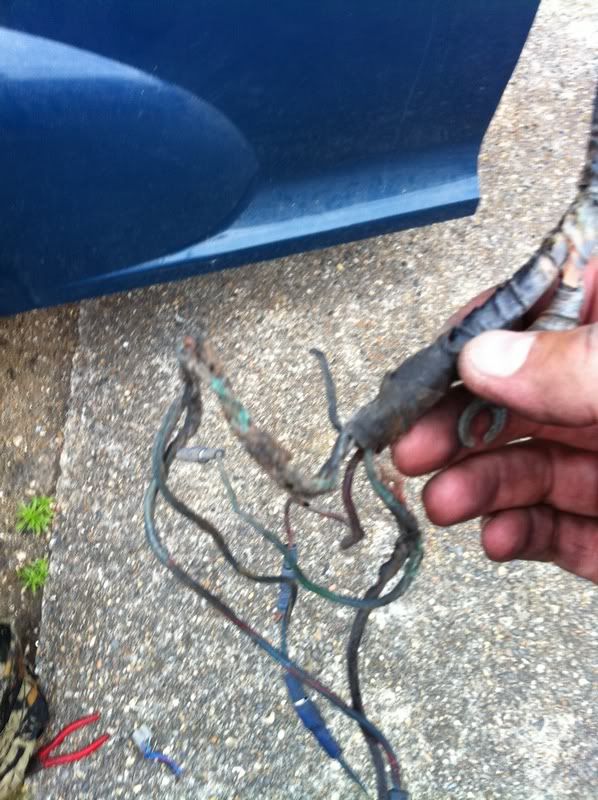 The beast to be tamed. I've diverted the loom from the rear lights into the cockpit via the transmission tunnel rather than have it go first to the engine bay then back. In effect the centre of the loom 'spider' is now in the cockpit with wires spreading outwards rather than the rear of the engine bay. The only parts of the loom now exposed to the outside elements are the wires to the rear lights. These are armoured. A roll of masking tape is great for labelling wires. 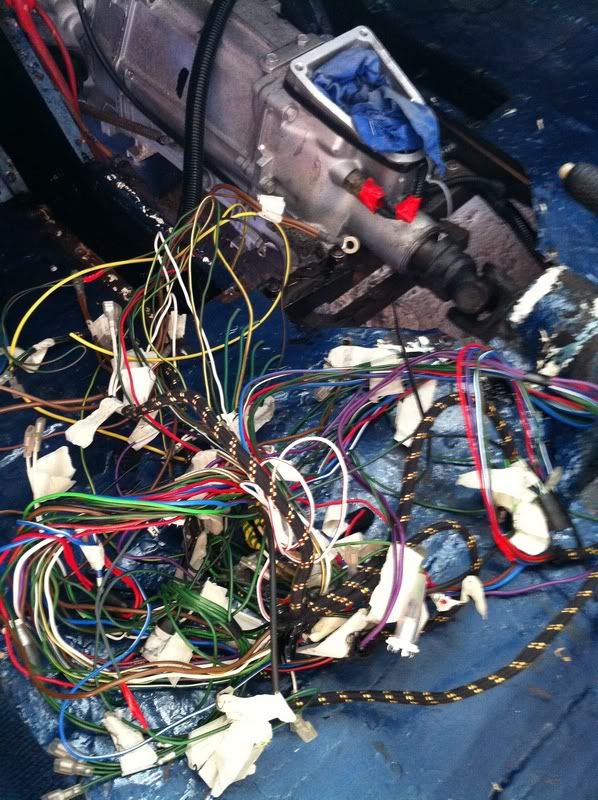 Phone camera handy for noting positions of connections that have to be taken apart again. 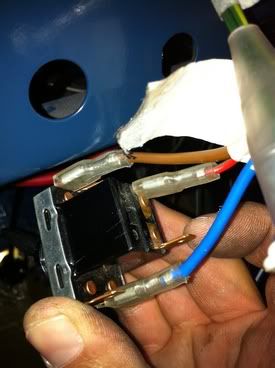 Test wiring of a Maplins wiper delay circuit board. I use a Mercedes wiper arm which is a bit clunky but it's worth it since it controls, indicators, wipers, wash-wipe and light dim/dip/flash. It's a bit of a challenge to wire in but once done it eliminates a lot of extraneous buttons and keeps the cockpit simple. I made up a second one and use connectors so if the fitted one plays up I can easily swap it out. They're pretty reliable & robust but also a bit of a show-stopper if the smoke escapes so might as well have the spare ready now. I'm using a 2 speed mini wiper rather than the single slow speed Minor one. The Merc has three speed options so with the delay I sort of have 3 speeds. The long black button on the circuit gives 4 delay settings. But they were all a bit slow so I used a smaller capacitor in the circuit to give me a faster range (the kit explains which component to change). As I changed the brake lines and servo in the cockpit (in case of heat damage) for a Mini servo, the brake bias might well be out so I fitted a bias valve in the rear line accessable via the cockpit. 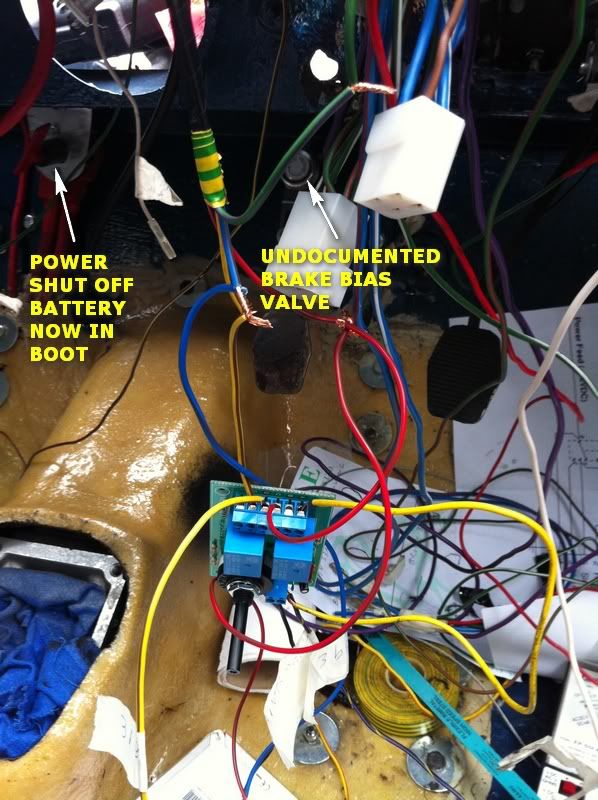 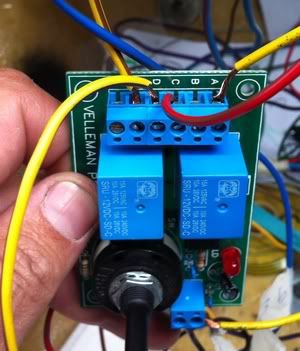 Delay circuit boxed up and hidden but reachable under the dashboard. 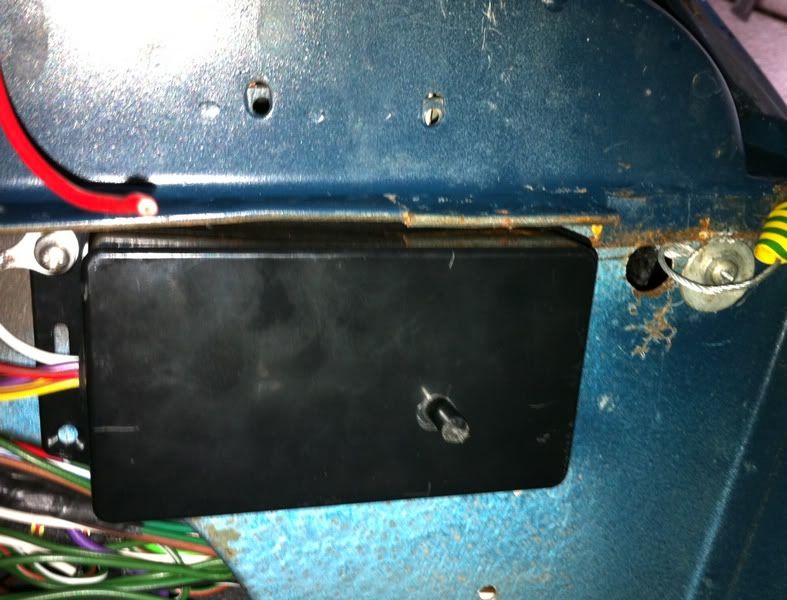 Knocking up a coil pack mounting 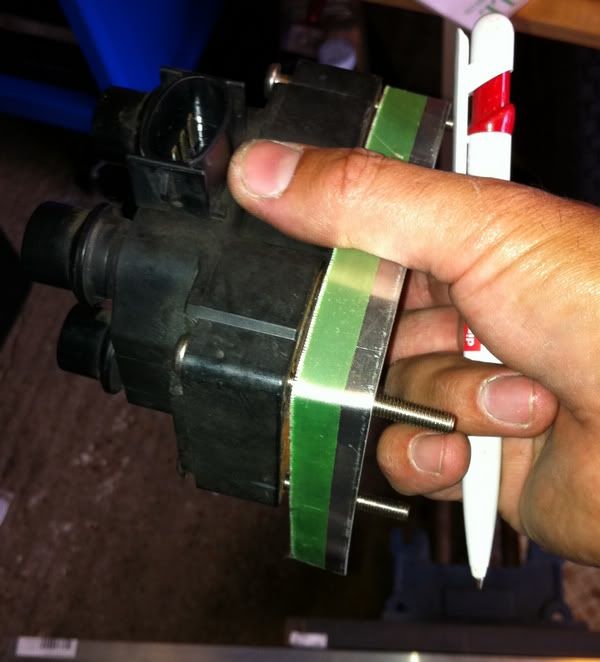 R1 fuel pump, accusump, starter & alternator wired in. They will be mostly hidden by an air box 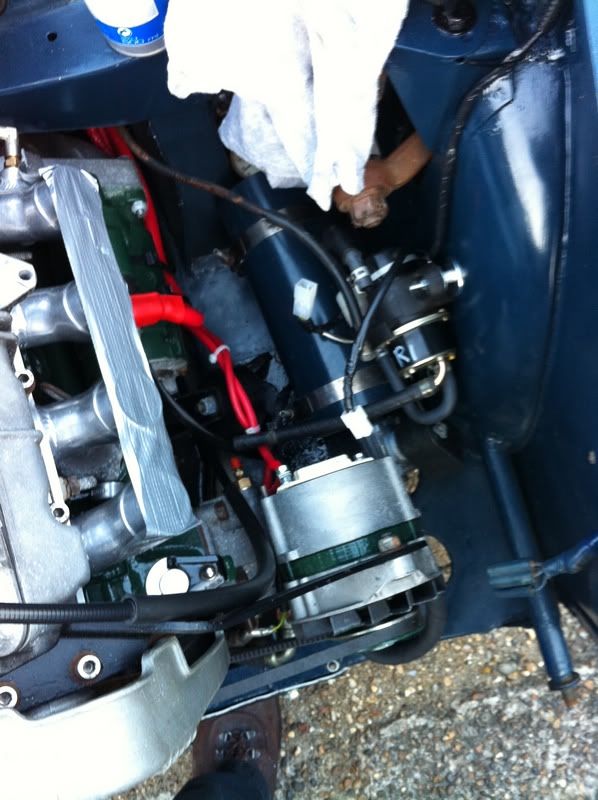 I'm using a couple of blade fuseboxes (12 fuses) hidden away in a void by the drivers foot. The indicator relay, hazard relay and a warning buzzer all fit in there too meaning the engine bay can remain cleaner. In the opposite side I have some relays fitted. The panel hiding these will be quick-release. The buzzer will have a few functions. 1) lights on warning. Easy to do by wiring from light switch and courtesy light switch. 2) rev warning. The Megajolt ignition system has some programmable user outputs so I can set it to switch the buzzer at say 6000 revs. If I'm doing 6000 revs I don't really want to be looking at the instruments or light at all but keeping my eyes on the road. I might change it to intermittently buzz from 6000 and continuous buzz from 6500. What's also handy about buzzers is they don't have to be somewhere in your line of sight like a warning light. 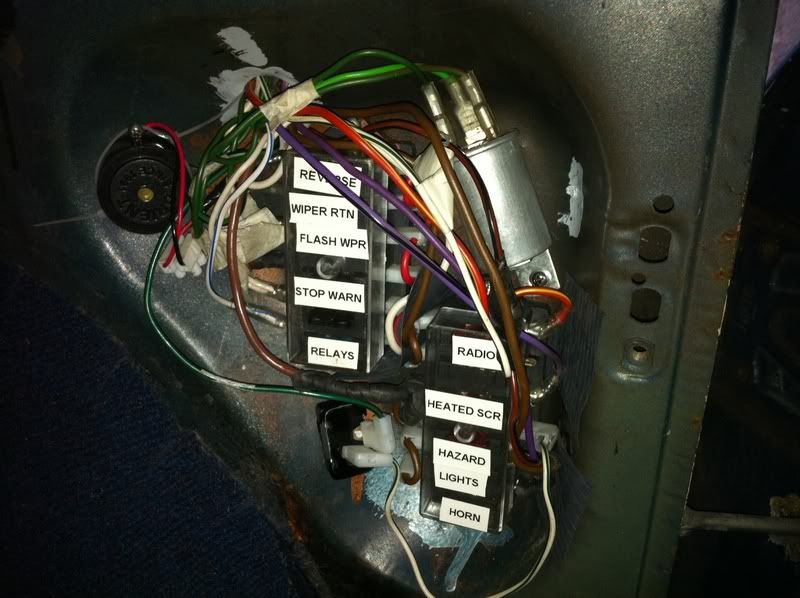 Picked up a nice condition courtesy light. They often yellow in the centre. I'll use an LED bulb here as they burn cool - like methanol but without the mechanics dancing and screaming around. Talking about the temperature of bulbs. Those crafty Germans have gotten around the totalitarian EU ban on incandescant light bulbs and you can do the same by using heat balls: heatball.de/en/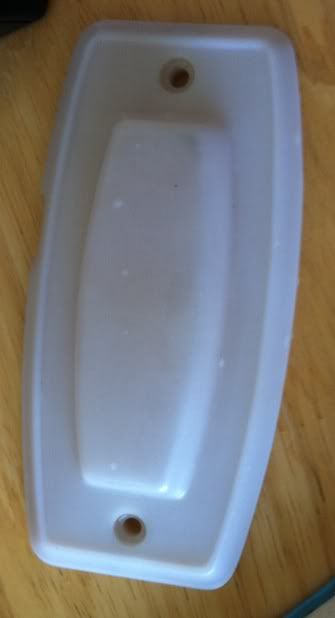 Medusa's serpants slowly being tamed. Reprogramming the spare outputs of the Megajolt to switch on buzzer at 6000 revs and radiator fan at 5000. 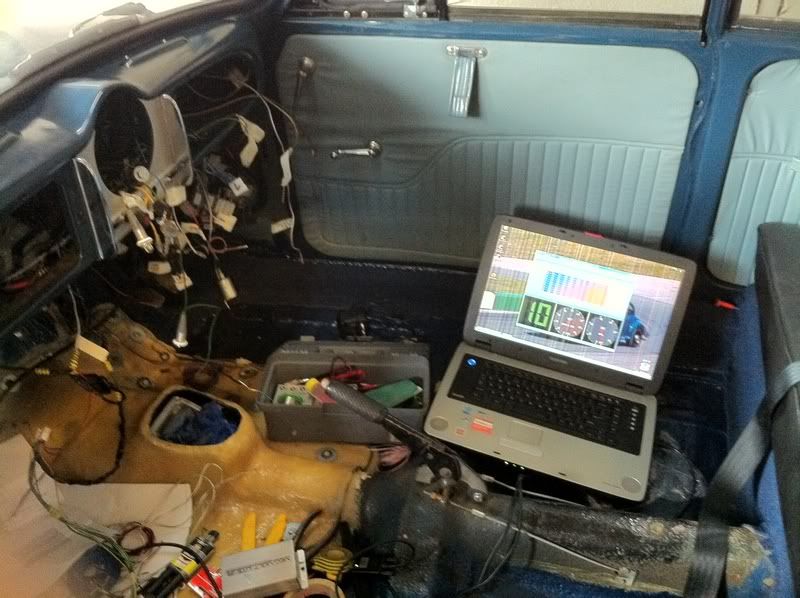 |
| |
|
|
madmog
Club Retro Rides Member
Posts: 1,160
Club RR Member Number: 46
|
1967 Morris Minor madmog
@madmog
Club Retro Rides Member 46
|
Sept 22, 2011 20:56:19 GMT
|
This was my old dashboard. A matching blue panel made of the same textured metal also surrounded the speedo but I'm now going for a much more understated look. The speedo surround is now back to standard and the switches below look about right. 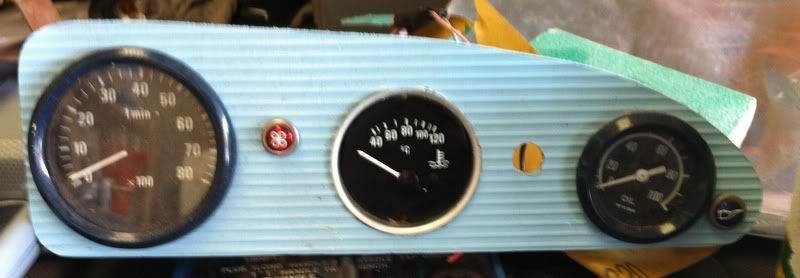 This is a very old dashboard panel from the original Minors. I picked it up at an autojumble in case I could do something with it. Although a completely different dashboard was used between the model this came from and mine this panel bolts right in. The plan is to fill in the existing extra hole and then make my own holes for warning lights and switches. 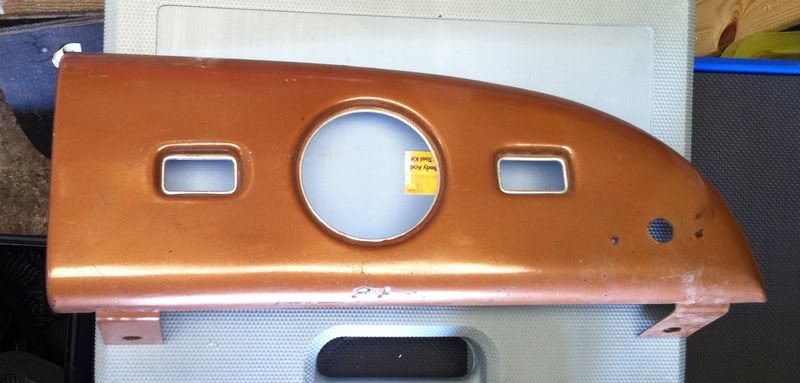 Different design ideas. It's always hard to be sure you have planned for enough switches and warning lights.     Next issue is how to mount the gauges. There isn't really anything on the panel to attach to and I don't want to epoxy tabs on. Fitting gauges so that you can read through the The left and right holes will require quite a bit of accuracy. I'll use Smiths classic style gauges as they'll look right for the age. I thought of mounting the gauges in a separate plate behind the dash panel but the accuracy problem will make this quite difficult. Eventually I decided to fit a piece of metal into the dash panel and attach the gauges to that. All the holes in the piece of metal are bigger than the gauges to allow fine adjustment. In a reverse to how they would normally be fitted, a retaining of metal will actually pull the gauges toward the dashboard. Pictures another time will make clearer. 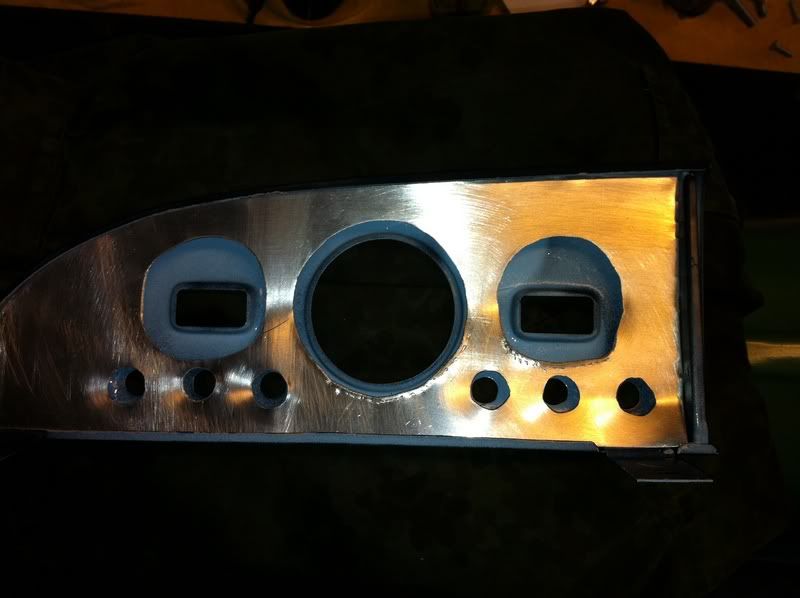 |
| |
|
|
madmog
Club Retro Rides Member
Posts: 1,160
Club RR Member Number: 46
|
1967 Morris Minor madmog
@madmog
Club Retro Rides Member 46
|
Sept 22, 2011 21:05:01 GMT
|
Excellent work!!! I'm inspired to do some work on my minor now... shame I live 150ish miles away from it  Thanks, have you got a build thread? Have you decided whether to go carbs or throttle bodies yet? Do I know you by another name on a Minor forum by any chance? |
| |
|
|
madmog
Club Retro Rides Member
Posts: 1,160
Club RR Member Number: 46
|
1967 Morris Minor madmog
@madmog
Club Retro Rides Member 46
|
Sept 24, 2011 21:05:40 GMT
|
Original plan was to mount gauges in this aluminium but getting exact alignment between them and the holes would be very difficult. 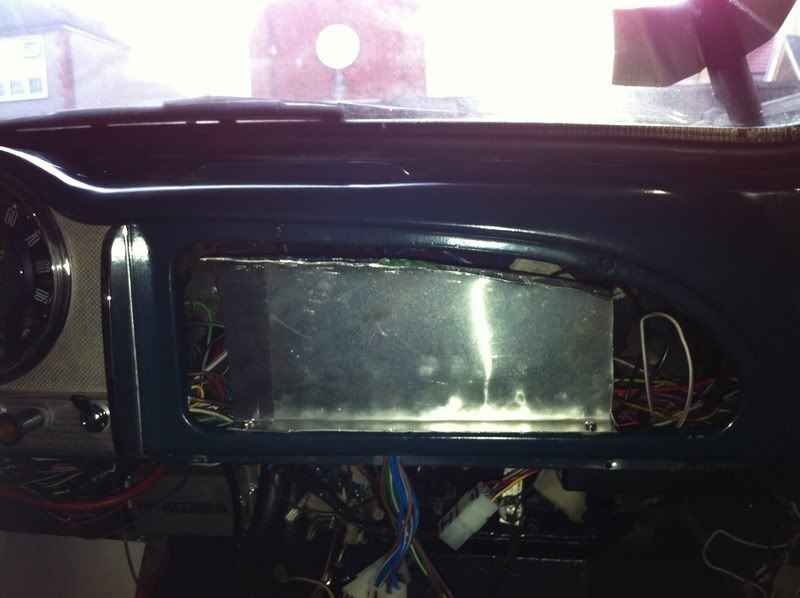 As Gauges will add weight to the dash panel this piece of aluminium will grip the panel from the top to stop movement and hold securely. 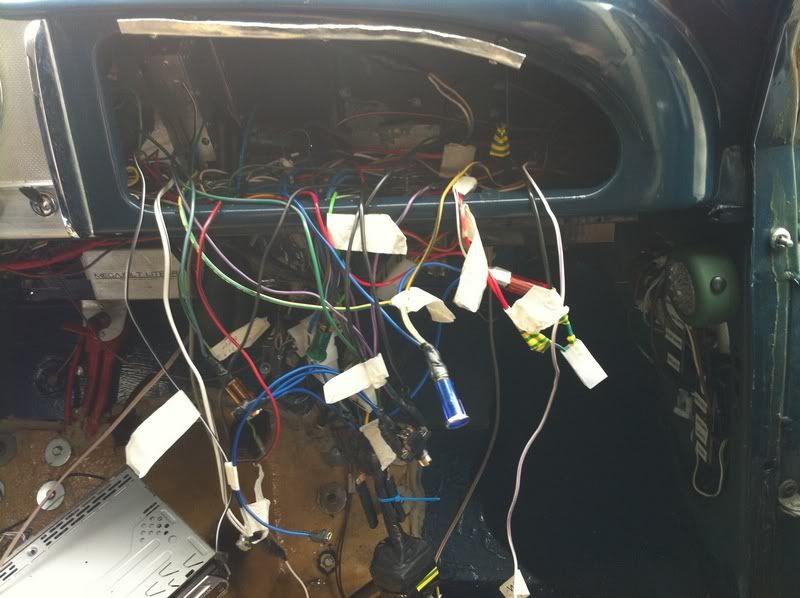 Bit of housekeeping, rev counter black paint dulls the background light. 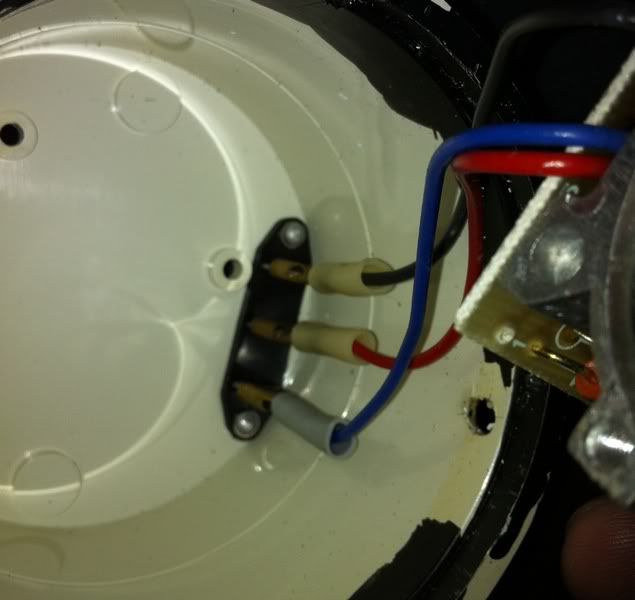 So quick strip down and spray. It's a Skoda Estelle rev counter. Skodas were using separate gauges long after most manufacturers had gone over to everything in one moulding (In the '80s) 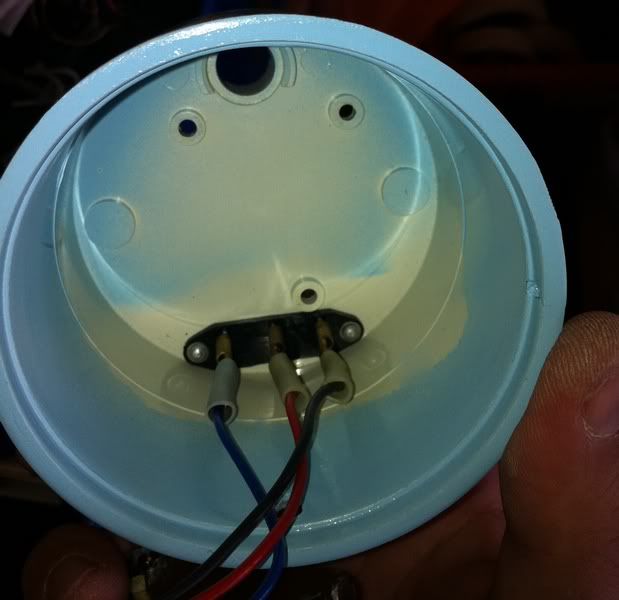 This bit of metal is held into the dash panel by the lip and the gauges will pull against it to be pushed firm against the dash. 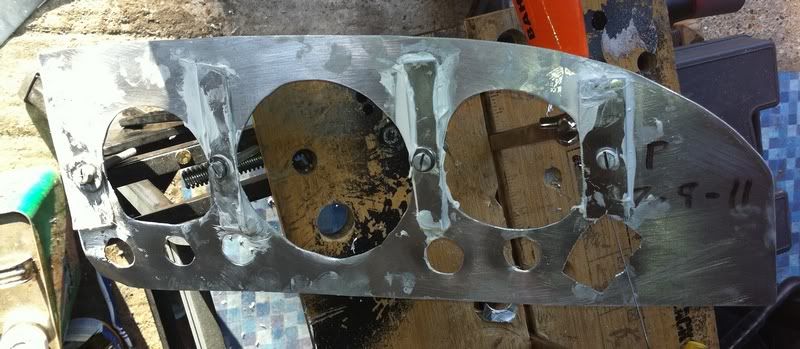 And to hold even more firmly tigerseal like glue. The rubbery one so it give a bit of shock absorbtion too. Comes apart with a stanly knife fairly easily if the need arises 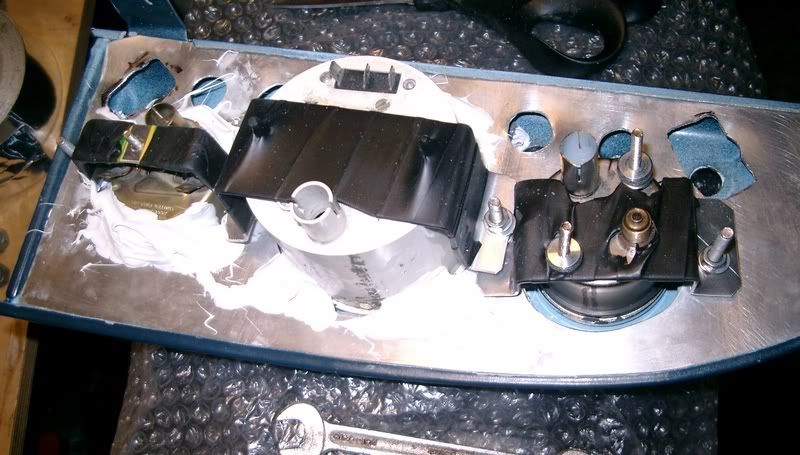 Finished at last. Before fitting I put some sound deadening on the metal behind and fitted a hidden tweeter pointing up through the air vent. I'll add that pic with a stereo install section another time. Not sure about the warning lights, seem a bit to bright but I'll see if they grow on me 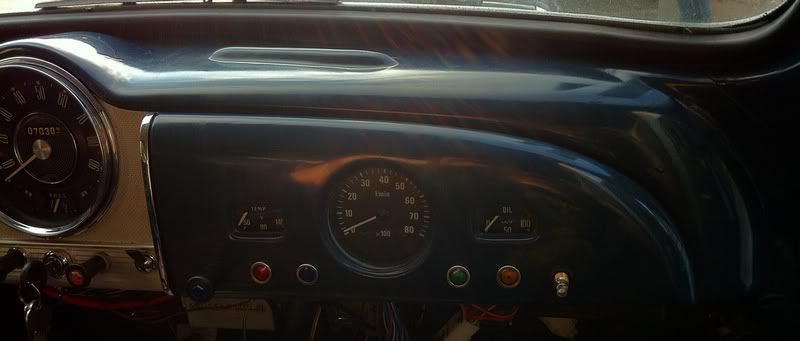 |
| |
|
|
|
|
|
|
|
|
Looks great! I also have a spare Skoda Estelle rev counter, which I want to fit at some point...
|
| |
|
|
madmog
Club Retro Rides Member
Posts: 1,160
Club RR Member Number: 46
|
1967 Morris Minor madmog
@madmog
Club Retro Rides Member 46
|
|
|
Looks great! I also have a spare Skoda Estelle rev counter, which I want to fit at some point... Works perfectly with a coil & point or electric ignition. + to plus - to earth & the other one to the coil. Not sure it will work with Magajolt, it didn't last time round but I've changed a diode and that might do it. |
| |
|
|
madmog
Club Retro Rides Member
Posts: 1,160
Club RR Member Number: 46
|
1967 Morris Minor madmog
@madmog
Club Retro Rides Member 46
|
Jul 10, 2012 20:02:02 GMT
|
|
|
| |
|
|
madmog
Club Retro Rides Member
Posts: 1,160
Club RR Member Number: 46
|
1967 Morris Minor madmog
@madmog
Club Retro Rides Member 46
|
Jul 10, 2012 20:11:57 GMT
|
Stepping back a bit in time, I got a bike carb manifold made up at Bogg Bros and specified a take off for the servo vacuum and also 4 take-offs on the underside of the manifold out of site for a vacuum signal for the Megajolt. I made up the out-of-site pipes out of cunifer brake line and fittings as they shouldn't ever wear out and so won't be on my routine inspection list.    tight fit. The brake pipes feed into one pipe which connects via a small fuel filter to the Megajolt ignition control (hidden out of harms way in the cockpit behind the radio). The filter is just to even out the vacuum pulses. It's quite a bit higher than the manifold so shouldn't be a route for fuel to find its way into the cockpit. (I'm keeping an eye on the fuel filter just for this - it should show if anything is going that way. |
| |
|
|
madmog
Club Retro Rides Member
Posts: 1,160
Club RR Member Number: 46
|
1967 Morris Minor madmog
@madmog
Club Retro Rides Member 46
|
Jul 10, 2012 20:54:15 GMT
|
Starting up the car revealed that the engine is getting too hot and the carbs and airbox shake quite a bit. As the carbs are rubber mounted, I'm not comfortable with them moving about in case they drop off. Looking at other forums it's something others have come across. Just below the manifold is the starter motor (ignitor of the last fire) and alternator. At time of writing I'm planning to shroud them so if fuel ever leaked again it would drain onto the road rather than into spark-generating devices. This is not the solution but rather a last resort extra level of safety. The solution is to brace the carbs and to a lesser extent airbox so they are solidly mounted to the engine and the rubbers act merely as a seal rather than a structural element. Bracing the base of the airbox  and the top of the airbox to the carbs  Screwed rather than rivetted as it means dissassembly is easier for maintenance, re-jetting etc.  removing paper towel that protected against swarf getting in the carbs  carb to engine braces, centre-punched to indicate to which carb they attach as they are all slightly different shapes. Lots of trial and error to get these right.  Was looking everywhere for this bit after I dropped it. Only found hours' later when I thought I had a bit of gravel in by boot.  Fitted. almost no movement. But enough, I found later to start to ease the carbs from the rubbers slightly. This is my number one to-do. Brace the underside and either superglue the rubbers or try the correct Yamaha ones.  Knocking up some air-filter mounts. Filter is a stainless steel one with stainless steel gauze with filter oil jobbie. Hopefully it means I can run it through the dishwasher and re-oil rather than replace     Making up a cowl. As said earlier, this radiator and fan isn't enough to cool the engine. I don't have much more space to fit something bigger and don't want a second rad in the boot. Talking to a few people with experience of cooling, doubling the fans and maybe adding an electric water pump will help. Getting desperate on the cooling but resolve to try both.  Boiling up water to soften oil hoses so they can be pushed onto barbed fittings.  New hoses made to relocate oil cooler behind radiator to make space for electric water pump  Not the ideal location for an oil cooler but it's a compromise with space. Rubber hoses are later cable tied so they can't touch any of the pulleys  This combination works. More fuses and relays fitted so if one cooling element (2 fans, one pump) fails it only blows its own fuse and not the whole cooling system.  Since the fire I have reinforced this panel as it was quite weedy. especially in the skinny lower section. Before I made my new kevlar gearbox cover I experimented with the material by adding some to this and also a fibreglass panel on a Royal Enfield (since sold) which was starting to crack around a mounting. In contrast to fibreglass resin the epoxy doesn't smell much and takes a lot longer to go off. Kevlar is more like a normal piece of cloth - not springy like glass and not itchy. But a scissors won't cut it. Well a John Lewis one with a slightly serrated edge will. Whereas chopped strand mat will take a shape by virtue of the temporary glue being broken down by the styrene, kevlar (and woven fibreglass) doesn't take shapes quite so easily. Didn't matter here.  are-metalled and repainted cross-brace. chrome and new mesh added to front panel.  Front panel added, bonnet trial fitted. This bonnet has the swage line smoothed out by its previous owner. Rather than trust the filler I plan to make my own bonnet from fibreglass of carbon fibre by taking a mold off this one. But time was running short so I used it for the MOT and the Minor National. |
| |
|
|
madmog
Club Retro Rides Member
Posts: 1,160
Club RR Member Number: 46
|
1967 Morris Minor madmog
@madmog
Club Retro Rides Member 46
|
Jul 10, 2012 21:07:37 GMT
|
 Early Morris Minors had a big air filter and I picked one up at an autojumble with the intention of seeing if I could make use of it. It didn't really work in the engine bay and in any case seemed too nice to butcher about so I took a mold off the top part in fibreglass (well three molds before I got it good) and from that mold, made this. Was in a bit of a hurry but it came out not too bad.  I filled some odd bits of damage, painted up in gloss black and got this. Annoyingly, I've just realized I didn't take any pictures of the finished engine bay. |
| |
|
|
|
|


 Sand with 1200 grade and polishing paste later


