|
|
|
|
johnrh
Part of things

Posts: 958
|
|
|
|
I'm very flattered. I hope your project goes well - and please post lots of photos! If you want to know anything that I have not covered in the thread, e.g. parts suppliers, don't hestitate to ask. Send a PM or ask on the thread; I'm easy Cheers John |
| |
|
|
johnrh
Part of things
Posts: 958
|
|
|
|
It's the threads like this and tonybmw's that make Retrorides worth the effort. Thanks, DW Really coming along now John Many thanks guys! Supportive followers on the forums is a great help to me when the motivation flags a bit! John |
| |
|
|
johnrh
Part of things
Posts: 958
|
|
|
|
OK, another small update: Carrying on with wing repair. I have done most of the filler work on the top repair. I also repaired the small rust hole on the mounting surface. 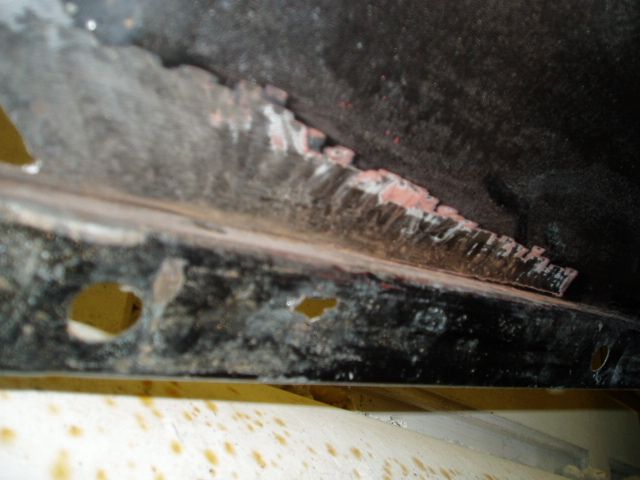 This needed to end up flat on both sides, so that the repair is not visible on top, and underneath the wing still mounts properly at the correct height. We welded on a patch underneath... 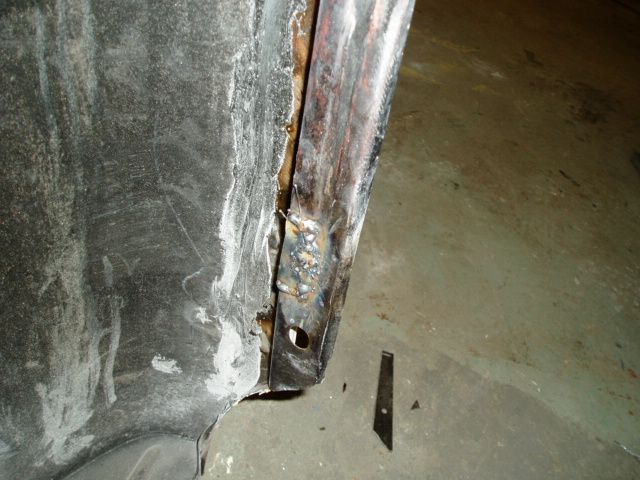 ...then filled up the hole on top with weld... 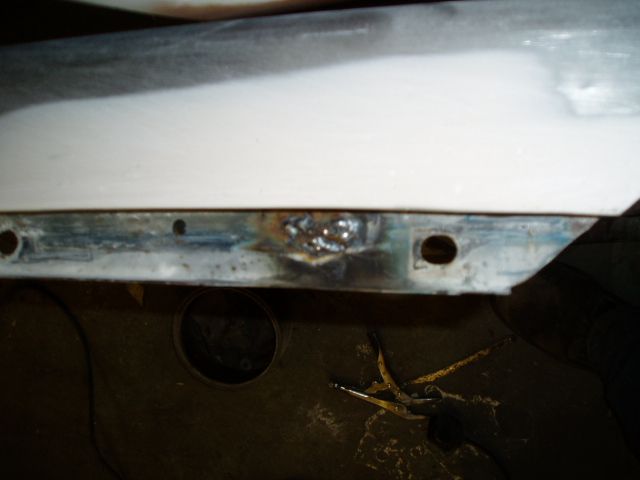 ... then ground it off on both sides to take it back to the required level/thickness. 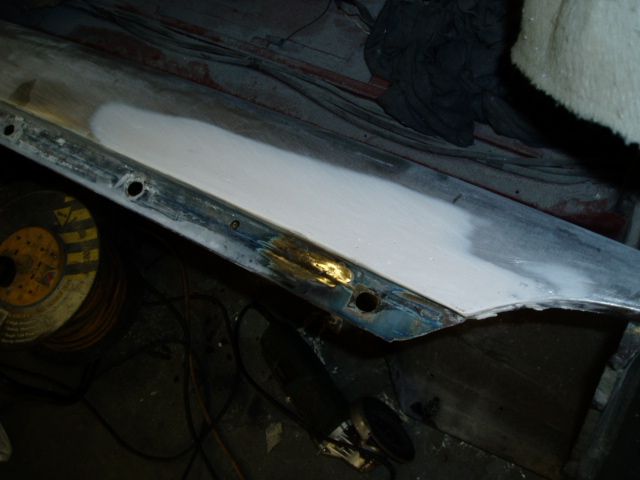 Overheated some of the filler while welding, so I had to redo that part 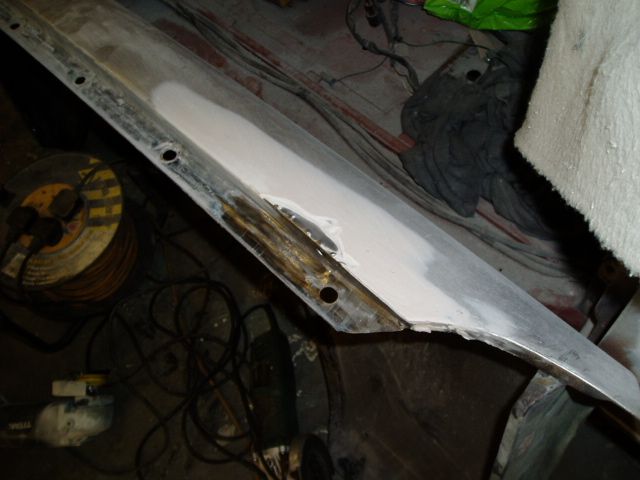 With a skim of filler on the top it will not be perfect, but good enough. 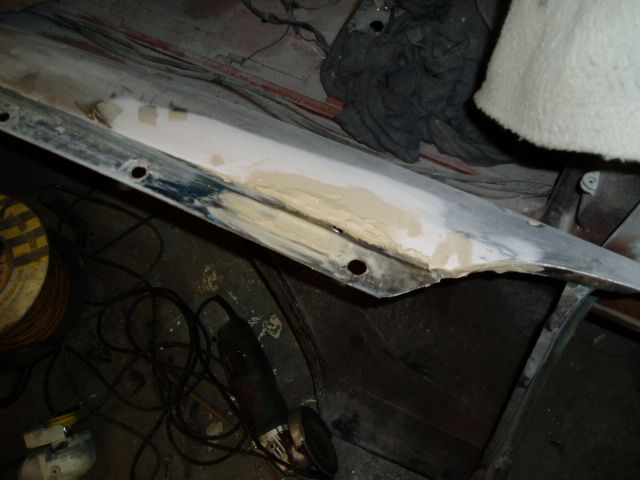 That's all for today. Now I'm off to get ready because Foggyjames (from the Volvo forum) is having a party tonight...!!  John |
| |
|
|
johnrh
Part of things
Posts: 958
|
|
|
|
The party was excellent, lots of fun and no serious injuries. And surprisingly, I felt OK this morning... Another short and unexciting update! My 164 has a damaged front bumper. It has been straightened after accident damage in the past, causing the aluminium to tear. It is possibly repairable, but I really need to replace it, so I've been looking out on ebay etc. The 1973 164 has a front bumper unique to that one model year, so there aren't many around. I missed out on a new-old-stock bumper a while back, the price went too high. To improve my chances I have also been looking for a 140 bumper. The 140 item is very slightly different, just a few millimetres at the ends (I have compared 140 and 164 bumpers back-to-back). The 164 lights could easily be mounted on a 140 bumper by drilling the bolt holes. I got this 140 bumper from ebay and collected it today. It's good - it has only a small area of damage at one end and some protective coating has been painted on it which has reduced corrosion pitting. 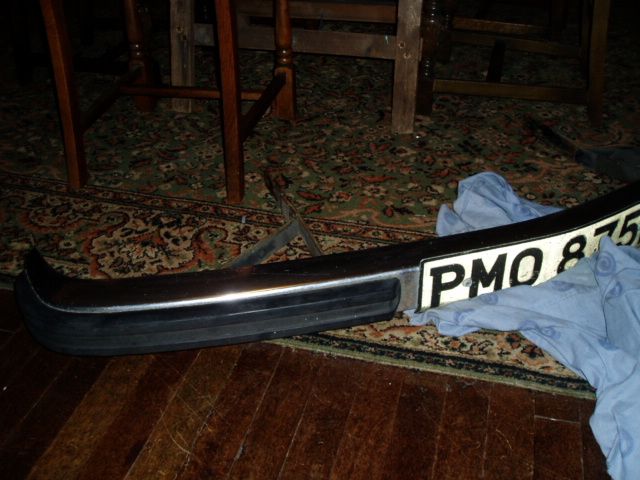 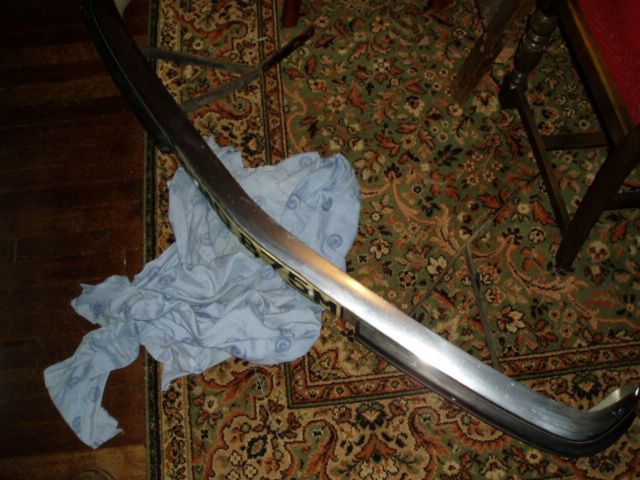 Yesterday, I also won a '73 164 bumper on ebay, so when that gets here from Germany, I'll have a choice. I may look into the cost of replating, so I can make the front match my NOS rear bumper. 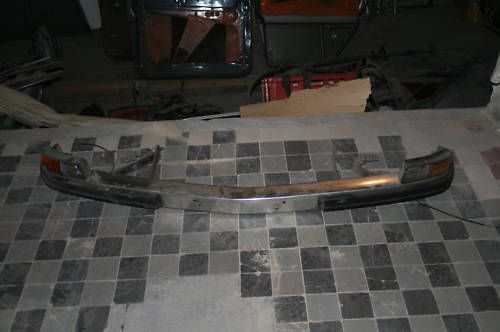 All for now, John |
| |
Last Edit: Nov 7, 2010 17:42:18 GMT by johnrh
|
|
|
|
|
|
|
If you want to know anything that I have not covered in the thread, e.g. parts suppliers, don't hestitate to ask. Send a PM or ask on the thread; I'm easy Thanks i'm sure i'll need it...but not at the moment... i'm almost ending the chassis and body metal repair... still undone the boot lid, the 4 doors and one spare wheel well... the rest it's already on primer... Read more: retrorides.proboards.com/index.cgi?board=readersrides&action=post&thread=58505"e=1185142&page=14#ixzz14e7Bk8YTYesterday, I also won a '73 164 bumper on ebay, so when that gets here from Germany, I'll have a choice. I may look into the cost of replating, so I can make the front match my NOS rear bumper. All for now, John I was not able to bid higher on this bumper, I was working when it ended... so you won it then it still in good hands... ;D But i did win the dash for 1 Euro because mine has some big cracks in it... and i won a new ATE master cylinder for 50 Euros on ebay... My current supplier is vpautoparts from sweden and i just bought a new fuel pump and the brake caliper repair kit for all calipers ... So I think that with good tires i will be able to stop.. ;D Thanks and up the good work |
| |
|
|
|
|
|
|
|
Wow!!! Taken me two days to get up to date on this thread! So much attention to detail is impressive, i can't imagine how many hours you've put into it. Can't wait to finally see this in fresh paint and sat on its new wheels. Have you done anything more on the engine? |
| |
|
|
johnrh
Part of things
Posts: 958
|
|
Nov 14, 2010 17:56:30 GMT
|
Wow!!! Taken me two days to get up to date on this thread! So much attention to detail is impressive, I can't imagine how many hours you've put into it. Can't wait to finally see this in fresh paint and sat on its new wheels. Have you done anything more on the engine? Hey, thanks! Quite a few hours, but keeps me off the streets! Block is rebored and line bored, and I have the parts. Nothing else done yet. Trying to get the body done first. John |
| |
|
|
johnrh
Part of things
Posts: 958
|
|
Nov 14, 2010 17:57:56 GMT
|
Hi, next update: Steve and I have been working on the right front wing, which is nearly finished now. I am filling up the badge pin holes, in case I decide not to fit the badges. (If I do refit them, I prefer to use the padded double sided tape anyway). Steve cleaned off some paint so the bridging filler would stick, but found some more rust under the original primer. Luckily, it was localised and not deep, so we ground it out and treated with kurust rather than cutting out the metal. 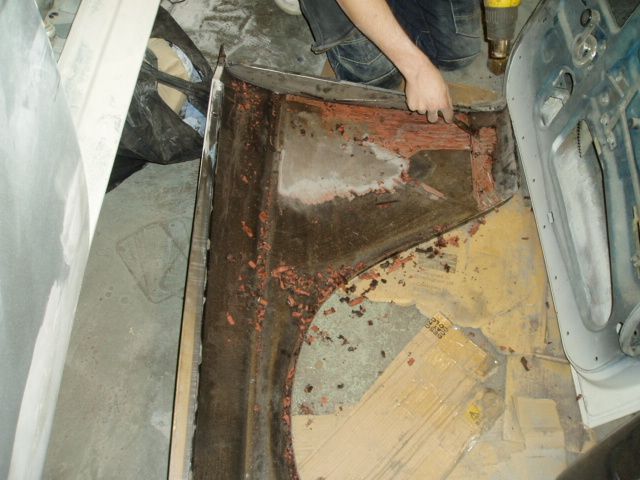 But there was one area near to lower edge that looked quite bad, so for access we cut off the lower part of the closing panel and opened up the folded seam. 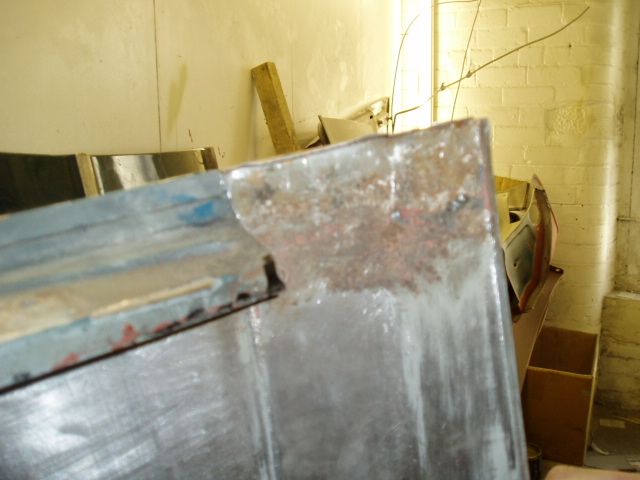 The part removed was not rusty - good news meaning that the rust had not spread into the folded edge 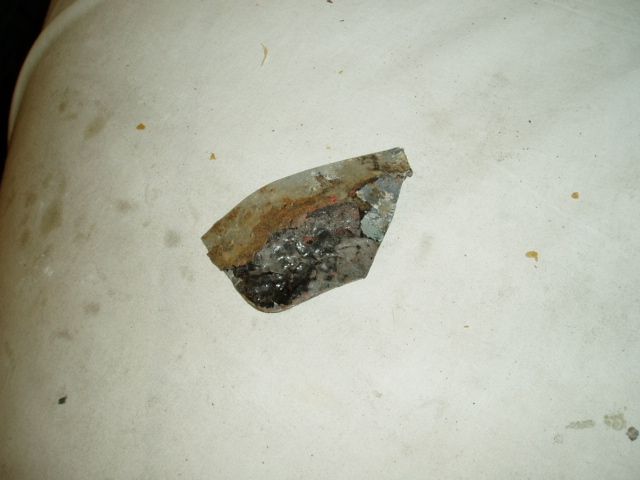 Cleaned off, the metal behind was very pitted, although not quite holed. 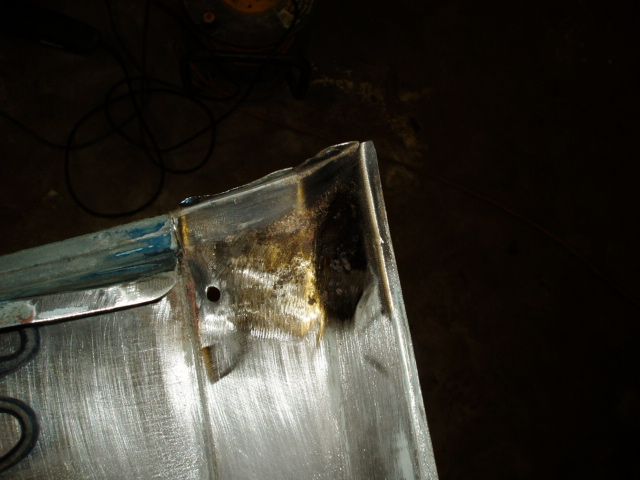 I cut out the rusty piece. Luckily both the bottom and rear edges were rust free, so we could retain those making it easier to keep the correct shape. 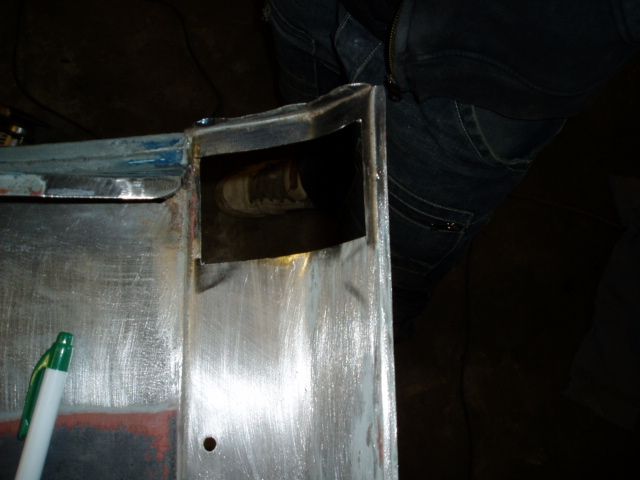 Repair piece welded in... 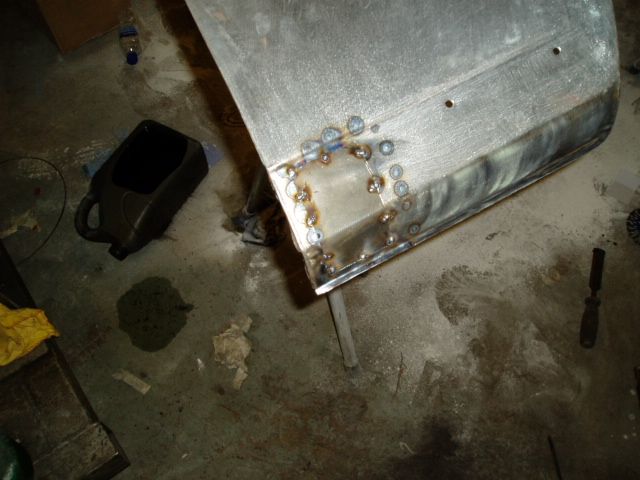 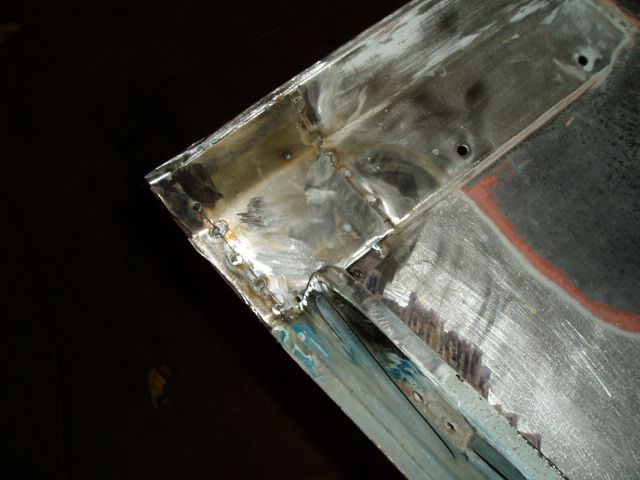 ... and filled 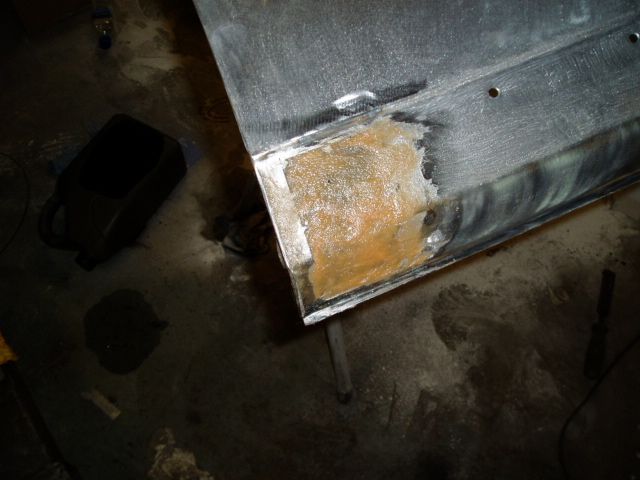 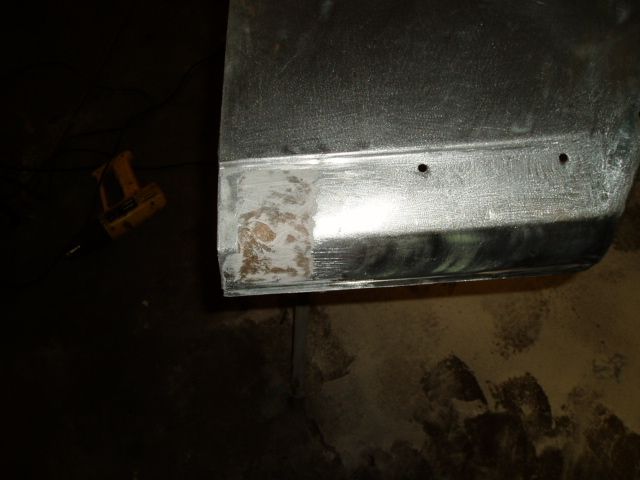 The filler higher up is to fix some small dents. (I stupidly made some of them when removing the badges, D'oh!) 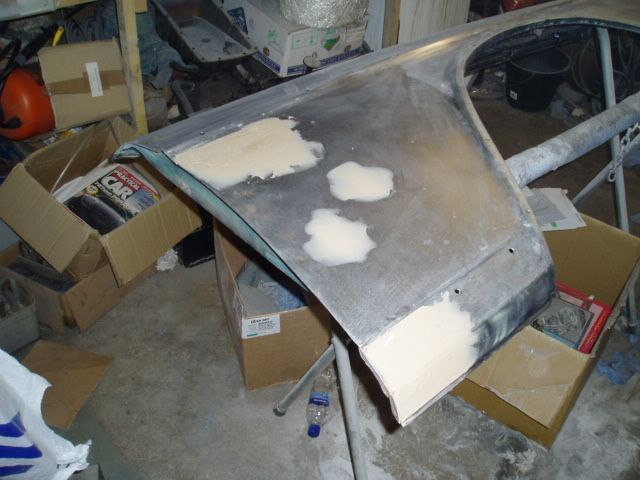 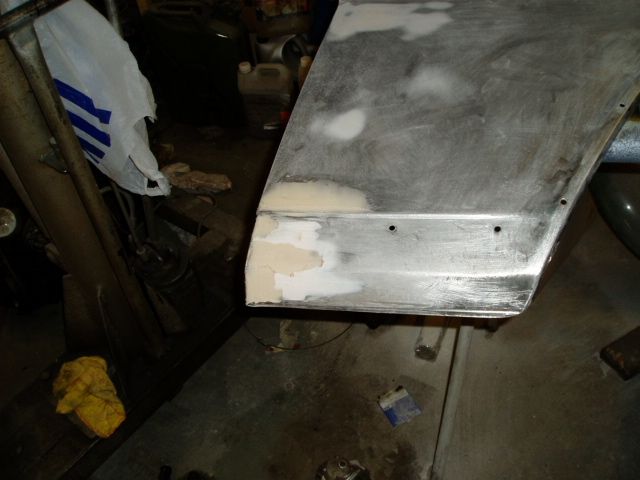 I am not replacing the part of the closing panel that I cut out. It is a mud trap and hardly visible when the wing is on the car - the front edge of the sill hides it. I refolded the edge, having put resin around the weld, then etch primer, then car-bond to stop moisture getting in there. 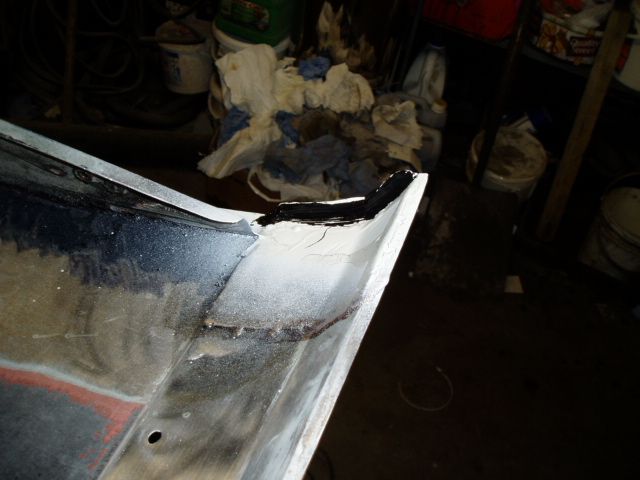 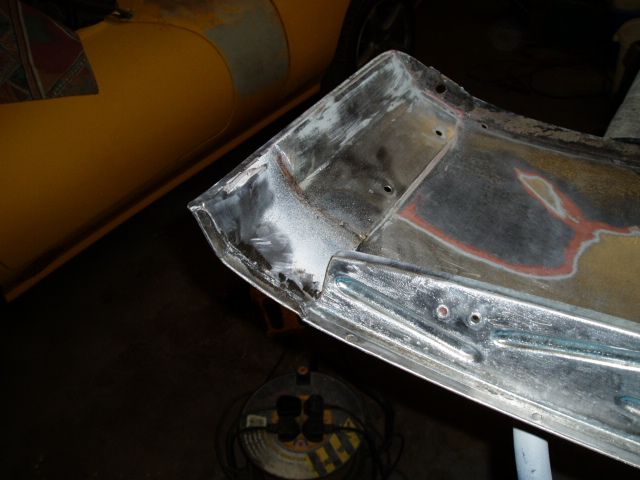 Took the paint off the closing panel 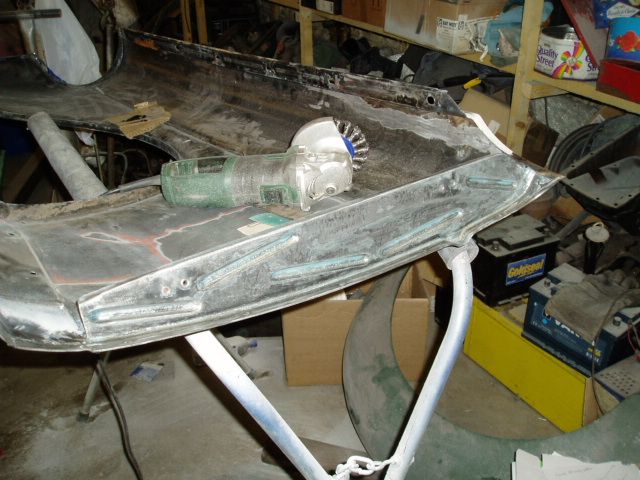 The filler at the rear edge needed more time to harden for sanding, but I wanted to protect the rest of the wing. So I decided to prime most of it and do that bit later. Final sanding and cleaning 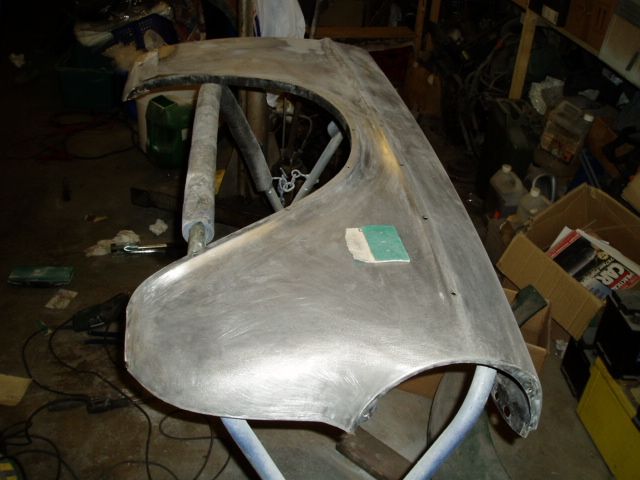 Primed. There are one or two wobbles in my filler that I need to correct, but overall I'm pleased that it has come out well. 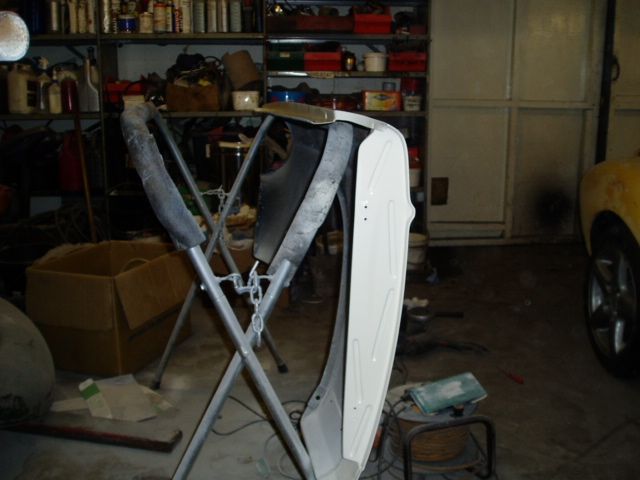 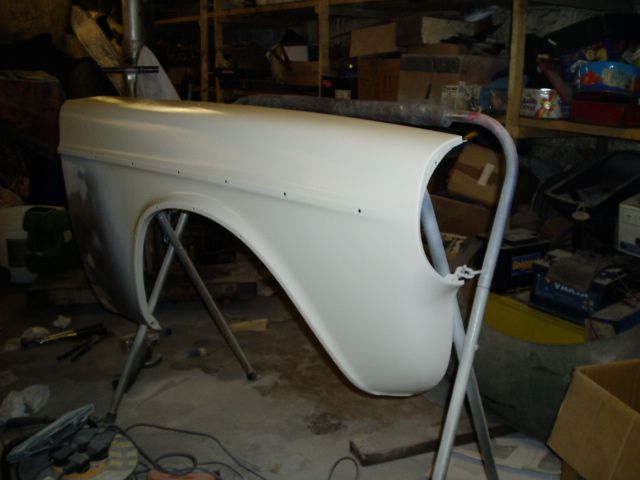 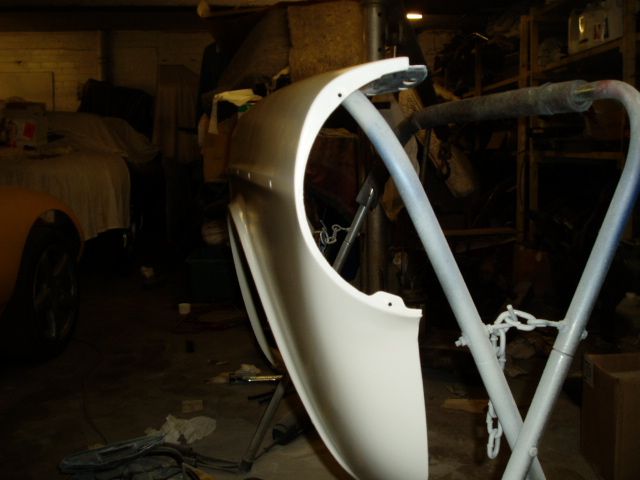 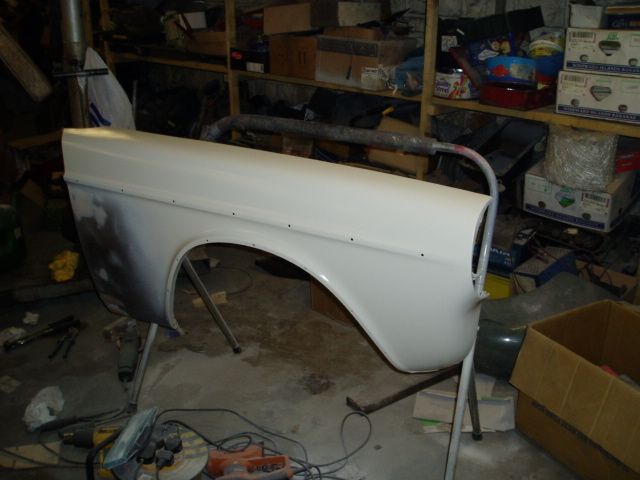 That's all for now, John and Steve |
| |
|
|
|
|
|
Nov 14, 2010 20:31:31 GMT
|
|
I must get some of those panel stands, they look really versatile
|
| |
|
|
|
|
johnrh
Part of things
Posts: 958
|
|
Nov 14, 2010 21:50:01 GMT
|
I must get some of those panel stands, they look really versatile They're good for lots of things, but not really stable enough for manual sanding, you need a helper to hold things steady for that Definitely worth having tho John |
| |
|
|
|
|
|
Nov 15, 2010 13:48:20 GMT
|
|
Hi... have you heard anything about the german dude who sold you the front bumper??? I'm still waiting for him to reply...
On the ebay add he says that only send it to germany?!?!
As usual keep up the good work...
|
| |
|
|
johnrh
Part of things
Posts: 958
|
|
Nov 15, 2010 16:21:14 GMT
|
Hi... have you heard anything about the german dude who sold you the front bumper??? I'm still waiting for him to reply... On the ebay add he says that only send it to germany?!?! As usual keep up the good work... Yeah, I asked him before bidding. It's paid for inc UK shipping, so hopefully on it's way here. John |
| |
|
|
johnrh
Part of things
Posts: 958
|
|
Nov 21, 2010 18:31:23 GMT
|
Hello folks, Less car work this weekend because we've been away visiting friends, and it wasn't a working Saturday for Steve. Even so, there's a little progress. Trial fit of the right front wing with the bonnet in place, to check accuracy of my repair at the top rear corner. It needed some work to get the height and shape of the repaired area right 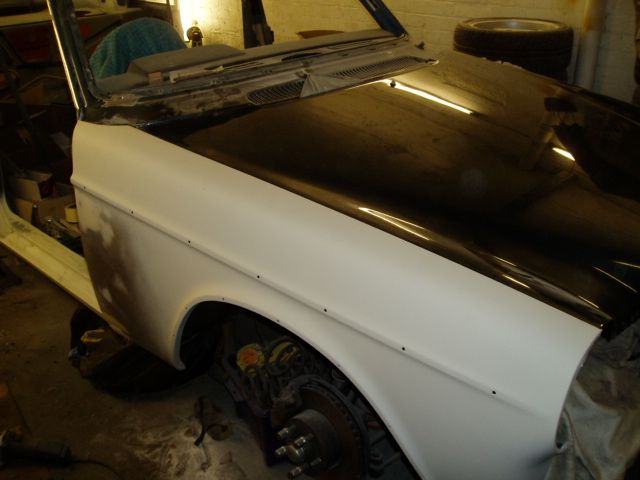 I needed to adjust the edge with some more filler to get an even panel gap 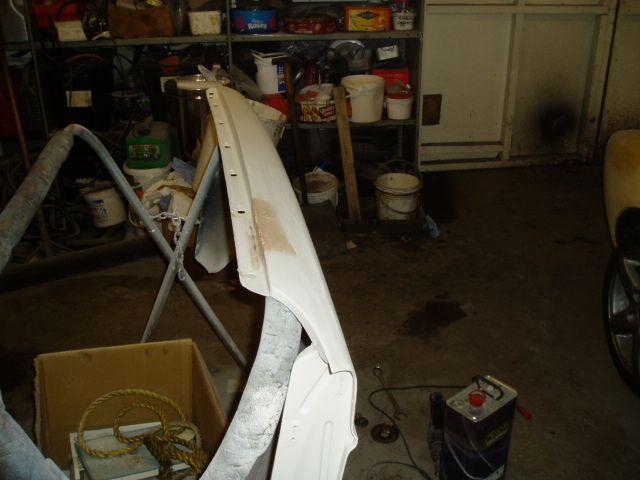 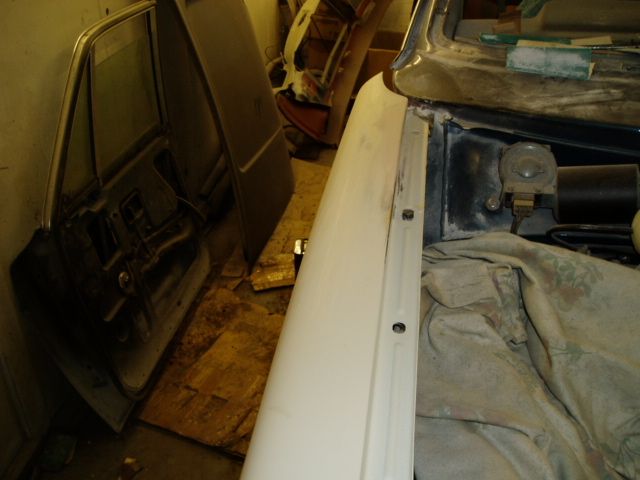 Nearly there in this photo. After a little more sanding, I got it right 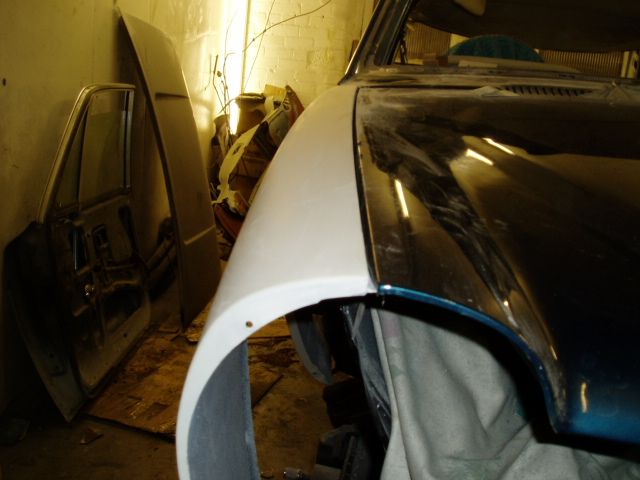 The wing is now finished and primed, except that I need to touch up the stone-chip inside where we removed it to tackle rust 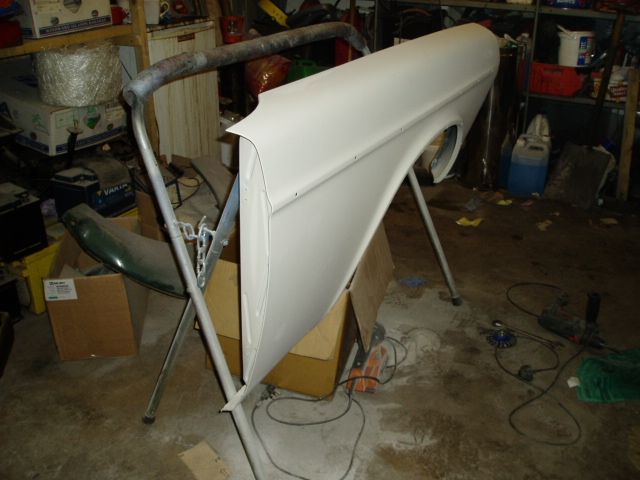 I have started to strip the paint of the left front wing. There is a tiny area of rust under the paint at the top rear corner - a few millimetres. I will strip the paint inside the wing to have a better look. I am hoping I can just drill out and fill the very small area affected 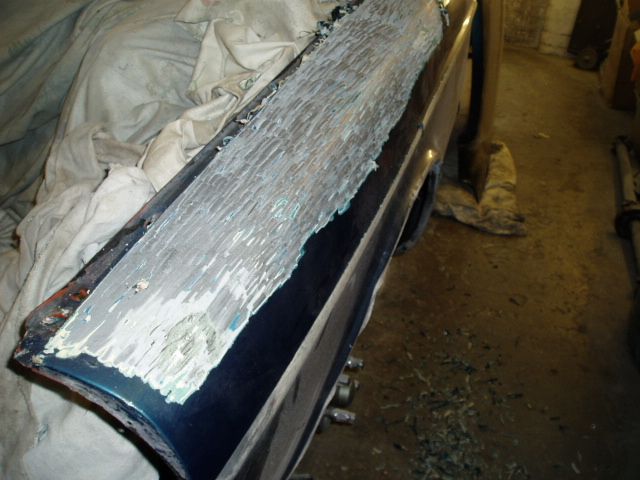 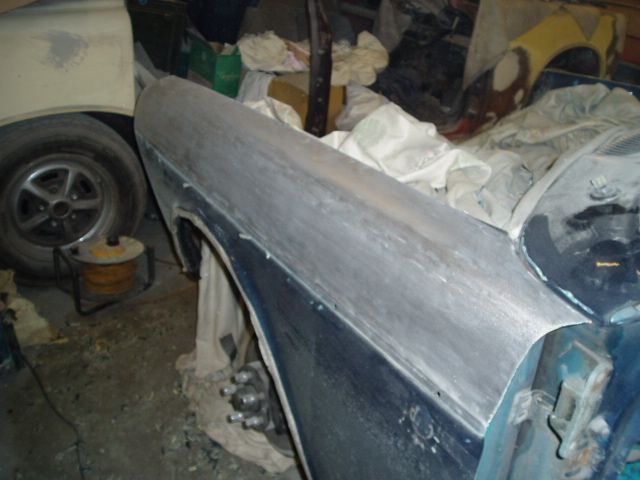 My bumper has arrived. I am pleased with it, Despite a few scratches, it is in good condition and it will not need re-plating (at least not immediately - that could be a job for later). 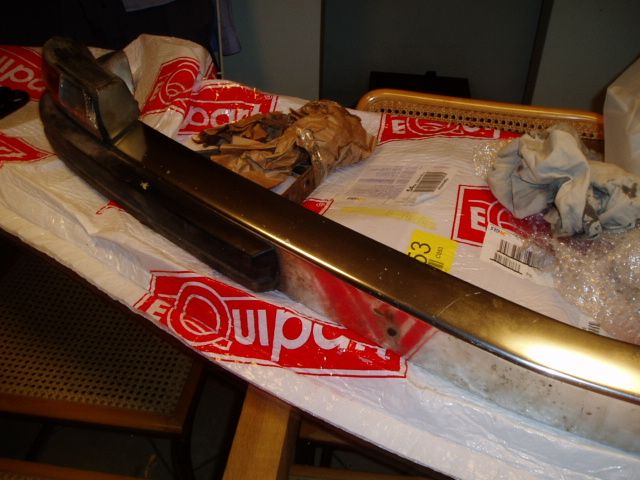 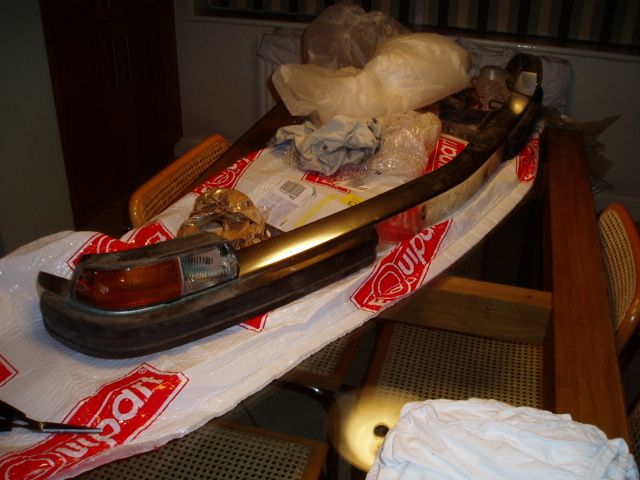 And, to make me feel better about the amount of rust my Volvo has, this is Morris Minor rust being cut out and repaired on my friend's car. 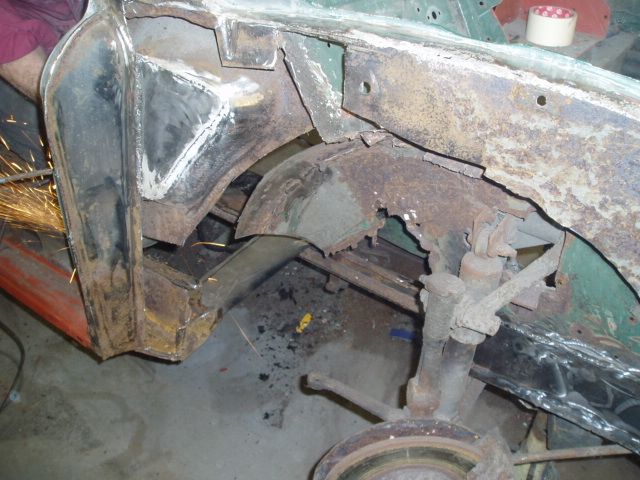 That's all for now. No car work next weekend because we are off watching historic rallying. But the following week I have some time off work, so will be making good progress towards the respray! www.rogeralbertclarkrally.org/Cheers John |
| |
|
|
johnrh
Part of things
Posts: 958
|
|
Nov 29, 2010 22:25:14 GMT
|
Hi, Some more... Left front wingFilling a small dent 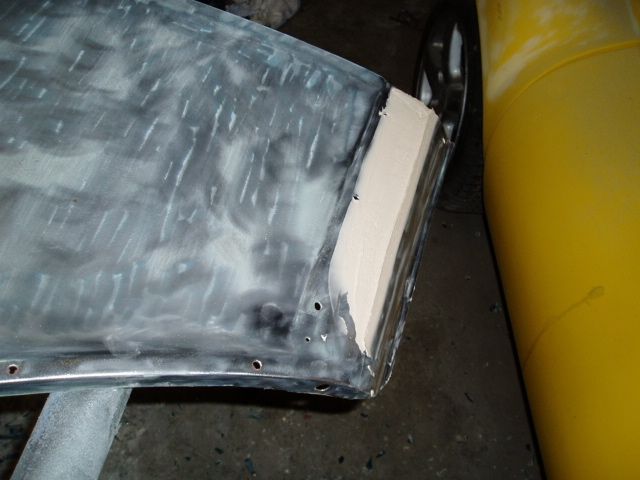 All the paint stripped off 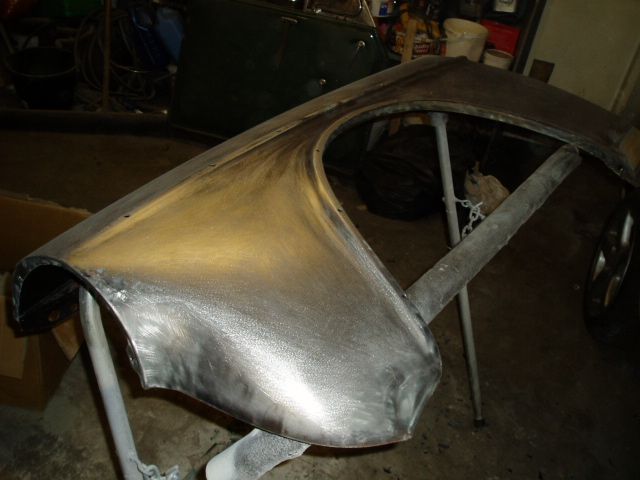 Filling various small dents and pressing marks 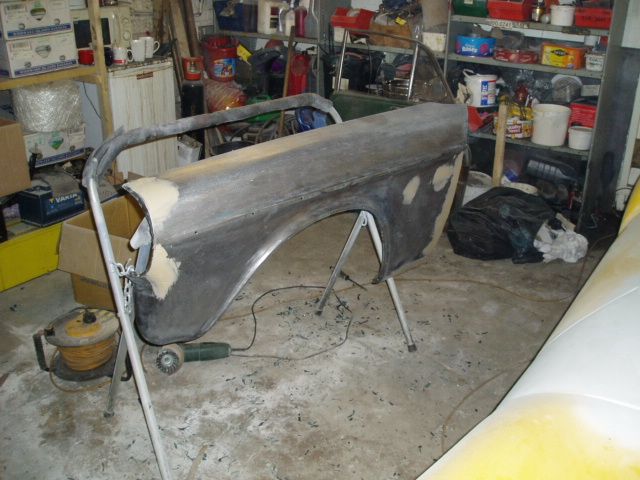 No rust at the top edge 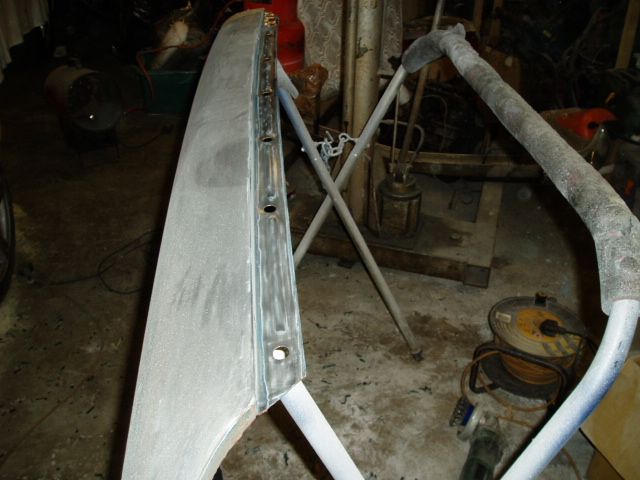 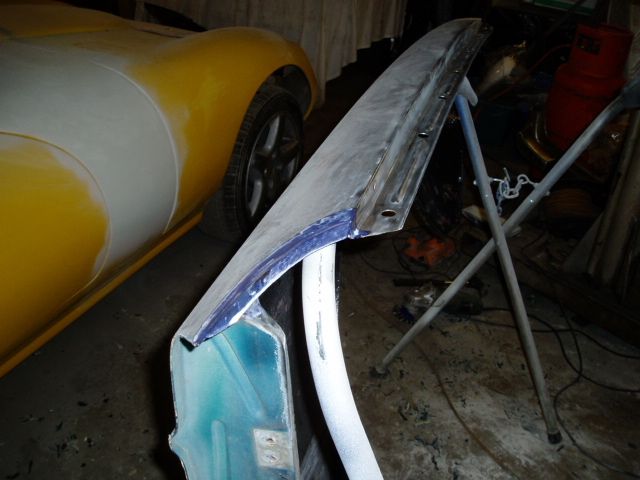 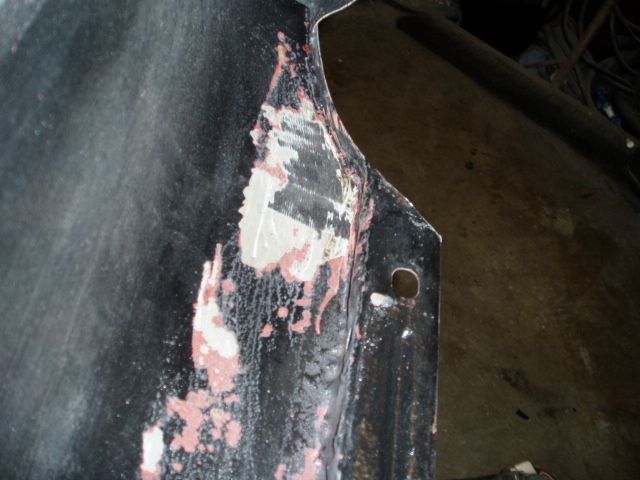 However, I found some rust underneath the original primer. It's not as bad as it looks in this photo 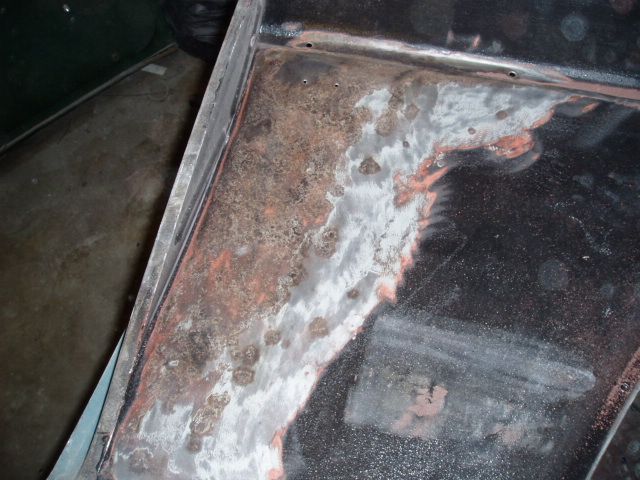 Ground off 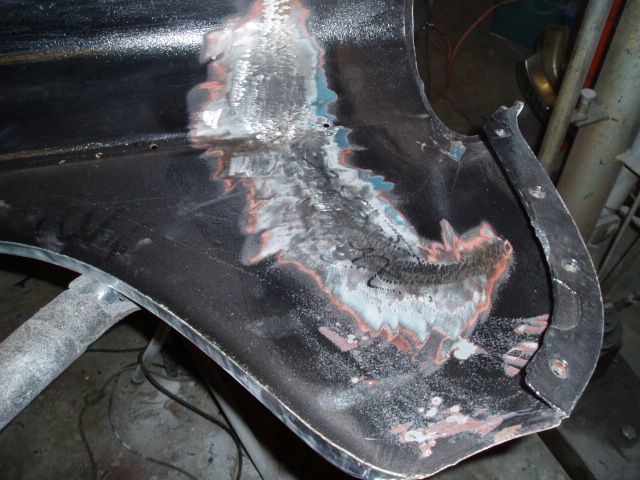 Rust killer. This isn't deep enough to justify cutting out the metal 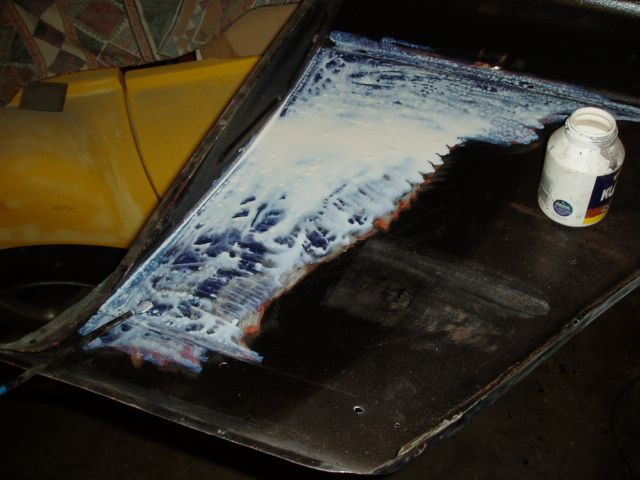 Front panel Front panelStripped paint and did some panel beating to improve old dent repairs 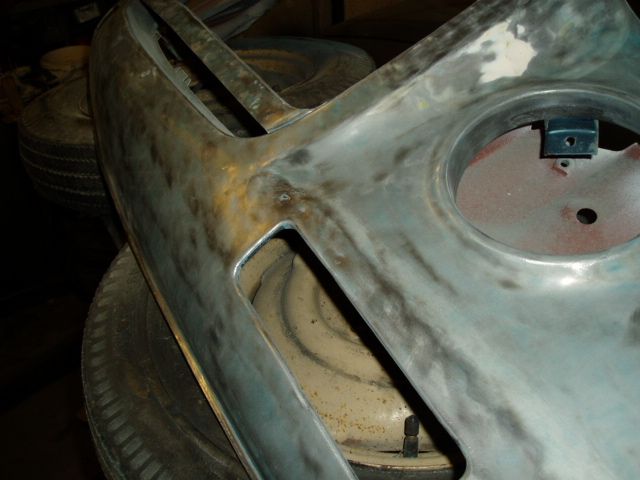 Straightened the bent bottom edge 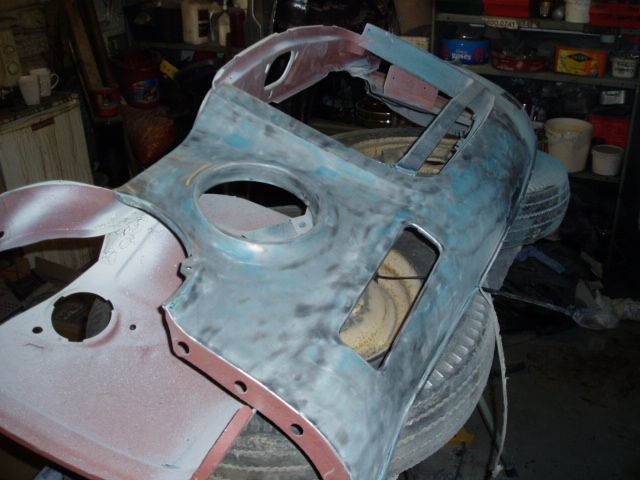 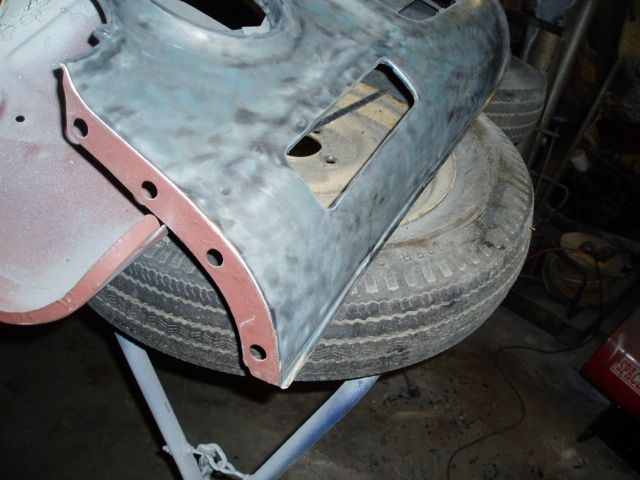 All sanded with 80 grit - helps show up dents as well as being good surface prep 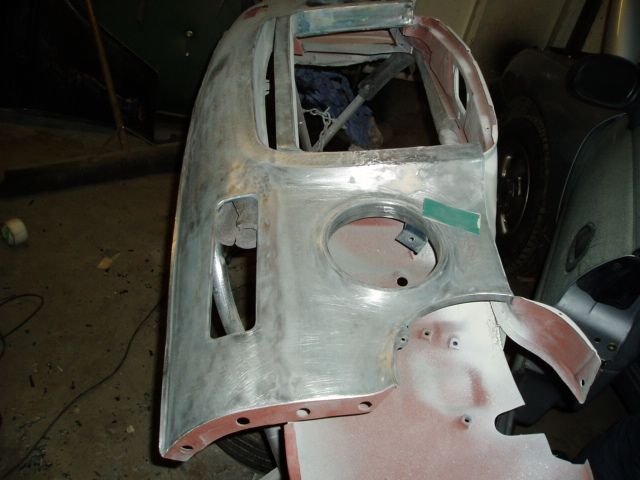 Dents filled 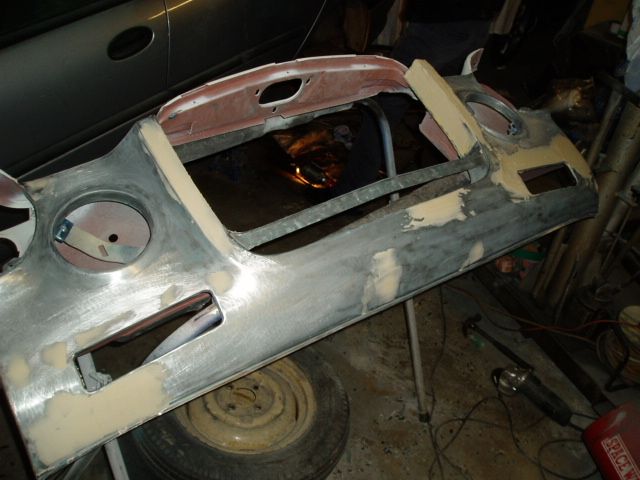 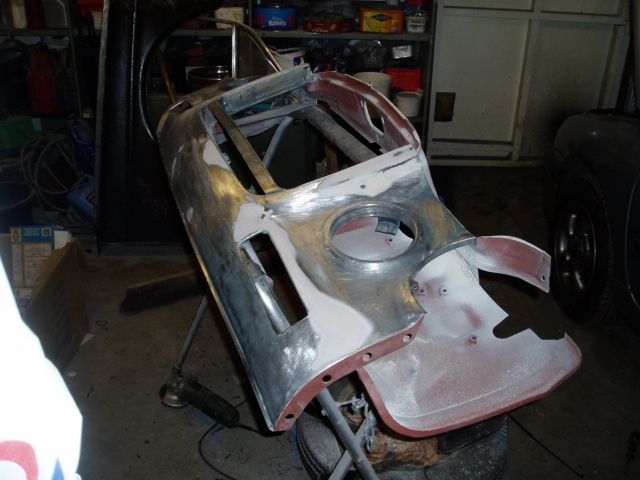 The Yorkshire winter's here early this year... ice inside the workshop window  The old barge looking very dirty because of fun rally-chasing last weekend. It must be 25 years since I last saw a Lancia Stratos in action on snow and ice, fabulous!. Dying to wash the Merc but can't because the facilities are all frozen up! 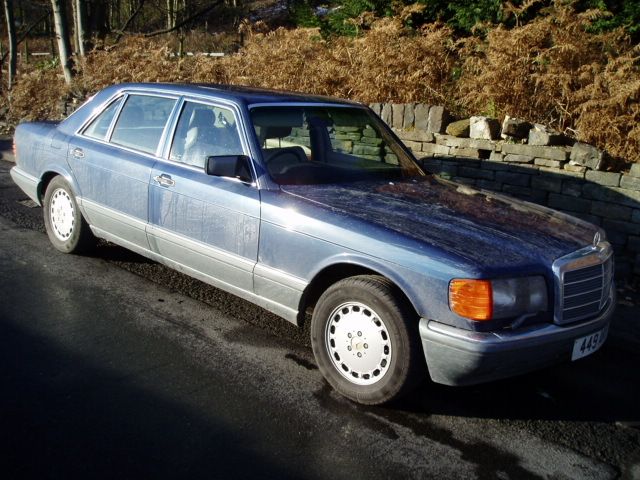 My best friend just now... 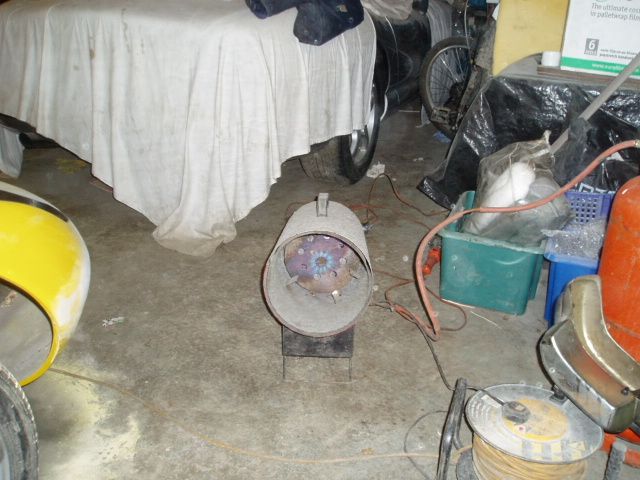 More updates soon John |
| |
Last Edit: Nov 29, 2010 22:40:51 GMT by johnrh
|
|
|
|
|
Nov 29, 2010 22:54:37 GMT
|
|
sorry I'm not getting the "bridging filler" thing. you cut out the rot very neatly, make a perfect repair panel, tack it in place then cover it with fibreglass. Could you not fill the gaps between them with more tacks or short beads and grind down for a tonybmw style finish?
|
| |
|
|
johnrh
Part of things
Posts: 958
|
|
|
|
sorry I'm not getting the "bridging filler" thing. you cut out the rot very neatly, make a perfect repair panel, tack it in place then cover it with fibreglass. Could you not fill the gaps between them with more tacks or short beads and grind down for a tonybmw style finish? Hi, Couple of reasons: - I learned to do it this way and have never had a problem - I can't weld, due to my epilepsy. (It's normally well controlled with drugs but the flickering of a welder would cause me to have a fit within a few seconds). My friend who does the welding for me is very generous with his time and help, but I wouldn't want to take advantage of that by changing the technique and adding more time to the welding part of the job. - More welding gives more heat and more risk of warping panels. That can be avoided by frequently stopping for the job to cool down, but that adds to the time of course Also, the people who can get the bare metal finish/shape as good as tonybmw are very few and far between. So, for mere mortals, some filler is needed to get the shape right anyway! John |
| |
Last Edit: Nov 30, 2010 9:13:24 GMT by johnrh
|
|
Speedle
Posted a lot
Need a Country Rock band in the Hampshire Area? https://www.facebook.com/DirtRoadDiaryUK
Posts: 2,221
|
|
Nov 30, 2010 12:43:36 GMT
|
top work John, top repair work and excellent attention to detail  look forward to seeing it all come together  |
| |
|
|
|
|
|
Nov 30, 2010 16:23:14 GMT
|
|
Nice work. Is that a Ginetta G33 or G27 lurking in the background?
|
| |
|
|
johnrh
Part of things
Posts: 958
|
|
Nov 30, 2010 17:45:49 GMT
|
top work John, top repair work and excellent attention to detail look forward to seeing it all come together Nice work. Is that a Ginetta G33 or G27 lurking in the background? Thanks guys! It's a G27, just sold on ebay actually, being collected on Saturday, weather permitting. John |
| |
Last Edit: Nov 30, 2010 17:47:13 GMT by johnrh
|
|
|
|


 look forward to seeing it all come together


