JamieS
Part of things
 
Posts: 115
|
|
Nov 23, 2009 21:08:34 GMT
|
Where you get your skill from? Either younger or the same age as me.. ive been on a mechanics course for 2 years an I'm no where near as committed as you  And I cant weld  Ahh well anyways read this build through and liking the directions its going it.. great colour which those stripes just send it off perfectly Keep up the good work  |
| |
|
|
|
|
|
|
|
Nov 23, 2009 21:25:20 GMT
|
I just rebuilt my 1330, I really enjoyed it - Nothing more satisfying than starting an engine which had span an big end and it running lovely  I wish I'd had the time to paint it all up as well as you have. I intended to, and bought the paint, but didn't get round to it! The torque sequence is middle to outside in a spiral - some people go "clockwise" some "anticlockwise" They are done in 2 stages, half torque first. |
| |
|
|
lund
Part of things
 
Posts: 155
|
|
Nov 29, 2009 13:04:28 GMT
|
Where you get your skill from? Either younger or the same age as me.. ive been on a mechanics course for 2 years an I'm no where near as committed as you  And I cant weld  Ahh well anyways read this build through and liking the directions its going it.. great colour which those stripes just send it off perfectly Keep up the good work  Hi Jamie, Most of what I've learned I've learned from my dad, he's been restoring a Mk111 mini since 1984! He's abit of a perfectionist, whereas I'm not so much & like to get the job done! Regarding paint finishes and work carried out, just take your time with it. It's all in the preperation. Practise makes perfect. I haven't touched a welder yet, all welding work was carried out by my old fella! At the time I was probably too in experienced, I'm 20 now so might give it a shot one day. Cheers! I just rebuilt my 1330, I really enjoyed it - Nothing more satisfying than starting an engine which had span an big end and it running lovely  I wish I'd had the time to paint it all up as well as you have. I intended to, and bought the paint, but didn't get round to it! The torque sequence is middle to outside in a spiral - some people go "clockwise" some "anticlockwise" They are done in 2 stages, half torque first. Yeah, I've had a look in the Haynes didn't know about the stages though, although that does make sense, thanks. Tom ;D |
| |
|
|
lund
Part of things
 
Posts: 155
|
|
|
|
Coming together nicely now; I have fitted the fan, used two spacers as the large spacer wasn't really needed and the bolts wouldn't reach. I've been topcoating some of the brackets today. Fan clearance: 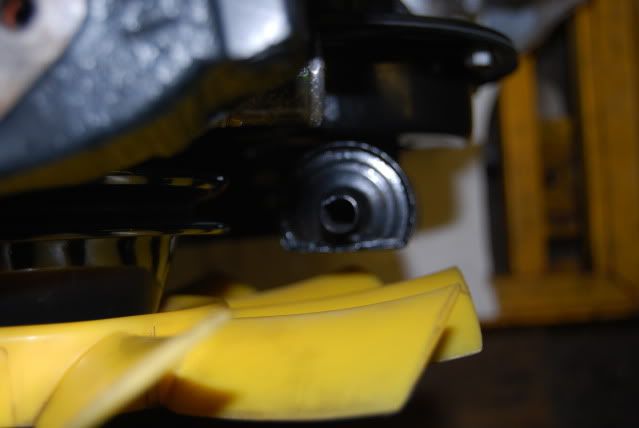 I understand that the fan draws in when hot, but theres still a suffient gap. What do you reckon guys? Radiator bracket; 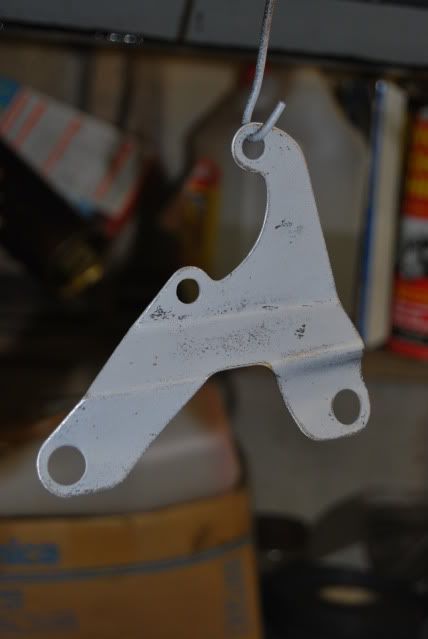 Thermostat reacted, will need respraying; 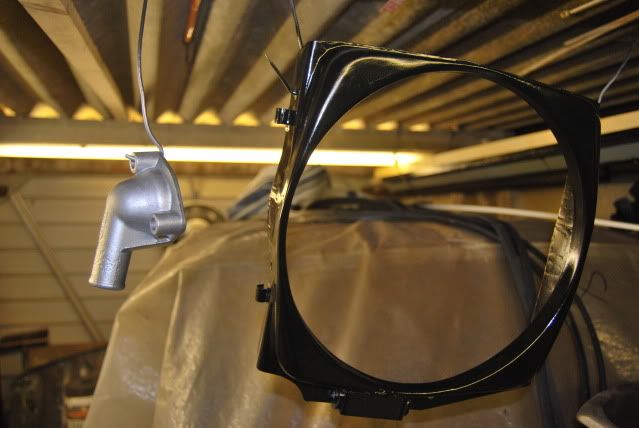 Coil bracket;  Finished results; 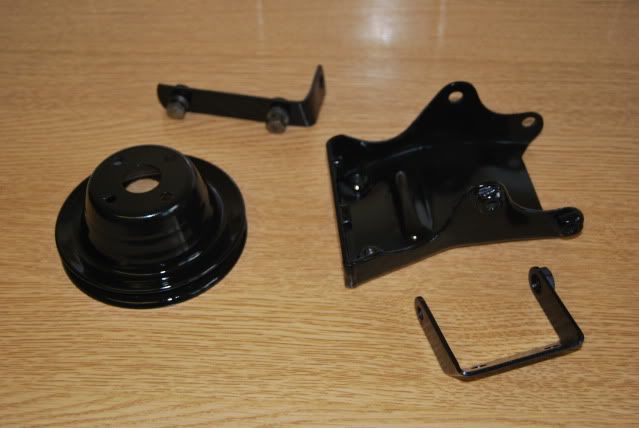 Point Joints on the diff; 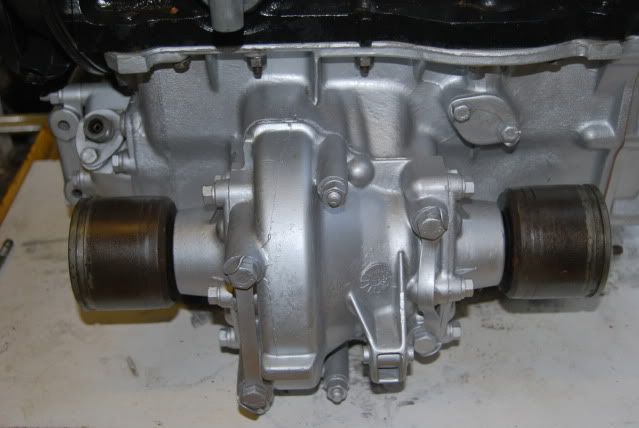 Drilled thermostat; 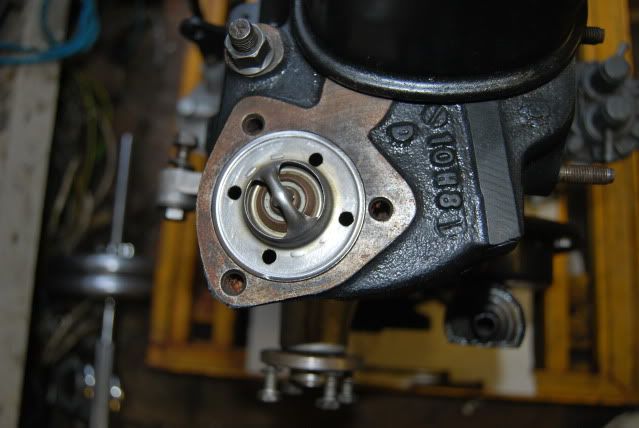 Cheers, Tom |
| |
|
|
Sven
Part of things
 
Posts: 341
|
|
|
|
Really nice work, mate ... anyone told you you may have an obsessive disorder? Don't worry, though, most of us have it too ...  She's going to fly with that mertah! |
| |
1969 Chevrolet 4x4 C10 Pickup
1969 VW extended cab pickup (doka)
1980 Volvo 240DL
1995 Mazda Miata MX-5
2007 Toyota FJ Cruiser
2007 Dodge Ram 2500 Cummins Diesel
2011 MK Indy R (building)
|
|
Prud
Part of things
 
Posts: 308
|
|
|
|
That is a seriously nice Mini. It's going to hammer - you're going to have a whole new appreciation of the twisties  |
| |
|
|
lund
Part of things
 
Posts: 155
|
|
|
|
Really nice work, mate ... anyone told you you may have an obsessive disorder? Don't worry, though, most of us have it too ...  She's going to fly with that mertah! Nope never  It should be a hell of a lot of fun when its done. It will be a completely different drive; Fast acceleration, Brakes with EBC redstuff & Braided lines, Verto Clutch and full hi-lo suspension setup on new cones. Basically the complete opposite to what I've been driving for 3years! That is a seriously nice Mini. It's going to hammer - you're going to have a whole new appreciation of the twisties  Cheers bud, I really can't wait now. It's getting close to completion.  |
| |
Last Edit: Dec 3, 2009 18:02:05 GMT by lund
|
|
|
|
|
|
|
Nice mini! Good job on the resto work too. Do me a favour and keep the 13s away from it too.....love minis on 10s just lately!  |
| |
-----------------------------------------------------------------------
Owning a trans am is a sin, according to the pope.
|
|
lund
Part of things
 
Posts: 155
|
|
|
|
Nice mini! Good job on the resto work too. Do me a favour and keep the 13s away from it too.....love minis on 10s just lately!  I certainly will do! 13's wont be going anywhere near this mini! Thanks for the reply. |
| |
|
|
lund
Part of things
 
Posts: 155
|
|
Dec 19, 2009 17:28:56 GMT
|
Update: The engine is now out. I managed to get that selector shaft pin out after alot of swearing & drifting! Before; (ready to be lifted) 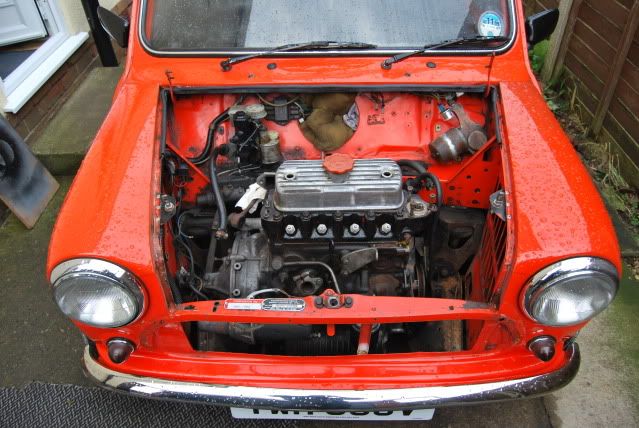 After; 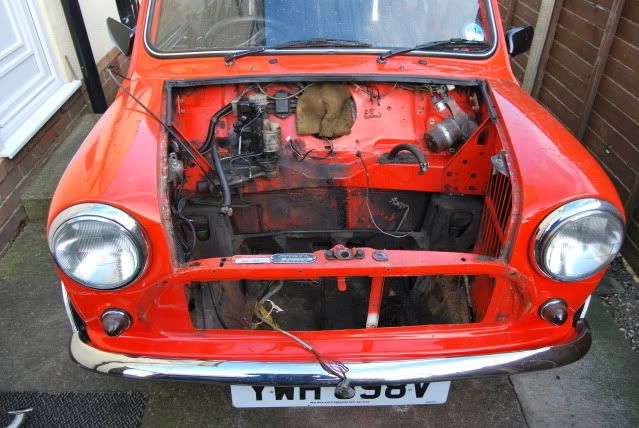 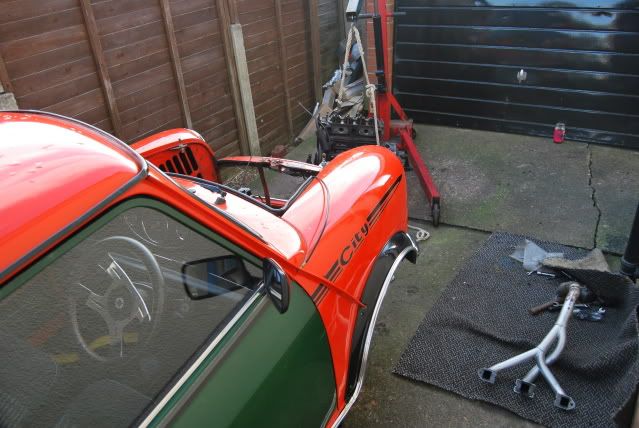 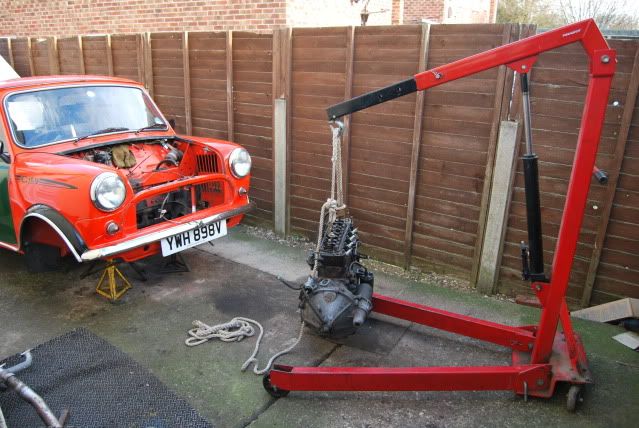 Just waiting on a few clutch parts before I can hoist the new engine in! Getting there; 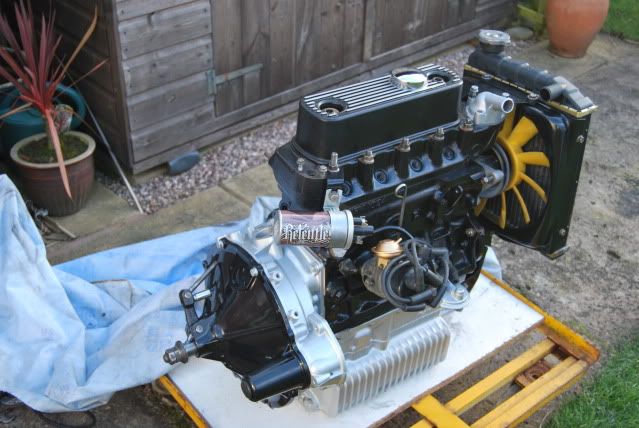 Its still not looking quite how I want it, but I'll get that sorted soon! Tom |
| |
|
|
|
|
lund
Part of things
 
Posts: 155
|
|
Dec 20, 2009 16:10:28 GMT
|
One piece Goodridge clutch braid;  |
| |
|
|
lund
Part of things
 
Posts: 155
|
|
Dec 21, 2009 17:16:48 GMT
|
I'm going to use this rocker cover as I prefer it. Sprayed gloss black enamel to match; (The photo really doesn't do it justice) 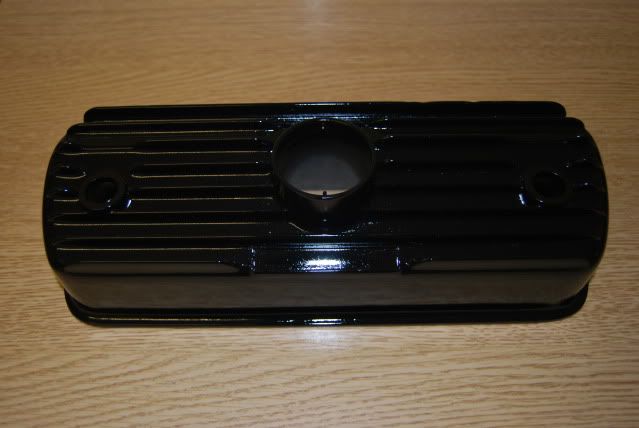 Hopefully once its all sorted she'll be back to her former glory; 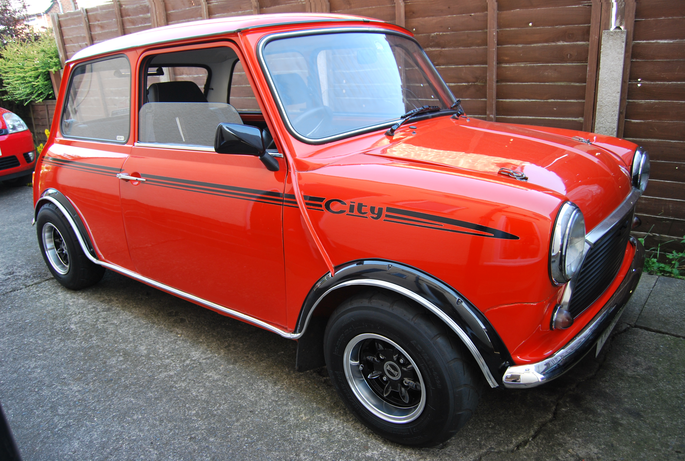  |
| |
Last Edit: Dec 21, 2009 17:19:25 GMT by lund
|
|
lund
Part of things
 
Posts: 155
|
|
|
|
If anyones still following;  The engine is now out. I managed to get that selector shaft pin out after alot of swearing & drifting! Before; (ready to be lifted)  After;    Just waiting on a few clutch parts before I can hoist the new engine in! Getting there;  The engine is now mounted in the Mini, hopefully it will stay there to stay for a long while yet! I'm having trouble fitting the 1300 ultimate engine steady. It's a complete ball ache. The mount fouls the weld on the exhaust so doesnt sit right, and the holes on the thermostat end arent wide enough for it to fully seat. With a bit of fiddling and alot of bending it should be alright. The bar doesn't even line up straight, its on an angle to the bulkhead. Should it be like that? I took a few photos before and afters; 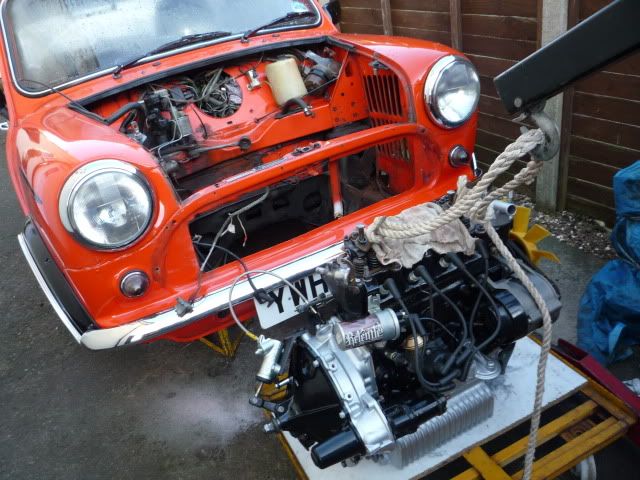 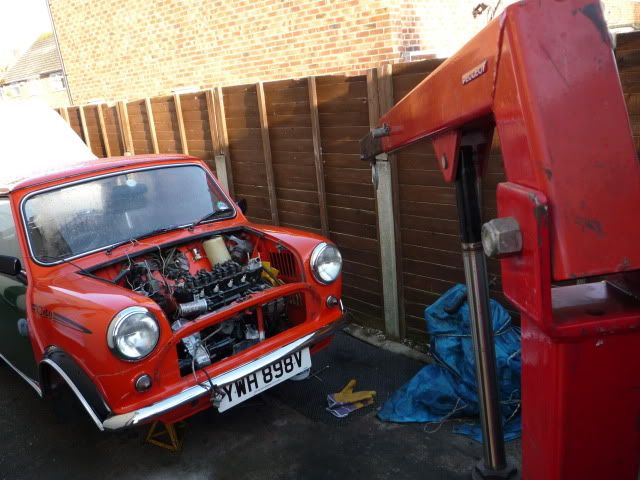 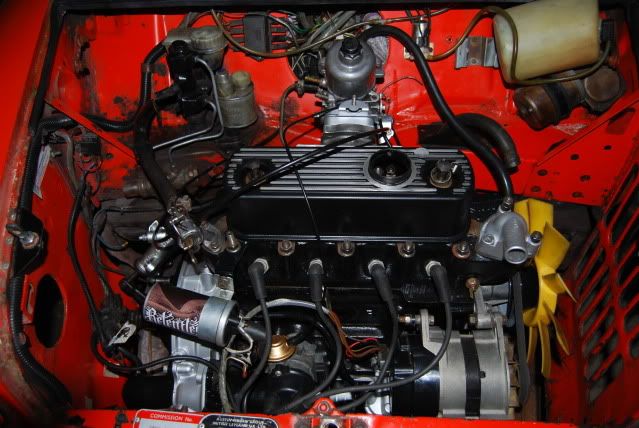 |
| |
|
|
yellowmini
Club Retro Rides Member
Posts: 46
Club RR Member Number: 116
|
1979 Mini City 1293ccyellowmini
@yellowmini
Club Retro Rides Member 116
|
|
|
|
I'm still following!!! In fact, I'm now inspired to get in the garage and get going on my '60. Top work, mate. I had an Inca yellow City as my first car. Never got beyond the 850, though.
|
| |
|
|
djefk
Part of things
 
Posts: 844
|
|
|
|
|
Nice car!
Can I respectfully suggest you dumping the engine driven fan in favour of an electric one? It's easy BHP gained as well as making the engine quieter!
|
| |
|
|
lund
Part of things
 
Posts: 155
|
|
|
|
Thought I'd bets keep this topic going. Quite a fair amount of work has been achieved since my last post. Having just been to Bingley Hall mini show, I have everything I need to complete the build and get an MOT. Albiet, I hope! I began throwing the hubs together giving them a primer and top coat enamel, along with the S brake calipers: 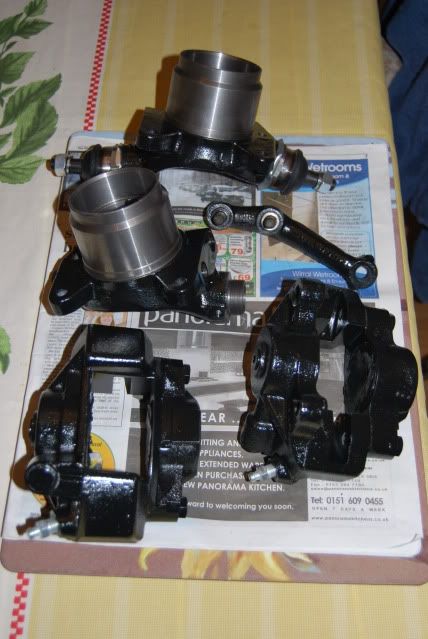 A new set of shocks were ordered. I opted for the GAZ lowered shocks for lowered minis as I have finally set the car on Hi-lo's all round. I have new rubber cones on the front, but yet to get some for the back. The shocks have an adjustable setting (what setting do you run yours on?) I counted 10 notches as an initial setting. 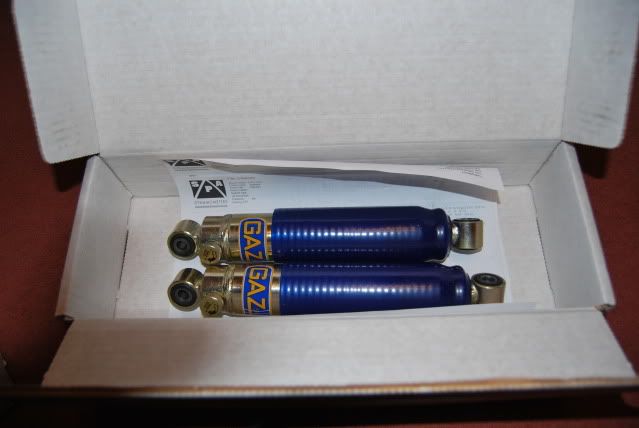 I also have the rears, which are yet to go on as the car is still jacked up towards the front. Hubs partly assembled, all shims set and locktabs fixed: 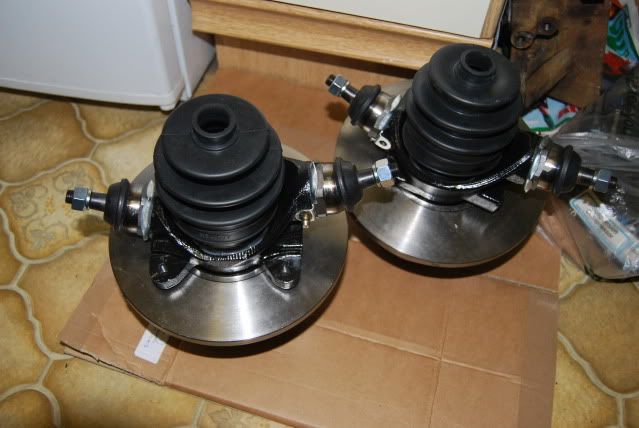 The calipers and red stuff pads (slight overkill!) are on, ready to take the wheels now: 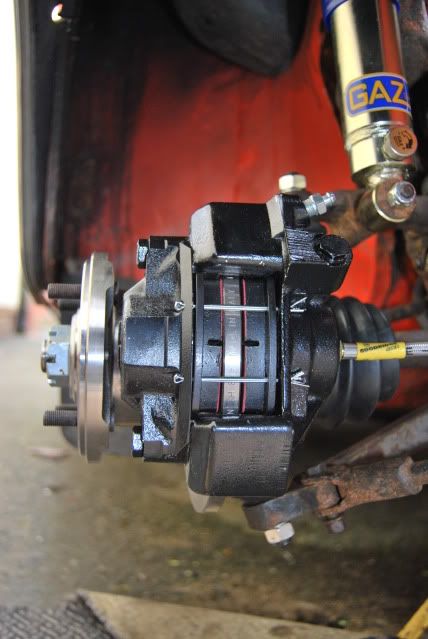 This is where I am to date. I have fitted a new set of front seatbelts (Genuine Kangol ones) as my others had frayed. A few cheeky shot of the brakes: 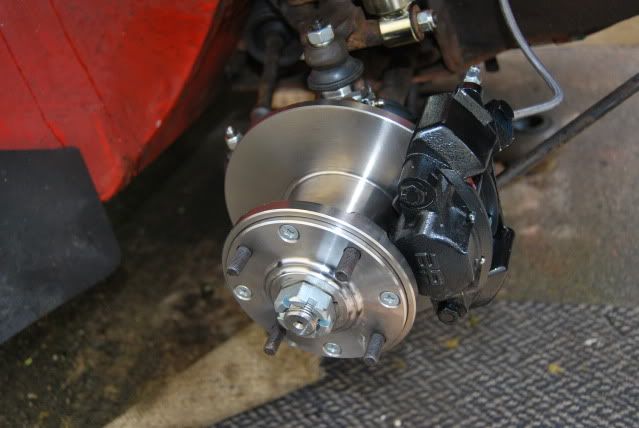 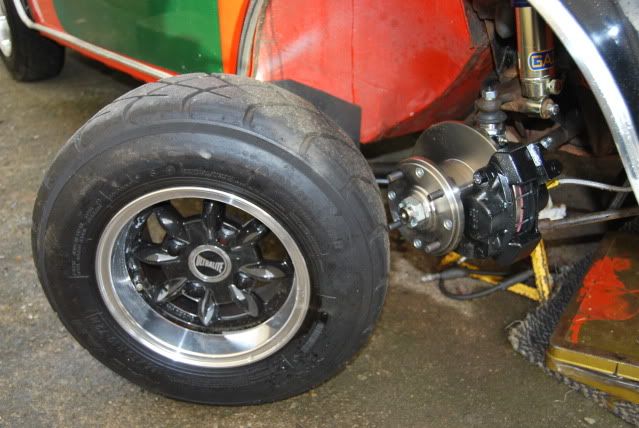 Note: Still to finish repairing the drivers door - wish for decent weather! Nearly forgot to mention, I fitted some black bonnet pins. Alot more inkeeping with the style of the car: 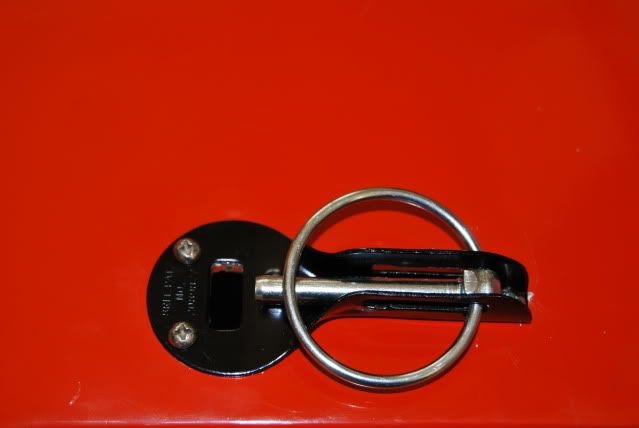 Tom |
| |
|
|
lund
Part of things
 
Posts: 155
|
|
|
|
All torqued up and back on 4 wheels now. I was playing 'how to change the rear shocks in snow/sleet/rain in under 20minutes'. So far only got the drivers side rear shock on, petrol tank has to be released to get to the shock on the other side, but thats for another snowless day. I am ever nearing completion now. I am just to bleed the brakes, set the clutch, fit the exhaust add some water, complete abit of wiring and start her up. Bit of an artisic shot. 1293 lies beneath ;D 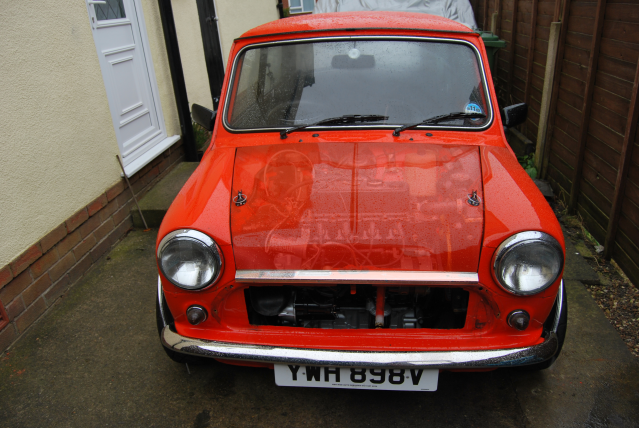 |
| |
|
|
lund
Part of things
 
Posts: 155
|
|
|
|
Not got much going on today, as the weather is pretty dull. Skipping uni to work on the mini seems to becoming a habit of mine! I recently bought new rear light rubbers as the old ones looked abit worse for wear - They didn't leak mind you. Only managed to take the right hand one out. I gave it abit of a refurb, used autosol on the innards and washed the lenses in fairy  I will do the same with the LH side, when I remove the petrol tank to change the rear shock, as its easy access. Scrubbed up with a new seal: 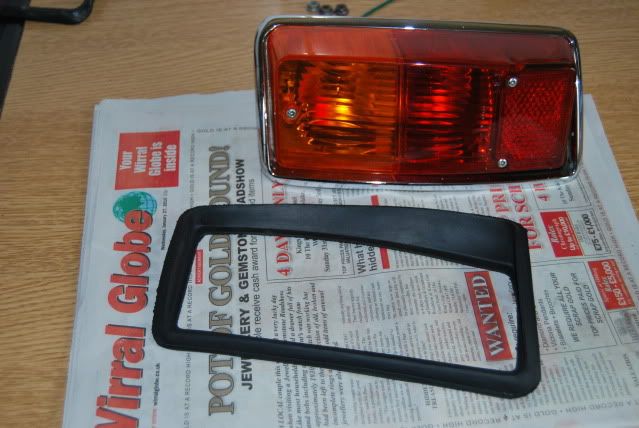  |
| |
Last Edit: Feb 4, 2010 14:30:40 GMT by lund
|
|
|
|
|
|
|
|
Where did you buy that R/H lamp seal? I need one R/H as well.
|
| |
 Click picture for more |
|
lund
Part of things
 
Posts: 155
|
|
|
|
|
They're like hens teeth! I bought them new from a stall at Bingley Hall Mini show last weekend. £4 each, RH/LH
|
| |
|
|
|
|
 And I cant weld

 And I cant weld


