|
|
|
Nov 13, 2007 21:44:21 GMT
|
Update time or the next episode of Type 3 crisis This update is going to look like I have taken 1 step forward and 2 steps back but its all part of doing things properly. When I got there tonight Mick had been busy and all the panels for the passenger side were in primer; 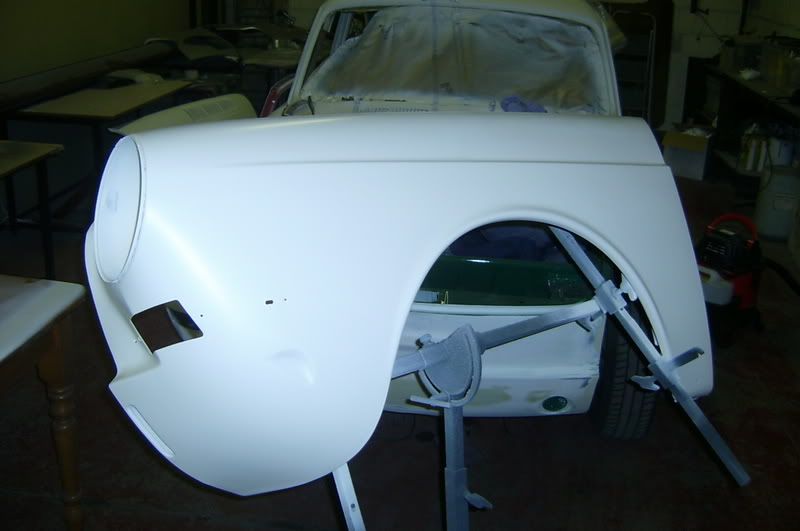 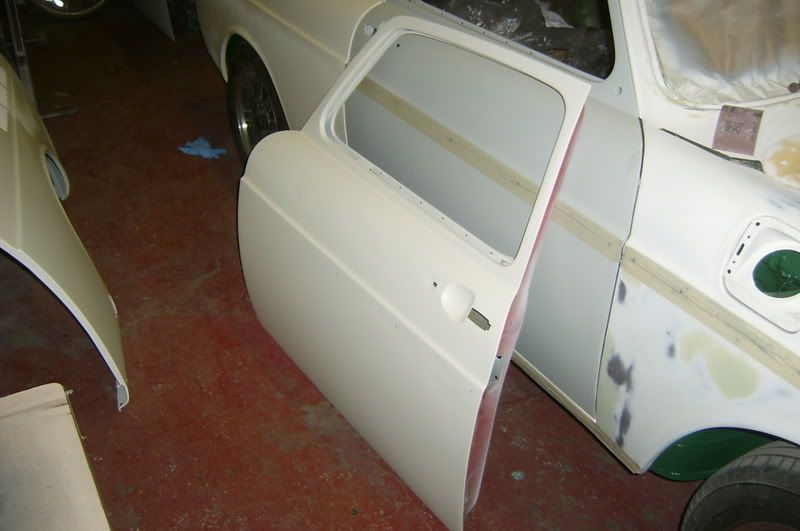 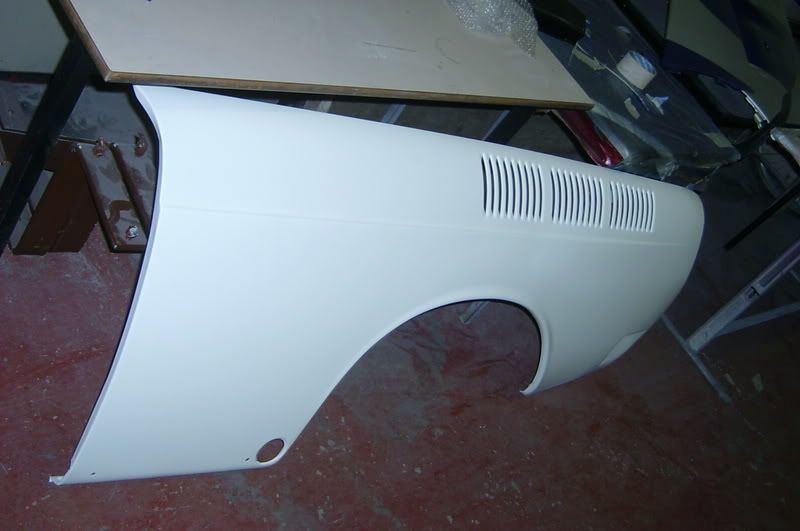 So the first thing I did was dig out all the small bits which still need prepped as it would be easy to forget something. Number plate light, torsion bar access hole covers and fuel filler flap; 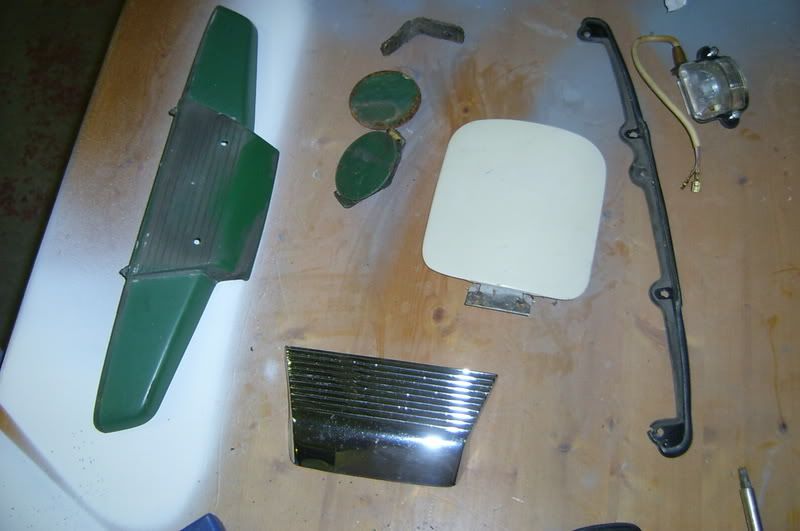 The number plate light to body seal is perrished so I had better add that to the shopping list. I then moved on to checking the marks I had made for the trim holes lined up before drilling pilot holes; 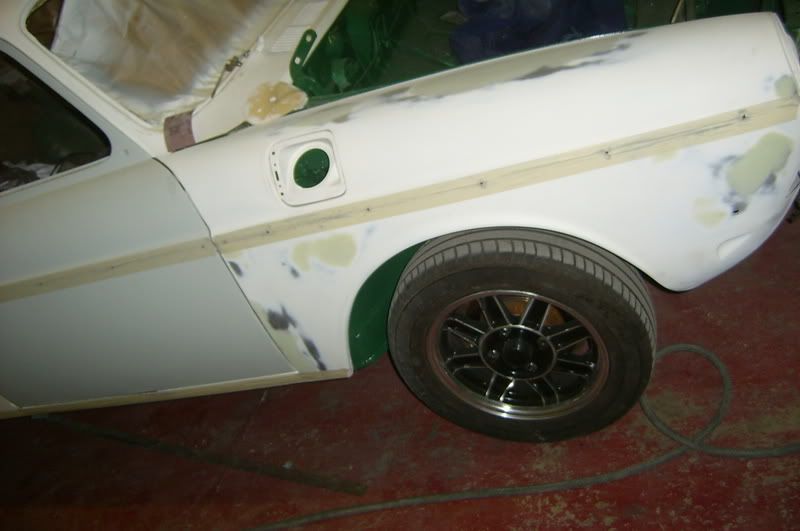 The holes were then opened out and the tape removed; 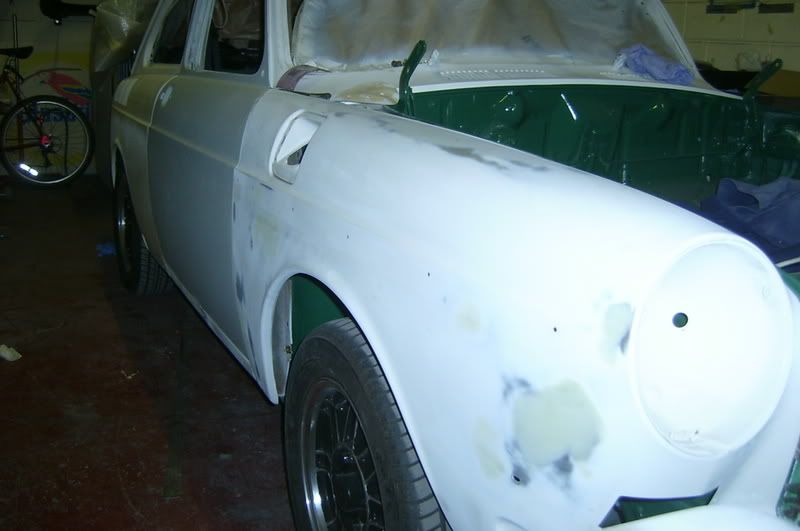 I really hope I got this right. Then the 2 steps back, all the panels came back off for painting so the car looks the same as it did a few weeks ago. 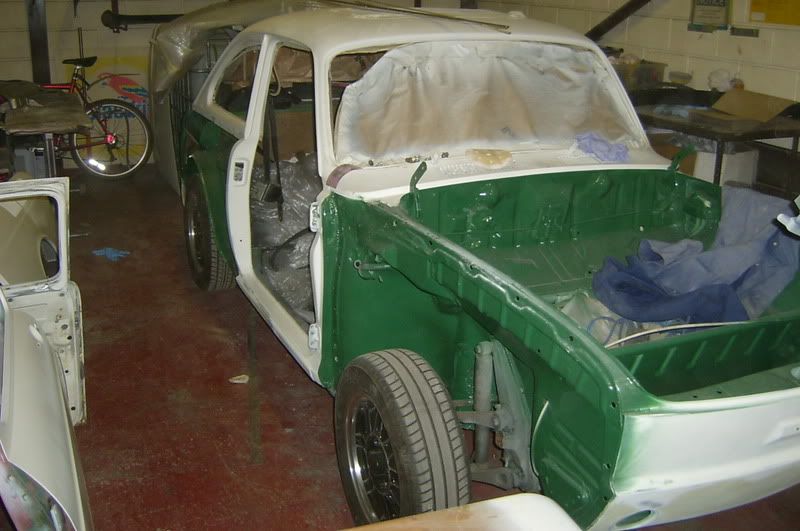 I got the chance to clean off any loose paint from the back of the front wings so that they can be stone chipped and I sealed the seam at the back of the wing; 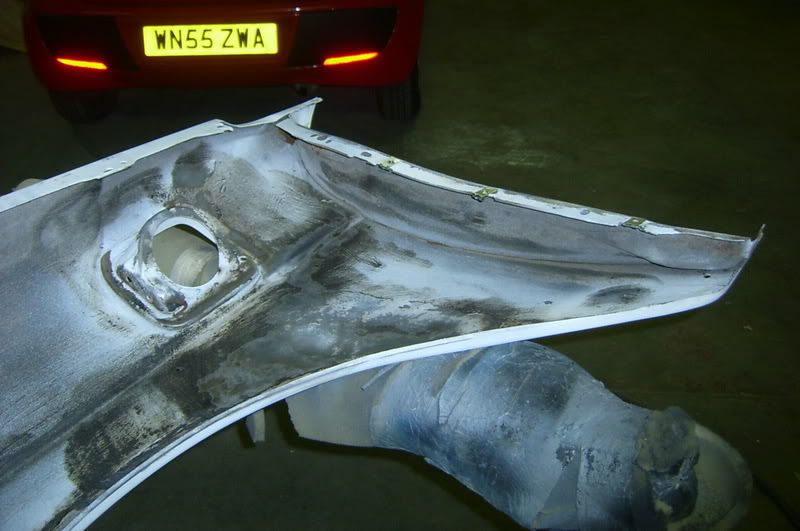 So thats where I left it for tonight, a big pile of panels. 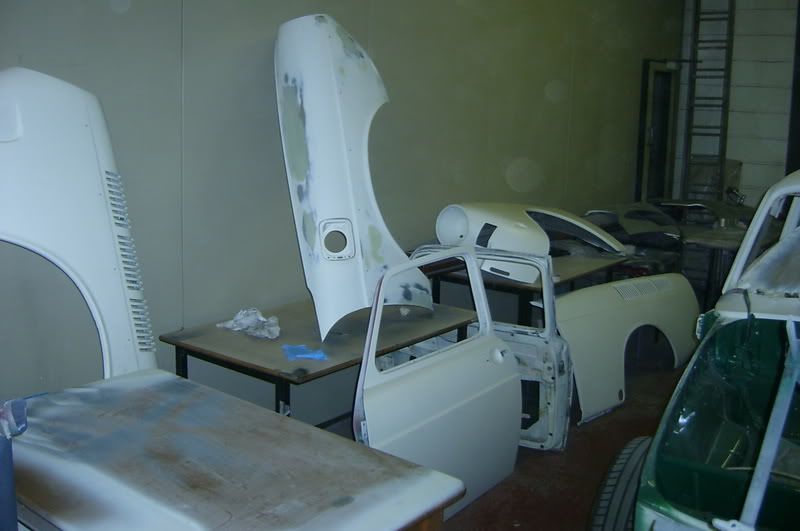 Dave. |
| |
|
|
|
|
VWDan
Part of things
 VW Jetta MK1, VW Caravelle 1.9TD, Audi A6 Tdi Avant
Posts: 841
|
|
Nov 13, 2007 22:19:47 GMT
|
|
Looks like you're doing it properly - great job.
Keep the updates coming.
|
| |
If only everything in life was as cool as a retro VW racer.
|
|
J.P
Posted a lot
I like to eat ice cream and I really enjoy a nice pair of slacks.
Posts: 1,175
|
|
Nov 13, 2007 22:40:10 GMT
|
|
Brilliant work, keep at it!
|
| |
|
|
|
|
|
Nov 13, 2007 22:48:09 GMT
|
|
thats some really good work there, is the stone chip better to use than por 15, and can you spray it on to bare metal or does it need priming?
|
| |
1966 Ford Cortina GT
2018 Ford Fiesta ST
Full time engineer, part time waffler on Youtube - see Jim_Builds
|
|
|
|
|
Nov 14, 2007 12:31:49 GMT
|
|
Cheers guys.
The stone chip was sprayed over a thin coat of zink etch primer. I'm pretty sure the stone chip is as good if not better than por15 and you get a lot more for your money and less prep is needed.
1 thing you will have to remember but is that stone chip is really meant to be over painted to finish the process.
Dave.
|
| |
|
|
|
|
|
Nov 18, 2007 18:11:20 GMT
|
Fresh update time. Another 4 hours work complete but not many pics I'm affraid as I spent the afternoon bolting up the passenger side panels and drilling the holes for the chrome; 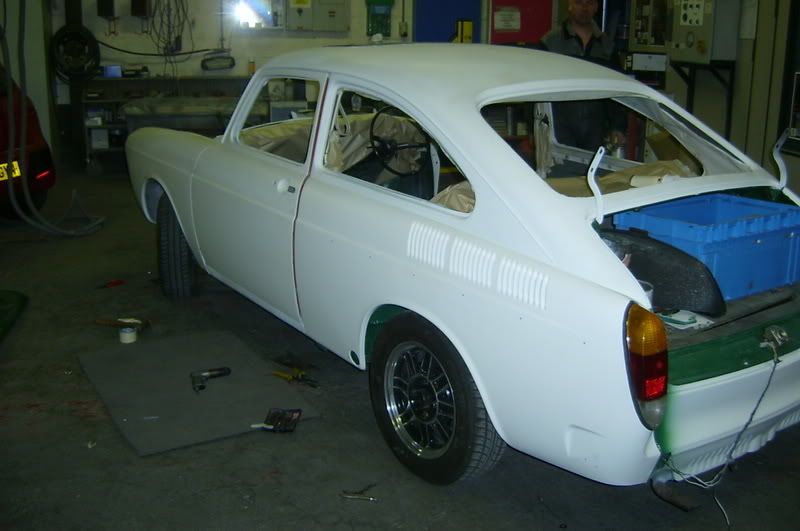 While Mick concentrated on getting the drivers door nice and straight; 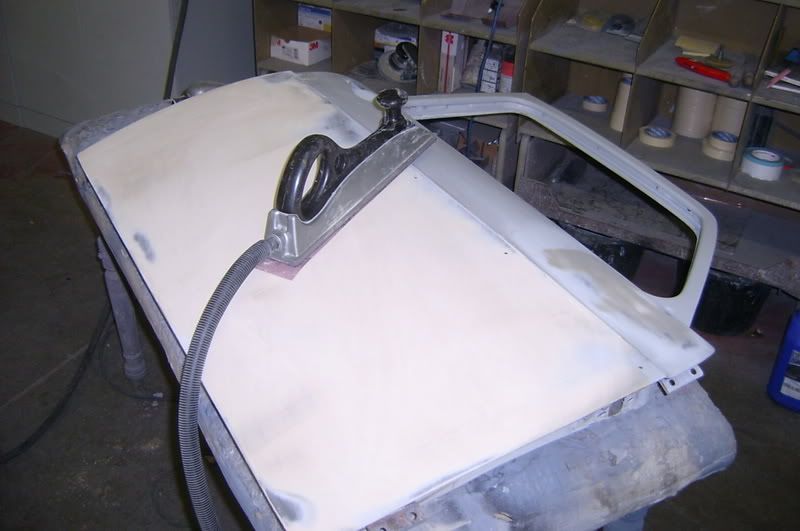 Wont be too long now before things start changing colour. Dave |
| |
|
|
|
|
|
Nov 20, 2007 13:24:27 GMT
|
|
This Mick dude looks bloody good at his job! Keep it up man, will be great when it's finished. The colour is hot and the wheels set it off perfectly! (Gemini's or something?)
|
| |
|
|
|
|
|
Nov 20, 2007 13:30:45 GMT
|
|
Nice work matey, ive seen this resto thread on the t3/4 forum & the work your doing is spot-on.
want to do something like this to mine next year when weather/funds allow
|
| |
|
|
|
|
|
Nov 20, 2007 19:54:37 GMT
|
This Mick dude looks bloody good at his job! Keep it up man, will be great when it's finished. The colour is hot and the wheels set it off perfectly! (Gemini's or something?) Micks great, he is the manager of the place so spends the day doing paperwork so he looks forward to getting his hands dirty and is a real stickler for detail. I went up to the workshop to get a shift done tonight. I started by stripping the panels back off the car to get them ready for coating the insides with this; 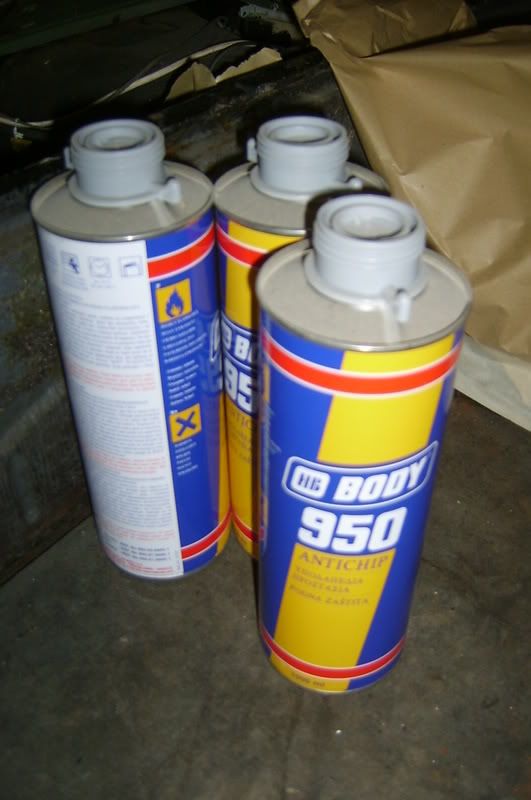 To stop the stone chip getting on the visable areas the wings needed masked off. I got as far as doing 1 wing when the workshop and the area around it had a power cut so the only way to get something done was to park my van in the workshop with the headlights on; 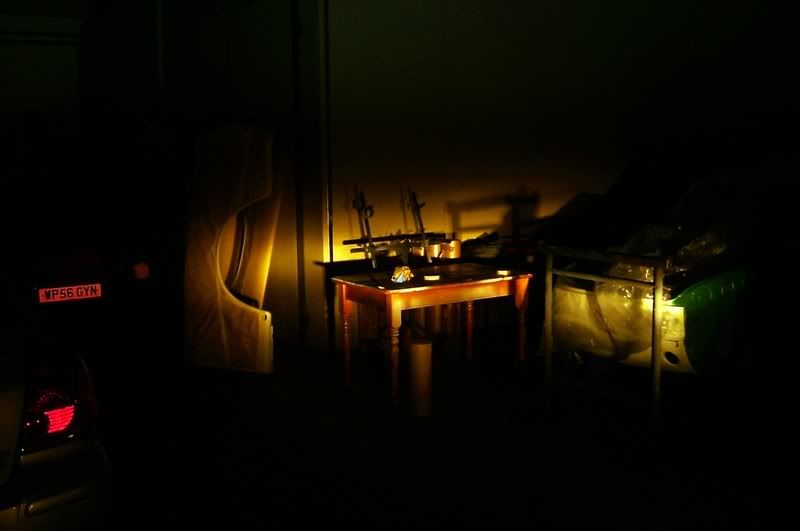 I did manage to get all the wings masked before I left tonight but with no power there was nothing more I could get done; 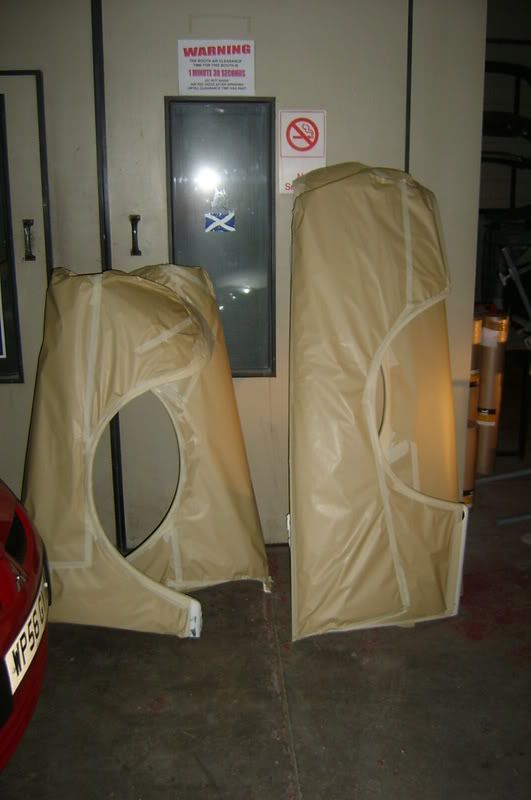 A 45 minute drive each way to get an hours work done, bit of a pain really. Dave. |
| |
|
|
|
|
|
Nov 22, 2007 21:03:26 GMT
|
I was back at the workshop tonight and thankfully the electricity stayed on (Mick must have payed the bill) so I managed to finish off what I had started on Tuesday. This is the inside of the front wing before stonechip; 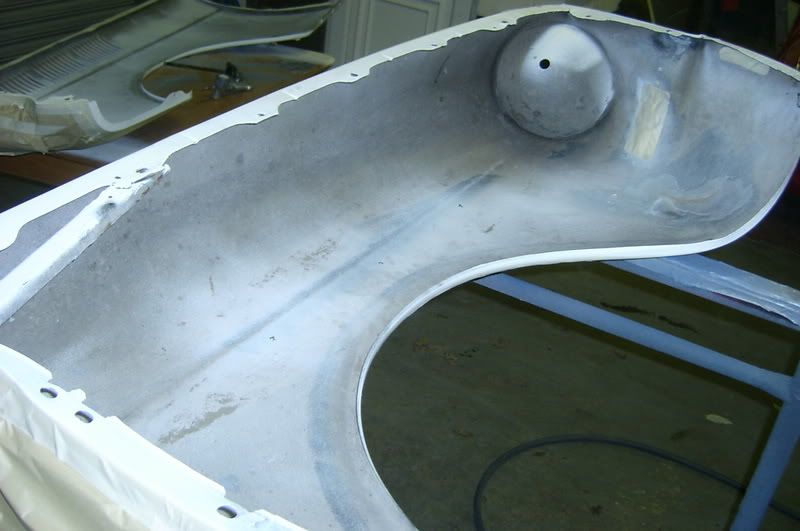 And after; 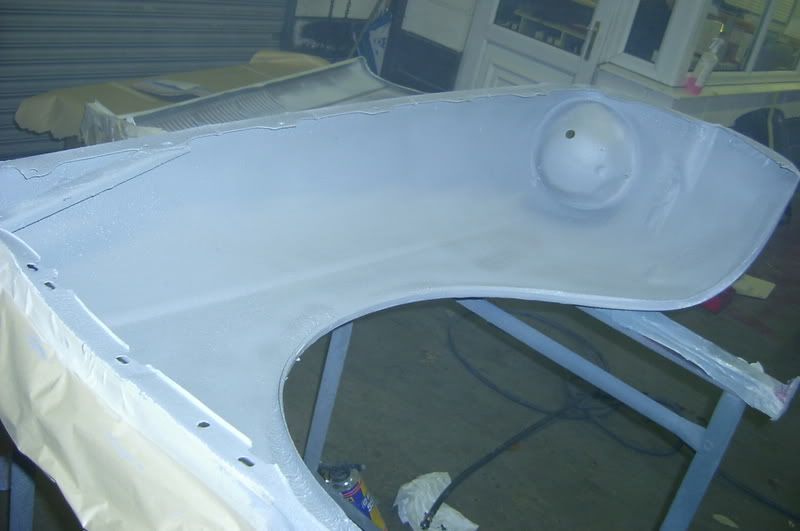 And this is the rear wing before; 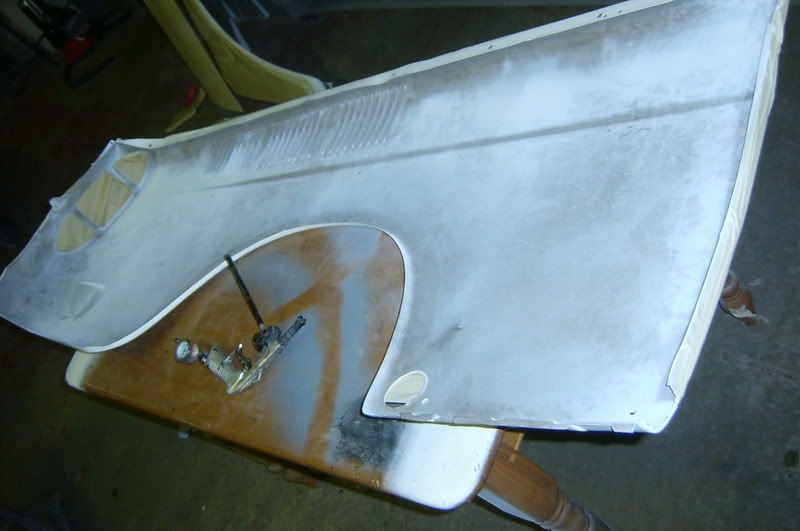 And after; 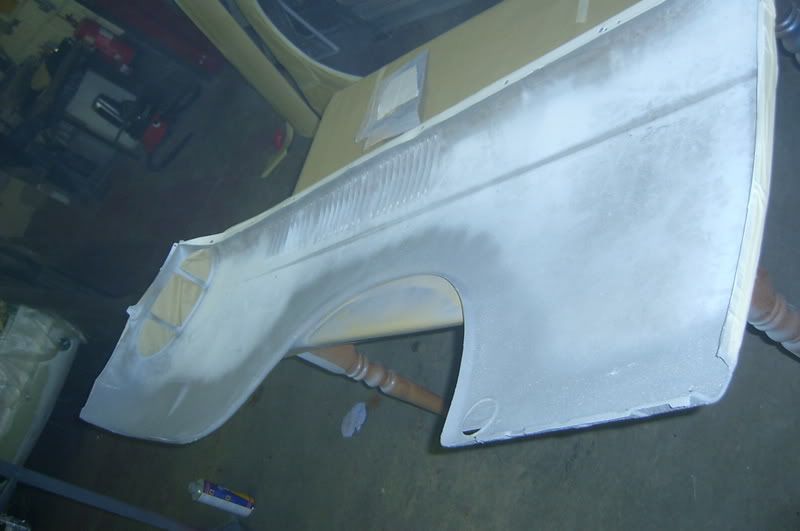 The reason I didnt do the whole lot of the rear wing is that the top half is sealed around the wheel tub when fitted so there will be no risk of stone chips higher up and I didnt want to get the stuff on the vents as I would have needed to clean them up. I finished off tonight by peeling off all the masking. Dave. |
| |
|
|
|
|
|
|
|
Nov 22, 2007 22:11:52 GMT
|
Absolutely spot on work there to a lovely old motor. Father inlaw had one of these when i 1st met my missus. Keep the good work up and well done.  |
| |
|
|
|
|
|
Nov 29, 2007 21:13:17 GMT
|
Cheers derbism. Update time. Loads of new bits have been arriving this week. Got new headlamps and rims, door seals, rear light seals, number plate light seal and carpets. Tonight I was up at the workshop and spent the evening straightening out the edge of the front panel so that the gap between the wing and panel will be nice and tight. 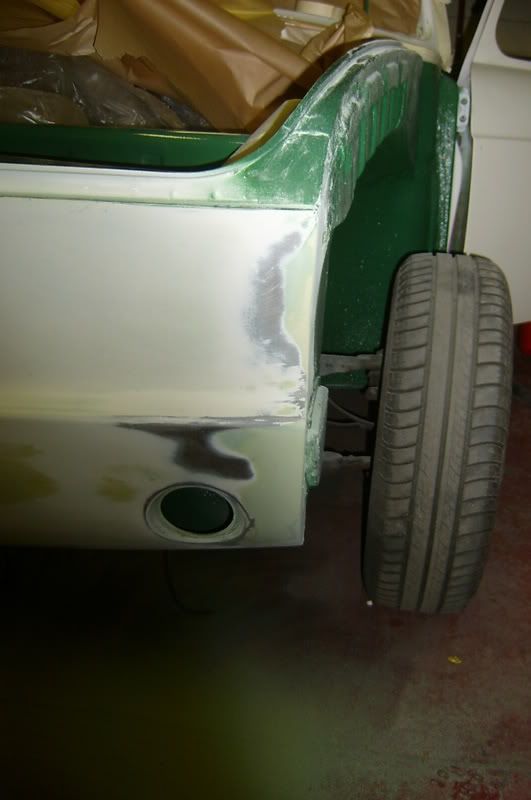 Mick sealed up the seam below the roof gutter; Before  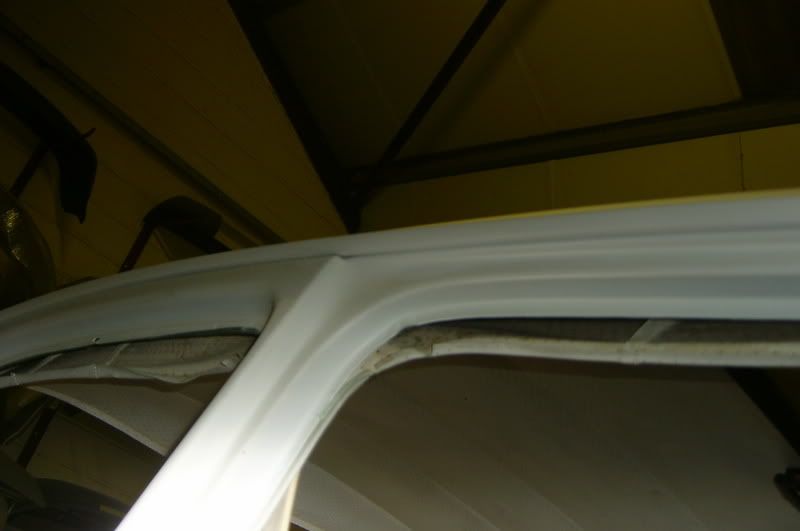 After 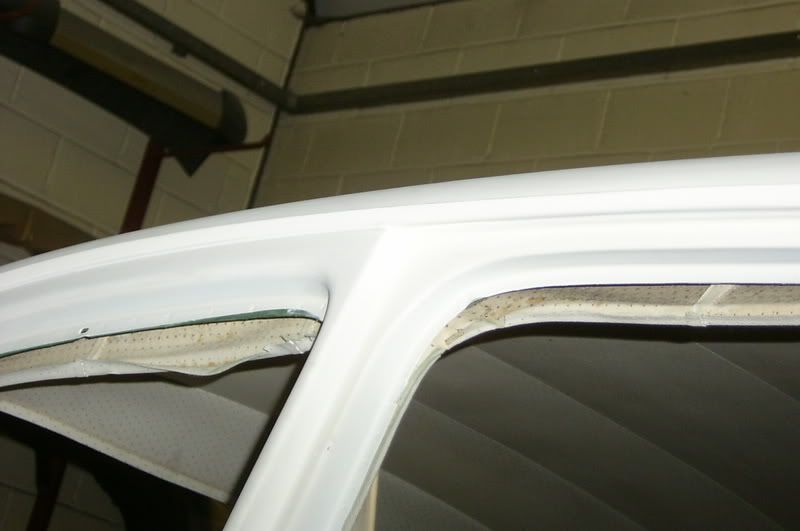 And then the repaired areas were masked off and primed;  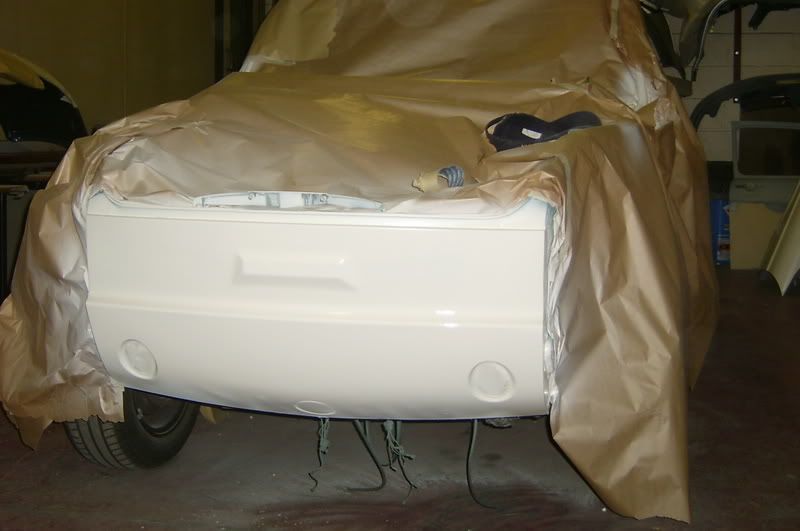 If things go to plan Mick will hopefully be applying paint to the shell this Saturday but unfortunately I wont be back up untill Tuesday so you will need to wait for that update. |
| |
|
|
|
|
|
|
|
Well guys, I have just recieved an e-mail from Mick so I have some exciting news. Mick went in this morning and did a bit of work on the car even though I couldnt make it. He started by painting the areas inside the car; Before; 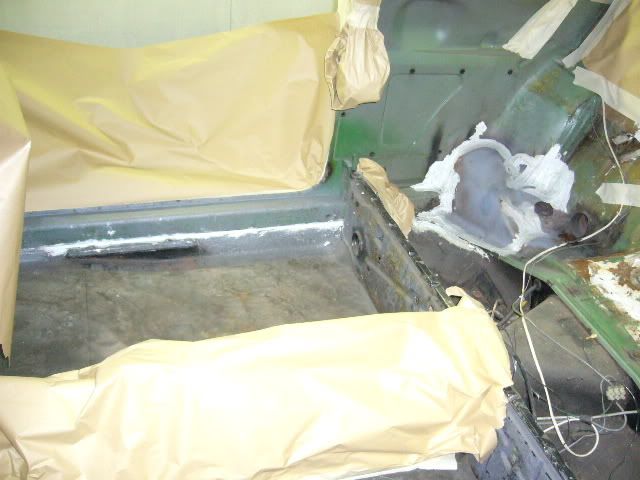 After: 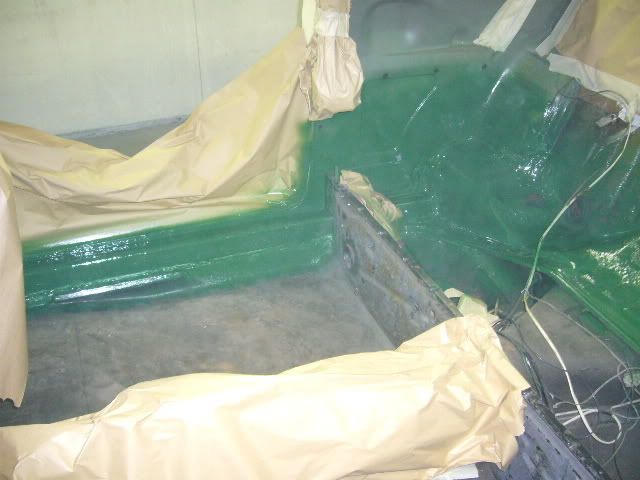 He then pushed the car into the spray booth and masked up the inner wings, door jams etc. 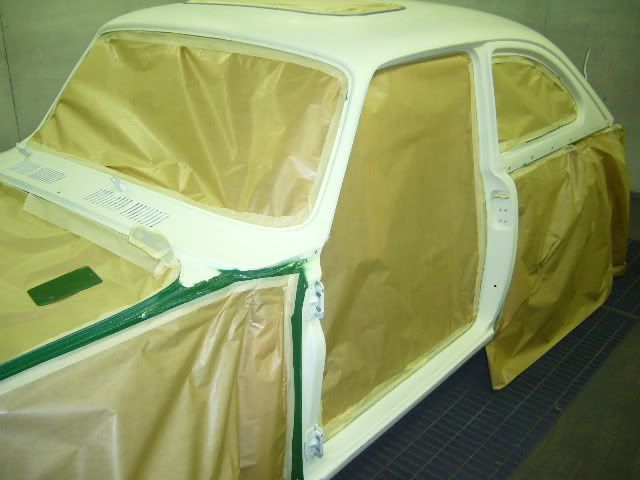 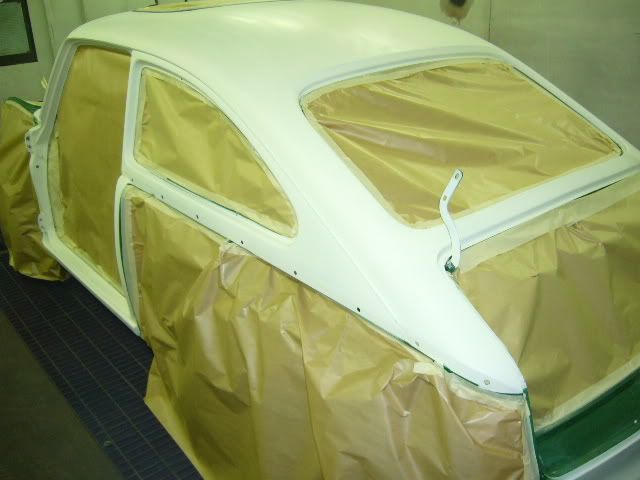 And now the exciting bit. 4 coats of basecoat; 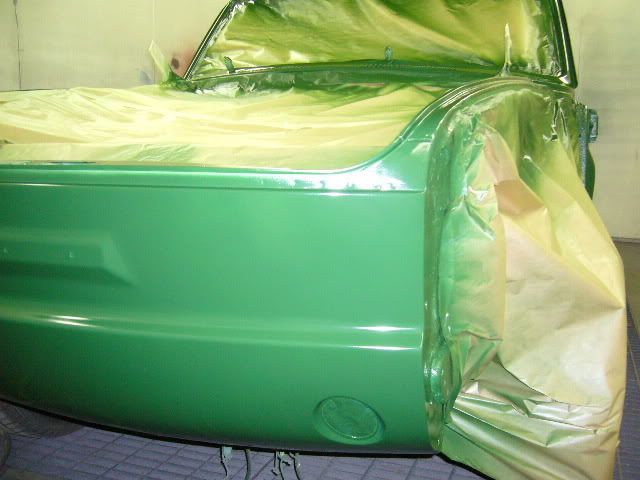 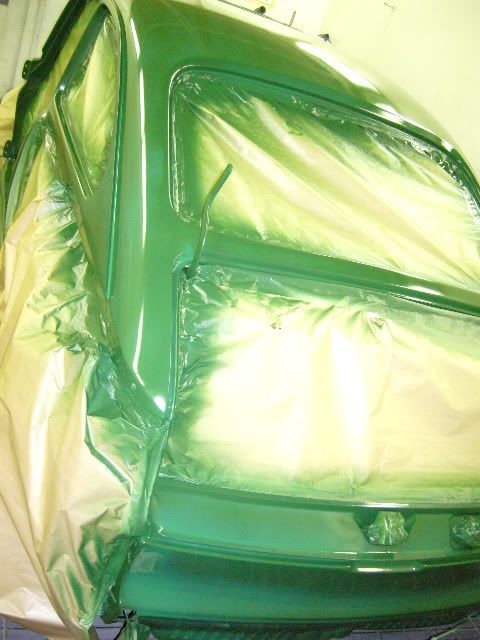 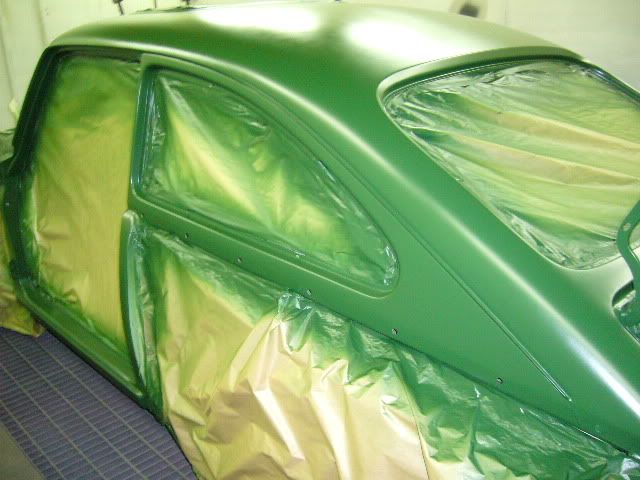 Then 3 coats of clear laquer to give it shine; 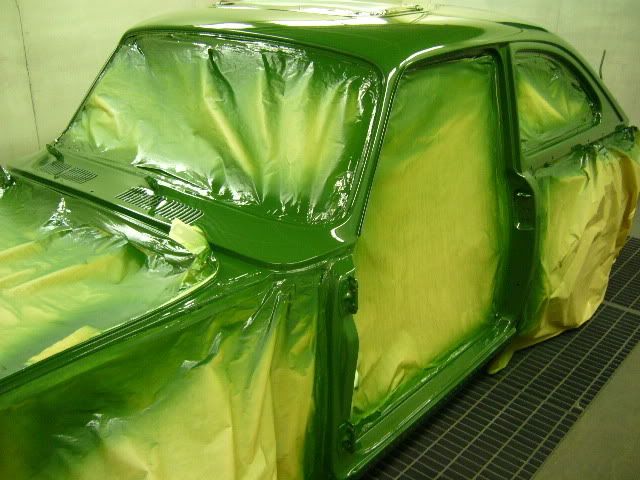 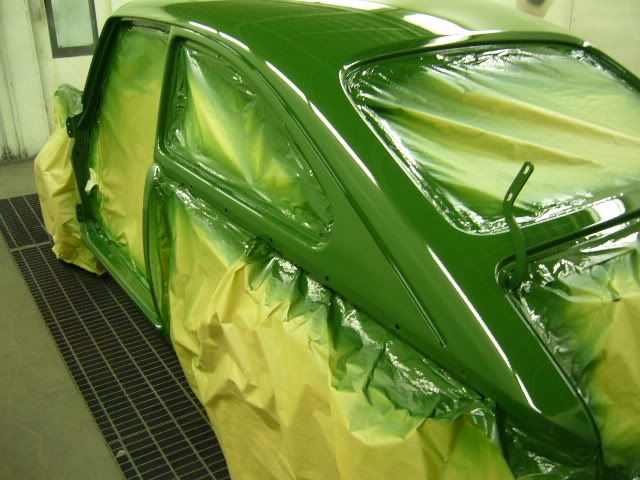 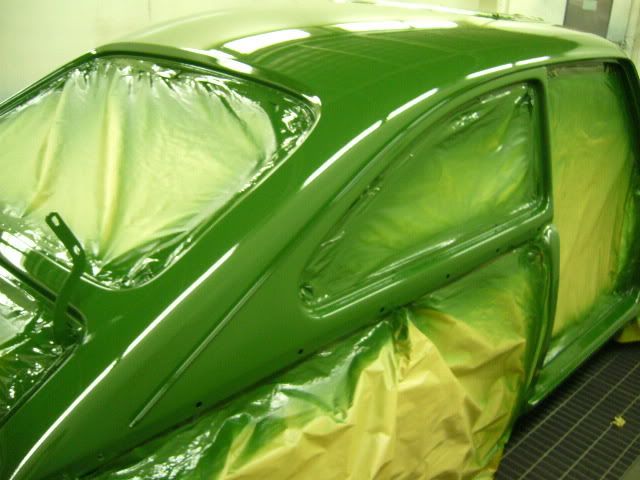 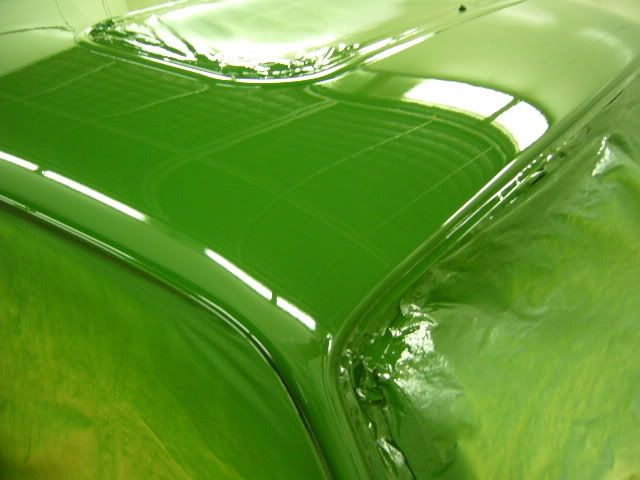 Cant wait to get up and have a look for myself. It will need polished which will hopefully start on Monday night. Dave. |
| |
|
|
mrj
Posted a lot
Posts: 1,662
|
|
|
|
looks fantastic, the green grows on me more and more....  |
| |
- 1971 VW 1600 TL Fastback
- 1978 Passat GLS Variant
- 1980 Audi 100 5E
- 1981 VW aircooled panel van (sold)
- 1983 VW Jetta Mk.I
- 1984 VW Polo Coupé
- 1984 VW Passat hatchback
- 1987 VW Passat Variant
- 1987 VW Passat hatchback
- 1988 VW T25
|
|
Rico.
Part of things
Posts: 226
|
|
|
|
|
Thats a great finish for straight out of the gun!
|
| |
|
|
|
|
|
|
|
|
I am impressed with you and Micks attention to detail.
I did a '63 Beetle about 16 years ago, the prep was 3 weeks and the paint and reassembly 3 days or something like that.
Looking great.
|
| |
|
|
gearoil
Part of things
Projectless...
Posts: 918
|
|
|
|
|
The green really suits the car, some top skillz there.
|
| |
|
|
|
|
|
|
|
More updates now as we spent the evening in the workshop. I spent my time prepping the inside of the doors for primer and the under bonnet. 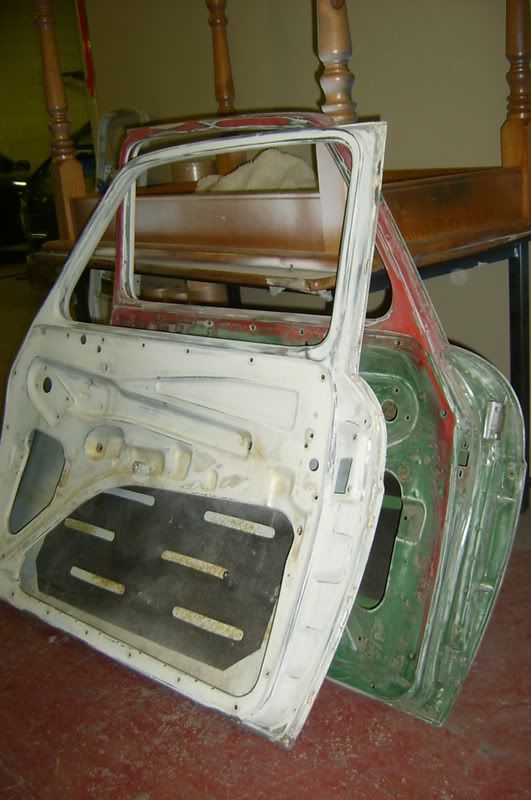 Right is before, left is after;  And while I was doing this Mick polished up the shell. Started with this; 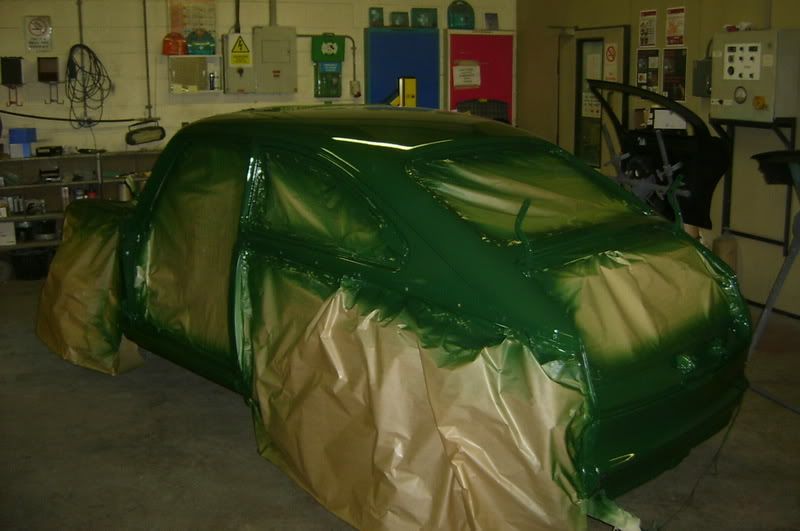 Then began to sand with 1200; 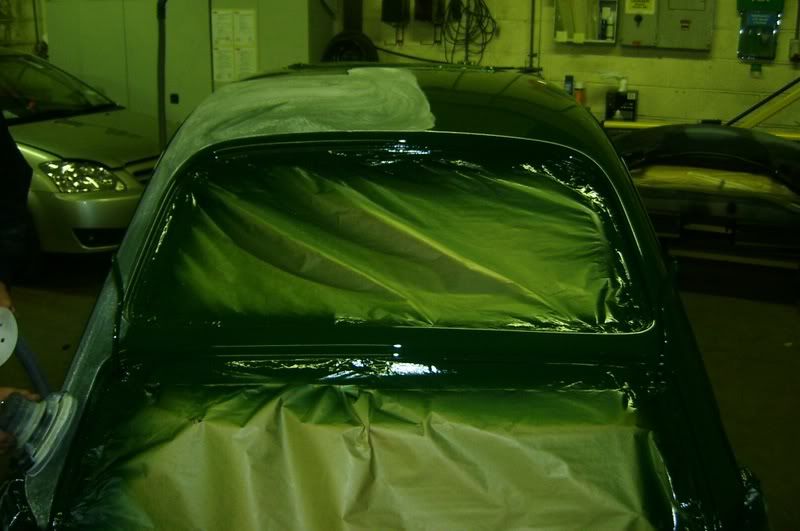 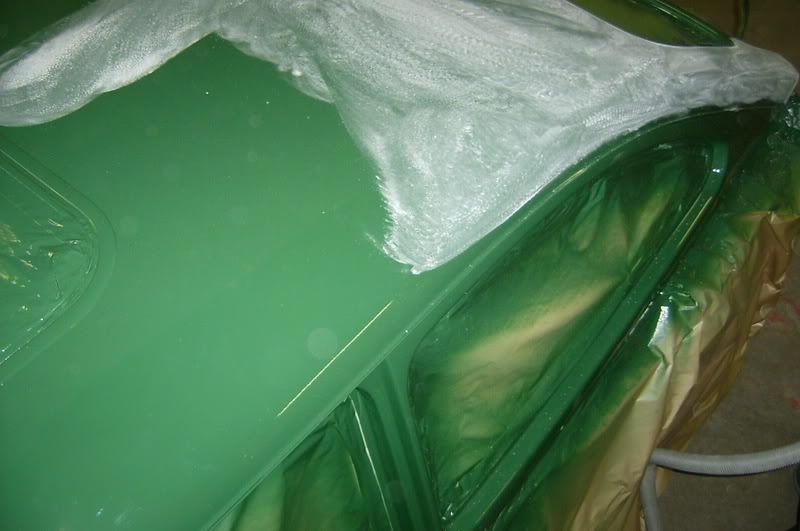 Till the whole lot looked like this; 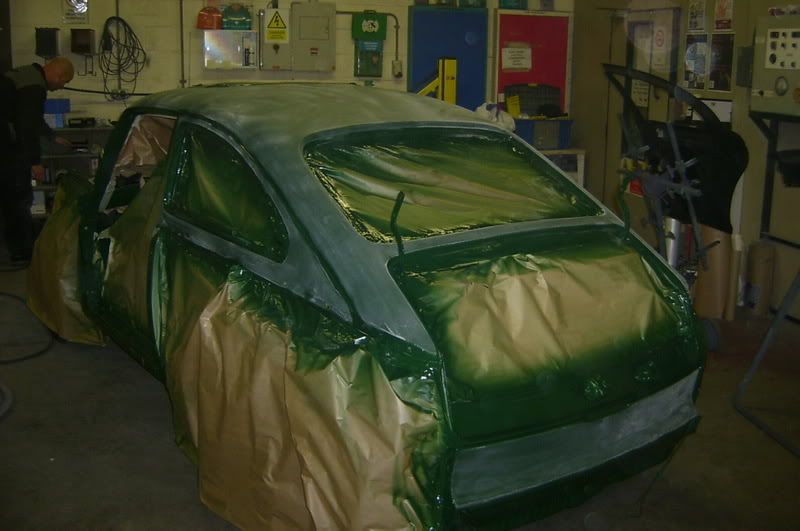 Next was the 4000 grade with a wee bit of water; 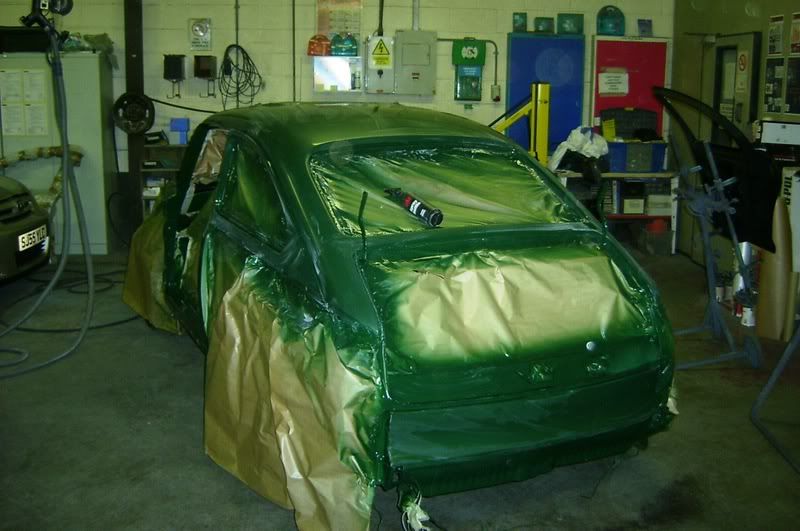 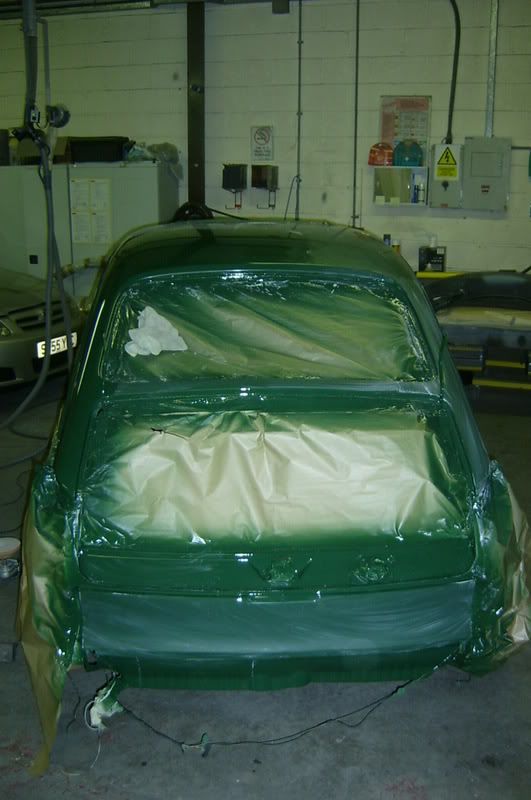 This was followed by a polish with the course then fine cutting compound which left it looking like this; 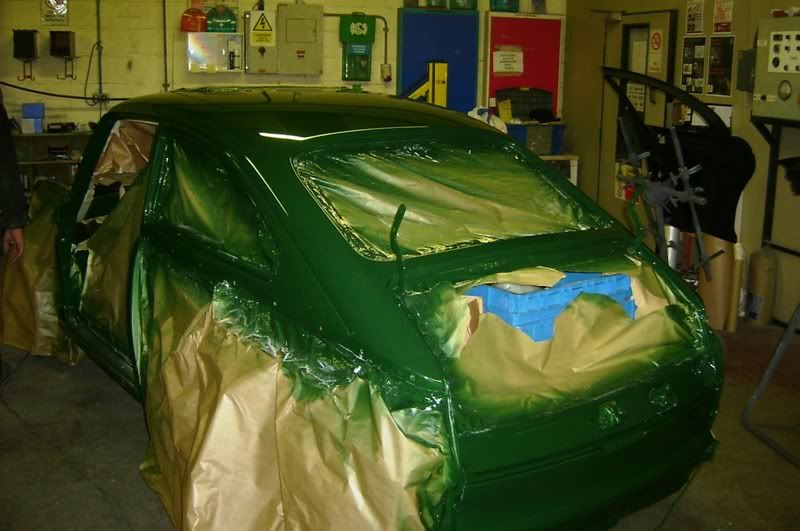 Just check the depth of shine; 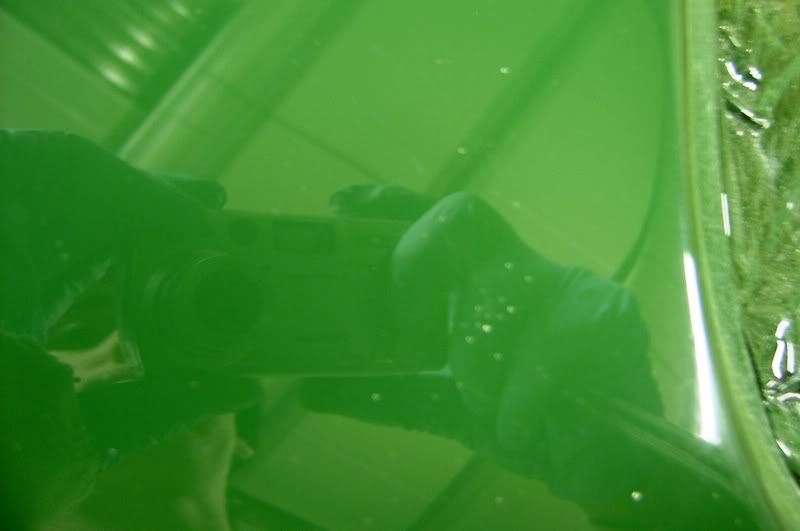 And it feels like a pool ball. Dave |
| |
|
|
|
|
|
|
|
|
looks gay*
*amazing
|
| |
 SPLIT RIMS ARE FOR WINNERS |
|
sav
Part of things
Posts: 842
|
|
|
|
|
Great work, the paint looks brilliant.
Just think how it's gonna look when it's finished. ;D
|
| |
|
|
|
|