|
|
|
|
|
|
^^^ agreed.
Work continued last night but no photos. All bolts/chips were glossed under the car last night and then I templated the rear parcel shelf for its cover.
I then removed the fuseboard/loom and took it up to the office to start the CAD drawings of all of the wires and their colours/what they are for. This will make it far easier to work out the circuit diagrams for the loom which in turn makes it far easier to plan in real life where all of the wires go.
868.5 hours.
|
| |
|
|
|
|
|
|
|
|
|
The rear springs are still mucky as I thought we would need to fit softer springs - but they seem to be absolutely fine, so they will need to come off for cleaning & painting - more painting! thought I had finished that by now I hope you've given Phil the heads up he'll need to look forward to flatting back the paint on the springs so you can polish them!  |
| |
|
|
|
|
|
|
|
A bit quiet last night as it was a night in front of the computer writing wiring diagrams and studying schematics of various parts. Did a short stint in the garage last night as well with the same tonight before I play with my bench PSU to test some circuits. Some small bits done, all of the bolts & bits for the gearbox crossmember are painted; 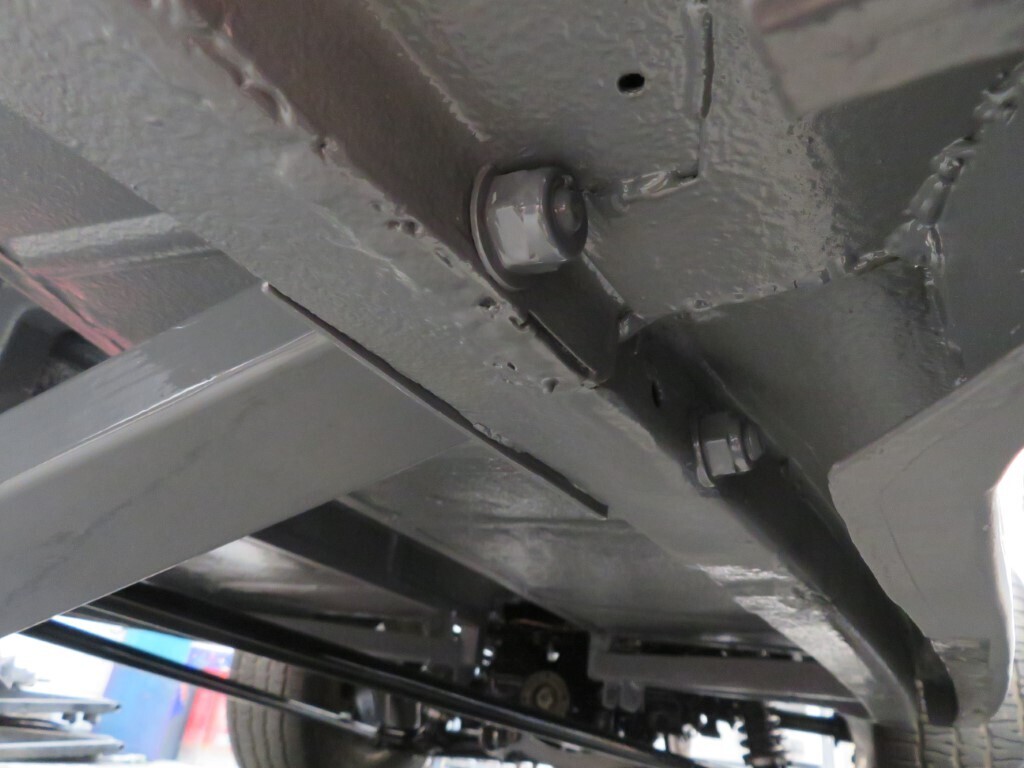 The parcel shelf template was turned into an actual shelf; 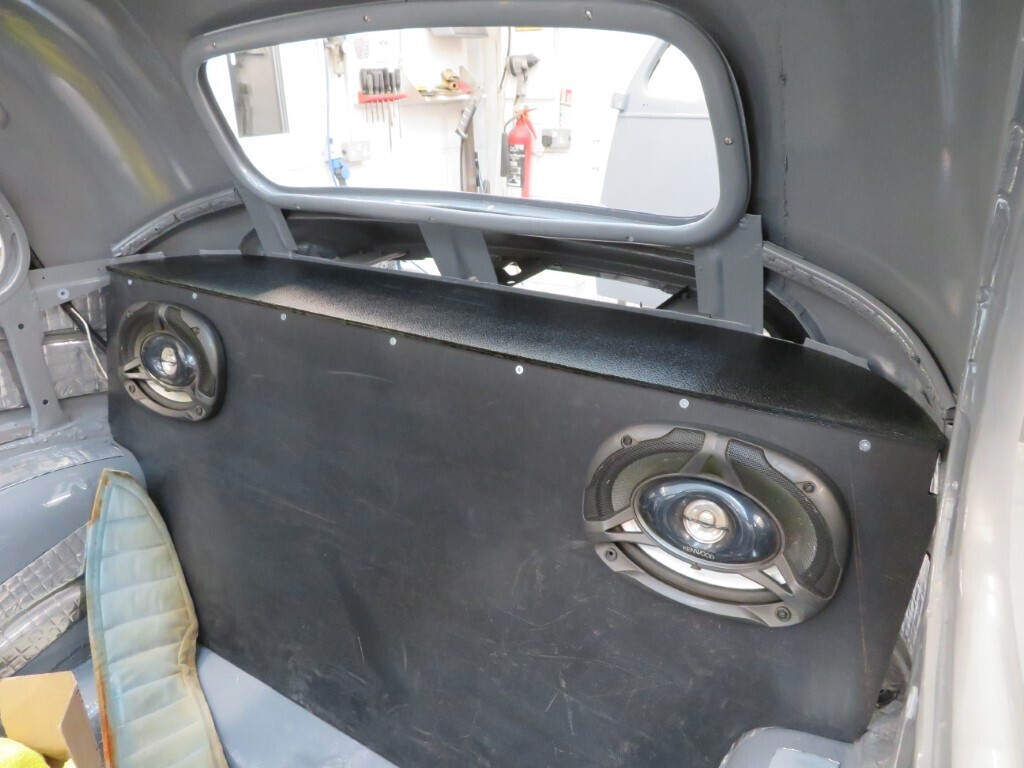 Bulkhead connector was drilled & fitted to bulkhead for the brake fluid level wiring; 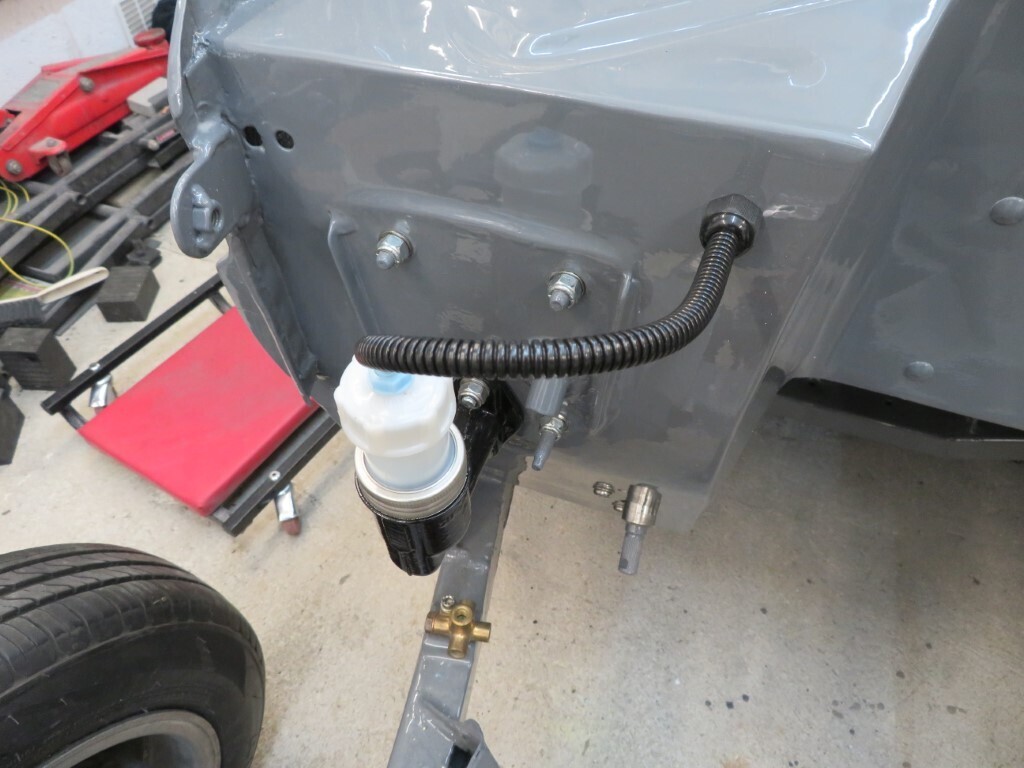 and as I had the black paint out for touching in I had enough for doing the front slotmag recesses; 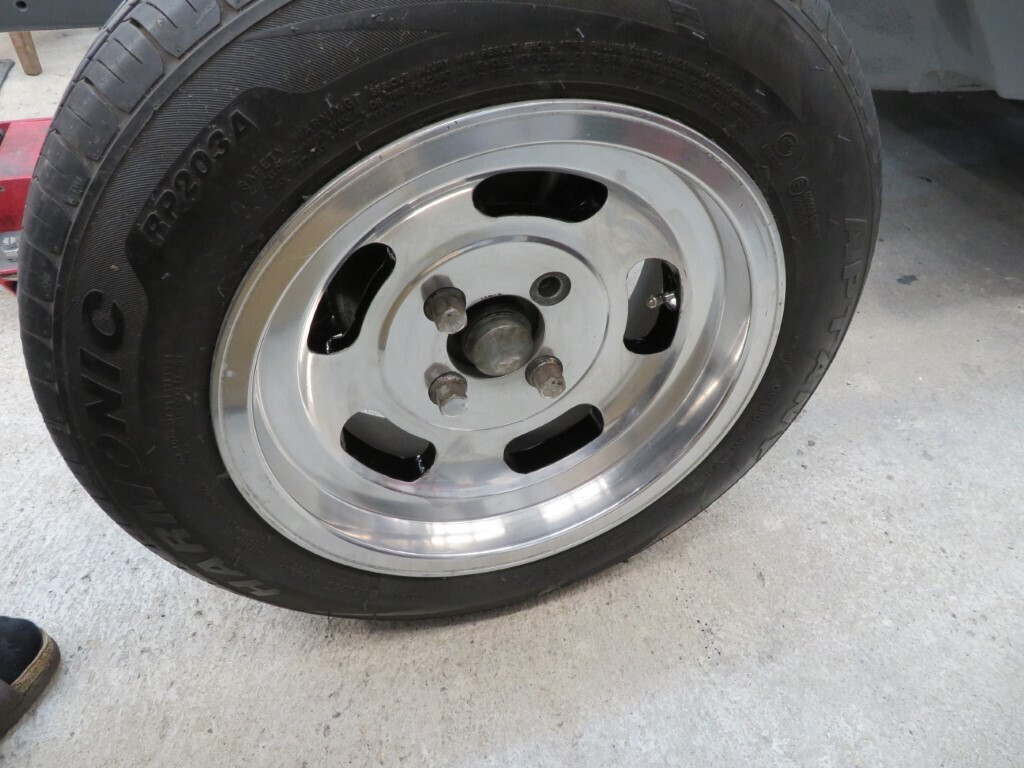 873.5 hours. |
| |
|
|
|
|
|
|
|
More computer work last night doing wiring schematics & testing parts - Phils wipers do not self park so that will need investigating further. Today we made very good progress. We set the car up on the flat section of the garage floor and set about plumblining off the rear axle to set datum points. 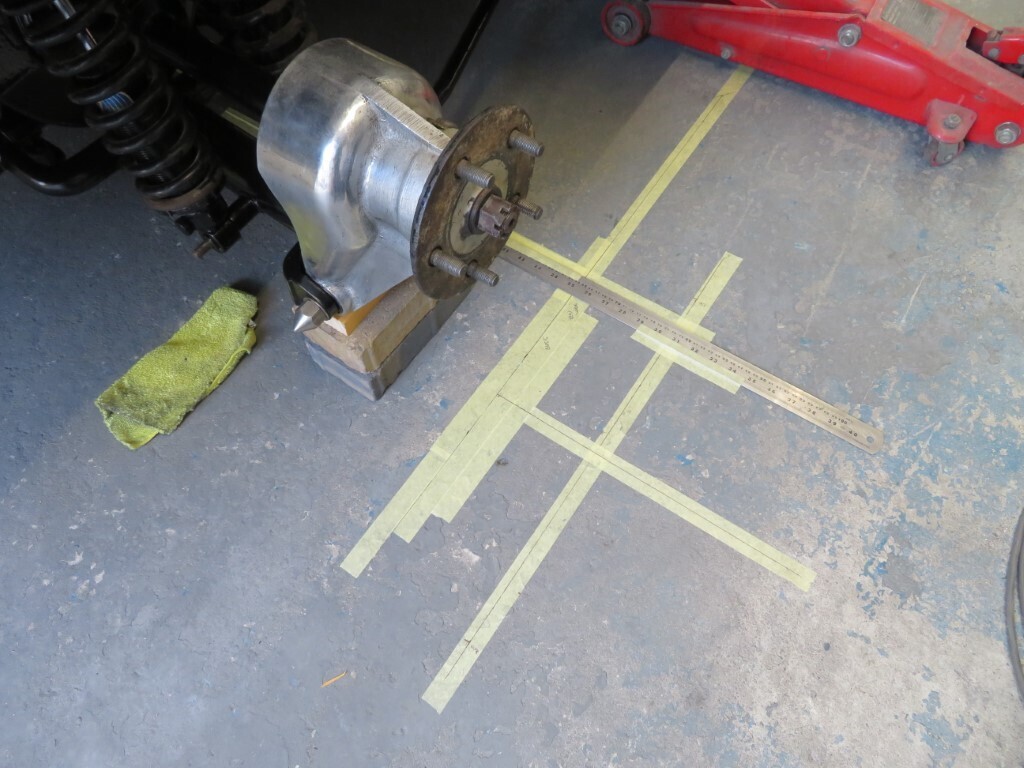 With that done we did a lot of triangulation and parallel lines towards the front of the car to establish the centreline and also outer lines. With markings plumbed off the front of the chassis and also the original front crossmember for reference we set about stripping off the old crossmember and setting the chassis at the correct ride height so we can put the correct castor angle in to the crossmember before welding it up. 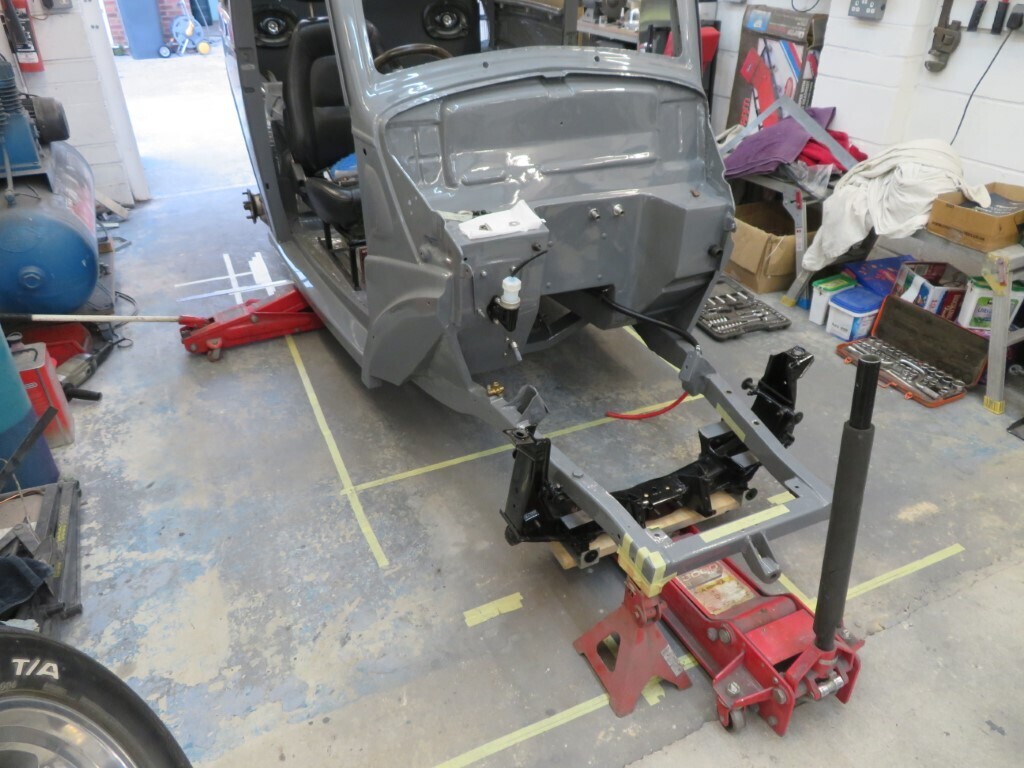 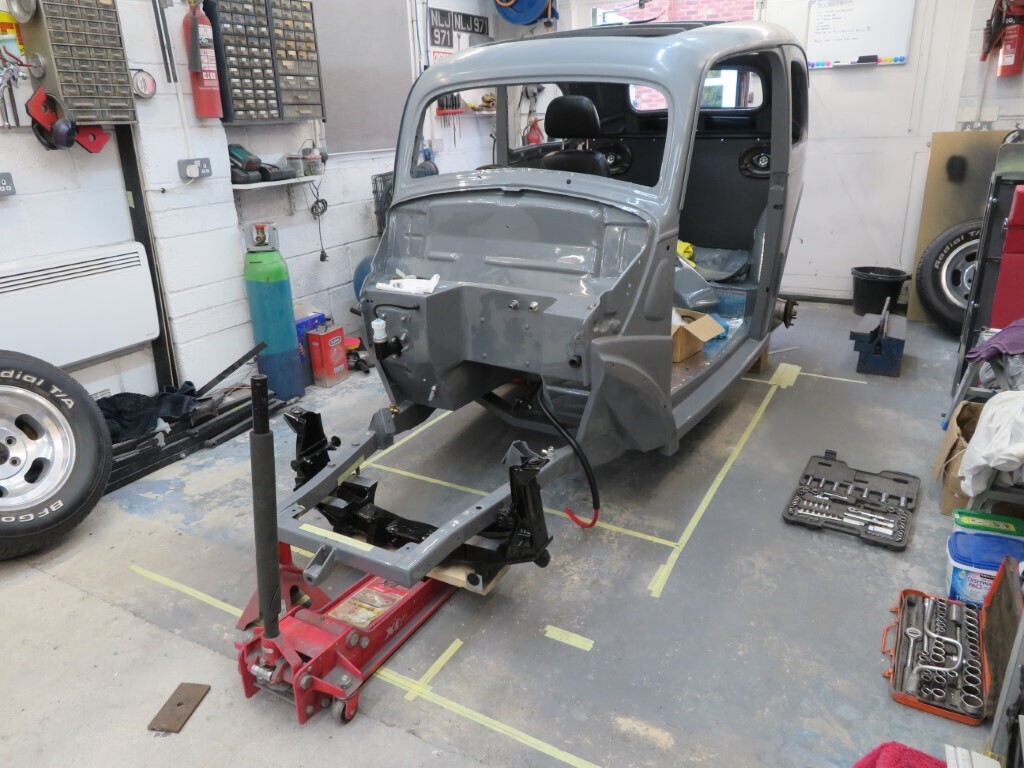 New crossmember roughly put under the chassis. 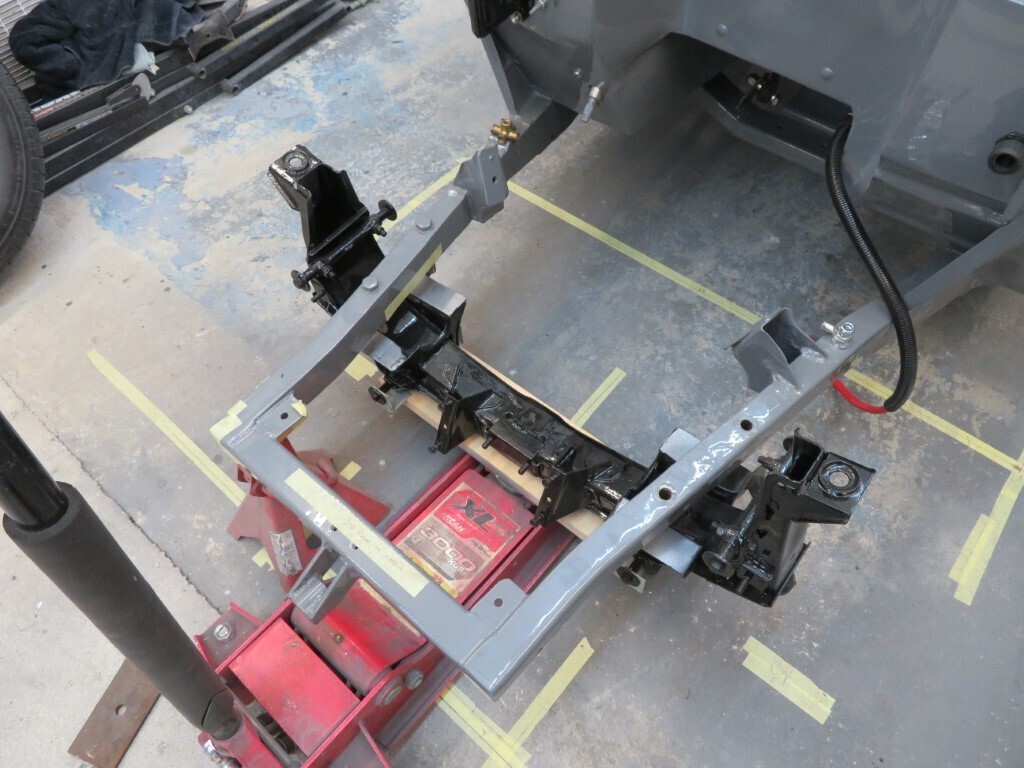 As two of the bolts are seized into the chassis this will make it a bit harder to get aligned properly so oversize holes will have to be drilled out into the thin (2mm) plate for alignment on one side before the 10mm steel plates are welded on (which have the holes pre drilled as well as alignment pins into the chassis. As you can see the old crossmember was FUBAR'd with a capital F. 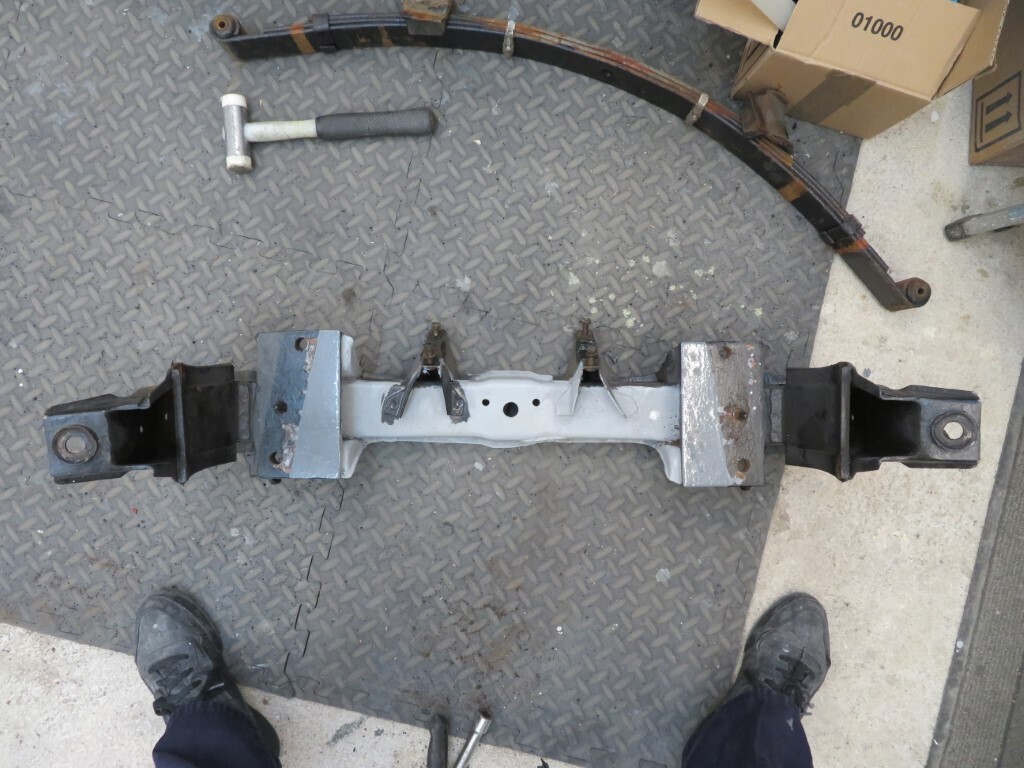 Fingers crossed we will get the new crossmember all aligned properly tomorrow and welded on to the 10mm bolt plate fixings. If we can manage this then it will be a huge step forward in getting the car completed. 881.5 hours. |
| |
|
|
Norman
Part of things
 
Posts: 449 
|
|
|
|
|
Good progress Mark, it must be a great feeling to see the finish line in sight. I realise you still have a lot to do but the list is getting smaller. All the best, Norman
|
| |
|
|
|
|
|
|
|
Thanks Norman, good to hear from you. Yes, I bought a whiteboard to list the remaining jobs, not much to do at all now  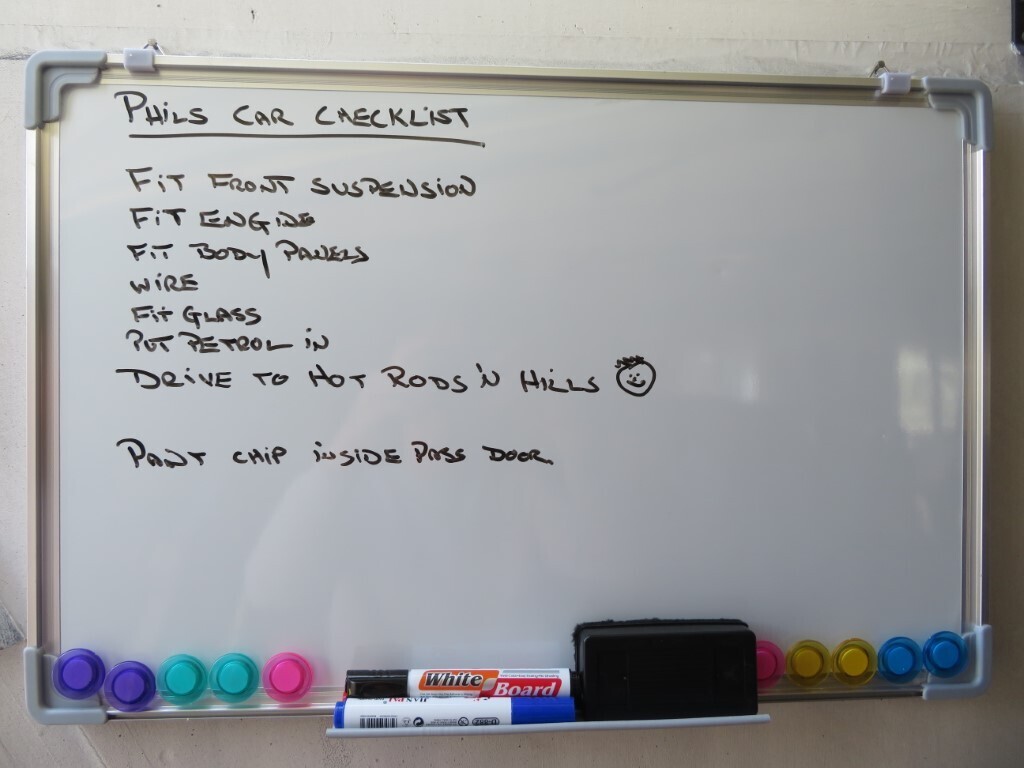 |
| |
|
|
|
|
|
|
|
|
Pah! Nice short list there, get on with it lol.
If you don't mind Mark, what software are you using for the wiring diagrams. It's something I need to do but I've not seen anything that looks like it is suitable without a lot of faff.
I don't do computer faff, too old.
|
| |
Last Edit: May 8, 2022 14:48:22 GMT by crockpot
Proton Jumbuck-deceased :-(
2005 Kia Sorento the parts hauling heap
V8 Humber Hawk
1948 Standard12 pickup SOLD
1953 Pop build (wifey's BIVA build).
|
|
|
|
|
|
|
|
Well we fitted the crossmemeber today, so one down (sort of- details later).
I use Autocad for wiring Paul as I use it at work everyday so have copies at home.
|
| |
|
|
|
|
|
|
|
Today we hoped to get the crossmember fitted - did we manage it? - sort of. It started out well as it gave me a chance to play with my new toy  my plasma cutter. 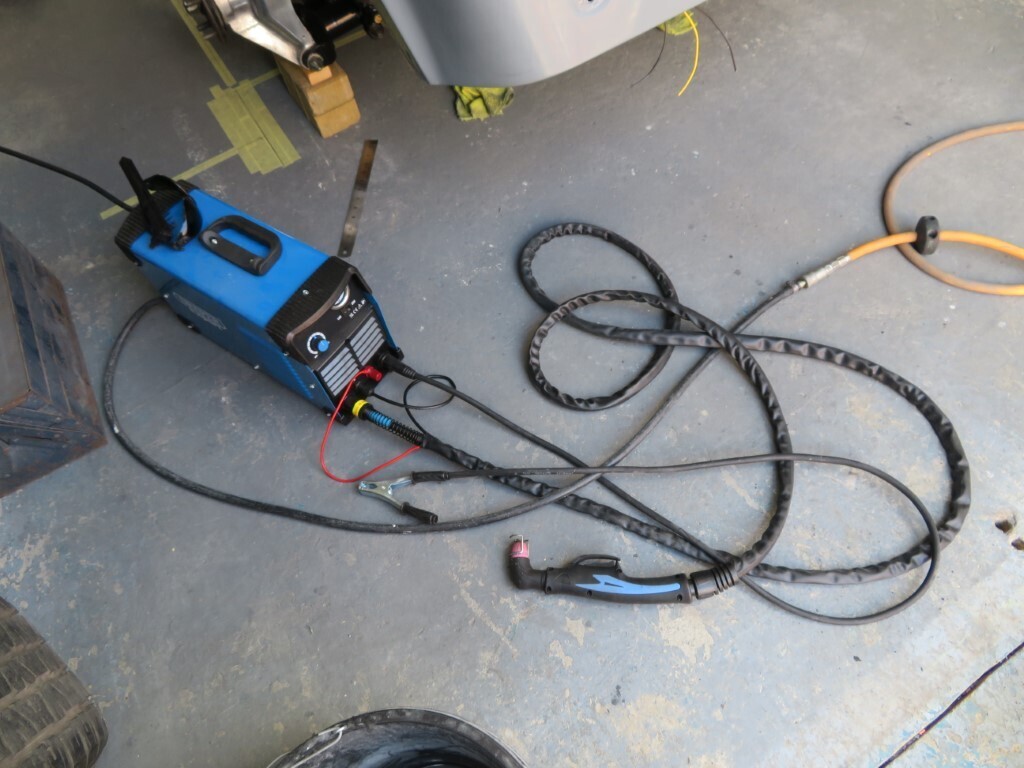 It soon made light work of cutting the crossmember mounts off the old crossmember and chopping it into 3 to dispose of - a friend wants the centre section as one of his steering rack supports is damaged on his. 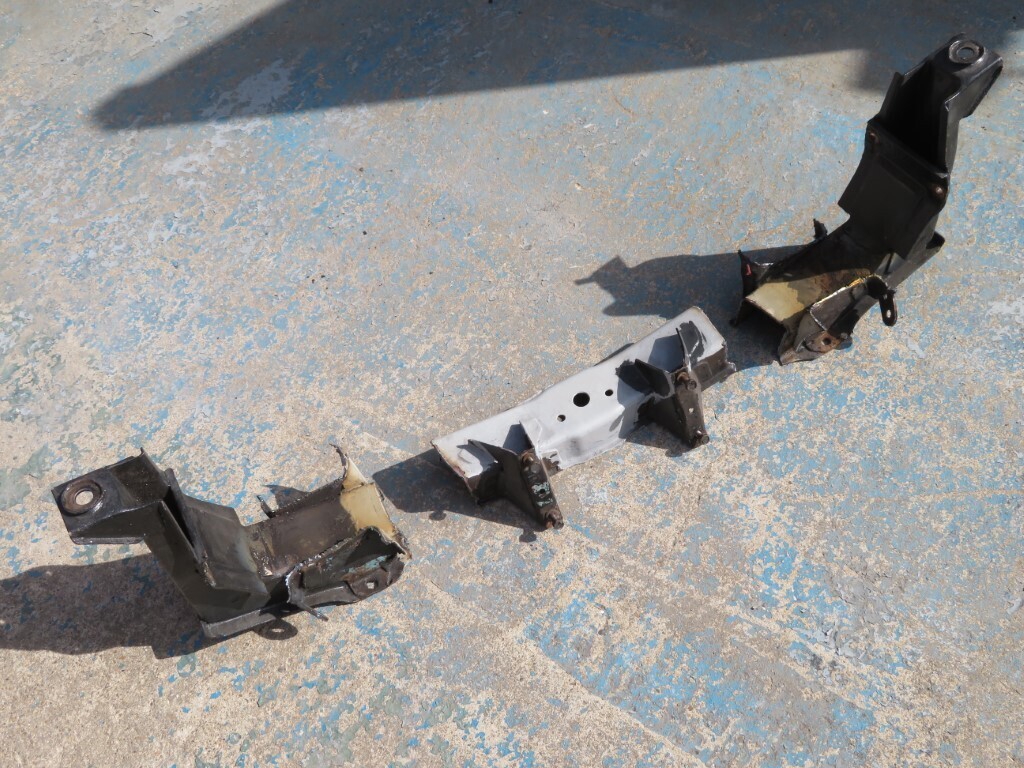 Once the mounts were cut off we had to remove the old bits of crossmember off them - this was done using 1mm cutting discs and then a hammer & chisel followed by grinding discs. We decided to do this at the end of the garden to avoid the sparks and mess in the garage - luckily I have tolerant neighbours as it took quite some time to do this. Then it was on to the fun bit of mocking it up under the car. Unfortunately the fun stopped fairly quickly when we tried to get it centred up on the centreline made up from the rear axle yesterday.This made it massively offset in the chassis which was just not correct.
So.....we put our thinking caps on and did a bit more measuring. We decided to scrap all of the work done yesterday and started again with a centreline taken off the centre of the diff and run through the centre of the front chassis rails where the crossmember fits. We have worked out the rear axle is not perfectly square to the chassis so that will have to be looked at later on - it's not much out and will probably be sorted by altering the shims on the fulcrum arm fittings on the difff - but 1 or 2mm out at the rear axle outer hub line can equal 15mm at the front of the car.
We will get the front crossmember sorted and then make sure the rear axle is square to the front end once it is done. So with lots of trial & error later it is now loosely bolted up to the chassis. Even though I built the new pads on the crosssmember different heights to give some castor it still needs a big wedge fitted at the back to achieve this as the chassis rails have more downward slope than I realised. We ran out of time at this point so it will be a job for another day.
I guess it's still major progress though as the new crossmember is under the car - just not fully fitted and welded up.
At least it is looking good and square now with both towers leaning back the same amount.
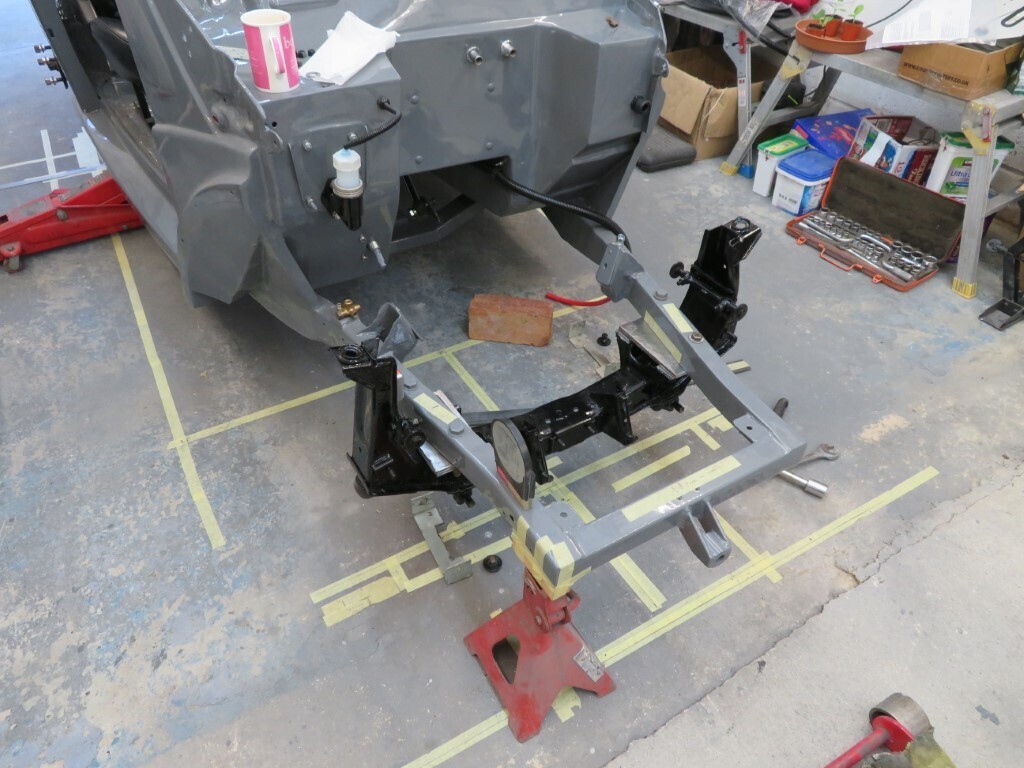 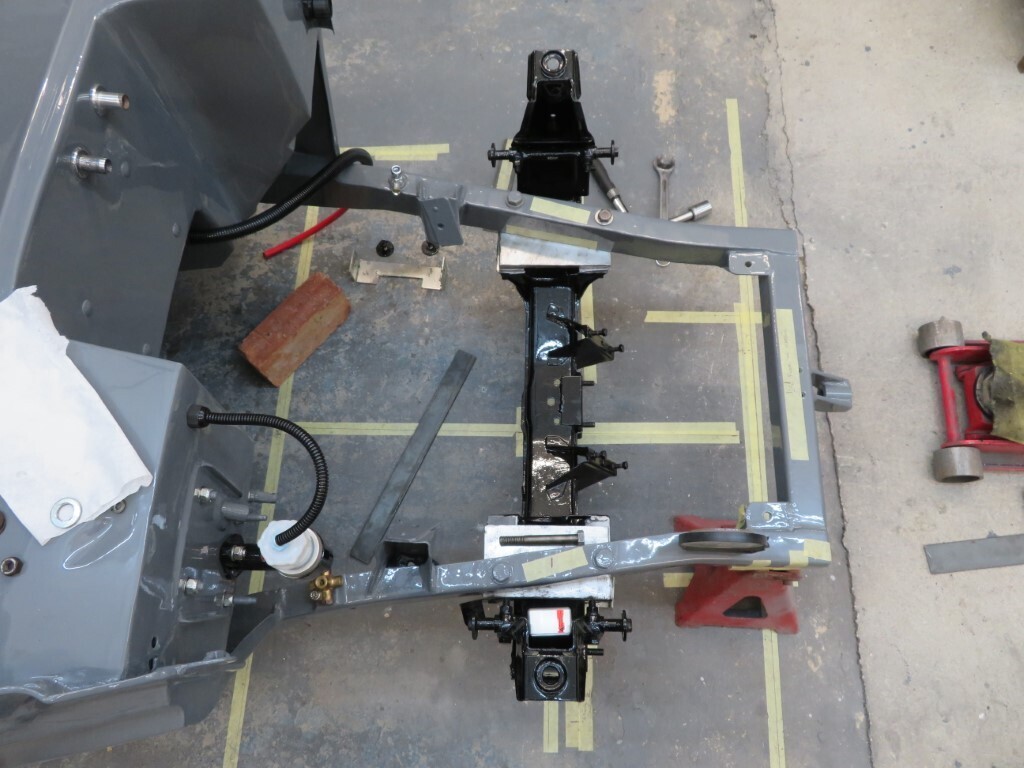 887.5 hours.
|
| |
|
|
|
|
|
|
|
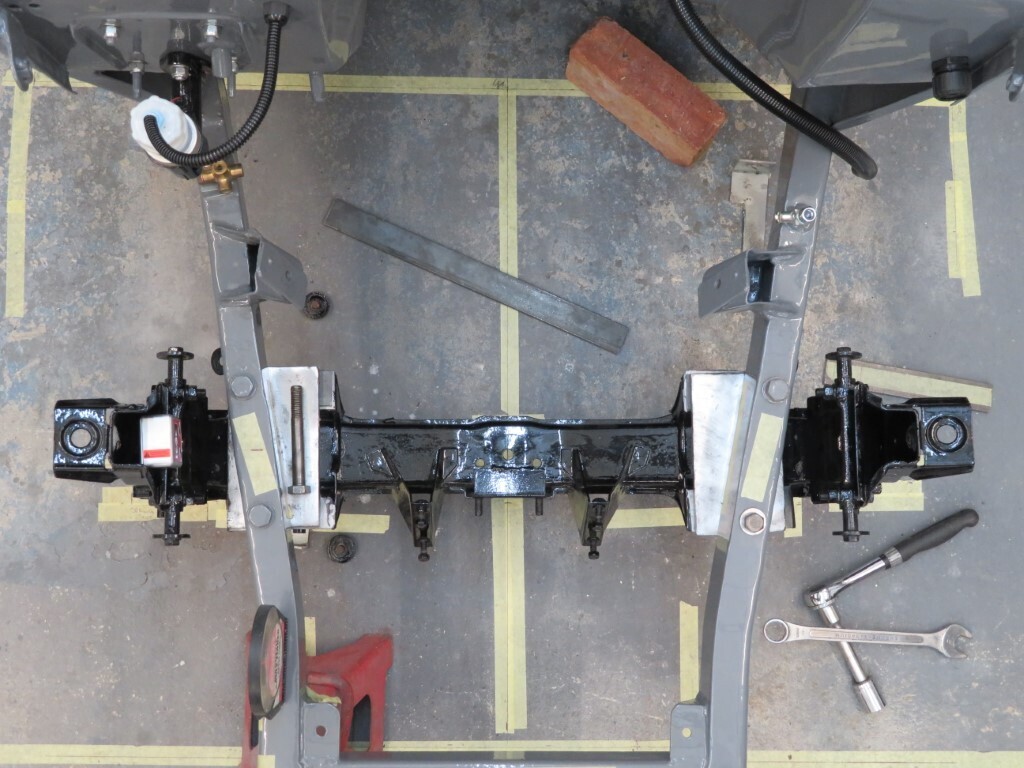
More work on it tonight, I started by welding the locator pins back into the 10mm mounting plates. I had to do the first tack with them bolted to the car and the pin tapped into the chassis with a hammer to centralise them with a nice snug fit. With the welder turned right up the first tack produced a few sparks - one of which went straight into my ear  - mmmm.....lovely crackly sounds of burning hairs and ear - I managed to turn my head enough to stop it going deeper but lying under the car meant I did not have time to turn over to let it drop out  Once tacked they were taken off and a big rosette weld done on the back. 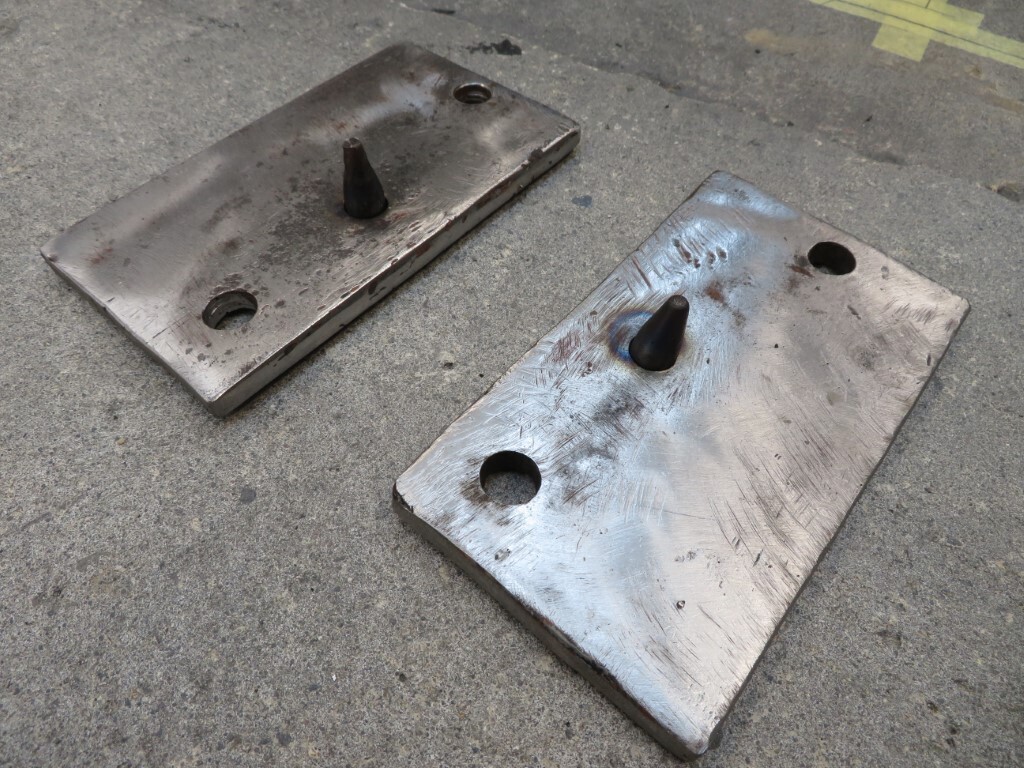 With that done I made some extra packing peices for the rear mounts together with some smaller wedge bits for the front mounts - 9mm in total at the back which shows how little castor was in the original crossmember as there was no packing at all on that one. 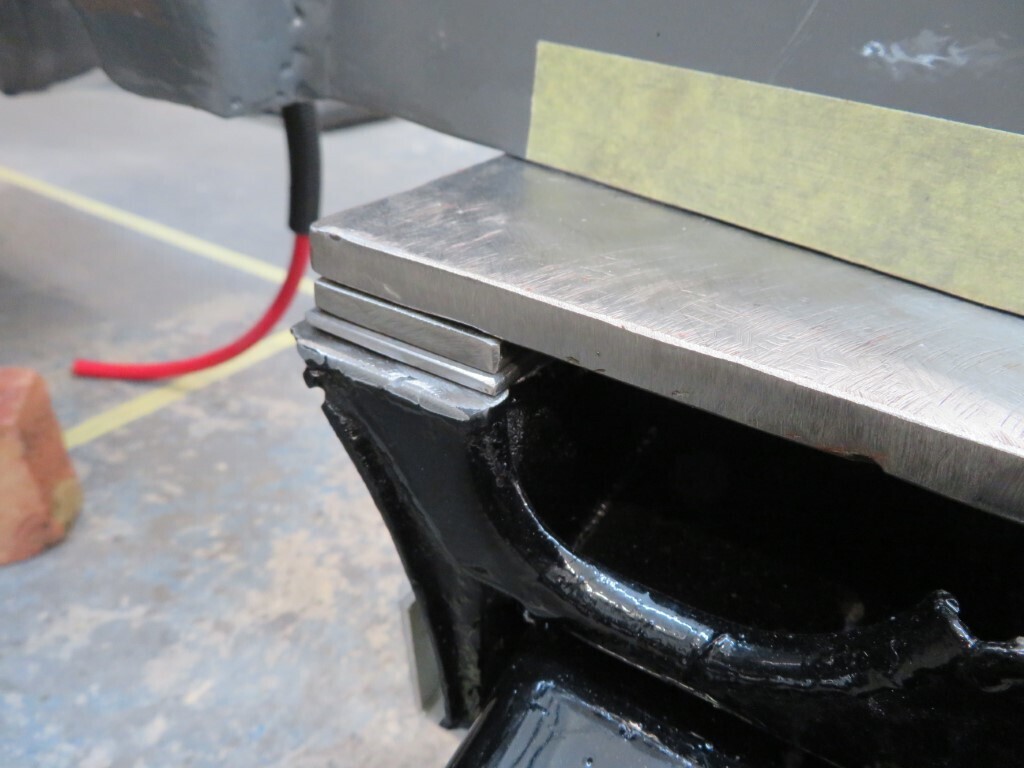 Crossmember is now almost ready for tacking to the mounts, I need to open up the bolt holes on the lower platform a little as it needs to shift to the nearside about 1.5mm to get it spot on, but it's nice & square to the centreline now. Initial castor is about where I want it to be, fine tuning can be done with the shims once its all fitted up as we have a castor/camber guage tool on loan to us. Passenger side; 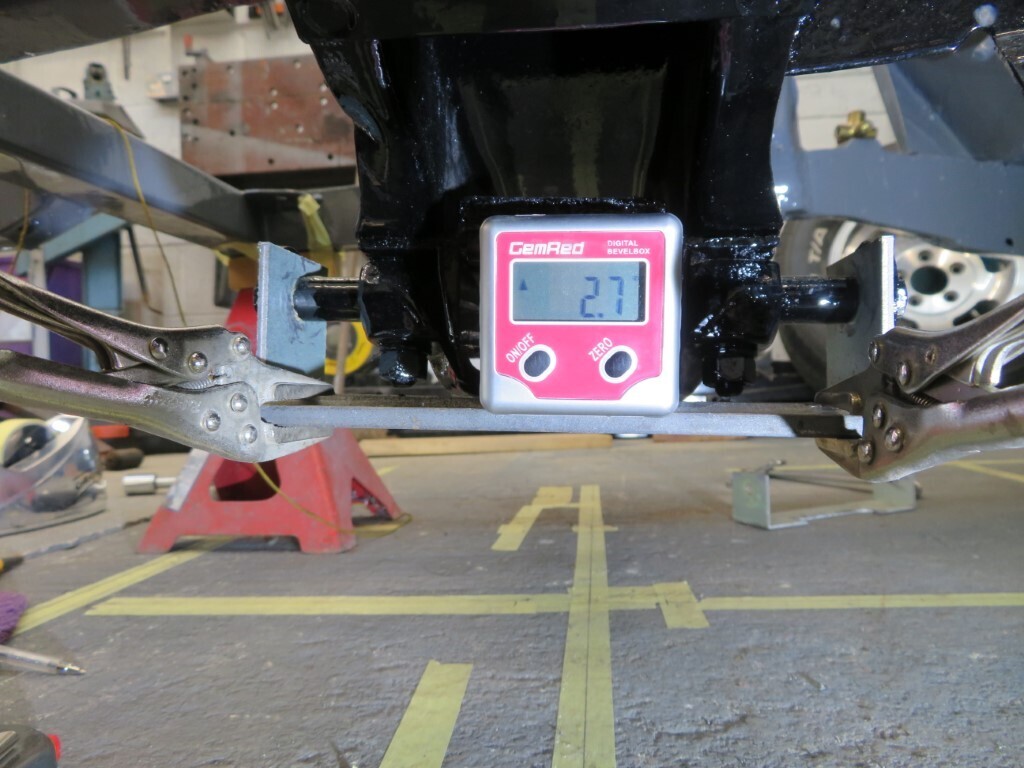 Drivers side 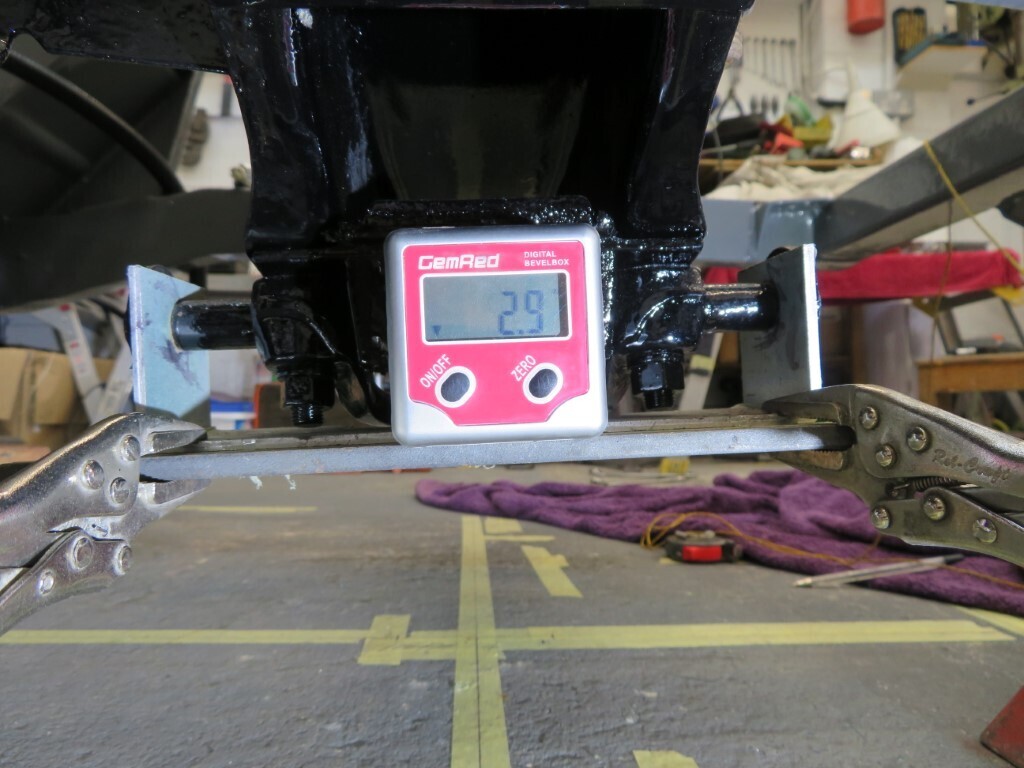 The 0.2 difference is good enough I think. I have a day off tomorrow as it's my Birthday so hopefully I can get it finished by tomorrow night. 889.5 hours. |
| |
|
|
glenanderson
Club Retro Rides Member
Posts: 4,338
Club RR Member Number: 64
|
|
|
|
|
Happy birthday. 😀👍
|
| |
My worst worry about dying is my wife selling my stuff for what I told her it cost...
|
|
|
|
gazzam
Part of things
 
Posts: 734 
|
|
|
|
|
Many happy returns from this side of the planet!
|
| |
|
|
mk2cossie
Club Retro Rides Member
Posts: 3,058  Club RR Member Number: 77
|
|
|
|
|
|
| |
|
|
|
|
|
|
|
|
Happy Birthday mate.
Enjoy the day off.
|
| |
|
|
|
|
|
|
|
|
|
|
Happy birthday Mark 🎂
|
| |
Proton Jumbuck-deceased :-(
2005 Kia Sorento the parts hauling heap
V8 Humber Hawk
1948 Standard12 pickup SOLD
1953 Pop build (wifey's BIVA build).
|
|
|
|
|
|
|
|
Happy birthday mate,
Fantastic work as usual,
Nigel
|
| |
BMW E39 525i Sport
BMW E46 320d Sport Touring (now sold on.)
BMW E30 325 Touring (now sold on.)
BMW E30 320 Cabriolet (Project car - currently for sale.)
|
|
eurogranada
Europe
To tinker or not to tinker, that is the question...
Posts: 2,556
|
|
|
|
|
Happy birthday!
|
| |
|
|
Darkspeed
Club Retro Rides Member
Posts: 4,873
Club RR Member Number: 39
|
|
|
|
|
Many happy returns - have a good one
Trying to get good alignment on a chassis that old with limited information on the datums used originally would be no easy task - I do not envy you that one. That damage on the old cross member looks like it could have easily tweaked the chassis if it was done on the car. As you say it only takes mm's at one end to be cm's out of alignment with the other end and that can be a real problem when "that'll be good enough" is not part of your vocabulary.
Looking good, particularly like the black brake M/C - details like that make the difference.
|
| |
|
|


 my plasma cutter.


 - mmmm.....lovely crackly sounds of burning hairs and ear - I managed to turn my head enough to stop it going deeper but lying under the car meant I did not have time to turn over to let it drop out


