|
|
|
Oct 30, 2021 21:31:58 GMT
|
Today was a day of lots of work but not much to show for it. Front wing were refitted to the car - where the new flanges were made it had covered up all of the fixing holes - some were simply re-drilled but some had to be in a different place. As such it was a day of fitting the wings, marking the blank holes, taking the winds off again, drilling the new holes, fitting the wings again, taking them off again - fettling the holes & refitting them. That took far longer to do than it did to type out! Once the wings were fitted correctly I had the most enjoyable rubbish job of applying some glass upside down. Much drippiness ensued even though I applied the glass pre wetted first. This hopefully will let the wings set in the correct curvature to fit nicely when I take them off again. I'm suprised that I've used nearly 10 litres of glass resin so far on all of the repairs and I think I will still need another litre or so.
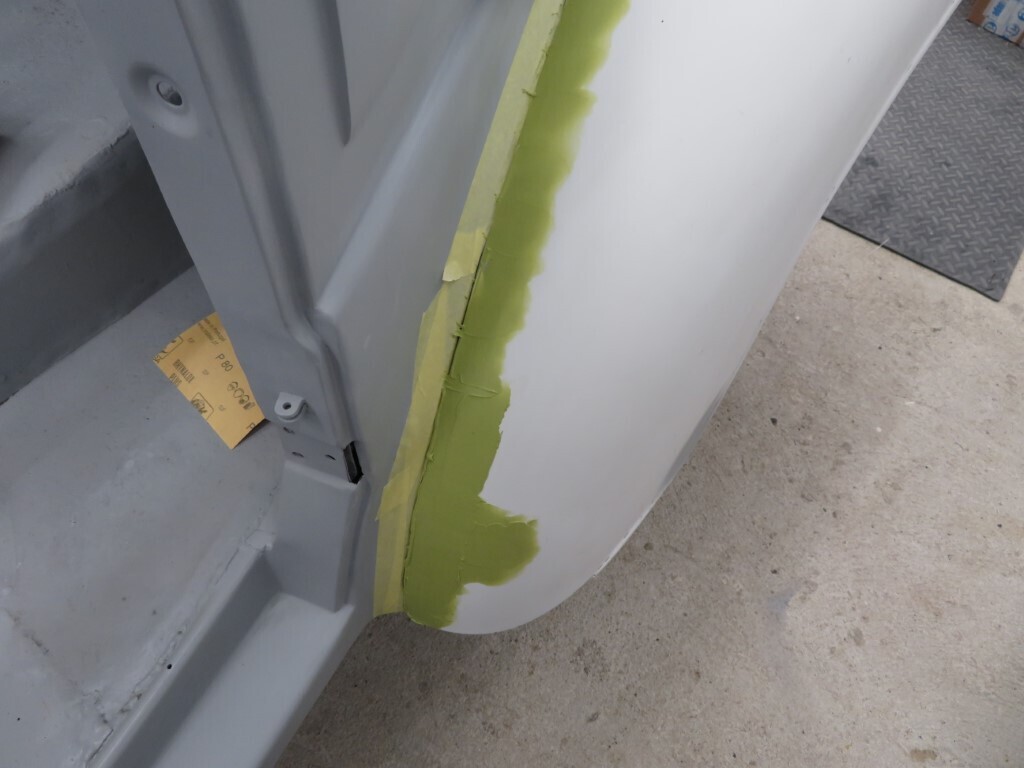
Once that was done I could apply some filler over the repaired areas as well as the top edge of the wings where there is a distinct ripple all along the edge of both wings. I also found an odd dip in the front edge of the passenger wing, so some work needed there as well. 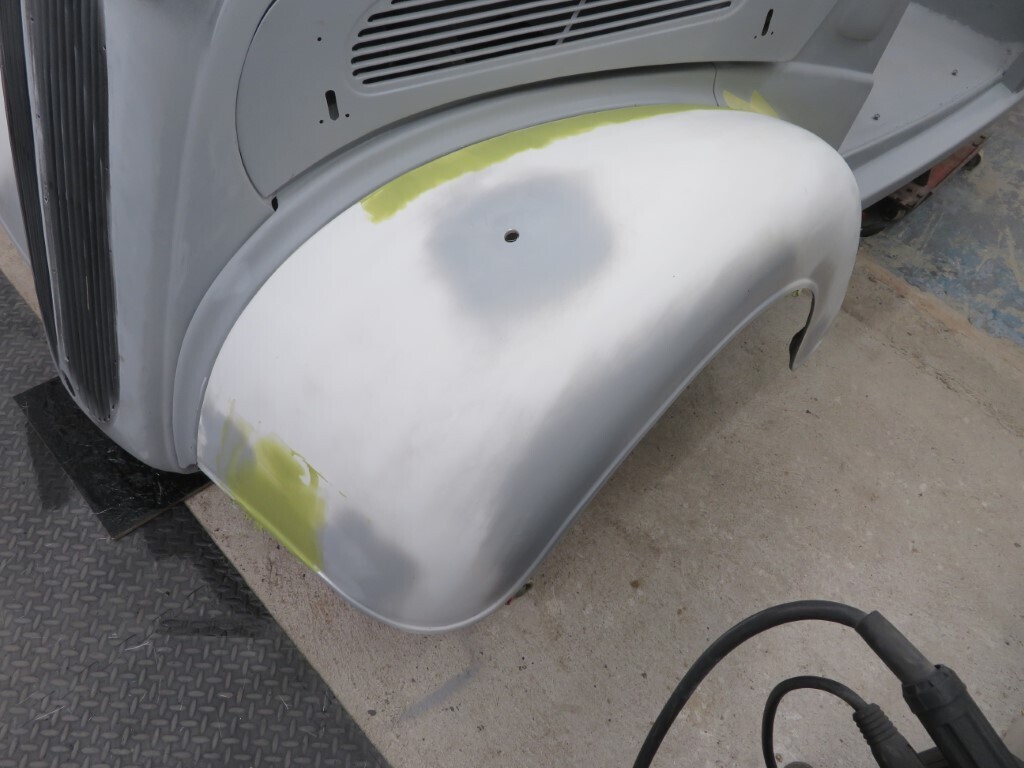 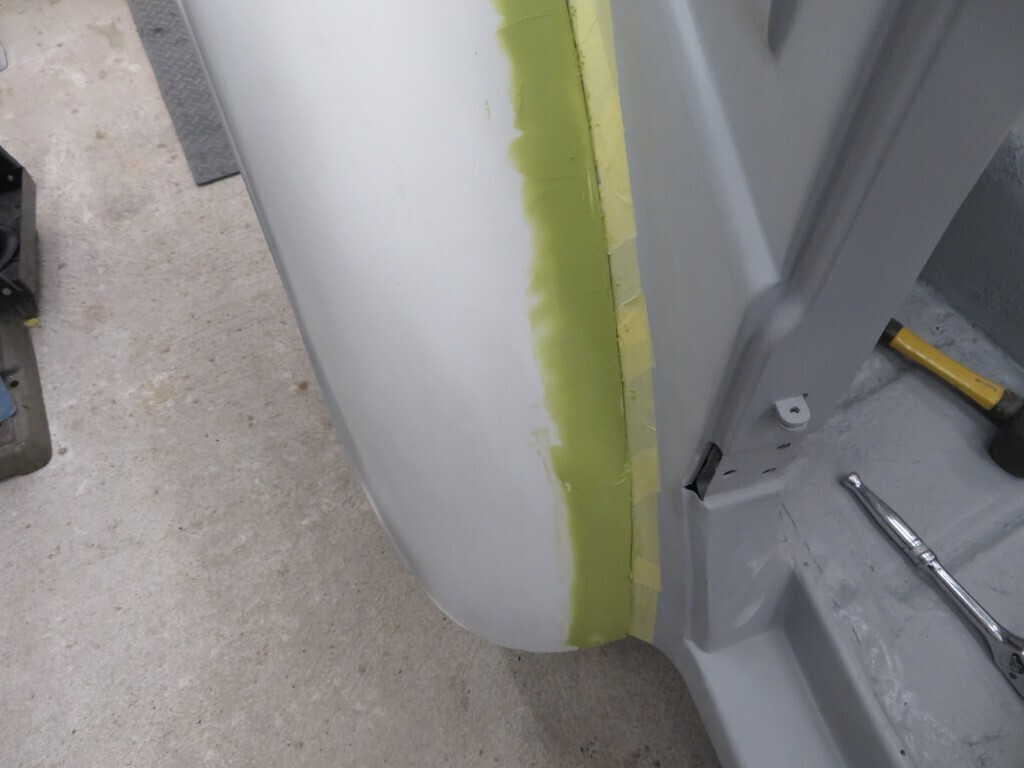 Nearly 500 hours now!! I originally guesstimated 600 hours to complete, but I think it will end up being about 800.
494.5 hours.
|
| |
|
|
|
|
|
|
|
|
|
|
Excellent progress Mark.
What's the reason for filling in the headlight divot in the wing?
|
| |
Proton Jumbuck-deceased :-(
2005 Kia Sorento the parts hauling heap
V8 Humber Hawk
1948 Standard12 pickup SOLD
1953 Pop build (wifey's BIVA build).
|
|
|
|
|
|
|
More fibreglassing tonight, at last the flanges are thick enough. I'll lay the whole wings up with another layer of two of matt over the weekend to give them some strength. No photos, but here's an image of how my hands feel to keep you amused instead.  489 hours. You just made me feel very guilty…… but I did grin at your pain, compared to me drilling a few holes in the Rezin Rockit, you certainly are in a much worse place. I will be reinforcing the floor, and am contemplating cutting out the whole of the rear floor and rebuilding it 3” higher, though not having worked with fiberglass before, it’s another learning experience Imam possibly not looking forward to. Your work continues to amaze, impress and give me both motivation and pleasure. |
| |
|
|
|
|
|
Oct 31, 2021 13:51:04 GMT
|
|
Paul, it's because Phil has aftermarket headlamps which are designed for a flat panel. They have chrome standoffs which have the hollow in them.
Grizz, fibreglass is pretty easy, you could cast your floor first and then just glass it into the car.
|
| |
|
|
|
|
|
Oct 31, 2021 22:04:29 GMT
|
Yet more fibreglassing today - will it ever end? Phil came over with his battery & wood divider panel so we could see where the battery will fit best. It's mocked up here and we have worked out the best place for the battery cables to feed through the floor and where to weld the earth fixing on the chassis. 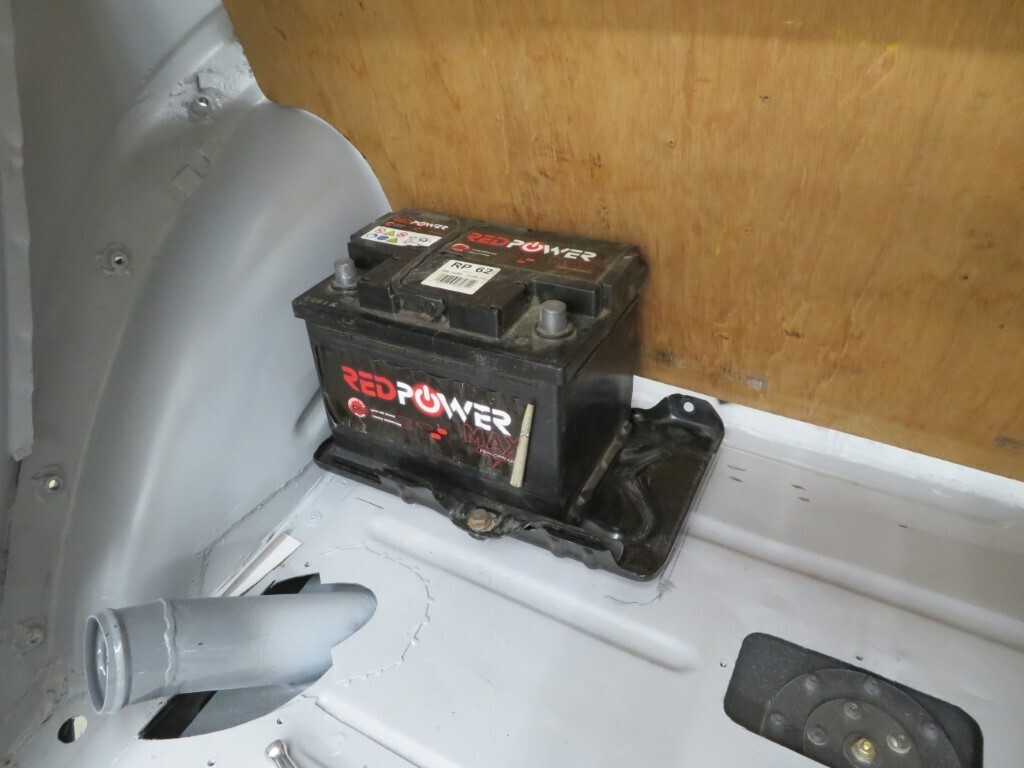 As Phil was here I got him to drain the diff oil out and then strip the rest of the paint off the diff cover to reveal the chrome cover plate. Sadly the chrome is no-where near as good as it appears in the photo and will be scurfed back and painted. 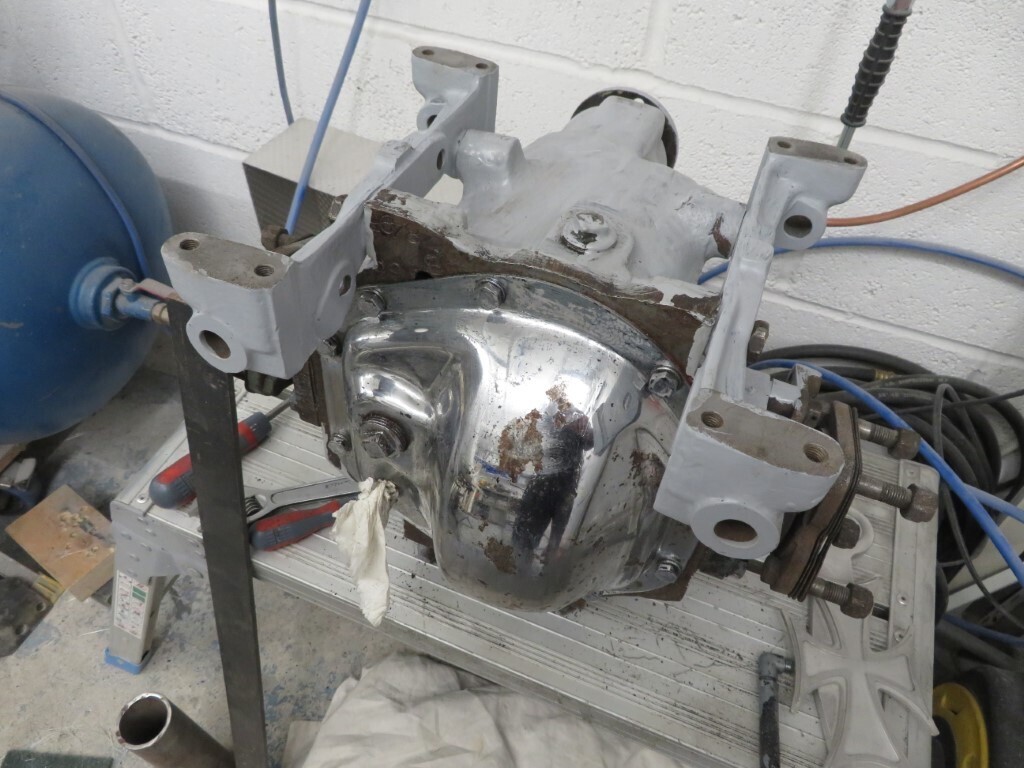 While Phil was doing that I was masking off the rear wings ready for a coat of stone chip on the insides; 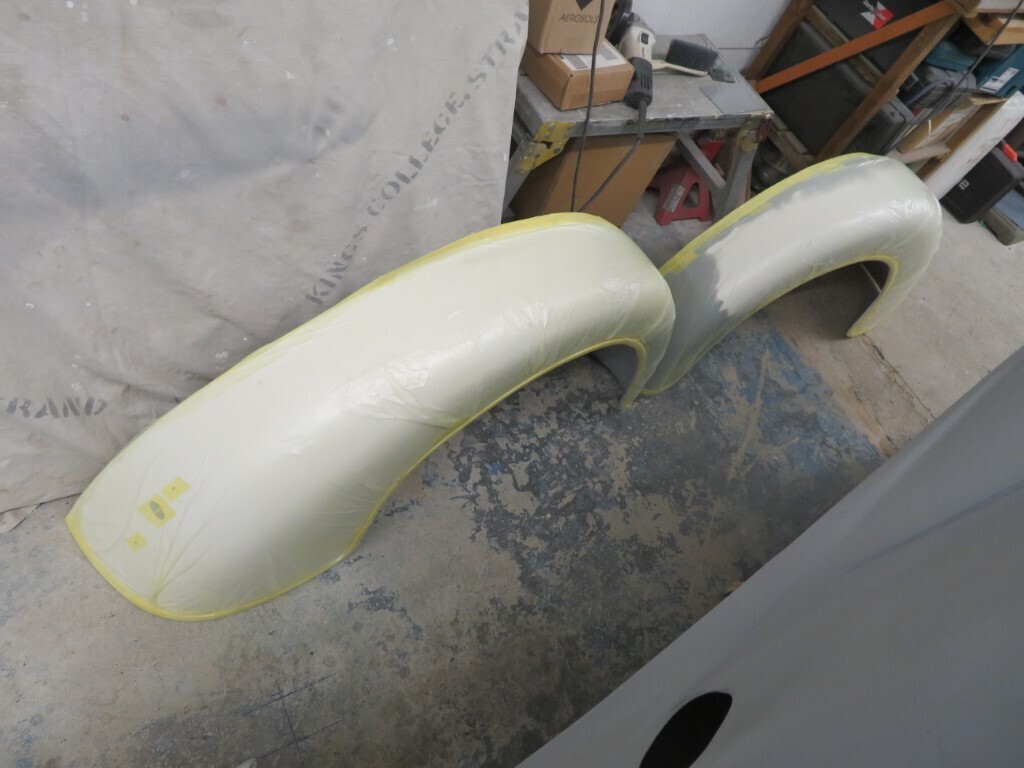 And then back to fibreglass - drivers wing got the last layers of extra matt and is now finished, just the passenger wing left and that will be the last of the fibreglassing completed. 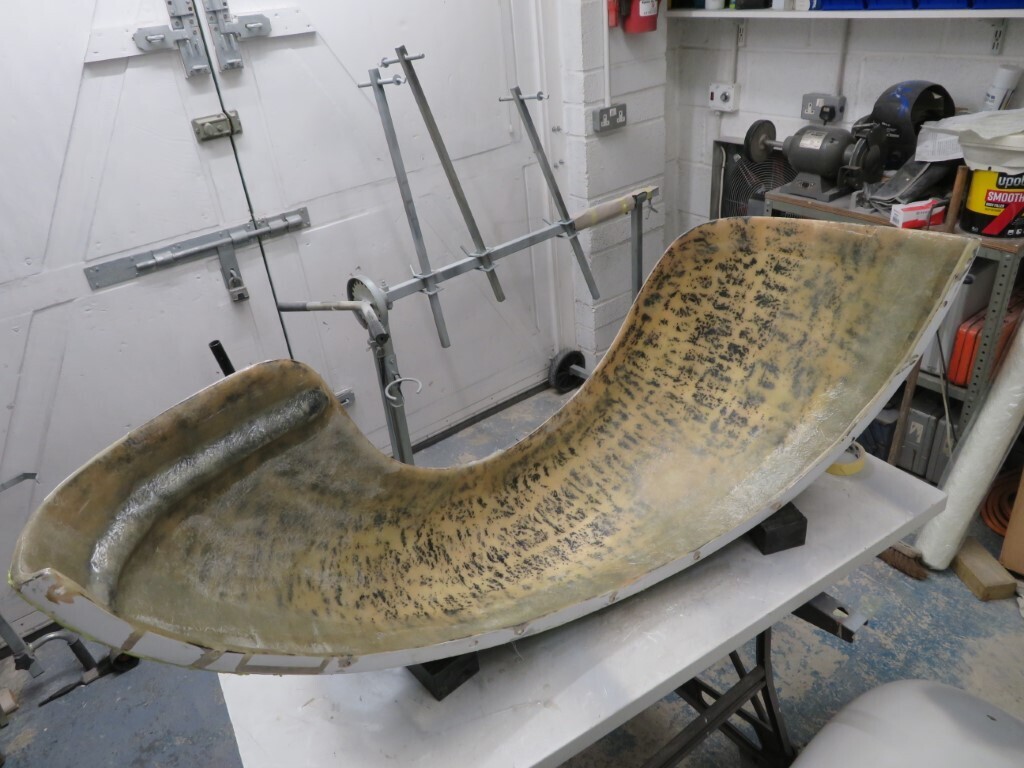 498.5 hours. |
| |
|
|
|
|
|
|
|
|
No photos tonight, but the last of the main fibreglassing is done - hurray!! and I've even got a little bit of resin left in the tin. There is a small bit left to do but it's only building up edges in a couple of places on one flange.
500.5 hours.
|
| |
|
|
|
|
|
|
|
|
The hours have gone down?
|
| |
|
|
Darkspeed
Club Retro Rides Member
Posts: 4,874
Club RR Member Number: 39
|
|
|
|
The hours have gone down? Phil mowed the lawn, hoovered the house and did the washing- up...... If he'd worn a dress as well Mark may have knocked off more hours  |
| |
|
|
|
|
|
|
|
Lol, they have gone back up again, mind you if he wore suspenders......... Tonight saw the engine bay earth stud (10mm) tacked in, I'll weld it properly when the front panels come off as there will be better access. The rear crossmember also got a 10mm stud fully welded on and re-primed. I spent a while giving the workshop a bit of a clean down of dust - cleaning off all of the joists and shelving and generally a bit of a tidy up. Then the car got a bit of masking and the rear inner arches got a proper layer of primer put on. 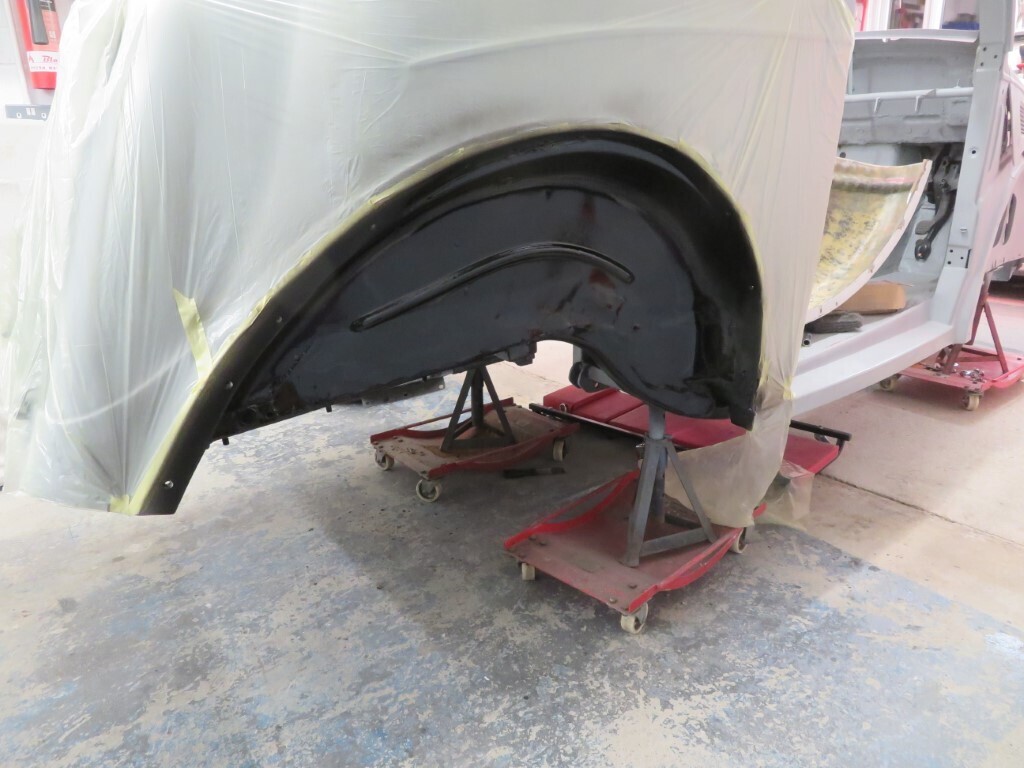 And the rear arches got primed on the inside face; 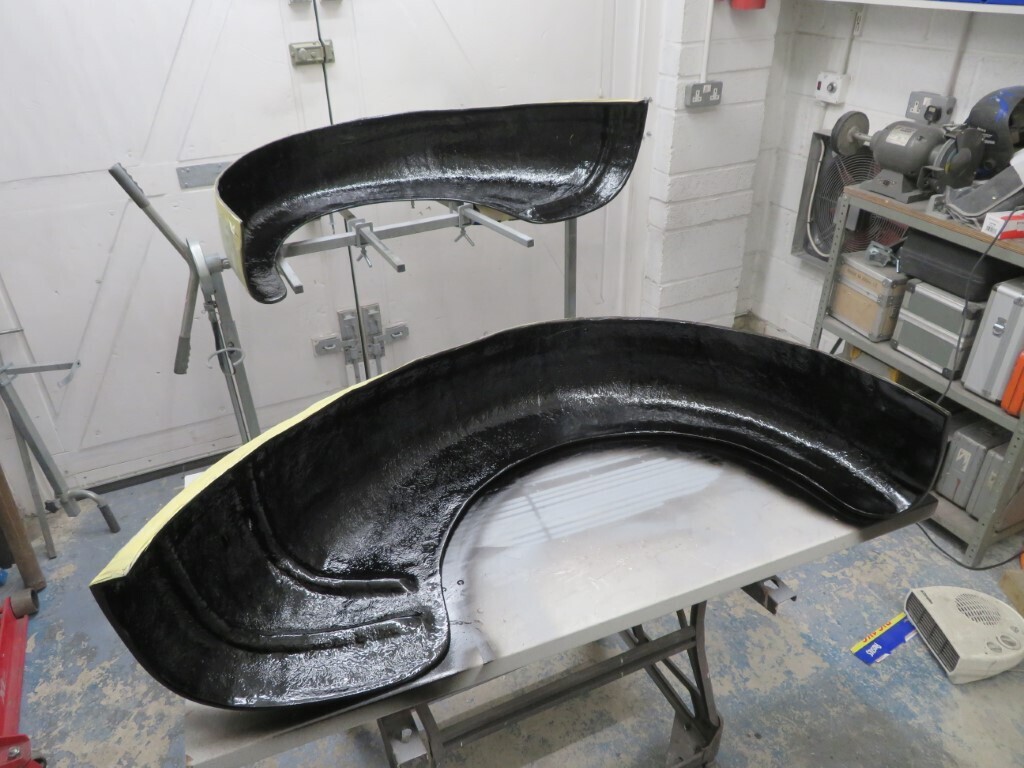 Both parts will get coated in stonechip tomorrow. 503 hours. |
| |
|
|
|
|
|
|
|
Some visible progress tonight, stonechip is now on both rear wings; 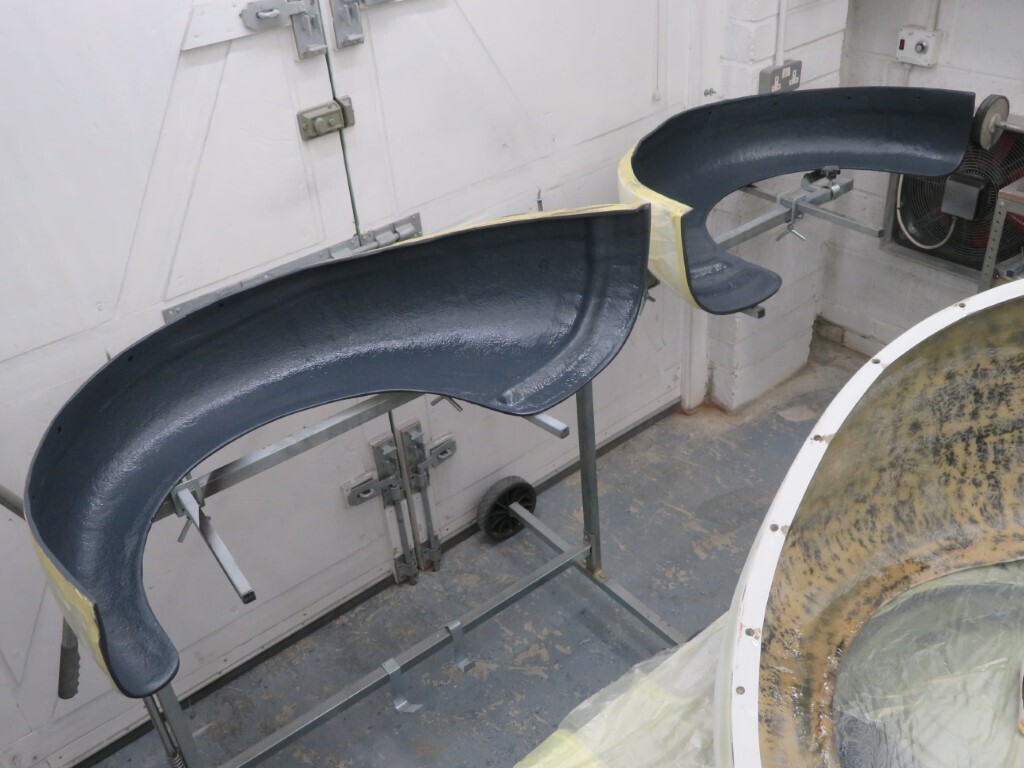 and on both rear inner arches; 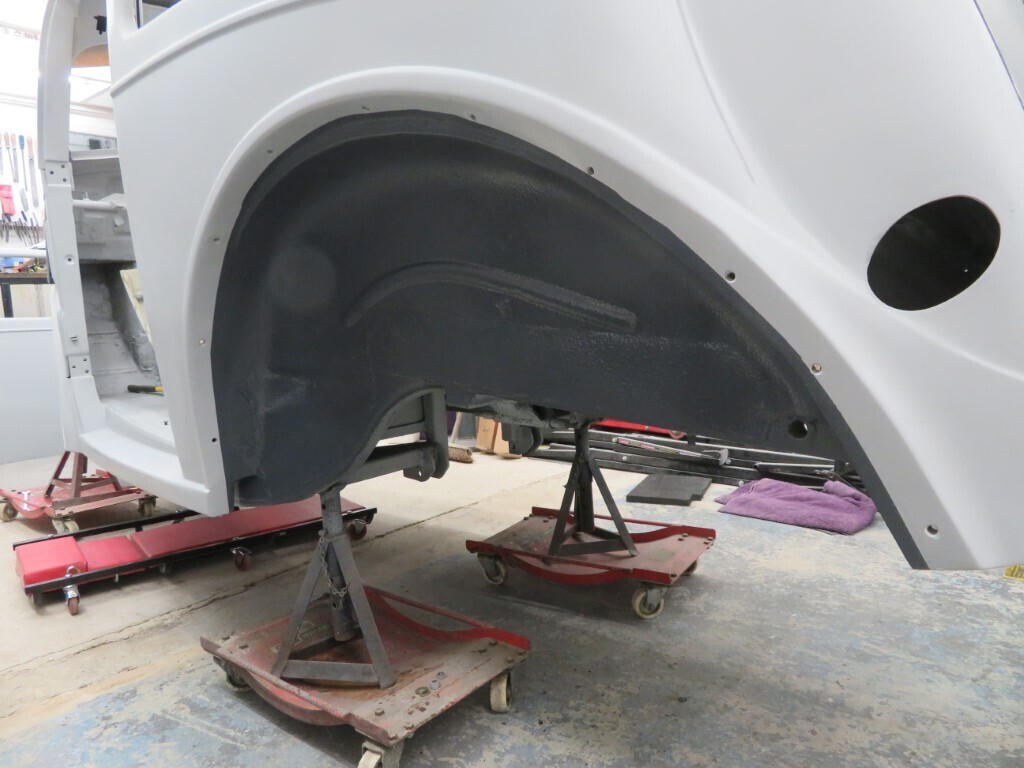 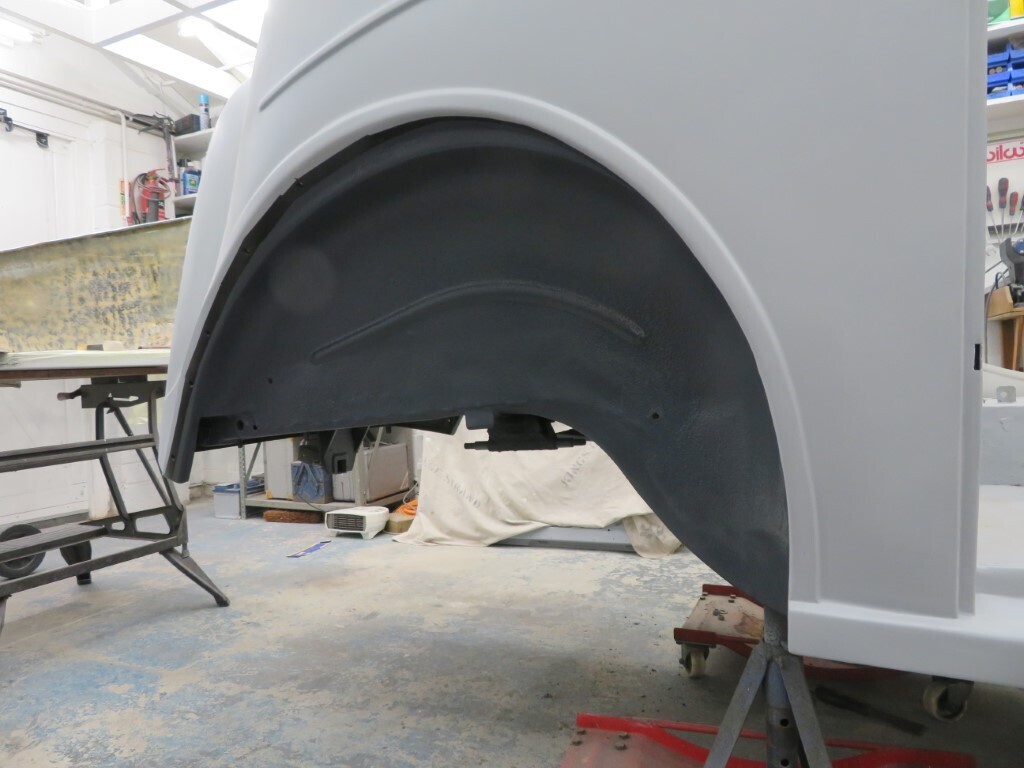 And the last bit of fibreglassing done, building up the outer edge of the flange extension. 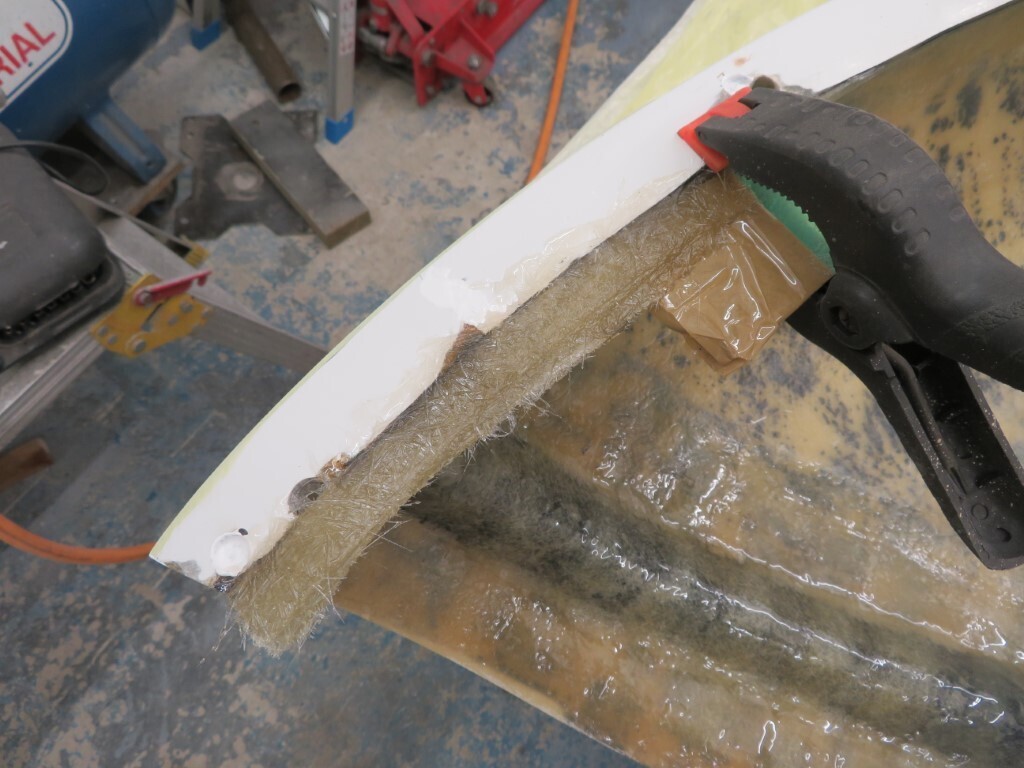 504.5 hours. |
| |
|
|
|
|
|
|
|
Not much progress this weekend as I've been down at my Mums clearing all my late Dads stuff out of the lofts. Got a few hours in this afternoon though. I took the sheet metal off the front and fully welded the earth point and the tow bracket. I cleaned up the towbar bracket ready for primer and prepped a few areas on the body that needed some primer where I had sanded throught to steel again. The front wings got some flowcoat added where needed as well. Then I mixed up some primer and painted the areas that needed it, including the front towing bracket; 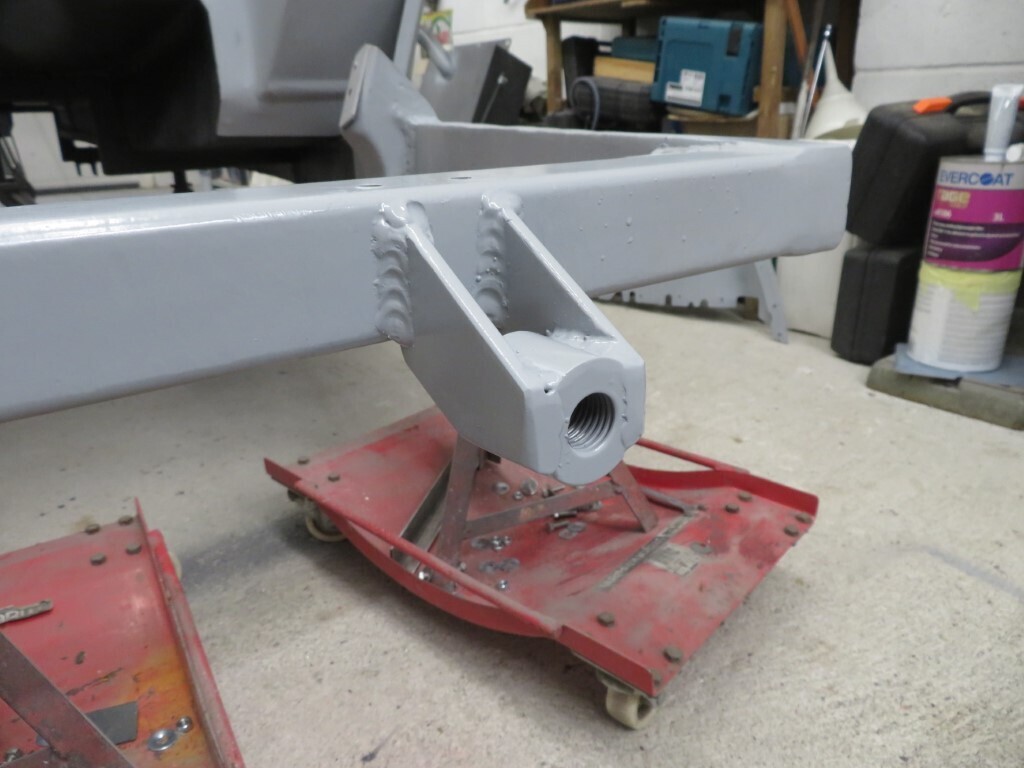 and a quick coat on the inside of the front wings - this highlights any areas that need blending better or any holes in the glass matting resin. I ran out of paint just before I finishd painting the wings - hence the unpainted bit. 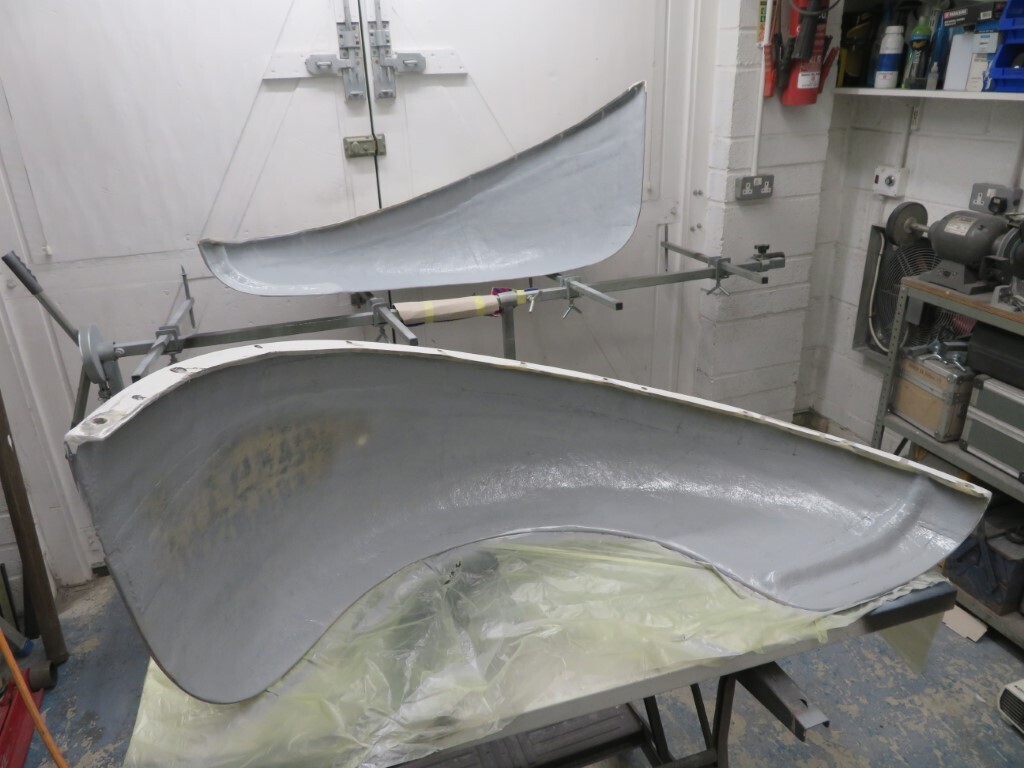 508 hours. |
| |
|
|
|
|
|
|
|
|
The stone chip is always a great milestone to reach on a build.
Well done and once again, only admiration to add.
.
|
| |
|
|
|
|
|
|
|
Thanks Grizz. A bit more done tonight, I added some more flowcoat on the front wings where needed and left it to set. Then I started on making the new diff spreader bars. The previous rodshop had made a rather rudimentary plate to do this, but it was pretty crudely made and far from precision engineered. It would also be a big dirt trap and as the jacking point is under the diff it would be bent the first time the car was raised. 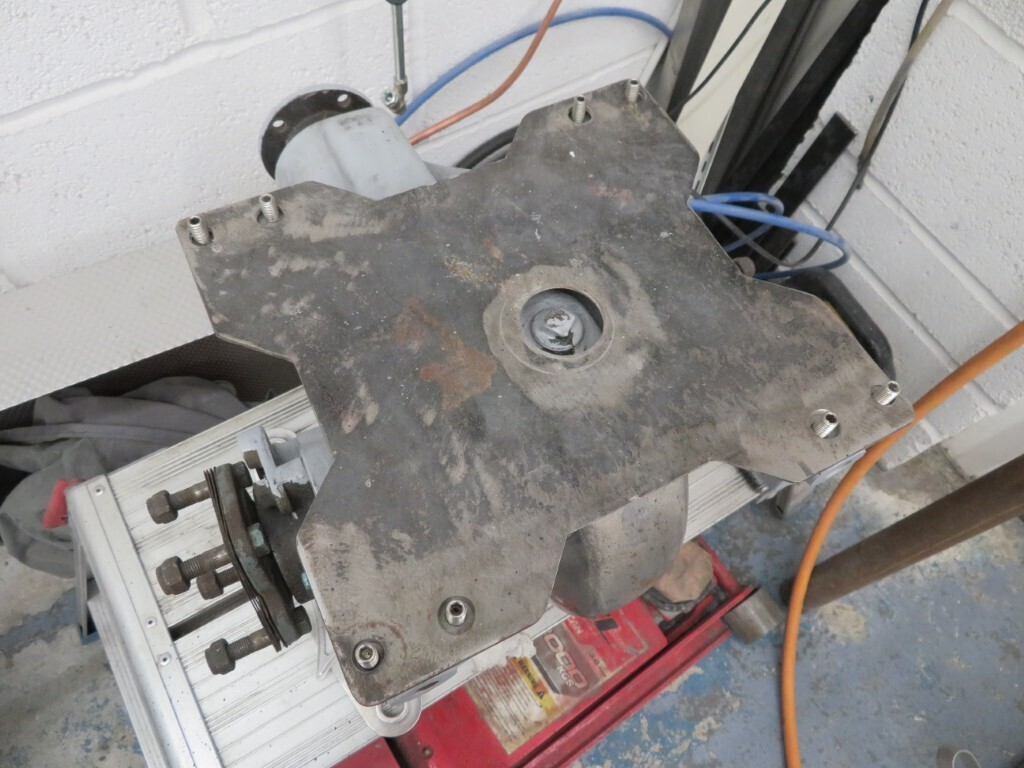 As these studs prevent the control arm mounts spreading the plate with these holes is completely useless. 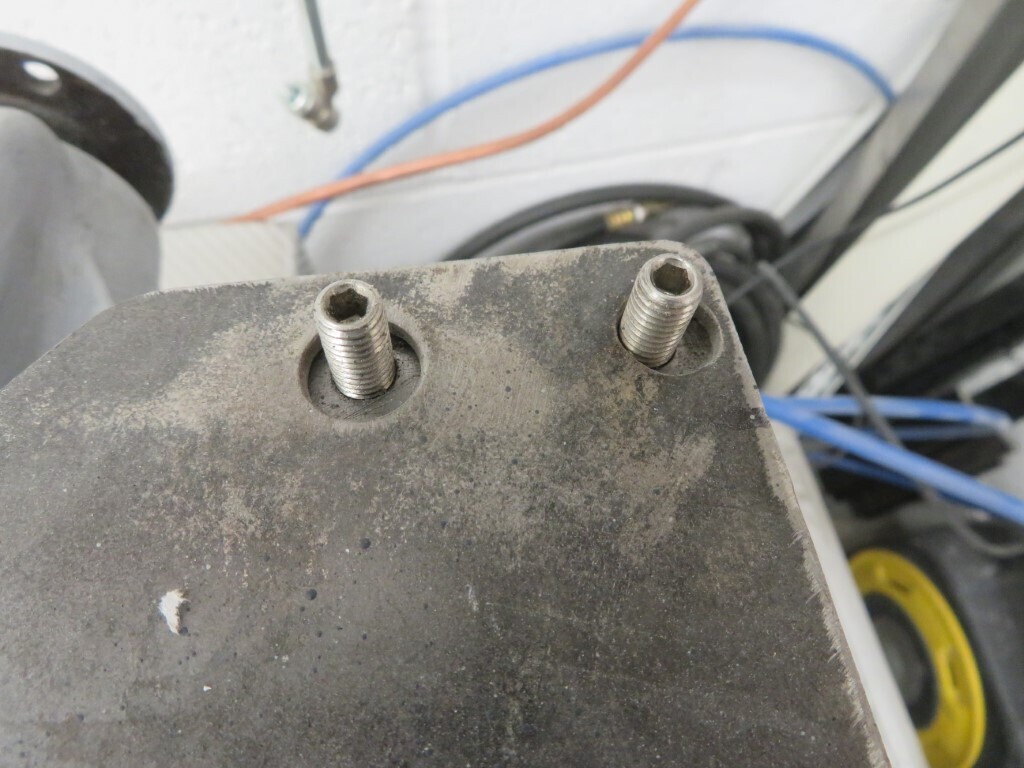 So some new bars were made from some 38 x 6mm plate. They are sanded and ready for primer here. The centre of the diff is still exposed for jacking as well. (yes I know the primer on the diff is a mess - it will be cleaned up and done properly soon).
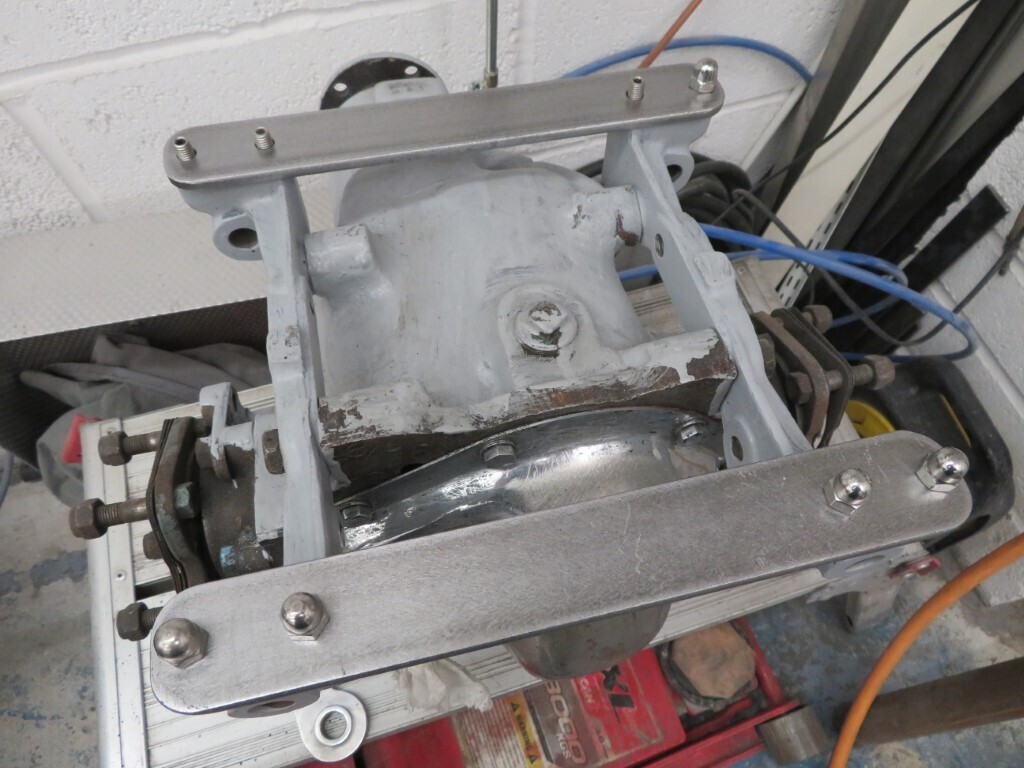 A bit more accurately drilled. 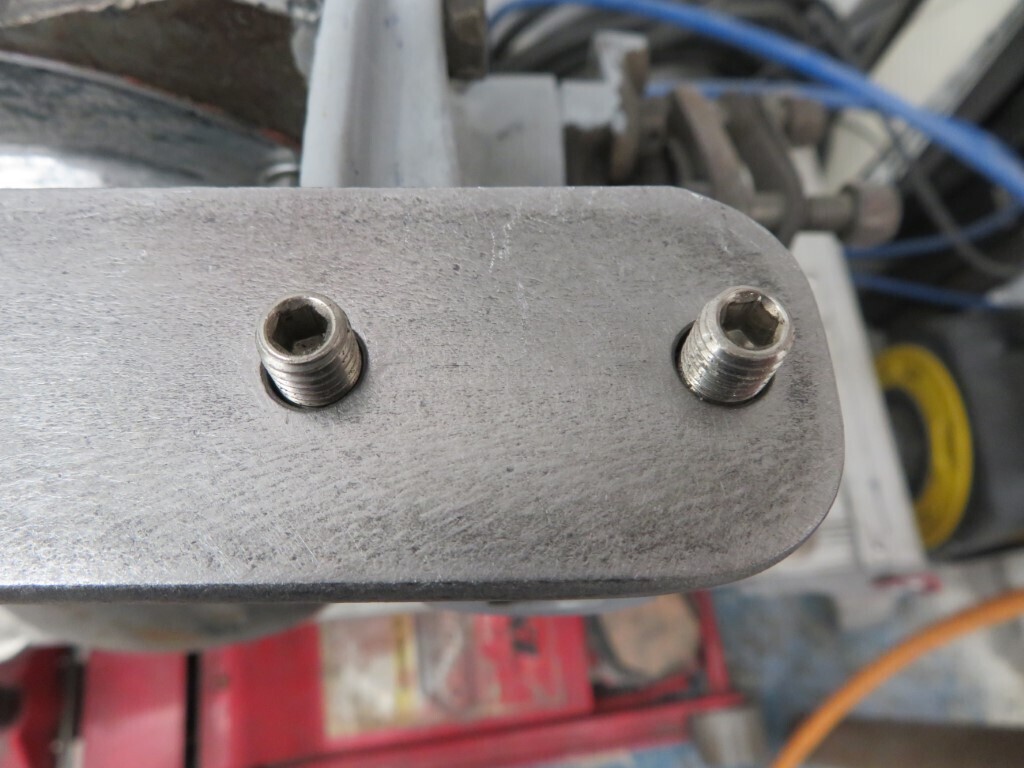 509.5 hours.
|
| |
|
|
|
|
|
|
|
Tedious work tonight, sanding all the old chrome off the diff, inc the chrome bolts and cleaning up some of the diff bracket bolts. The wire lock holes had to be drilled out to remove rust & other crud. I assume Phil knows, but I found out his diff is an LSD which is nice. After a lot of work & cleaning it now looks a lot more presentable with a coat of epoxy primer on it. 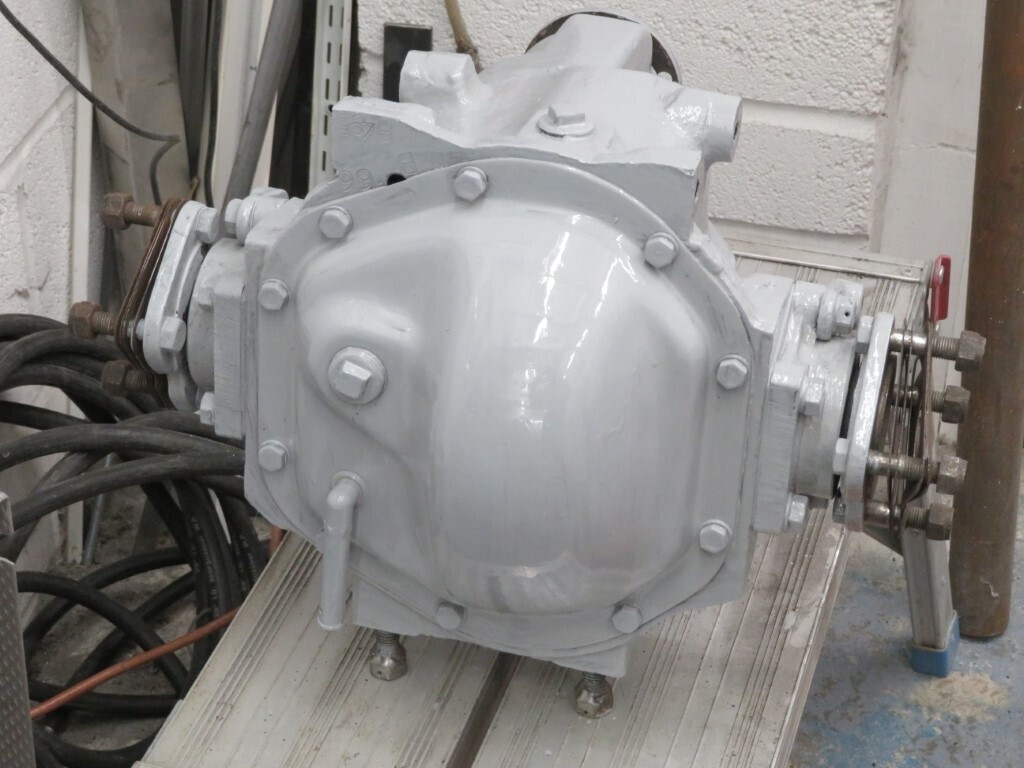 Front wings get more flowcoat and filler on them - they really are the most difficult shape to work on - they are large & love to try to fall off the bench at any opportunity. 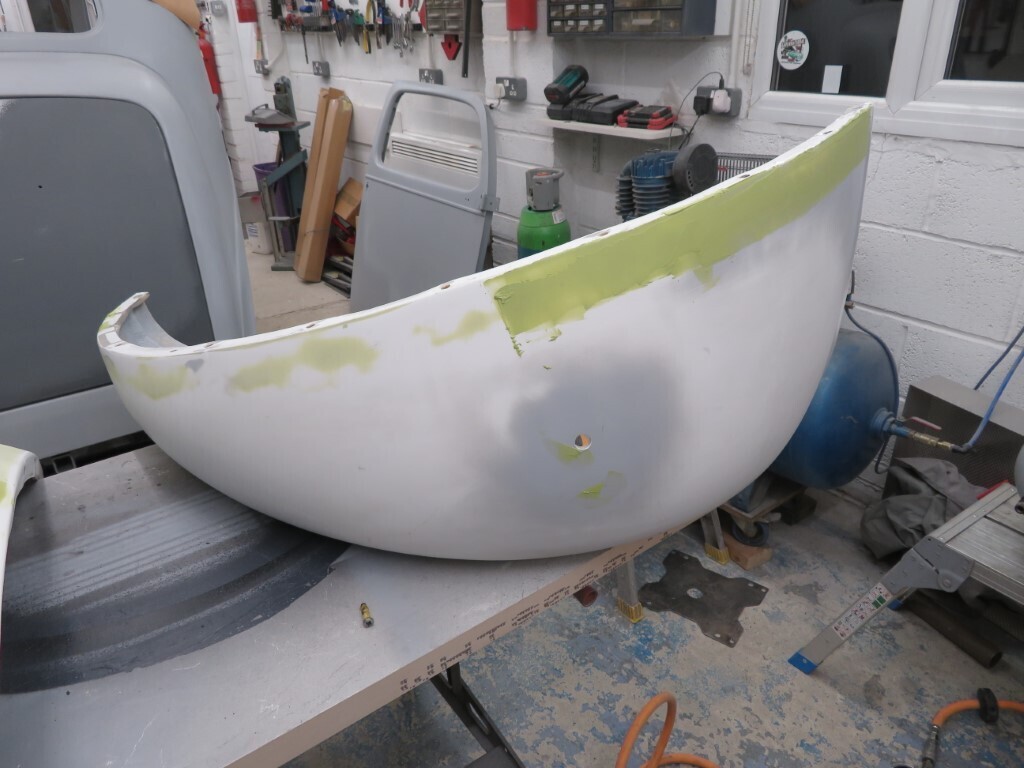 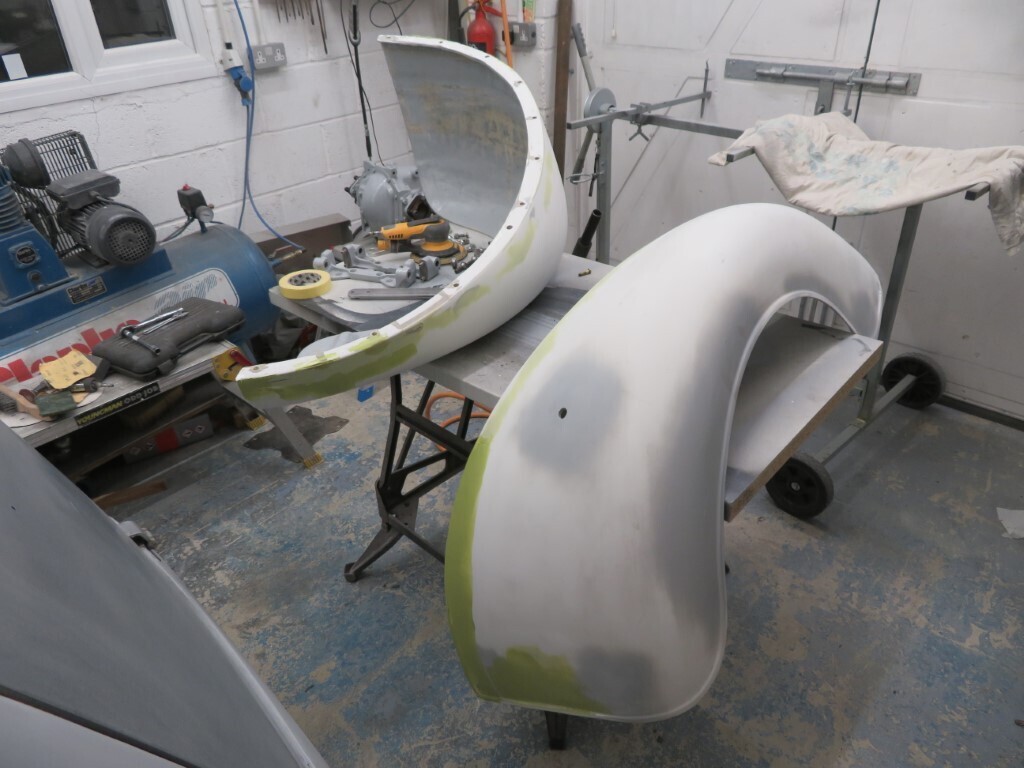 512 hours. |
| |
|
|
|
|
|
Nov 10, 2021 20:42:26 GMT
|
Quick update after work tonight, I made some ally blanking plates at work today; 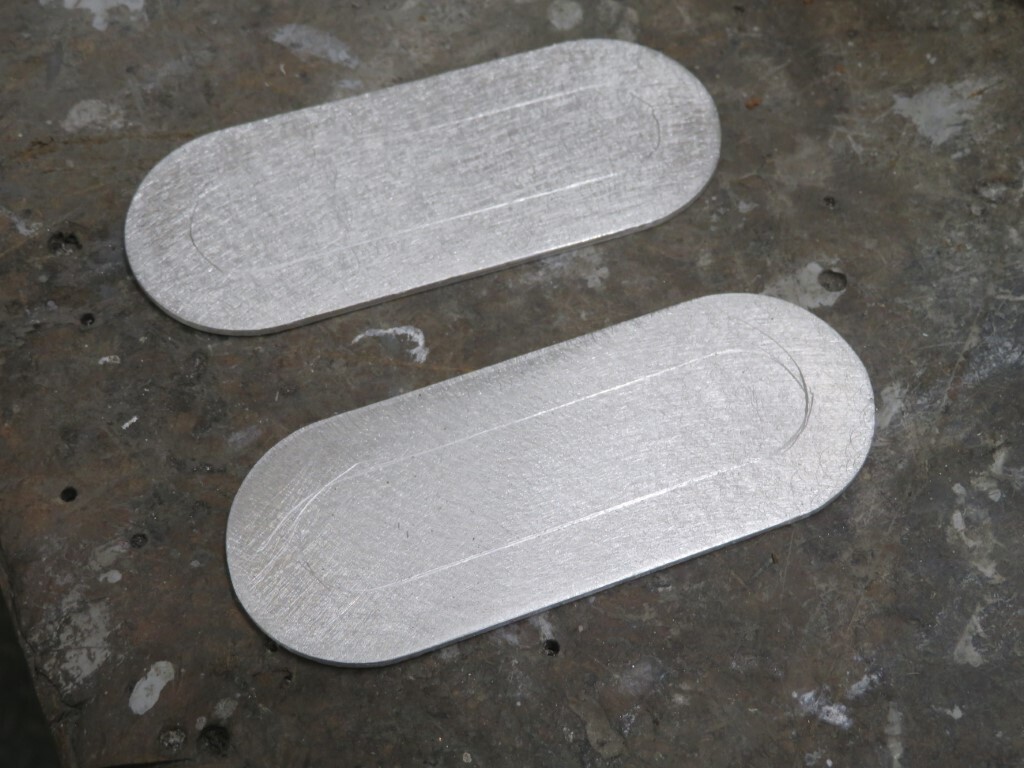 Which were bonded to the inner wings to blank out the lever arm shock slots in them. Front & back shown here; 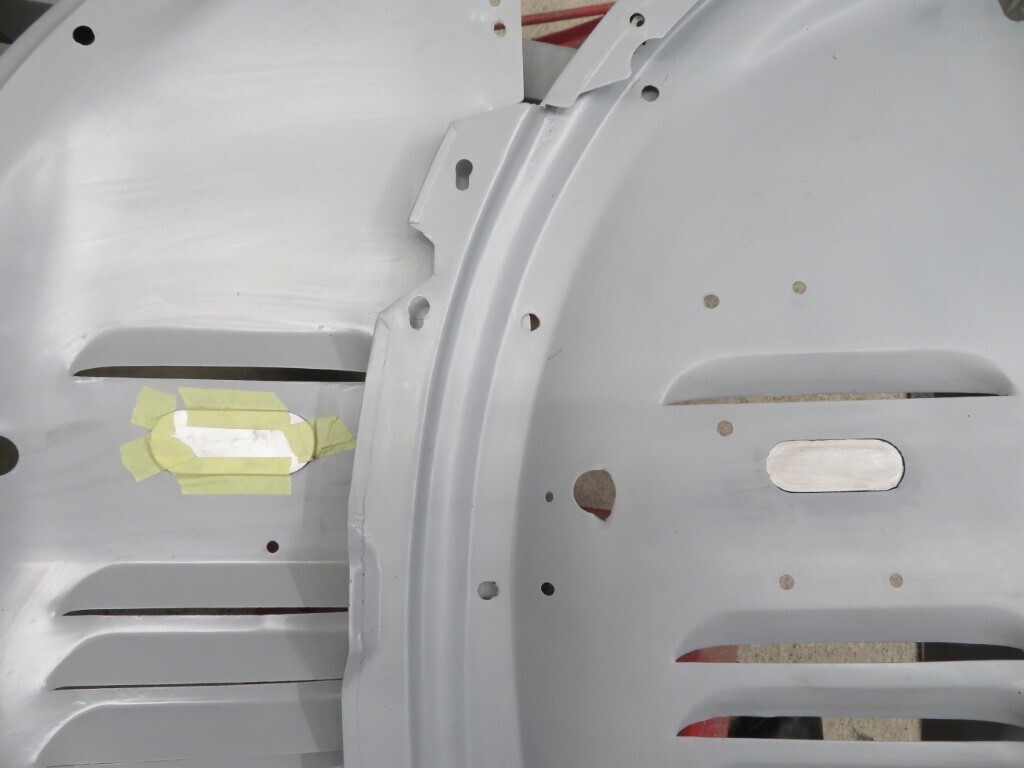 More updates later  512.5 hours |
| |
|
|
|
|
|
Nov 10, 2021 23:58:39 GMT
|
Still preppping the front wings, no photos to show though. They may not look that big but they are large panels to work on, so it's a bit of an endless task. I did get a bit more done on the diff though.....ooh shiny  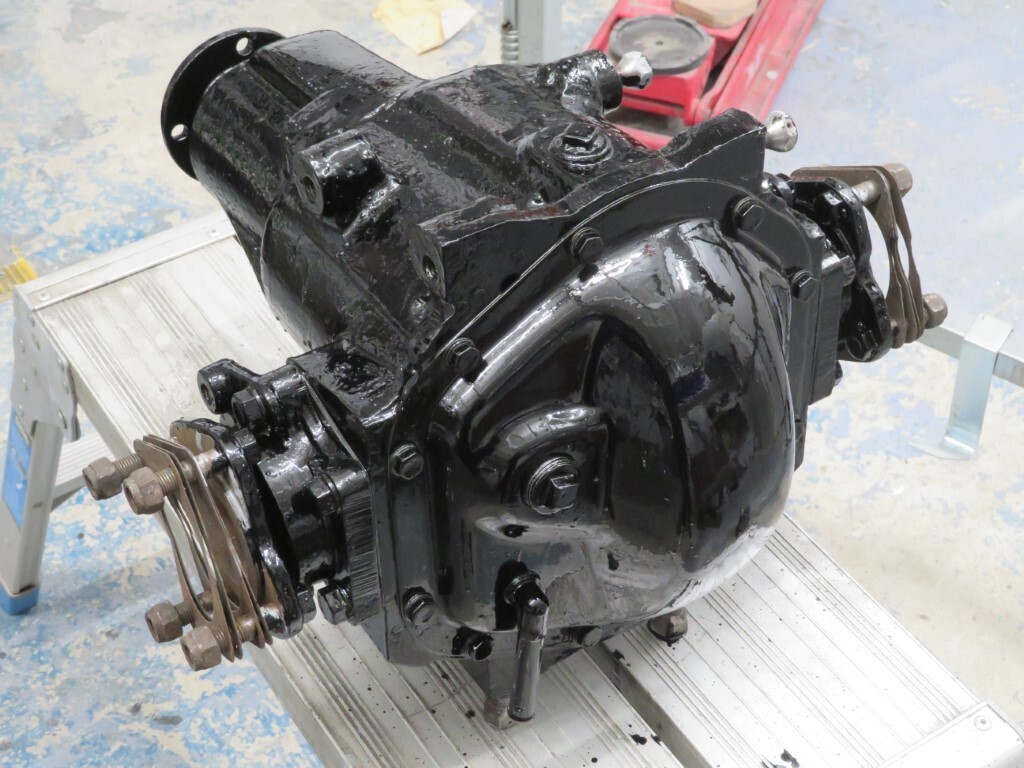 and there was a bit of left over paint, so the vice got a makeover as well  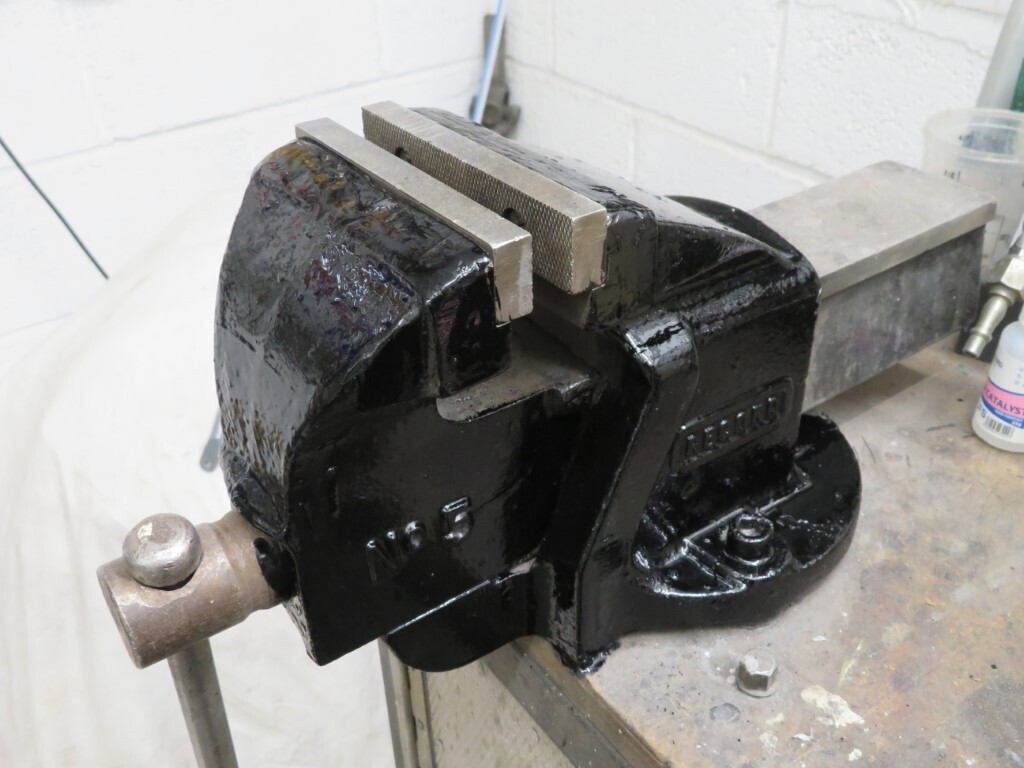 515 hours. |
| |
|
|
gazzam
Part of things
 
Posts: 735 
|
|
Nov 11, 2021 10:36:12 GMT
|
|
What did you use on the diff?
Brush or spray?
Looks good.
|
| |
|
|
|
|
|
Nov 11, 2021 10:42:10 GMT
|
|
Gazzam,
I just brushed std 2 pack black on it. It brushes well for engines or axles etc. It will need a second coat though.
|
| |
|
|
|
|
|
Nov 11, 2021 12:19:49 GMT
|
Gazzam, I just brushed std 2 pack black on it. It brushes well for engines or axles etc. It will need a second coat though. And fence posts, gates, model windmills(!), drive shafts, brake calipers and anywhere you might be tempted to use Hammerite |
| |
|
|
|
|
|
Nov 11, 2021 23:22:26 GMT
|
Visible progress tonight  I sanded the new filler smooth then flatted off both front wings and prepped them for paint. I also prepped the bootlid inner face and a few other small items. Then it was primer time, front wings are now primed so I can inspect tomorrow to see how much more work is needed to get them perfect. (no chance of them being perfect first time, lol). 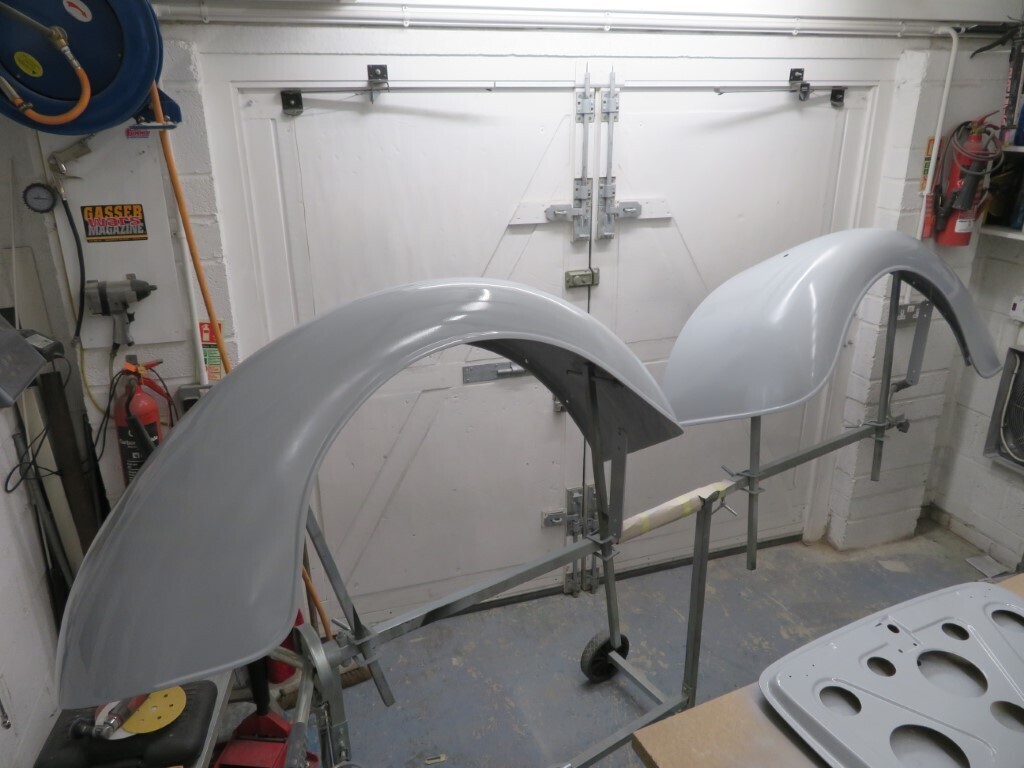 Bootlid inner face now in primer; 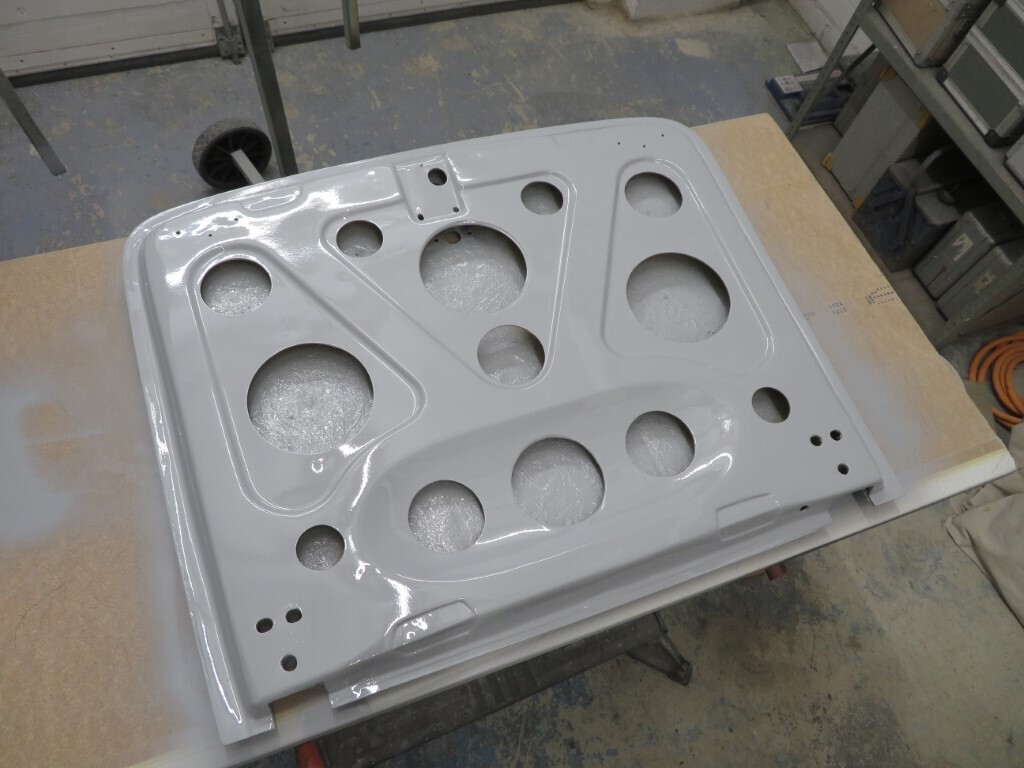 one of the small items was the back part of the bootlid lamp - I keep forgetting to paint this each time I have primer in the gun, finally I remembered! 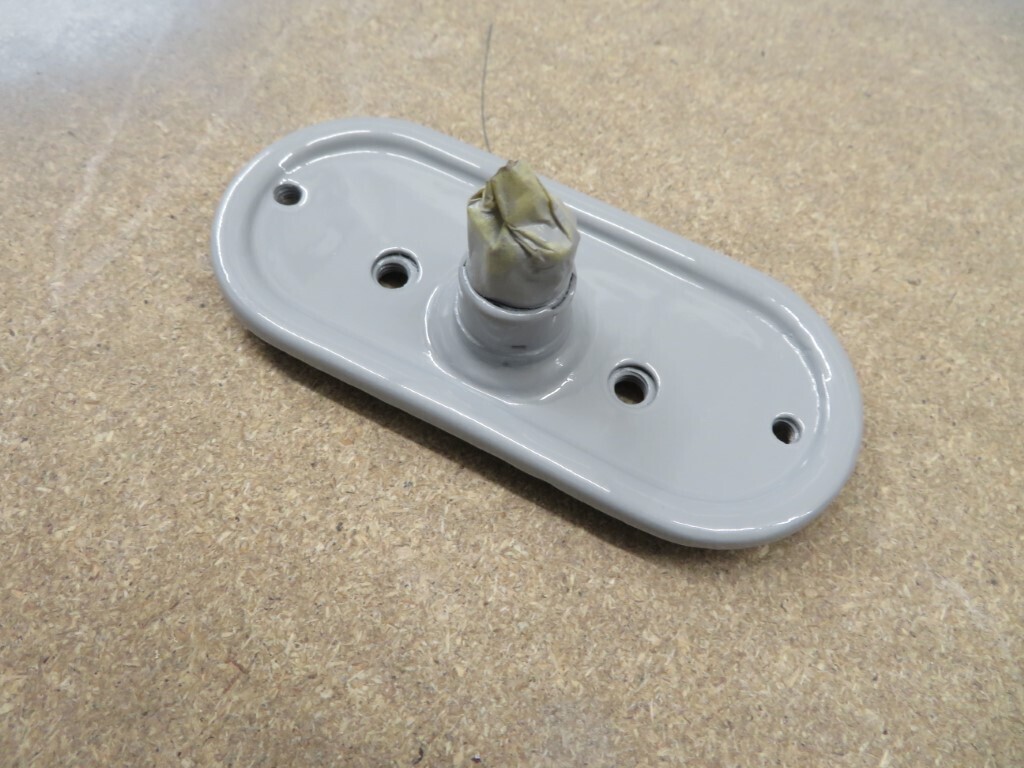 516.5 hours. |
| |
|
|




 one of the small items was the back part of the bootlid lamp - I keep forgetting to paint this each time I have primer in the gun, finally I remembered!