|
|
|
|
|
Couple of long coach bolts and you're golden ! Amateur. You want those garden bolts. You know, the ones that have a thread from that matches nothing else in the known universe, the head with the X slotted into it that nobody, ever, has a tool that fits, and the square nuts that’re somewhere between 12mm and 1/2” but neither really fit. They work best if you get them at least 2” longer than they need to be so the exposed thread can go rusty or get bent, as that acts as a locking mechanism and stops them being undone. Either that, or some 6” nails, bent over. For a proper professional job you can weld the ends of the nails to something, and bonus points if you do it with a £20 arc welder. No Gaffa tape? |
| |
Proton Jumbuck-deceased :-(
2005 Kia Sorento the parts hauling heap
V8 Humber Hawk
1948 Standard12 pickup SOLD
1953 Pop build (wifey's BIVA build).
|
|
|
|
Norman
Part of things
 
Posts: 449 
|
|
|
|
|
Hi Glen, Sounds like you have been looking in my garage. I have some of those very bolts. I think they were my dads' and have never been or will be used. Norman
|
| |
|
|
Darkspeed
Club Retro Rides Member
Posts: 4,876
Club RR Member Number: 39
|
|
|
|
Roofing bolts - Known as Gutter bolts in Ginetta circles and near every car they produced was held together with them ! 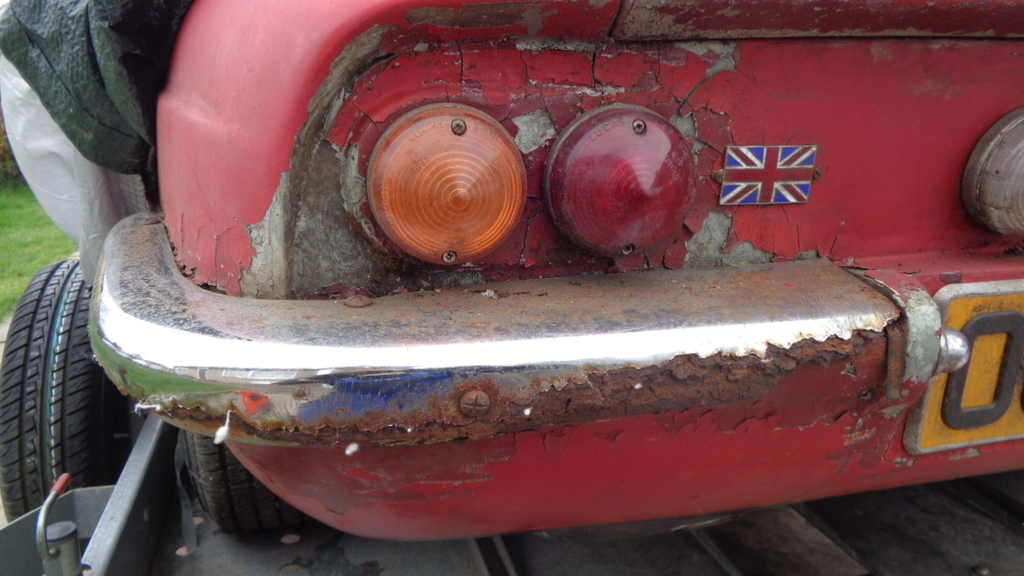 Have I missed what the final colour will be on this? ETA Having thought about it - now he's entertaining all these new fangled assembled techniques - Gripfill |
| |
Last Edit: Jun 8, 2021 19:24:22 GMT by Darkspeed
|
|
|
|
|
|
|
Couple of long coach bolts and you're golden ! Amateur. You want those garden bolts. You know, the ones that have a thread from that matches nothing else in the known universe, the head with the X slotted into it that nobody, ever, has a tool that fits, and the square nuts that’re somewhere between 12mm and 1/2” but neither really fit. They work best if you get them at least 2” longer than they need to be so the exposed thread can go rusty or get bent, as that acts as a locking mechanism and stops them being undone. Either that, or some 6” nails, bent over. For a proper professional job you can weld the ends of the nails to something, and bonus points if you do it with a £20 arc welder. You're all over thinking it. He's got the seat propped on a block of wood. A handful of 30mm wood screws will do the job nicely. Might need a washer under the heads to stop them pulling through - safety first and all that. That said, lovely work Mark. And I'm well impressed with how you are cracking on with it. I've not even thought of doing that much to my car let alone done any of it. James |
| |
|
|
|
|
|
|
|
Thanks for all the comments everyone, given me some good ideas. I was going to use the hot glue gun with some cornflakes boxes and gaffa tape - the posh silver stuff, none of the rubbish black stuff but 6" nails sound a safer bet. I used to use 3" nails bent over to hold the axles on my go karts, and they never failed  |
| |
|
|
|
|
|
|
|
|
Reminds me of when I was a teenager, mate had a ropey mk1 escort with ripped vinyl seats, bought some seats out of something Japanese from the local scrapie(they were posh blue velour and very cheap) then we had to fit them, a couple of lengths of old fencepost we found behind his dad's shed and bolts through the floor did the trick and was surprisingly stable, even passed a couple of MOT's like it.
|
| |
|
|
|
|
|
|
|
So, lets put the seat frames on a bit of a diet; 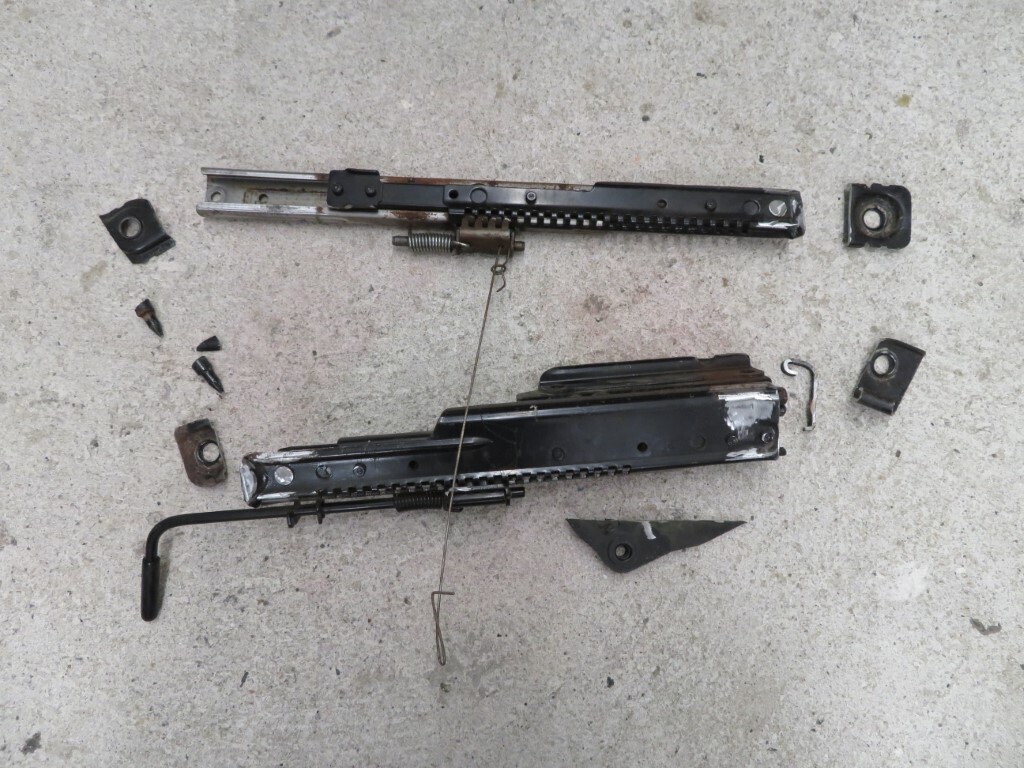 I needed some tube, so these are some old wheelie bar tubes that will be sacrificed for the job. Phil can genuinely say he has wheelie bars fitted to his Pop   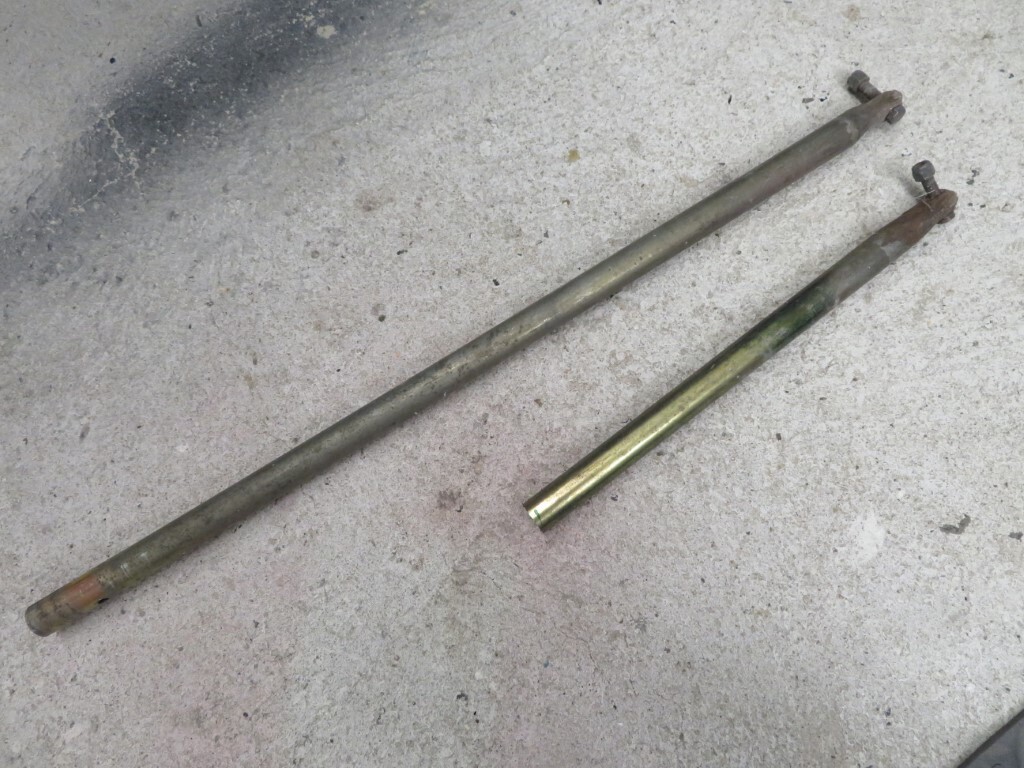 I was going to put the tubes front & rear, but the hump of the seat interferes with the rear one without making some spacers but I ran out of time tonight. First tube is tack welded on here. 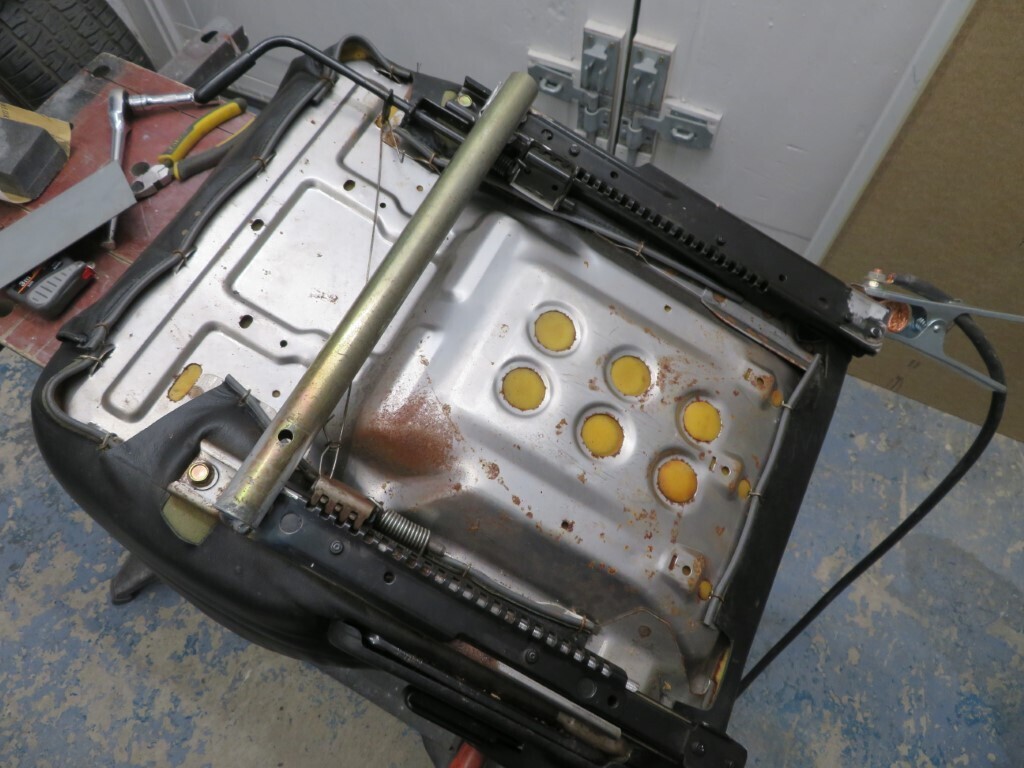 277 hours.
|
| |
|
|
|
|
|
|
|
|
This has been a fascinating read. OK, it's taken up most of my life for last month or so! It's made me realise that a) I need to get my finger out, b) I need to learn me up some s***, c) I really want a nice workshop/garage and d) there are some people out there building some cracking motors!
I've always had some weird fascination with Pops. Maybe it was my brief flirtation with them back in the late 80s (had a Pop (standard through and through) and an Anglia (for spares as it was too far gone)).
Looking forward to more of the good work. Cheers!!
|
| |
|
|
|
|
|
Jun 11, 2021 21:57:59 GMT
|
Not much progress of late, Wed night was our first car meet of our local club since lockdown, nice to get the car out again and meet all my car friends again. Thurs I was just too tired to do anything. I had a day off today so I bought some steel tube and set to on the seat frames. This was a day when the car fought back, I spent most of the day on it with virtually nothing to show for it. Ok, the seat frame had to be mocked up and trialled several times and this did entail altering it 3 times as well but really this should have been much quicker. Drilling the floor was a trial as well, I had to drill through welds - of course the drill snapped in the hole and jammed the end in. I fixed it in the end by welding a new big puddle over it and drilled that out - which was also difficult as weld is hard as diamonds  Anyway................. it's now is tacked together and bolted in, when Phil comes over he can test the position and if he's happy it can be welded properly. There will be another diagonal brace added to make a cross once I know it's correct. The floor mount has to be long to pick up on the underfloor braces. Sideways movement will be controlled by the mounts on the other side as it will fix to the side of the transmissoin tunnel rather than the floor. 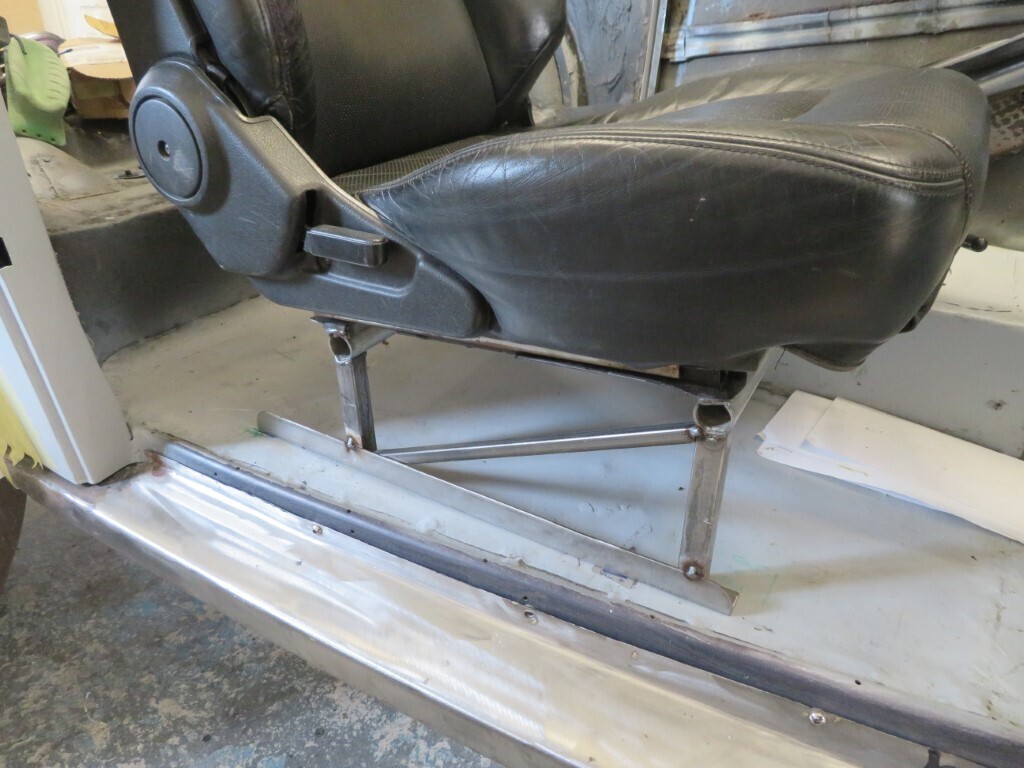 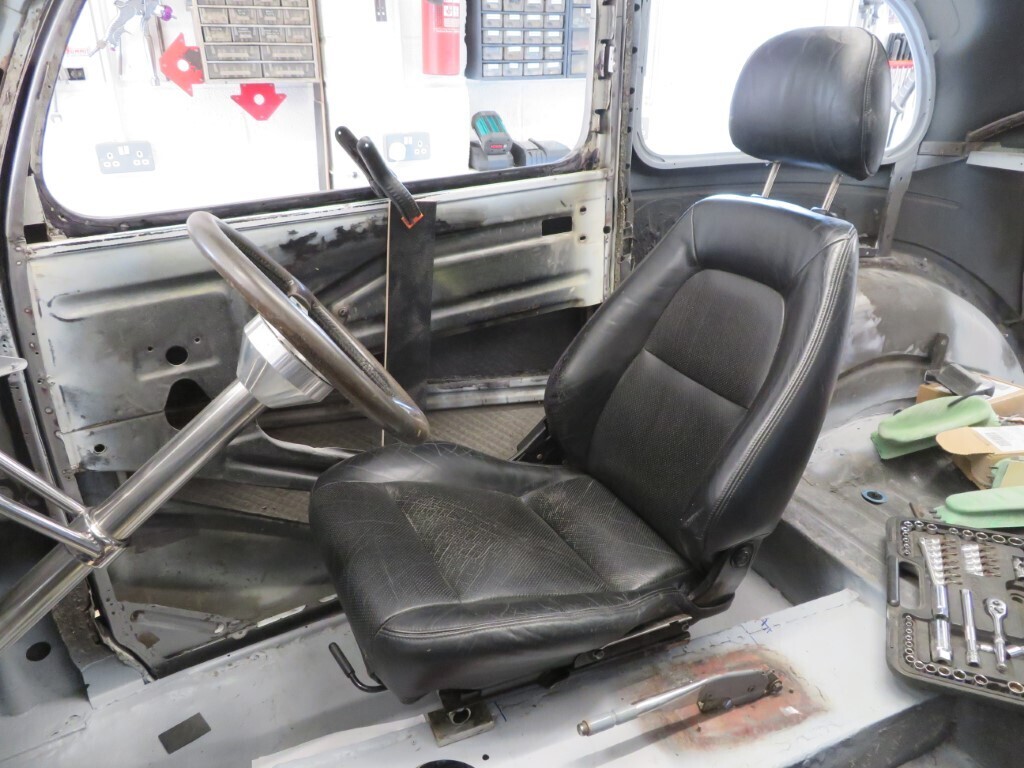 While I had the pedal box out to check for legroom I sorted the pedal positions - here they are before any work, as you can see they are all in different positions.
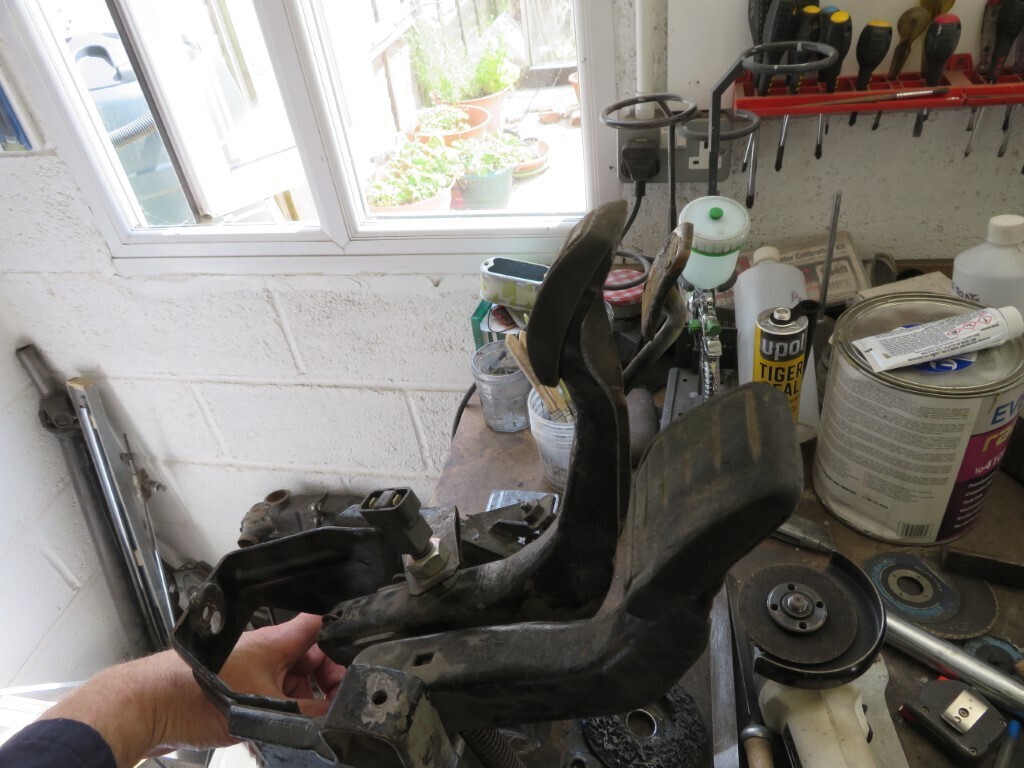 So I made up a little adjustable stop for the brake pedal (as it was too high)
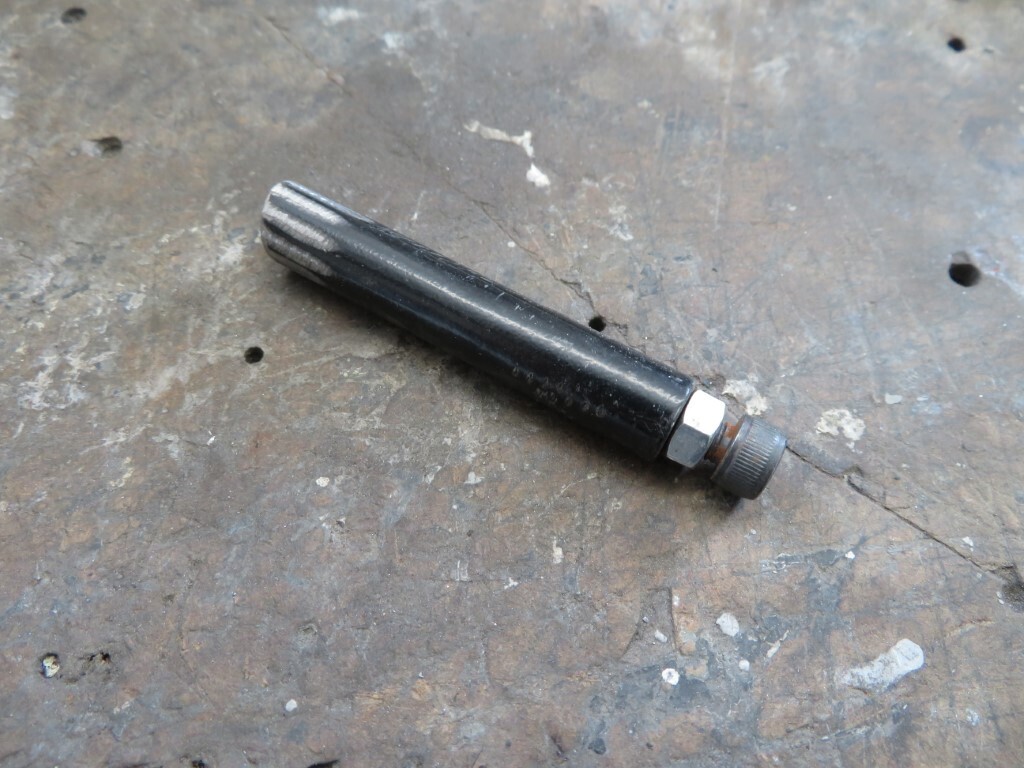 It will be welded in here; 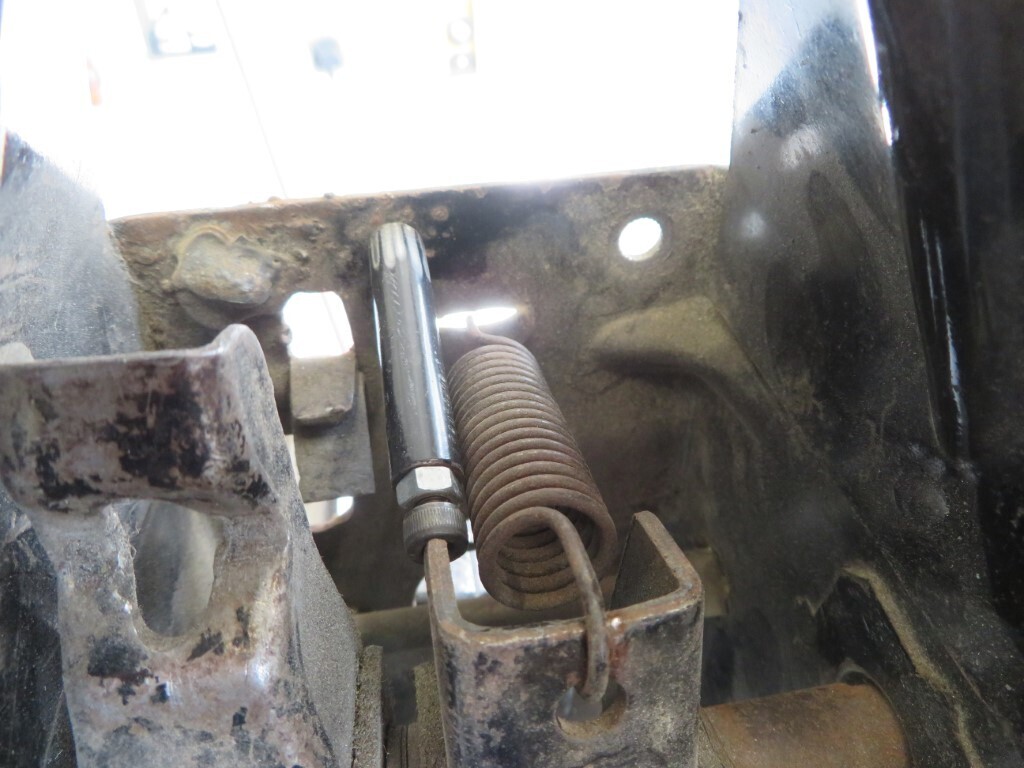 That's better, throttle pedal was tweaked a little, it will be done properly once we mock up the interior trim to see how much (little) room we have to move it in. 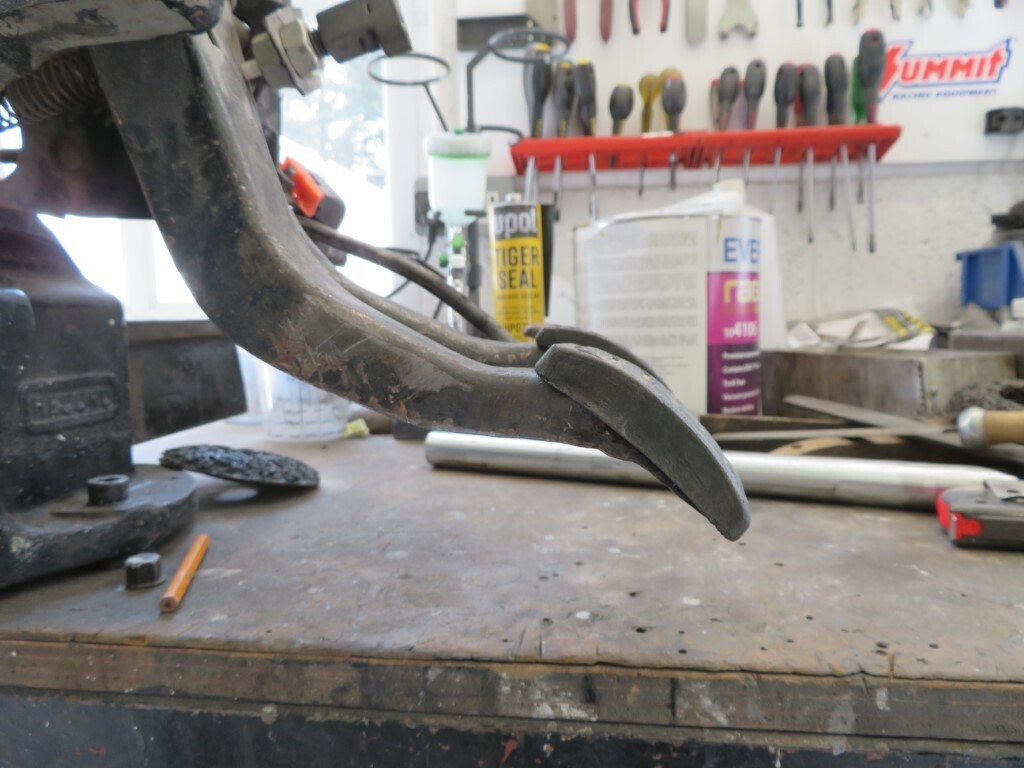
The last job of the day after sealing up more seams underneath was getting a few more areas in primer, the main two were the rear wings to see how they are looking where they have been extended.
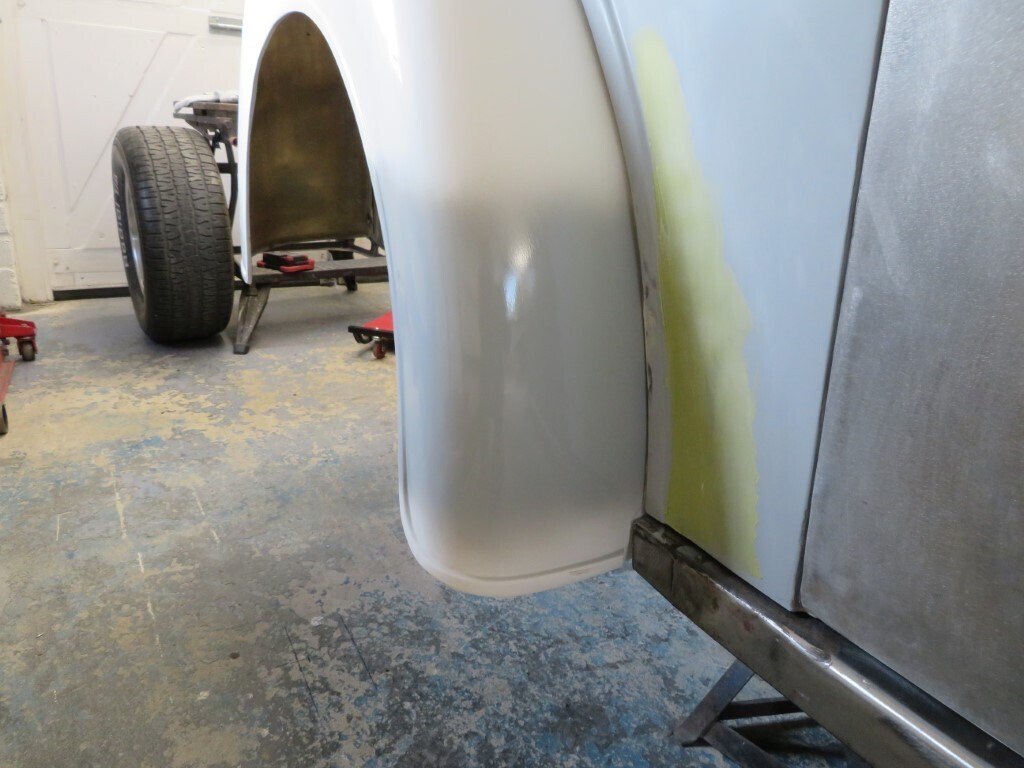 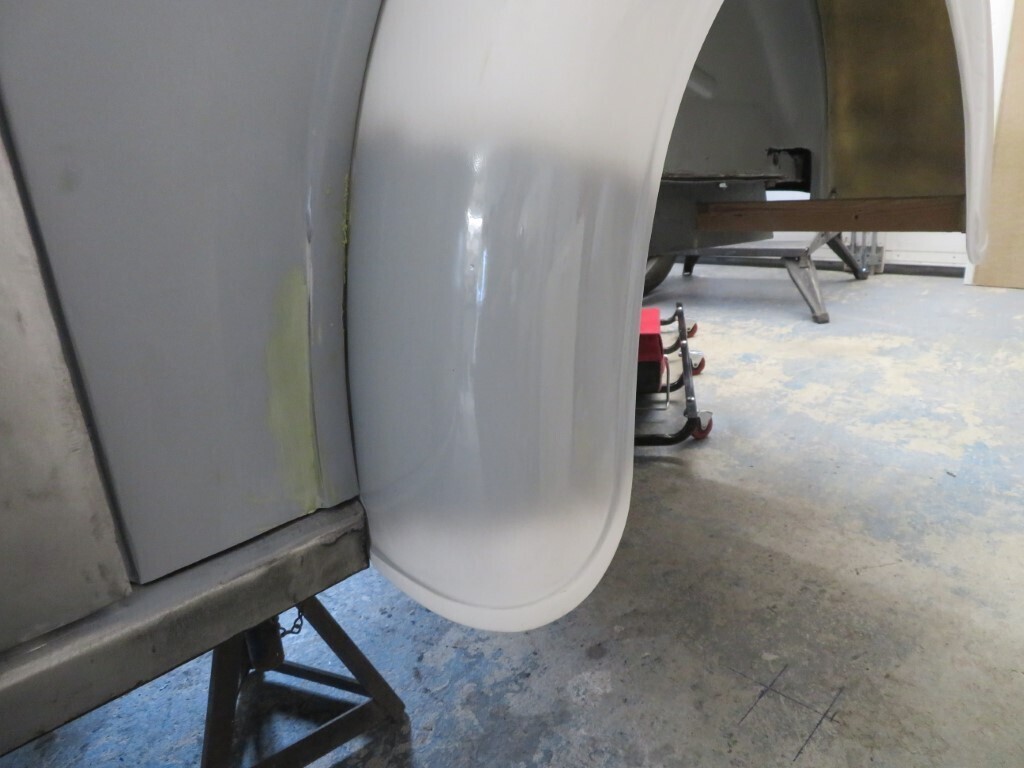
285 hours
|
| |
|
|
|
|
|
Jun 12, 2021 21:18:54 GMT
|
Slower progress today - mainly because it's really hot (average 24 degrees in the garage - even with all the doors open and a nice breeze running through) so less gets done than when it's chilly in the garage.
Phil came over and we checked the seating position for him. Pleased to say that it was spot on (so previous measurements with him sat in the car were correct).With that checked we put the front sheet matal back on the car as it is easier to sand the grill fixed to the car. Phils job for the day was to sand down all of the grill ribs for me.
While he was doing that I started on the passenger seat frame - Phil had brought this seat over today for me as its different to the drivers side. This went a little quicker than the last one but still took most of the day to do. Much checking and mocking up was done by both of us resulting in a new seat frame tacked up by the end of the day that we were both happy with in terms of position & height. Both seats are nicely symmetrical and equally positioned in the car now. Happily there is also a good bit of room to access the handbrake as well. 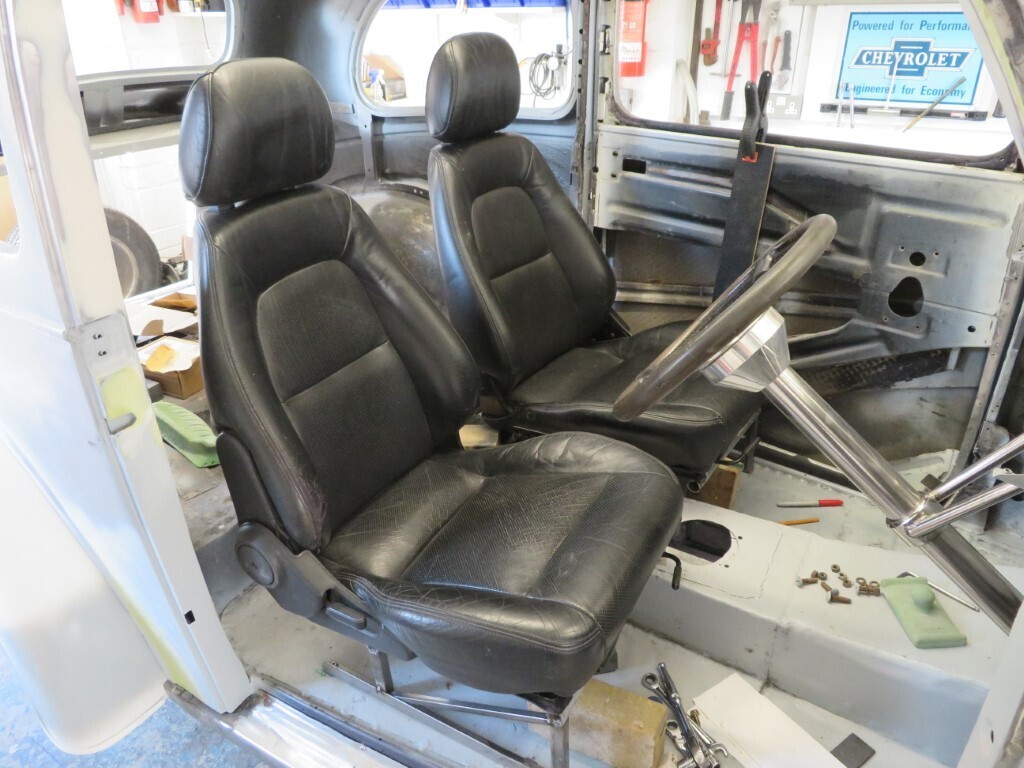 I still need to do the inner mounts to the tunnel for both seats, but now the bulk of the work is done. Phil has taken the seats away so he can clean them up properly, they will be re-stained black and fed with a lot of saddle soap to recondition the leather. I have the frames left here so they will be a lot easier to work on without the seats fixed to them, that will be a job for tomorrow. Another job which I had noticed was the steering wheel was quite offset to the seat - some 50mm off centre towards the middle of the car. It was not as bad with the old seats but it was offset previously as well. So a bit of work with the angle grinder and the mounts were removed from the crossbrace. It was all cleaned up and the mounts tidied up and the whole lot was welded back up 25mm towards the door - moving the steering wheel central to the seat. As Phil commented - it's the little things that make the big difference.
Of course that means the clutch pedal now fouls the column a little, so that will need some minor surgery for clearance.
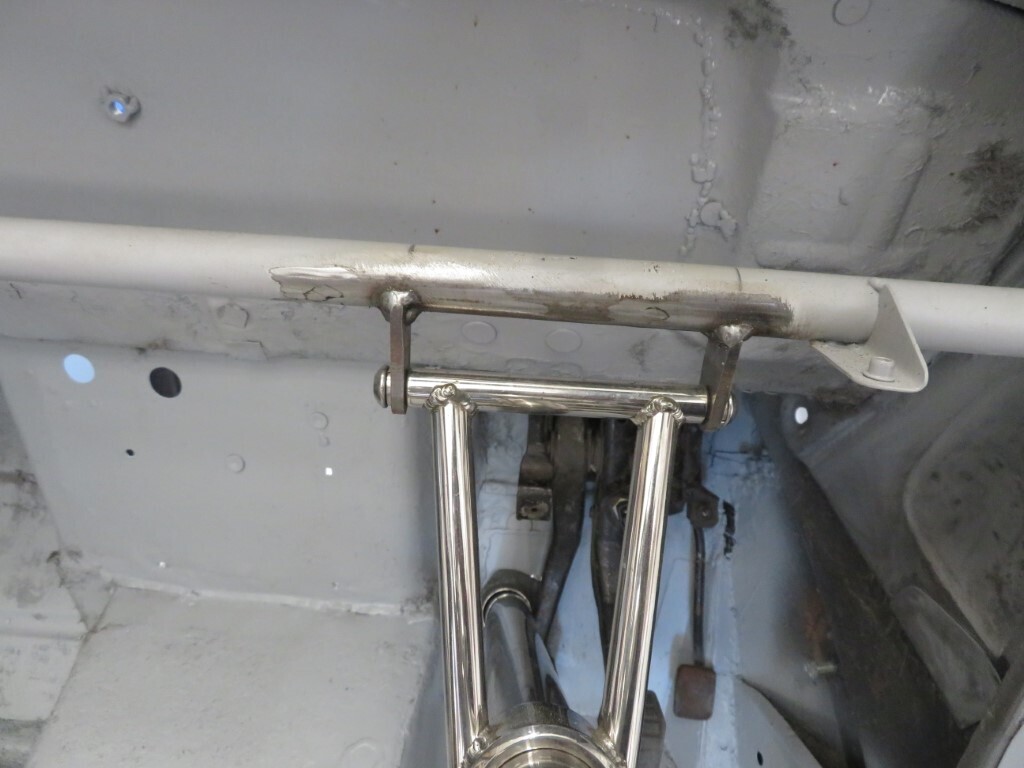 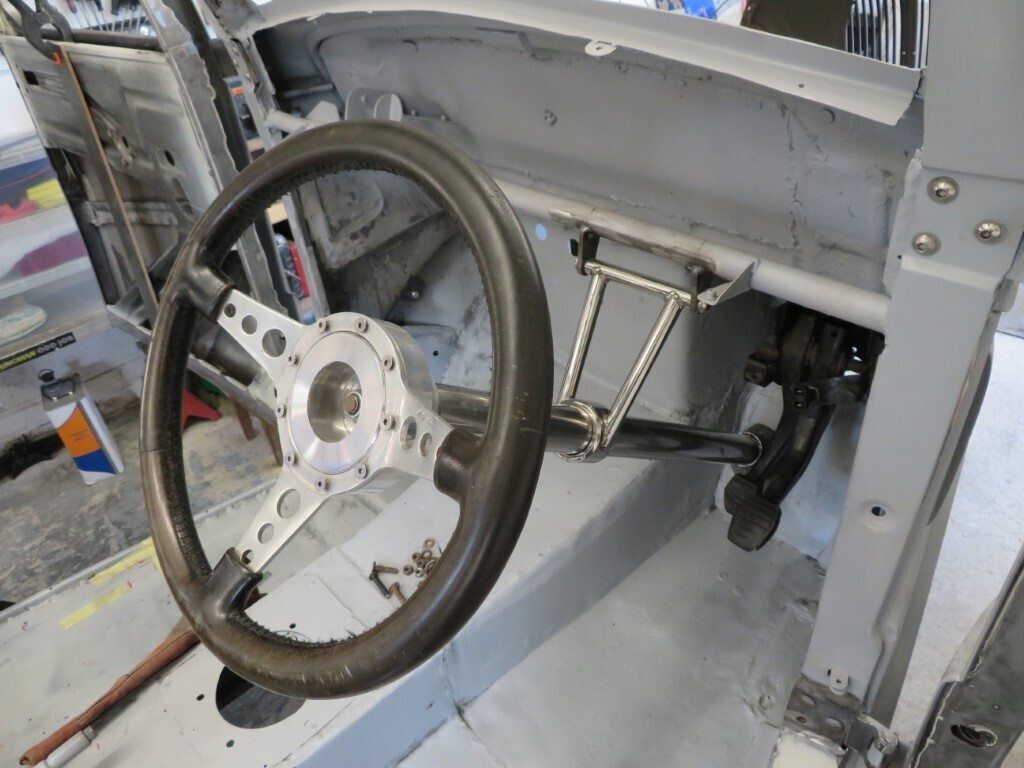 We are both out to a small local breakfast meet in my Pop tomorrow morning just for Ford Pops, so maybe some photos of that tomorrow. 291 hours. |
| |
|
|
|
|
|
Jun 13, 2021 18:45:37 GMT
|
Wooooo, not much done so far today as it's hot, damn hot! 28 degrees in the garage with all doors and windows open. This morning we went to a local breakfast meet just for pops, very pleasant meeting up with people and a very chilled garden area by the River for food. 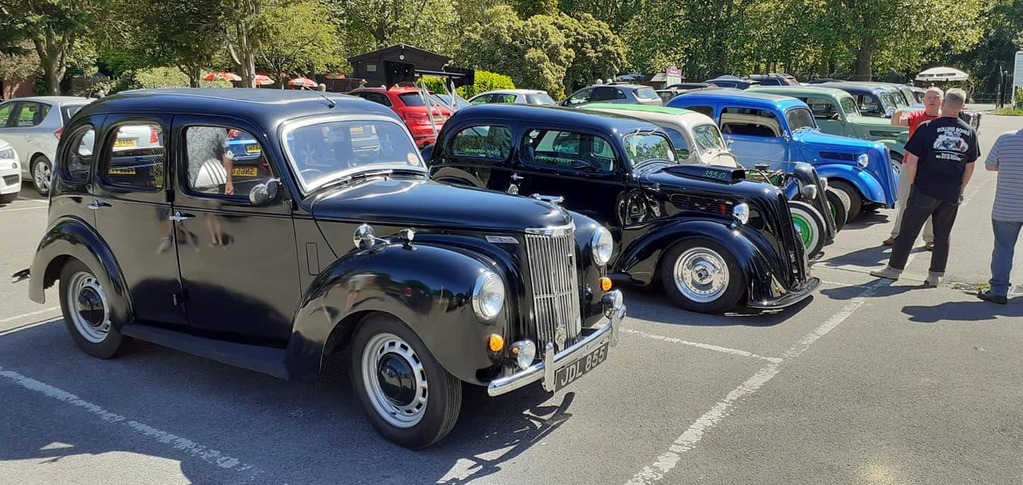 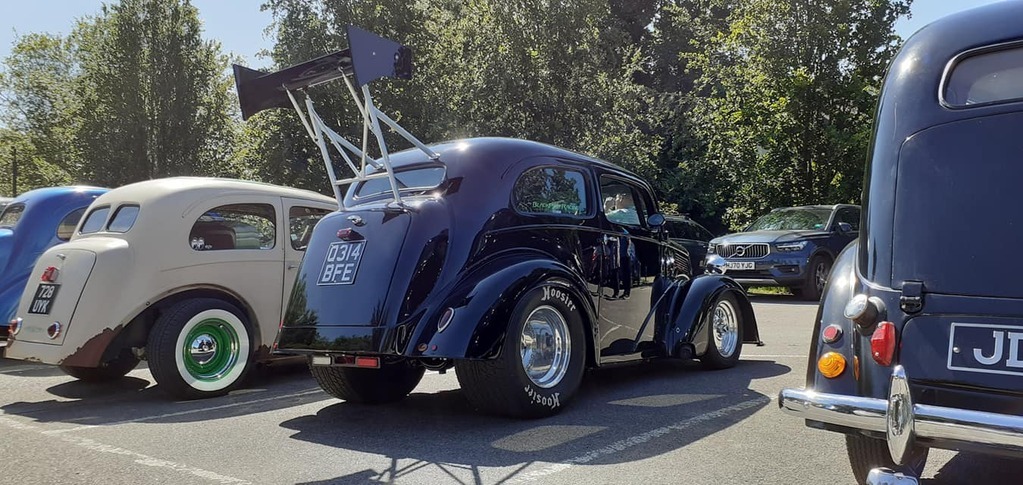 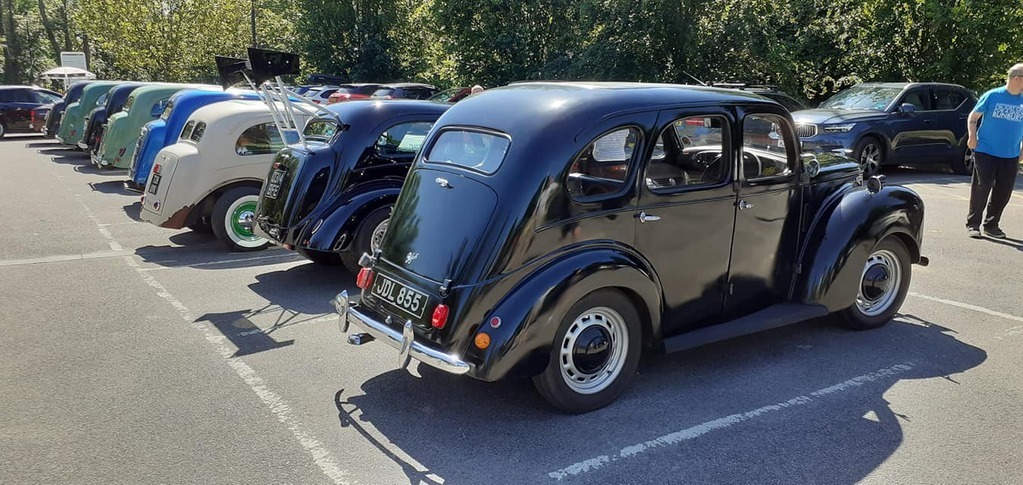 As mentioned it was just too hot for garage time today, I did a little sanding and then as it was a cooler job I stripped the bearings in one of the rear axle hubs. Hmmmm.....don't think they should be looking like that.......... 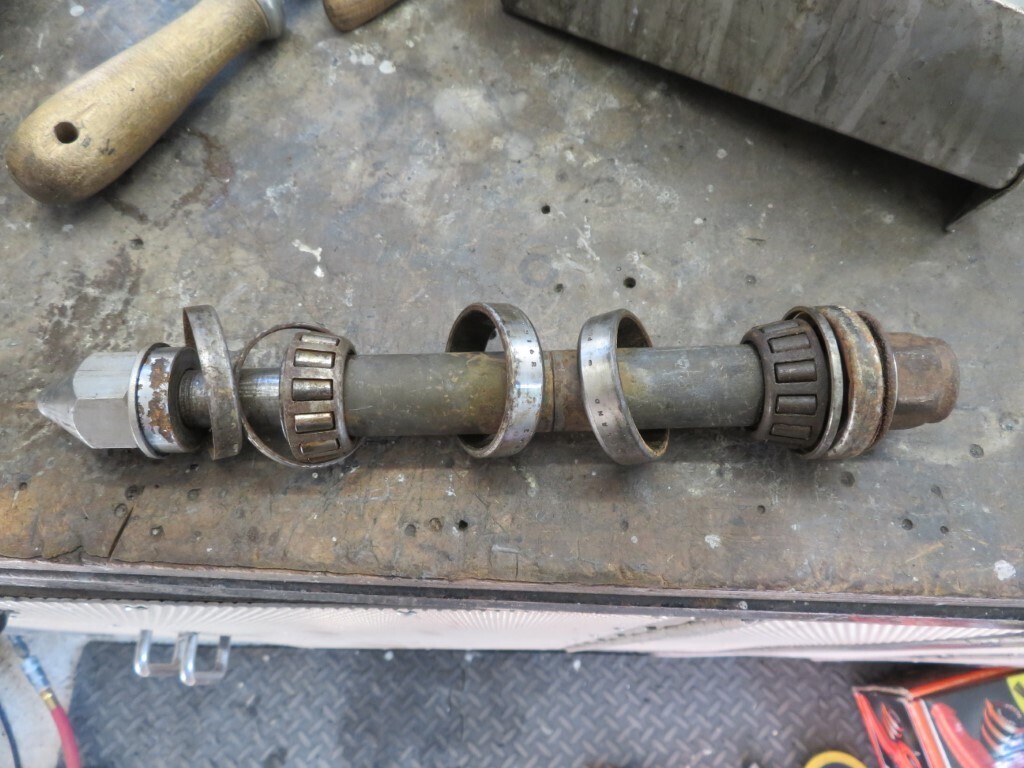 I see a full axle bearing rebuild on the horizon - never done a Jag back axle so if anyone has a manual or can chip in with advice then it will be very welcome. Clutch pedal is cut and prepped for welding - it clears the column nicely now. 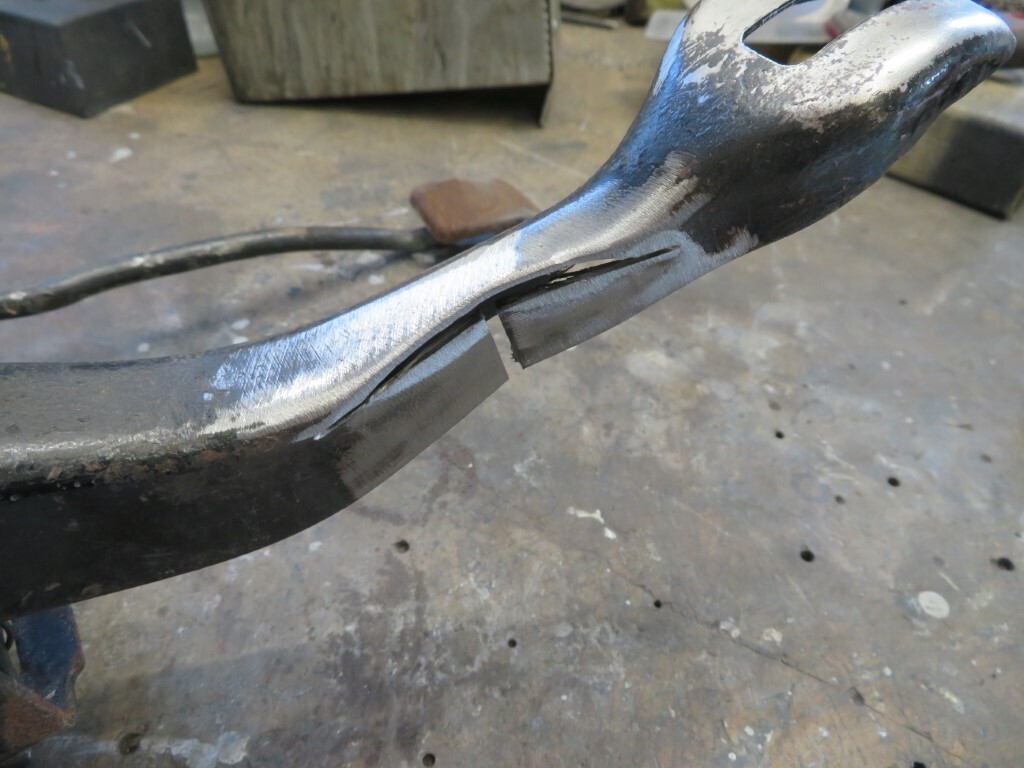 Hopefully I can do an hour or two later tonight when it cools down a bit. 292.5 hours. |
| |
|
|
|
|
|
Jun 13, 2021 21:32:46 GMT
|
I got another hour in tonight - only 22 degrees so still quite humid. Seat frames are now fully welded (still need to make more parts & weld those as well) as is the clutch pedal; 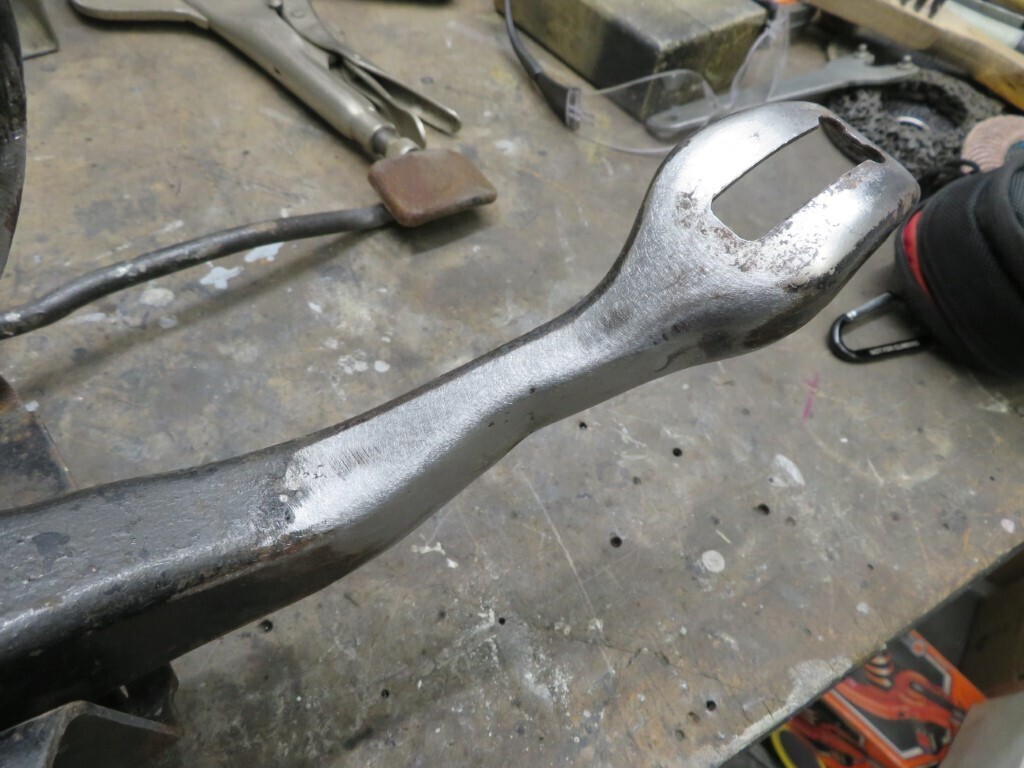 I rubbed a bit of filler down but that was enough for today. 293.5 hours. |
| |
|
|
|
|
|
Jun 14, 2021 22:13:06 GMT
|
Still too damn hot, lol  Did 30 mins just now and stripped down the other rear hub. I guess this bearing is past it's 'best before' date   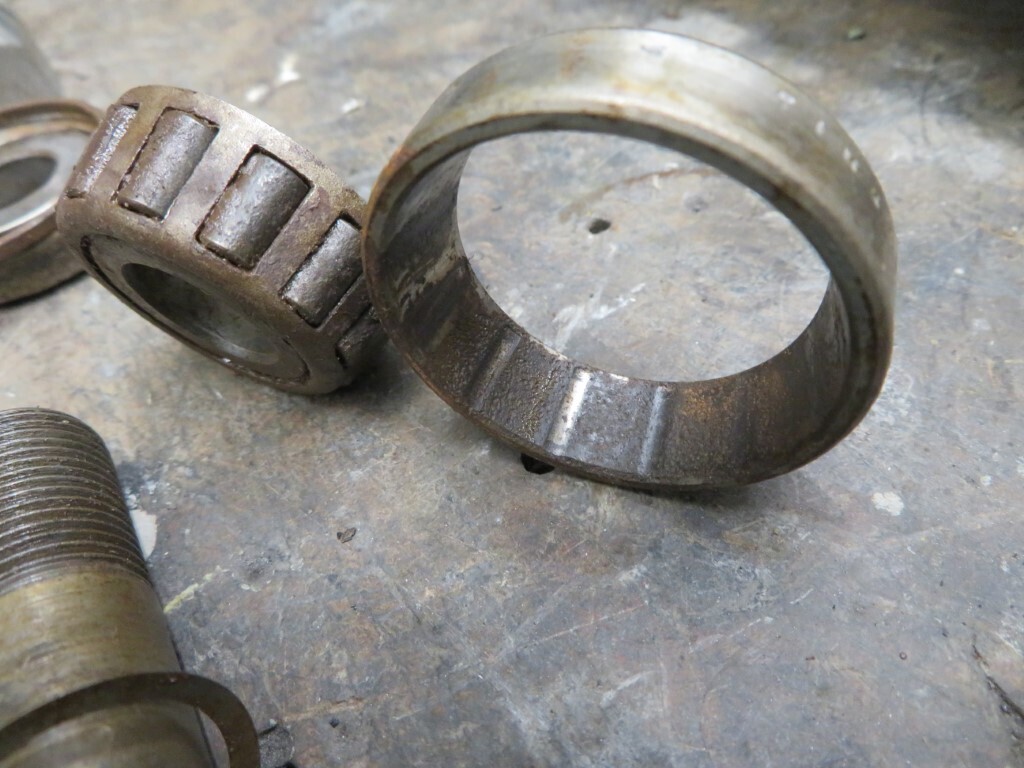 I've been searching jag rebuild parts - wow, they sure aint cheap!!! 294 hours. |
| |
|
|
|
|
|
|
|
|
Wow, that bearing is quite impressive!
|
| |
|
|
|
|
|
Jun 15, 2021 22:23:11 GMT
|
|
Not good is it Johnny? Think any movement was the shaft rotating in the inner bearing ring.
It's still so damn humid in the garage, even with the fans on. Still - I did manage a couple more hours tonight and I'm sipping a nice cool Corona while I write this. Clurch pedal is now boxed and 3 out of 4 mounts are now finished on one seat frame. Nuts welded to underside of floor for easy fitting of seats.
296.5 hours.
|
| |
|
|
|
|
|
Jun 16, 2021 22:34:40 GMT
|
|
Woohoo, seat frames finished.
299 hours.
|
| |
|
|
jimi
Club Retro Rides Member
Posts: 2,206 
|
|
|
|
I'm sure you already know this  but worth mentioning as general info for others. That kind of pattern on the outer race is purely down to corrosion with the bearing sitting stationary for a long period either in water or in a very damp atmosphere. I've come across it quite a few times in used electric motors that have been improperly stored for long periods. |
| |
Last Edit: Jun 17, 2021 6:50:20 GMT by jimi
Black is not a colour ! .... Its the absence of colour
|
|
|
|
|
|
|
|
Seats look great.
Is the shaft Ok?
When one spun on my Elan I had to get the shaft metal sprayed and re-ground.
|
| |
|
|
|
|
|
Jun 17, 2021 11:57:16 GMT
|
|
To be fair, that pivot on the axle probably only moves a few degrees over the full suspension travel so it's just water getting into the bearings - with only a felt washer protecting them (great for holding water against the bearings!) it's hardly suprising to see that sort of damage.
Yes, shafts are fine.
|
| |
|
|
Darkspeed
Club Retro Rides Member
Posts: 4,876
Club RR Member Number: 39
|
|
Jun 17, 2021 12:21:44 GMT
|
That will buff out  Those bearings look a bit beyond the polishing that we used to do on certain race vehicles I was involved with - Wash all the grease out fill with Brasso and run in - wash out the brasso and replace with light oil or the later special oil/Moly blend for the race. Then it was polished stainless and now ceramics. The small amount of angular movement those shafts go through - much like UJ rollers its inevitable they end up like that but show no real detriment in use. |
| |
|
|


 but worth mentioning as general info for others.
