|
|
|
May 25, 2021 22:51:15 GMT
|
Tonight was better than last night  An early tea gave me a bit more time in the garage, even though I mowed the lawn first (it was getting to an epic height with the recent rain). Some parts arrived today - thanks to the links posted on this thread a few pages back we now have a new handbrake gaiter and hand grip. 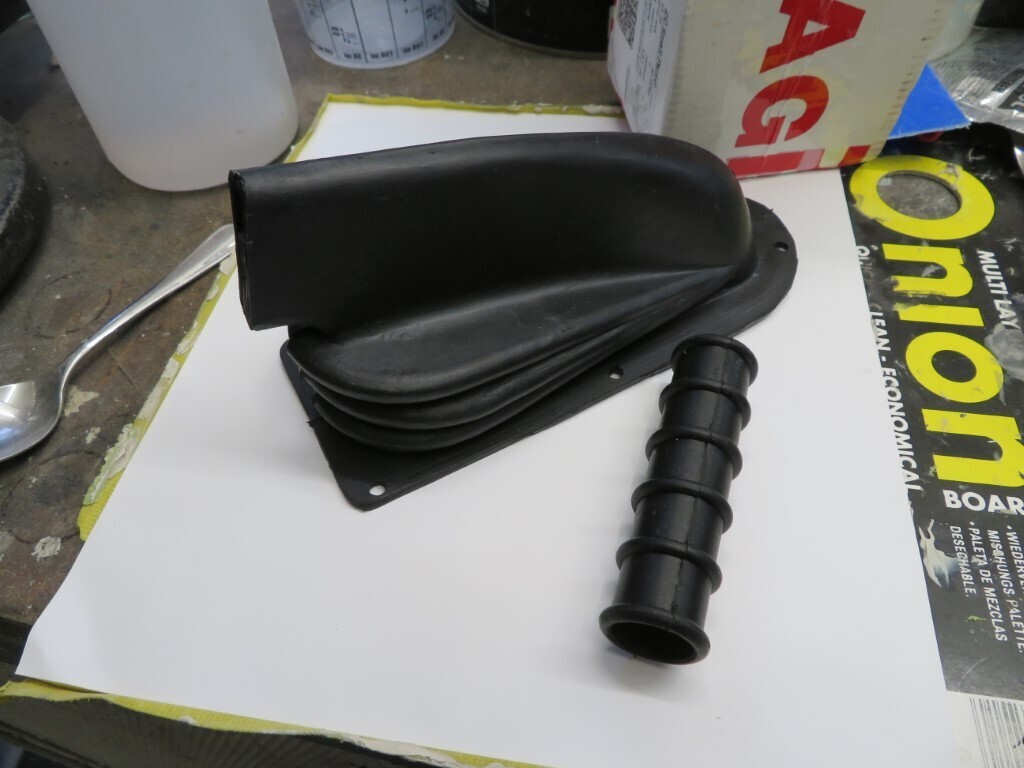 Then it was Dremel time with the small burr tool. All of the stress cracks have been ground out of the front wings ready for flowcoat to be added back in them. Working on the wings highlighted that they are not very flat - the drivers side in particular is like the Hymalaya's - so some serious filling and reprofiling will be needed on that.
 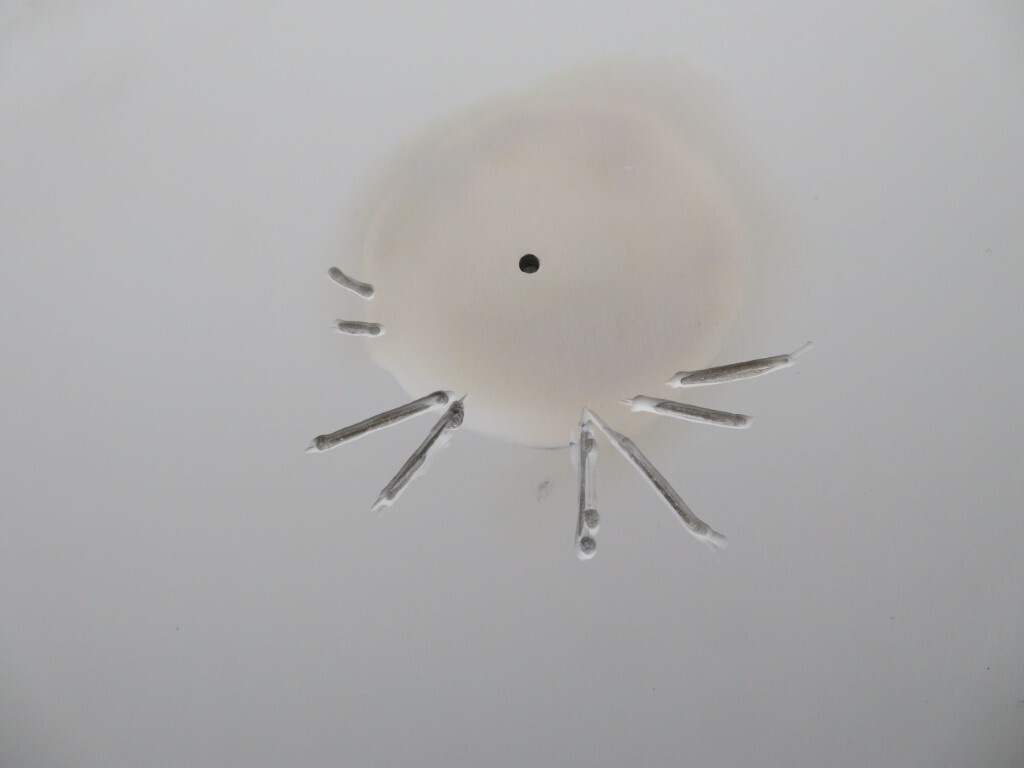 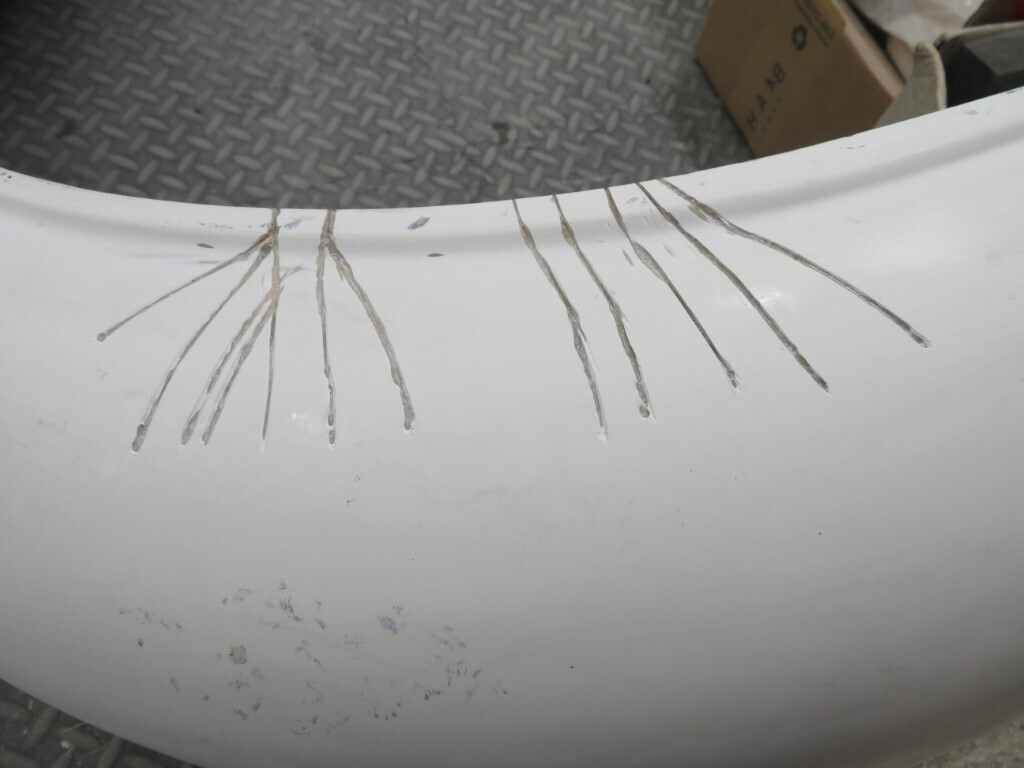 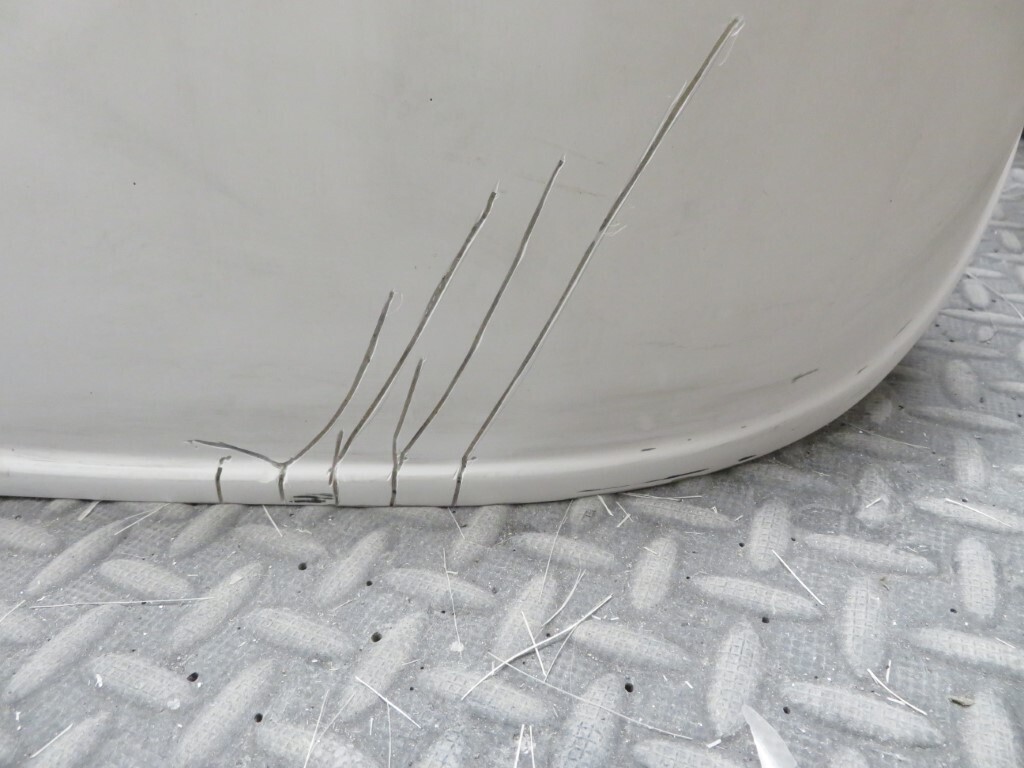 When I had done all of those it was time for a bit more primer. Rear corners got another coat after the last round of profiling, drivers side is 99% there but there is an odd angle/bulge just below the swage line on the passenger side on the outer curve that needs more work. 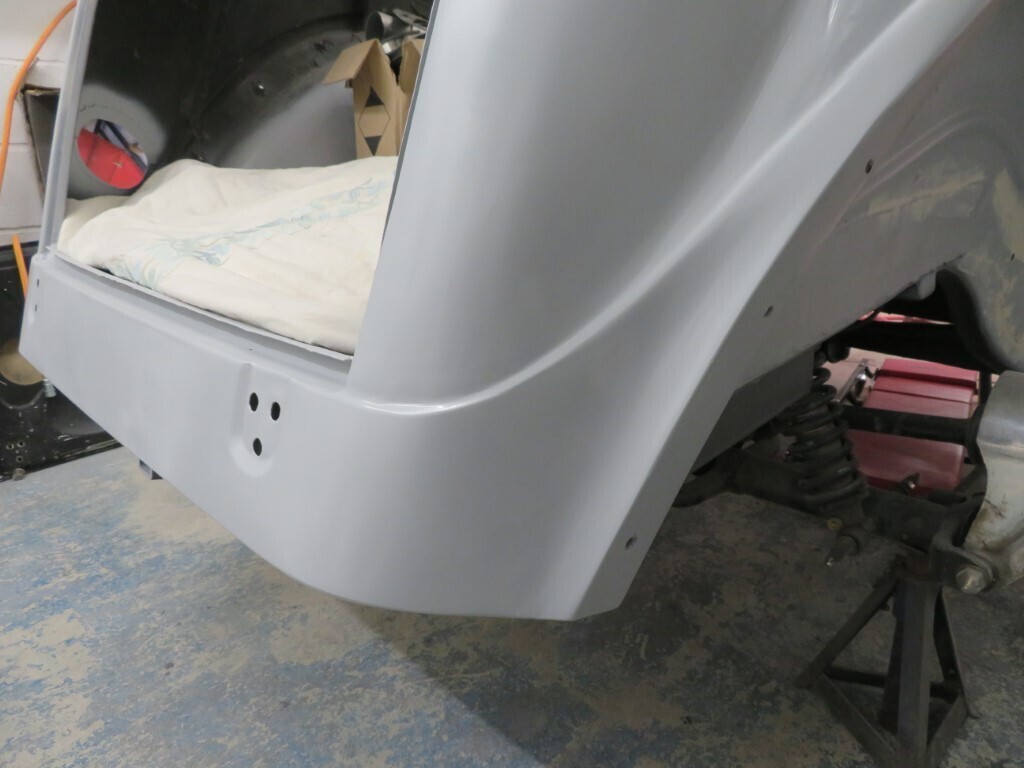  And the passenger side rear inner arch is now primed. 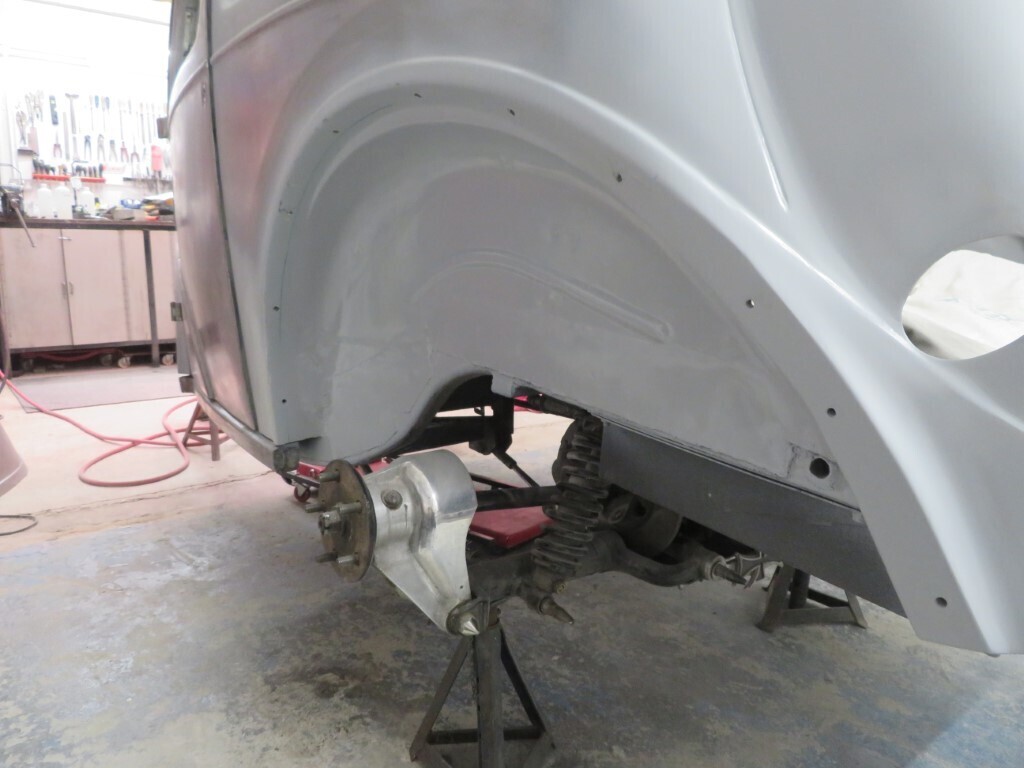 242.5 hours |
| |
|
|
|
|
|
|
|
May 27, 2021 11:35:46 GMT
|
No Update last night ? What am I going to fill my lunchtime with ? Really enjoy reading this thread and seeing the level of attention that you put in. Keep on updating  |
| |
1993 Rover 220 Coupe
1972 MG Midget
|
|
|
|
|
May 27, 2021 19:15:42 GMT
|
Sorry! I did do a little yesterday but my friend Geoff came over (who is also building a Pop) and we were in the garage till the early hours of the morning. Chatting and looking at Phils rear axle (he has a Jag unit under his so knows how they go together - I've never stripped one before) and advising how to strip/build it. Before Geoff came over I got some work done on the wings, flowcoat was mixed up and applied in all of the ground out cracks. 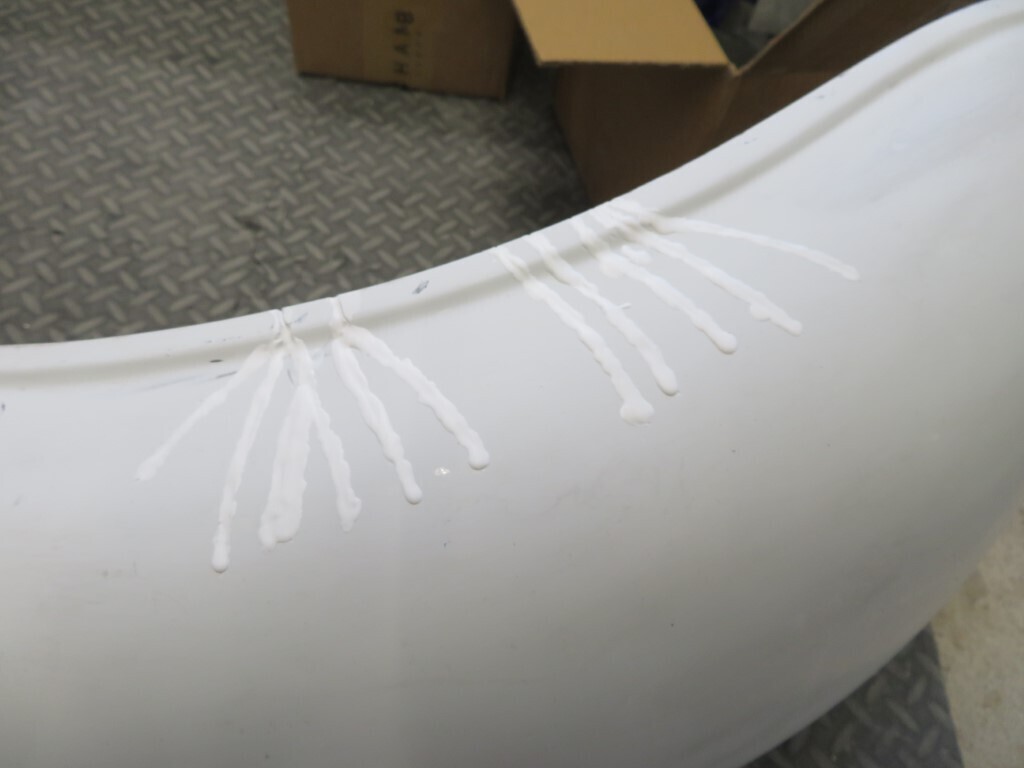 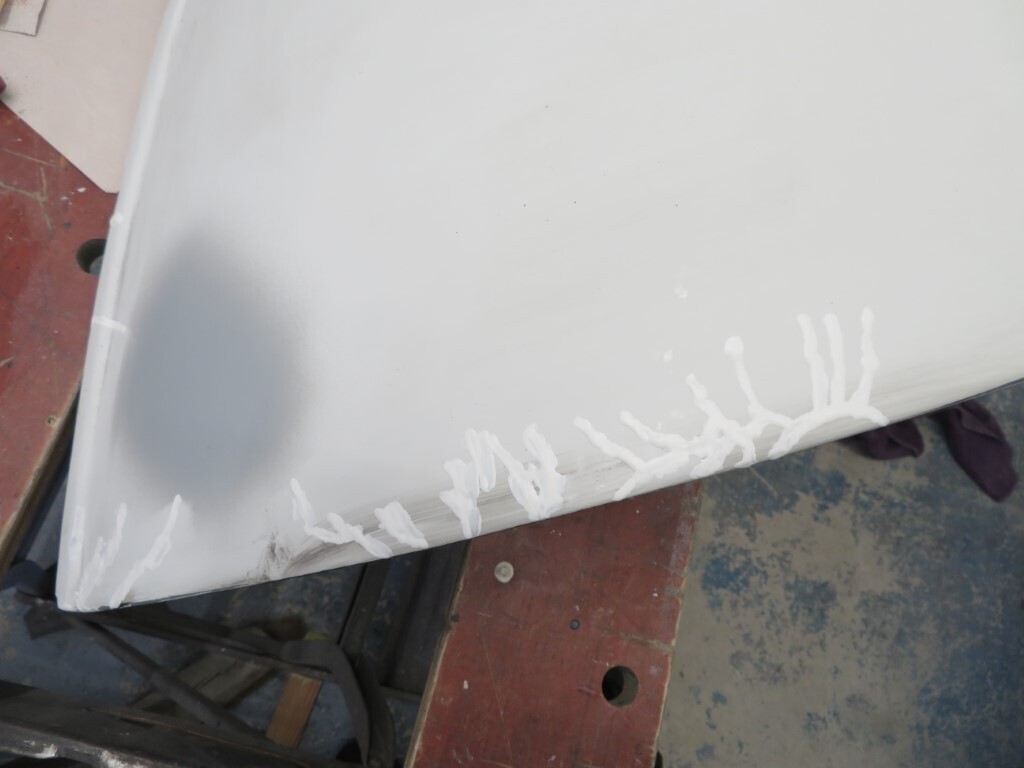 I have just got a new tin of flowcoat as mine is almost empty, the new one says "use within 3 months" .........hmmm lucky my 20 year old tin does not know that then  We then dissassembled part of one side of the axle. This was a little worrying as the main hub nuts have new looking split pins in them, these were removed and the big breaker bar brought out to undo them - except they were finger tight? The nuts holding the half shaft to the diff were literally hand tight as I undid them with the extension bar only - no ratchet spanner needed! Driveshaft slid out of the hub on its own - normally they are super tight and need persuading out. I'm not sure if someone has been in there recently and undone everything - but it's not good if they did not say and Phil was to use it like it. I will ask Phil about it this weekend. The good news is everything is in perfect condition with no wear anywhere.  243 hours. |
| |
|
|
|
|
|
May 27, 2021 20:51:24 GMT
|
|
Forgive my stupidity but is flow coat also known as gel coat or is that something different?
|
| |
|
|
|
|
|
May 27, 2021 22:40:44 GMT
|
They are different things but are also basically the same. Gelcoat is thinner & sprayable - and does not contain wax. It wont dry properly (unless sealed off from air) and will only go tacky as it's designed to have glass matt put over it. Gelcoat is designed to be the first layer in a mould with glass laid over it. Flowcoat is the same makeup as gelcoat but its thicker & has wax in it. The wax rises to the surface as it cures and seals it from air - so it will dry properly. Flowcoat is designed as a finishing coat over existing glass or over repairs.
Well this took far longer than expected! one stripped of U/J's & cleaned & one to go. 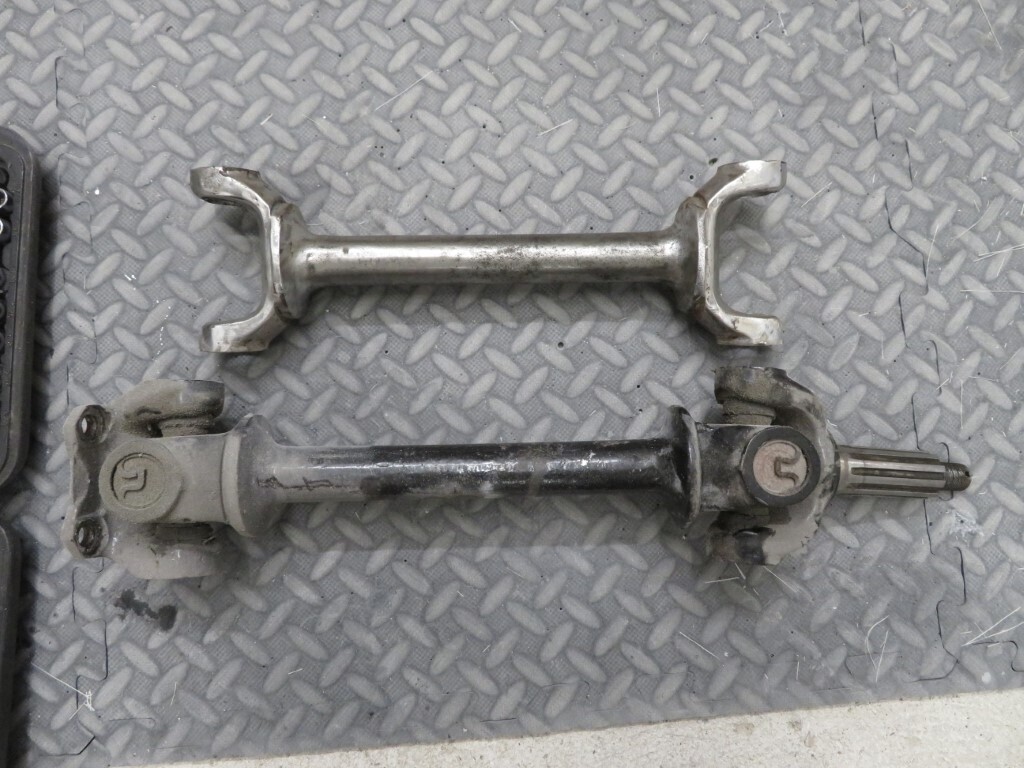 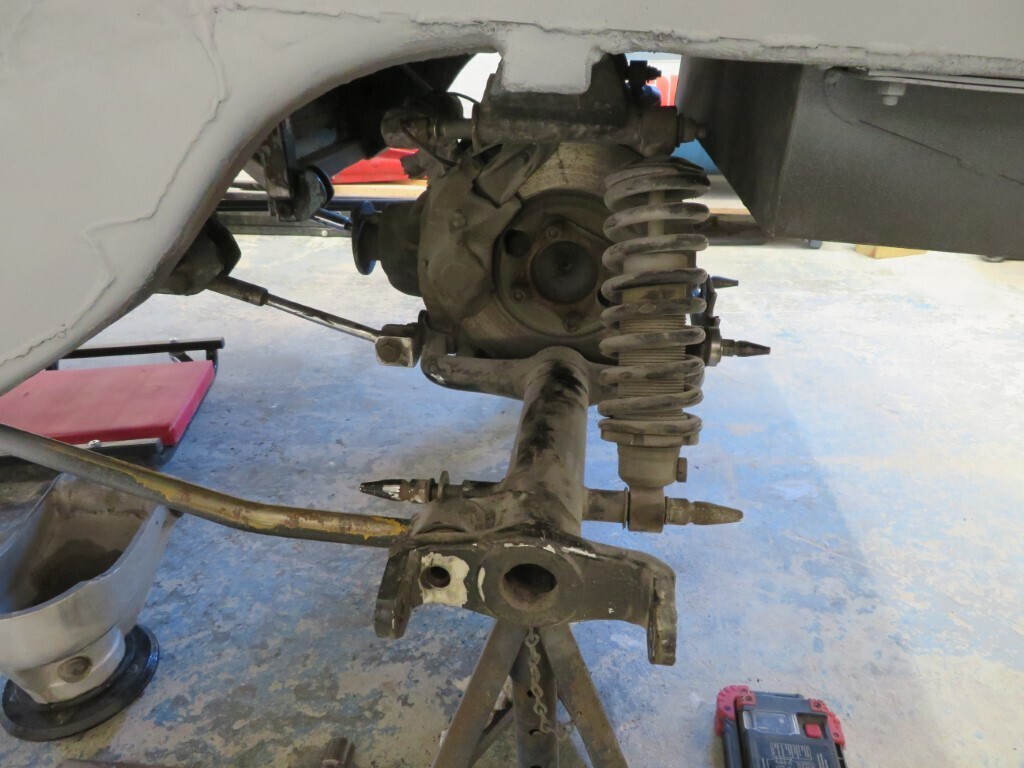 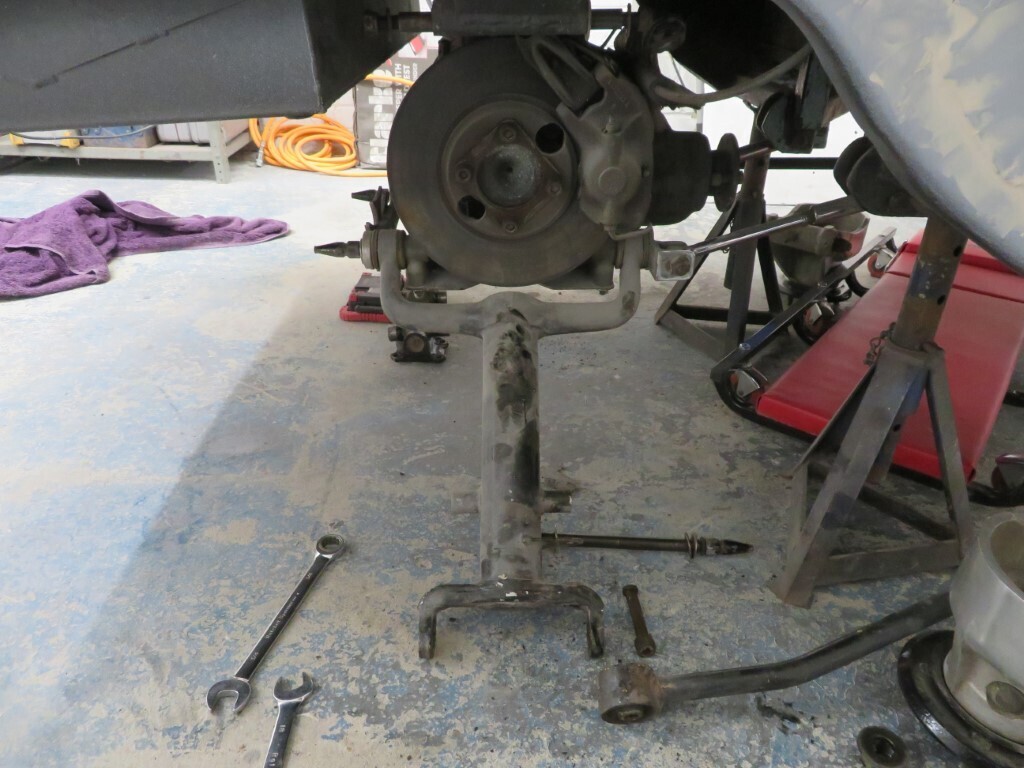 It's all stripped out now but it put up a fight. There are some very odd nut sizes going on there - I think some new bolts with uniform nuts will be got for when it goes back together. It will need new seals for the lower inner fulcrum joints as well. Lower arms are also now removed. This looks a far better fit for the wheels;  Side view as best I could manage in the workshop;  245 hours. |
| |
|
|
|
|
|
May 28, 2021 11:31:54 GMT
|
|
Yay, normal service resumed.
|
| |
1993 Rover 220 Coupe
1972 MG Midget
|
|
|
|
|
May 28, 2021 19:01:09 GMT
|
|
Can I ask.....why has a jag IRS been chosen for the axle,bearing in mind,the pinto is about 230 HP max,it seems a bit overkill compared, to say, an atlas,just considering the weight difference, unless a engine upgrade is on the cards? Superb work as usual,always something new to take on board,looking forward to the next update.
|
| |
|
|
|
|
|
May 28, 2021 20:27:06 GMT
|
|
Jag IRS were the axle to have in the old days, apart from the fact they are superb suspension units they look pretty awesome from behind when they are spinning round.
This one was fully chromed when it was first put on, over the years the chrome has rusted, but some of the parts are still very shiny. I think Phil's Pinto is probably nearer 140 bhp, but it's geared well so it matches the engine/gearbox nicely.
|
| |
|
|
misteralz
Posted a lot
   I may drive a Volkswagen, but I'm scene tax exempt!
Posts: 2,489
Member is Online
|
|
May 28, 2021 21:47:55 GMT
|
|
Yep, Jag IRS and HA Viva front is Classic Pop! IIRC the Jag IRS is entirely self contained and the four bolts needed to mount it are all level so it's simplicity itself mounting it between the rear chassis rails.
|
| |
|
|
|
|
|
May 29, 2021 21:39:05 GMT
|
^^^correct. Today was partly used up on my car, there is a car meet tomorrow so it was time to get it out of hibernation. I spun the engine over to get oil pressure up & then fired it up. Took it to a petrol station to fill up and then fixed a couple of faults on it. Steering joint had a little play in it as the bolt had come a bit loose - tightened that up and then found the passenger window had decided to not work. Tested with a volt meter and power was getting there, so stripped the door panel off and checked the relays - all good, so undid the plugs and re seated them and it all worked again. I think it was just sulking for not being used for so long. After reassembling the door I wiped it down to remove all the dust and put it away for the morning. Moving on to Phil's car, it was continuing stripping down the rear axle components. All parts are now dissassembled and stripped of paint and degreased. The chrome is still mostly there, though the stripping disc has done it no favours (good for paint adhesion later though). All ready for getting narrowed.  The rest of the parts were cleaned and marked up. Phil will need to order new bearings and seals as most of those removed were in poor condition with several roller bearings missing in some bearings and water ingress in all of them.  249 hours. |
| |
|
|
gazzam
Part of things
 
Posts: 735 
|
|
|
|
|
I’d be well pleased with the top of that door on the previous page. Very satisfying if one turns out that good.
|
| |
|
|
|
|
|
May 30, 2021 22:18:38 GMT
|
Woo, went to a car meet today! Yay! over 200 cars so everyone was happy to get out again. 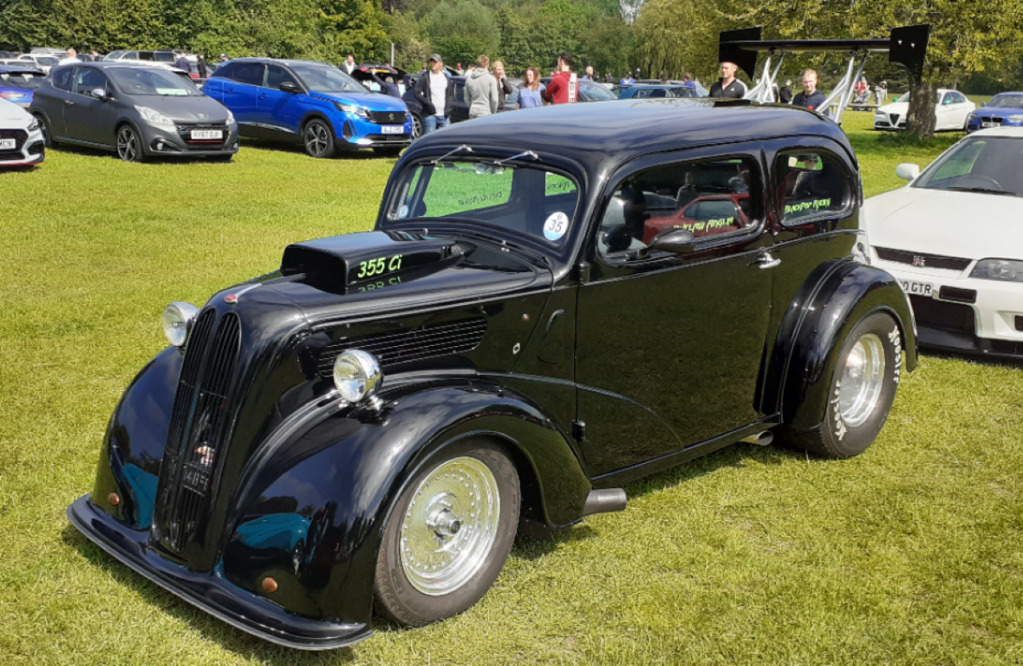 Met Phil there and after lunch he came over to join me for more work on the car. I'd not mentioned the work on the roof gutters on here as I was keeping it as a surprise for Phil when he arrived. He was very happy how it was looking - sorry I forgot photos today, will add some tomorrow.
We spent a little while looking at the proposed tyre placement in the arches, Phill was happy so we will take the bits over to Wayne at Oddrods next week for narrowing. I showed Phil the wear in the bearings of the axle and then stripped down 2 of the 4 shocks. Phil will get the other two stripped as I don't have a spring compressor small enough to fit the coils.
His task today was to remove the diff and handbrake from the car, we have now 100% completely dissassembled the car - there are no more bolts or screws left to undo. After he remove it I gave it a scrub and pressure washed it. 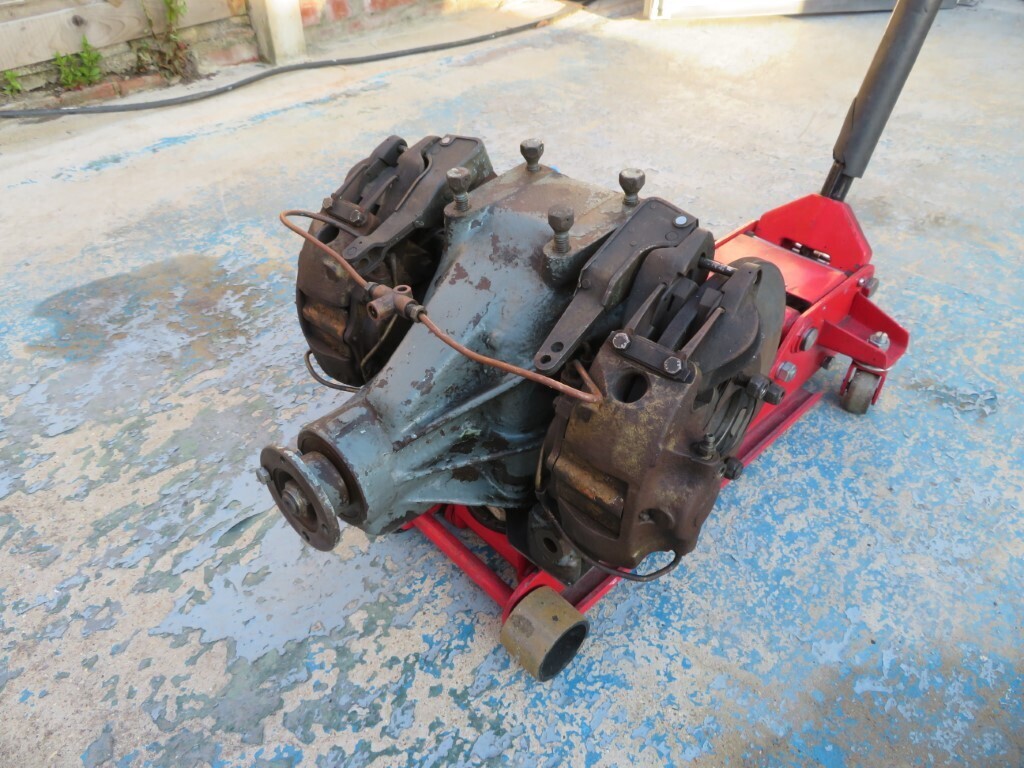 I then tasked him with scraping of all of the underseal from the floor where the axle had been, as I continued with rubbing down all of the flowcoat that had been applied to the wings. He also prepped the roof gutter on the drivers side ready for filler to be applied. I added more filler on the rear panel to lose the bump on the left rear quarter and a little extra to finalise the profile on the right corner. When we had done all of this I shot a bit of primer on while Phil watched to see how the new filler work looked. Stress cracks are now eliminated. 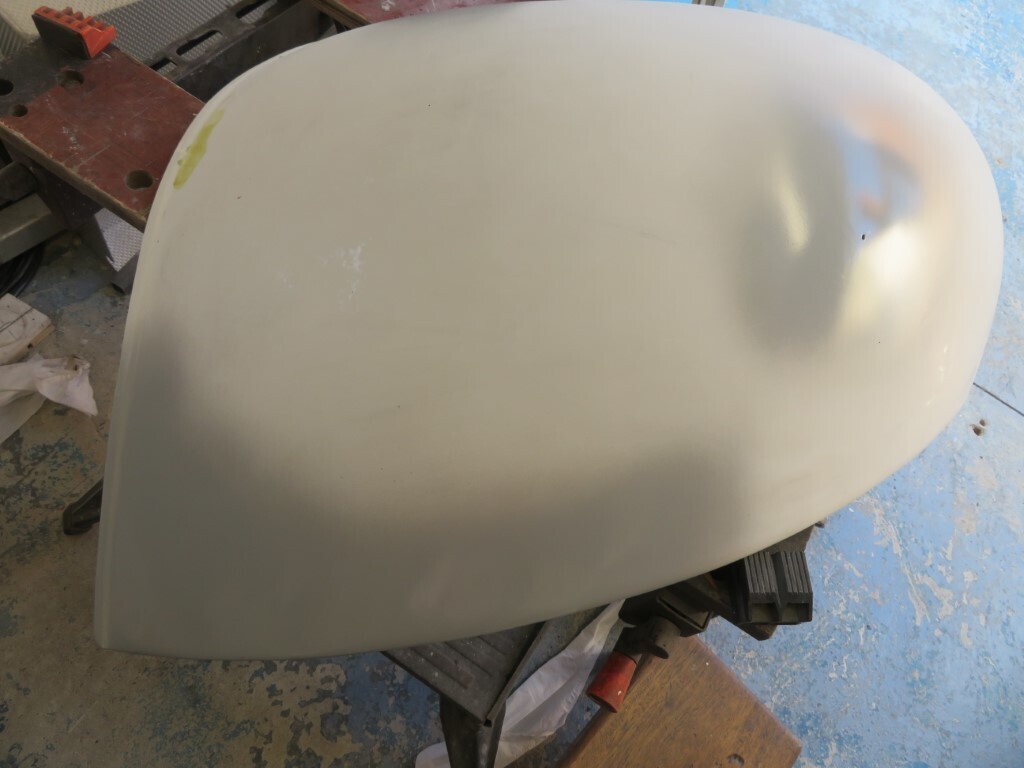  Rear panel is almost there now, there is a small peak on the bottom edge of the left quarter that I want to lose but otherwise I think we are done on this part of the car. 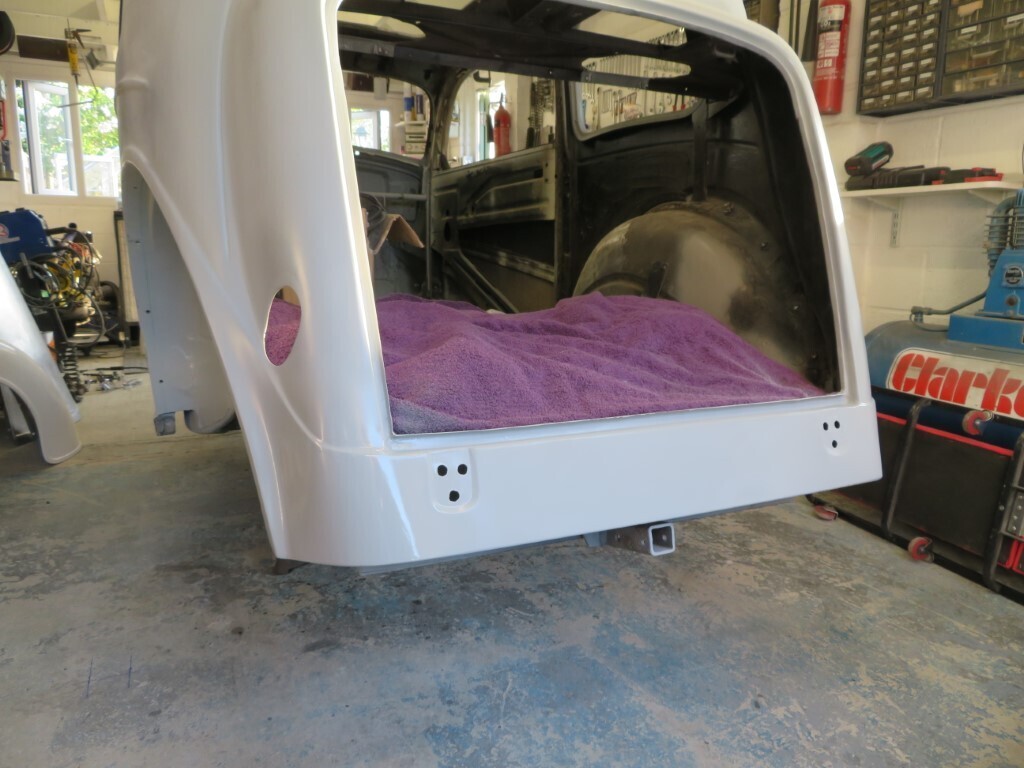
254 hours.
|
| |
|
|
|
|
|
May 31, 2021 21:23:21 GMT
|
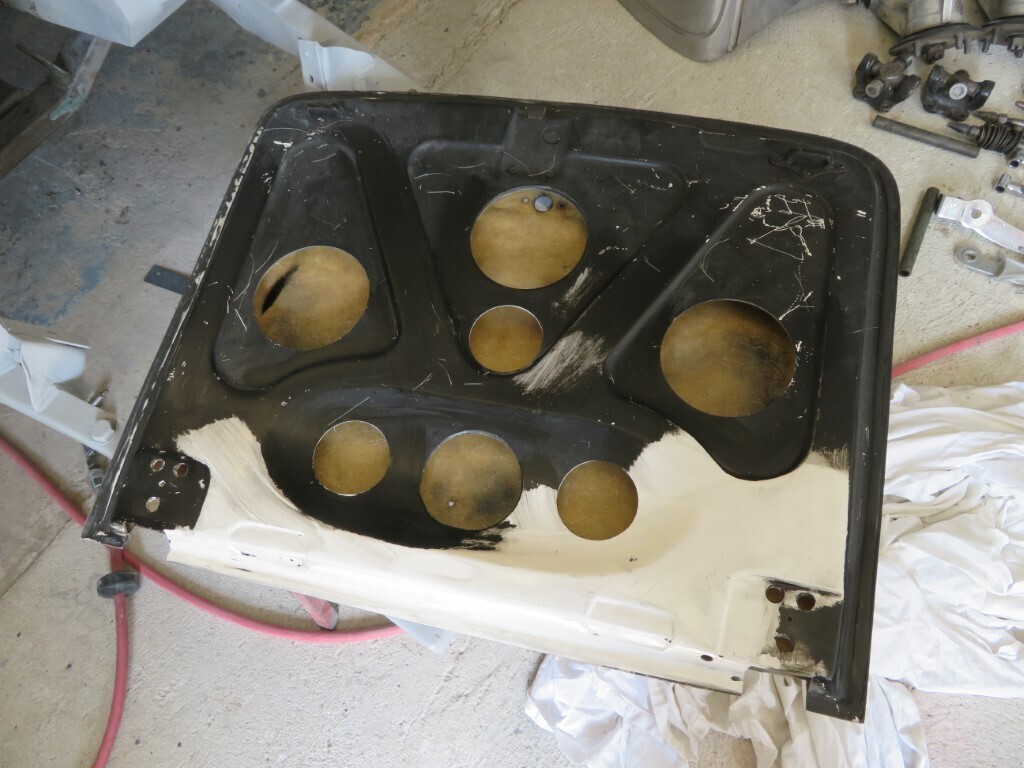
A mild 24.5 degrees in the garage today made it a tad warm but ideal for fibreglass or filler work. The bootlid was again what I would class as raceweight - incredibly light but also incredibly thin. As such it needs more fibreglass added inside the lid. Here I have started stripping the black paint off the inside and we have already drilled some extra holes in the inner panel for access to get the fibreglass brush in.
Now fully stripped of black paint.

I added some extra holes for the brush and the 600 gram matt is in place ready for resin.

It took some gynaecological skills to get the resin all over the matt - I put two layers of 600 gram in, but the outer skin is now solid - before finger pressure would easily push the skin inwards.
The gutters are progressing - filler is being added and knocked back, early days but looking good.
 
258 hours
|
| |
|
|
|
|
|
|
|
Tonight Phil came over and we went over to OddRods to drop off the axle bits for narrowing. Wayne also offered a service for shotblasting & powder coating the parts by a company that he uses locally and highly recommends, so they will come back in high gloss black. When we got back I was back in the garage on the next job. In the past where the boot had the new valence fitted thay never finished off the corners of the boot - so we have daylight in each corner, which is not good.  I had been playing with Kellogs aided design earlier, 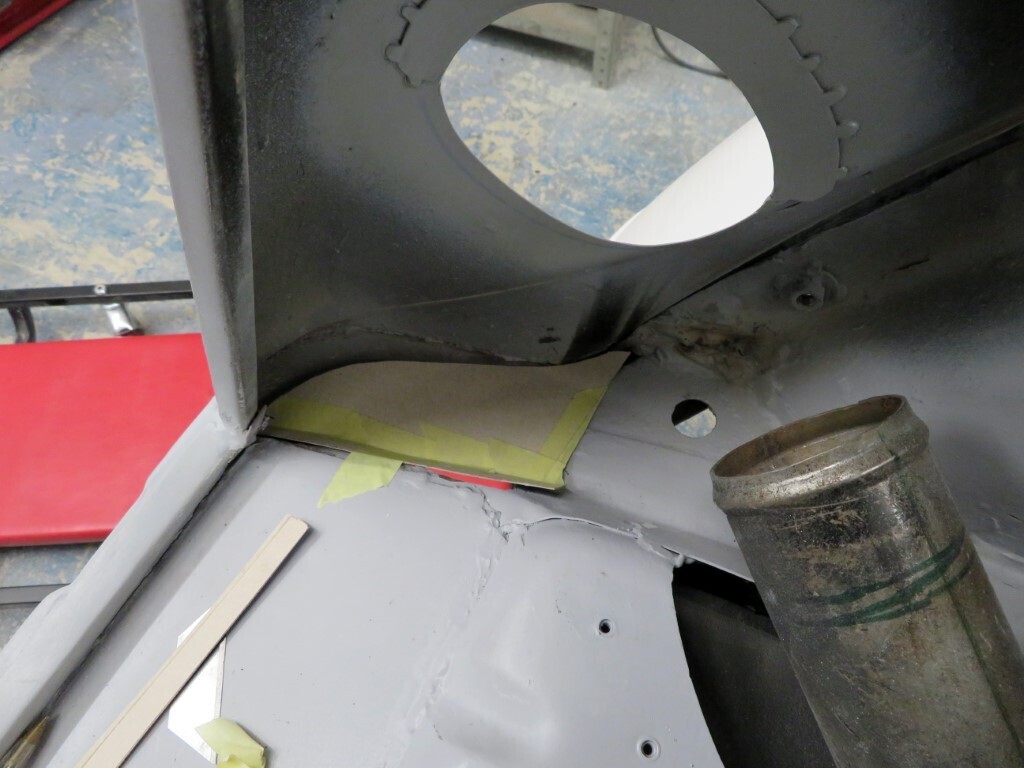 And transferred to metal; 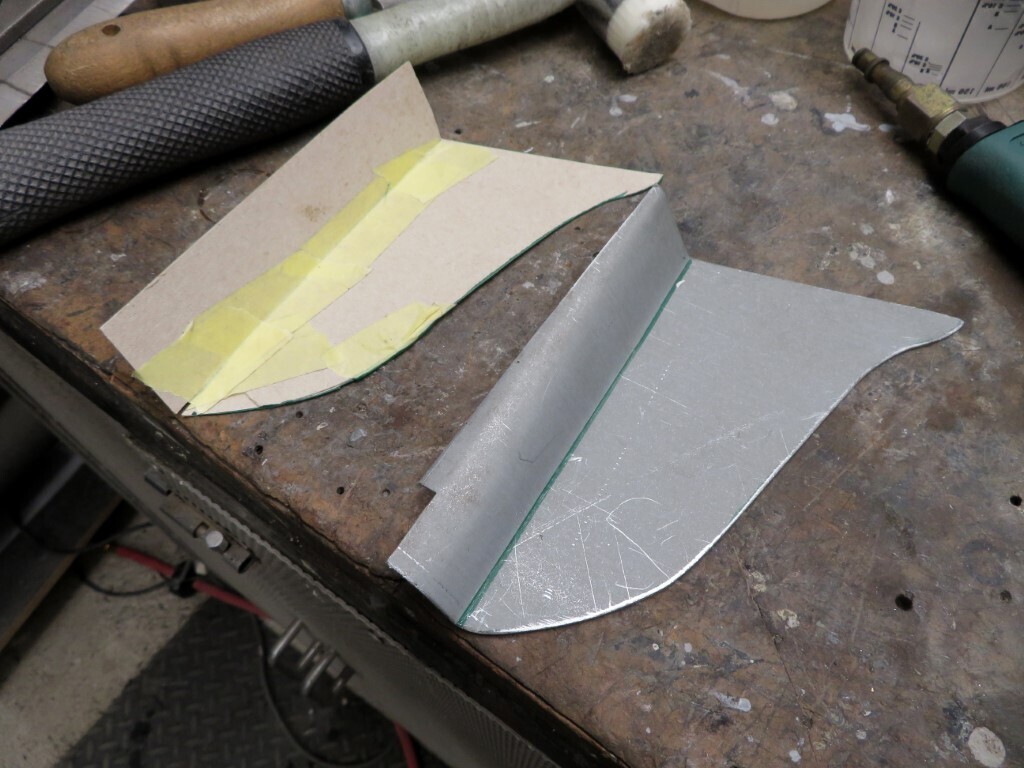 I got the fit good on both sides; 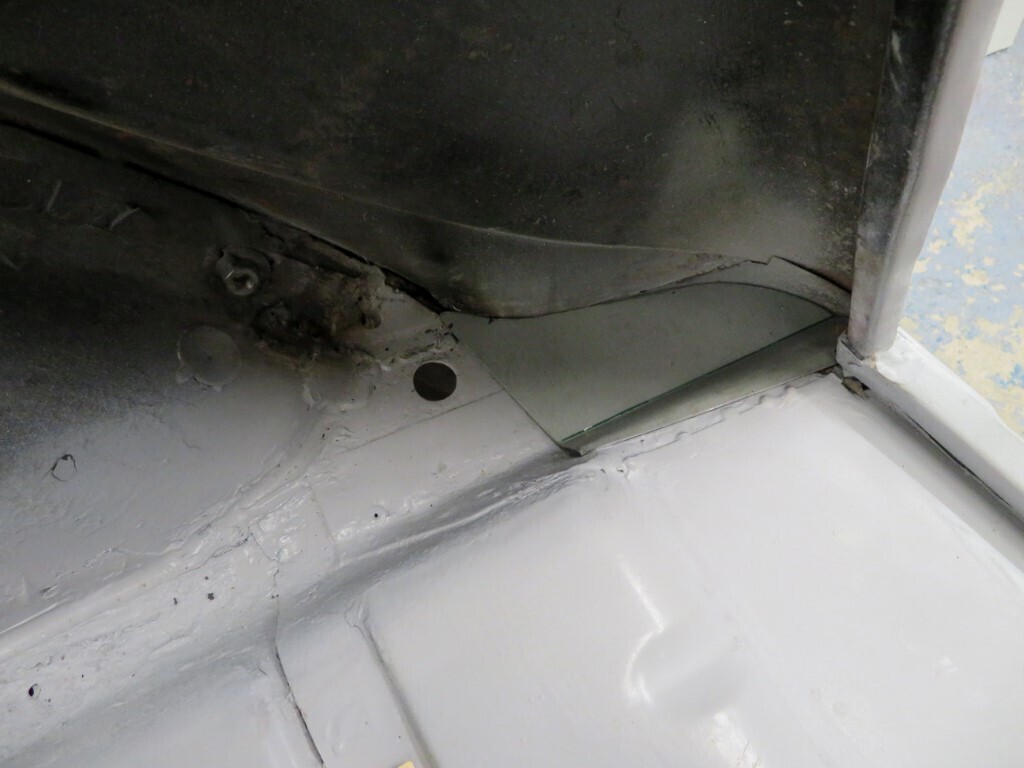 And then welded both of them in. 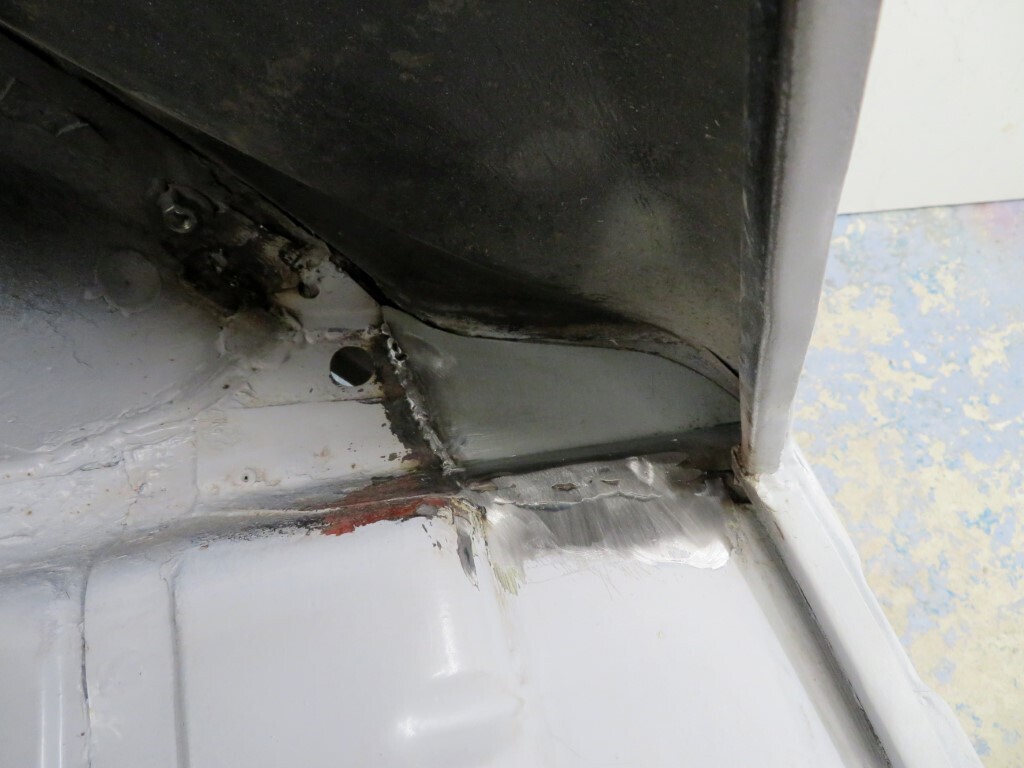  I will bond/seal the outer edge to the body skin with a bead of Tiger seal. Another job ticked off the list 
Feel free to comment or ask questions.
260.5 hours. |
| |
|
|
Norman
Part of things
 
Posts: 449 
|
|
|
|
|
It’s looking good Mark, can’t be much more welding is there? Phil must be pleased with the progress and standard of your work. Note to self, I must get the finger out and get back to my own car, I haven’t touched it for about five weeks now! All the best and looking forward to the next episode, Norman
|
| |
|
|
|
|
|
|
|
|
Hi Norman,
Some welding left but not much. Some extra tabs in the doors for trim panels, sealing up the A post vents, couple more cracks in the other half of the bonnet, and the sills will need a fair bit of fettling.
The sills have been repaired by the rodshop, but they are not the correct profile at the front so some re working will be needed there. They are bolt on at present but I will weld them on once done.
Look forward to reading your updates when you get back on it.
|
| |
|
|
|
|
|
|
|
Not a great deal of photo worthy progress tonight, rubbing down filler in the gutters I noticed a bit of a hollow in the rear O/S boot hump. A quick rub down with the longboard highlighted the low area highlighted in pencil. 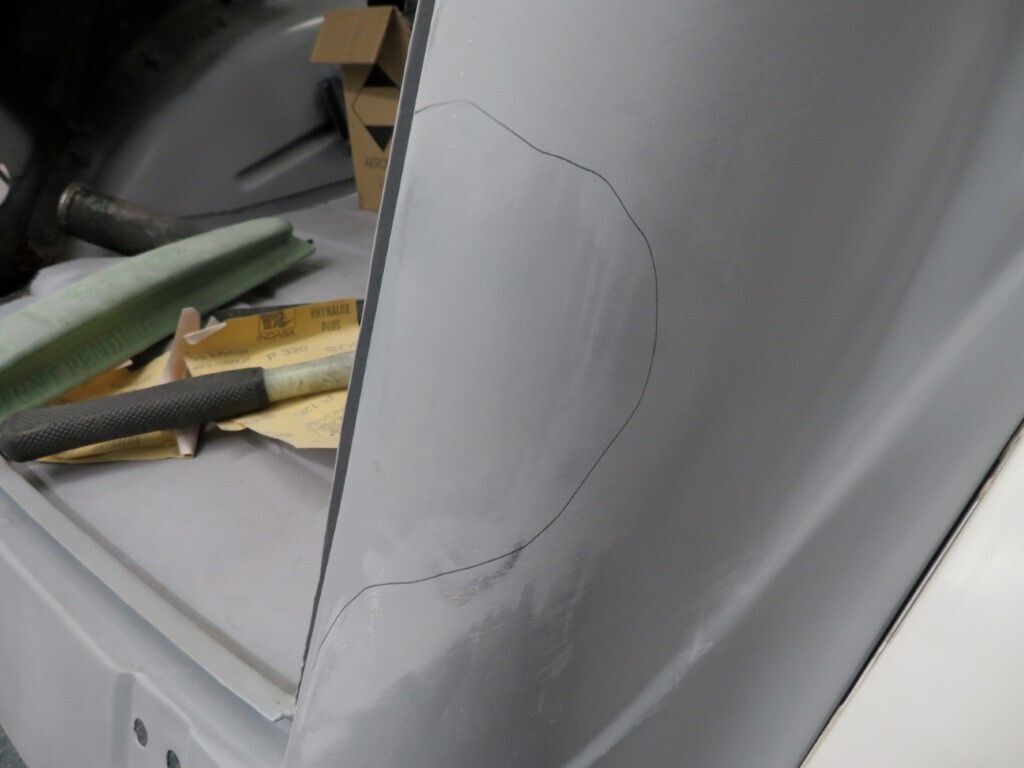 So after it was keyed up some filler was added; (the rough bit is where I caught my overalls on it) 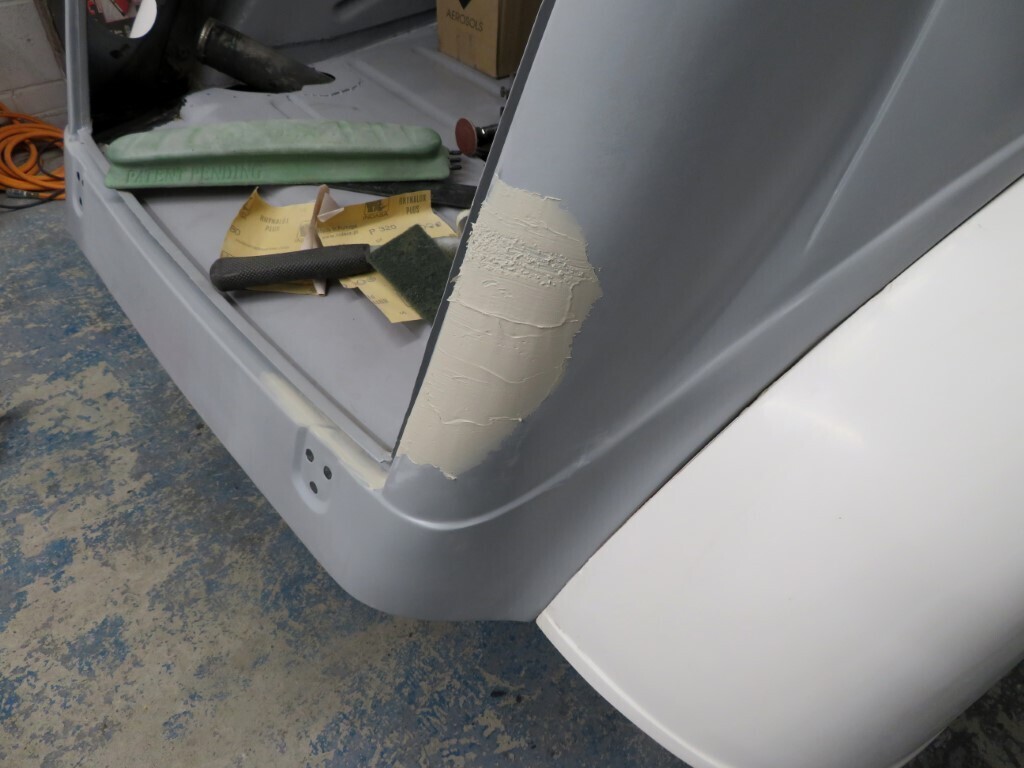 Then it was on to seam sealing the metalwork I added last night. I'm using Tiger seal and with the warm temps it was a dream to use for a change. Very happy with the beads I laid down, these were done on both sides of the joints. 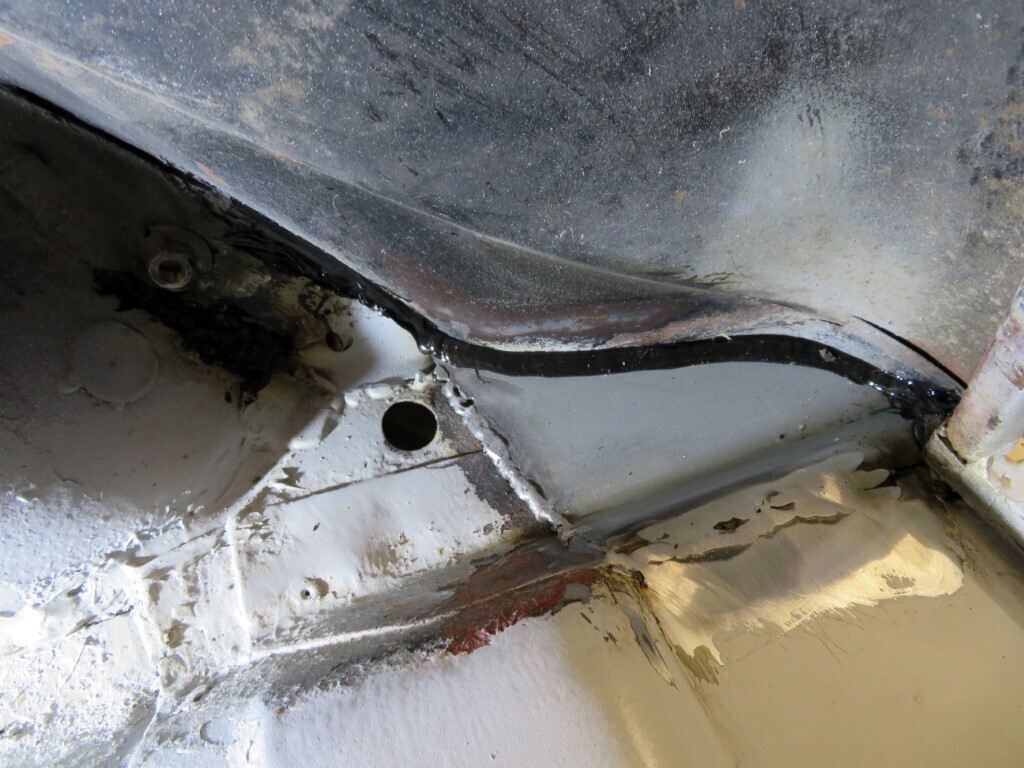 The rest of the evening was spent lying on my back under the car sealing up all of the edge joints where the floor skin was brazed to the floor framework. I've done about 2/3rds of it, I'll finish it off tomorrow. 262.5 hours. |
| |
|
|
|
|
|
|
|
Tonight was more sealing up of the floor underneath which is now mostly finished. A few small areas around the boot still but I ran out of sealant. I sanded down the new filler in the rear boot side panel, its almost there - a little more work should see it right. Then I cut the end of the fuel tank off  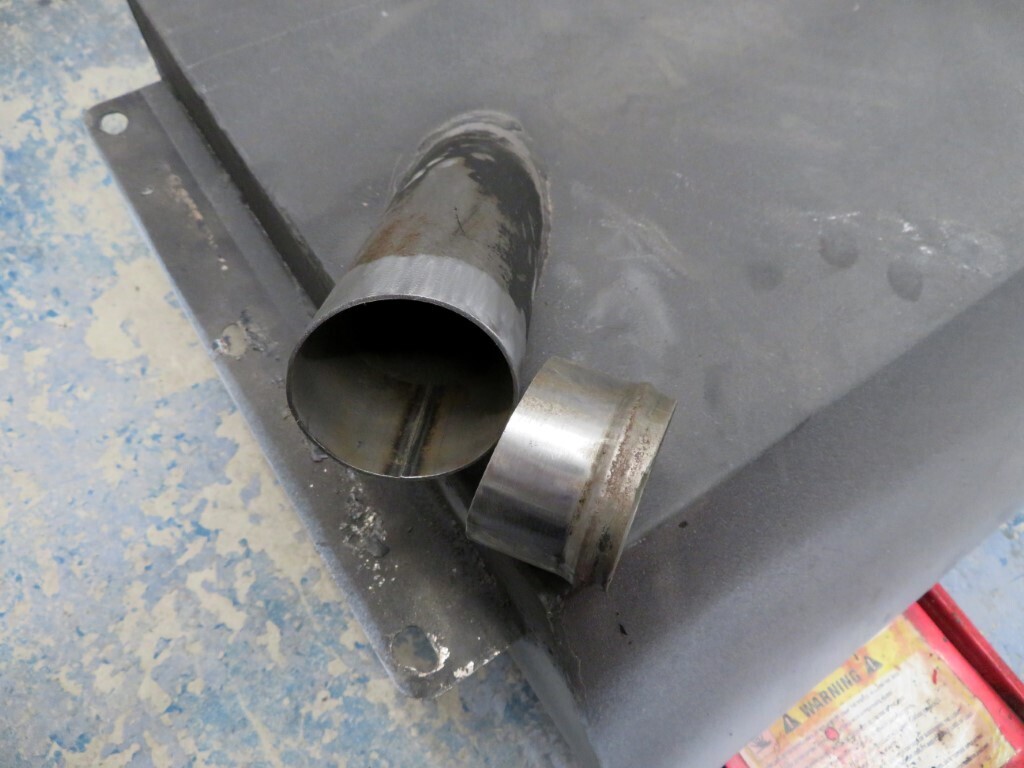 I cut it at an angle so rotating it around a bit gets it a lot closer to the filler neck alignment. It's still a bit off so I think I will need to do the same to the filler neck tube as well. Only potential problem with that is it's a soldered steel tube so it might not be so straightforward. 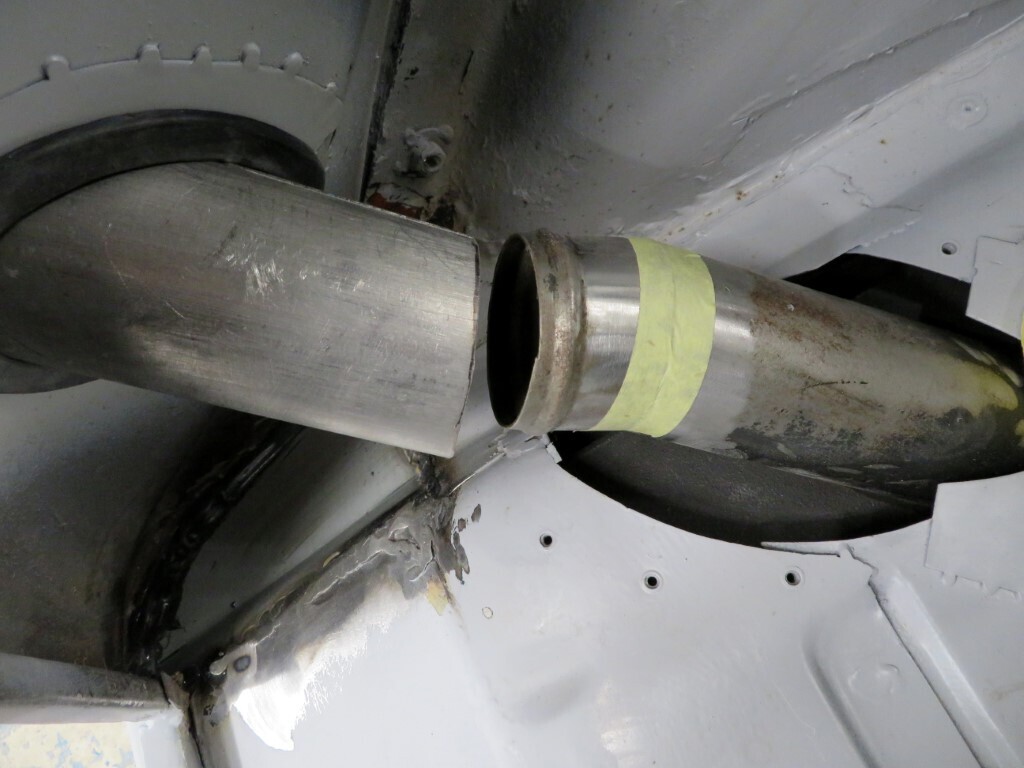 Then I spent an hour or so fettling the door hinges and door alignment. Pleased to say I got them fitting pretty darned good. How's that for a door gap   There is a bit of a tight spot on the passenger front edge, but a bit of grinding back and re-welding like the other door top will fix that so that's a big step forward. 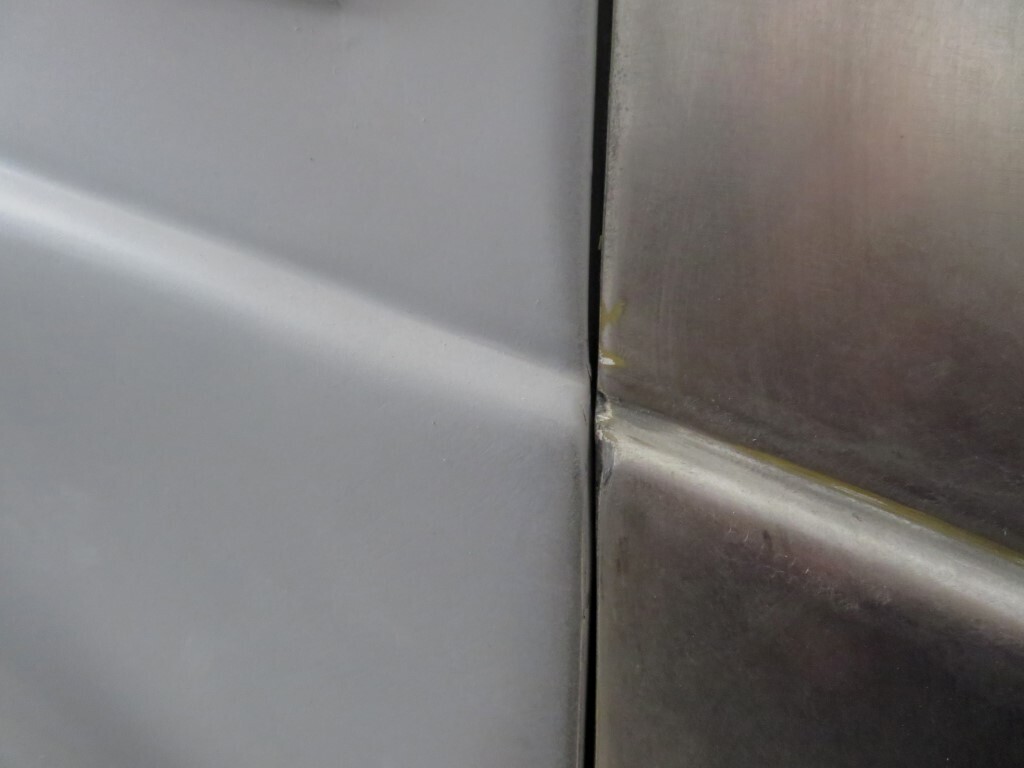 I'll get some new stainless bolts at the weekend and once I've got those tightened properly I'll drill some alignment holes in the hinges and the doors can come off. 265 hours. |
| |
|
|
|
|
|
|
|
|
I bet the door gaps weren't that fantastic from new. Quality control hadn't been invented yet.
|
| |
|
|
|
|
|
|
|
|
I must be weird. Wonky panel gaps are part of the character of old cars for me so I leave them as found.
Coming along nicely Mark.
|
| |
Proton Jumbuck-deceased :-(
2005 Kia Sorento the parts hauling heap
V8 Humber Hawk
1948 Standard12 pickup SOLD
1953 Pop build (wifey's BIVA build).
|
|


