|
|
|
Apr 12, 2021 10:46:50 GMT
|
|
They wouldn't be difficult to widen, slit around the more or less single curvature part space apart with alloy strips to get the right width and then feather the cut edges and glass back together, I reckon you might even be able to lose a lot of the distortion in the process.
On the other hand as Phil is paying you it may be cheaper to buy wider ones if they area available and space the wheels out to get the perfect fit.
|
| |
|
|
|
|
|
|
|
Apr 12, 2021 10:52:39 GMT
|
ah bum i thought they were steel .as you were  |
| |
|
|
Darkspeed
Club Retro Rides Member
Posts: 4,878
Club RR Member Number: 39
|
|
Apr 12, 2021 11:03:31 GMT
|
The other (better) option would be to narrow the axle and buy a new set of the same size arches, there is acres of room between the inner arch and the tyre so a viable option, but also a more expensive one. I'll speak with Phil tomorrow and see what his thoughts are on it. Would get my vote. |
| |
|
|
|
|
|
Apr 12, 2021 11:59:49 GMT
|
|
Kevins,
Yes, I can do all of that but as 6" wide ones are available it's quicker & better to have fresh arches.
PS, I'm doing all this work for free for him.
Adrian,
It would get my vote too - but it's not my car so it's up to Phil.
|
| |
|
|
|
|
|
Apr 12, 2021 12:27:11 GMT
|
|
That inward tilt is just what I had with Sandra's Pop. Took me ages to sort it and I'm not 100% with them now. The trouble is any others you buy will be similar (except possibly pro laminates).
Agree that 6" over look stupid.
|
| |
Proton Jumbuck-deceased :-(
2005 Kia Sorento the parts hauling heap
V8 Humber Hawk
1948 Standard12 pickup SOLD
1953 Pop build (wifey's BIVA build).
|
|
|
|
|
Apr 12, 2021 12:59:01 GMT
|
Kevins, Yes, I can do all of that but as 6" wide ones are available it's quicker & better to have fresh arches. PS, I'm doing all this work for free for him. Adrian, It would get my vote too - but it's not my car so it's up to Phil. good on you I just thought as you were keeping a record of the hours it was going to lead to a bill. I find doing work for others for free saves me money, I get to do my hobby and don't spend anything on parts or materials. What width wings are on yours? |
| |
|
|
|
|
|
Apr 12, 2021 15:24:13 GMT
|
Hi Kevins, Yeah, Phil is a good guy so happy to do it for free for him. As you say I get to do what I love and it's cost free  And Phil gets a nice car so win-win. My wings are 4" over as well. Had a price for narrowing the axle for £300 which seems reasonable. |
| |
|
|
|
|
|
Apr 12, 2021 15:27:07 GMT
|
That inward tilt is just what I had with Sandra's Pop. Took me ages to sort it and I'm not 100% with them now. The trouble is any others you buy will be similar (except possibly pro laminates). Agree that 6" over look stupid. The inward tilt is more to do with the fact they are quite thin glass and the flanges are not at the same angle as the car metal. When they got tightened up it pulled the wings in and over time the glass has stretched where it bolts in and taken on the tilt. On mine I replaced the entire flange on both wings, cast directly to the car so they fit 100% over every ripple. |
| |
|
|
|
|
|
Apr 12, 2021 16:16:01 GMT
|
|
If you can get them made with an extra thick lay up it helps, I had some 105e ones which were like it out of the mould (as delivered), had to weight them down and lay some longitudinal ribs on the back of them.
|
| |
|
|
|
|
|
Apr 12, 2021 19:00:32 GMT
|
|
I'm planning on adding three extra layers of 300grm matting on the insides of all the wings regardless, makes them much stiffer and you don't get the crazing from stonechips either.
Had a chat with Phil earlier over options and he's going to mull things over for a while and get back to me as the what he would like to do.
|
| |
|
|
|
|
|
Apr 12, 2021 22:23:42 GMT
|
Tonight was mostly a chemical night. Seam sealant got applied around the bootlid gutter, 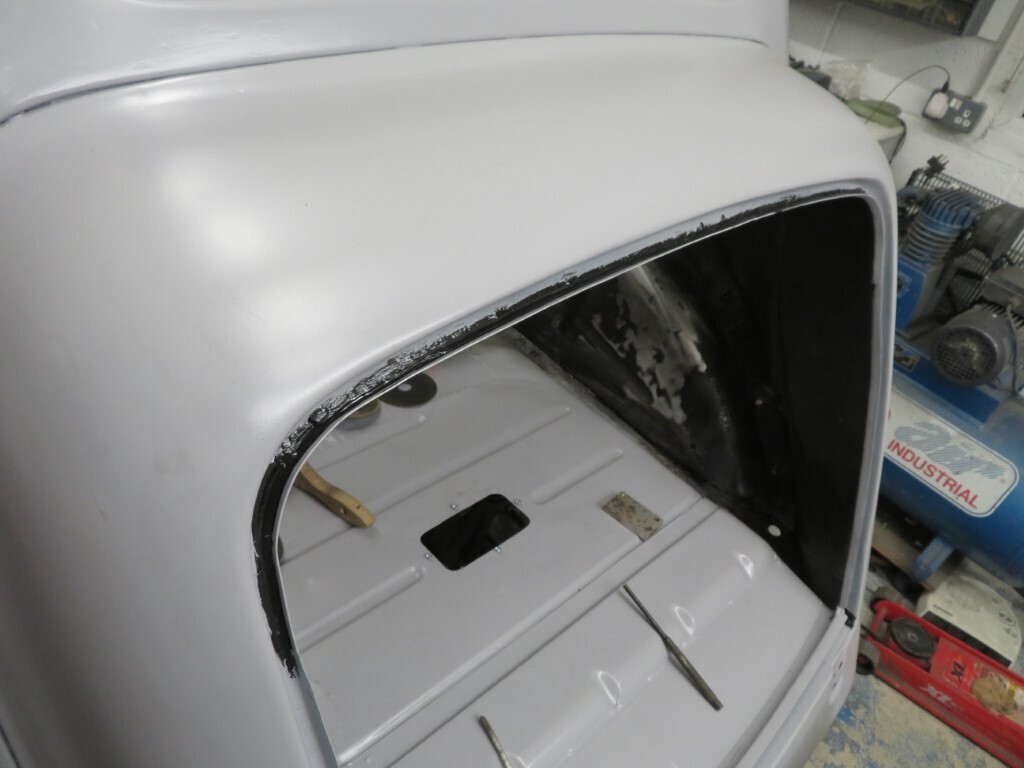 and around the seams on the bulkhead; 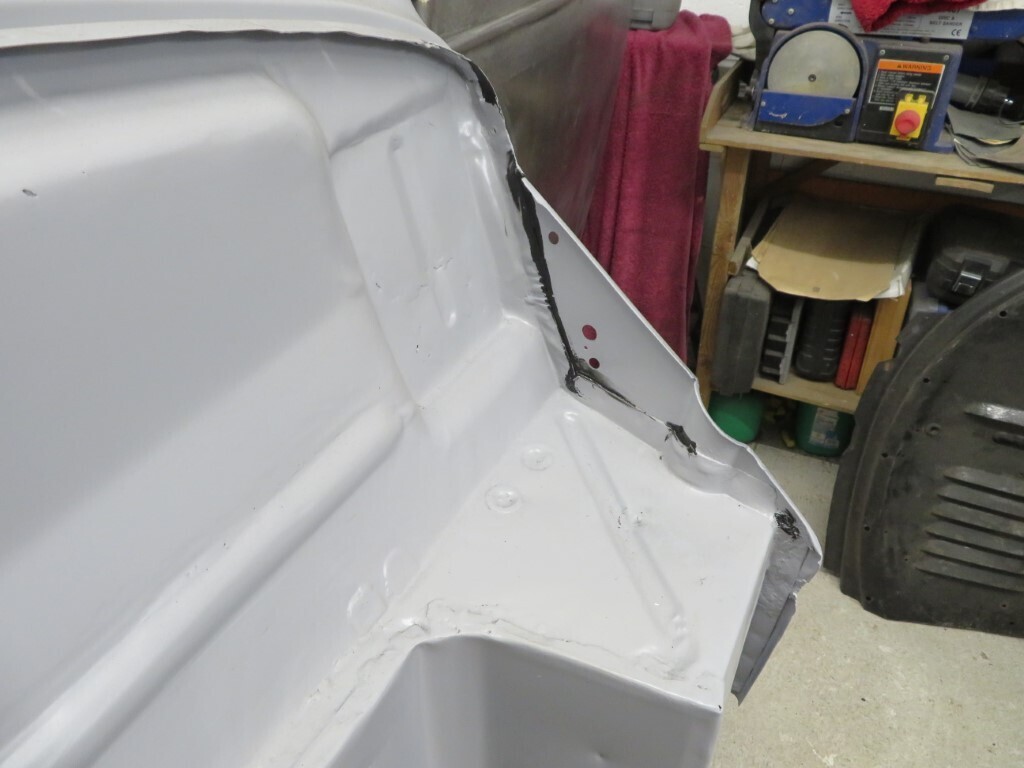 and the lower firewall to chassis/body joints; 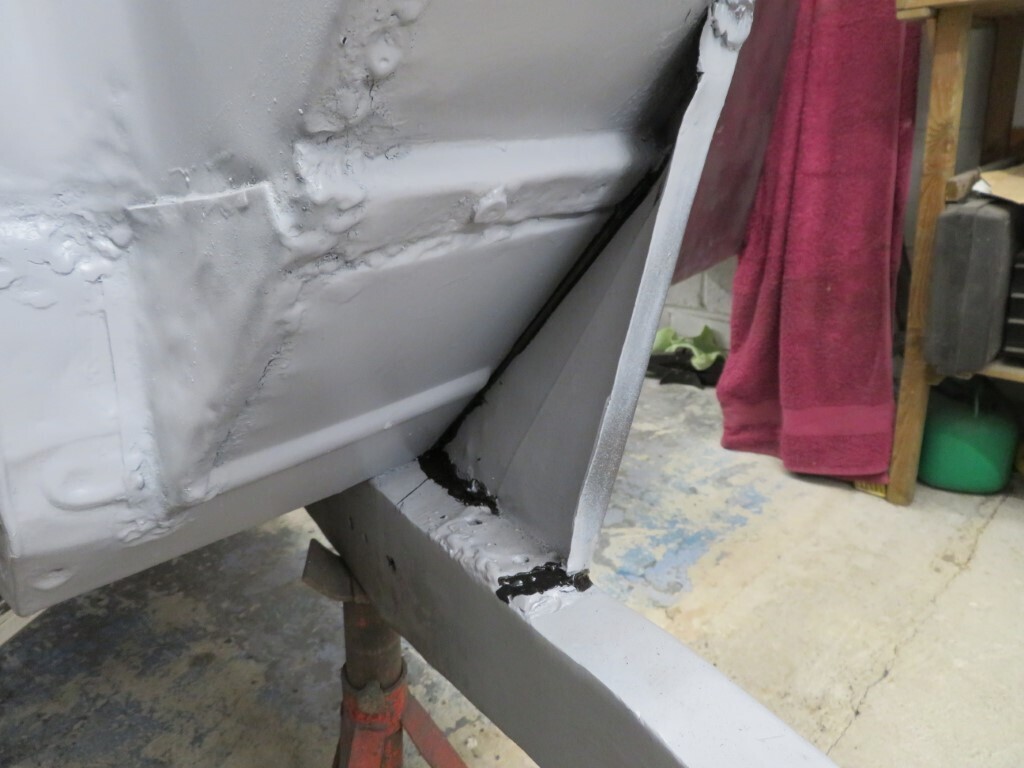 and a few other areas that were not so photogenic like the boot floor to wheeltubs etc. Then I stretched more steel for the roof gutter repairs, now all completed. 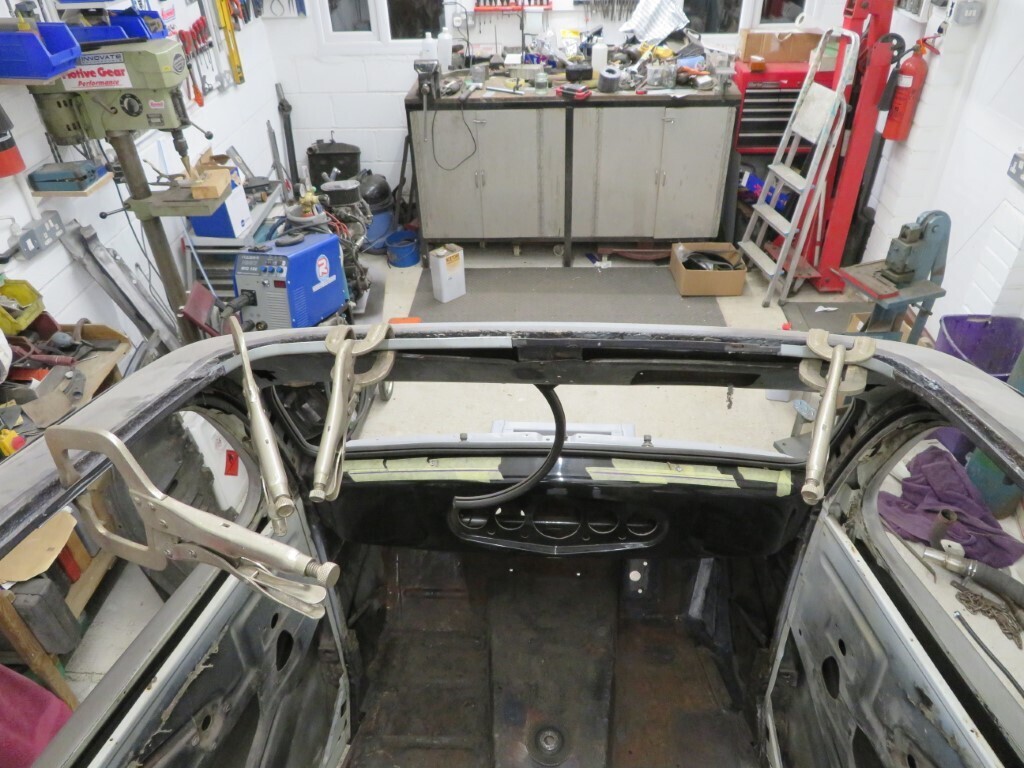 I bonded the infill panel for the boot lamp and also a test peice to see just how strong it is. 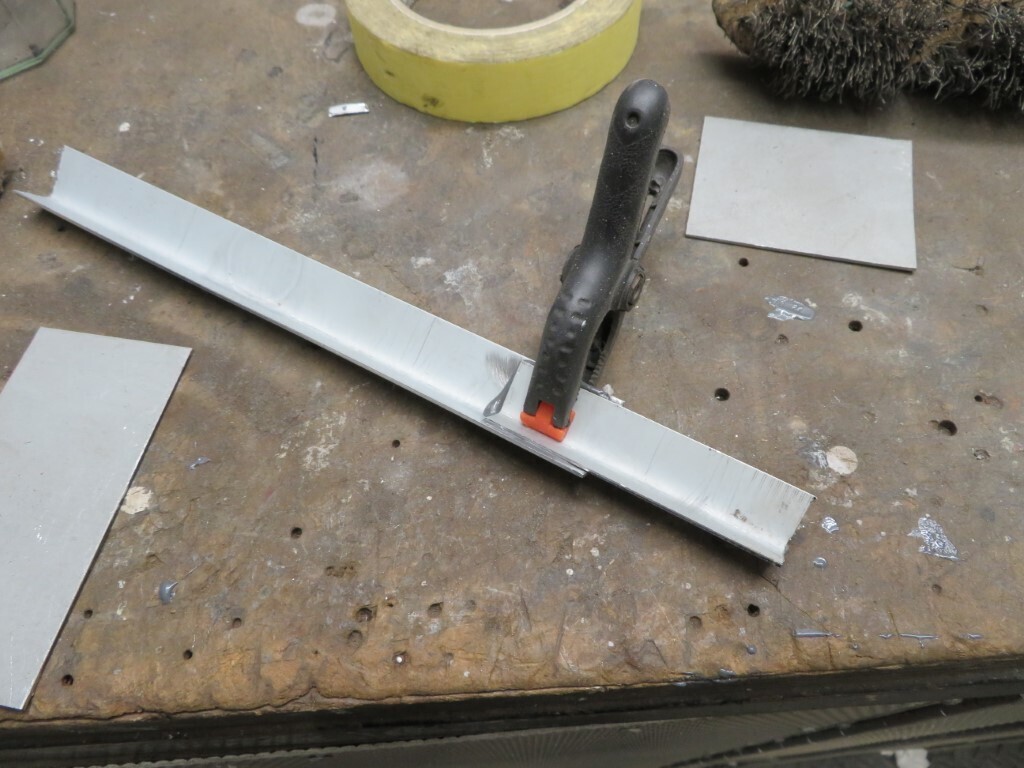 I made a start on cleaning up the inner A posts as I will be making some steel filler peices to close up the clamshell vents, it looks so much better as shiny steel than the grot coloured paint/underseal/carpet glue colour before. 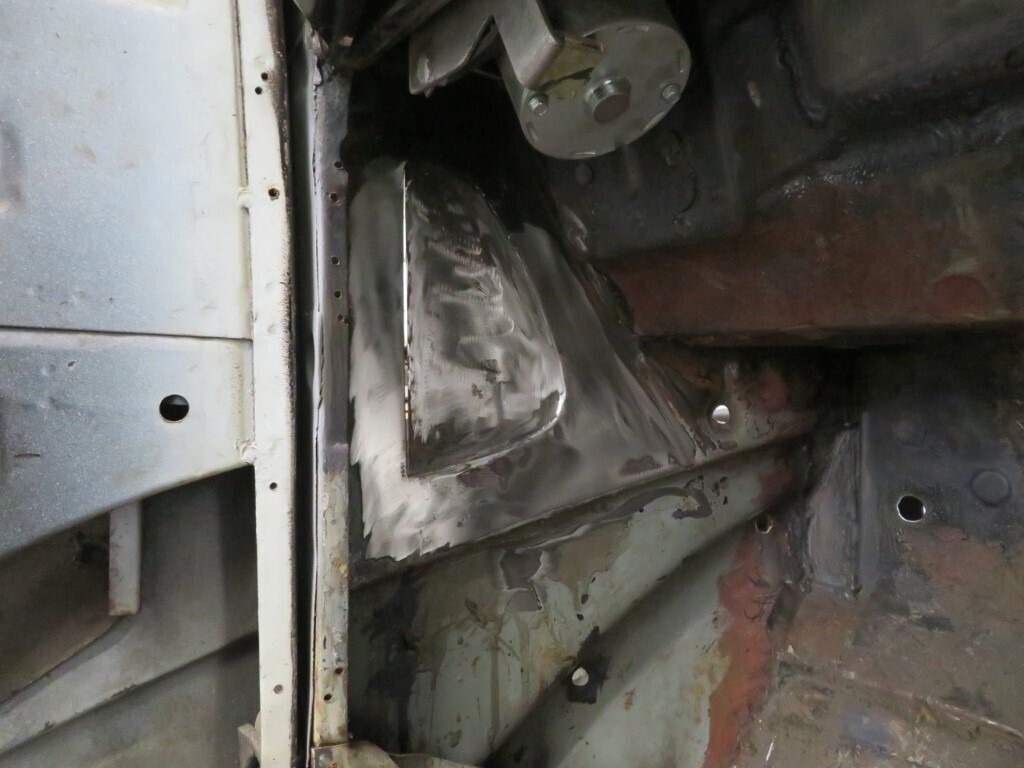 And lastly a reference shot for Phil, this is with a straight edge on the tyre to the arch; 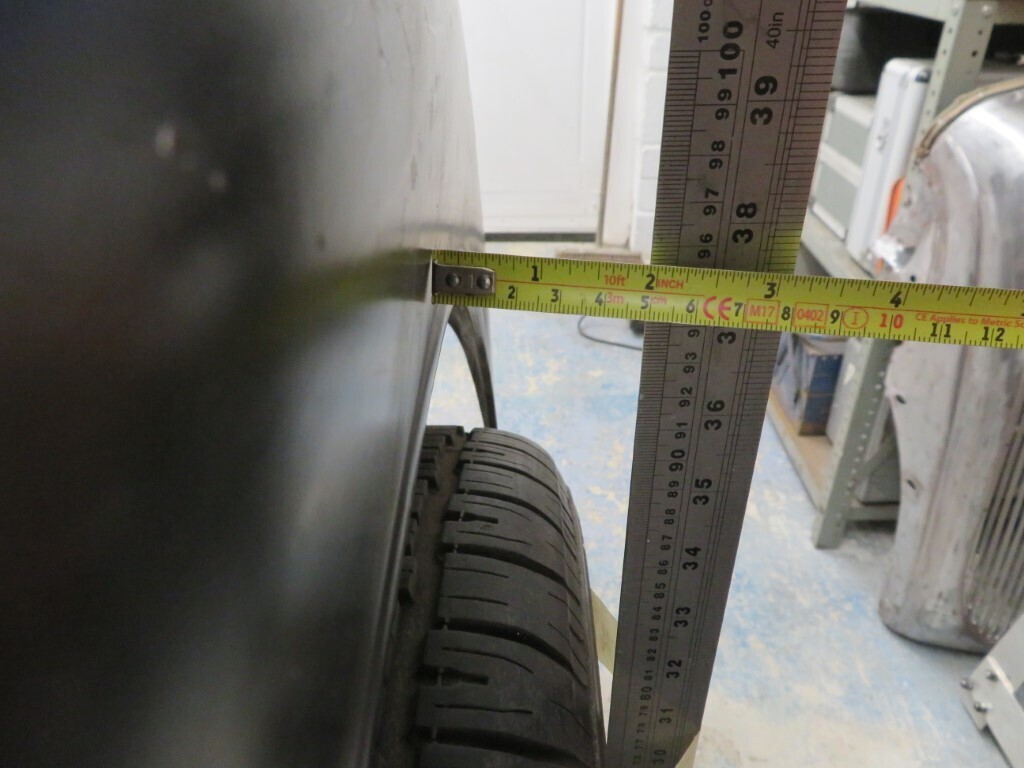 126 hours |
| |
|
|
|
|
|
Apr 13, 2021 22:38:05 GMT
|
As the back end is on hold for a bit I moved on to the front sheet metal. After a lot of adjustment I got it all lined up quite well, its a little tight in places but probably that is normal as they never fitted well from the factory. The gaps are very even all over but is all quite flexible, I think it relies on the wings to tie it together. I'm not satisfied with that so I will see what sort of support frame I can make off the chassis to get the front solid without the wings. This should stop us chipping the edges of the bonnet when fitting and in normal use as it will eliminate all flex. The inner wings have some large gaps to the body at the back, so I see some surgery ahead to get those tighter and I'll also add some tabs on the body to bolt the upper edges to as again it's only the wings holding them together and the tabs will stop chafing of panels. 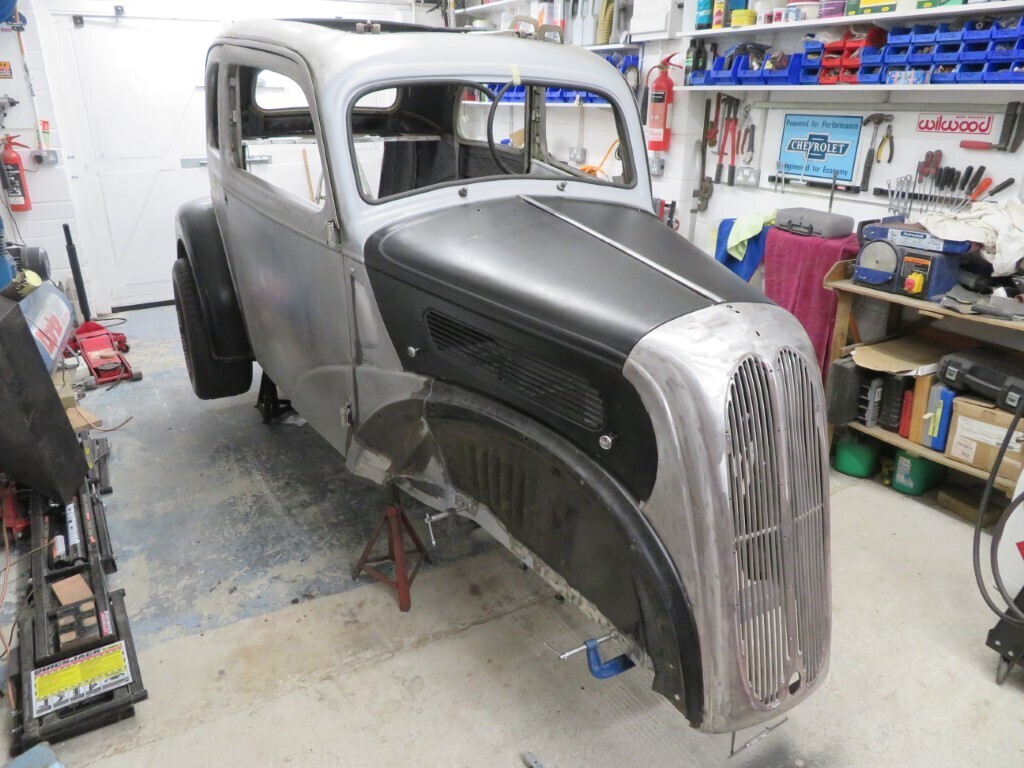 Side repeaters also got fitted into the A posts. These will get smoked later on. 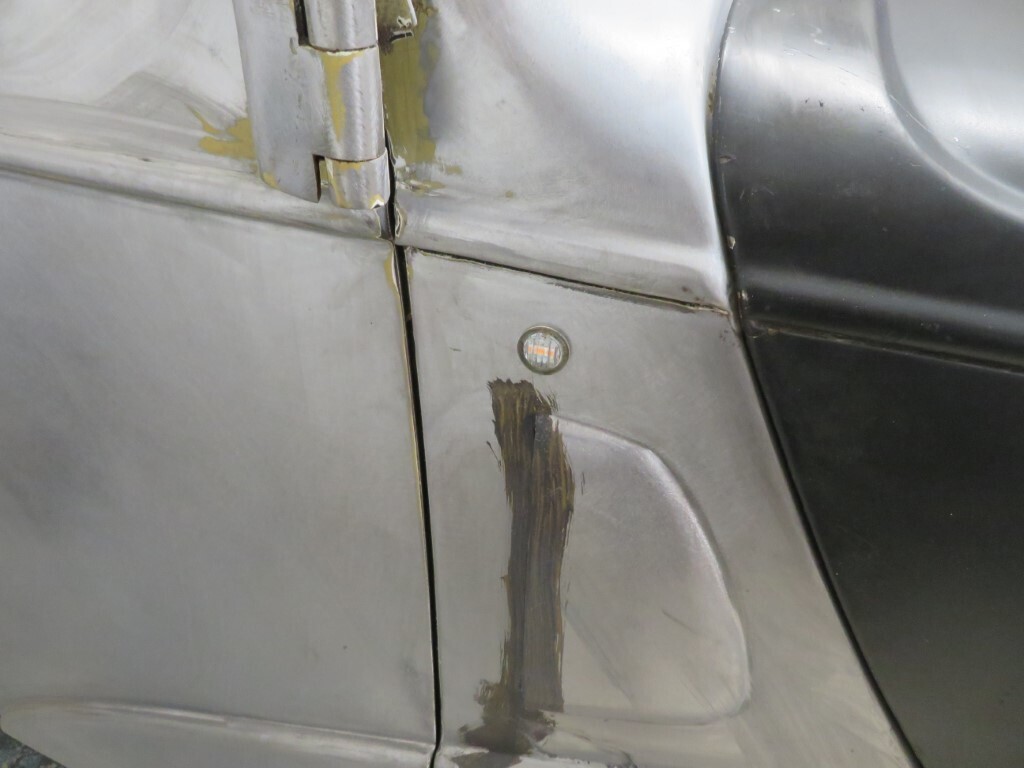 And the LED bezels turned up today, these will be used for the courtesy lights under the dashboard. 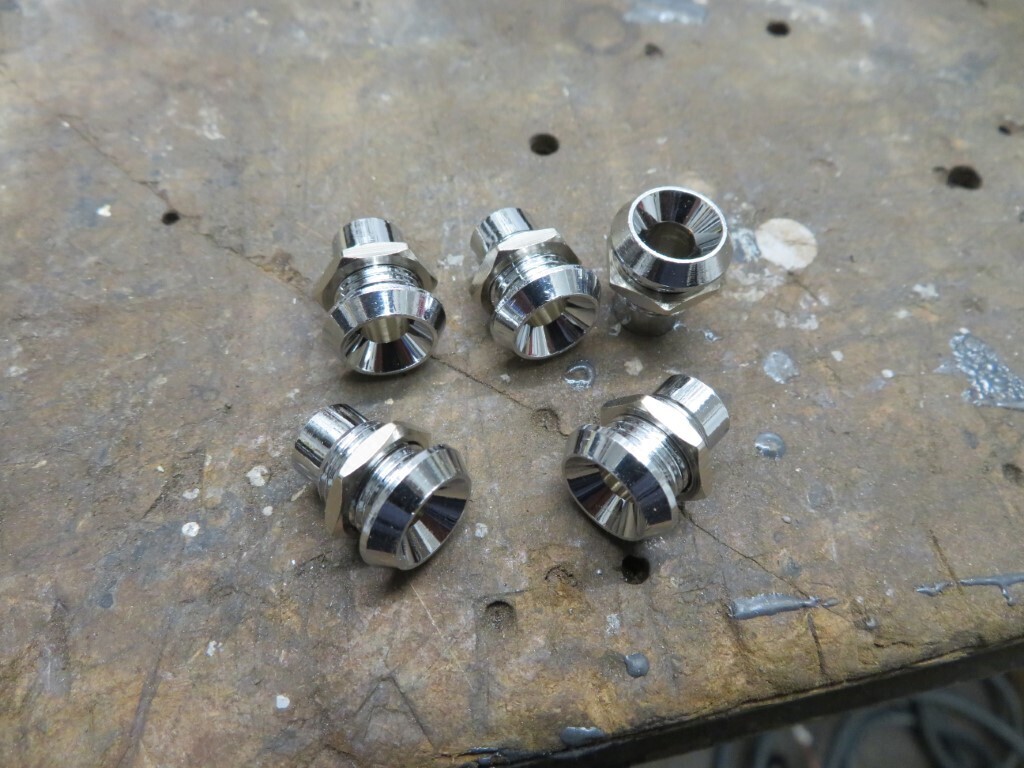 128 hours. |
| |
|
|
|
|
|
Apr 15, 2021 12:14:38 GMT
|
Phil came over last night to check over the front metalwork, he was happy with it all and said it had never fitted that well ever before  which was nice. I did not post last night as it ended up being a late one in the garage (finished about 11.40pm) so will update tonight instead. I realised looking at my posts that the bit of seam sealer I 'really' wanted to do - the seal between the boot hump & main body - I totally forgot to do, Doh!! Anyway, the good news is that Phil has made the sensible decision to have the axle narrowed - yay! We will get new wheel arches (same size) first and mock up the tyres under them to make 100% sure of the correct amount of narrowing to be done - so this wont happen for a few weeks as Phil is away for a bit. |
| |
|
|
|
|
|
Apr 15, 2021 19:16:54 GMT
|
Well last night was more 1 step forwards and 2 steps back. Having got the front sheet metal aligned pretty well, I made the mistake of undoing the drivers inner wing panel and I could not quite get it back as good as it was  Spent an hour and a half fettling bonnet gaps and latches as well as adjusting fixings and got it pretty good now. Chassis has been drilled for the new rivnut fixings for the inner wings and I spent some time with the radiator fitted to see where I could add some extra bracing for the nose section to stop it from moving (and chipping paint). Good news is there is plenty of room to build something. A view of the rear axle showing the large amount of room between the tyre and the inner wing - no problems narrowing the axle at all. 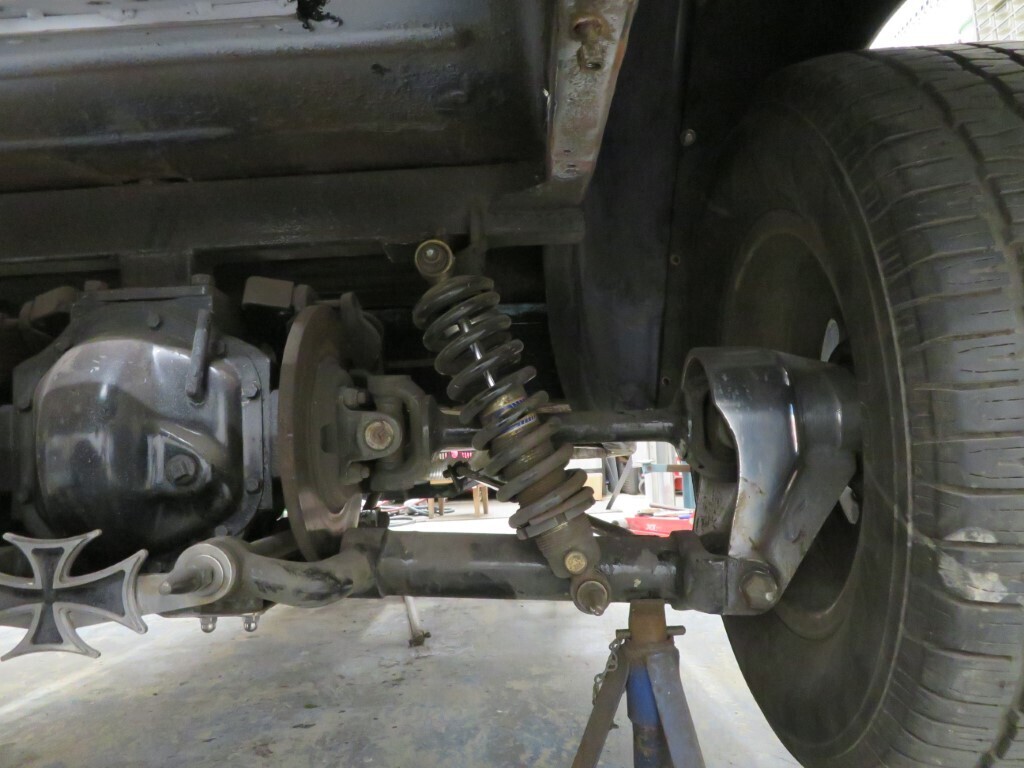 And tonight I added the seam sealer in the boot/body joint thast I forgot to do before. 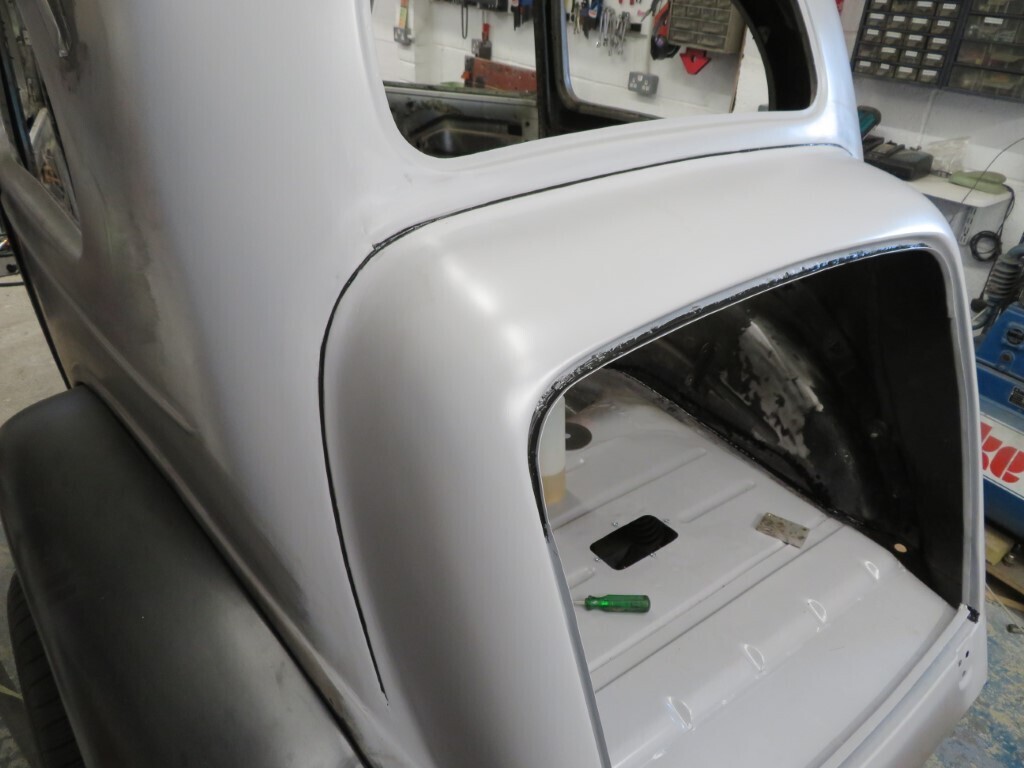 No more progress tonight as I'm visiting another rodder friend to help him paint his car where he has done some repairs. 130.5 hours. |
| |
|
|
|
|
|
|
|
|
I can’t remember exactly how the stock front end went together on mine but I don’t remember it being the outer wings that made the assembly stiff unless you mean down the sides. I think the stock rad added a lot of rigidity at the front and stopped the whole lot wibbling around. And there was a front to back brace bar from the top of the grille shell to the bulkhead.
|
| |
|
|
|
|
|
|
|
|
what Jag IRS is it? there were quite a few widths produced so it could be possible to narrow it with stock parts, that said the narrowest ones were E type, given the cost of anything e-type it might still be cheaper to narrow a more common one.
|
| |
Last Edit: Apr 16, 2021 10:11:10 GMT by kevins
|
|
Norman
Part of things
 
Posts: 449 
|
|
|
|
|
Hi Mark, You are making good progress there, can i ask what was the outcome of the test piece. The car is in amazing condition for its years. Norman
|
| |
|
|
jamesd1972
Club Retro Rides Member
Posts: 2,921  Club RR Member Number: 40
|
|
Apr 16, 2021 10:07:03 GMT
|
|
Think S type were also pretty narrow ?
All spendy but the look is worth it I'm sure.
Nice steady progress.
James
|
| |
|
|
|
|
|
Apr 16, 2021 19:41:18 GMT
|
Johnny, I fitted the brace bar from the bulkhead and also tried the radiator in - as you say the rad is used to give it rigidity. I however have other ideas  so it will be rigid without the radiator fitted. I think it's probably an E type axle anyway as it's pretty narrow (pops are quite small) and I think it may have an LSD in it too. Norman, not tested the metal yet as it takes 48 hours to cure at 20 degrees c, the garage is considerably cooler so I'll give it longer to let it build up full strength. I'll do a photo write up on the results when I do some destructive testing. |
| |
|
|
|
|
|
|
|
|
Cracking on with it Mark!
I seemed to have missed what the adhesive you are using is. May have a use for it.
|
| |
Proton Jumbuck-deceased :-(
2005 Kia Sorento the parts hauling heap
V8 Humber Hawk
1948 Standard12 pickup SOLD
1953 Pop build (wifey's BIVA build).
|
|


 Spent an hour and a half fettling bonnet gaps and latches as well as adjusting fixings and got it pretty good now.

 so it will be rigid without the radiator fitted.