|
|
|
Mar 11, 2021 23:18:15 GMT
|
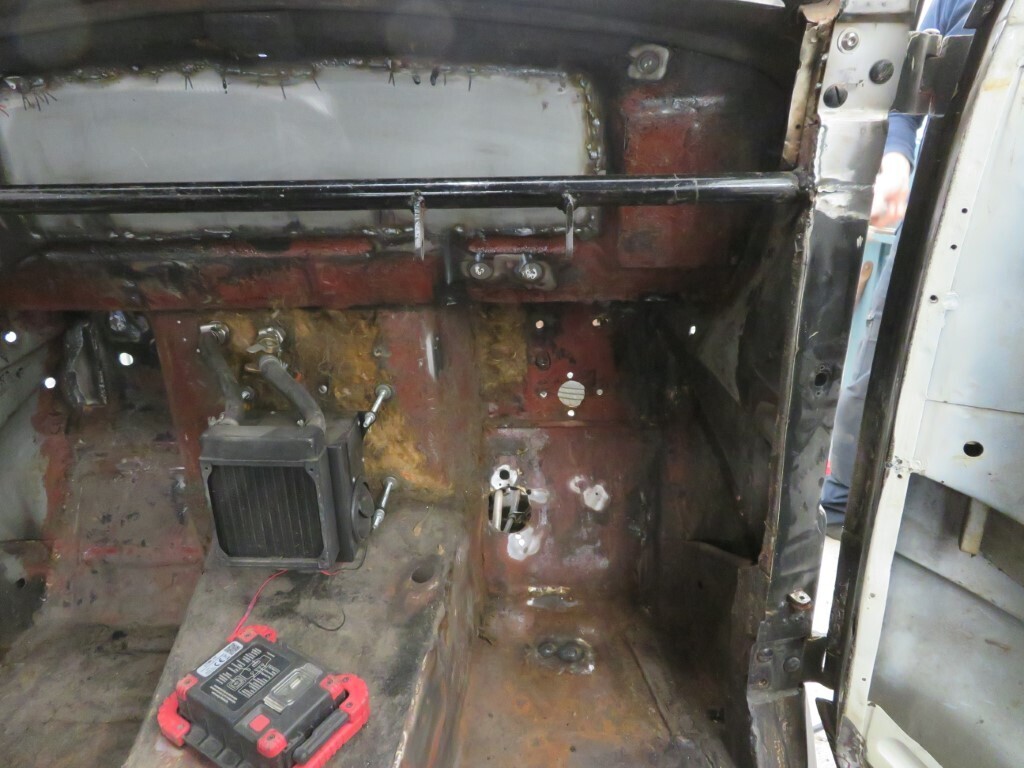
Thought I'd give the neighbours a break tonight & do a bit more welding. Floor panels resemble swiss cheese! 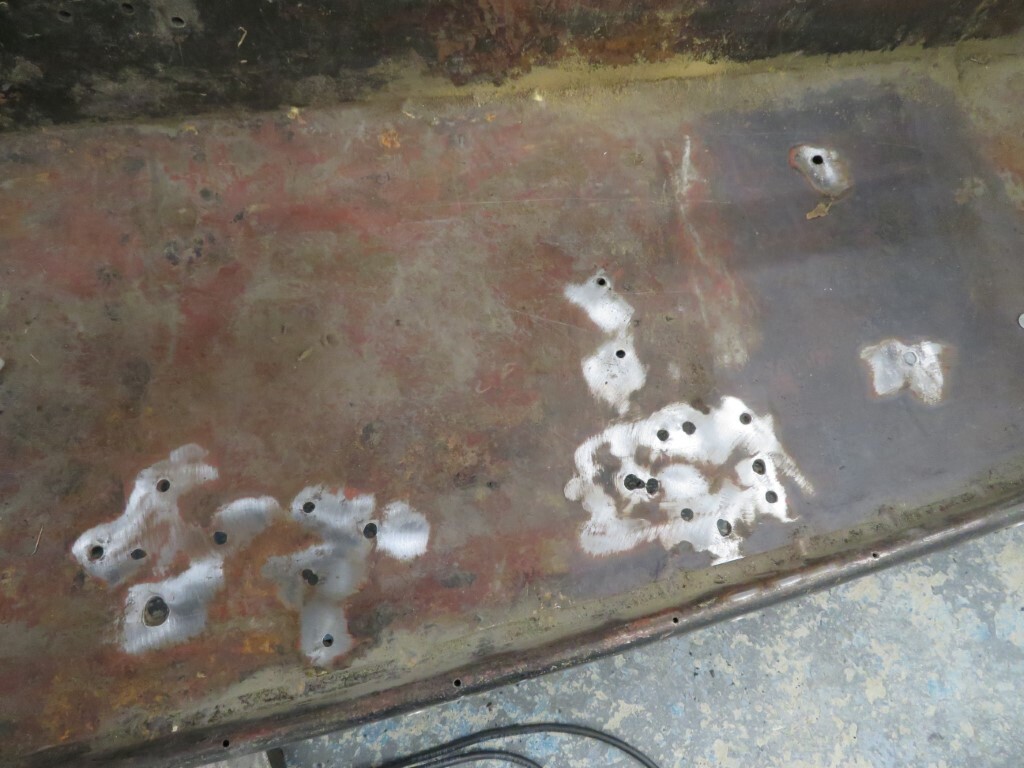 And some considerable time later they now don't  Well, this side doesen't - the other side & the gearbox tunnel still do! 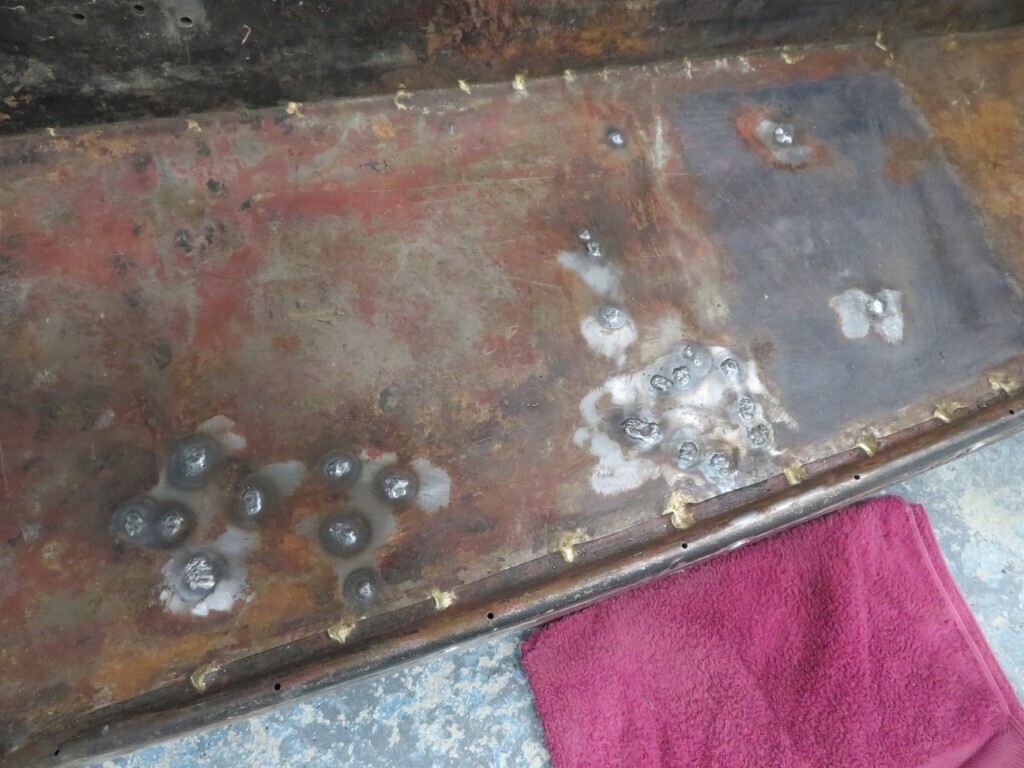 Had a break half way through & stripped the paint over the rear window; 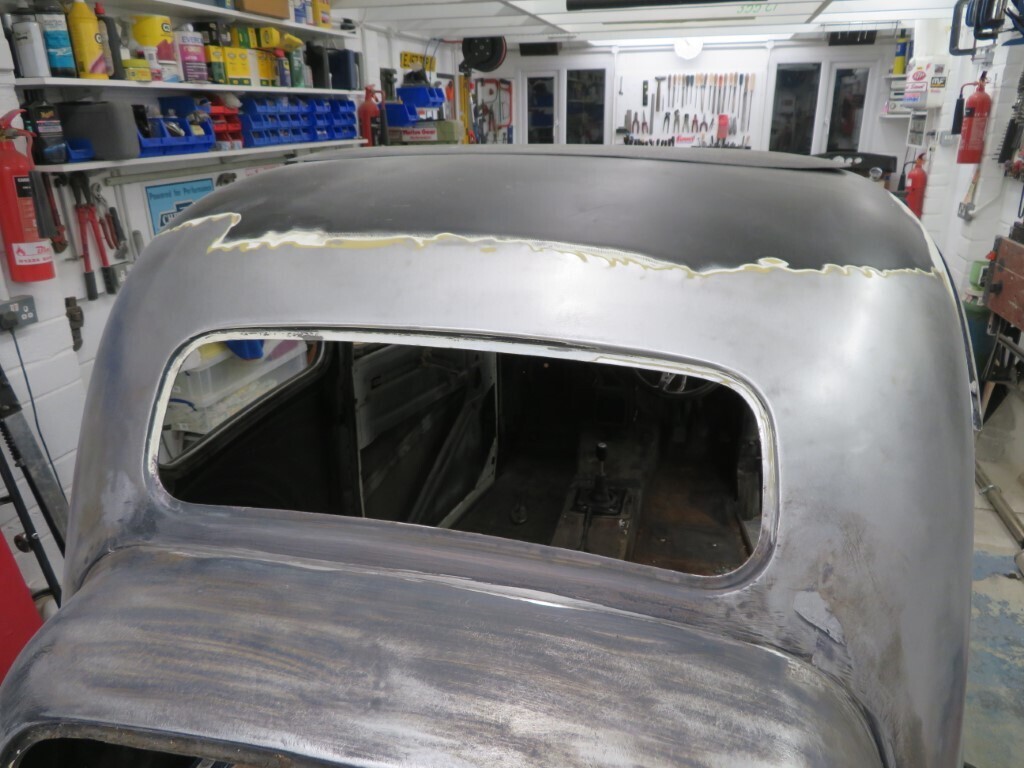 Then spent some time trying to see where the door interferes with the A post. Think I've worked it out now, Phil had new lower A post sections welded in, but the guy has welded them a bit too far outwards so the door is pressing directly onto metal at the bottom front corner. I'll photo the issue over the weekend, but I think the solution is to slice the A post open to create about a 5mm gap, then close it up and weld it back together. 32 hours |
| |
|
|
|
|
vulgalour
Club Retro Rides Member
Posts: 7,283
Club RR Member Number: 146
|
|
|
|
|
It's remarkable how not-rusty this car is.
|
| |
|
|
|
|
|
|
|
|
It has a few bad areas, but those were mostly done by the rod shop before me. I'll need to revisit some of the repairs as they still have some holes next to them.
In general it's pretty amazing really seeing as its been on the road for so long and is certainly used a lot by Phil. The floors and tunnel are new steel (in 1979!) and are pretty good apart from all the bl00dy drill holes all over them!
|
| |
|
|
|
|
|
|
|
|
How are the gutters Mark? Nightmare repair!
Sandra's were done by Fintan Ellis, when I spoke to him he said that was the last ones he would do due to the time and cost.
|
| |
Proton Jumbuck-deceased :-(
2005 Kia Sorento the parts hauling heap
V8 Humber Hawk
1948 Standard12 pickup SOLD
1953 Pop build (wifey's BIVA build).
|
|
|
|
|
Mar 12, 2021 10:44:50 GMT
|
|
Gutters look to be excellent - first place I looked!!
There is a skim of filler over the outside join - not sure if that's new from the rodshop or historic. Inside of roof in the gutters all looks good though.
|
| |
|
|
|
|
|
Mar 13, 2021 21:48:25 GMT
|
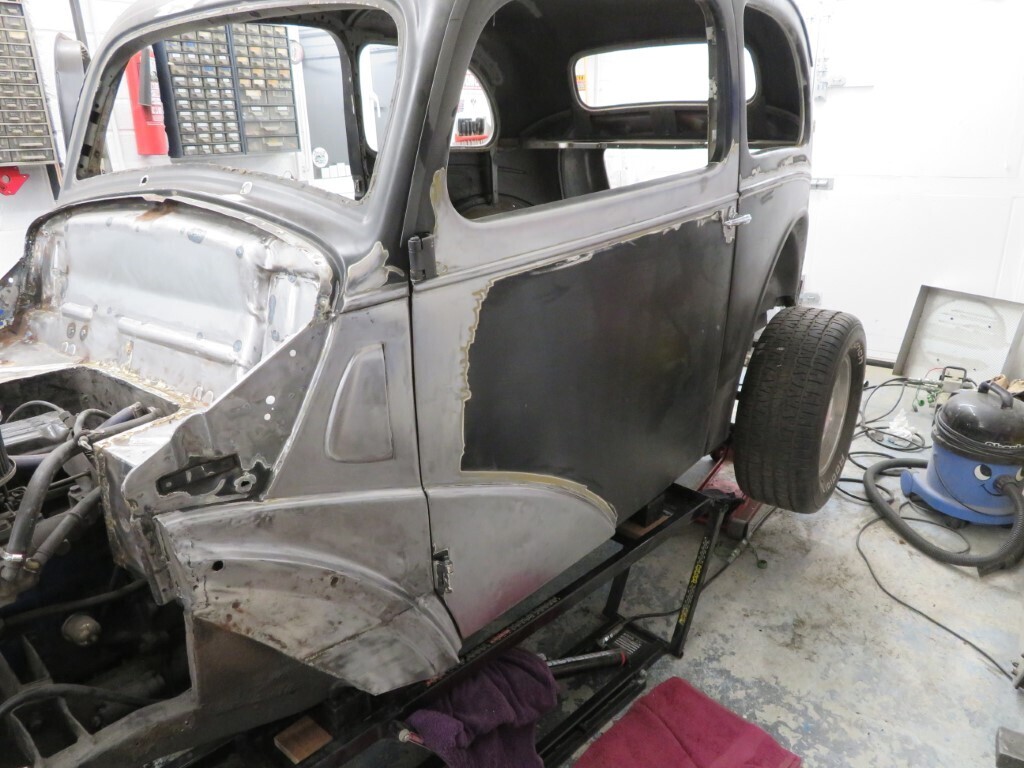
Had a night off last night, but started back on it today. Phil came over to help and we got a fair bit done today. Looking at the photos there is not a lot of visual progress to show you though. I stripped a bit more paint off the passenger side before Phil arrived; Then I tasked Phil to remove the steering column and the pedal box and brake master cylinder. Very empty inside now!
This will make it easier to get into the footwell to do some welding as well as protecting the stainless column for welding & grinding spatter.
We got the car up on the hydraulic jacks and spent some time working on the drivers door to see where the interference was. I an very pleased to say that with some grinding of welds and some hinge adjustment the door now closes with no more interference fit. It will still need some surgery to allow enough clearance for paint and a door seal but I now know where it is needed and the A post can be left alone.
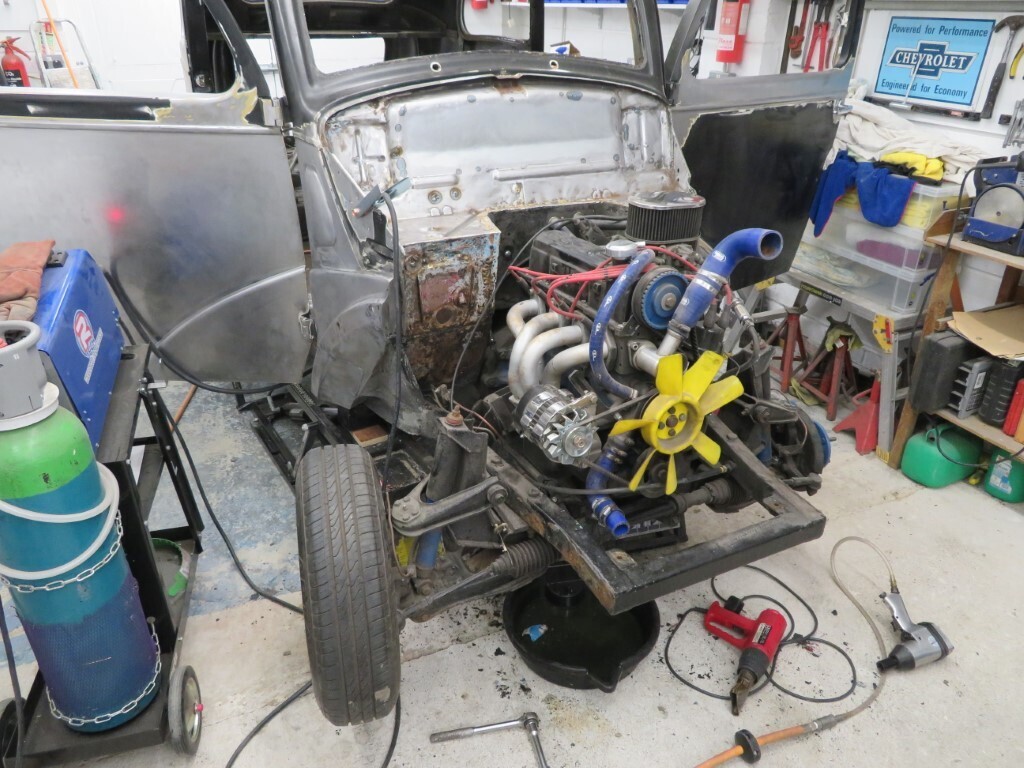
We then drained the engine coolant and removed the radiator ready for engine removal next week.
Next we spent some time welding up yet more pinholes in the bulkhead, Phil with a powerful lamp on the outside with me looking for light holes on the inside & welding them up. We then worked together to weld up lots more drill/bolt holes in the bulkhead, again Phil on the inside holding the steel filler peices or the copper block depending on the hole size.
We then moved on to the floor doing yet more holes! We did not finish as we have run out of steel discs to weld in the holes, I'll need to punch more out next week.
Lastly Phil removed the front wheels to sort a slow puncture and to get a tyre reversed as it was fitted with the tread pattern backwards.
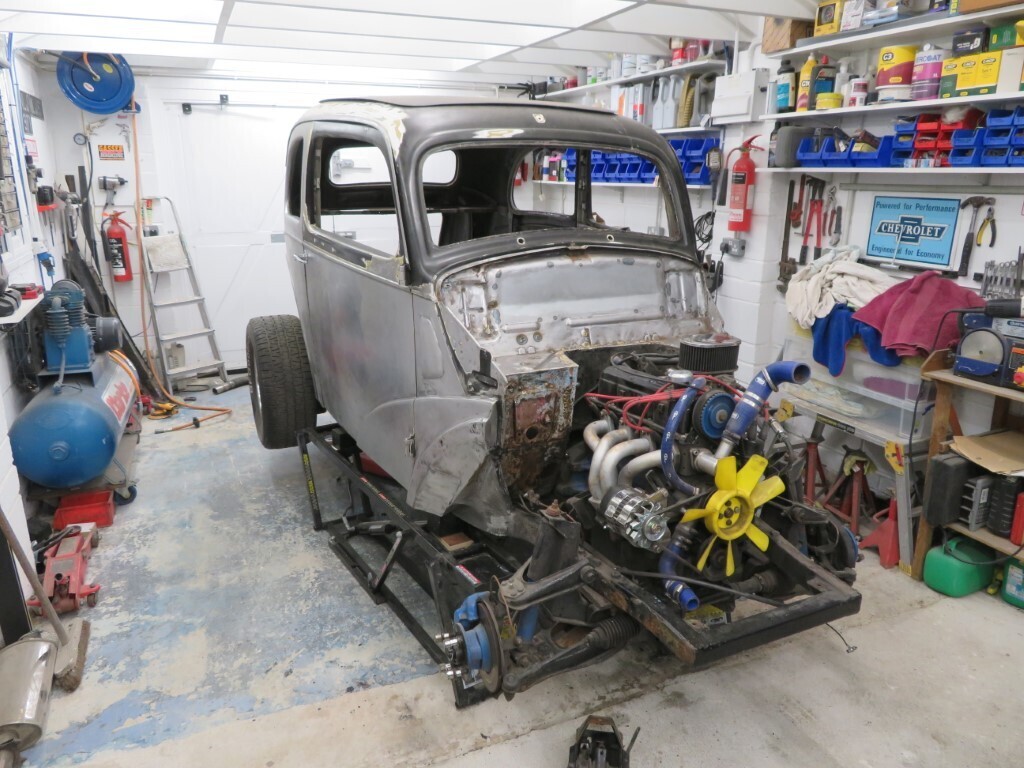
Not a lot of car left now;
More progress tomorrow.
38.5 hours
|
| |
|
|
|
|
|
Mar 14, 2021 12:13:27 GMT
|
|
Excellent work,
Really enjoying this thread,
Nigel
|
| |
BMW E39 525i Sport
BMW E46 320d Sport Touring (now sold on.)
BMW E30 325 Touring (now sold on.)
BMW E30 320 Cabriolet (Project car - currently for sale.)
|
|
|
|
|
Mar 14, 2021 19:46:14 GMT
|
Thanks Nigel, its good to get feedback. Todays job was the roof. As it started, the gutter around the fabric needed trimming back for clearance so the fibreglass replacement panel would lay flat against the roof. 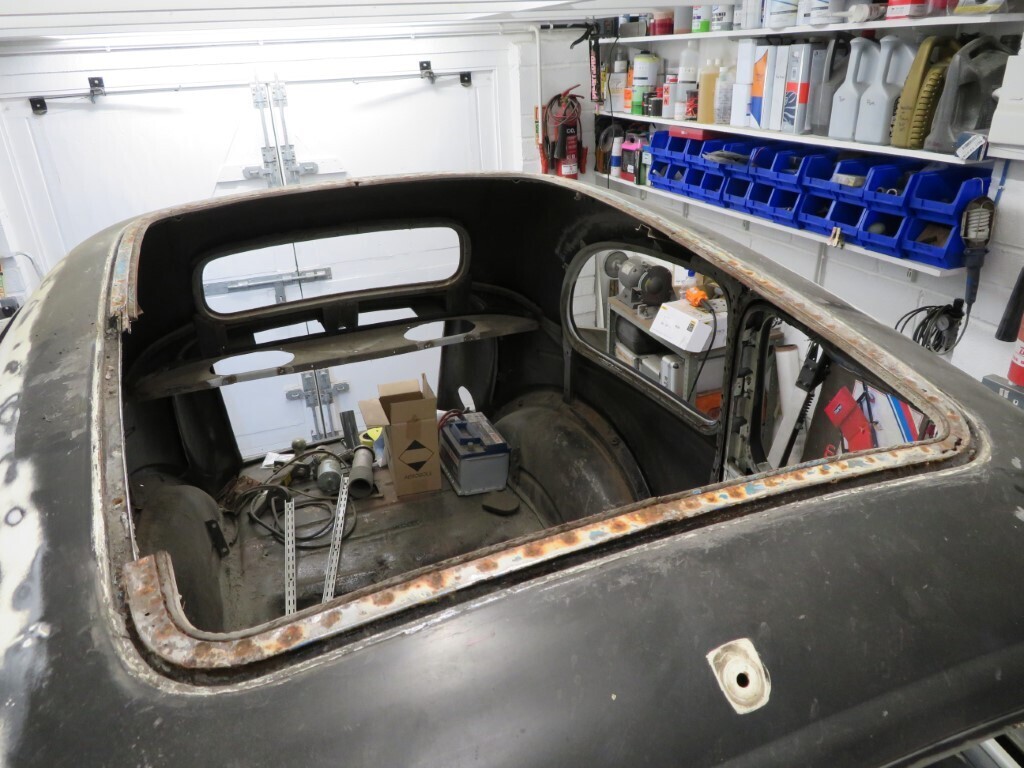 Grindy grindy, noisy noisy, gutter is now on the floor; 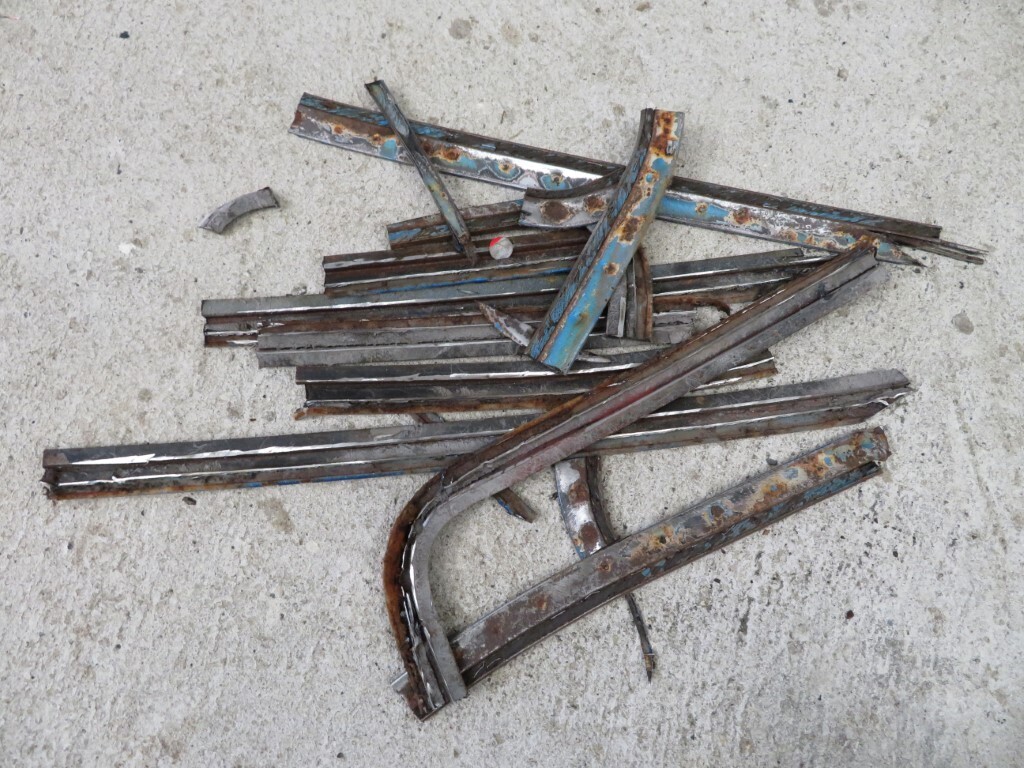 We now find the rust I was expecting to find on a car of ths age, the edge of the roof & roof insert gutters are in poor shape; 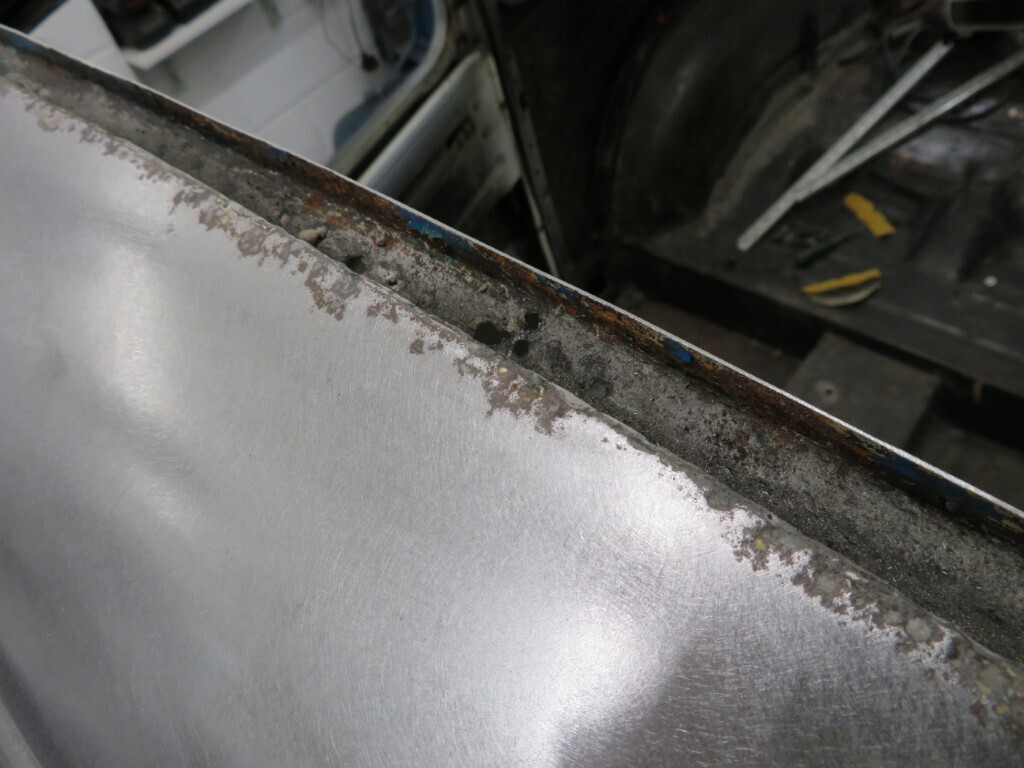 There was no way Phil could have kept the original insert, this is just a small section I have cleaned, the rest is not much better; 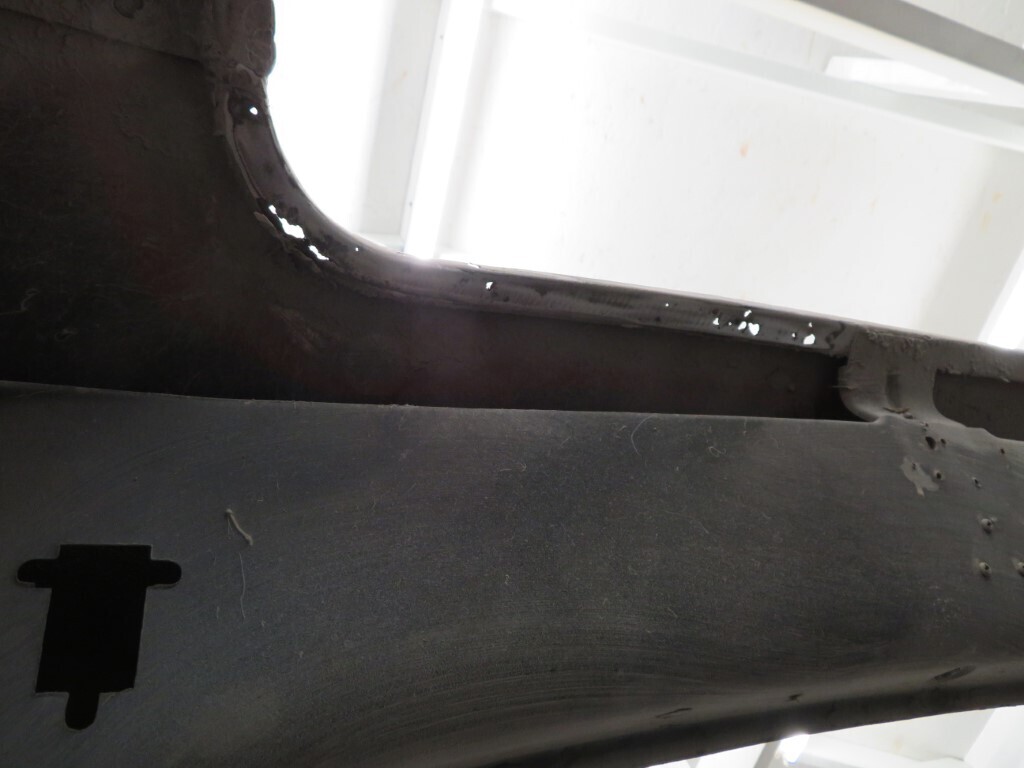 The new fibreglass 'fake' vinyl roof cover the gutters by approx 1" all around the roof so thankfully all we need to do is fully neutralise the existing rust and paint it as it will be under the new panel. This will be bonded to the roof with PU adhesive so will be fully waterproof. I then stripped all the paint off the roof; 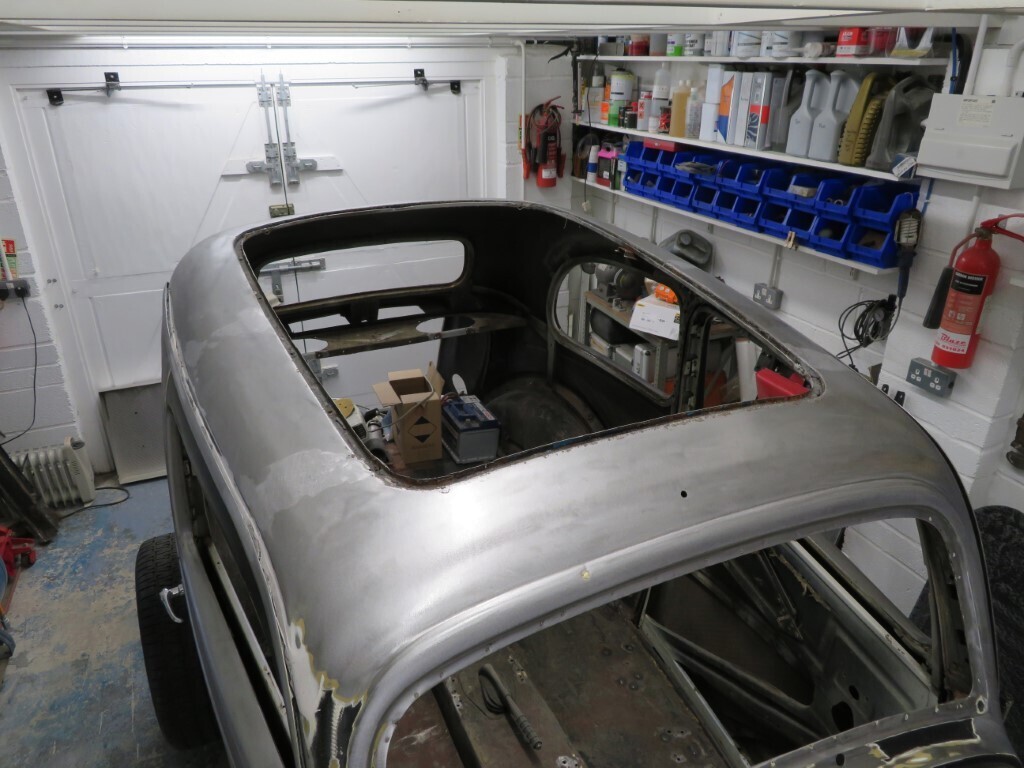 Which exposed the original seams with the lead loading on top; 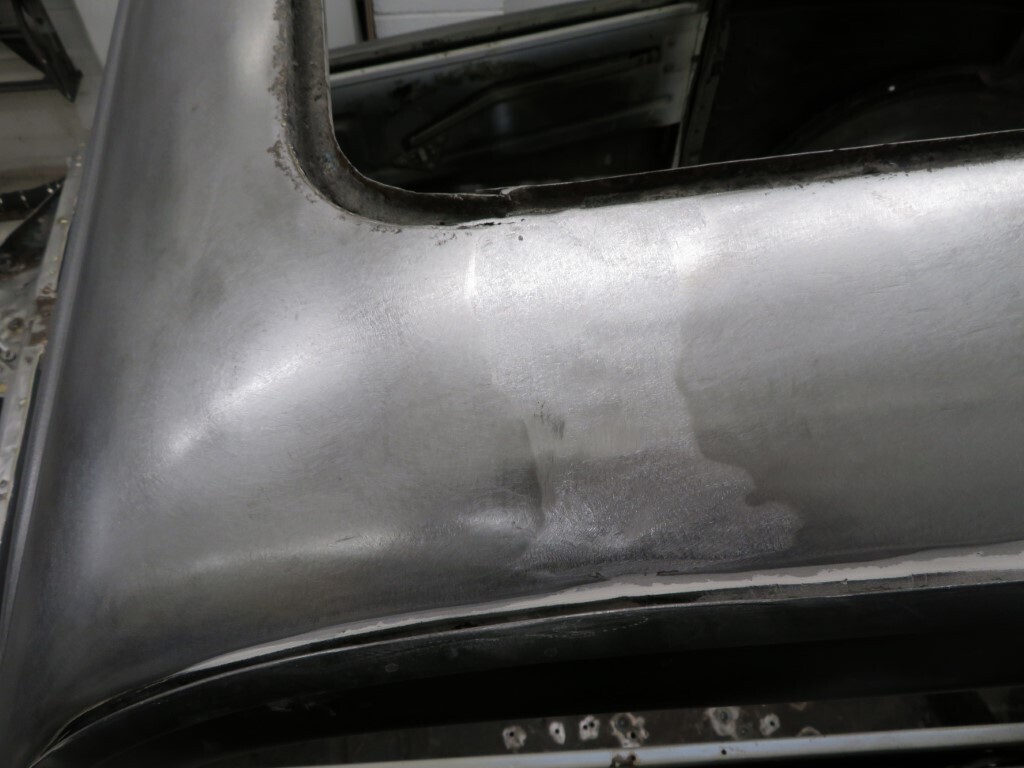 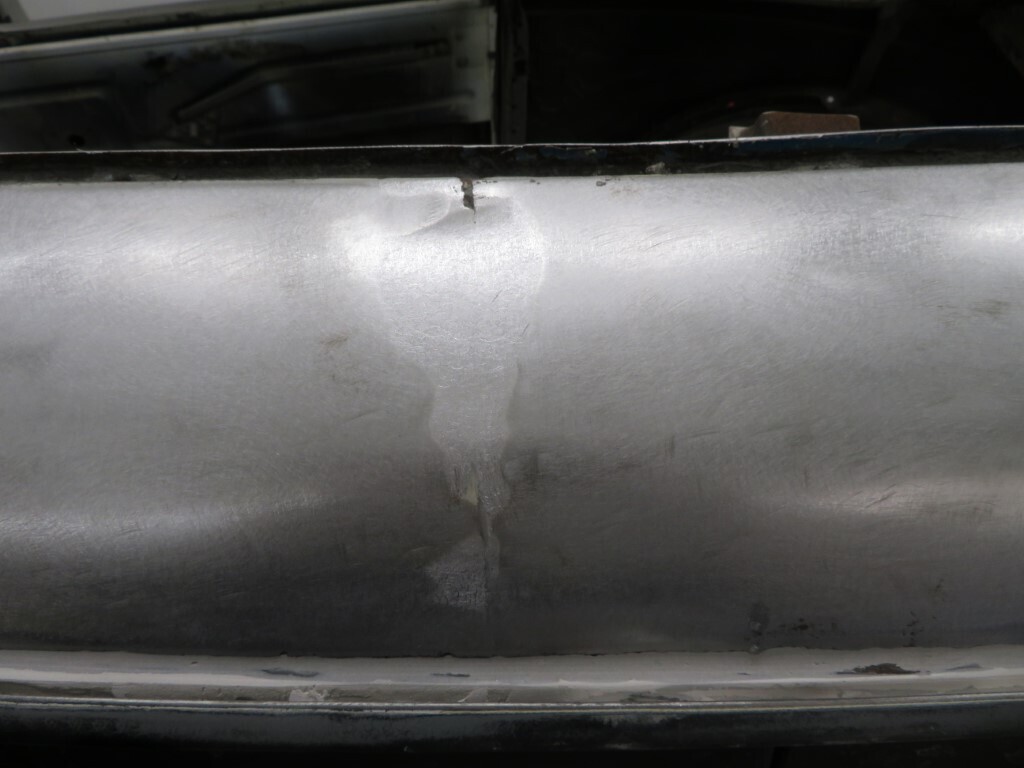 Rear all stripped of paint; 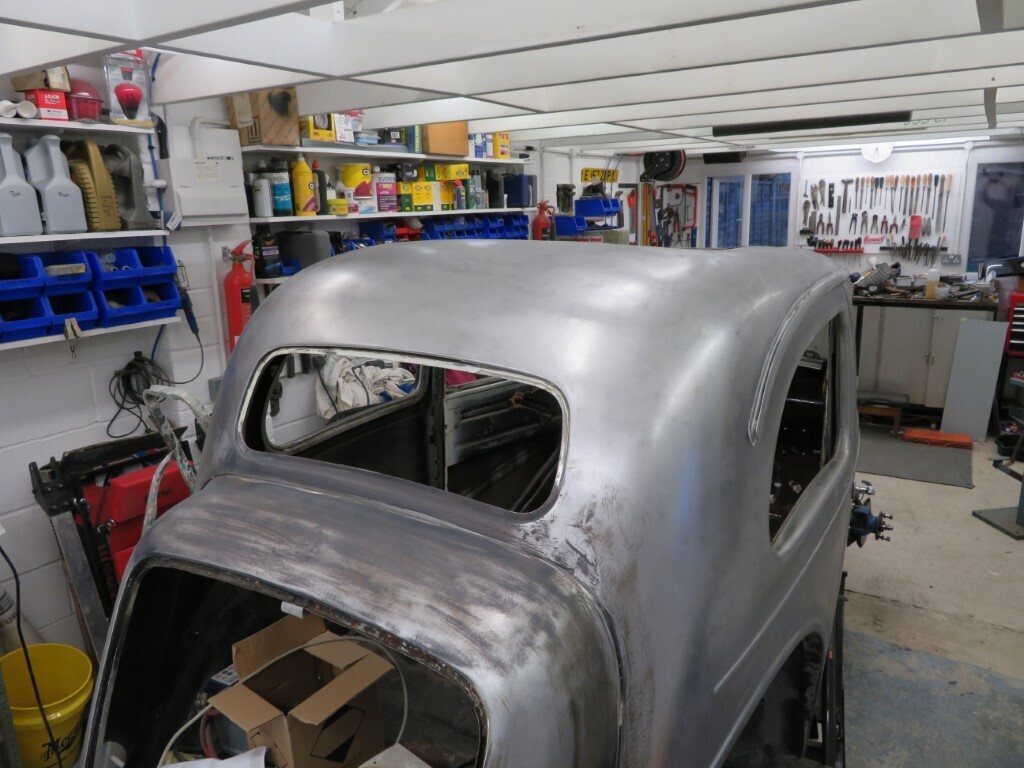 And the new roof panel with the edge seal trial fitted on the roof; 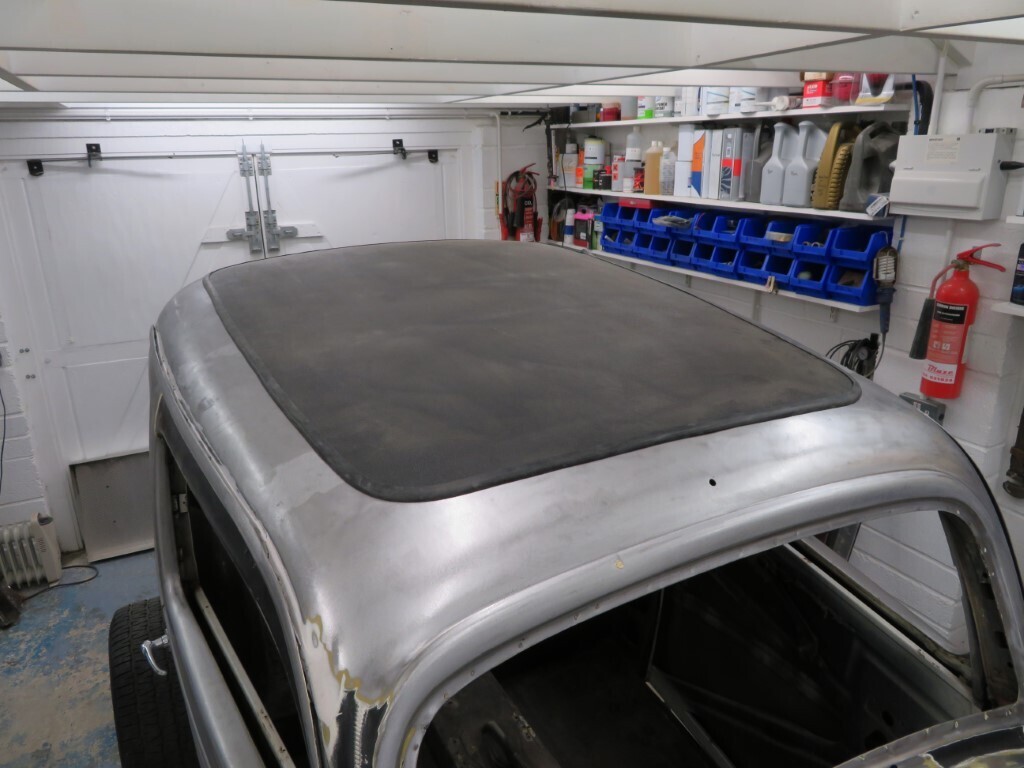 I then finished stripping the paint on the drivers side - all completed now apart from a few corners the stripping wheel wont fit into. 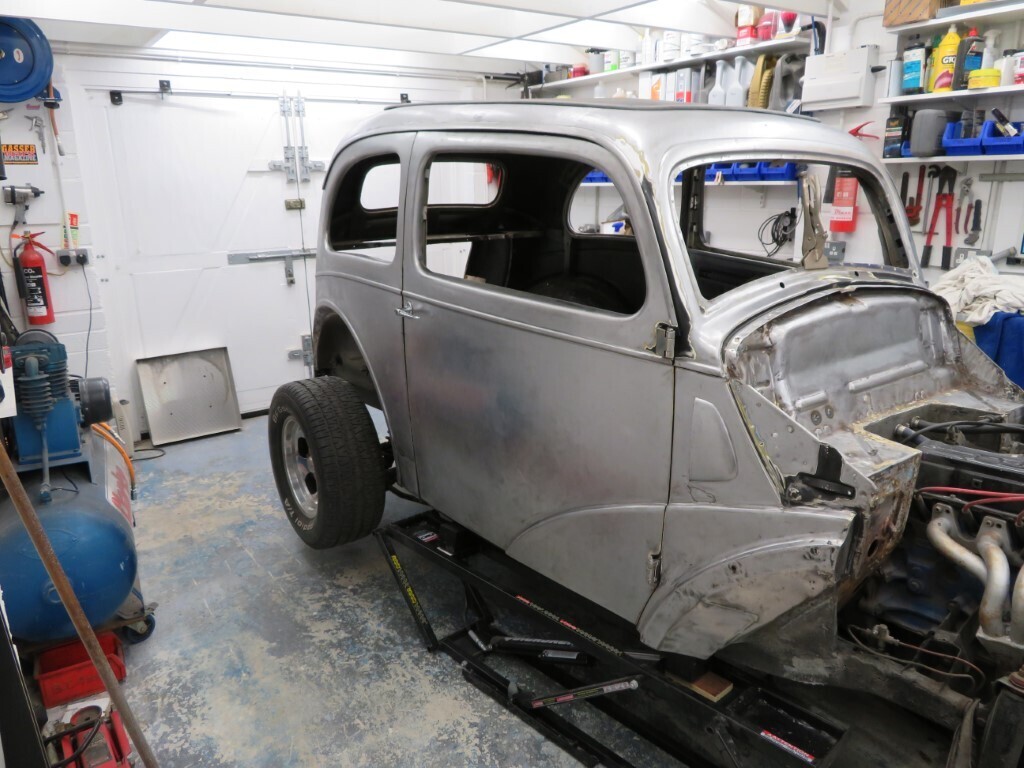 Shiny door  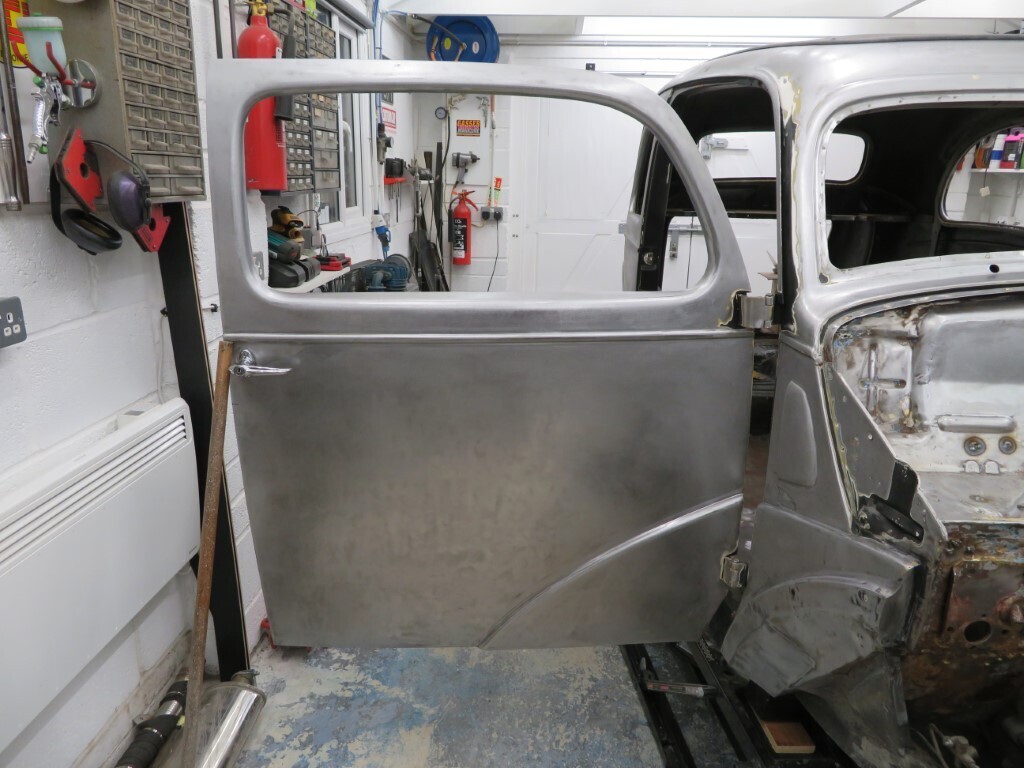 Dash is trial fitted to see where it needs trimming to to sit flatter against the car; 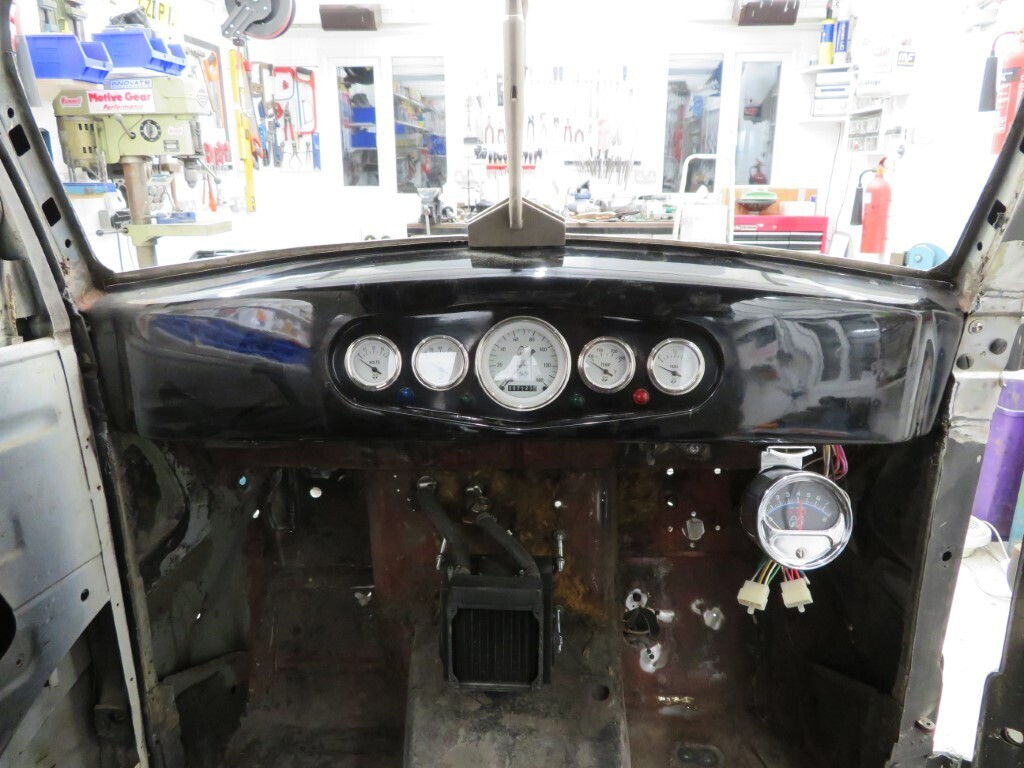 I have now used 4.5 polystrip discs to get to this point, got another 5 on order which will finish the car hopefully. Feel free to ask any questions. 42.5 hours |
| |
|
|
|
|
|
Mar 14, 2021 19:52:42 GMT
|
|
This body is far cleaner than I´d have expected. Should make things a bit easier for paint.
|
| |
|
|
Darkspeed
Club Retro Rides Member
Posts: 4,878
Club RR Member Number: 39
|
|
Mar 14, 2021 19:58:38 GMT
|
|
Just a quick Q - How are you finding that R Tech inverter welder compared to your old traditional transformer one?
|
| |
|
|
75swb
Beta Tester
Posts: 1,052
Club RR Member Number: 181
|
|
Mar 14, 2021 20:19:02 GMT
|
|
Wow, this is so clean. I know it's not appropriate for the build style, but clearcoat and roll without paint would be very tempting. I can't believe the amount of holes to weld up either. Stirling work
|
| |
|
|
|
|
|
Mar 14, 2021 21:04:51 GMT
|
|
You're doing fantastic work, it's such a fascinating read!
|
| |
|
|
|
|
|
Mar 14, 2021 21:38:30 GMT
|
|
Thanks all.
Andrew the welder is so much easier to use. I think I would have struggled big time on the bulkhead with the old one. The Eurotorch & hose is heavier than my old one so that is not quite so delicate but the beauty of the new welder is the infinitely variable power control. If it punches a hole in the metal I can just turn the power down a tiny bit until it welds properly again. The old unit would have just burnt holes in it.
|
| |
|
|
stealthstylz
Club Retro Rides Member
Posts: 14,959
Club RR Member Number: 174
|
|
Mar 14, 2021 22:07:43 GMT
|
|
Top work Mark. Is there any "good technique" with the Poly Strip disks? After seeing this thread I've bought some cheapies off ebay as I want to strip the paint off my Jeep and graffiti paint is a pig to flat off with sandpaper.
|
| |
|
|
|
|
|
Mar 14, 2021 22:19:29 GMT
|
|
stealthstylz, not really, I do the sharp profiles and corners with brand new discs as the edges are still square so they get into the angles better.
Then just let the disc do the work, bit like using a flapwheel -just keep it moving and the pressure fairly light.They do scratch the metal a little bit so I have gone over it after with the Da and a 40 grit pad to smooth it out.
The paint on this car is pretty thick and is a bit cloggy until I get through to the sand coloured primer - which is really tough! Not sure if it's 2 pack paint as it was painted in the early 90's - was 2 pack around then?
I bought off ebay as well - paid £22.40 for 5 discs.
|
| |
|
|
|
|
|
|
|
|
What do you use in the hard to access bits?
I've removed most of the paint on my panels using strip discs, but had a horrible time trying to control a brush cup in a drill to get in to the awkward bits.
I don't want to use a knot wheel as it bends everything out of shape as soon as it catches am edge.
|
| |
|
|
|
|
|
|
|
Hard to access bit are down to old fashioned hand sanding. An old woodworking chisel can be used carefully to scrape off the thicker paint, but unfortunately the rest is manual labour  |
| |
|
|
Norman
Part of things
 
Posts: 449 
|
|
Mar 15, 2021 10:08:48 GMT
|
|
Hi Mark, You are getting on well with this, you have have it finished in no time ha ha. Thanks for sharing your techniques and product information. Looking forward to the next update. All the best, Norman
|
| |
|
|
|
|
|
Mar 15, 2021 13:30:44 GMT
|
|
Thanks Norman.
|
| |
|
|
|
|
|
Mar 15, 2021 18:42:25 GMT
|
|
I use a power file for hard to acces areas. A really handy tool also for cleaning metal in preperation for welding. Had a few Black and Decker ones but these do not last very long. then bought a Makita which lasts a long time already.
Good progress by the way!
Peter
|
| |
Last Edit: Mar 15, 2021 18:43:02 GMT by petervdv
|
|

 Well, this side doesen't - the other side & the gearbox tunnel still do!


 Well, this side doesen't - the other side & the gearbox tunnel still do!


