|
|
|
Sept 25, 2020 3:49:09 GMT
|
|
Does your wheelie bar come off to tow the trailer?
Would it be much more time under the car to swap/bolt on the roll bar or drop links if you're already messing around with it once you get to the track?
Some great shots there.
The one of the body roll reminds me of a big dog shaking off the wet haha.
|
| |
|
|
|
|
|
|
|
Sept 25, 2020 10:44:27 GMT
|
|
Varelse, no the trailer fits over the wheelie bars.
That is one option to fit the ARB for the track only, and is certainly a sensible one.
There are some other options to try as well, I can drop the top links down at the front changing the instant centre, this will also limit some of the twist by a small amount - combined with winding the shock stiffness up on that side may be a solution. Will have to try it out and see.
Another option would be to fit a diagonal link on the bottom bars (for track only) as it used to have one of these before I changed it to a panhard rod - and if I jacked the axle up on one side when it was fitted the other side came up as well as it really limited roll.
This does put huge stress on the diagonal link and they (on the road) break eventually, but it would be a cheaper option than the ARB and quite quick to bolt in at the track as its only 2 bolts.
|
| |
|
|
foxy99
Posted a lot
  
Posts: 1,453
|
|
Sept 25, 2020 13:15:52 GMT
|
|
I've not looked at this thread for years but do remember there were some BIVA/SIVA issues and I didn't keep up with it (sorry) but see you have a Q-plate.
Tbh I thinks that's pretty cool and if you can still have black plates with a Q-plate I may go this route with a 1970 motorbike I've built from parts. Can't get an age-related number as there is no frame number but a Q would be cool
|
| |
1974 Daimler Double-Six VDP
1965/67 Hillman Imp pick-up
1984 VW Polo breadvan
1970s Yamaha Twins (4)
1976 Honda SS50ZK1
|
|
|
|
|
Sept 25, 2020 13:33:12 GMT
|
|
Pm sent Mark ;-)
|
| |
96 E320 W210 Wafter - on 18" split Mono's - Sold :-(
10 Kia Ceed Sportwagon - Our new daily
03 Import Forester STi - Sold
98 W140 CL500 AMG - Brutal weekend bruiser! Sold :-(
99 E240 S210 Barge - Now sold
02 Accord 2.0SE - wife's old daily - gone in PX
88 P100 2.9efi Custom - Sold
|
|
|
|
|
Sept 25, 2020 18:18:39 GMT
|
|
There are some truly (over used but justified here) epic photos in the last 3 pages (especially).
The burnout and launch ones are just the type to frame and put on the wall.
Very cool.
|
| |
|
|
|
|
|
Sept 25, 2020 21:55:58 GMT
|
I've not looked at this thread for years but do remember there were some BIVA/SIVA issues and I didn't keep up with it (sorry) but see you have a Q-plate. Tbh I thinks that's pretty cool and if you can still have black plates with a Q-plate I may go this route with a 1970 motorbike I've built from parts. Can't get an age-related number as there is no frame number but a Q would be cool Black & silver are not entirely....ahem...legal  but everyone expects that colour plate on an old car  |
| |
|
|
mk2cossie
Club Retro Rides Member
Posts: 3,060  Club RR Member Number: 77
|
|
Sept 26, 2020 0:19:56 GMT
|
I've not looked at this thread for years but do remember there were some BIVA/SIVA issues and I didn't keep up with it (sorry) but see you have a Q-plate. Tbh I thinks that's pretty cool and if you can still have black plates with a Q-plate I may go this route with a 1970 motorbike I've built from parts. Can't get an age-related number as there is no frame number but a Q would be cool Black & silver are not entirely....ahem...legal  but everyone expects that colour plate on an old car  Unless you are a git and an MOT tester  |
| |
|
|
|
|
|
Oct 11, 2020 17:03:22 GMT
|
I've not looked at the car since I parked it in the garage 3 weeks ago, but thought I'd give it a clean today. Hmmm - it seems to have furry bottoms of the rear wings - further investigation shows it now has a good coating of tyre all over the inner arches! It's very sticky and does not come off easily. 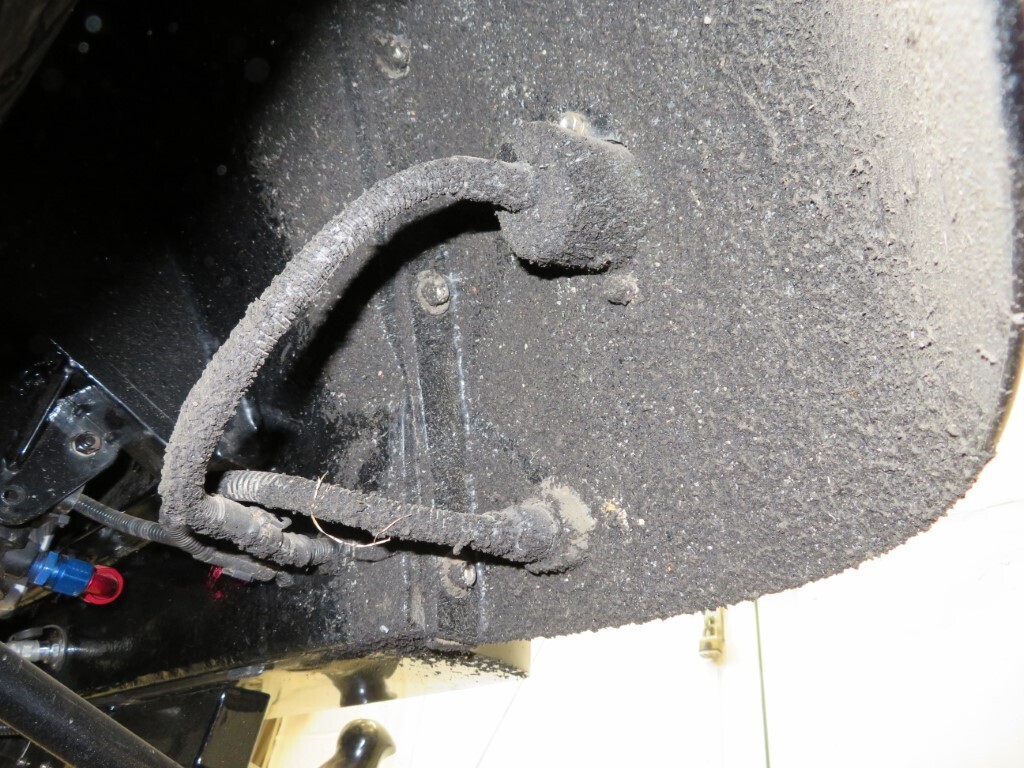 A few minutes of picking saw a small amount cleared off one section; 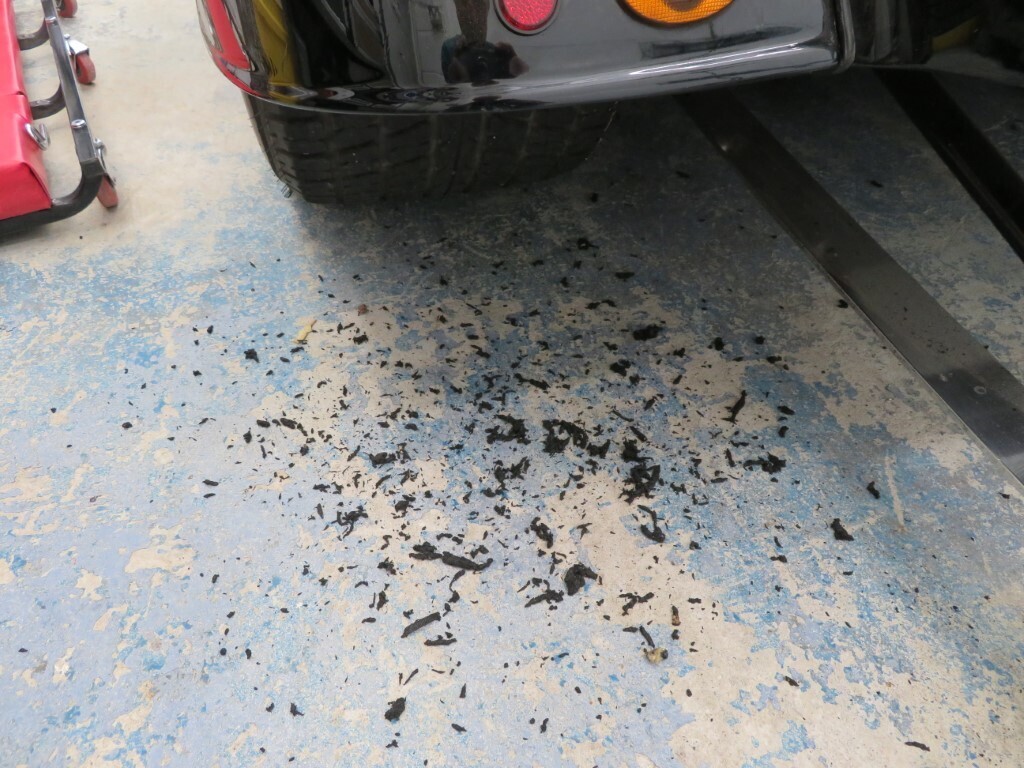 That's probably about a £100 worth, lol! I will have to remove the rear wheels and spend a couple of evenings scraping it all off. |
| |
|
|
brc76
RR Helper
Posts: 1,108 
|
|
Oct 11, 2020 18:56:28 GMT
|
|
Does melted rubber help with corrosion resistance?
That's how it got there isn't it?
|
| |
Last Edit: Oct 11, 2020 18:57:02 GMT by brc76
|
|
BLU
Part of things
 
Posts: 347
|
|
|
|
Free stonechip!  |
| |
Last Edit: Oct 14, 2020 9:23:18 GMT by BLU
The future's bright, the future's BLU
Silver 1987 MK2 Fiesta Ghia
White 2006 MK6 Fiesta ST150
Yellow 2007 MK6 Fiesta Zetec S Anniversary #279
Green 2007 MK6 Fiesta Zetec S Celebration #471 (diesel conversion)
Red 2008 MK6 Fiesta Zetec S Anniversary #893
|
|
|
|
|
Oct 14, 2020 12:14:28 GMT
|
|
You need some Teflon on the inside of the arches!
Also makes me wonder what effect the same type of controlled reaction suspension like in the Xantia Activa would have in controlling torque twist.
I imagine it would work and also retain the driveability.
Don't think the rules would let though...
|
| |
|
|
|
|
|
Oct 14, 2020 14:01:52 GMT
|
|
You could save the rubber and make yourself another set of tyres!
|
| |
1966 Ford Cortina GT
2018 Ford Fiesta ST
Full time engineer, part time waffler on Youtube - see Jim_Builds
|
|
|
|
|
|
|
It took another 3 hours to clean all the rubber off -had to use panel wipe solvent in the end. Turns out is was so sticky & hard to remove as a lot of it was the track prep adhesive. It was like the wheel arches had been coated in evo stick and then burnt rubber. If I race it again I think I'll coat the inner arches with vaseline or something first so it can all wipe off. Anyway.......... had a little accident on that weekend with the trailer - misjudged the distance and the trailer hit the back of the car....oops  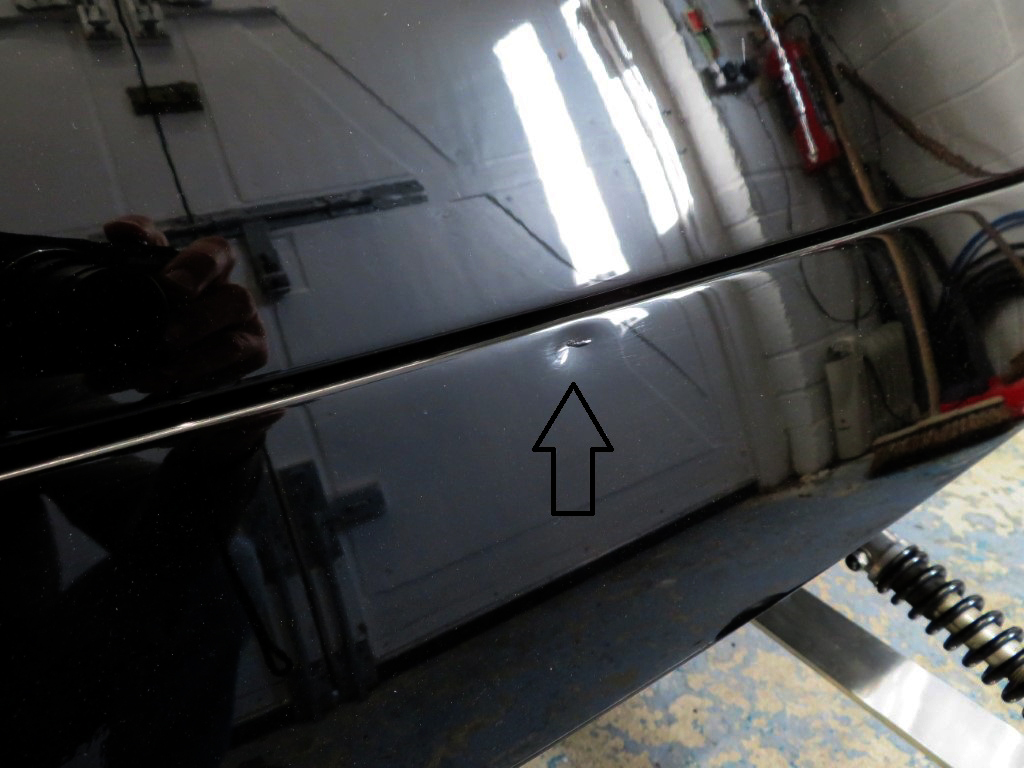 Fairly easy fix to do, but a bit of a pain. Not done a great deal else, changed the oil and need to check the valve lash as a few lifters sound slightly noiser that I think they ought to. |
| |
|
|
|
|
|
Nov 22, 2020 16:50:22 GMT
|
Bored, bored, bored!!! So bored I thought I'd do the bodywork. So a little bit of rubbing down and some filler goes on. 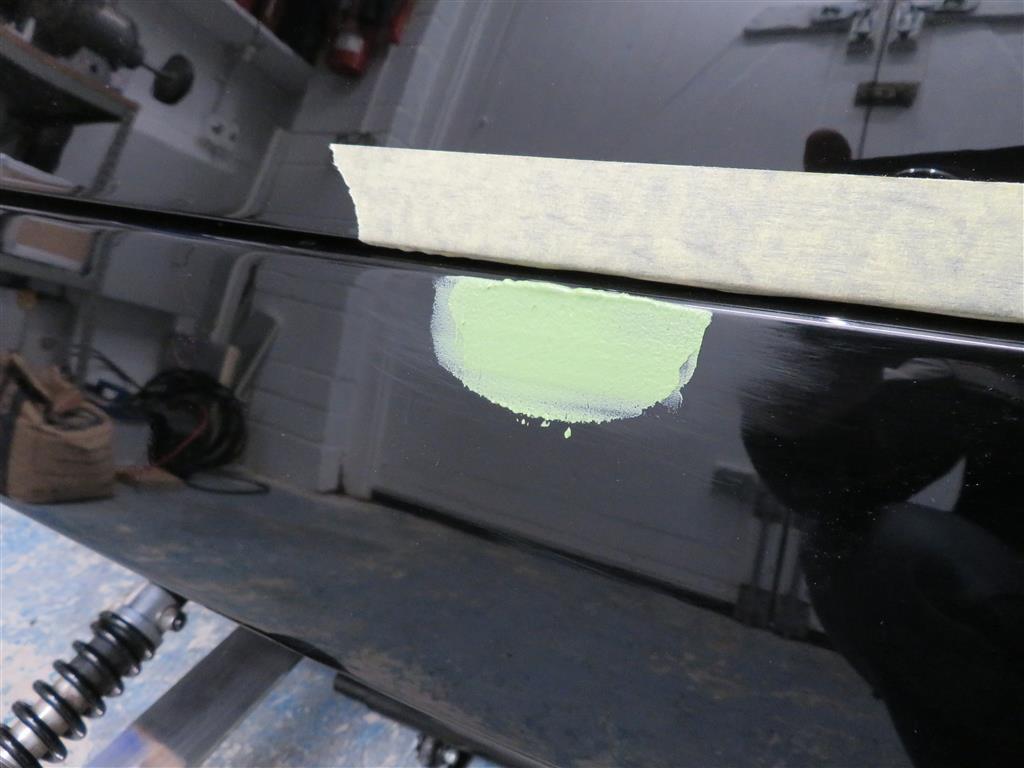 A long time ago I cracked the front, its been left a couple of years but it needed doing so bit the bullet and made a start. This is the damage, maybe a bit difficult to see in a photo; 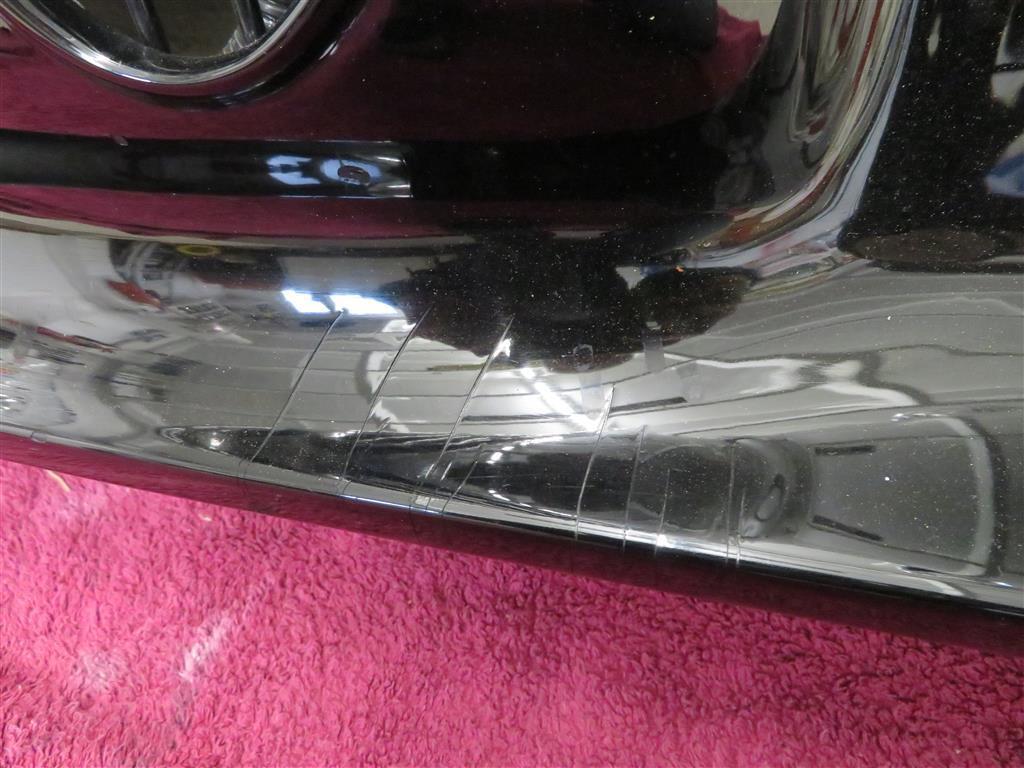 Using a ball grinder in the Dremel I ground out the cracks to about 3mm deep; 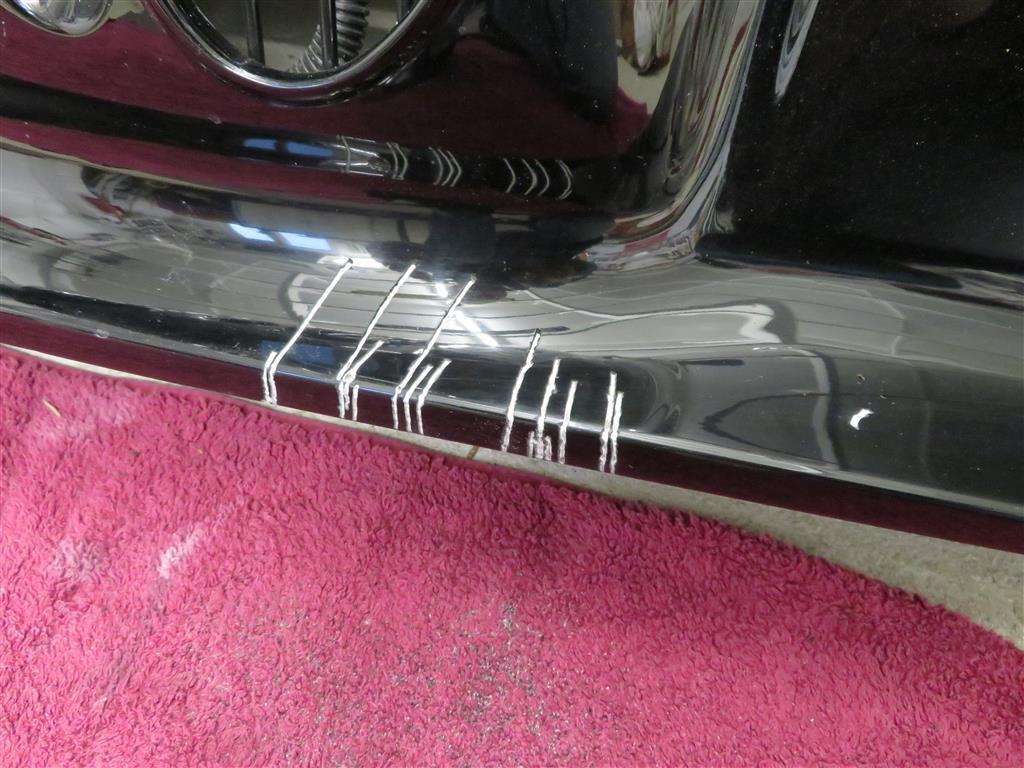 It's a bit more obvious where the damage is now. Then I mixed up some flowcoat (basically Gelcoat but with a wax in it which makes the gelcoat dry without it being airtight). This was carefully added into the cracks with a scriber, once the wax is cleaned off the rest can be filled with a thin skim of filler. Good to see my 20 year old flowcoat still sets fine. 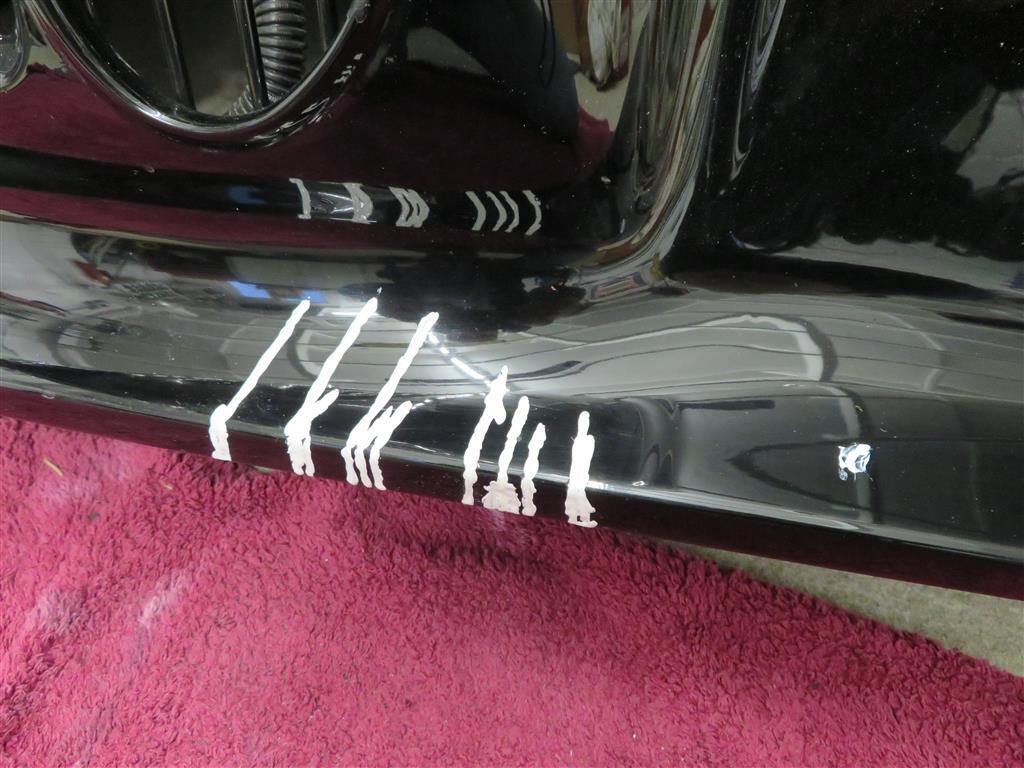 |
| |
|
|
|
|
|
Nov 28, 2020 17:47:16 GMT
|
Not ventured out into garage for a bit, went out for a short while today to do a bit more. Put heaters on and rubbed down the back valence, now ready for primer; 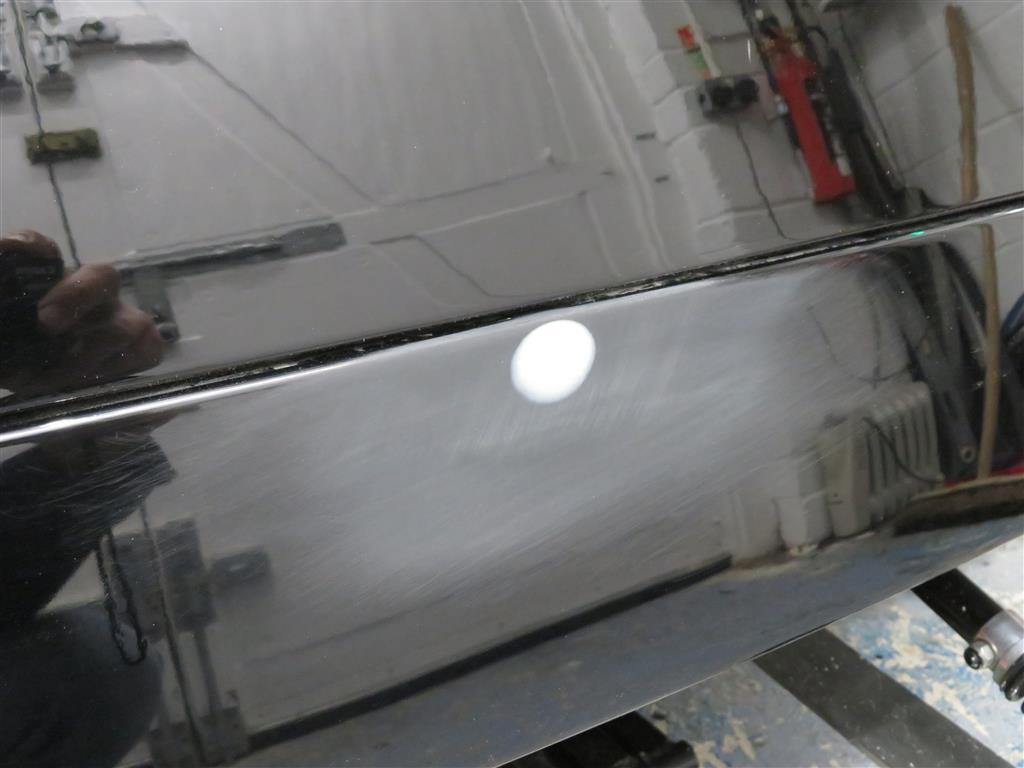 And rubbed the front down and put a thin skim of filler over the grooves. It looks messy as I scraped a lot off before it set so as not to have to sand the paint too much. It will mean another skim will be required but it will damage the surrounding area less. 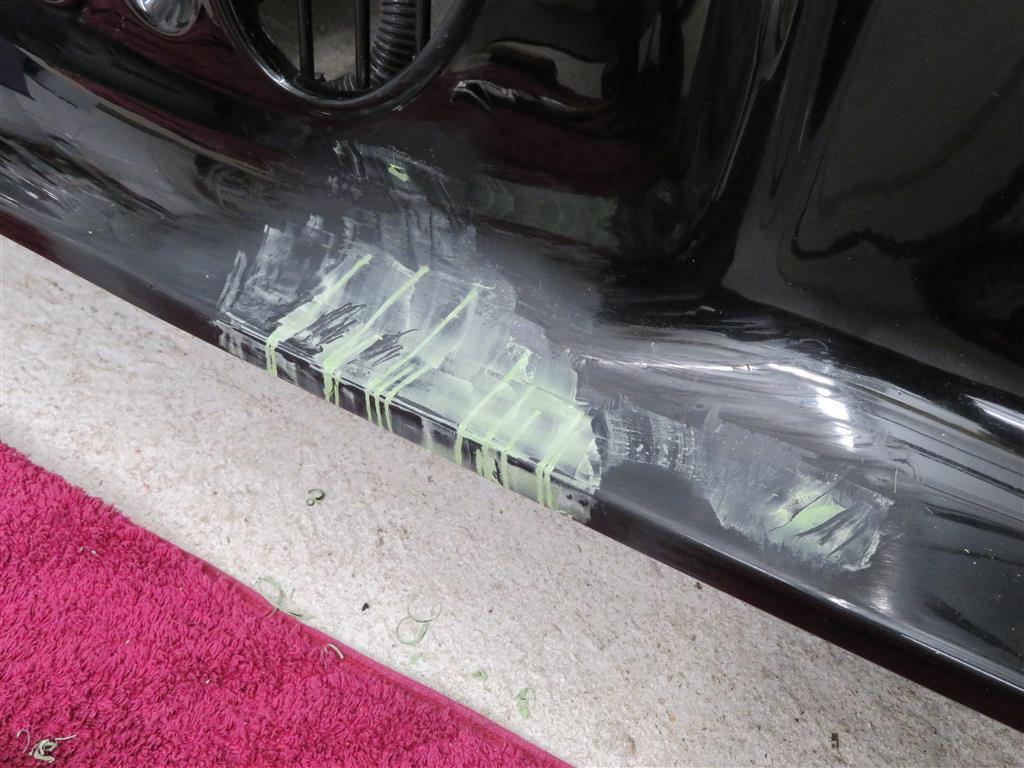 |
| |
Last Edit: Nov 28, 2020 17:48:31 GMT by blackpopracing: Giant brussel sprouts!
|
|
|
|
|
Nov 29, 2020 17:03:11 GMT
|
Rubbed the front down today and although it needs more filler I shot it over with some primer to see better where it needs doing. 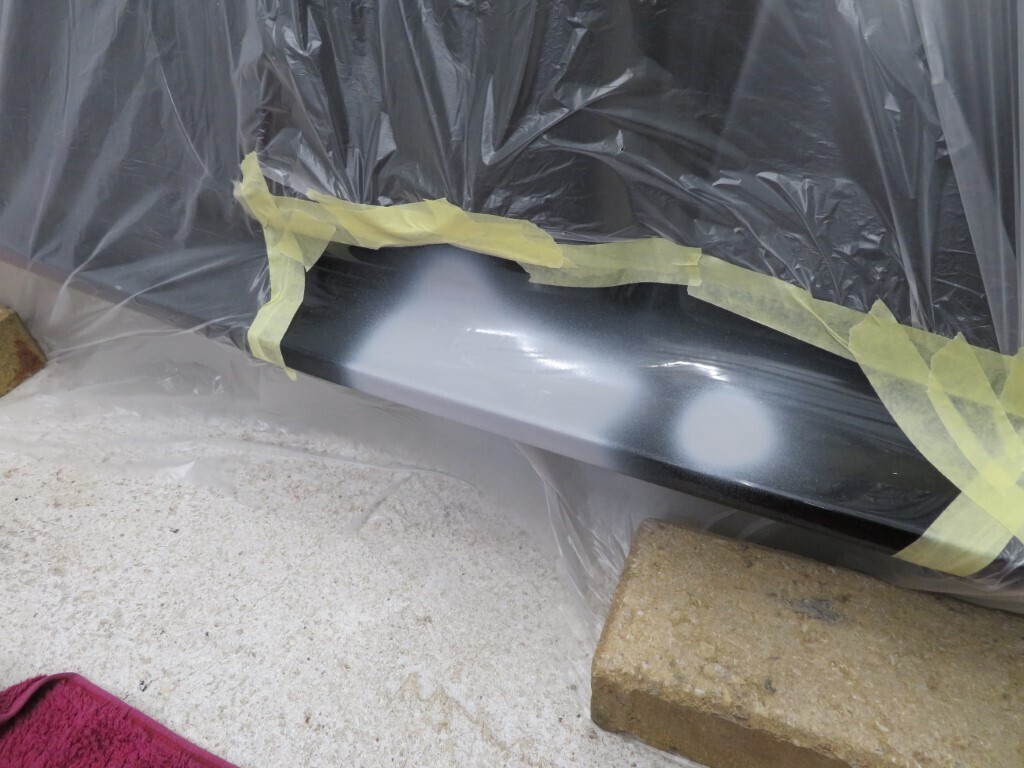 Easy to mask the car with the new sheeting I have - it's clingy so you only have to drape it over the car and it sticks. 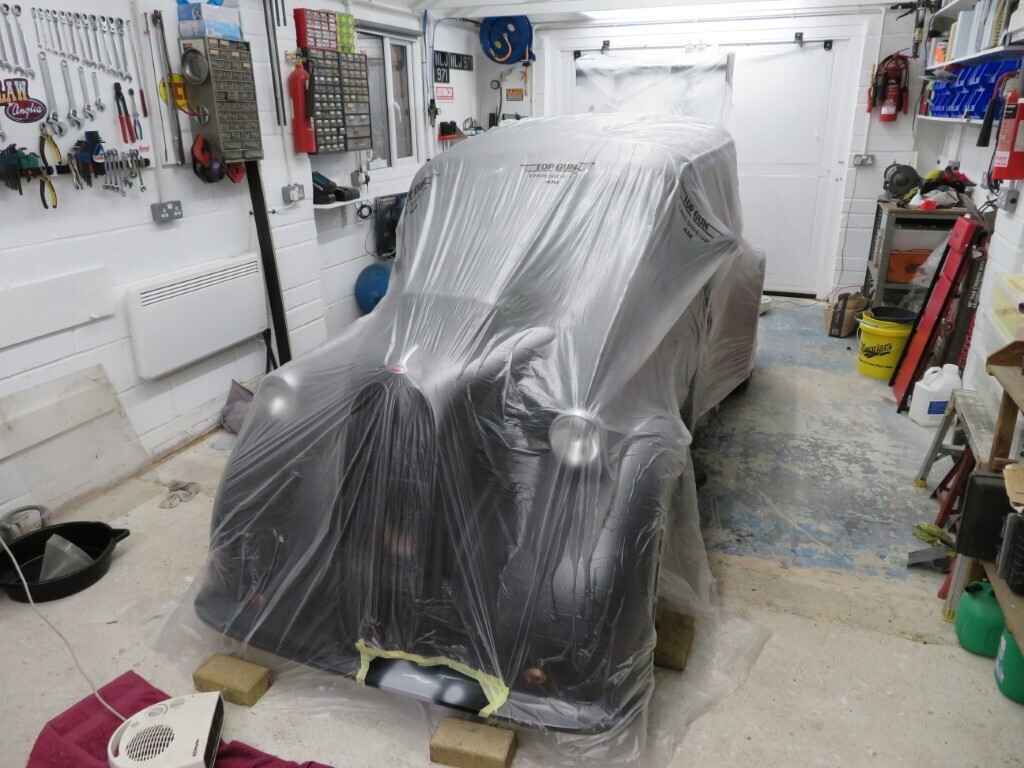 Rear got a coat of primer as well, once rubbed down this will be ready for topcoat. 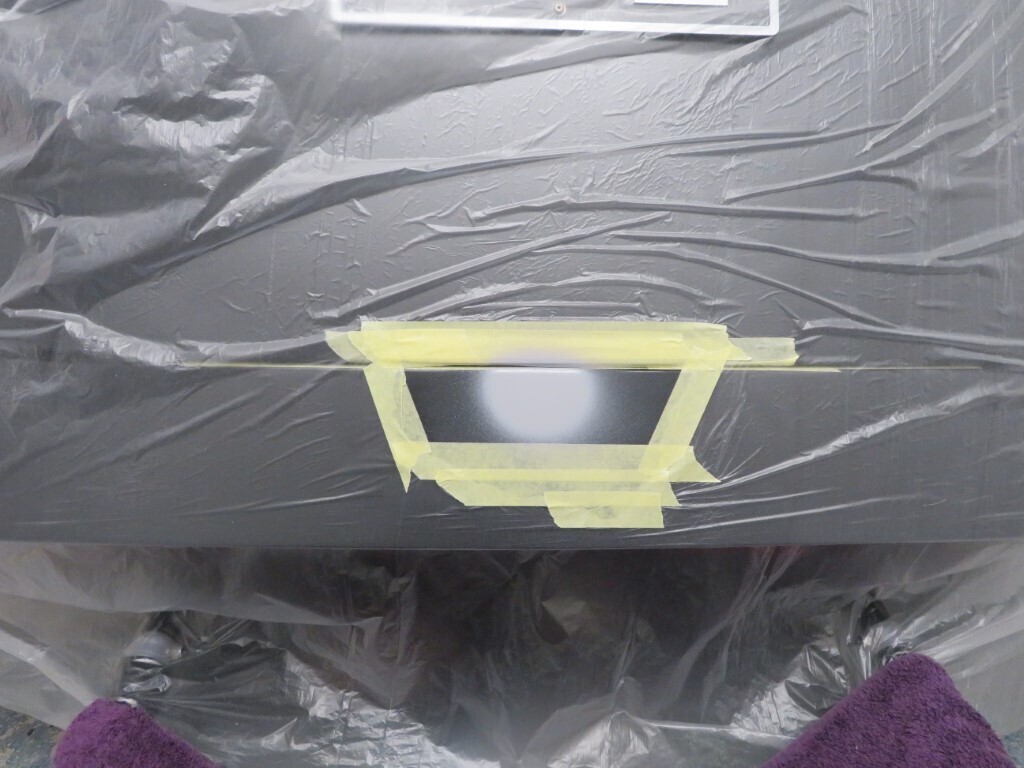 |
| |
|
|
|
|
|
Nov 30, 2020 23:10:42 GMT
|
A bit more rubbing down and the rear is now prepped & ready for paint; 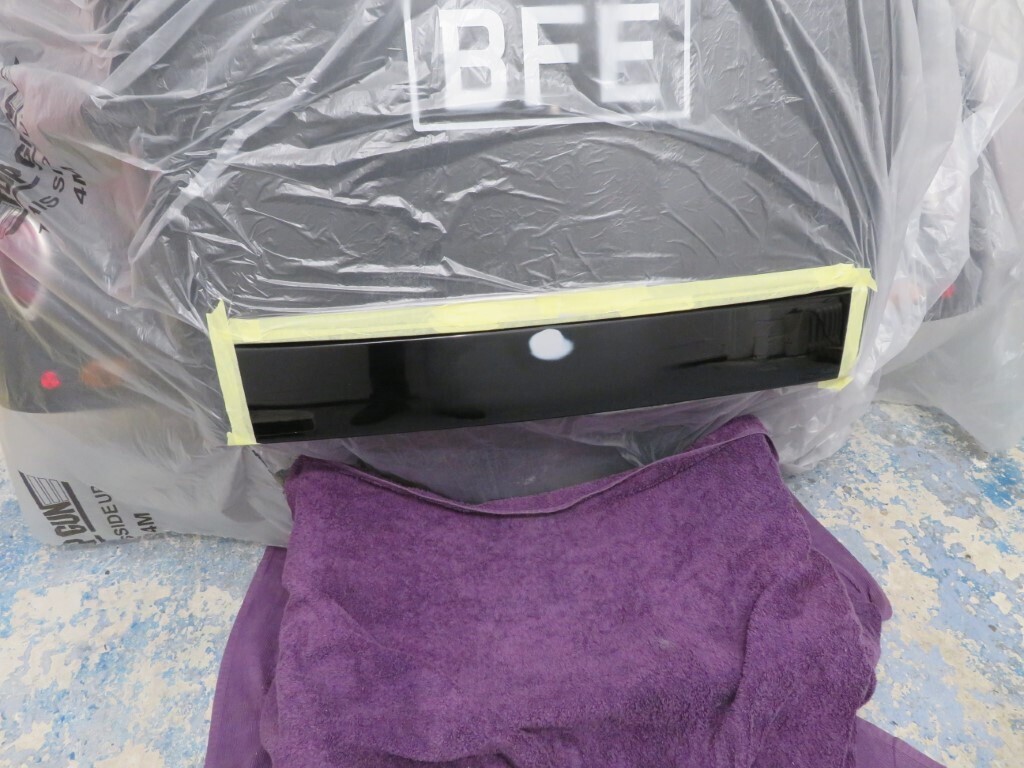 Front was also rubbed down and a second skim of filler added - with the heater on it I blocked it down again after 20 minutes. It still needed a bit more filler so it got another light skim and that's where we are tonight; 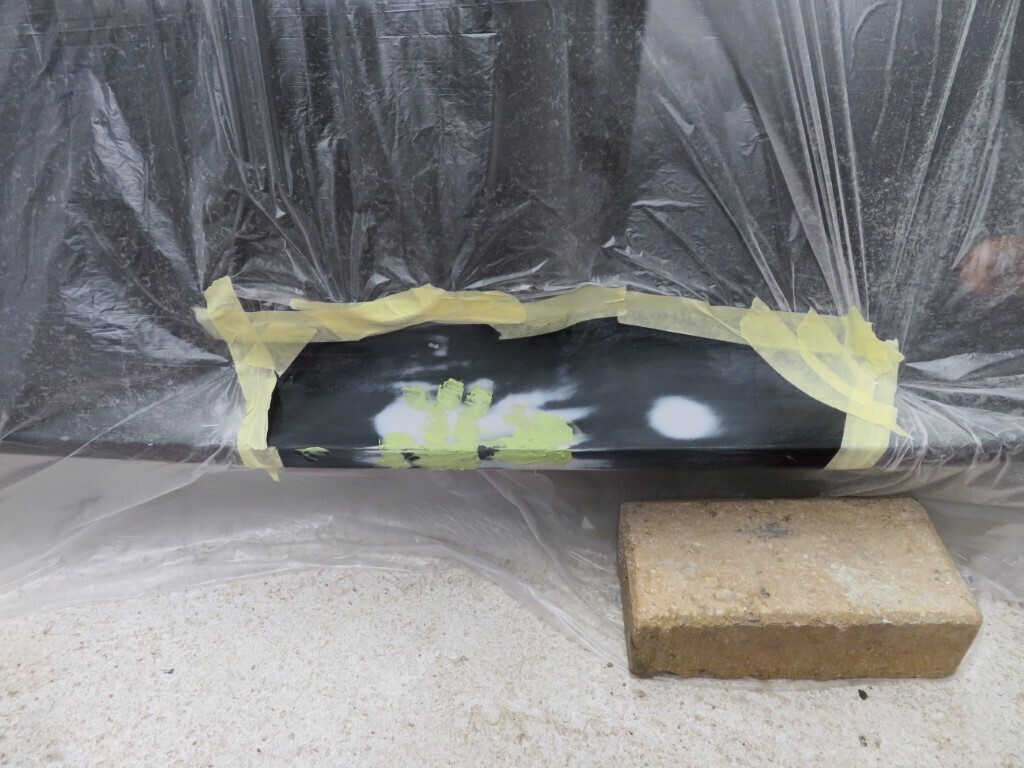 |
| |
|
|
|
|
|
|
|
Rear is now painted with 2 coats of paint and some fade out thinners. I may add another couple of coats tomorrow after some colour sanding, not sure yet. 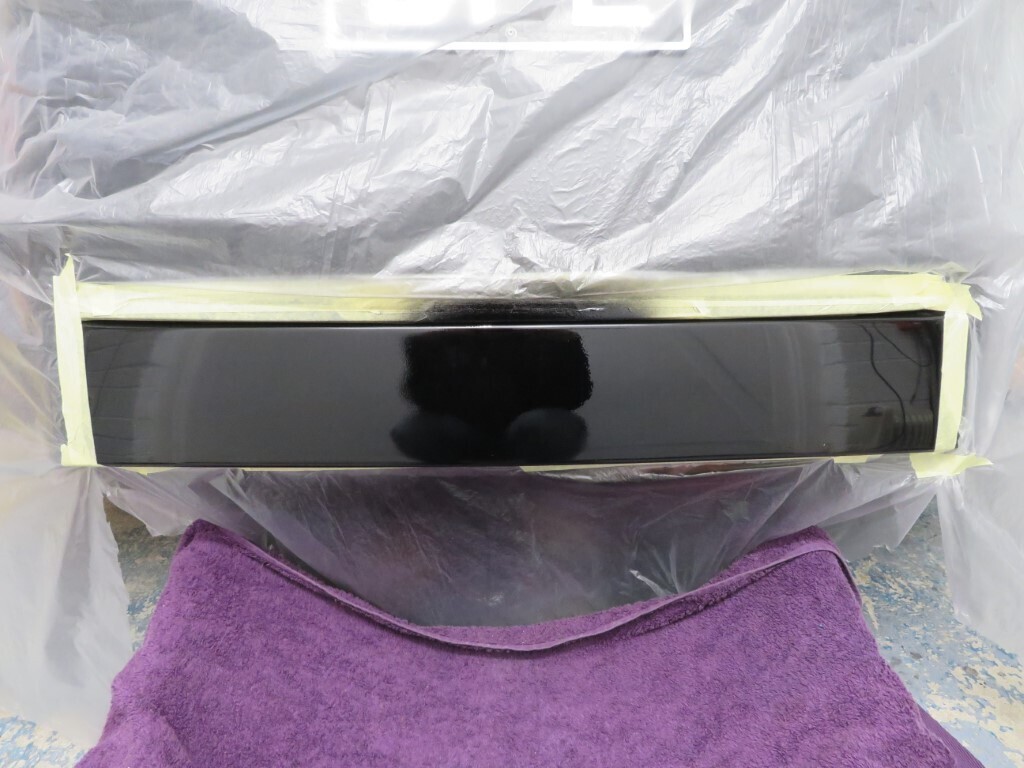 The front is proving a little more problematic. I had to grind out wider areas as the small lines would not sand smoothly, it's been re-filled here and a coat of epoxy primer has gone on - as you can see from the still wet shine, it needs more work still. 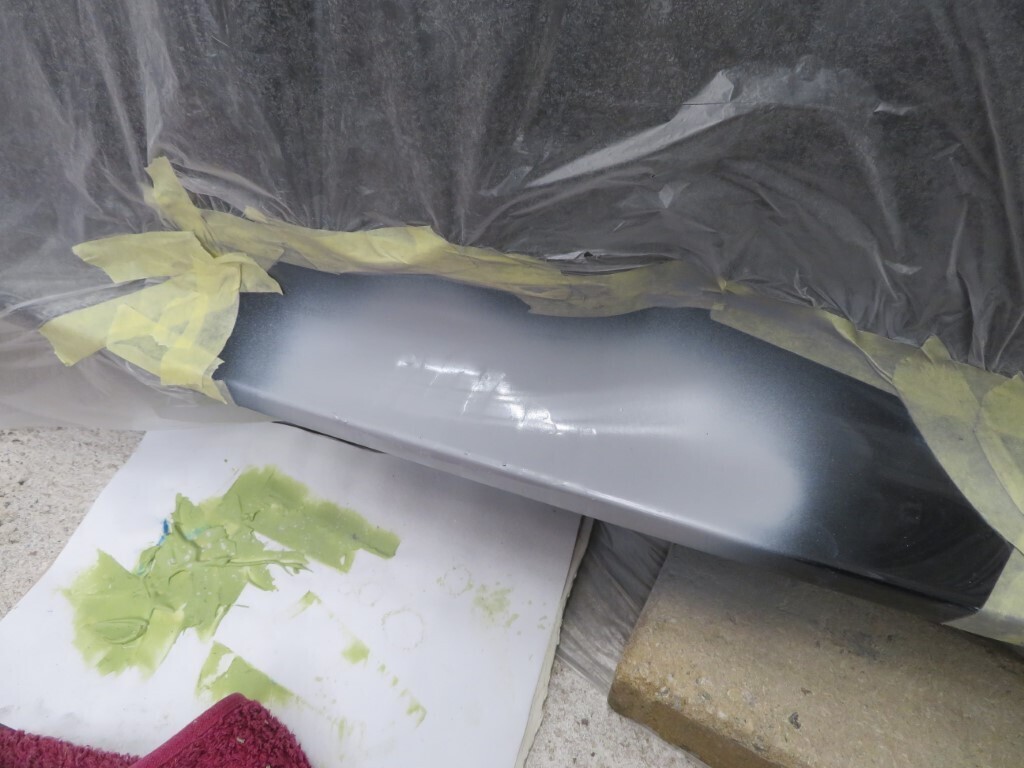 |
| |
|
|
glenanderson
Club Retro Rides Member
Posts: 4,349
Club RR Member Number: 64
|
|
|
|
|
I’m a bit disappointed at the lack of grass clippings to be honest...
😉
|
| |
My worst worry about dying is my wife selling my stuff for what I told her it cost...
|
|
|
|
|
|
|
Glen...eh? Looked at the back today and it looks really good without any colour sanding. So I'll leave that a few days to fully cure before colour sanding & polishing. Front is getting better. Did two lots of filler on it today and its almost there. Shot some primer over it to see how its looking. It needs the front edge sharpening up a bit and there is only one witness area left visible so another one or two lots of filler adjustments should see it perfect again. Another photo - looks pretty well like the last one, lol! 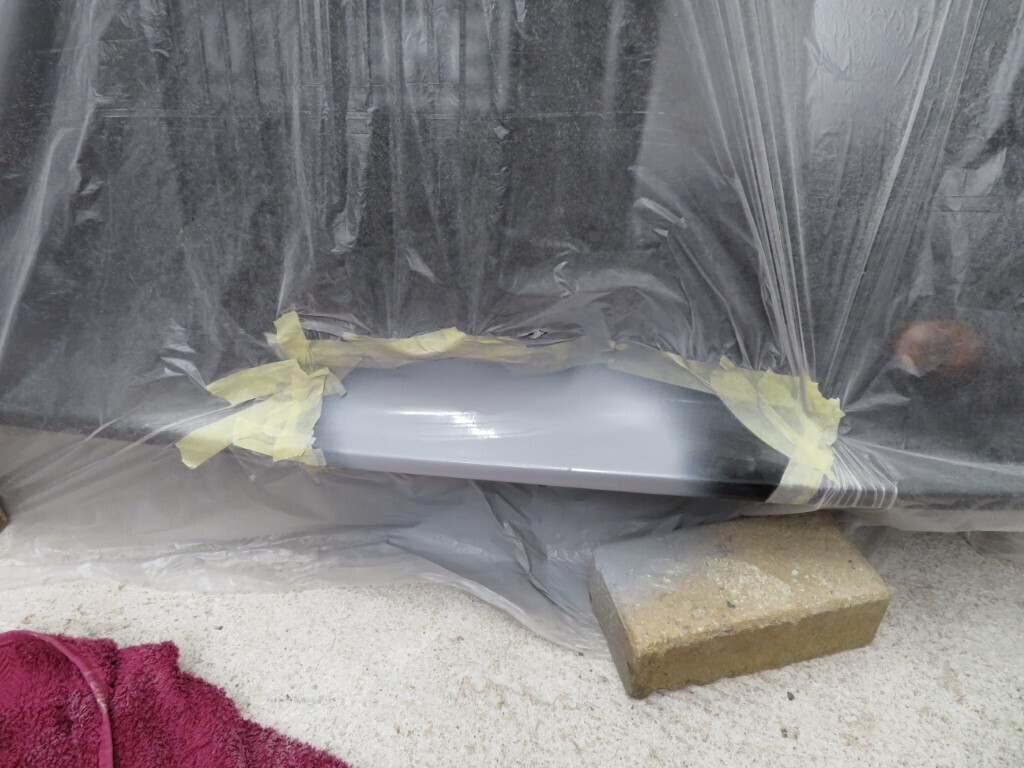 |
| |
|
|



 but everyone expects that colour plate on an old car


