|
|
|
Jul 15, 2024 22:58:44 GMT
|
Not much photo worthy tonight, I spent far longer than I should have done setting the tracking. I started with my laser tracker, but it was so far off I had to end up with 2 steel straight edges fixed to the tyres so I could measure them and get it roughly about right. Once I was in the ball park I could start to do it with the laser tracker again. It's set at 20mins toe in for now, I'll see how it feels to drive, it might like a little more maybe. It's way easier to push it around in the garage now, so that confirms how much out it was before! 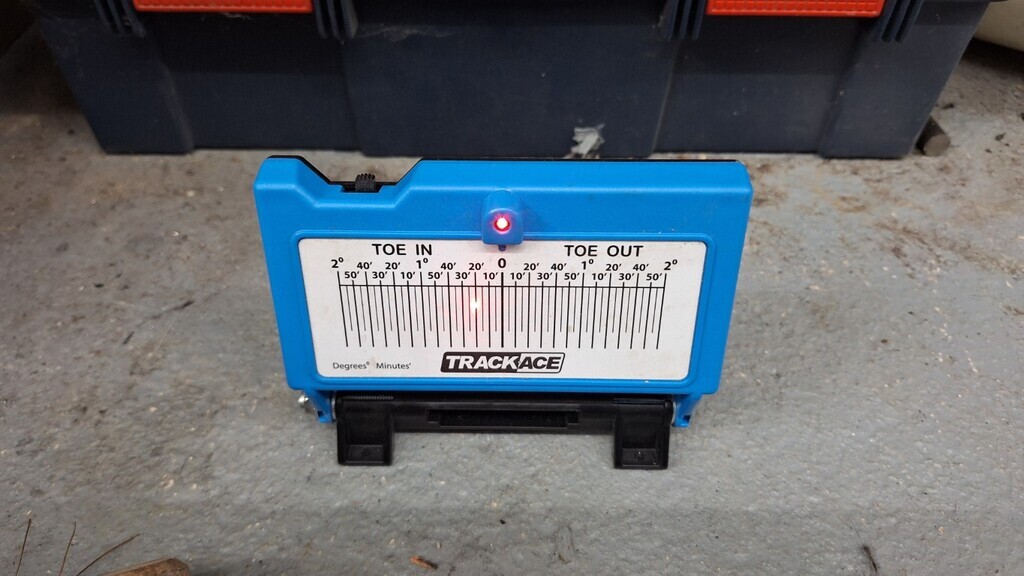 Once that was done I tightened the last UJ clamp & fitted nylocs on the steering rack clamps. The steering wheel seems straight, but again a short drive will tell if it's not quite right. I wrote down a list of the remaining jobs to do - it just fits on an A4 page, so I can start to tick them off as I go now. |
| |
|
|
|
|
|
|
|
Jul 15, 2024 23:31:27 GMT
|
|
you could just put a sticker over the durite label
|
| |
|
|
glenanderson
Club Retro Rides Member
Posts: 4,319
Club RR Member Number: 64
Member is Online
|
|
|
|
That's a very kind offer Glen, but Andy really wants to keep to the smiths guage. No problem. I prefer the traditional Smiths gauges too, which is why I have never fitted this to anything yet. 😃👍 |
| |
My worst worry about dying is my wife selling my stuff for what I told her it cost...
|
|
|
|
|
|
|
you could just put a sticker over the durite label You have lost me there? |
| |
|
|
|
|
|
Jul 16, 2024 14:23:01 GMT
|
|
Had a chat with a helpful chap called Peter Wilkinson at Caerbont (who make the gauges).
Gauge & sender are correct, but he advised that if the sender was tightened using the musroom bulb section of the sender it will break it. I suspect this is what has happened. It must only be tightened using the nut section.
I've asked if they are able to offer any discount on a new one - we shall see.....
|
| |
|
|
Darkspeed
Club Retro Rides Member
Posts: 4,867
Club RR Member Number: 39
|
|
Jul 16, 2024 17:31:34 GMT
|
We then messed around with steering wheel positions - we are still looking for a 2" dished steering wheel - does anyone have any ideas where any are available nowadays? Probably the cheapest way around that is eBayMountney and Motalita do semi dished options and Luisi have a range of dished and give the amount of dish - may be a bit too motor sport for the application though. Mirage Corsa There are less "racing" options |
| |
Last Edit: Jul 16, 2024 17:52:53 GMT by Darkspeed
|
|
|
|
|
Jul 16, 2024 20:52:58 GMT
|
|
can you get a deeper hub or a spacer to go between the wheel and hub?
|
| |
|
|
|
|
|
Jul 16, 2024 23:01:56 GMT
|
My friend Rob can machine up a spacer/adaptor but a deeper dish wheel would be the more delicate looking option than a big chunk of metal. I've had another look at ebay via Darkspeeds link and found some Astrali 2" dished wheels that might be to Andy's liking. Not much progress tonight as I had another job to do for Wayne (who built the suspension) as he wanted me to paint the bulkhead of a Pop he is building. Filled, prepped & primed tonight, it will be painted at the weekend. 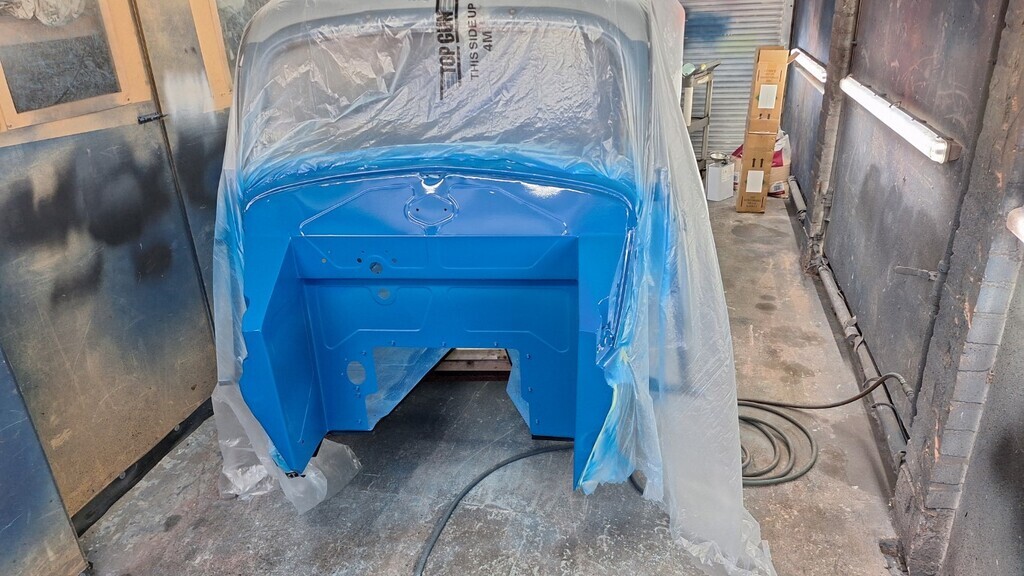 When I got home I did a little bit of wire tidying under the dashboard and I've sorted the alternator warning light. The smiths guage lights are barely visible, so some led upgrades are on the cards for those. |
| |
|
|
|
|
|
Jul 17, 2024 15:12:21 GMT
|
Well Andy is now the owner of this wheel - bonus is it will fit straight on to his steering boss. It's an Astrali with a 2" dish, so pretty perfect hopefully. 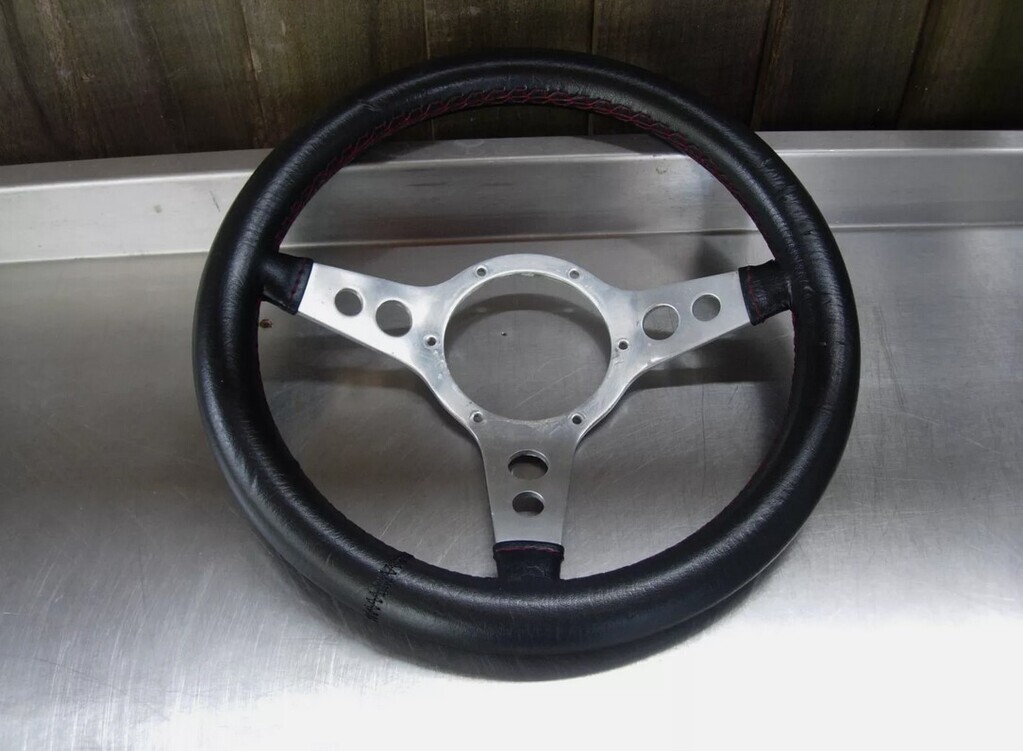 |
| |
|
|
|
|
|
Jul 17, 2024 23:12:19 GMT
|
Plodding on tonight, wasted some time chasing an electrical fault on one rear light - turns out the wires had pulled out of the connections in it, so an easy fix at least. Starting to tick off the jobs list now, so that feels good as the list is getting quite short. I made a spacer for the steering column mount which has dropped the wheel by about 15mm, not massive but it all helps. Then I cut the brake pedal and welded it back at a different angle, its now not so high so your foot can just sweep from the throttle to the brake without having to lift your foot up. I also cut the throttle pedal & extended it - it turns out CAR SOS had been here before and had reversed the arm so it curved into your foot rather than away from it  so that was corrected at the same time. Both pedals are in a reasonable position for driving now. 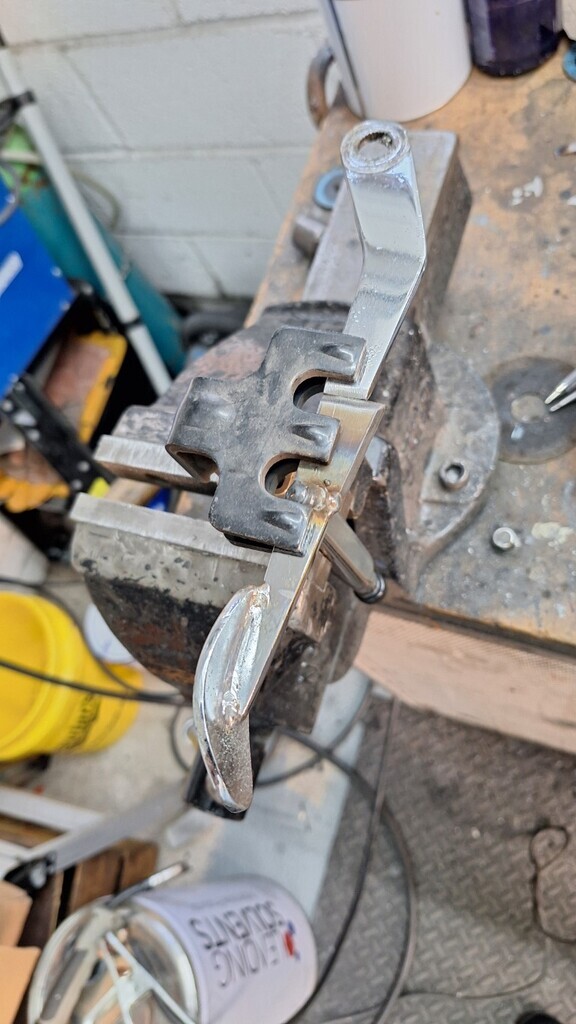 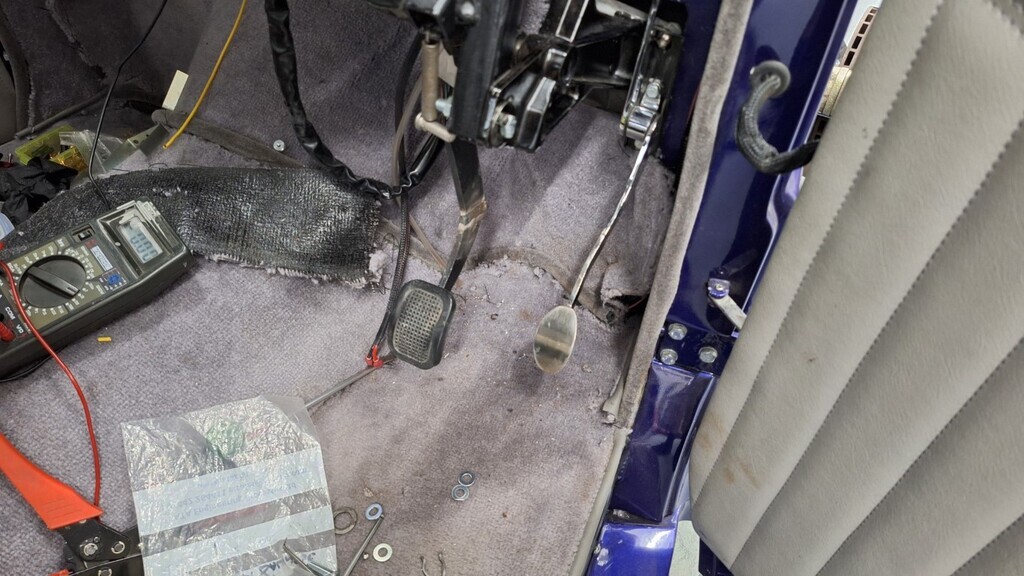 Once painted they can be refitted for good. Next was fitting the main beam warning light wiring, all done but the lamp is rubbish. The blue plastic is virtually see-through when the lamp is on  I've gone over it with a blue sharpie so it's fairly blue now but why don't they make decent stuff anymore?? 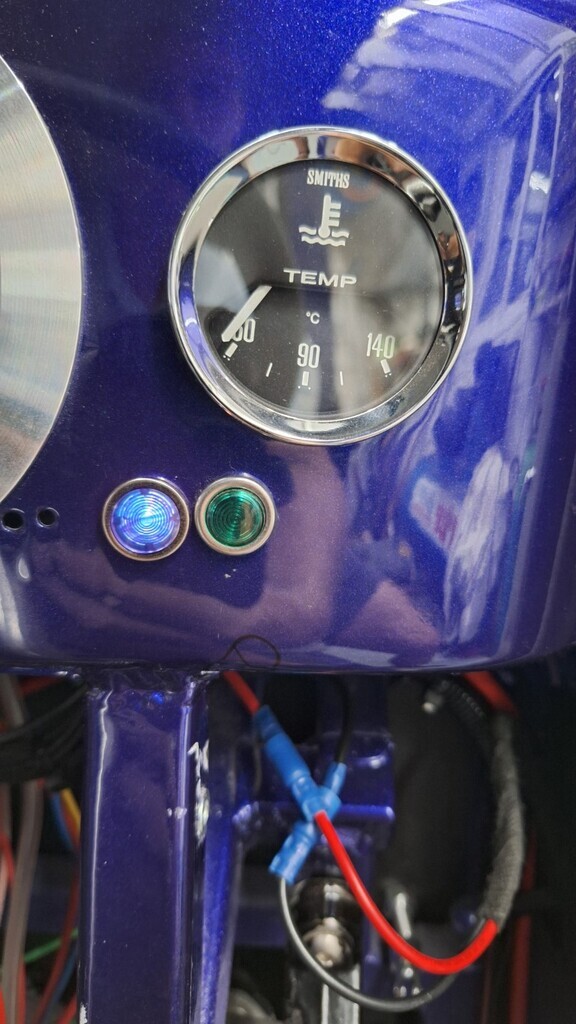 Another little job that will please Andy, the shifter lighting now works. (yes the carpet is awful & really needs replacing). 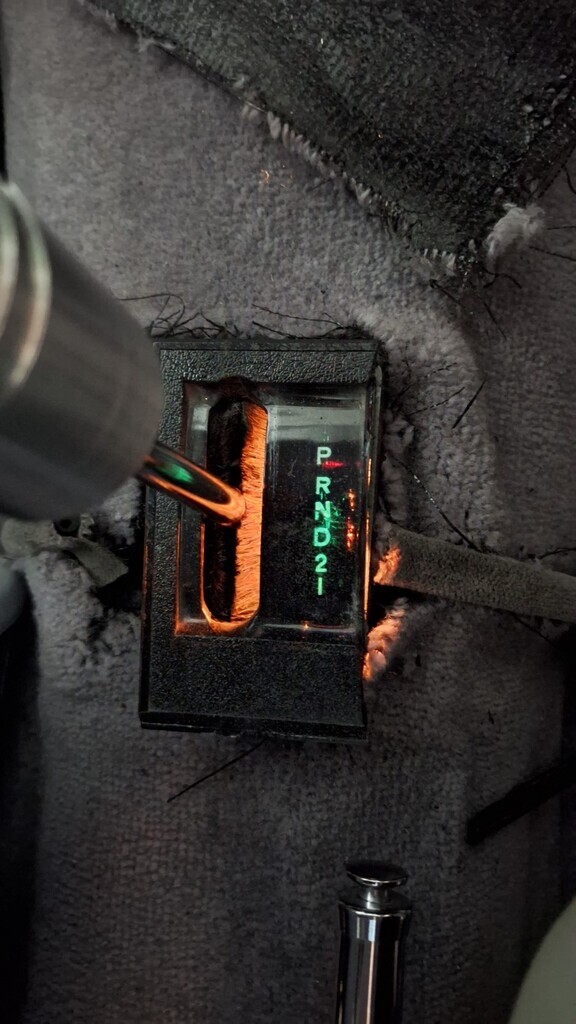 I refitted the column stalk unit - it's actually really close to the wheel, so when the 2" dish wheel arrives it will be a perfect gap, result! 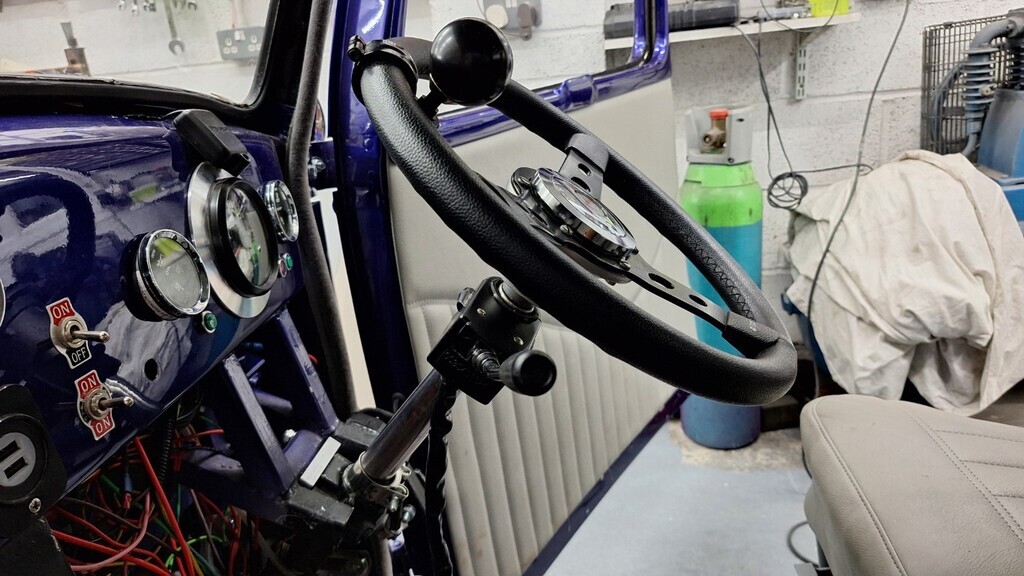 I had to bite the bullet and order a new oil pressure sender tonight, the cheapest I could get it was £75 delivered - bloody expensive  We got the steering wheel quite cheap, but I'm down to the last £13 now so hopefully no more expensive bits will be needed. |
| |
|
|
|
|
|
Jul 18, 2024 20:32:29 GMT
|
*sigh* Car sos curse strikes again. Wiring the instruments - they were not wired with a voltage regulator by car sos, but sitting in the dash is a voltage regulator........... So, let's use it then. Except it does not work  Followed the test advice from Smiths and its definitely dead. And once again, Smiths stuff is expensive! I nearly bought another one but then I found a solid state replacement kit Linky which is almost half the price and far more reliable. So, that's the funds all used up now. |
| |
|
|
|
|
|
Jul 18, 2024 22:43:19 GMT
|
I had hoped to get the dashboard wiring finished tonight, but as you saw from the above post it will have to wait a few days longer for parts. Still it's progress to have rewired some of it and find out the problems. The brake & throttle pedals have been fitted for good now, I added some 3M non slip adhesive covering on the throttle pedal face as well. 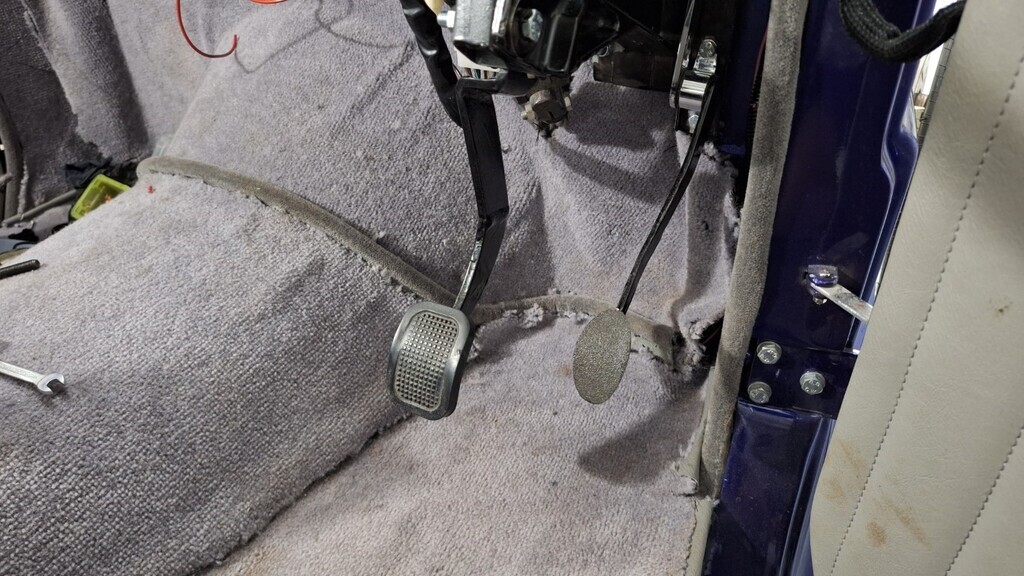 The roof panel has been drilled and the rearview mirror fitted - no looking back now* 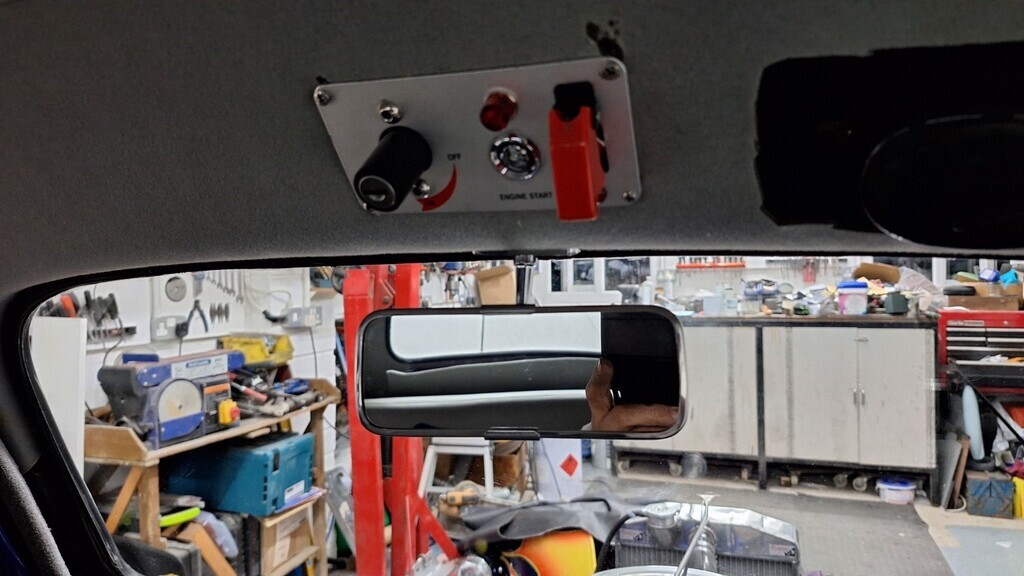 And the bulkhead drilled, painted, grommets added and the screenwash wiring and pipework final fitted. 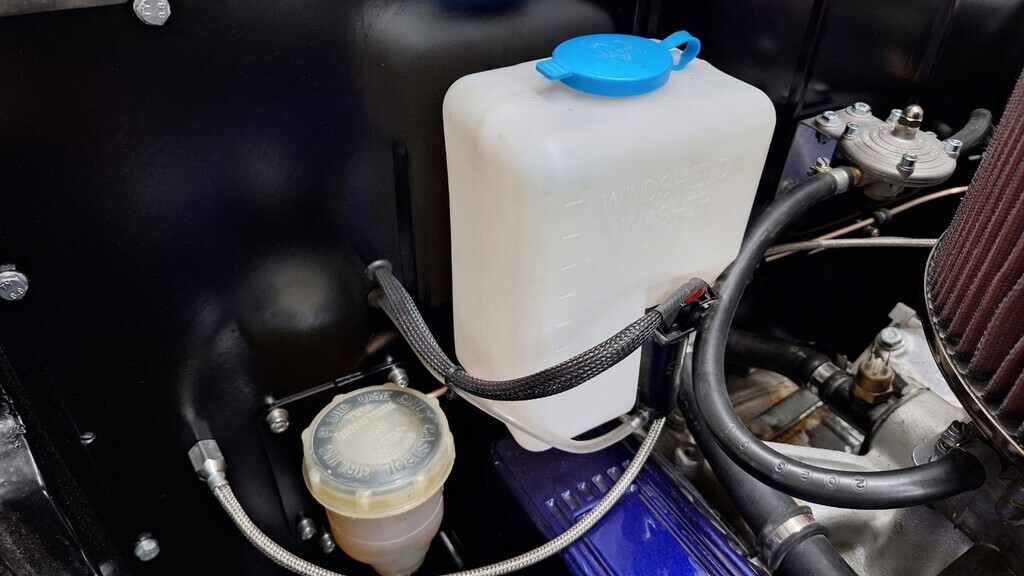 *see what I did there  |
| |
Last Edit: Jul 18, 2024 22:44:46 GMT by blackpopracing: rampant schoolgirls
|
|
MiataMark
Club Retro Rides Member
Posts: 2,971
Club RR Member Number: 29
|
|
|
|
*see what I did there  Out on the road today, I saw a DEADHEAD sticker on a Cadillac
A little voice inside my head said, "Don't look back. You can never look back" |
| |
Last Edit: Jul 19, 2024 8:29:54 GMT by MiataMark
1990 Mazda MX-52012 BMW 118i (170bhp) - white appliance 2011 Land Rover Freelander 2 TD4 2003 Land Rover Discovery II TD52007 Alfa Romeo 159 Sportwagon JTDm
|
|
|
|
|
Jul 19, 2024 22:23:49 GMT
|
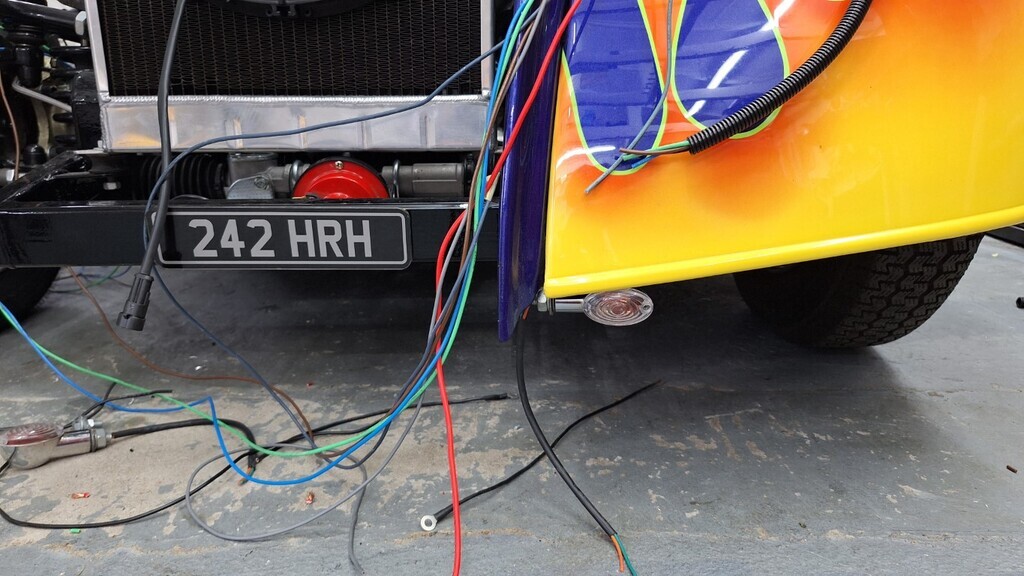
A bit too hot to do a lot till late tonight so only a short update. I popped into www.antares.co.uk/ and they kindly gave me the weatherpack connectors I need for the front end The eagle eyed will spot I picked up from the wrong box and got 3 way connectors for the 4 way plugs, doh! I'll swap them over on Monday. 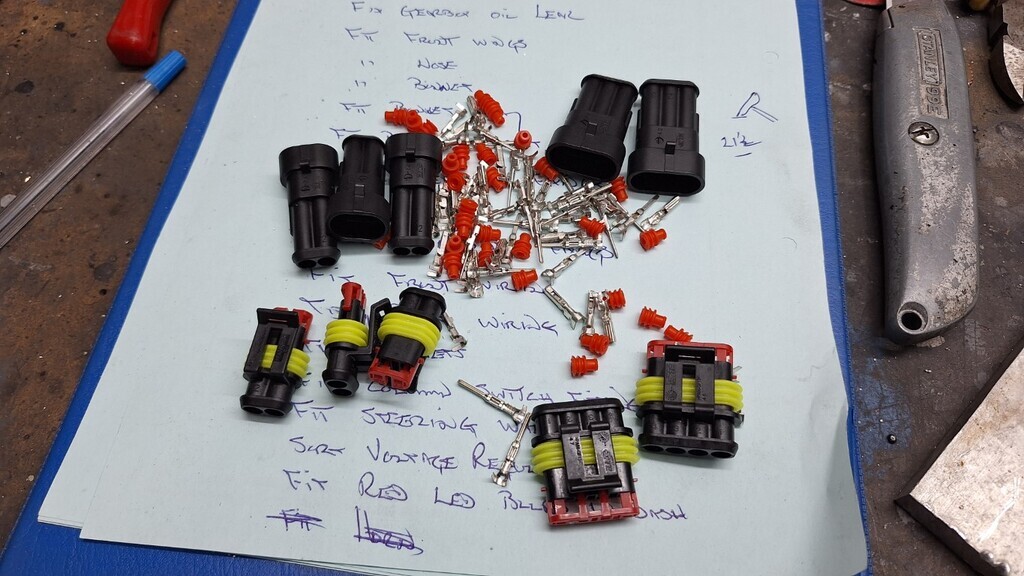
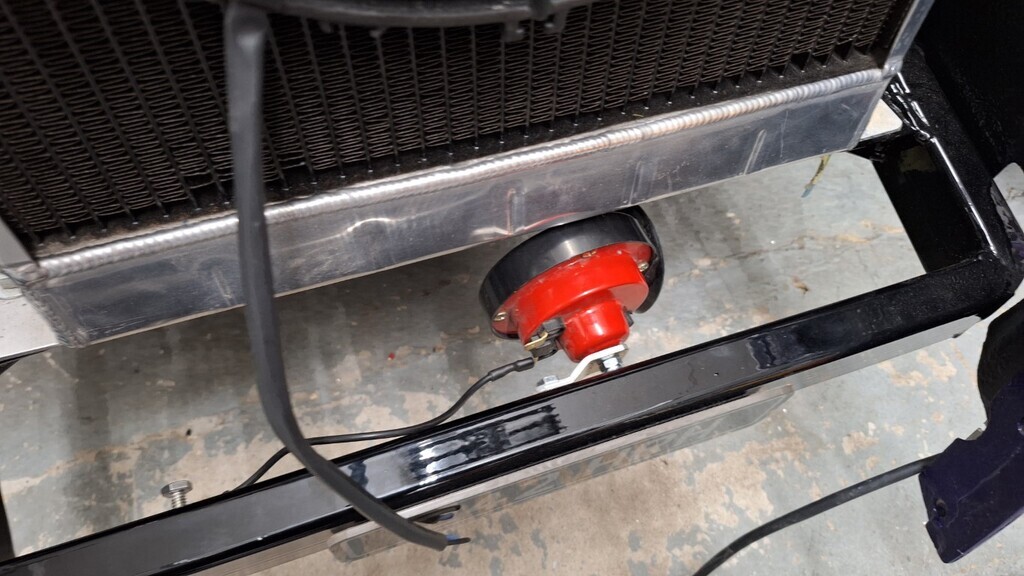
The horn is now refitted to the car and partly wired.
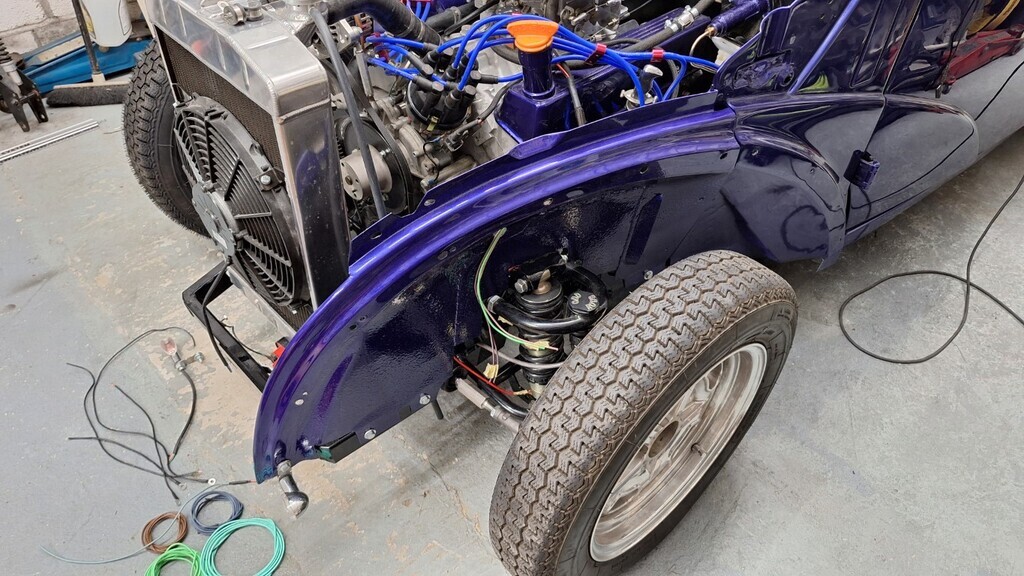
 Passenger inner wing temporarily refitted so I can plan the front wiring routes and length and where the plugs will go.
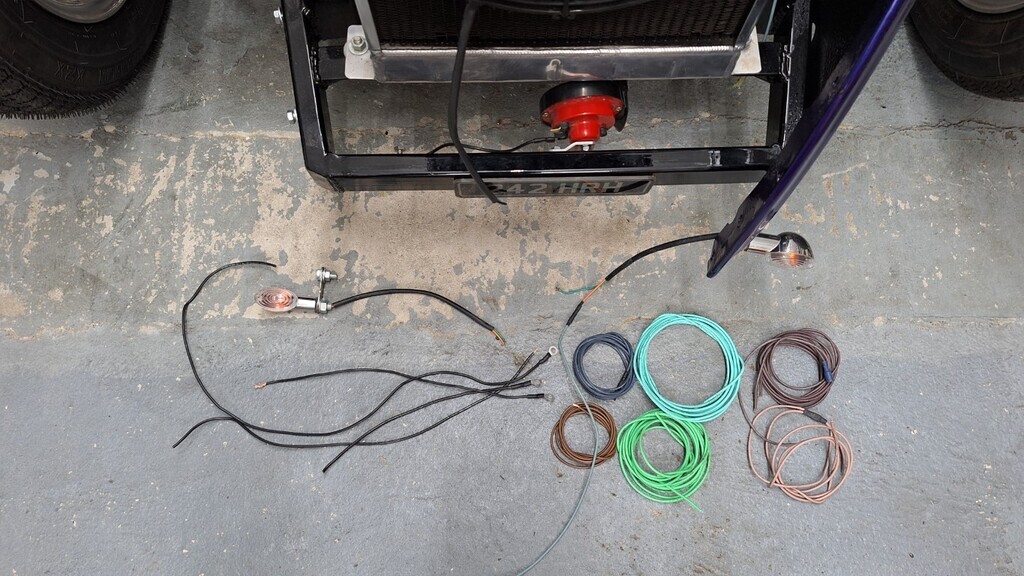
Fresh wiring waiting on fitting.
 |
| |
|
|
|
|
|
Jul 20, 2024 19:34:44 GMT
|
Some good progress on the car today but the first job was painting the bulkhead of Wayne's pop. It came out really well, photo does not do it justice, it's a really nice metallic BMW blue. 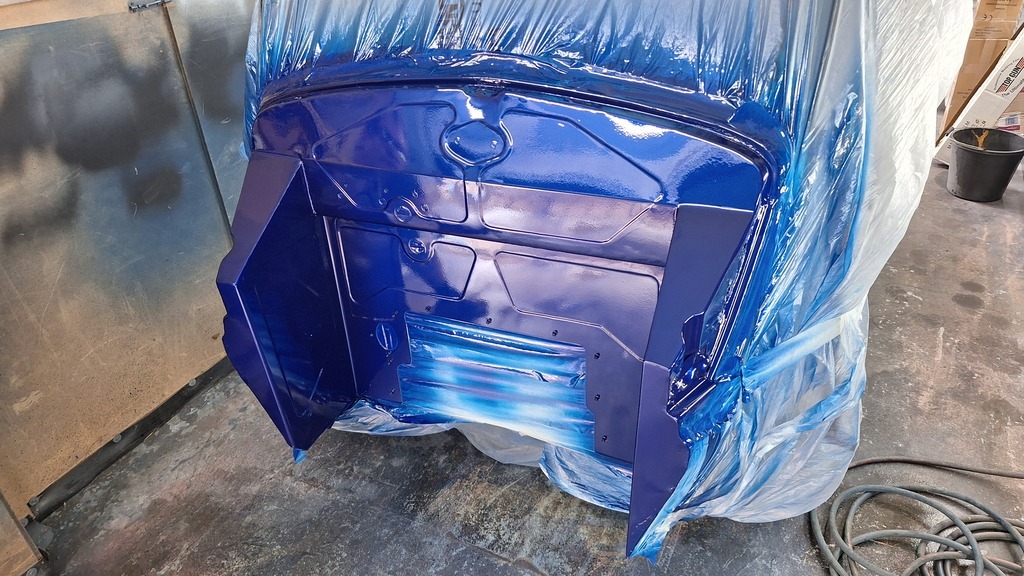 Write up of progress on Andy's car later as I'm having a nice curry now. |
| |
|
|
|
|
|
Jul 20, 2024 21:46:06 GMT
|
So after painting Wayne's bulkhead and test driving a potential new car for mrs Blackpop it was back on to Andy's car. The final bit of welding was done on it (hurray!) the lower seat belt mount bungs. Welded in and painted, trim cut back - (just resting over it here) only the fitting of the main reels left to do now. 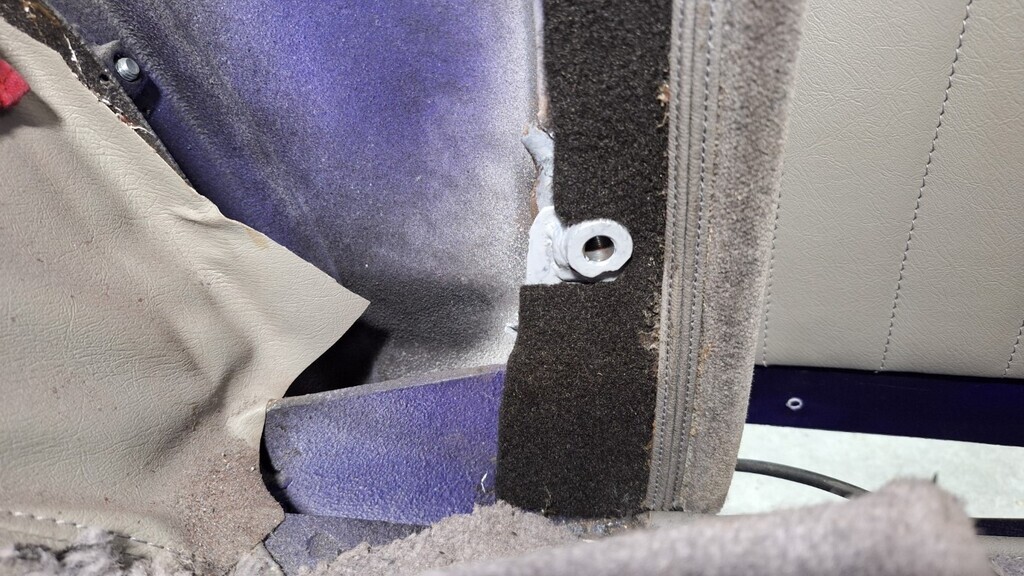 And a view of the belt in place. 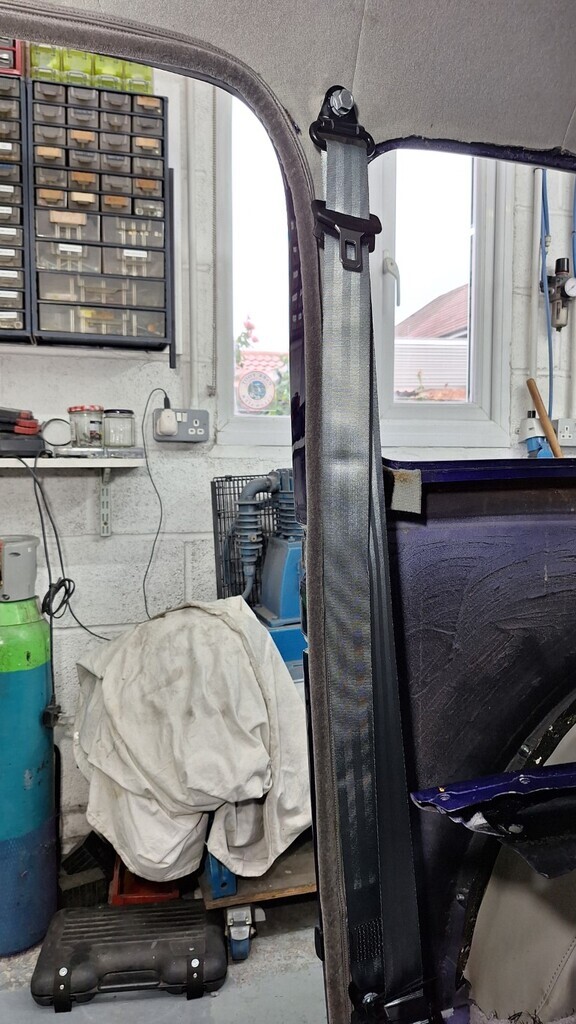 Then it was back on to the front of the car wiring. This has all been spliced and cut to size, and is now starting to get put into the sheathing.
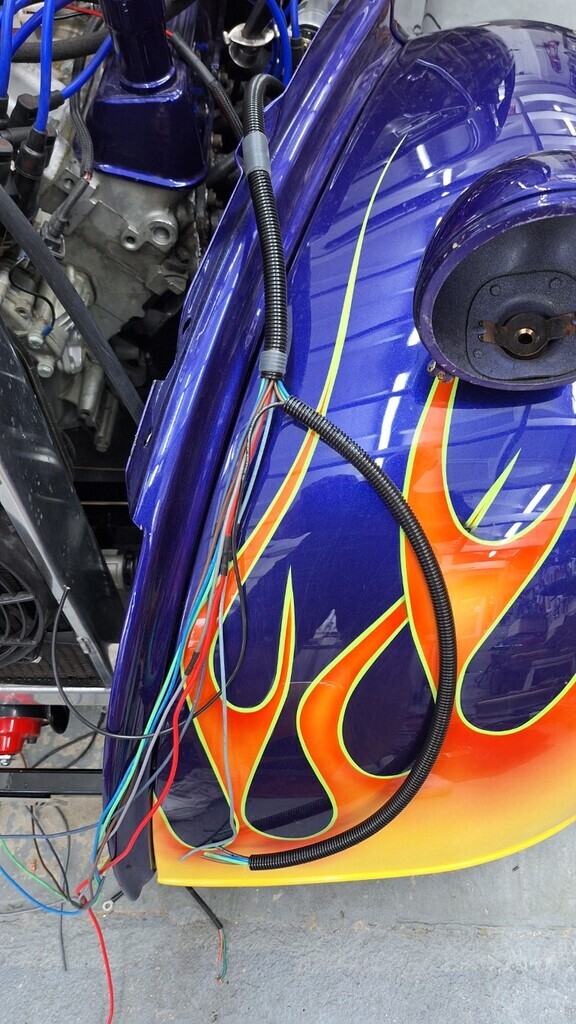 Front indicators were fitted by car sos pointing downwards, I think they look better sideways - and are less prone to getting damaged this way as well.
 |
| |
|
|
|
|
|
Jul 20, 2024 21:56:35 GMT
|
One more rubbish bit I found, checking the rear side window rubbers prior to refitting - and they are cut too short  Another item to add to the shopping list. Fortunately I've had some good news on the funds front - Mark (who got car sos to take the job on in the first place) has sent over a nice amount from the proceeds of selling some of the bits off Andy's scrapped car, so there is now enough to finish off the car. I'll have to fit the windows without sealant with the short rubbers for now as I don't think the new ones will arrive in time for the NSRA Supernats, not the end of the world for a short term solution. |
| |
|
|
|
|
|
Jul 21, 2024 11:23:31 GMT
|
|
Some great news this morning, fellow rodder Mike is driving over today to lend me his new side window rubbers, I'll replace them with the new ones when they arrive.
Another fellow rodder (Paul Fairall) has also donated the inner screen surround free of charge, and another rodder will bring it to the Supernats for me to collect.
Car guys are the best.
|
| |
|
|
jimi
Club Retro Rides Member
Posts: 2,152 
|
|
Jul 21, 2024 11:34:23 GMT
|
That's great news on the funds and the seals/trim.  Great community spirit from everyone involved pulling together to help each other ❤️ |
| |
Black is not a colour ! .... Its the absence of colour
|
|
|
|
|
Jul 21, 2024 21:57:45 GMT
|
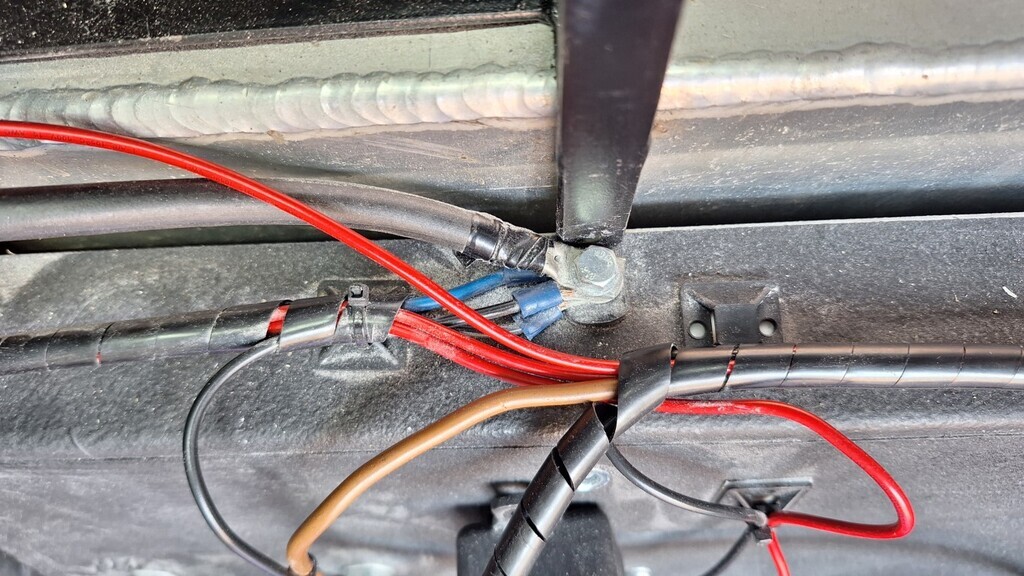
More good progress today, Mike popped round with the window trims and I got more jobs ticked off the list. The wiring is now finished on the front of the car barring the final wiring into the headlamps and clipping it all into place on the inner wings. 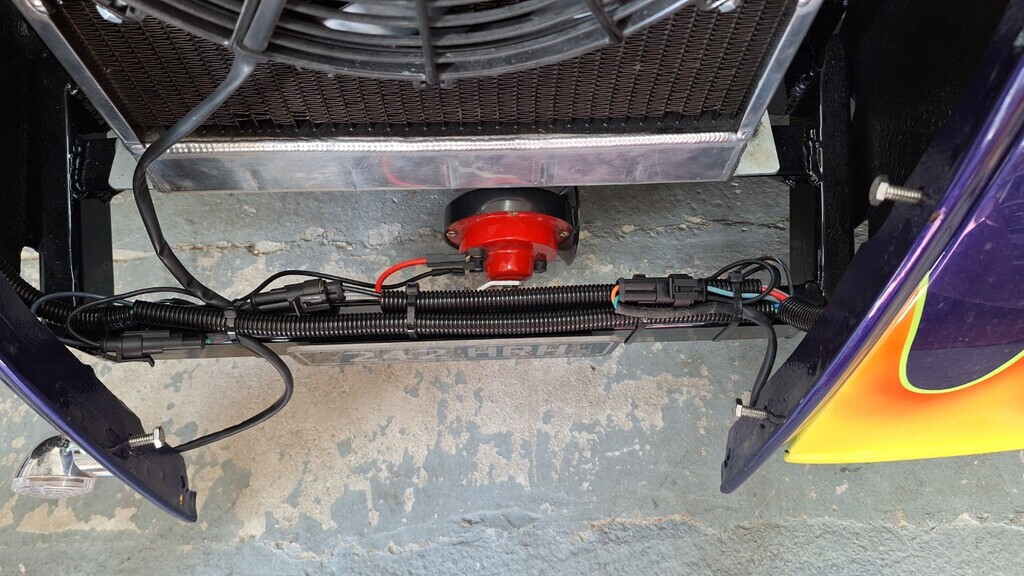 Then it was time to move on to the boot wiring. Which is a mess. The starter relay is just perched in the top corner and the main car power relay is just plonked in almost the middle of the boot. The wiring is also rubbish.
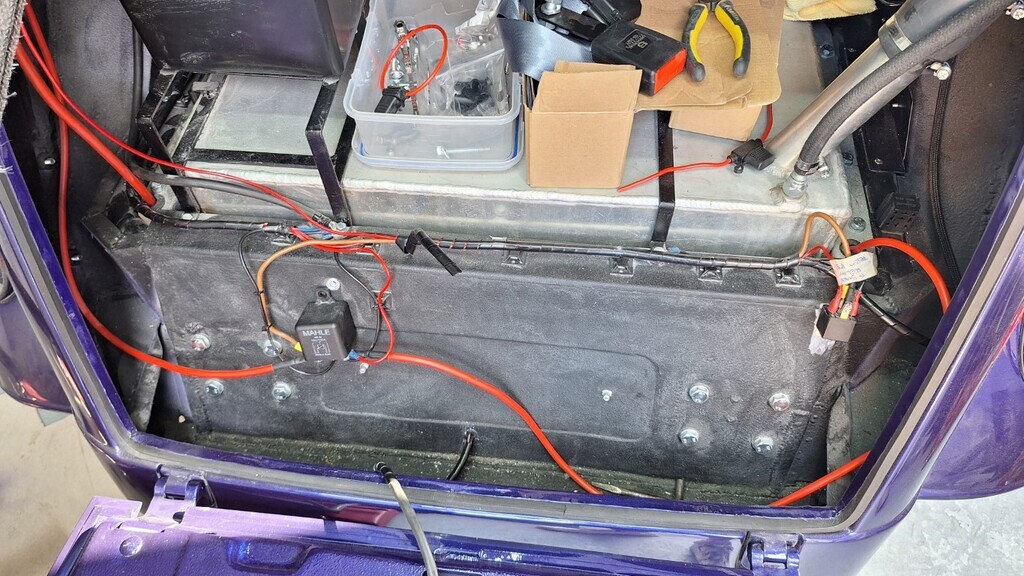 Closer inspection shows the main negative cable from the battery is fitted on a 6mm bolt from the battery tray - this takes the negative side of the entire car  Some time later it all looks a lot better and more practical for storing stuff in the boot. I'll get a new negative battery cable made up to fit on the 10mm body mount just under the main relay. 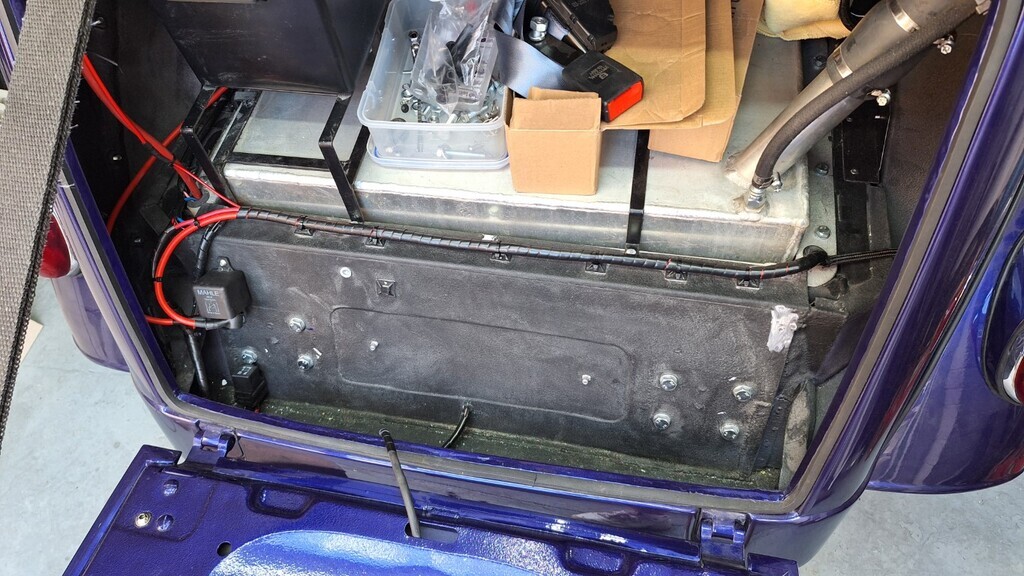 Next job was the seatbelts. The reels were finally fitted, 4mm reinforcing plates were added on the other side and tied into the floor chassis tubes. 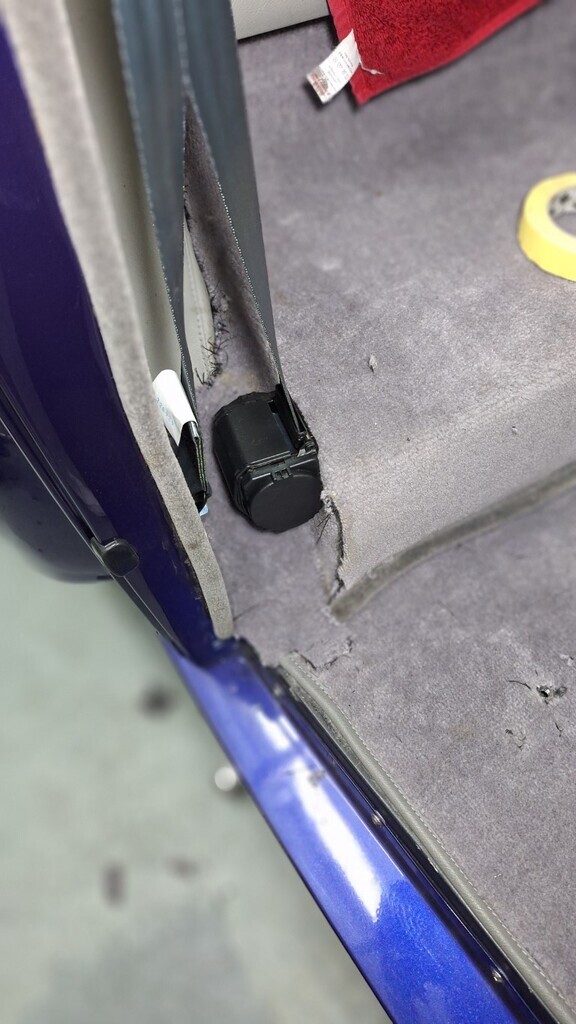 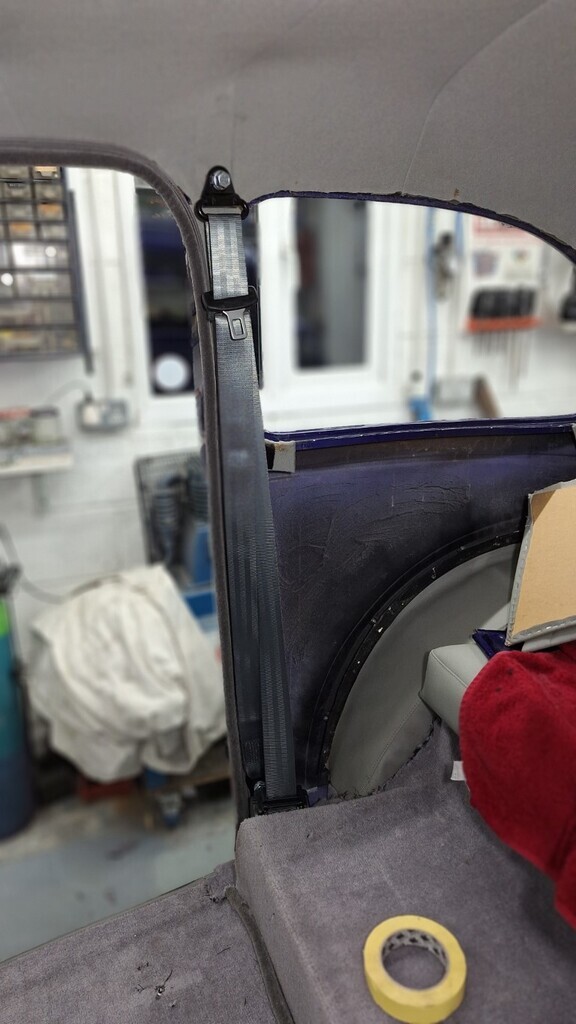
and the belt latches fitted in the middle of the car.
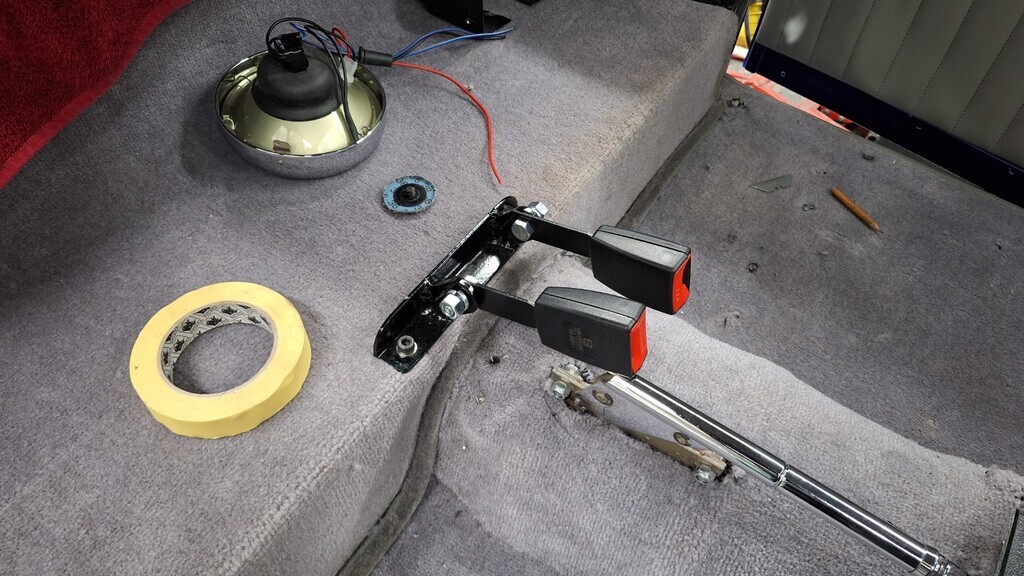
The list is getting smaller now 
Hoping to take it out for a test run in the next day or two to see if the tracking is ok and to check it all drives ok. If everythink is ok I can start to refit the front sheet metal once I've sorted the oil pressure switch.
|
| |
|
|


 so that was corrected at the same time.

 I've gone over it with a blue sharpie so it's fairly blue now but why don't they make decent stuff anymore??


 We got the steering wheel quite cheap, but I'm down to the last £13 now so hopefully no more expensive bits will be needed.


