|
|
|
Feb 22, 2022 23:42:49 GMT
|
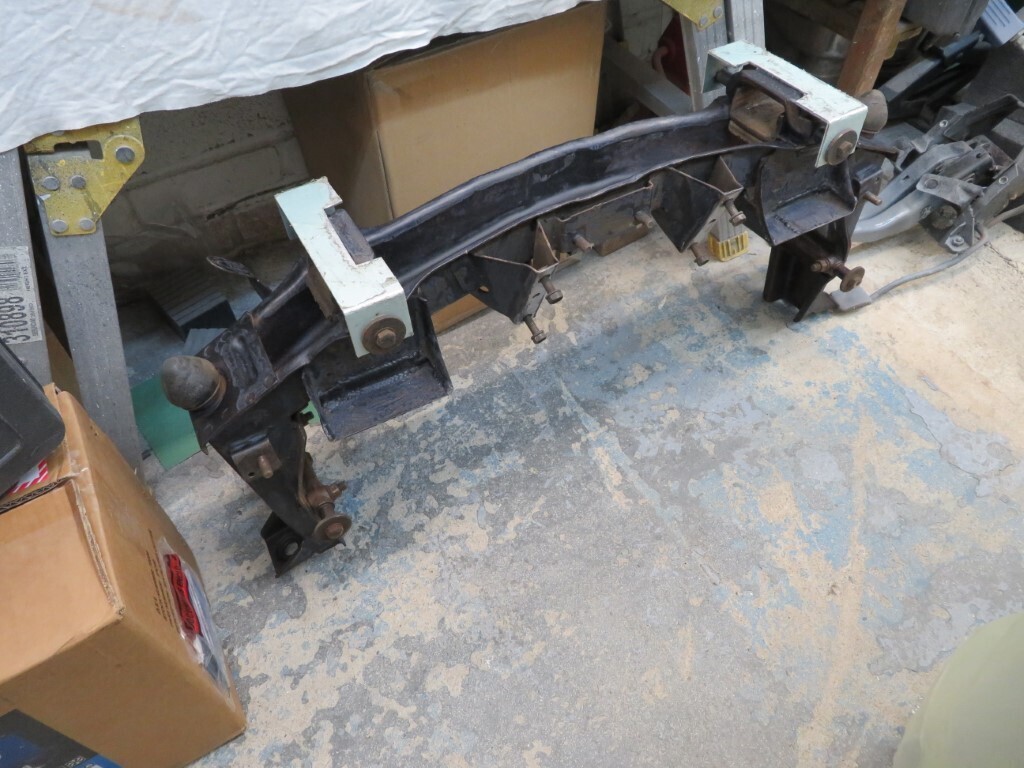
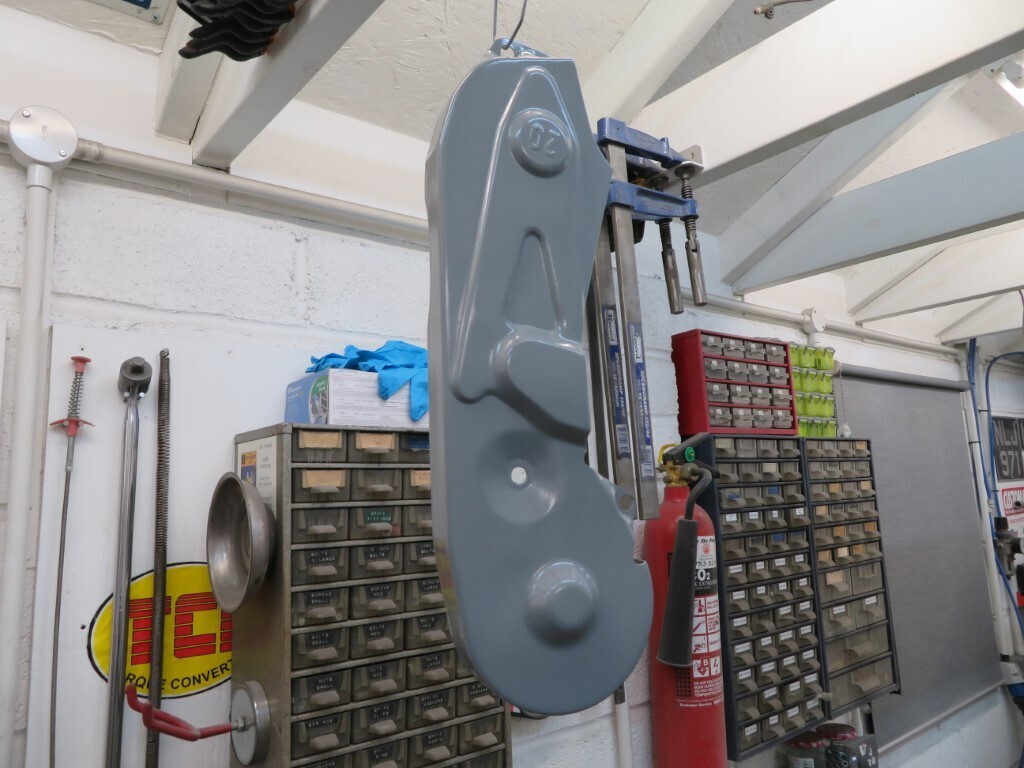
Good progress tonight, spent some more of Phils money on parts   Primer time tonight. All of the window trims are now in primer, 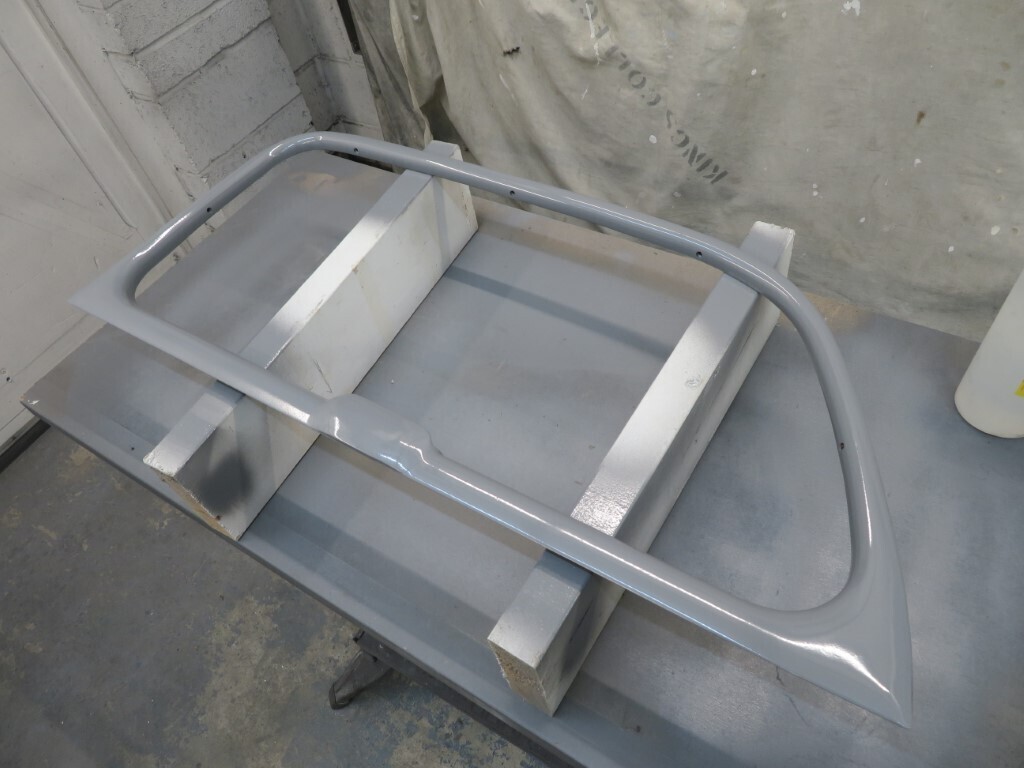 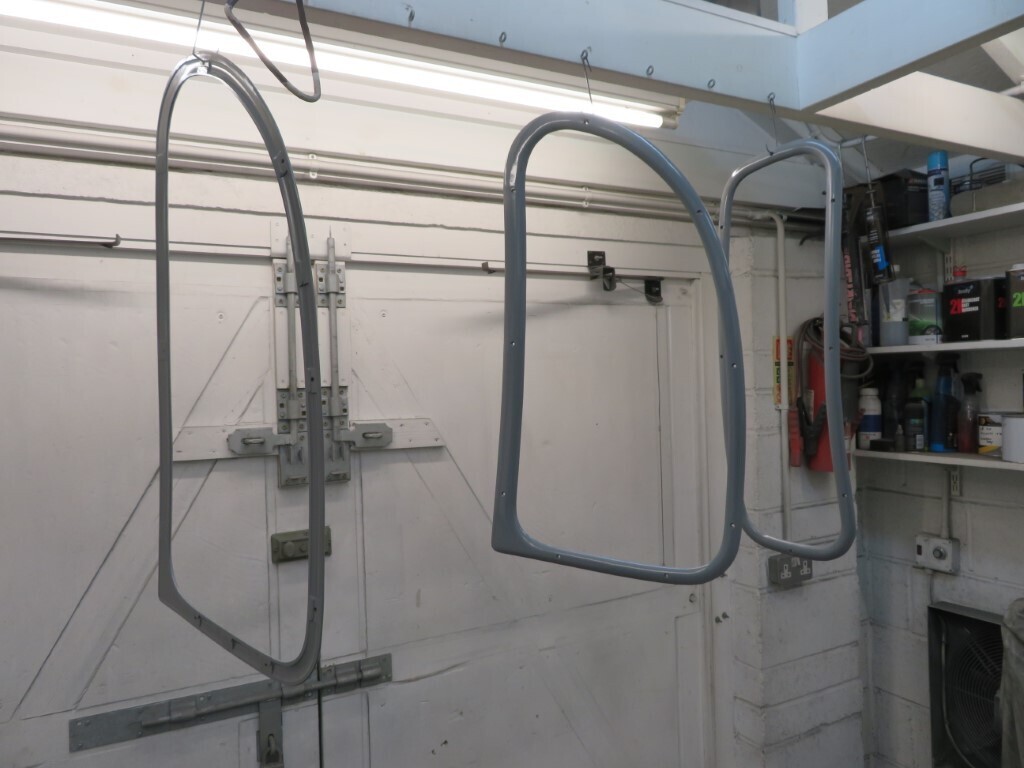 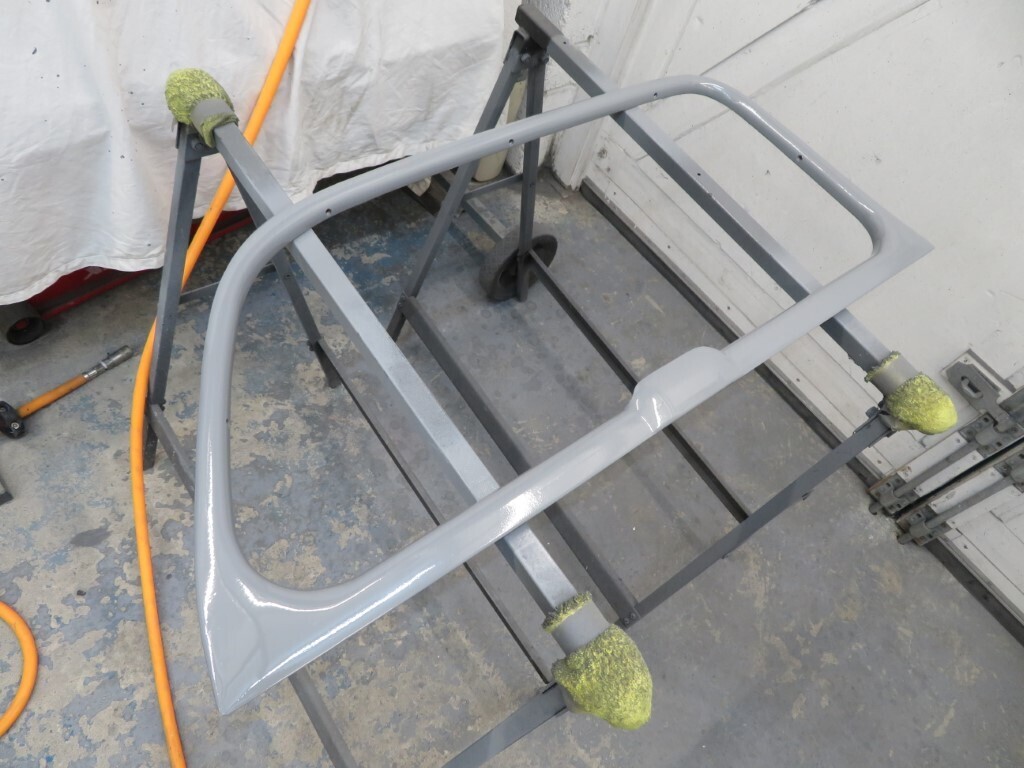 As are a few other parts - including the old chromed timing belt cover. This was a bit rusty and the chrome not in the best shape, so it was sanded back with the DA and a small air sander to remove the rust and scuff the chrome enough for paint.
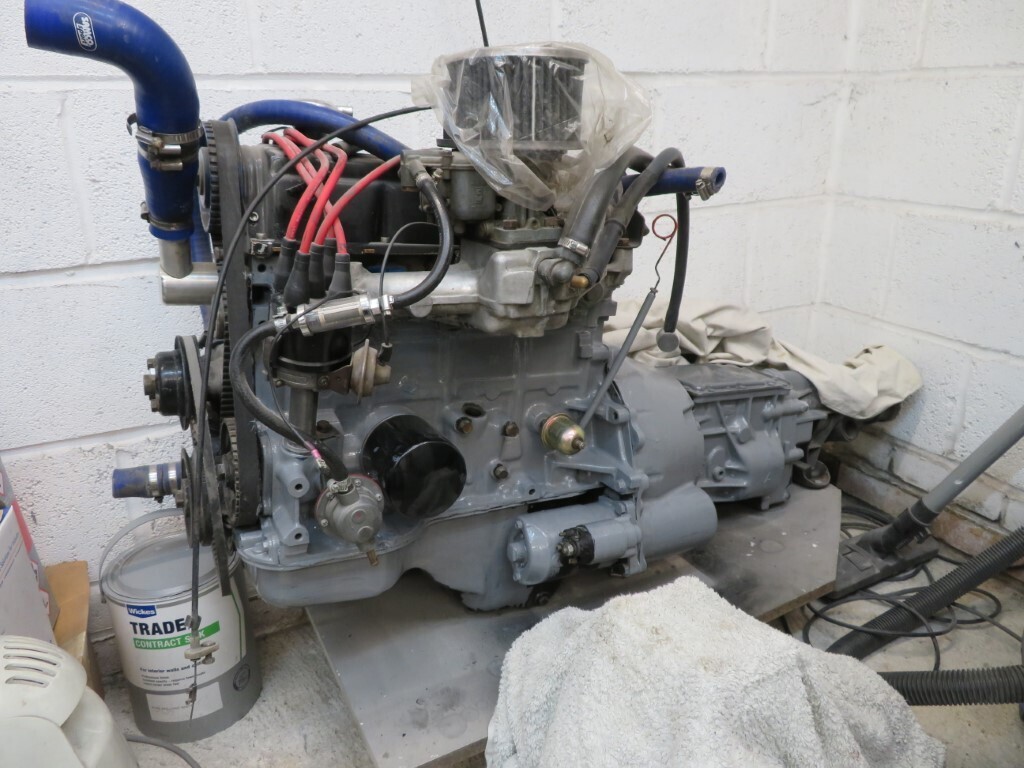
 The engine got primed with the leftovers from the gun, not easy to do when it's fully built - some areas will not be able to be done.
 691.5 hours. |
| |
|
|
|
|
|
|
|
Feb 23, 2022 23:28:49 GMT
|
Started to sand back all of the window trims tonight, all went well on the brittle Bakelite trims and then I started on the replica resin rear window trim......bumhats  That was not meant to happen. 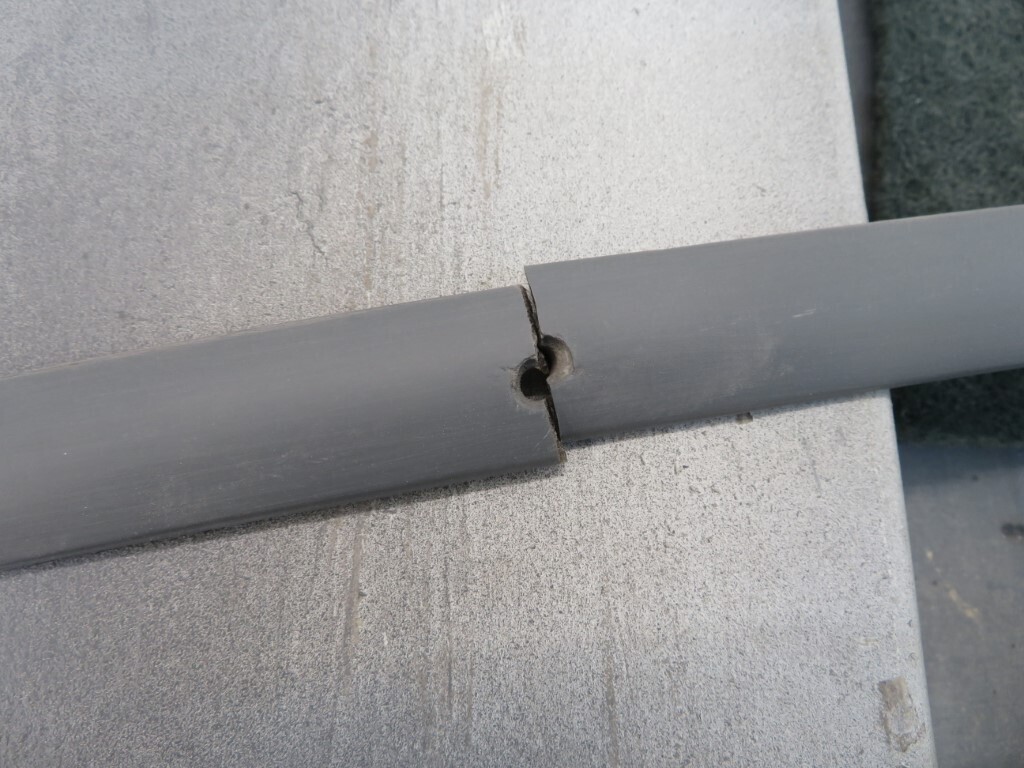 Fortunately I know how to fix this as I had to cut all of mine down when I chopped the roof on it. Mr Dremel came out to play with a small rotary burr attachment and I ground 2 grooves deep into the rear of it. These are deep & wide enough to drop rivet mandrels into. 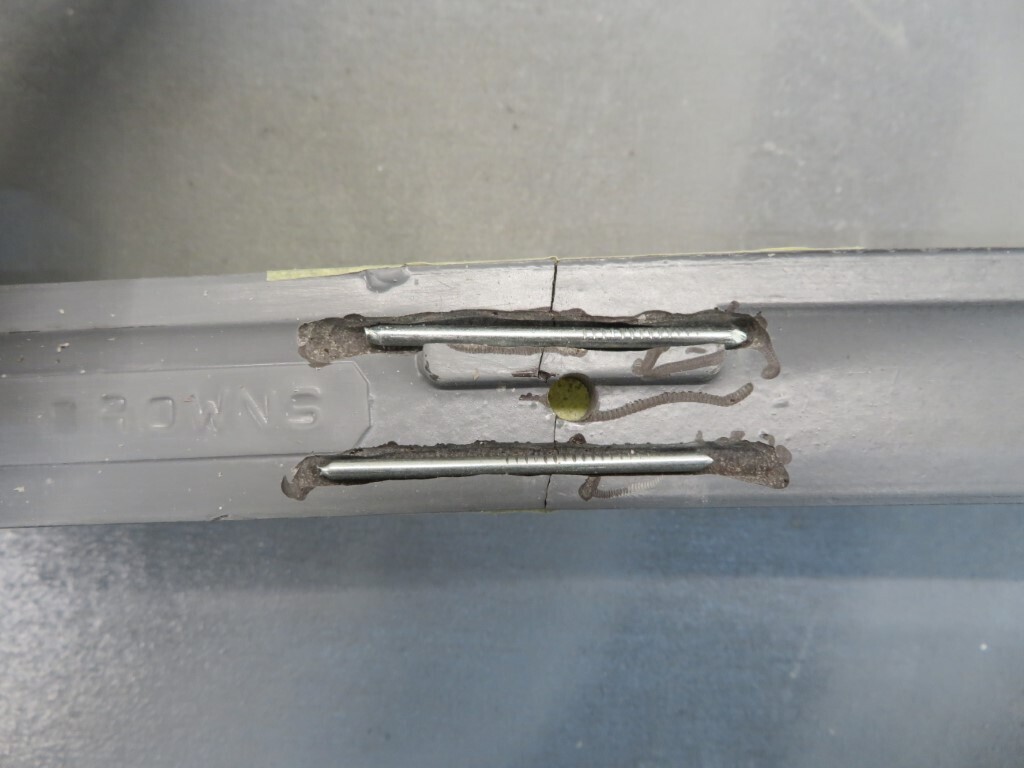 Then it's a case of bonding them in with some JB weld, the mandrels provide more strength than the original piece while the epoxy bonds it all together. It will need another layer of JB weld tomorrow. 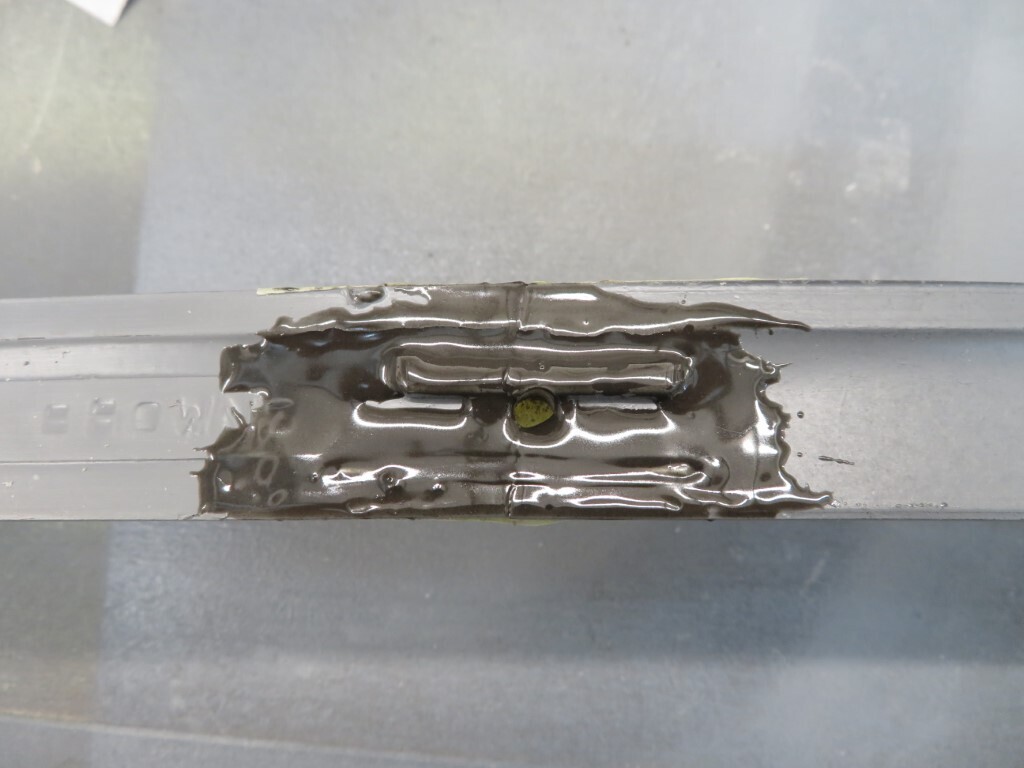 Ill grind the crack out on the other side tomorrow and fill it with more JB weld and then both sides will be sanded back. This put the brakes on painting all of the trims, but I did get started on some of them as well as some other parts that needed doing. Looking forward to tomorrow as the postman is bringing me a new toy to play with  691.5 hours. |
| |
|
|
|
|
|
|
|
|
Unfortunate mishap, but at least it's not something you haven't solved before!
|
| |
|
|
|
|
|
Feb 24, 2022 23:50:02 GMT
|
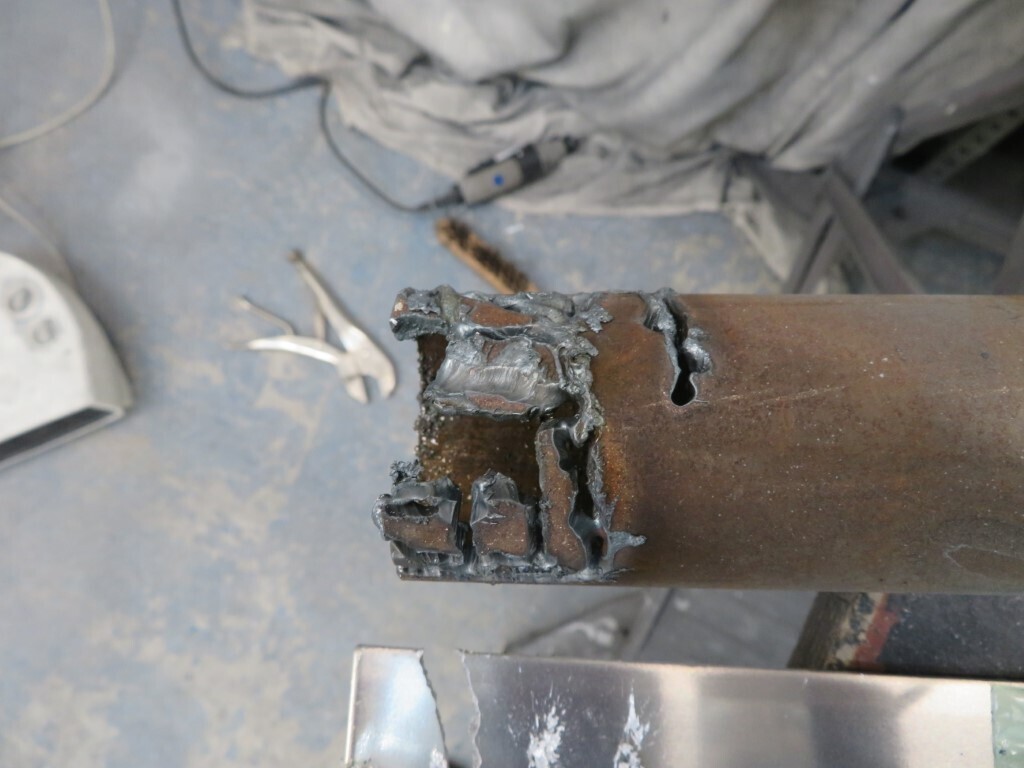
Postie brough goodies today  Oooh, what's in the box? 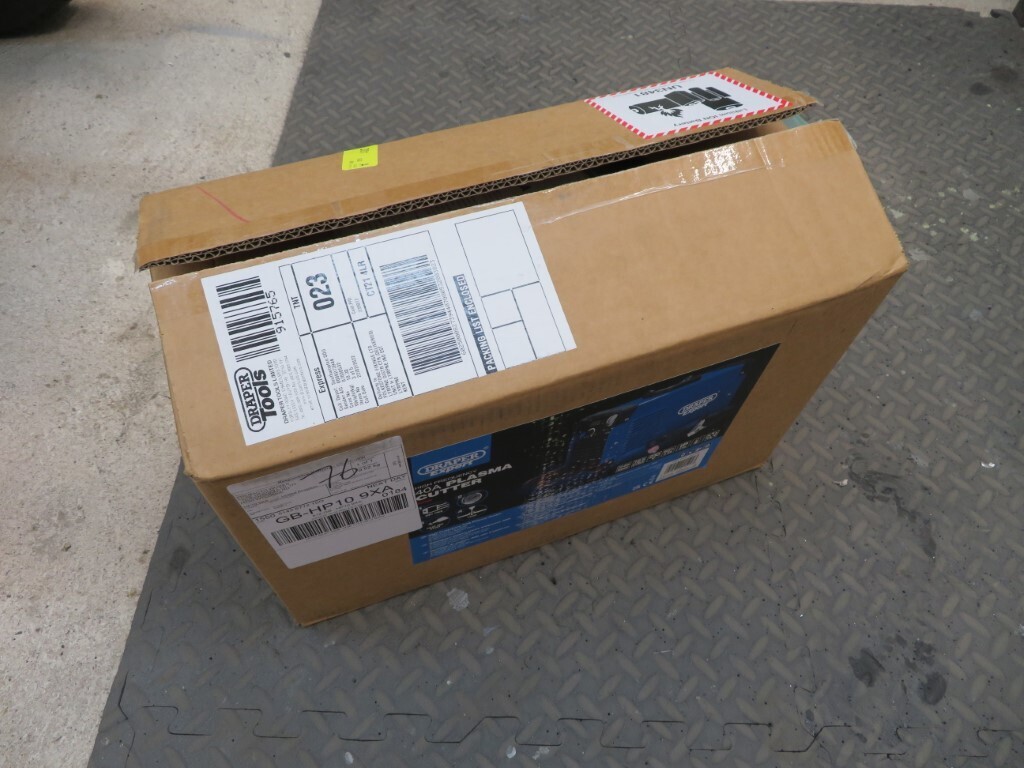 A plasma cutter  Comes with a completely rubbish mask - that will go in the bin, a 10 foot earth lead & a completely rubbish air hose which will also go in the bin. 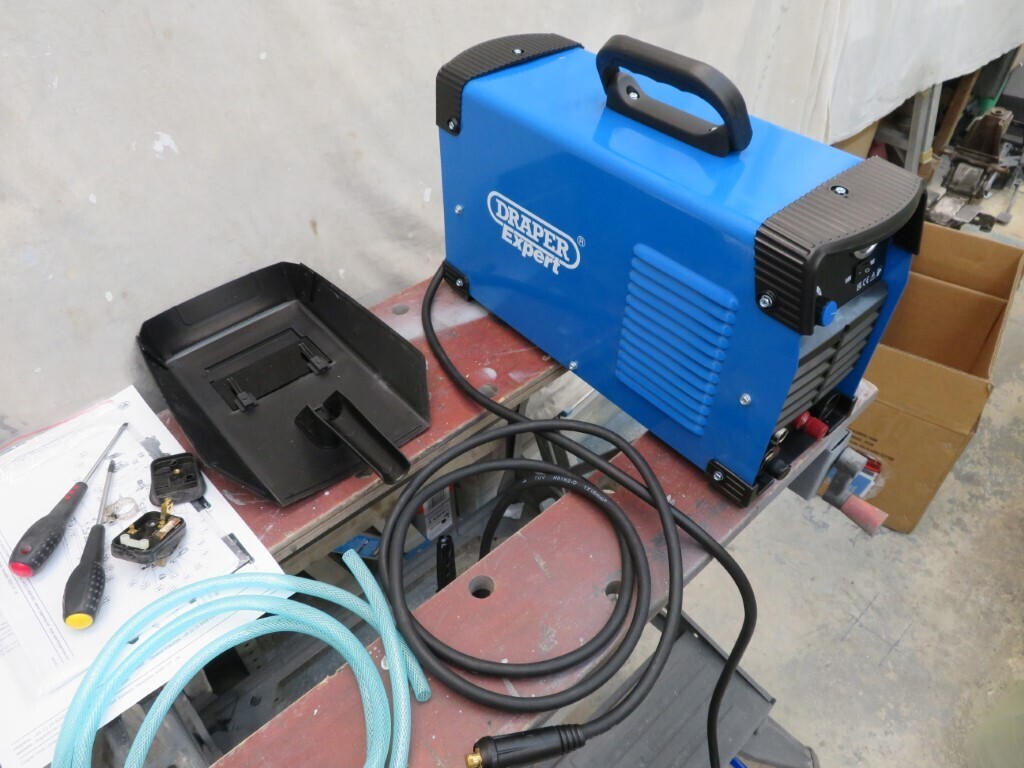 Torch comes on a very long 4 metre cable - nice & useful. 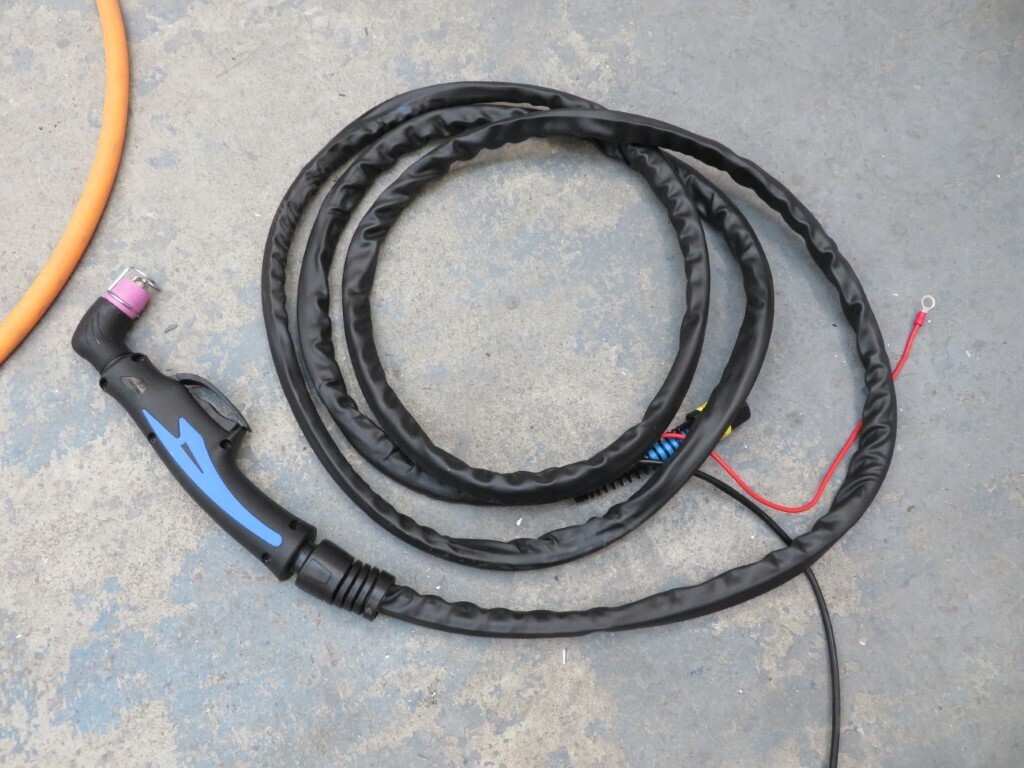 Of course I had to chuck it together & have a play. This is 3mm ally plate. As you can see it's not great. There are no instructions on setting it up at all, and some internet searching has not revealed a great deal more information. 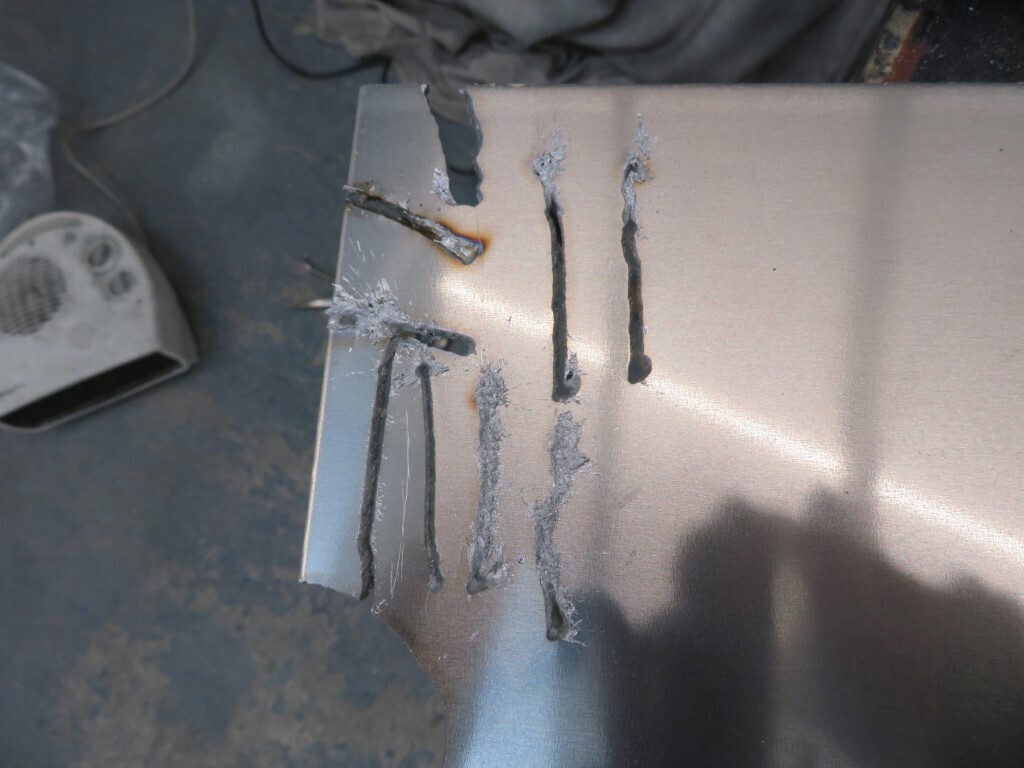 This is 3/16" steel tube - again only playing freehand with a variety of settings but again it's pretty dire. No issues with the power available as it turns metal to nothing easily enough but I so far have not got it set up to cut like in the advert videos.
They say it should have a 20A plug on it and after blowing 2 13A fuses on a std plug in 5 mins I suspect they are right  I'll have to go shopping this weekend and put a dedicated supply in off the fuseboard for it. I would welcome suggestions from anyone who has one of these as to what amperage & air pressure settings I should be using for different thickness metals please. It is a pilot arc ignitor torch if it makes any difference.
 Anyway, a bit dissapointed in that for now so it got put back in the box so I could get on with more painting. No photos tonight but there will be some at the weekend. 693.5 hours.
|
| |
|
|
glenanderson
Club Retro Rides Member
Posts: 4,348
Club RR Member Number: 64
|
|
|
|
|
You need plenty of air.
Like all these things, it’s about hitting the right settings, and practice.
|
| |
My worst worry about dying is my wife selling my stuff for what I told her it cost...
|
|
|
|
|
|
|
My experience with the workshop one was it was never expected to be a particularly neat cutting tool. It was always used for quick dismantling or cutting sheet down in to more manageable sizes for actual fabrication. Or chopping holes in big oil drums to turn in to bin fires in winter  |
| |
|
|
|
|
|
Feb 25, 2022 13:05:48 GMT
|
|
Glenn,
Any tips on air pressure & amperage for 3mm/6mm etc?
|
| |
|
|
glenanderson
Club Retro Rides Member
Posts: 4,348
Club RR Member Number: 64
|
|
|
|
|
I’m away for the weekend. I’ll dig out the info when I get home.
|
| |
My worst worry about dying is my wife selling my stuff for what I told her it cost...
|
|
|
|
|
|
|
|
Only used one once when I was at Dyson and it made a pretty sharp neat cut and it was fast. As Glen mentioned, I remember it used a lot of air.
You might not get it to work very well with aluminium because of the way it liquifies when it melts. I get a fair bit of stuff laser cut at work and generally they won’t do aluminium because of that. Usually have to get it water cut or EDM’d.
|
| |
|
|
|
|
|
Feb 26, 2022 19:51:46 GMT
|
Thanks Chaps - Jonny - actually it cut the ally really well, the poor cuts were when I was experimenting with lower power/air pressure. I've been watching a lot of youtube videos so I should be better armed next time I have a go. I did not get a lot done on Phils car today. As it was a nice day I thought I'd take the pop out to do some shopping. It got a lot of onlookers outside the electrical wholesalers, lol. When I got back I worked on mine for a bit as it was overdue some TLC. I had noticed a while back that my steering UJ's were out of phase - when I adjusted it some time back to get the self cancelling bar in the right place in the top of the column I had inadvertantly altered the phasing by adjusting the wrong UJ. I noticed today the steering was really heavy as well. After getting the phasing correct & the cancelling bar in the right place the steering felt a bit smoother again. I then checked the tyre pressures - hmmmm about half what they should be! no wonder the steering felt heavy. I pumped up all 4 tyres to the correct pressures and took it for a quick run again, pleased to say the steering is now much lighter and smoother - job done. 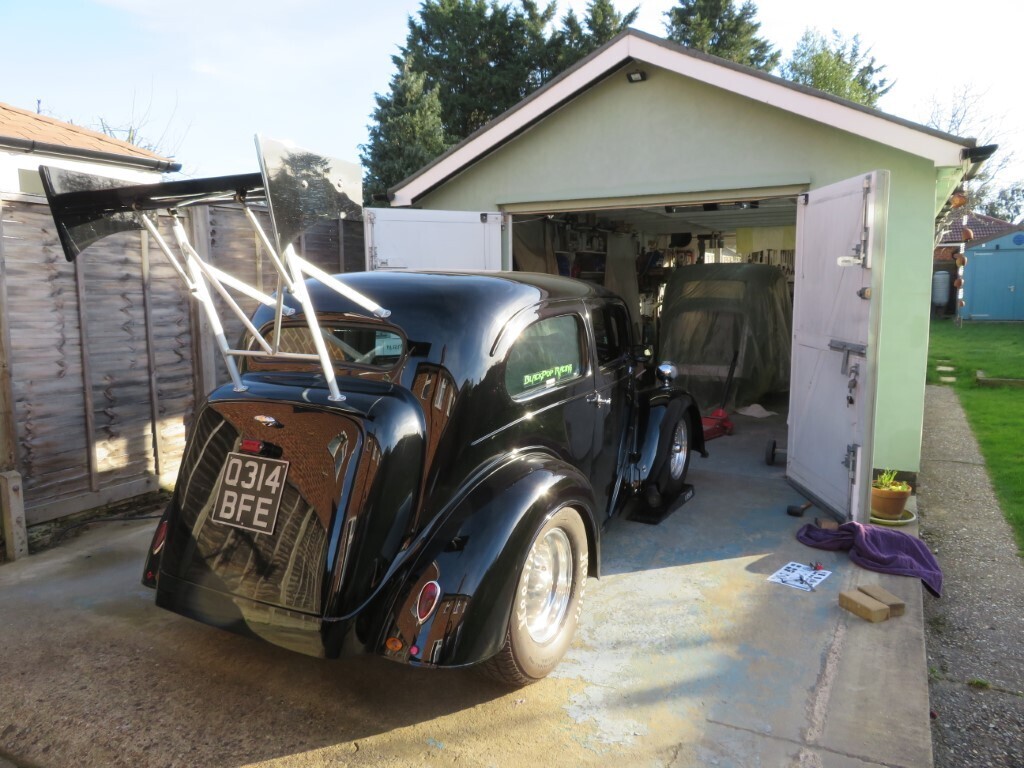 After that it was electrics in the garage. A new dedicated 20A socked has been installed for the Plasma cutter. 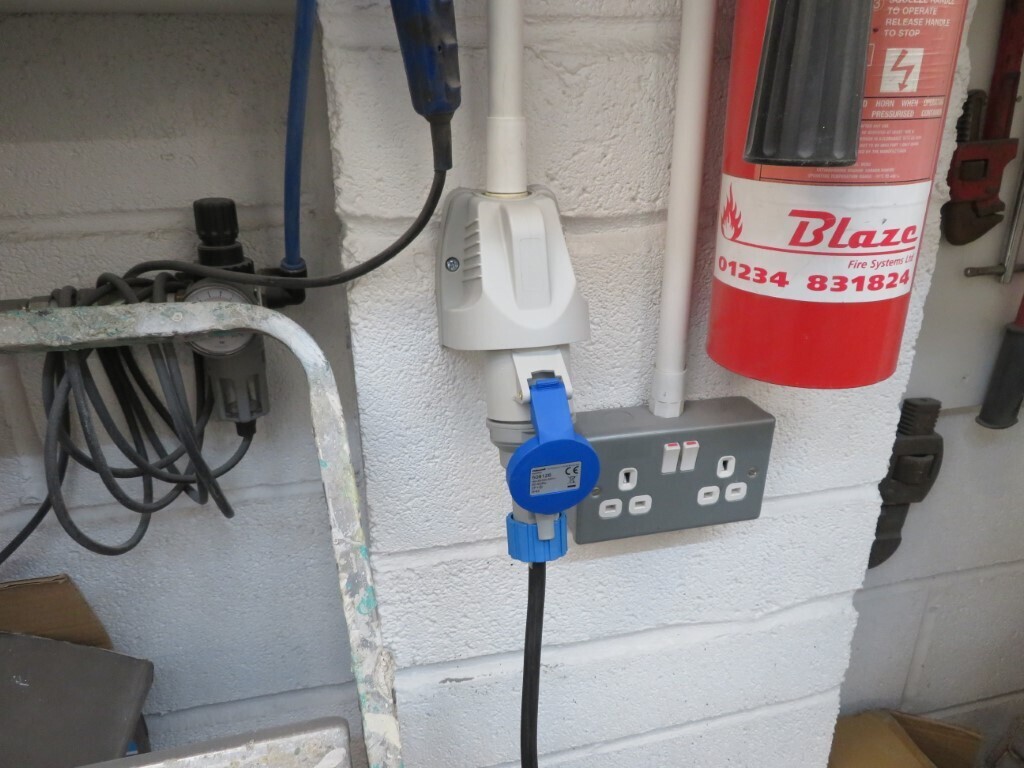 With the little time left I sanded the repaired rear window surround ready for primer tomorrow and then stripped the paint off the propshaft - a messy job! which will also be primed tomorrow. 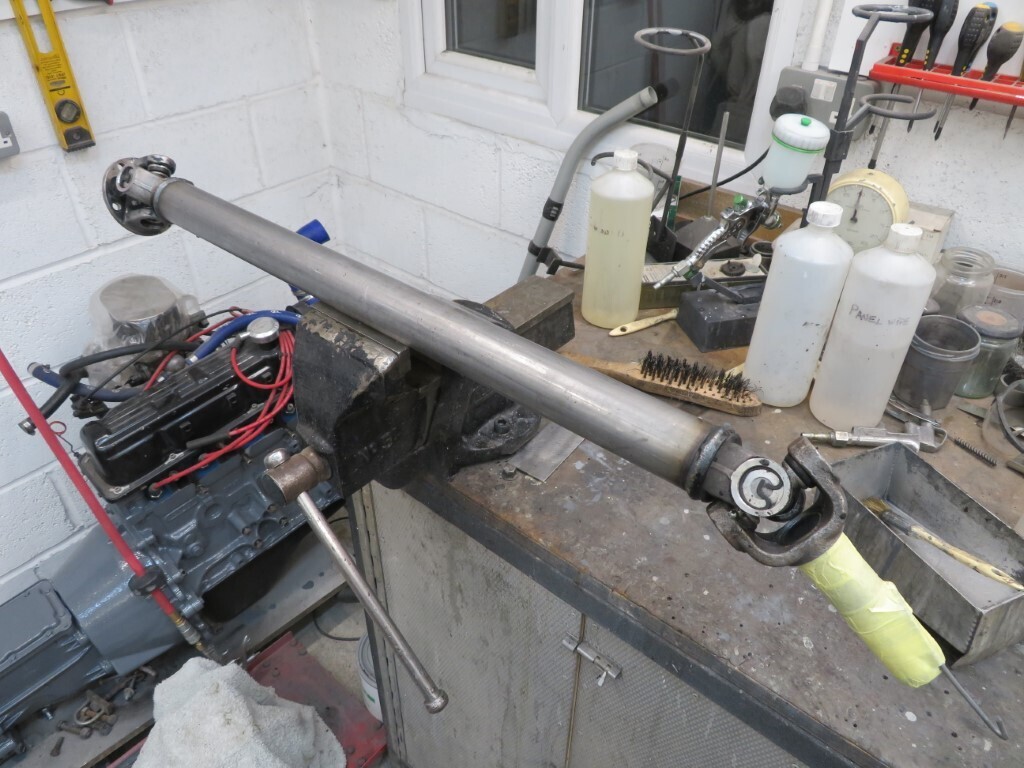 Parts that were completed in the week were all of the side window surrounds; 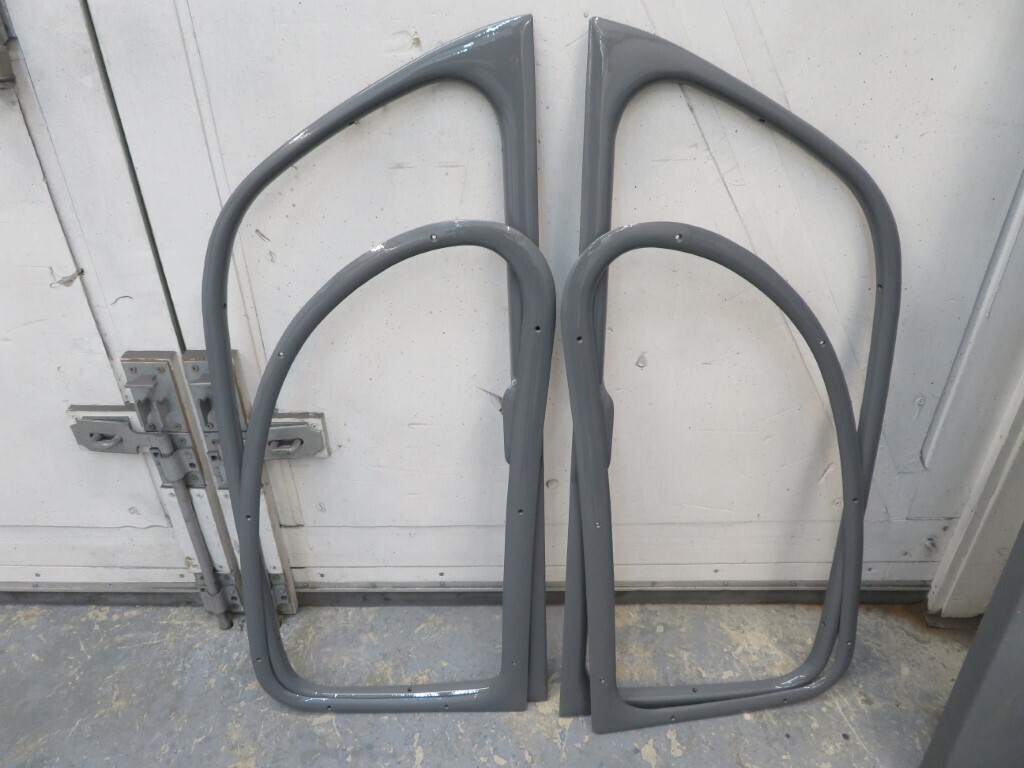 The door inner mechanisms; 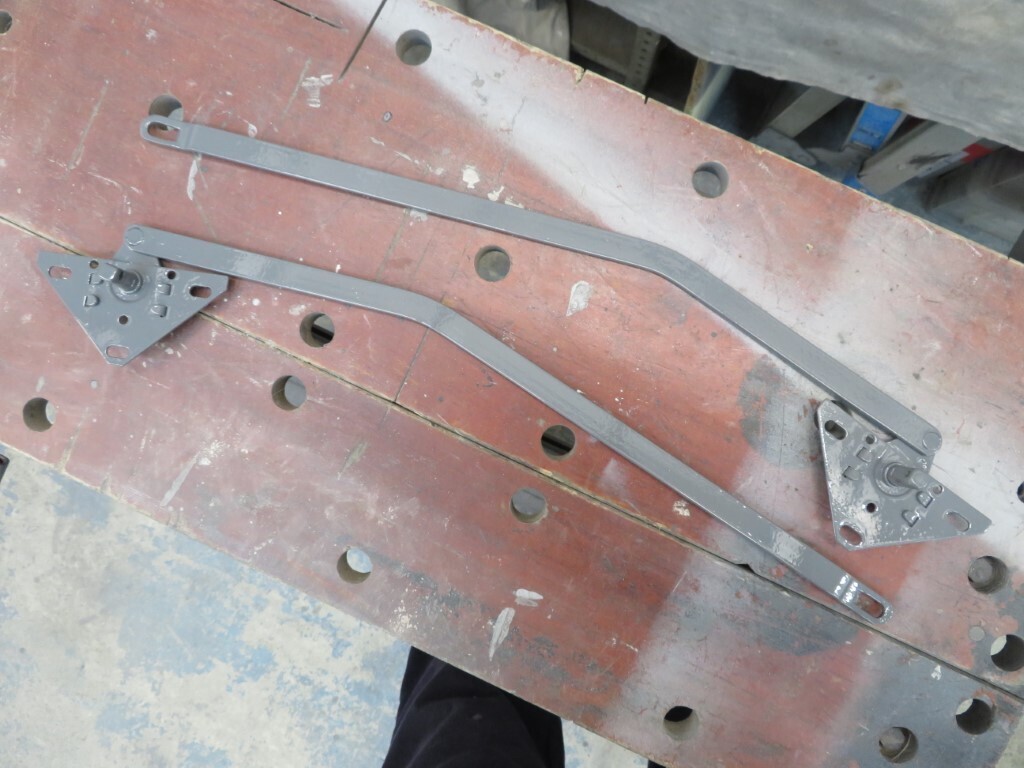 And the engine is half done now. 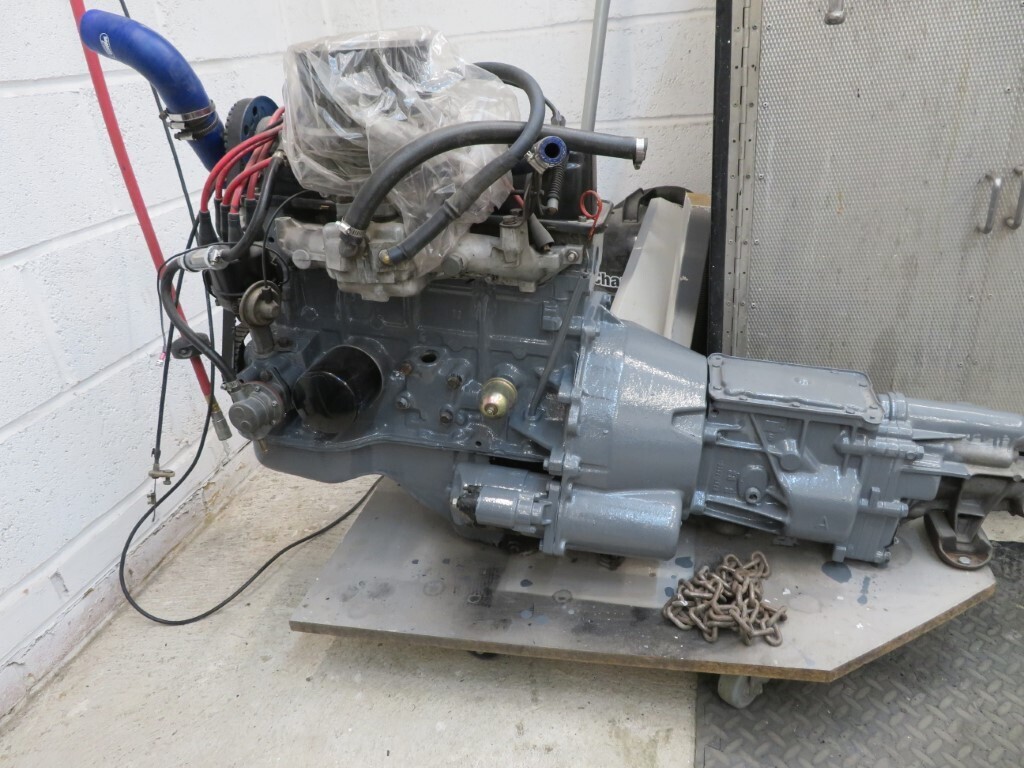 695.5 hours. |
| |
|
|
|
|
|
Feb 27, 2022 19:26:53 GMT
|
|
Great progress , coming along nicely , greatly admire your skill and dedication and also taking the time to document it for us mere mortals to look and learn
|
| |
|
|
|
|
|
Feb 27, 2022 21:30:25 GMT
|
Thanks. A bit of a special occasion today as it is exactly one year since Phils car first came over to us. A reminder of how it looked when it first arrived.
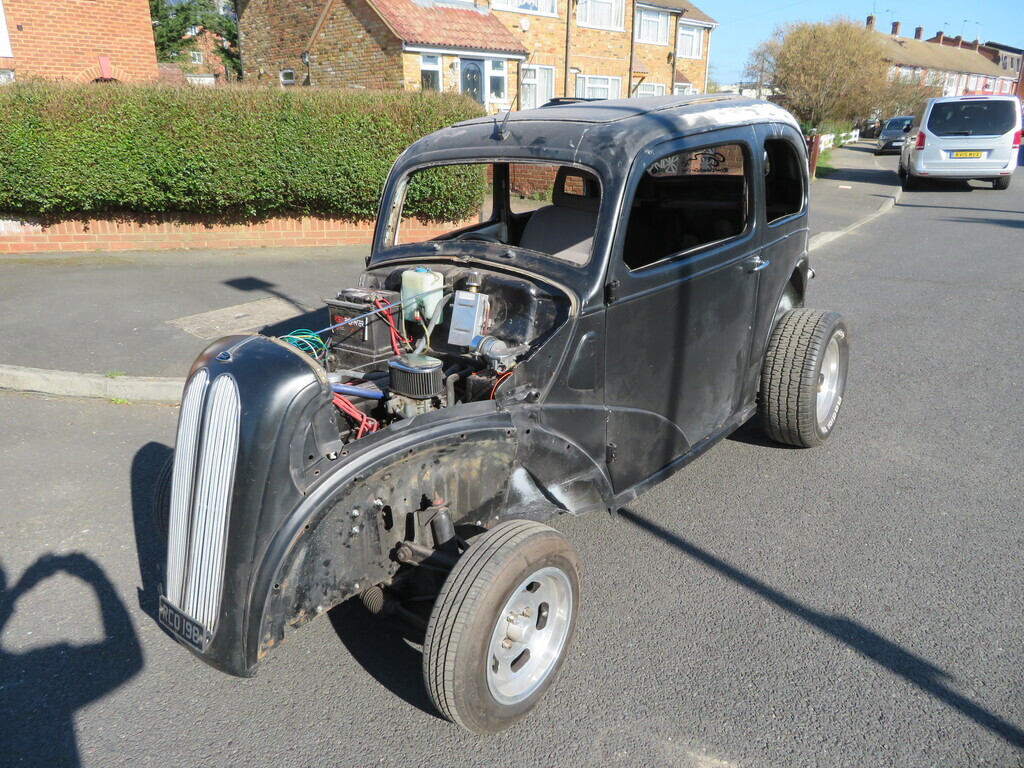 Not too much progress today as Dennis (another Pop owner) came over to see Phil & I and check on progress and we whiled away a couple of hours chatting and catching up as we had not seen him for quite some time. Once Dennis had left we got back to it. Phil cleaned up the engine in all the areas I had not primed and dismantled a few bits to get access to paint the engine a bit more easily. I spent some time on the rear axle radius rods that Phil had brough back over. He had cleaned off all of the paint leaving the original chromed rods. sadly the chrome is deeply rusted in a few areas so I went over the rods with the DA and a 40 grit pad, finishing off with the air sander and a 36 grit wheel on the rusty parts. These were then treated with a rust killer and will get primed tomorrow. The new crossmember was treated with Hydrate 80 so can be primed soon as well. Then it was paint time, the propshaft, rear window surround and timing cover were primed and then I brush painted the parts of the engine that Phil had cleaned up. 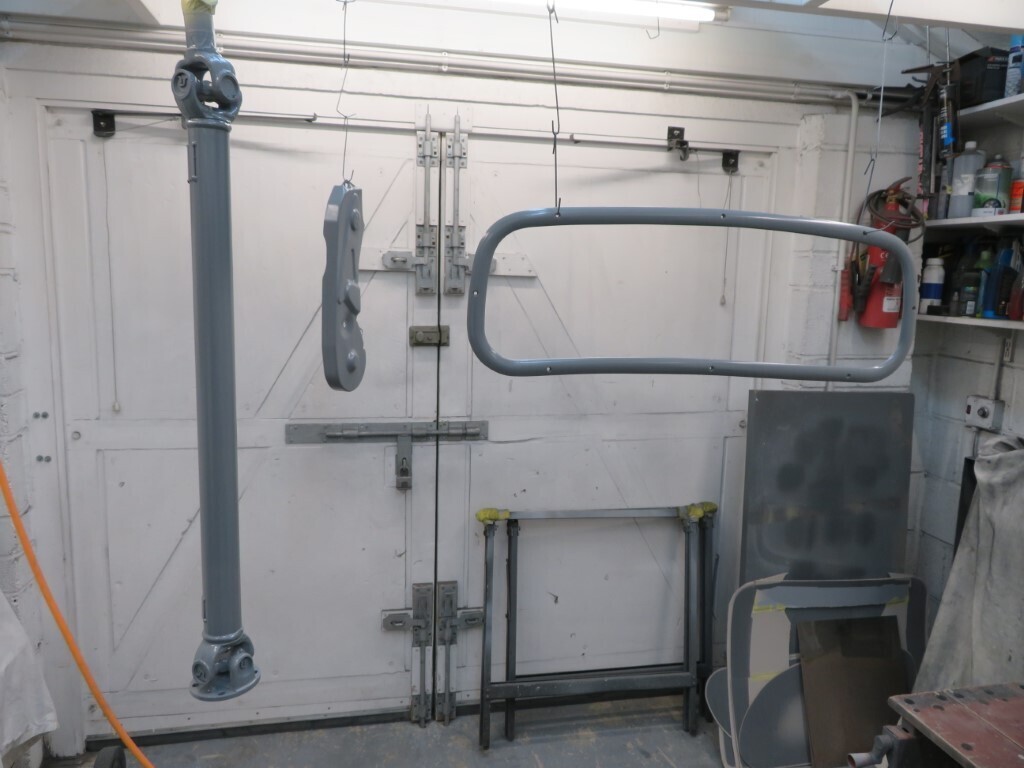 We finished the day by ordering more parts for finishing the car. 700 hours.
|
| |
|
|
|
|
|
|
|
I hope you subtracted tea and biscuits time from your total!  Surprised it's been a whole year, it seems like it's been going quicker than that. |
| |
|
|
|
|
|
Feb 28, 2022 23:31:27 GMT
|
Yes it's gone fast. More painting tonight, the rear axle radius rods were primed in black primer; 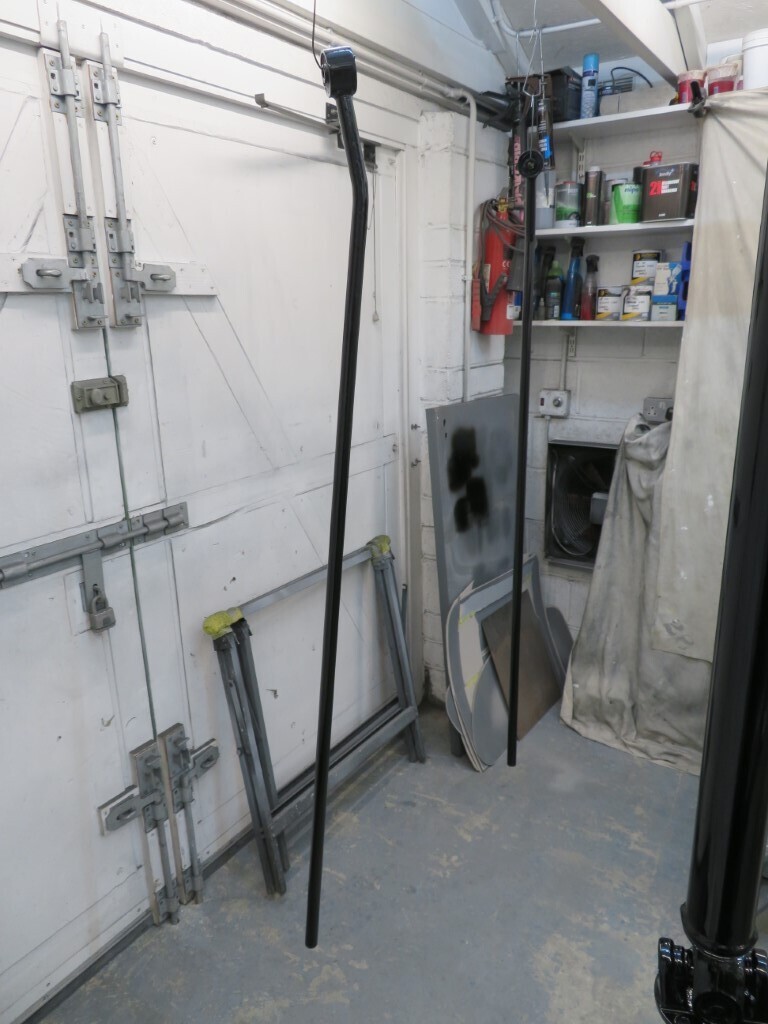 and the timing belt cover done in black gloss; 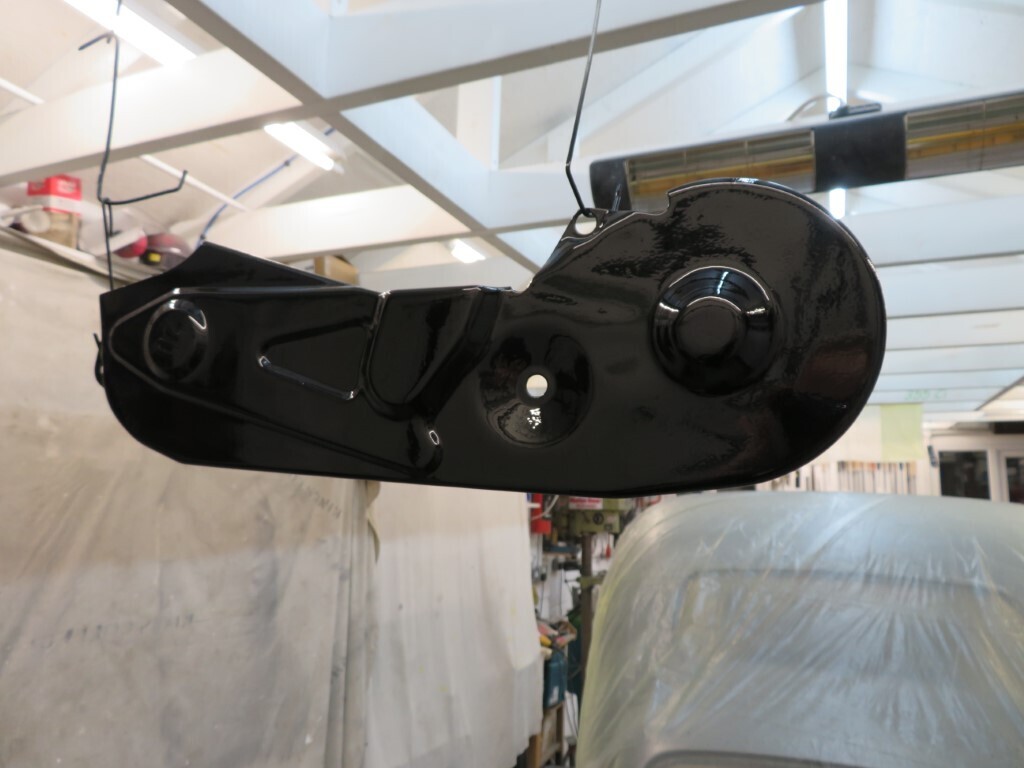 As was the propshaft; 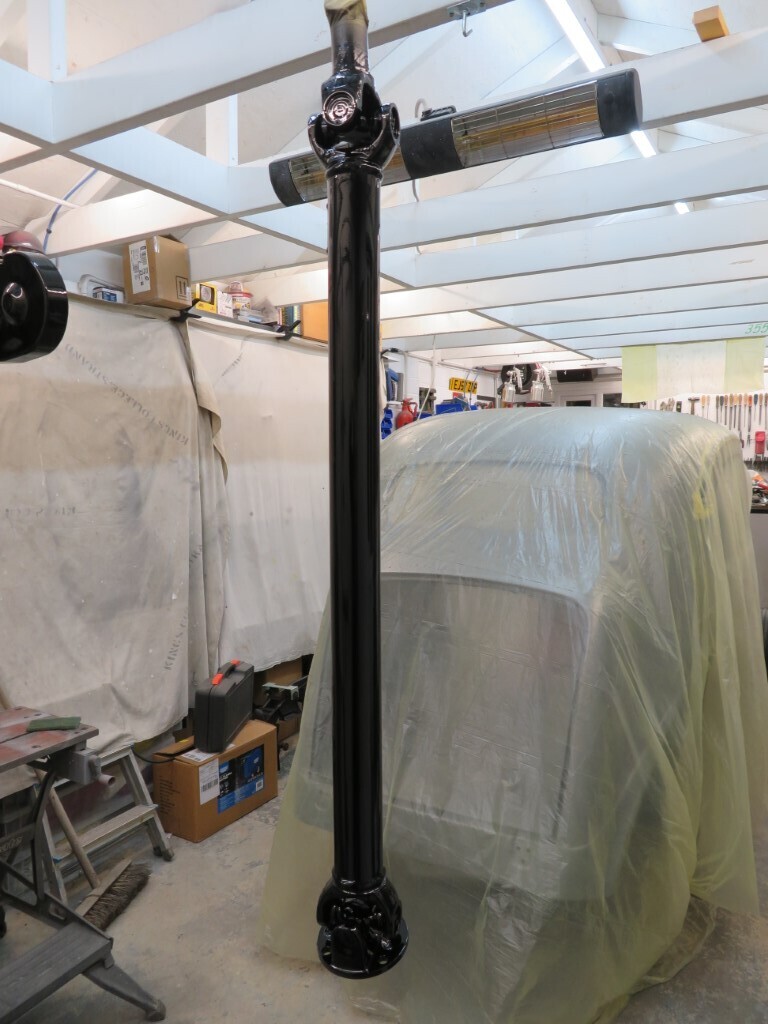 A couple of bits on the engine got painted with the leftover paint as well. We need a timing cover spacer if anyone has one please? Ford Pinto engine - looks like this; 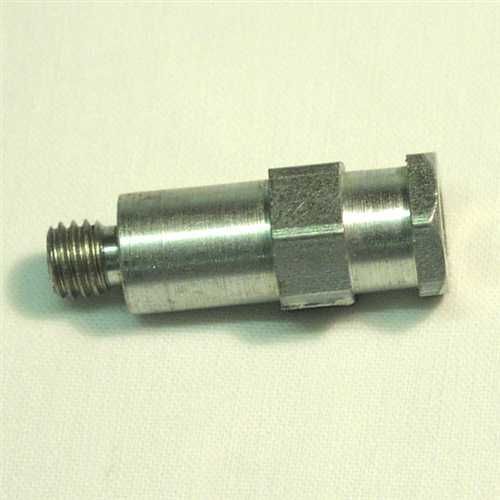 702 hours. |
| |
|
|
|
|
|
|
|
|
A bit of lathe work in your future?
|
| |
|
|
|
|
|
|
|
|
If I had a lathe......yes.
Hoping somone has a redundant one as most don't bother with the cover.
I can make one (bits welded together) but it will take an hour or so which is time better spent on other things.
|
| |
|
|
Darkspeed
Club Retro Rides Member
Posts: 4,876
Club RR Member Number: 39
|
|
|
|
|
What those - "FORD rare RS AVO - RS 2000 special rare cam cover special retaining pillars RS " - things. - Probably.
Got any Hillman Imp Rotoflex bolts for swaps?
|
| |
|
|
Darkspeed
Club Retro Rides Member
Posts: 4,876
Club RR Member Number: 39
|
|
|
|
That's what I just picked out of the top before I go digging - which probably means that's all I have. Then again maybe someone local has some. Also have lifting eyes and a block to box support bar, front pulleys - a double power steering one - I thinks that's a dizzy clamp for a Pinto on there as well. 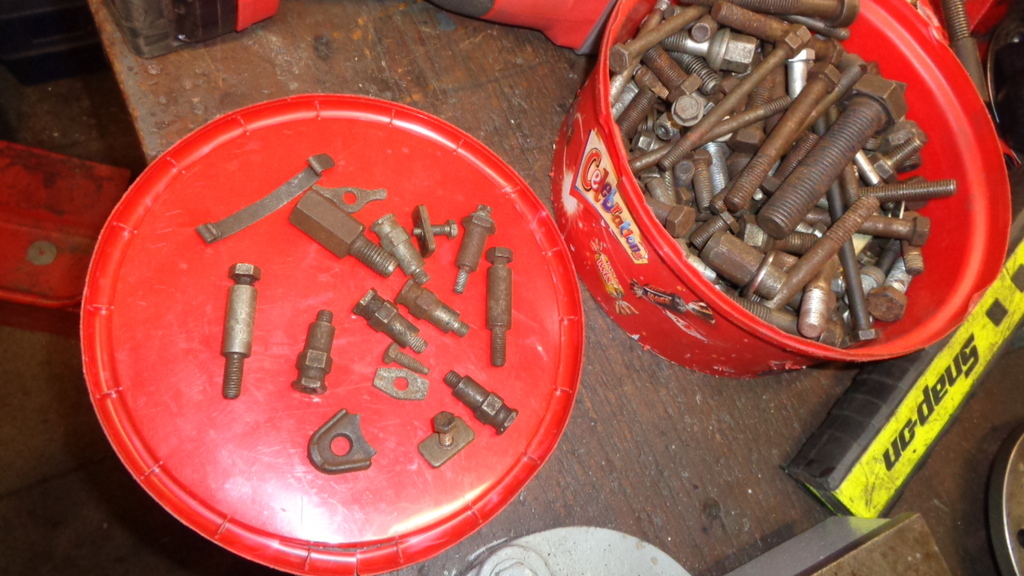 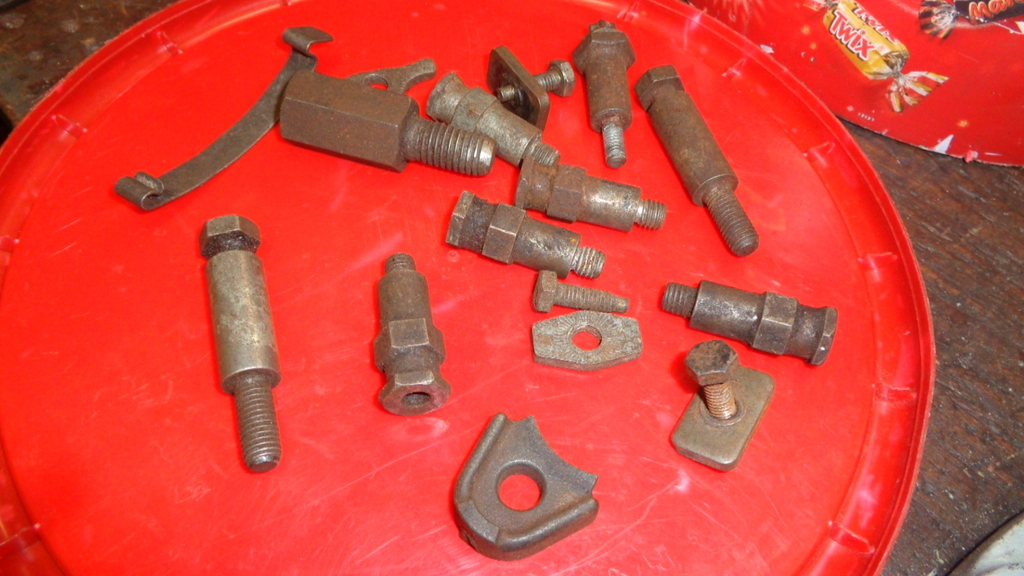 Why? I have to ask myself, I have not owned a Pinto for 18 years.... at least - ETA - How bad of me to forget the G31 had a Pinto so not that long ago. Just the Pinto's that those parts came off were way back. ETA Well I had to search - LOL  May well find those special little bolts as well if I go digging Also need to reassess my swap offer - now looking for a complete Imp Sport engine as a possible swap - FFS Blue Oval tax. |
| |
Last Edit: Mar 1, 2022 20:35:43 GMT by Darkspeed
|
|
|
|
|
|
|
Hi Andrew, yeah I saw those as well! Wish I'd seen you post before I got impatient tonight - 2 bolts, a drill and a tap and a bit of the metal glue gun got me one of these; 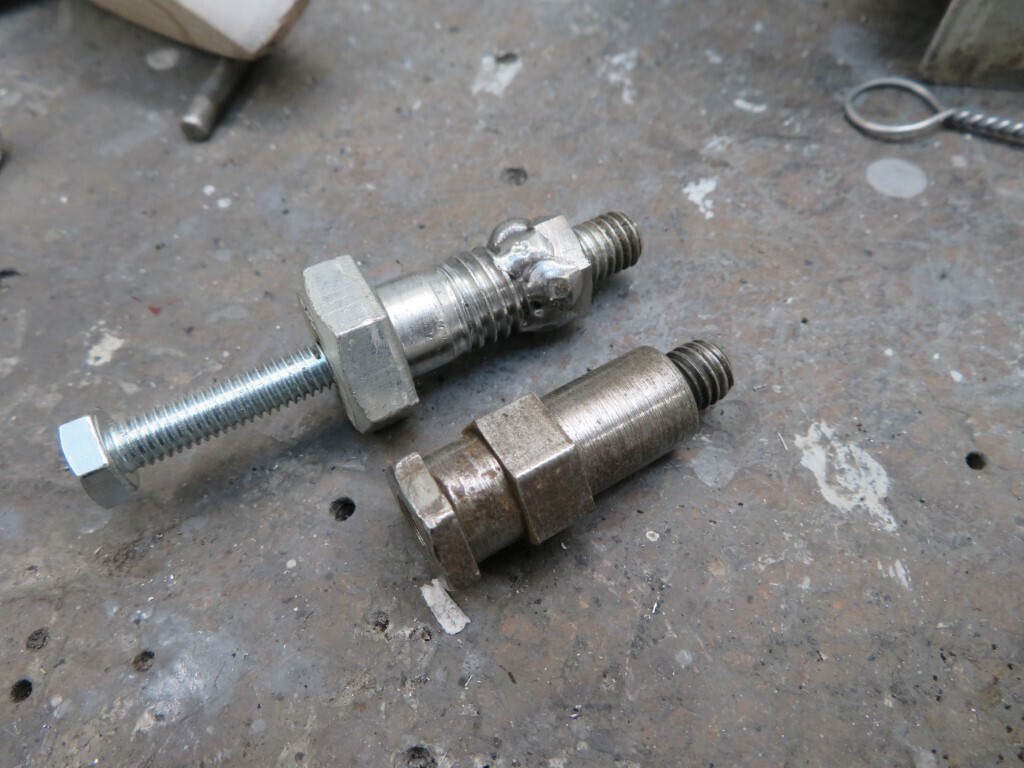 Might be nice to have a proper one though, I'll look in the top shed to see if I have any Imp sport race engines in the corner  Edit, Just seen the special bolts - if you have those as well (need 2 I think) that would be very welcome as I assumed they were bolted up tight. |
| |
|
|
Darkspeed
Club Retro Rides Member
Posts: 4,876
Club RR Member Number: 39
|
|
|
|
|
I found one of the special little bolts - so? - what you after?
Same deal as before.
|
| |
|
|


 That was not meant to happen.


 I'll have to go shopping this weekend and put a dedicated supply in off the fuseboard for it.


