|
|
|
Oct 15, 2022 18:01:49 GMT
|
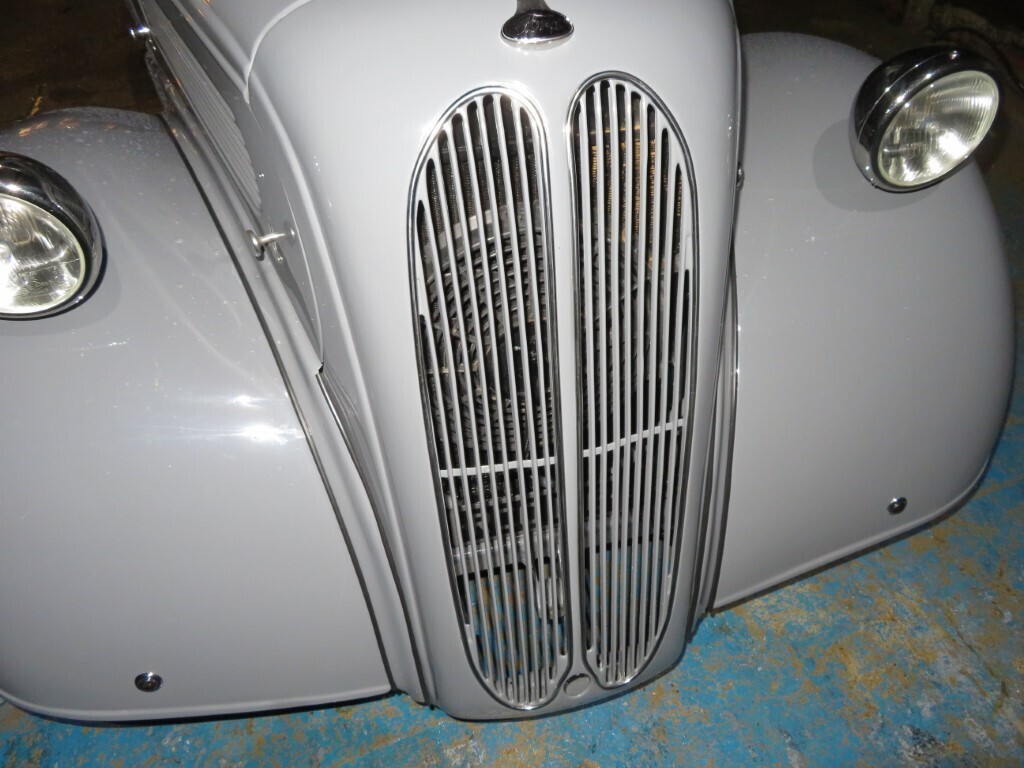
Grilling - not the cooking type though....  The original grill clips are a sort of X type wire jobs, I don't like these as they chip the paint when being fitted so I will convert them to 3mm bolts to fit the trims. Get a load of 3mm button head bolts and file the heads off on one side so they can hook into the slots in the grill trim. 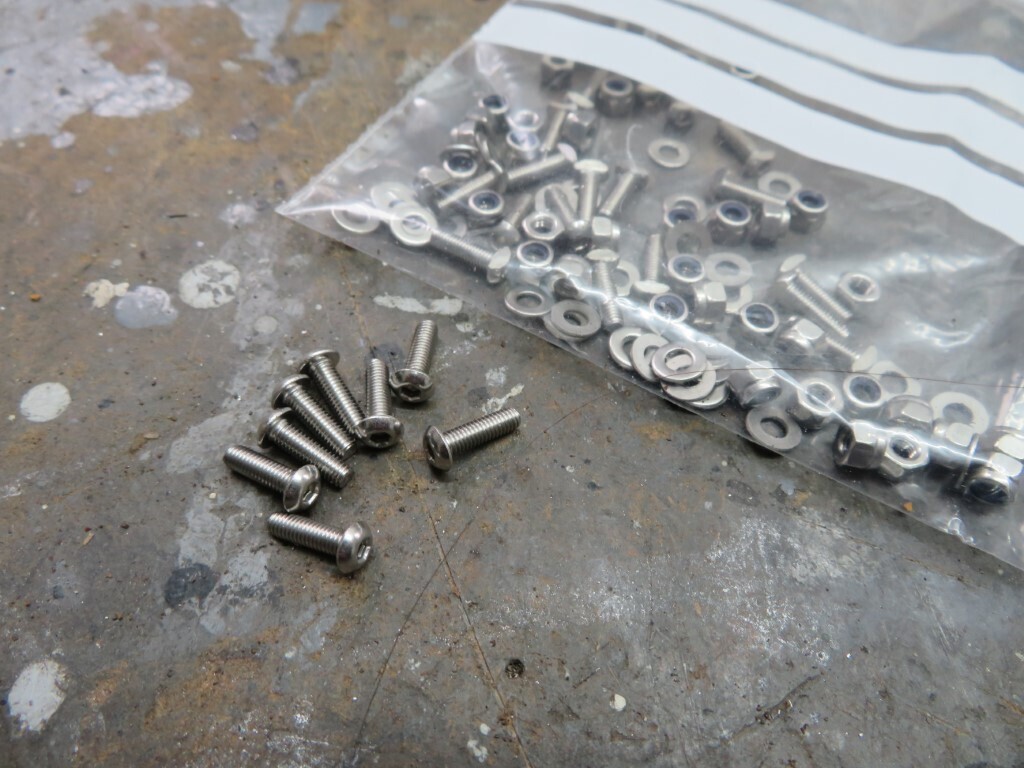 And loosely fitted - these will be bonded in with epoxy adhesive. 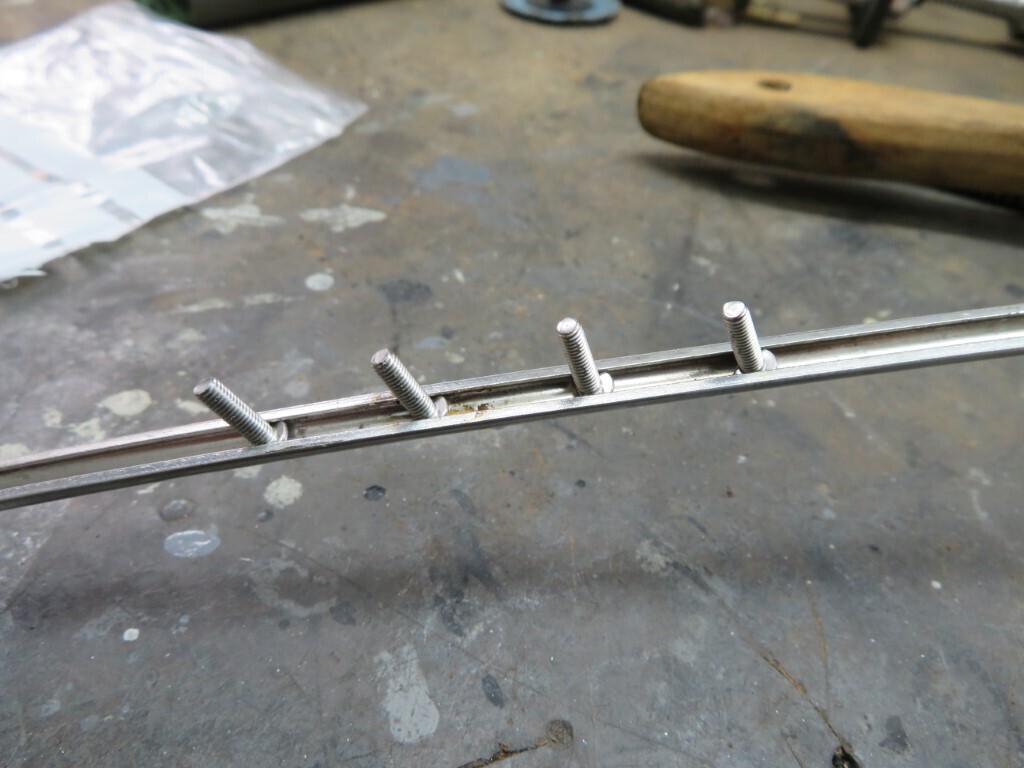 I mopped the trims up on the polishing mop as well. 1169 hours |
| |
|
|
|
|
|
|
|
Oct 16, 2022 20:08:48 GMT
|
Phil dropped the car back over today; 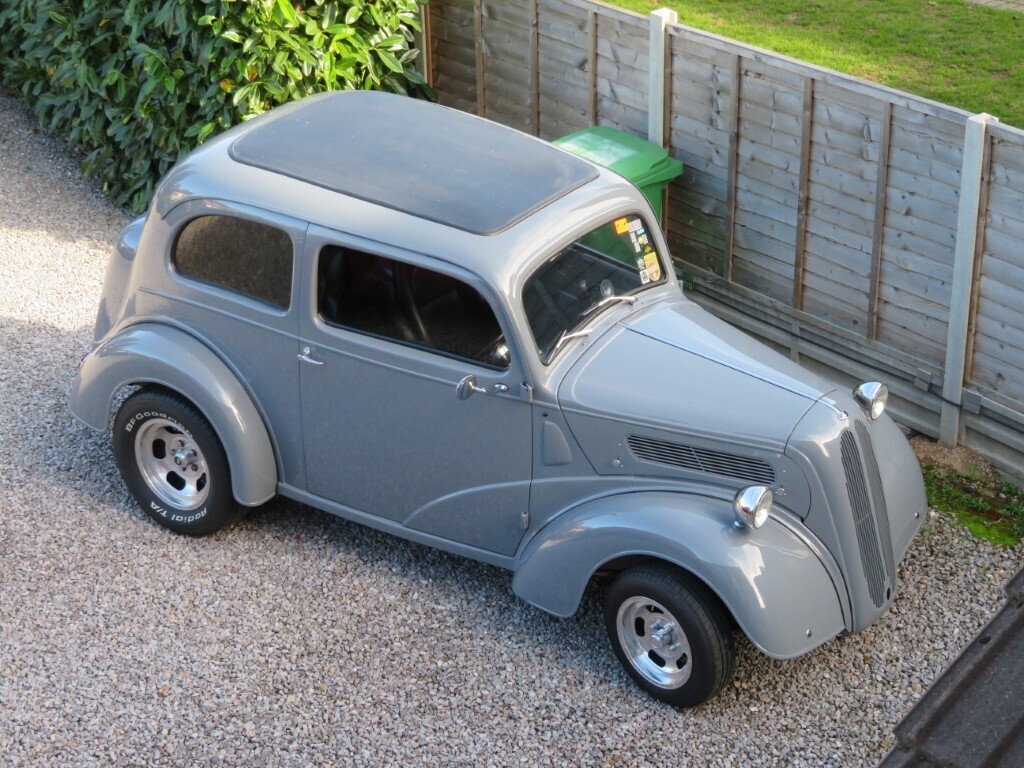 So I jacked it up and spent some time underneath checking things over. There was an oil leak from the engine which had left some oil under the car in a few places (rocker cover gasket & oil filter needed nipping up a little). Dinitrol was liberally sprayed into the bottom of the A posts for protection. Handbrake was now non existant where the cables & pads had settled in, some adjustment to the cable got it working well again. The stereo got wired up correctly to the proper feeds so it now remembers all its settings when powered down. While there I noticed the screenwash pump was wet - even on the top and a little greasy - this was antifreeze so I checked the heater pipes above. No signs of leaking but the clamps all could be nipped up another couple of turns So I'm assuming this was the issue. A general look over found a few rust spots already  where some chafing has occurred - Phil has been pressured to get the correct grommets for the bonnets to stop this. In the meantime I took the allen bolts out and ground a couple of mm off the heads and re polished them to gain a little more clearance. The other areas will be worked on to de-rust and touch in so they do not chafe in future. Door seals were fitted to the body around the door tops so hopefully they are watertight now. Phil came back over in the afternoon so I got him to get underneath to clean the oil off everything and double check where the oil was coming from. While under the car he spotted the starter motor was loose! One bolt had made a break for freedom and the other two were a bit loose. I found another bolt in my stock that fitted and we tightened it back up again. We will keep an eye on this to make sure it does not come loose again. This does highlight why you should check a new build regularly after completion as many parts will settle in and need to be re-tightened or adjusted in use. The front grill trims were massaged a little until the fitted properly, 10 screws bonded in to each one so far; 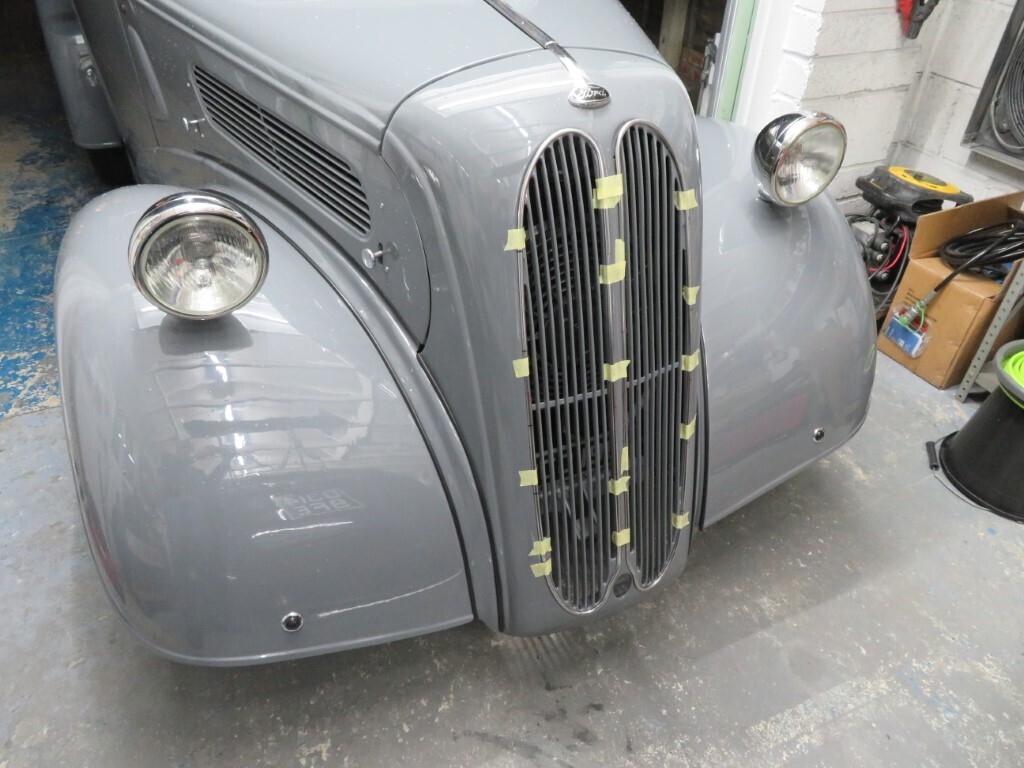 1175 hours |
| |
|
|
|
|
|
Oct 23, 2022 19:41:04 GMT
|
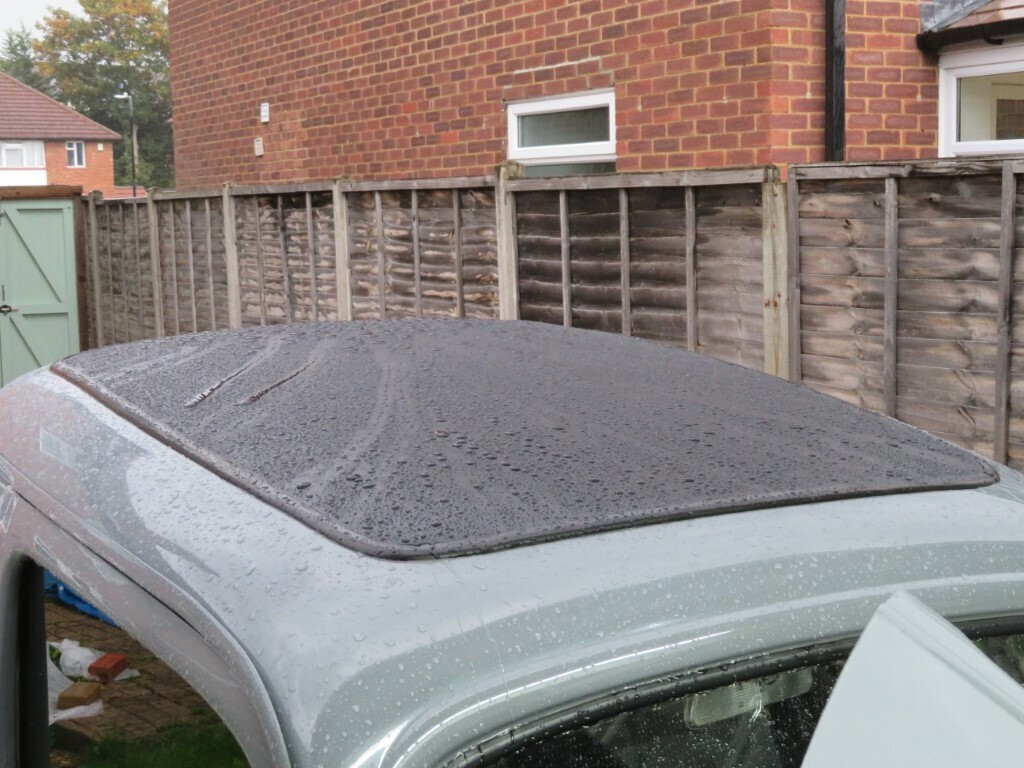
Small jobs now slowly getting done on Phil's car, I got around to sanding smooth the allly bracket for the rev counter and then polishing it up, looks much better now. 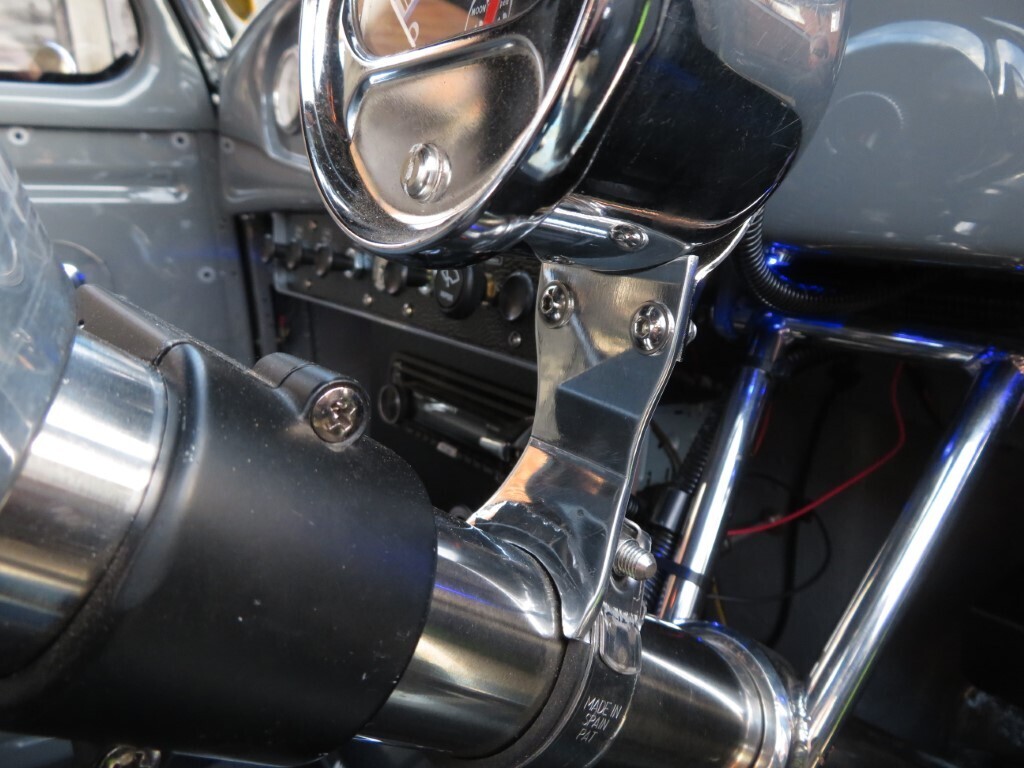 All of the bolts are now bonded into the grill surrounds - bit of a tedious job! 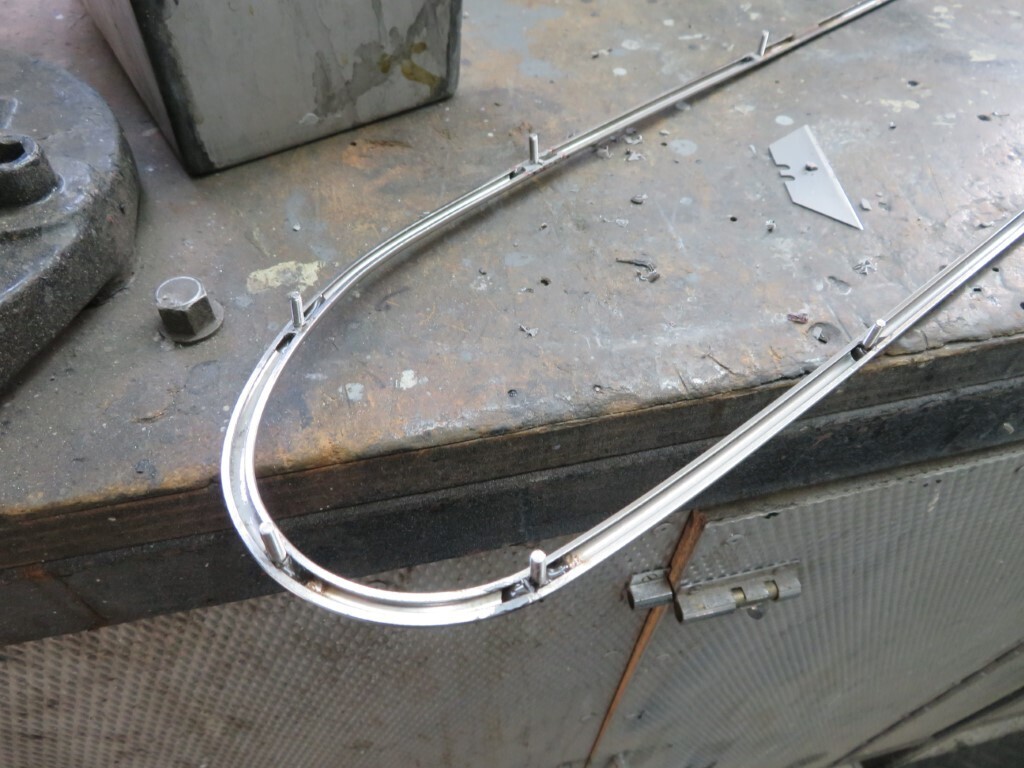 I had polished the roof insert with some black shoe polish - the rain this afternoon shows how well it waterproofs it.
 Yesterday I finished polishing the paint on the top of the bonnet - I had to sand a scratch that Phil had got in it, all done now with a glaze finish. Just need to add a ceramic coat to it - and do the rest of the car! grills are finally fitted - a much bigger job than expected as it needed the radiator to be disconnected at the top and loosened off so I could get my arm behind it to reach the bolts. 34 bolts took far longer than it should have to to complete. Still, another job ticked off. I did check all of the water hose clamps as the top hose one was a bit loose - all needed a bit of tightening up now everything has settled in.
 Good news though, even with the torrential rain this weekend the boot is completely dry, so the hard work of getting the gutters tight to the bootlid has paid off. 1178 hours |
| |
|
|
|
|
|
Oct 30, 2022 18:06:52 GMT
|
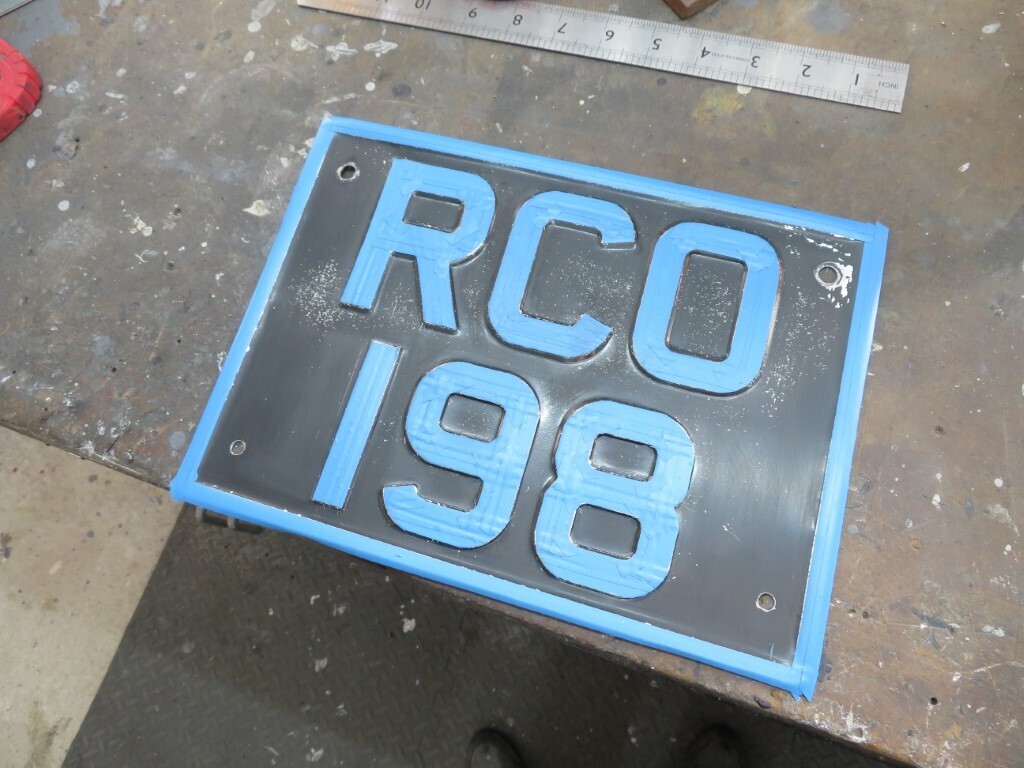
not so much progress of late - the car is outside the garage so the darker nights (much worse from today) prohibit much work being done. Also I've been installing a deisel heater in the garage - the electric heating is way too expensive now. Pumps out loads of heat & should be really cheap to run. Not quite finished the install yet as the exhaust needs wrapping and the power supply needs fitting underneath. 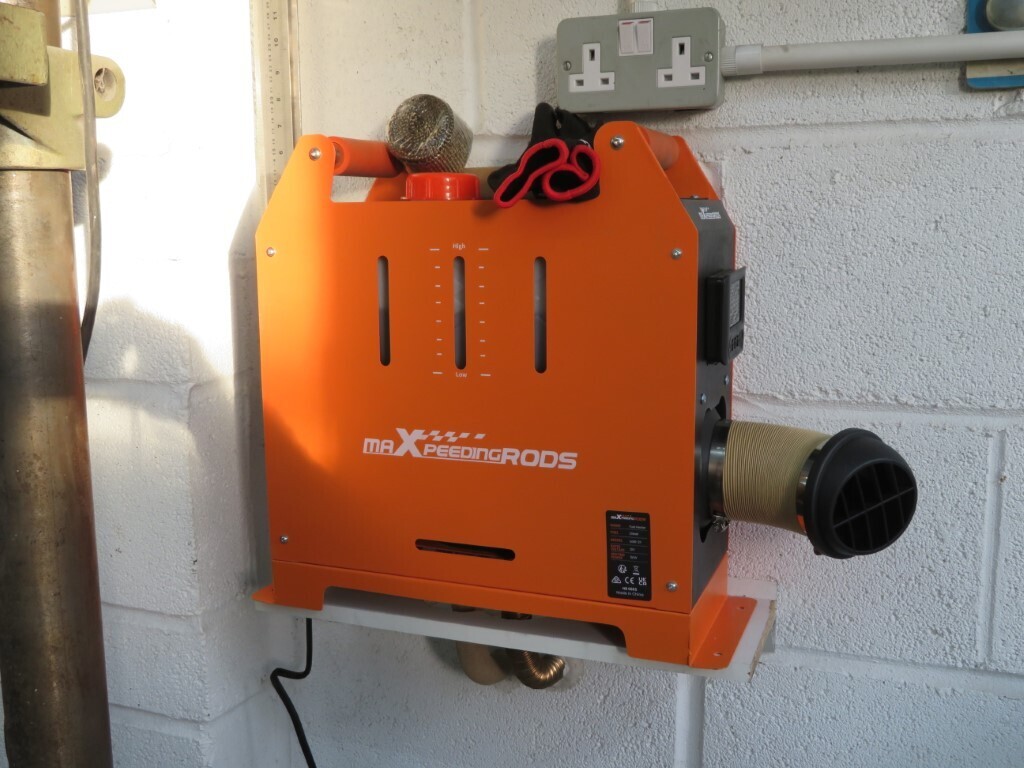 Output heat is nice & warm; Anyway, back to Phils car, I managed to get the roof, boot and rear quarters polished to second stage and the roof to third stage today, also got some ceramic glaze on the bonnet. Rain & early darkness stopped me from getting the whole car done - it will have to wait till next weekend now. In the meantime with the rear number plate off to polish the boot it seemed a good time to get round to refurbishing it. The letters are good but the black paint is very faded and thin. Careful masking of the surround and letters done here;
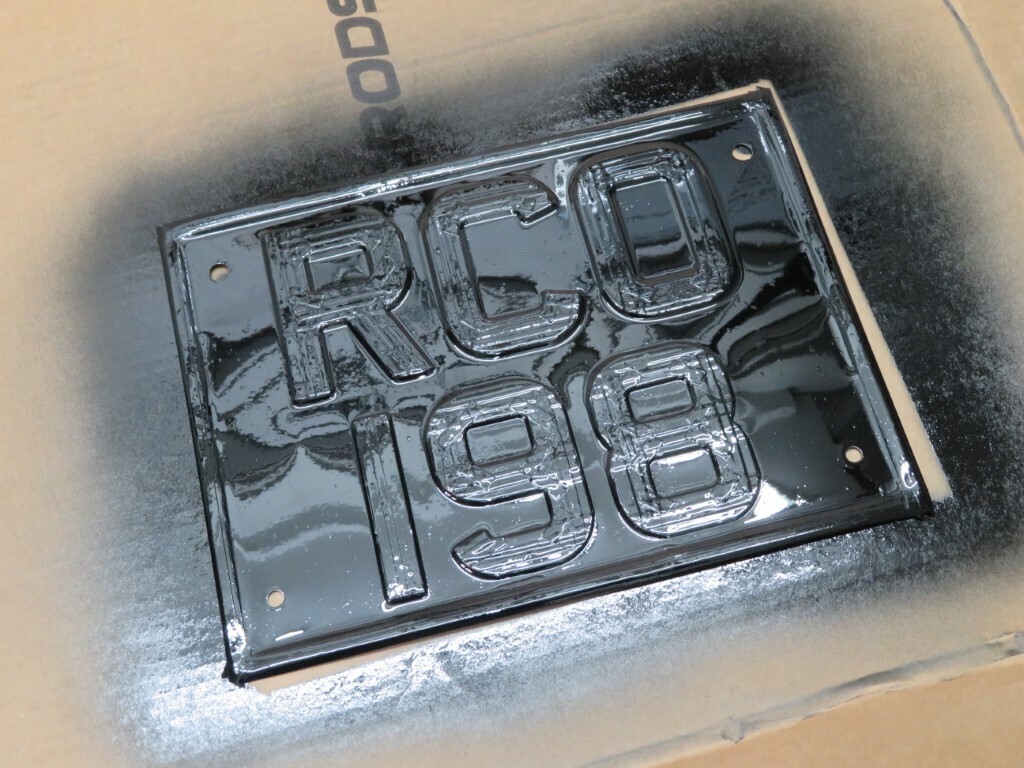
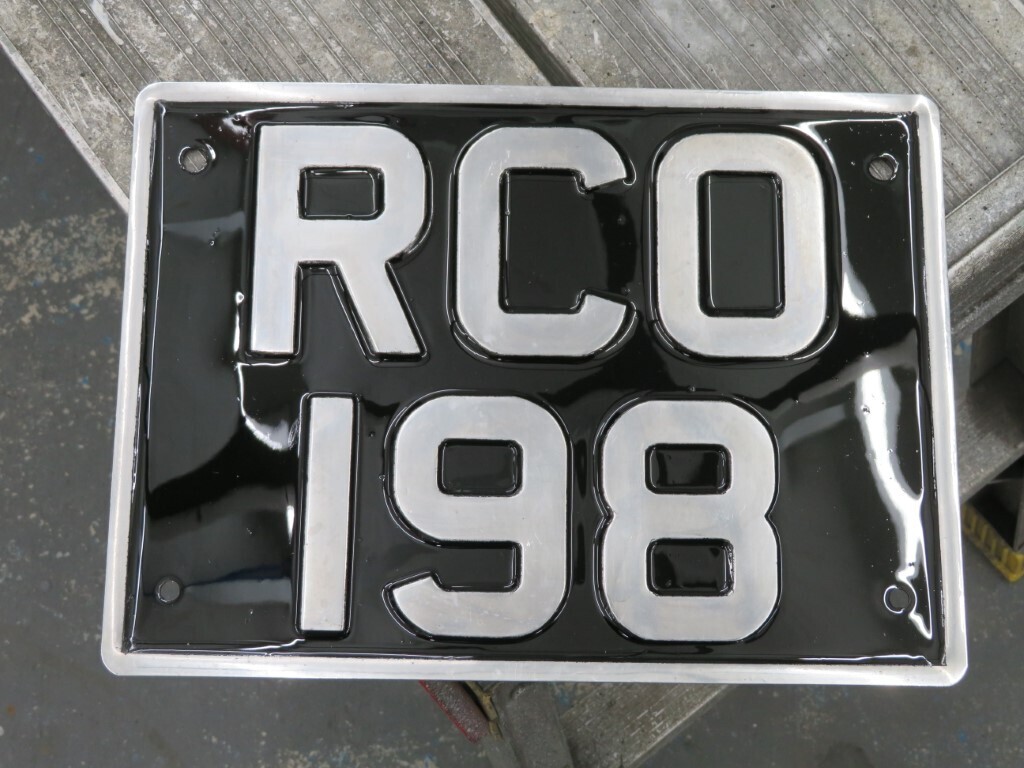
And with two coats of gloss black on it; and 40 mins later carefully unmasked while the paint is soft to avoid any tears in the paint. It will get a proper polish once the paint has cured properly.
1182 hours.
|
| |
|
|
bstardchild
Club Retro Rides Member
Posts: 14,965
Club RR Member Number: 71
|
|
Oct 30, 2022 19:29:55 GMT
|
not so much progress of late - the car is outside the garage so the darker nights (much worse from today) prohibit much work being done. Also I've been installing a deisel heater in the garage - the electric heating is way too expensive now. Pumps out loads of heat & should be really cheap to run. Not quite finished the install yet as the exhaust needs wrapping and the power supply needs fitting underneath.  Output heat is nice & warm; Be really interested in more details about this when you have time |
| |
|
|
|
|
|
Oct 30, 2022 19:55:24 GMT
|
Head over to facebook and join the Chinese Deisel heaters UK group; www.facebook.com/groups/212813887001237Have a good read of the posts put up by Christine Yates on the best heaters and spare parts etc, very informative. I bought the Maxspeedingrods one - not the cheapest but better quality and has bluetooth connection so can be worked from your phone remotely. You need to swap out the fuel hose on them as the green hose is shyte. They need a 12v 30A power supply or can be run off a car battery & charger. |
| |
|
|
|
|
|
Oct 30, 2022 20:02:26 GMT
|
not so much progress of late - the car is outside the garage so the darker nights (much worse from today) prohibit much work being done. Also I've been installing a deisel heater in the garage - the electric heating is way too expensive now. Pumps out loads of heat & should be really cheap to run. Not quite finished the install yet as the exhaust needs wrapping and the power supply needs fitting underneath.  Output heat is nice & warm; Be really interested in more details about this when you have time There's loads of information on the mig welding forum. I've got two of them. They are great. |
| |
Proton Jumbuck-deceased :-(
2005 Kia Sorento the parts hauling heap
V8 Humber Hawk
1948 Standard12 pickup SOLD
1953 Pop build (wifey's BIVA build).
|
|
|
|
|
|
|
|
Not checked in on your work for a while.
Stuff getting in the way.
These small jobs are the ones often missed on inspection, at shows etc, but the are also the ones that tie a build together.
Unchanged admiration and continued love for the work you are turning out.
|
| |
|
|
|
|
|
|
|
Not much to report due to dark nights and been away at weekends. Managed to get back this Sunday with an hour or so of daylight left so I got the boot hump and bootlid polished to stage 3 and ceramic glazed. Number plate now refitted with clinch nuts in ally plates bonded to the inside of the bootlid. No more struggling trying to get nuts on the back of the bolts inside the bootlid skin anymore. 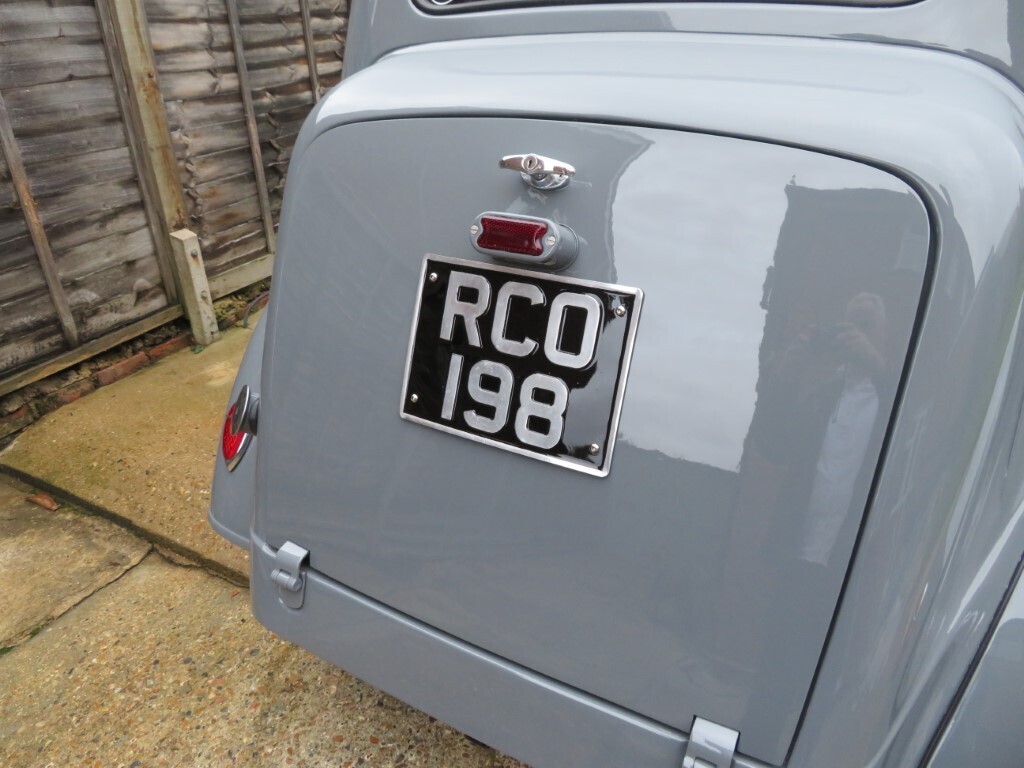 I modified the bootlid straps as well to keep the buckles tight to the top all of the time. 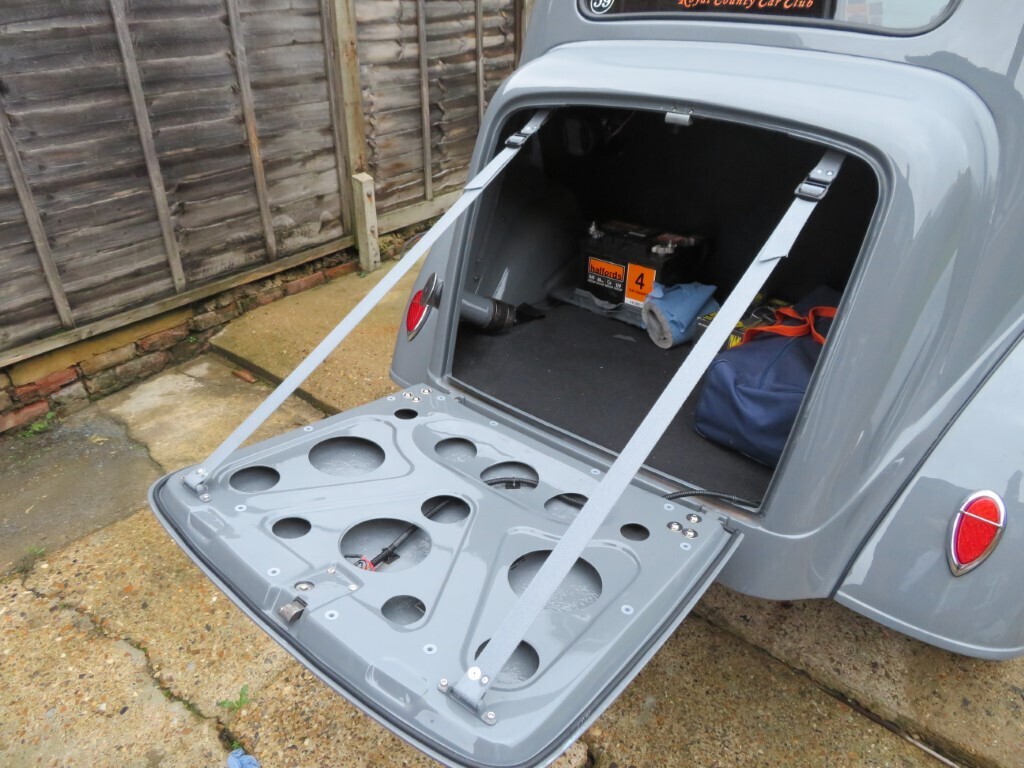 1183 hours. |
| |
|
|
|
|
|
Dec 11, 2022 18:47:26 GMT
|
|
|
| |
|
|
|
|
|
Dec 12, 2022 19:31:52 GMT
|
Heat! or lack of it. My car has a heater but it's not very effective. It demists the windows fine but is severely lacking in the heat dept. It's made up of a Mini heater matrix and a Cavaliar MkIII squirrel cage motor. This should work extremely well, but the issue is it's built into the nose of the car and by the time the air has travelled all along the spiral wire tubes and gone round a few corners the airspeed is pretty low and the heat all but gone. This is the heater housing in the nose; 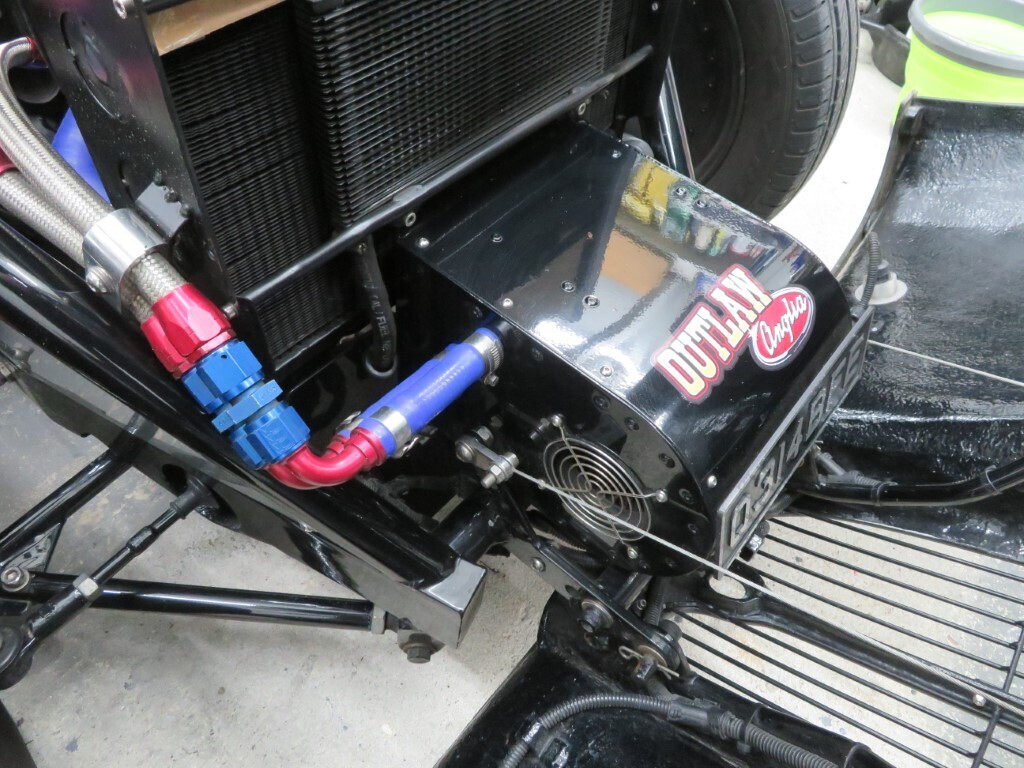 Driving it in minus 5C on Sunday focused my mind a little as to whether it might be possible to fit one of the modern compact heaters into the car. I picked This one as I think it might just squeeze into a place that is not quite big enough for it, lol. 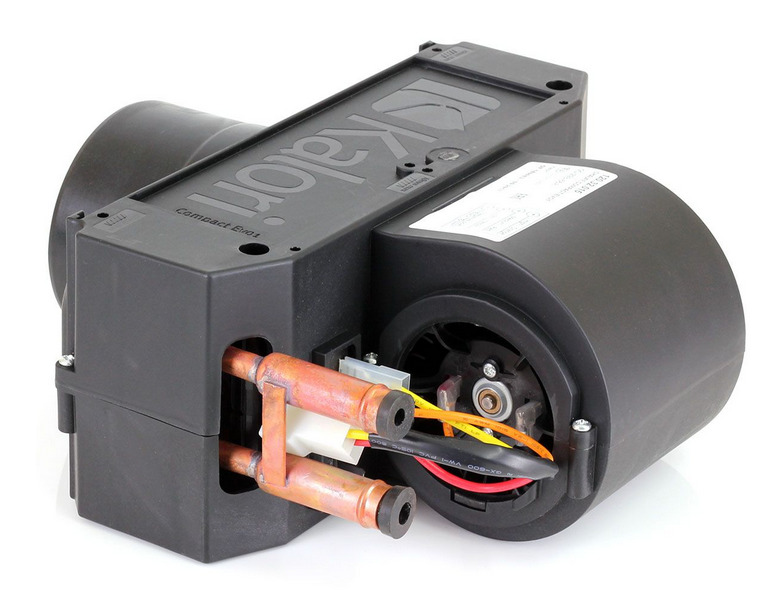 It will hopefully fit in here; 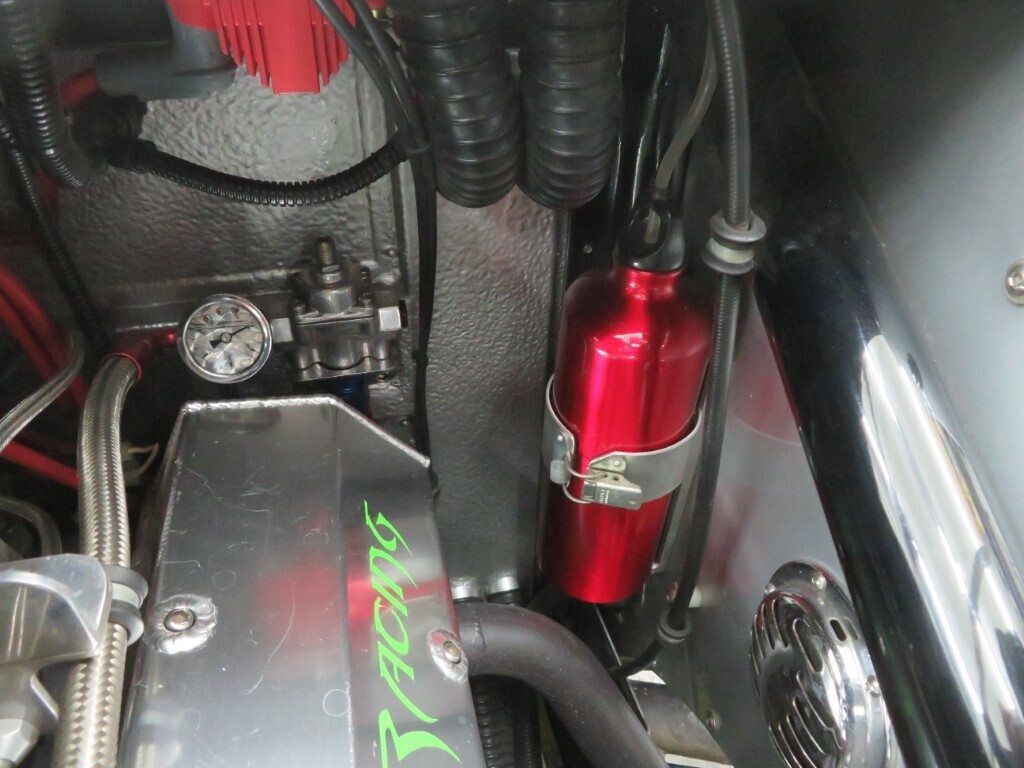 The washer bottle will need relocating and it's going to be tight near the header, the hoses will unfortunately probably need to enter at the top where they will be more visible. I made up a foam copy of the housing from the dimensions on the website, the real one will be a little smaller due to the chamfered/radiused edges. 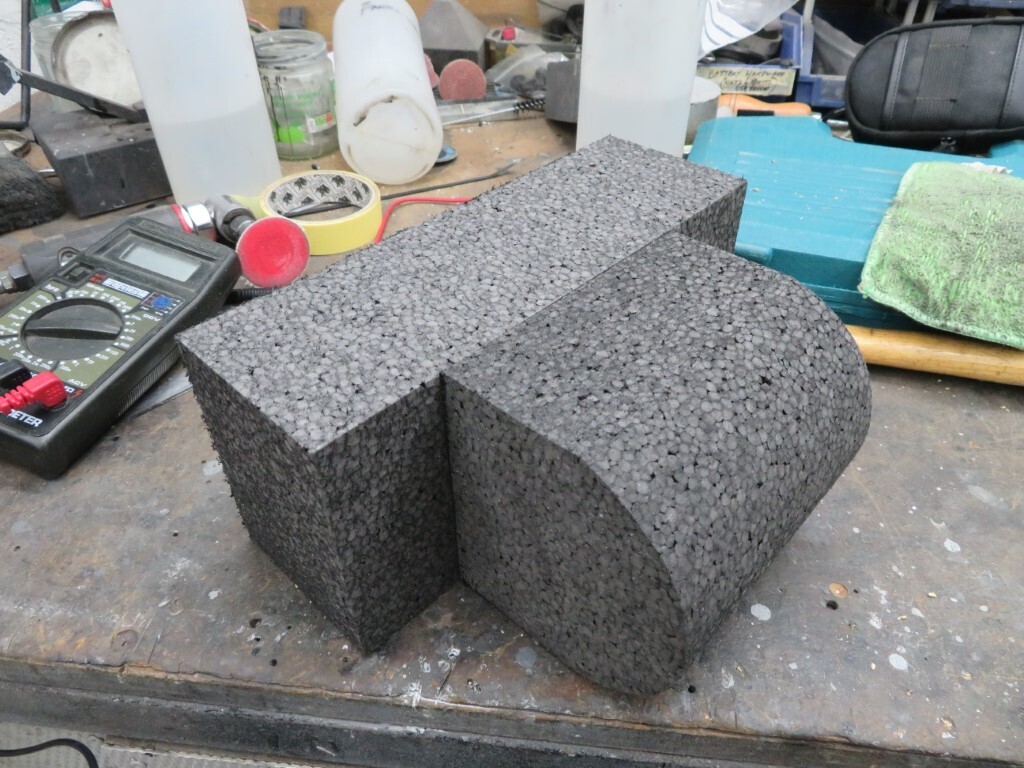 It's a tight fit but it should just go in there. 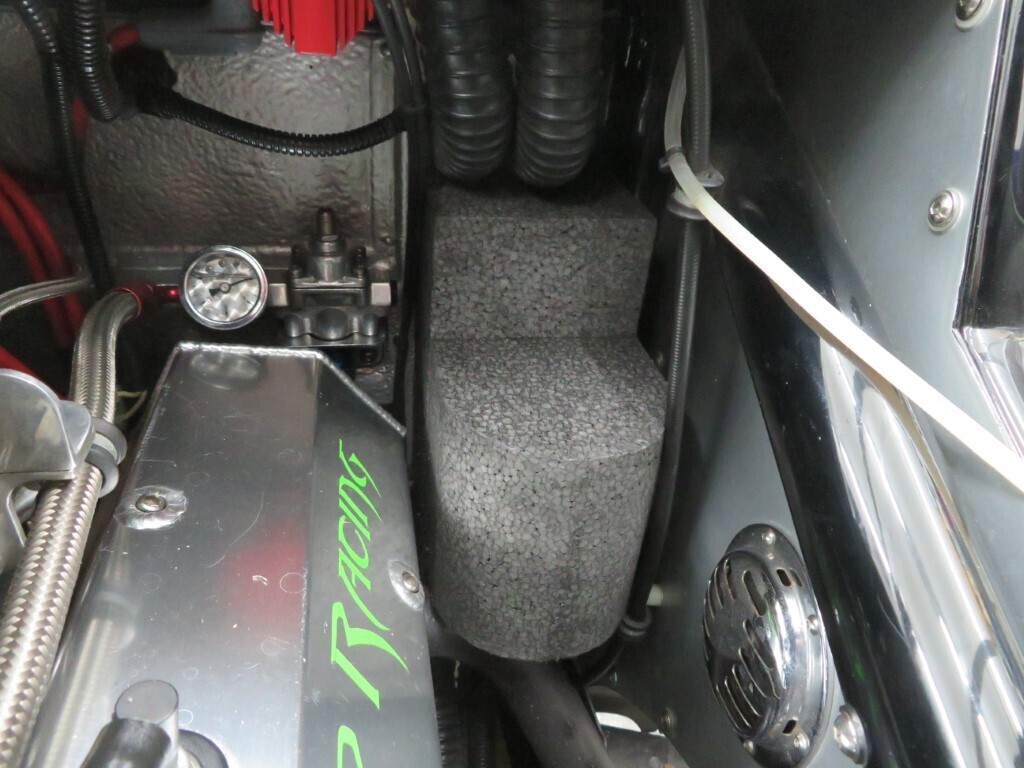 Not quite as pretty as it would have been if I had designed into the initial build, but hopefully I can strip off the plastic housing and make one in aluminium to blend in better (maybe making it a little smaller at the same time). The plus side is it's 4.3Kw heating and with the squirrel cage motor right near the screen/feet outlets it should keep the airflow & heat high. I'll have a chat with the supplier in the morning to see if they will accept it back if it does not fit. |
| |
|
|
|
|
|
Dec 12, 2022 19:51:54 GMT
|
|
Forgot to add, losing the heater in the nose will free up a lot of space for better rad airflow and also somewhere to mount an oil cooler (which is another job that needs doing).
|
| |
|
|
|
|
|
Dec 15, 2022 19:13:13 GMT
|
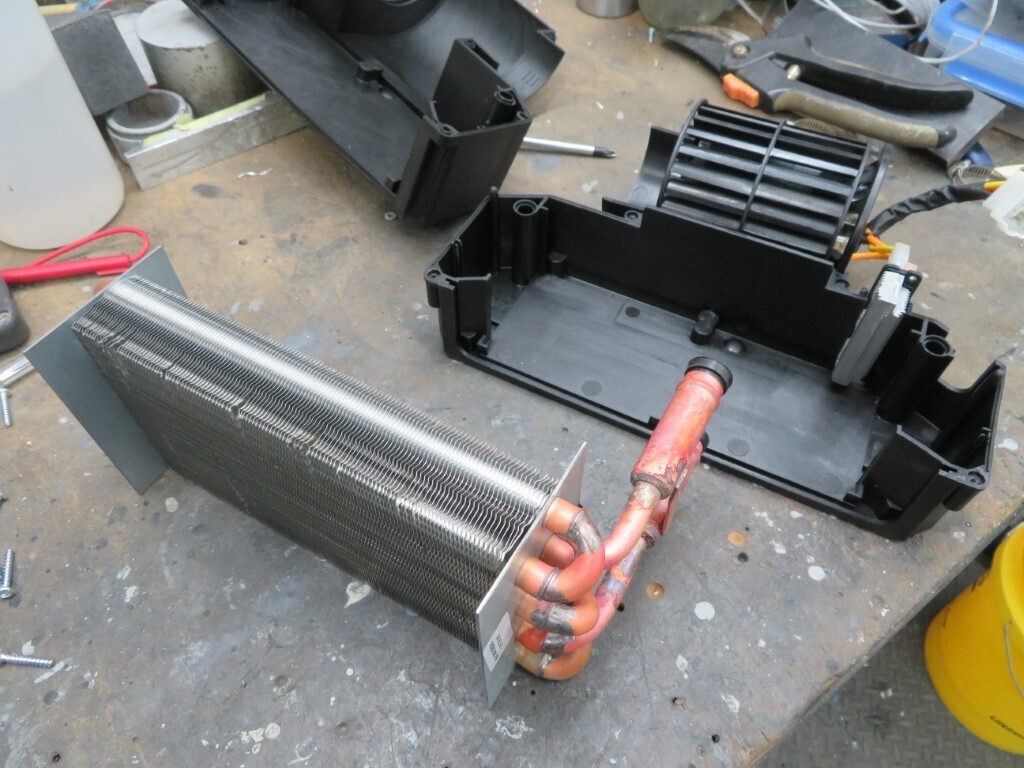
Ooh a nice delivery man brought me this today; 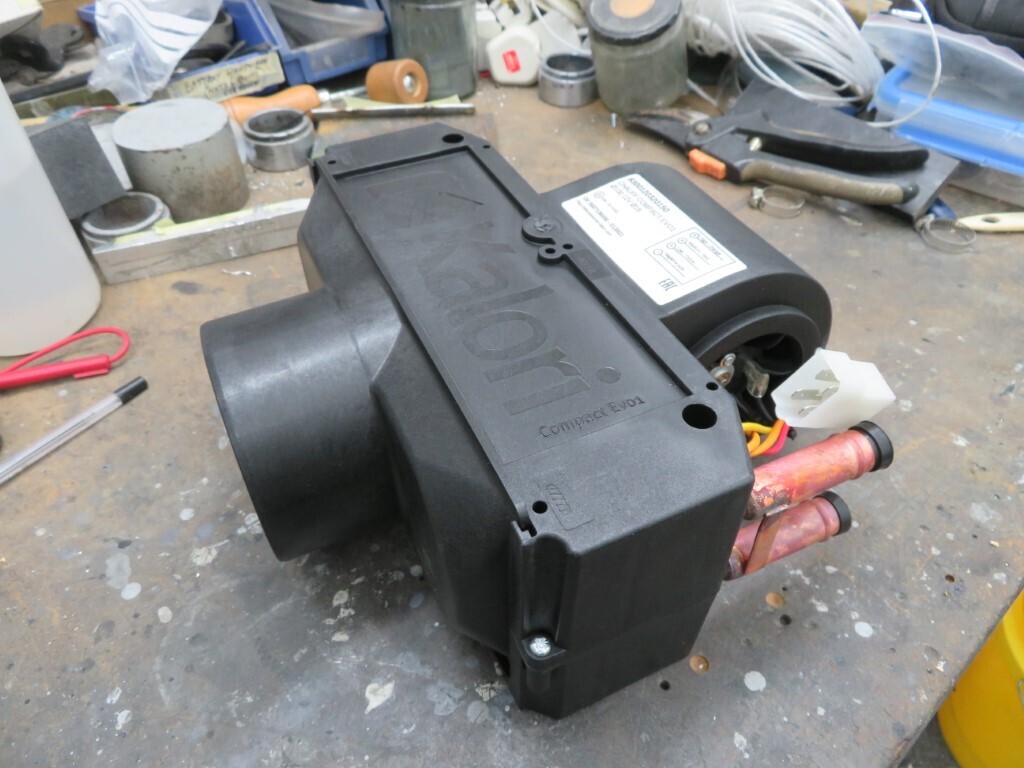 The front panel is removable as there are several different panels available. This shows some very good news - there is almost 20mm of space that can be removed for better fitting. 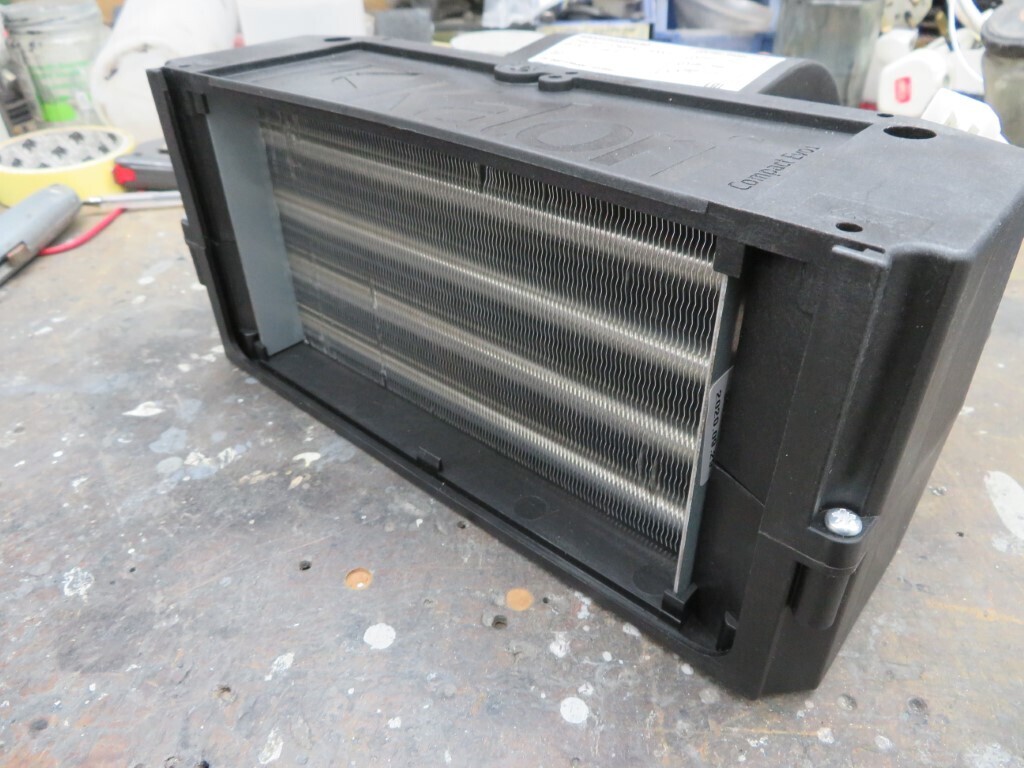 Loosely fitted in place here - resting on the exhaust. It will go up around 30mm when fitted but it's going to be very tricky to make an inlet fitting to go around the exhaust so clean air can be pulled in from under the car.
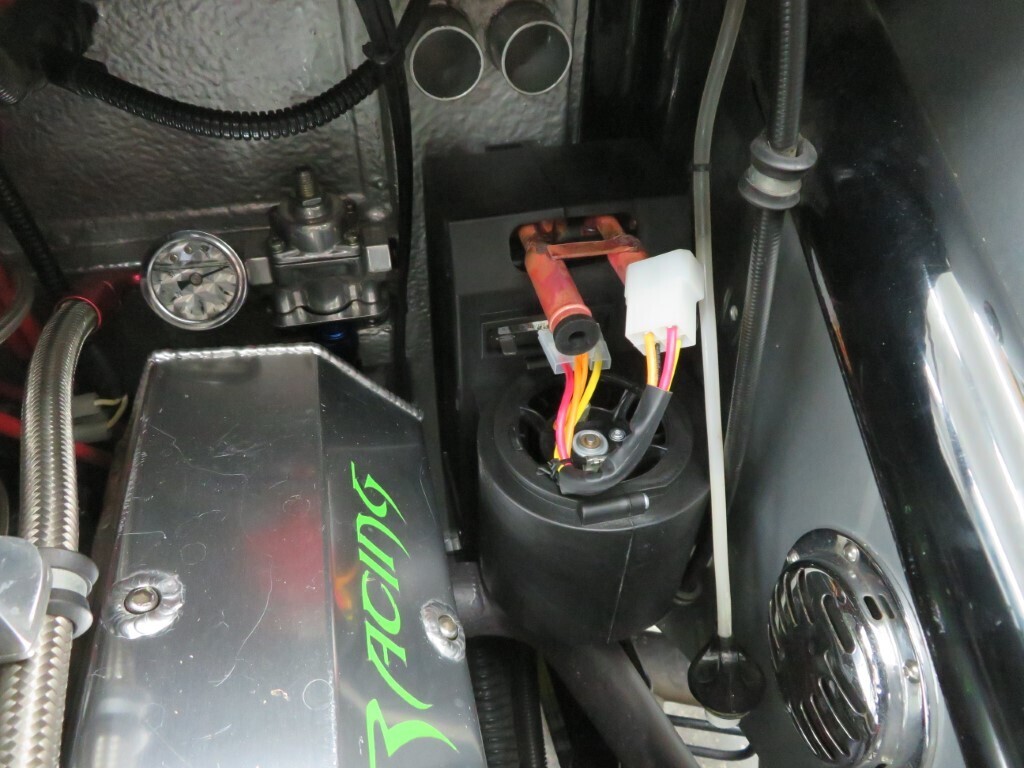 5 minutes later it was in bits, lol. Should be easy to cut the front off at work, not sure as yet how it will be fitted to the bulkhead. It's a retro fit so won't be as tidy as I would really like but I'll do my best to make it look good.
 |
| |
|
|
v8
Part of things
 
Posts: 312
|
|
Dec 15, 2022 22:09:56 GMT
|
|
That's going to be a tight fit!
|
| |
|
|
|
|
|
|
|
|
very interesting to see this heater fitment mark ,thank you .
|
| |
|
|
|
|
|
Dec 16, 2022 17:08:11 GMT
|
hmmm......think I might have invalidated the warranty  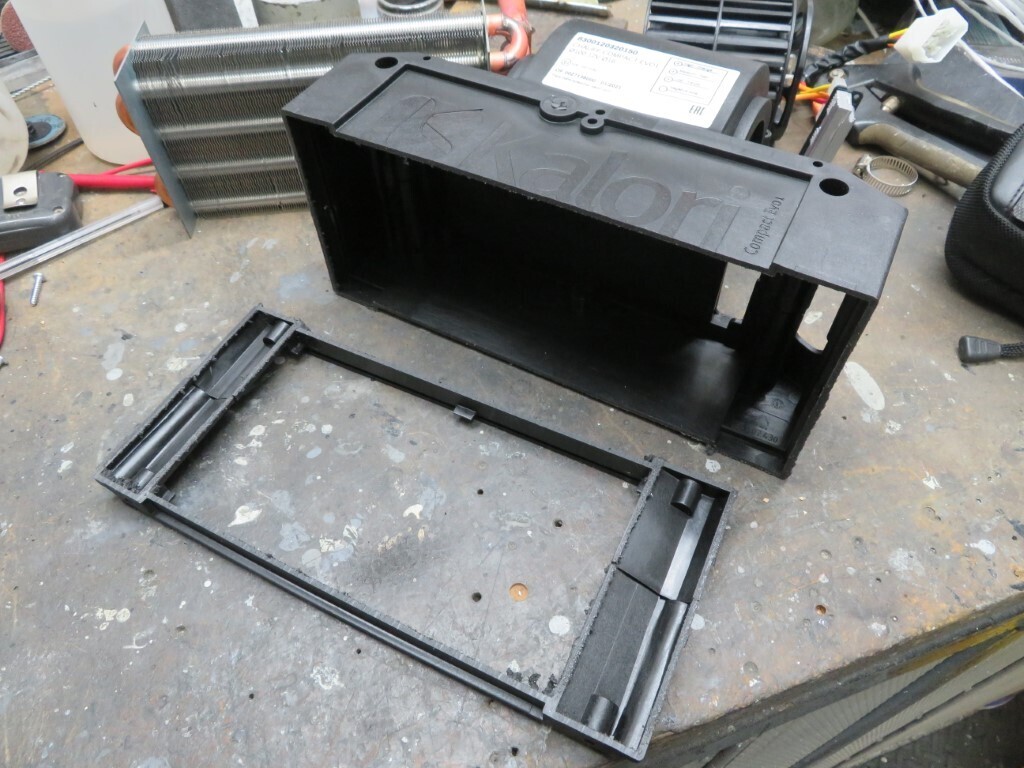 18mm chopped off the front, I think I can lose another 4mm, I need to trim off the matrix 'ears' 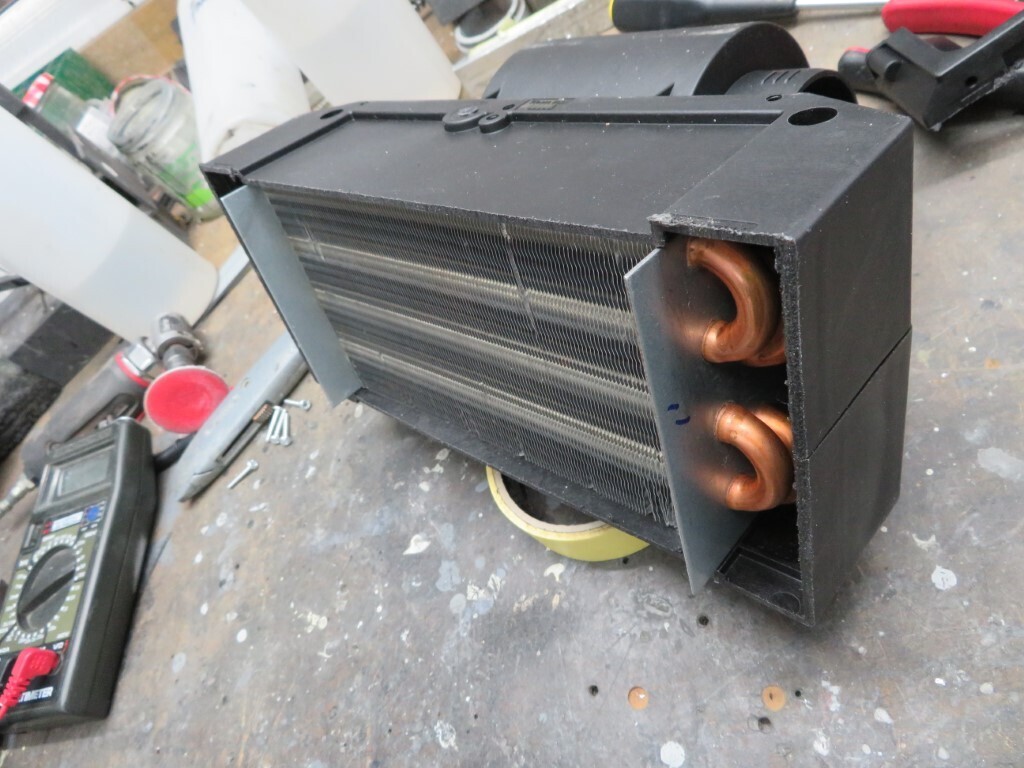
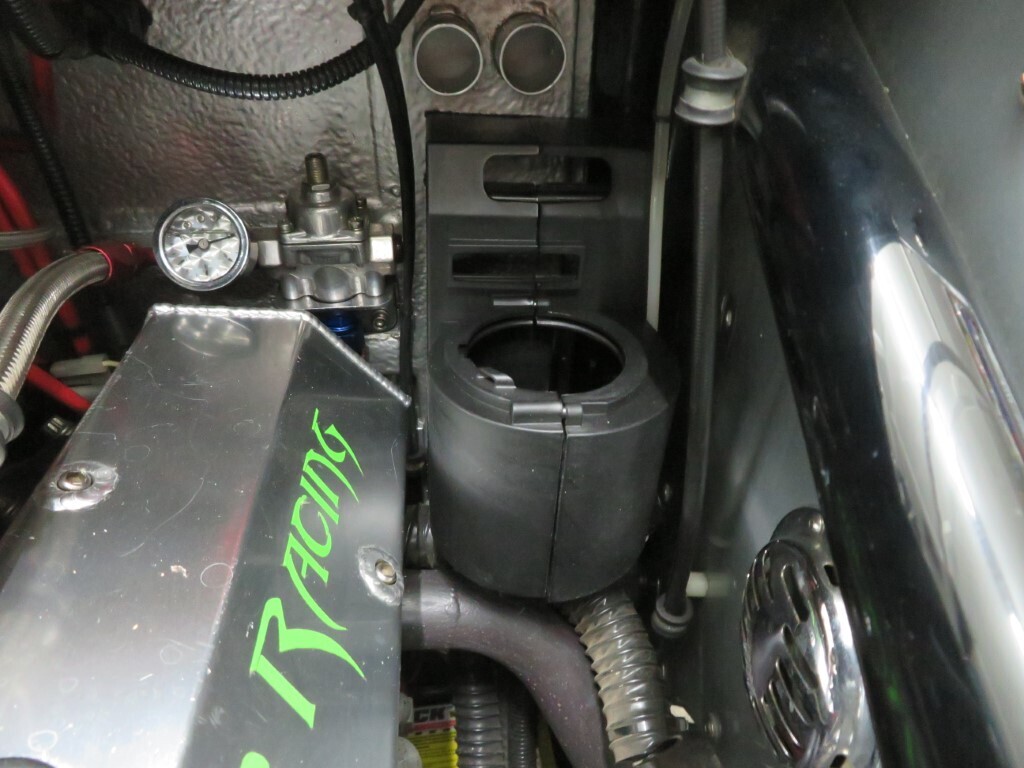
It fits better now - propped up on a bit of spiral tube in the photo. The cold air inlet is going to be the biggest issue. Mind you, sitting by the exhaust it gets a bit of free heat which in the cold will be a bonus. I think I'll have to make an aluminium offset tube fitting - it will restrict airflow but it is what it is.
 |
| |
|
|
|
|
|
|
|
|
Could you cut of the motor housing and introduce an angled 'pipe' to bring the motor up-a-bit ?...
|
| |
|
|
|
|
|
Dec 17, 2022 13:58:33 GMT
|
|
Maybe, but that introduces other issues.
I've got an idea in my head of how it might work, it will have an ally housing over/instead of the plastic casing. Exhaust will probably have a bit of header wrap over that tube as well.
The big issue is the fresh cold air supply - I'll need to block off the top inlet and the bottom one will be restricted by the header, so that is the big issue at present.
|
| |
|
|
|
|
|
Dec 17, 2022 17:50:58 GMT
|
|
Heater trimmed back now and bench tested for airflow. Good news is that it does not pull air in from the top and covering the top does not reduce the airflow. I assume the top section is to cool the motor so I'll just leave a small mesh over that area.
I've got a design in my head for an ally cover to go over the whole heater, also for a design for a cold air intake at the base from the inner wing area - which is very close fortunately.
Hopefully I can get a basic cover made at work next week to play with over the Christmas period so I can get a proper one made up next year.
|
| |
|
|
|
|
|
Dec 20, 2022 20:35:16 GMT
|
The first prototype part of the heater cover got made today at work.
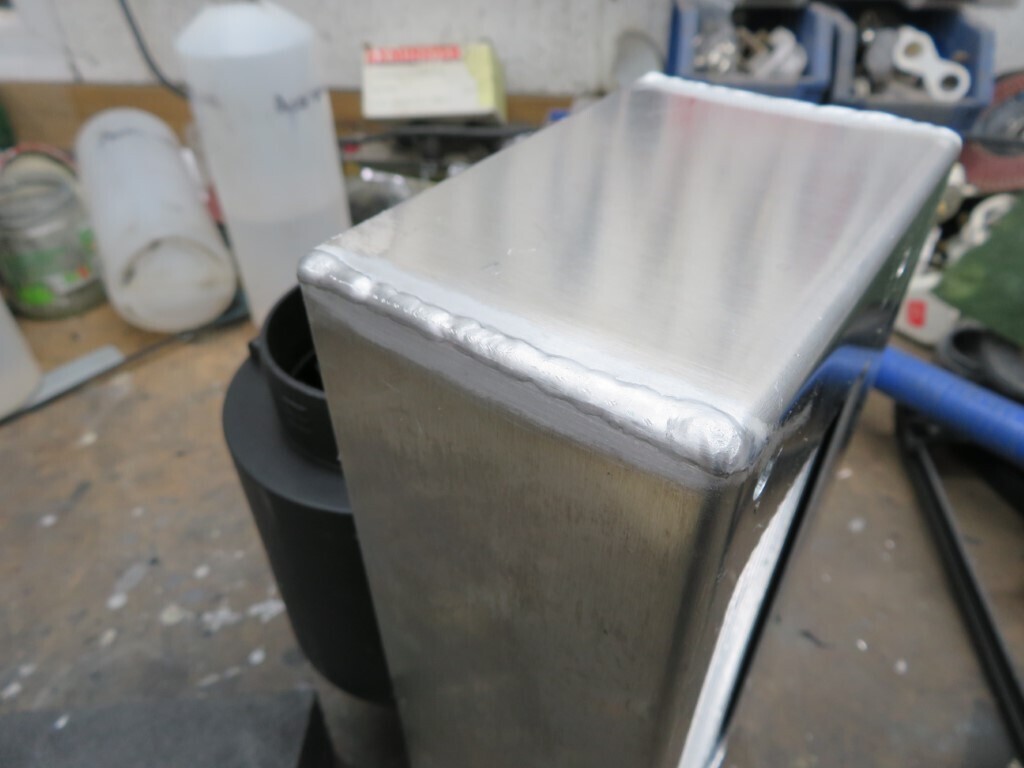
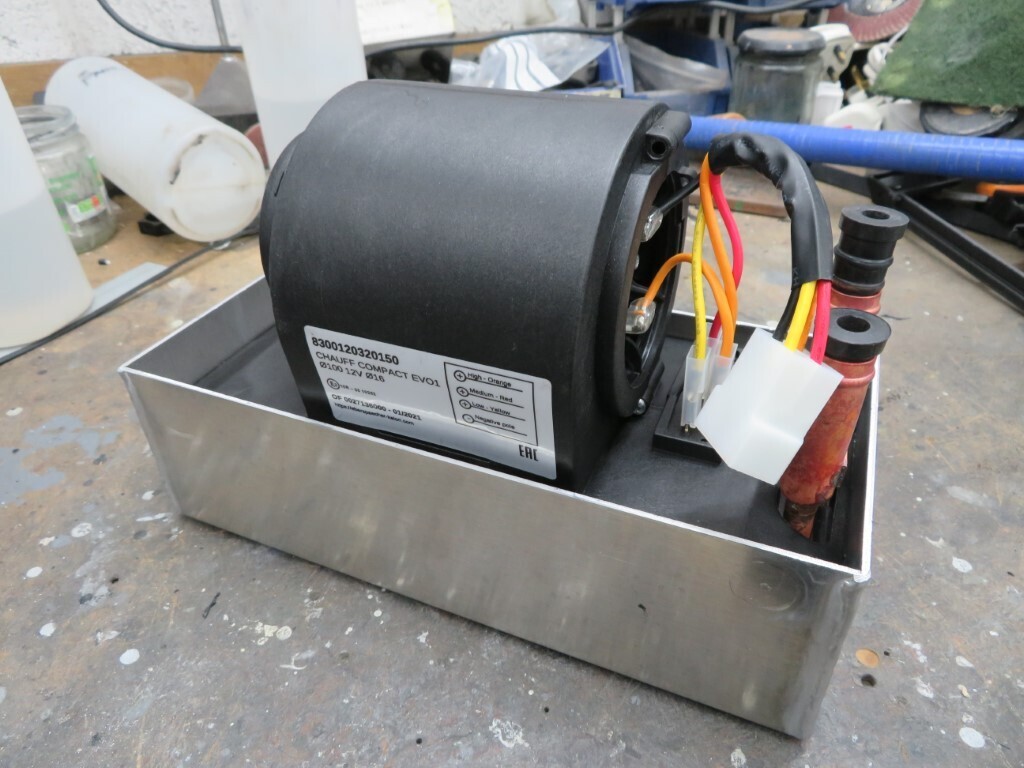 Nice bit of fusion welding (not mine - the welder at work) as I wanted no penetration inside as it would get in the way of the heater housing.
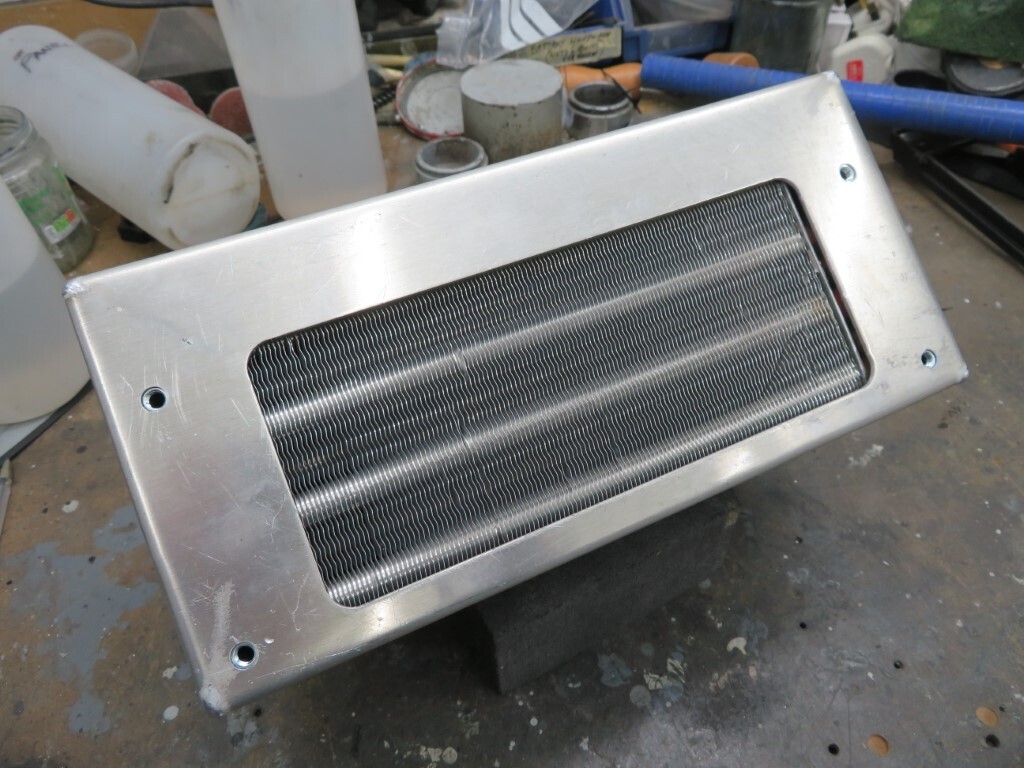
 The side that will bolt to the firewall heater channel. The aperture for the matrix is a bit off and will be reduced a little in the final design. 5mm clinch nuts fitted on the inside.
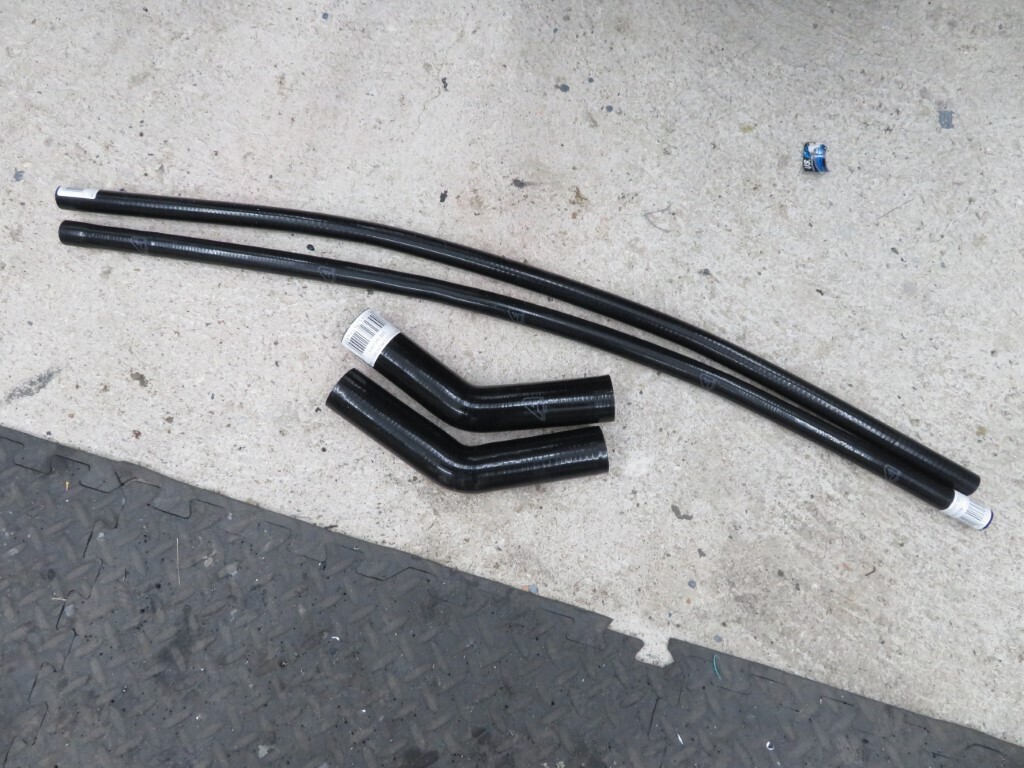
 Mr postman brought me some goodies today, some nice new black silicone hoses;
 and some nice clamps for the heater hoses.
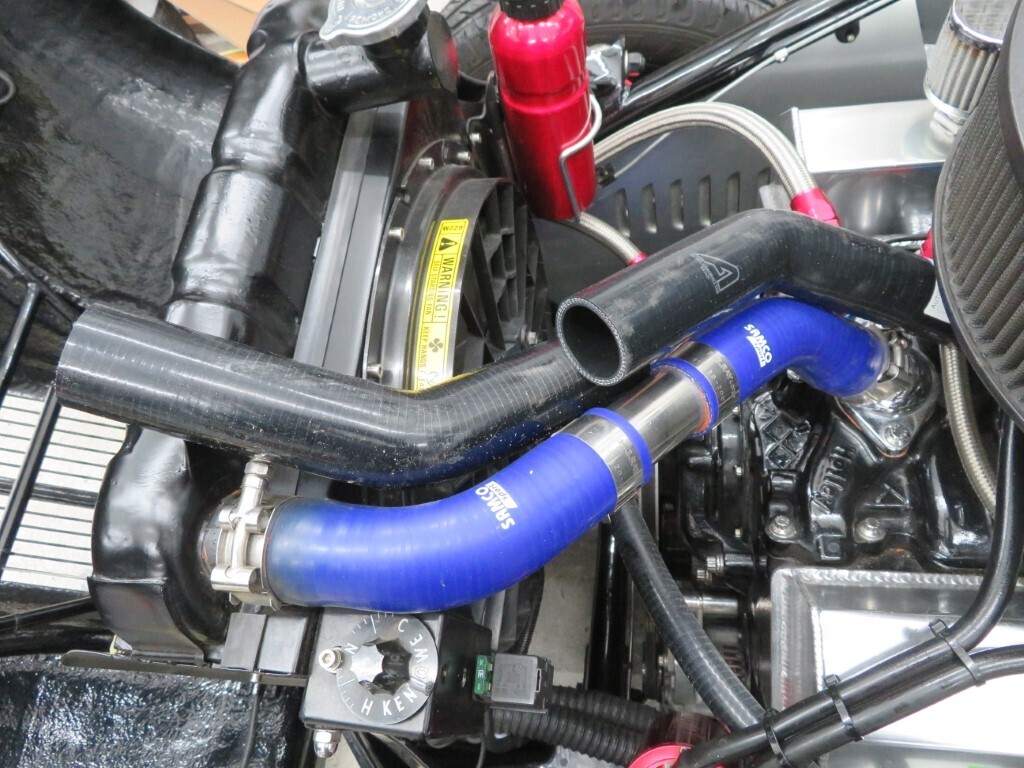
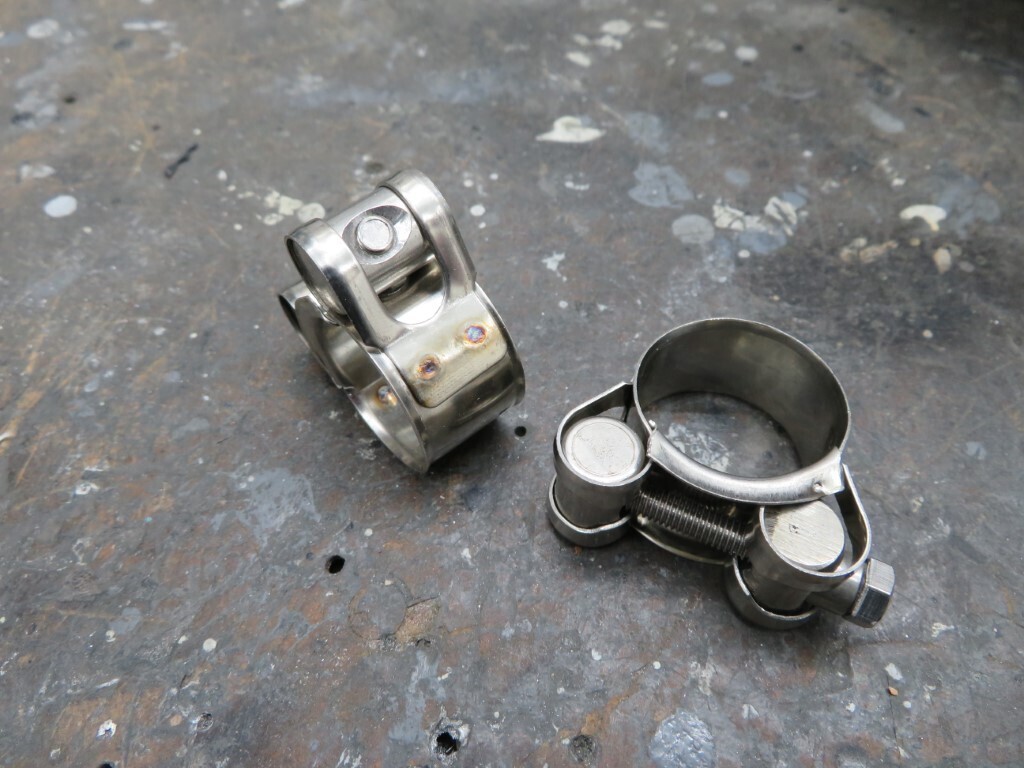 I have blue silicone hoses as originally the engine was blue, but when I built the car I changed my mind and went for a silver/black combo so although the blue looks ok, I've wanted to change to black for ages. If anyone needs some 45 degree 38mm blue silicone hoses, let me know..........
 I started with some CAD (cardboard aided) design on the cover, the top section will be something like this, it will be welded up but will bolt to the rear box section via some inner support plates.
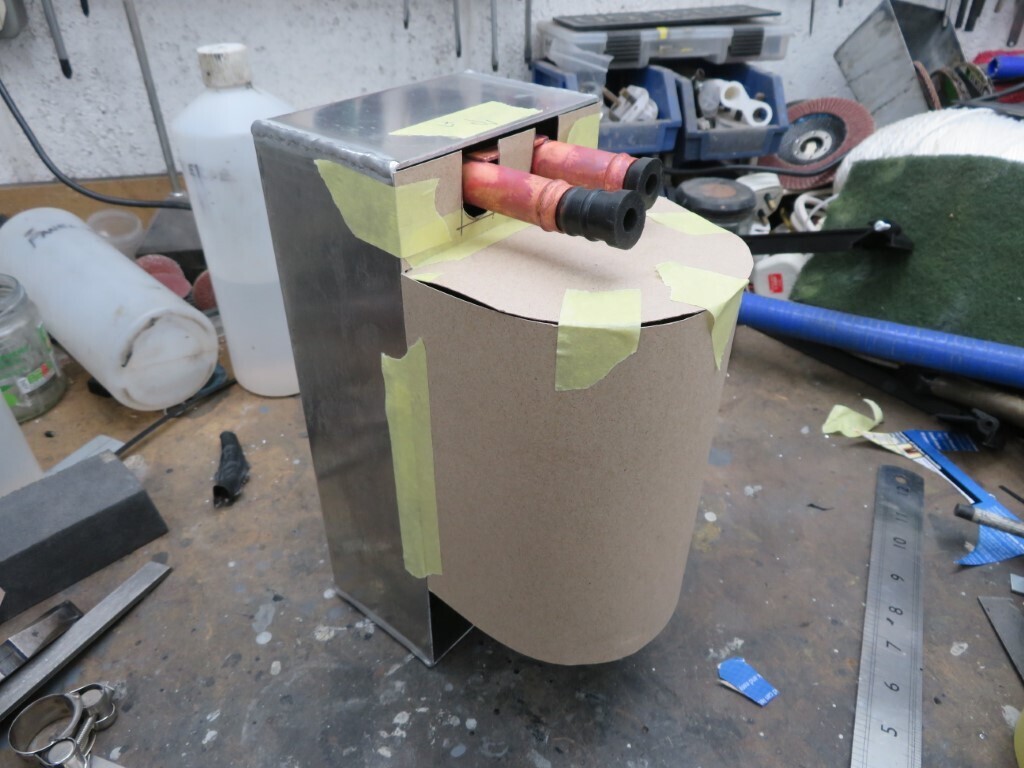 Wedged roughly in place here;
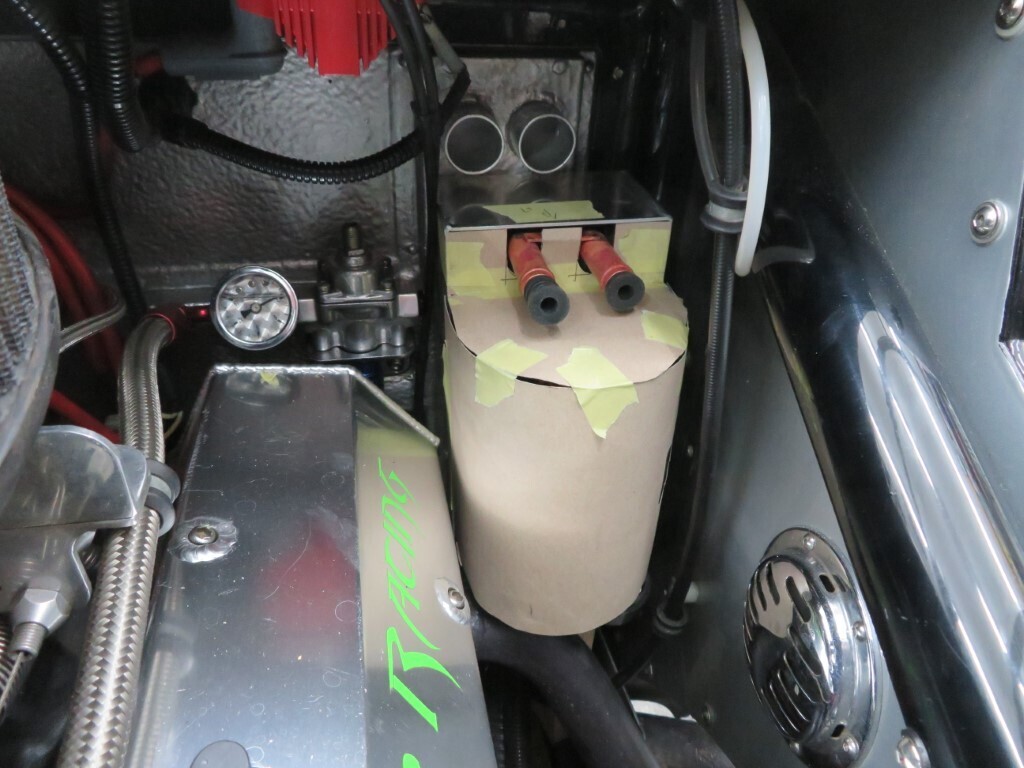 My first idea was to build the lower section with a tube exiting roughly where the silicone hose is ( the cardboard section will be about 15mm higher when in aluminium) and will be about 30mm from the exhaust header.
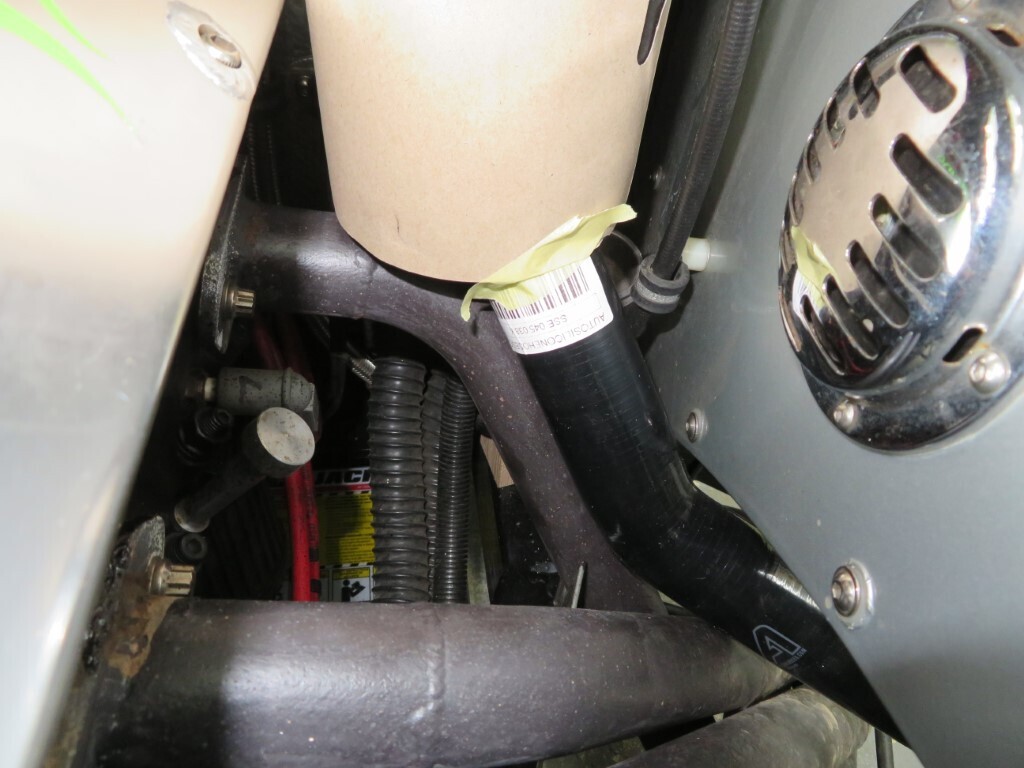 and it would exit into the rear of the front wing for fresh air. Car needs a good clean!!!
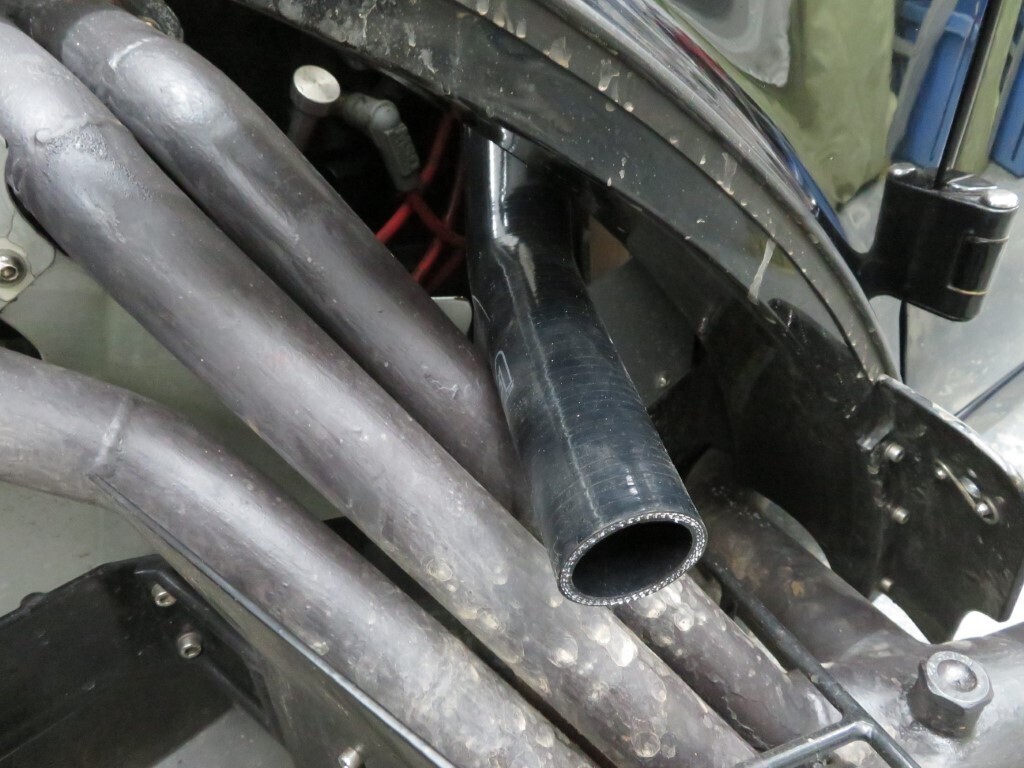 I did a bit of bench testing of the airflow with the inlet restricted by around 50% which is roughly what it would need to be to exit into the wheel arch. It still flowed well ( but was a bit slower) so I thought it better to keep to the same diameter tube (albeit squashed into a different shape) to try to keep the airflow as strong as possible as it will be restricted by the pipes in the dashboard & bulkhead as well.
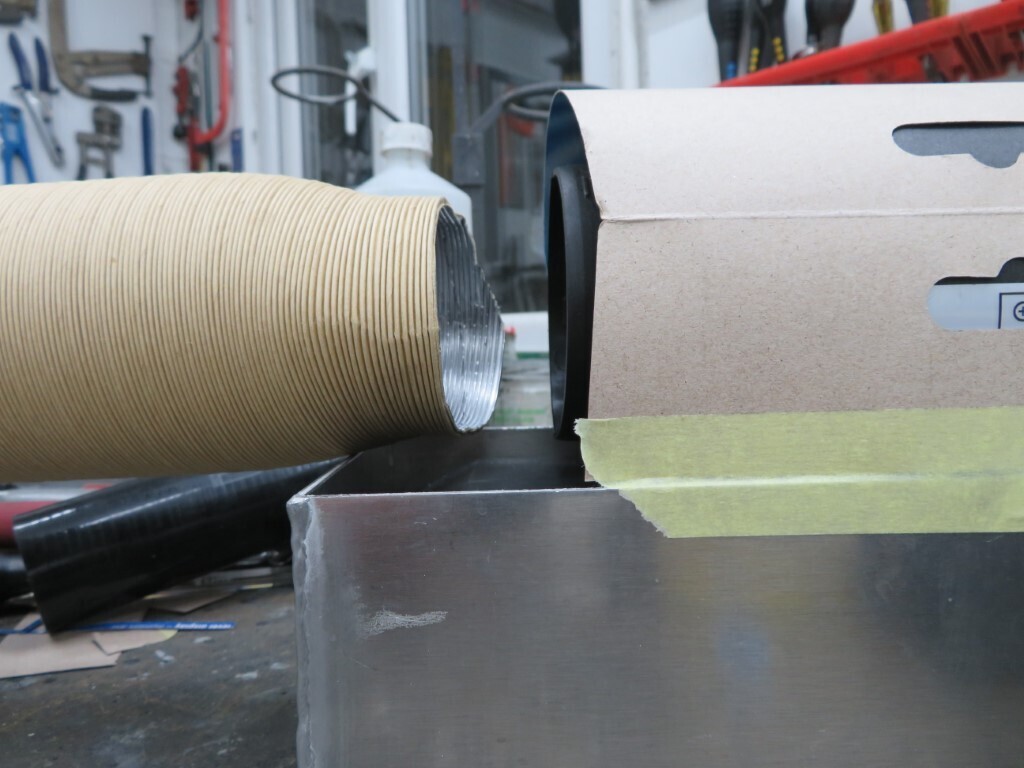
But I had a bit of a think and luckily my new Chinese Deisel heater had some spare 70mm tubing that fits the fan inlet perfectly. I squashed this into a flat oval that will fit around the exhaust header and it will now exit straight down to draw air from under the chassis. This will be far neater as it will be hidden and also a lot simpler to build. Roughly in the position (it will need to be a lot nearer the exhaust) it will be with the heater fitted.
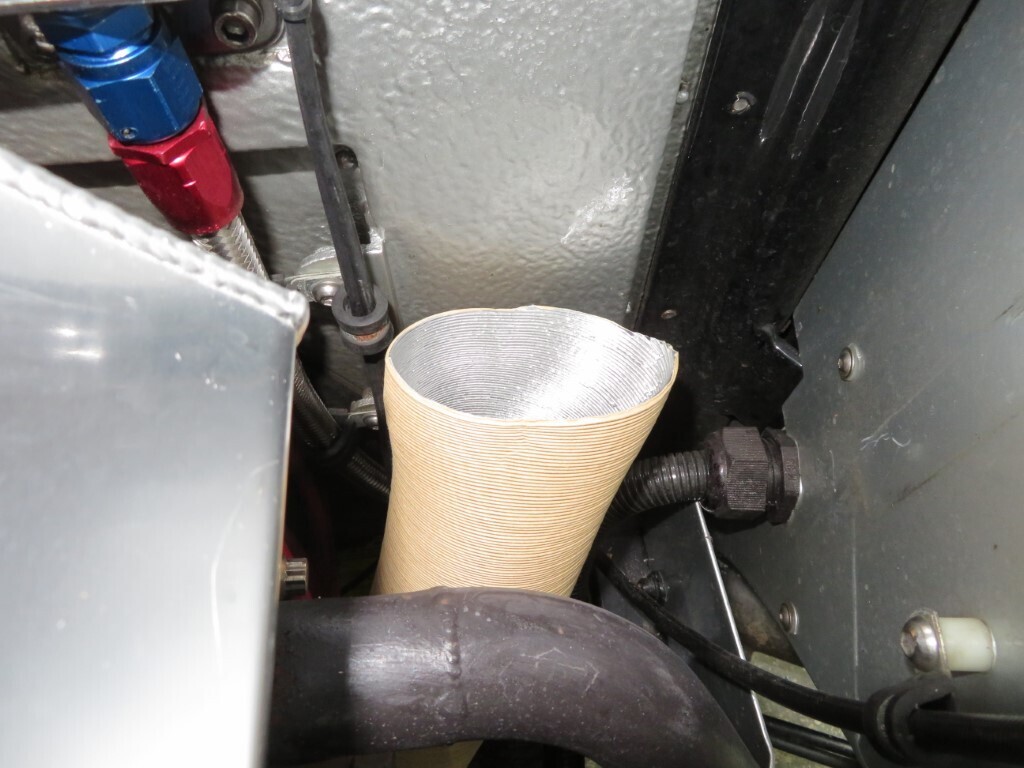 And mocked up in the rough position it will be when the lower section of the cover is built. It will need squashing oval for about 100mm, not sure if I can use this actual heater hose (its heatproof but will need painting black to waterproof it - I can use some exhaust VHT paint I have) or whether to make something. I like this stuff as its replaceable and weighs only a few grams so will need no support apart from the fiixing to the housing.
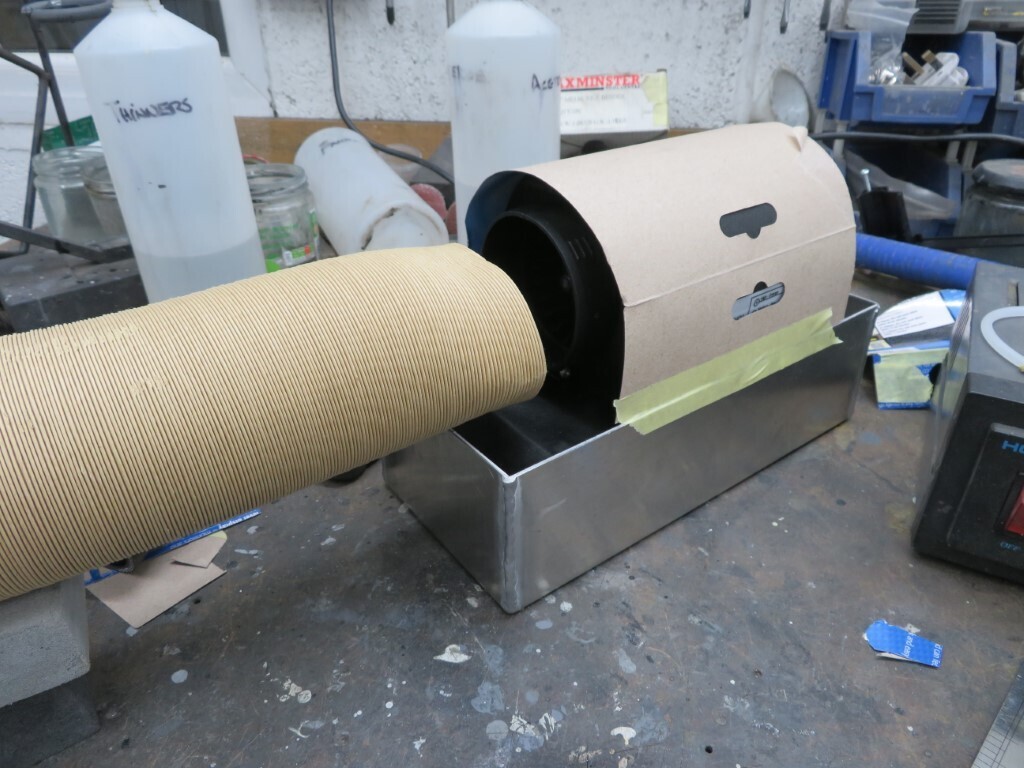 Close up - it will need flattening more and fitting nearer the the back where it is resting. All good news though as it will fit quite well, though it does clutter up the rear of the engine bay a little, though it will tidy the front of the bay once the current heater is removed.
 |
| |
|
|


 where some chafing has occurred - Phil has been pressured to get the correct grommets for the bonnets to stop this. In the meantime I took the allen bolts out and ground a couple of mm off the heads and re polished them to gain a little more clearance. The other areas will be worked on to de-rust and touch in so they do not chafe in future.


