|
|
|
Jul 26, 2022 12:51:14 GMT
|
Thanks Nigel & Grizz. Nigel, it makes it worthwhile posting stuff when I get nice replies like yours. I hope people enjoy reading my threads and if you learn a bit as well then that's a bonus. Grizz, even if you only put the labour hours in Rezin (inc Nicks & your housemates hours) you will probably be not too far behind me - I painted Phil's car which added a fair chunk of hours but otherwise we are not too dissimilar in our builds. True. When I did the roughest of calculations, just scrolling through that Grizz Pod Teardrop trailer I built 10 years ago, it had around 360 hours in it. I was certainly surprised as I had thought it would be a few quick weekends to build, but then the critical, quality assurance eye creeps into the game. |
| |
|
|
|
|
|
|
|
Jul 26, 2022 22:26:15 GMT
|
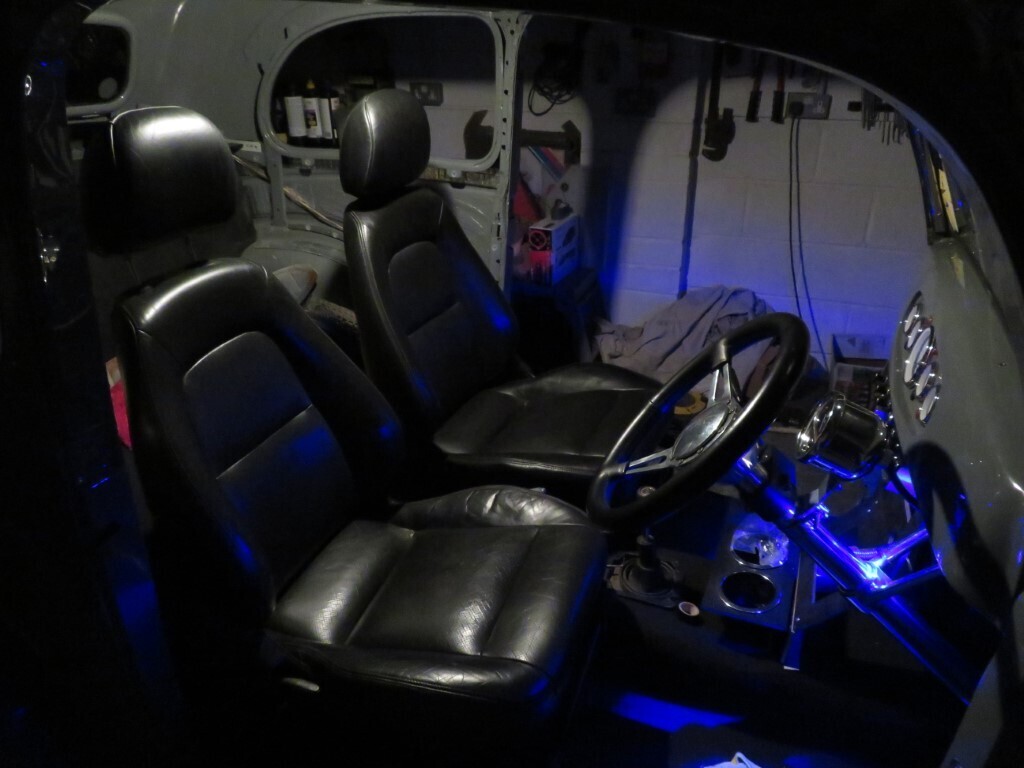
Phil had a night off tonight but I carried on with a few jobs. I made a bracket for the roof lamp - normally I'd draw this up & get it made at work but I just don't have time at the moment so it's made the old fashioned way with a drill & files. We managed to find this nice art deco style lamp which is normally positive switched to make it work on a single on/off setup. 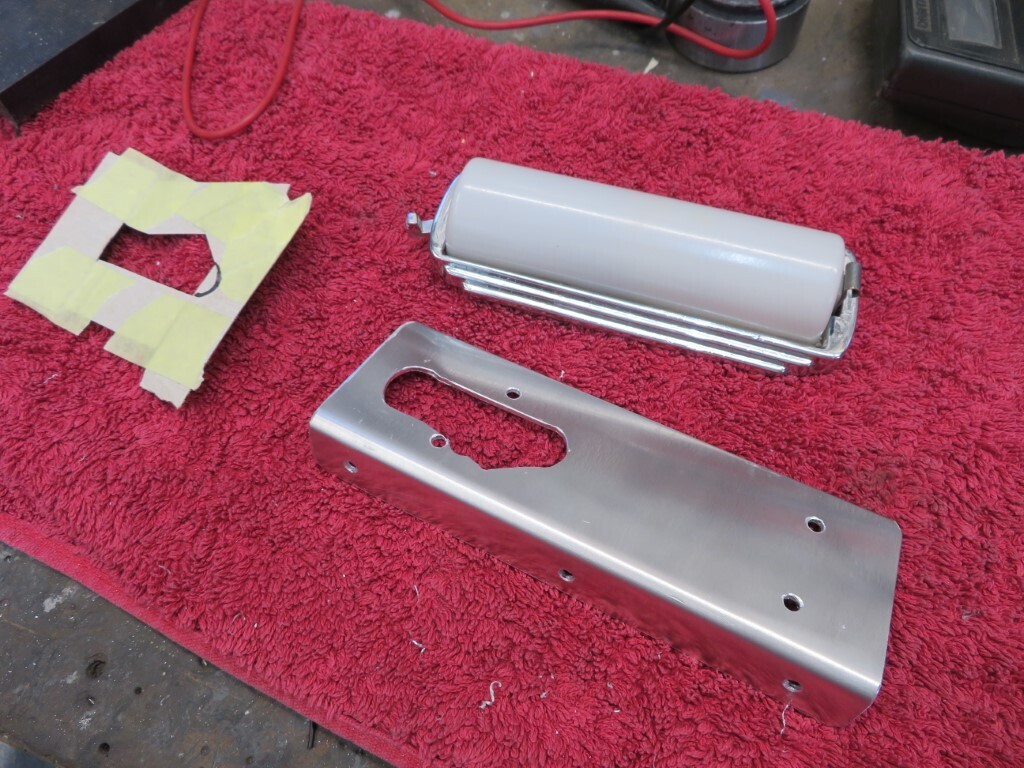 As I wanted it switched off the negative door switches I had to get a bit clever with the internals as I also wanted a manual override for map reading etc. A bit fiddly but now all done. As with all things electrical it took up a fair chunk of time to do. I need to get longer screws for the fixings and the nuts will get switched for rivnuts, thr nylocs are just temporary. 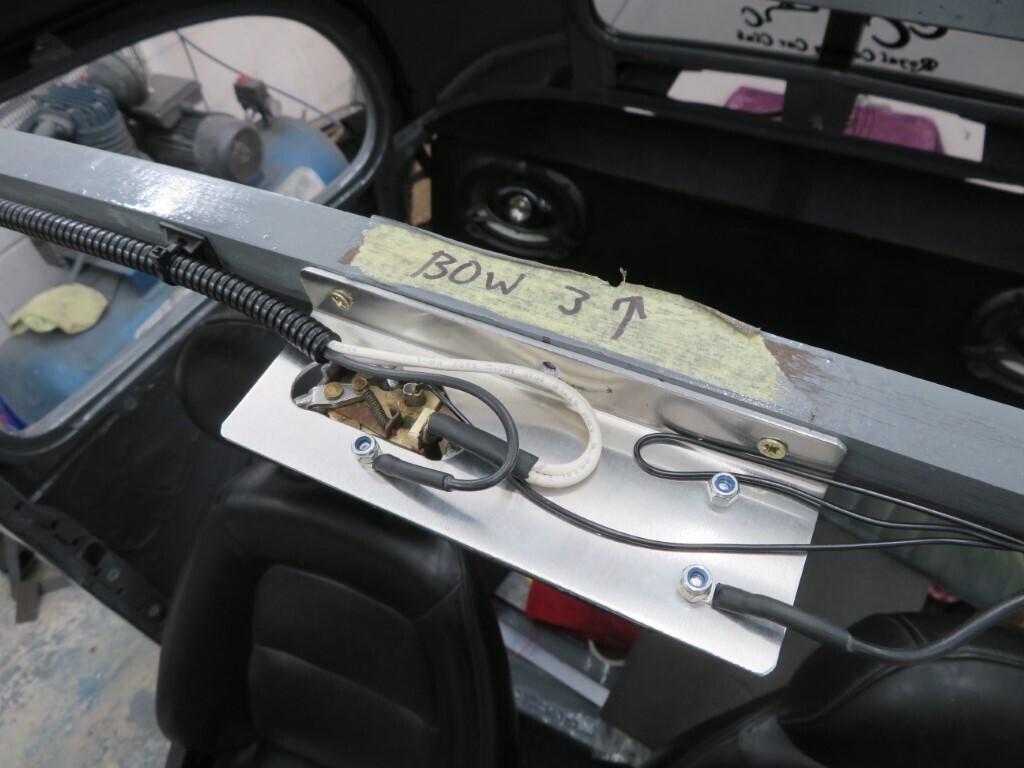 and from below. The roof lining when fitted will be sandwiched between the lamp and the ally plate. 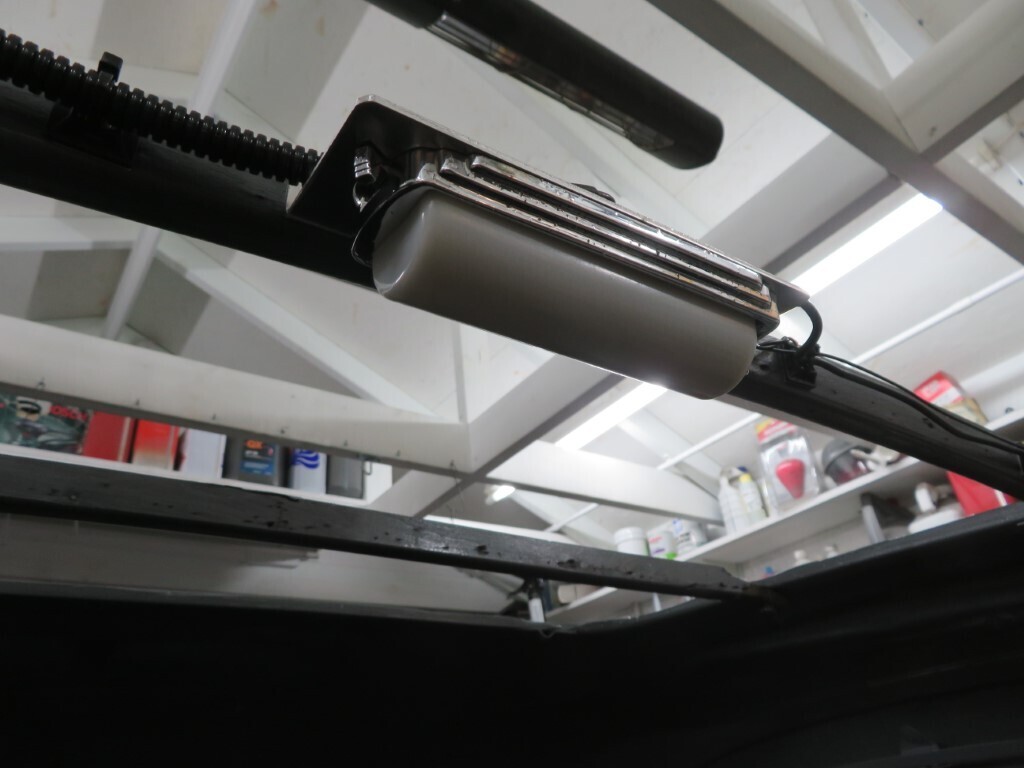
It lights the car up very nicely.
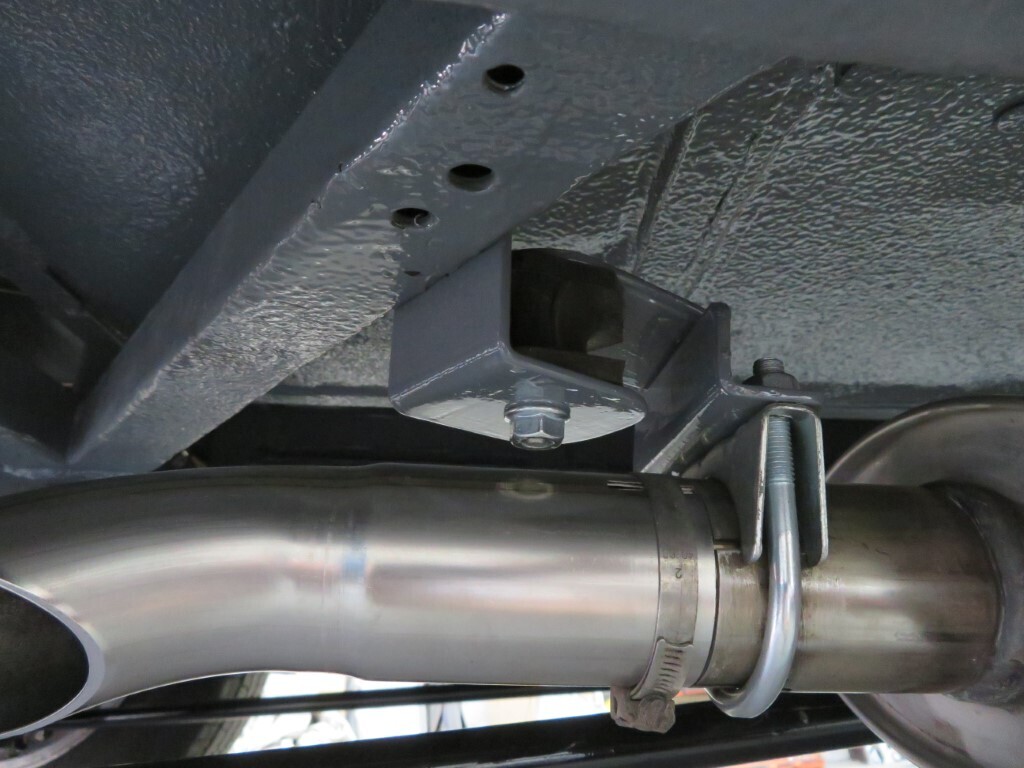
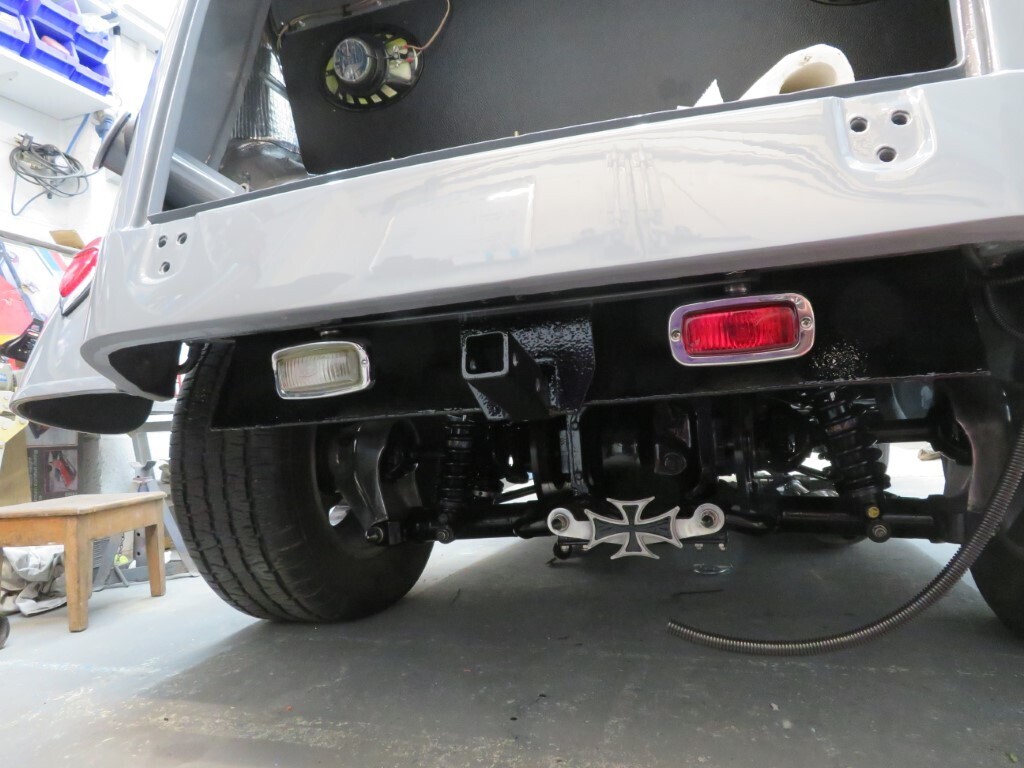
 And for Kevins, the tow bracket is now gloss black to match the rest of the underbody parts. It's should be 'invisible' from behind now.
 1071 hours.
|
| |
|
|
|
|
|
|
|
|
And just had a big grin, neat bracket.
|
| |
|
|
|
|
|
Jul 27, 2022 22:44:20 GMT
|
Tonight was still doing yet more electrics, adding some earths for the stereo, hazard switch (on order as the other seems useless) and wiring in the USB socket. I had some tiny spade connectors arrive today so the last bit of wiring in the dashboard got completed - the connections to the microswitch for the screenwash. Dashboard is now fitted to the car for keeps with luck! Then it was on to little bits of paintwork, all of the holes I have drilled recently to fit bits were painted to cover any raw metal edges and any chips that were listed on the whiteboard were touched in. The front of the chassis was drilled and steel threaded inserts fitted for the earth points so they are now completed.  The front & rear screen rubbers are masked ready for a skim of Tiger Seal to finish off the joint. I did not have time to unclog the nozzle tonight to finish these.  Then I split the exhaust back into its component peices (which was suprisingly easy for a change - maybe stainless does not glue itself together like mild steel?) as the way Phil had it before it now touched the clutch cable. I worked out that by adding one extra 45 degree bend we could route it far better away from the cable and in a better path under the car. First two parts loosely assembled here to check clearance. 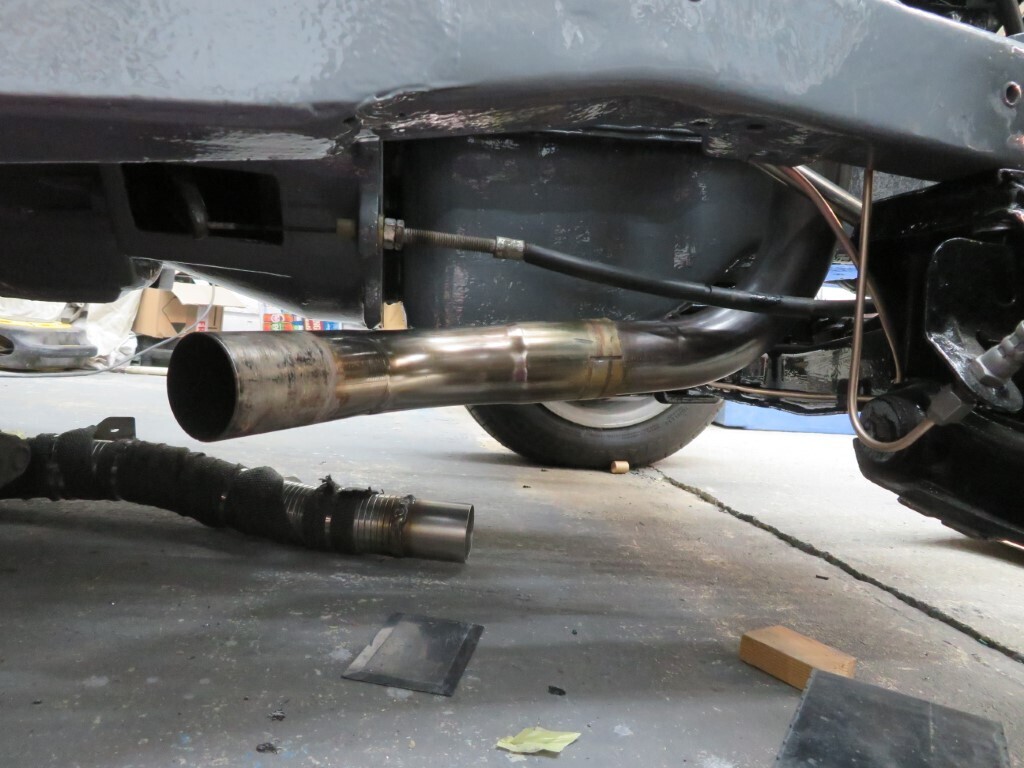 1073.5 hours. |
| |
|
|
|
|
|
Jul 28, 2022 22:35:01 GMT
|
|
No photos tonight, but We did fill the diff with oil and finish shimming the rear halfshafts to get .5 degree neg camber on both back wheels.
Thats the rear end finished now.
I need to cut some steel blanks at work to make new shims for setting the front end up so we can get that aligned properly & tracked.
We then made a list of what needs to be done by August 8th - it's going to be a really tall order to get it done in time - gulp!
1076.5 hours.
|
| |
|
|
|
|
|
Jul 29, 2022 12:04:19 GMT
|
|
Isn't it amazing how much work each new accomplishment uncovers? Thanks for sharing this, it's really looking good!
|
| |
|
|
|
|
|
Jul 29, 2022 17:53:13 GMT
|
Thanks for the comments Rascal King. I found a litte suprise Phil had sneaked into the car recently  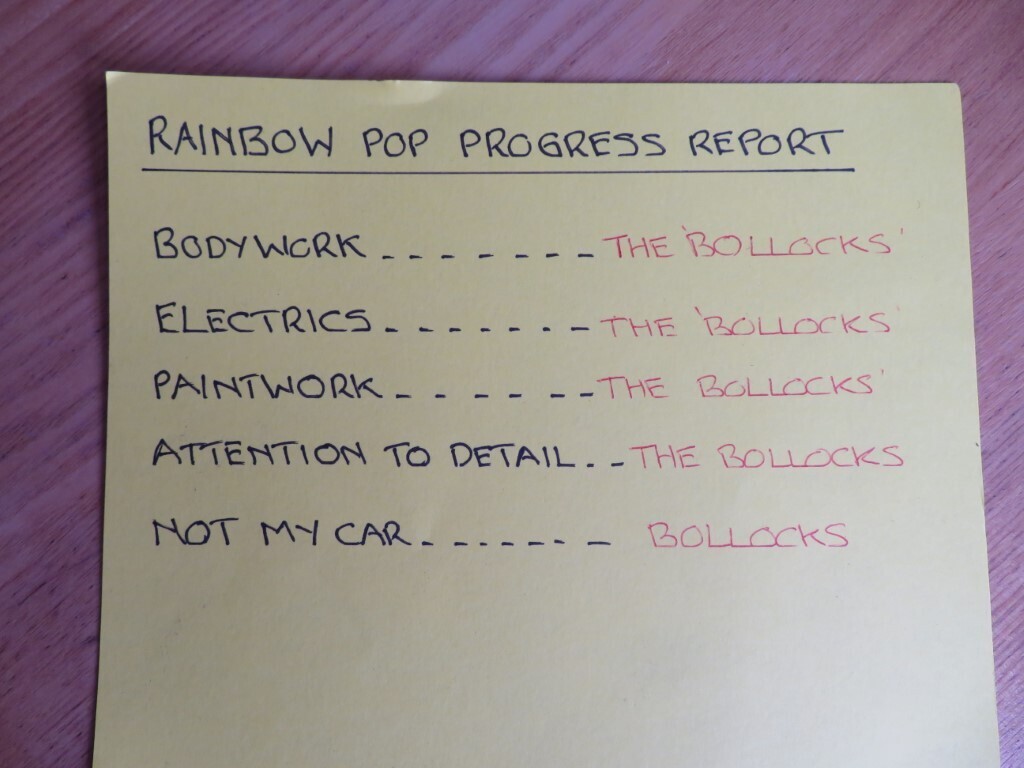 Made me laugh  Dashboard top rail is fitted;  Console parts recut and temporarily screwed together to see how they all fit - looks quite good so I can try to sort the side panels soon. Phil likes the finish and does not want to cover it so that presents a challenge as I would like to round off the front corners by the cup holders.........  1077.5 hours. |
| |
|
|
|
|
|
Jul 29, 2022 21:51:05 GMT
|
Another short session with Phil tonight, Phil did a quick trim of carpet in the boot while I prepped the roof panel for the rubber edging strip to be bonded on. This is bonded on with PU adhesive ready for fitting to the car tomorrow afternoon once it has cured. 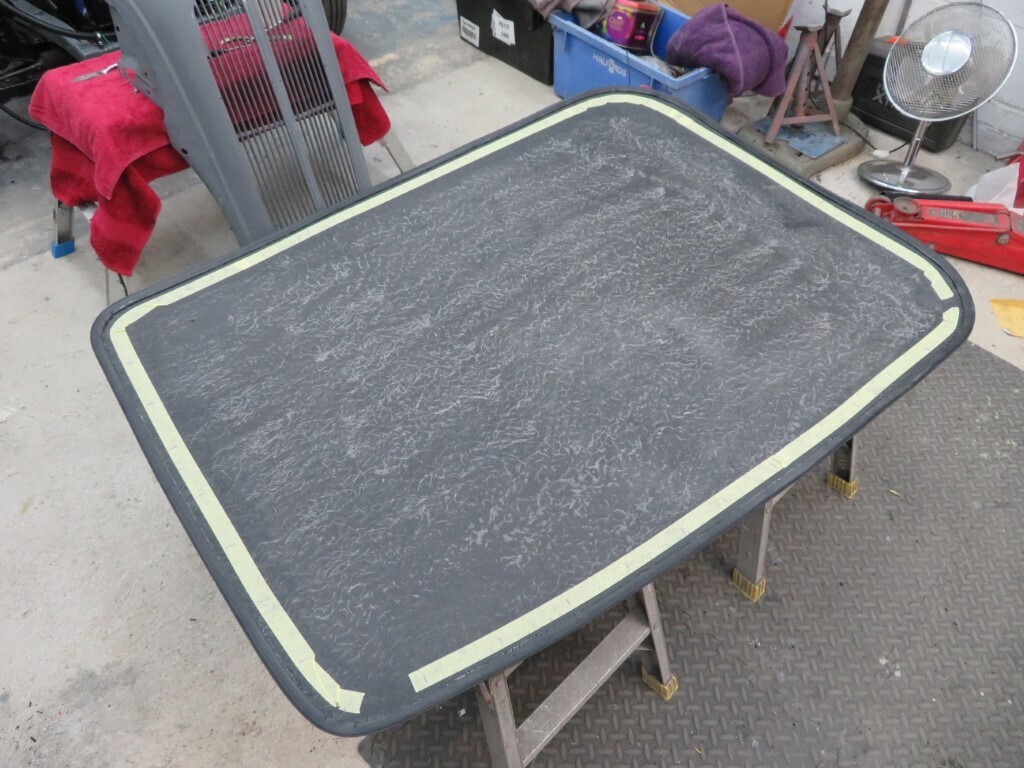 We also tidied up the ends of the bonnet welting and bonded those on with PU adhesive as well; 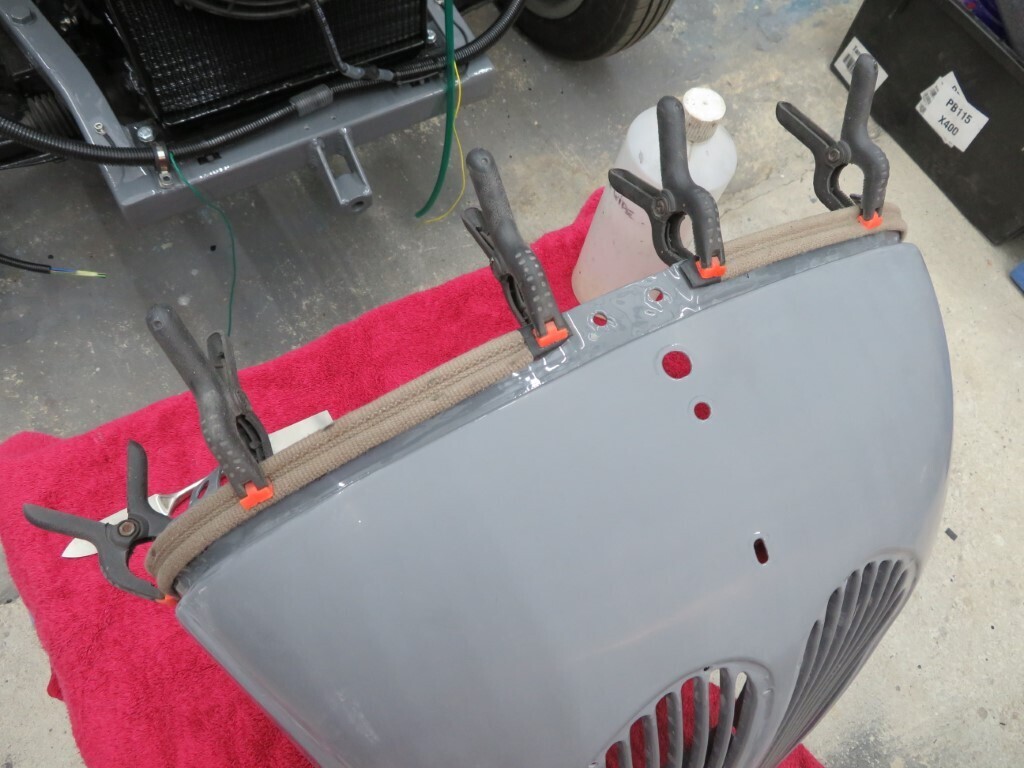 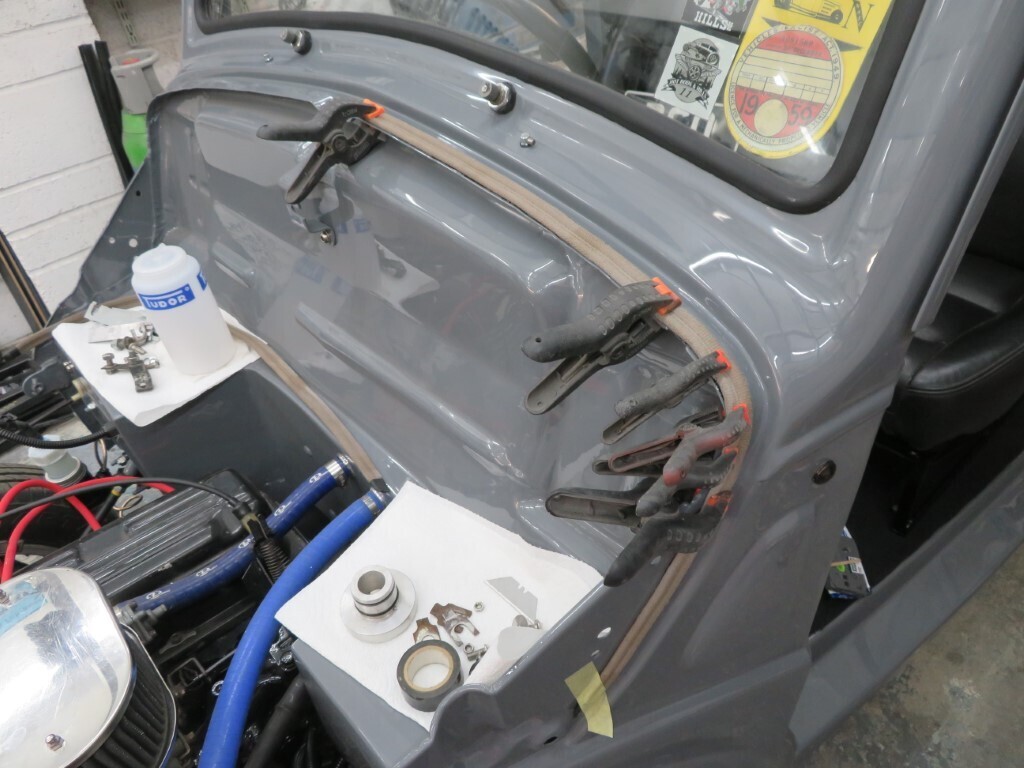 1080 hours. |
| |
|
|
|
|
|
Jul 30, 2022 22:07:08 GMT
|
A good day today, we started early as we have a big list to do and only just over a week to do it in. The target today was to sort the front end settings and alignment out, sort the exhaust and fit the roof. The front end took a bit longer that we planned (it always does!!) as we needed to remove the column to get the steering wheel aligned properly - this did give me the chance to drill & tap the column bottom mount for some grub screws to lock it in tight as there was a little bit of play in it so maybe a blessing in disguise. With that done we set about sorting out all of the front end settings. I had made some spacer shims the other day; in 2mm and 1.5mm steel, they need a bit of filing to smooth out the punched edges yet. The originals are shown next to the new ones;  so with a lot of shimmimg, checking, shimming, checking etc we finally got both sides set a 0.5 degrees negative camber and 2.25 degrees castor which is well within specs for the HA Viva front end. With that sorted we moved on to the tracking, suprisingly enough (I had counted the threads when we took it apart) it was pretty well spot on as it was. We did finesse it a bit to get it to 0.5 degrees toe in, we will see how this works when we drive it and keep an eye on the tyre treads to feel for unusual wear. We are hoping for a test drive tomorrow to see if it drives straight - wish us luck!! With that done we started on the exhaust. This required a bit of massaging with a BFH to clearance the downpipe around the steering column - it did clear but was tighter than I was happy with so it now has a fair bit more room. I got Phil to get an extra bend so now it routes really nicely around everything and I drilled & tapped the chassis rail for an exhaust mount. With a lot of 3mm x 50mm flat plate I cut & folded up a new rear mount to take a bobbin in compression and shortened to exhaust to suit - photos tomorrow when the paint has dried on the mounts. Then it was on to the last job of the roof panel. We had bonded the rubber to the GRP roof panel yesterday with PU adhesive, so today we drilled the rubber for the rivets and proceeded to fit it to the car using Arbomast screen sealant to seal the rubber to the body. This was then fully rivetted to the roof of the car. We will seal the rubber to the GRP roof with more PU adhesive - but not the tube I have. It's a different brand to that which I usually use and I'm suspicious that it does not bond as well. To be safe I will order a tube of Tiger Seal which I know bonds properly. 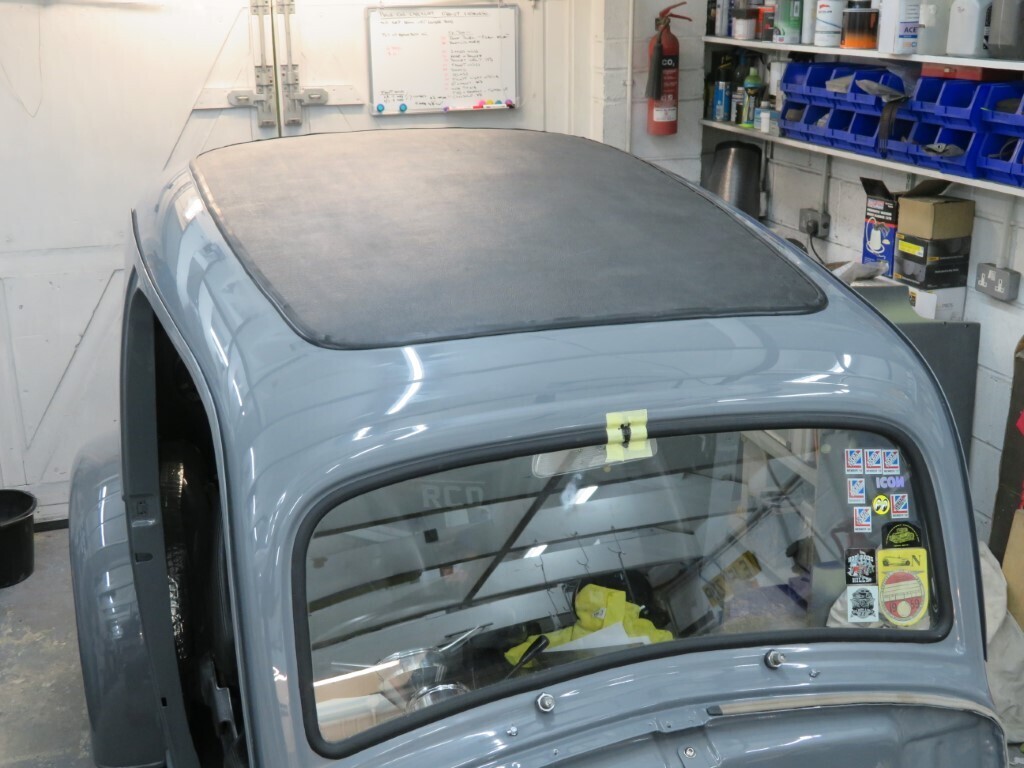 1089 hours. |
| |
|
|
|
|
|
|
|
|
I remember doing the roof on mine in your garage. Driving over from south London with no roof panel in; can’t remember now if I came through London or went round the M25 like that! Mad to think that was 15 years ago.
|
| |
|
|
|
|
|
|
|
|
Completely agree about the choice of pu sealant mark , i had some generic sealnt holding the front of my turbo mini ally door skins on , and at about 130 mph , they started un peeling and a 2" gap opened up on the front edge ... i don't think tiger seal would have done that .
|
| |
|
|
|
|
|
Jul 31, 2022 11:34:17 GMT
|
|
Excellent work - and keeping a check on the hours spent is really informative. we all forget how much time these projects actually need....and the last 10% takes at least 50% of the time...which you never have!
|
| |
|
|
|
|
|
Jul 31, 2022 12:51:54 GMT
|
YES!!!!!!It works!!!! Test drive today and it works!!!!! and it also drives (almost) perfectly straight!! That's a big relief - I guess I should have more faith in myself, it has a tiny pull to the left but that only shows without your hands on the wheel. A bit better tracking will sort that easily. Video will be up later - exhaust knocks a bit so will be adjusted later and the front panel captive nuts rattle like crazy - made worse by the auto choke not knocking off very well ( turns out we had the heater valve off so water was not getting past the auto choke). Very happy with the results. 
|
| |
|
|
logicaluk
Posted a lot
   Every days a school day round here
Posts: 1,373
|
|
Jul 31, 2022 14:47:45 GMT
|
|
Well done Mark, it looks great, I completely agree with the progress report card.
Dan
|
| |
|
|
LAndy
Posted a lot
  
Posts: 1,061
|
|
Jul 31, 2022 15:04:25 GMT
|
|
Great news that! Can't wait to see the video!
|
| |
Previous retros: 92 AX GTi 92 Scirocco Scala 94 80 sport 87 Golf Cab GTi Current retro: 1965 Clark Cortez YouTube Website Instagram |
|
|
|
|
Jul 31, 2022 19:44:54 GMT
|
|
Video for you - there is another from inside the car that hopefully Phil can send over later.
|
| |
|
|
|
|
|
Jul 31, 2022 20:17:17 GMT
|
|
Second video from inside the car;
|
| |
|
|
jimi
Club Retro Rides Member
Posts: 2,149  Member is Online
|
|
Jul 31, 2022 20:45:37 GMT
|
That's brilliant for a first drive  |
| |
Black is not a colour ! .... Its the absence of colour
|
|
|
|
|
Jul 31, 2022 20:54:49 GMT
|
Well as you have seen it was a momentous day today. First drive and it performed perfectly. Water temps are a little high but we think it just needs bleeding a bit (or the guage reads high). We did find a small oil leak out of the gearbox speedo drive but hopefully that is now fixed. I got into the garage a bit early today & painted the exhaust hanger - I added a tiny bit of hardener accellerator which meant the paint was dry enough to assemble the bracket just over an hour later. The jubillee clip is temporary to hold on the tail part as a full tube will go in later.
Full (short) exhaust, now tucked tight under the car. Later we will extend it over the rear axle.
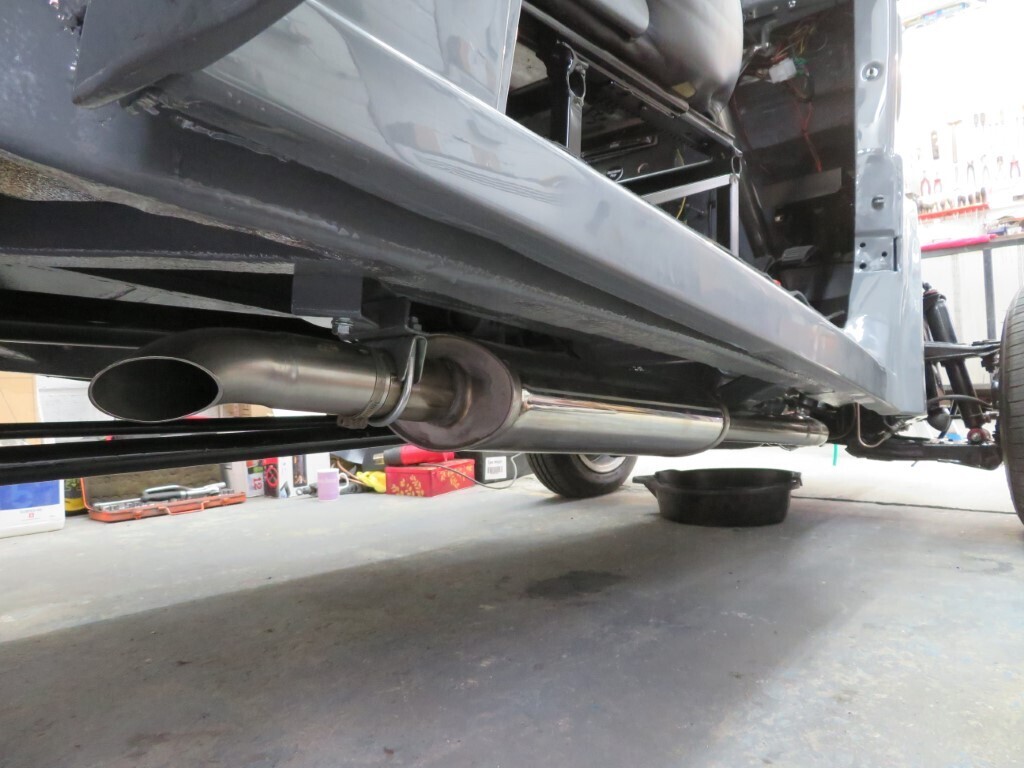 With that fitted we could take it out for a test drive (as you have already seen) to check if it drove straight - it does so that was a major worry dismissed and we can now move forward with the rest of the build knowing all is well. The next job was refitting the bootlid which went quite smoothly as I had taken care to get the bolt fixings fixed in place before it was painted which meant very little adjustment was needed.
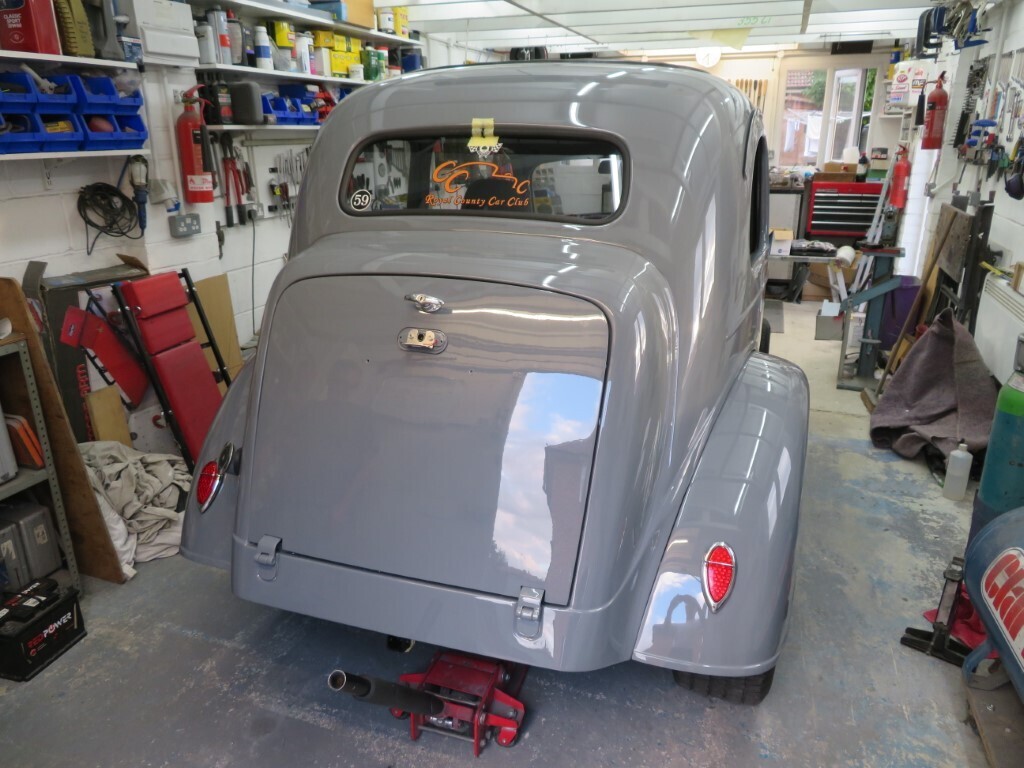 Boot straps fitted so it does not crash down & get damaged - wiring started in the bootlid but I need to finish painting the lamp before that can be closed off for good. 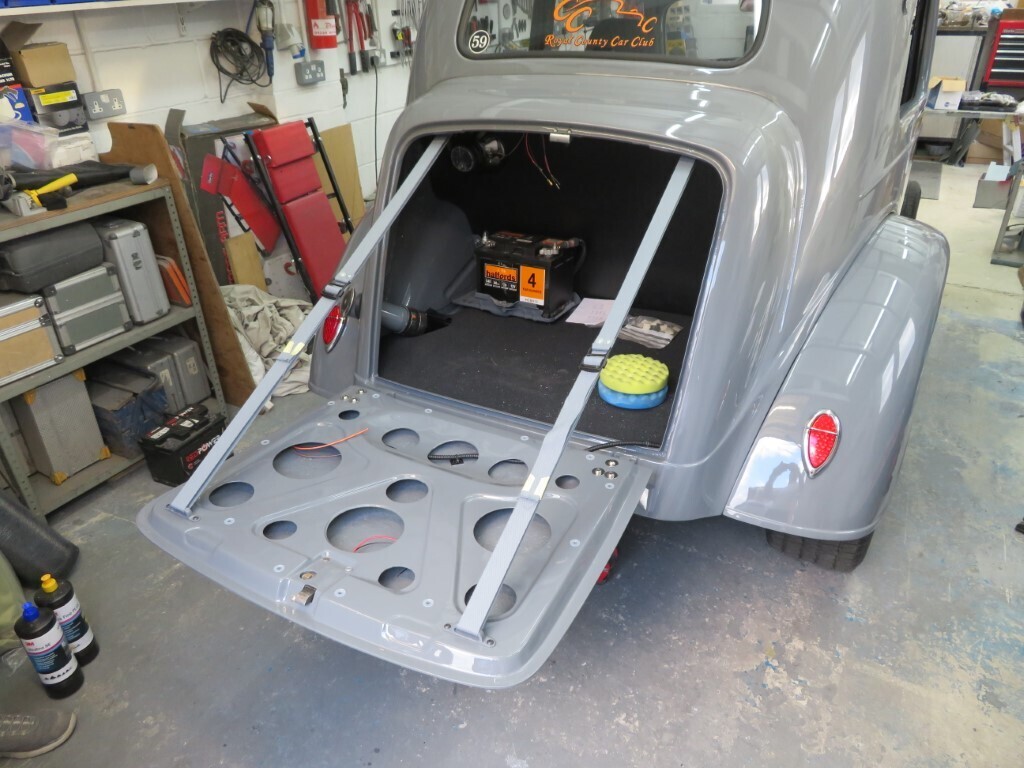 The last job of the day was mopping the nosecone, first stage polish here but looking good.
 We have 6 nights and one weekend to get it roadworthy for the Supernats, a lot of work still but feeling more confident now. 1098 hours.
|
| |
|
|
|
|
|
|
|
|
.
Excellent way to end your weekend and for me to start my week.
Well done
|
| |
|
|


