|
|
|
May 28, 2024 23:01:54 GMT
|
Big Rob had come round on Monday to take the gearshift away with vague  guidance on what was required. He video phoned me tonight and he's already finished it!! top man!! No photos yet as I'll pick it up on Thursday but it looks extremely nice - I'd be happy with it in my car. The 8mm rod ends turned up today as well and I made the bell housing cover at work so it got drilled out and filed to shape and fitted. 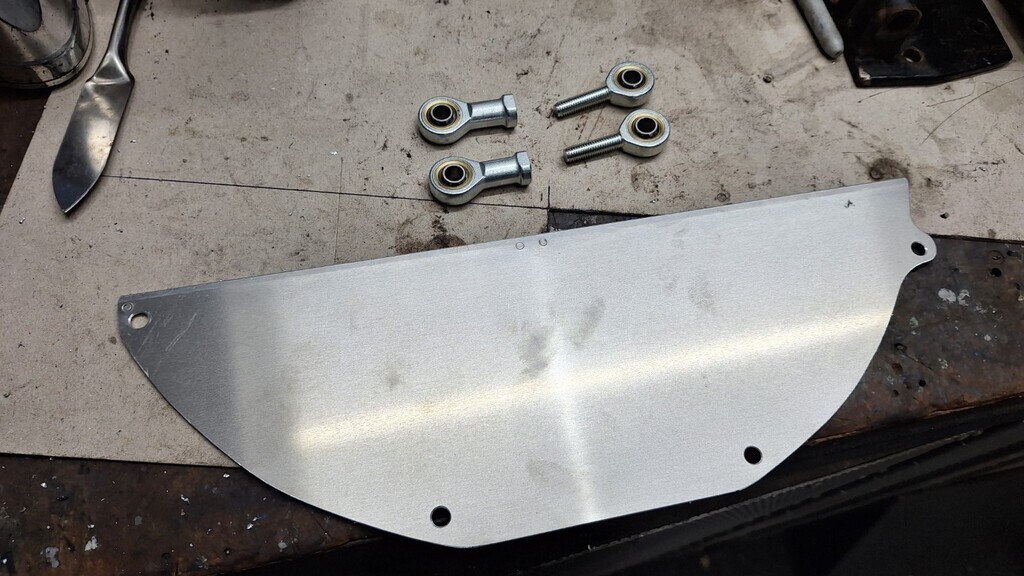 Next was cutting the inner wing infill panels, my cheap air powered shears from Lidl actually worked pretty well! saved a lot of work & mess with the grinder and I just finished off with the snips. 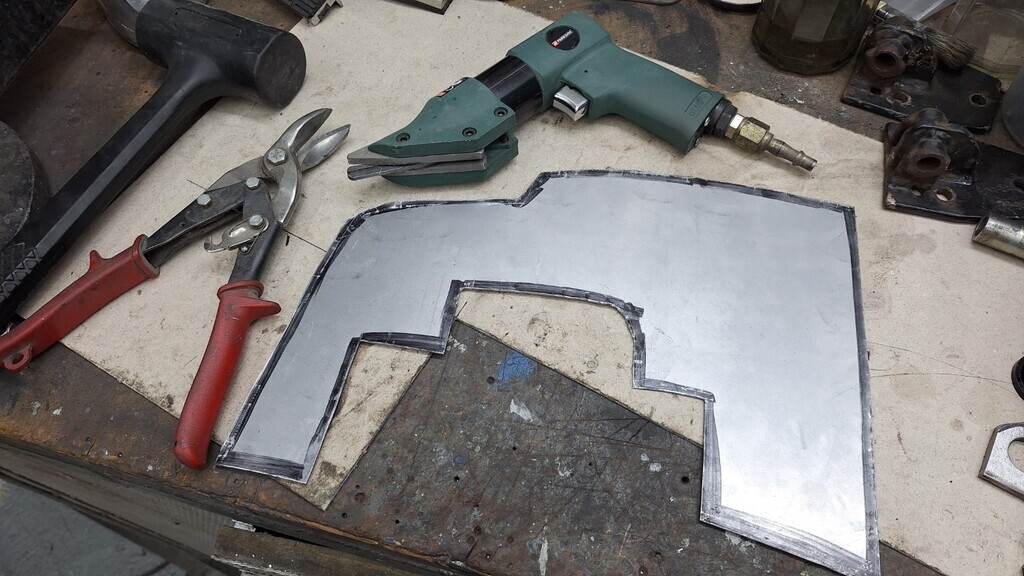 With only 20 seconds of shaping over a bit of tube and it's nearly a perfect fit, result. 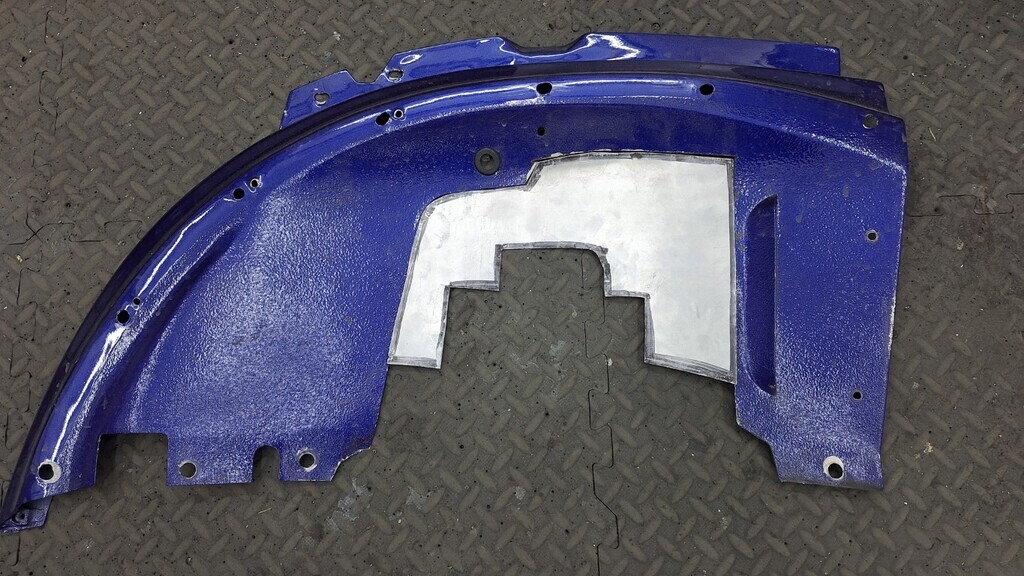 While I was making a mess I finished shaping the wheelie bar brackets for mine, a bit of prep work for welding and radiusing the edges and I can stick them together with a bit of electric glue  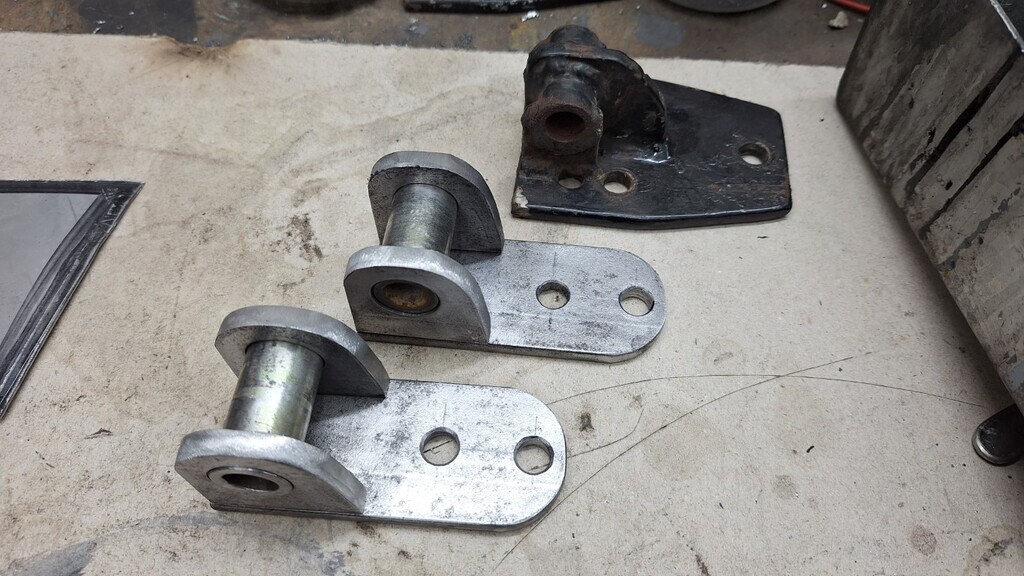 |
| |
|
|
|
|
|
|
|
|
|
Big Rob sent a couple of photos of the shifter knob to me, the button in the top is pressed to be able to move the selector. 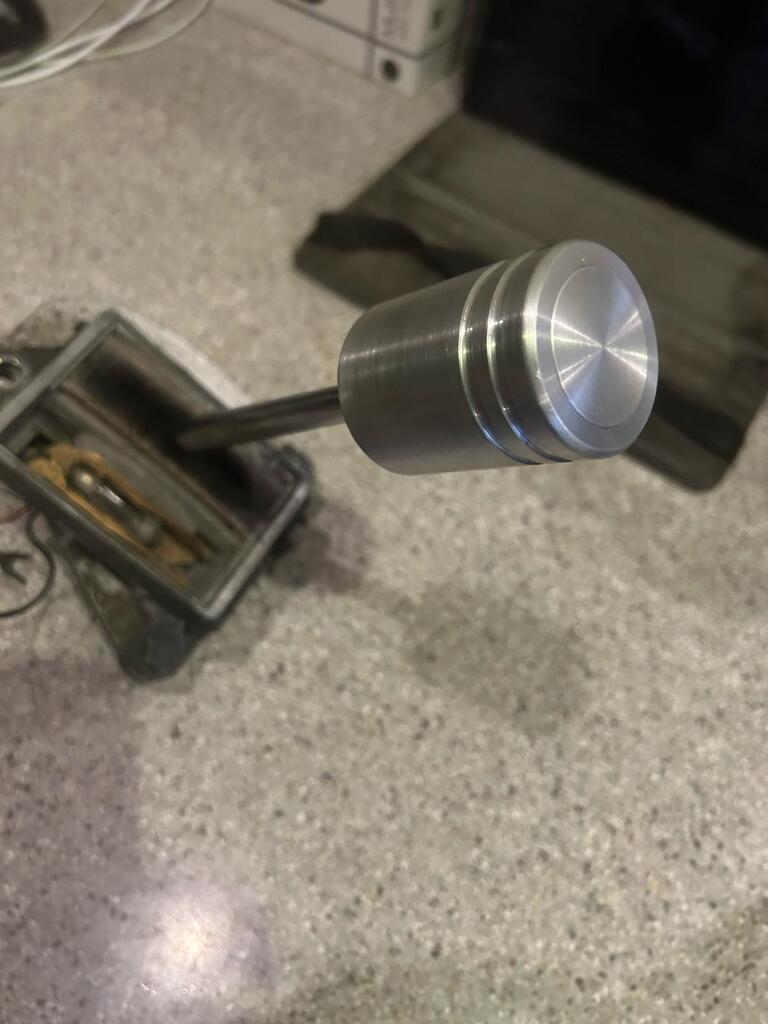 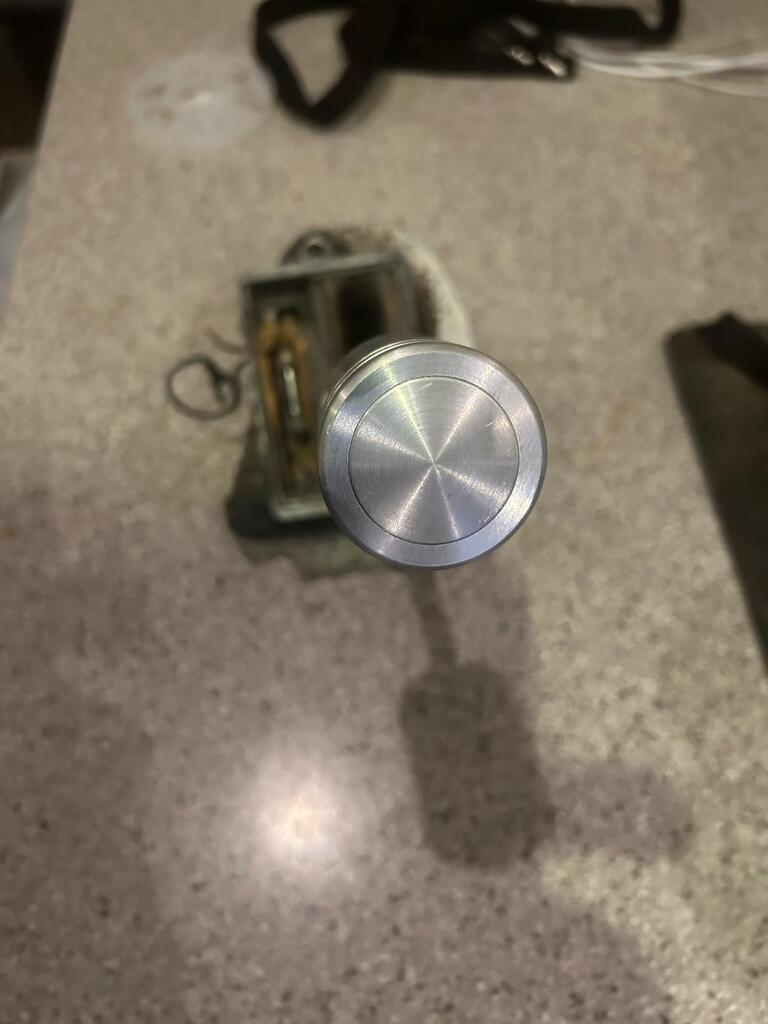 |
| |
|
|
zeberdee
Club Retro Rides Member
Posts: 1,041  Club RR Member Number: 2
|
|
May 29, 2024 10:08:08 GMT
|
|
That’s really neat .
👍
|
| |
|
|
|
|
|
May 29, 2024 22:51:57 GMT
|
It is indeed. progress tonight started with my wheelie bar mounts, got them all prepped for welding; 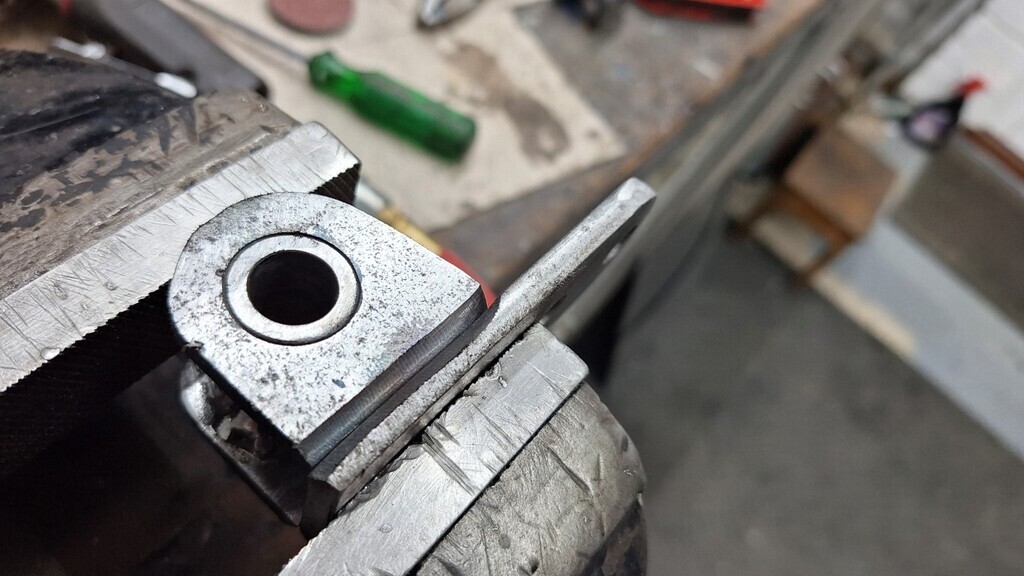 And all welded up, pretty pleased with those welds. (The tubes are welded on the other side) 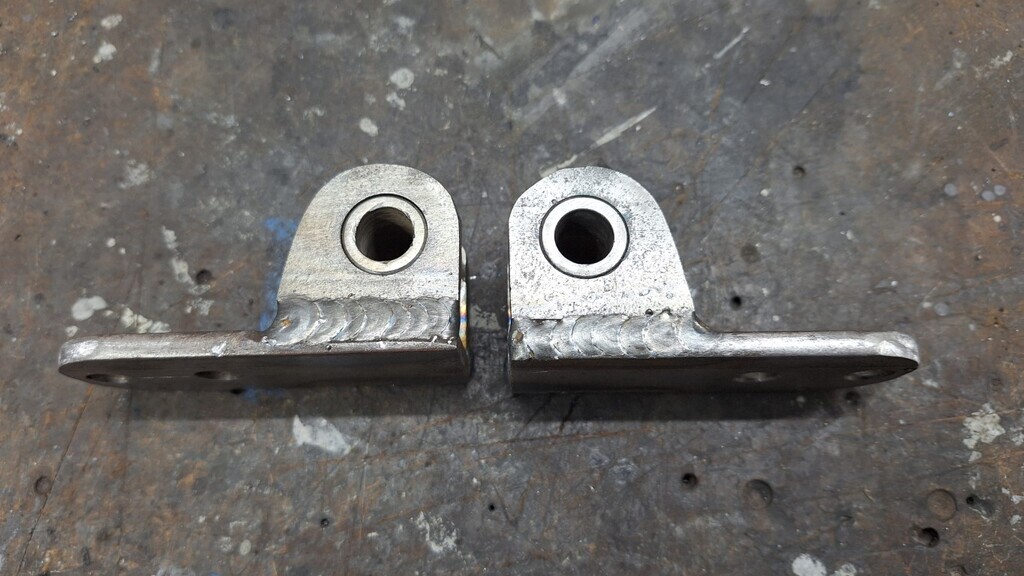 Then it was on to welding the inner wing infill panels, started ok, but ran out of welding wire. That was a 15Kg roll as well. Luckily I have a spare roll of .6 wire, so after resetting the welding power & feed it actually was better for the ultra thin panels. A bit of a marathon welding session for this, but quite pleased with it - only had to chase a few holes. 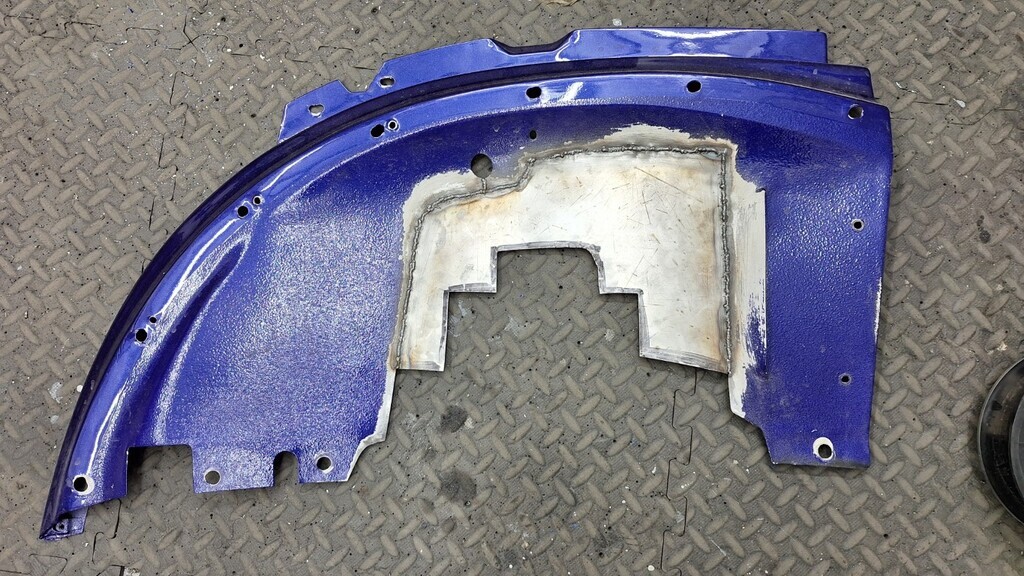 And good penetration on the other side so I can grind that side smooth without weakening the weld. 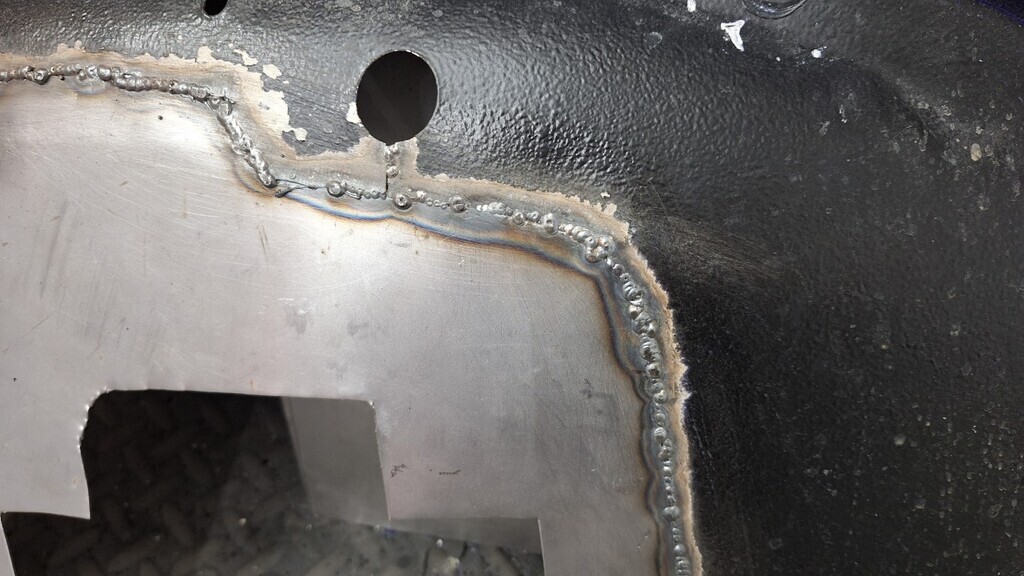 Trial fitted back on the car, the wing is super rigid again now - I did not realise how floppy they were before. It needs a final trim around the suspension and a little bit of massaging back into shape, but I'm happy with that. 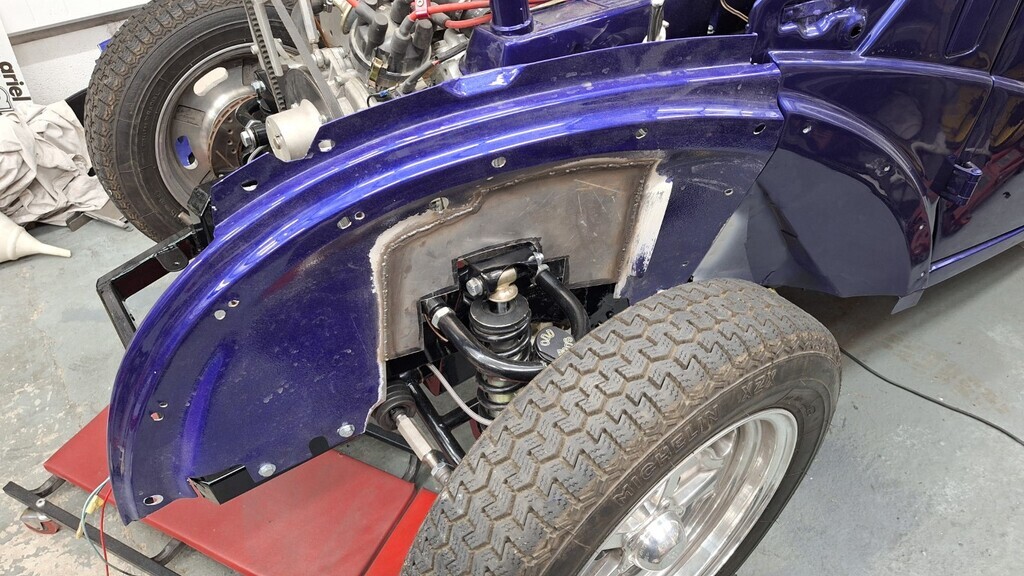 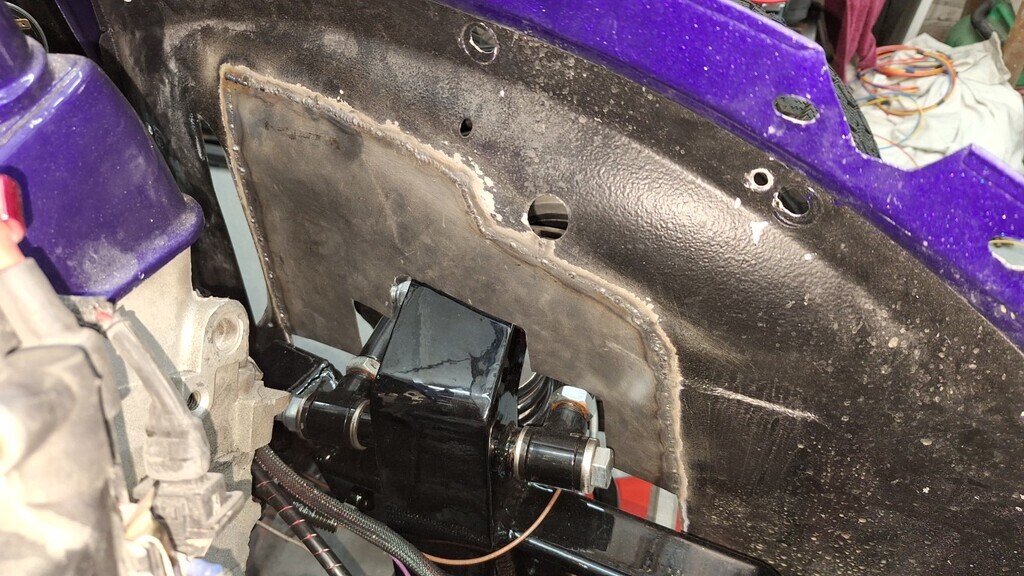 |
| |
|
|
eurogranada
Europe
To tinker or not to tinker, that is the question...
Posts: 2,556
|
|
|
|
|
I really like how you cut no corners, not anywhere!
Quality work always and with anything you do.
These type of posts are why I always strive for my own best effort as well.
|
| |
|
|
oto67
Part of things
 
Posts: 70
|
|
|
|
|
luv the shifter work,looks good an a design Andy can use easier i woulda thought
|
| |
|
|
|
|
|
May 30, 2024 12:22:47 GMT
|
Thanks for the compliment Alex, it's nice to think I inspire people  oto, yes should be easy for Andy to use. |
| |
|
|
|
|
|
May 30, 2024 22:35:25 GMT
|
Shorter time in garage tonight so I only managed to cut the other inner wing panel out and tack it into the wing. 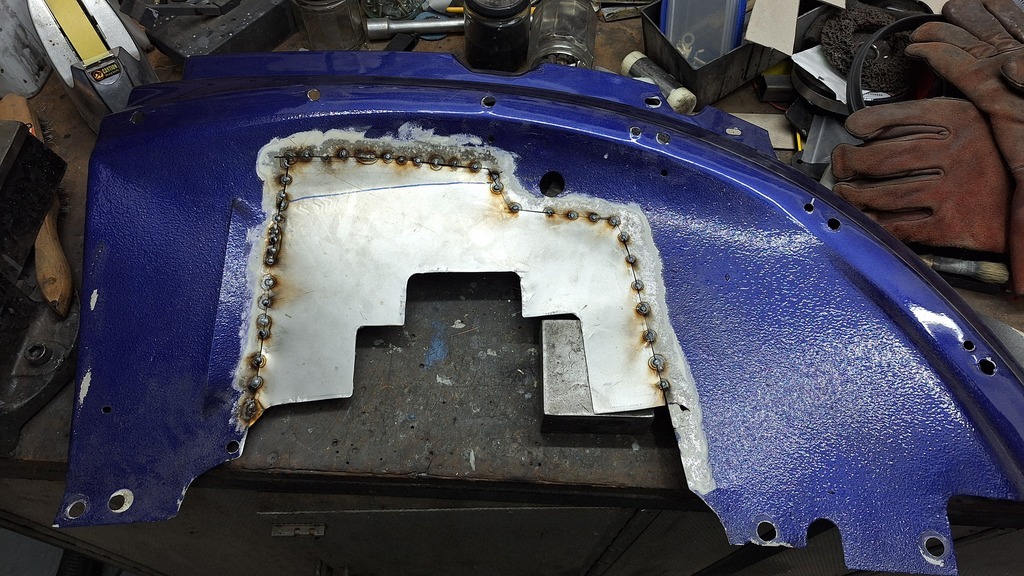 |
| |
|
|
|
|
|
|
|
Not posted anything as I've been doing more work on mine - front suspension strip & rebuild to grease all of the rosejoints and bolts, squeak is now gone thank goodness! Oil change done and new plugs will get fitted later today. Should be ready for it's trip to the Lake District on Thursday then. I have been working on Andy's pop as well though, but nothing too picture worthy. I made a MkII version of the shifter rod from 8mm threaded bar with 8mm rose joints on the ends and it all shifts nicely now. I'm not totally happy with it though, so Ive decided to move the shifter over as much as space allows (about 15mm) which will give a more direct line for the rod. Ths will give a more positive shift but also stop the bar from rubbing the gearbox casing. It will eventually be made of 10mm tube with the threaded bar welded in each end for the rod ends to fix to and also giving adjustability to the length. Modified tunnel mount here, it will need a new plate welded in to close off part of the hole. 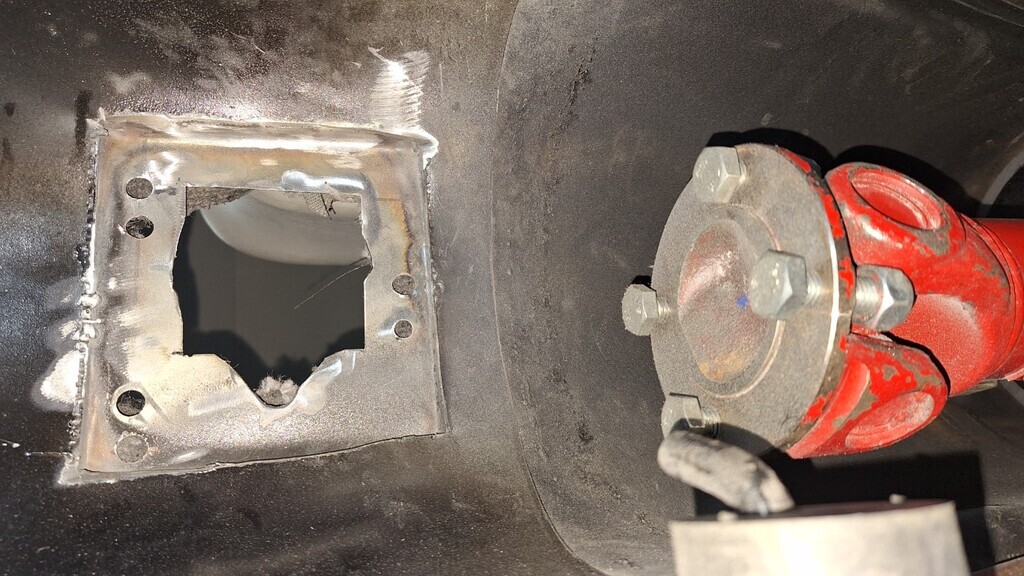 |
| |
|
|
glenanderson
Club Retro Rides Member
Posts: 4,353
Club RR Member Number: 64
|
|
|
|
|
The tube will be much stronger and less flexible than the threaded rod too. Good call. 👍
|
| |
My worst worry about dying is my wife selling my stuff for what I told her it cost...
|
|
|
|
|
|
|
Some reasonable progress this afternoon.I finished welding the other inner wing and also the plate for the shifter in the tunnel. As it was so warm it seemed an ideal time to get them all in primer. 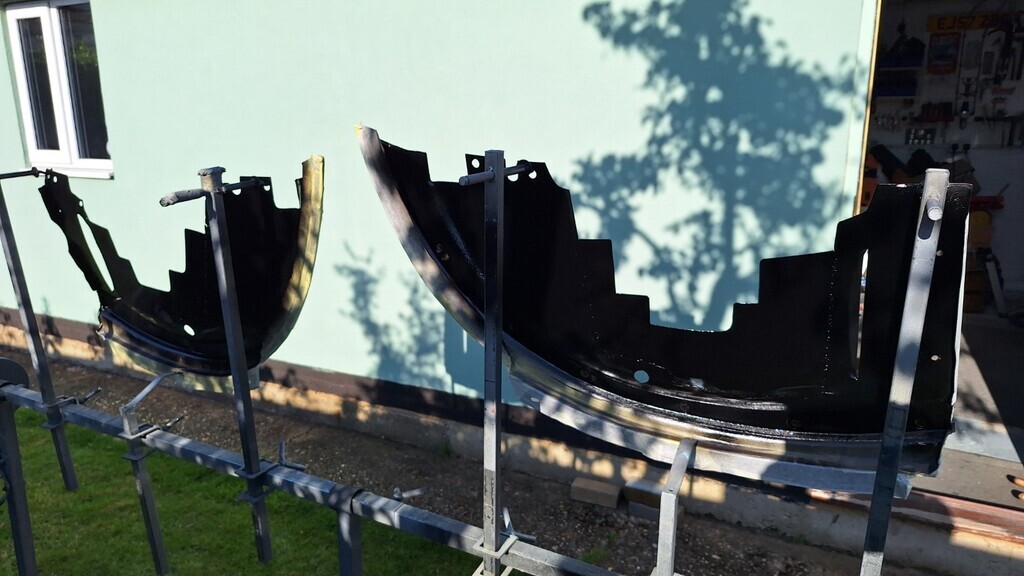 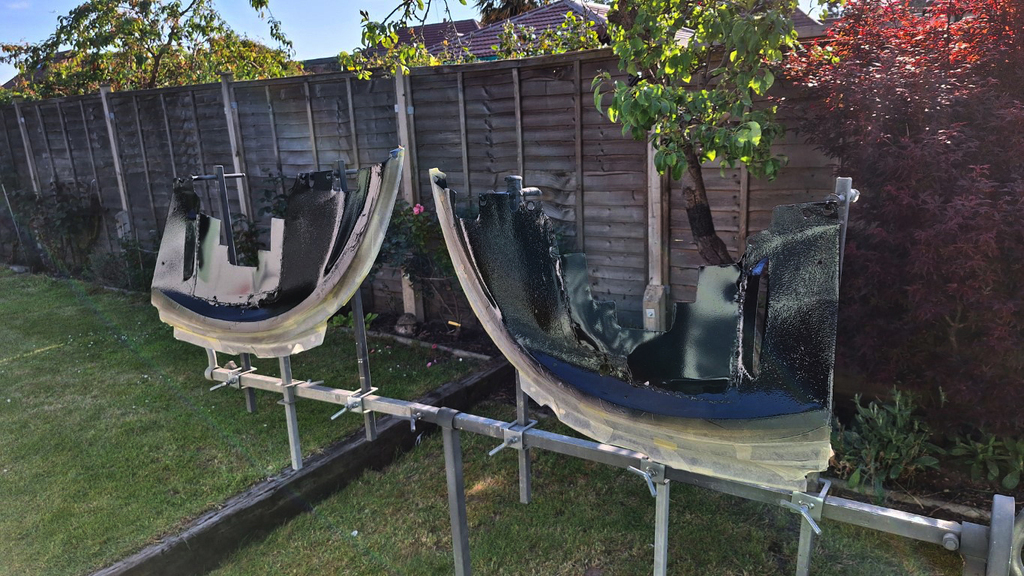 And as that dried off so fast I got them coated in stonechip as well. 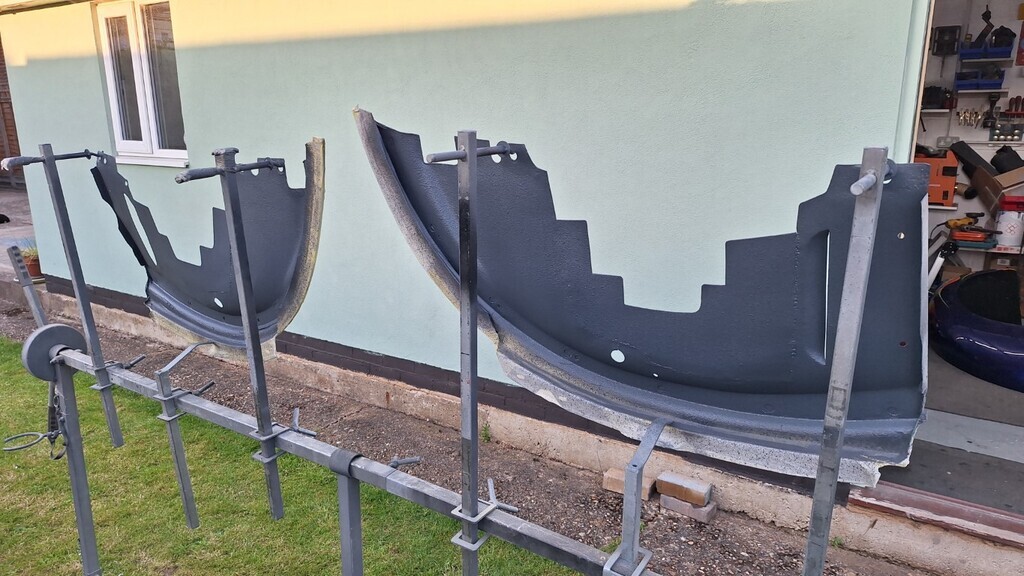 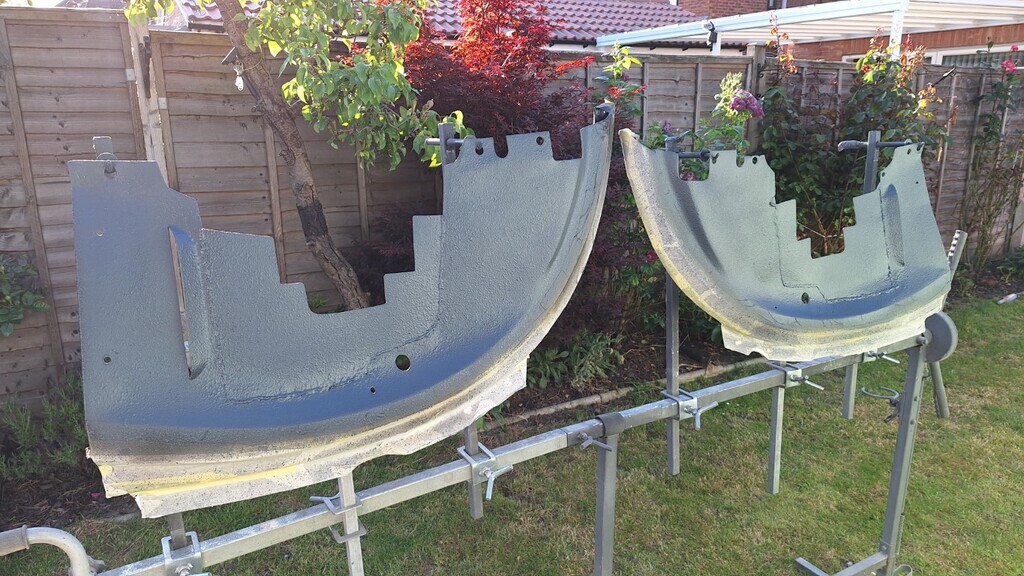 And then (hopefully) the engine went back in for the last time for good. 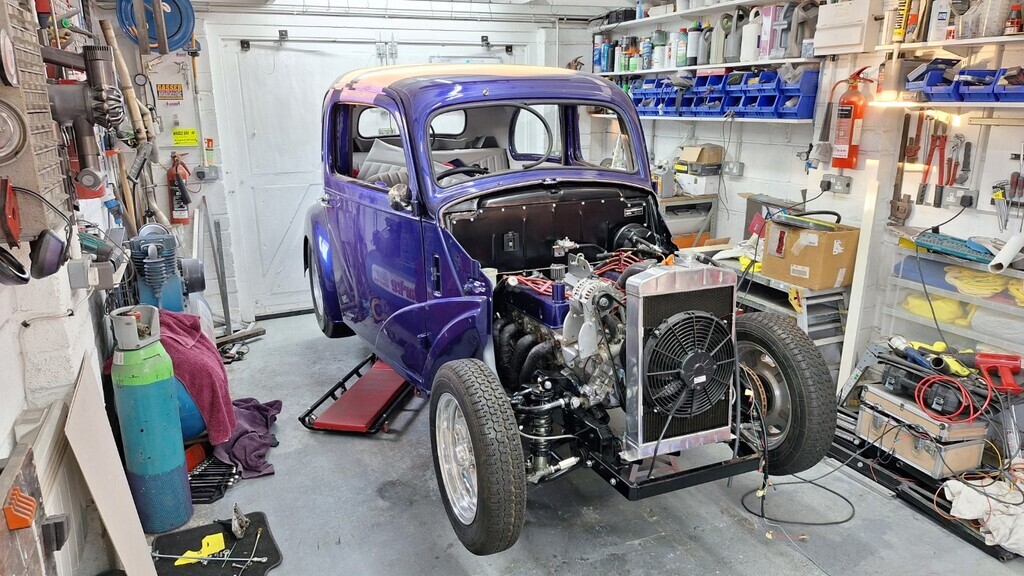 It's nice to fold up the engine hoist and pack it away, less things to trip over now. |
| |
|
|
|
|
|
|
|
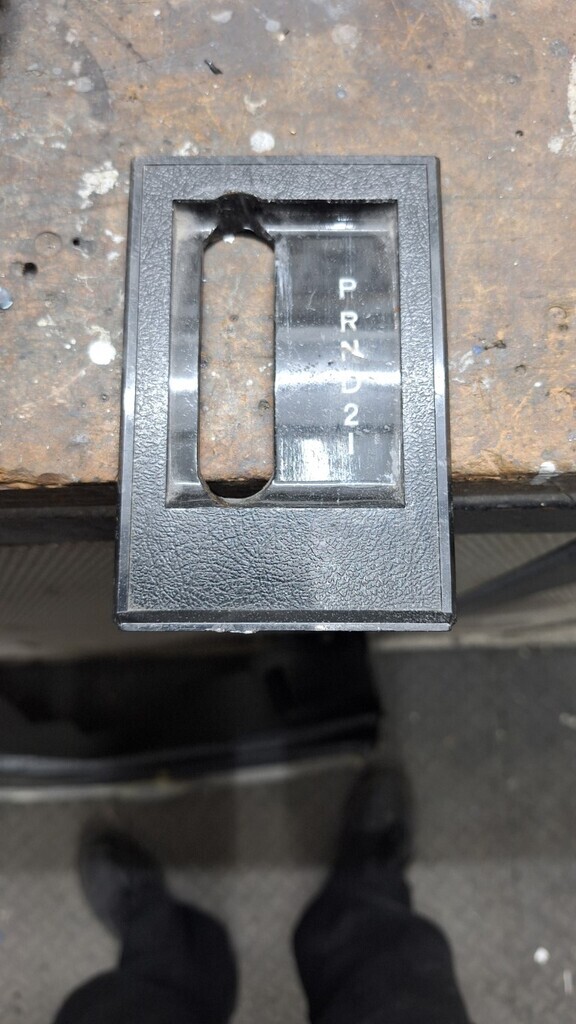
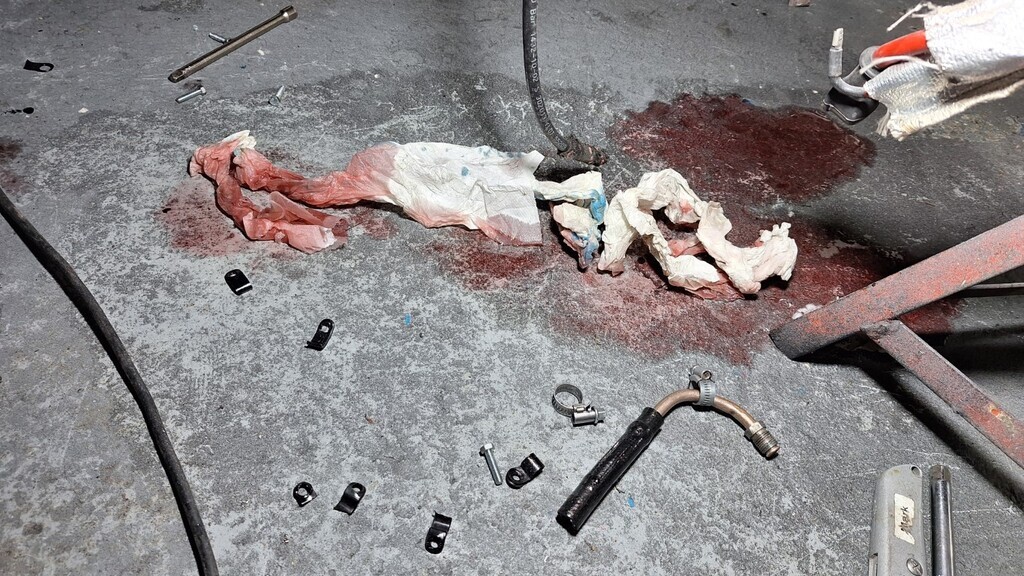
A good start tonight, I got the engine side of the inner wings painted in satin black; 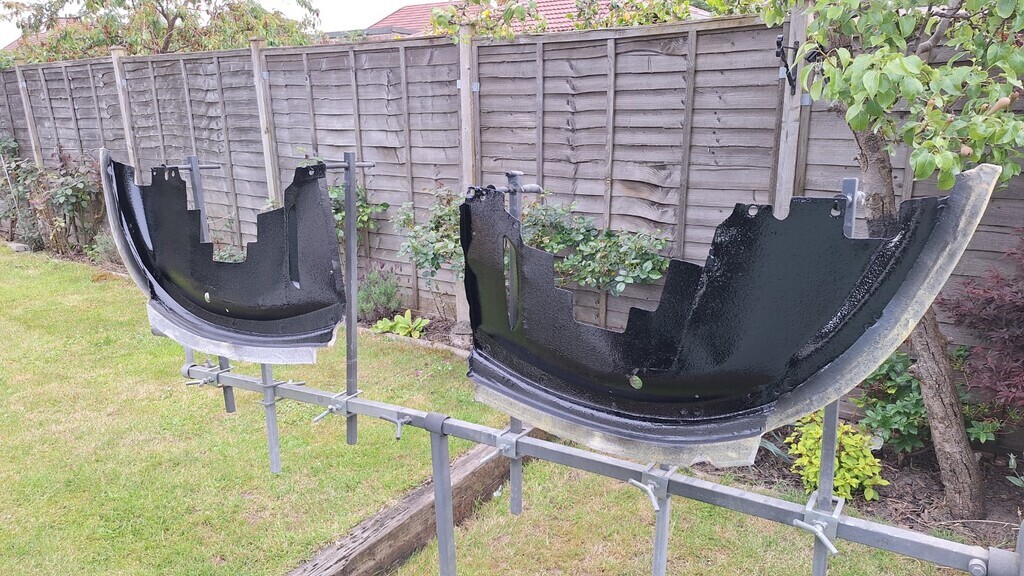 And with the remains in the pot painted the inside of the shifter cover, this is so when the bulb under it is on it wont shine through all the scratches and worn bits anymore, only through the PRND12 lettering. 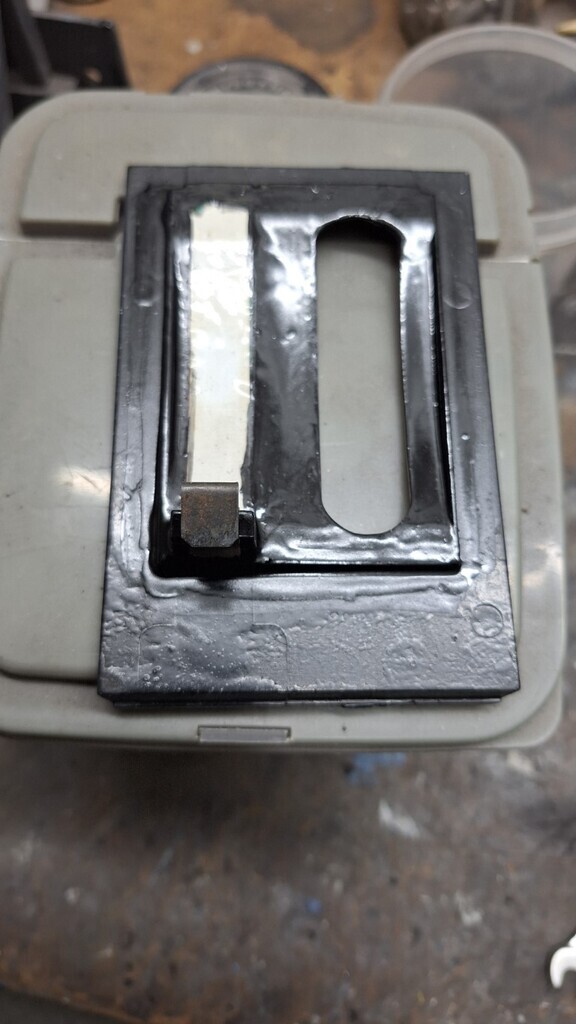 Depending on the weather I might get the other side of the inner wings done in the purple metallic tomorrow. Next up was to bolt the engine & box in properly. Which did not get very far as - once again, there were no nylocs. Gearbox mount is in properly as I used some medium strength Loctite on the bolts and the centre mount also has a spring washer. Engine mounts will have to wait for nylocs to be purchased. While that was drying off I fitted new spark plugs in my Pop and topped up the brake fluid (pads are 50% worn now!). Then it was time to hook up the trans cooler...........hmmmmmm........... I had seen some bodgery that needed fixing when I first got under the car, but it was far worse than I imagined. I could not work out how the loose pipes were so stressed in the mounts - to the point I could not get a socket in there to undo the bolts. Luckily they used plastic clips so I ended up cutting them off. This revealed that the reason they were so stressed - the 10mm bit of rod for the exhaust rubbers welded to the chassis was in the way. But rather than put a little bend in the pipes to go around this they just tightened the clamps to crush the pipes againts the bar  The pipes themselves are a mess - I'm not sure you can see in this photo as I've already undone them, but how far off the ends are to line up with the trans cooler pipes. 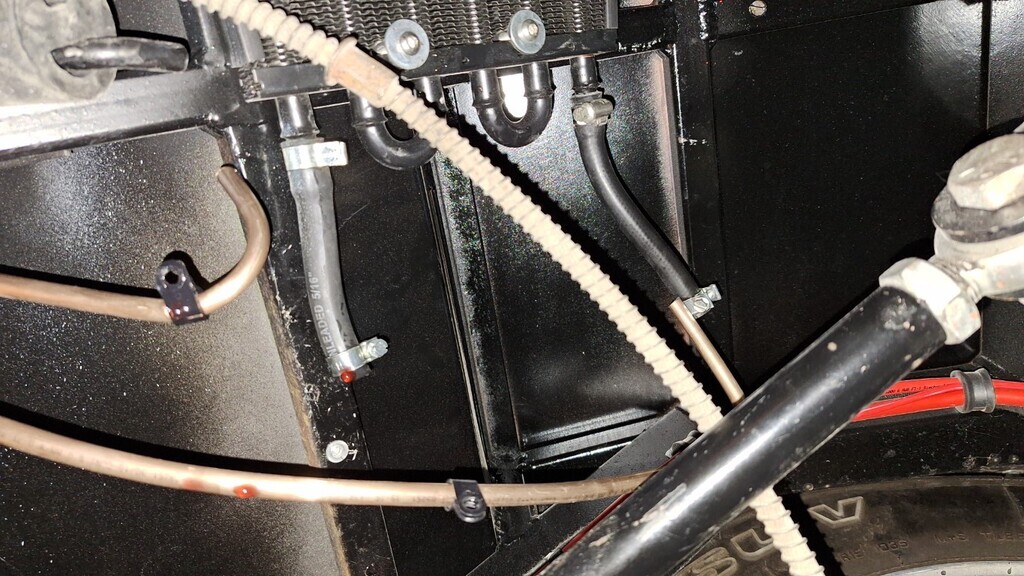 And a lovely (not!!) bit of bending at the other end; 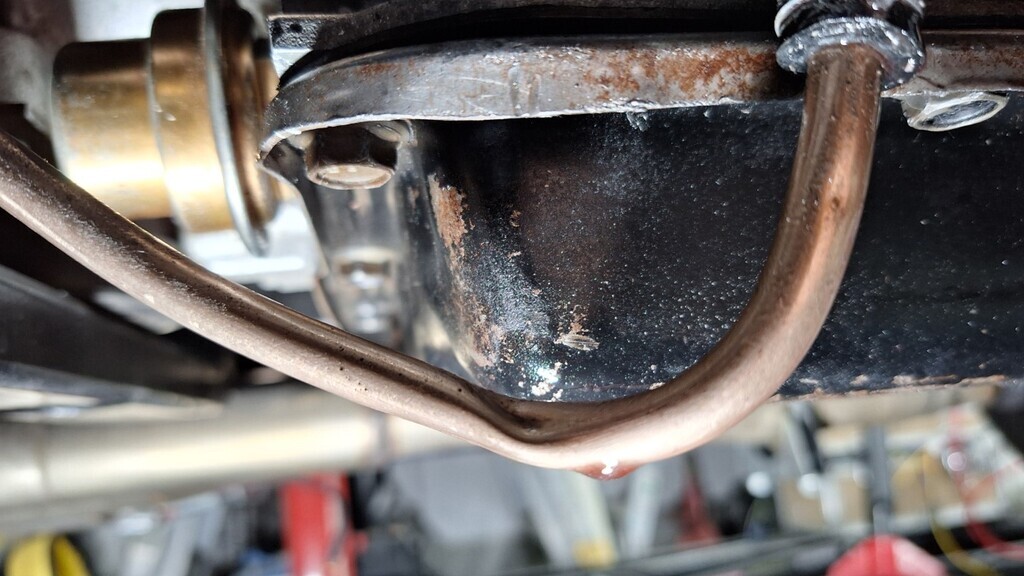
Looks like I will be making new cooler pipes as well then........
As the pipes decided to pour trans fluid all over me and the floor I decided to call it a night and let it bleed out - I'll clean up tomorrow when its finished dripping.
I'll leave you with another peice of total fuckery I discovered tonight as well - this is the main power feed from the battery to the starter motor - unfused! I mean FFS!! Yes its clipped either side of the chassis, but it's fairly flexible cable and quite capable of chafing if you touch it.
I was not entirely happy with it being exposed as it is, but as it was well clipped I was going to leave it, it will now be undone & put inside some cable sheathing and the hole in the chassis taken up a size (and painted!).
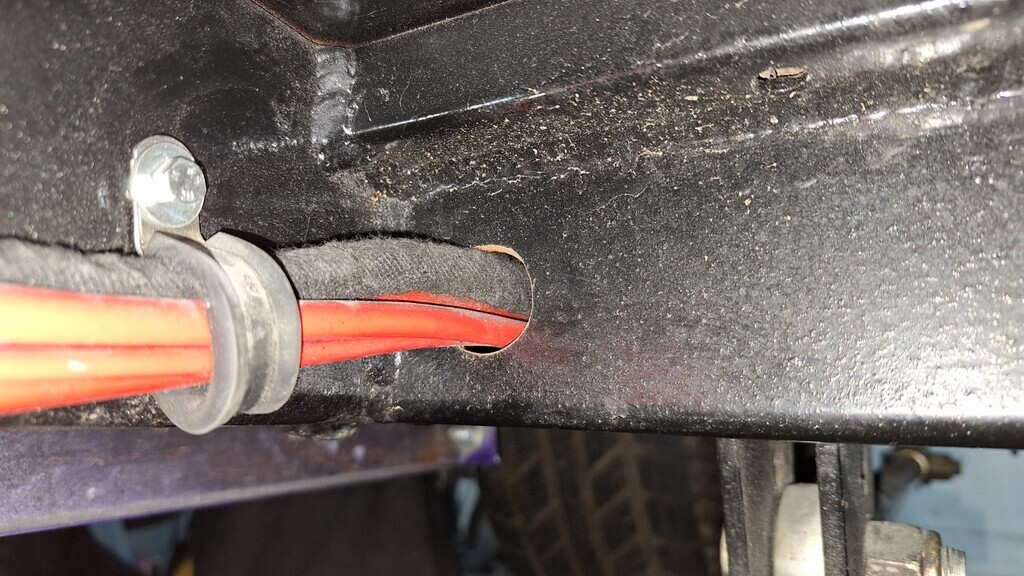 |
| |
|
|
|
|
|
|
|
|
When I move batteries I usually put a fuse in the battery ground cable, mk6 transits and probably many others had them as standard, means if the cable gets cut/crushed in an accident you don't have a potential bomb in the boot.
|
| |
|
|
|
|
|
|
|
|
Yeah, I have a 70A megafuse in my power cable on mine, got a link to the transit ones?
|
| |
|
|
v8ian
Posted a lot
  
Posts: 3,832
|
|
|
|
|
I have just gone up to a 150a MEGA fuse, only because I tried starting the car in gear (By Accident) and took out the 100a I had in a nanosecond 150a seems to survive a quick start in gear. I do now carry spares........
|
| |
Atmo V8 Power . No slicks , No gas + No bits missing . Doing it in style.
Austin A35van, very different------- but still doing it in style, going to be a funmoble
|
|
|
|
|
|
|
|
|
| |
Last Edit: Jun 4, 2024 9:33:55 GMT by kevins
|
|
|
|
zeberdee
Club Retro Rides Member
Posts: 1,041  Club RR Member Number: 2
|
|
|
|
|
I’ve used those in the past .
Neat & did the job .
Nice that you can just reset if anything happens .
👍
|
| |
|
|
fogey
Posted a lot
  
Posts: 1,623
|
|
|
|
|
Hi Mark, what was the stonechip you used on the inner wings please?
|
| |
|
|
|
|
 guidance on what was required. He video phoned me tonight and he's already finished it!! top man!!


 guidance on what was required. He video phoned me tonight and he's already finished it!! top man!!


