tofufi
South West
Posts: 1,463
|
|
May 25, 2007 19:01:02 GMT
|
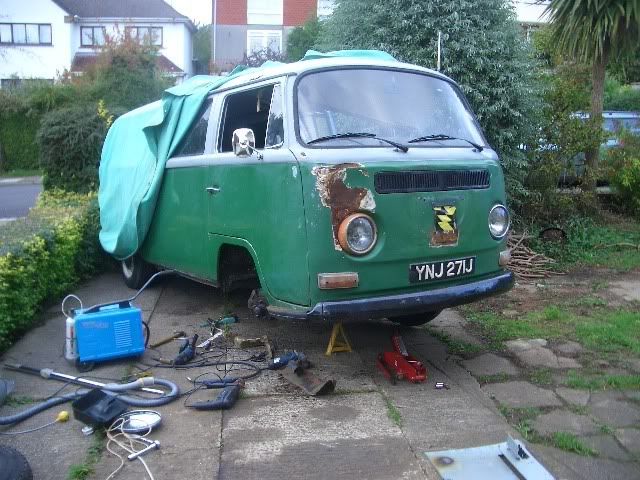
Hi All, Thought I would show you my current project... I started a few months ago but it will take me a while to make this thread up to date  it's a cheap bay project bought on ebay for just under a grand. After a 9 hour drive / pickup last night ending after 3 this friday morning. This is what just under a grand buys you in bay window land these days. The journey back.. 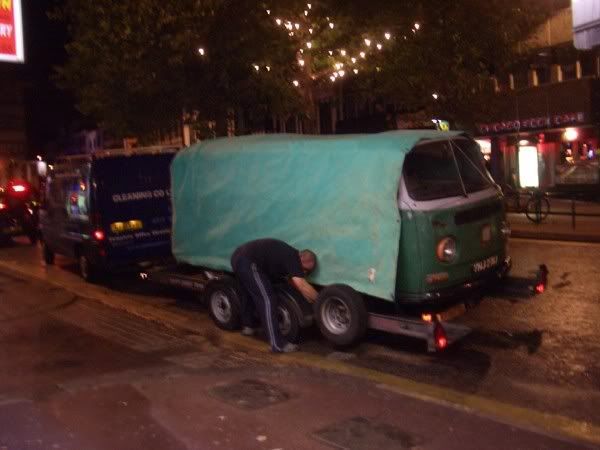 The good: 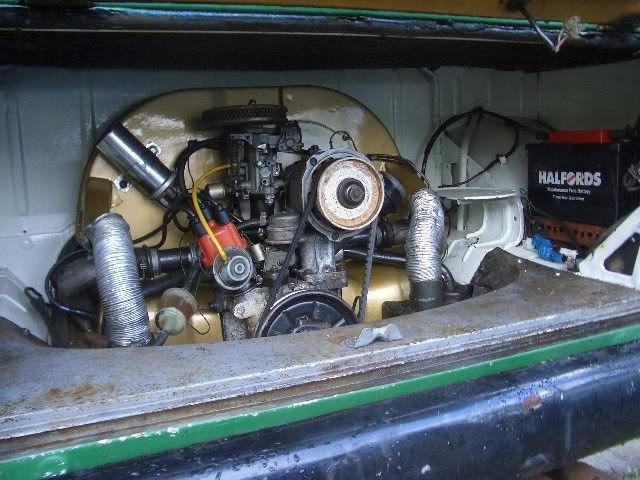 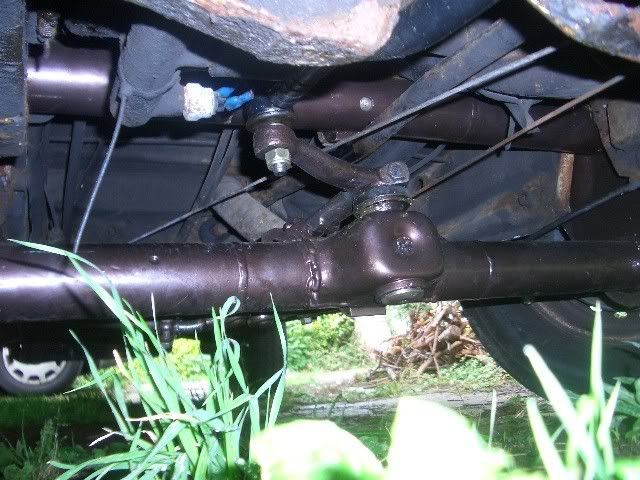 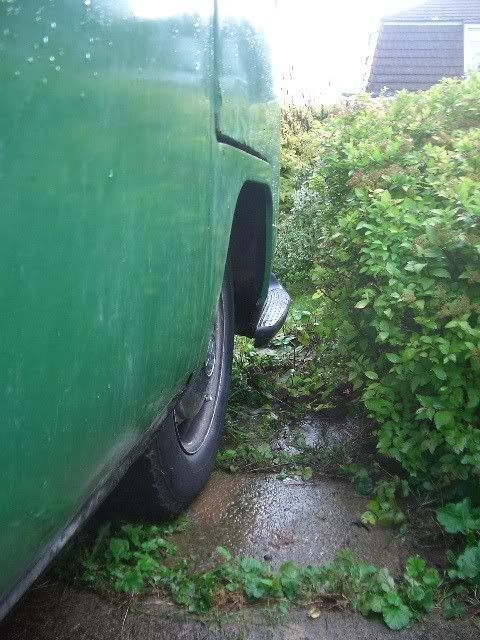 4" narrowed axle beam with creative adjusters - oh yeah  - he'll go nice n low on it. The bad: 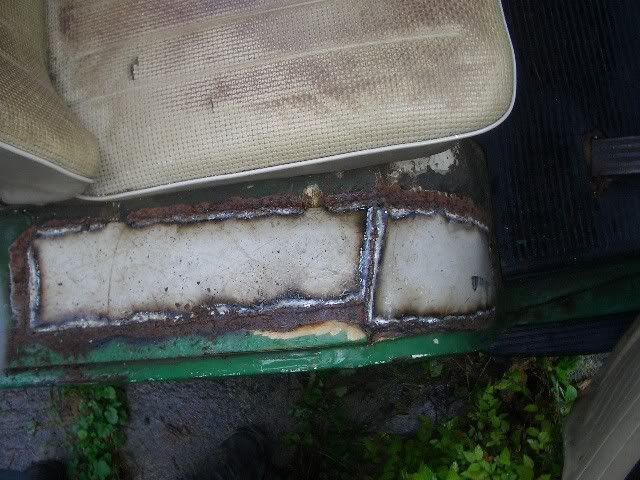 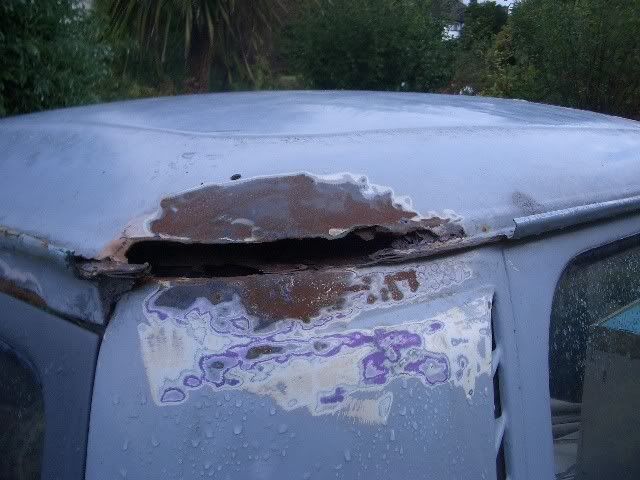 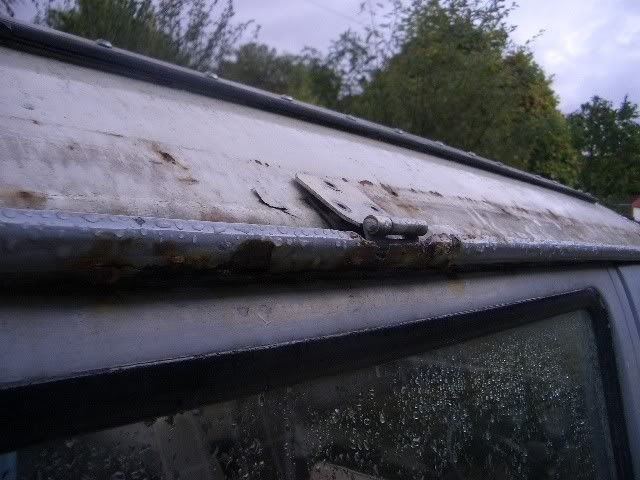 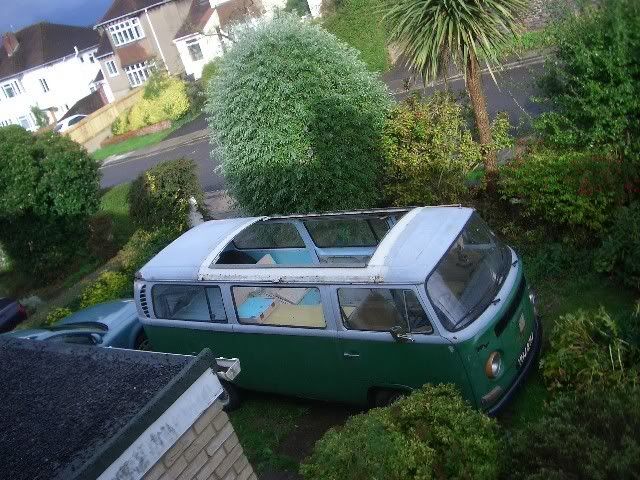 Just a bit rusty, but nothing a tickle with a welder can't sort out. The ugly: 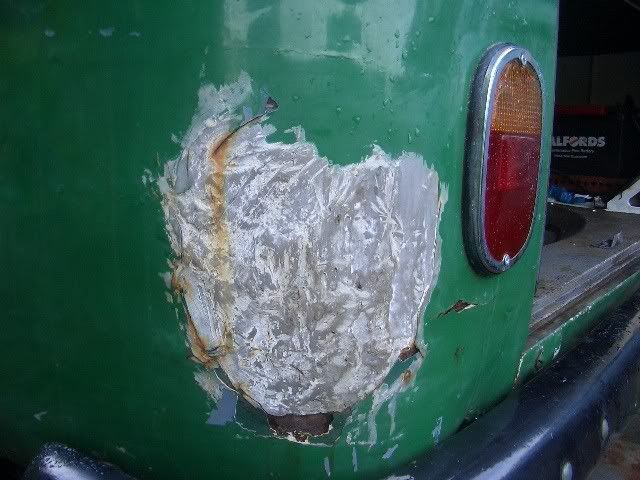 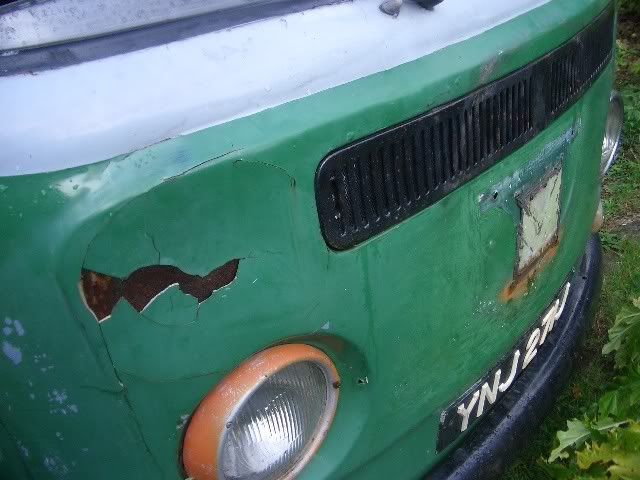 he's been resprayed in the past and had a lot of filler work done which is now looking a bit worse for wear. Anyway, this thread will chart the progress of my work on it  The current aim is to get it MOTd by the start of July at the latest so I can Drive to cornwall (camping trip planned!) and then restore my beetle  . Fingers crossed. |
| |
|
|
|
|
tofufi
South West
Posts: 1,463
|
|
May 25, 2007 19:04:00 GMT
|
14/10/06: Of course, the first thing to do was to lower it! So I got Tom (tomarse) (and several others in fact) came round and had a good look at the bay. Apart from destroying most of the front panel which was more heavily fillered than I expected), Tom (with a tiny amount of help from me :lol: lowered the  end of the bay properly - 2 splines down. Now looks so much better, I'm really chuffed  Before: 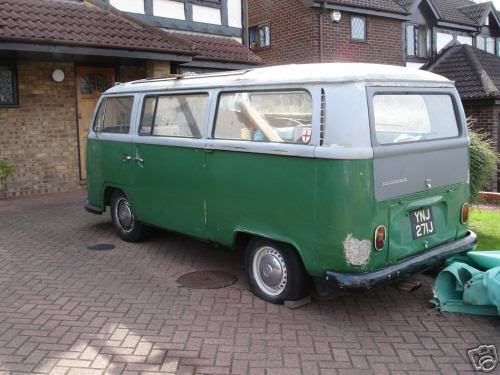 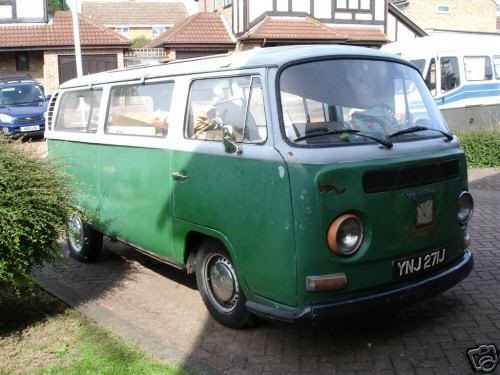 (the pics from on eBay from whence it came) After: 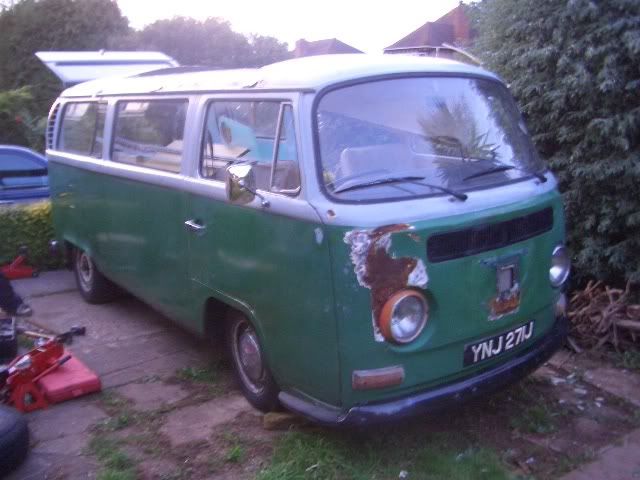 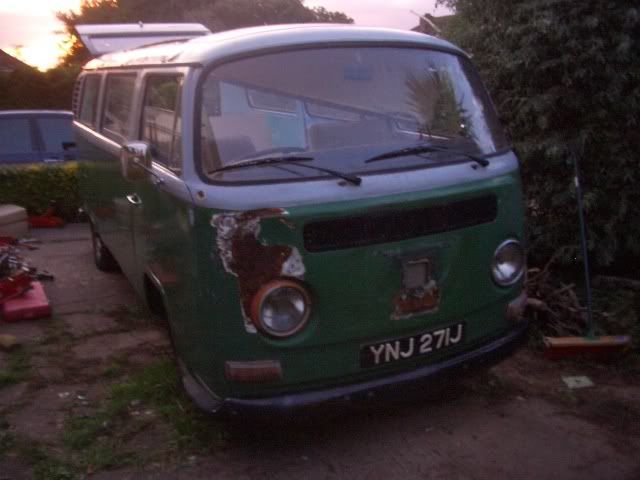 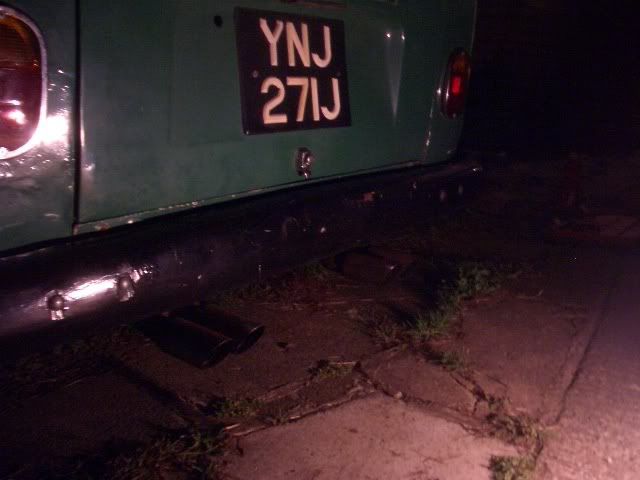 I can still get my foot between the ground and the exhaust tailpipes though, so it can still go a bit lower  Those pictures really don't show it very well  mind you when they were taken we had only done the one side so it is bound to look odd. We did the other side in total darkness. I've also sorted out the handbrake so it works again. One of the wheels (front) is sticking so that needs to be sorted, and one of the back ones is a bit sticky as well. Tom also sorted out the gear linkage as the front connection had had a wrong size (too small) bolt but in place, which meant it continually was falling apart. Now all the gears seem to work quite well. And the next day, I manouvred the van round into the flat part of my drive, to see how it sits. 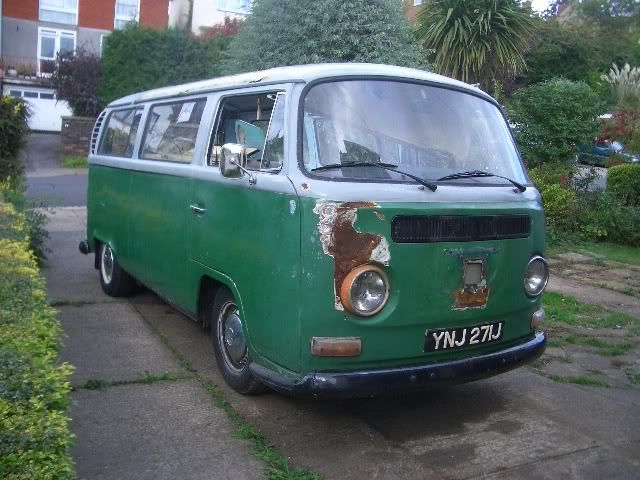  |
| |
|
|
tofufi
South West
Posts: 1,463
|
|
May 25, 2007 19:06:02 GMT
|
|
|
| |
|
|
tofufi
South West
Posts: 1,463
|
|
May 25, 2007 19:08:53 GMT
|
27/12/06 Tom came over in the afternoon, after going to look at a garage we got to work: This is why you shouldn't let tom play with a screwdriver  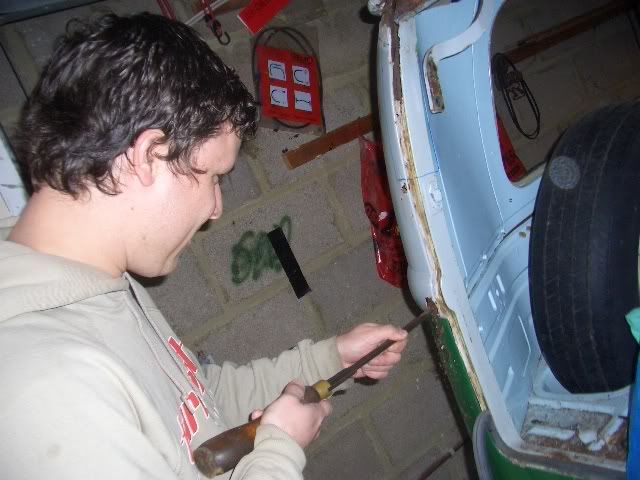 or an angle grinder... 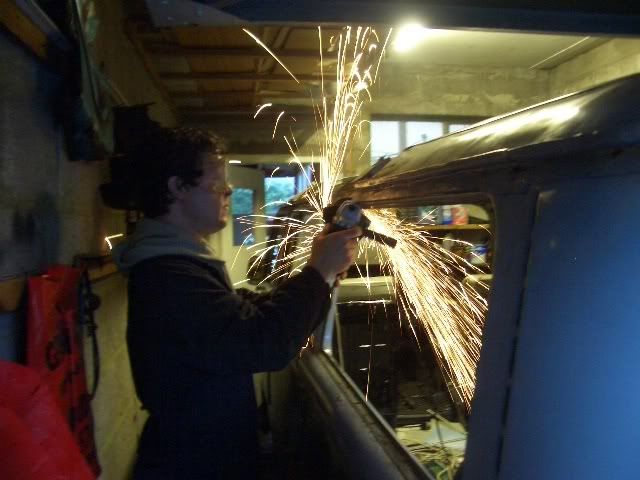 Together, Tom and I cut the old roof off. 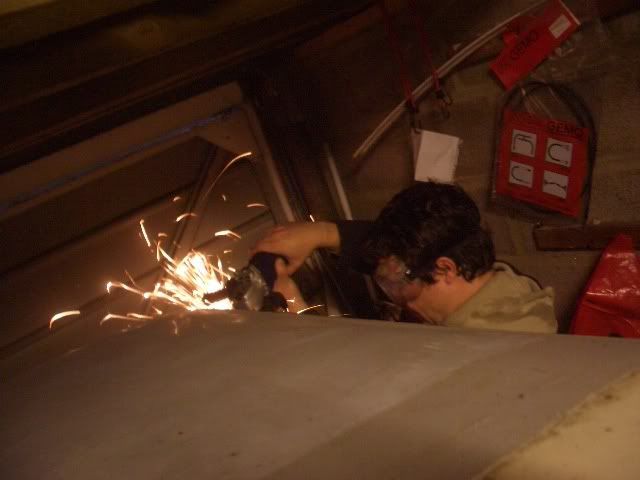 back end off: 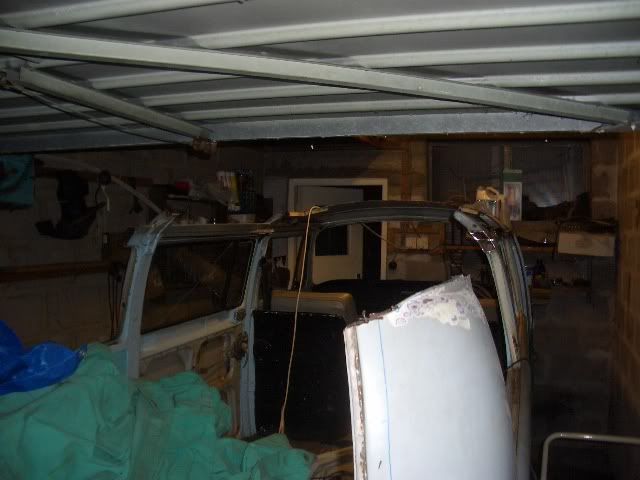 both ends off  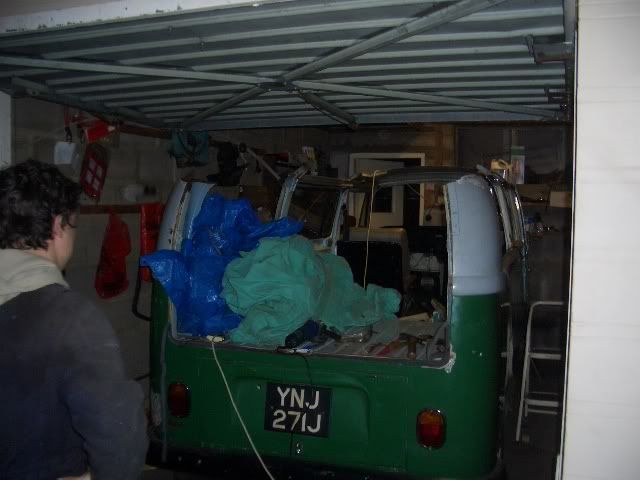 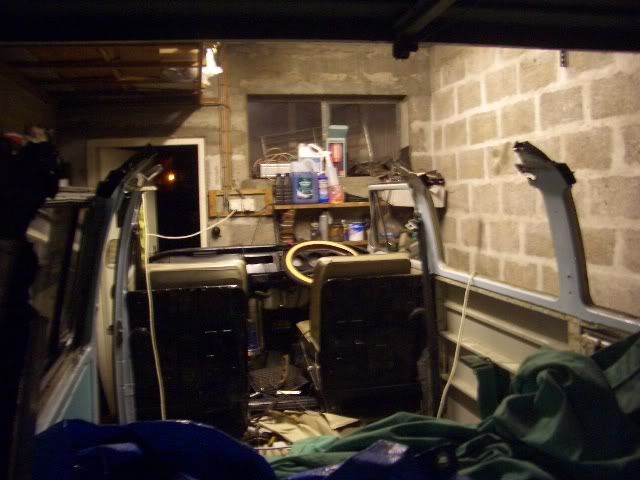 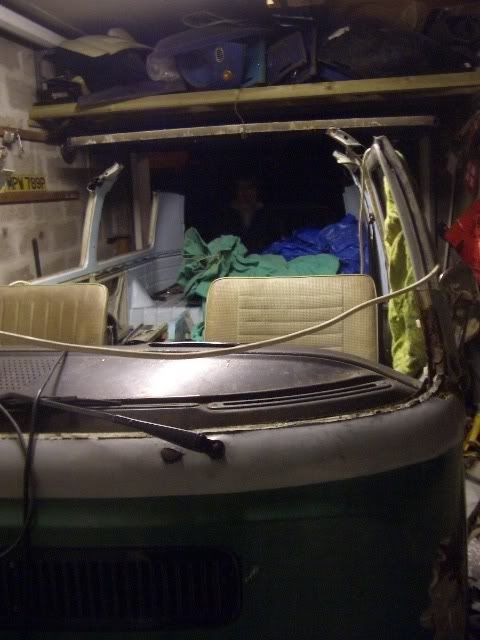 We did wonder whether to brace the doors, but decided it wasn't going anywhere in a hurry. We shall see  . Anyway, then I spent ages making an interior for it for my school project... Follow by this: I had originally bought a LHD roof, but it proved too difficult to fit as the sliding door is on the wrong side and the bits around the roof on my van are too rotten. Thus, I sold that and got a roof from a RHD yesterday. (took it the 190 miles from essex to Bristol on the passat again!) 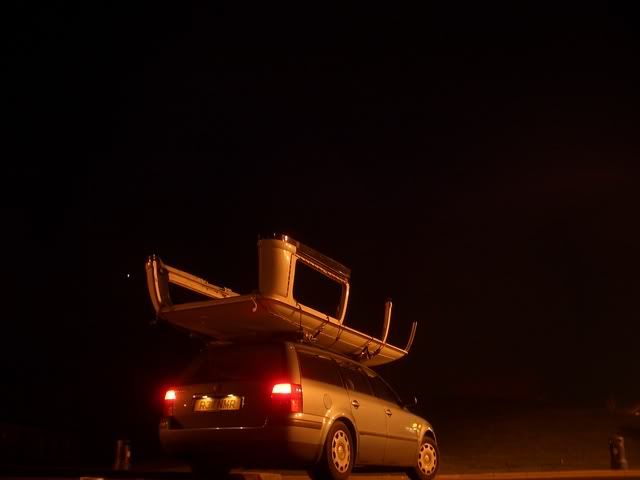 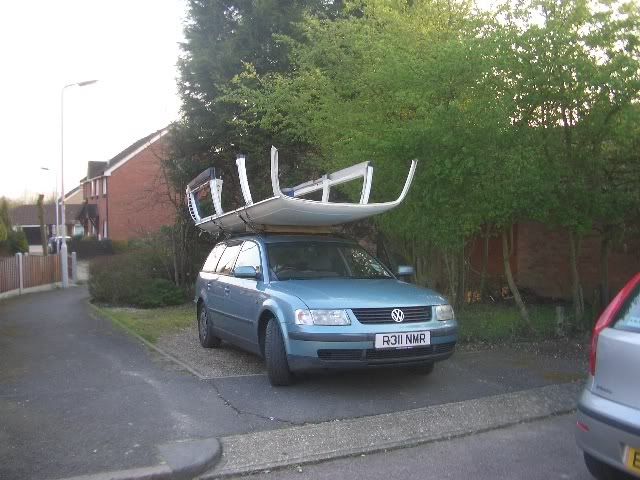 It should go on a bit easier, especially as it is from a '70 so has the same vents etc.. And I picked up a couple of doors, a side window quarterlight and a few other bits  The new roof will be welded in at the pillars  |
| |
|
|
tofufi
South West
Posts: 1,463
|
|
May 25, 2007 19:12:04 GMT
|
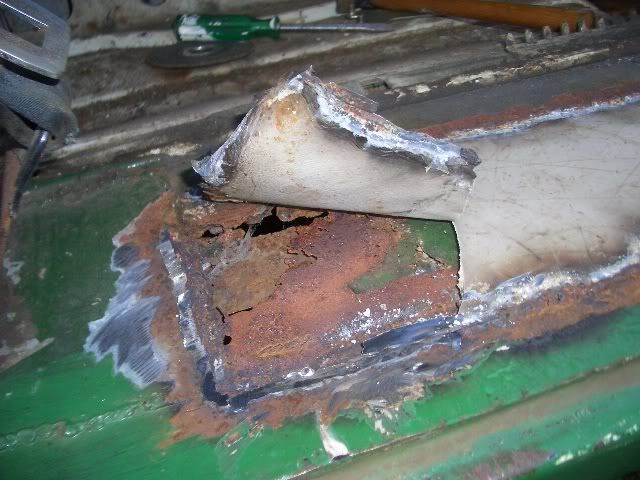
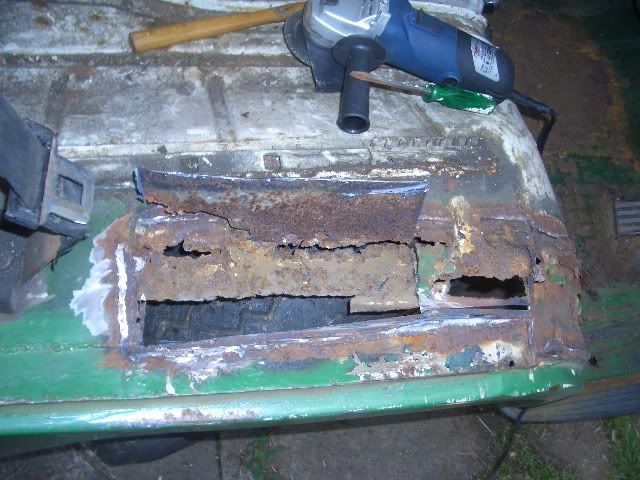
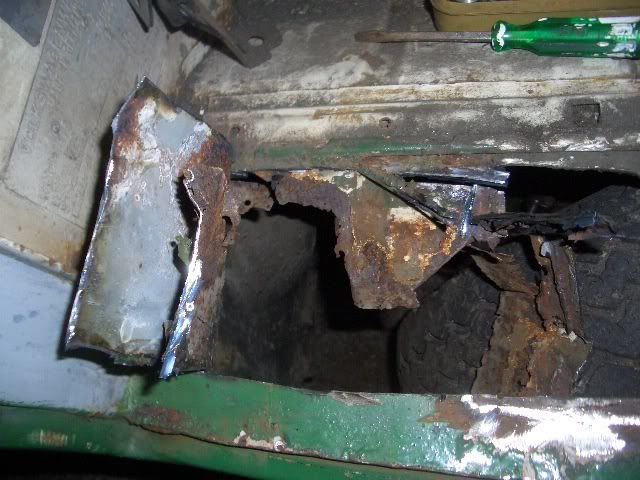
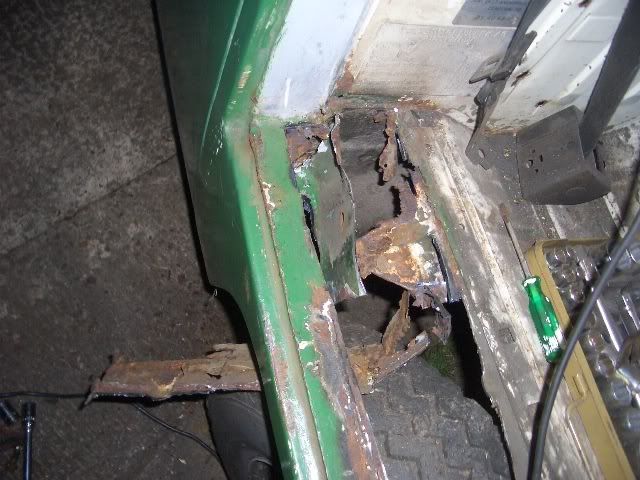
Fast forward a bit again to 19th April... 2007 Before I started, I went round the bus with a hammer tapping all the slightly suspect bodywork bits, which just further made me want to cry. 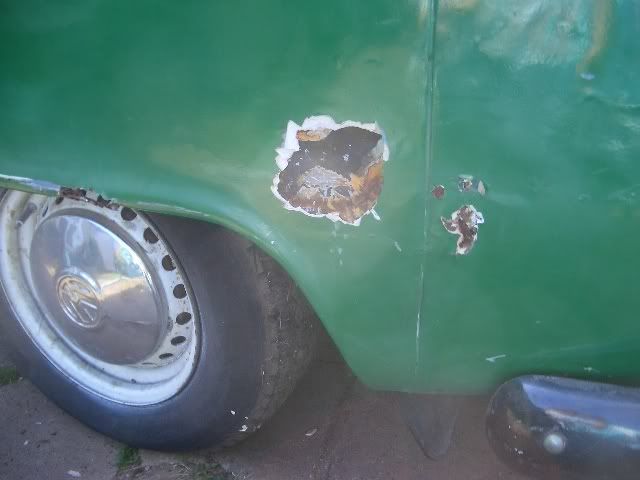 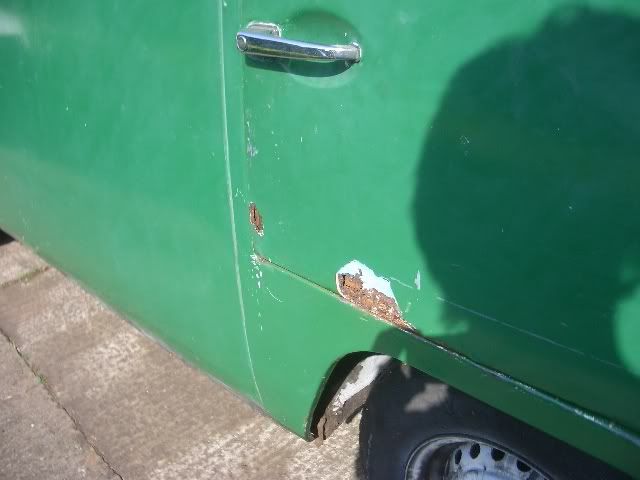 I picked up some better doors for this with the roof, so that's no problem. Here is how the bus looked as a whole a few hours ago: 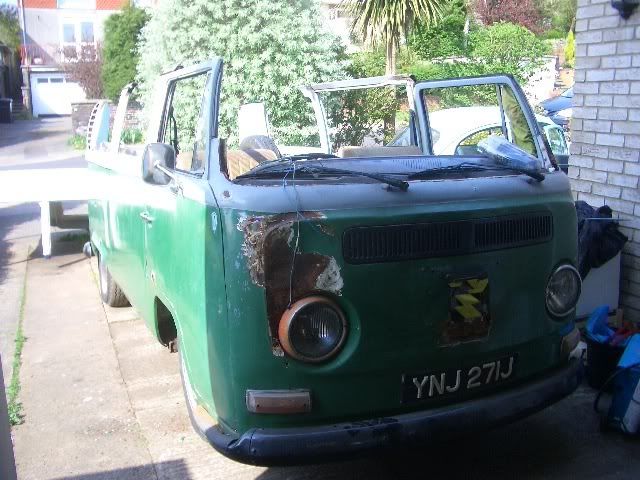 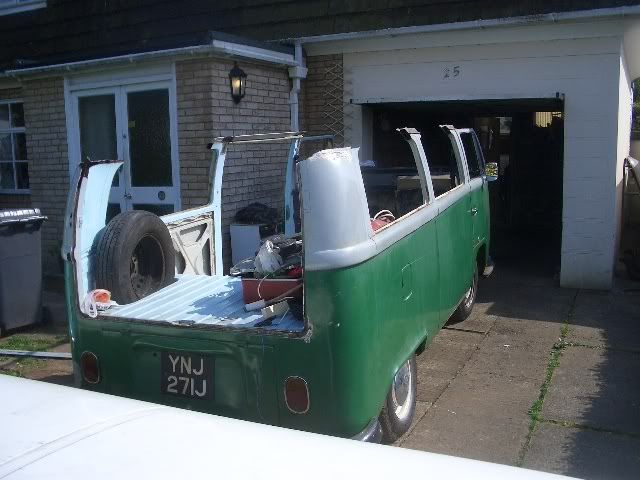 Anyway, I had to start prepping the van for the new roof to be transplanted on at the pillars. The pictures show the inner strengthening in the pillars - I plan to cut access holes so these can be welded up to maintain strength in the pillars  number one: 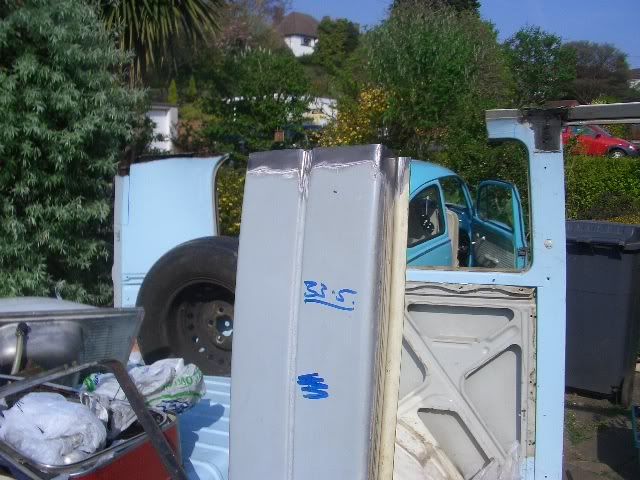 (first ever time using a 9" grinder, it cuts well but I didn't do this one quite straight - it will need tidying) The strengthening: 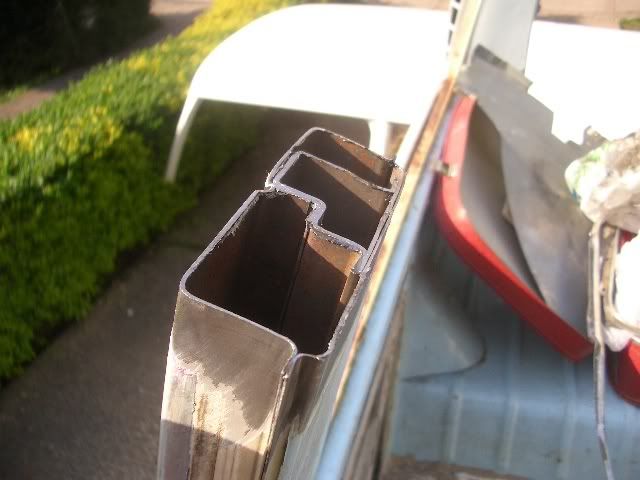 And the reason I was removing this: 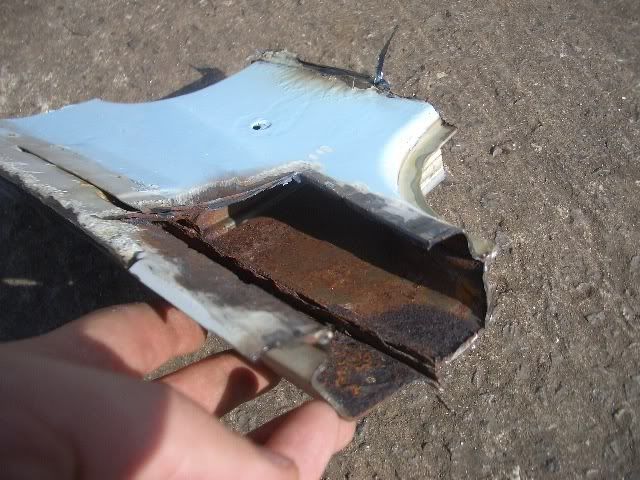 Rust! Pillar 3: 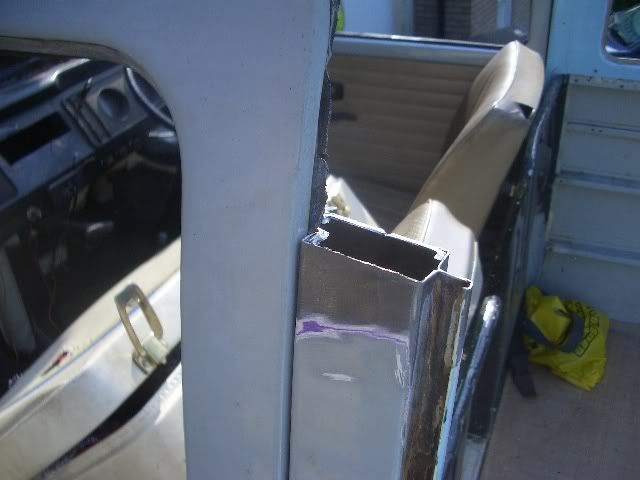 etc Front pillars are as shagged as the front panel is. 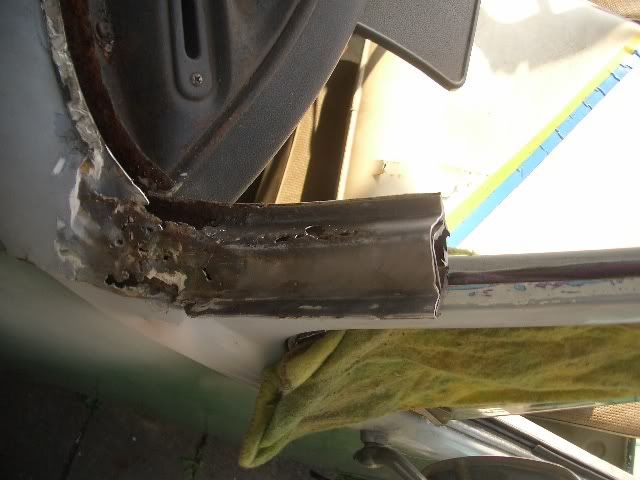 But, I found evidence of someone using a welder rather than filler! *shock horror* 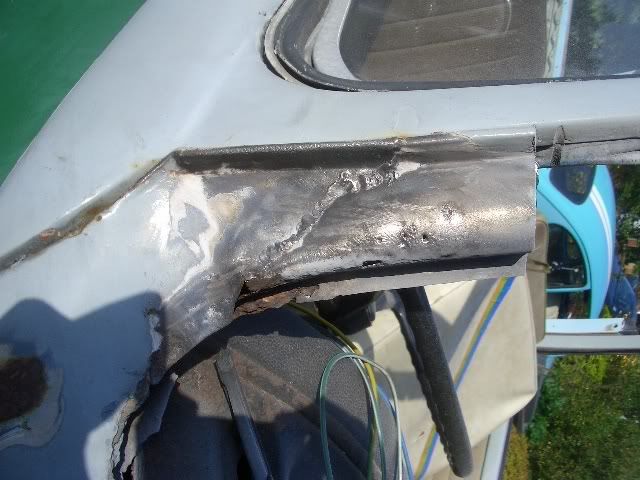 Then, tom came over to lend a hand.. Tom cutting: 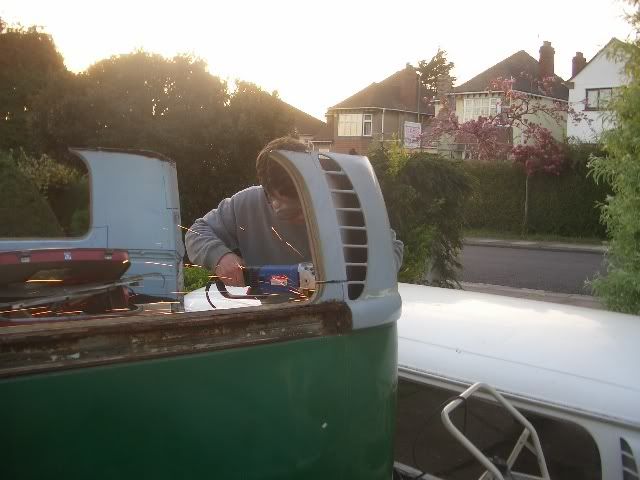 Both sides gone: 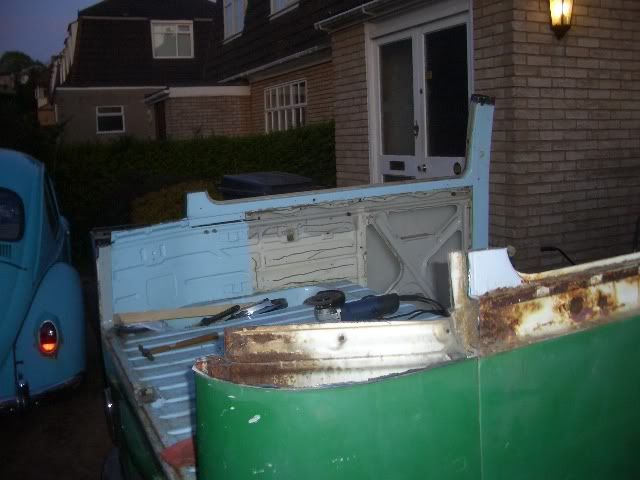 2 moon vents: 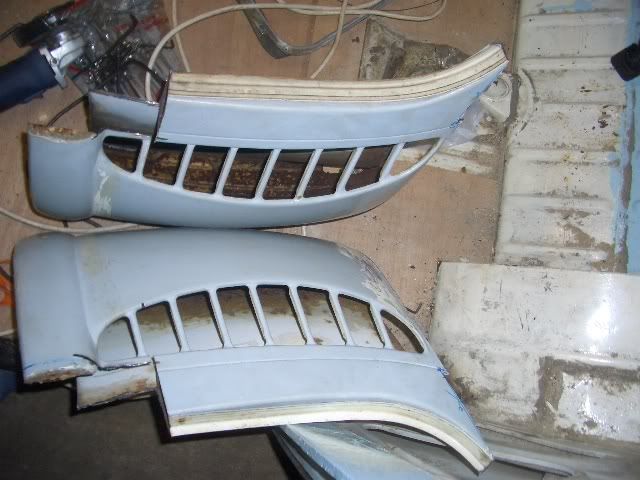 That's all for today, I'll post up more updates soon  |
| |
Last Edit: May 25, 2007 19:12:54 GMT by tofufi
|
|
VWDan
Part of things
  VW Jetta MK1, VW Caravelle 1.9TD, Audi A6 Tdi Avant
Posts: 841
|
|
May 25, 2007 19:31:23 GMT
|
Fork me  Some serious work to do there, fair play for having a go, i don't think i'd have the guts. Keep the updates and pics coming. |
| |
If only everything in life was as cool as a retro VW racer.
|
|
jdmini
Part of things
 
Posts: 585
|
|
|
|
|
this looks fantastic, i'd love to have your skills and your bravery!
it'd scare me away
|
| |
|
|
|
|
|
|
|
|
don't you just love an angle grinding session ;D
good work (brave man..)
|
| |
|
|
J.P
Posted a lot
   I like to eat ice cream and I really enjoy a nice pair of slacks.
Posts: 1,175
|
|
May 26, 2007 10:13:24 GMT
|
Fair play for keeping going! I don't know what seems crazier, cutting the roof off or carrying the new one on the passat!  |
| |
|
|
Stu
Posted a lot
  
Posts: 2,913
|
|
May 26, 2007 13:43:03 GMT
|
You've got some guts taking that on, looks like a big job to me but progressing nicely! Love the pic of the Bay roof on top of the Passat  |
| |
'89 BMW E30 325i Sport, '04 MINI Cooper S, '09 Volvo V70 D5
|
|
|
|
tigran
Club Retro Rides Member
In rust we trust. Amen.
Posts: 6,444
Club RR Member Number: 142
|
|
May 26, 2007 16:25:58 GMT
|
Jeebus, some sterling work there squire. Not tempted to do a subtle chop whilst you're at it?  |
| |
1964 Rover P5 i6
1987 BMW 525e - The Rusty Streak
1992 Micra K10
2001 BMW E46 316i
2002 BMW E46 330Ci
2013 BMW F31 320d
2018 BMW G31 530d
|
|
street
Posted a lot
   6.2 ft/lbs of talk
Posts: 4,662
|
|
May 26, 2007 16:26:02 GMT
|
Heroic! Thats gonna be a rewarding project that is, lots of hard work but very rewarding  I would be tempted to weld the new roof on about 3-5" lower down the pillars, but thats just me!  Best of luck and keep the updates coming. |
| |
|
|
tofufi
South West
Posts: 1,463
|
|
May 26, 2007 16:48:59 GMT
|
Cheers everyone, I did consider a subtle 'chop but getting windows to fit correctly would have been a huge pain, and I'm not keen on the look - 'chopped buses look wrong to me.  This is what happened next: (21/04/07) - I set about removing the headlining from the new roof. Found this poster below it: 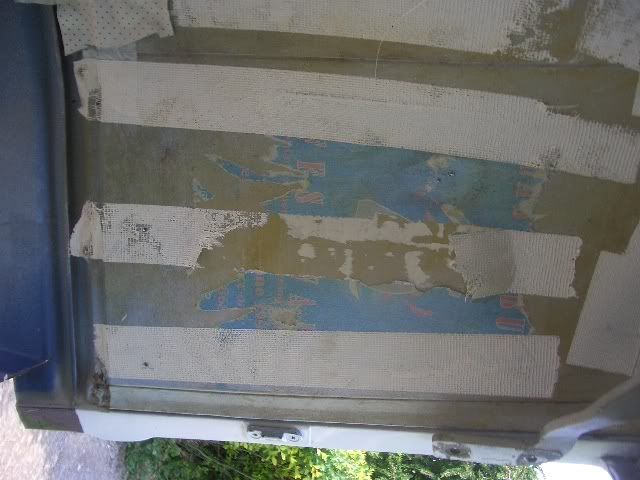 A couple of hours cutting and prepping later, and the roof was ready to go on. Paul (percydub), Lucy (shamrockez) and Steve (Mr Shamrockez) came round to assist with the lifting and advice, so a huge thanks to them all  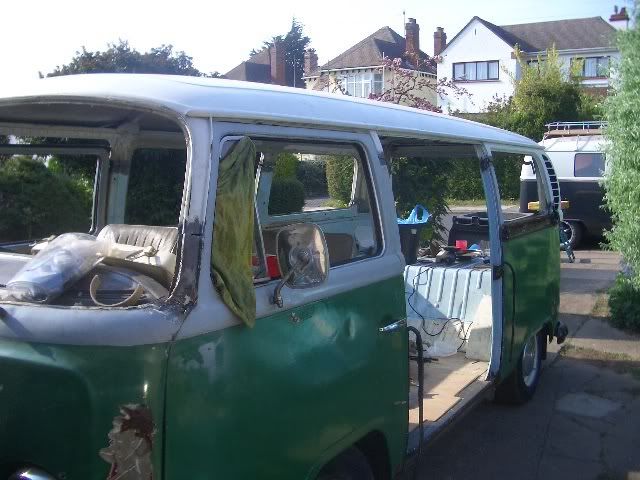 Anyway, that pic is of the roof first balaned on the van. Still a lot of work to do. A lot of trimming later, 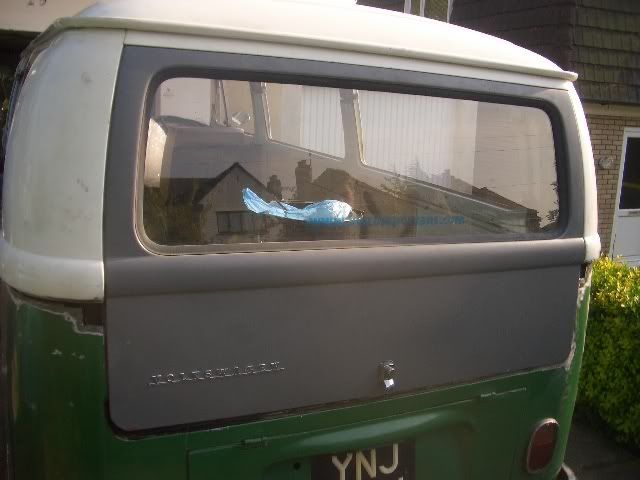 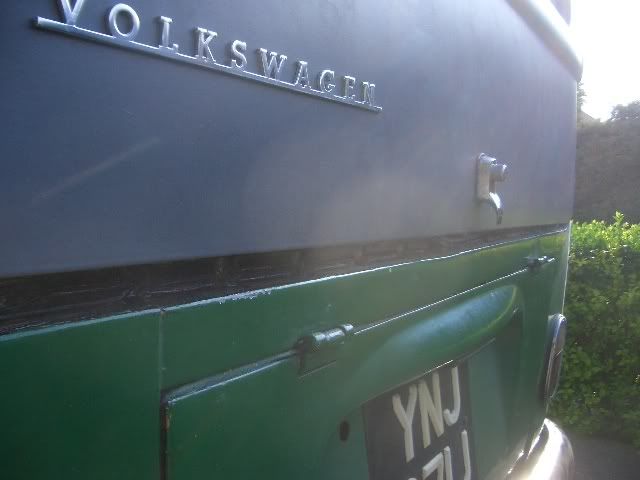 The drivers side is almost done. 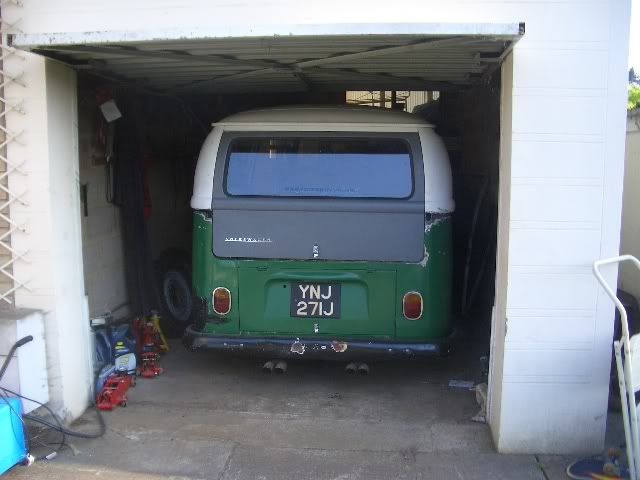 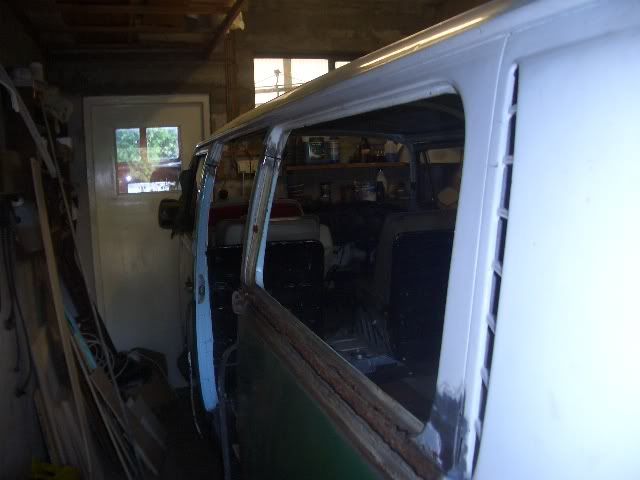 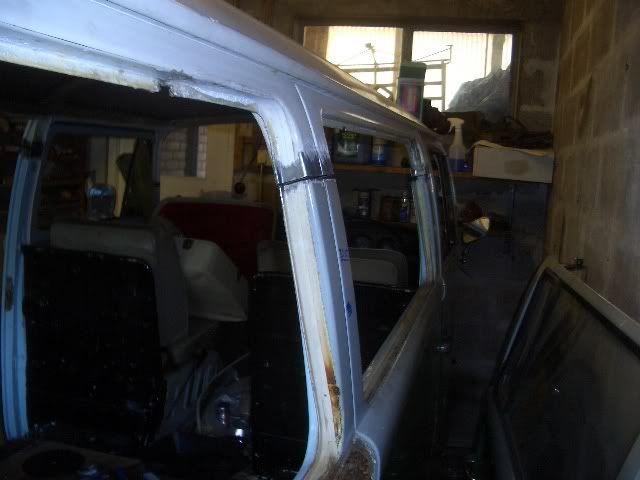 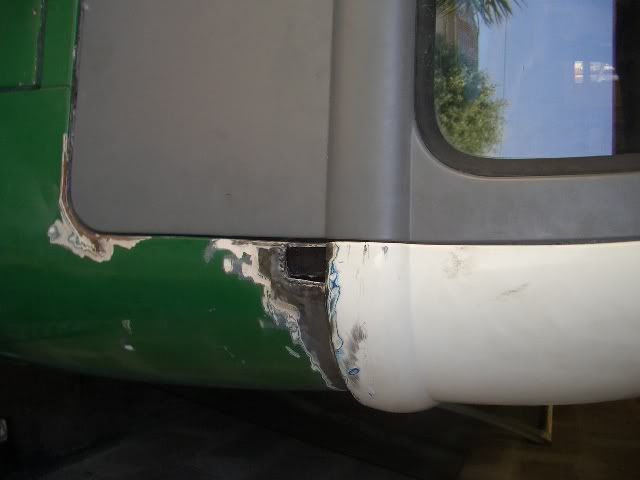 More work needs to be done to get the pillars to their correct heights, but it is getting there slowly. 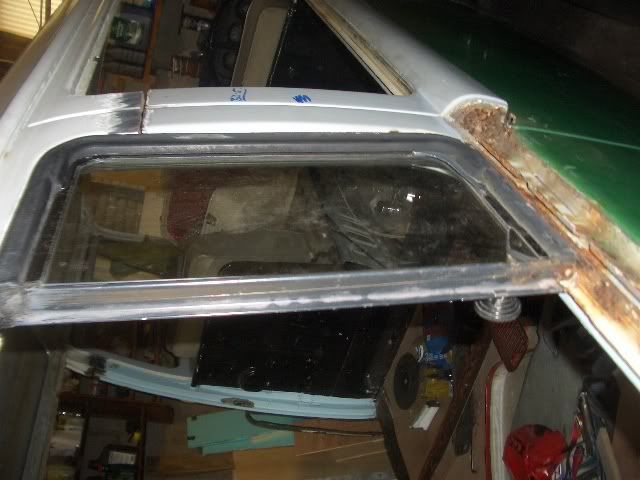 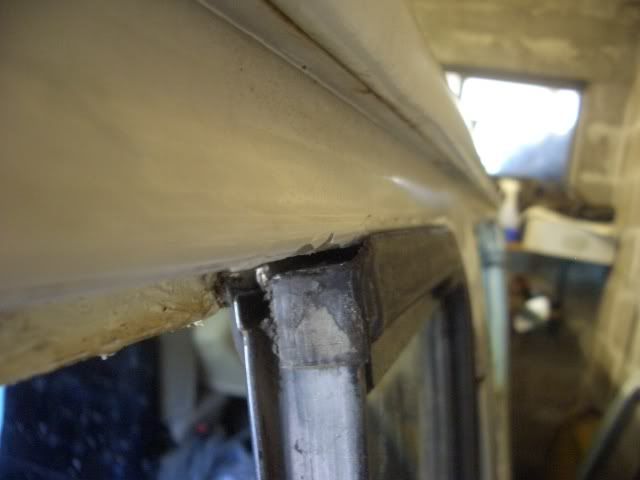 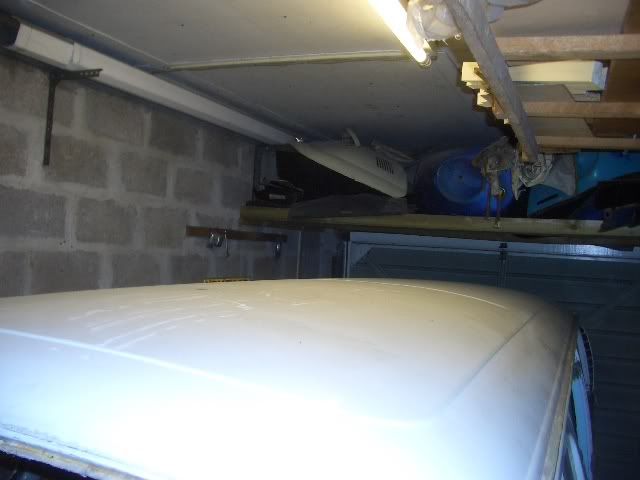 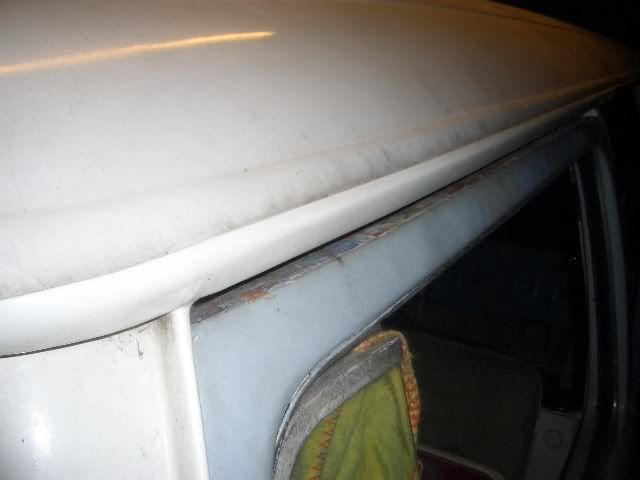 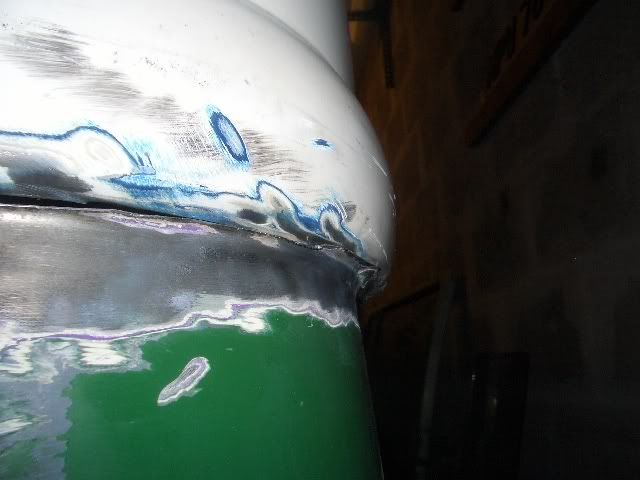 We cut the rear pillar at the bodywork line to make it easier to hide the join. The windows were almost the correct sizes straight away on the drivers side, only the front pillar needed cutting down, and then a tad on the back one. The passenger side required about 1cm out of every pillar as far as I can tell. Nothing had been welded on at that point. 28/04/07: Did a bit more work today, and all the pillars are now within a few mm of their correct lengths. I did cut 2 of them about 1mm short, but it's only metal and can be adjusted to suit.  drivers side: 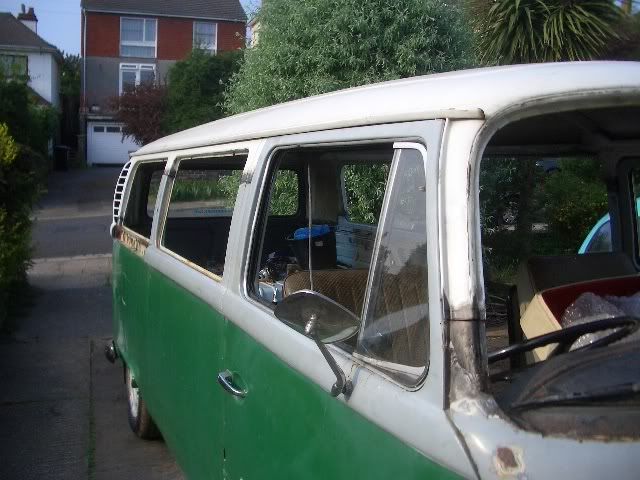 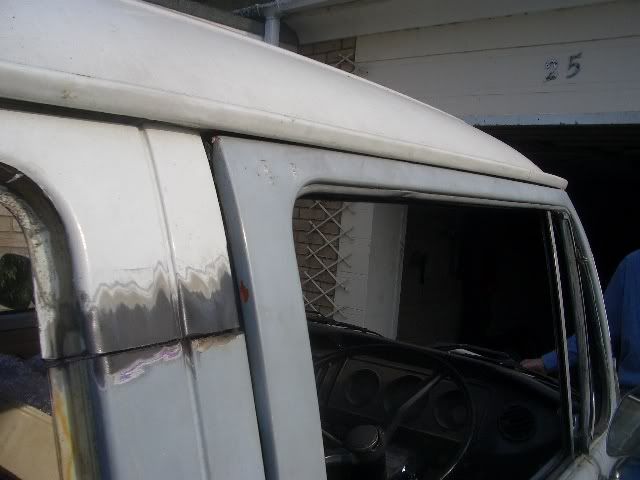 Been paying particular attention to the door shuts. Drivers side is near spot on. The top of the door sticks out a bit due to the seal, but the roof sits straight enough above it. Passenger side: 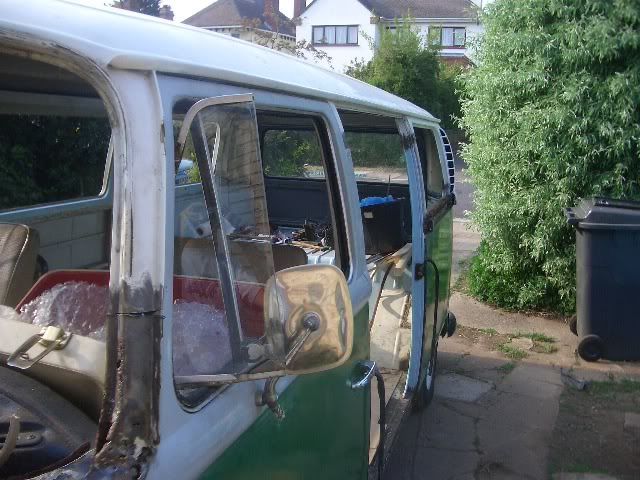 The back end still needs to go down a few mm, but otherwise all is seemingly OK. 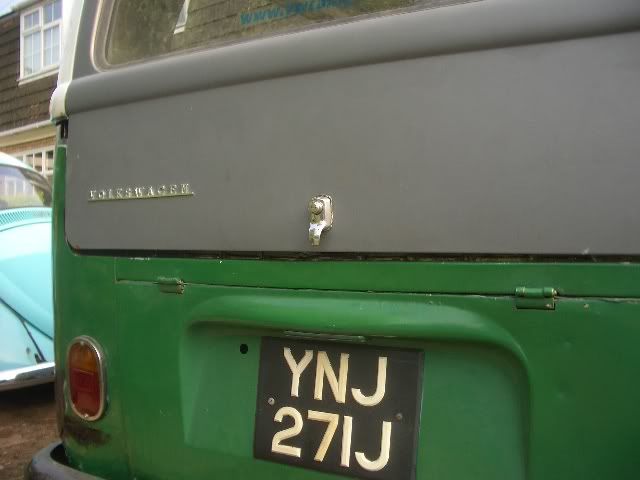 Aerial view: 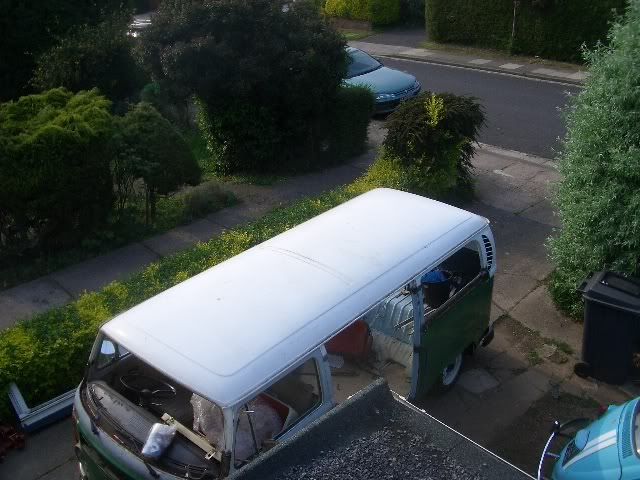 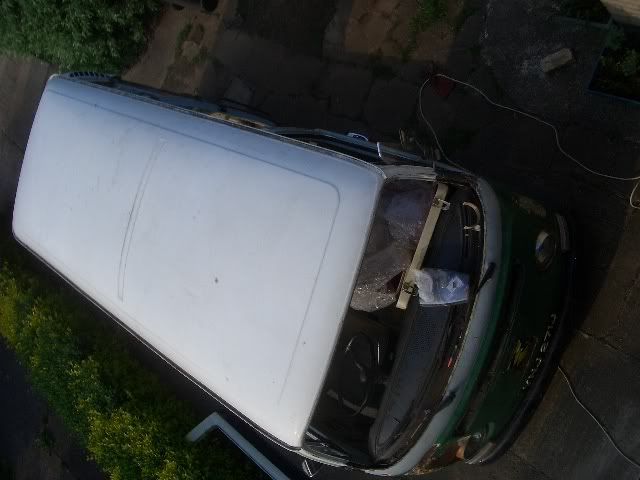 Got a bit more work done on the sunday... 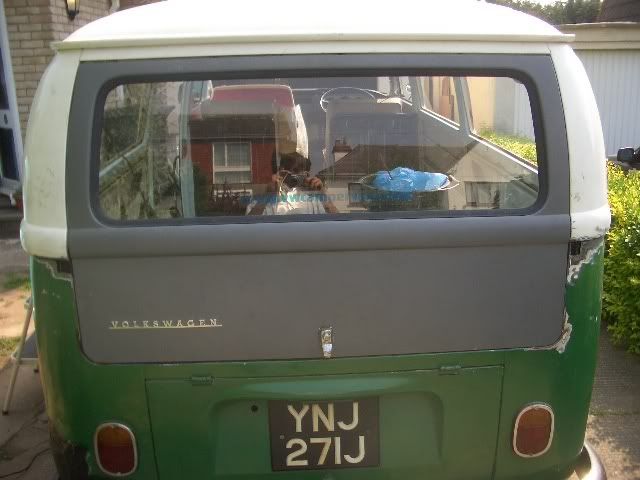 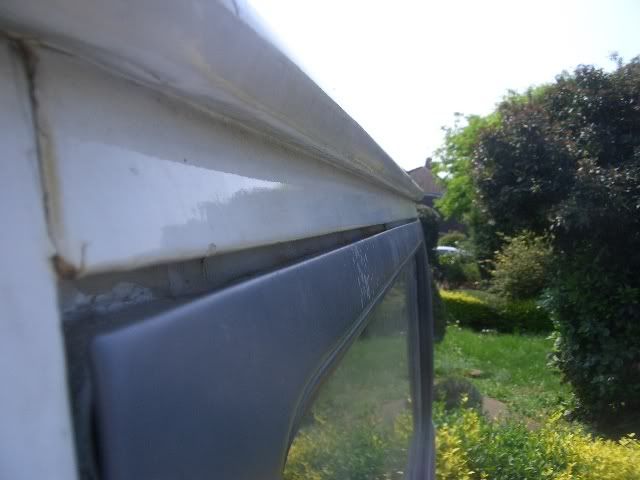 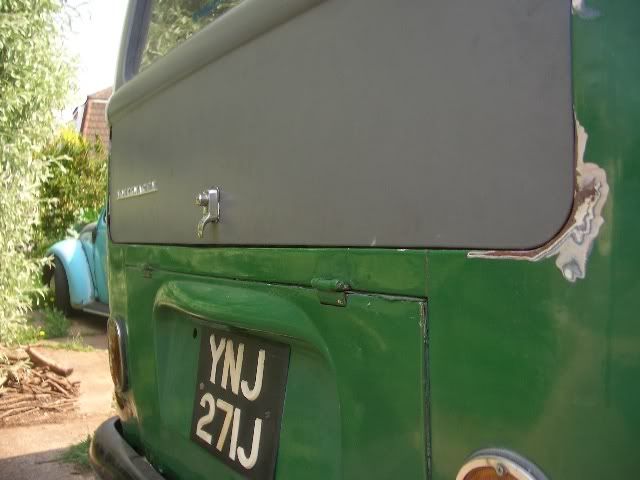 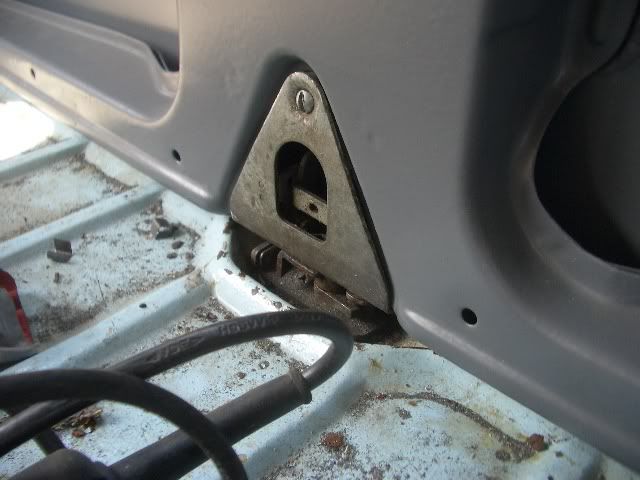 That's the rear hatch gap sorted all the way round  The roof was then in the correct place, so I started welding. Put the sliding door on to check clearances: 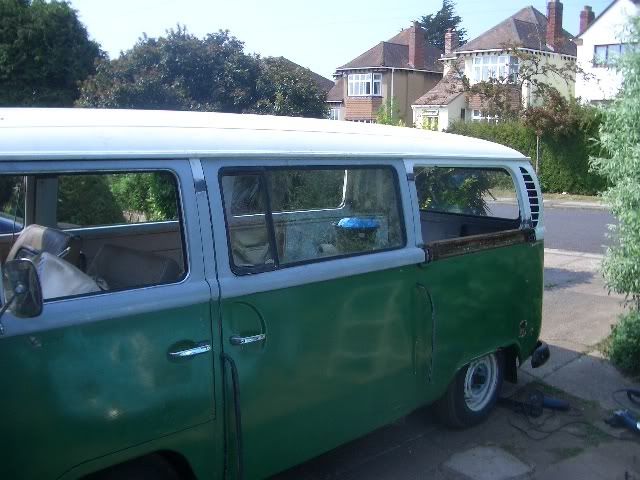 All was fine and it works ok  Quarterlight fitted and it fits snugly too  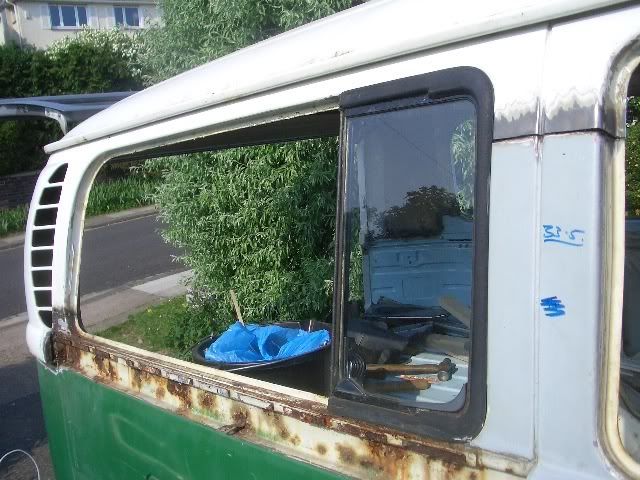 Oh, and finally, went out and tried the front windscreen for the first time. It looks like it will fit perfectly  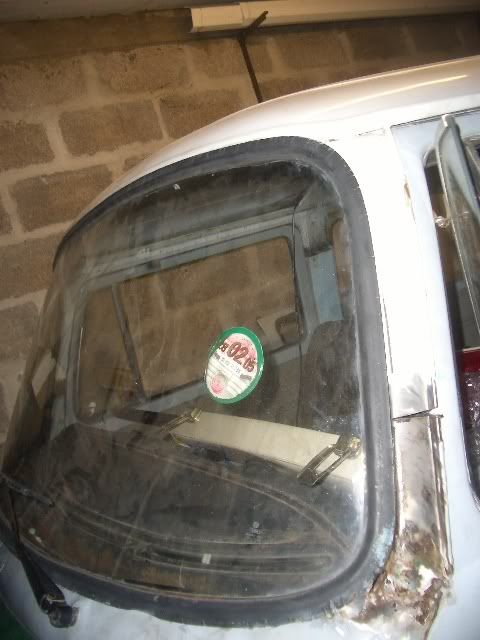 A bit difficult to fit on your own in a garage, but it's looking hopeful  More updates to come soon - I'm more than half way through the story now  |
| |
|
|
|
|
|
May 26, 2007 18:27:44 GMT
|
 DEDICATION!!! DEDICATION!!! |
| |
"quote hairnet"
I'm not paying nine pound for a pi$$!
[/quote]
|
|
|
|
|
May 26, 2007 18:44:06 GMT
|
Very impressive work there, nice one  |
| |
|
|
|
|
|
May 26, 2007 19:39:15 GMT
|
Picture of the year......  I take my hat off to you getting stuck in and not being defeated by the dreaded tin-worm. Top Man!  |
| |
|
|
|
|
|
|
|
|
ouch! awesome work buddy, true dedication. you going to keep the original colour scheme? looks pretty cool and will be a great bus by the end of it.
|
| |
Remade In Australia
thereimaginarium.com.au
|
|
tofufi
South West
Posts: 1,463
|
|
|
|
Cheers guys  - Devilishdesigner, the van will currently end up being orange and white. (top/bottom) but that could change  The plan is very low, very large commercial tyres (lots of wheel tucked into the arches) and very 70's colourscheme. Heres' what happened next. 30/04/07 Every single roof pillar is now tack welded on. And it all seems pretty damn solid. C pillar, drivers side: 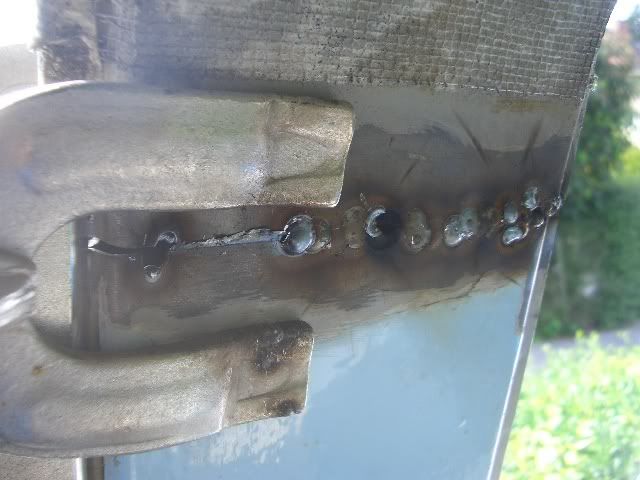 To correct the door gaps, I used a very sophisticated method to ensure everything fitted correctly. Jack and piece of wood to hold the front in position: 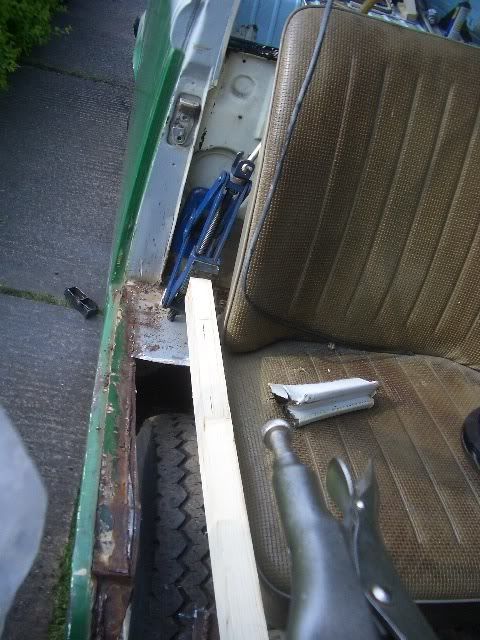 Brother sitting on the roof to ensure the roof stayed put, and make it sit correctly. 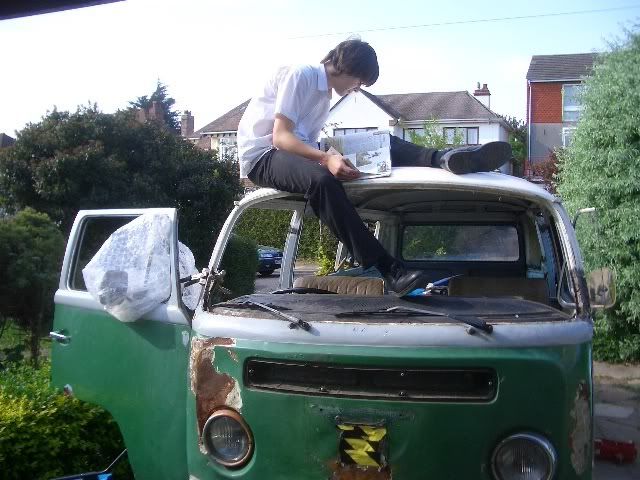 Having done that, all the door gaps are beautiful: 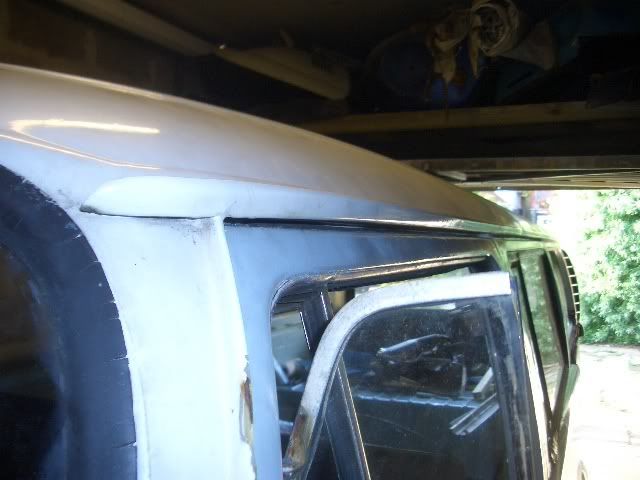 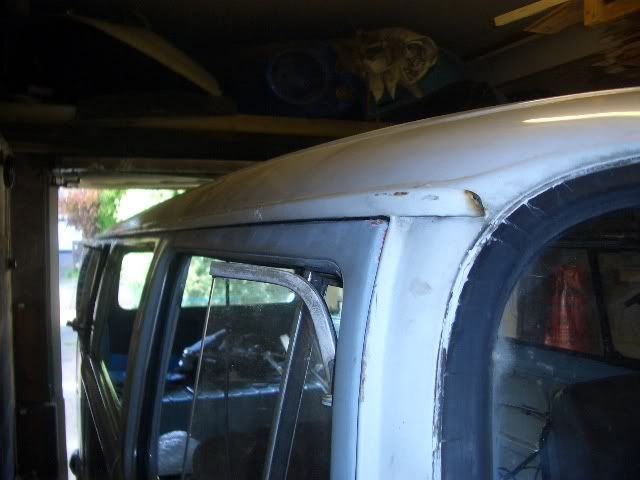 The doors all shut easily, even the sliding door is OK (will be even better with some new grease and a bit more adjustment: 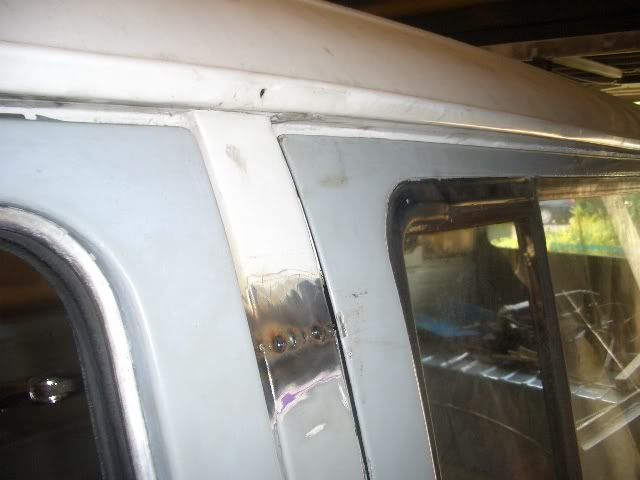 Oh, and I popped the windscreen in and that fits pretty much spot on too. 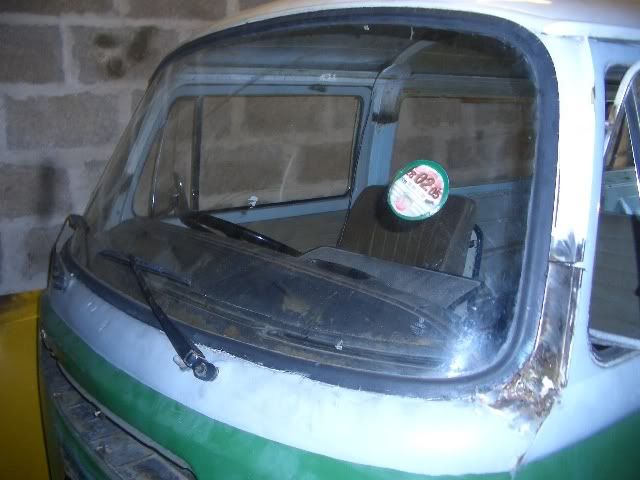 So I'm rather chuffed. All needs seam welding now. I spent all day battling my welder though (had to re-feed the wire, replaced the tip countless times (went through 4 tips today). However, it now seems to be OK  I then went round and seam welded all the other pillars: Passenger A pillar before: 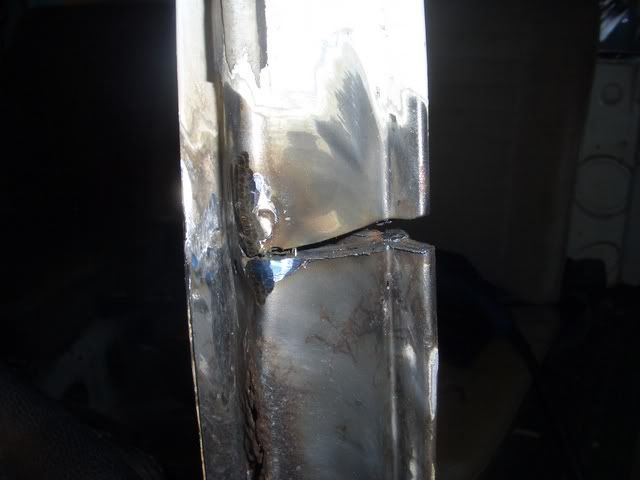 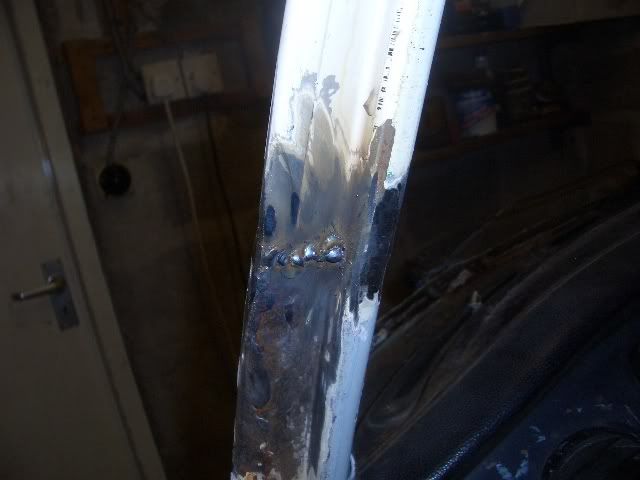 After: 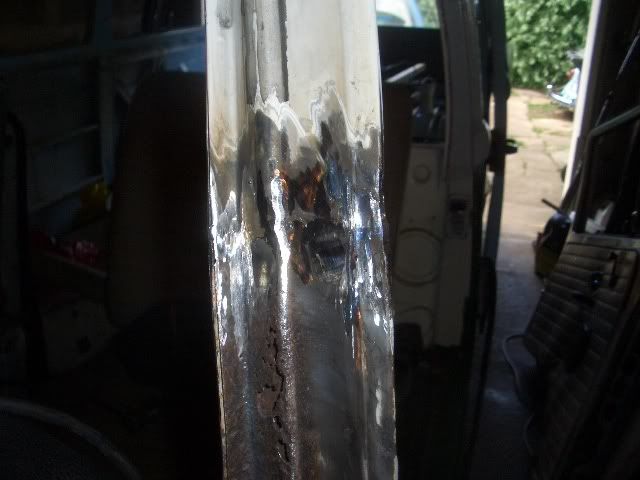 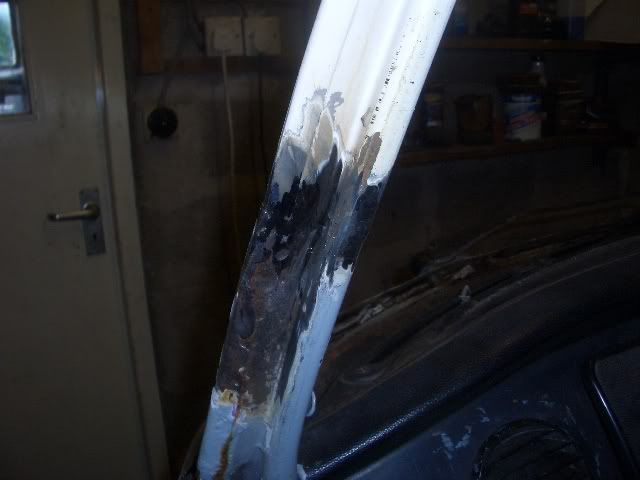 Drivers side: 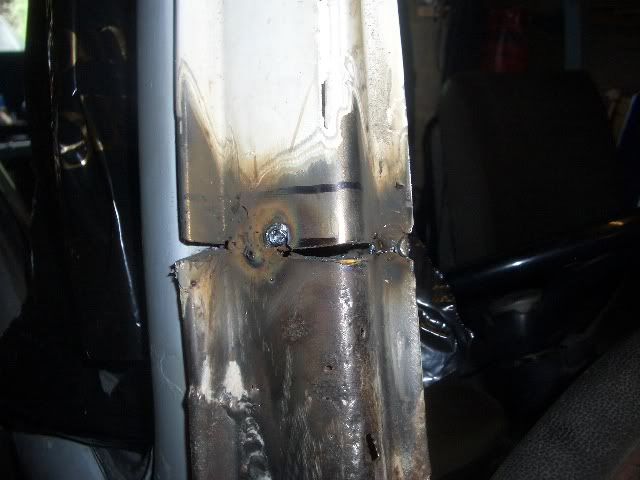 to: 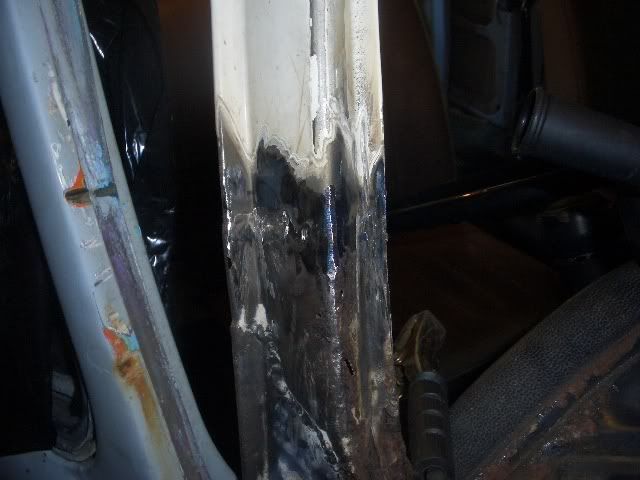 Then did some welding to the B pillars: 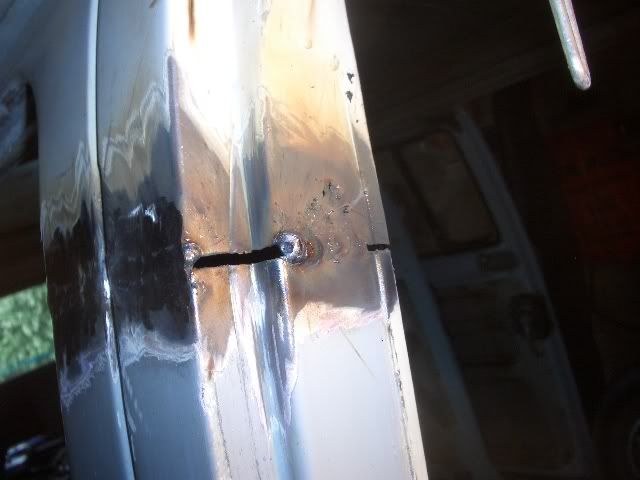 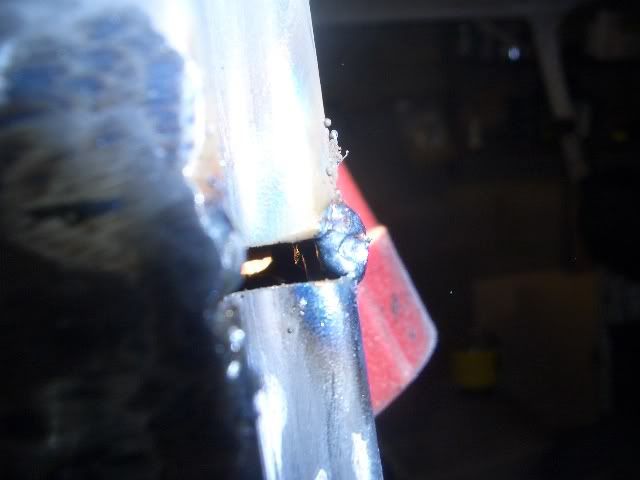 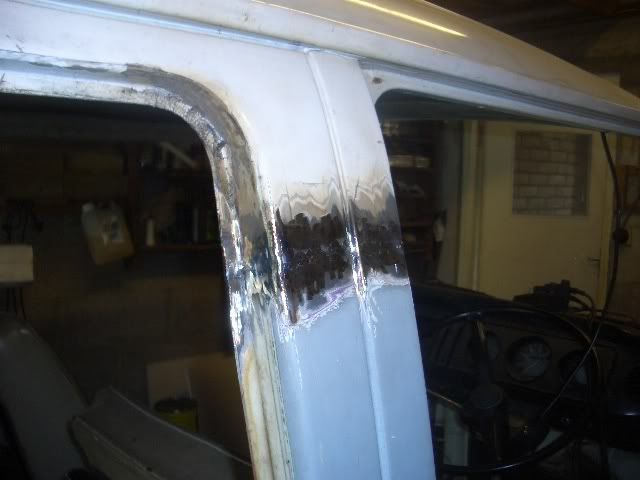 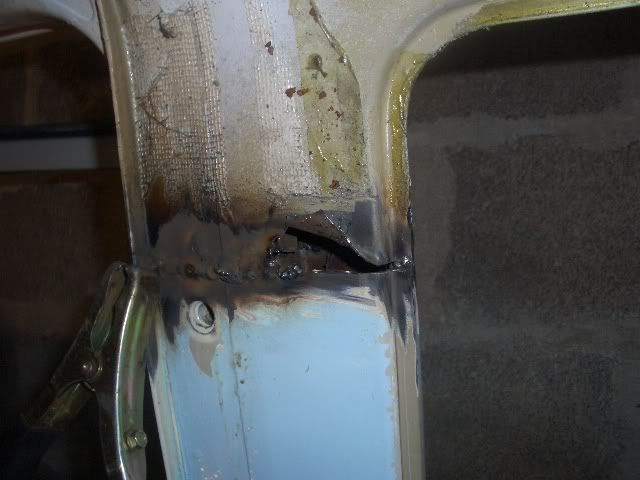 That thar hole I made allowed me to weld up the inner skin (drivers side B pillar) Passenger side B pillar: 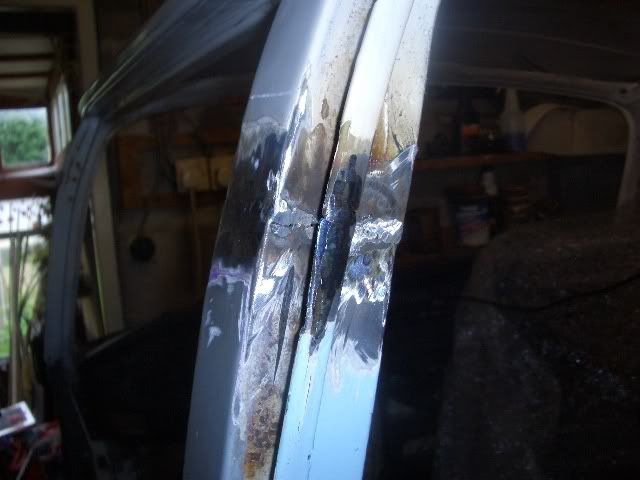 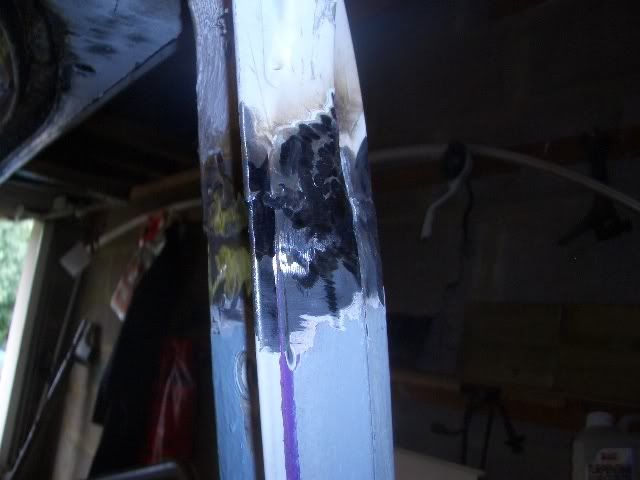 Driver's side B pillar welded up: 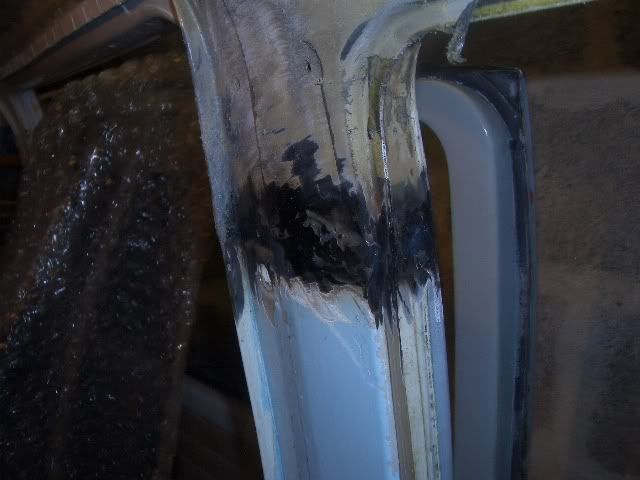 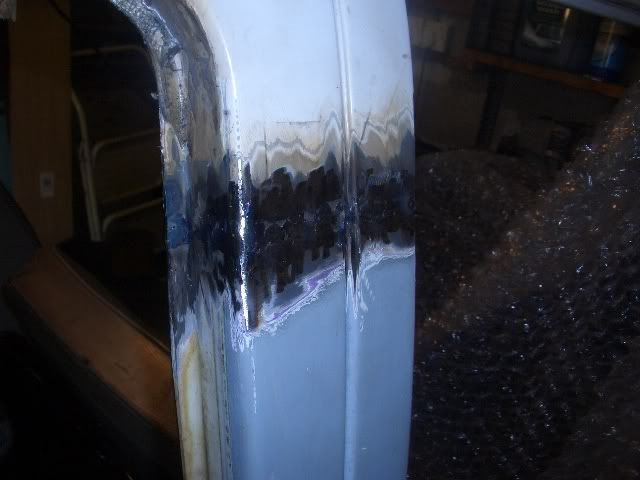 Primer applied to A and B pillars: 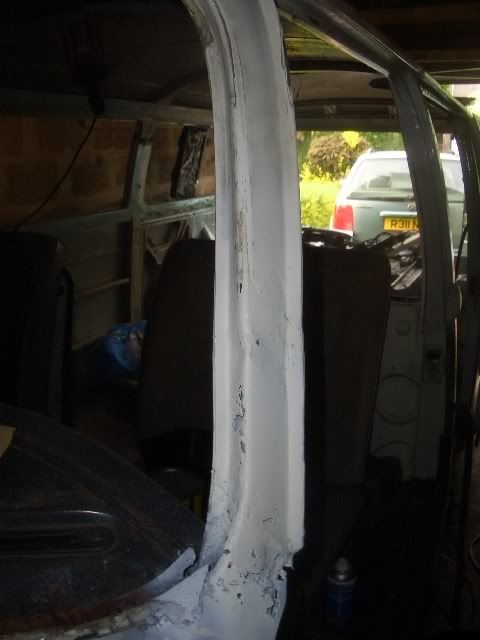 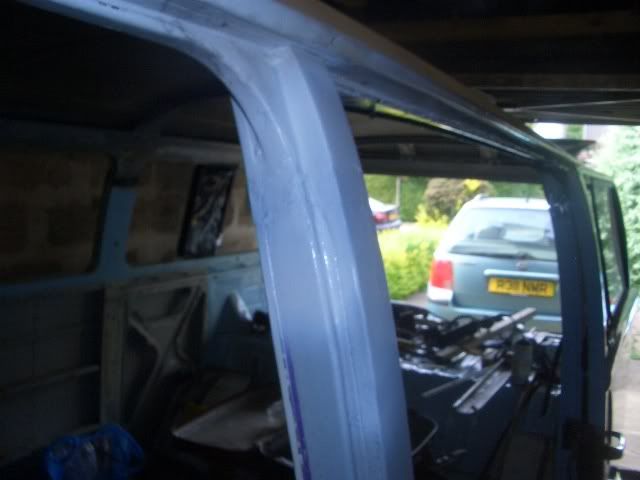 Later today I then applied some filler to the B pillars to get a good finish. There is no point in filling the front pillars as I will be replacing the front panel and windscreen rubber some time after the MOT. 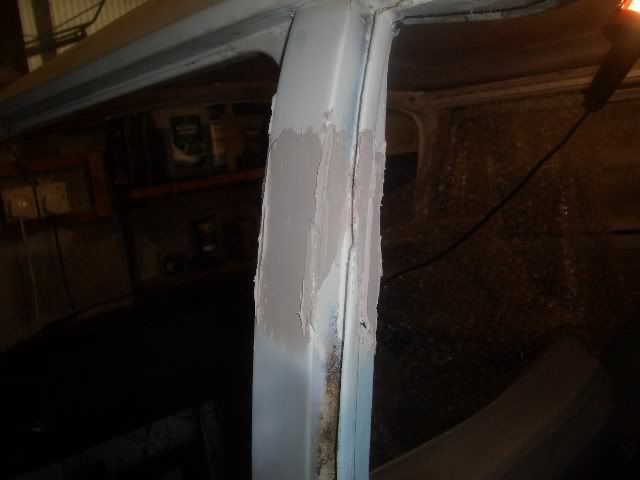 Anyone reckon my phone card will still work? 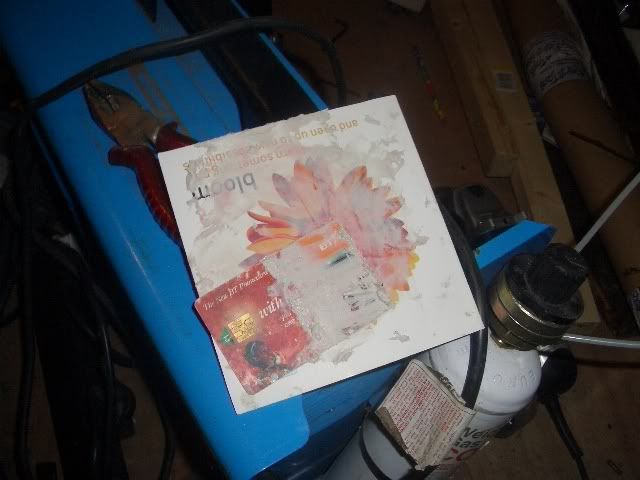 Filler smoothed - anyone for a game of spot the join?  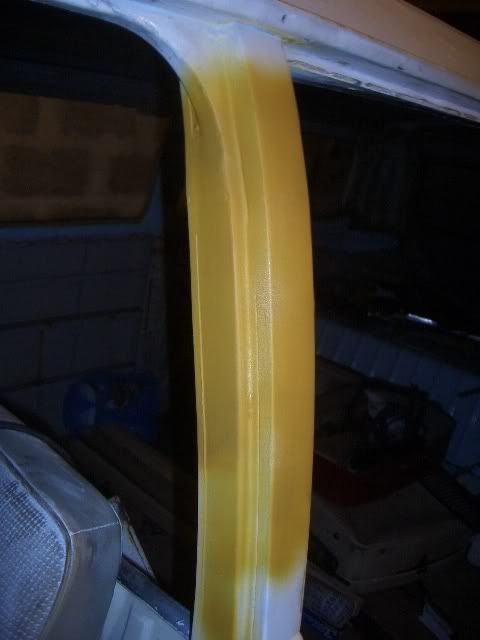 I'm not entirely happy with it still, so I may be re-doing it all yet. I welded up the passenger side C pillar, 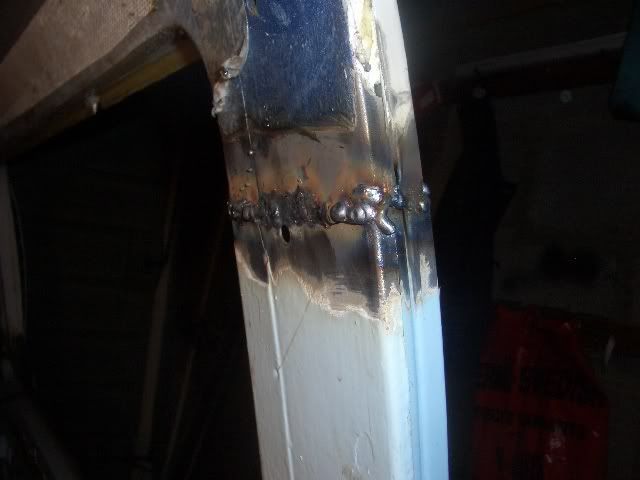 Before my attention turned to the sliding door mech cover / window seal surround bit. 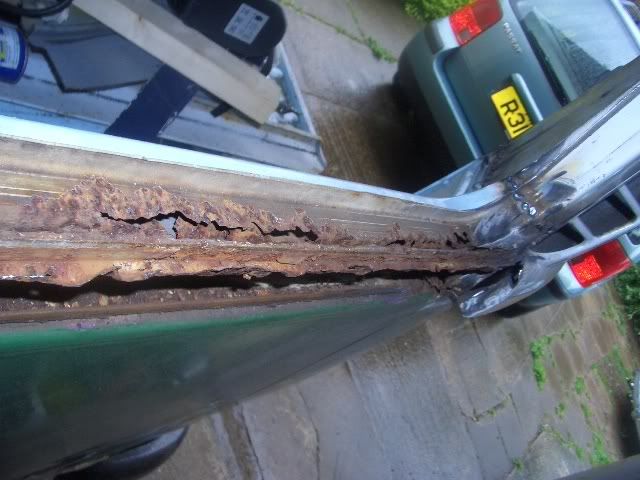 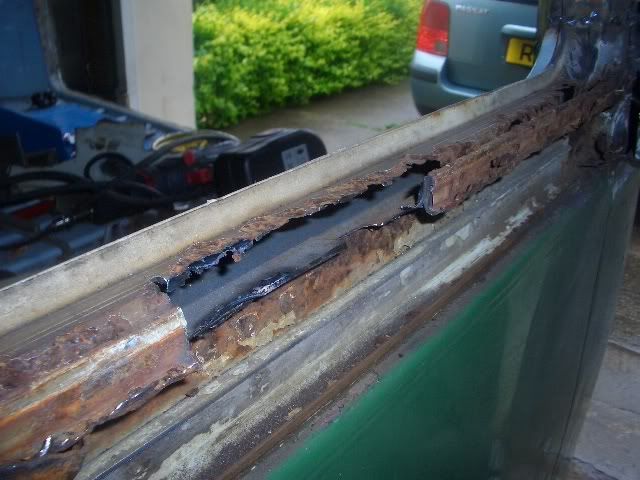 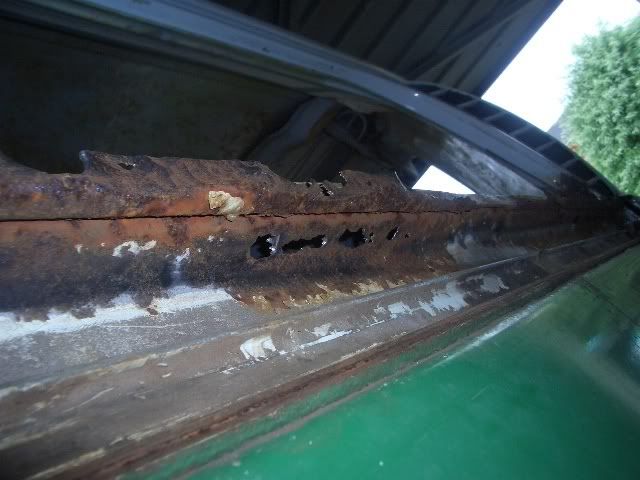 emded up like this: 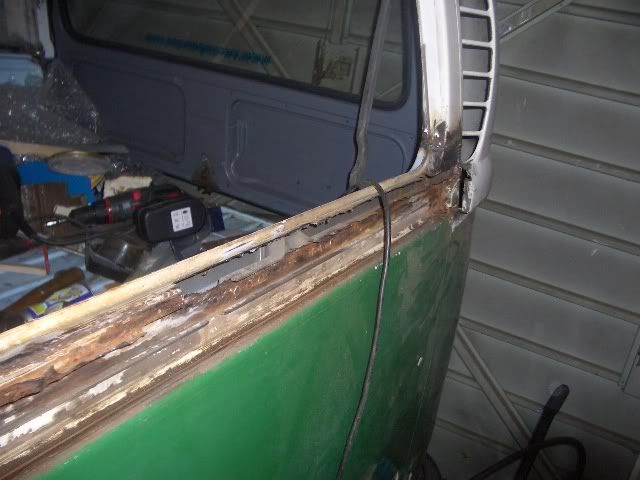  more work to do before i can fit windows... anyone know if ya need windows for an MOT? :twisted: My work today was hindered by my welder playing up again - I had to re-fit the liner and wire feed mechanism. I then ran out of gas and got fed up. |
| |
|
|
|
|
|
May 28, 2007 10:11:44 GMT
|
people who can weld like that really bug me - cos i can't ! top work , keep at it  |
| |
|
|
tofufi
South West
Posts: 1,463
|
|
May 28, 2007 18:27:17 GMT
|
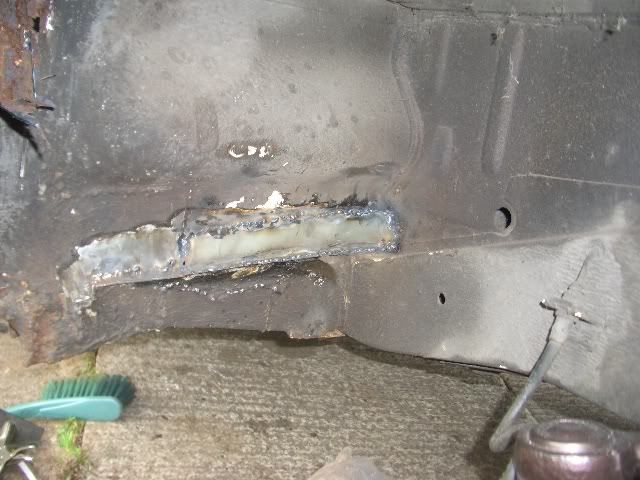
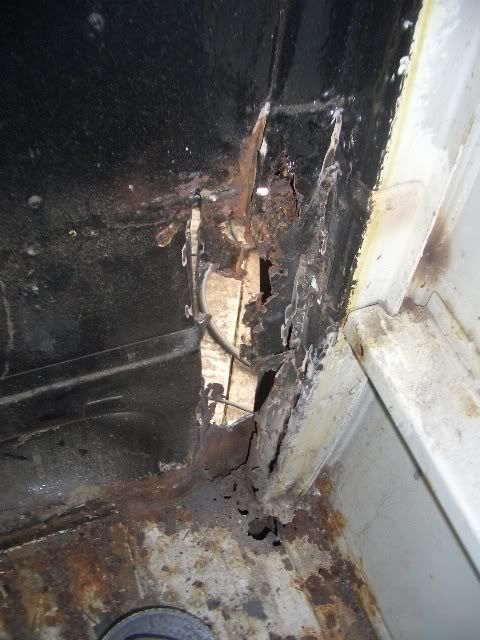
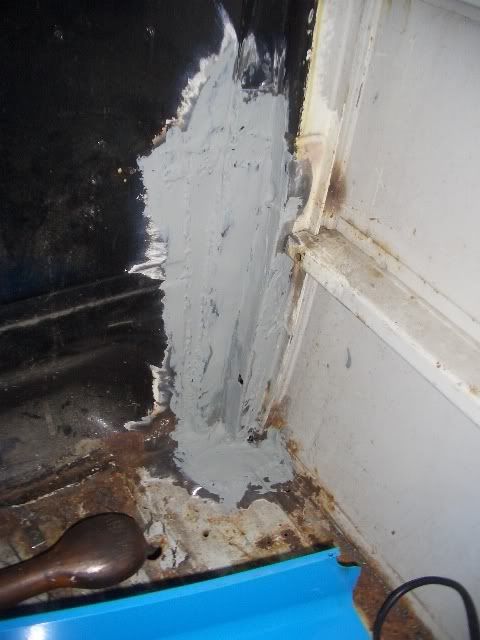
Cheers dude, This thread is almost up to date now. 11th May: 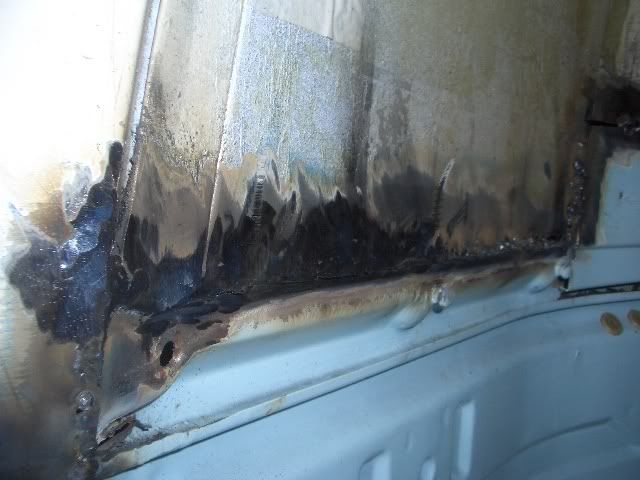 Welding up the passenger side rear pillar. My welder kept on throwing tantrums, which I tracked down to being due to this: 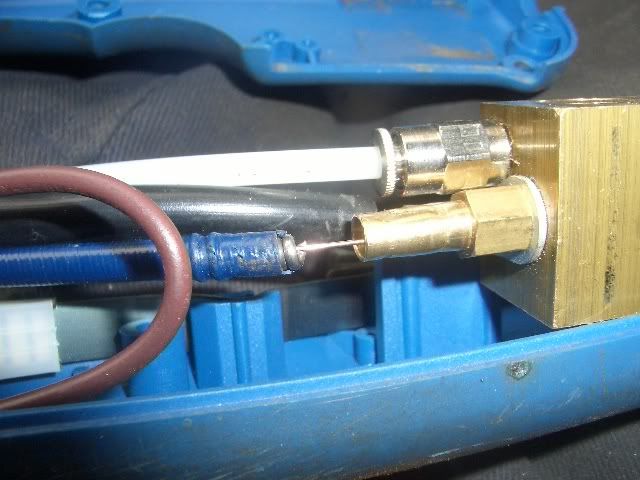 Should have been connected so you can't see the welding wire. It kept on screwing up the wire all inside the handle. B pillar finished: 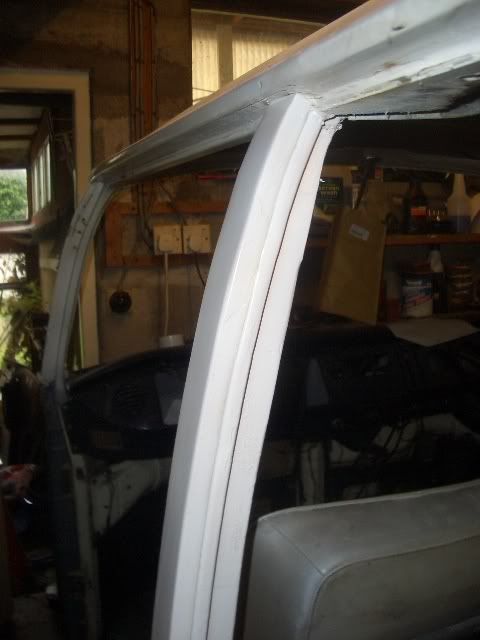 More Rear pillar finishing 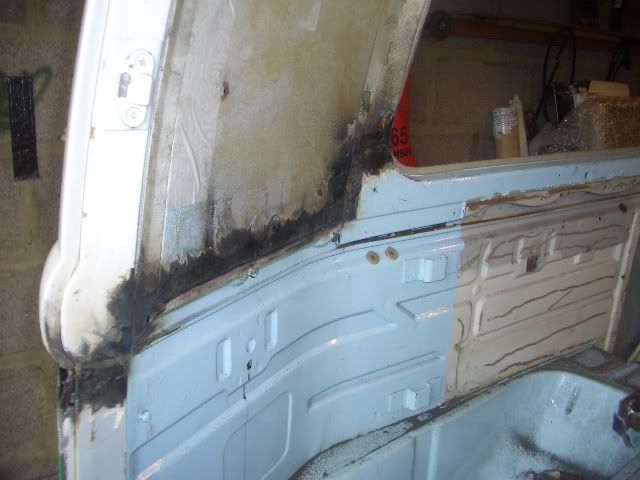 Continued welding the outside of the pillar: 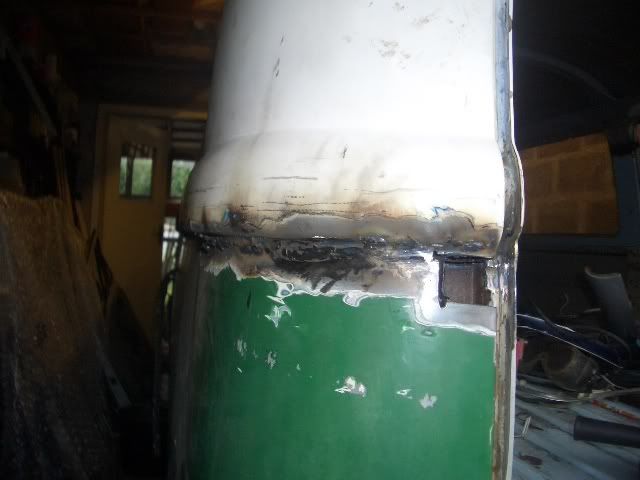 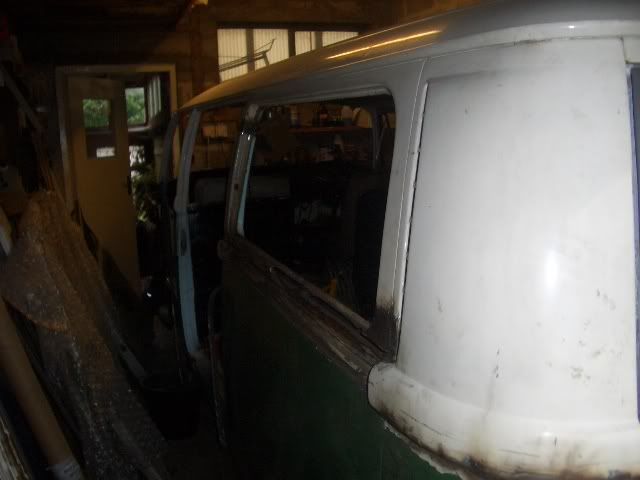 And finally, my bug  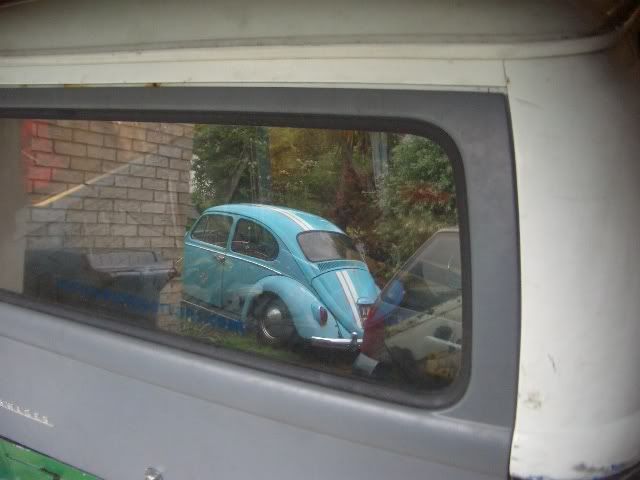 12th May: Today, my friend Tomarse from VZi came over and gave me a hand sorting the brakes... After a lot of swearing, pain, 2 trips to the local motor factors (Millards on Gloucester Road, Bristol - best place ever!) and with the use of a (surprisingly true to it's name) eazi-bleed kit we had working brakes. They actually work well enough to lock up the wheels, which is quite an achievement on a bay :wink: Anyway, pictures of brake hoses are dull, so My van needs hydraaulic suspension: 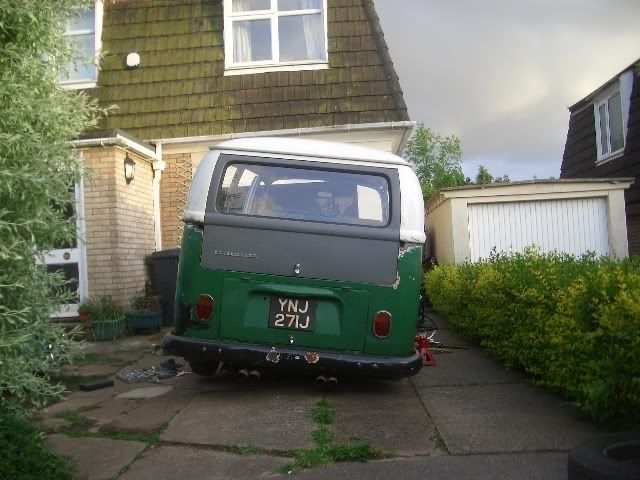 Mmmm lowering.. 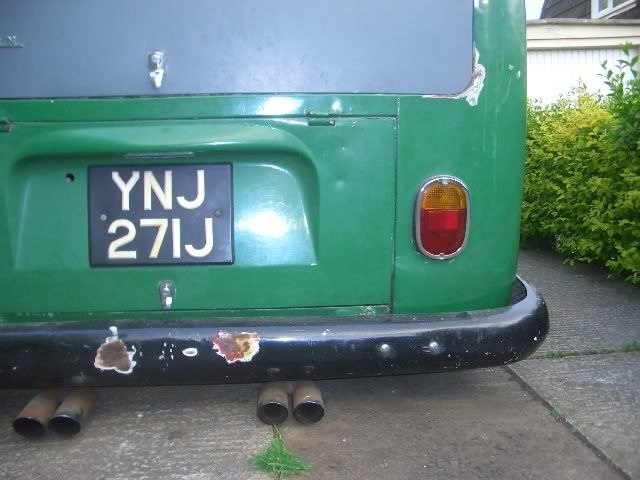 Windscreen securely held on pre brake testing 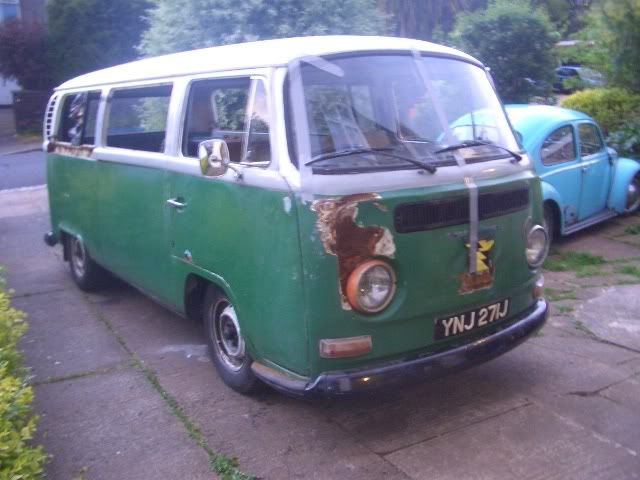 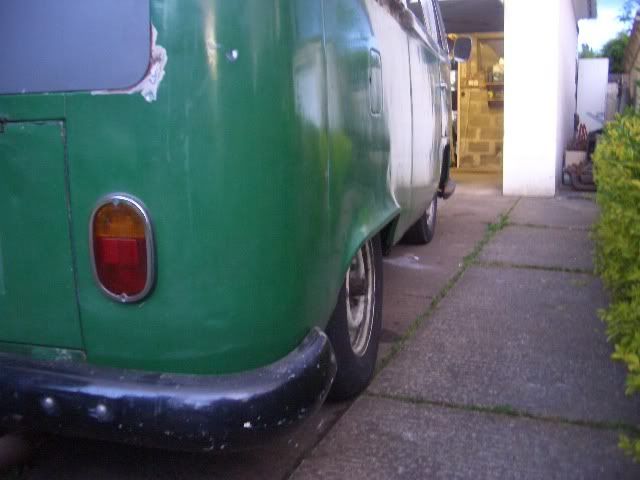 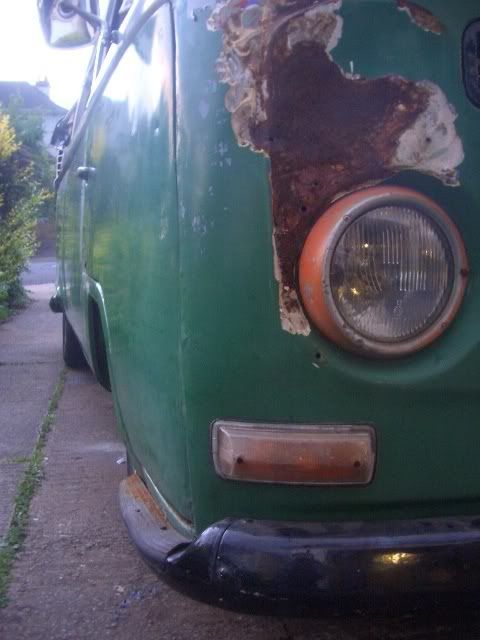  If anyone's interested, we fitted new flexi brake lines. Sorted one problem where the front wheel bearings wouldn't tighten up. We did a few other things too, but I can't remember them... :oops: Following all that work, I got a bit of metal in my eye and it had to be dug out at the local eye hospital, so work was slow for a few days before I could see again. 17th May: 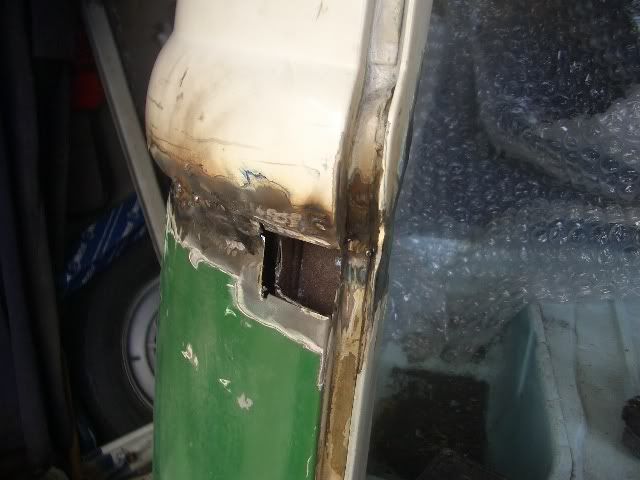 Hole... Repair piece... 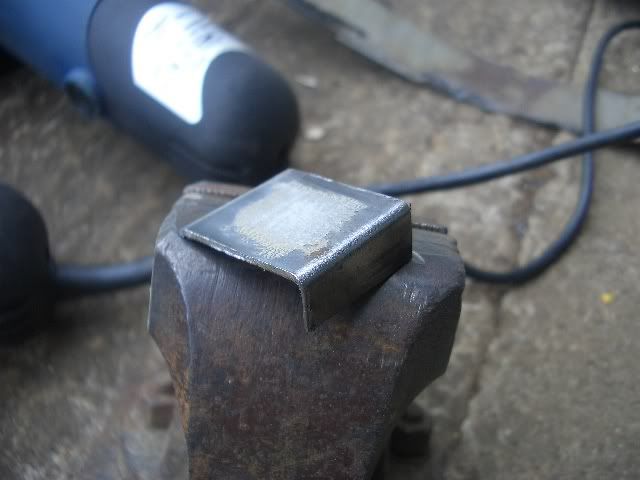 Tacked into place 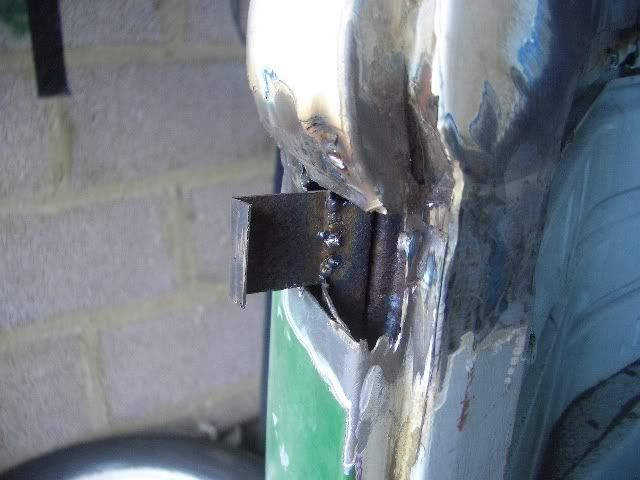 Bent round and welded: 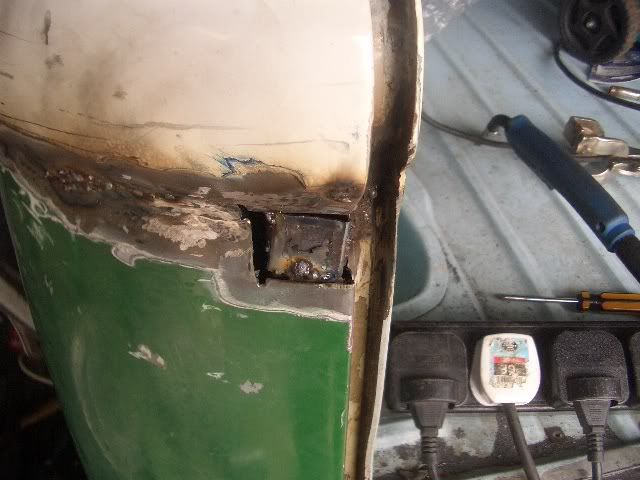 Now to do the outer skin... welded... 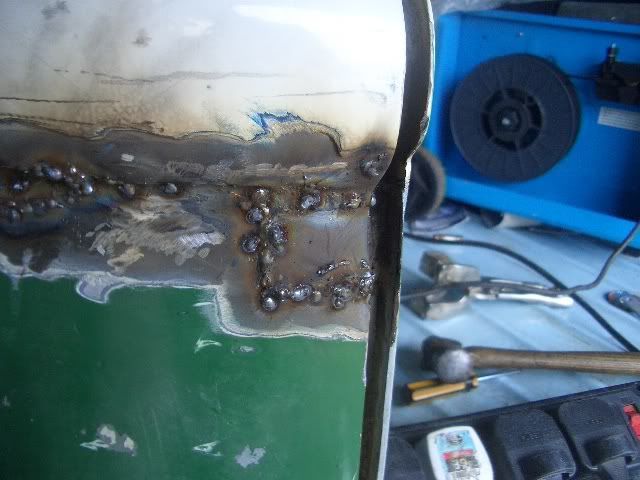 Ground down: 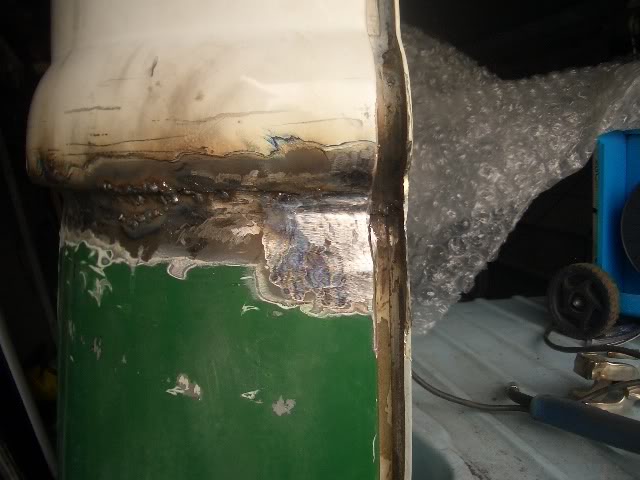 Hole #2: 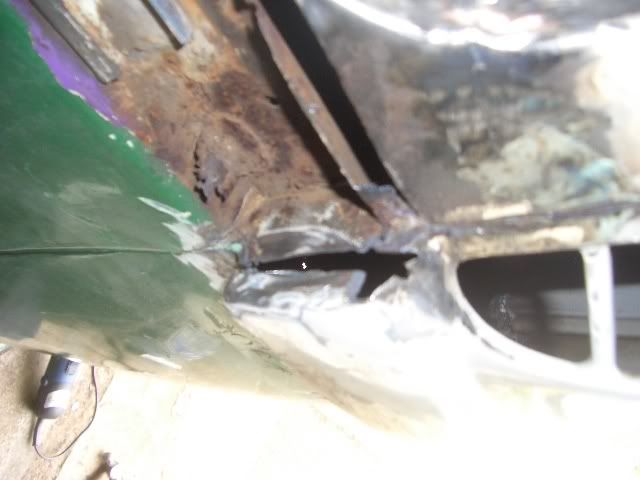 Welded. 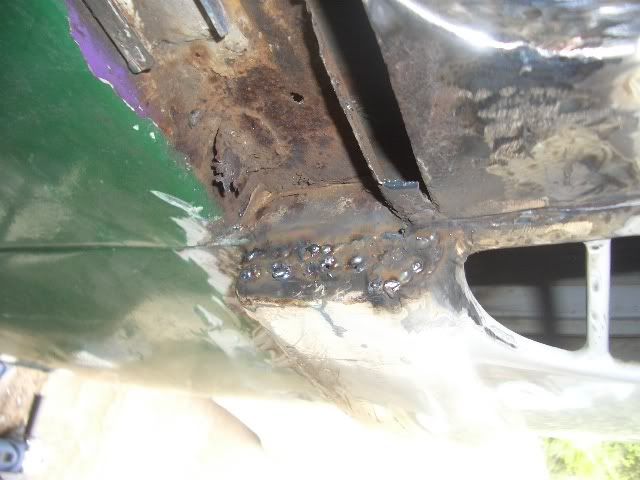 Then, I finished welding the passenger rear pillar, before applying a bit of primer. Only needs a small skim of filler to make it perfect  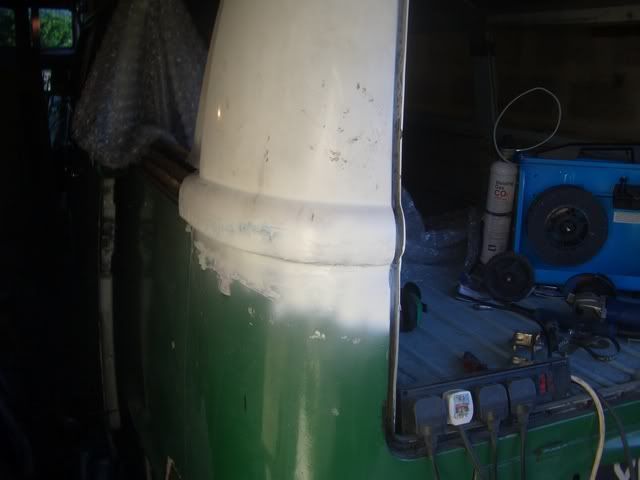 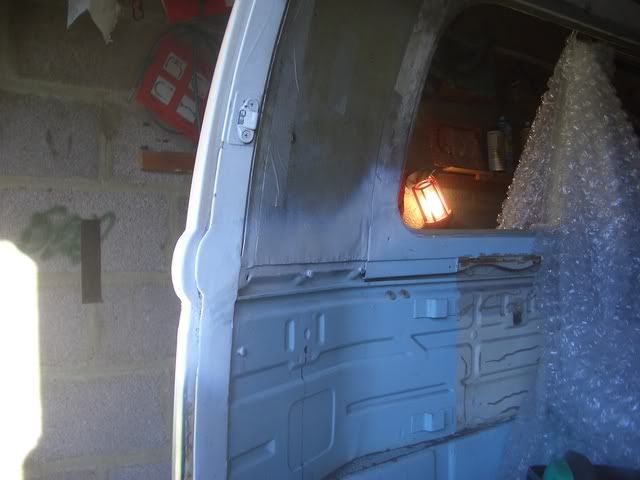 Big hole is the only thing left to weld on the passenger side top 24 inches... 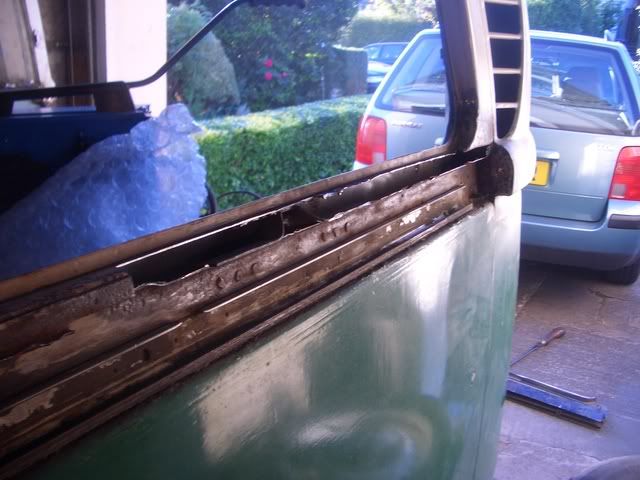 Panel cut to fill the hole... 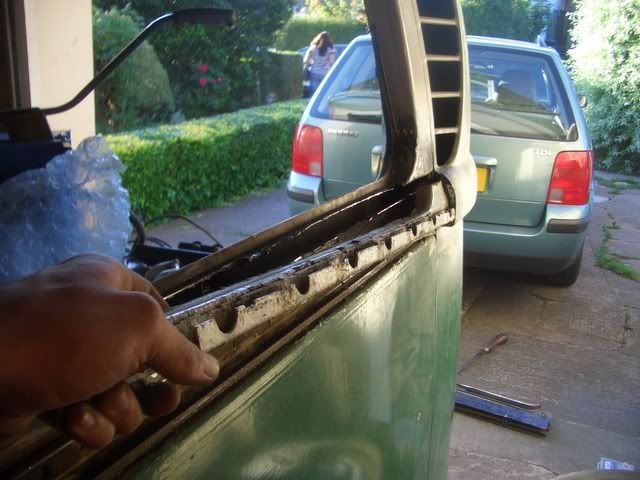 And finally, I got the passenger side inside welded up. Not quite such a neat job, but it will look fine when it's done  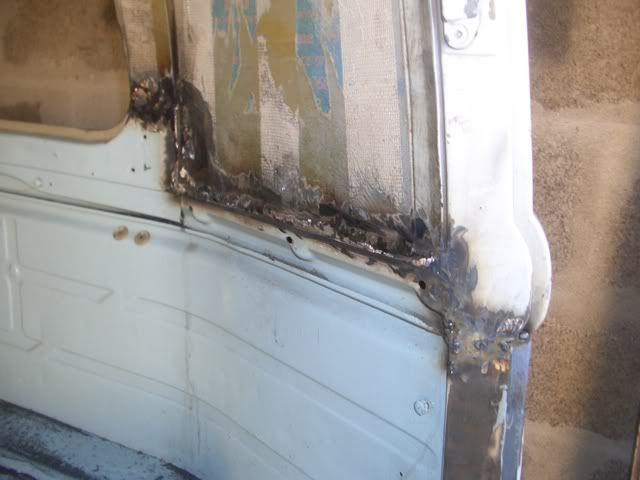 18th May: Remember this?  Repair panel trimmed and tacked into place: 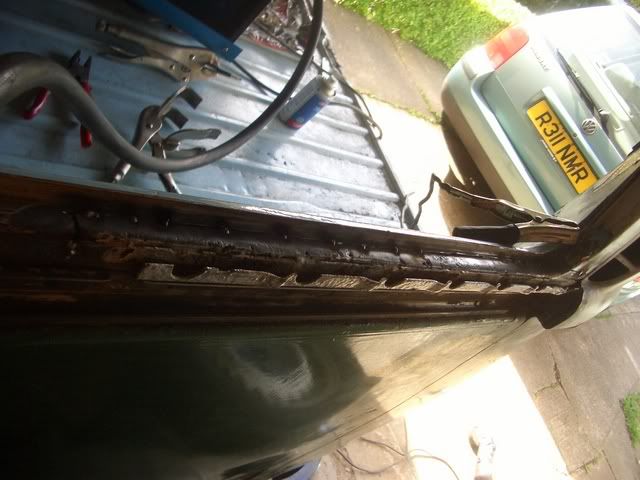 Partially seamed: 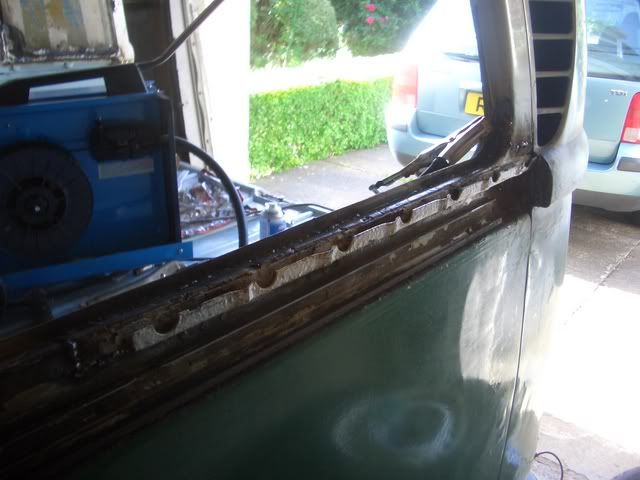 Thought I had better check and see if the cover still fits... It does  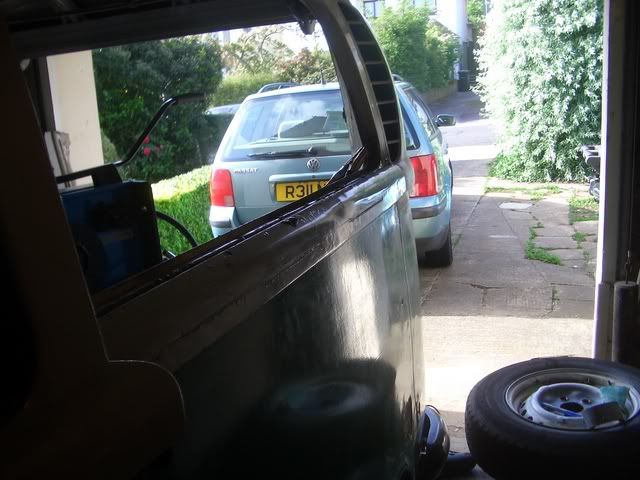 Erm. Think this is the finished pictures. 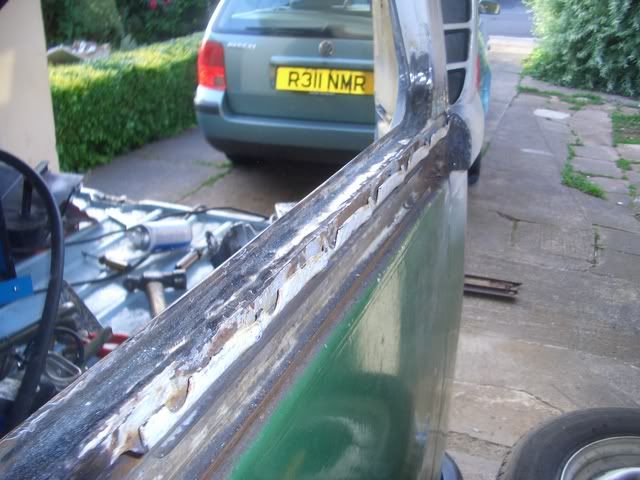 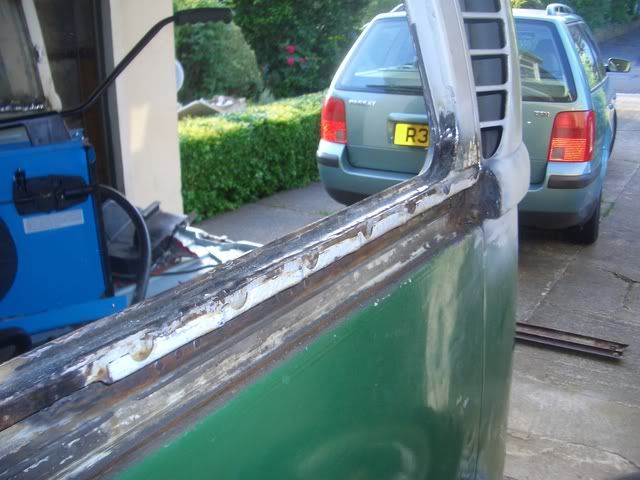 Ready for some POR15 action to help protect from the elements. 19th May: Credit card fillering again  Could be tricky to rub down though  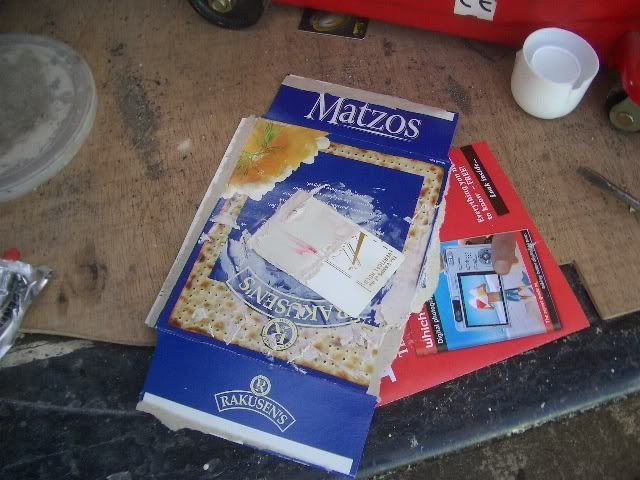 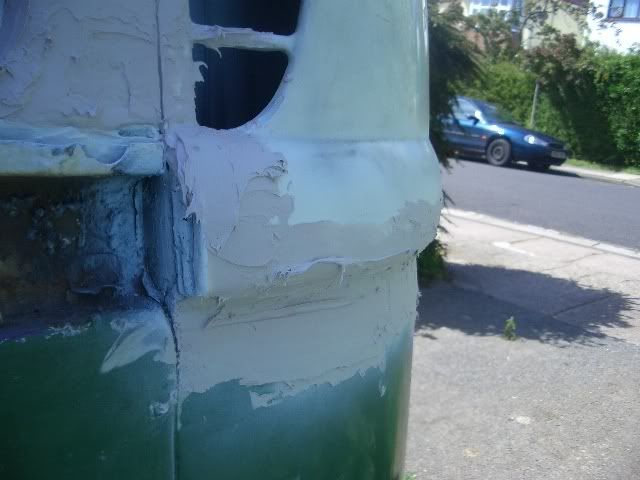 I hand made a repair panel for the sill below sliding door from the old roof skin (genuine wolfsberg metal  ) 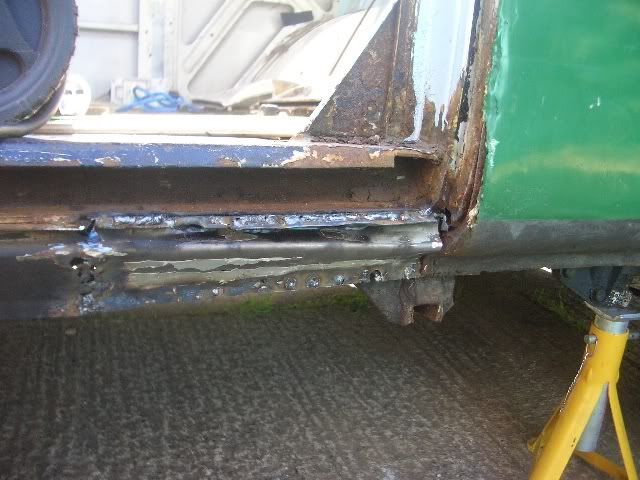 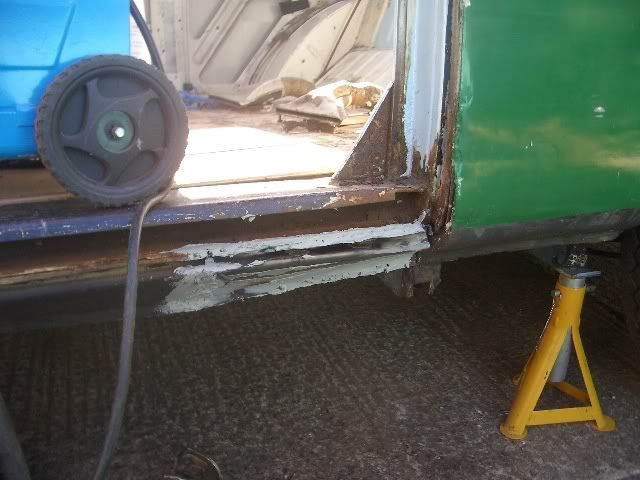 And t'other side: 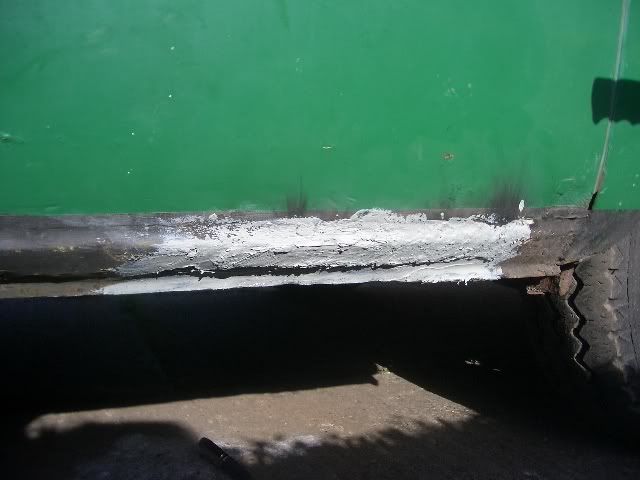 Only 1 more update and then this thread will be entirely up to date  |
| |
|
|
|
|


 - he'll go nice n low on it.


 . Fingers crossed.


 - he'll go nice n low on it.


 . Fingers crossed.


 end of the bay properly - 2 splines down. Now looks so much better, I'm really chuffed


 mind you when they were taken we had only done the one side so it is bound to look odd. We did the other side in total darkness.
