|
|
|
Jan 30, 2019 14:53:16 GMT
|
|
Just read this from front to back (took ages! lol) I love everything about this, the evolution and the "final" product.
What's the score with it now? Still on the go?
Was gonna ask if the original MGB suspension etc was holding up ok? Would love to do the same swap at some point. I've got a TD04 MX5 1.8 in the B2000 I'm building and it's been relatively straight forward.
Would an MX5 subframe/prop swap be a possibility or do you think it wouldn't be worth doing? Was just thinking that (essentially) a body swap would be the best of both worlds? Retro looks but modern-ish underpinnings.
Would be cool to see it's current iteration.
|
| |
|
|
|
|
Nathan
Club Retro Rides Member
Posts: 5,650
Club RR Member Number: 1
|
|
Jan 30, 2019 16:42:49 GMT
|
Just read this from front to back (took ages! lol) I love everything about this, the evolution and the "final" product. What's the score with it now? Still on the go? Was gonna ask if the original MGB suspension etc was holding up ok? Would love to do the same swap at some point. I've got a TD04 MX5 1.8 in the B2000 I'm building and it's been relatively straight forward. Would an MX5 subframe/prop swap be a possibility or do you think it wouldn't be worth doing? Was just thinking that (essentially) a body swap would be the best of both worlds? Retro looks but modern-ish underpinnings. Would be cool to see it's current iteration. Oh Gosh this thread is out of date. I'll quickly bring it up to speed, the T25 was awesome and went well until the oil drain split and emptied the sump. This was fixed and luckily I saved the engine from total destruction, I then took it to SantaPod and entered the MX5 shootout only to post a slower time than the Supercharger (In fact slower than my friends stock NBFL). Over Winter I pondered upgrades and decided to grab a TD04 15T off another Saab but this time one that had been fettled. Balanced shaft, new billet wheel etc. That's now installed and I have been running it for a couple of weeks, it more brutal than the T25.....Nothing, Nothing, nothing THEN ALL THE BOOST. Ive have it locked to 8PSI at the moment but 10-12 is the target ;-) 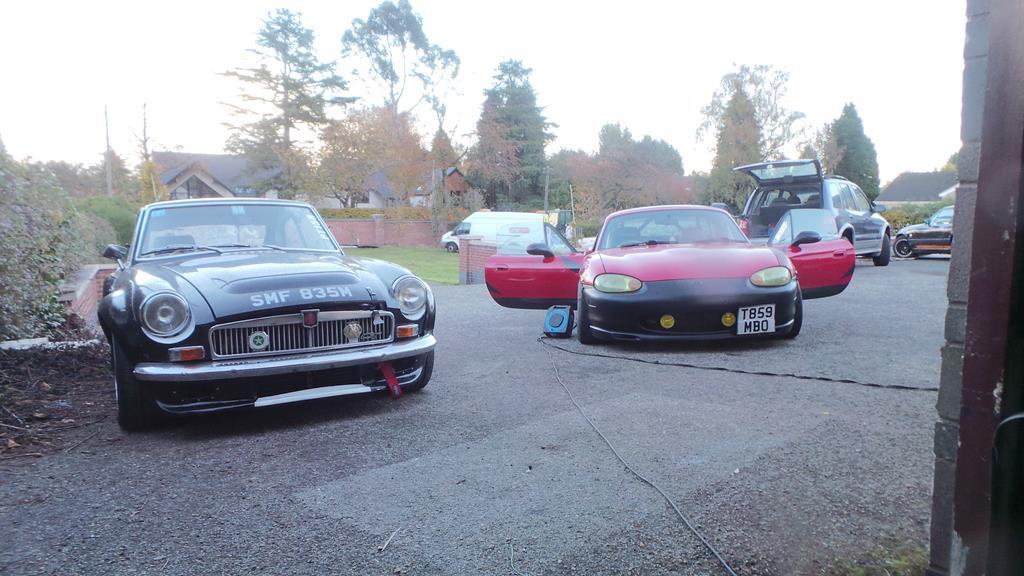 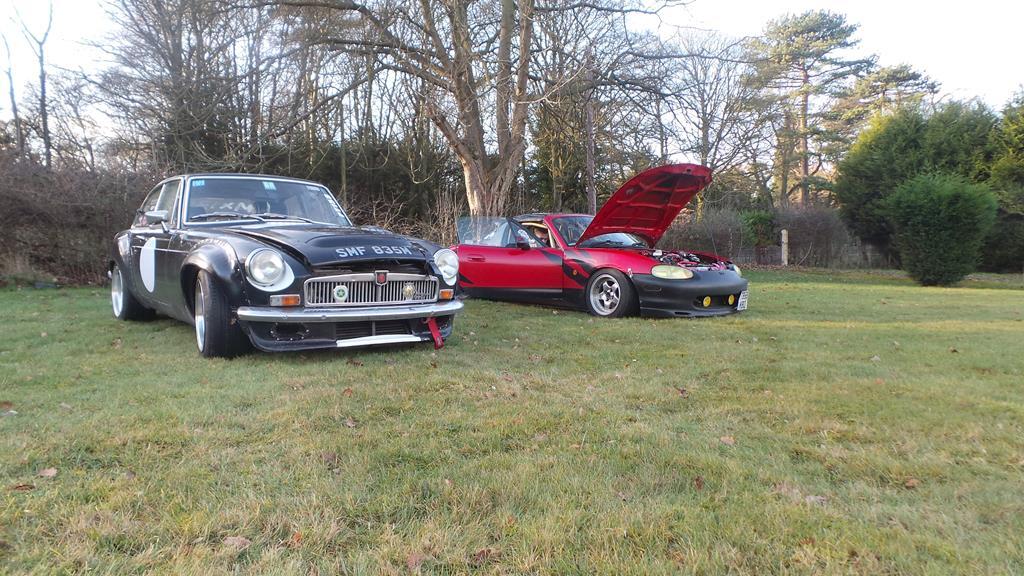 Currently fabricating up a new radiator support as the standard MGB item cannot cope with the turbo in regards to cooling, idea is to go with a Del-Sol Ally rad. As for your question: 100% still on the go, it's always evolving ;-) The stock rear end has shat a diff, but that was due to age really, apart from that the uprated shocks have really helped keep it planted to the ground. It's a fun car in a straight line but corners are not it's strong point even with the 8J's. I had a custom Prop made as the rear axle is standard flange, was quite cheap and rated for more power than a Forged MX lump can take. TBH I stayed away from the body swap stuff, I wanted to retain the old feel of the MGB and didnt cut anything out etc. Currently only the engine and box is from the MX with some wiring, the engine is such an easy fit no chassis mods are needed. Oh your truck....Do you still have the B2000 bellhousing? If so I would recommend the Mazda FE3 engine instead of the BPZE from an MX5. The FE3 is a forged block as standard, can run on the MX5 wiring loom but with an ME221 and a turbo or 2 it is capable of 500BHP +. The mounting points are the same as the BPZE it's just a 2.0 version and probably the best kept secret. To fit into an MX or your truck all you need is the B2000 bellhousing, that bolts to the MX5 box ;-) The FE3 is easy to get hold of and very cheap if you know where to look.......one of these ;-) 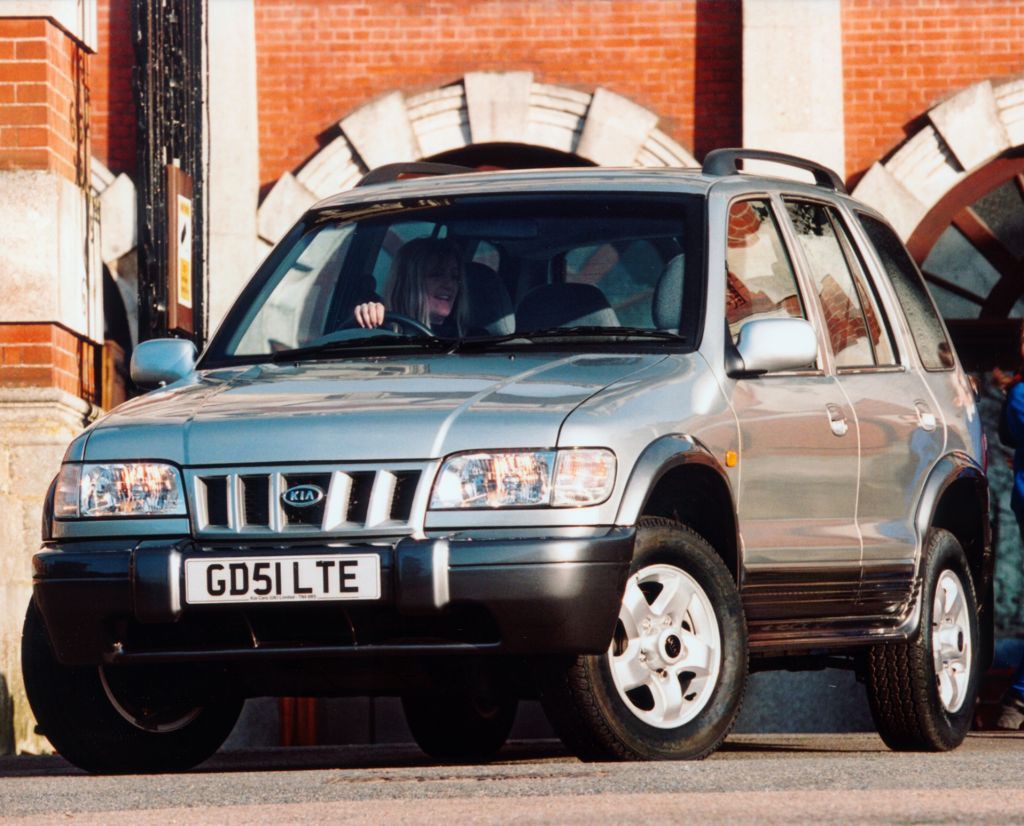 MK1 Kia Sportage. I've just started on the conversion myself in an MX, just waiting on a bellhousing (if you don't use yours I'll buy from you). |
| |
Last Edit: Jan 30, 2019 16:47:16 GMT by Nathan
|
|
|
|
|
|
|
|
Thanks for the reply. I'm surprised with the lag on the TD04-15T, I have a TD04-13L and it spools from basically nothing, it's a little screamer!
The Civic rads seem to be a good FI upgrade, especially if you're short on width.
Are you running literally just uprated shocks with lowering blocks or something? I've been really looking into MGB-GT's recently and thought there might be a coilover upgrade but haven't come across anything yet. Assuming you've had to use custom mounts? The MX5 lump drops into the B2000 so easily, all that was required was some custom (rock solid) resin/poly mounts.
I think we do have the B2000 bellhousing about somewhere. Thanks for the info on the FE, I would never have even thought about the Kia!
I do love this build though, it's easily one of my favourites on here. I reckon that maybe once the truck is done, this might be the next project. Need to get in before they hike up in price, was surprised at how cheap you can still pick them up for!
|
| |
|
|
adam73bgt
Club Retro Rides Member
Posts: 5,015
Club RR Member Number: 58
|
|
|
|
|
|
| |
|
|
|
|
|
|
|
Holy moly! But then again, I saw it was a Moss link and feared the worst haha |
| |
|
|
Nathan
Club Retro Rides Member
Posts: 5,650
Club RR Member Number: 1
|
|
|
|
|
Suppose with my impending entry to RRG19 I should update this.
(I'll add the images later).
The car was overheating badly at SantaPod recently and on any 'spirited' drive when in boost, I knew the radiator was just not up to the job with the added heat from the turbo but just kinda put it off. So with show season and the better weather I decided a few months ago to redesign the lot and fit a more efficient radiator. I thought this was going to be small easy task..............How wrong I was!
THEN!
Whilst the front end was jacked up for the radiator support fabrication, I noticed a small crack in the stone chip on bulkhead. This ended up in half the car being stripped, the front wing off, outer, inner and castle rail being replaced and the rear wings being cut! Oh the joys eh? It did fly through the MOT though!
So where am I now....Well apart from fitting a full cage, upping the boost and fitting an LSD (small list) the car is just ebing enjoyed. Sure it needs a repaint at some point, but for now I'm just enjoying it.
I have recorded the process for anyone interested.
|
| |
Last Edit: Aug 2, 2019 14:58:33 GMT by Nathan
|
|
Nathan
Club Retro Rides Member
Posts: 5,650
Club RR Member Number: 1
|
|
|
|
Bring this fully up to date now. Not been near the car in over a month due to holidays and work, so with the impending hill climb it was time to go over the car. Took it out for a quick run and noticed the oil pressure gauge was pegging itself.....oh %^&*. The last time this happened it was due to the turbo oil drain coming off and quickly emptying the sump! 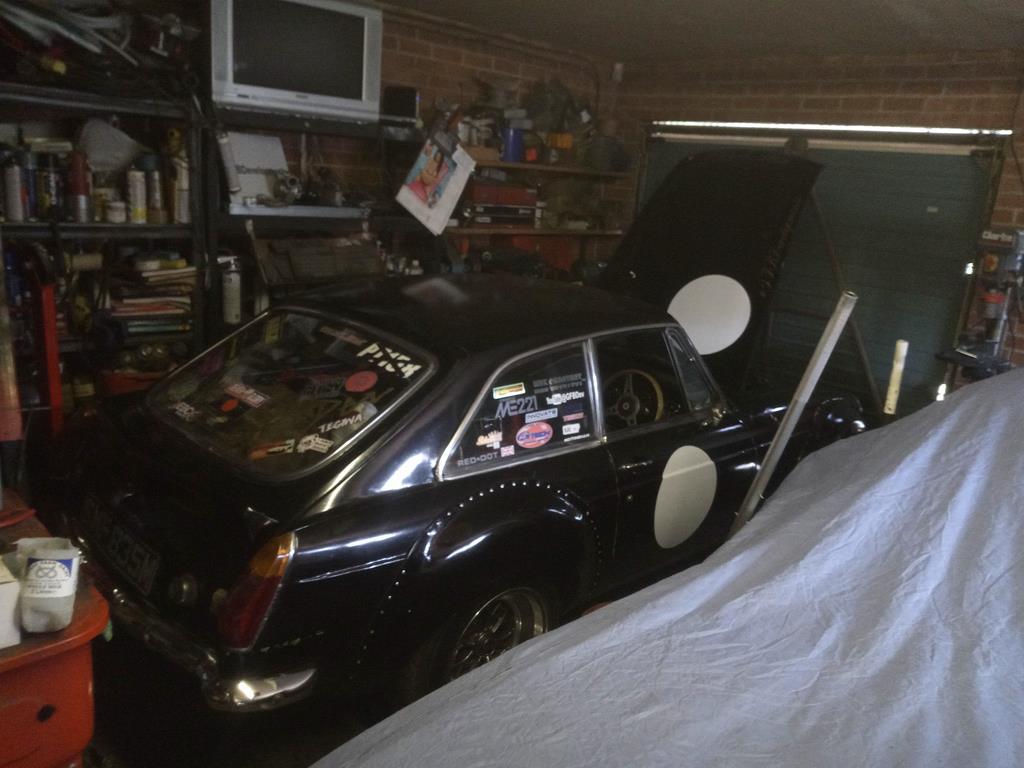 Instead of fearing the worst, I decided to park the and come back to it in the morning. 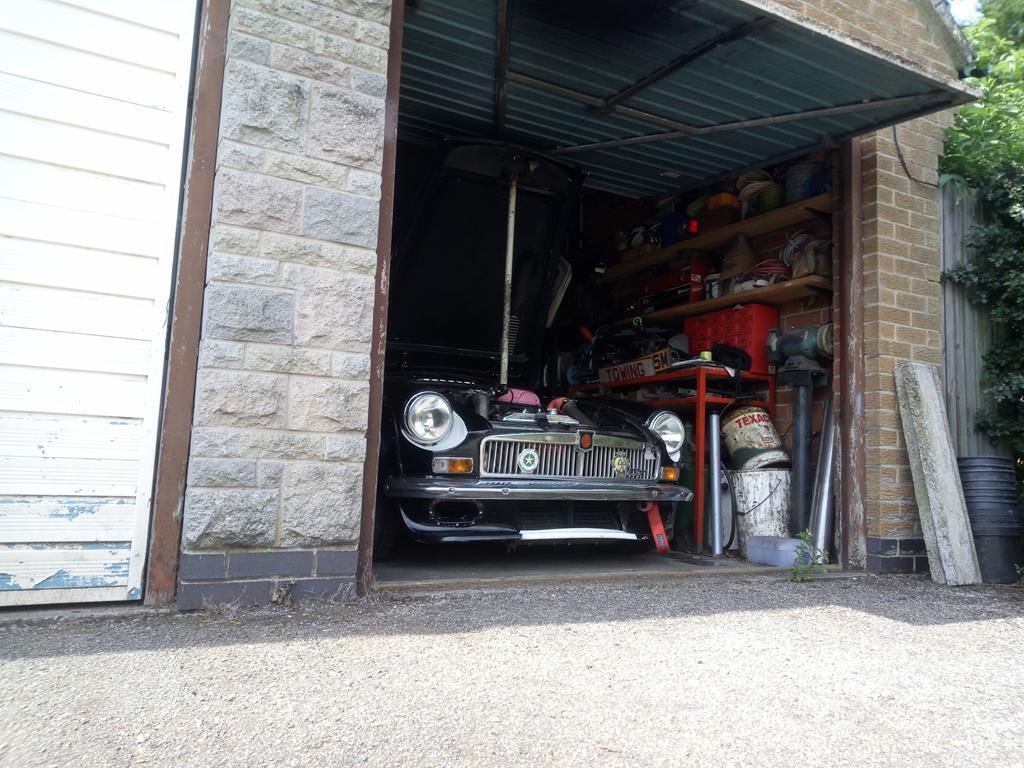 Next morning, checked the usual turbo lines for breaks or loose fittings...luckily nothing. 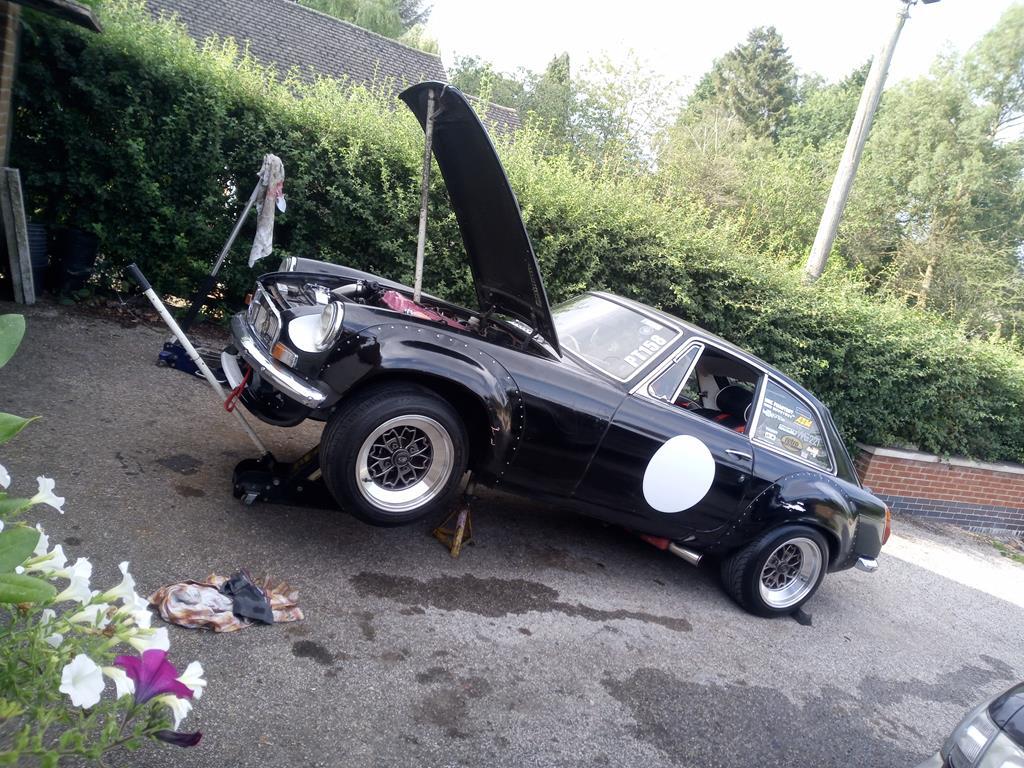 So now I was sure it was the Oil pressure sensor, it was an aftermarket one installed when we did the conversion quite a few years ago. 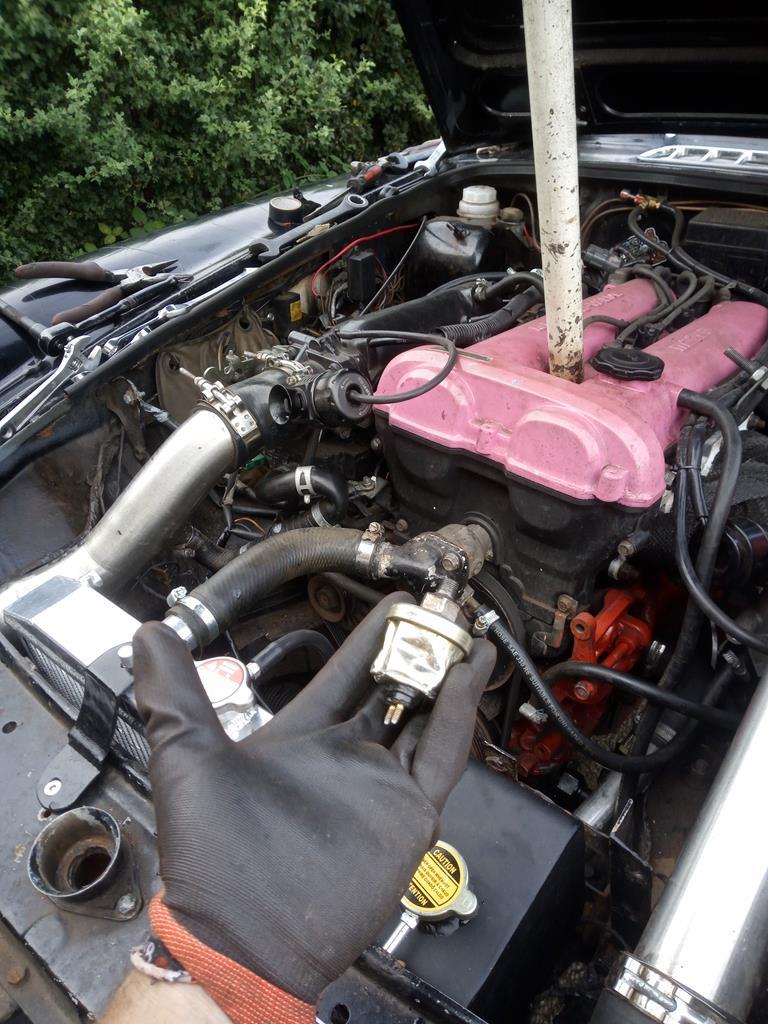 As with most things in life, the smallest job can take forever, due to access issues and the sensor being different the inlet manifold had to be removed. The the oil cooler pipes, then most of the intercooler and some inlet studs to allow the spanner movement. As you can see the first few turns were done with pliers, a bench test of the unit proved it to be the cause...pheww. For the time being I have refitted an NA OEM unit, this will do for the Gathering it just means the gauge is slightly out. 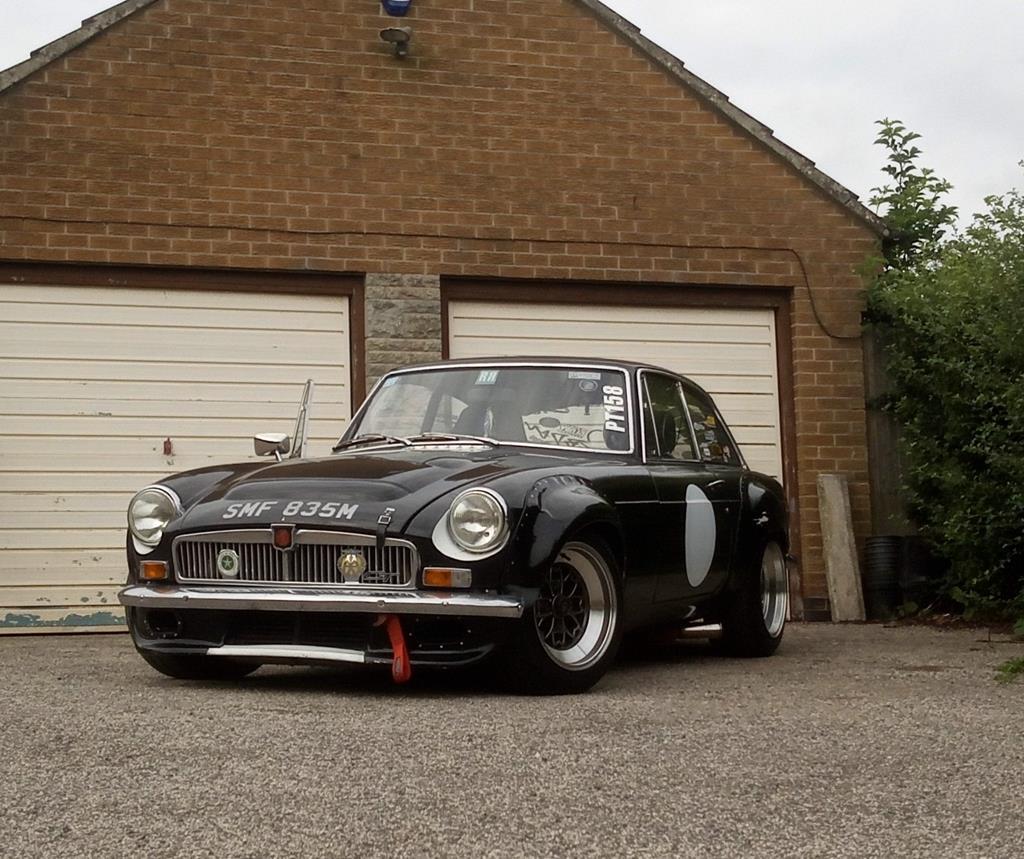 Next job is to move the bucket seat for the missus who will be driving the car to the event and giving it a good clean out :-). |
| |
|
|
Nathan
Club Retro Rides Member
Posts: 5,650
Club RR Member Number: 1
|
|
|
|
THREAD RESURRECTION!!! August 2019, WOW which by the looks of it was RRG19 prep before all that pandemic stuff!. Let's bring this up to speed shall we? So back end of 2019 I was prepping for the workshop to start, this meant the car wasnt going to get used until it was finsihed, it was also Winter. forum.retro-rides.org/thread/190223/new-workshop-buildSee thread. Well the Pandemic happened, we all had to stay indoors and the car was 20 miles away.............the workshop alsy didn't get started for the same reason. So let's fast forward to the juicy parts shall we? With the workshop done and the car at home with me I started giving her a light spruce for the RRG21, turns out you can polish a turd! Spit and shine for the weekend.. 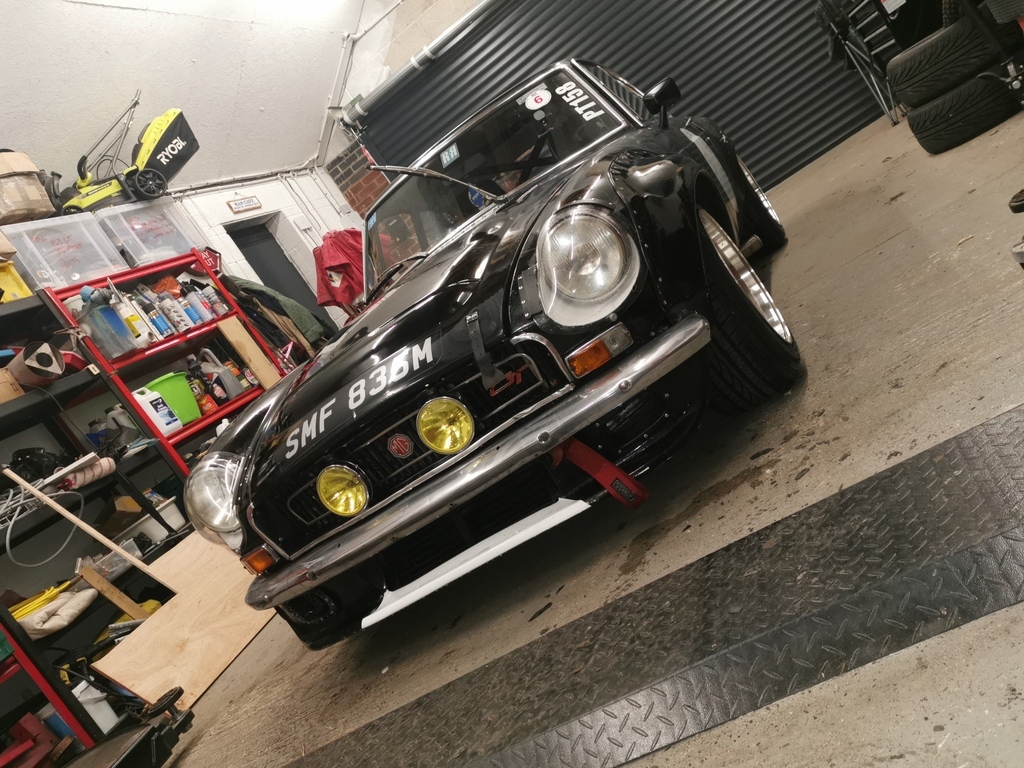 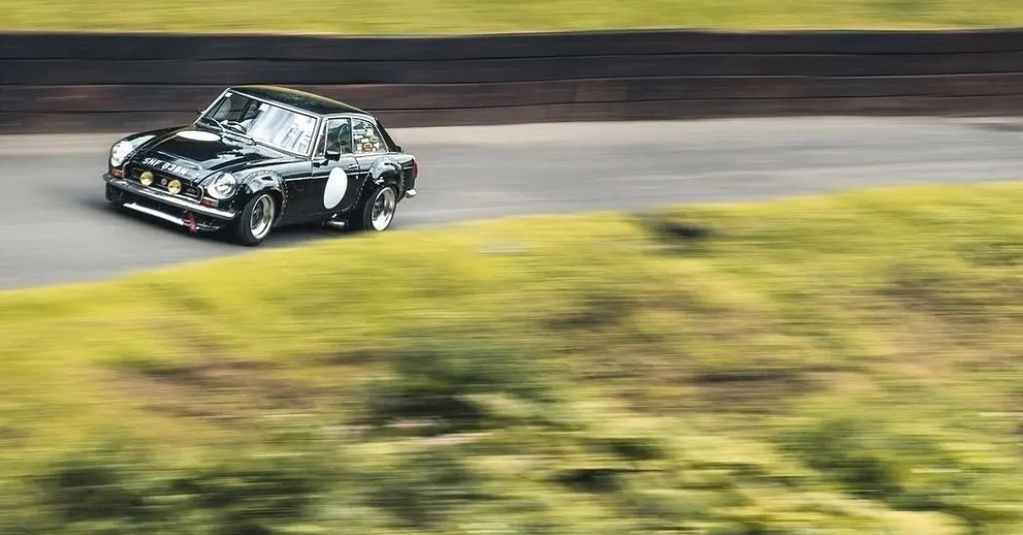 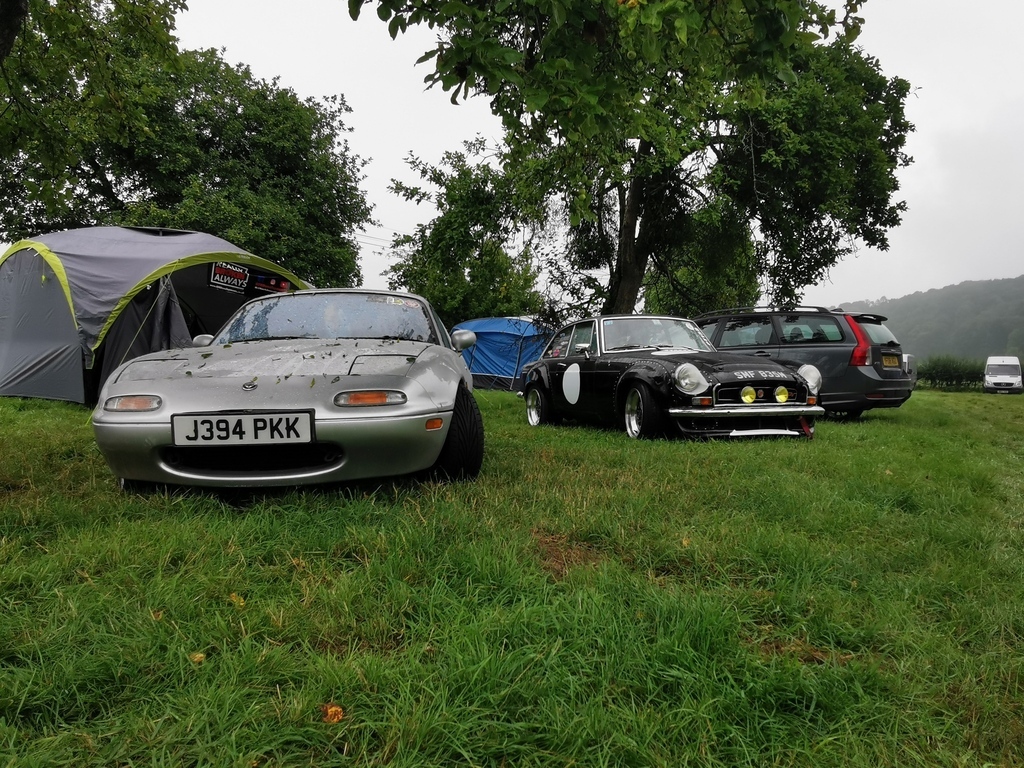 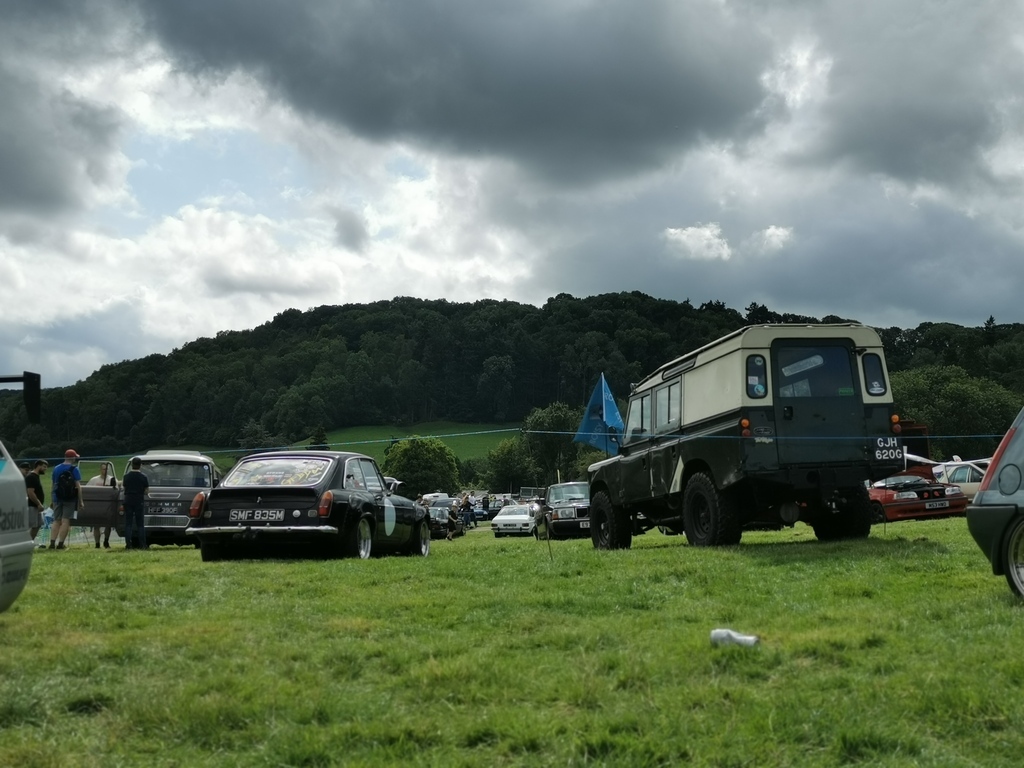 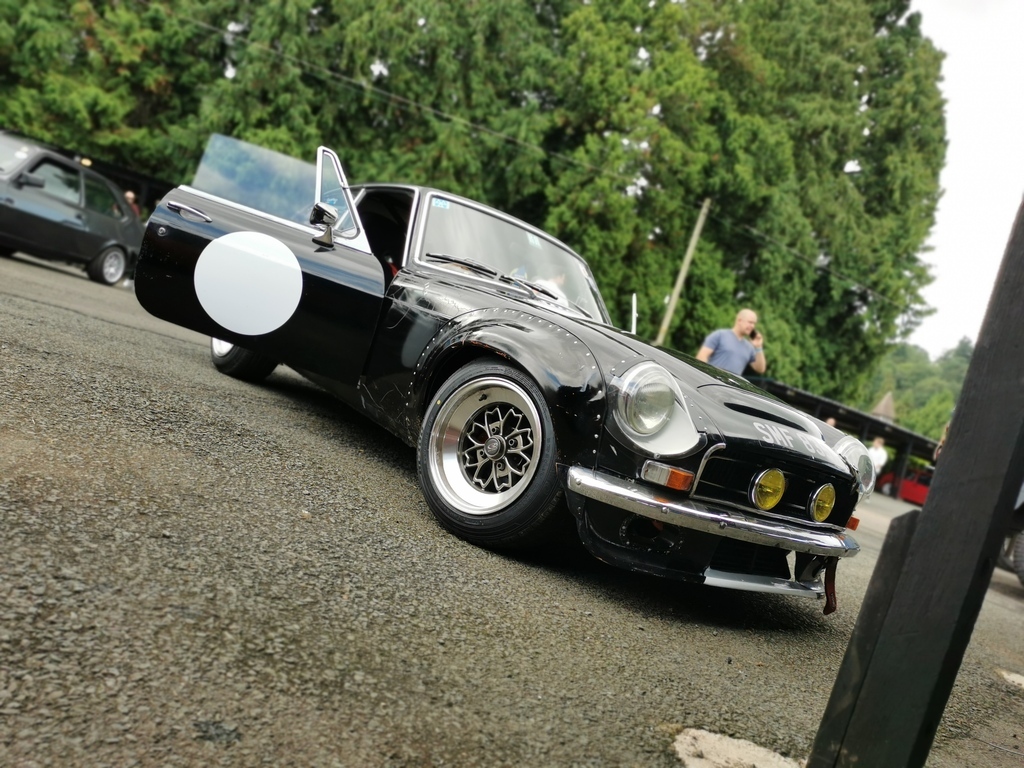 Weekend after RRG we were away again at Statfold Classic. 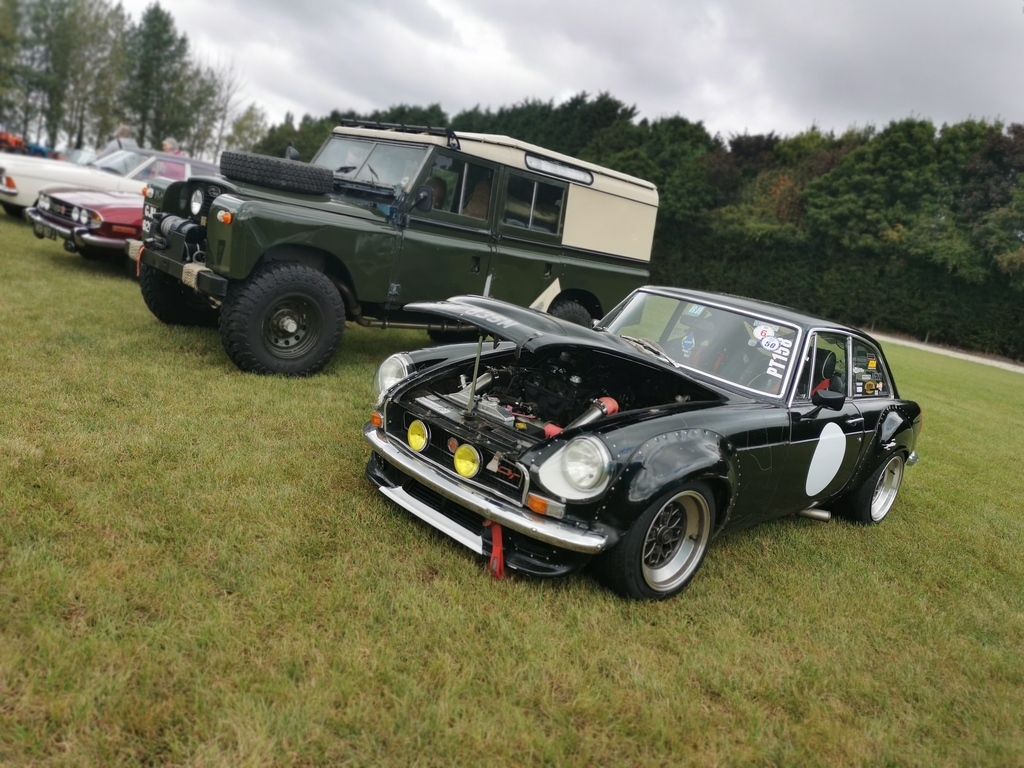 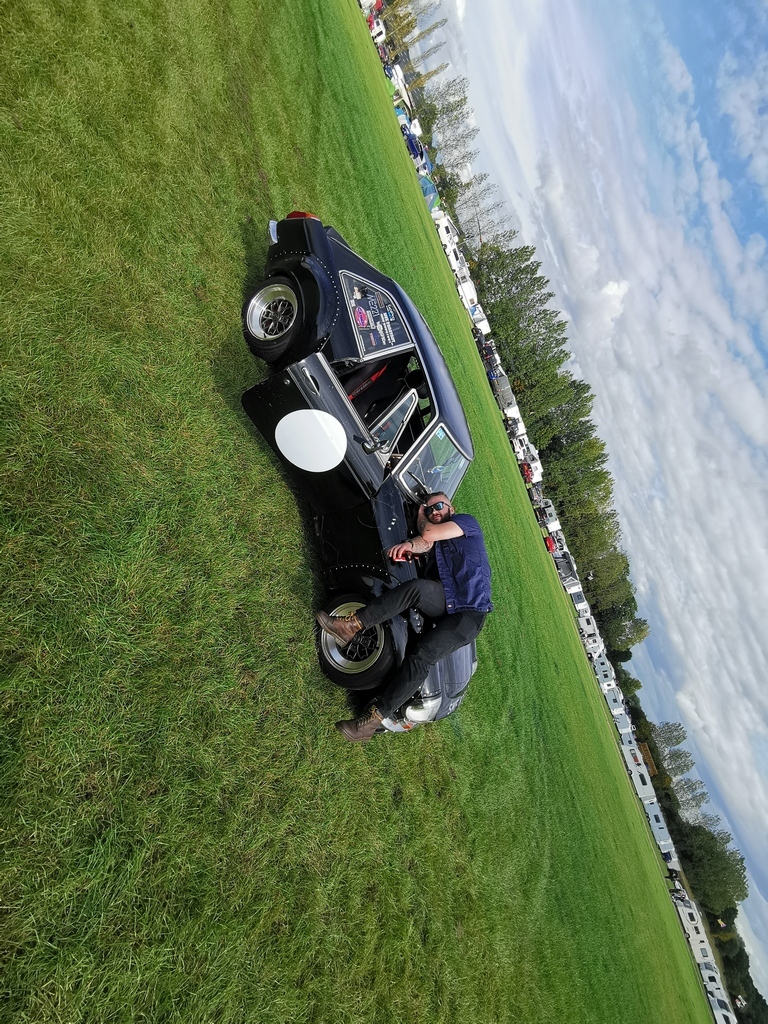 Now we get to the meat of it all. So for the past few years the cars really just had a break/fix approach as being 20 miles away and only able to work on it over the weekends tends to slow down large progress. The car is still turbo but I think since Summer 2019 I upped the boost a little to 10PSI (Clutch HATES me for it), and that about it. As you can see on the previous pages I treated it to some new castle rails, inner and outer sills....for the second time :-p . Now if you go waaaaaay back to page 2 I think you will see around circa 2004 I fitted new wings to the passenger side, and whacked a plate over the inner sill. YES that plate has been on my mind since, 23 year old me disapointed the now 40 year old me :-) :-p, so with all the Gear and literally NO IDEA I decided to fix this area with again another set of sills and castle rail. Now right prior to this I was on the lookout for a new project, hence the car stuffed into a corner....the owner backed out so that idea/dream is on hold (For now). Oi wake up...we be slicing! 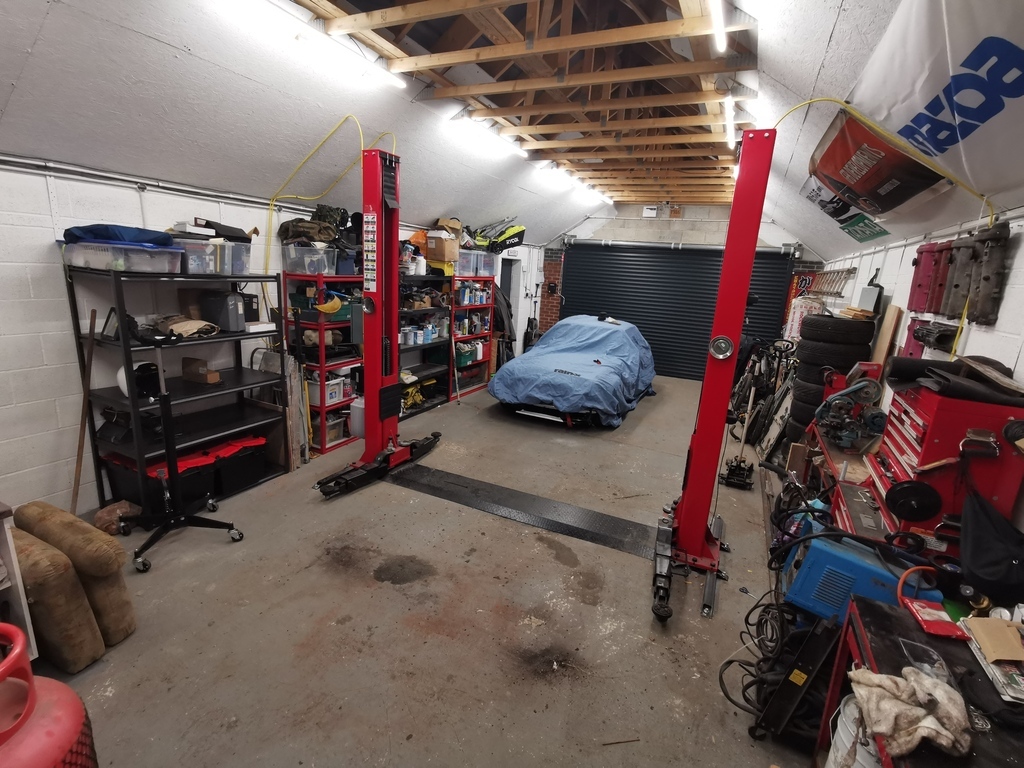 Up we go 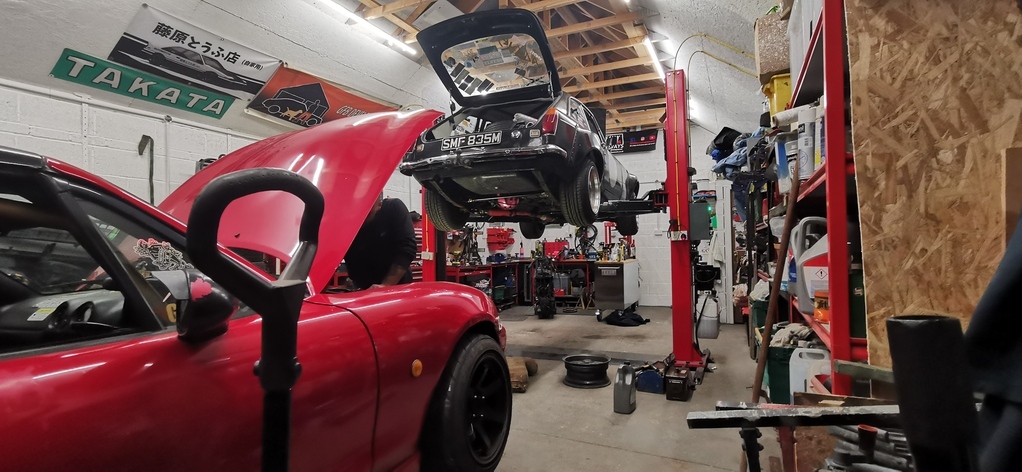 No go to page 2 and see the passenger wing off....Proper red oxide, the stuff that isnt good for you had held up. 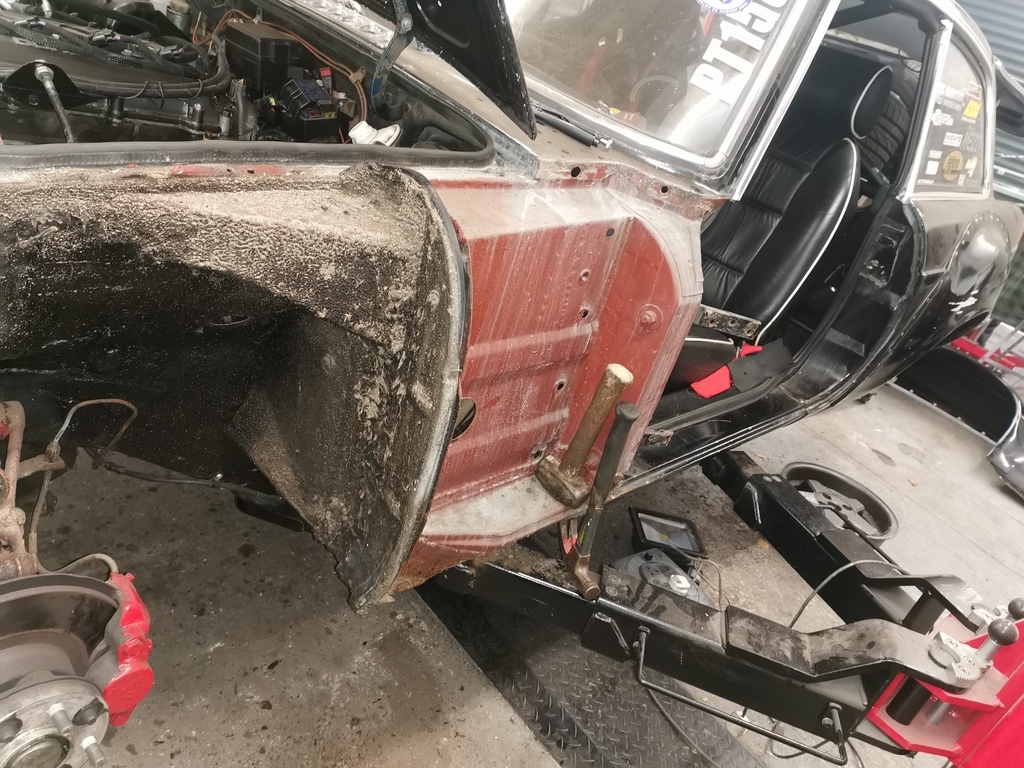  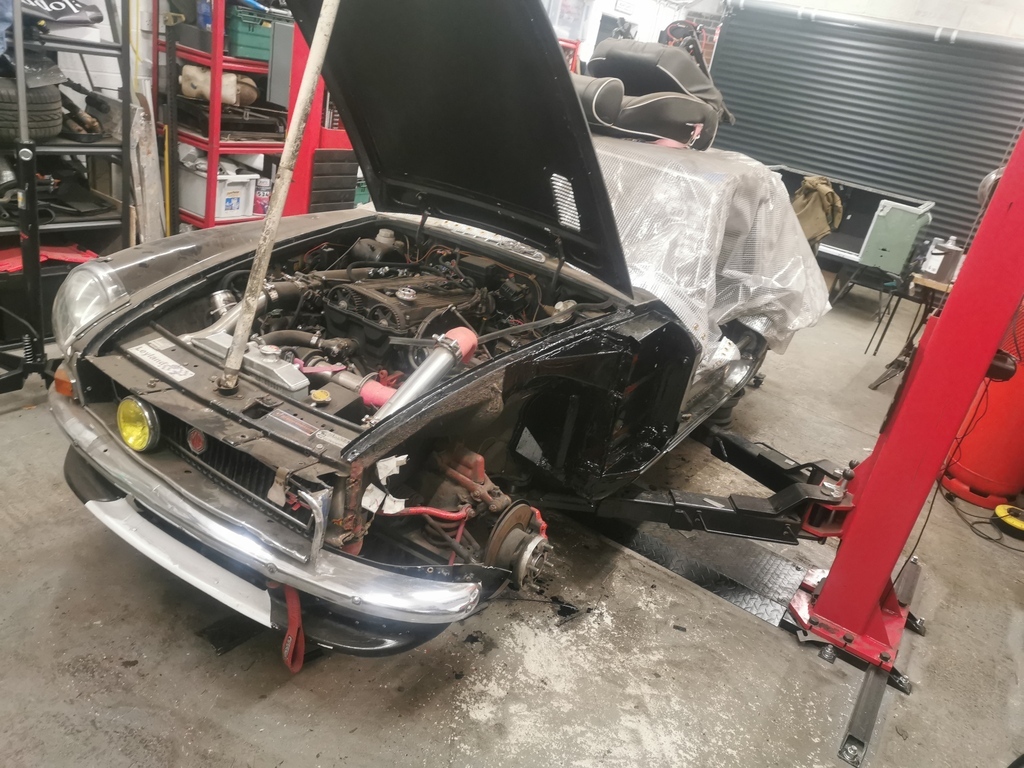 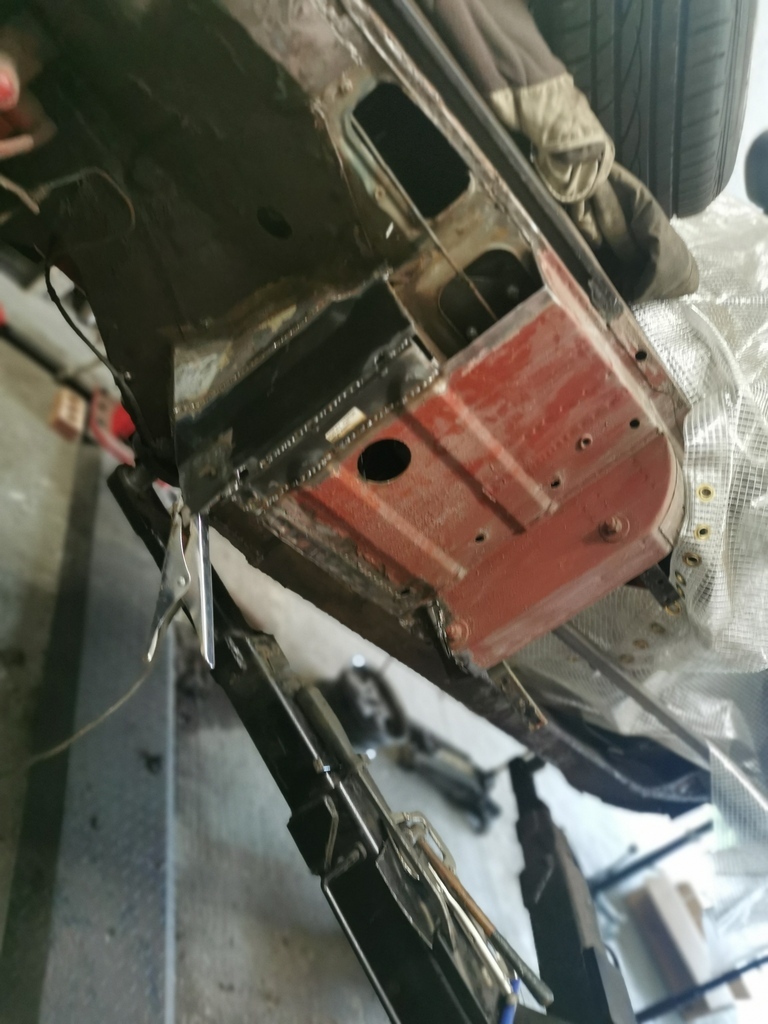 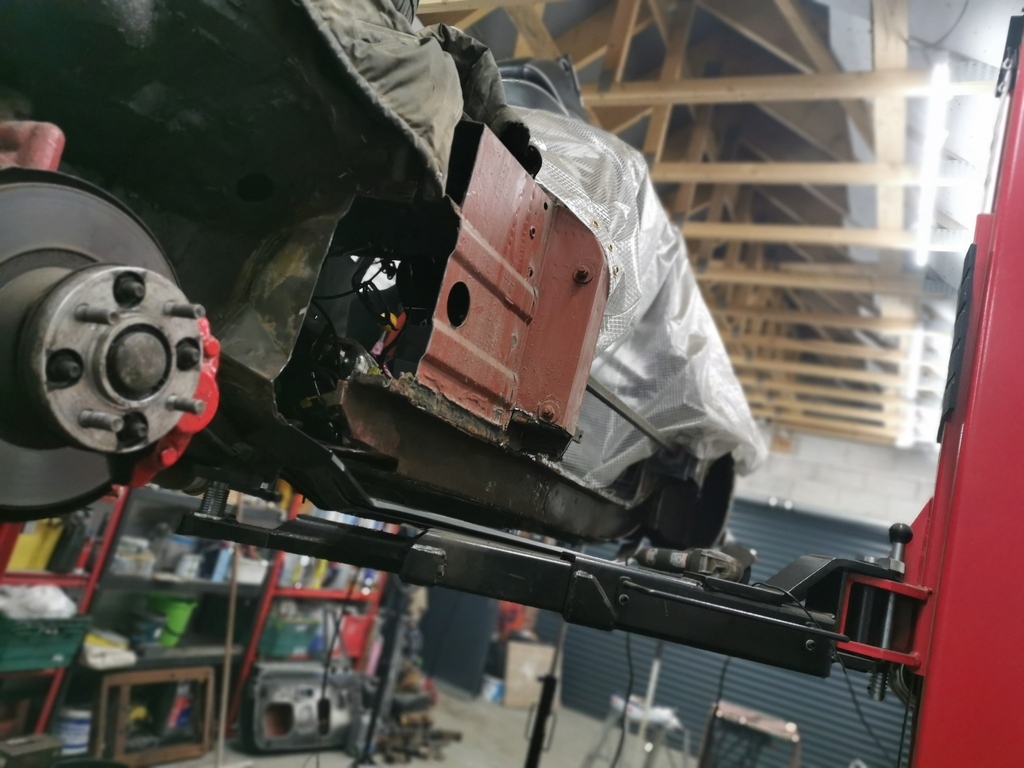 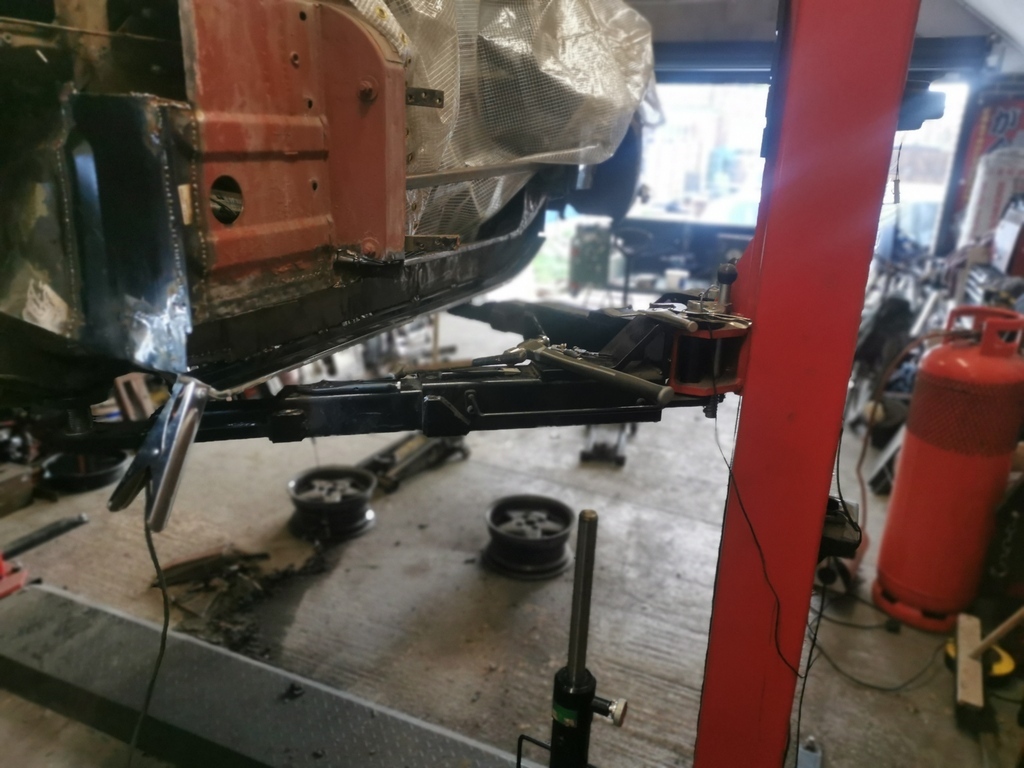 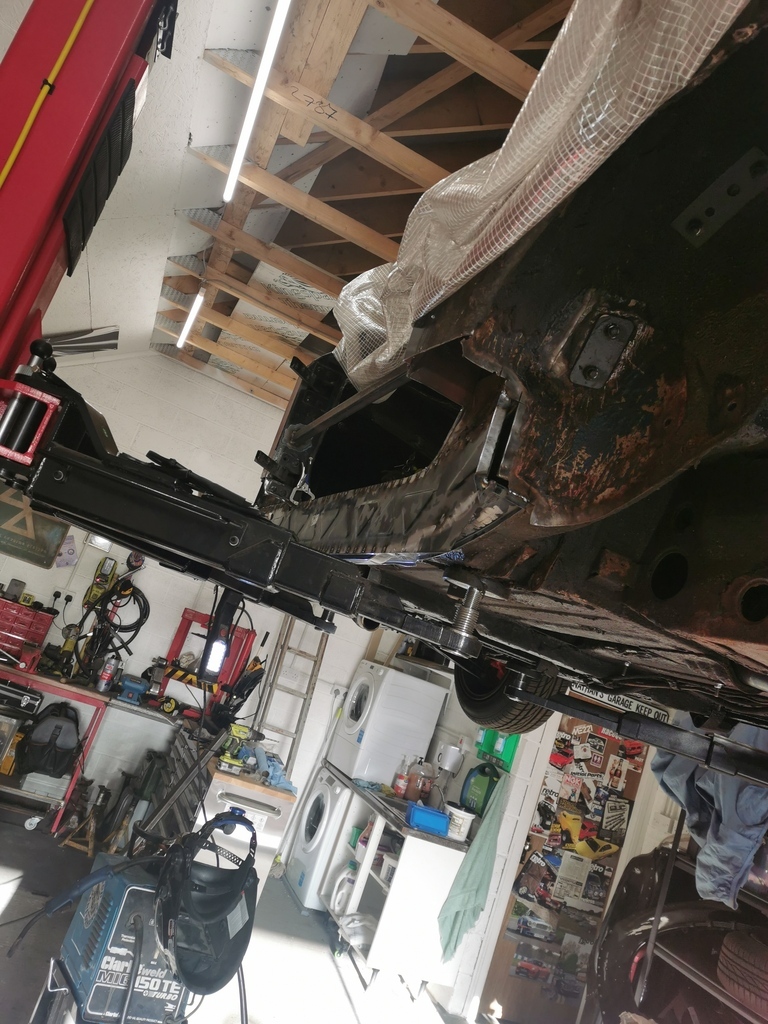 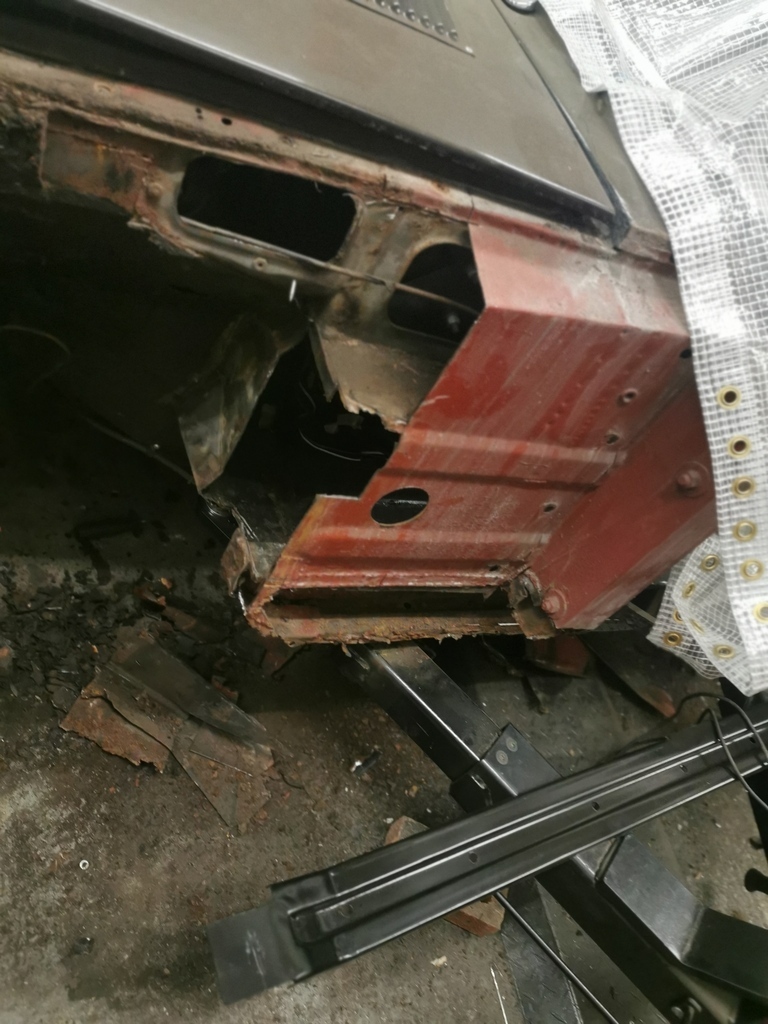 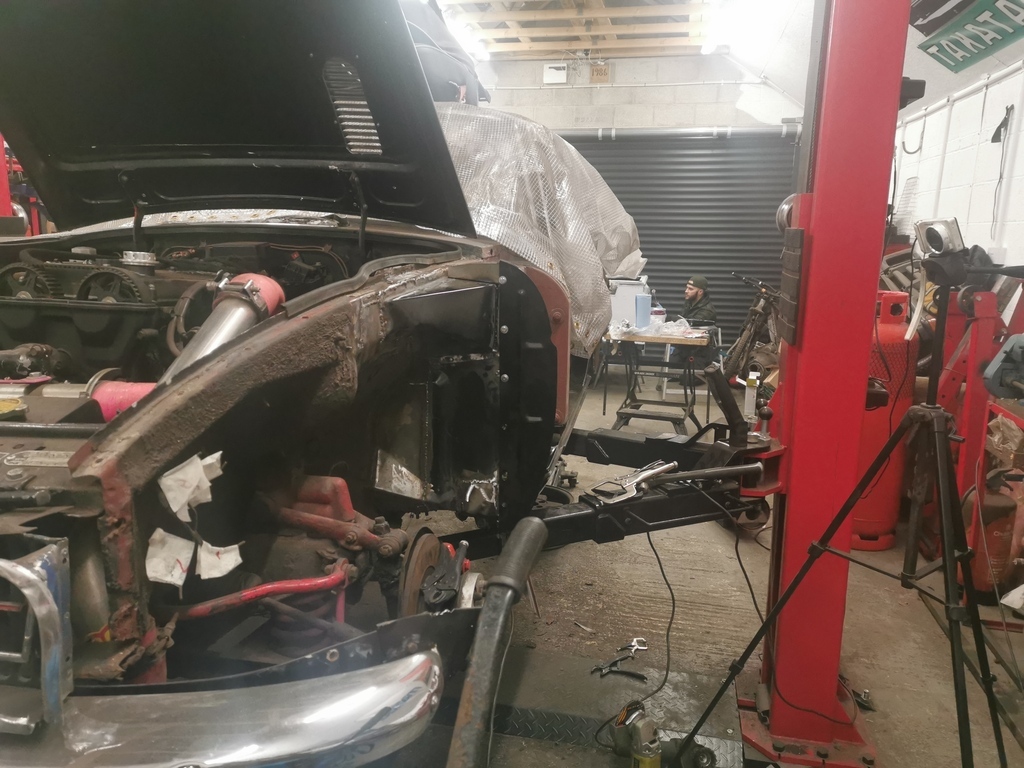 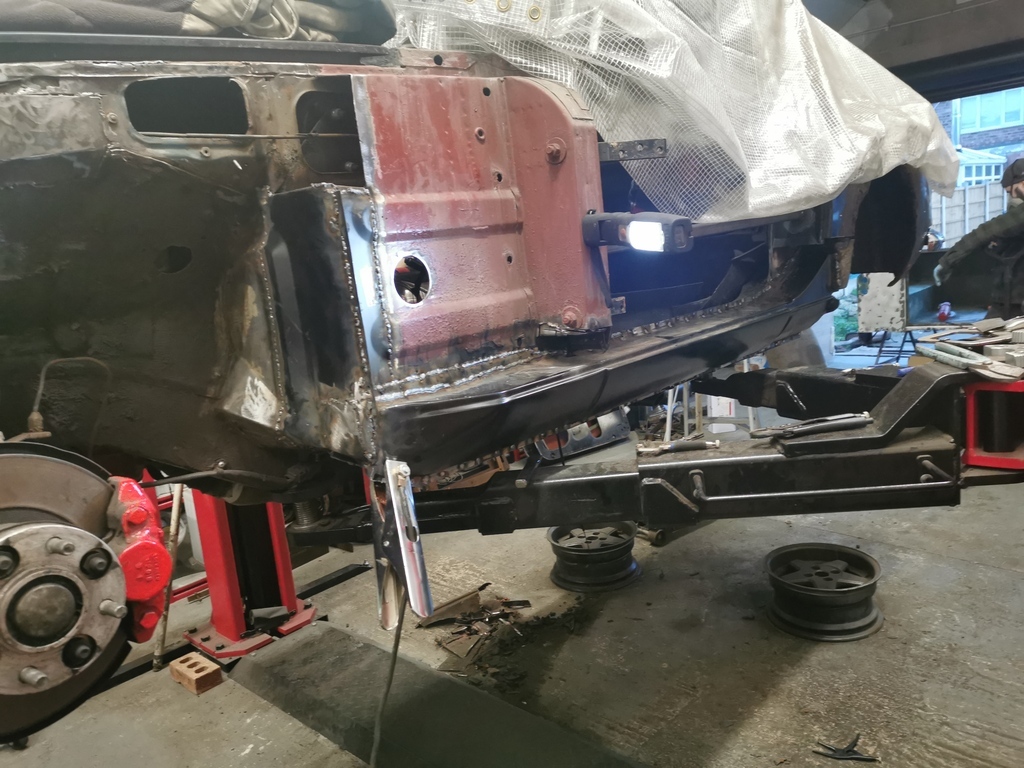 It's jumbled the images but you can see the footwell had also gone, part of the floor too! With now over 200BHP and plans for more this needed addressing........welder was put back into action, the same welder from page two also ;-). At this point I decided to go around the whole car and sort anything it needed. Headlamp bowls....Past it mate! 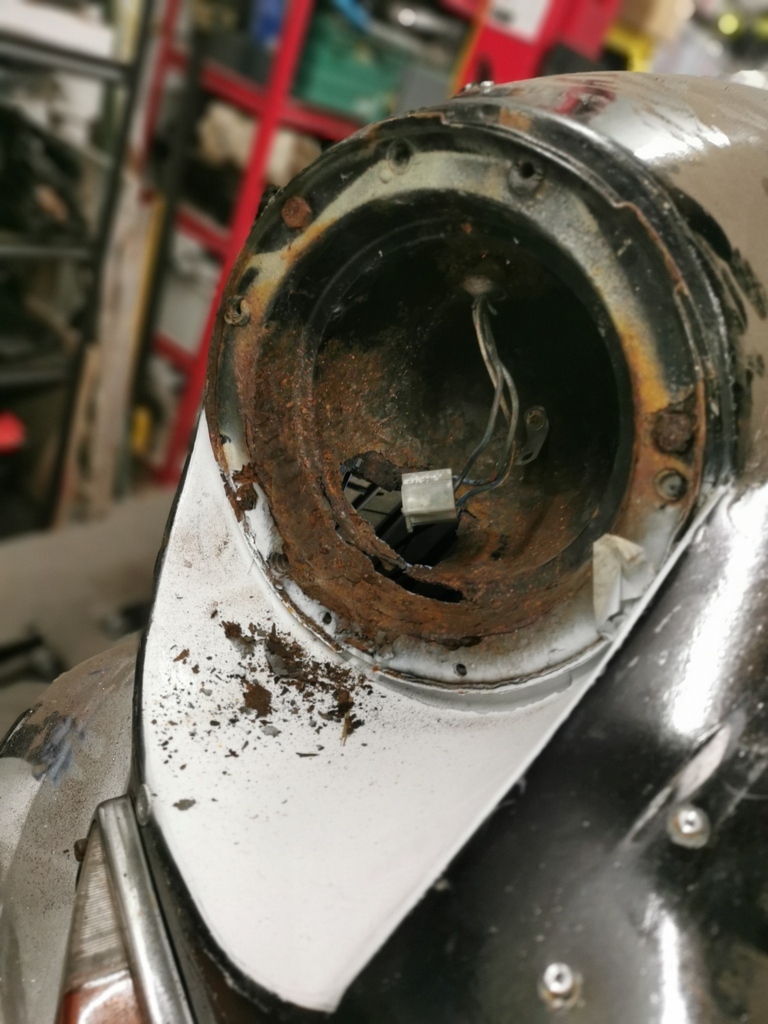 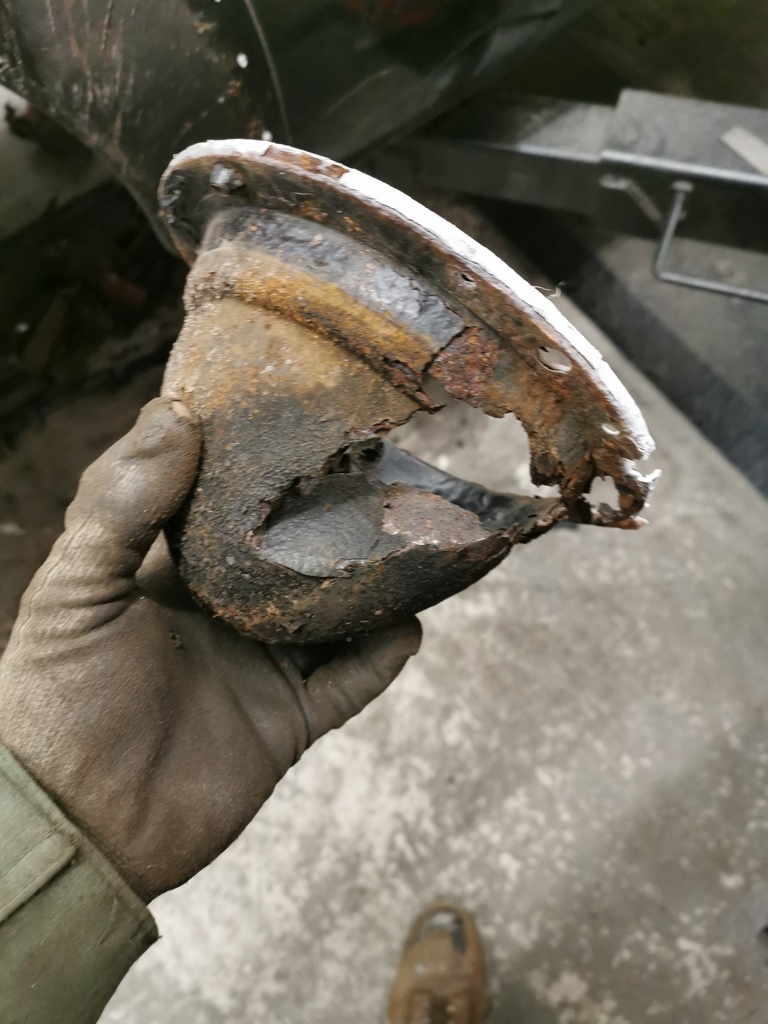 Couple of years ago on a tip to SantaPod I was flagged for a hard launch and the tank leaking........Turned out it was leaking from the top and the feed. New one then shall we.....this is getting expensive now. 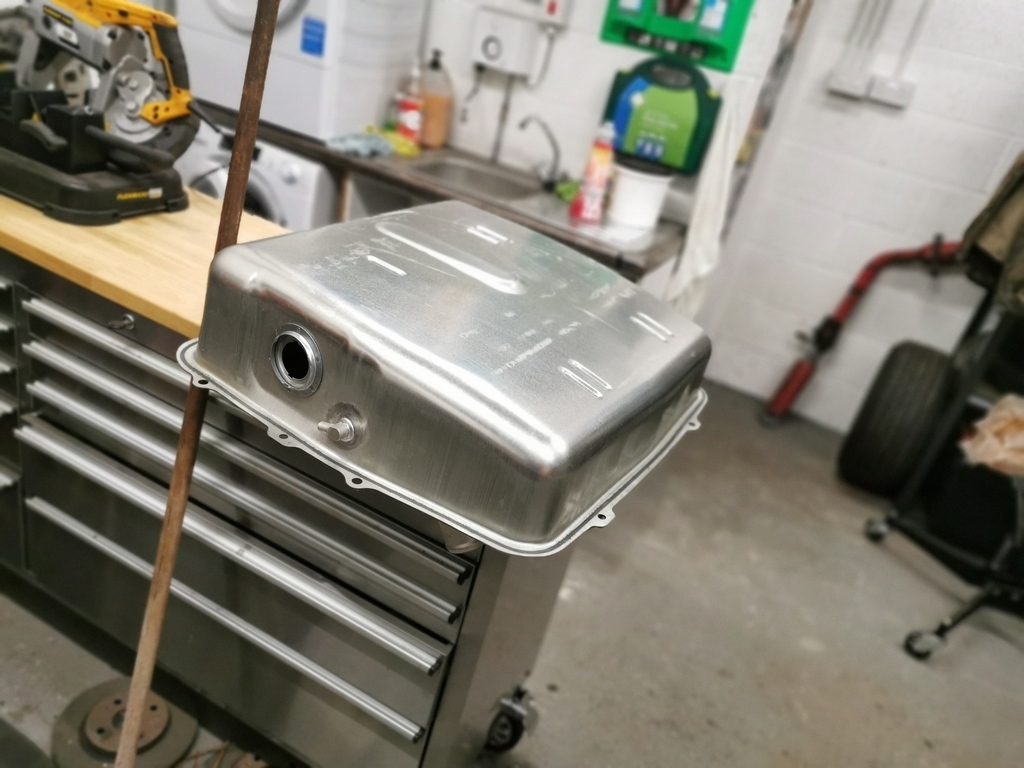 Ive built myself a 4-link and Pan-Hard kit for the car, so the front hangers for the rear axle needed beefing up. Glad I did, someone jammed a bit of steel in and hot-glued it. So that was repaied. Axle off and the new tank painted. 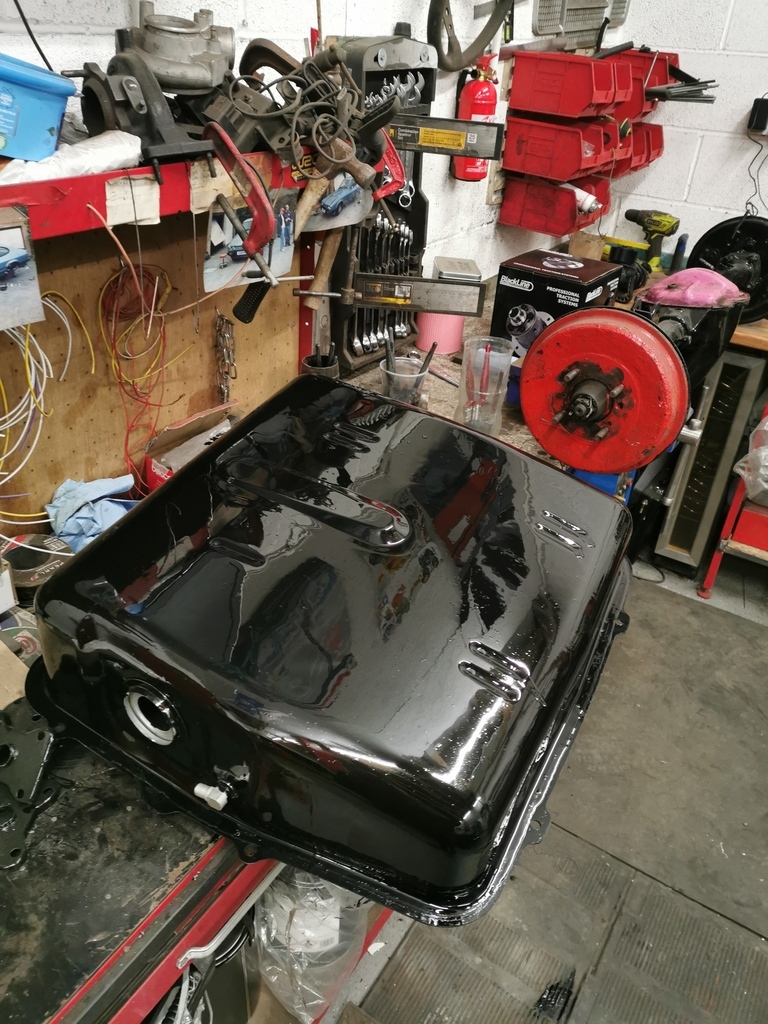 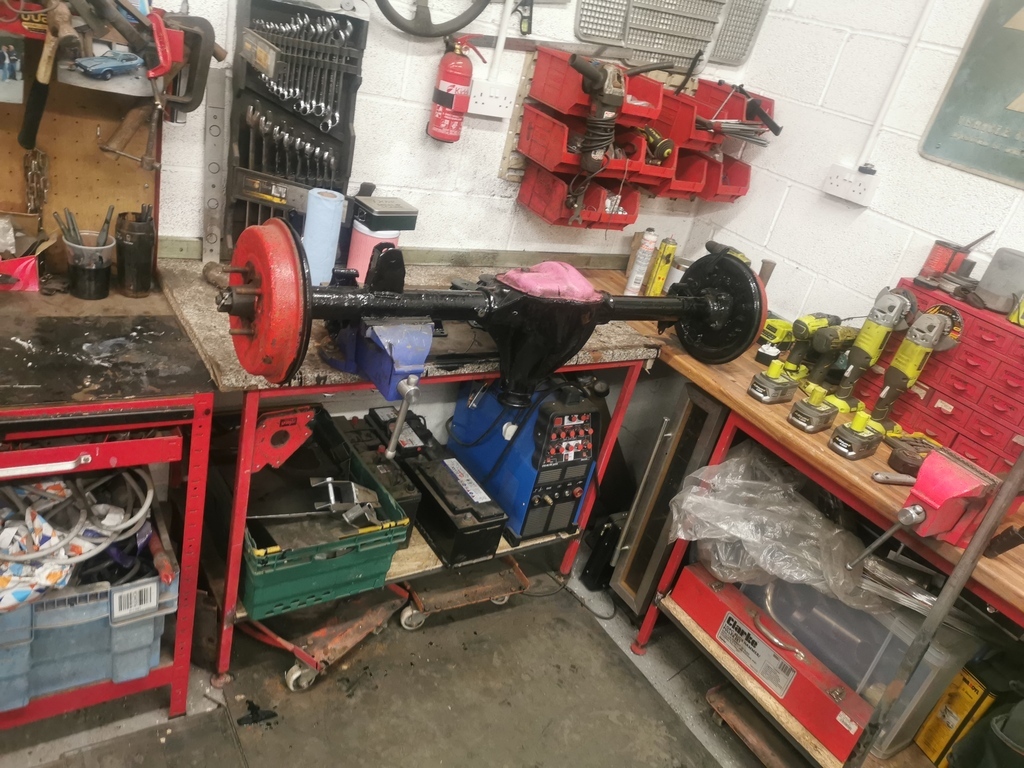 A bubble on the drivers outrigger was discovered, OFF SHE GOES AND A NEW ONE INSTALLED. 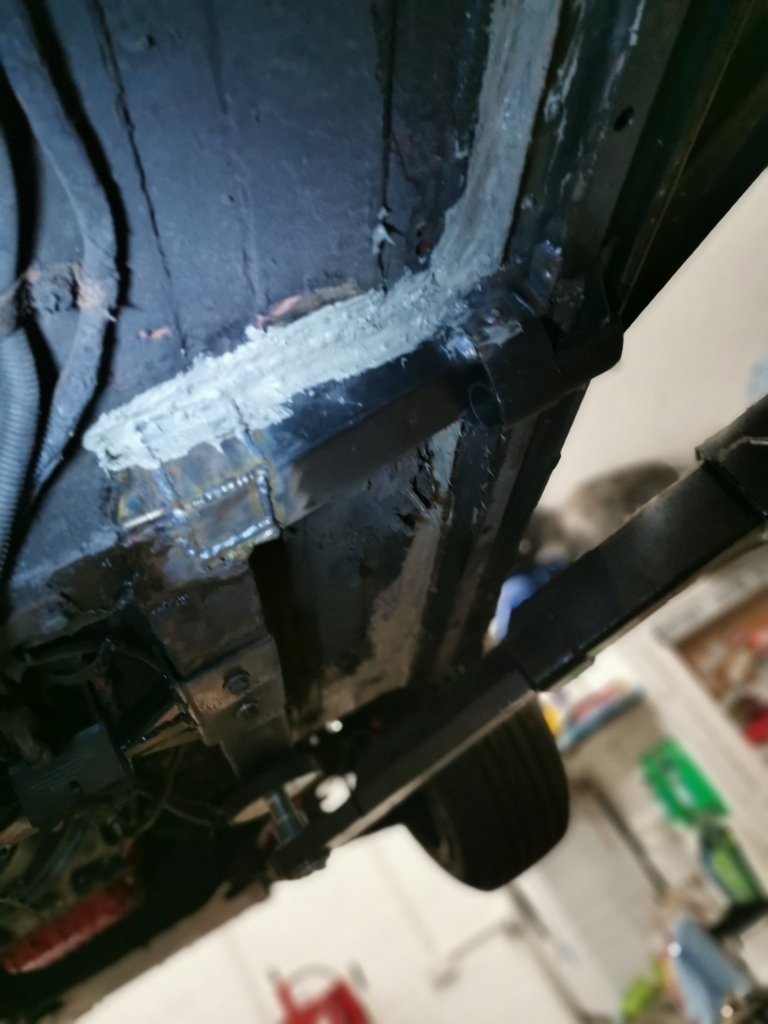 With all that power and an inability to perform RINNNNNNGGGGGGSSSS LAAAAAAAAAAAADDDD, my pocket took another hit. I'm not into drugs, but I'm into LSD :-p 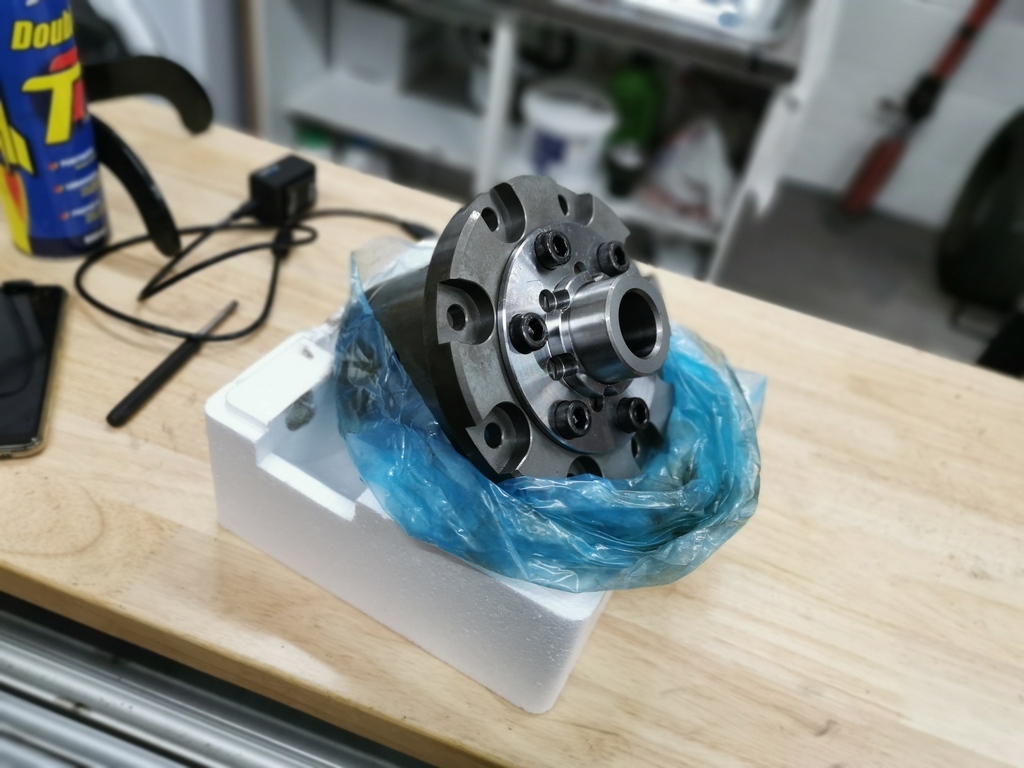 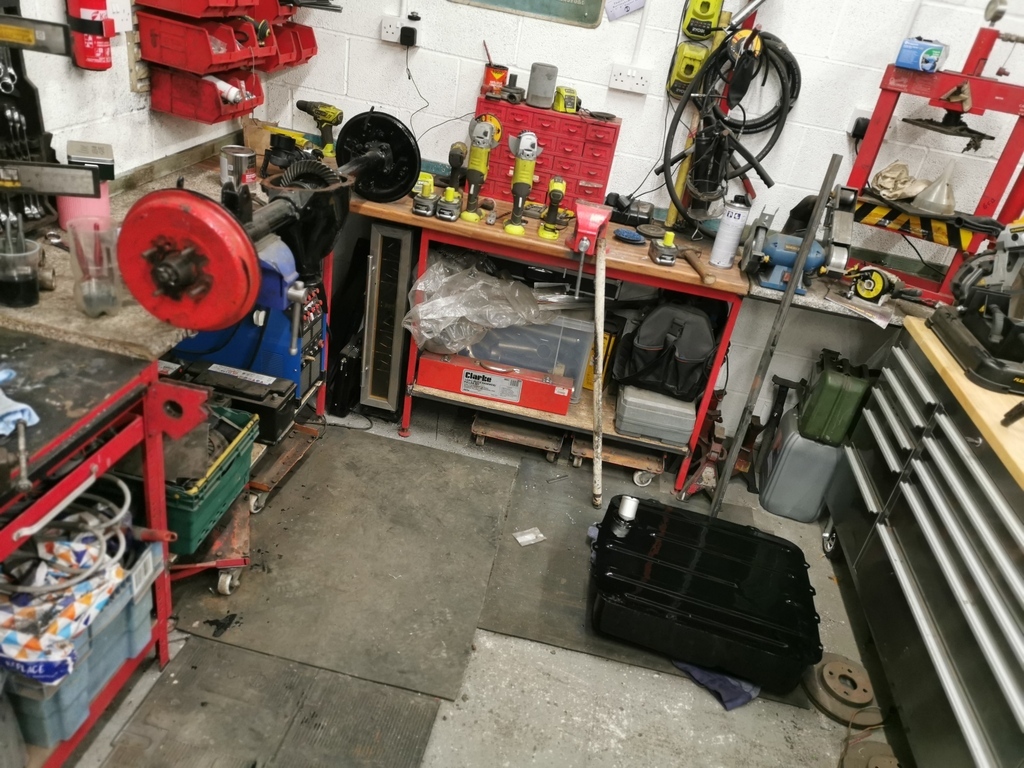 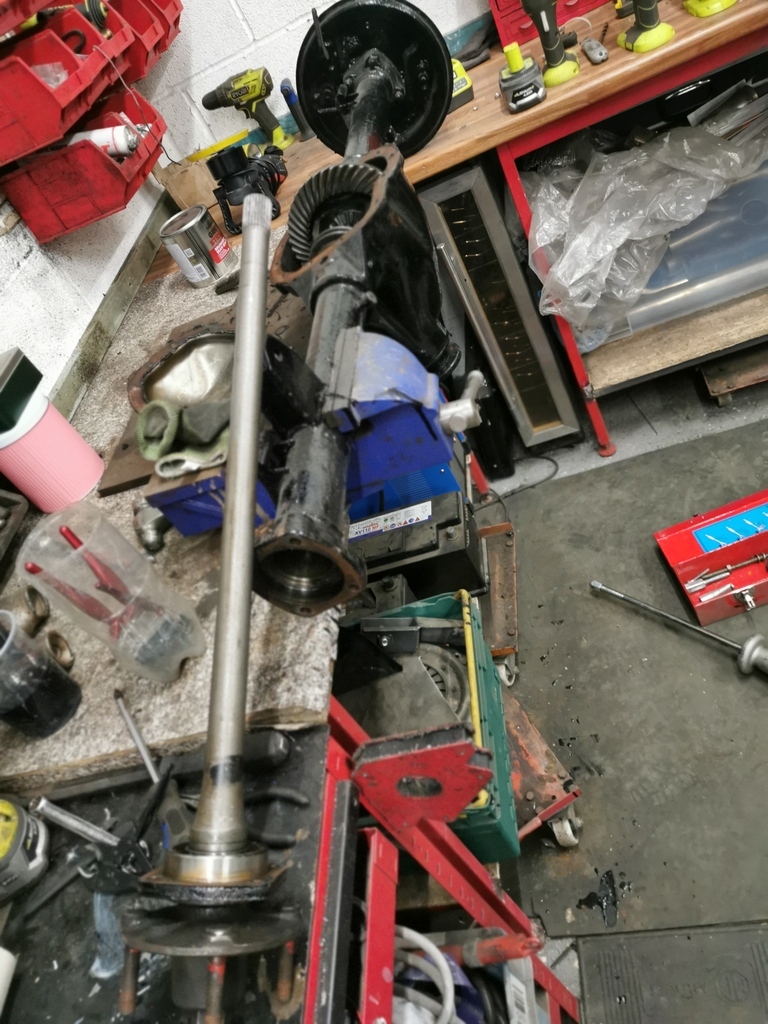 Axle needs checking for wear as I'm not slapping that LSD in if the CROWN and pinion are toast... I need a bearing THIS big.....or a hammer 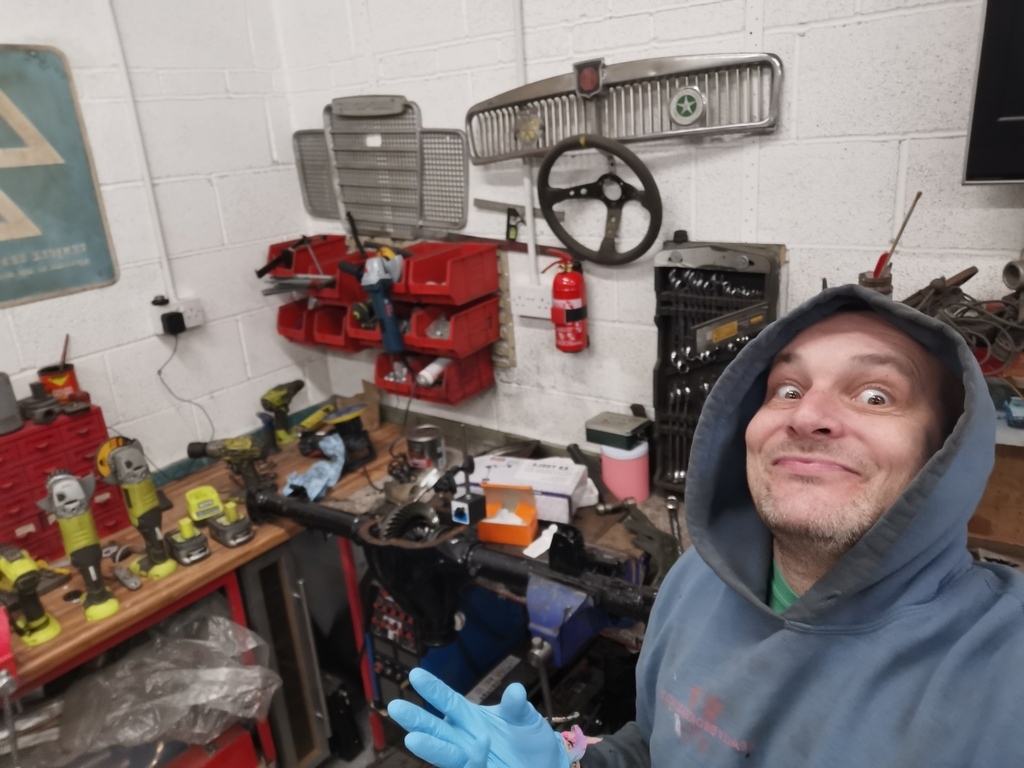 Lash was within the .010 noted on the CROWN wheel.....RESULT! Just awaiting on the bearing from the USA Anyone who's seen the car in the last 10+ years knows the paint was pretty past it :-) Let's cause a mess and bare metal the worst parts...MAD MAX Anyone? 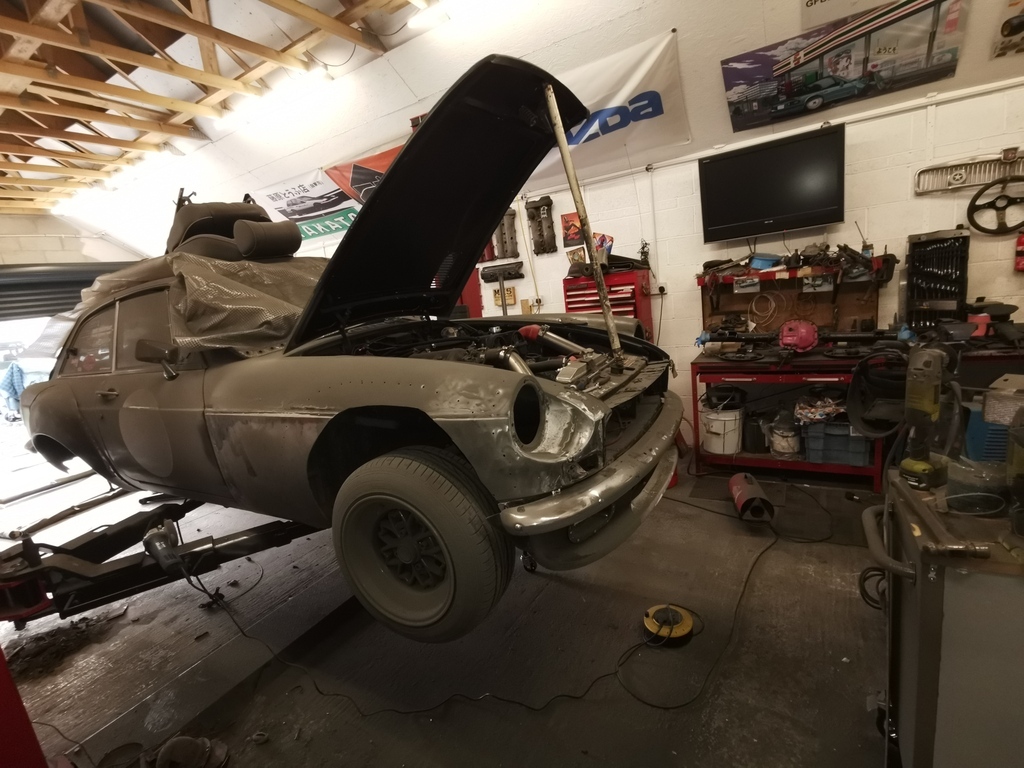 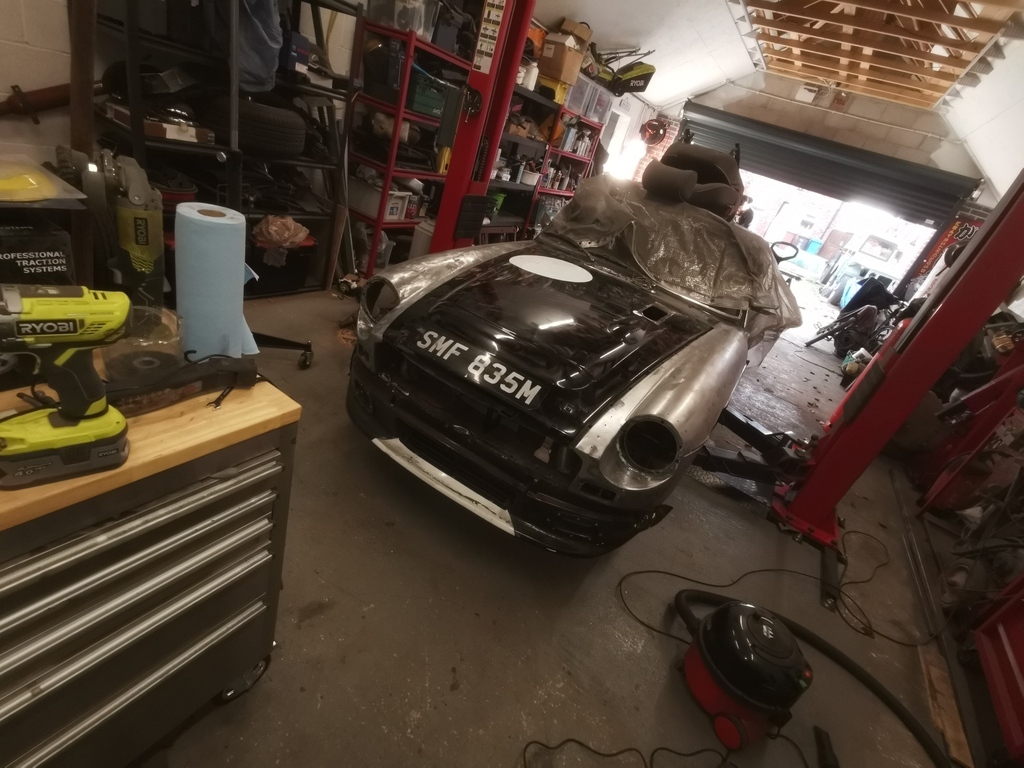 And we are now up to date. Enjoy! |
| |
|
|
Nathan
Club Retro Rides Member
Posts: 5,650
Club RR Member Number: 1
|
|
Feb 28, 2022 11:46:37 GMT
|
Update time. Looks like a lot of nothing happening I suppose, but I assure you it was a lot of work :-). The differential is done, well I hope! I've spent the best part of a month making sure the all the measurements are correct and to spec etc. 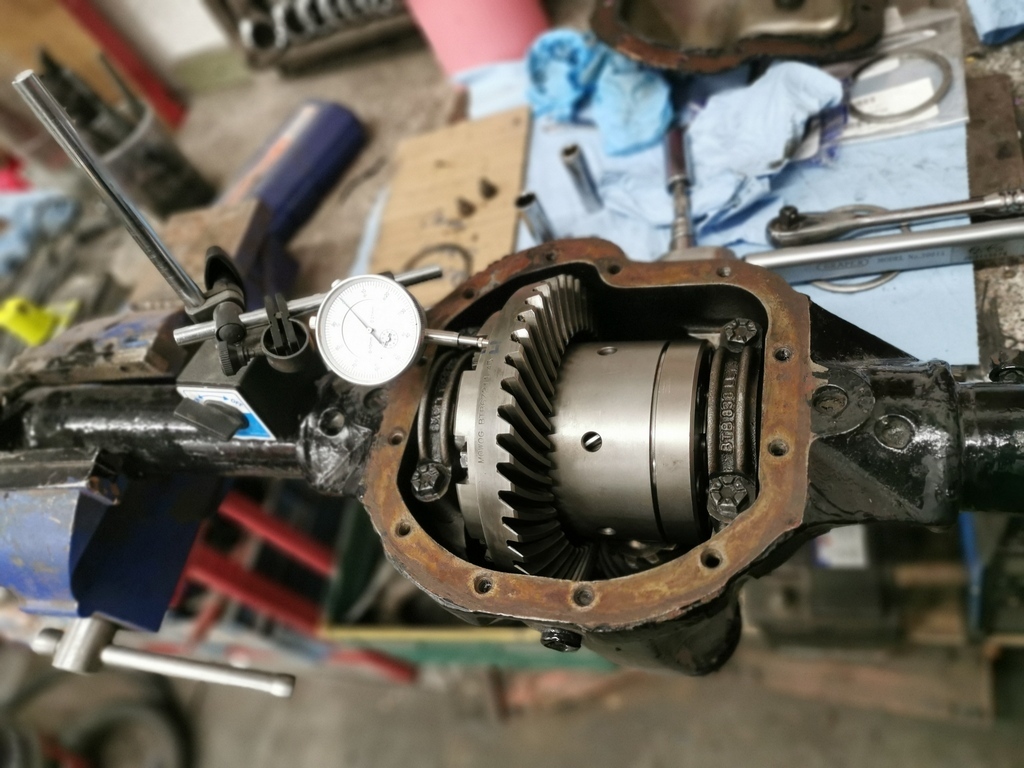 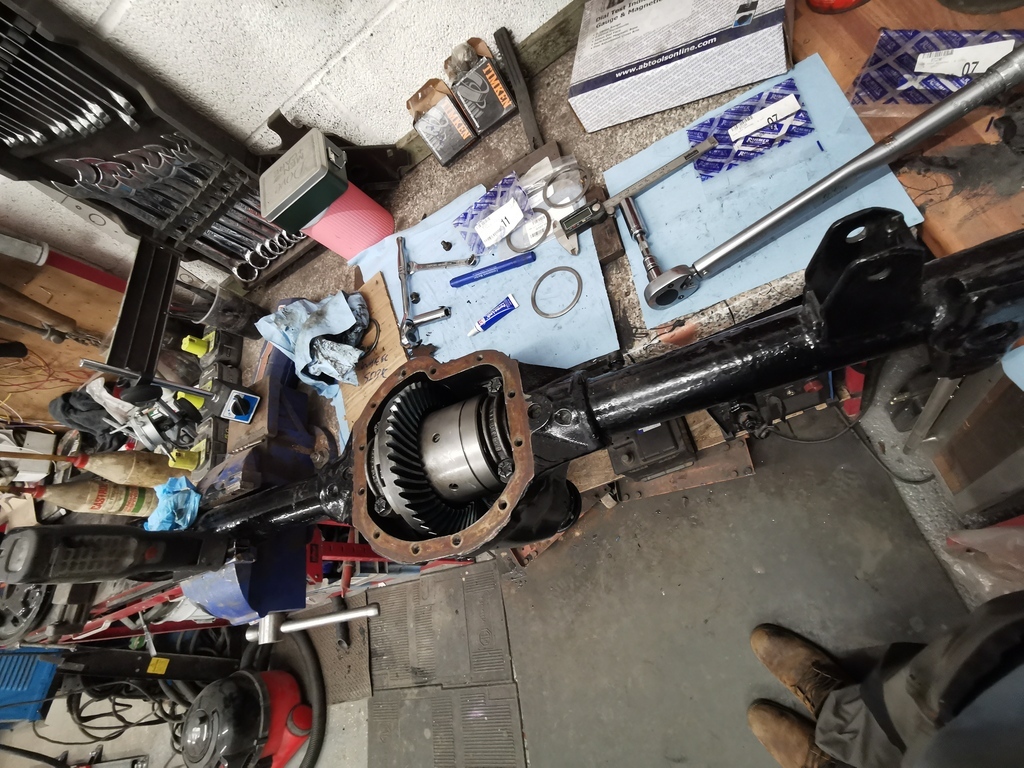 (Forgot to add this in the first update, prior to the axle removal) On the RRG hillclimb it became apparent that the axle was tramping pretty bad, the chrome bumper MGB's were never fitted with an ARB from the factory so due to this I needed to address the issue. 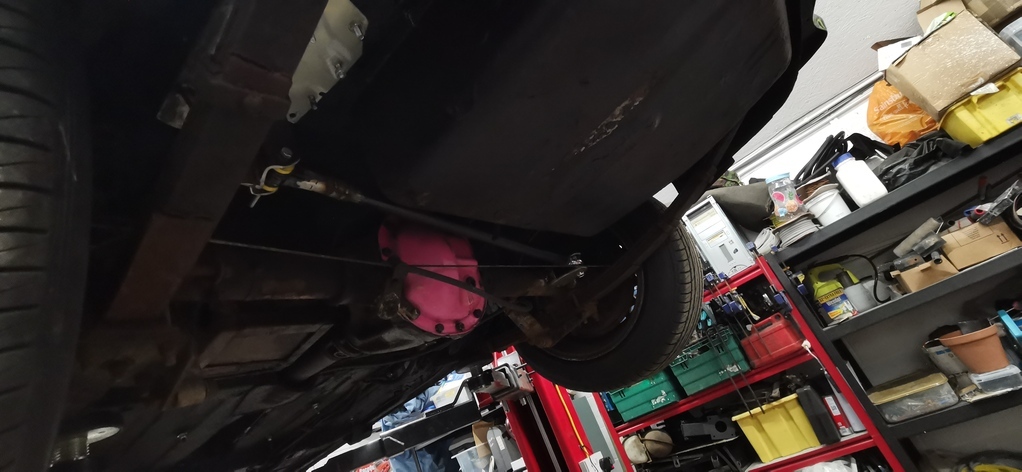 Whilst I was at it and the car was complete, some anti-tramp bars were built (seen here testing full extenion). 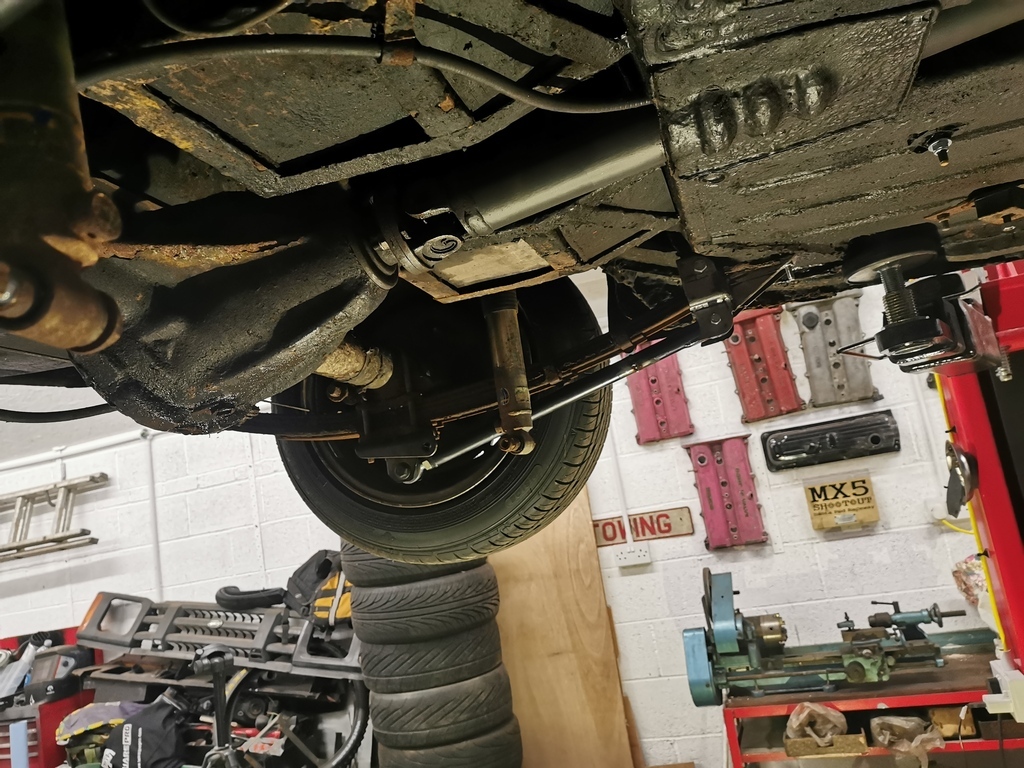 I am hoping this sorts the handling out, if not I'll ditch it all and built a proper 4-link kit then install coilovers! Axles pretty much built up, just need to add a new brake line and the shoes. Next will be paint, we can finally start putting it back together ;-) 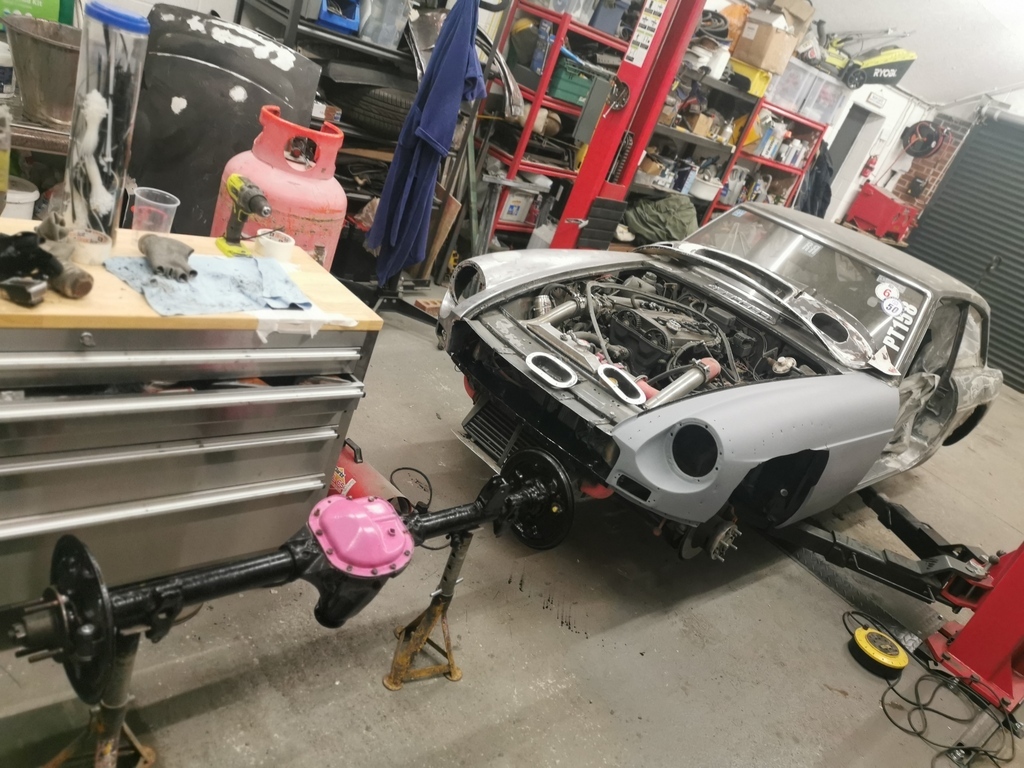 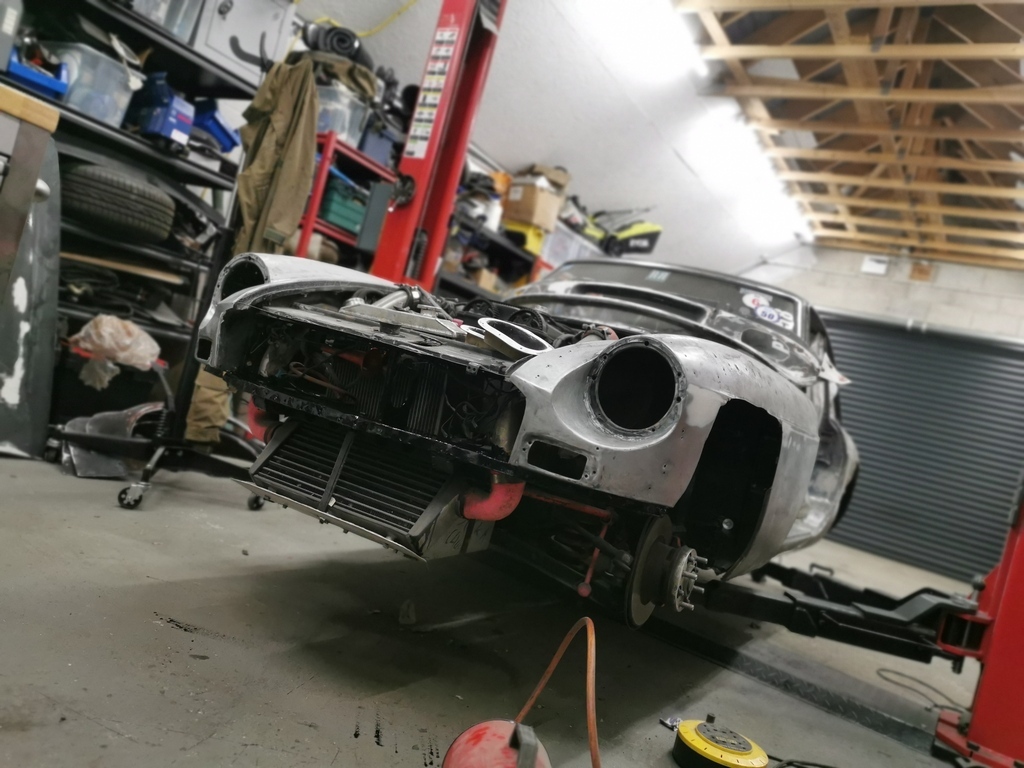 |
| |
Last Edit: Feb 28, 2022 11:48:17 GMT by Nathan
|
|
Nathan
Club Retro Rides Member
Posts: 5,650
Club RR Member Number: 1
|
|
Mar 15, 2022 10:12:23 GMT
|
Update time! With the workshop be a quite a bit warmer than the outside temps (plus being able to gold the heat), I thought best to get on with the "BackYard Paint job" ;-) Refittied the front end as it makes for easier spraying, it really does need replacing now though (battered is an understatment). 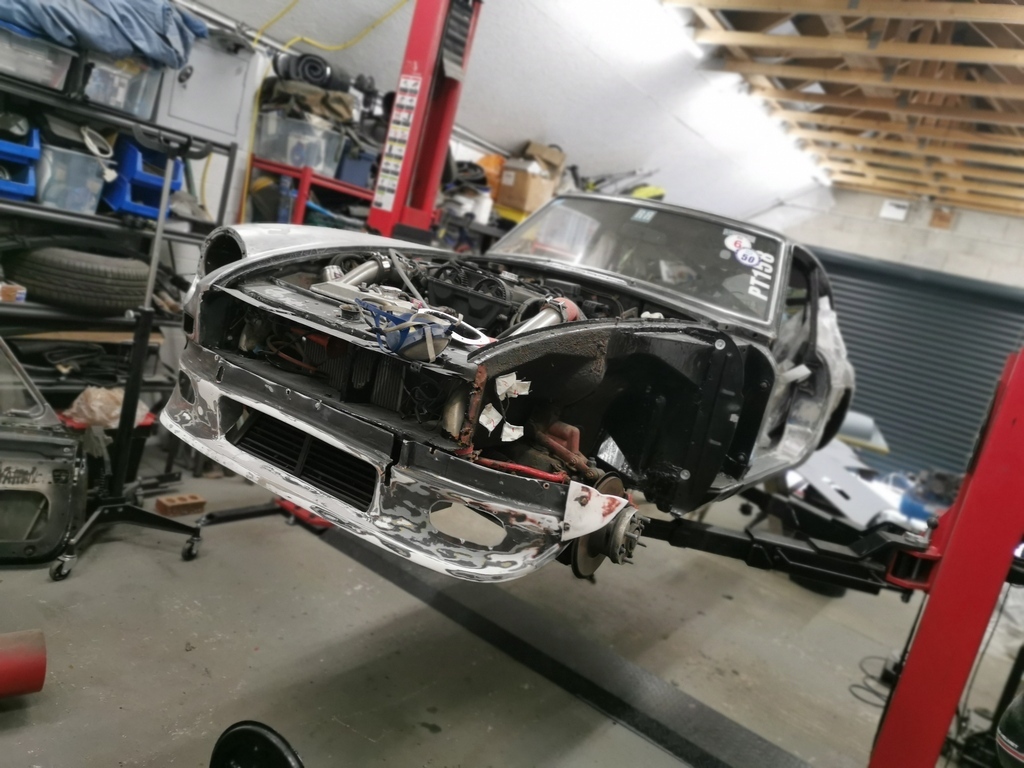 Time to Prime 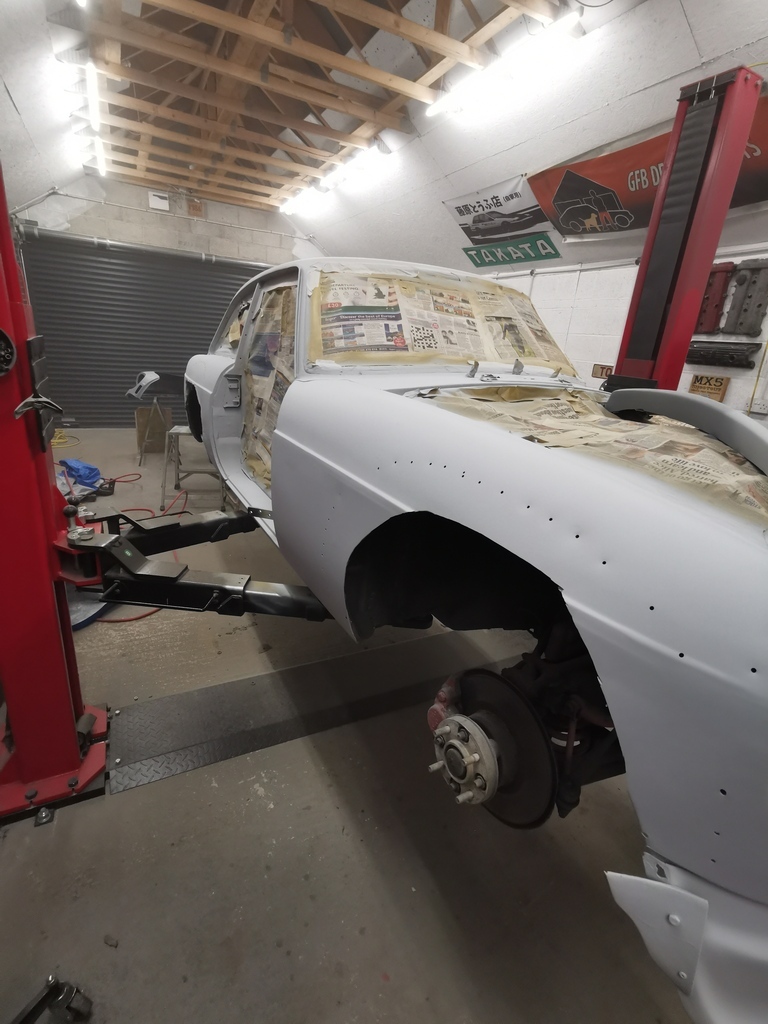 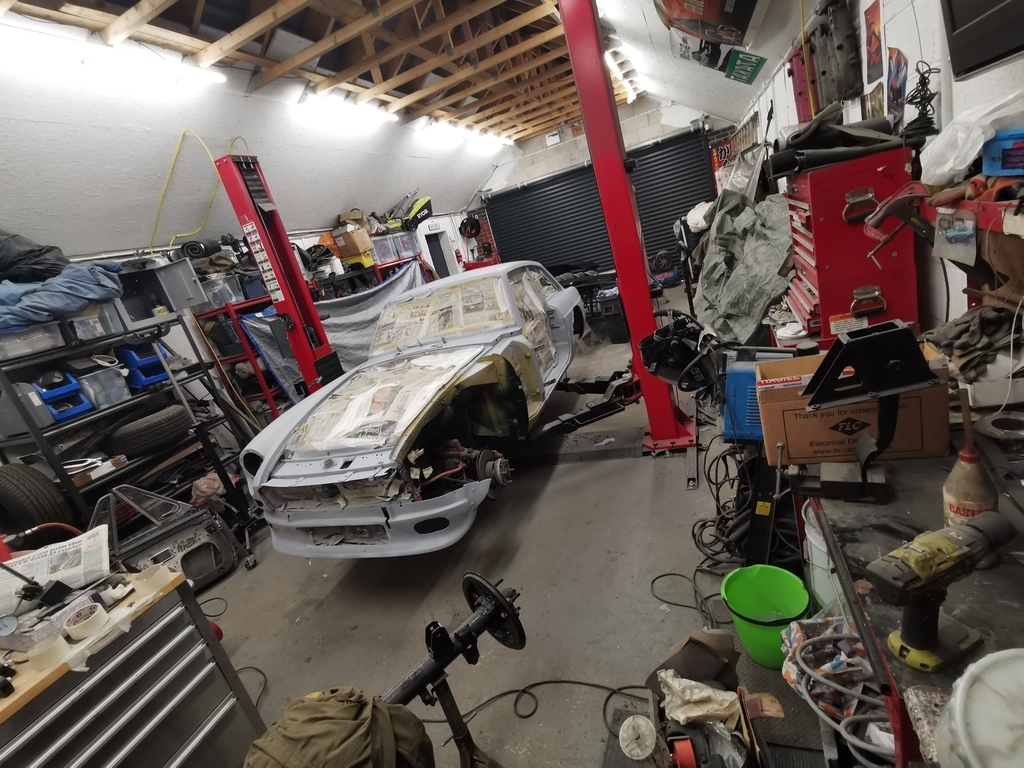 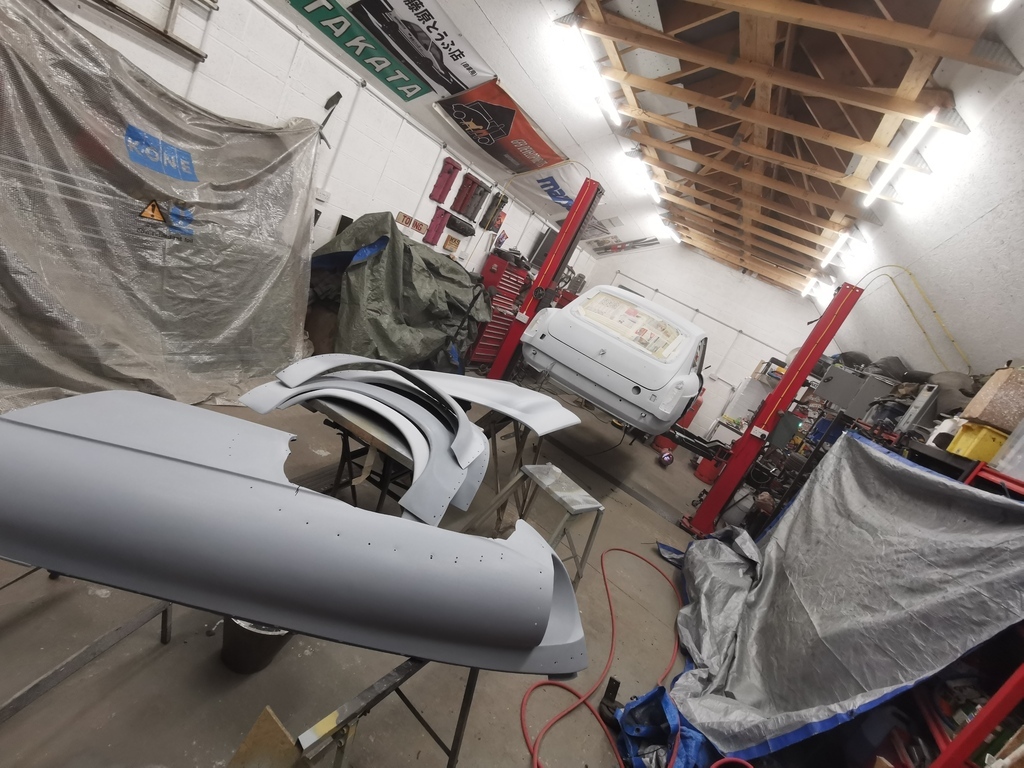 Fast forward about a week, guide coat. 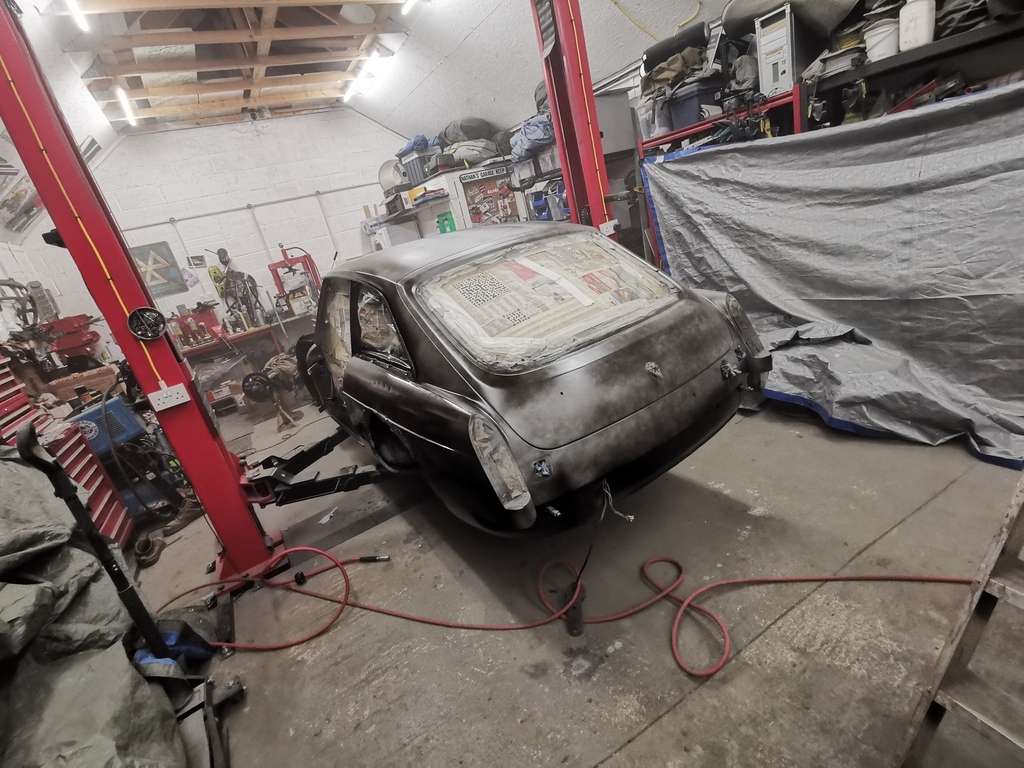 Following day it was all go! 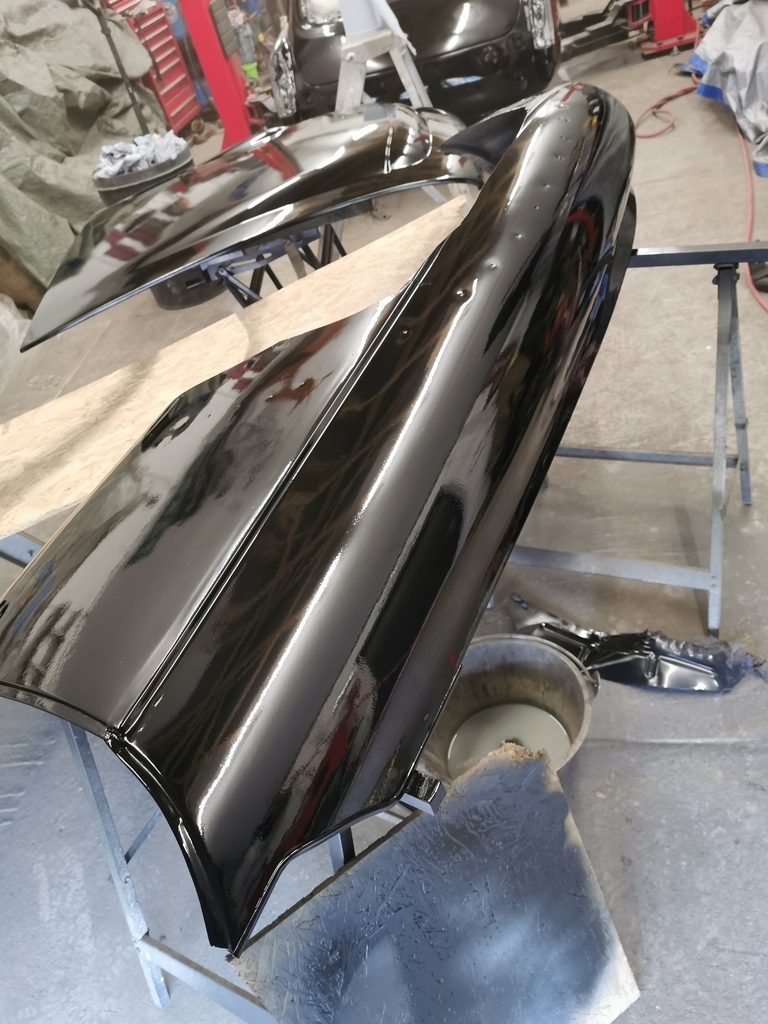 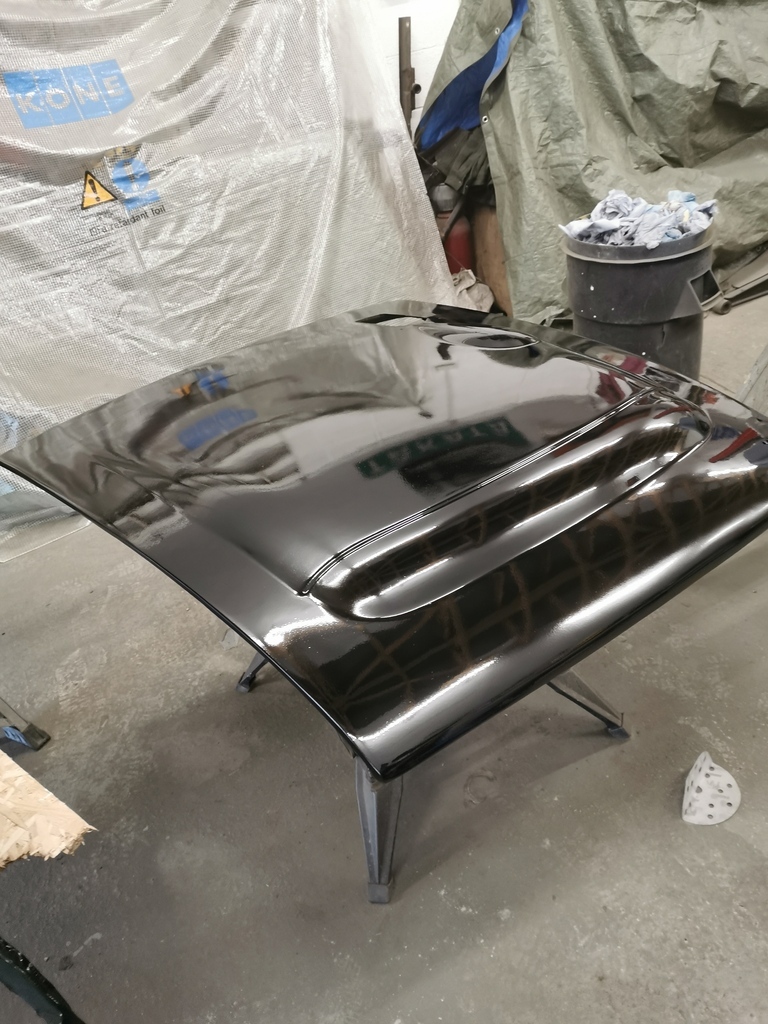 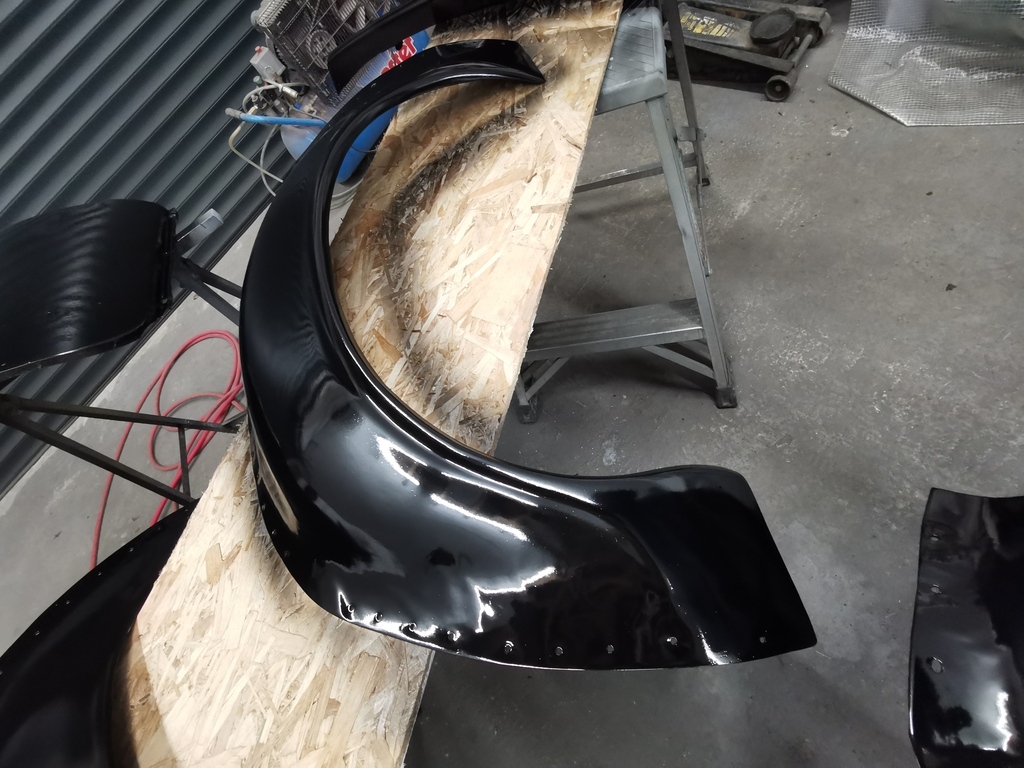 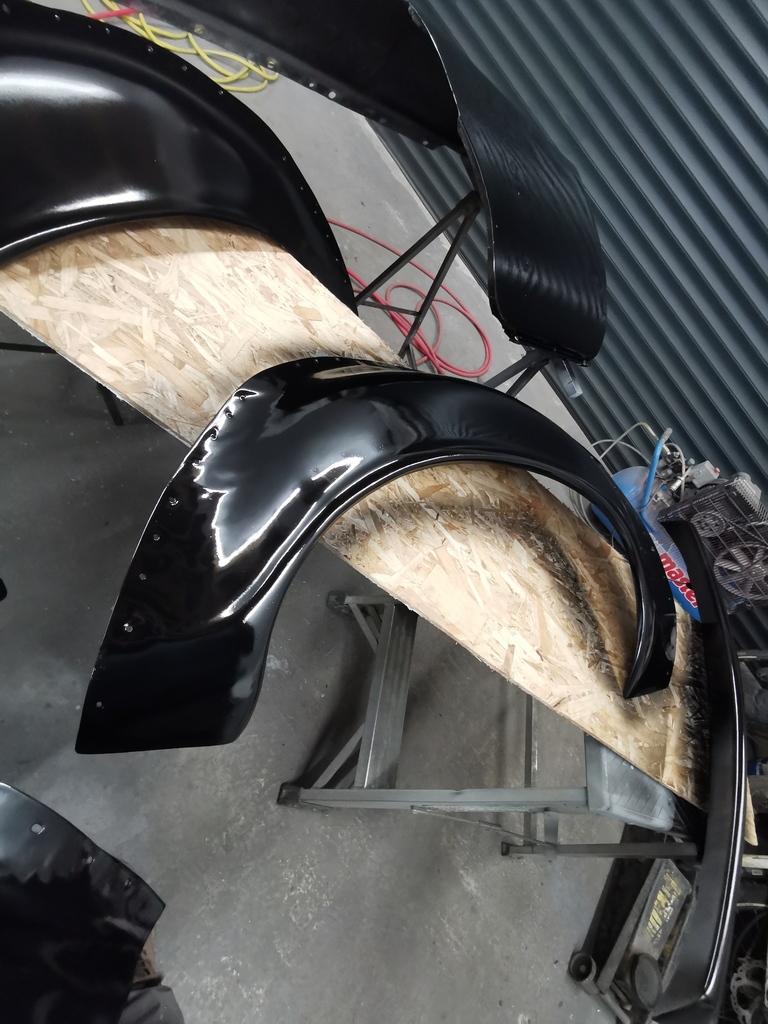 As it looks this morning with the bonnet placed on. The drivers wing needs another coat I think, but I've got the doors to isolate and prime before that. 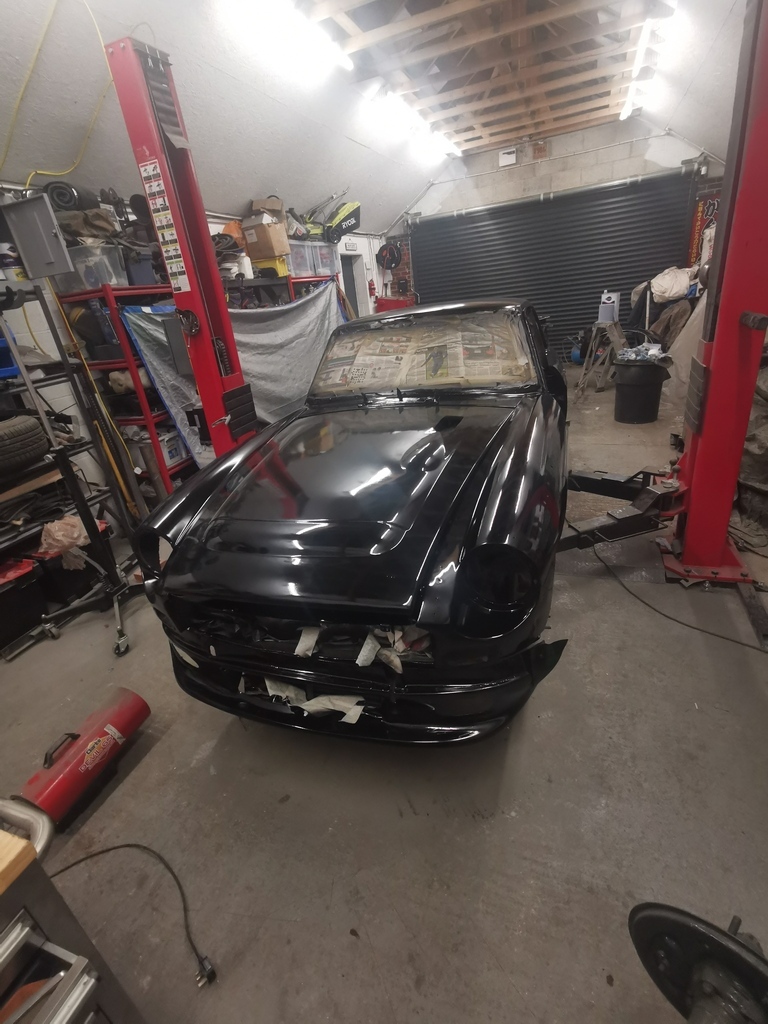 The old paintwork was very very tired and cracking on the wings (hence the bare metal), so I'm quite cuffed it no longer looks scruffy......until I drop tools on it again ;-). It obviously needs cutting and polishing but at least it's a better start. |
| |
|
|
|
|
|
|
|
Mar 15, 2022 16:11:30 GMT
|
|
Ah man, this is absolutely mega!
The workshop is mint too, makes a hell of a difference having a nice place to work on the car. My dusty cow shed will do me for now though haha
Looking forward to seeing the car back together!
|
| |
|
|
|
|
|
|
|
|
Love this! Perry Stephenson ran 10 sec passes at the Pod with the same rear end as you have, so should be OK. Have another friend with a turbo T16 in a BGT, it's a hoot too. I converted the Yellow Machine to a 4 bar and coilovers, but it's a different animal.
|
| |
Nuttier than squirrel sh...
|
|
|
|
|
Mar 16, 2022 10:35:31 GMT
|
|
Still so much love for this, fresh paint is such a nice feeling too!
|
| |
|
|
Nathan
Club Retro Rides Member
Posts: 5,650
Club RR Member Number: 1
|
|
|
|
Time for another update then yes? So the bulk of the painting had been done at this point, apart from the doors......Oh the flipping doors! 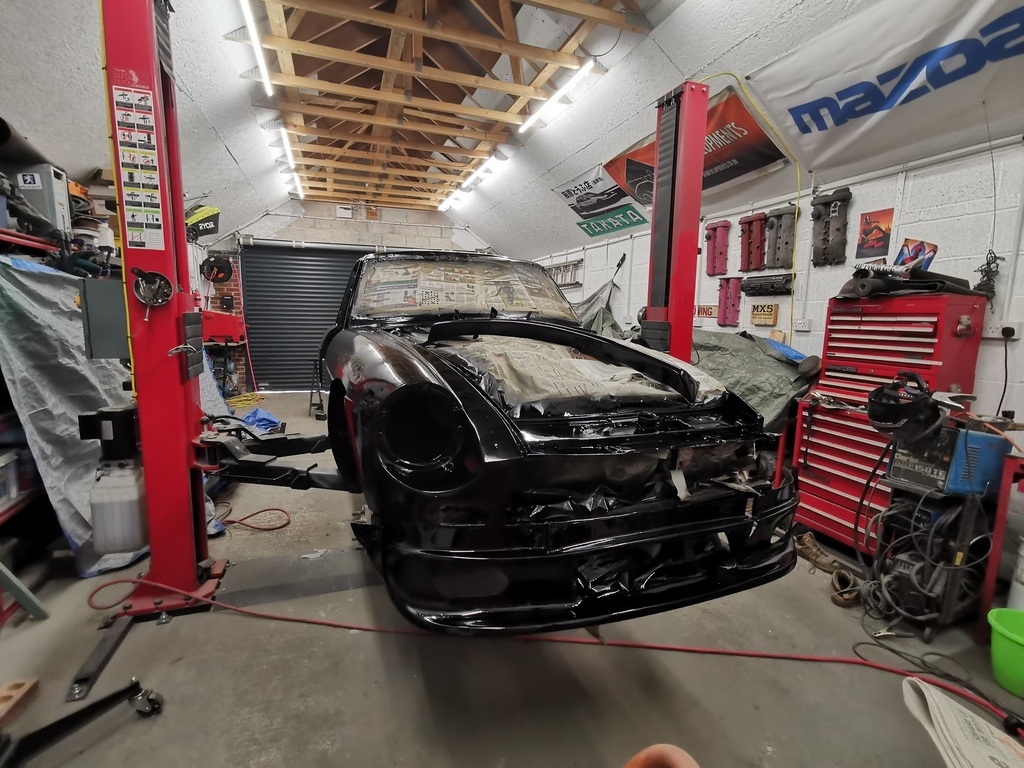  Long story short, I think some areas of the isolator were thin so when it was time to top coat them it started to react. To be honest as soon as I saw it the paint removing disks came out and I stripped them to bare metal. As you can see, this was not without it's issues. Beauty of this thread is it's so old I can see what I did years ago! Someone (not me) had repaired the door at the top on both ends, still not quite sure why so this meant the filler was back out (I hate filler dust). 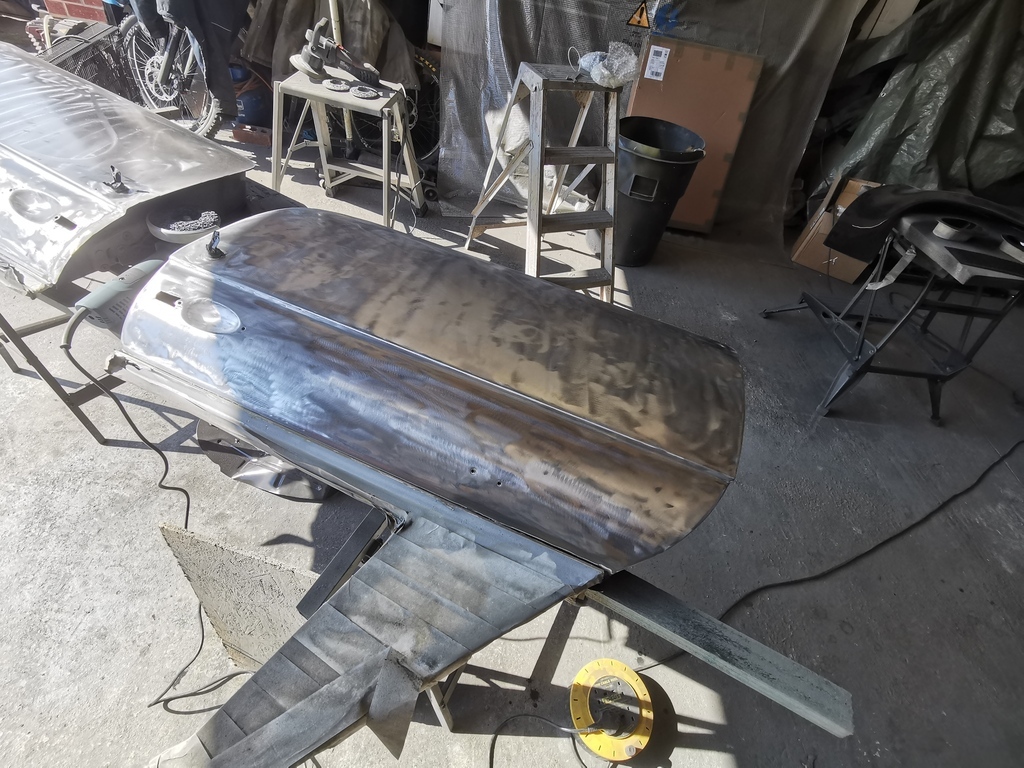 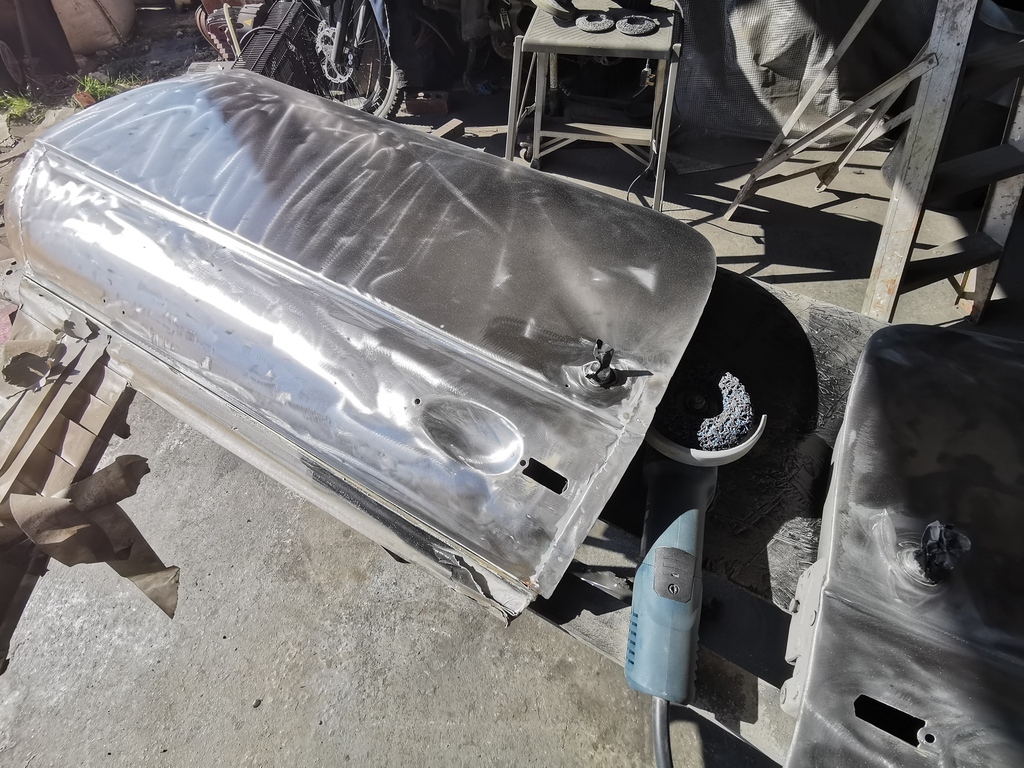 Etch and filler primer. 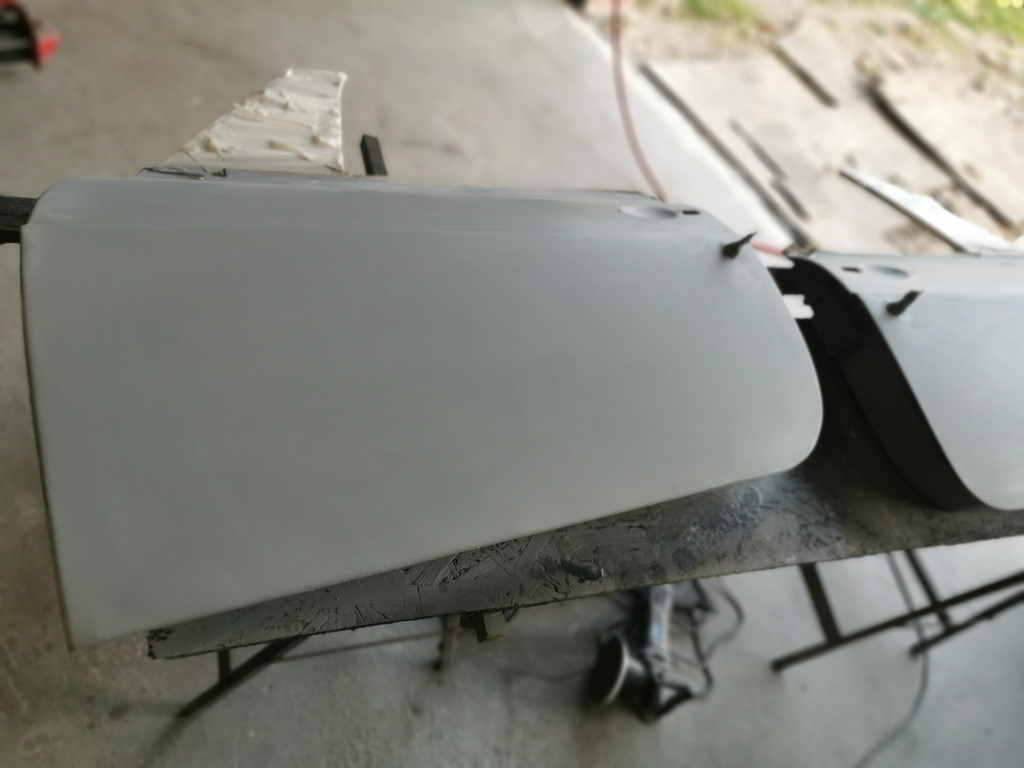 Glad I repainted them now, a little orange peel but that will come out soon enough. 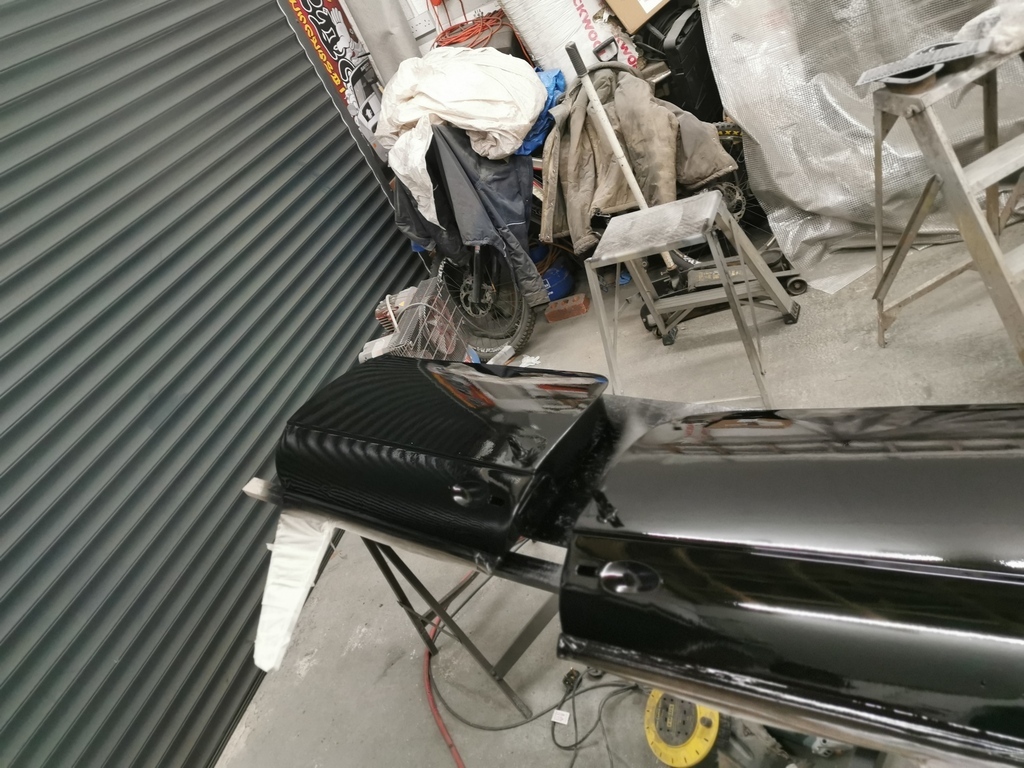 Back on with the fish-mouth and the new springs (the Springs were possibly the whole cause for all this work!) 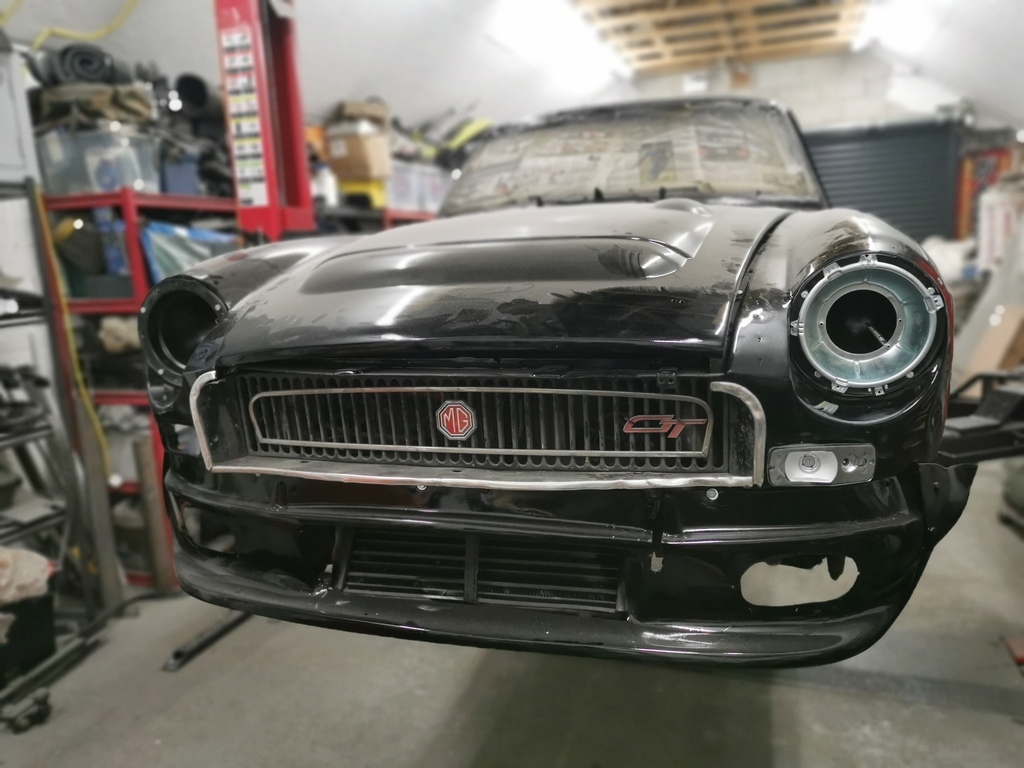 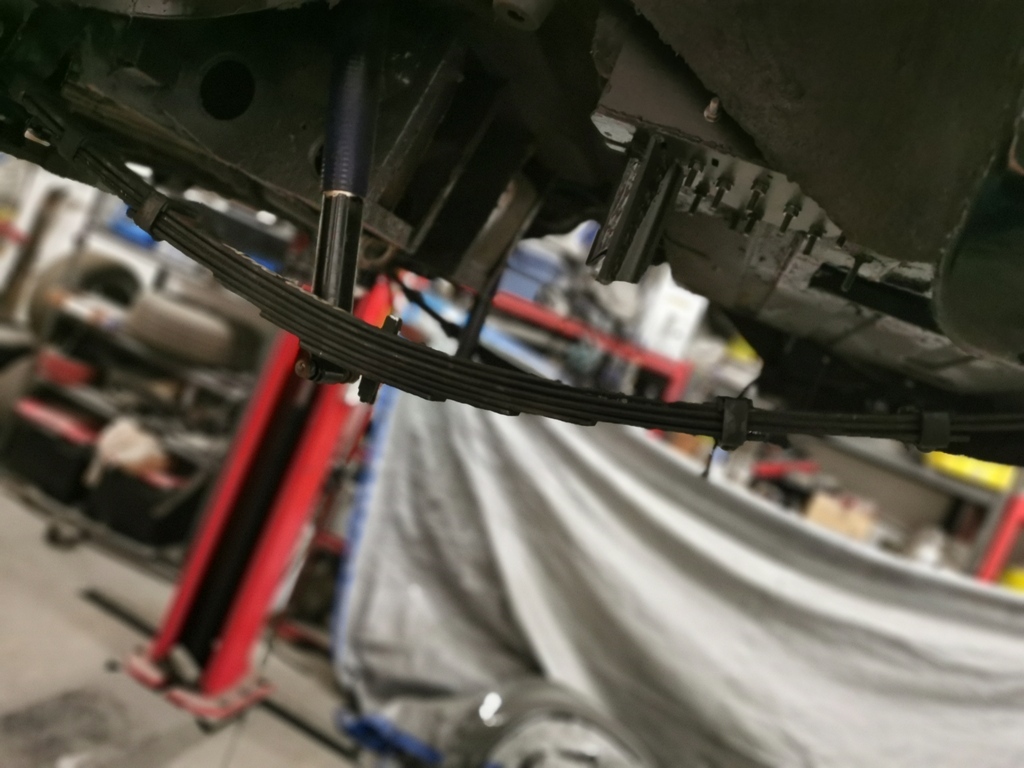 Front arches next 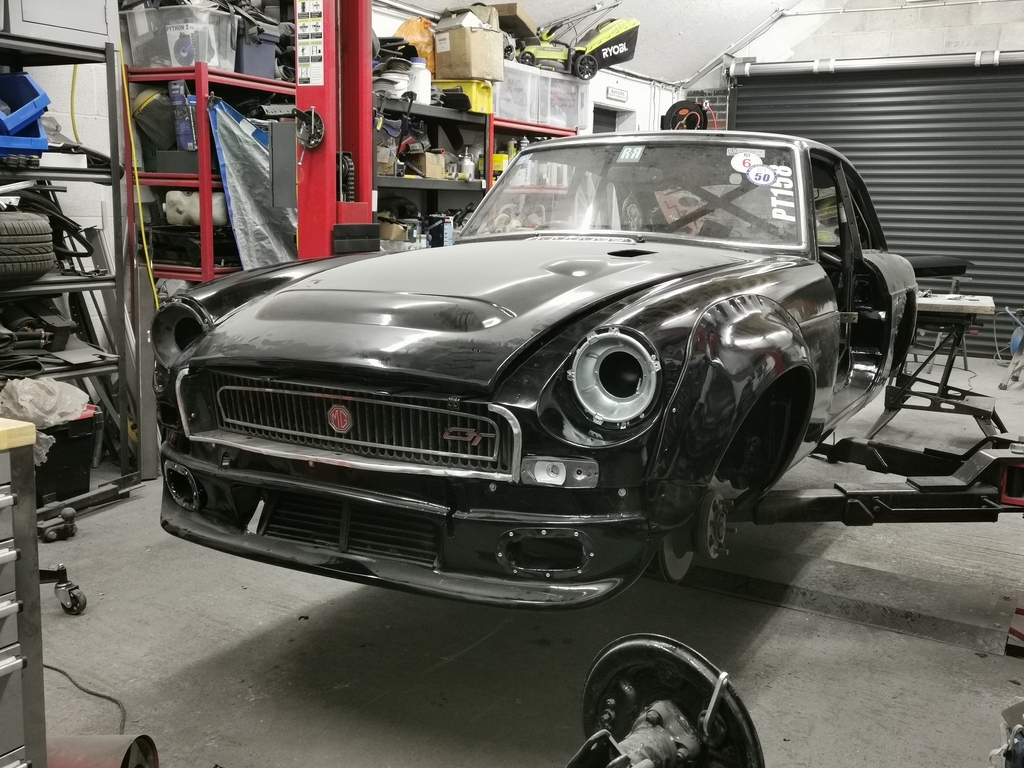 Fogs 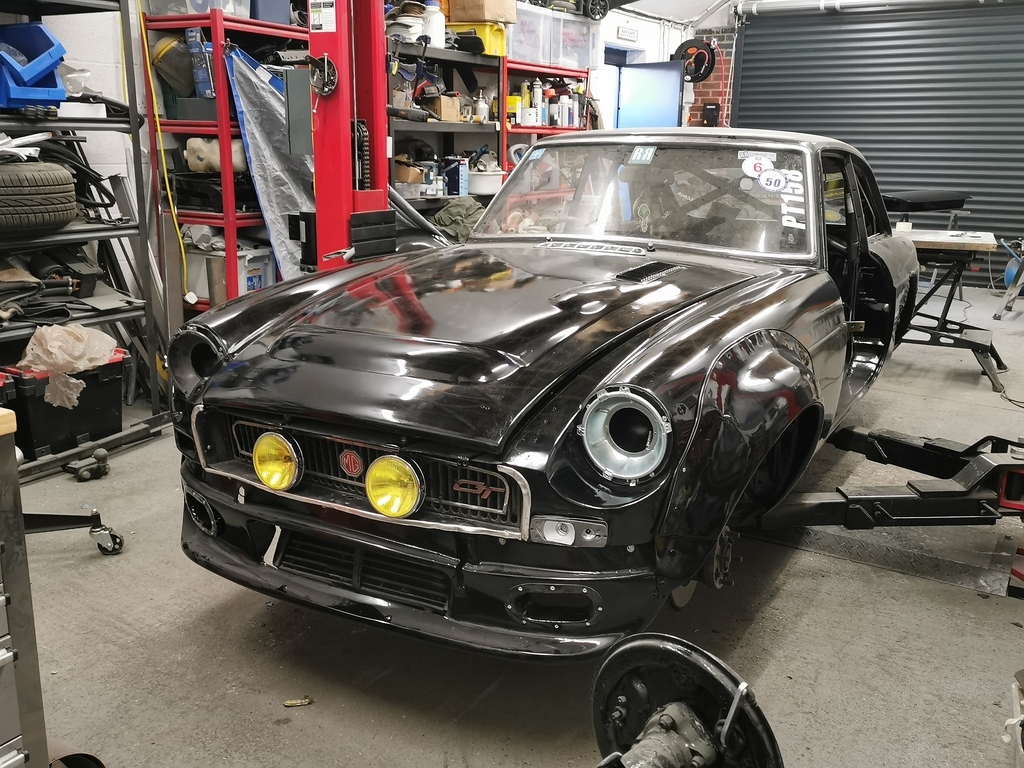 Rebuilt axle, this was where the lift made things so much easier :-) As is always the case, the front to rear brakeline snapped. The rear axle feed was OK but whilst it was like this there was not point not just remaking the lot! 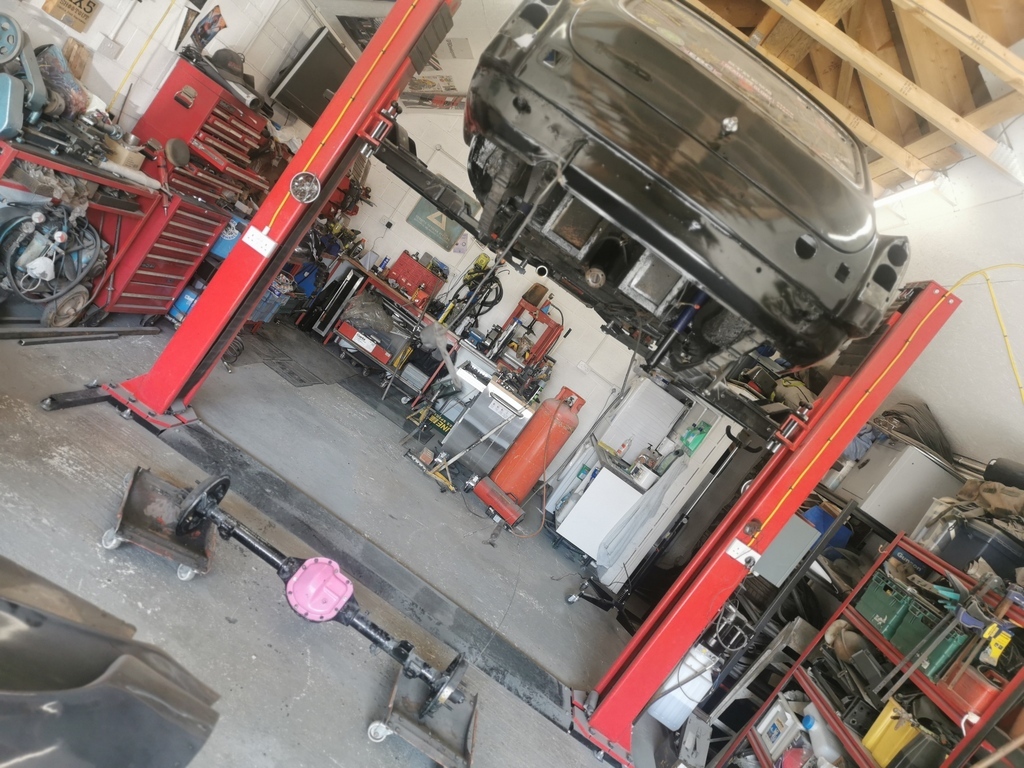 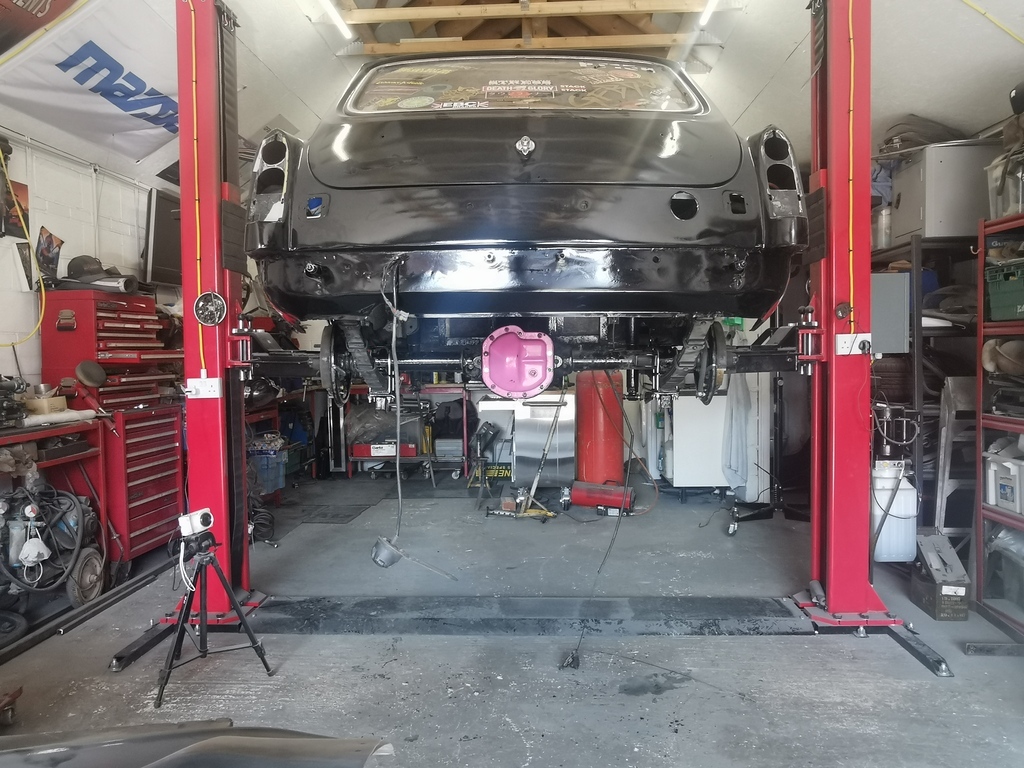 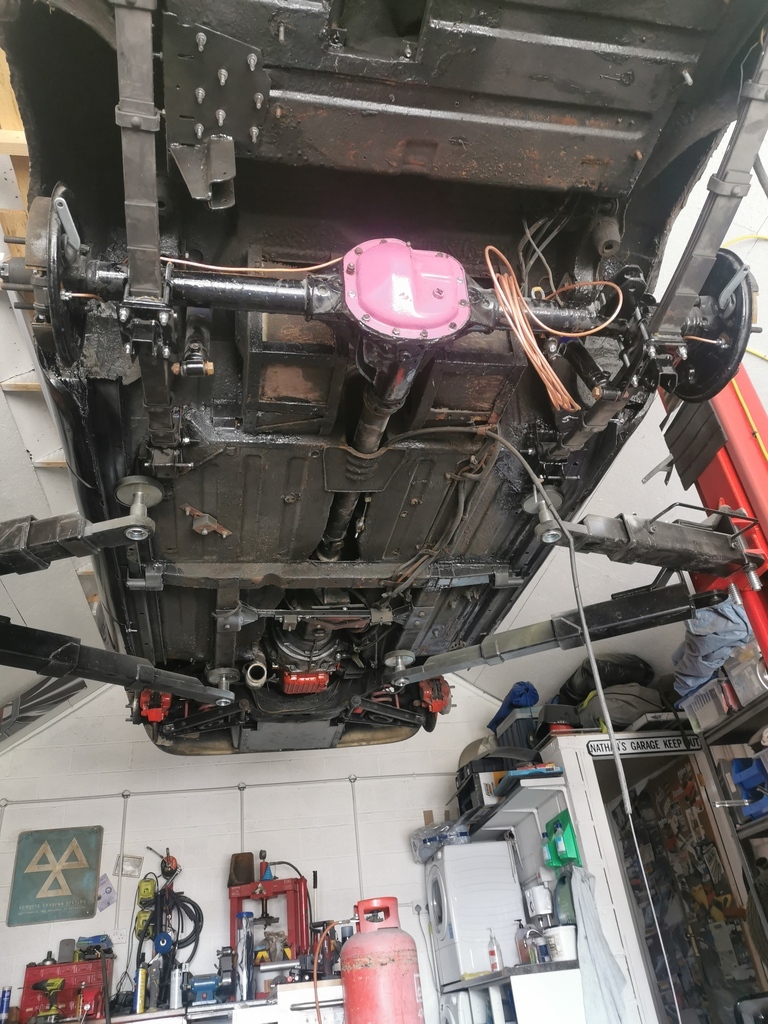 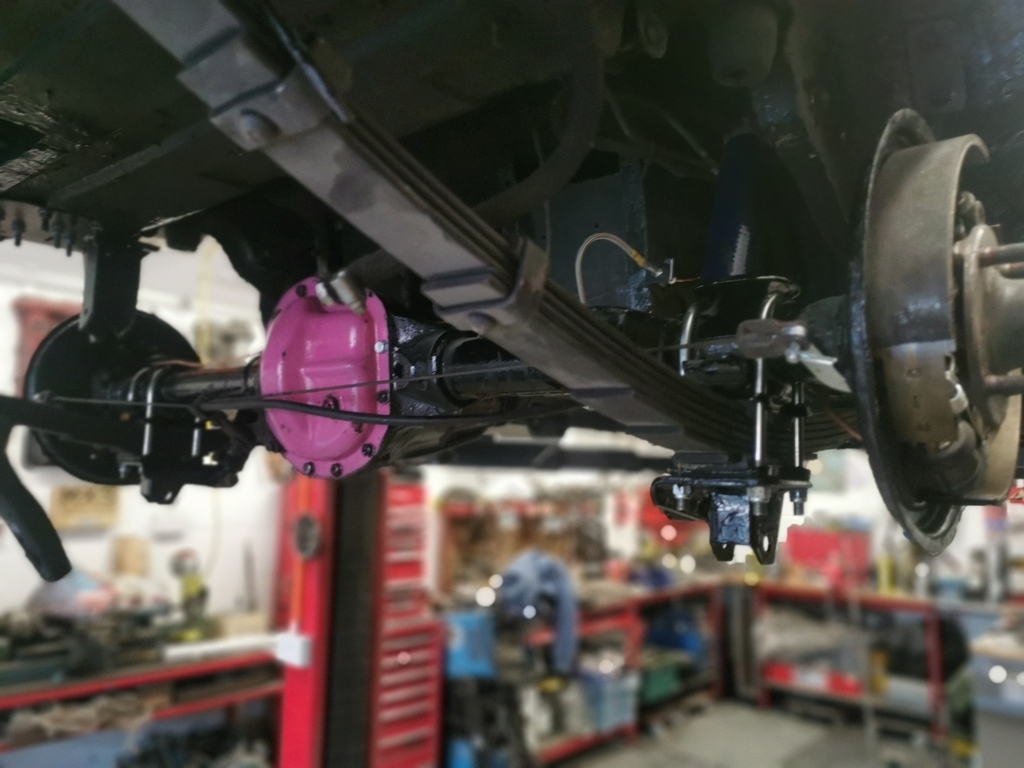 Rather late finish in there last night, we now have brakes though! 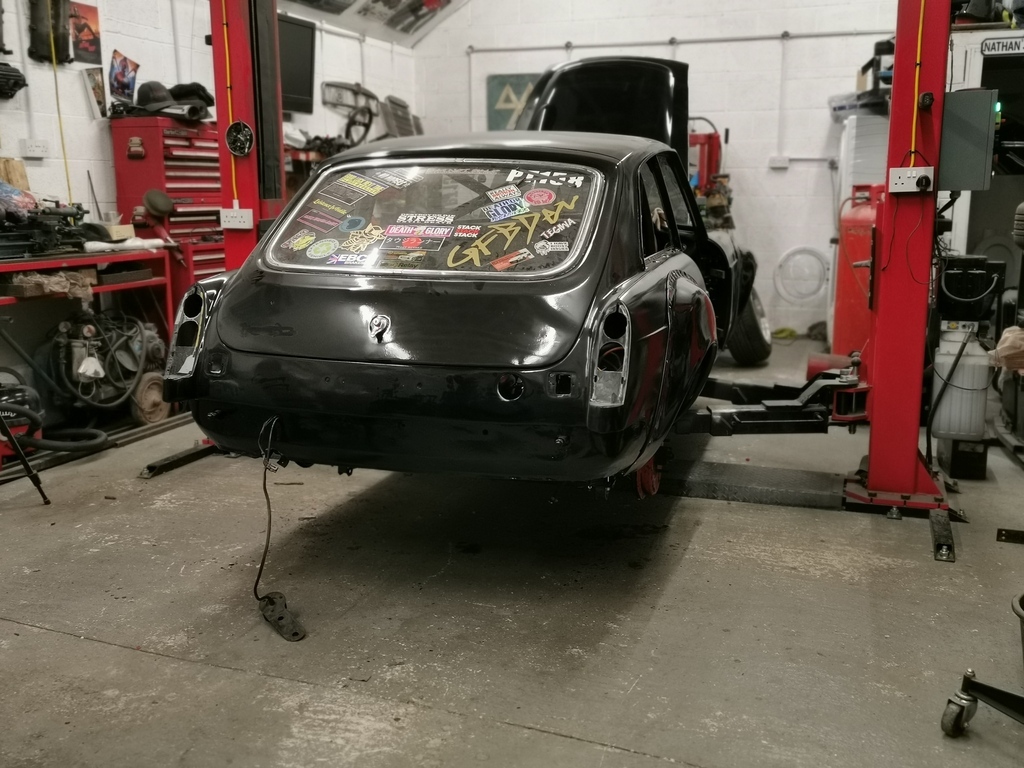 The inside it ditched with all the dust, so that need addressing before the rear windows and doors get installed. Once that is done I can at least put the wheels on and roll it out for a clean, also cant colour sand and glaze until it's a sealed unit. Until the next time...Cheers. |
| |
|
|
adam73bgt
Club Retro Rides Member
Posts: 5,015
Club RR Member Number: 58
|
|
Mar 29, 2022 10:03:48 GMT
|
|
Nice work! I've always really liked your B, will be great to see it all back together and refreshed 😊
|
| |
|
|
Nathan
Club Retro Rides Member
Posts: 5,650
Club RR Member Number: 1
|
|
Mar 29, 2022 10:30:33 GMT
|
Nice work! I've always really liked your B, will be great to see it all back together and refreshed 😊 Thank you Adam that means a lot. You and me both :-p it was only supposed to be a small refresh. |
| |
|
|
Nathan
Club Retro Rides Member
Posts: 5,650
Club RR Member Number: 1
|
|
Apr 11, 2022 14:06:57 GMT
|
Update time, it's starting to look like a car again. Added a reverse spotlamp simply because I like the look of it :-p 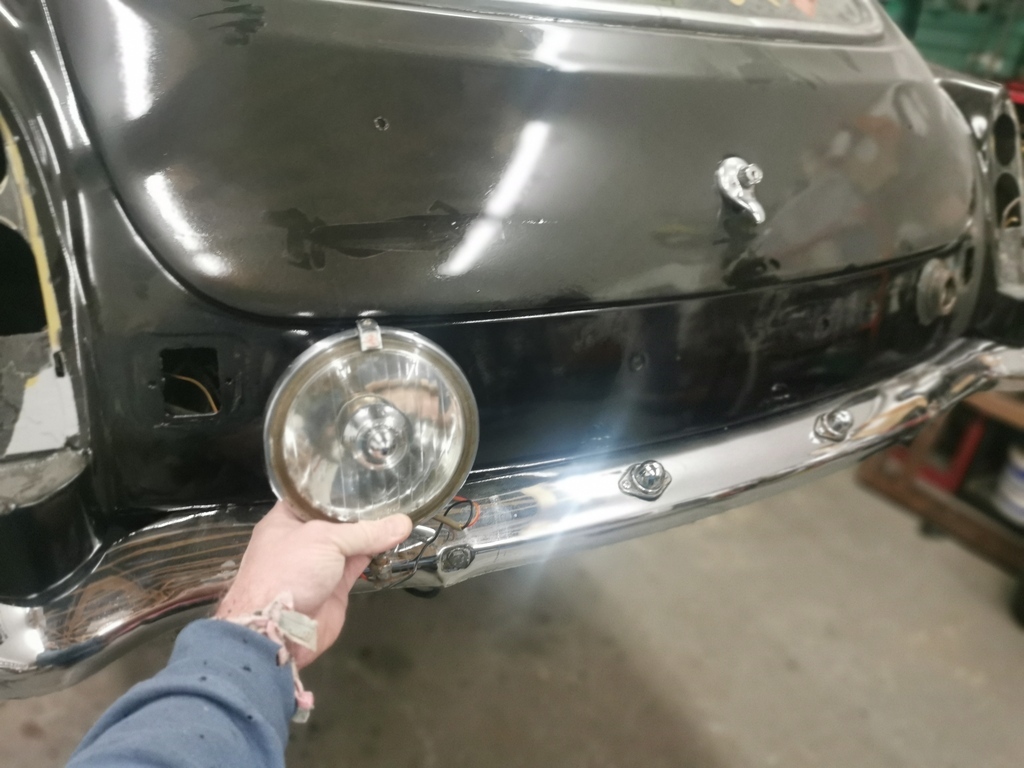 Lights fitted and to my surprise the only item that needed work was a single numperplate bulb! TBH most of the connectors are now Tyco type as the Lucas bullet ones are rubbish to say the least 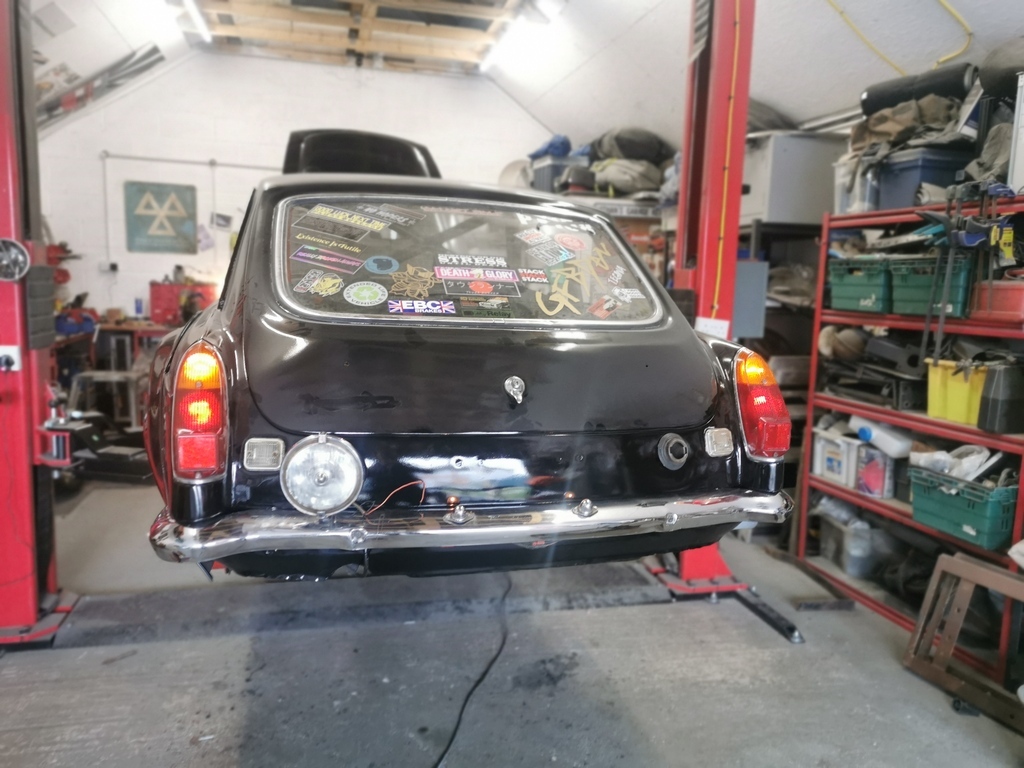 Back in November when I had the blow heater on it melted a cowling cover, so a new pair were purchased. 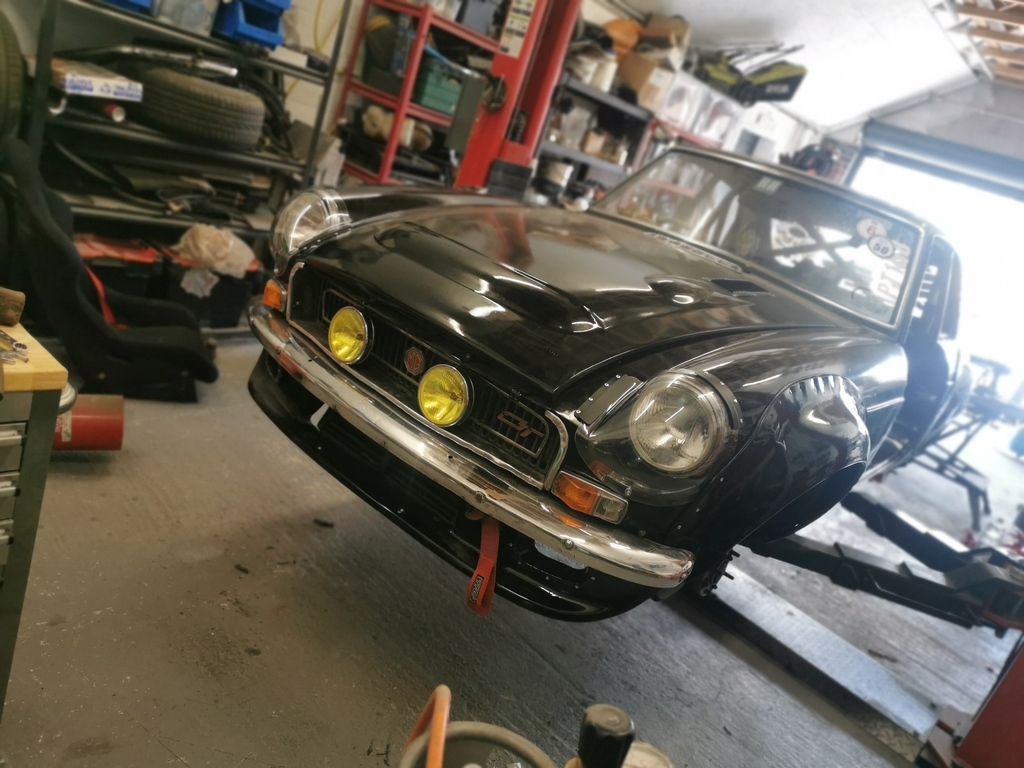 As of last night the interior is back in, windows and doors fitted. I did fire her up in the afternoon and it was as if it had never been in bits (I'll put that down to the JDM part :-p). Put it into gear and checked the diff for no obvious noises, I know that isnt a proper test but if something drastic was wrong it would save a bit of time. All I awaiting for now is a replacement front numberplate and I'll then test the diff out. 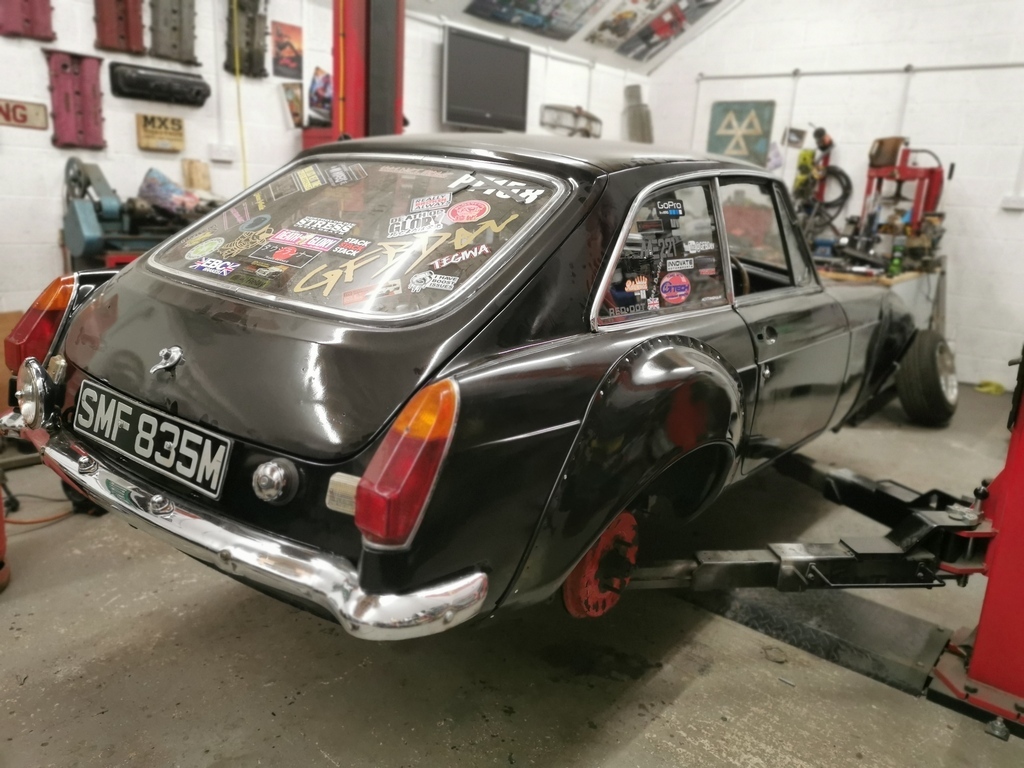 |
| |
|
|
Nathan
Club Retro Rides Member
Posts: 5,650
Club RR Member Number: 1
|
|
Apr 19, 2022 11:54:52 GMT
|
The Man from the Ministry hes says ........ YES! Well lets be honest it would have been something small if it had failed, after all that work! I will admit, it was a nervous drive. 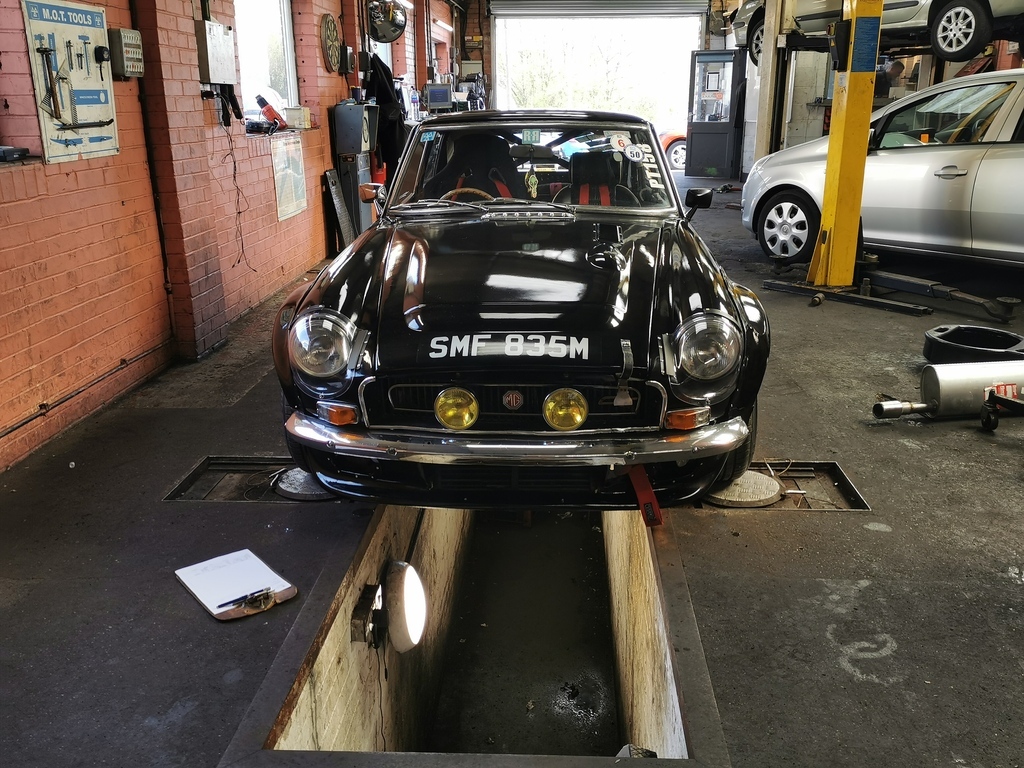 One thing that I was not happy with, the bucket seat! It's just too upgright and with no adjustment, so the leather seats are going back in. Not a bad place to be. 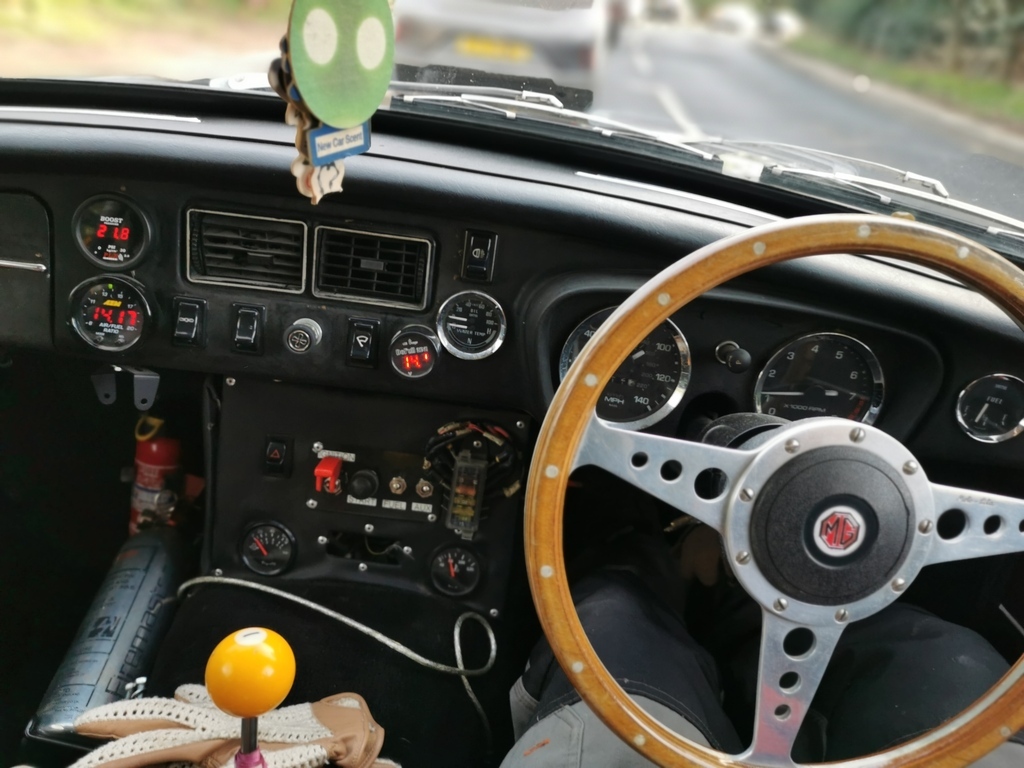 Much better and in keeping with the theme. 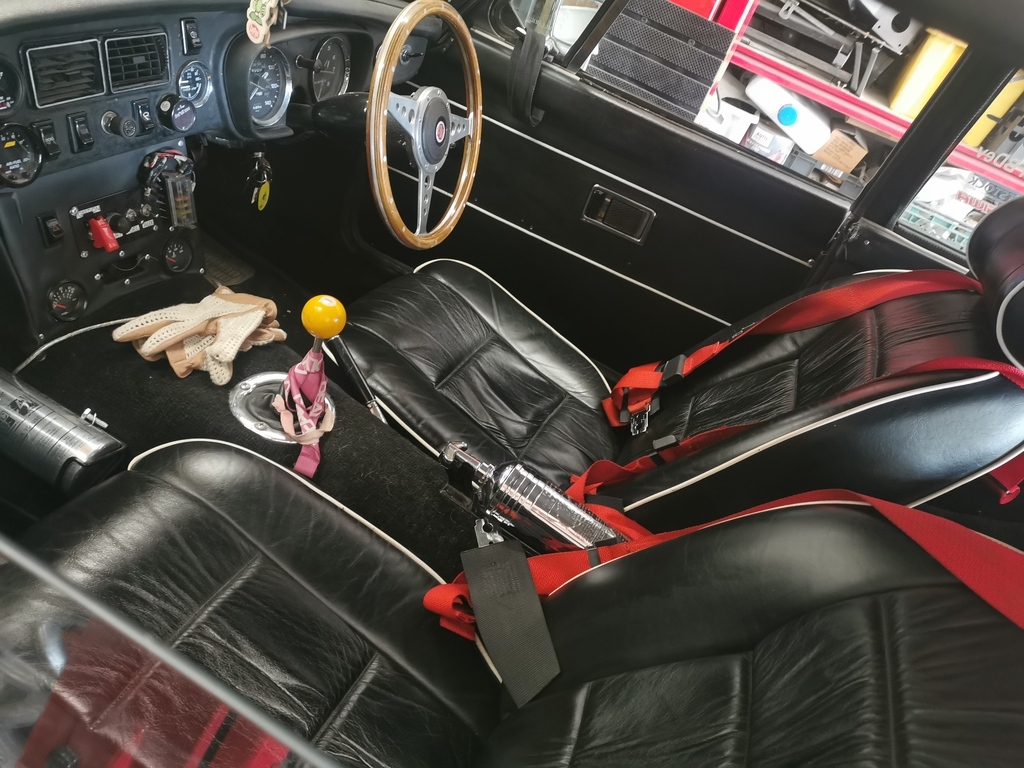 So MOT passed what now.... Well back in the air and to test my PanHard and Anti-tramp setup. The idea was to fit the PanHard, take it on a 30 mile run to make sure it's no fouling or causing any large movement in the axle on suspension travel. 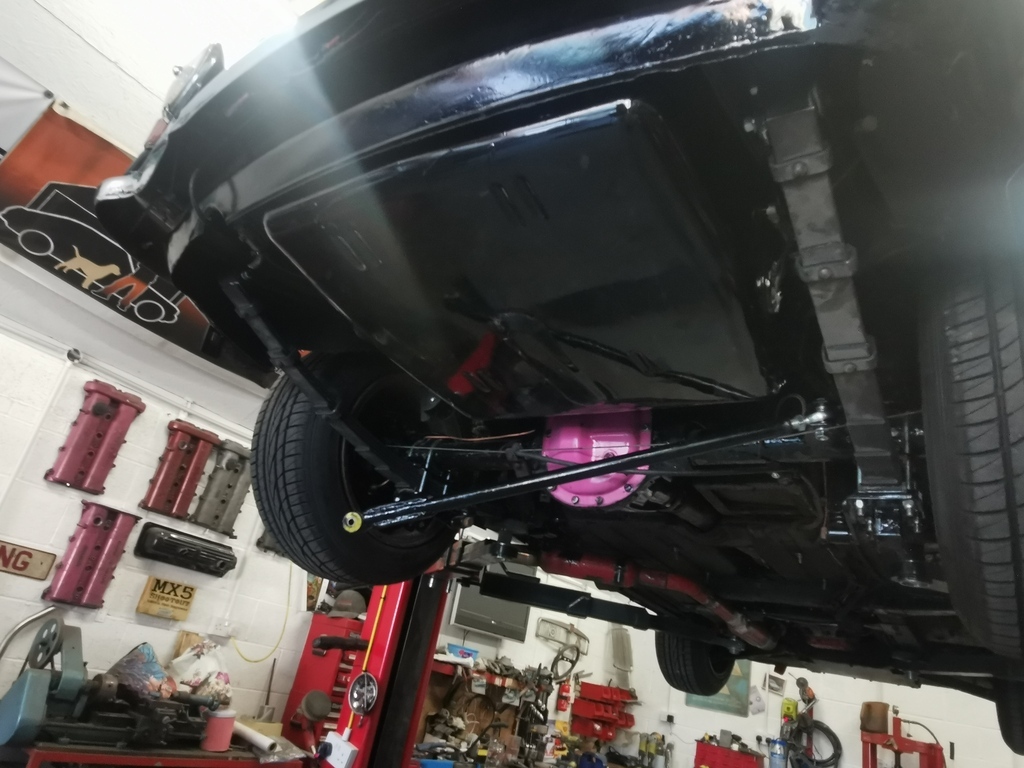 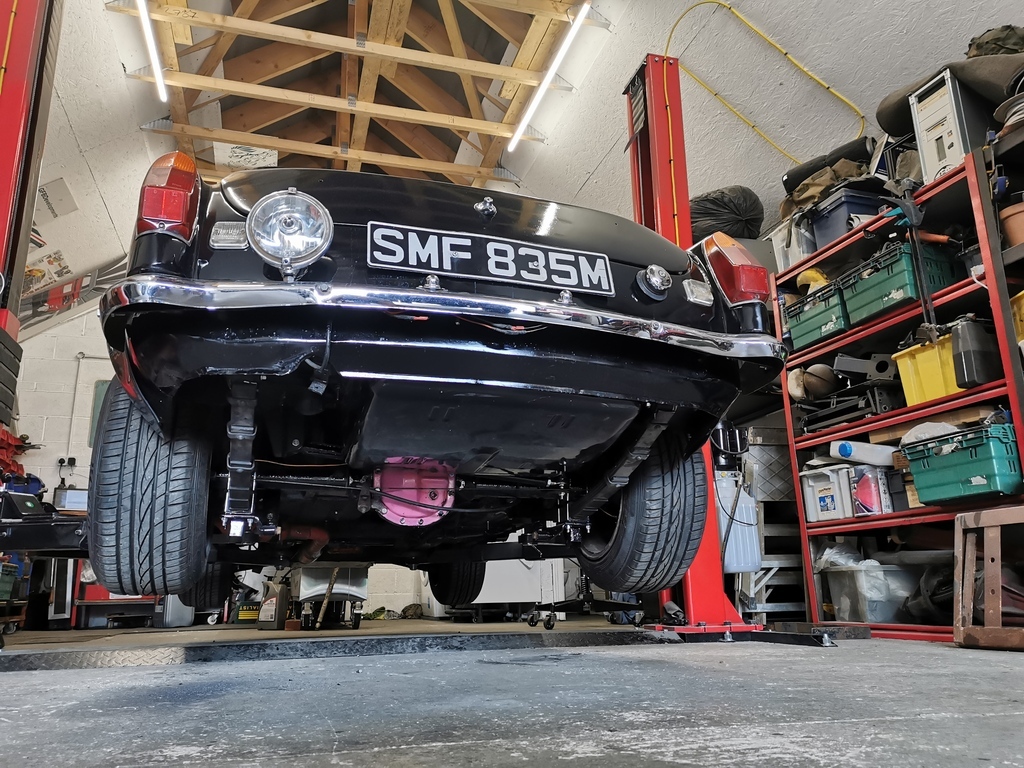 Made the most of the Sun and drove up to the folks. 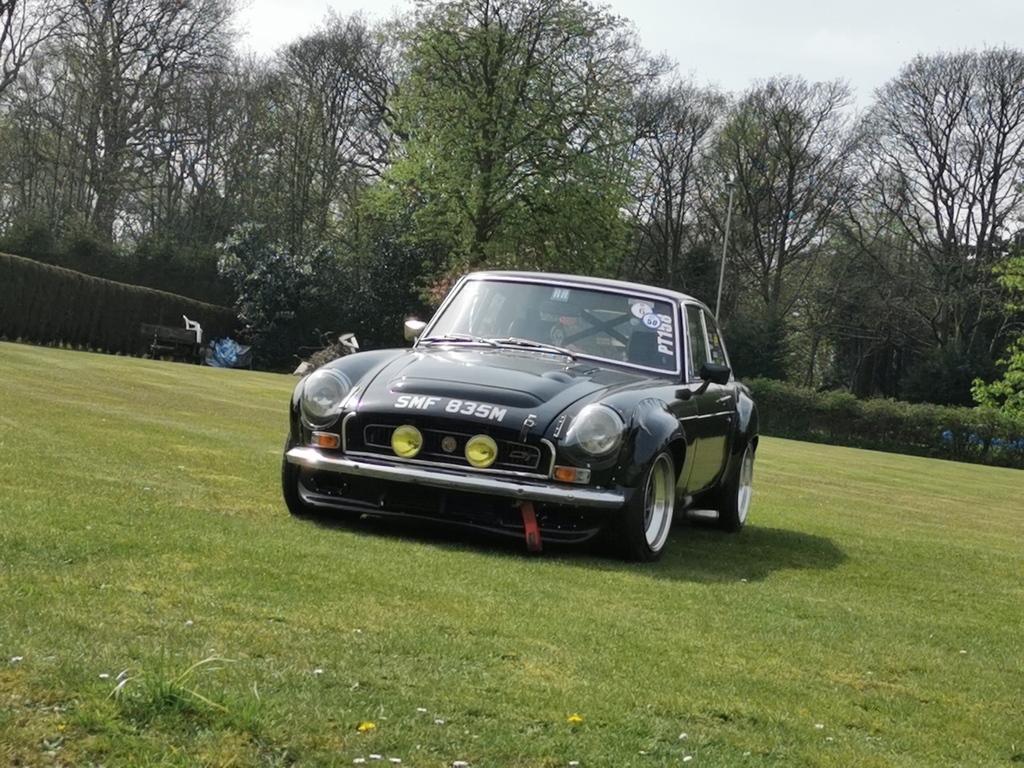 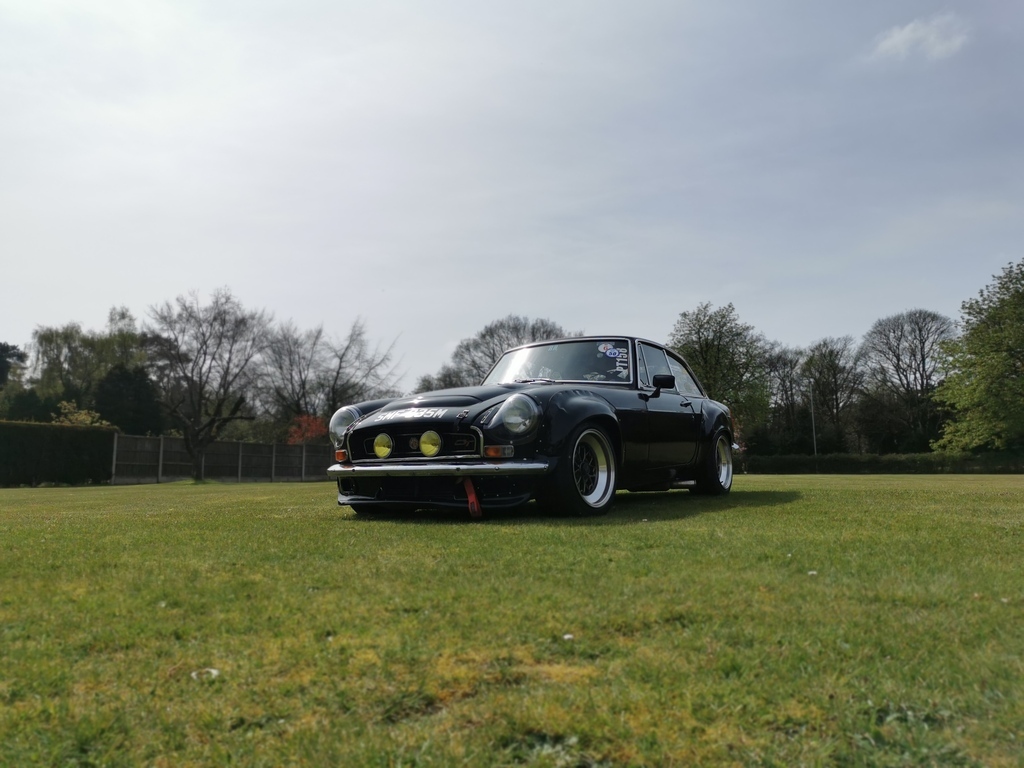 I did find on large bumps I could hear a "Dong" noise, this was soon found to be the handbrake mech just clipping the PanHard rod. This was mainly due to forgetting the spacers that go behind the HB pivot and thus were placing it directly under the PandHard. Easy fix. With that success, time to install the Anti-Tramp bars 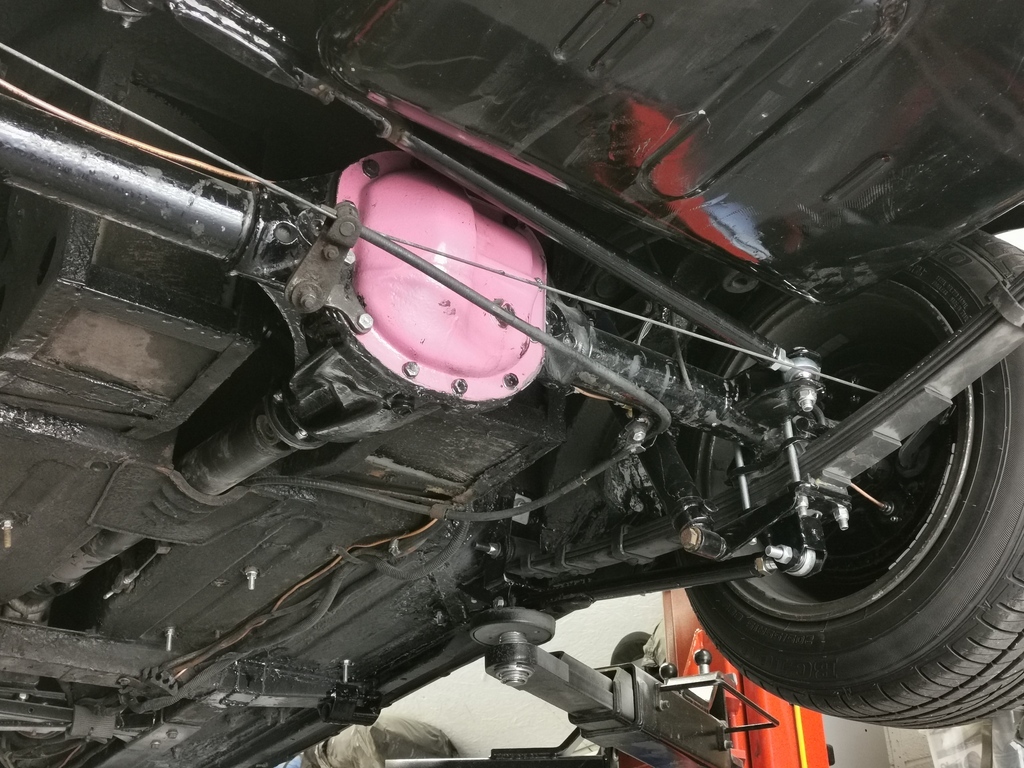 Turns out this caused it's own set of problems as they cause issues with the lift and the exhaust. Basically there is too small of a gap between the side exit and the AntiTramp bars to get the lift pad in.... I need to build a new stainless exhaust as I am bored of the side-exit now. However for now I just added a V-band which allows me to remove the back section with ease to then put on the lift.... (First world problems eh?) Tired Exhaust 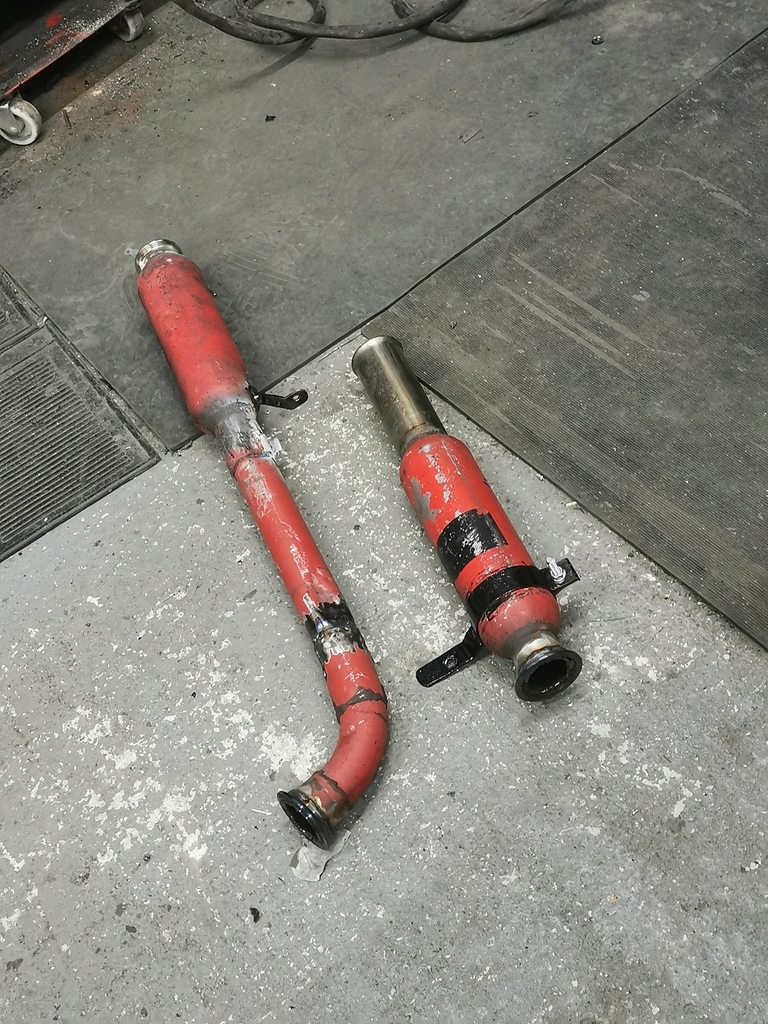 With that the weekend is over and the cars wrapped up. 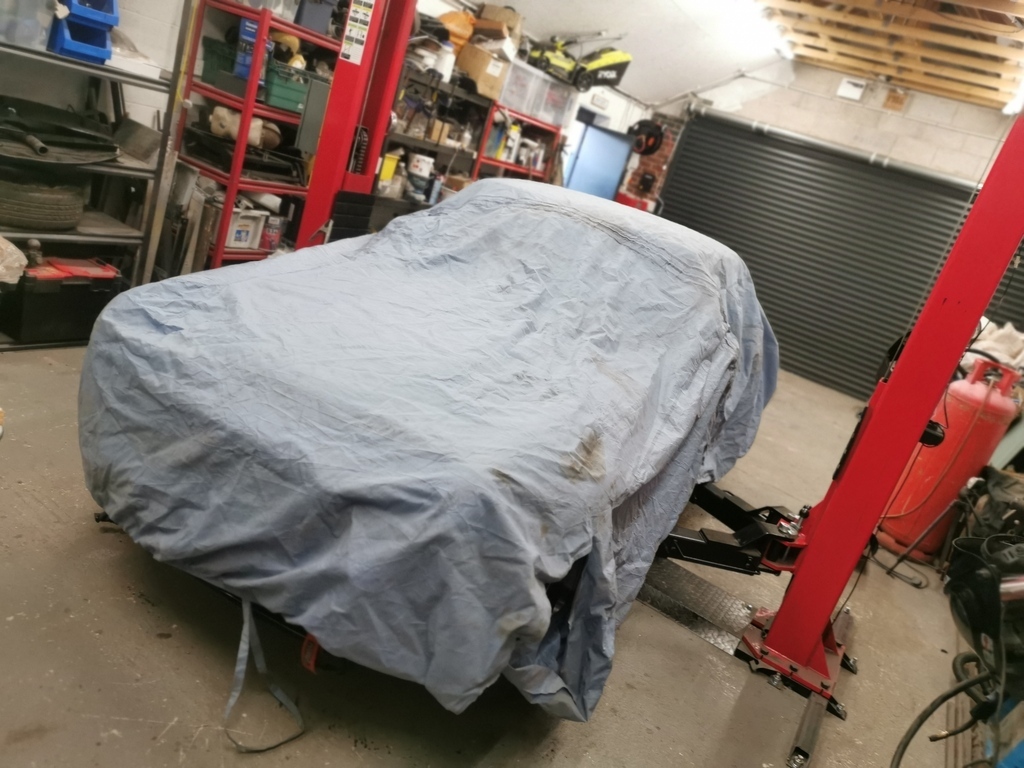 Issues that need resolving. Throttlebody is leaking air. Exhaust manifold is cracked. Fuel pump is loud. Boot needs carpet. Knock on front left of suspension. Ta Ta for now! |
| |
Last Edit: Apr 19, 2022 15:19:54 GMT by Nathan
|
|
MiataMark
Club Retro Rides Member
Posts: 2,971
Club RR Member Number: 29
|
|
Apr 19, 2022 12:52:27 GMT
|
|
Gloves (in the interior shot) are a nice period touch.
|
| |
1990 Mazda MX-52012 BMW 118i (170bhp) - white appliance 2011 Land Rover Freelander 2 TD4 2003 Land Rover Discovery II TD52007 Alfa Romeo 159 Sportwagon JTDm
|
|
Nathan
Club Retro Rides Member
Posts: 5,650
Club RR Member Number: 1
|
|
Apr 19, 2022 14:28:14 GMT
|
Gloves (in the interior shot) are a nice period touch. Usually needed, it's freezing in there as the heater isnt great :-p |
| |
Last Edit: Apr 20, 2022 8:25:06 GMT by Nathan
|
|
|
|


