Donald
East of England
Posts: 156 
|
|
|
|
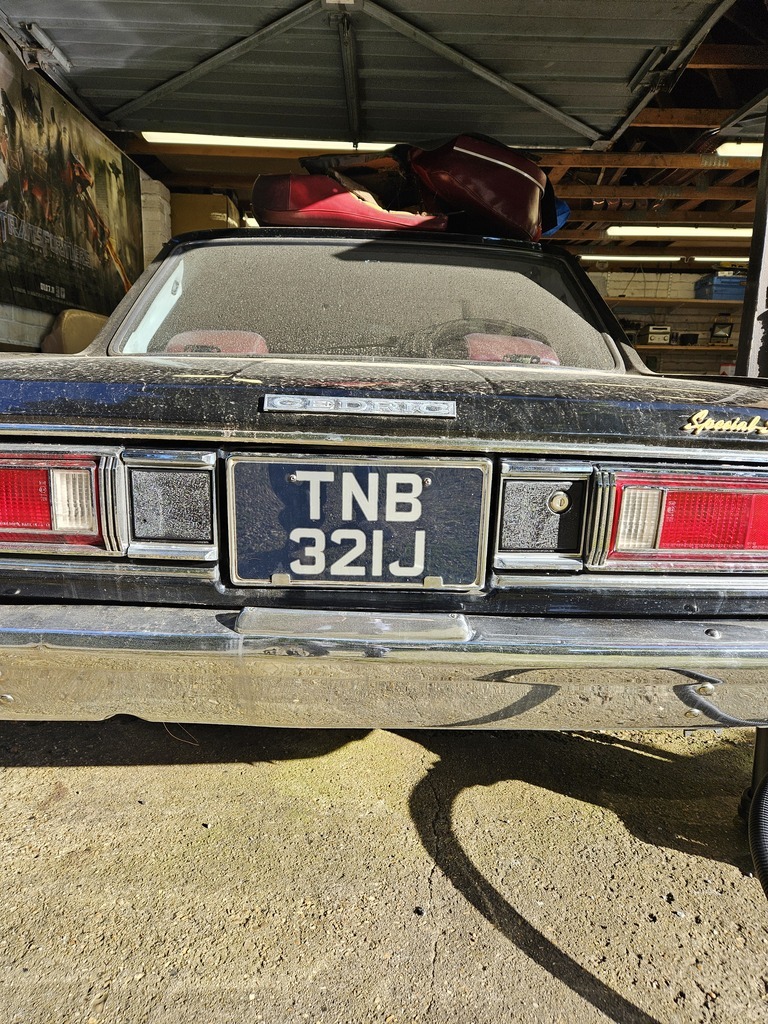
I've started a couple of threads previously but haven't really managed to either maintain them or see them through. Spent far too much time thinking and worrying about what people think, don't think, comment, don't comment and all of the other negative things I have come to associate with social media. So, I have done a couple of things. Firstly, I've removed myself from as much social media as possible and, to be perfectly honest, I feel so much better for it. This forum is the only place I will post anything now as I like it and don't really care what anyone else thinks I should do. Secondly, I have been working on the Cedric and getting towards the point where it's nearly ready to fire up and get ready for the rolling road. If you want to post, comment etc., please feel free. I can accept comments, criticism, advice and anything else you may choose to add. I just want to share the progress as well as keep a record of what's been done for my own reference as it is easy to forget how far you've come when things get tricky or progress stalls. This is the car in question - 2 litre, straight six, 3 speed automatic with a column change. 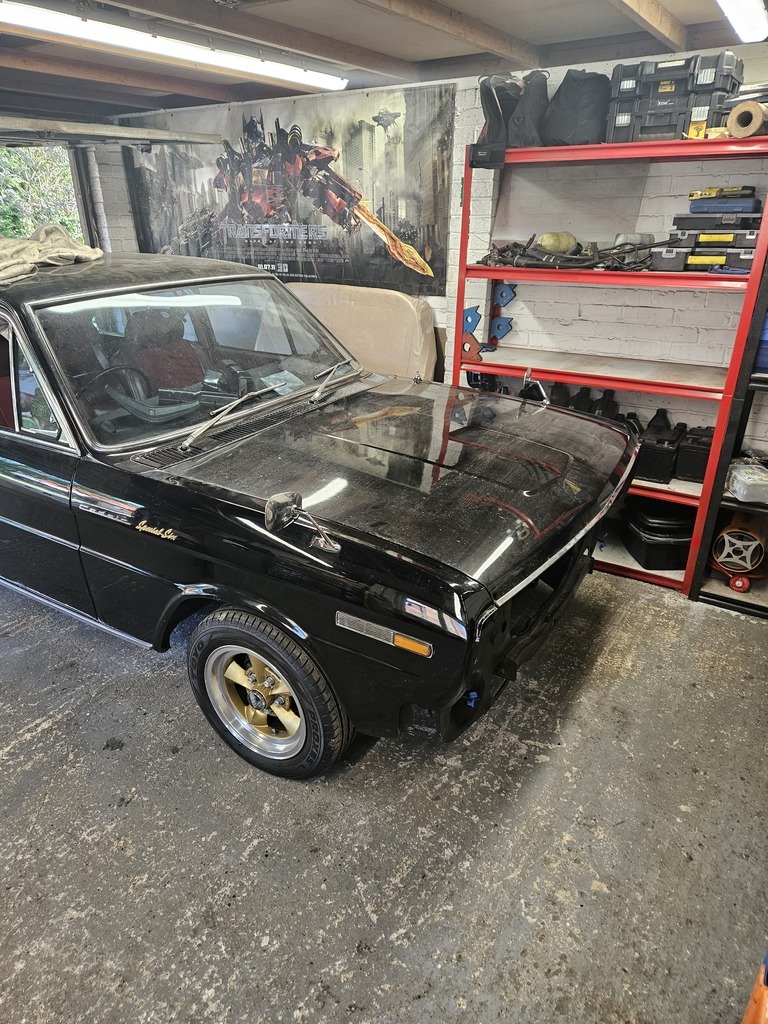 |
| |
|
|
|
|
Donald
East of England
Posts: 156 
|
|
|
|
|
|
| |
|
|
Donald
East of England
Posts: 156 
|
|
|
|
|
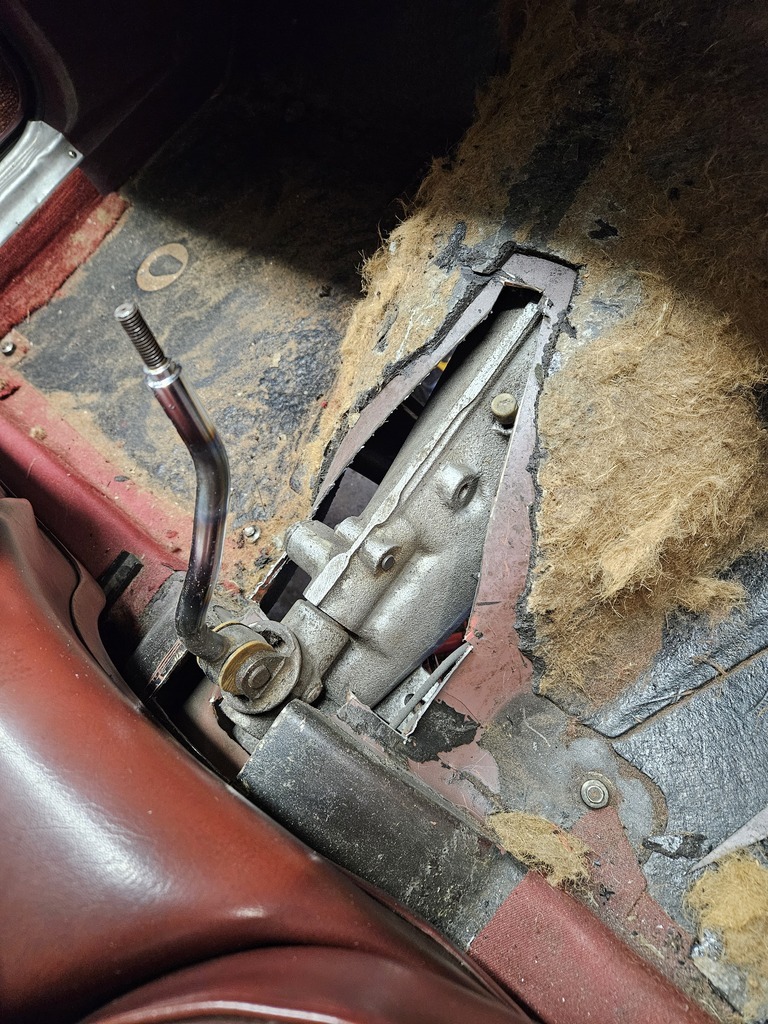
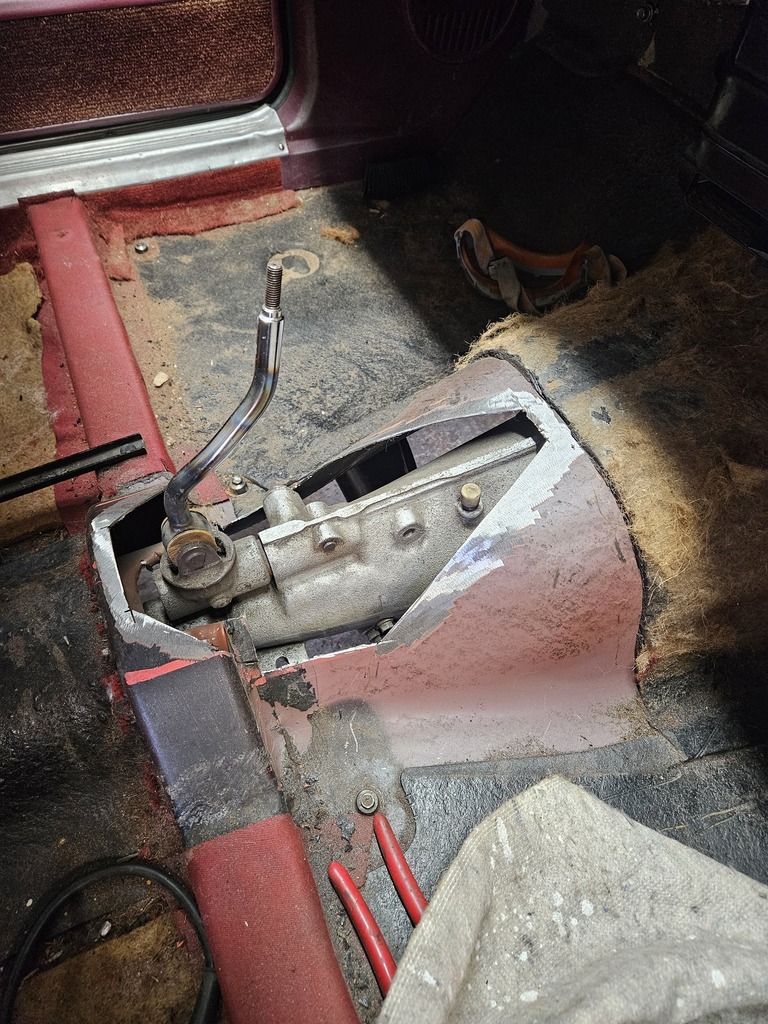
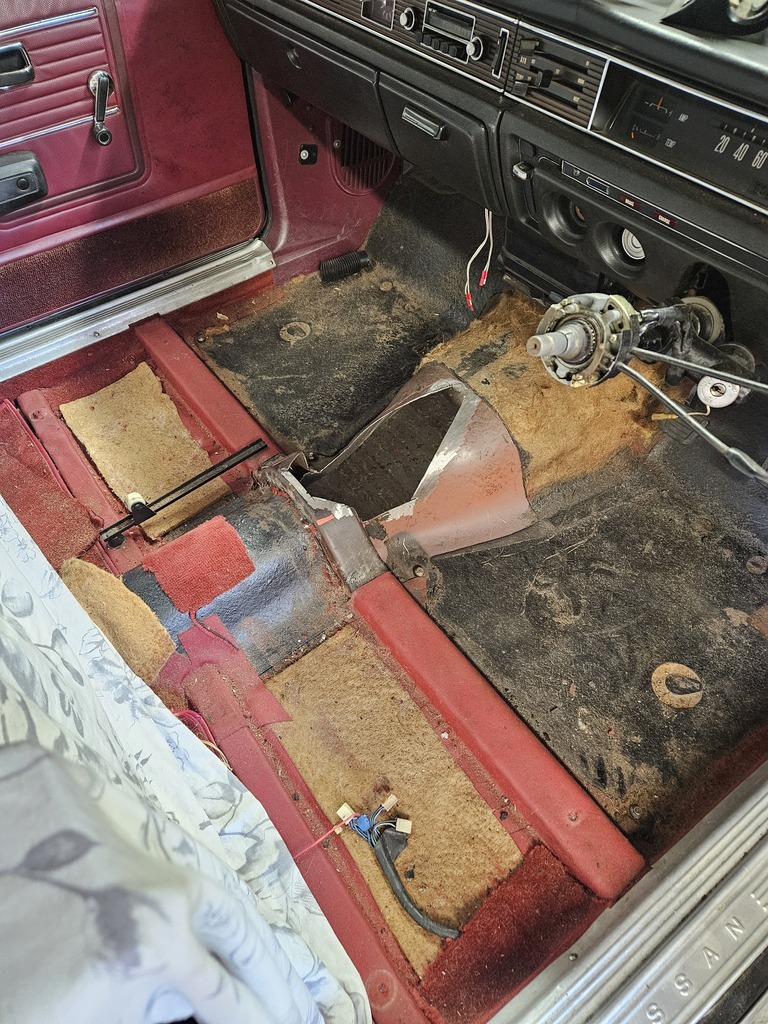
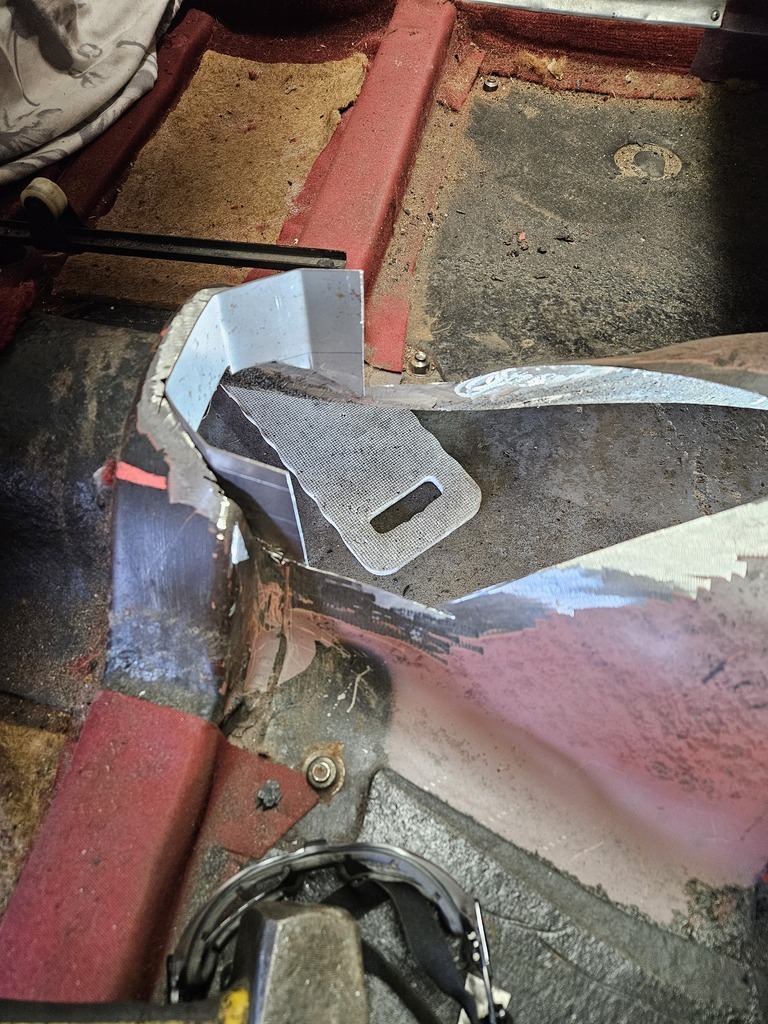
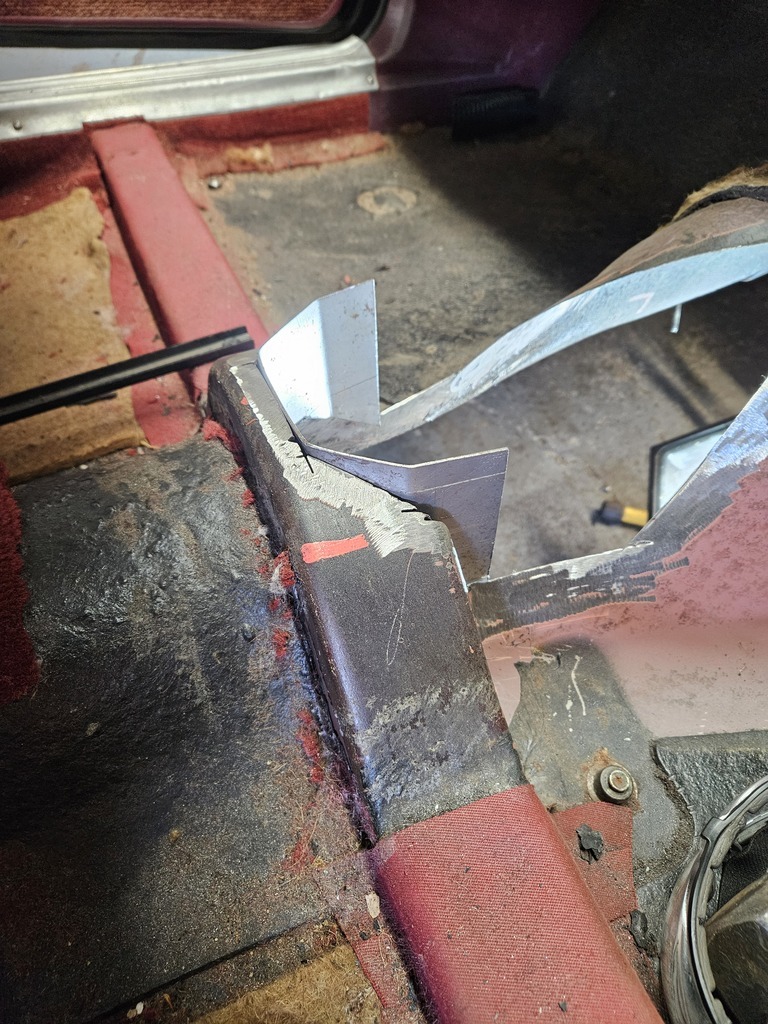
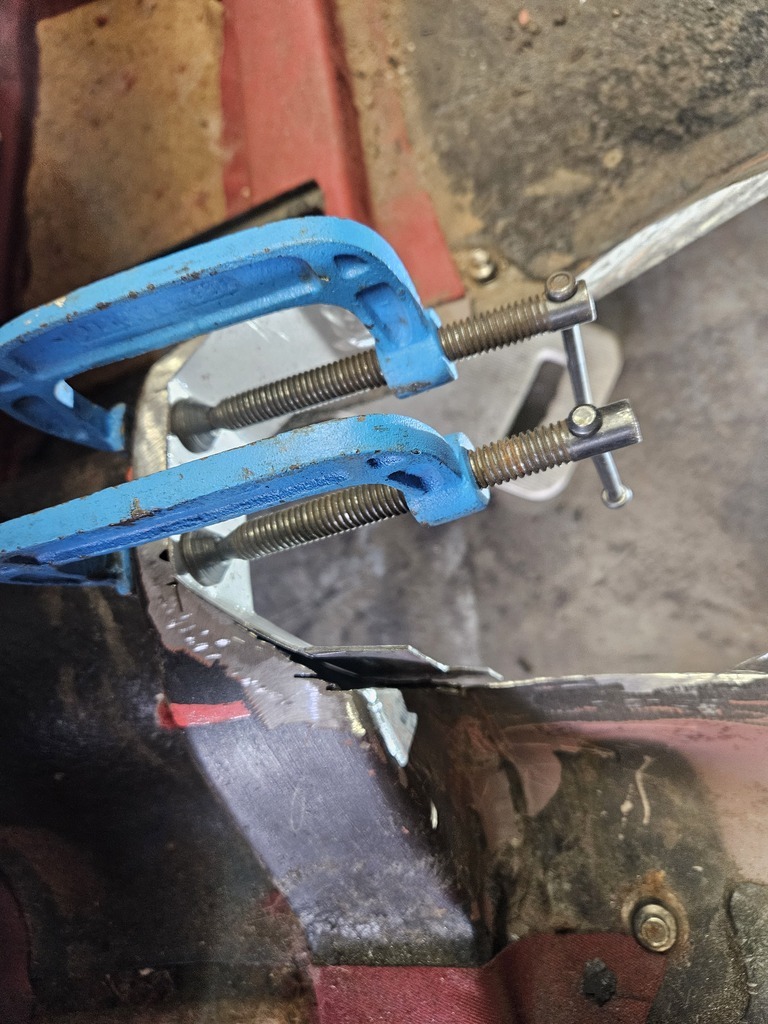
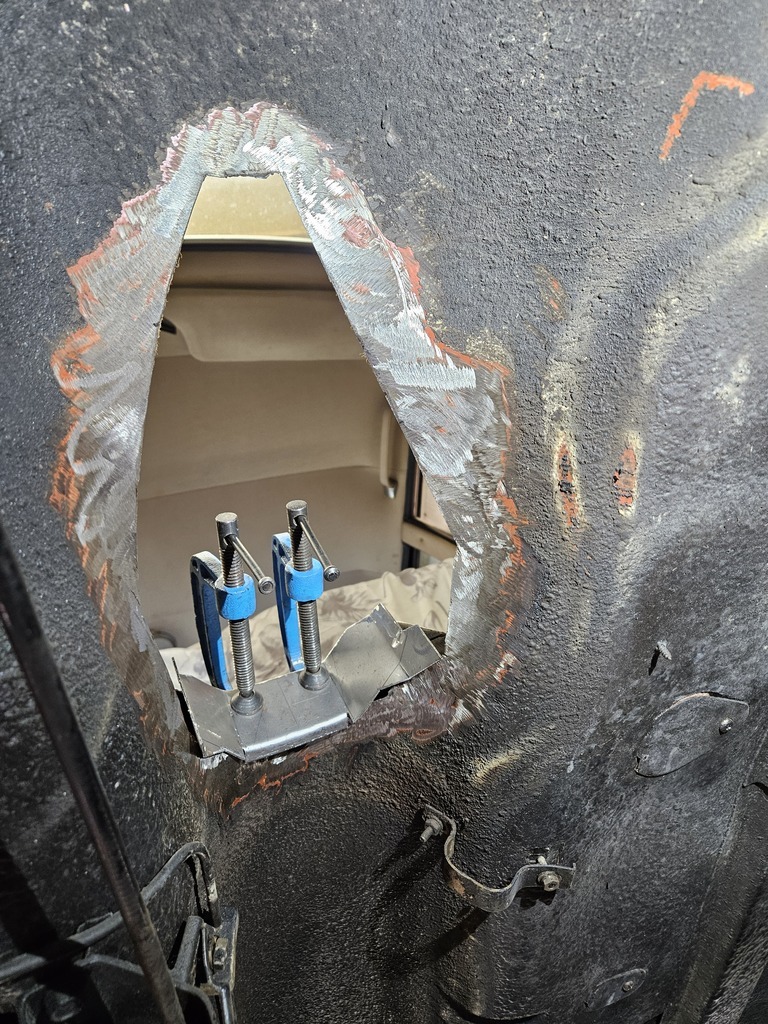
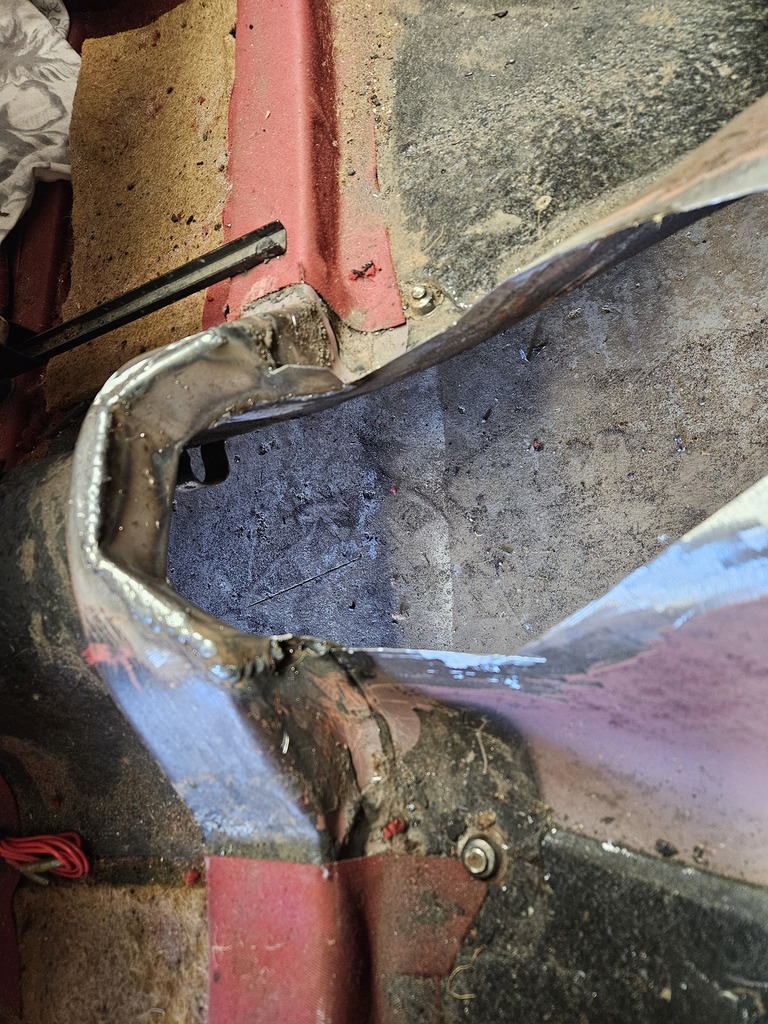
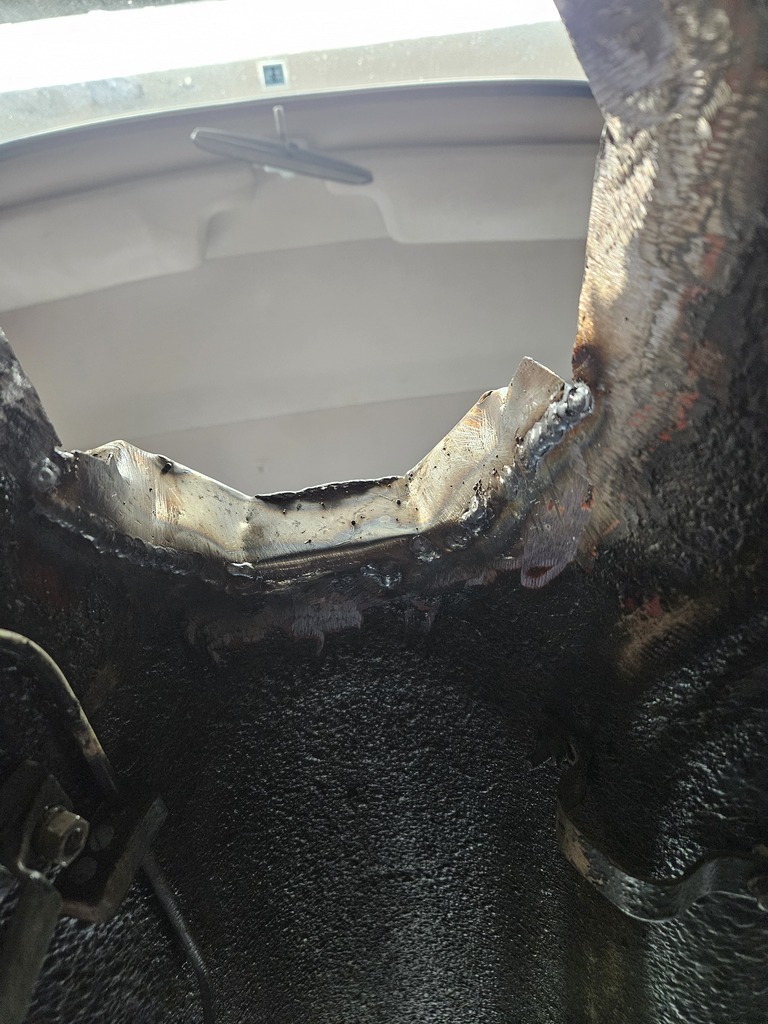
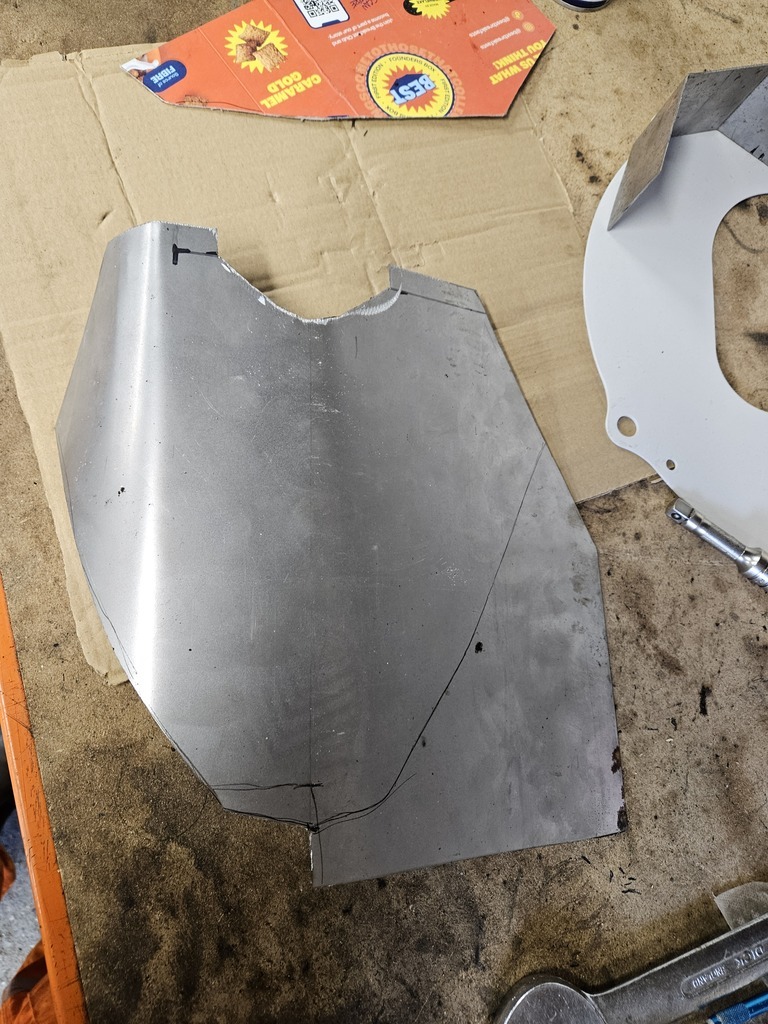
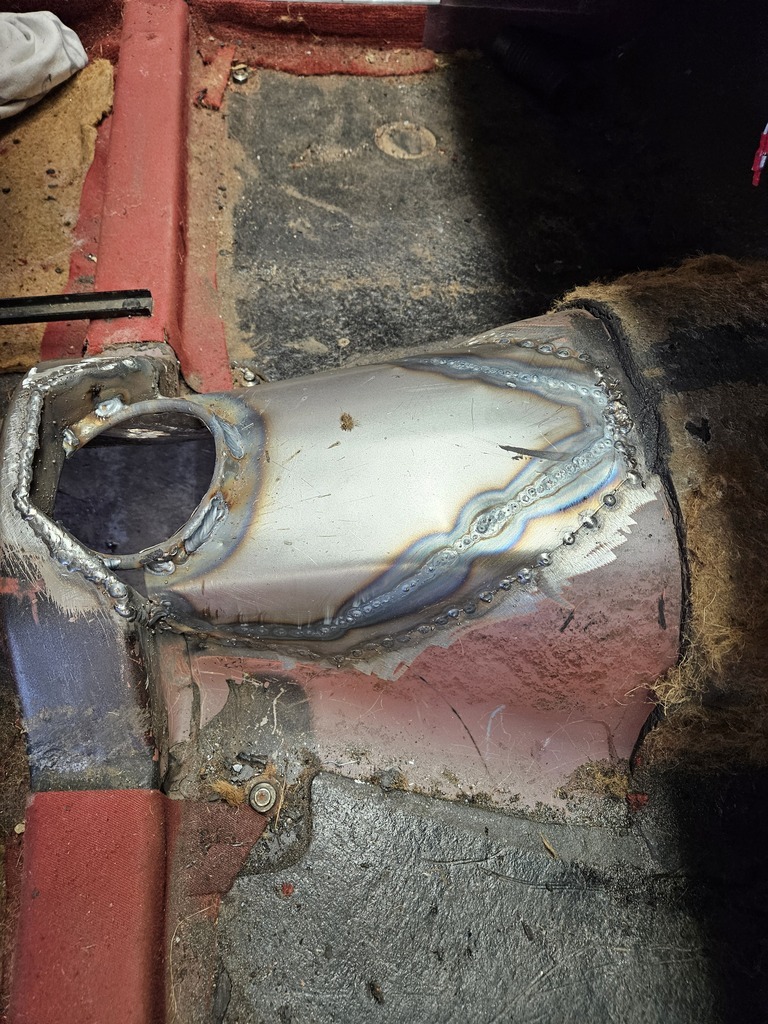
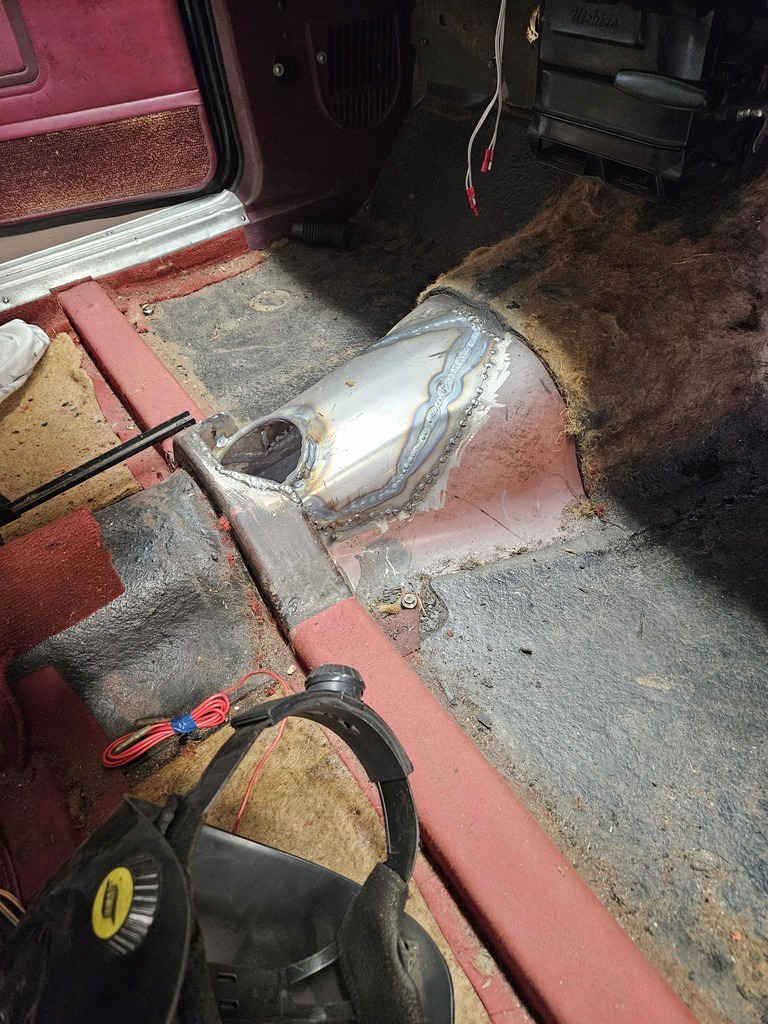
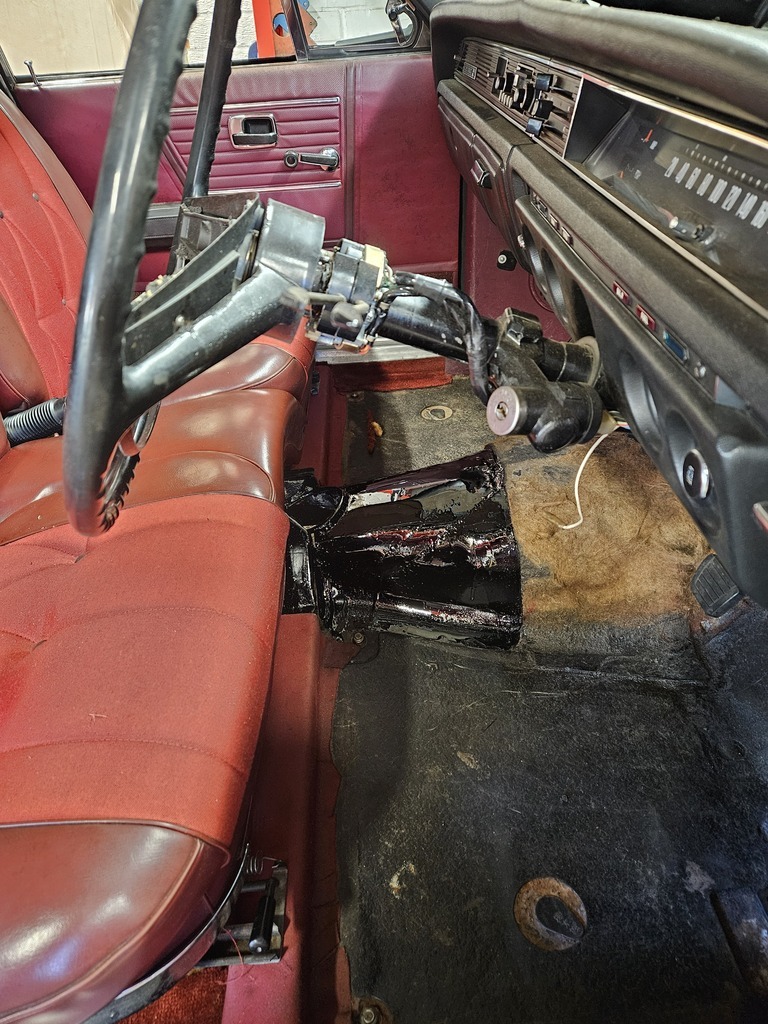
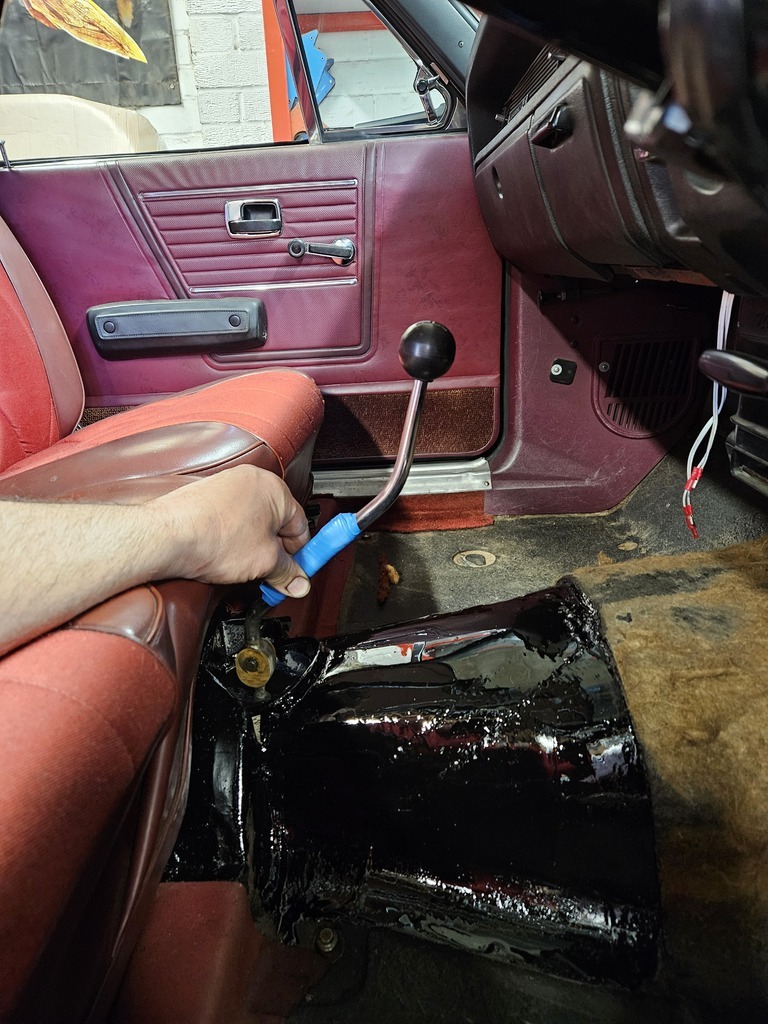
Not as pretty as I had visualised it in my head but definitely strong enough and hopefully there is enough clearance to prevent the gearbox knocking against the tunnel when the car is driving.
If there isn't I will know what to do though. Keep cutting and welding.
I was able to retain the automatic gearbox crossmember and mounting points, it just appears that the manual box is taller than the departed automatic unit.
|
| |
|
|
Donald
East of England
Posts: 156 
|
|
|
|
Following on from the gearbox installation there was the obvious need for a clutch and manual pedal box to operate it. This was addressed by raking through the pile of bits I had accumulated and looking at what was available on the car. A lot of thought and ideas were kicked around until I eventually started unbolting. At that point the solution became blindingly obvious. The following pictures show a bit of the process of converting the cars original auto pedal box to add a clutch pedal. As a result of this I was able to add a 240Z clutch master cylinder to the bulkhead with minimal adaptation and the slave cylinder also bolted straight to the side of the gearbox. Still to bleed it all up and check the stroke but, as long as I can get the air out, it was a standard set up so I should get the required engage/disengage stroke needed. There was a bit of follow-on work to realign the pedals to where I wanted them to sit - may have to revisit when I've driven the car but happy enough for now. 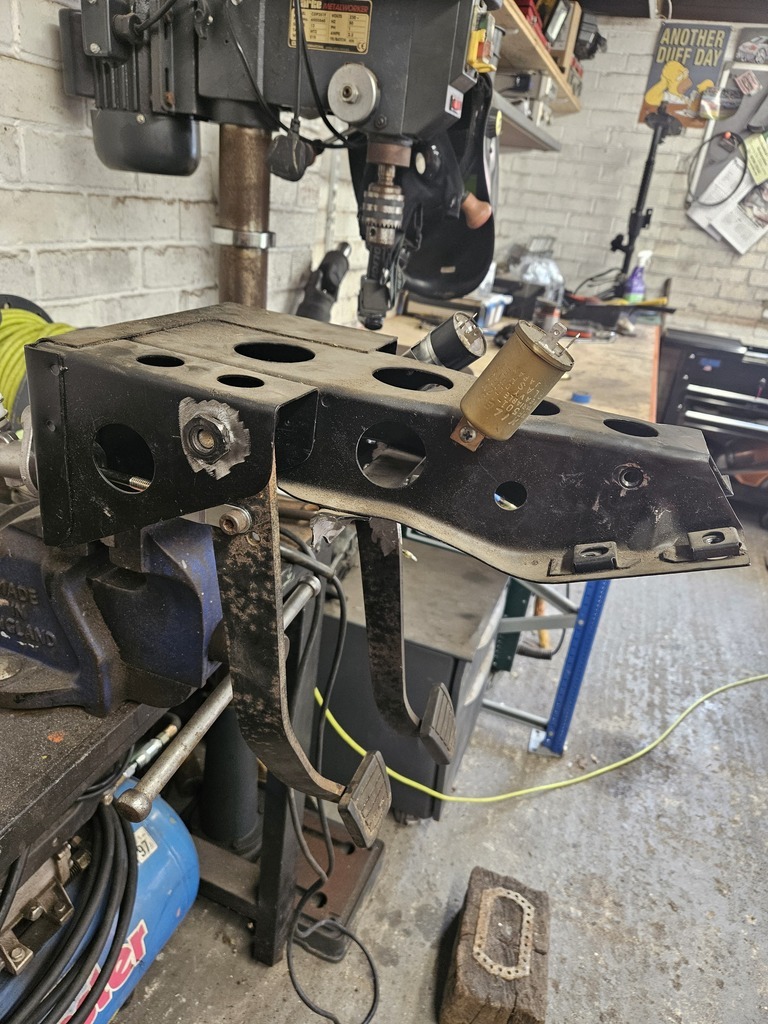 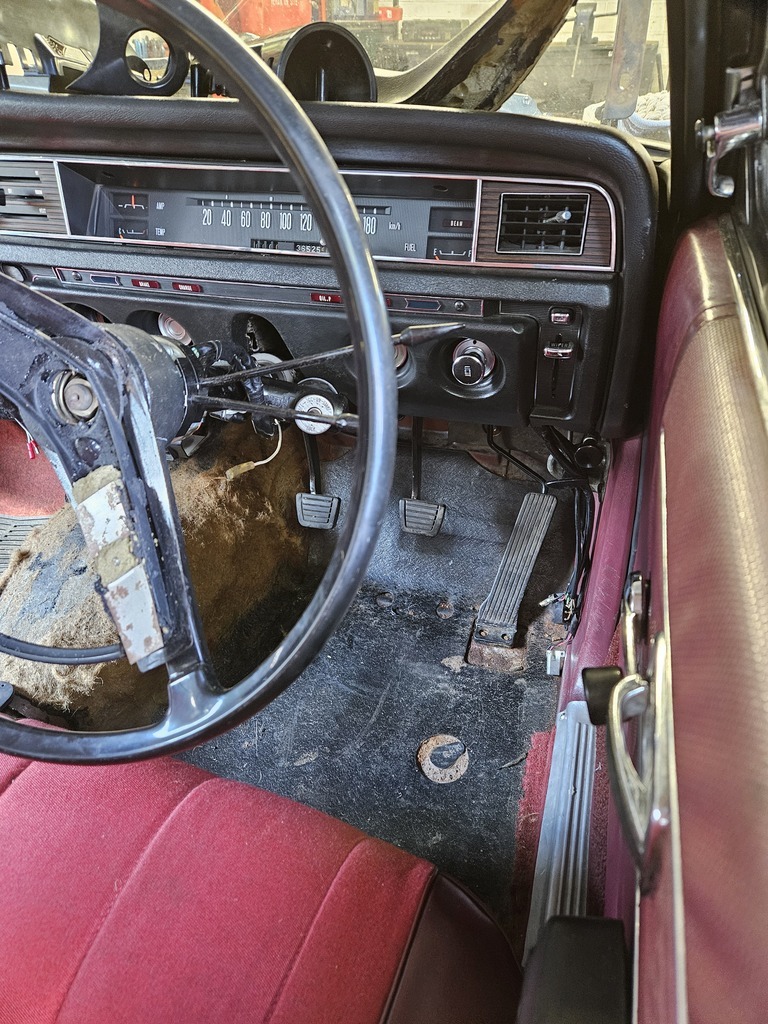 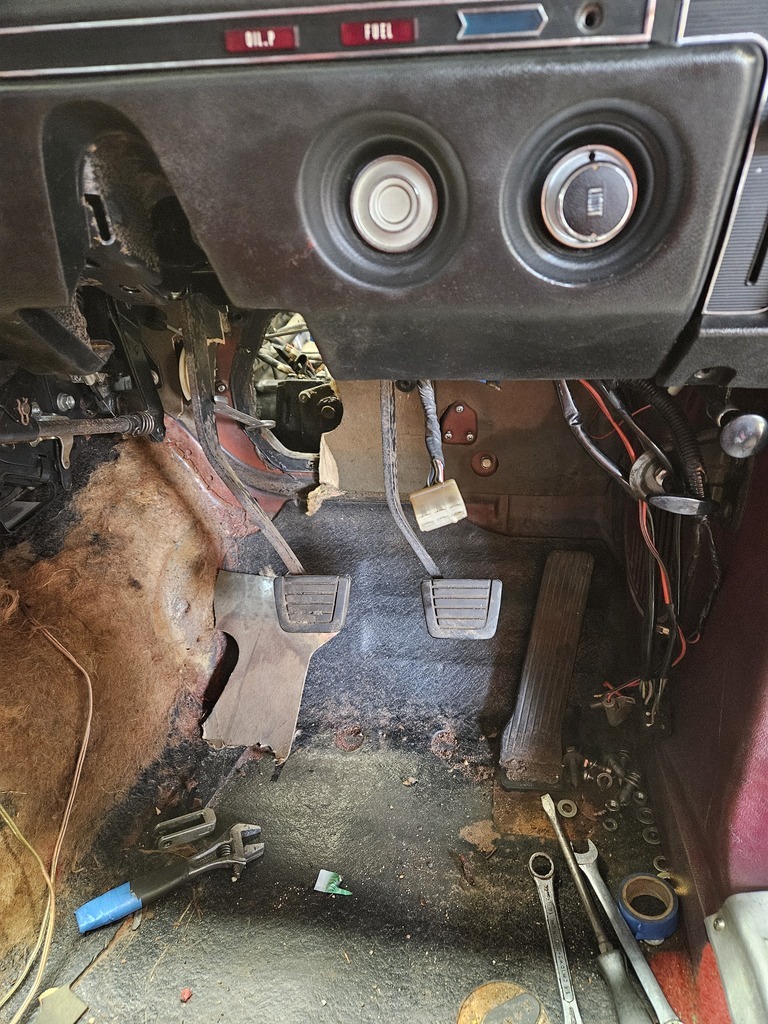 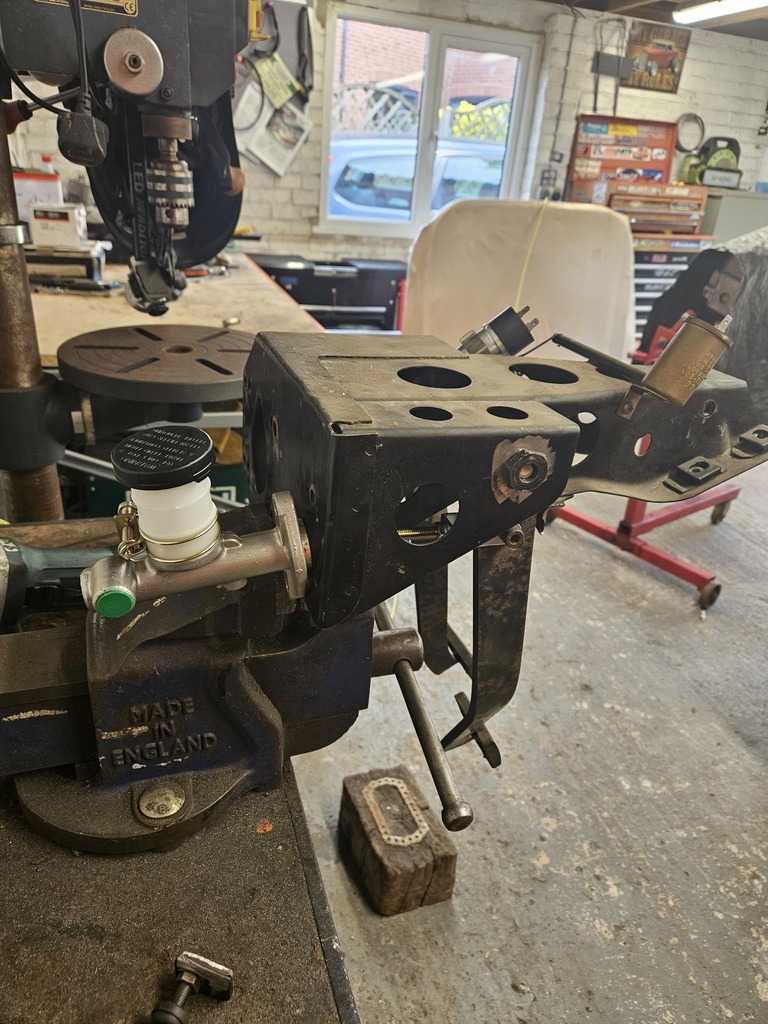 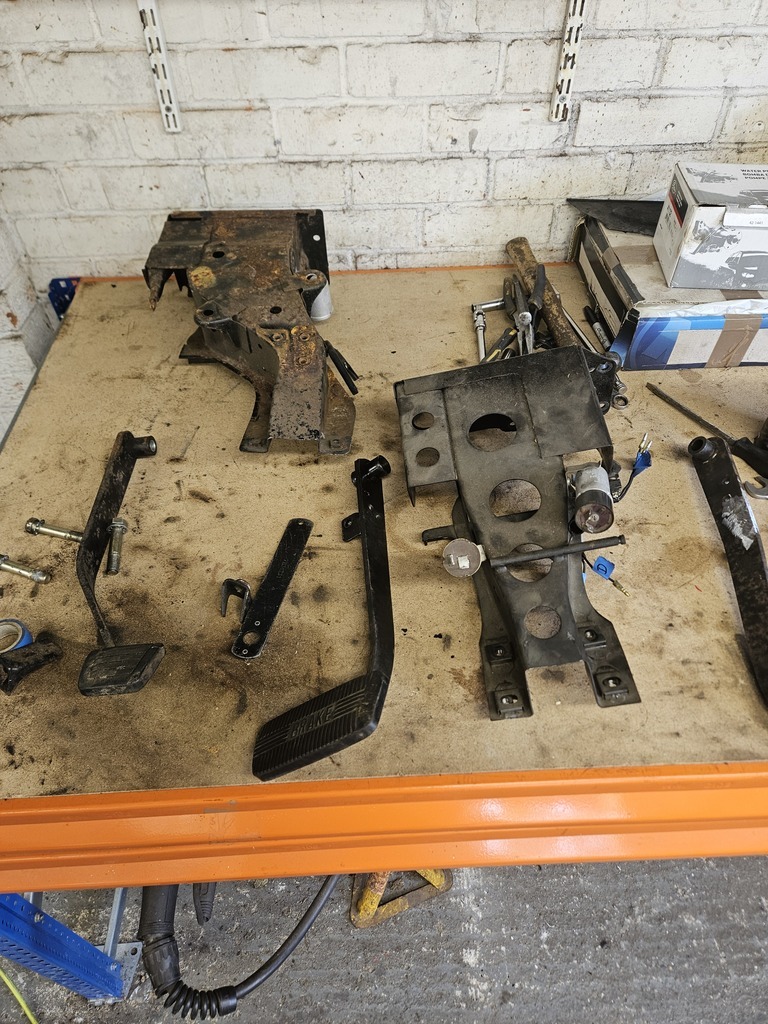 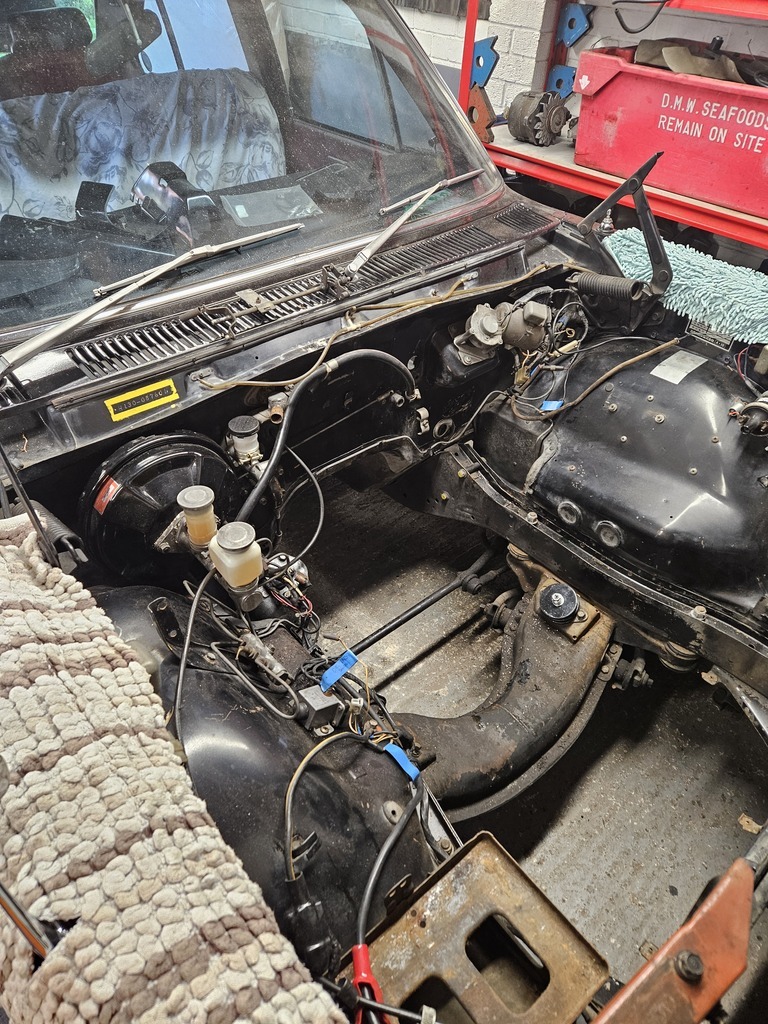 |
| |
Last Edit: Nov 30, 2024 6:49:56 GMT by Donald
|
|
Donald
East of England
Posts: 156 
|
|
|
|
|
|
| |
|
|
Donald
East of England
Posts: 156 
|
|
|
|
Ignition was something else that I wanted to modernise. I had actually forgotten how much of an effect the deterioration of points and the points gap can have on a car. Before we headed over to our first RRG at Shelsey Walsh I serviced the car. The points contacts literally dissolved when I cleaned them and finding a replacement set wasn't anything like as easy as I had hoped. The process of setting the gap showed me what a difference the set up can make. This was the point I decided that electronic ignition was the way forward. I'm getting older and don't want to be doing stuff I can avoid. As a result, I bought this set up - ended up being delivered from Holland, just after Brexit unfortunately, so I seem to recall getting bent over a bit for import taxes. Things have changed since then and this unit is still in it's original wrapping, along with the brand new coil, so if you're looking for a 6 cylinder distributor set up feel free to give me a shout. 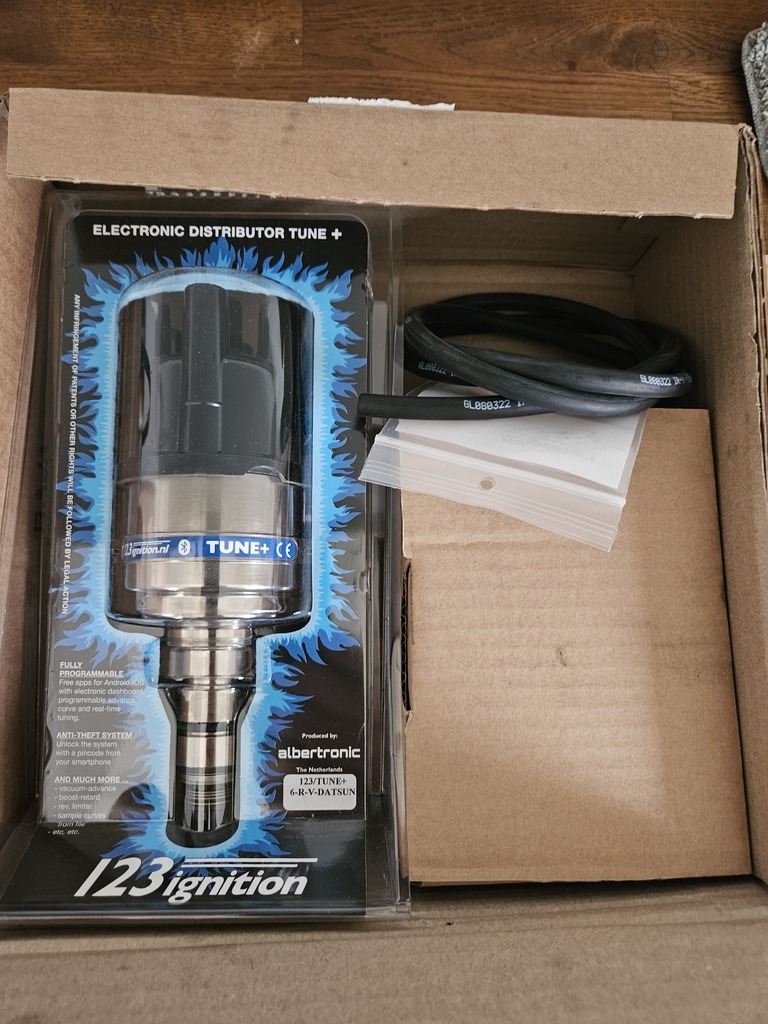 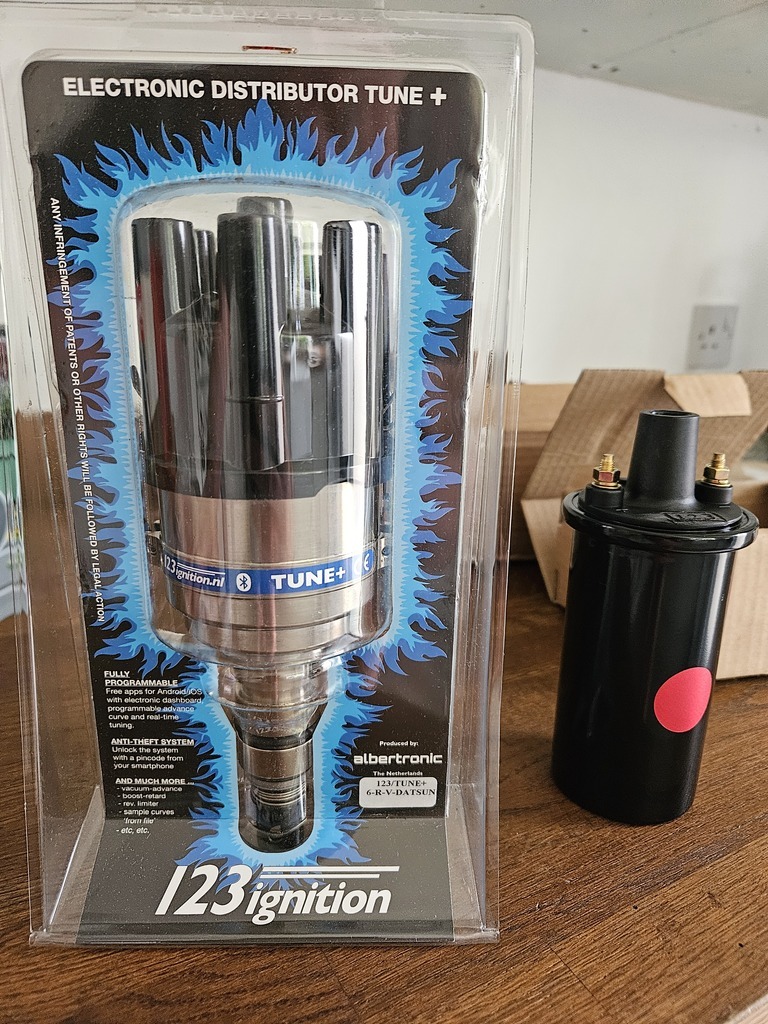 |
| |
|
|
Donald
East of England
Posts: 156 
|
|
|
|
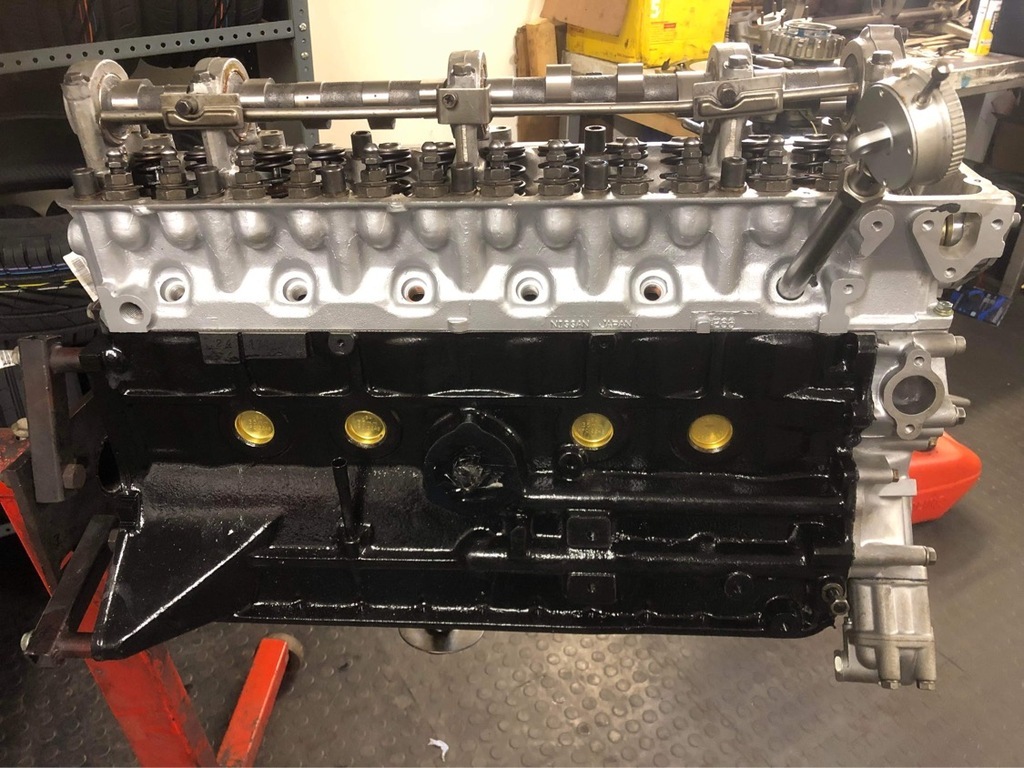
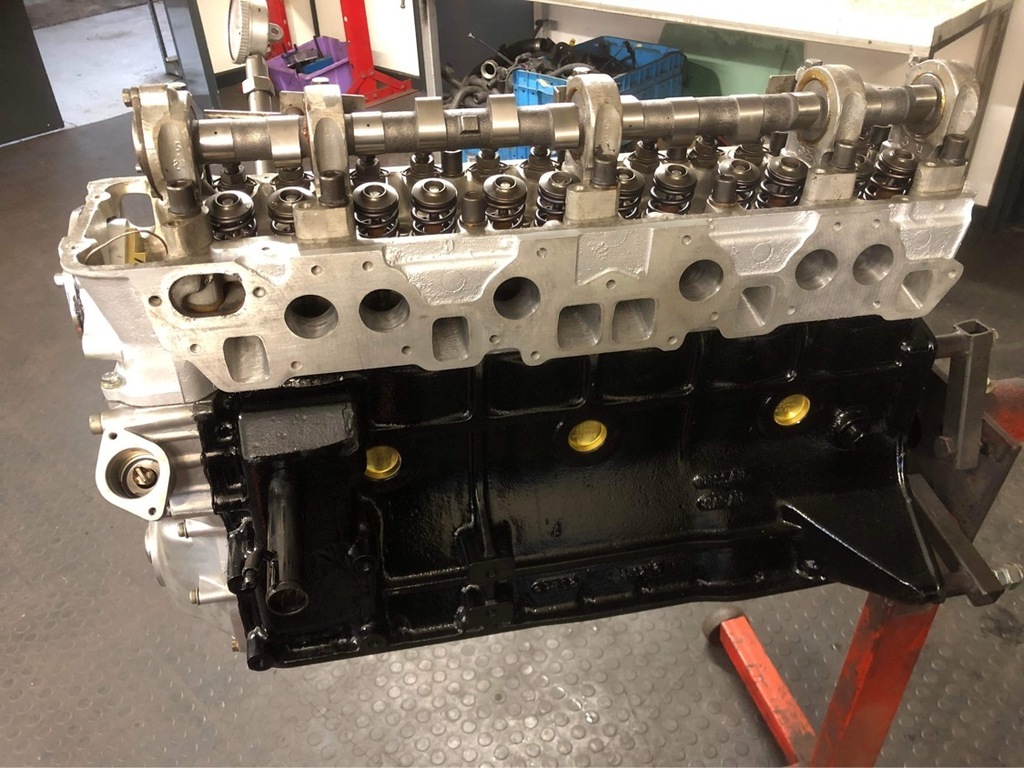
Ignition Rev.1 covered in the previous post. Now on to induction Rev.1. I got hurt racing bangers at Kings Lynn around about this time. When I was in the hospital, I found a guy nearby selling some Nissan L6 parts. In amongst this gear was a set of triple Weber 40's on an L6 inlet manifold. The outcome of this was obvious. Bought, bolted to an old engine, unbolted, sent away to JDA Retro Services where they were completely overhauled and returned to me (minus original trumpets) in exchange for only one kidney and promise of my firstborn. They looked the absolute knackers though 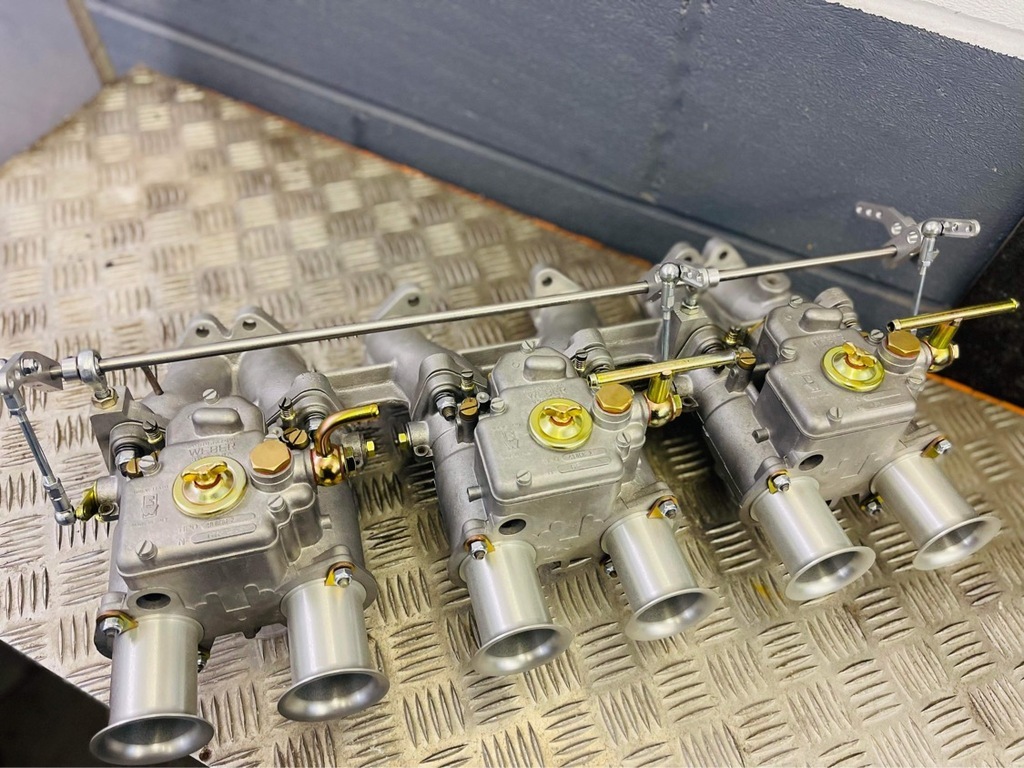 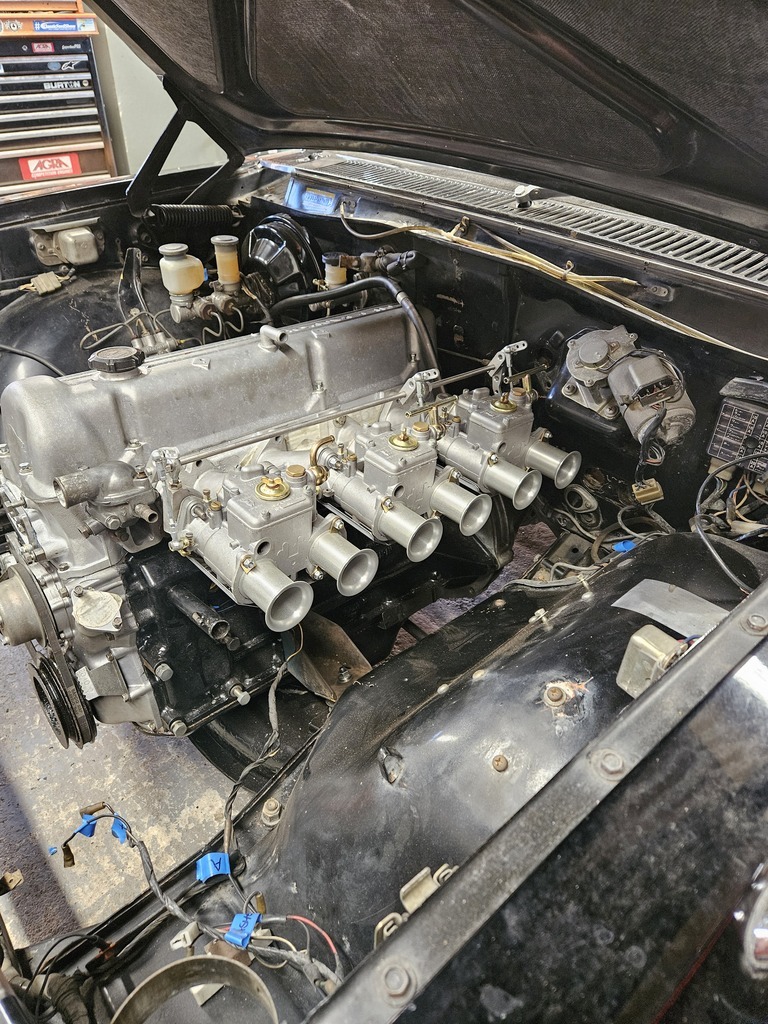 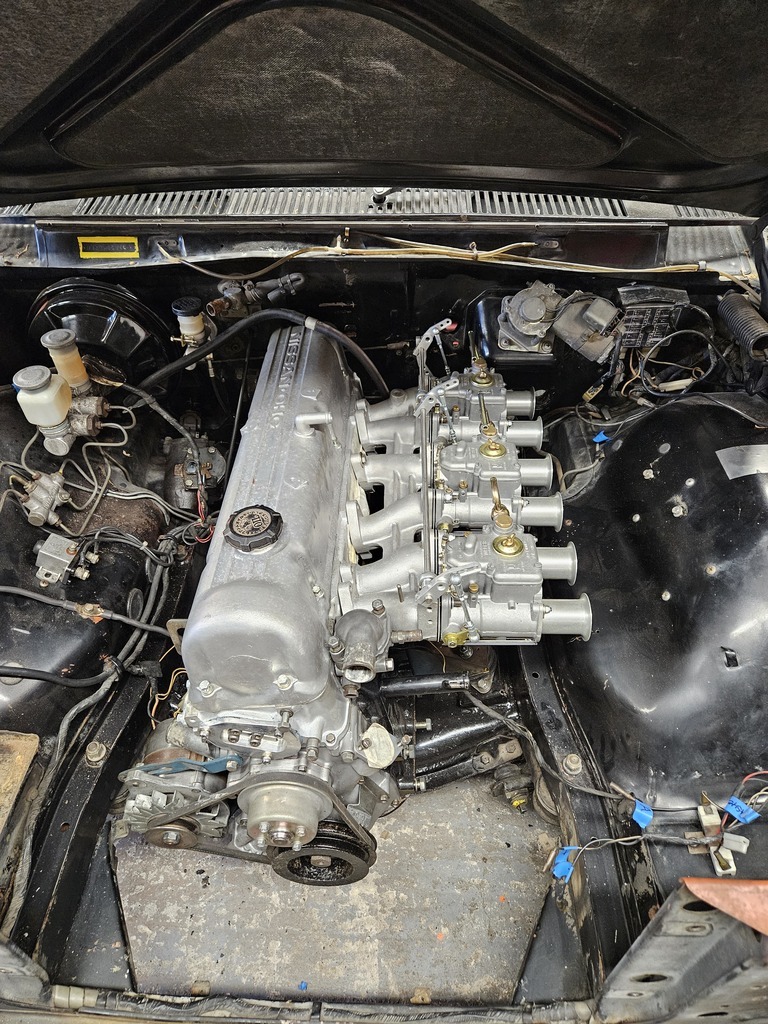 |
| |
|
|
Donald
East of England
Posts: 156 
|
|
|
|
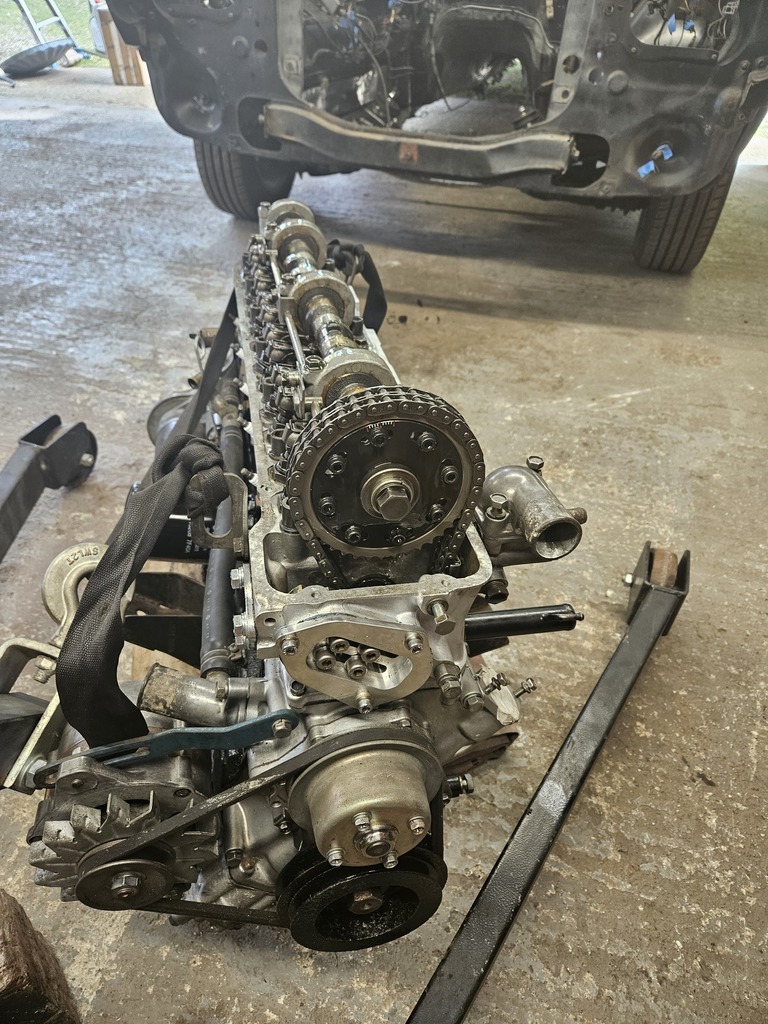
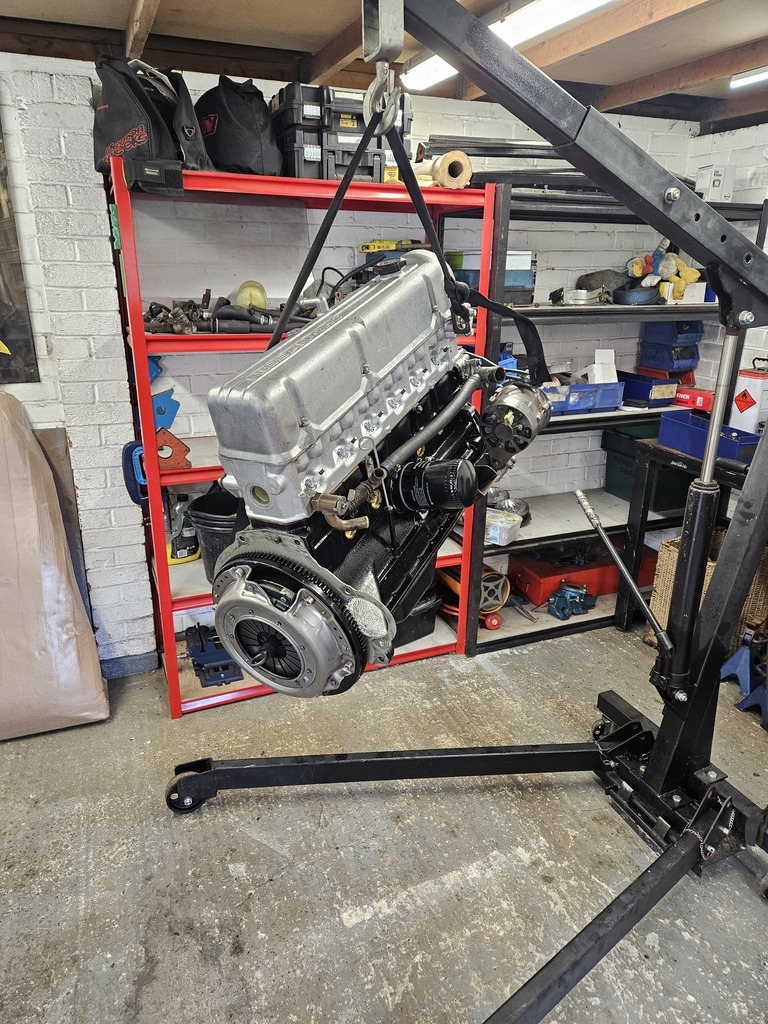
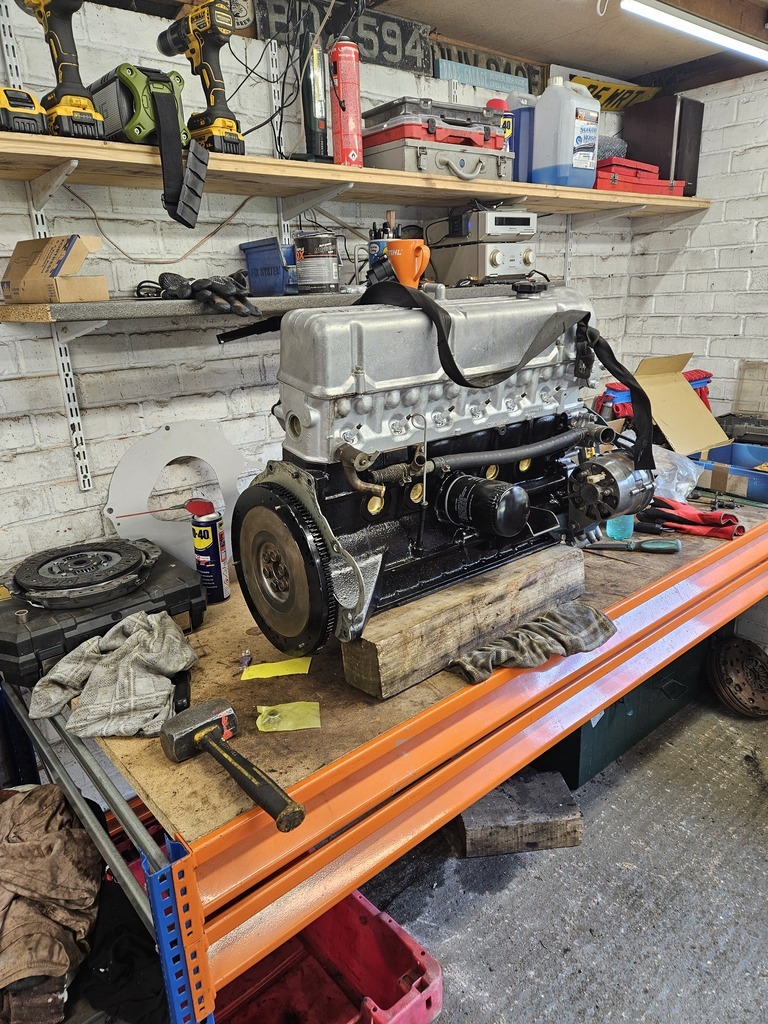
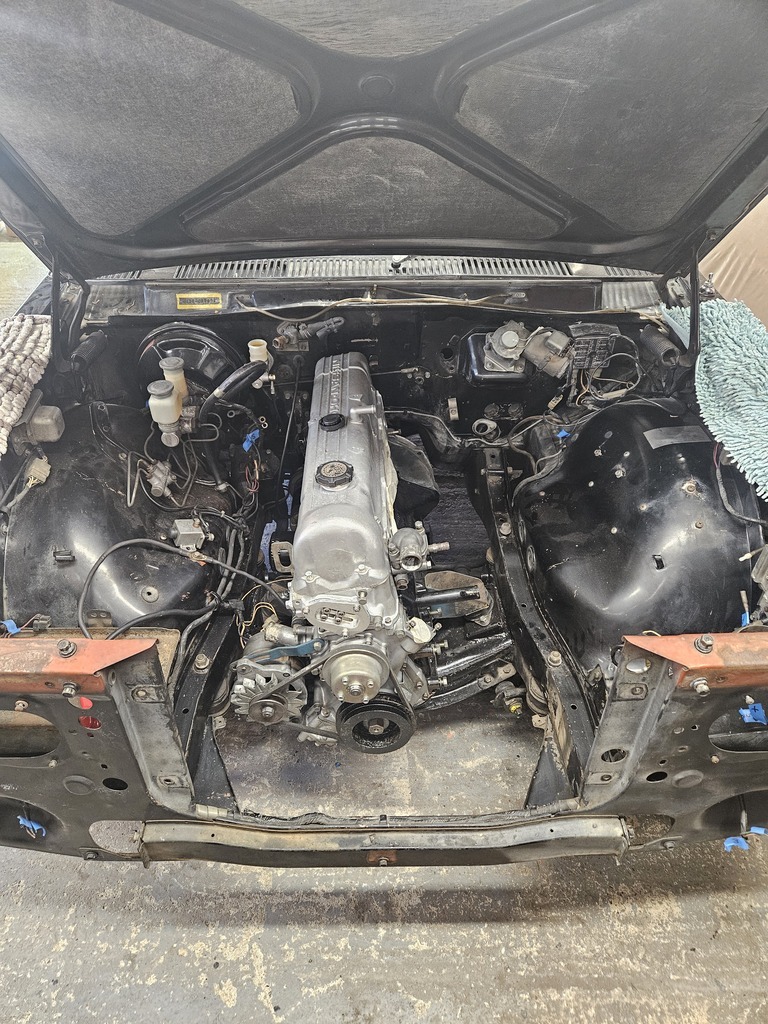
Just a few pictures of the car with the engine being in different states of installation. I can't stress highly enough exactly how heavy this thing is. It's a heavy thing, especially when you decided to wrestle with it on your own. At the moment I am happy that it's in the car but, as things are developing, I'm thinking of pulling it all back out again so I can paint the engine bay properly. My original plan is to put this on the road, do the next car and then bring this back in and do it properly and address any issues that have arisen in the meantime. We'll see how this develops. I have to admit to being disproportionately pleased with my repurposing of ugly bath mats into wing protectors. Don't think I will ever use anything else. 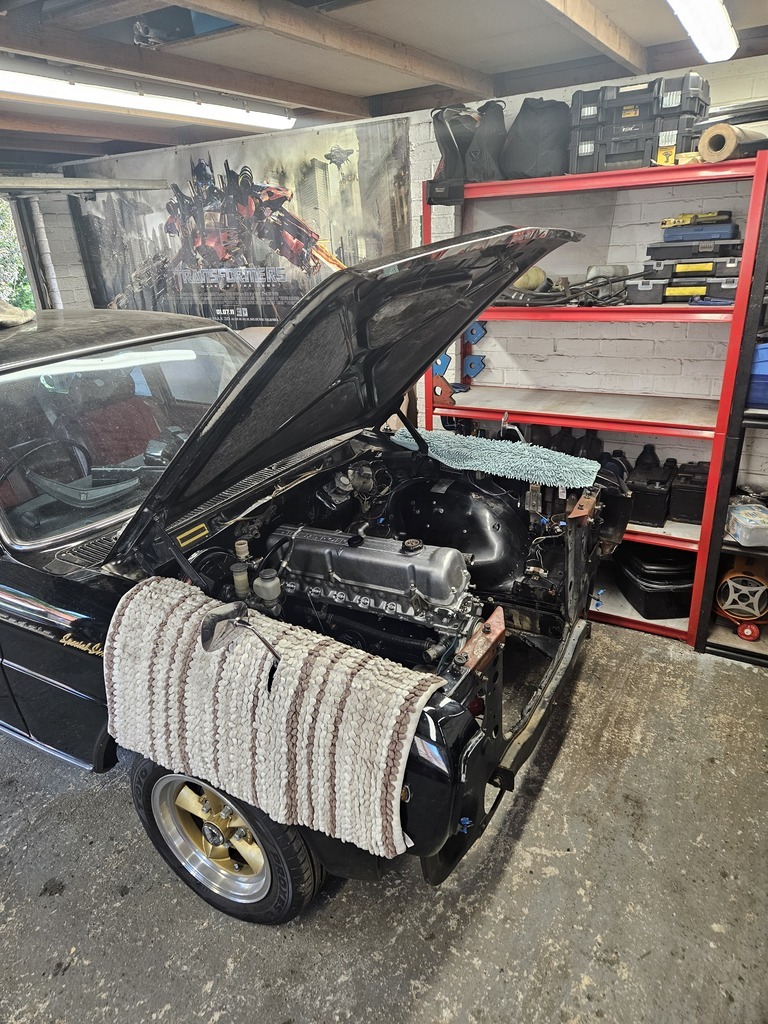 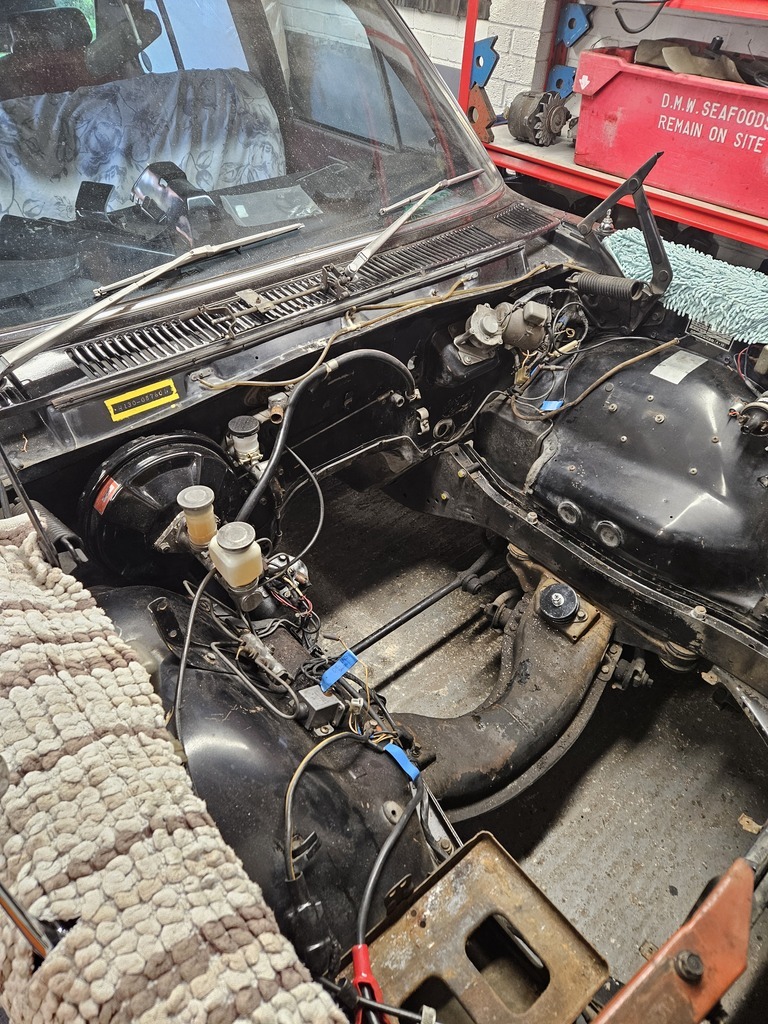 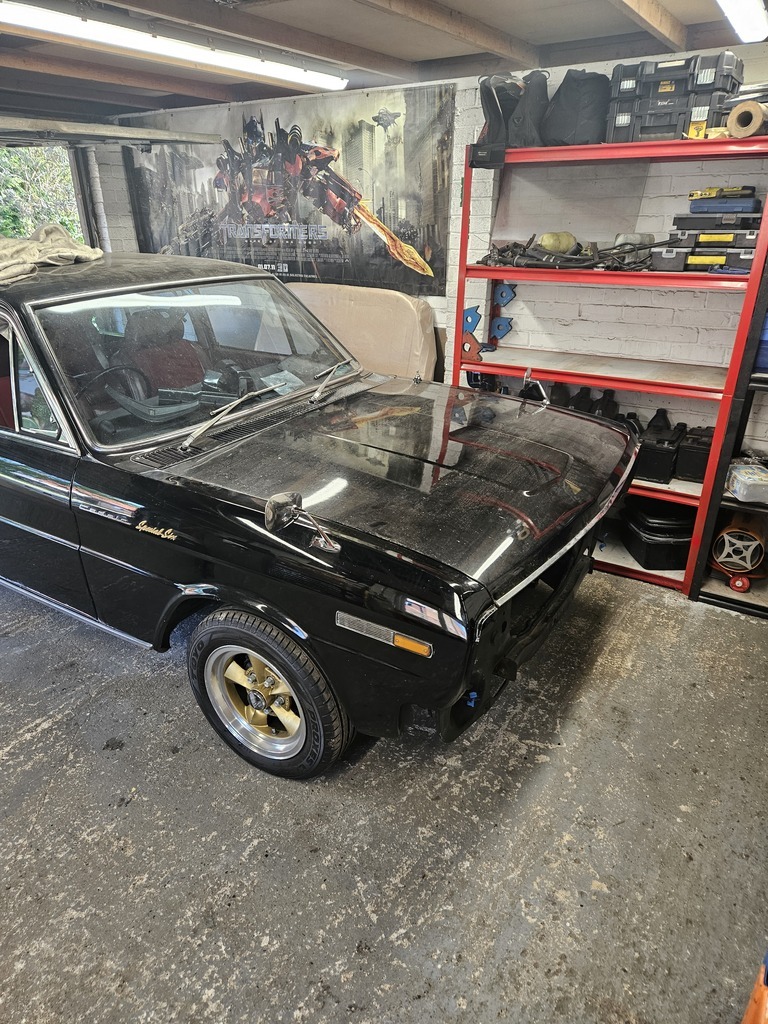 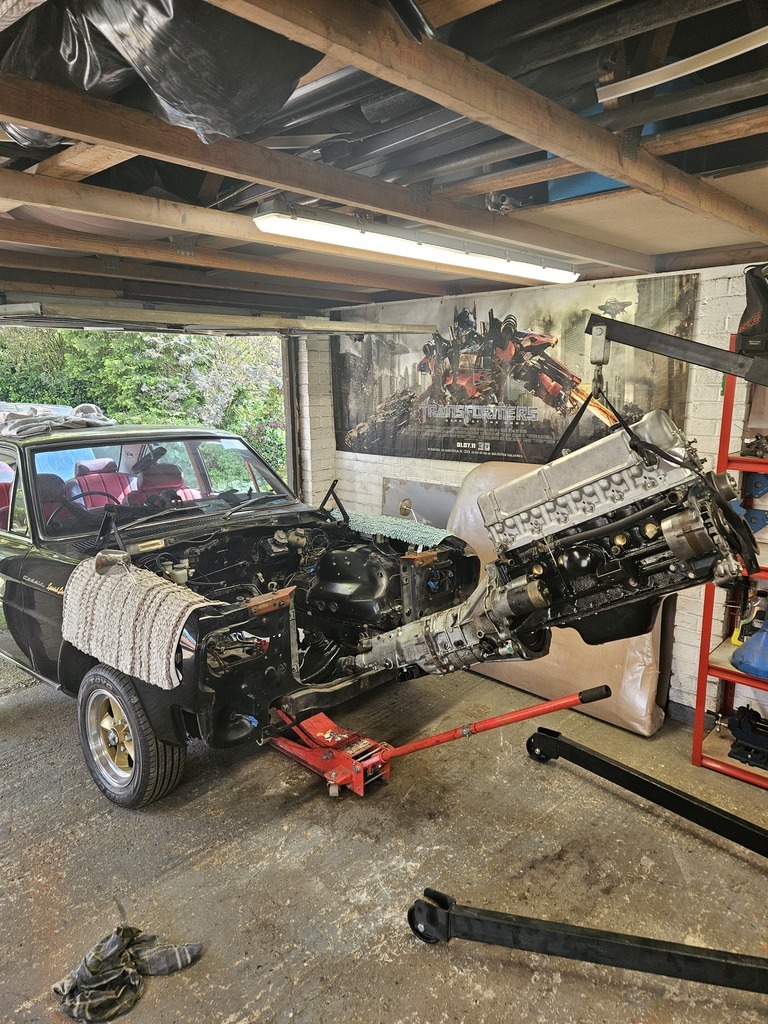 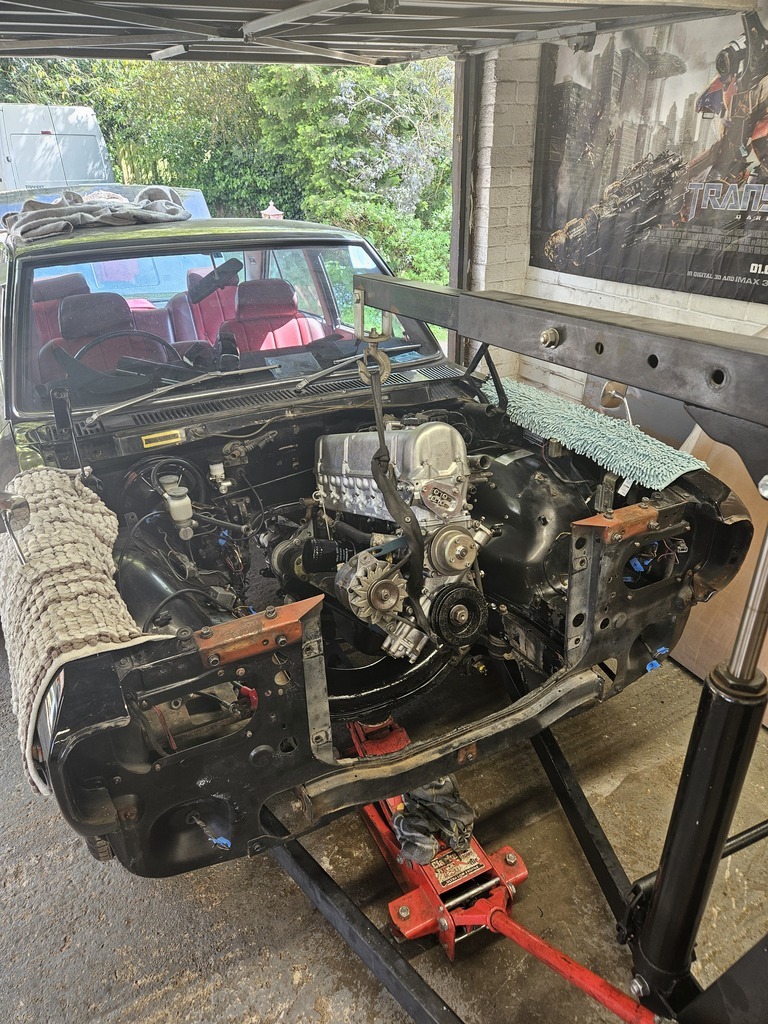 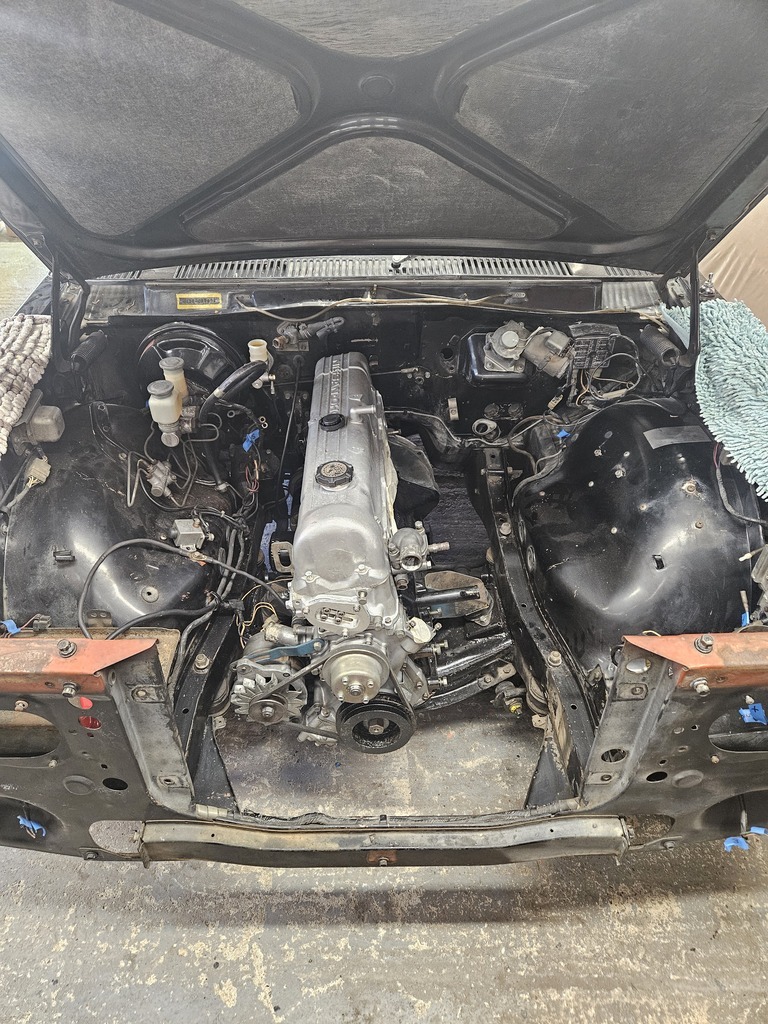 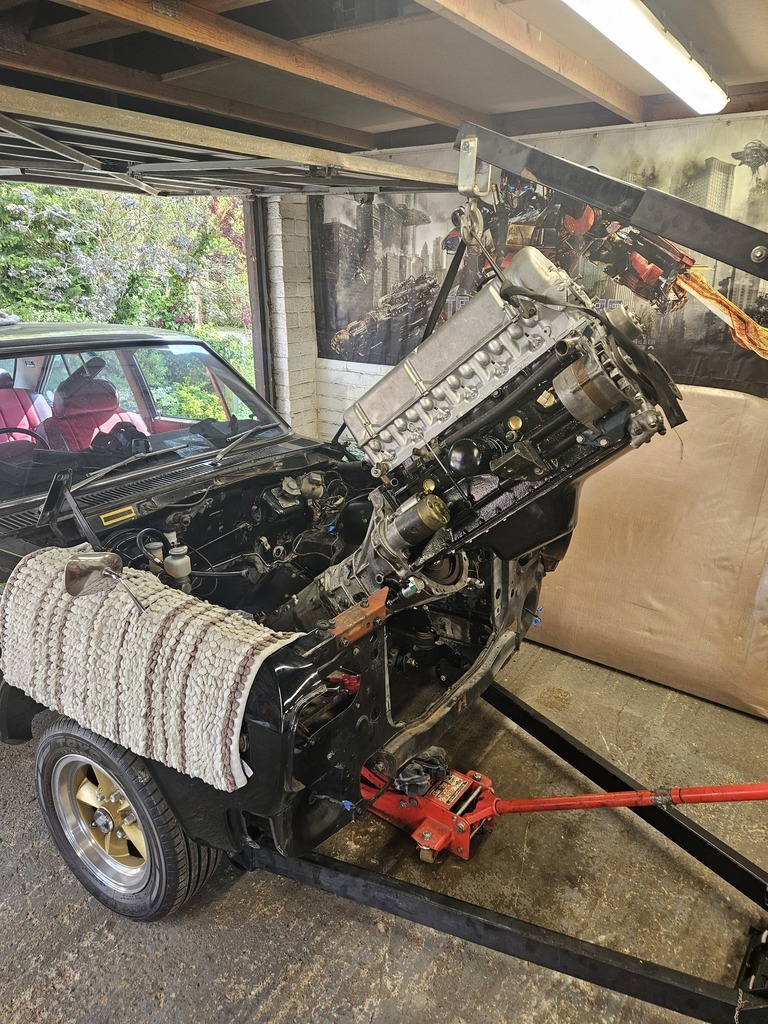 |
| |
Last Edit: Nov 30, 2024 7:29:29 GMT by Donald
|
|
Donald
East of England
Posts: 156 
|
|
|
|
|
Engine mounts have also been replaced. Originals had perished and split. Tried several places to source new ones to no avail.
Therefore, with a little bit of modification, the ubiquitous Land Rover engine mount has played its part in this conversion as well.
If you can't beat them ...
|
| |
|
|
Donald
East of England
Posts: 156 
|
|
|
|
On to the exhaust. It took me a long time to settle on what to use, mostly as I have absolutely no experience with Nissan / JDM cars whatsoever, but eventually I found a manifold that was suited to the 240Z. There is NOTHING available for the H130 Cedric - if I'm wrong please let me know - I'll be delighted! Fitted the manifold to the engine and, with a little bit of fettling and shortening it fits the Cedric. The remainder of the system was sourced from Merlin Motorsport after laying out the original exhaust, measuring lengths, angles etc. and then ordering 2.5" parts to replicate the original run. To date I have only mocked the exhaust run up (a separate supply issue with Merlin has postponed the final fabrication) but it looks like it will go together quite nicely. Again, I'm trying to keep the car pretty low key and don't want it to be too loud, so I've gone for a large middle silencer as well as an additional back box to hopefully keep the noise down to a burble rather than an intrusive noise. Will find out if I've got it right when I get to firing it all up. Previously the car had a chrome exhaust tip protruding from under the NS rear bumper. I'm planning on trying to make it look and sound as unobtrusive as possible - matt/satin black and recessed as far as possible without the gasses impinging on any metalwork. 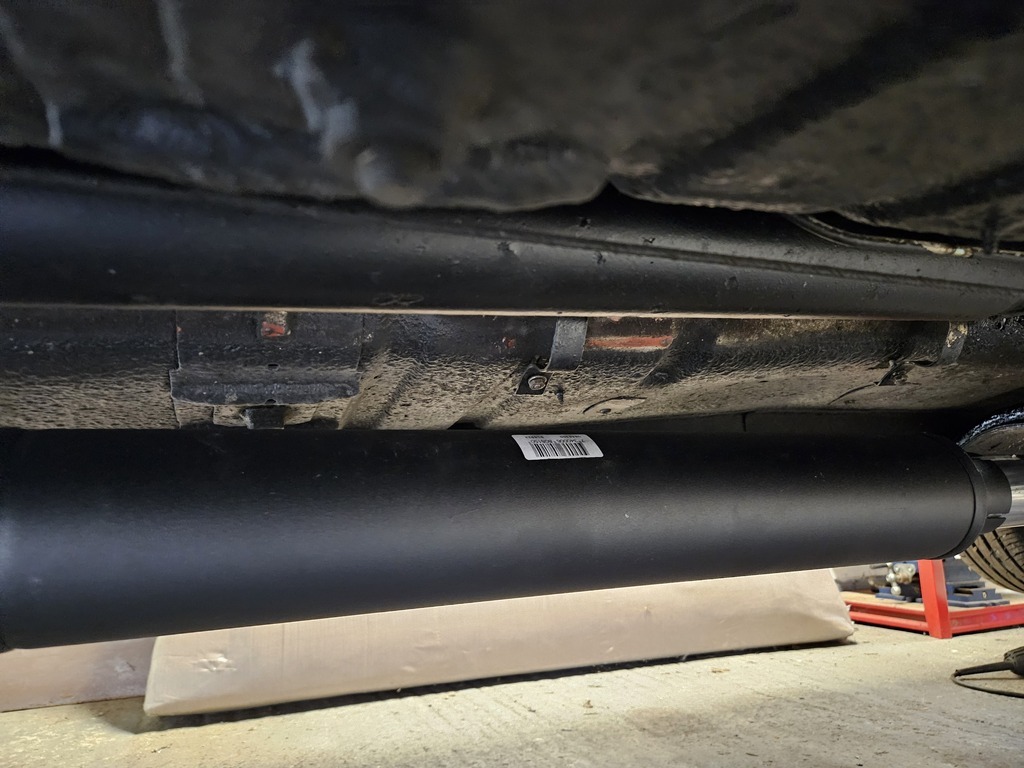 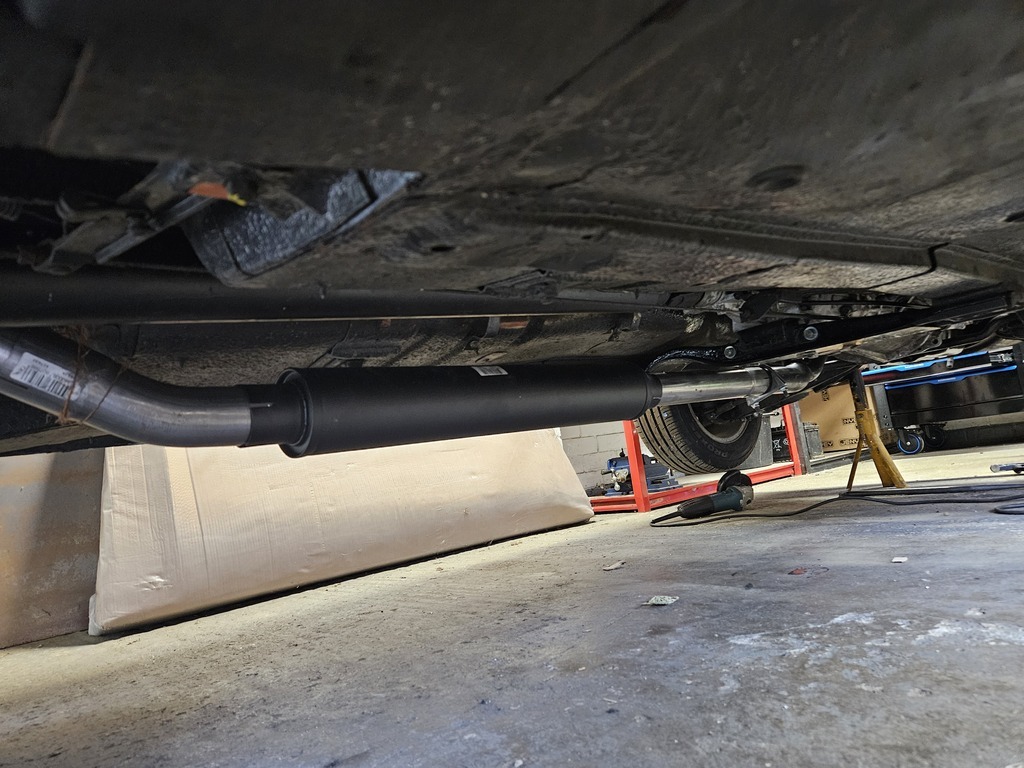 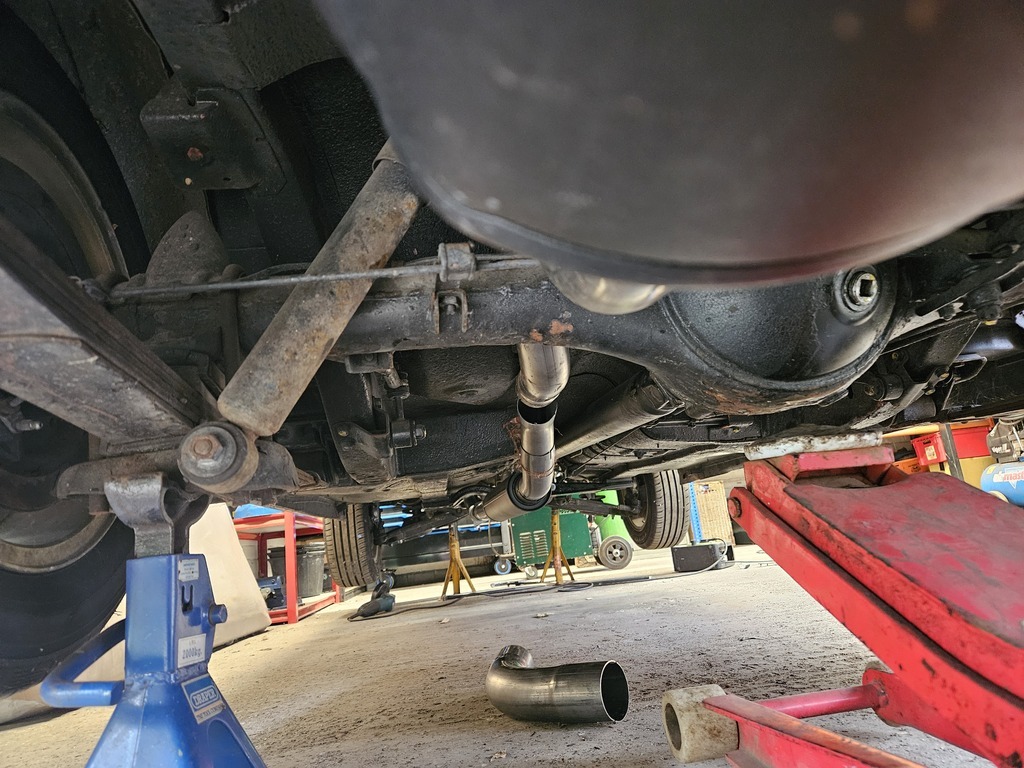 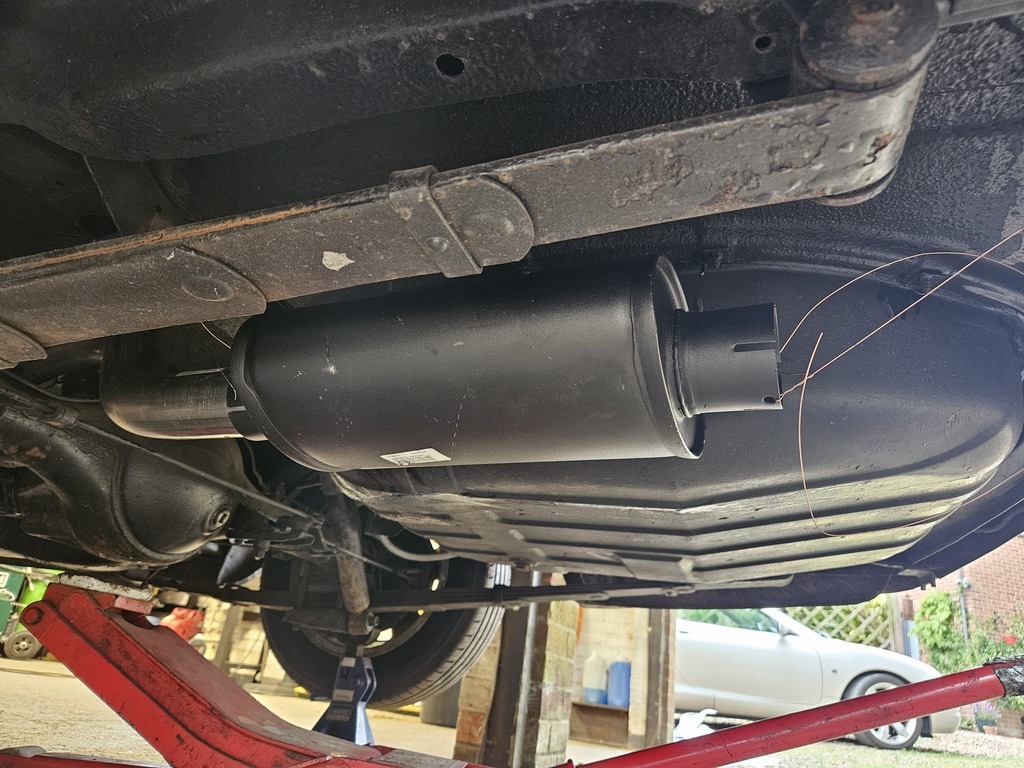 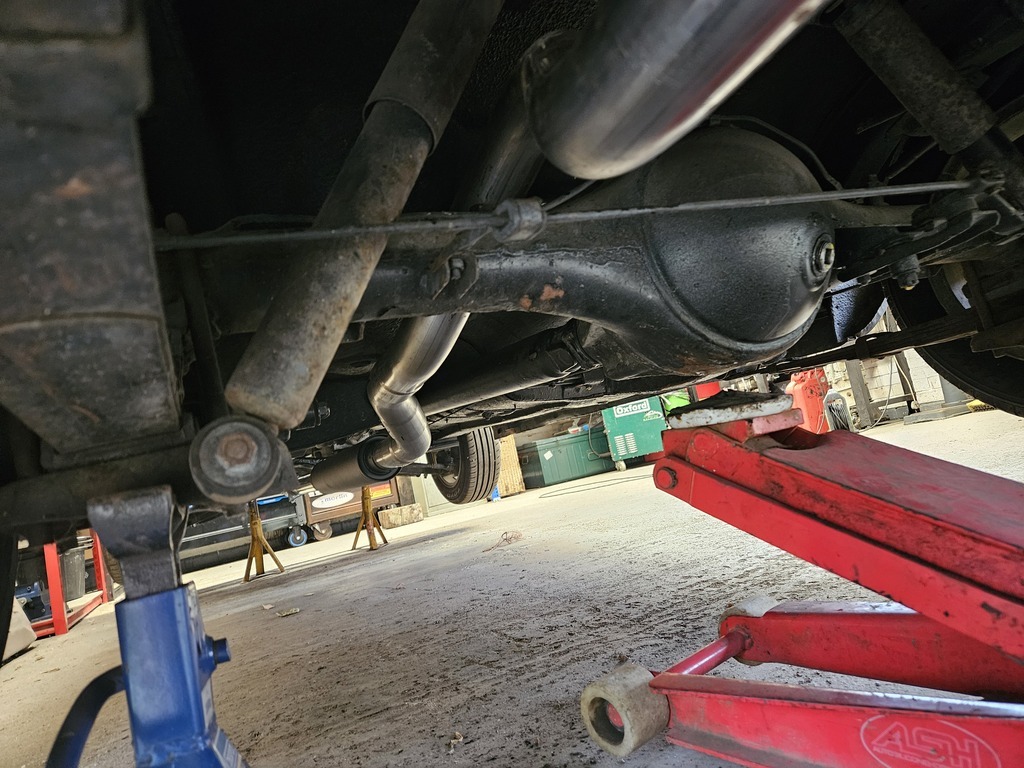 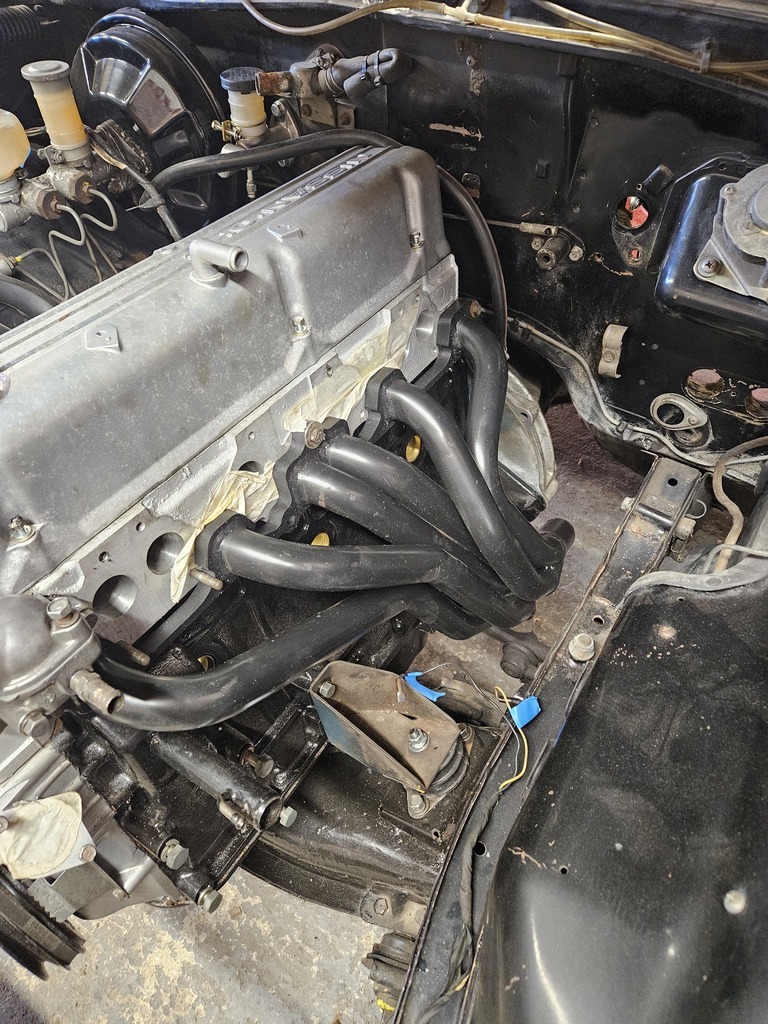 |
| |
|
|
|
|
Donald
East of England
Posts: 156 
|
|
|
|
|
Gearing was another issue I was worried about, especially when converting from automatic to manual.
Obviously the 240Z would be geared to have very different characteristics to a big old executive barge. The gearbox ratios are obviously fixed but I thought that the differential would be a real problem.
Turns out that it's likely that the Cedric Final Drive ratio is either 4.375 or 4.111:1 - when I remove the rear axle to replace all the bushes, I will confirm but for the meantime I'll go on the assumption that automobile-catalog.com is correct.
I'm using the running gear from a 240Z (Fairlady) with a 5-speed gearbox.
The same source of data tells me that the donor car had a Final Drive ration of 4.375 or 4.111:1.
Happy days.
|
| |
|
|
Donald
East of England
Posts: 156 
|
|
|
|
|
|
| |
|
|
Donald
East of England
Posts: 156 
|
|
|
|
|
|
| |
|
|
zeberdee
Club Retro Rides Member
Posts: 1,046  Club RR Member Number: 2
Member is Online
|
|
|
|
I've started a couple of threads previously but haven't really managed to either maintain them or see them through. Spent far too much time thinking and worrying about what people think, don't think, comment, don't comment and all of the other negative things I have come to associate with social media. So, I have done a couple of things. Firstly, I've removed myself from as much social media as possible and, to be perfectly honest, I feel so much better for it. This forum is the only place I will post anything now as I like it and don't really care what anyone else thinks I should do. You are not alone in doing this , I’m pretty much doing the same thing . Looking good so far , should be really nice to drive with all the improvements . 👍 |
| |
Last Edit: Nov 30, 2024 8:29:53 GMT by zeberdee
|
|
redratbike
Posted a lot
  
Posts: 1,832
Member is Online
|
|
Nov 30, 2024 13:04:18 GMT
|
|
Wow lot of work right there ..well done!
|
| |
|
|
|
|
|
Nov 30, 2024 20:12:09 GMT
|
|
How did you make out with the 123 electronic ignition unit? I purchased one of these and compatible coil back in the summer for my 1969 Simca 1200S and it’s being fitted next week, together with some other recommissioning work that is being carried out onthe car by a local garage.
I am really looking forward to seeing how it will run with the new set up and what difference it will make?
|
| |
|
|
Donald
East of England
Posts: 156 
|
|
|
|
|
I decided against using it in the end. It's still in the packaging. It's the Bluetooth version which apparently allows you to alter the ignition via an app on your phone.
I've gone down a different route but that will be in the next batch of pictures.
Be interesting to learn how you get on with your unit.
|
| |
|
|
Donald
East of England
Posts: 156 
|
|
|
|
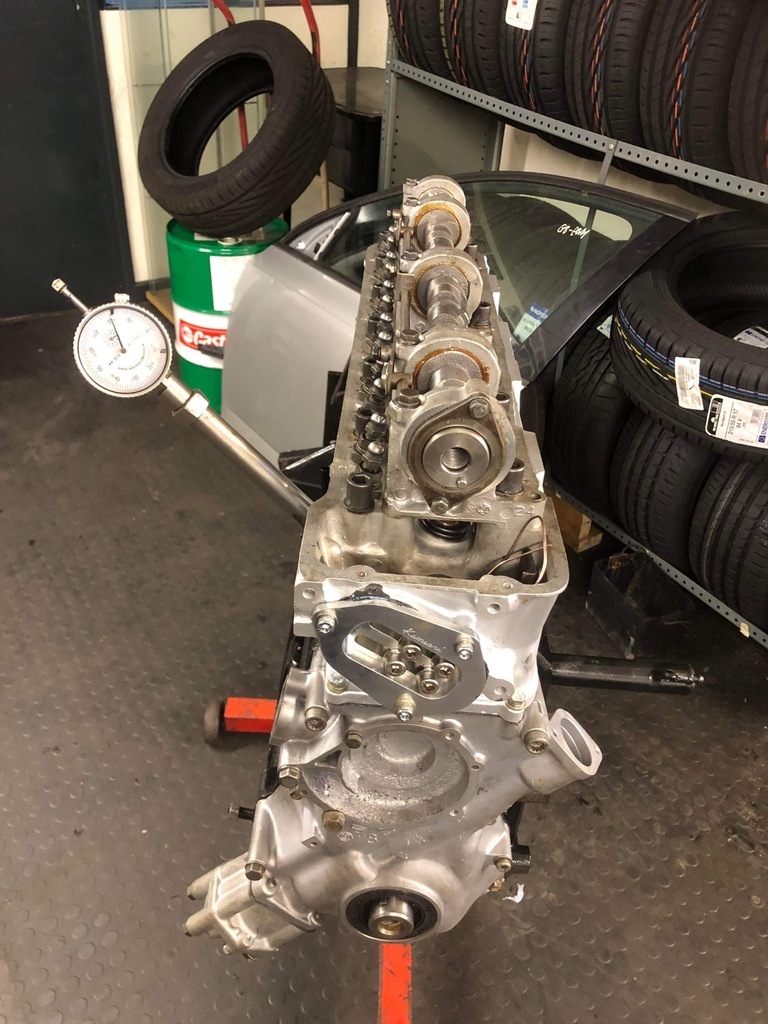
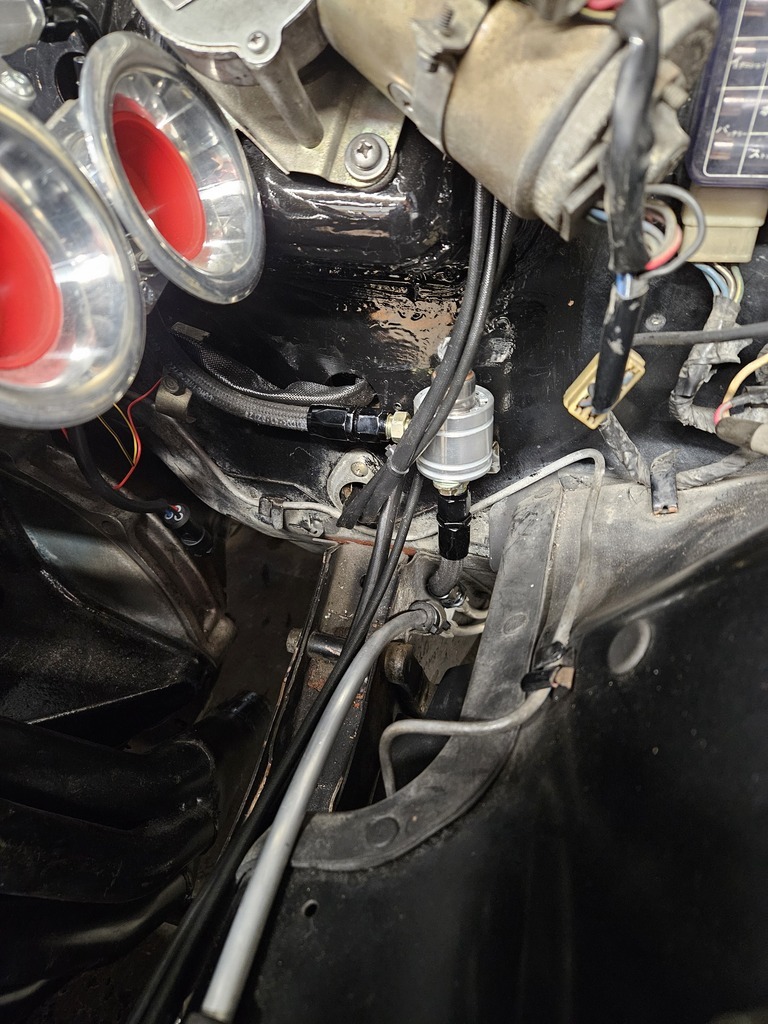
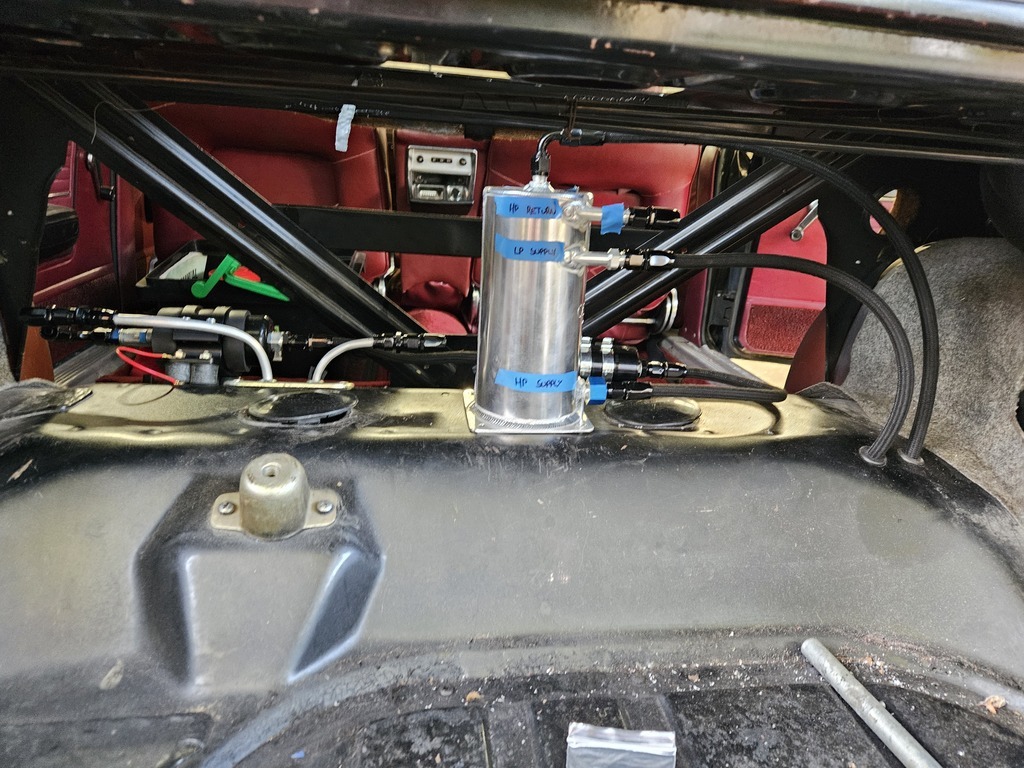
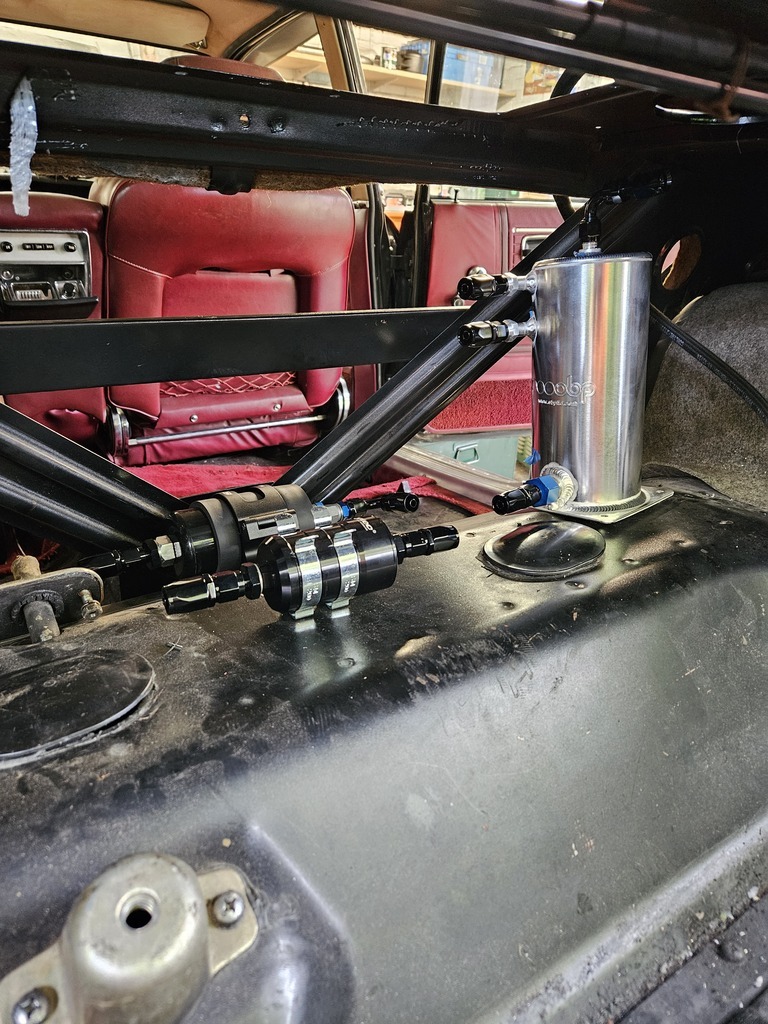
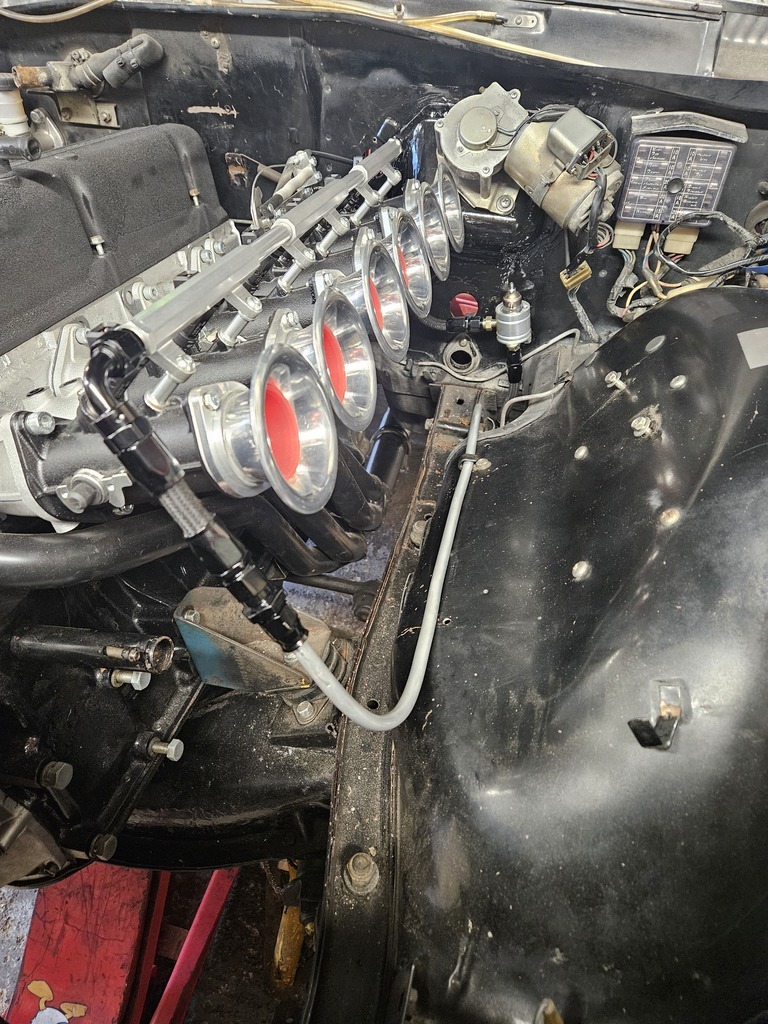
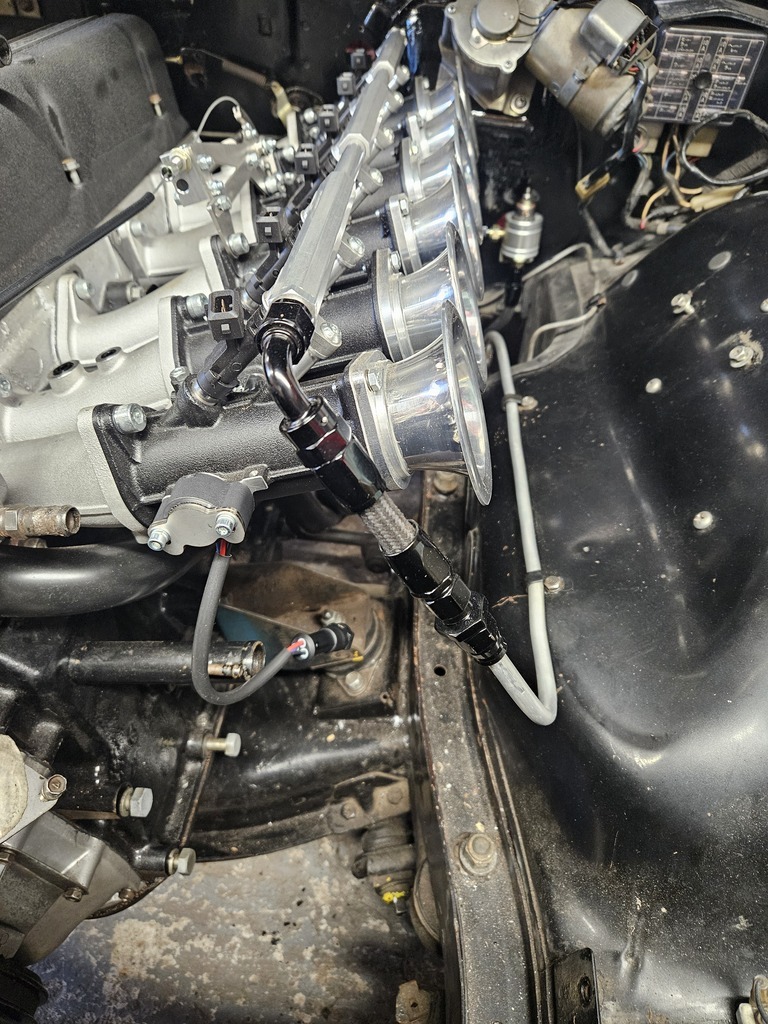
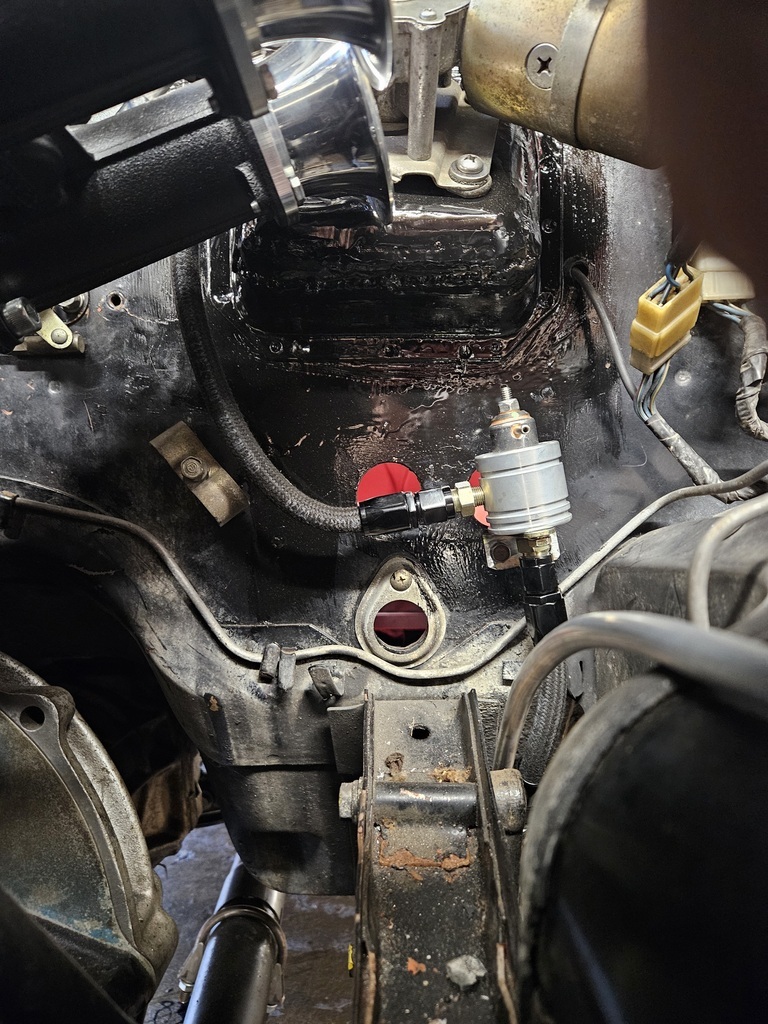
After pontificating for a while and not really being too sure about the reliability of the carbs I decided I wanted to go down the throttle bodies route. My original intention was to retain the period look and get a set of the 'heritage' type bodies that Jenvey were producing. At this point I was entering into unknown territory, so I took advice from professionals - enter EmeraldM3D in Watton. Not too far from me and it's a choice I'm really glad I made. Firstly, after speaking to Emerald, who deal directly with Jenvey, I discovered that the heritage type bodies for the L6 engine had been discontinued as Jenvey weren't happy with some aspects of their performance - don't know the details so can't expand. This meant that the way forward became clear - Jenvey throttle bodies with the Emerald K6 ECU. The following pictures shown a lot of the progress through fitting the throttle bodies. First problem was that the trumpet for No.6 cylinder hit on the wiper motor. This was resolved by taking a slice out of the mount on the bulkhead, repositioning, and then welding the seam back together. The minimal change in angle meant that the actual wiper mechanism under the dash is still free to operate but may require fettling later. I also took a section of the wiper motor mount out so when the engine moves there should be no contact between the trumpet and the mechanism. This is all done by guesstimation and looking at the potential arc the engine may move it - time will tell. After that it was just the process of deciding where to route the fuel lines, position the fuel pressure regulator, mount the throttle position sensor and fabricate the throttle linkage (this is still a work in progress, but I think I've worked it out).  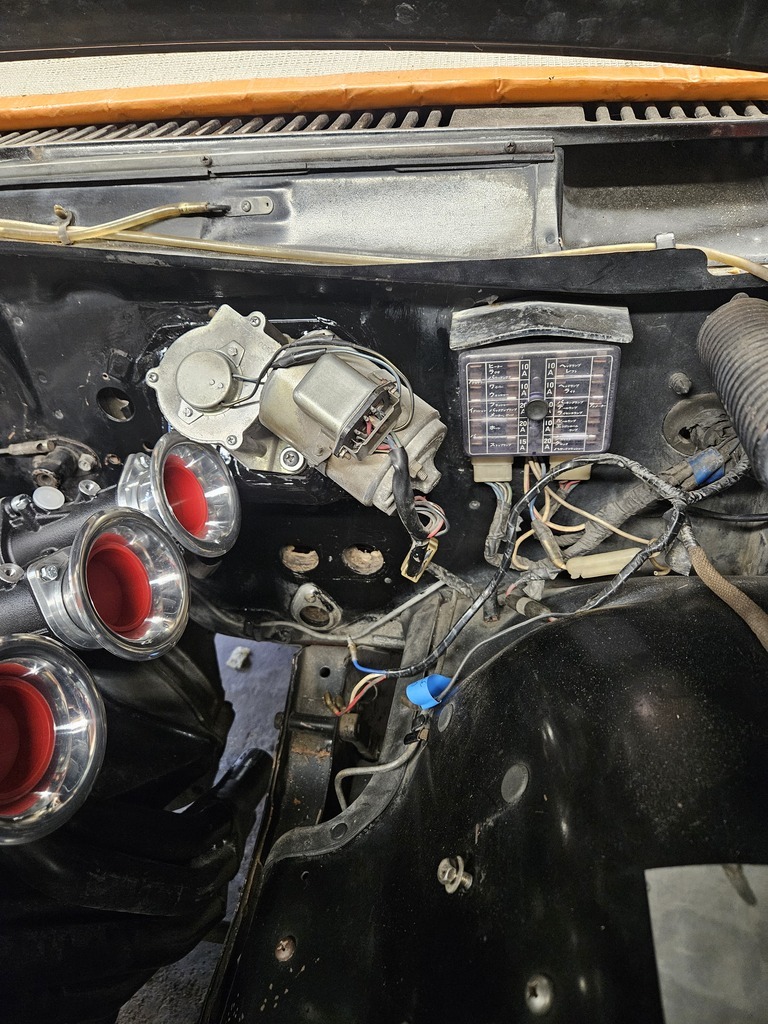 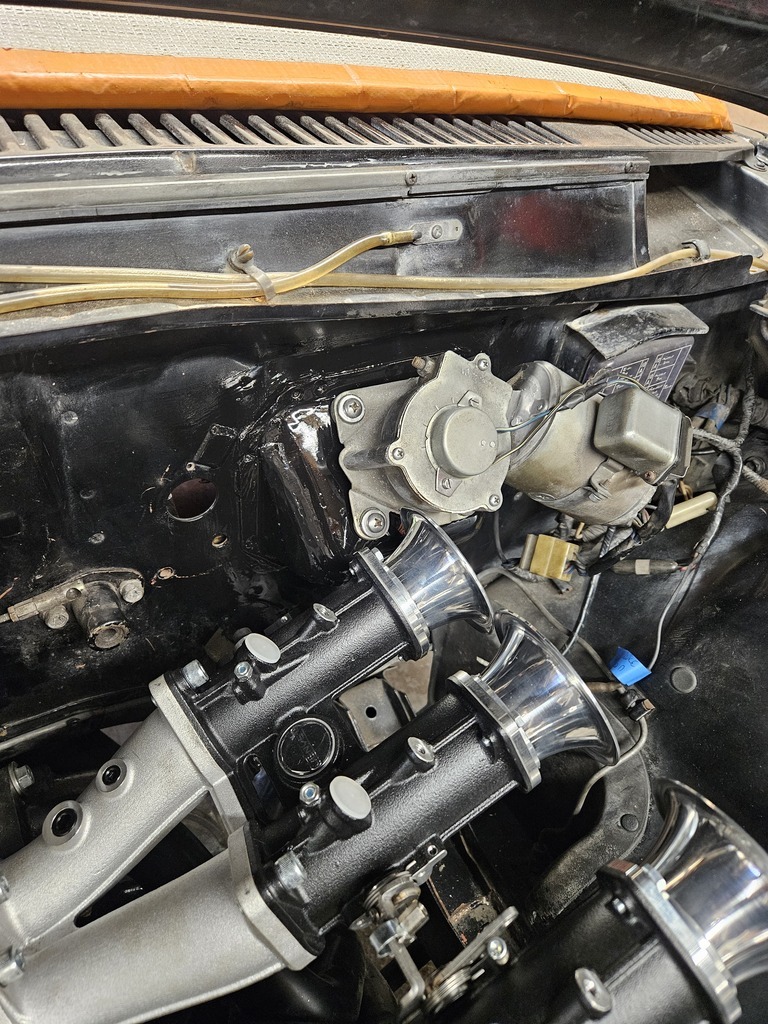 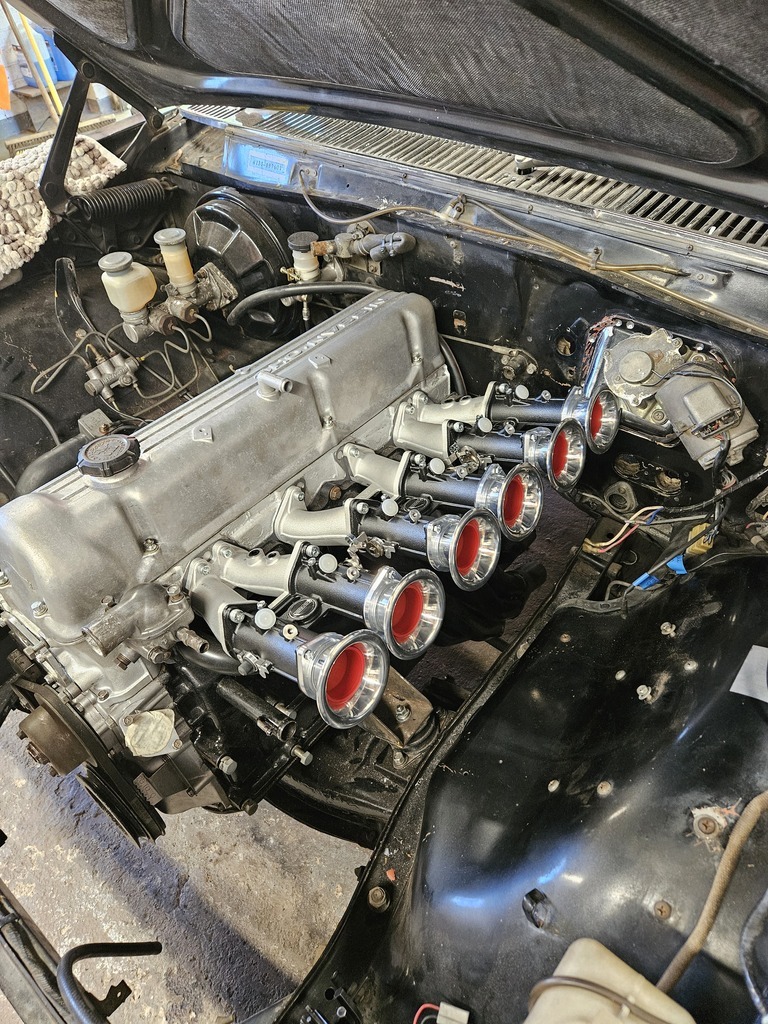 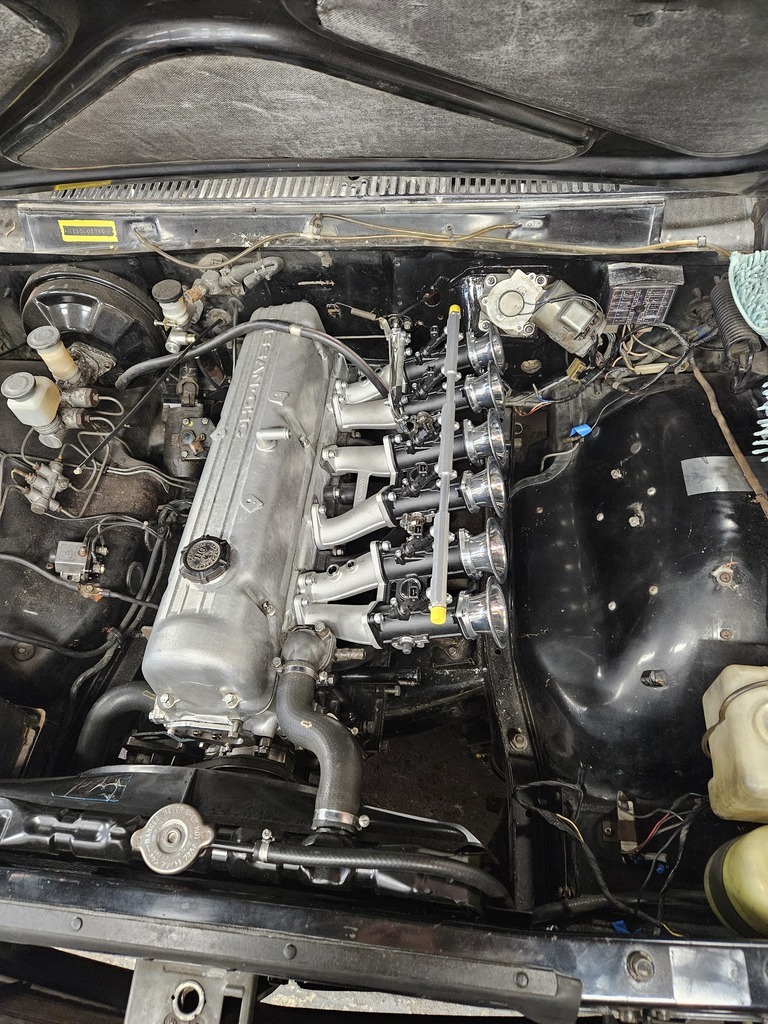 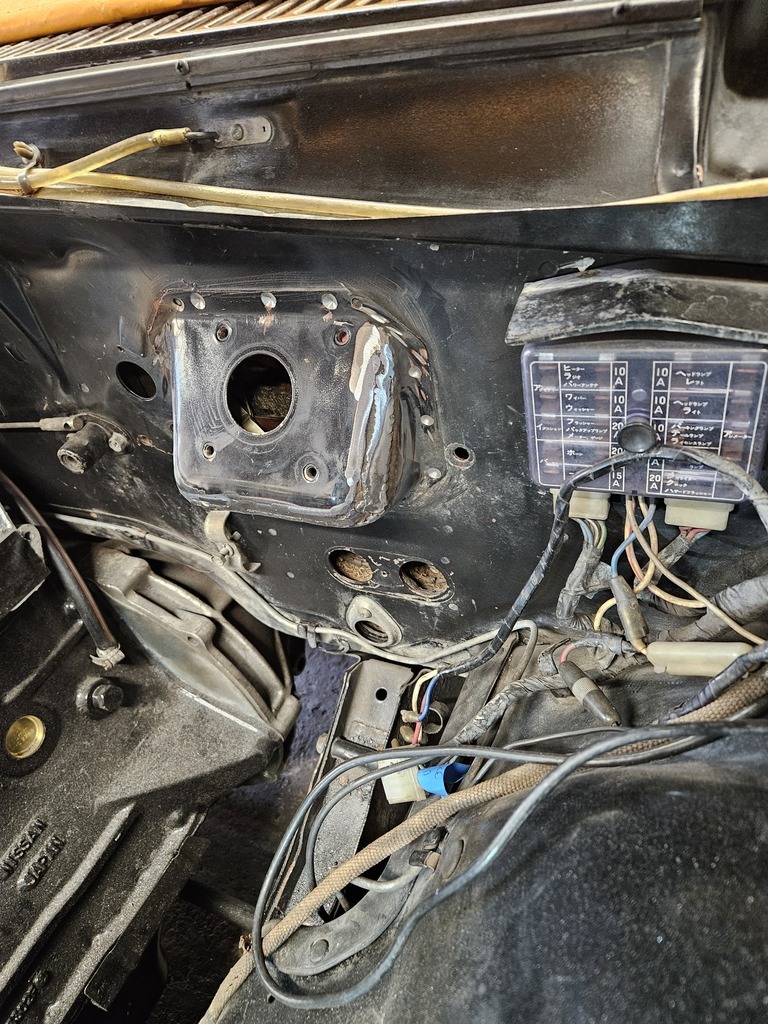 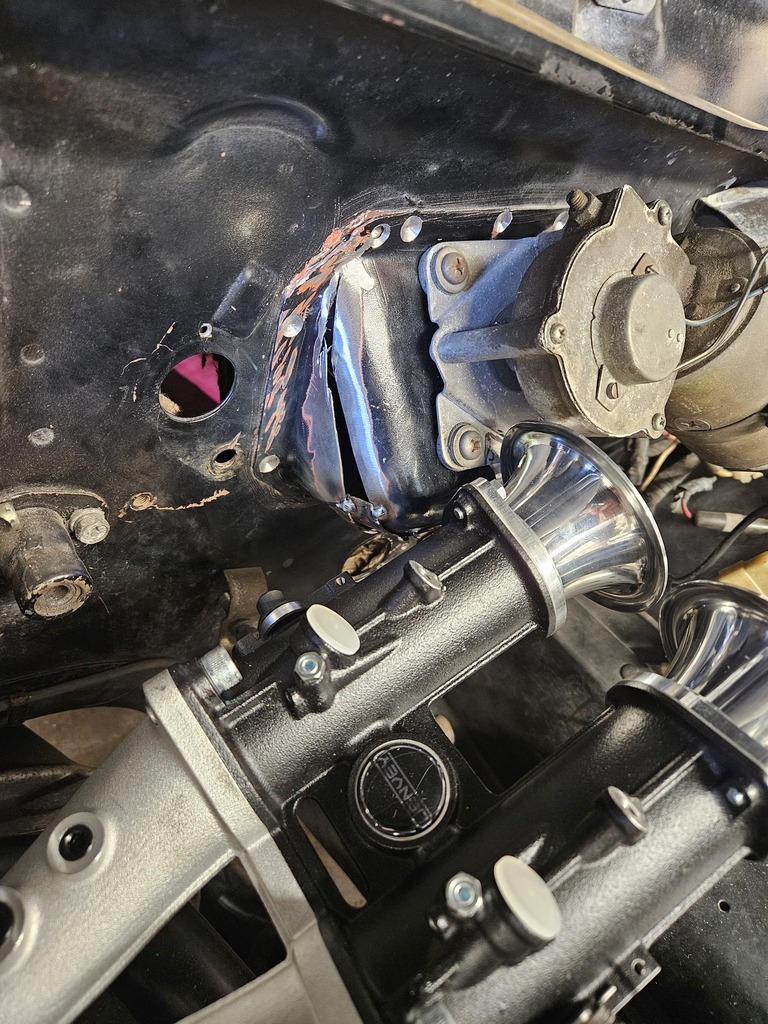 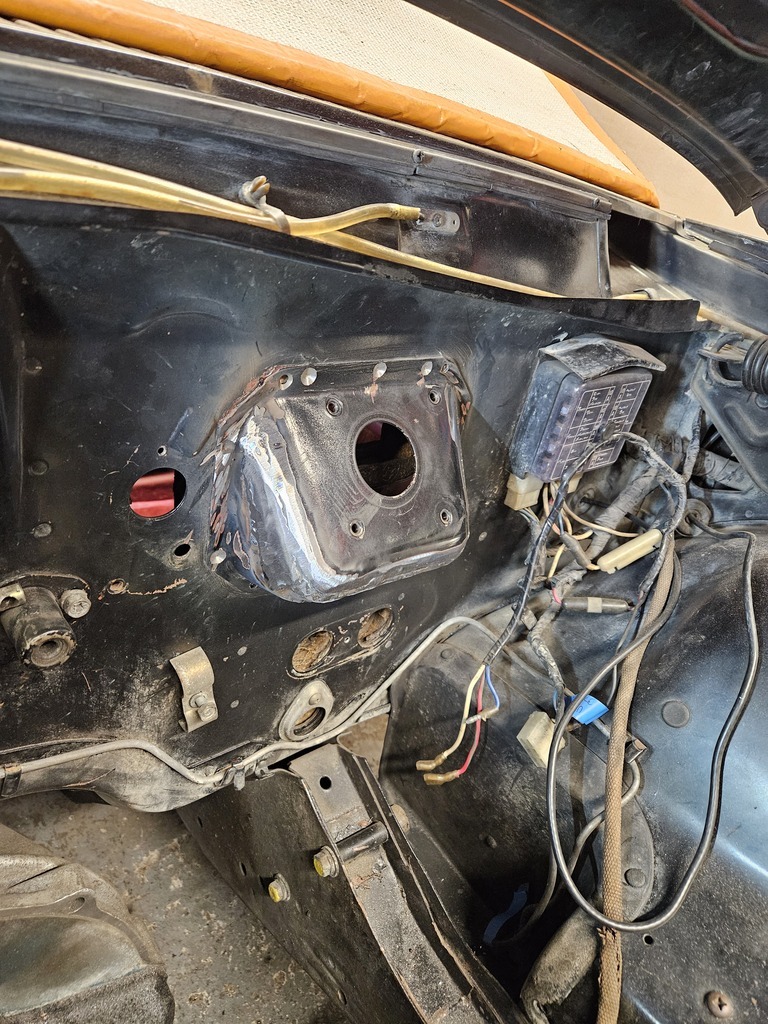 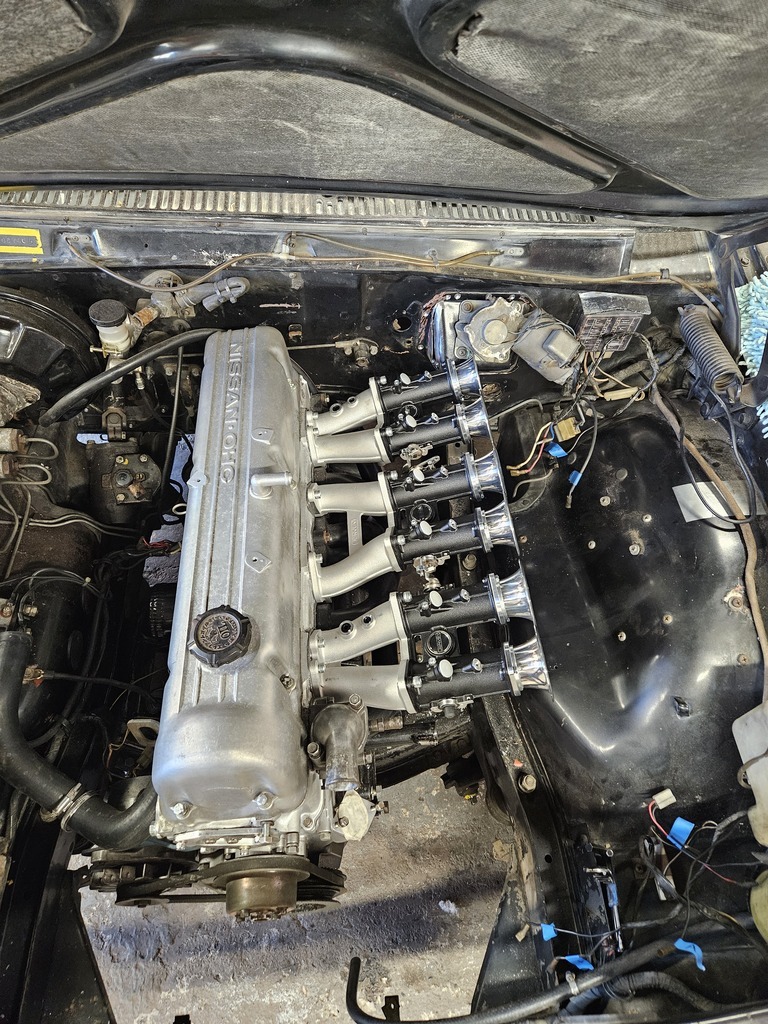 |
| |
|
|
Donald
East of England
Posts: 156 
|
|
|
|
|
|
| |
Last Edit: Dec 1, 2024 8:52:31 GMT by Donald
|
|
Donald
East of England
Posts: 156 
|
|
|
|
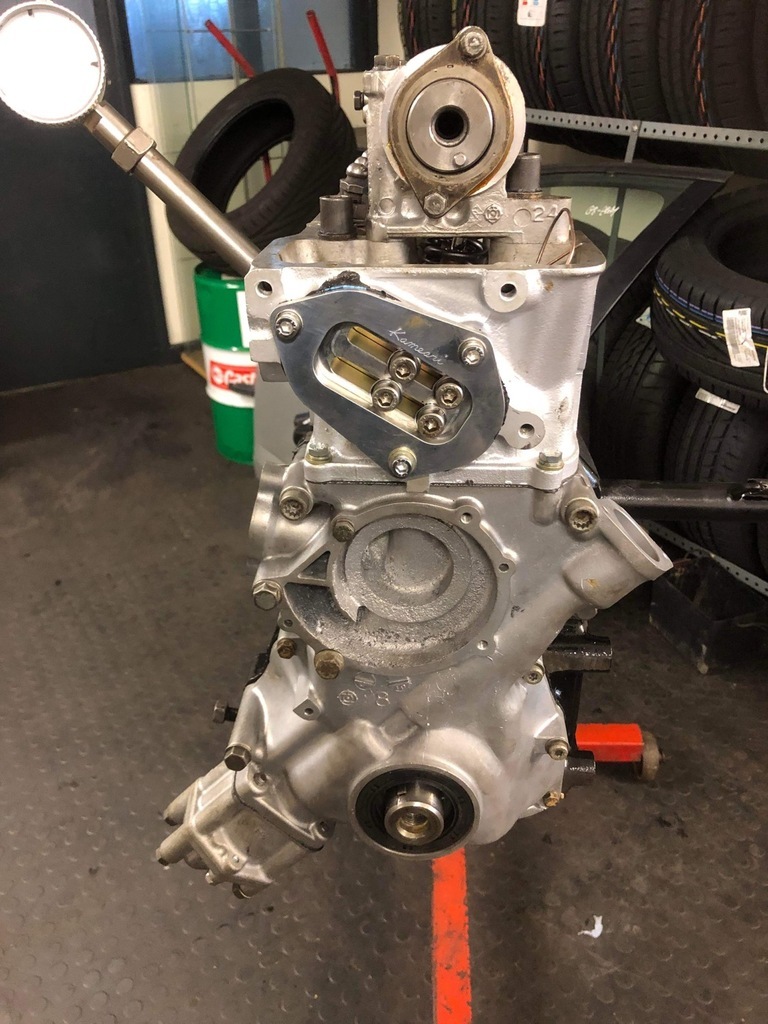
The next job was one that I was looking forward to with equal fear and trepidation, as well as excitement, as I had never done it before. Wiring up the ECU, sensors and electrics. At this point I have to mention that the help and support from Emerald, specifically Keith, has been outstanding and has really helped me in the areas I wasn't sure or had no idea how to solve. So, silver box, shed load of wires, connect back into a 54 year old car and try and make it look at least semi-professional. I had earlier decided that the ECU was going to live under the dash, I just wasn't sure where. The car actually came with air conditioning (from the factory I believe). I have done away with this - can't get the correct refrigerant for the system any more, I had never used it AND we live in the UK, AND the windows and quarter lights open. Outcome: the eviscerated air con unit has been repurposed to mount the ECU, future ancillary wiring if required and to mount a modern Bluetooth head unit. There was a lot of wire but after running it out and cross referencing the data sheets provided by both Jenvey and Emerald I am cautiously optimistic that it's wired correctly. There was a lot of though into where the coil pack should go as well. I initially planned on mounting it on a bracket on the side of the block but it has ended up on the offside inner wing. Again, a lot of communication back and forth with Keith and measuring / guessing the runs of the HT leads has produced a relatively tidy set up I think. Additionally, the Bluetooth distributor has been superceded by a fabulous piece for kit from OneSIx Industries in Australia. It's basically a trigger wheel set up that is mounted in place of the distributor, instead of a crank mounted trigger wheel - and it's quite pretty in a tidy sort of way. Still a work in progress but I'm hoping that when I get home from work this time I should have the majority of the plates spinning and we can go for a start. 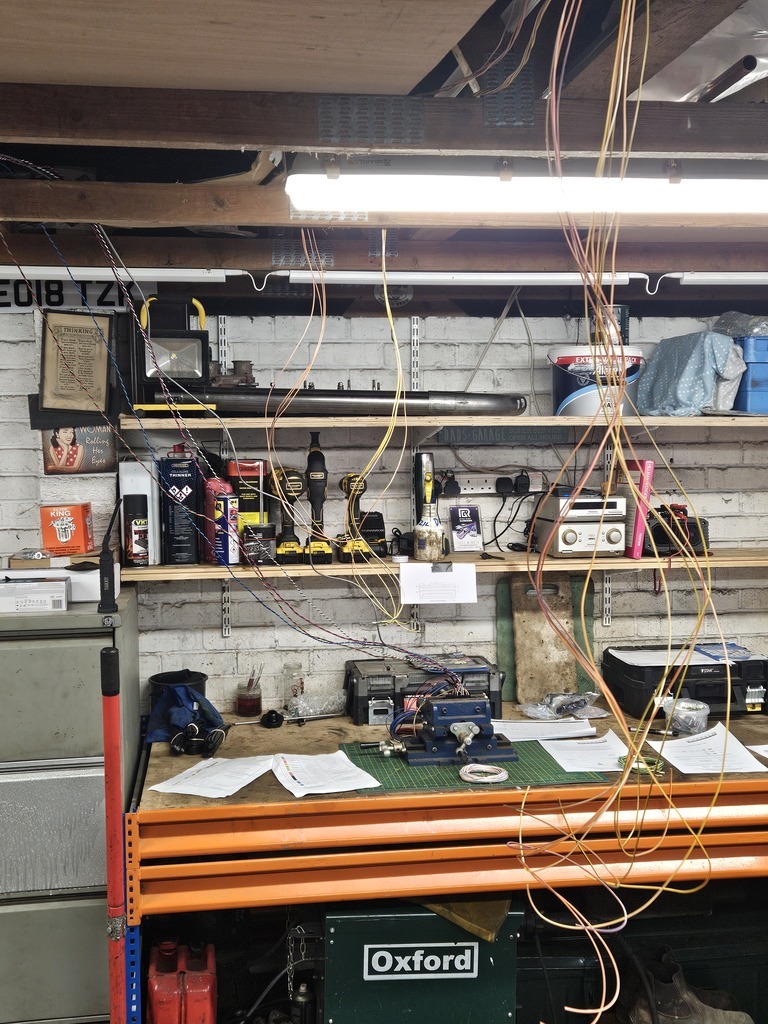 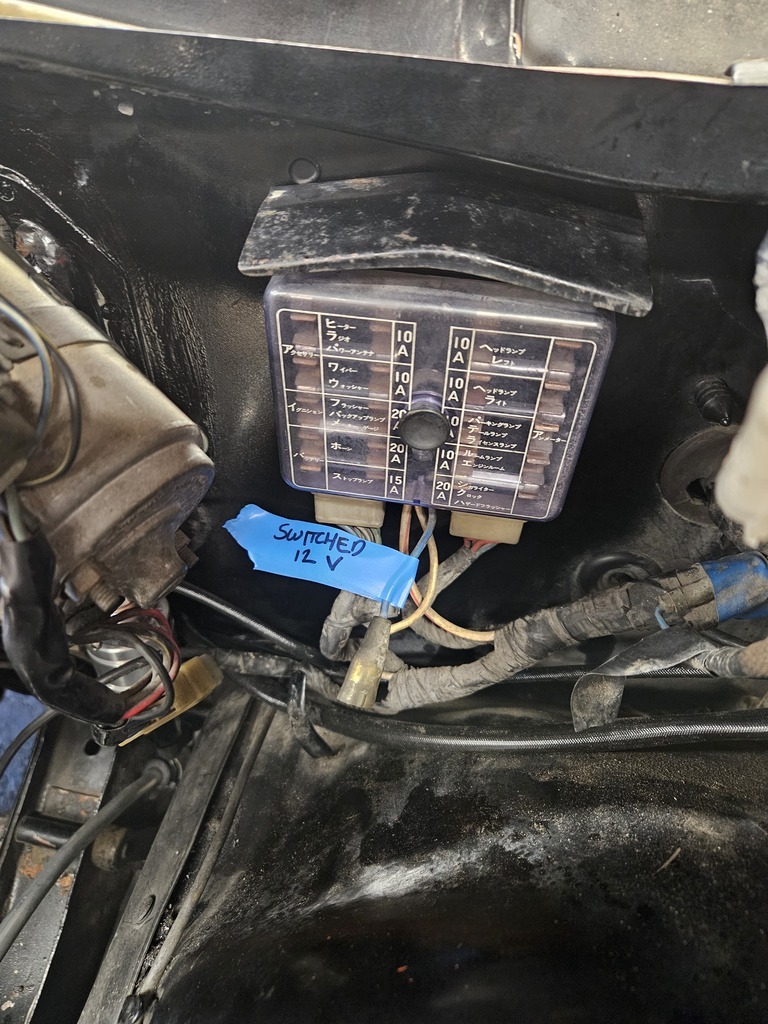 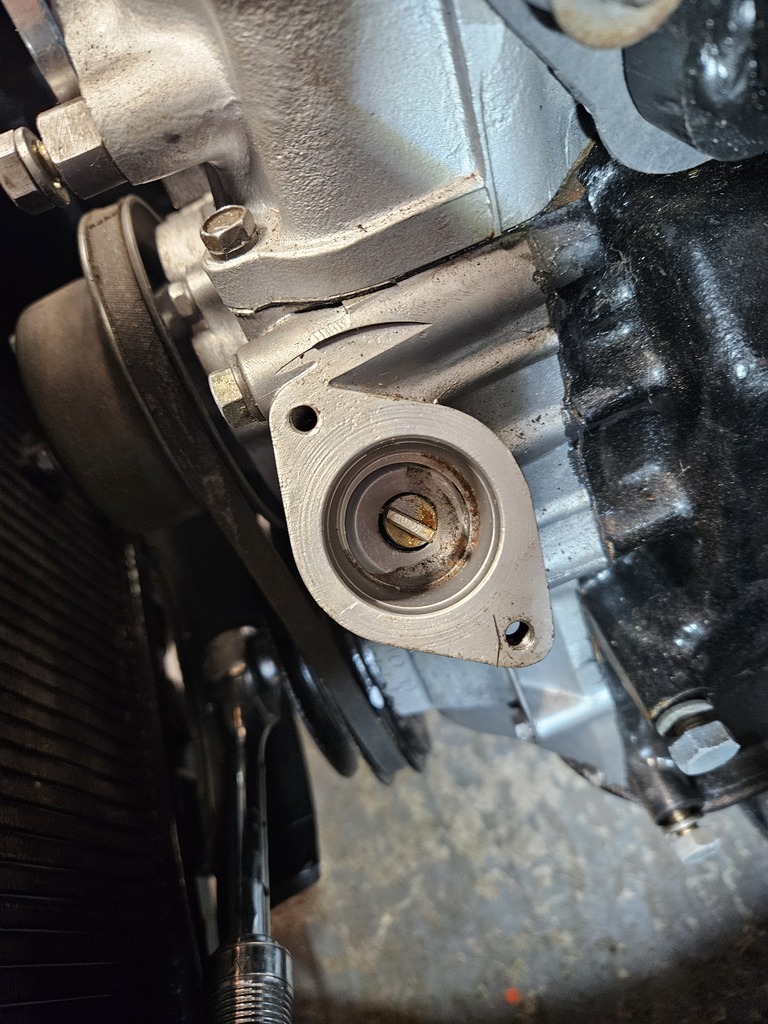 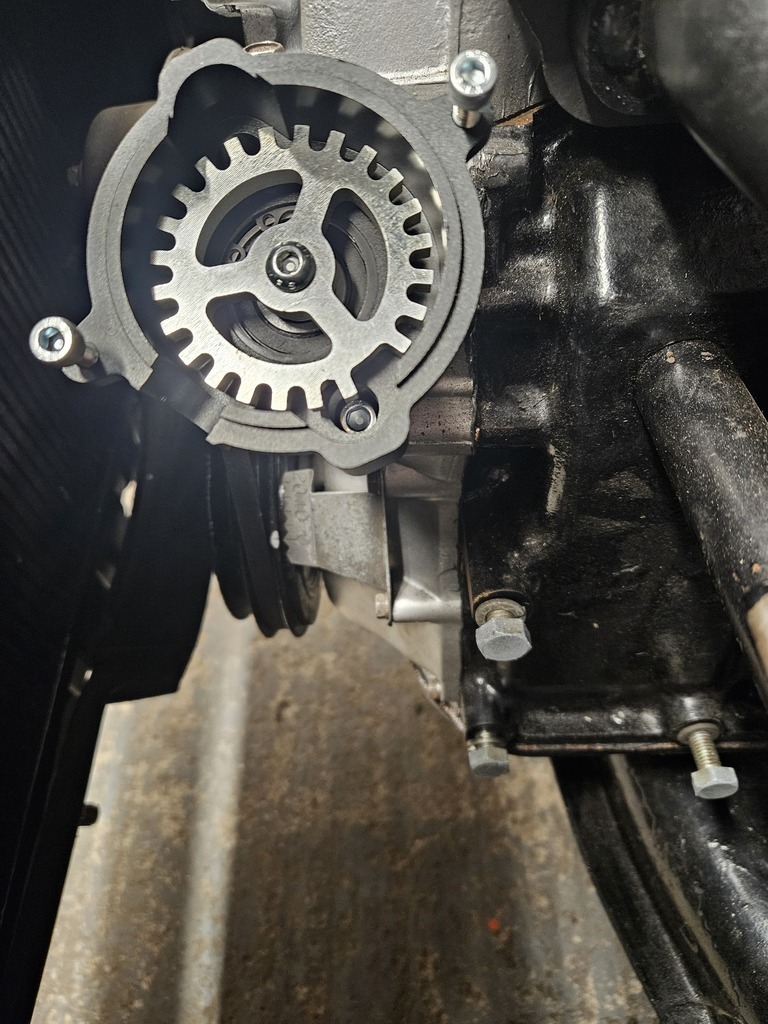 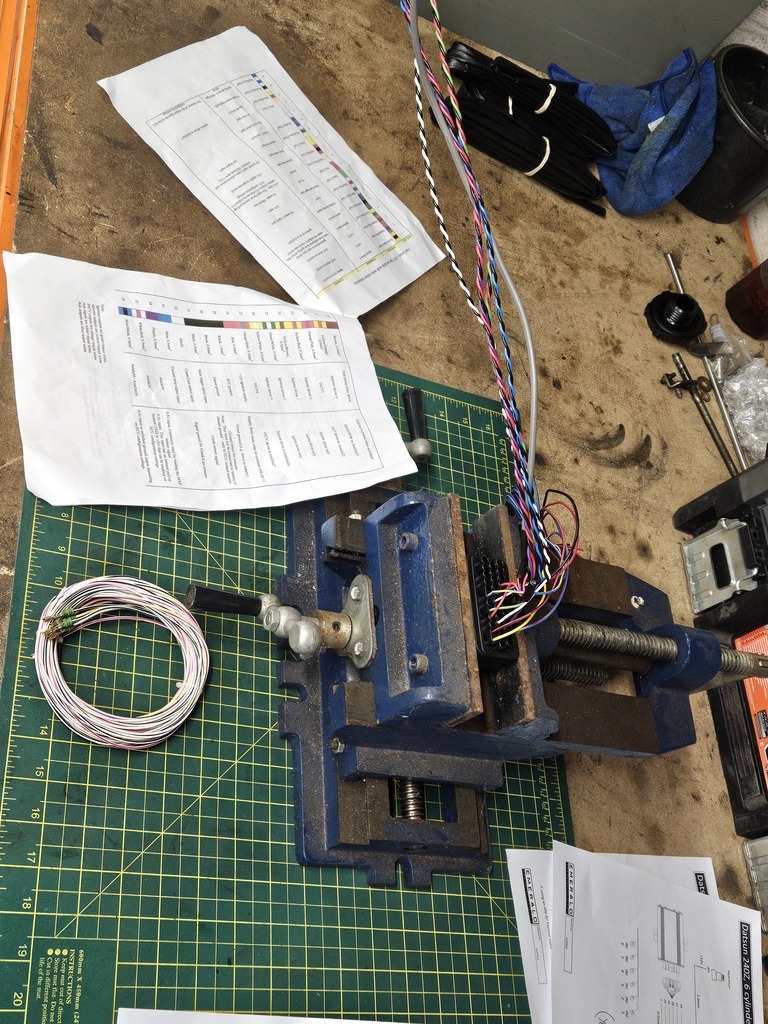 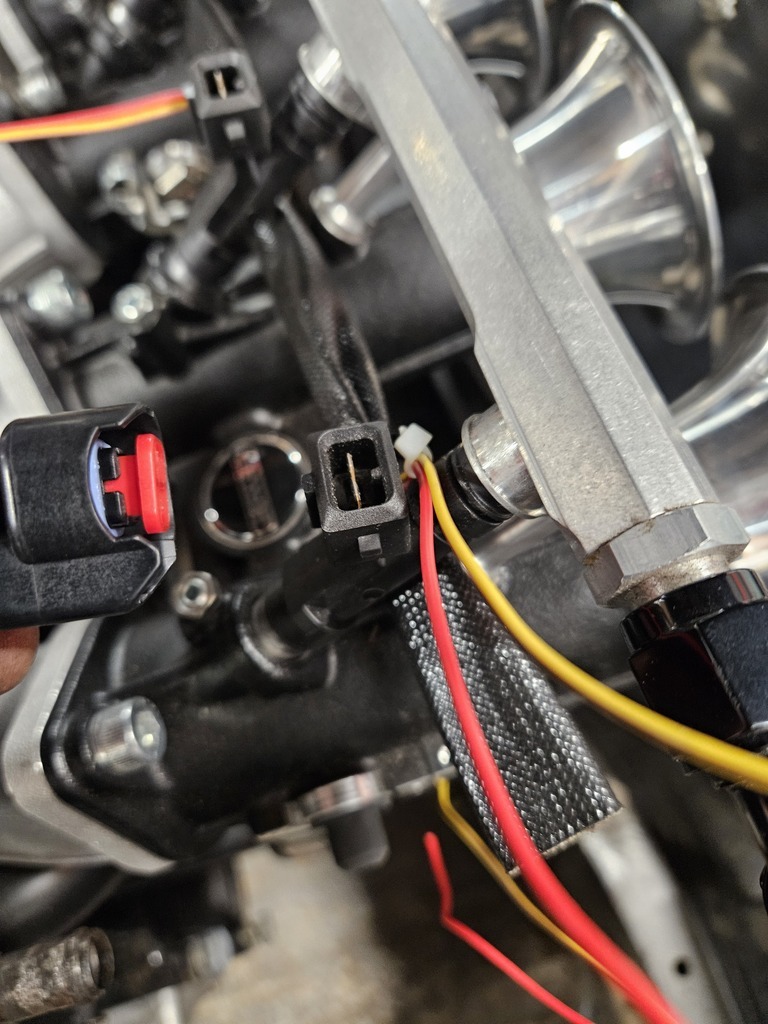 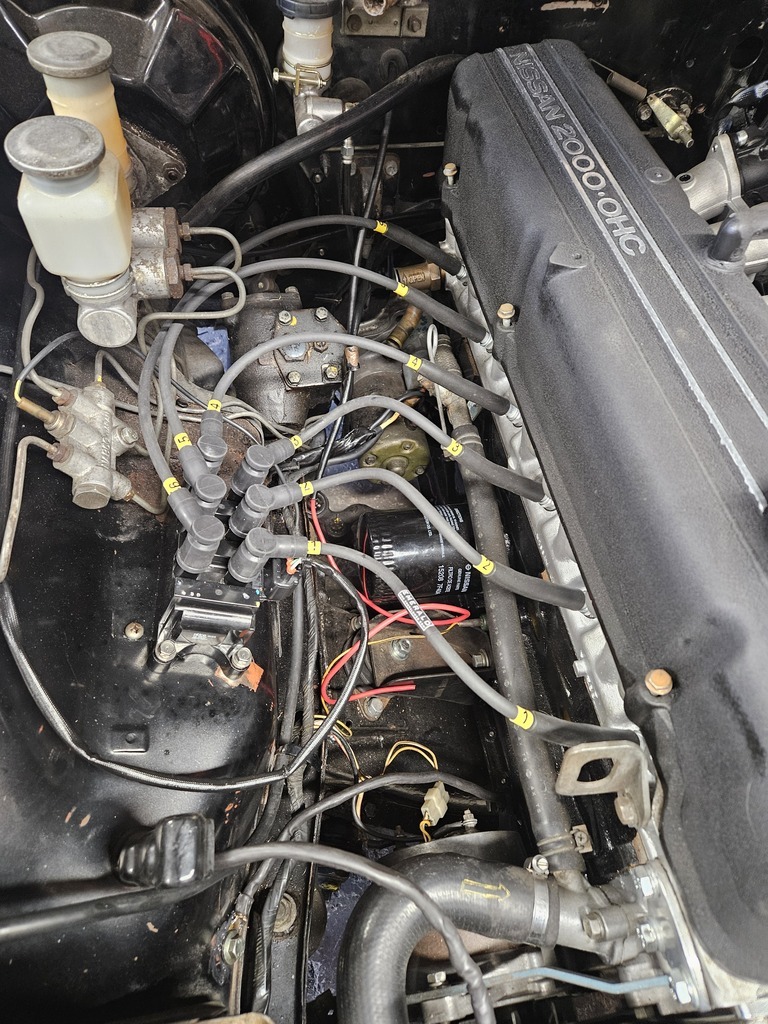 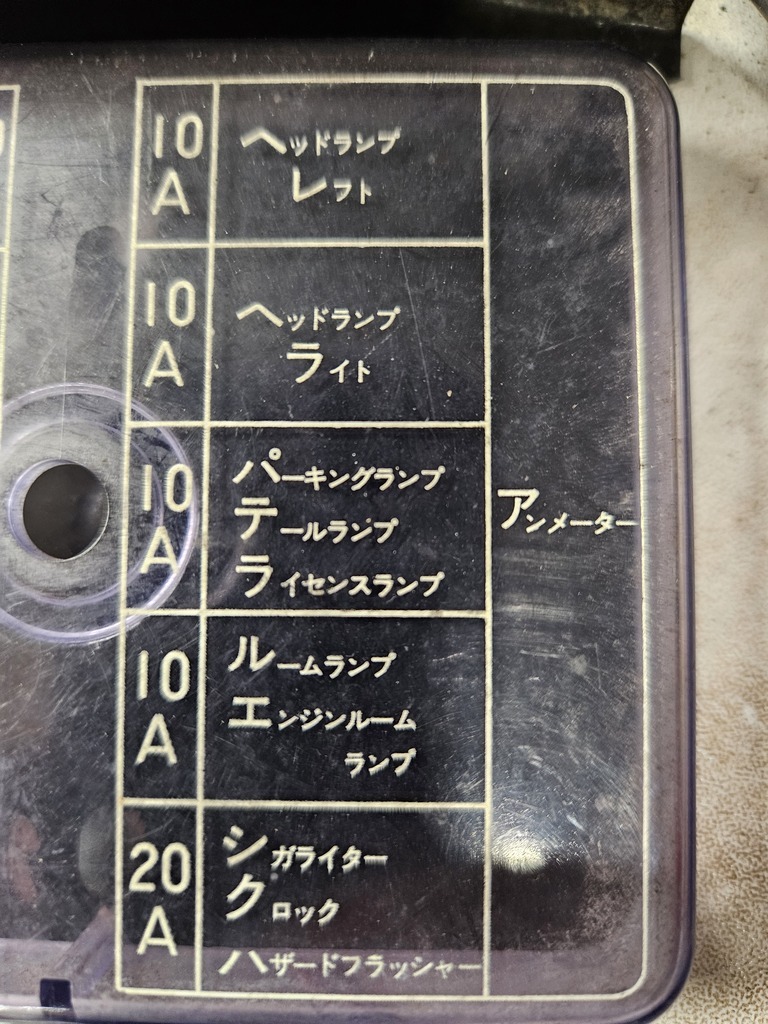 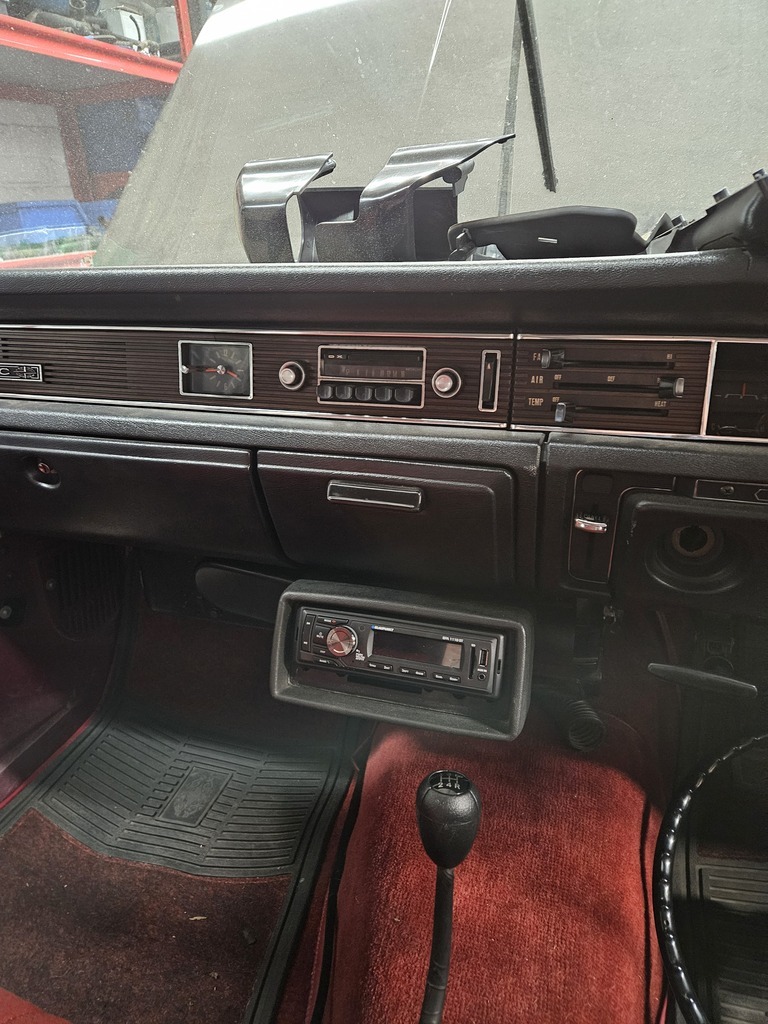 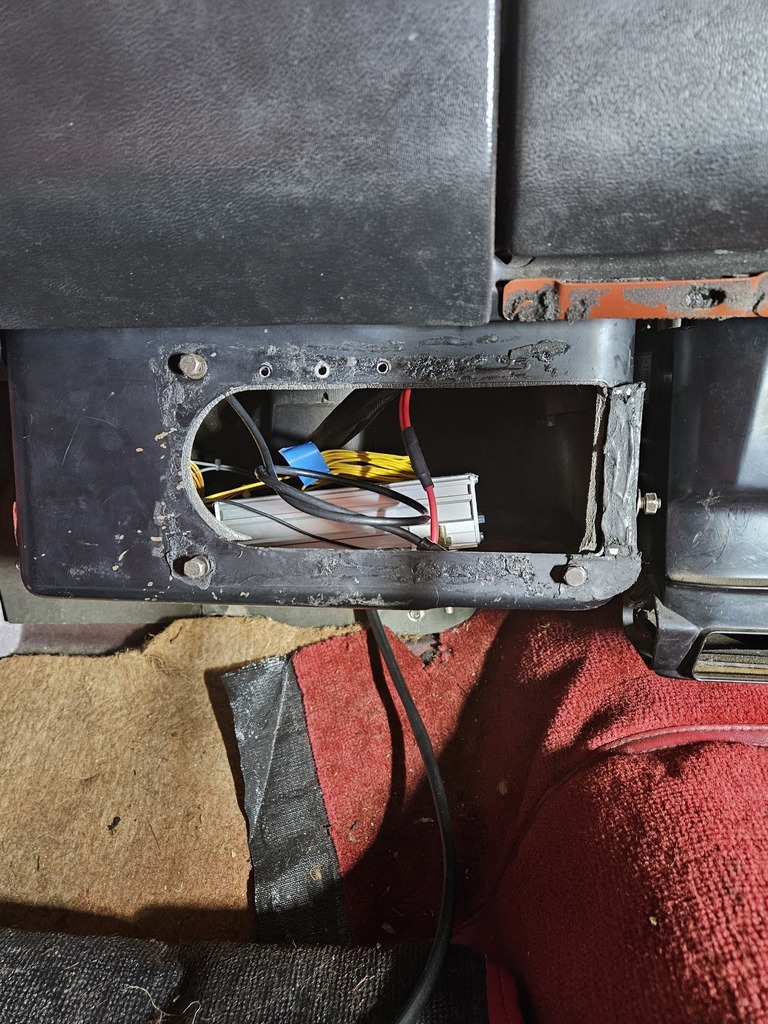 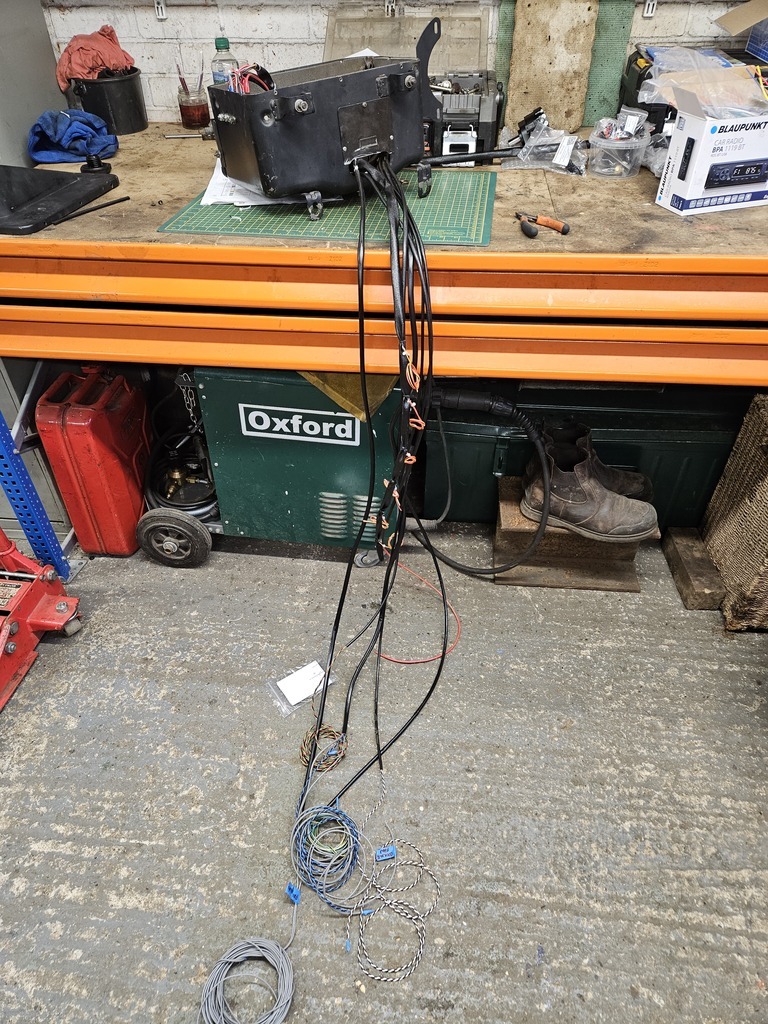 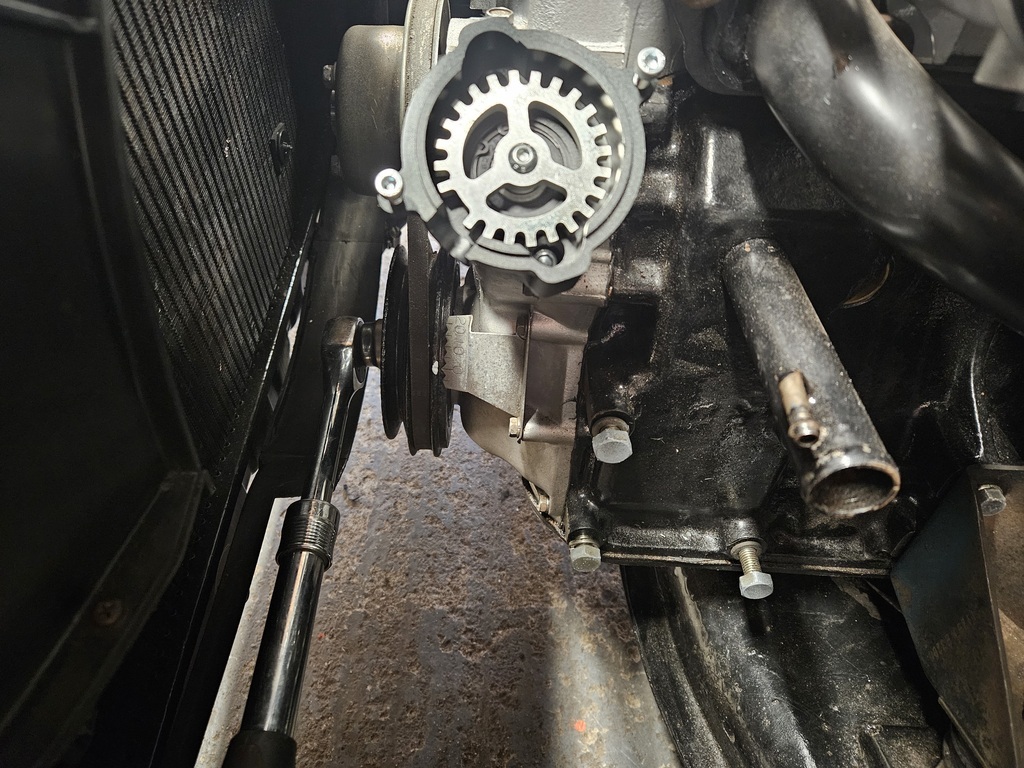 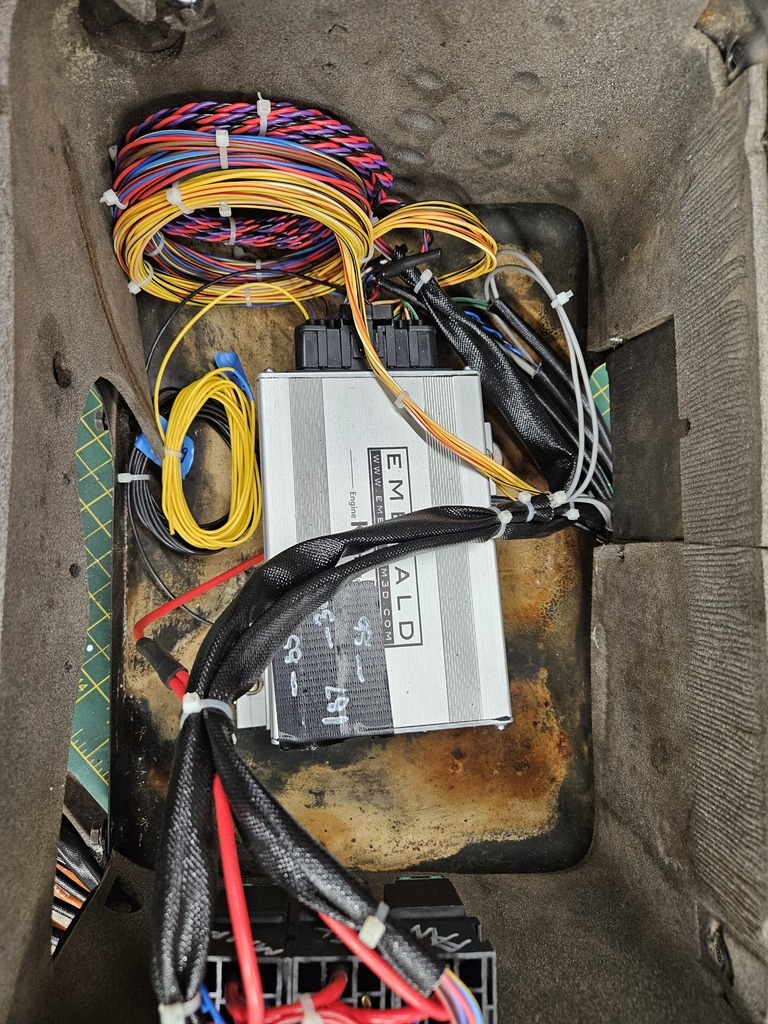 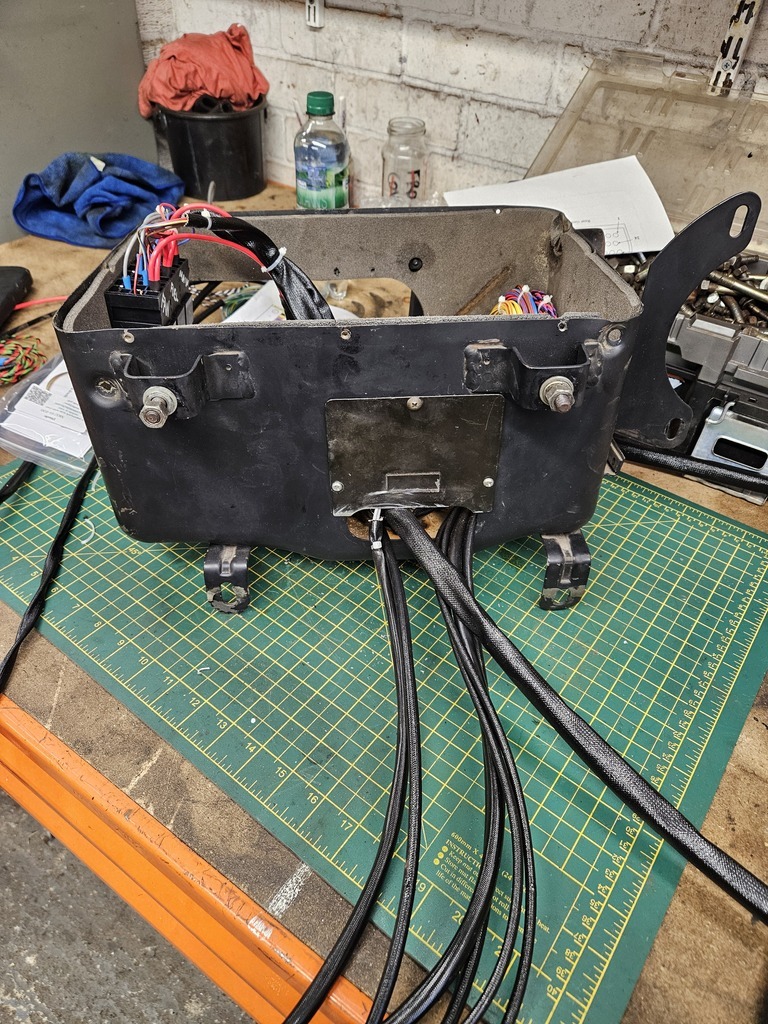 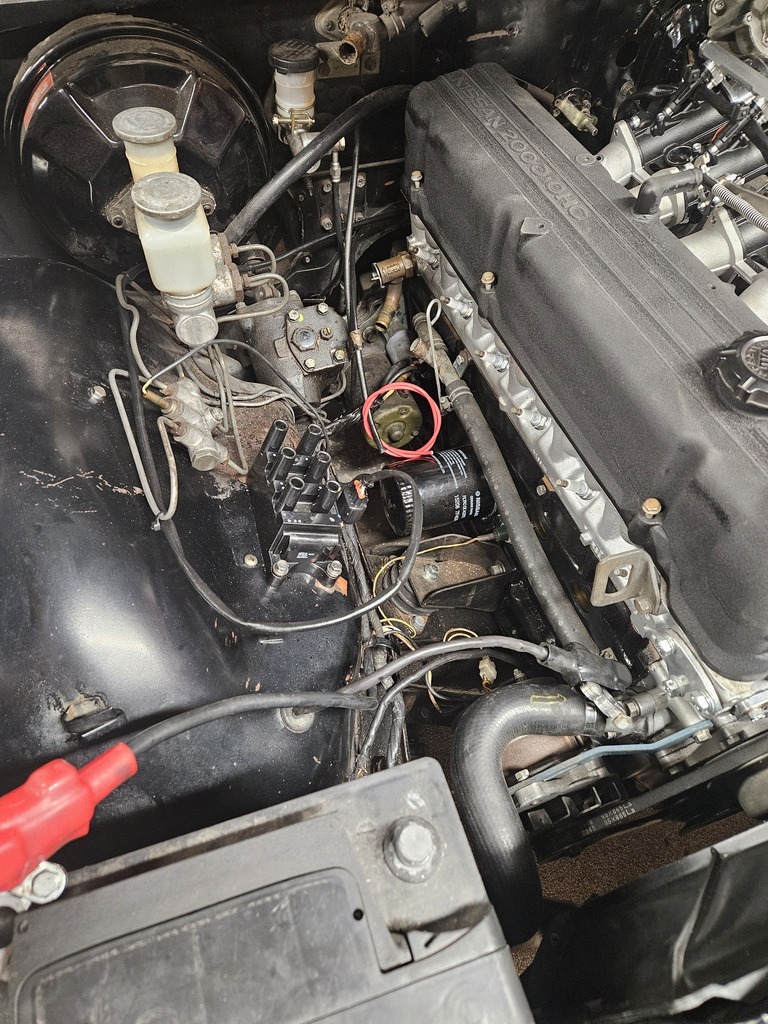 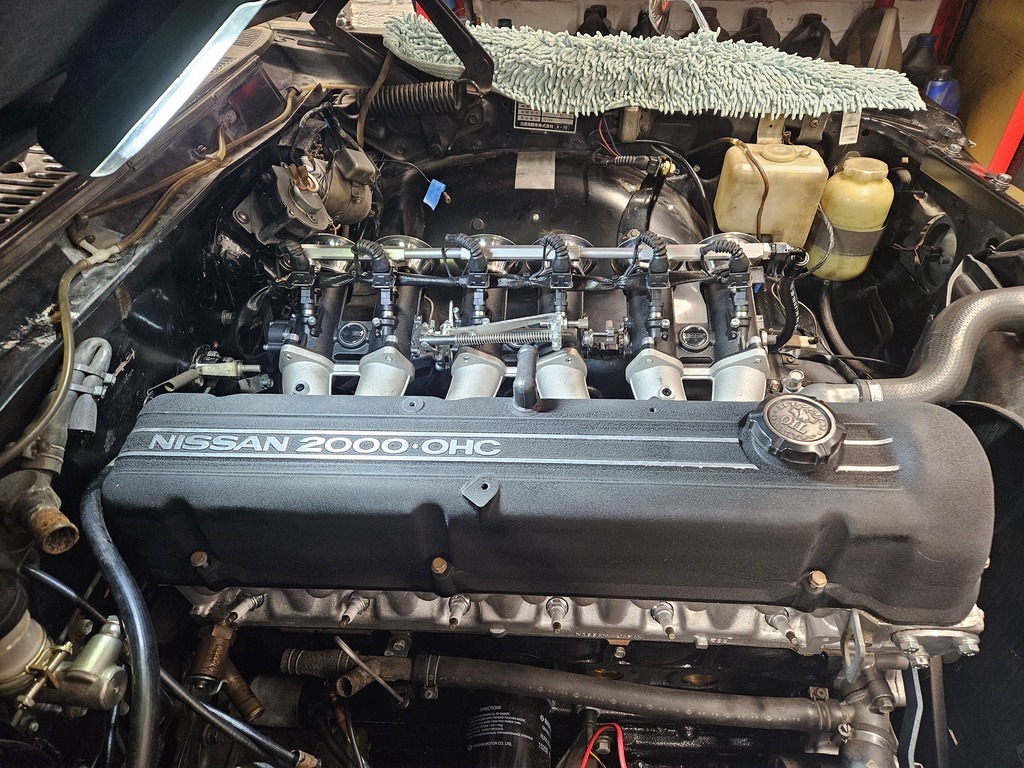 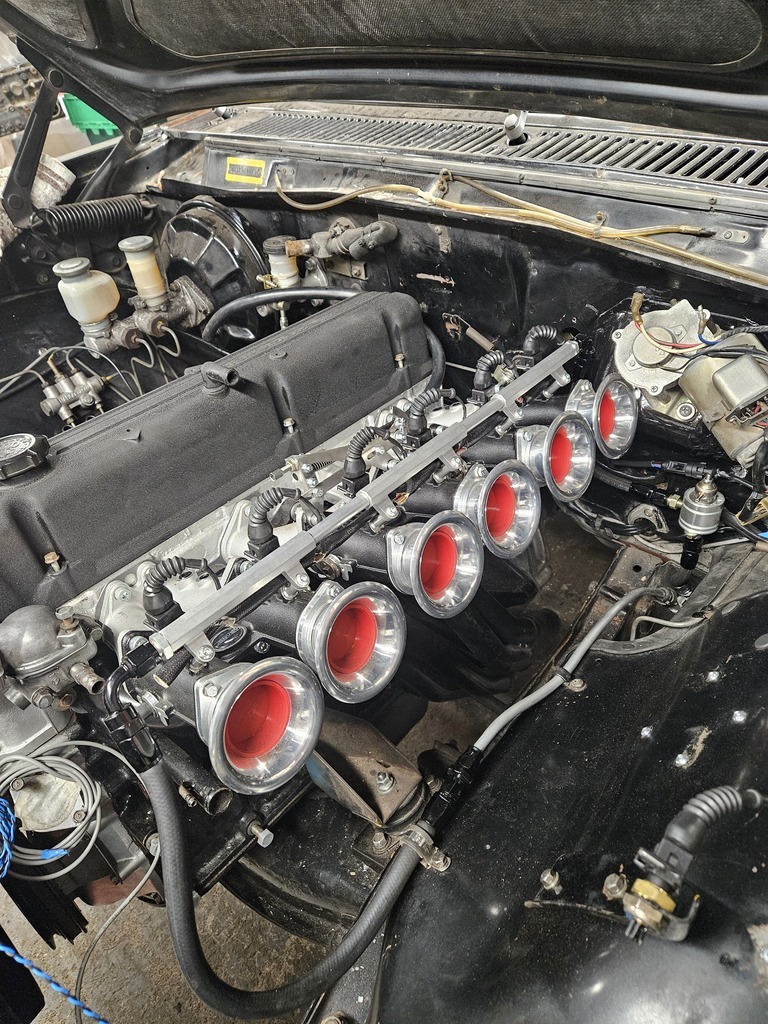 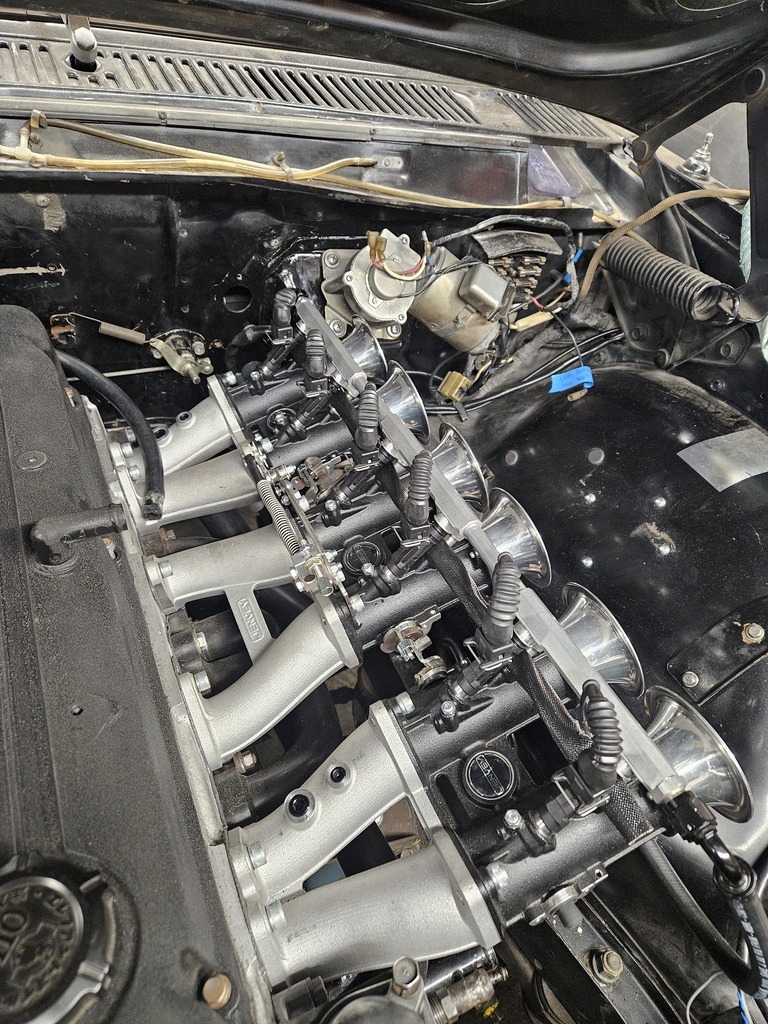 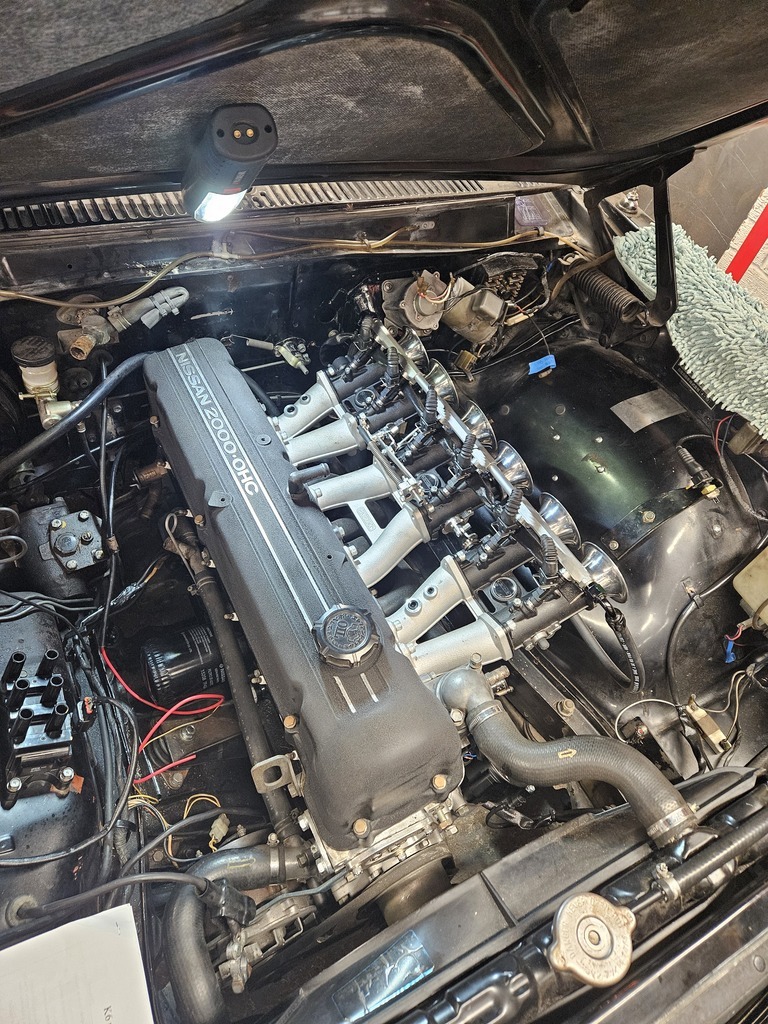 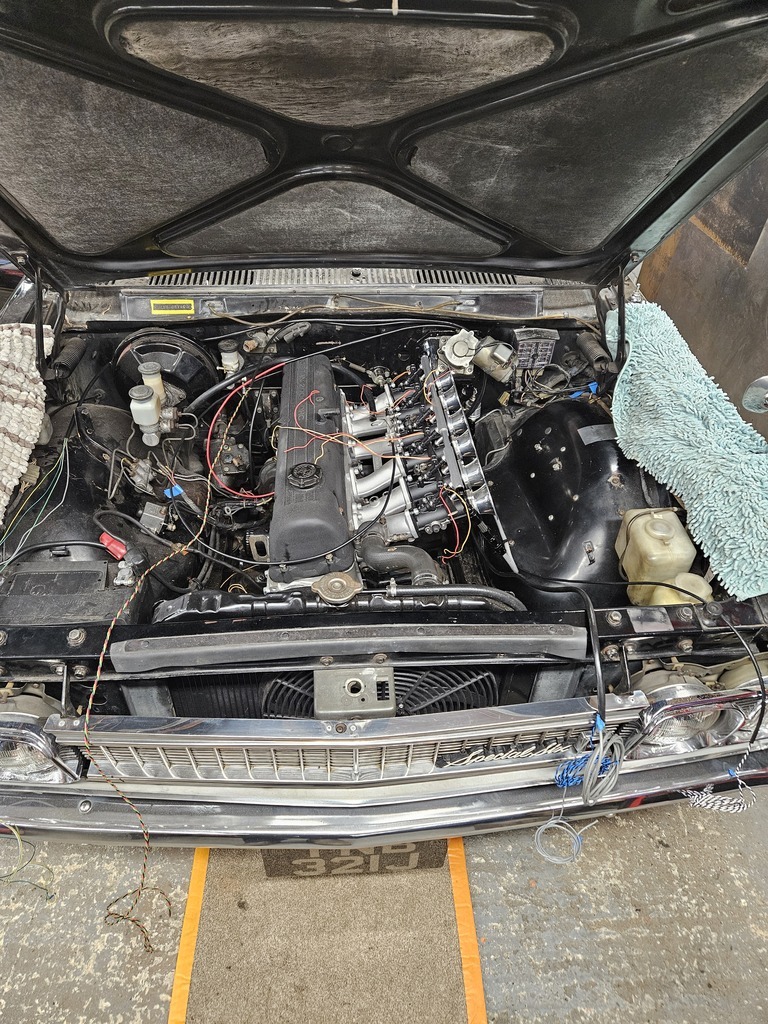 |
| |
|
|
|
|


