kh97
Part of things
 
Posts: 25
|
|
May 14, 2024 21:04:23 GMT
|
Next update: Constructing the heavely damaged outer wheel arch. Lots of shapes, this ment i had to make various pieces. When the arch was completed in sections i grinded it off the car to weld the backside and paint it. Then i welded it back in. I wished the car was a coupe, that would've saved me a lot of time in this section  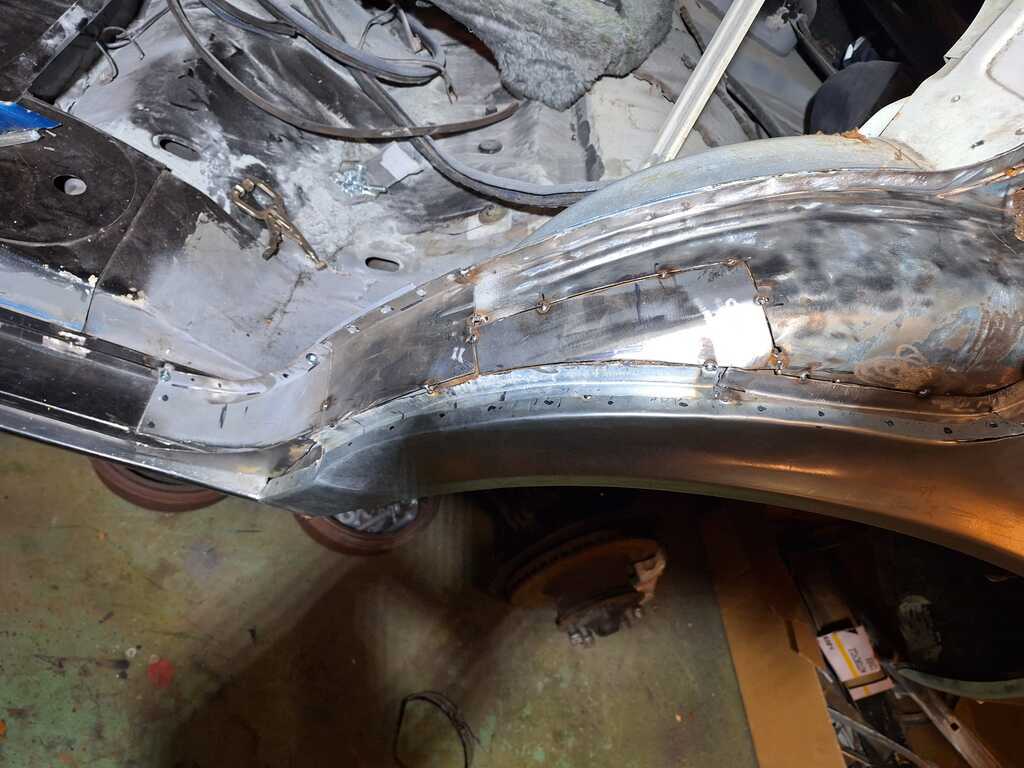 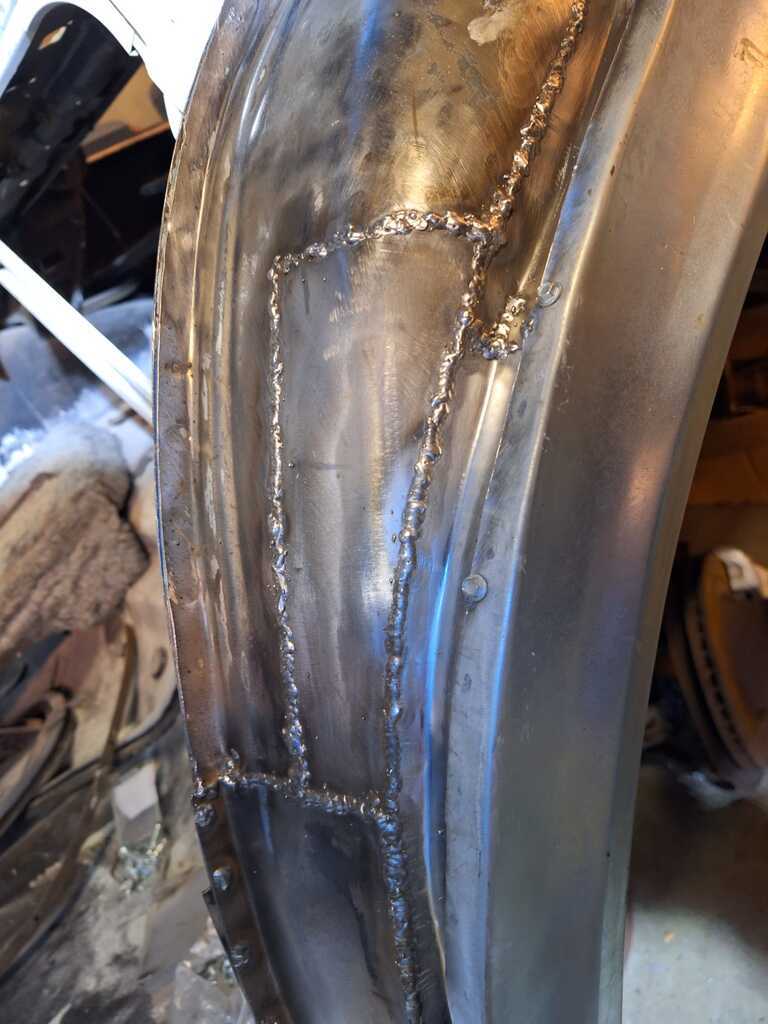 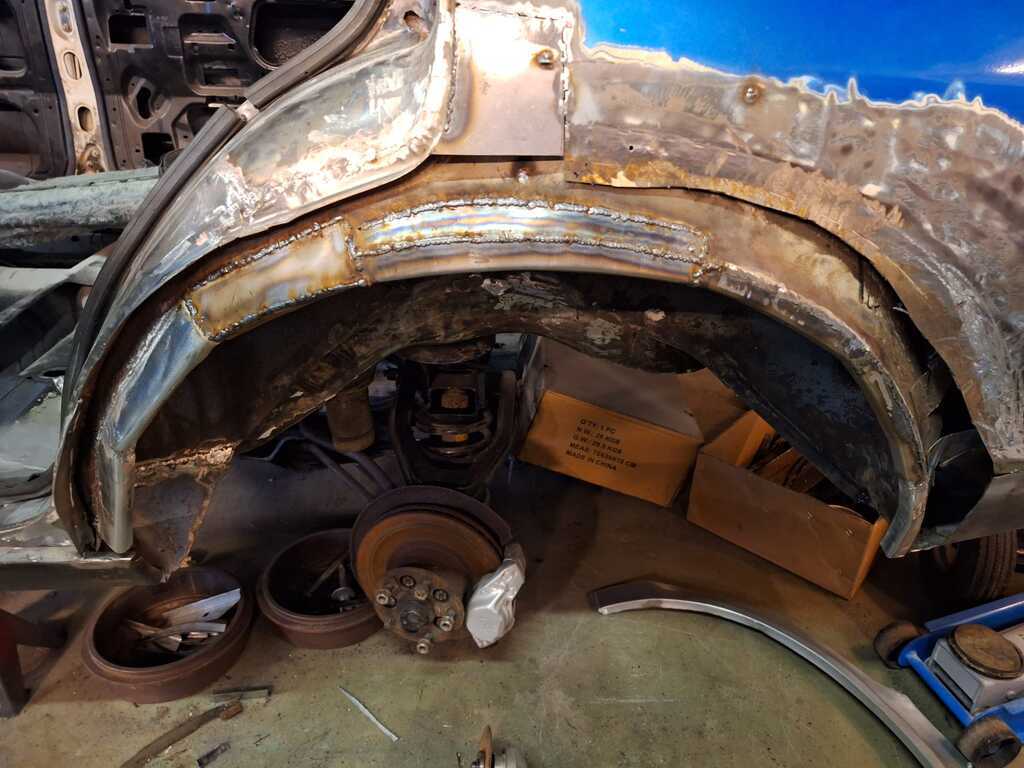 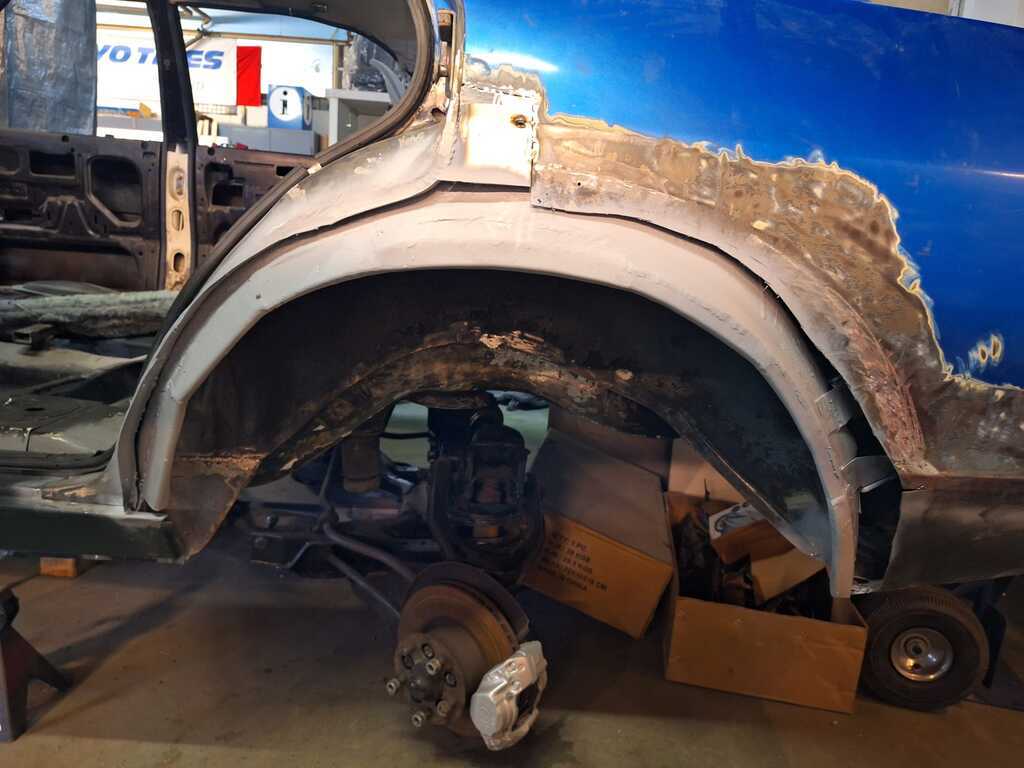 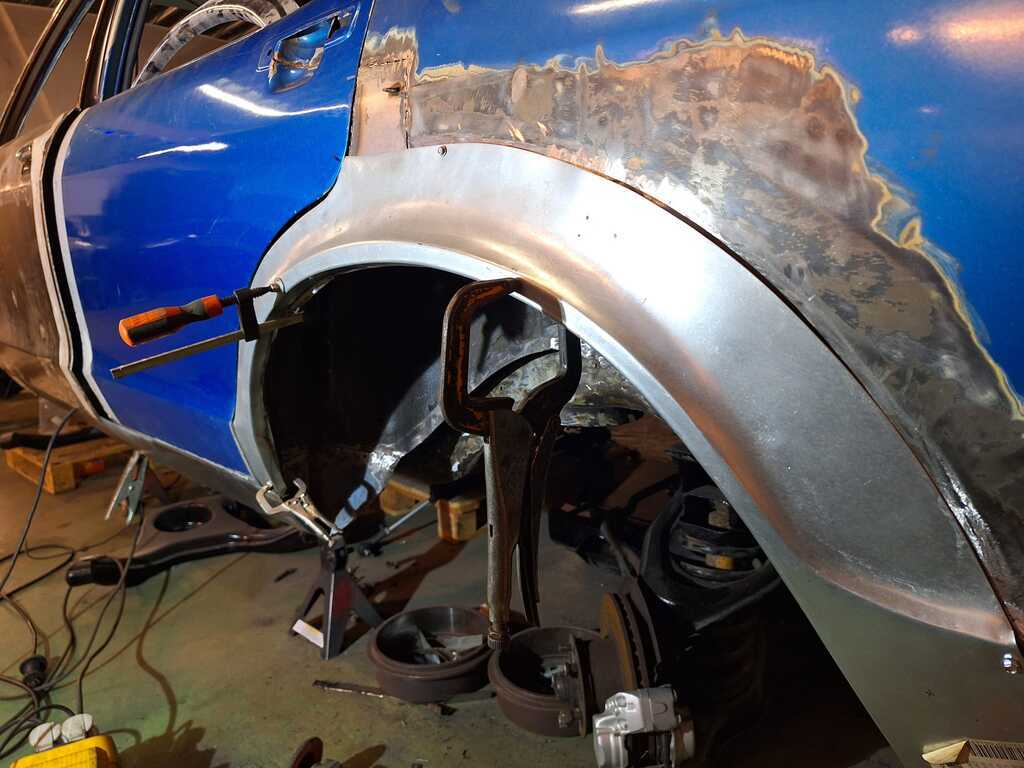 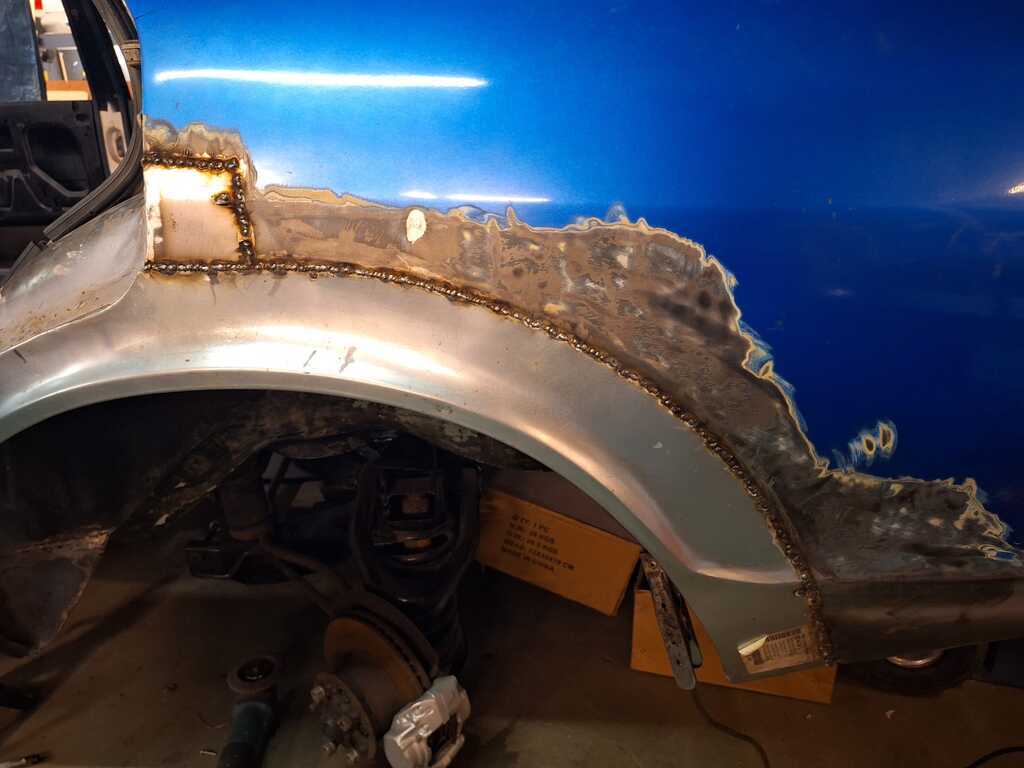 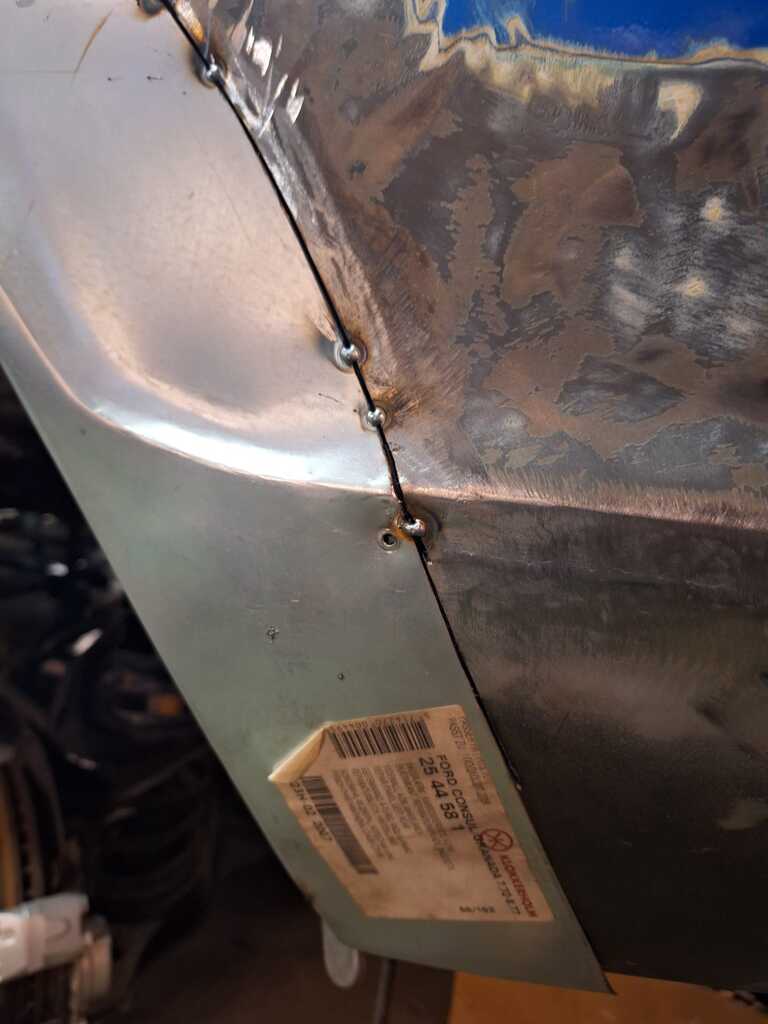 Really happy how this body line transition turned out, at the other side i had to shorten the patch panel to make it fit. 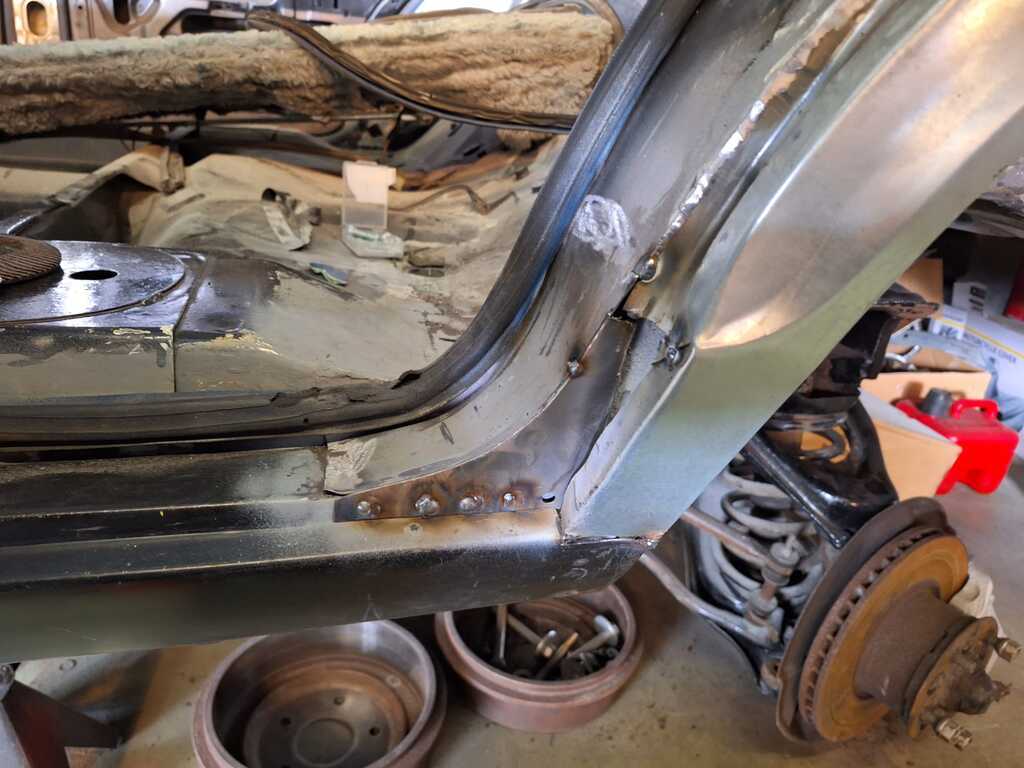 This will finish the sill, i did forget to make a picture of this section all welded and grinded down. 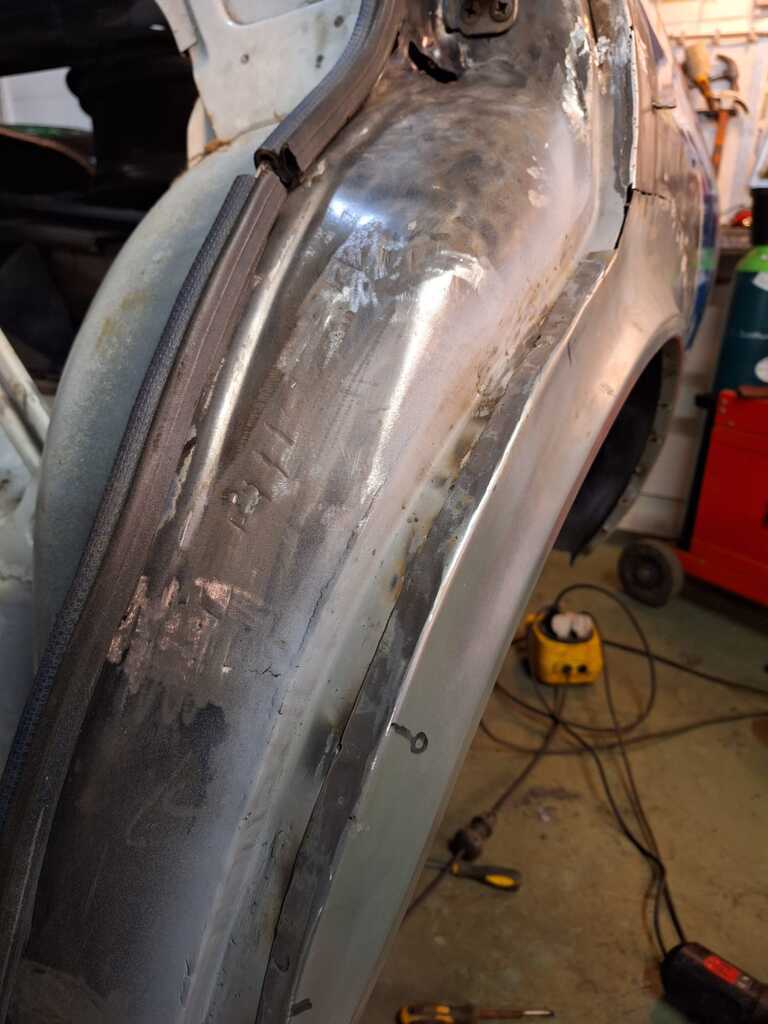 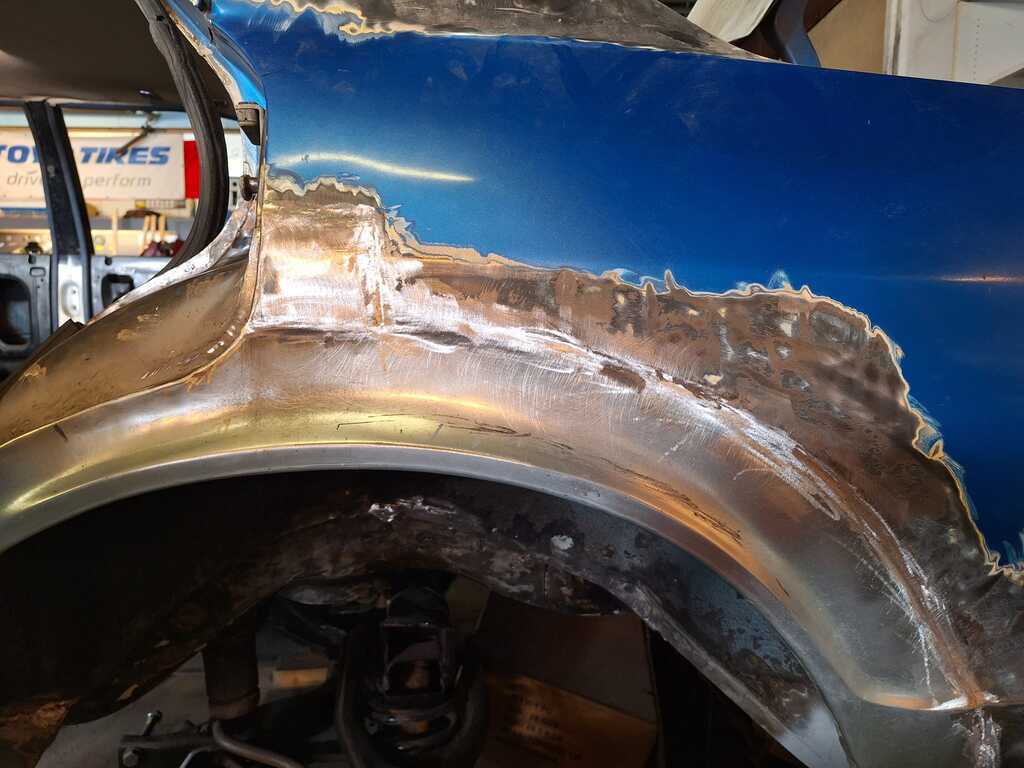 Outer sill welded in completely. Almost no warpage 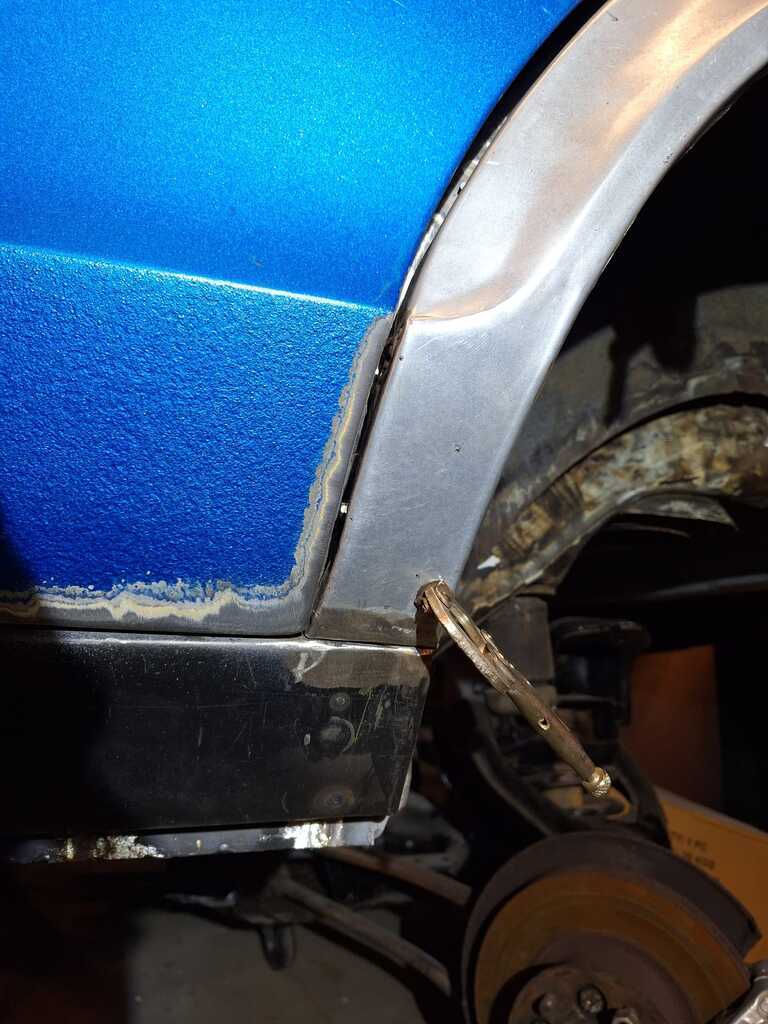 The wheel arch had to be trimmed a little to make the seam look good. The bodyline on the door meets the line on the arch perfectly. 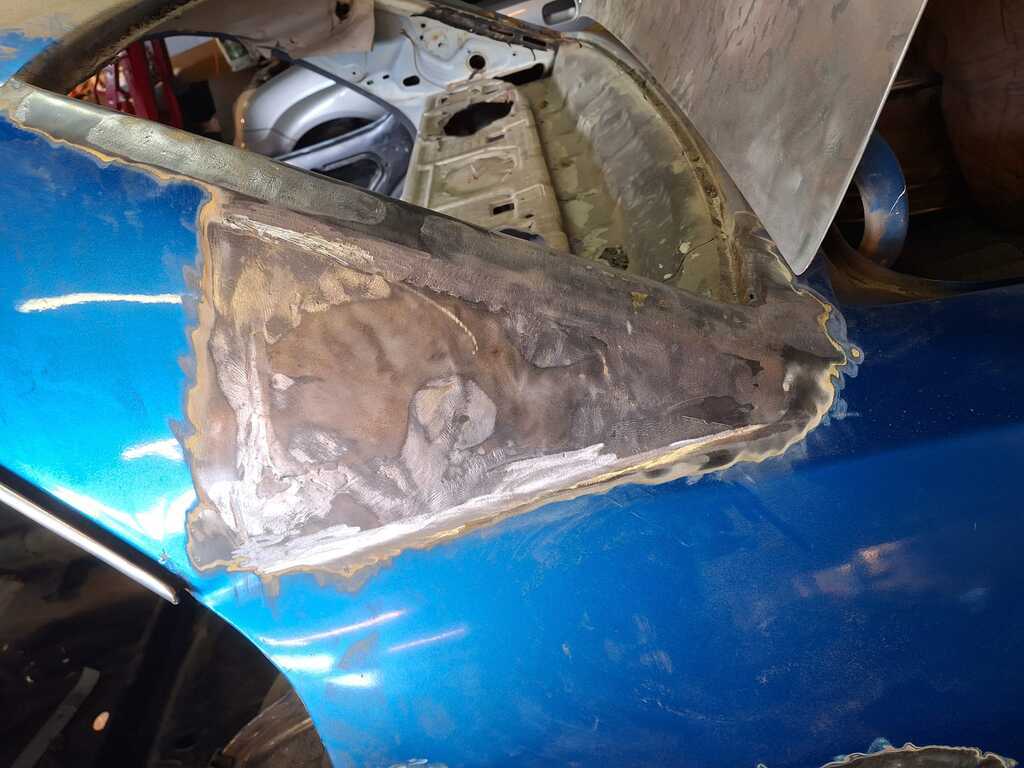 Next job: C pillar A plate was welded over the rusty c pillar and filled with lead and body filler. It did look quite well with the paint on it, but i really need to cut all the rust out. 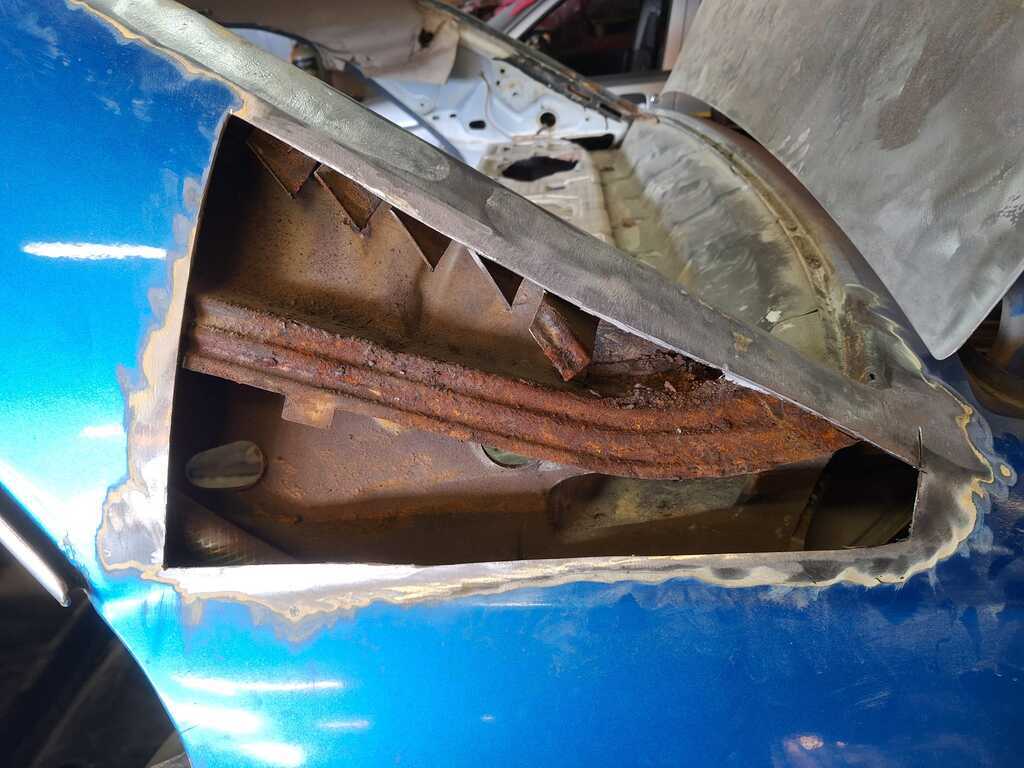 no surprise. 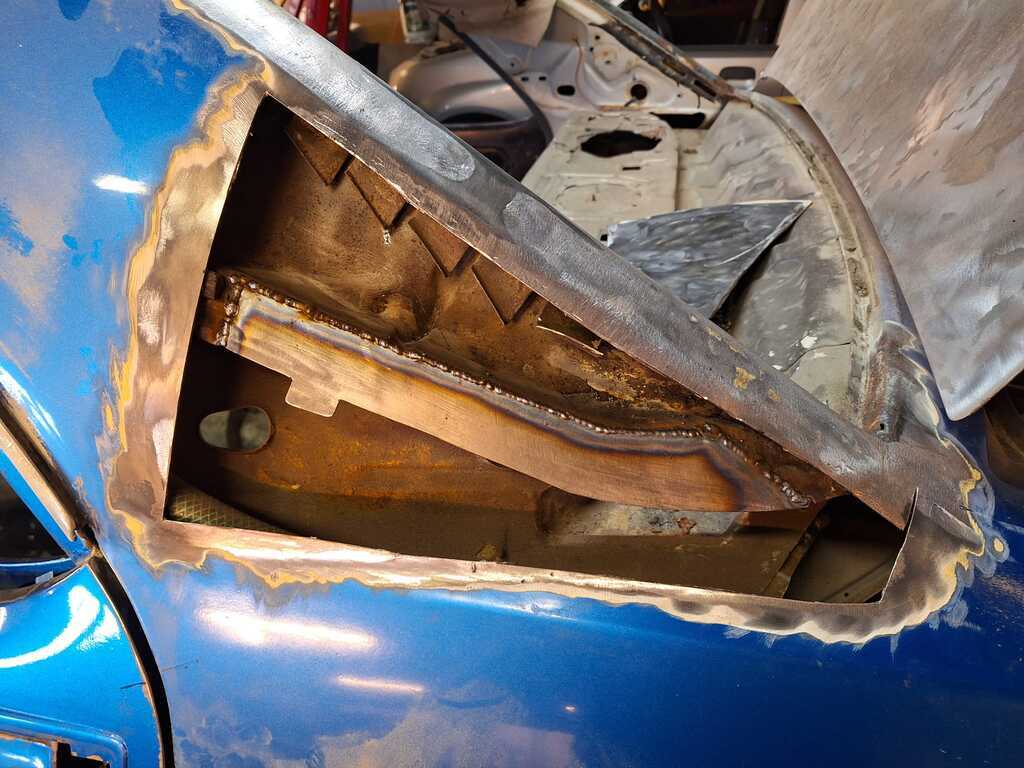 Quik fix 2mm plate. Here you can also see the air vents that are filled in with lead. 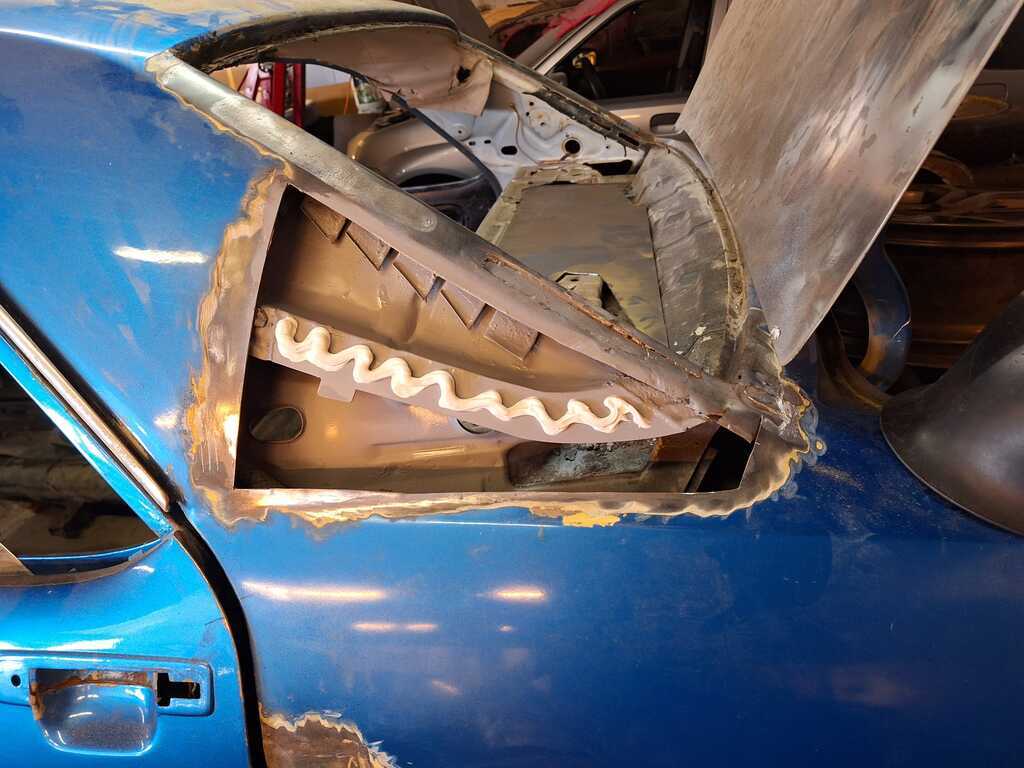 After removing the lead i diceded to cut the vent out completely, since it was filled before. When the car is complete again i am going to glue false vents on there. so it does not become a rust trap like original 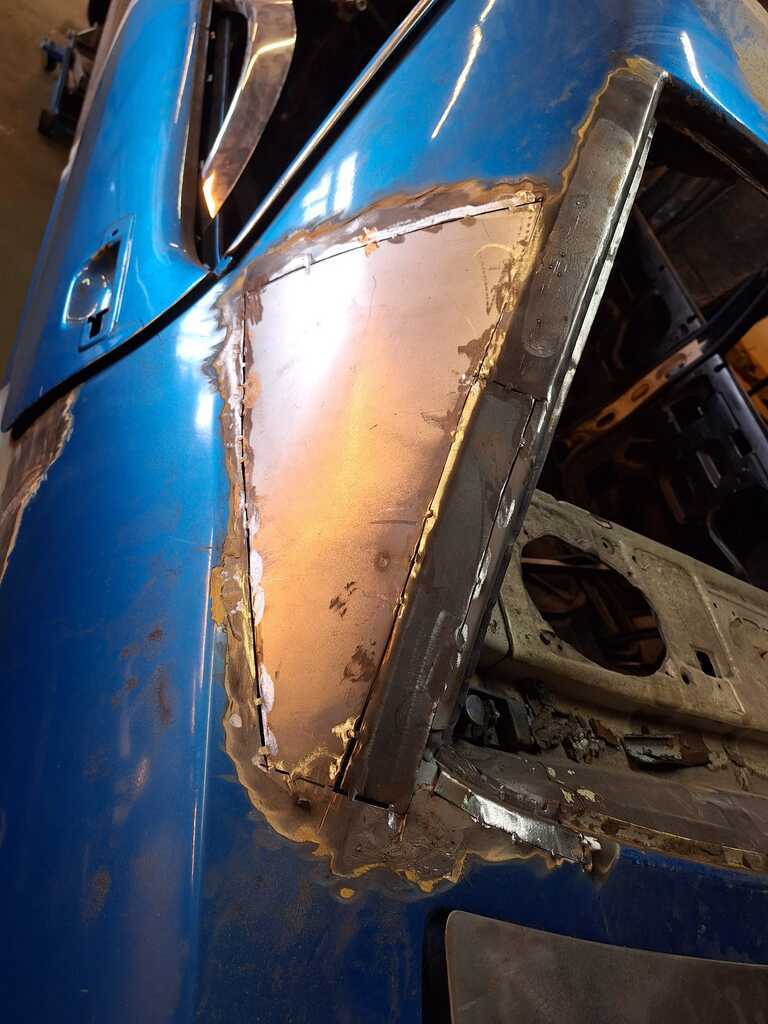 The Drivers side is almost complete, i need to add a few little pieces then fully weld/grind it. I will have to do the exact same process at the other side. That will be the last big piece of the cars body. all other welding jobs are little 1 hour jobs.... Progress is slow but we are getting closer to a solid car. |
| |
|
|
|
|
eurogranada
Europe
To tinker or not to tinker, that is the question...
Posts: 2,556
|
|
|
|
|
Nice to see you progressing!
|
| |
|
|
mk2cossie
Club Retro Rides Member
Posts: 3,060  Club RR Member Number: 77
|
|
May 16, 2024 18:54:21 GMT
|
Some good progress there  Makes me realise that my own isn't as bad in certain ways, but just a troublesome in others  |
| |
|
|
gess
Part of things
 
Posts: 220 
|
|
|
|
|
Impressive work, you really have a lot of rust to remove and a lot of bodywork to rectify. I have a similar work cut out for me sometime in the future. The wheelarch in the rear door opening has been repaired badly by previous owner, and I need to look into it at some time, but not now :-)
The C pillars are always a problem, the way they are constructed with the inner metal only having a rubber gasket between the outer layer, it is a rust trap. I would strongly advice against welding up the vents on the C pillar. I did that on a Granada I had and it messed up the airflow in the coupe. I t would work kind of fine during normal conditions, but as soon as one window was wound down a bit, the car would pull exhaust through the boot into the coupe. Very annoying on warm summer days, and a bit risky with regards to CO2 an NOx getting into the car. You need some sort of ventilation in the rear.
Keep up the good work, it is an interresting project.
|
| |
|
|
spot
Part of things
 
Posts: 105
|
|
May 22, 2024 13:46:08 GMT
|
Thanks for taking the time to post your progression. The rebuilt front subby mount repairs you carried out are a welcome reference to me 'when' I eventually tackle mine. Like one side of yours, mine also needs a repair to the bush tube itself: Did you form this from 2mm, or thicker still? Interesting to read of gess experiences - It did make me start to ponder if there is a way to recreate an open system by drilling some openings under the original vent grill area, into a open camber behind the C'pillar, then Tee'ing into the sunroof drain. Lovely end result on the rear wheelarch repairs! |
| |
|
|
gess
Part of things
 
Posts: 220 
|
|
May 22, 2024 18:47:47 GMT
|
|
A guy inNorway re welded the C pillars with a tray and a drain at the lowest point. The sunroof cars has a drainhose leading into the C pillar adding to the water that comes in though the vents. He had a hose leading from the tray to, I think, through the spare wheel well.
|
| |
|
|
eurogranada
Europe
To tinker or not to tinker, that is the question...
Posts: 2,556
|
|
|
|
Thanks for taking the time to post your progression. The rebuilt front subby mount repairs you carried out are a welcome reference to me 'when' I eventually tackle mine. Like one side of yours, mine also needs a repair to the bush tube itself: Did you form this from 2mm, or thicker still? Interesting to read of gess experiences - It did make me start to ponder if there is a way to recreate an open system by drilling some openings under the original vent grill area, into a open camber behind the C'pillar, then Tee'ing into the sunroof drain. Lovely end result on the rear wheelarch repairs! See, he's done the mounts in the way I tried to convince you to do it as well. Now get on with it, you are more than capable! If yours are weaker, just do one side at a time so you don't have alignment issues. |
| |
|
|
|
|
|
|
|
|
Great detail, nice to see, congrats!
Mine also needs a repair on the lower valance back pannel its quite crusty :s, one day...
Congrats!
|
| |
|
|
kh97
Part of things
 
Posts: 25
|
|
|
|
Impressive work, you really have a lot of rust to remove and a lot of bodywork to rectify. I have a similar work cut out for me sometime in the future. The wheelarch in the rear door opening has been repaired badly by previous owner, and I need to look into it at some time, but not now :-) The C pillars are always a problem, the way they are constructed with the inner metal only having a rubber gasket between the outer layer, it is a rust trap. I would strongly advice against welding up the vents on the C pillar. I did that on a Granada I had and it messed up the airflow in the coupe. I t would work kind of fine during normal conditions, but as soon as one window was wound down a bit, the car would pull exhaust through the boot into the coupe. Very annoying on warm summer days, and a bit risky with regards to CO2 an NOx getting into the car. You need some sort of ventilation in the rear. Keep up the good work, it is an interresting project. Thanks for sharing your experience, I should look into this. First i need to buy these vents and make a plan. I Did some repairs to the tube on the passengers side, just a little square in the bottom section. In my memory it was a 1mm plate but i'm not completely sure. 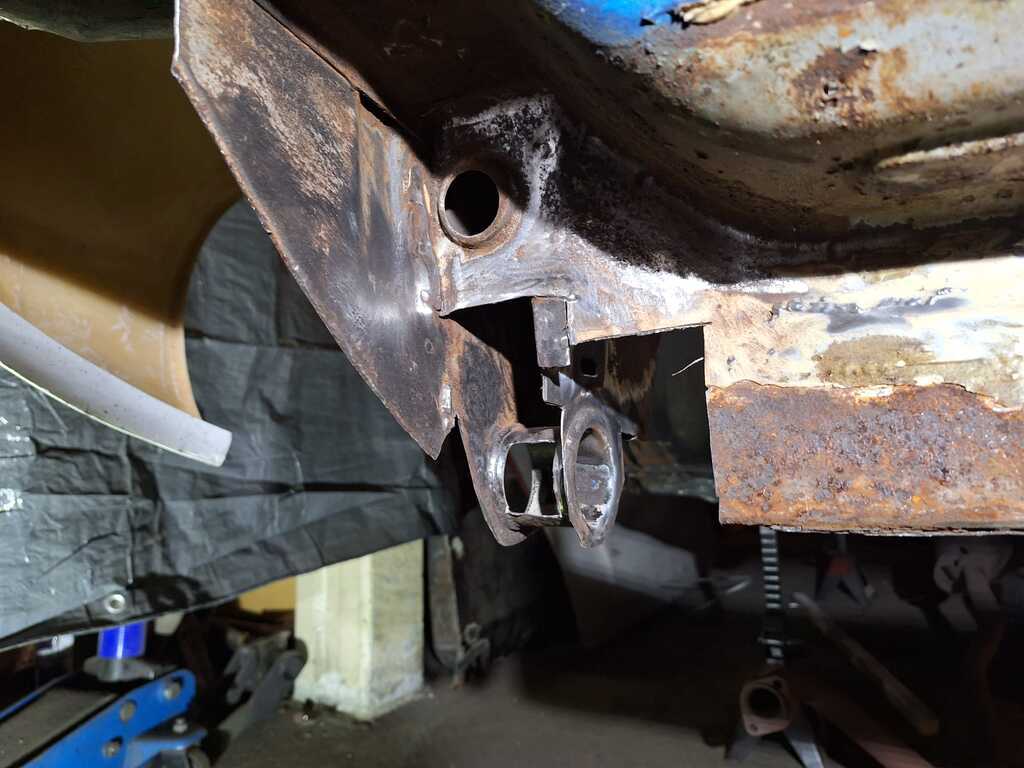 |
| |
|
|
spot
Part of things
 
Posts: 105
|
|
|
|
Thank you - I was having nightmares about how to form a heavy lump of metal into a lovely circle shape  eurogranada eurogranada was extremely helpful to me in sourcing a complete 'cutout' some years ago from a fellow Dutch guy; which possibly explains why he is pushing me on to get it completed... 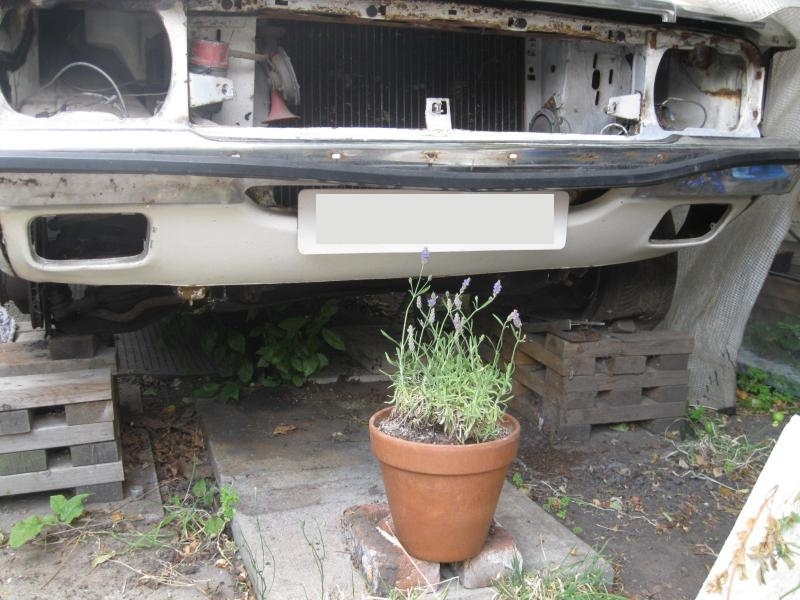 ...Now I've just got to figure out where to put my lavender!! 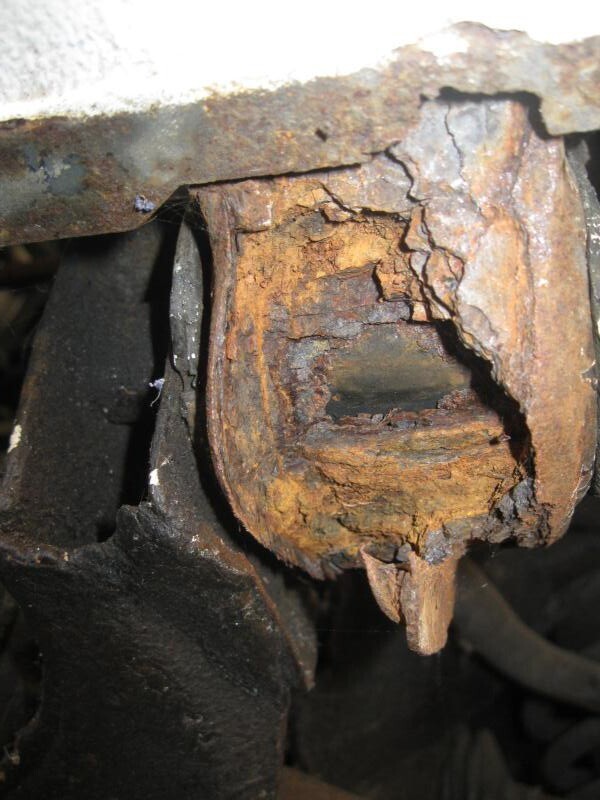 And how to weld around rubber without fire  |
| |
|
|
|
|
eurogranada
Europe
To tinker or not to tinker, that is the question...
Posts: 2,556
|
|
May 30, 2024 12:31:39 GMT
|
Thank you - I was having nightmares about how to form a heavy lump of metal into a lovely circle shape  eurogranada eurogranada was extremely helpful to me in sourcing a complete 'cutout' some years ago from a fellow Dutch guy; which possibly explains why he is pushing me on to get it completed...  ...Now I've just got to figure out where to put my lavender!!  And how to weld around rubber without fire  I really don't want to turn this into a thread hijacking... But... So you do have that cut off bit?? If so I don't really understand the hold up. Hehe, I must admit to remembering trying to get you such a piece.. I thought I'd found it too. I can remember discussing cut lines. There's some recollection of having it in hand and forwarding it (was it red?), but maybe my mind is playing tricks on me. For the life of me I can't 100% for sure remember if, or find proof of, it ever getting to you... In my perhaps false recollection there was plety of meat on the section to make a relatively easy higher up cut and shut job of it?! And with the subby in place you have an extr reference to get it right! Knowing your skill level you totally got this. If you do want to repair what you've got, is the bit strong enough to pull the rubber out so you can mimic the original poster's approach?? I made a homemade puller with some plate, some tube and an m10 or m12 bit of threaded bar which worked very well. |
| |
|
|


