|
|
|
Jun 21, 2023 22:40:46 GMT
|
Hi all I've been a long time lurker on Retro Rides, big car enthusiast and have really enjoyed seeing all the great projects ongoing on the forum. I've had lots of interesting cars over the years, from fast fords to Italian high performance cars, but in more recent years have had to be a bit more sensible and focus on bringing up children and the many expenses that come with that. Happily, I've been able to indulge a bit more recently in less practical cars, and nowadays have an SLK R170 I use for summer and a Jaguar XK 4.2 for all year round duties. My son is coming up on 19 and persuaded me that we should get a project to work on together, and as I have had fast Alfa's in the past, we soon decided on a GTV 3.0 as a good option. My last GTV 3.0 was around 20 years ago, and I also had a very fondly remembered Alfa GTA 147, so I am fairly familiar with V6 alfas. We wanted something that was presentable and in reasonable condition but were OK with a car that needed a few bits of improvement, the idea being for a car we could use a bit over summer, then gradually improve over the coming year or so. We've secured a 3.0 GTV Lusso with a 6 speed box and aero kit - I am sure at 22 years old it qualifies as a retro ride! Couple of pictures of the car after collection last week: I will try to update as we work through the few bits that want sorting, and am really looking forward to enjoying the car with my son through the summer. 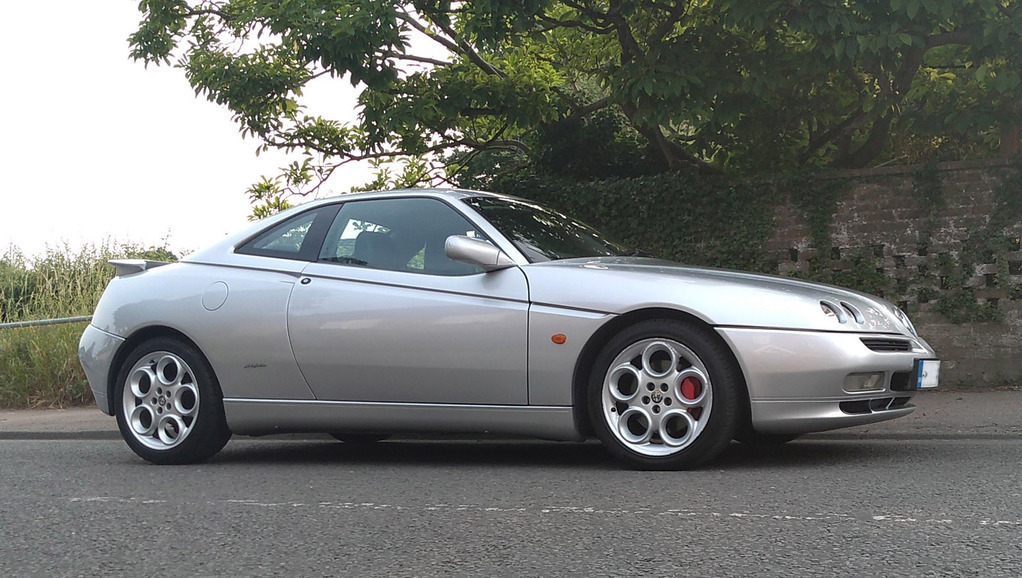 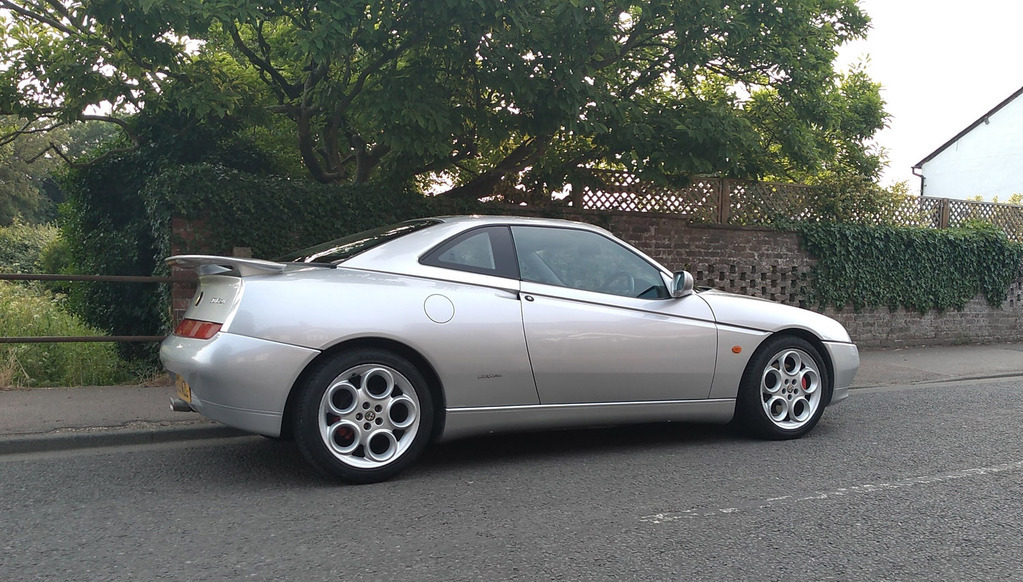 |
| |
Last Edit: Jun 28, 2023 14:40:47 GMT by robfos1
|
|
|
|
|
|
|
|
|
Pics of the 147 gta you had please  I like them!! Also- have a look at what link you are using from tinyurl because the photos don't show up on here automatically. |
| |
|
|
|
|
|
Jun 28, 2023 13:51:26 GMT
|
|
Lovely car, had 2 and 7 2.0's... 😁
|
| |
Bicycle x1
Alfa Giulietta (now wife's)
Alfa 156
BMW 630i
Honda rc36
|
|
|
|
|
Jun 28, 2023 14:45:13 GMT
|
Thanks for mentioning the issue with the photos, I think I have corrected that now! I have just one pic of my old GTA I'm afraid - had the car back in 2007 - had it about 12 months before I drove through a puddle and hydrolocked the engine. Car was a write off due to the cost of a replacement new engine unfortunately But I am sure it will have been repaired as it was a lovely car. 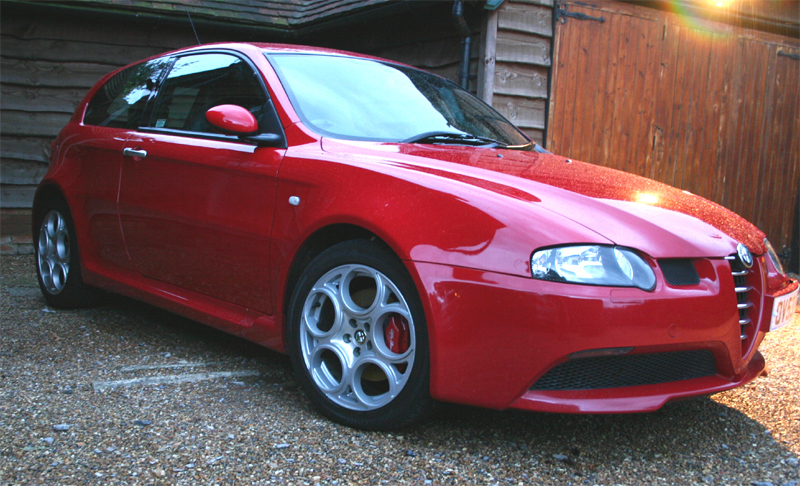 |
| |
|
|
|
|
|
Jun 28, 2023 22:13:37 GMT
|
A small update, refreshed the car's front grille - new badge but the rest just needed a good clean and the mesh looks so much nicer with a fresh coat of satin black.  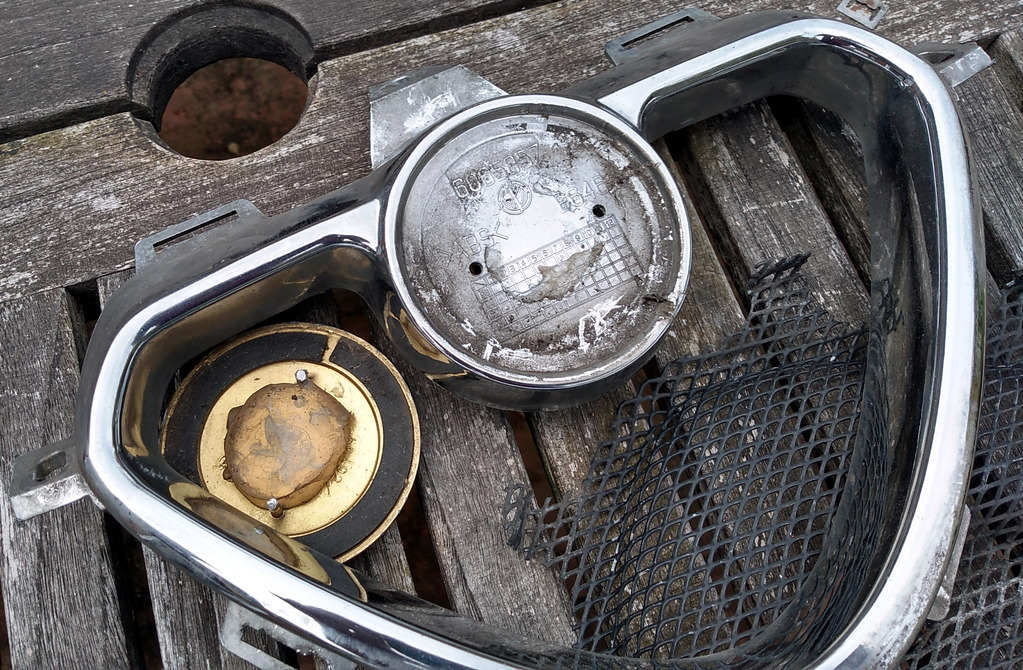  And the end result - not perfect but a good bit neater |
| |
|
|
|
|
|
Jul 10, 2023 19:38:24 GMT
|
So working through the to do list bit by bit, a few small cosmetic jobs done including refinishing the wiper arms and adding a new rear badge - amazing how genuine Alfa badges seem to deteriorate quite so quickly! My first GTV was only 3 years old when I got it and it needed a new front badge. Also needed to get a slight misfire sorted, so time for a look at coils and plugs. Spark plugs refreshingly cheap - decent iridium Denso's only about £5 a piece, along with a brand new coil just in case at £40. So my plan was to replace the plugs and at the same time test resistance of the coil packs just in case any looked off. Having read up I was looking for 1ohm resistance using a multimeter, and discovered the reading needed to be taken off the 2 outer pins of the 3 pin connector for each coil. Front bank was pretty easy to do, just a handsome alloy cover to remove to get access, but the rear bank on the Arese 3.0 has the plenum mounted on the top, so that had to come out. Having read horror stories I was pretty surprised to find that the plenum came off easily enough, though it did make things a lot easier to have some clic-r pliers to unclip the hoses - again surprisingly cheap at under £5 off ebay. Everything went back together OK and pleased to report the misfire is gone. Oil change and filters next... 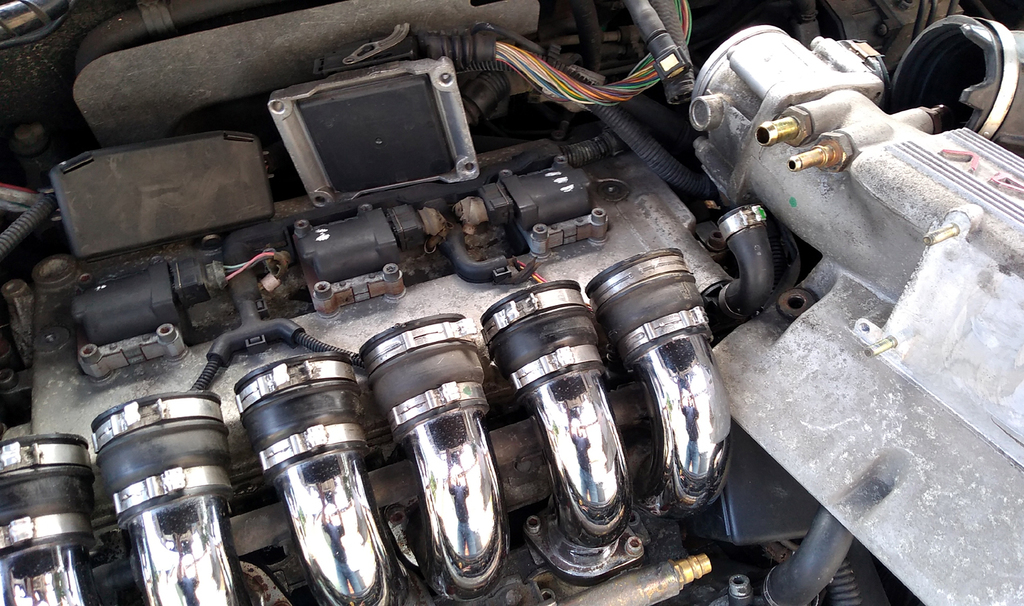 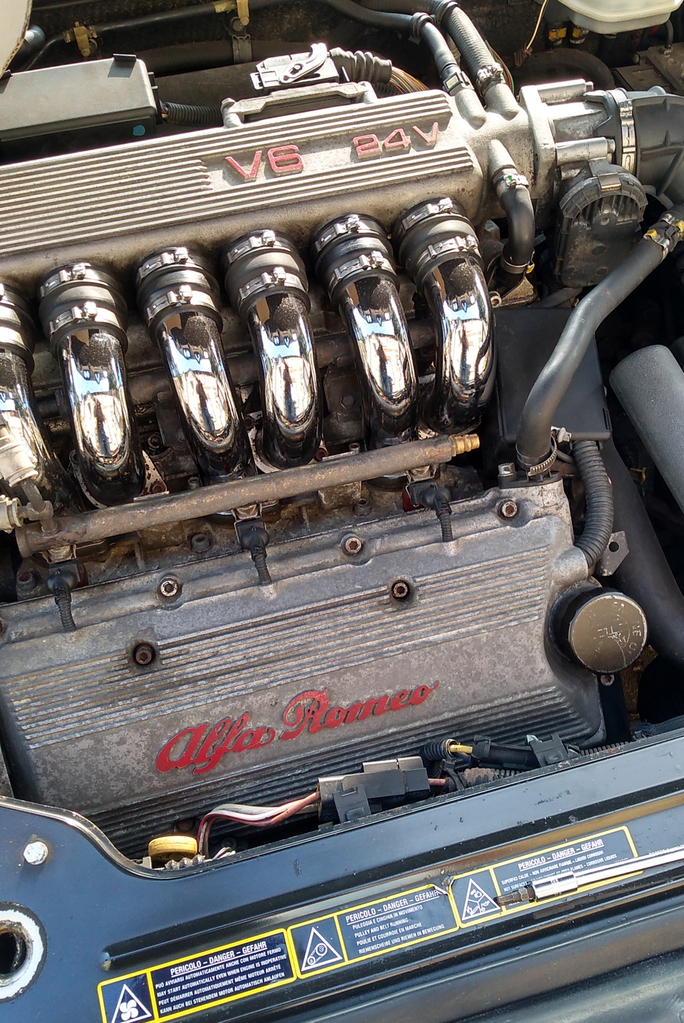 |
| |
Last Edit: Jul 10, 2023 19:57:44 GMT by robfos1
|
|
|
|
|
Aug 10, 2023 18:49:13 GMT
|
Couple more small updates, gave the interior a really good scrub and a new set of floormats - came up pretty well.... 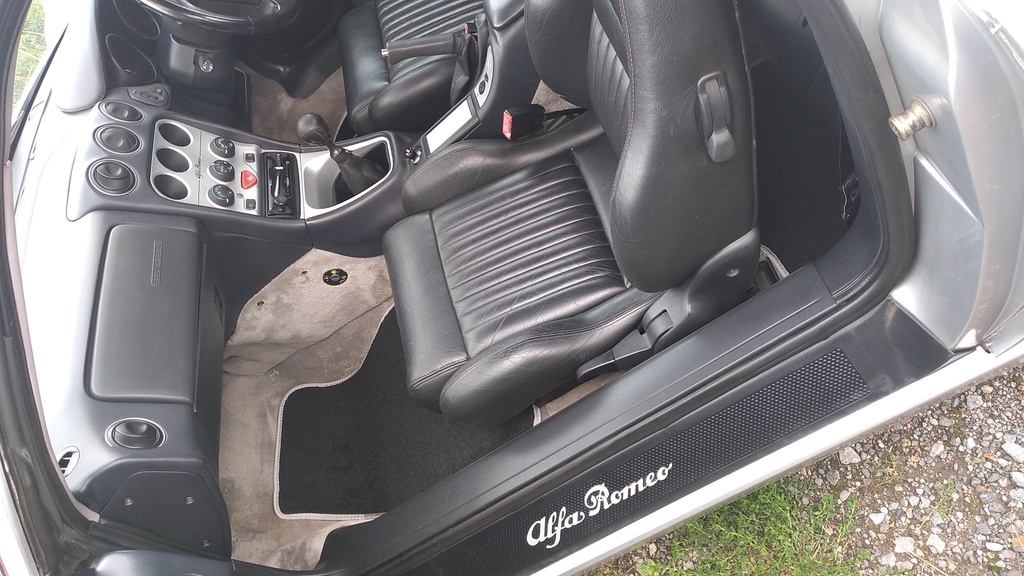 Also decided to smarten up the rather scruffy looking panels that go around the windscreen wipers. 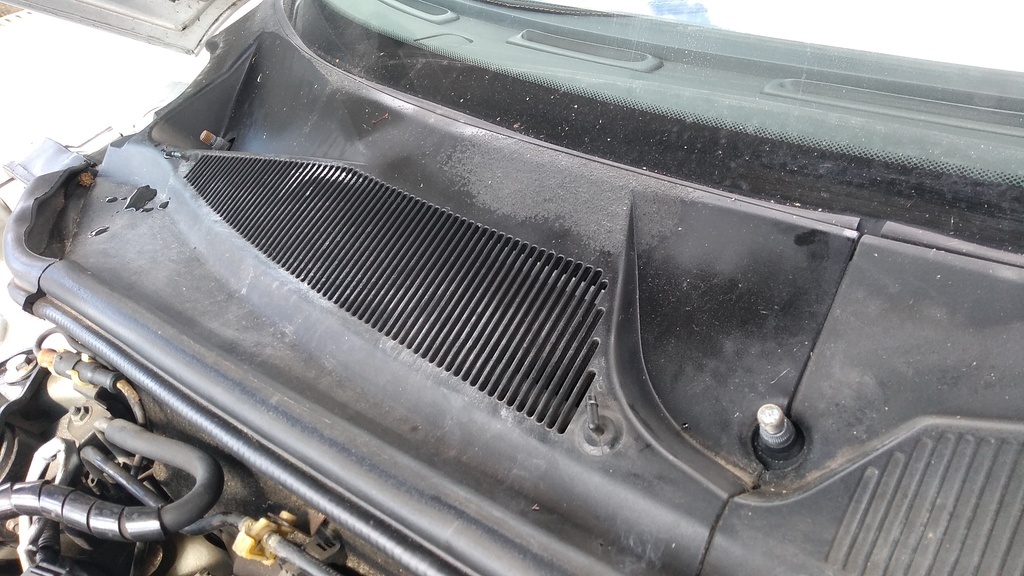 Soon removed to reveal 20 odd years of mess 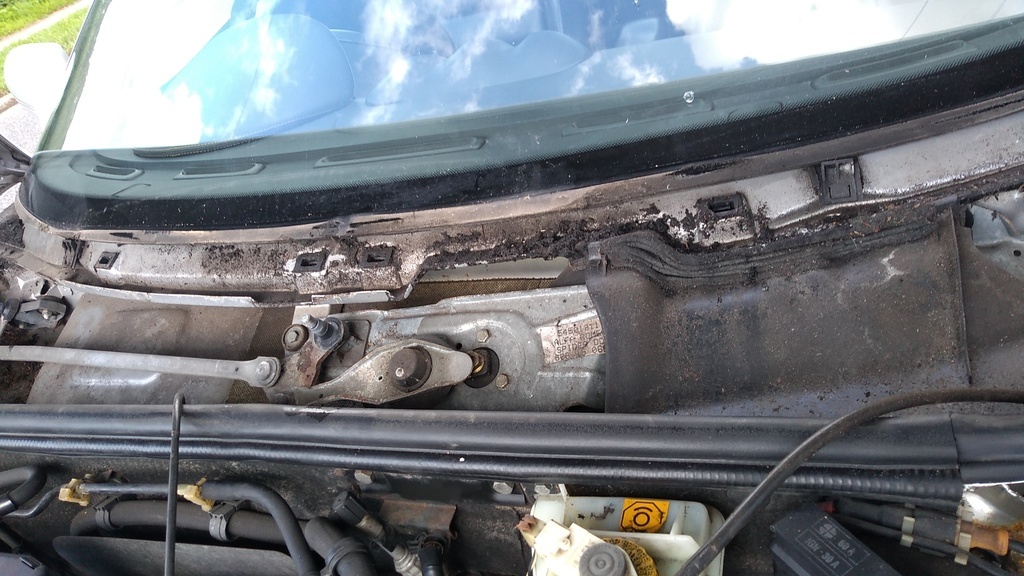 Quick rub down, some of the plastic was really badly pitted 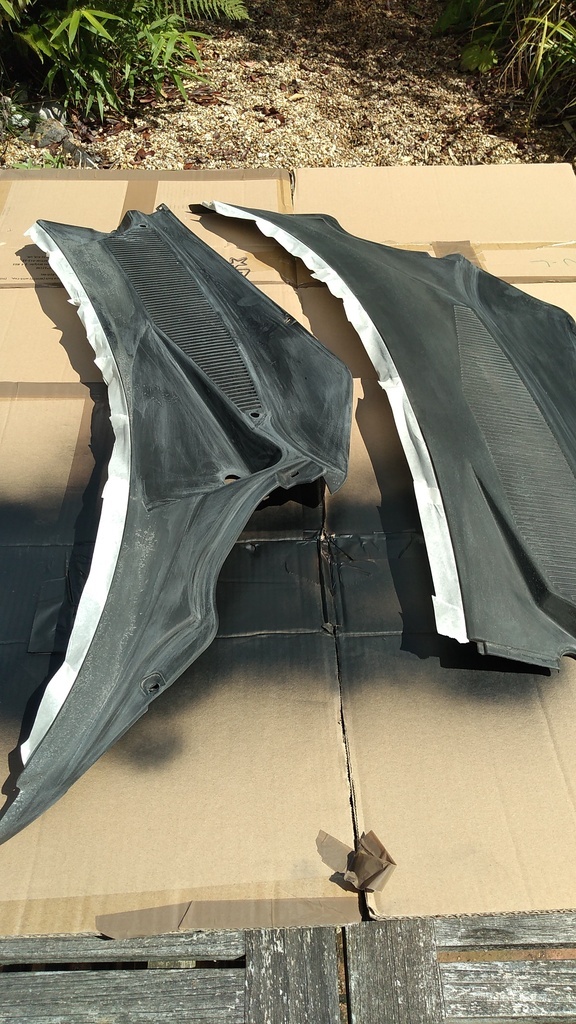 And following a quick blast with bumper paint looking a bit neater, if not perfect 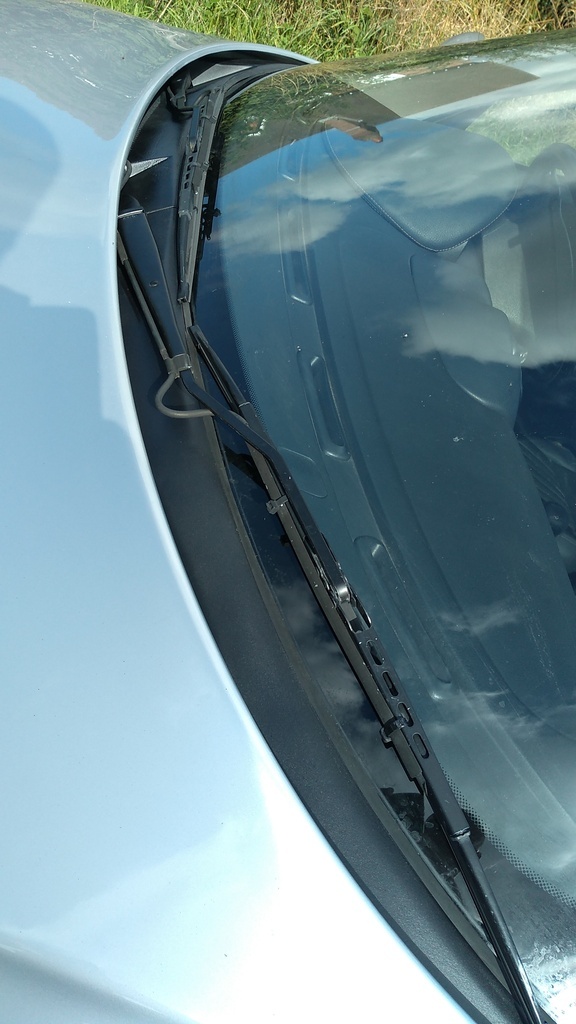 |
| |
|
|
|
|
|
Aug 10, 2023 18:53:28 GMT
|
|
lovely things, i love the gruuuuuhhhhh noise when you boot it. Just needs an LSD, the viscous LSD on the fiat coupe that's a very similar chassis just make sthe power all go to the right places
|
| |
|
|
|
|
|
Aug 10, 2023 19:25:57 GMT
|
|
Haha yes you're absolutely right about the sound! Q2 Diff at some point in the future I am sure, but long as you moderate the throttle from standstill when you are on lock the standard setup works really well for now!
|
| |
|
|
|
|
|
Aug 11, 2023 20:23:01 GMT
|
They are the same seats as Id fitted into my Viva. Super comfy although I found them a little wide and the leather slippery for really spirited driving. Made wide to suit all kinds including fat Germans I figure  |
| |
|
|
|
|
|
|
|
Aug 17, 2023 13:40:33 GMT
|
Another small job we wanted done was to reinstate the outer door rubbers. They are basically a rubber strip that seals off the outer edge of the door to the B pillar. Far as I can find out, seems they are to cut road noise, but the door shut area looks messy without them. The ones originally on the car were missing, and replacements seemed to start at about £60 a side, a lot for a rubber and a plastic trim to clip over the rivets in the doorshut. So a bit of lateral thinking later and we landed on a D profile self adhesive rubber, about £7 for 5 metres in case we did it wrong first time! This is what it looked like without the rubbers: 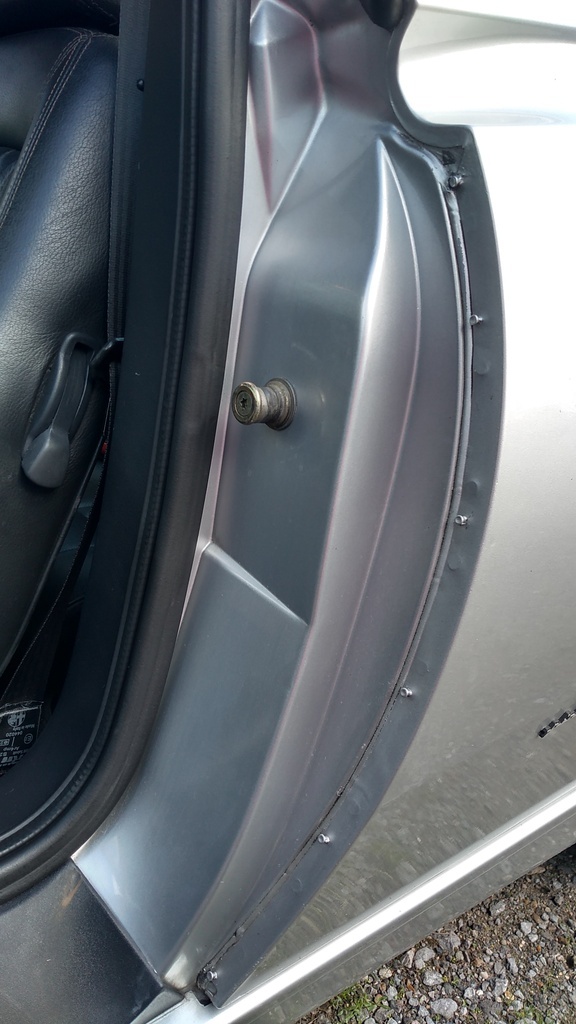 Rubber being fitted, small holes cut with sharp nail scissors to clear the rivets the original trims were fitted onto: 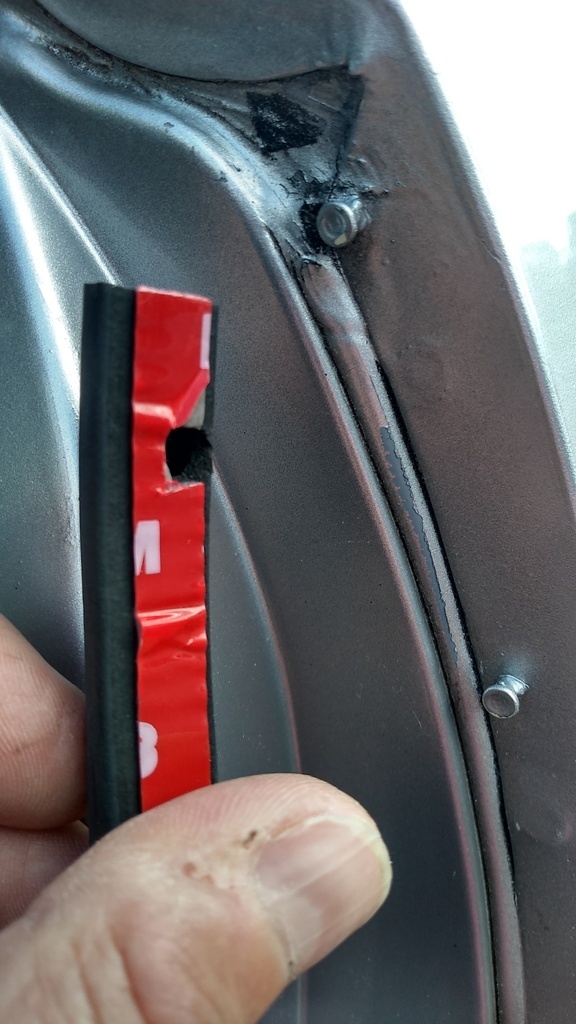 And the finished item, not identical to factory but looking a lot neater now: 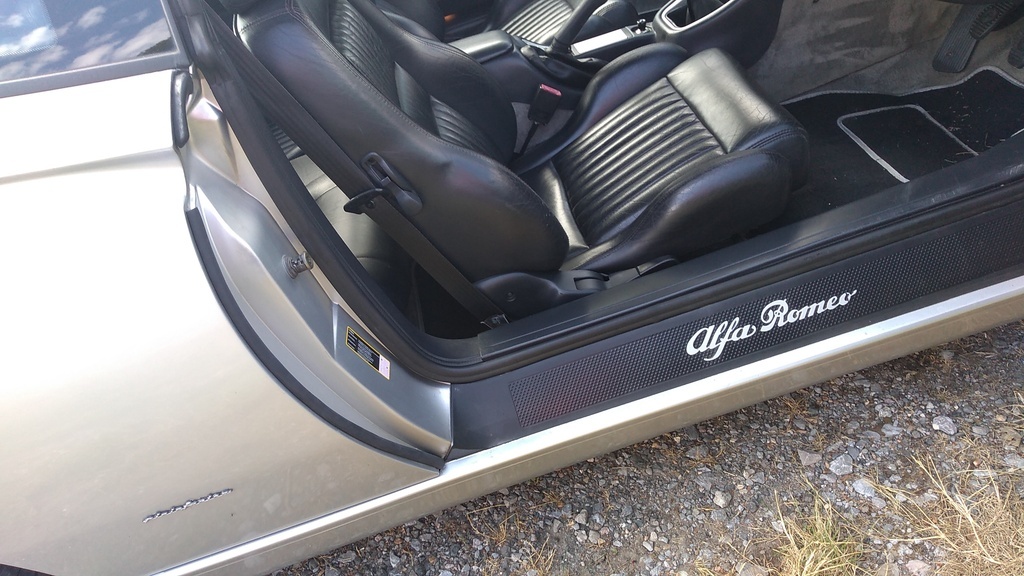 |
| |
|
|
|
|
|
Aug 19, 2023 20:40:44 GMT
|
Smallest of updates, the old gearknob was really worn and very seedy looking. New one is near £100, ridiculous! Bought an alternative designed for alfa GT and 147s but with the right shift pattern and accomodation for the reverse lockout and easy enough to fit too. Heat with a heat gun to break the old glue down, good hard pull upwards and easy to replace with a nice new one, complements the alloy dash too I think! 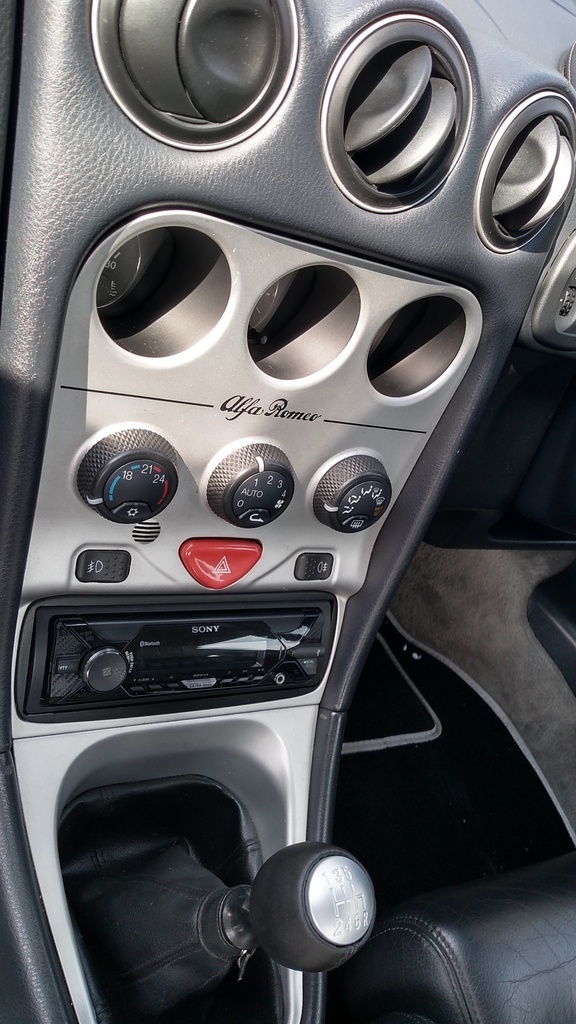 |
| |
Last Edit: Aug 19, 2023 20:42:18 GMT by robfos1
|
|
|
|
|
Aug 24, 2023 18:03:32 GMT
|
Slowly working through the list of cosmetic issues one by one, like a lot of Alfa's this car seems sound and in decent enough mechanical condition for a 22 year old, but again like a lot of Alfa's its silly trim bits that let the car down so it doesn't look as nice as it could. Speaker covers in the doors seem to have lost their fabric, exposing the cheapest plastic I think I've ever seen: 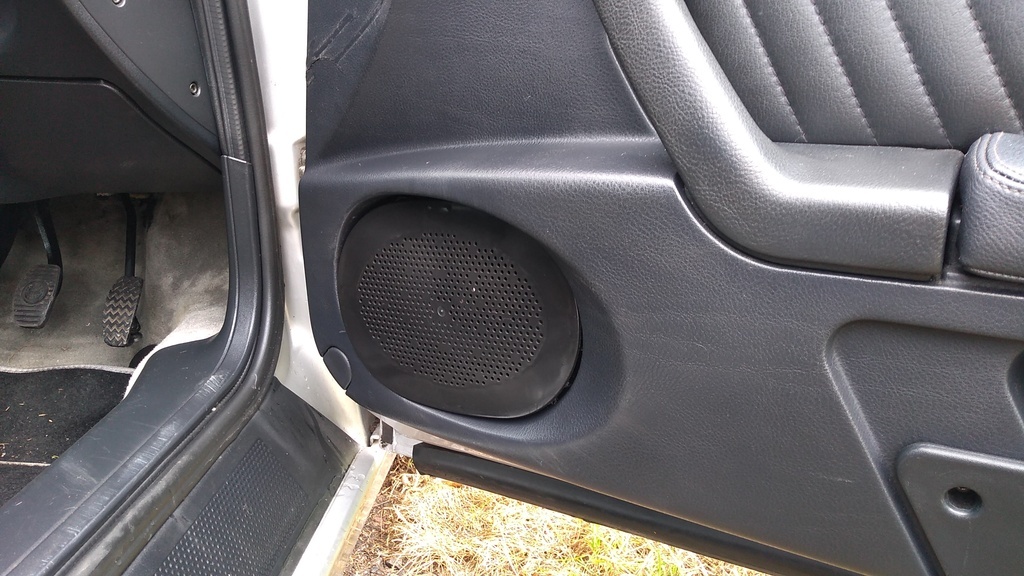 Minor I know but still detracts from an otherwise nice cabin, so bit of speaker fabric and some contact adhesive later: 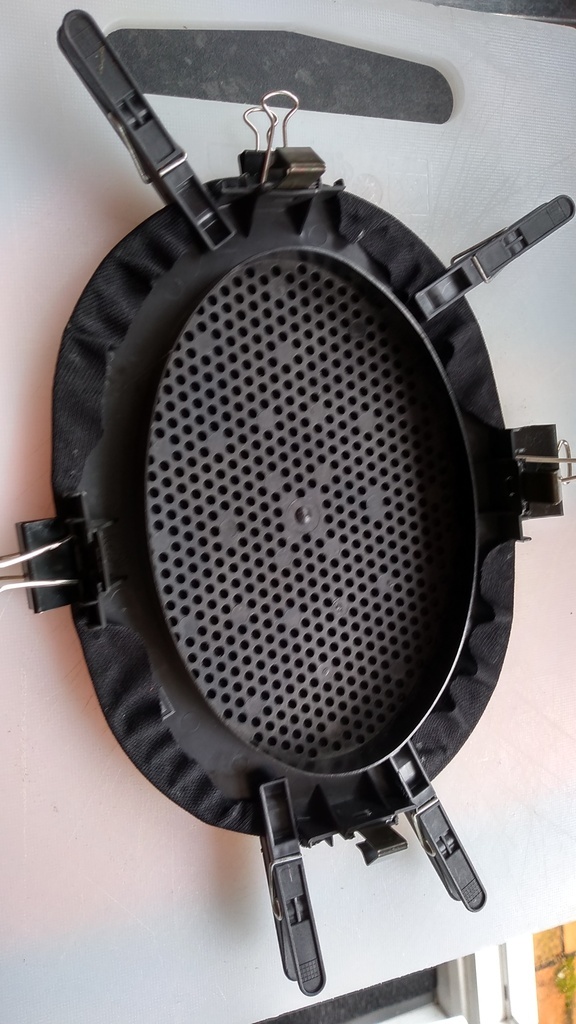 And the end result, so much neater: 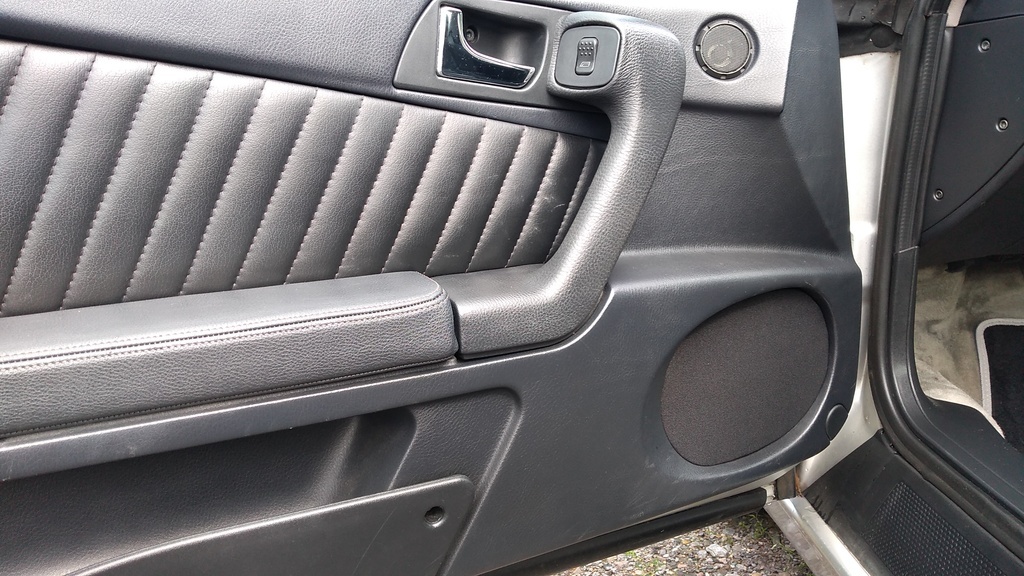 |
| |
|
|
|
|
|
Sept 2, 2023 20:01:16 GMT
|
So this GTV while generally sound has been mostly in storage for a few years, and seems like its been quite a while since it had some decent servicing and general car. Now that the plugs, oil and filters are done, time to have a look at the brakes. I knew they needed work as they were pretty uninspiring, and the rear brakes are very rusty. 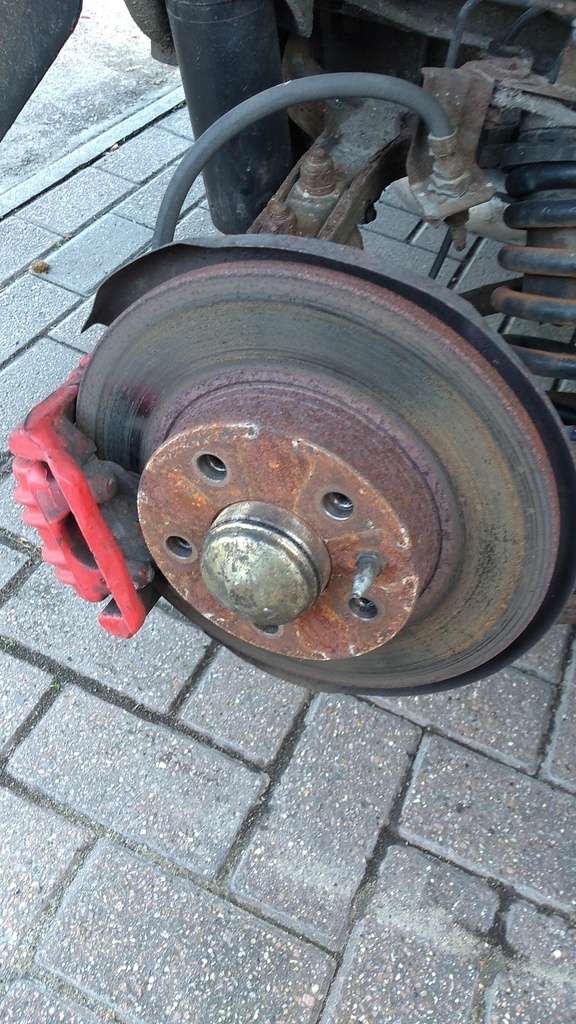 So started at the fronts, and pleased to discover the front disks and pads are serviceable - pads about 1/3 worn and disks have a small lip but will do until its time for new pads. So uninspiring performance might be air in the system or old fluid - each caliper has 2 valves and I would be working on my own for this job with my son on holiday so had a look at options for 1 person bleeding. Looked at ezibleed which sounds good but usually people use a spare tyre, which this car does not have. So happened upon this visibleed kit: Europat Vizibleed Brake and Clutch Bleeding Kit | Halfords UKvery cost effective and I can confirm it works beautifully - has a one way valve so you don't need to submerge the end of the tube in fluid, you just open the valve and pump the pedal to pull through the clean fluid. Once the brakes were bled seemed a shame to put the wheels back on over tatty calipers, so good clean with brake cleaner (£2.89 from Eurocarparts right now) and a good rub down and degrease 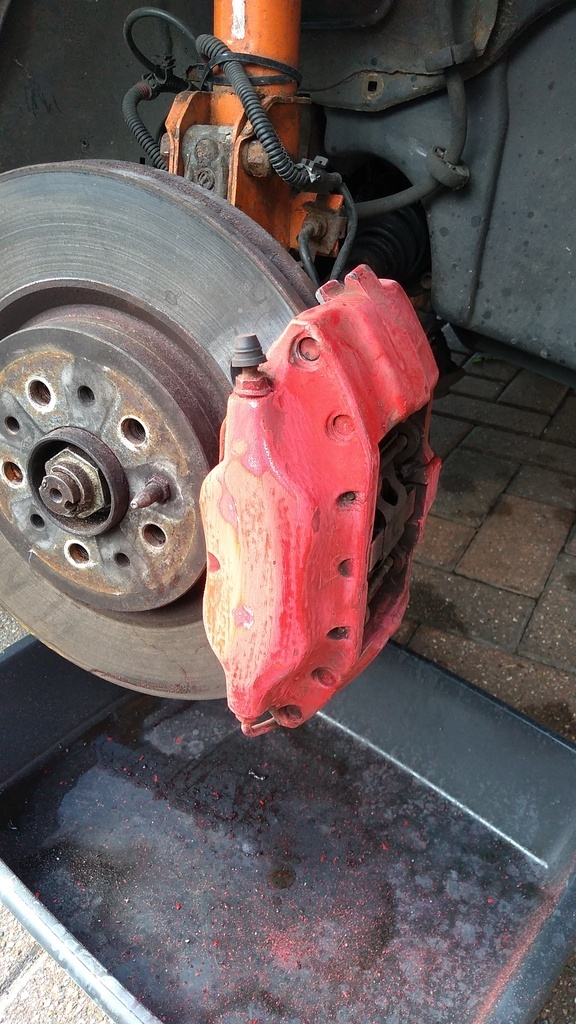 Then on with a bit of ferrari red paint and a couple of decals later... 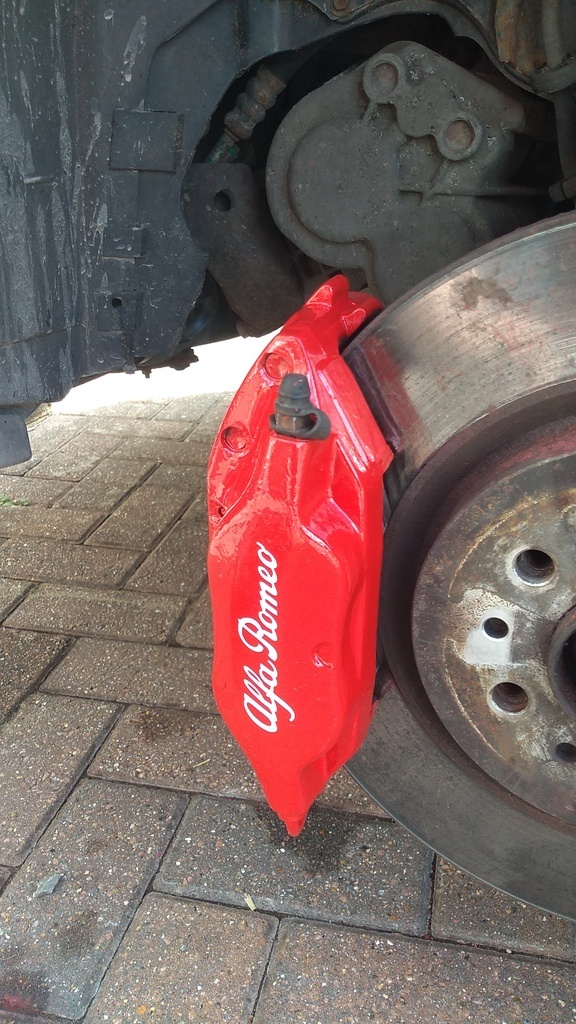 Very pleased with the outcome, and most importantly the brake performance is absolutely transformed, really good strong front braking! Rears next, but in the meantime, very pleased with the way the fronts look behind the wheels 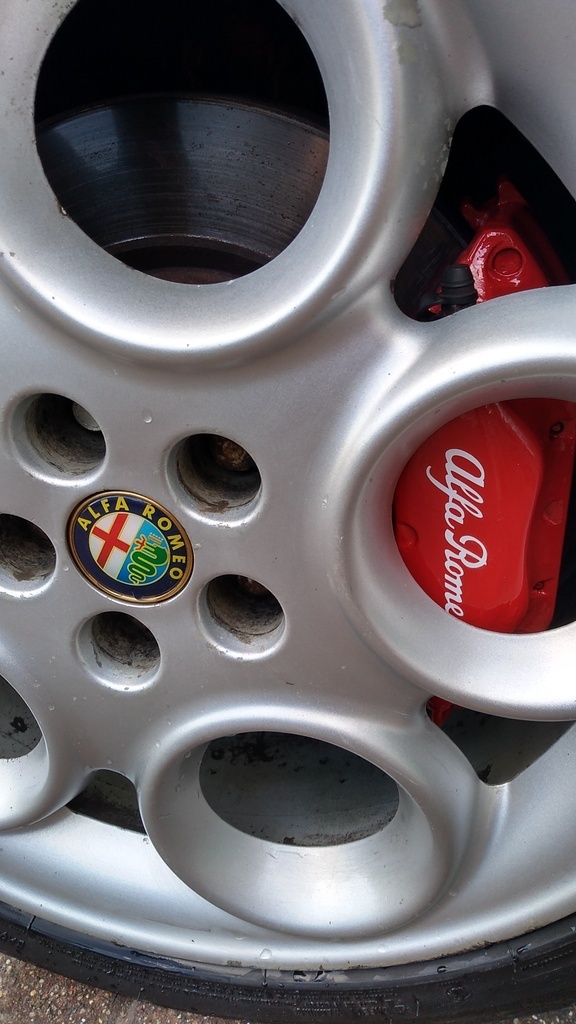 |
| |
Last Edit: Sept 2, 2023 20:17:31 GMT by robfos1
|
|
|
|
|
Sept 2, 2023 20:10:20 GMT
|
Next up rear brakes, these were rusty and looked pretty worn, so we start with the wheels coming off for a look at the rear suspension. Not terrible but the rear spring pan arms are pretty crusty - I did see these when buying the car so was aware but these are going to need sorting in the not too distant: 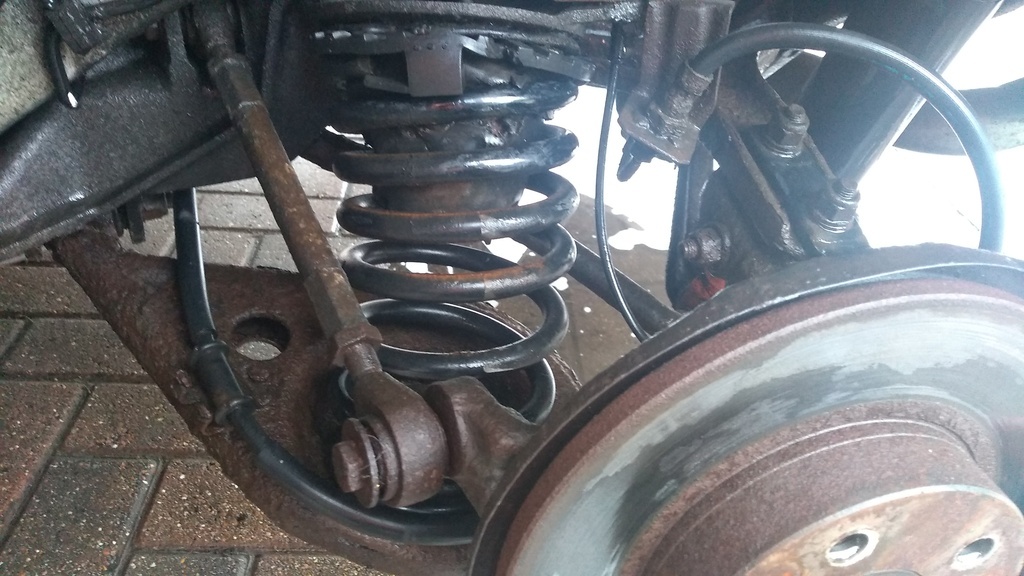 Of more immediate concern though is the offside spring... 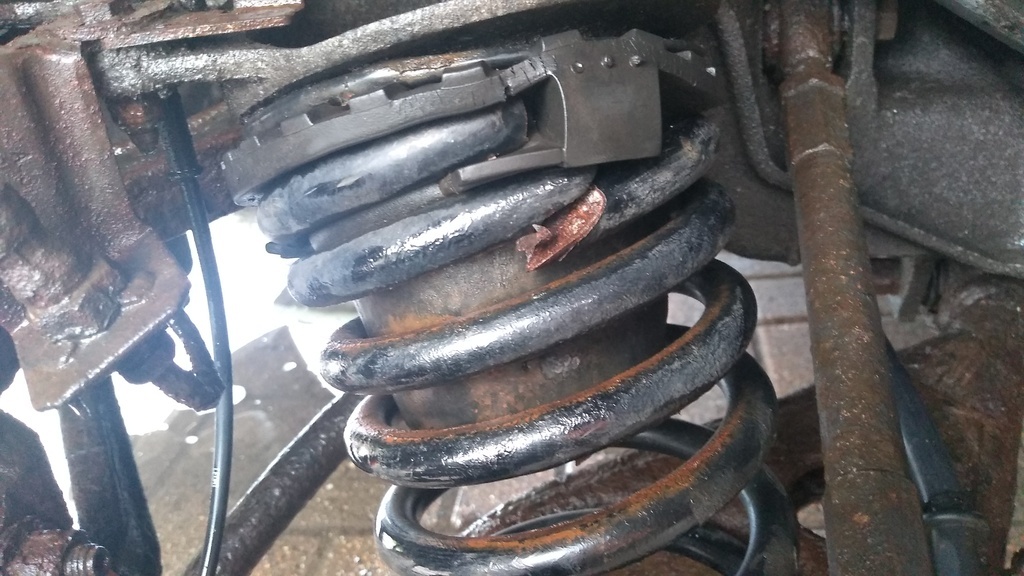 Its actually broken near the bottom as well, so looks like we have another job on the list once the brakes are sorted! Now the fronts look nice its a good time to refresh the rear calipers before reassembly, not bad condition but would look better with a freshen up. 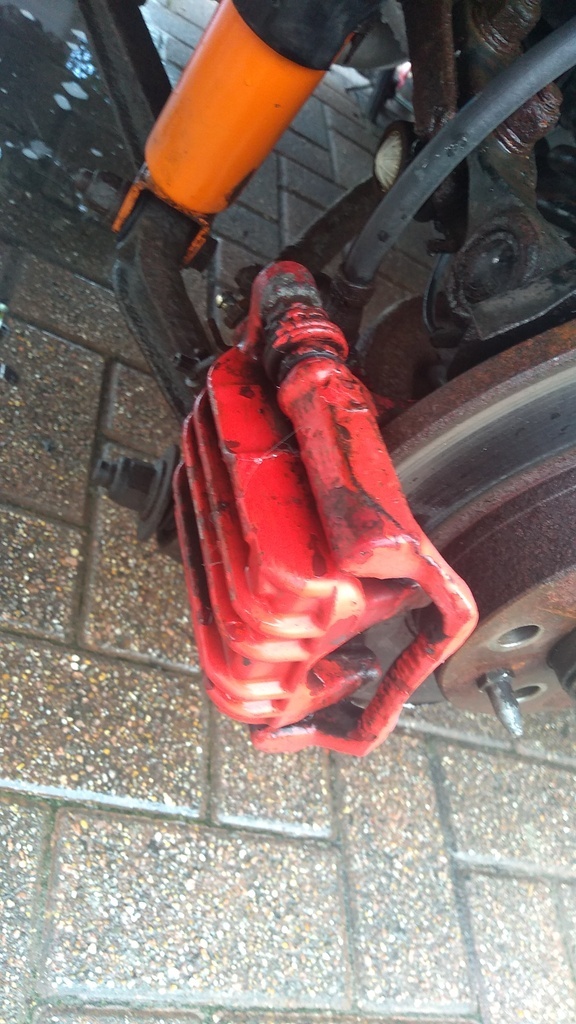 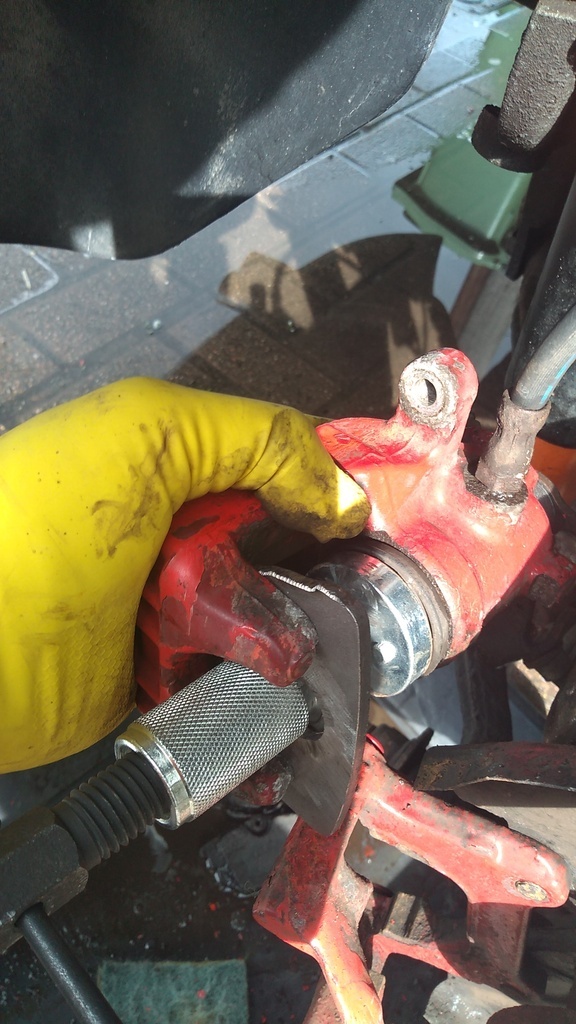 Was quite worried the calipers might be seized but they wound back easily enough. |
| |
|
|
|
|
|
Sept 2, 2023 20:16:33 GMT
|
Once wound back, good scrub with brake cleaner then a key with 120 and 180 paper, and a coat of paint  Forgot to buy replacement sliding pins and rubbers for the refit but happily they were all in decent condition although the rubbers were liberally splattered with red paint from a previous tidy up, easily removed with some silicone lubricant and a soft wire brush  And the finished assembly 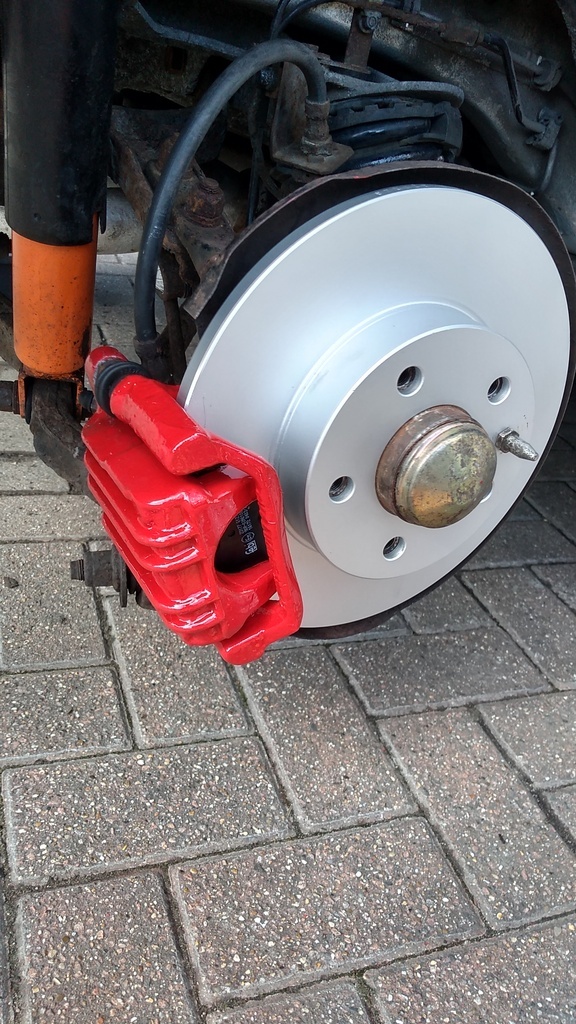 Brakes bled and a quick test drive later really pleased with signiicantly improved braking peformance. Looks nice too which is a great bonus, though having the brakes smart now makes the wheels more obvioulsy in need of a refurb! |
| |
|
|
|
|
|
Sept 13, 2023 8:34:29 GMT
|
When we viewed the car the drivers window was not working at all, and the previous owner had a go at sorting it before we collected, but the motor was slow and the mechanism quite noisy, clanking as the window went up and down. By coincidence the door card on the drivers side was also in poor shape - GTV door cards lift straight up of 4 or 5 pegs that stick out of the door once you have removed the various screws and allen bolts, but looks like someone tried to prise it off around the edges, damaging the card in a few places. 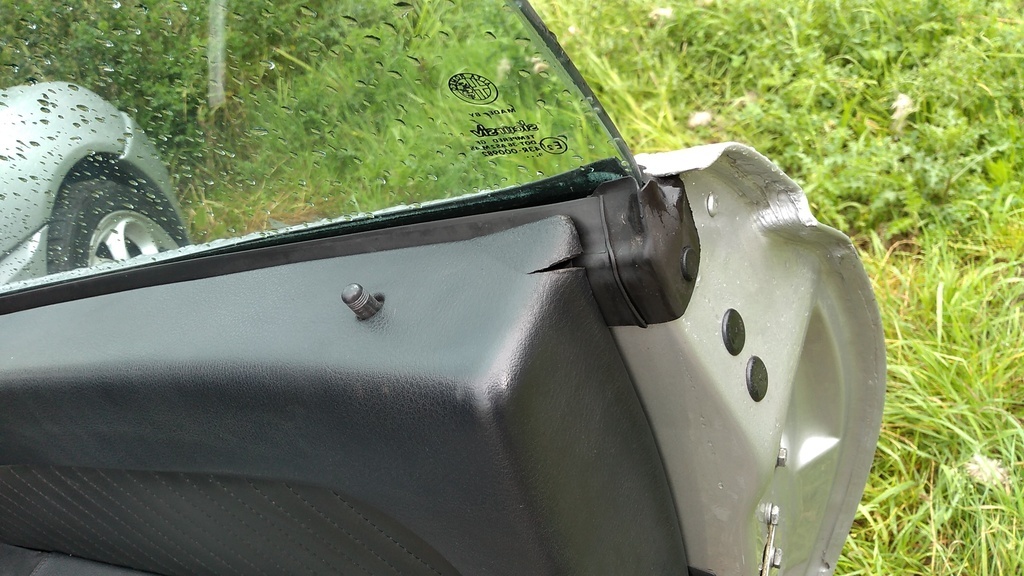 Managed to source a better replacement door card and second hand regulator complete with motor. And the fun begins... 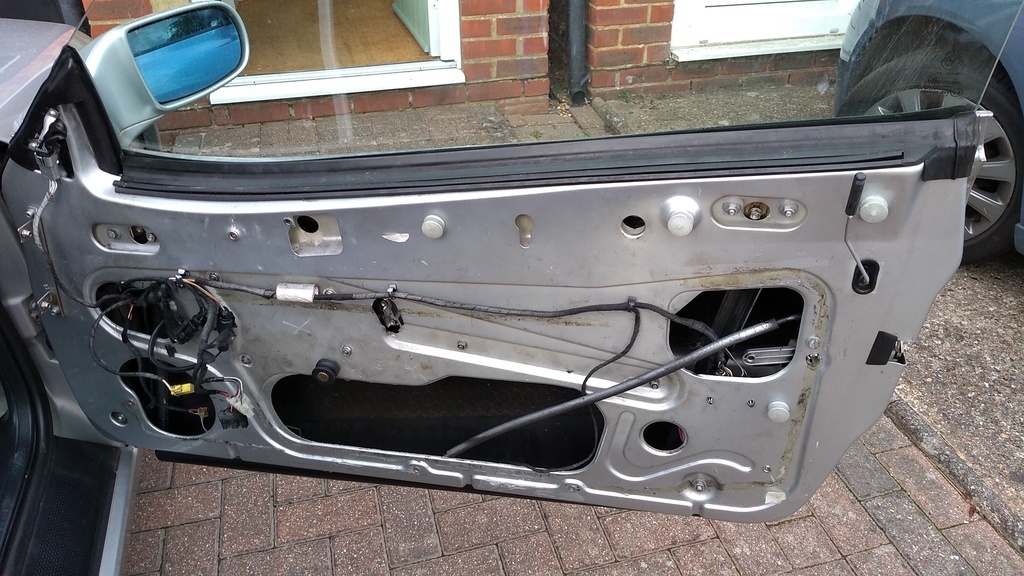 Door card comes off pretty easily having watched a video on YT - a lot of the bolts have clearly been mixed up or swapped around over the years, and the courtesy lamp under the door was disconnected. The regulator comes out pretty easily too, and the repalcement is a bit different, motor is at a different angle and the regulator arms look more substantial - immediately worried it would not fit! A comparison with the replacement: 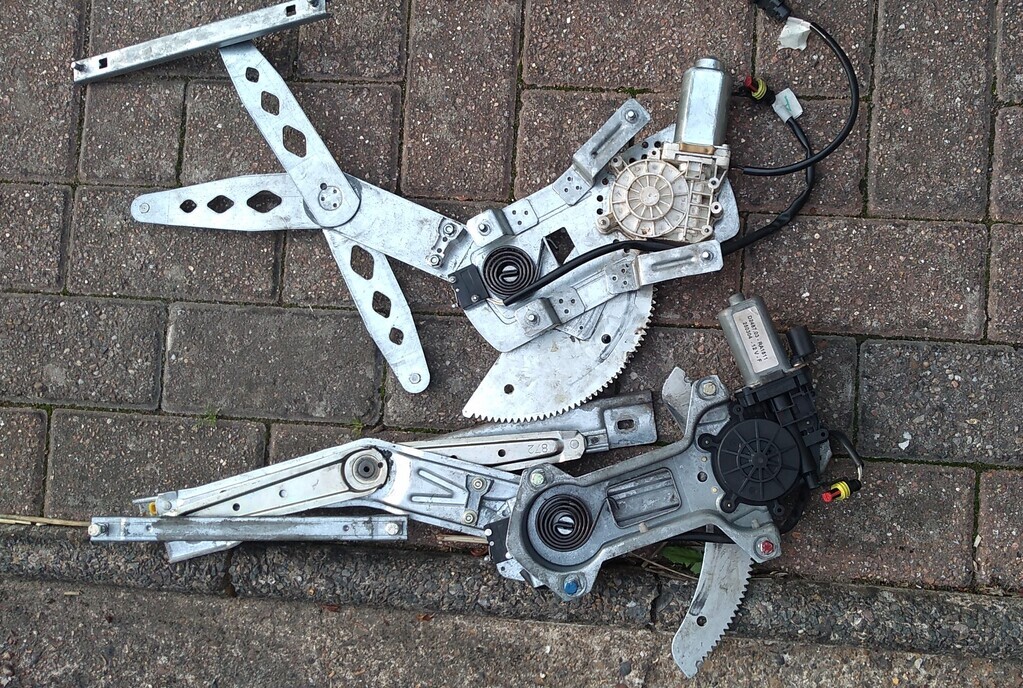 The old one is at the top. Plugs look the same and the bolt holes are spaced correctly, but was still worried maybe the replacement had been misdescribed - older car window motors did not have an autodrop feature. Another look at YT though and I see the replacement has autodrop adjustment, so should be OK. All fitted, but of fiddling to get the adjustment right and it works! |
| |
|
|
|
|
|
Sept 13, 2023 8:45:04 GMT
|
Next on to replacng the door card. 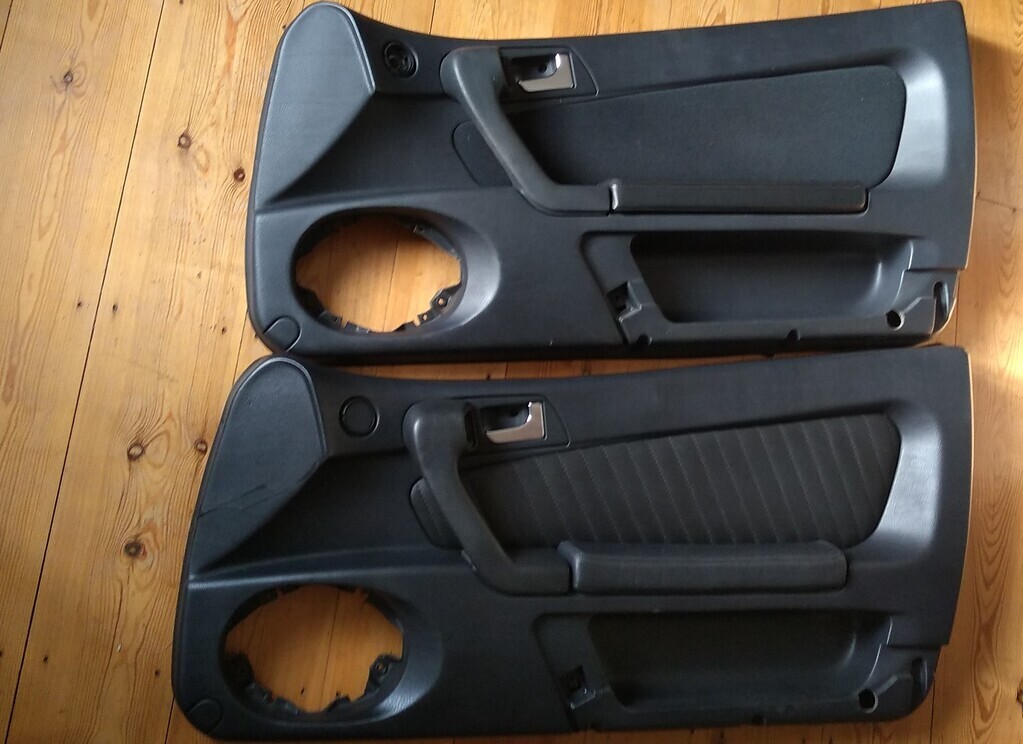 Top one is the replacement, as you can see comes from a car with fabric interior trim so the door card insert needs changing. The handle on the original card is nicer too. Going to need to swap over the tweeter and the courtesy lamp, so... 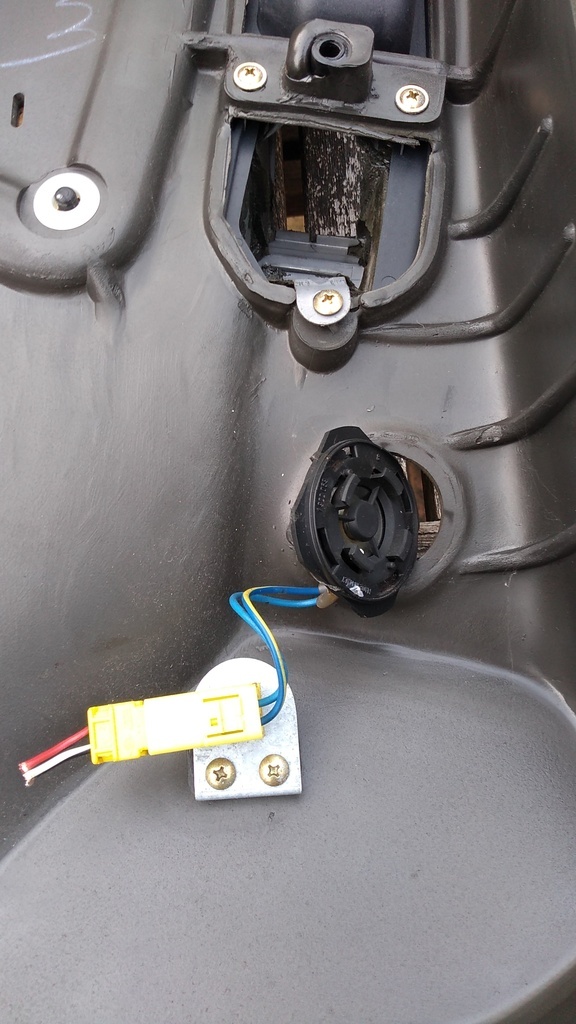 and then get the insert detached: 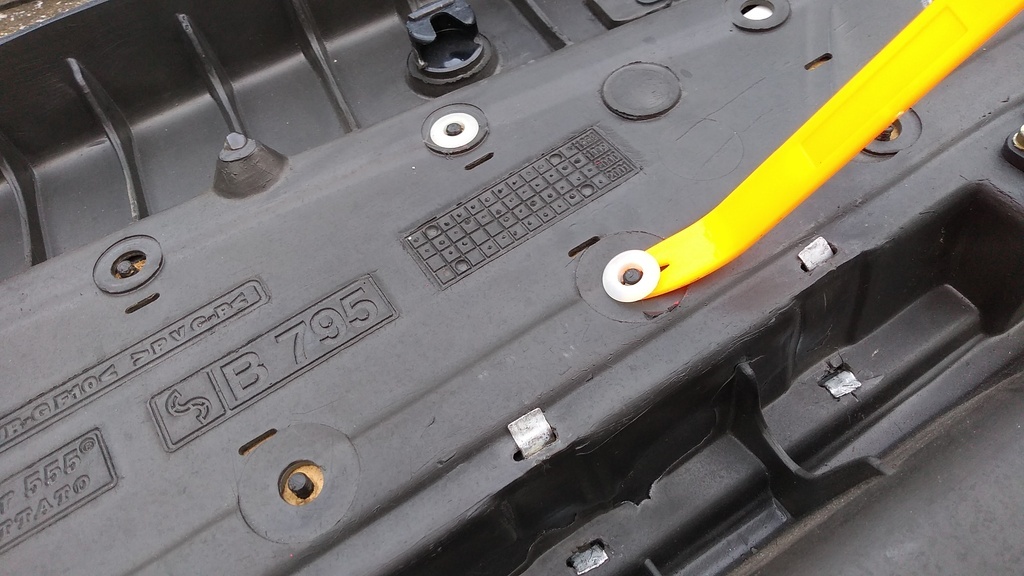 Picked about the hottest evening of the year, so refreshment break requried when I noticed the door opening handle on the replacement card was missing its spring - so that needs swapping from the old door card too... 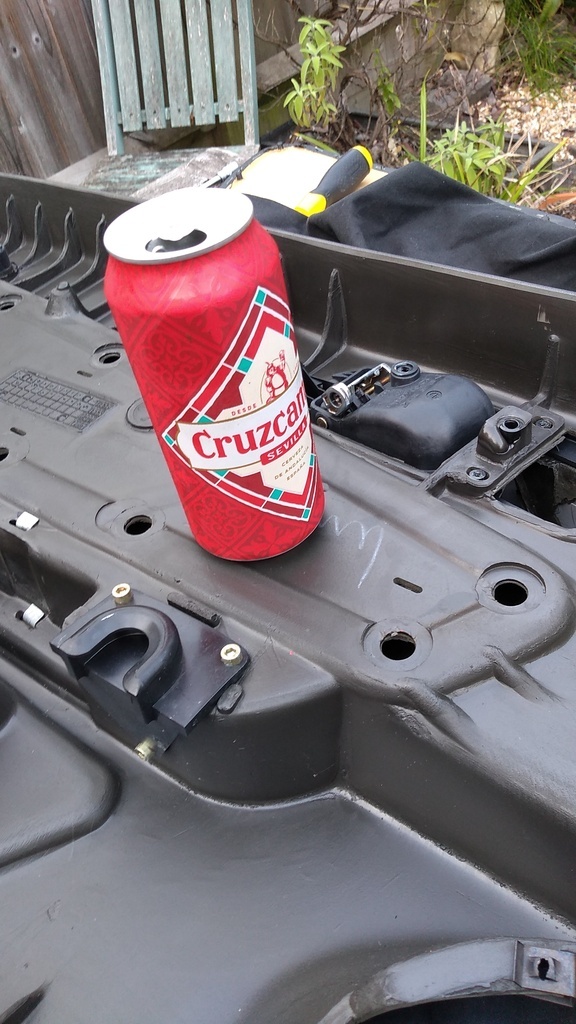 Just below the can you can see one of the brackets on the door card that fit over a peg bolted into the door - this one gives a firm connnection between the bottom of the door pull handle and the door itself, quite a neat system. Door card went back together fine, and reinstallation was easy enough, though we did manage to have the door lock cable come adrift as we refitted it, so it was impossible to get out the car! Got it all back together now just need to refit the speaker and grille and thats pretty much all interior work we had planned complete. |
| |
|
|
|
|
|
Sept 13, 2023 16:02:08 GMT
|
And a photo of the doorcard back in place to finish the job: 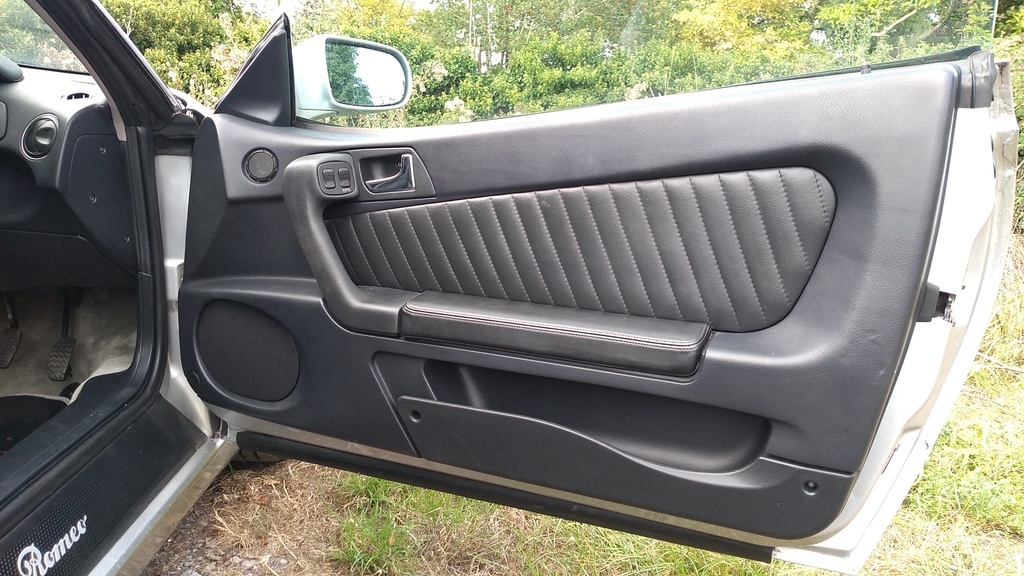 |
| |
|
|
|
|
|
Sept 13, 2023 19:08:48 GMT
|
|
I have always liked the GTV and yours looks like such a nice car and good to see it getting some love 😎
|
| |
|
|
|
|


 I like them!!


