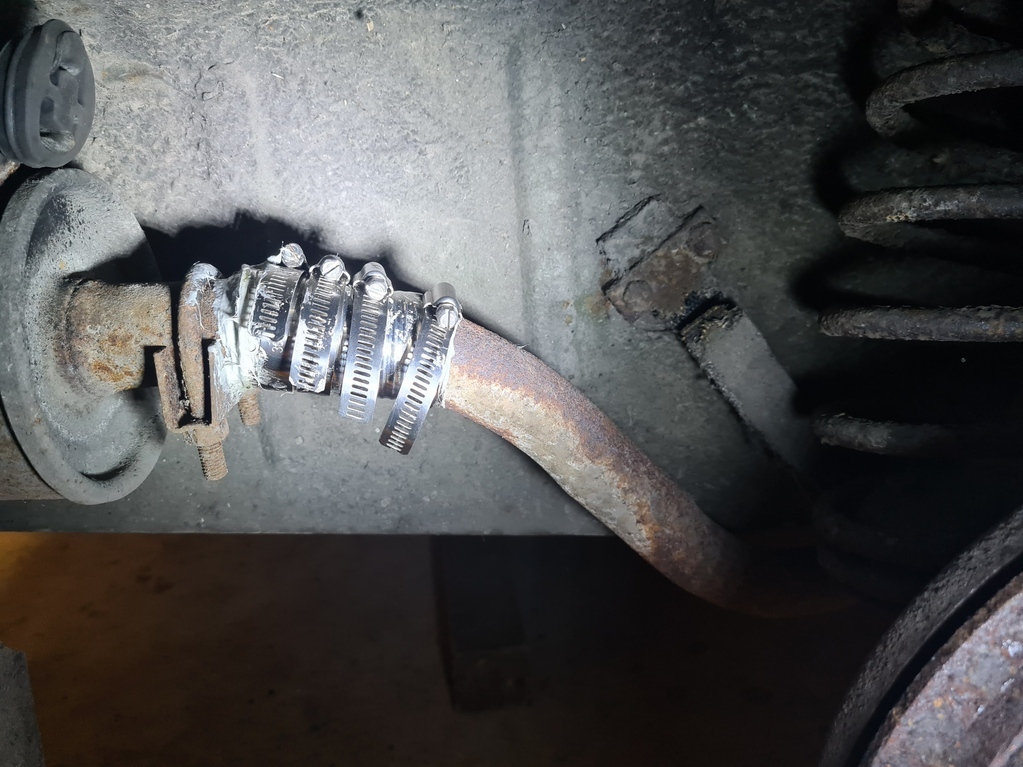
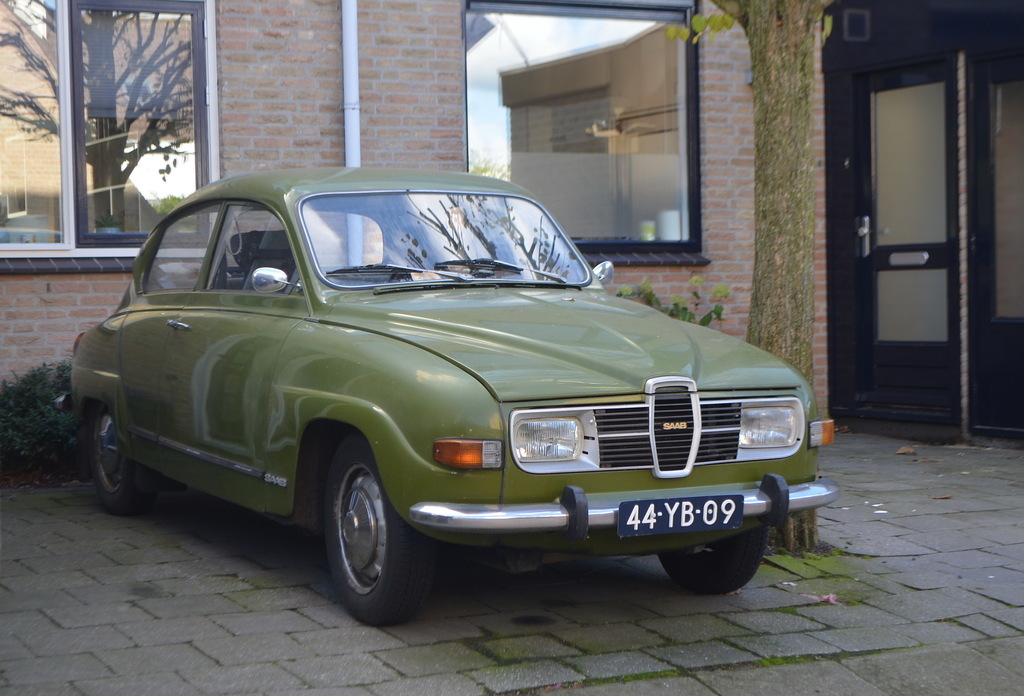
Looking into another niggle: One thing I was aware of was that the car seemed to run a bit hot, temp gauge creeping up past the half way point and towards the red. I've been driving with the heater on and a window open, which works well enough but is not a solution!
The seller had replaced the head gaskets suspecting a problem there (but found nothing) and had fitted an electric fan to supplement the mechanical one.
It still seemed hot to me, so I decided to flush and clean out the cooling system- fresh antifreeze seemed like a good idea anyway.
First step drain radiator- green hose below emptying into the ever useful big yellow container
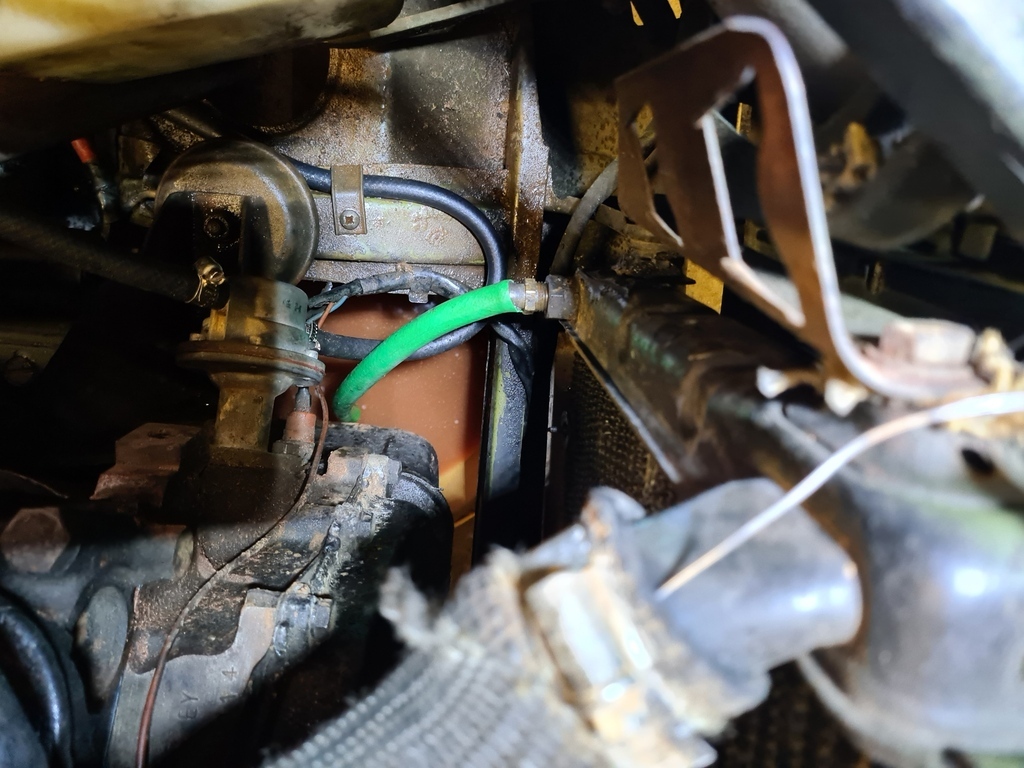
Initially undoing the drain plug nothing came out, even removing the drain plug nothing came out, but poking a small screwdriver into it resulted in some flow, and I could definitely feel lots of sludge inside, so a good clean is due for sure.
I wanted to properly flush the radiator in both directions, also the engine/heater system, so a few steps to ease access to the radiator bottom hose, remove grill.
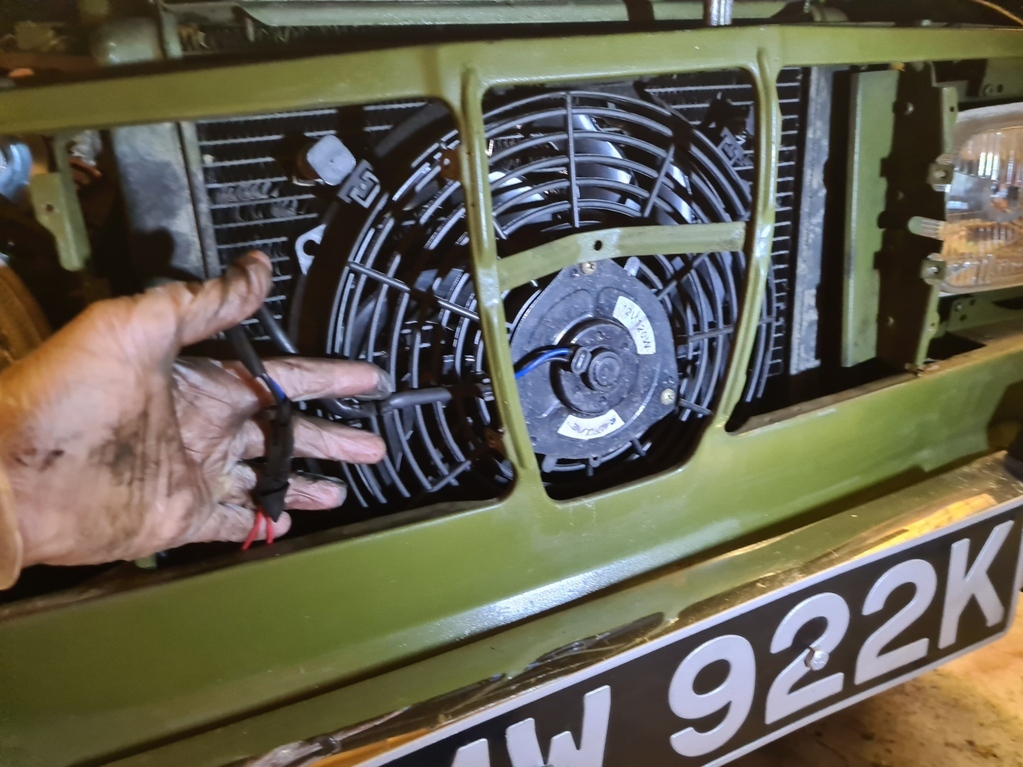
You can see the electric fan, but access still quite restricted, so remove front panel:
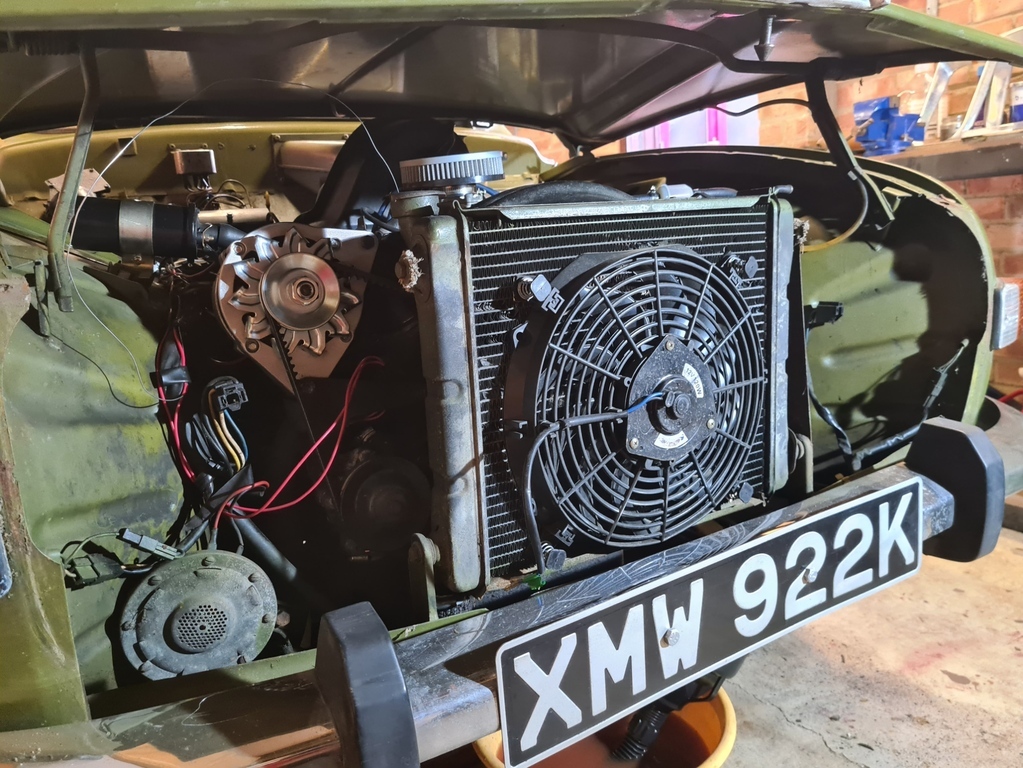
The panel has 3 tabs at the bottom that go into slots, and 2 nut and bolt fixings at the top. Once the wiring for the fan was removed, the fan temp sensor hooked out of the way, the headlights unplugged and the bonnet release mechanism unhooked, it should just unbolt and lift out. The manual said to remove the bonnet first, but I thought it looked possible without doing that (and bonnet removal on my own looked tricky).
It basically came out ok, but one of the 2 bolts did snap off, the stub and its nut then dropped out ok, so not too bad
Then disconnect top and bottom hose and unbolt radiator ready to flush.
Radiator gone:
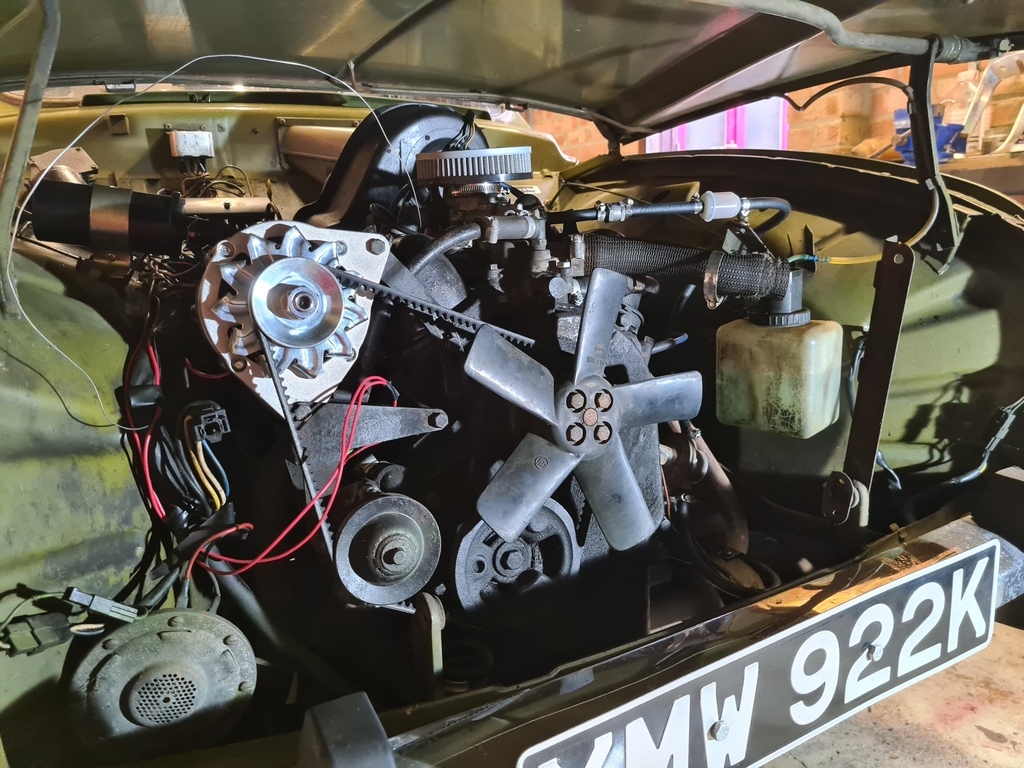
Inspecting radiator:
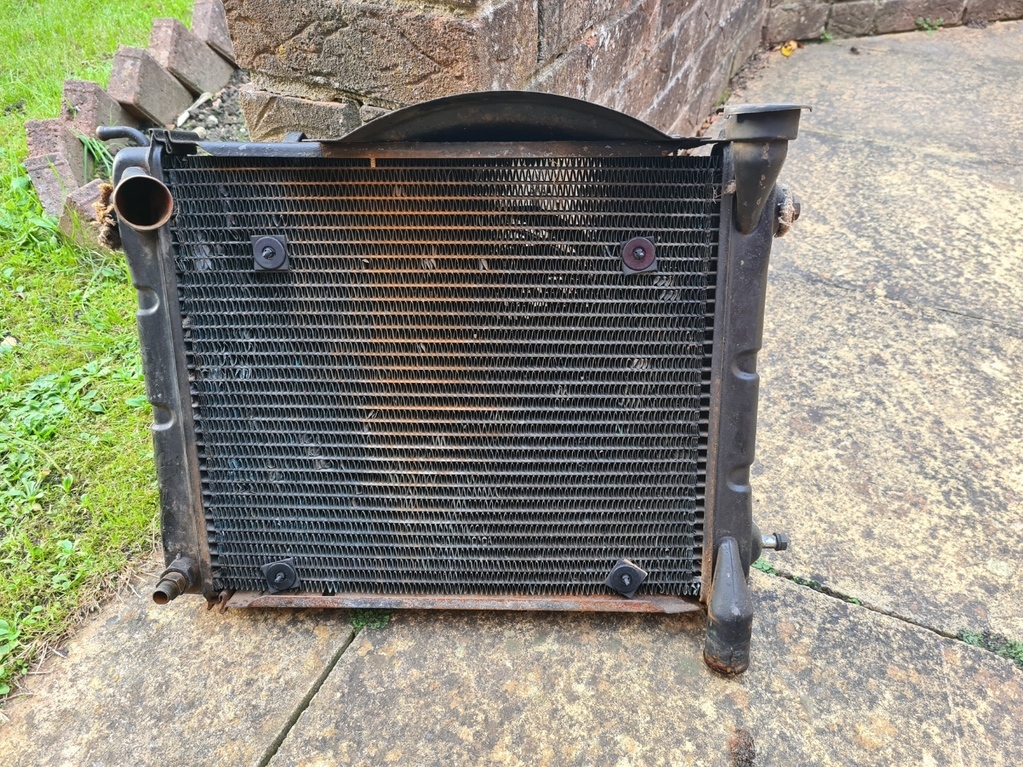
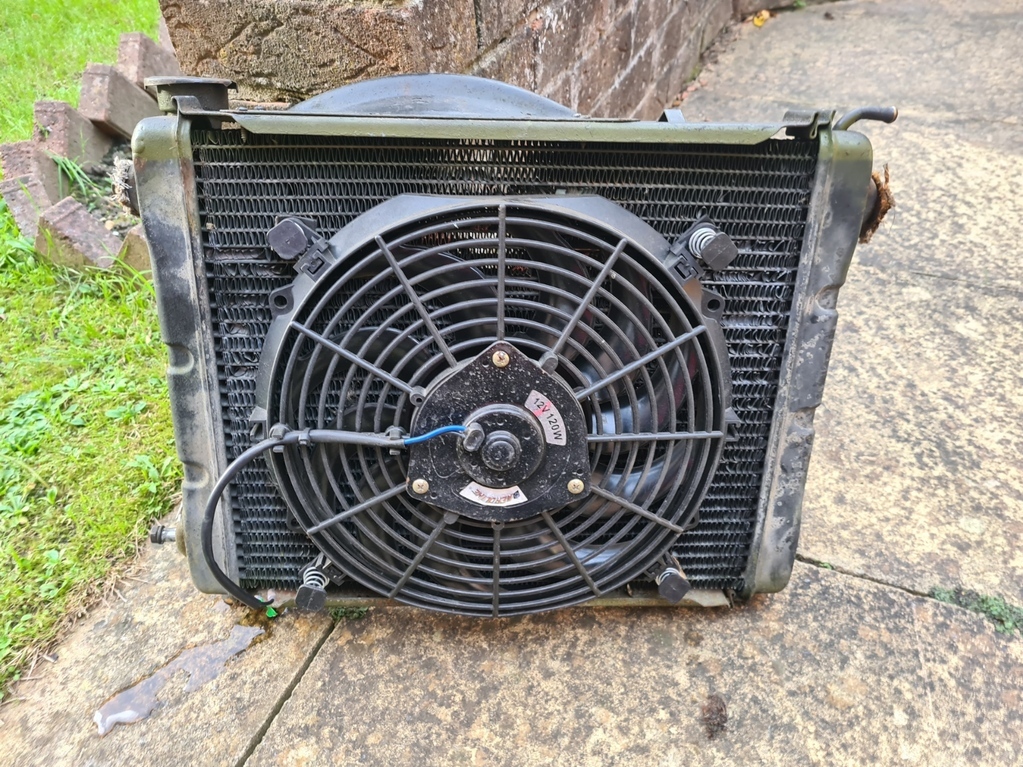
The radiator looks OK I think, not clogged up and no real damaged fins. I am wondering if that electric fan will do more harm than good and block air flow though?
Flushing both ways through the radiator got some more muck out
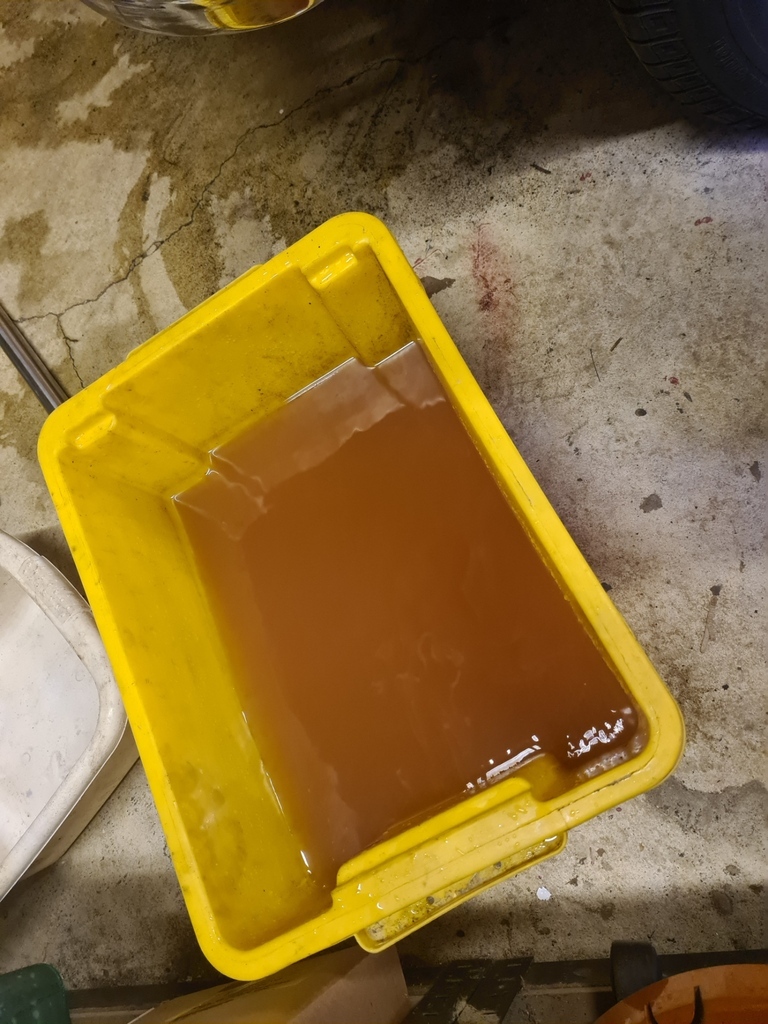
I also wanted to flush the rest of the cooling system in both directions, and had left the top and bottom hoses in place. To send water both ways, with minimal mess, and to be able send water in the bottom and out the top, I found that the 2 tubes from the wetvac fitted quite well to those hoses with jubilee clips and so could be used to extend them and raise the level of the bottom one.
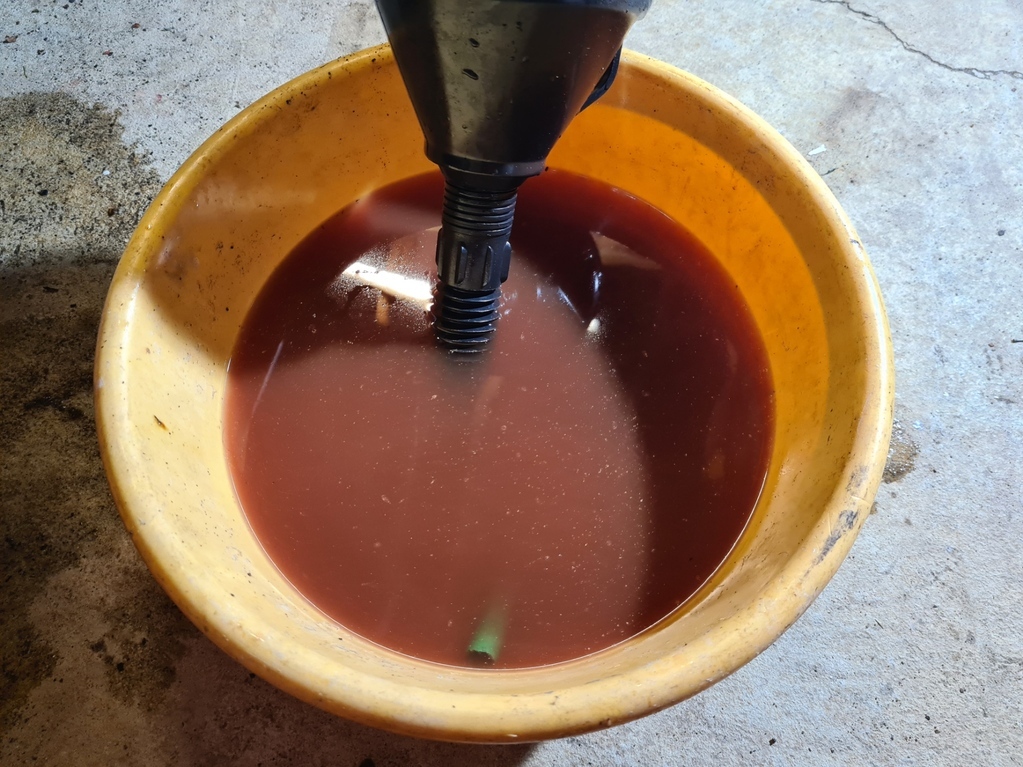
Flushing like this in both directions:
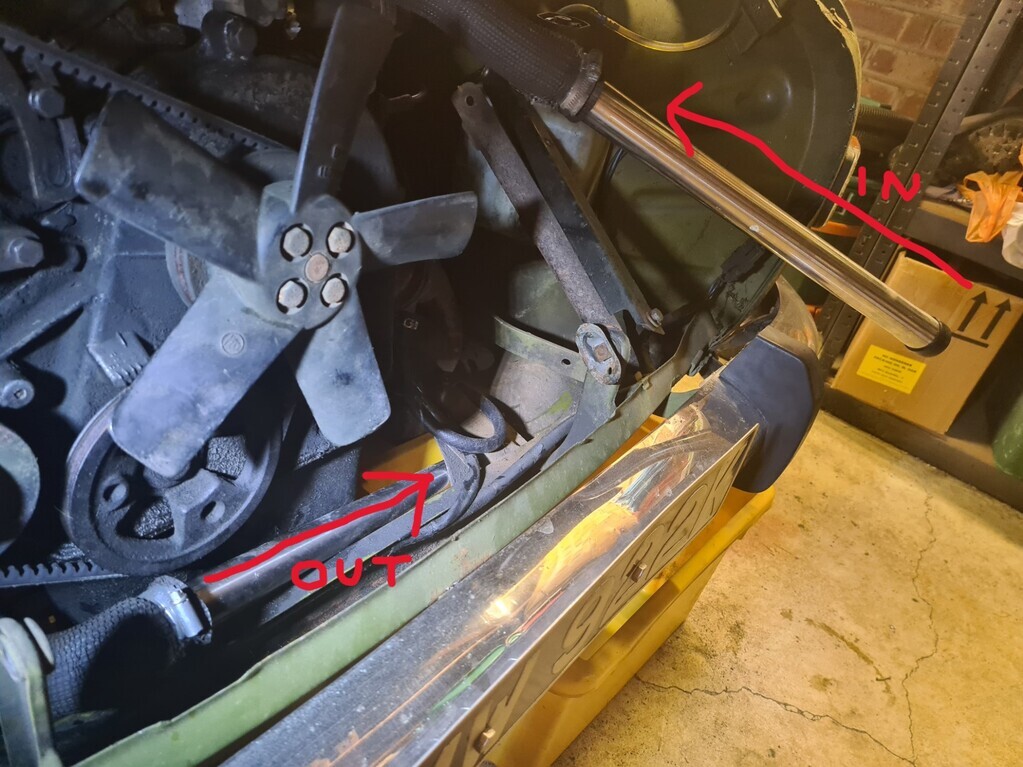
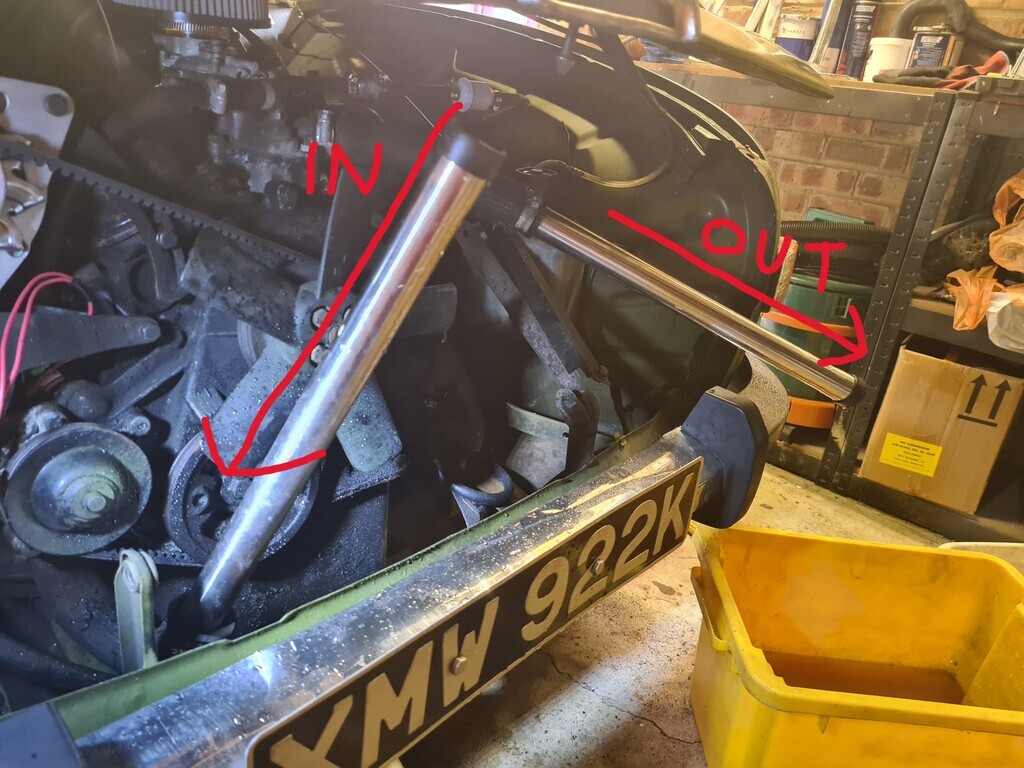
Worked well and more dirt came out.
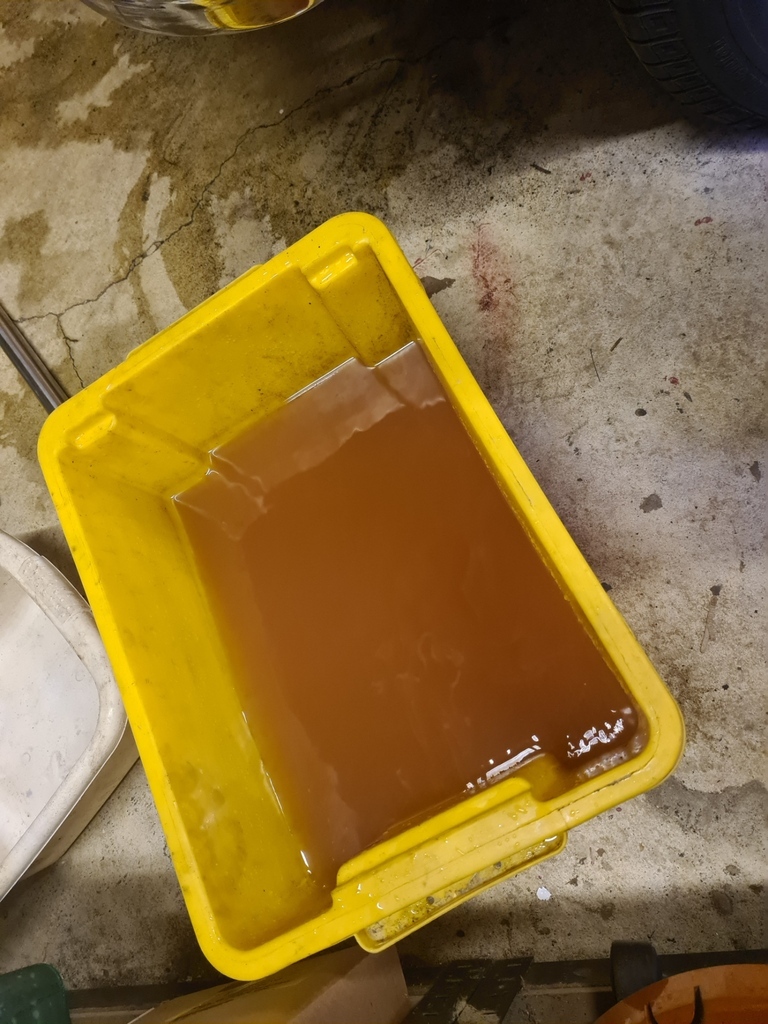
(hmm, I seem to have duplicated this picture, but one bowl of dirty water looks much like another!)
With the front of the car now open, I now had a view of the engine from another direction and of course its covered in muddy/oily dirt, so an opportunity for a quick clean
Before:
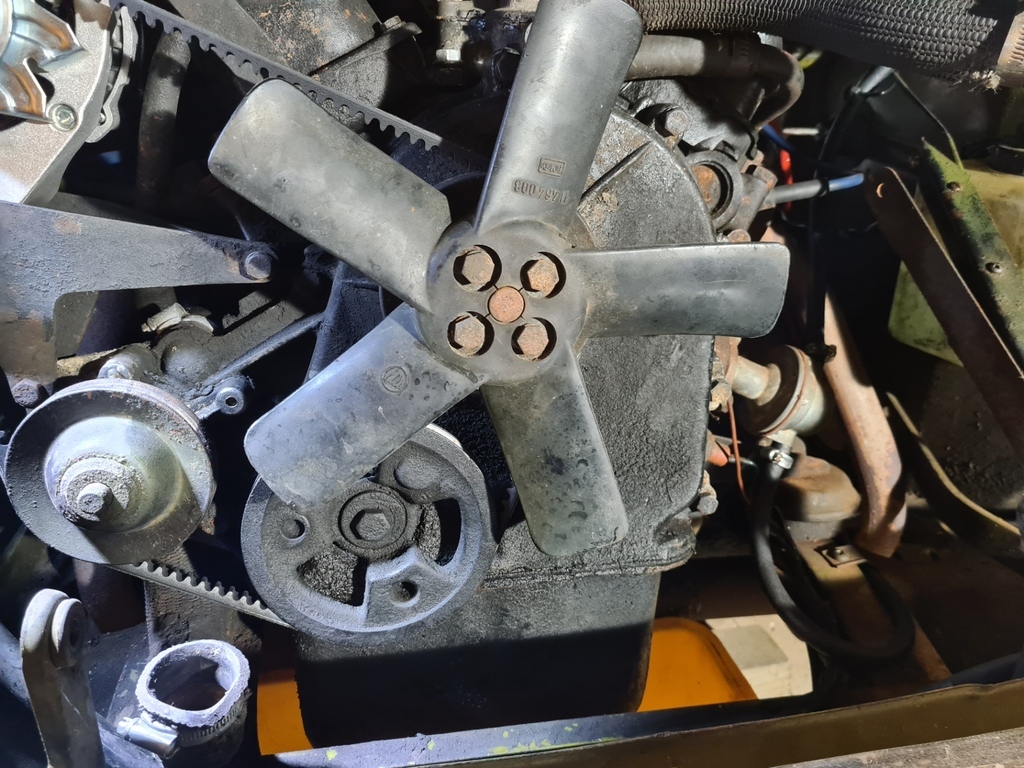
After
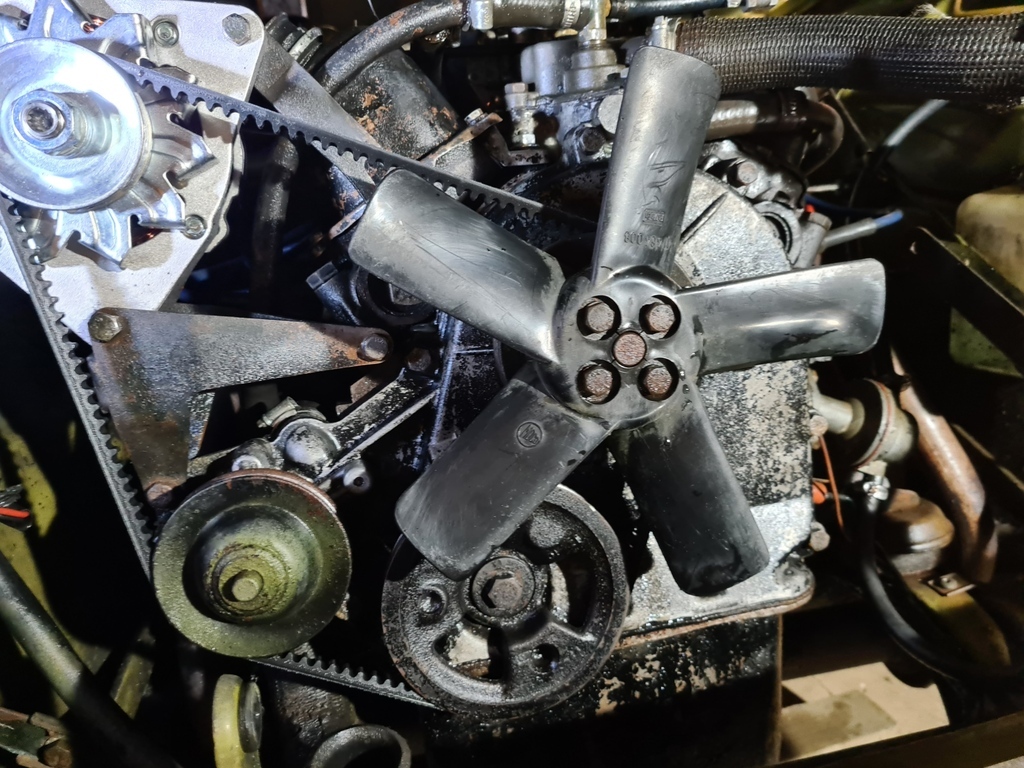
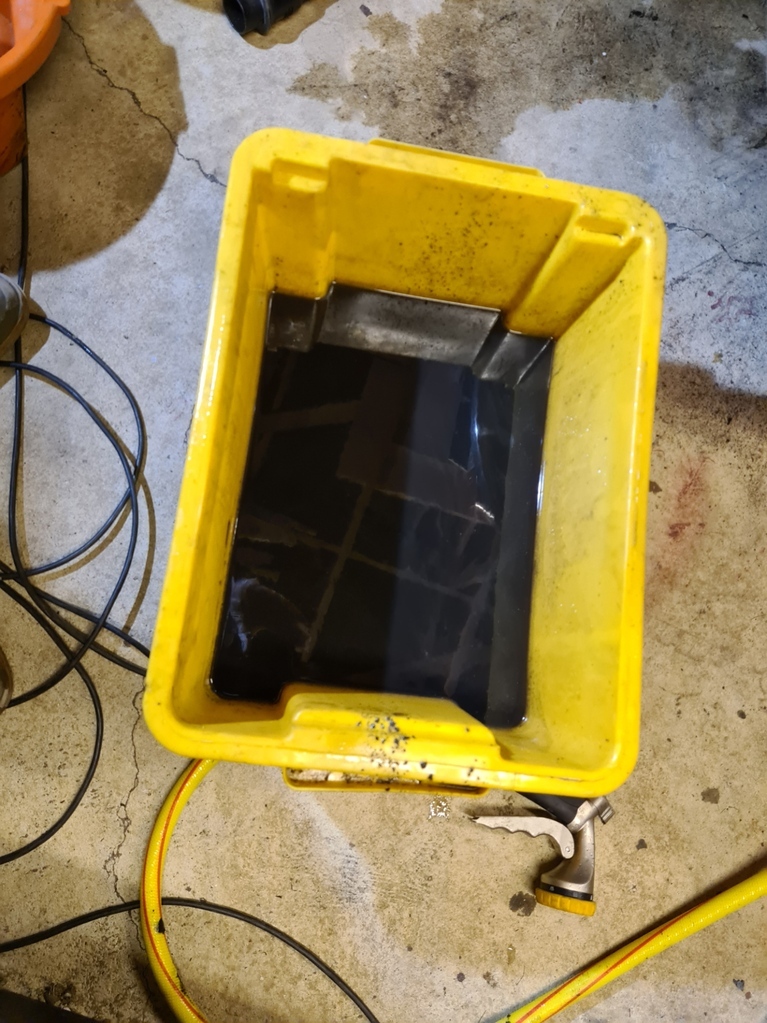
Does not look that different in the pics, but this is what came off:
The top and bottom hoses looked quite crusty inside so I replaced those, I reused the old hoseclips though as they seemed fine and better quality than those I'd bought.
But then I hit a problem, the radiator is mostly held in place by 2 bottom mounts, one each side and one has snapped of when I removed the radiator:
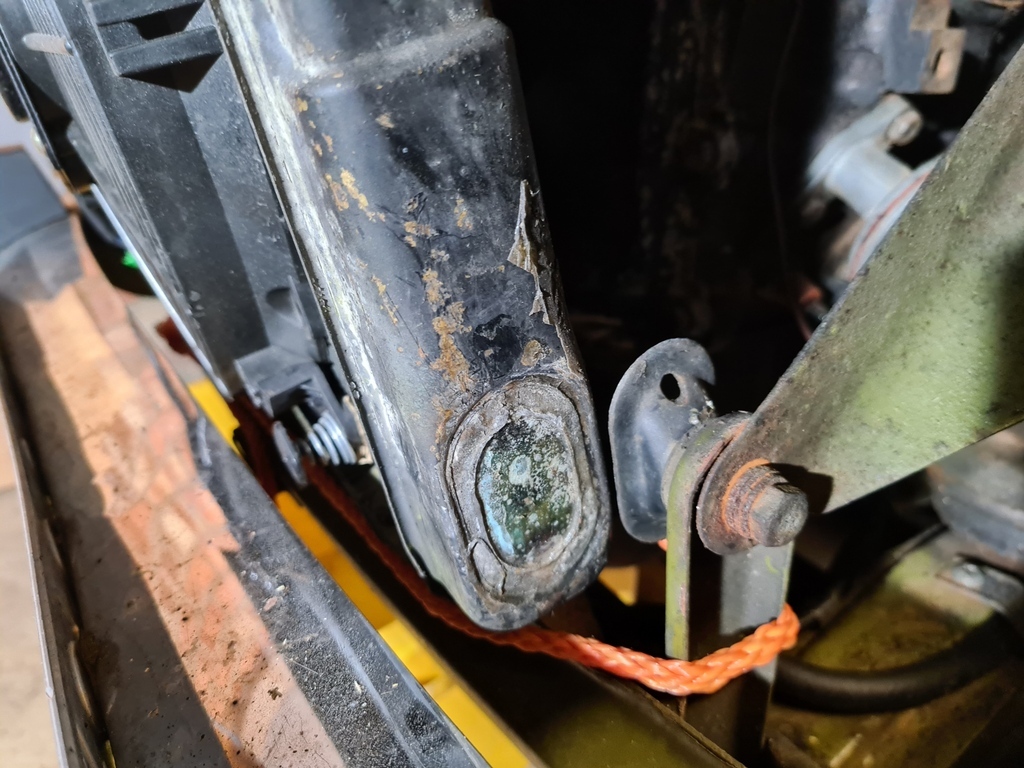
I'm guessing it was brazed on, no sign of any other way of attaching it.
I decided to use JB Weld for the repair.
Here you can see it wedged in place with pieces of wood under and in front, the orange rope is to apply some tension between the body mounts each side and hold it whilst it sets
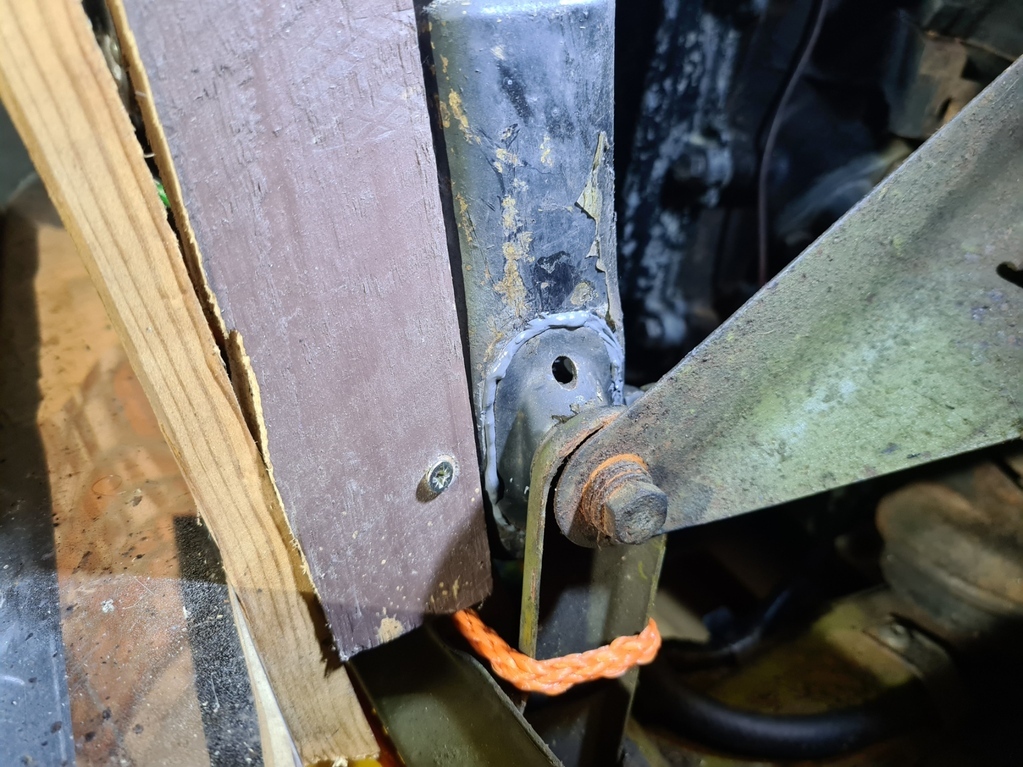
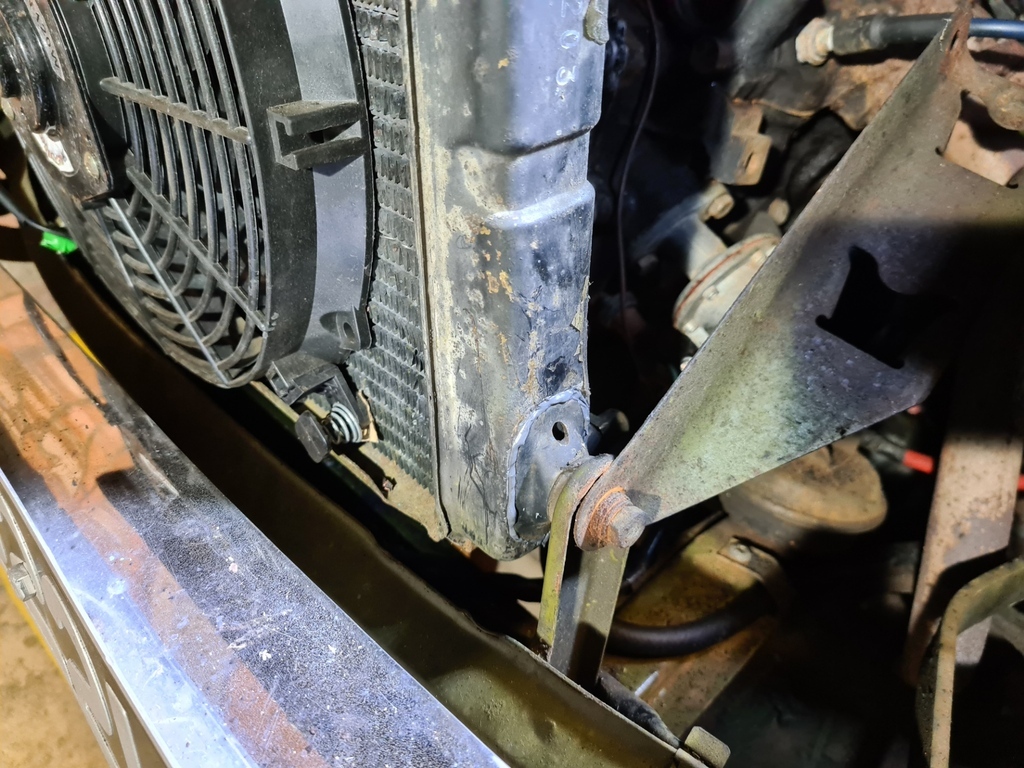
Worked well, actually looks quite neat
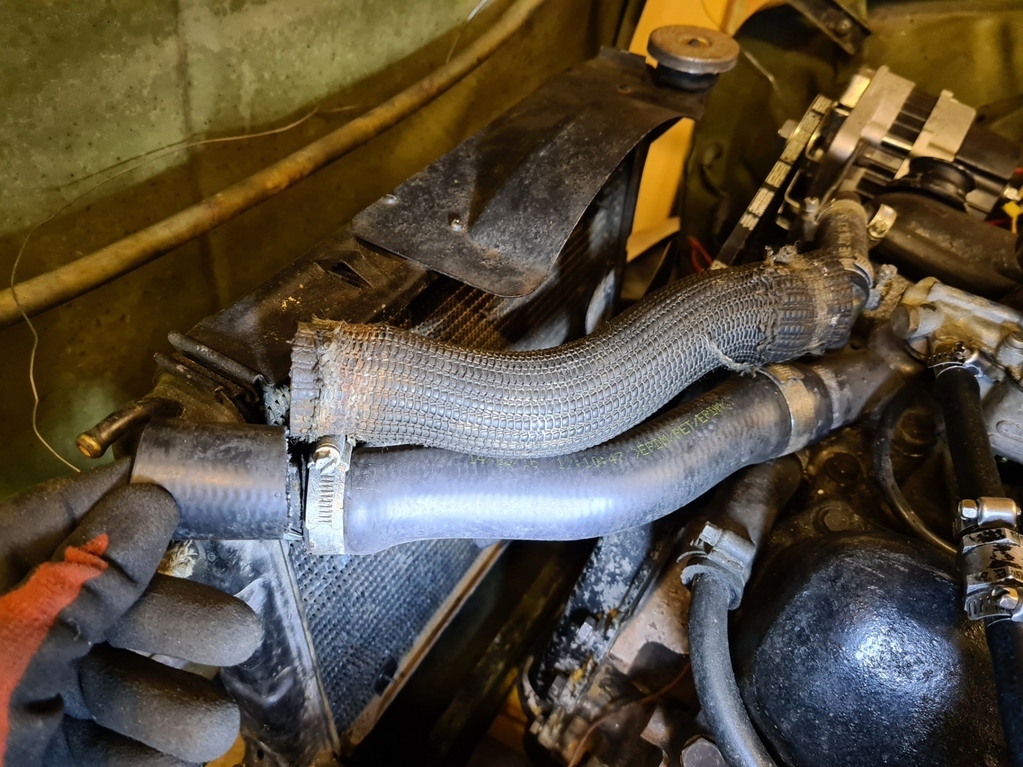
Next problem was the top hose, the new one was too long and tipped the radiator so far forward it would have been impossible to put the front panel back on.
You can see in this pic, the old one laid next to the new, and in my hand how much had to be cut off the new to let the radiator align correctly
With all hoses back in I added some coolant cleaner and ran the car up to temp, then drained it all out for a further flush.
The cleaner has to be removed and that was slightly troublesome as every time i refilled, I got vast amounts of "soap sud" like bubbles coming out the filler cap and could not really see the water level, it took 3 full flushes until there were no more suds coming out, so I suppose it took all that to remove the cleaner.
Then refil with antifreeze and bleed.
Pic below waiting for the bubbling in the expansion tank to stop
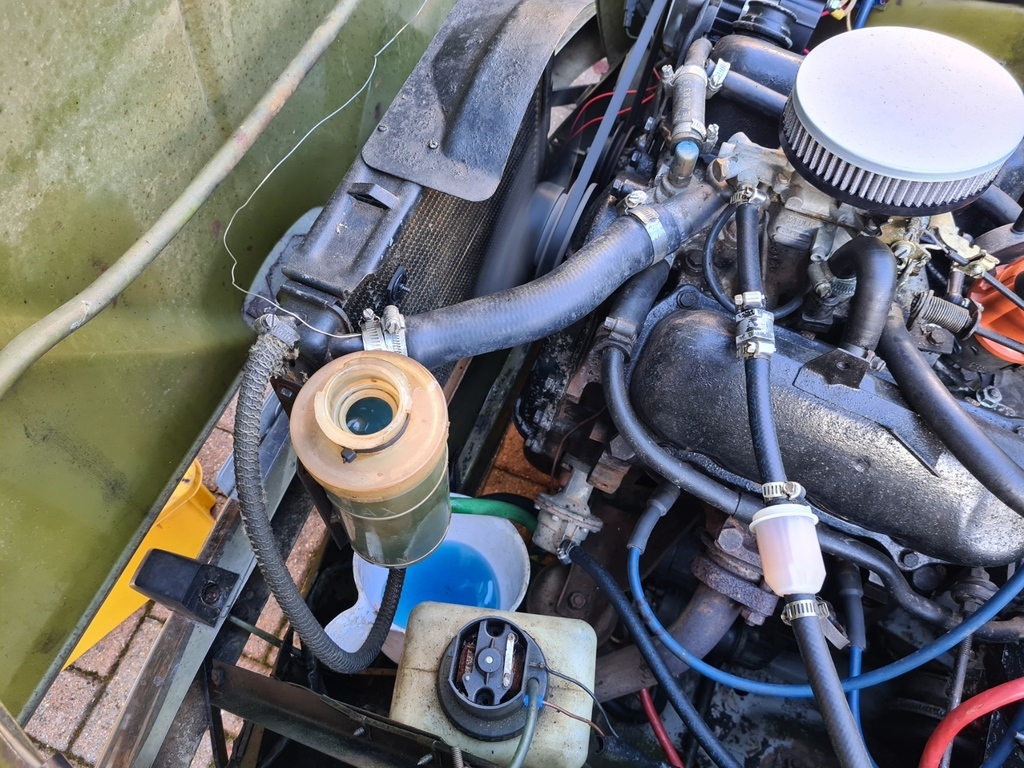
Seemed OK to bleed, air stopped coming through after 20 mins and its only needed one top up after driving since.
One issue I did have was that the top hose leaked, this is where the temp sensor for the electric fan is poked in.
I kept tightening it, and the leak sort of stopped when it warmed up, but came back each time it cooled, in the end I added a second jubilee clip and that has done the trick.
So last bit is to put back the front panel and the grill.
For a while I thought I'd messed up and that it was going to be impossible to get the front panel on without first removing the bonnet, but it did all line up and drop into place in the end.
Picture below with the shiny new bolts replacing the snapped one
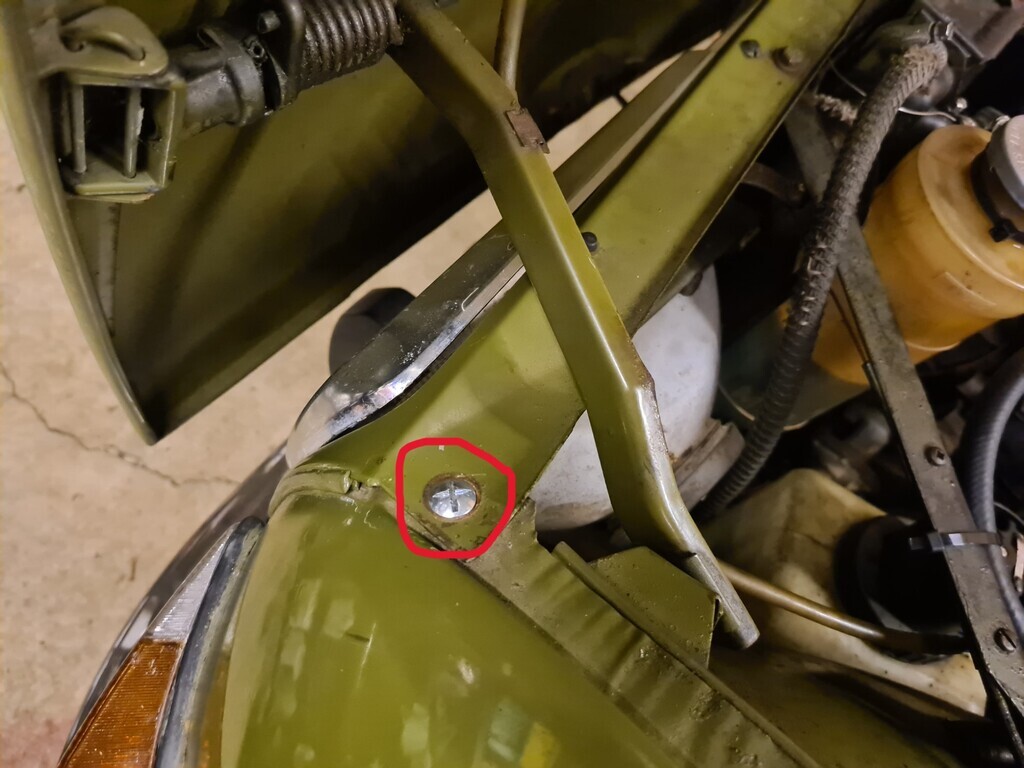
In fact refitting the grill was harder- its metal and in 3 pieces that clip together and then screw to the front panel, but it took me ages to get it all aligned and stable- looks like none of the screws are original and a good few were completely missing. Its all in place now, but something to address some time will be better screws- I'll need to work out what size.
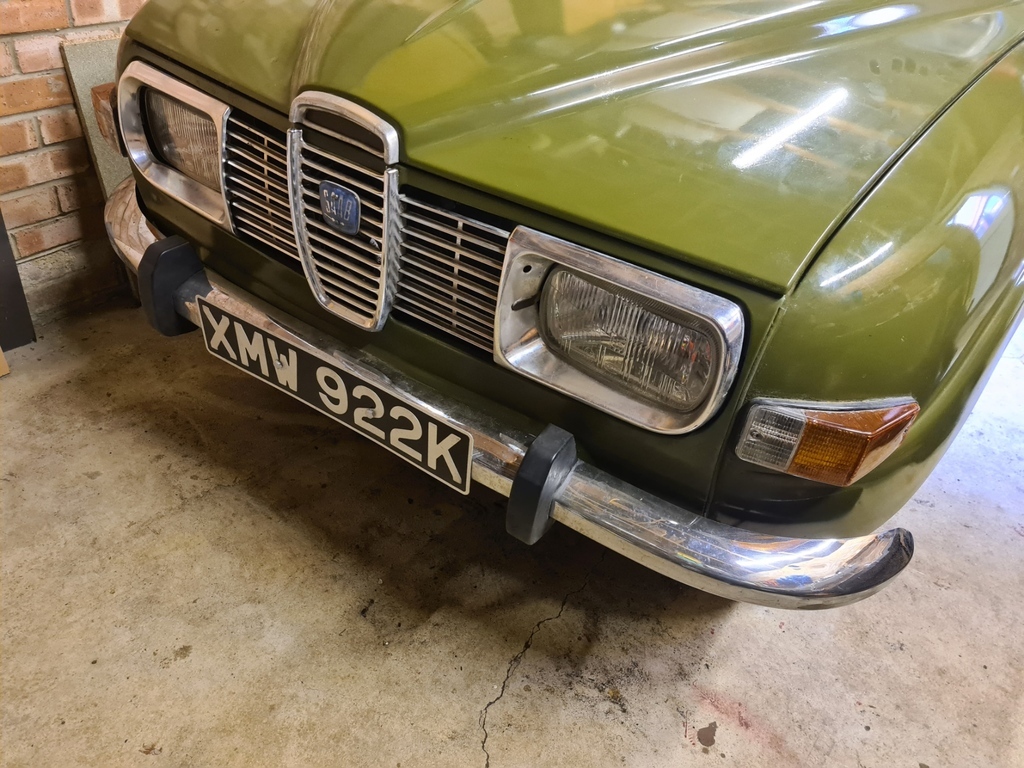
Knowing now that to access the hoses it is easiest to just remove the whole front panel, I would not bother removing the grill next time.
One other thing I did check was the electric fan, it cuts in OK, but googling the make and instructions did not really inspire confidence- it had comments like- direction of airflow can be reversed by swapping the connections- but the fan blades are significantly curved- not symetrical, so I can't see how just spinning it the other way is going to work.
However, upon checking, it does spin in the direction the curve of the blades suggest it should and it does pull air through the radiator OK, so that's good.
So all back together and ready for a test drive:
There were 2 things I wanted to check- does it run cooler and also I wanted to try driving for the first time using the freewheel- so far I have kept it locked, no freewheel, to retain engine braking. But there is an annoying rhythmic ticking sound when I back off the throttle and I wanted to see if it went away when the car was allowed to freewheel on the over-run.
How did it go? Mixed results
It still runs hotter than I would like, after 30 mins or so of driving, especially slower and in lower gears, the temp gauge creeps round towards the red (red is at about 3/4 deflection), each time it reached about 2/3's of the way across I've switched the heater on and it rapidly drops back to the 1/2 mark.
I'll have to ponder some more on that.
I also noticed that the electric fan did not cut in, even when I adjusted the cut in point down to very low, so I might have disturbed the power or perhaps the sensor when I was trying to get that top hose tight- to be investigated.
Allowing freewheeling to happen, the ticking sound does not appear, so I guess that means its coming from the freewheel mechanism (otherwise the ticking happens in any gear on the overrun, seems to be road speed related and stops if I dip the clutch).
So using the freewheel stops that noise, the question is whether that noise is normal or not!
Interestingly when allowing freewheeling I found it harder to change down gears, no engine speed matching to help with that, and having no engine braking is also a bit disconcerting, so overall I do prefer it without the freewheel working- but the question of the ticking remains.
So overall the running hot needs some more work and I need to find out if a ticking freewheel is normal!
Thanks for reading.
Nigel
