|
|
|
Oct 24, 2022 20:35:23 GMT
|
|
I've been reading here for a couple of years, but haven't registered before yesterday. Quick info about me: 38 years old, living in Sweden and been in to cars and motorcycles my whole life. Bought my first car when I was 12 and crashed it in to a woodpile shortly thereafter, apparently brakes is good to have..
I have always rented garages but decided to build a garage on my property 2-3 years ago to be able to spend more time at home. Working alot and spending the rest of my time from home took its toll.
My plan is to write a little bit about the garage build itself and different small builds related to making life when working there a bit more enjoyable, storage and so on.
I hope this I correct or maybe it should be in Readers other modifications section?
Time for sleep, will continue tomorrow.
Regards,
David
|
| |
|
|
|
|
|
|
|
|
|
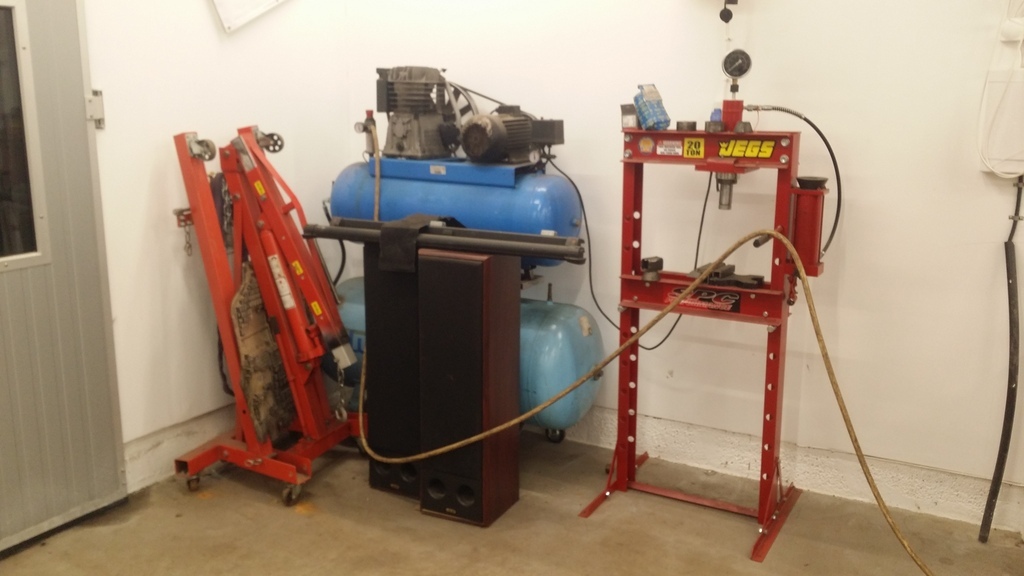 It felt like the corner were I had my aircompressor could be used a little bit better. 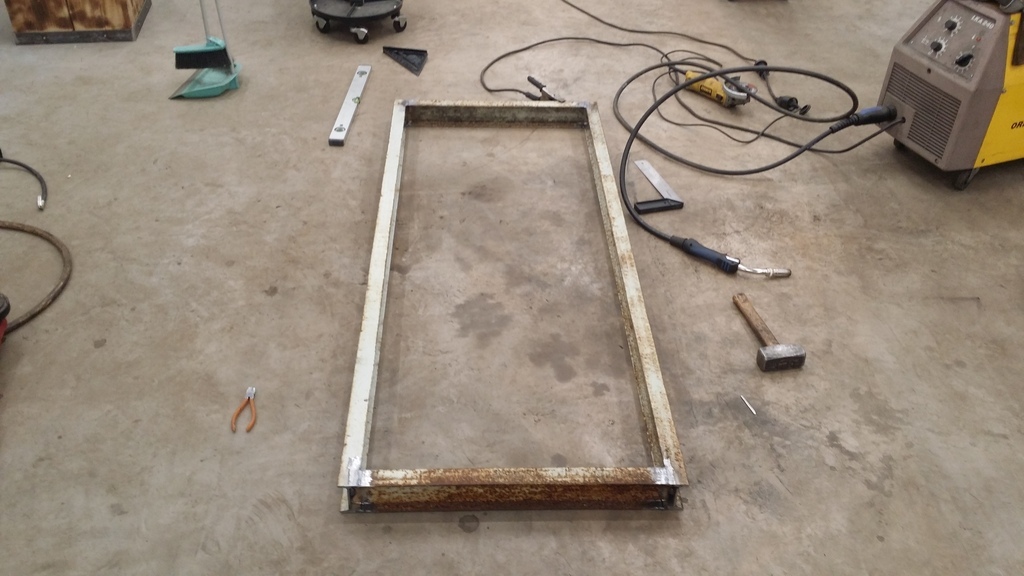 I had some I-beams lying from a old pallet racking that I welded together into a frame. 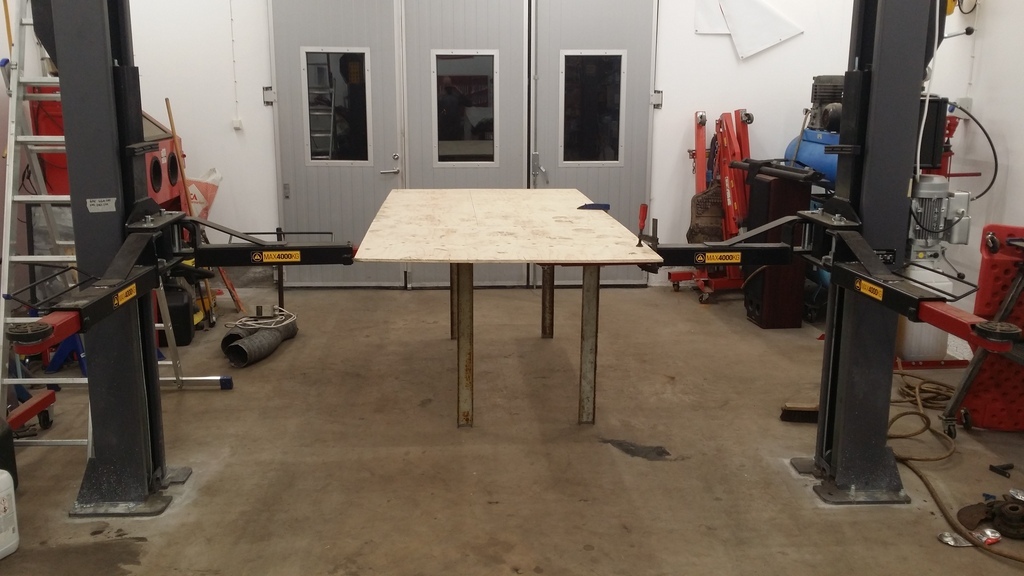 Welded on some legs and started to cut the tabletop. The lift is of good use to alot of different things. 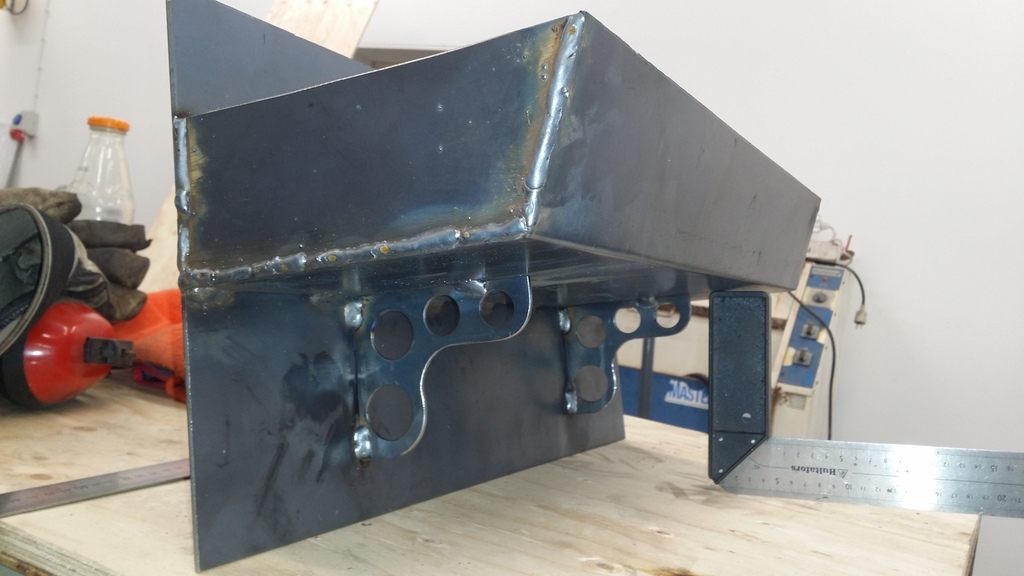 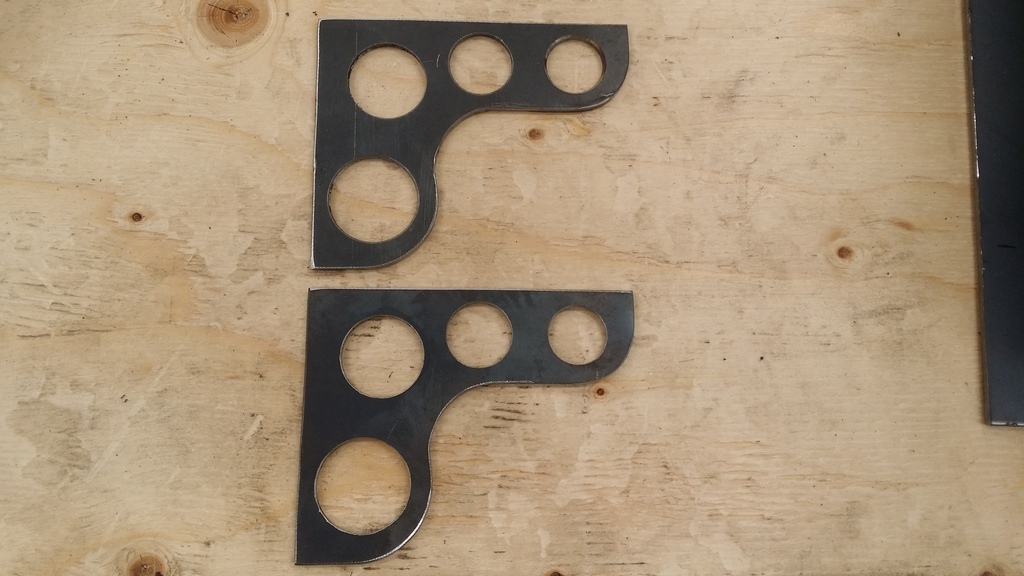 Since i have my press next to the table i welded up a tray to keep the small stuff for the press close by. 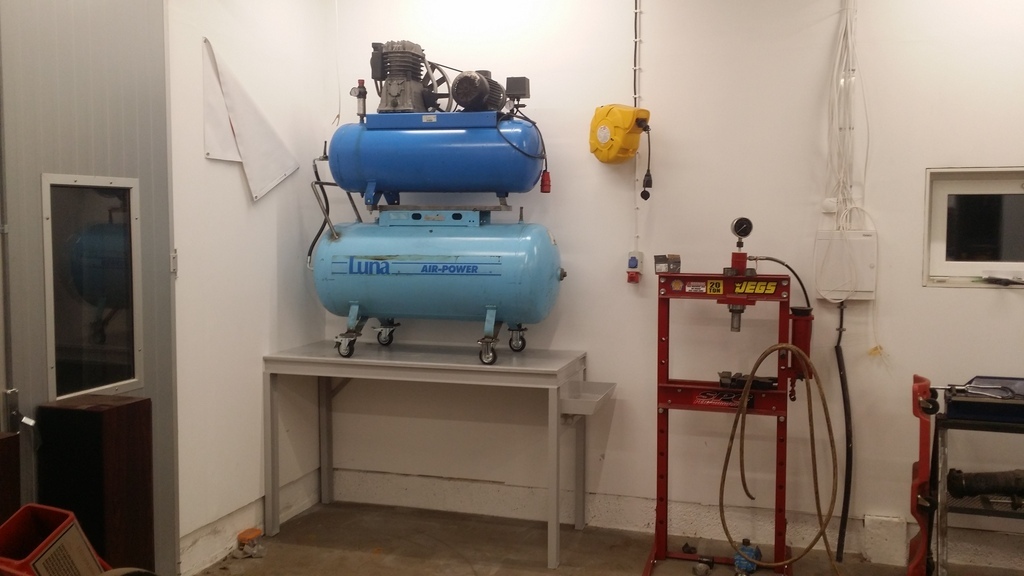 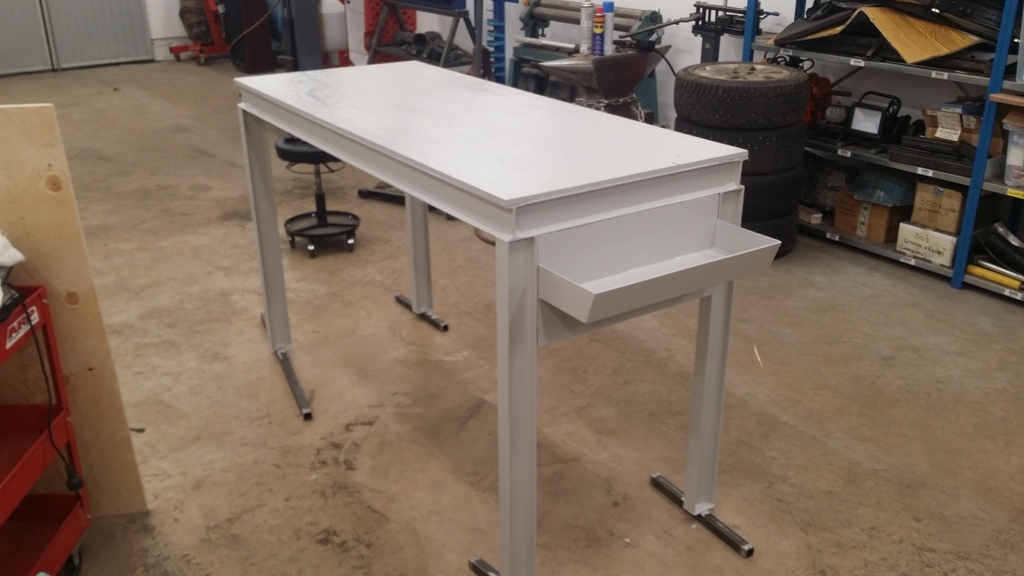 Painted and in place. The compressor is out of the way and I have more place for storage of oil and currently there is also two engine blocks.. /David |
| |
|
|
|
|
|
Oct 30, 2022 10:49:39 GMT
|
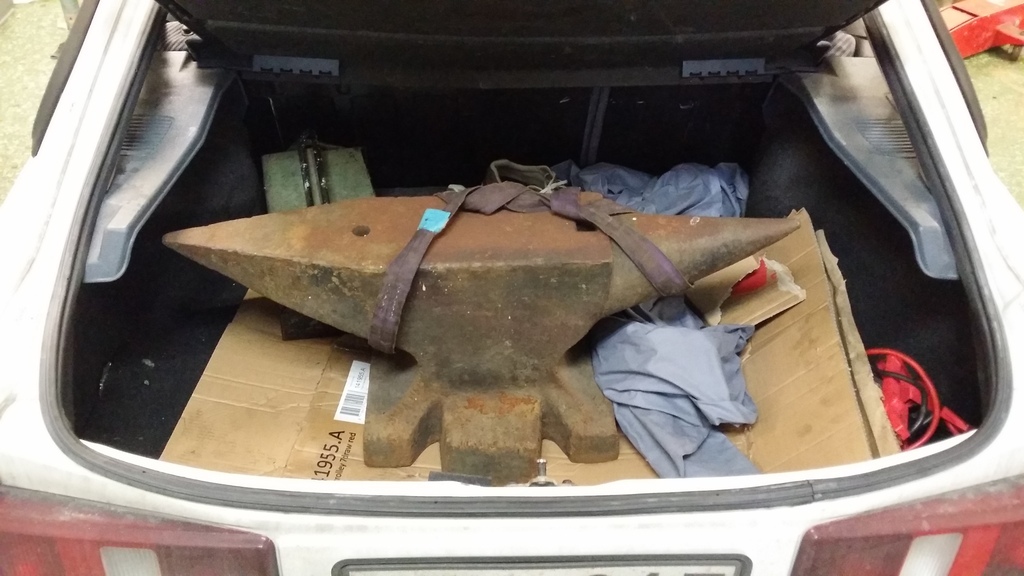 I got an 120 kg anvil that was supposed to be thrown away at work. Drove it home in my Sierra I had at the time. I think it was Sierra nr. 13 or 14 for me  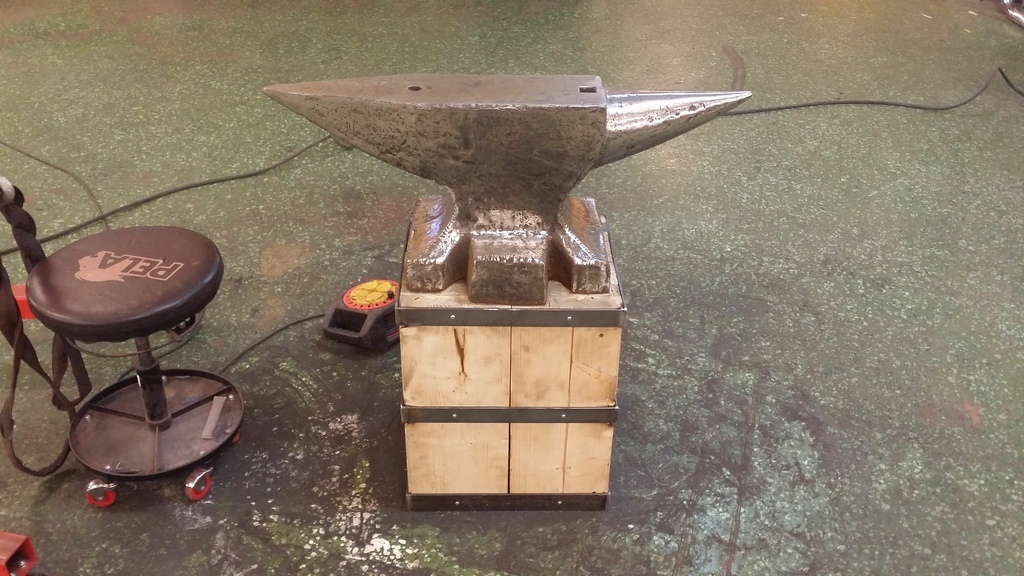 To get it up to a good working height I built a stand out of wood and some welded flatbar to keep it together. 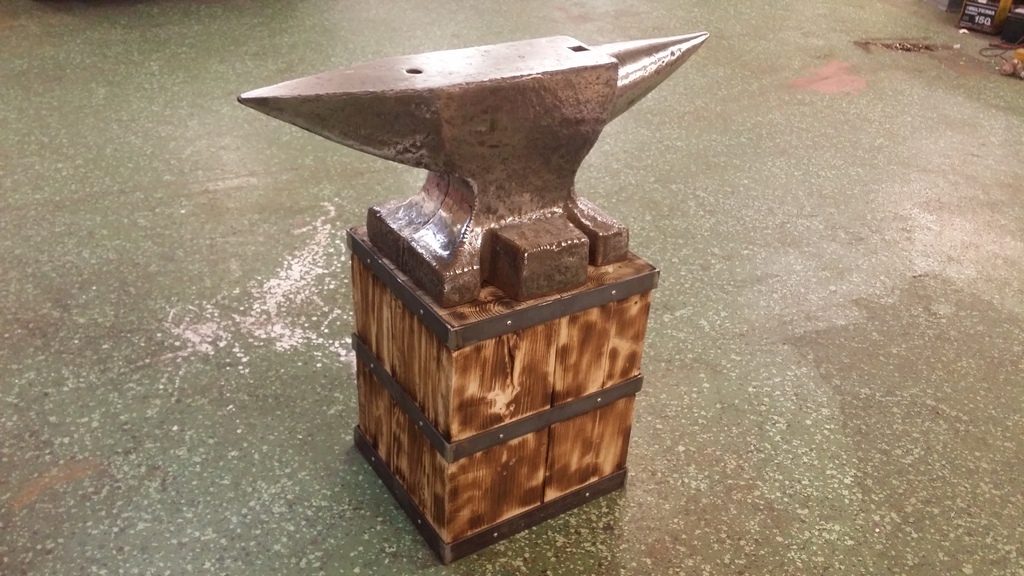 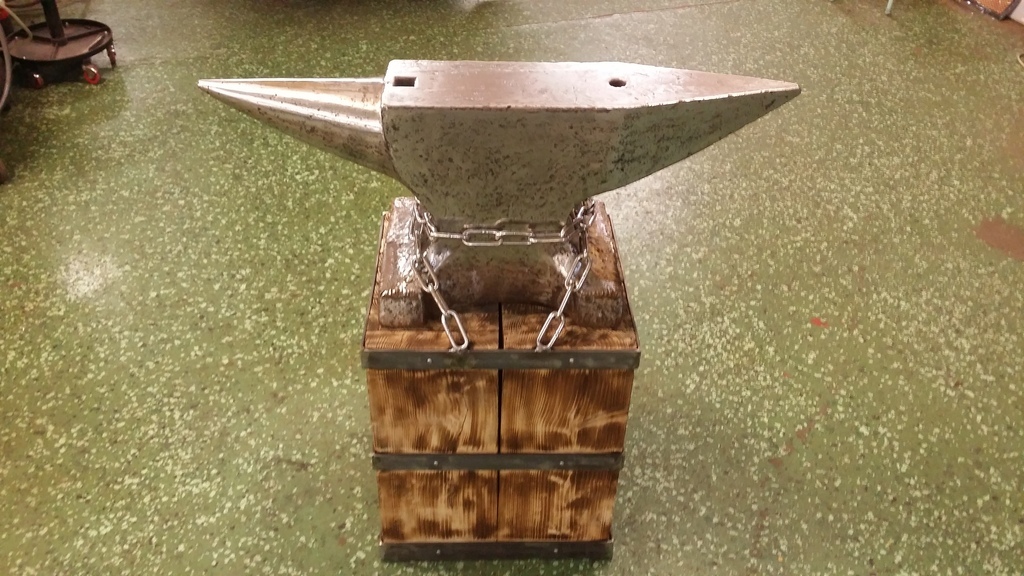 Burned the wood with the torch, brushed it with a wire brush and welded a chain as a means to keep it tied to the base. It was a fun small project and I have had good use for it when working with sheet metal. /David |
| |
|
|
|
|
|
|
|
|
Welcome David.
Liking what you created so far.
And the anvil is a genius piece of art and function all in one.
|
| |
|
|
|
|
|
Oct 31, 2022 20:34:35 GMT
|
|
Thank you very much Grizz, I appreciate it.
Regards,
David
|
| |
|
|
bstardchild
Club Retro Rides Member
Posts: 14,969
Club RR Member Number: 71
Member is Online
|
Davids Garage and projectsbstardchild
@bstardchild
Club Retro Rides Member 71
|
Oct 31, 2022 20:40:24 GMT
|
|
Enjoying this too - that anvil looks a beast!!!
|
| |
|
|
|
|
|
|
|
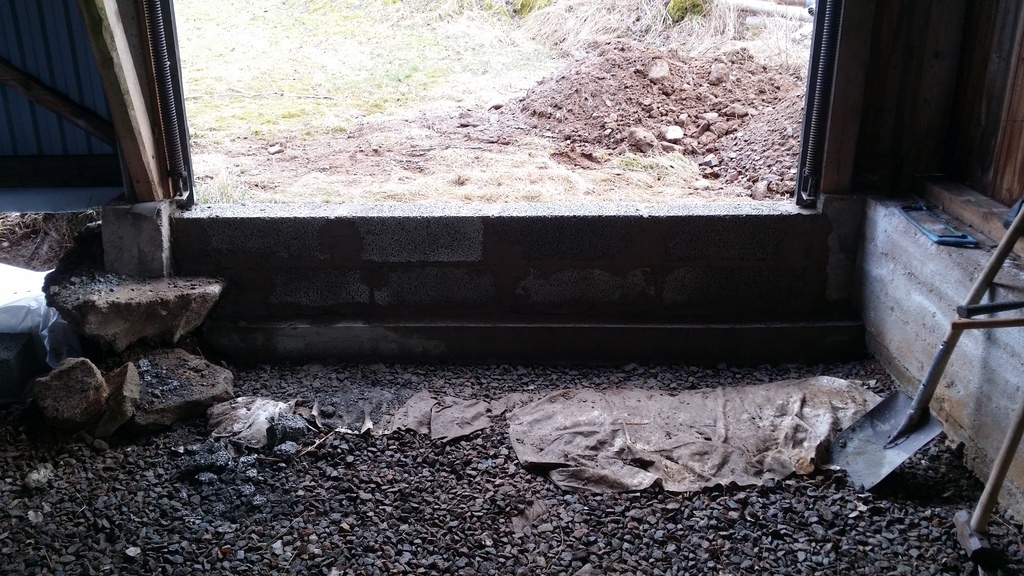
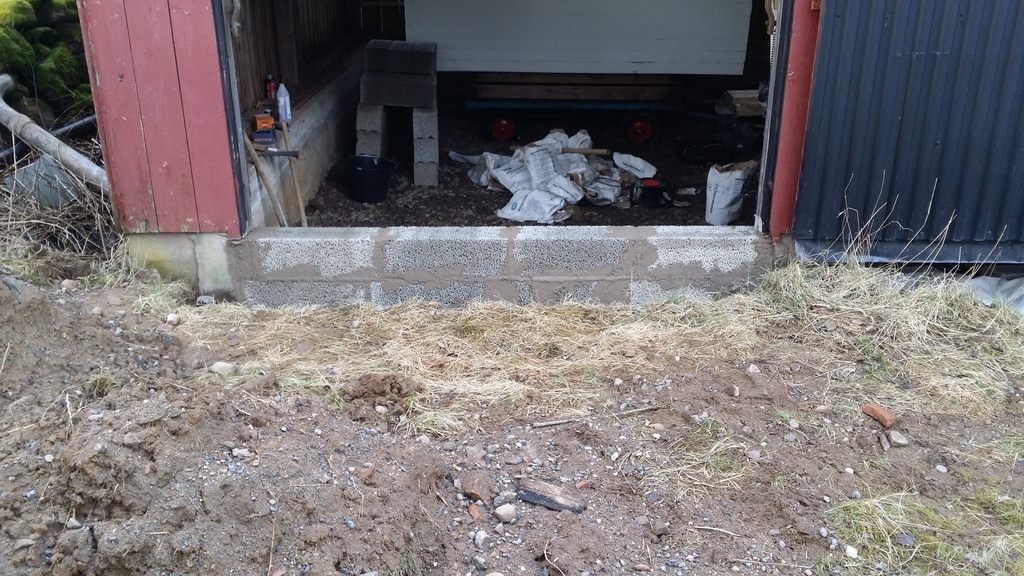
I think i just need to start posting about the garage itself, otherwise it won't happen.. I bought this house 8-9 years ago, the house is small but there was a outhouse that would make a decent garage so I bought it. The plan was always to start with the garage first, and I did. It only had a dirt floor so the first thing I did was to hire a guy to lower the floor about 500 mm to be able to pour a concrete floor and still be able to install a lift. The digging was done, and some material was bought... and then I thought it was to small and didn't sound like a good idea anymore so I did nothing more. For a couple of years. 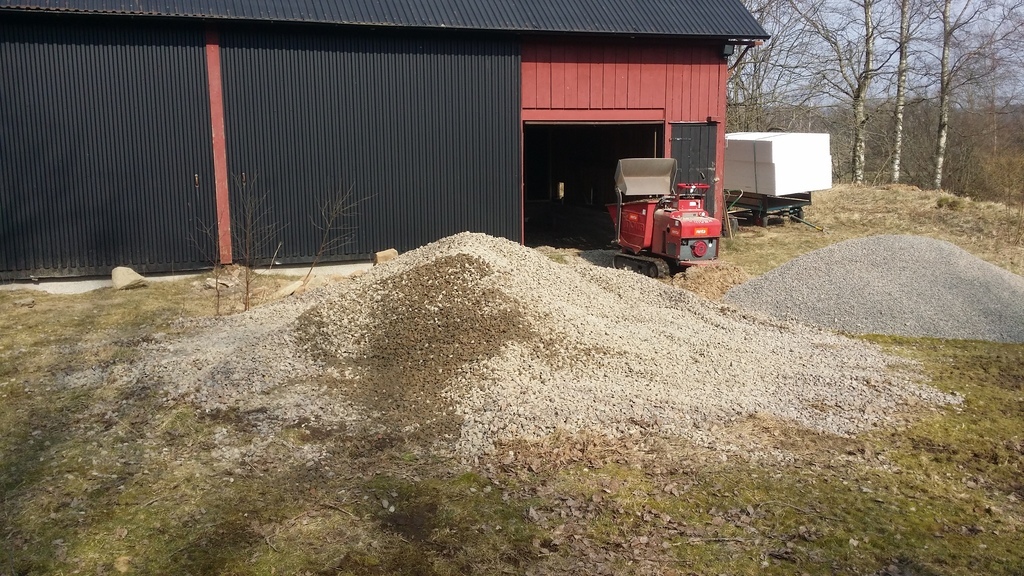 I realise now that I don't have any good pictures from the outside before I started. The internal length and width is 14,4 x 6 meters, making it 86 square meters. Originally all the openings was at the "front side", from where the picture is taken. The picture only shows half of the length. Starting from the left there was an old garagedoor, two bigger sliding doors, again a small garagedoor and next to that a small door. Almost the entire length consisted of openings. Some things happened in my life and I was at a point were I needed to make some changes to keep my sanity and to not spend all my time away from home. So maybe it now was time to make something out of this? Now it's time for sleep again.. Regards, David |
| |
|
|
|
|
|
|
|
|
|
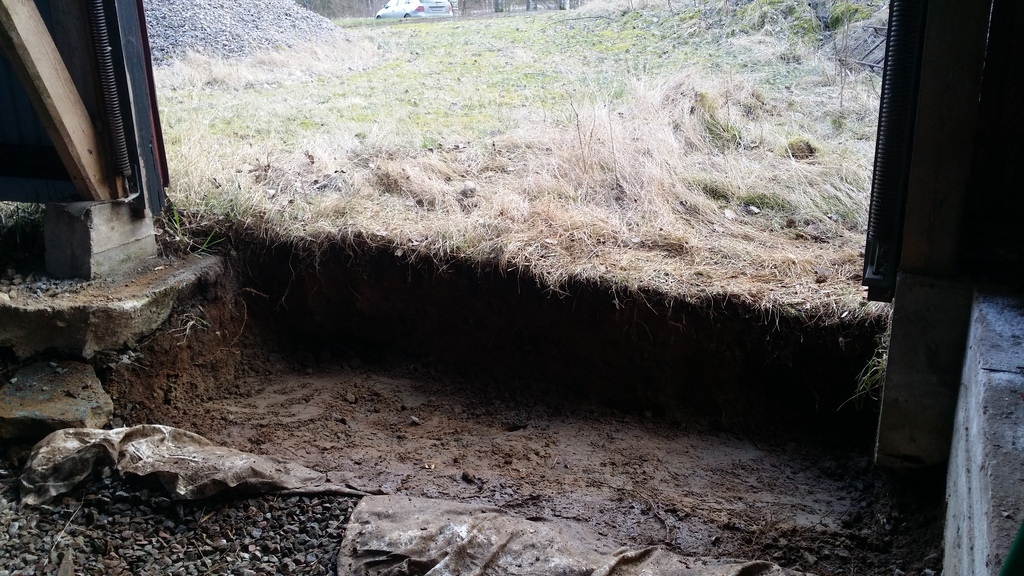
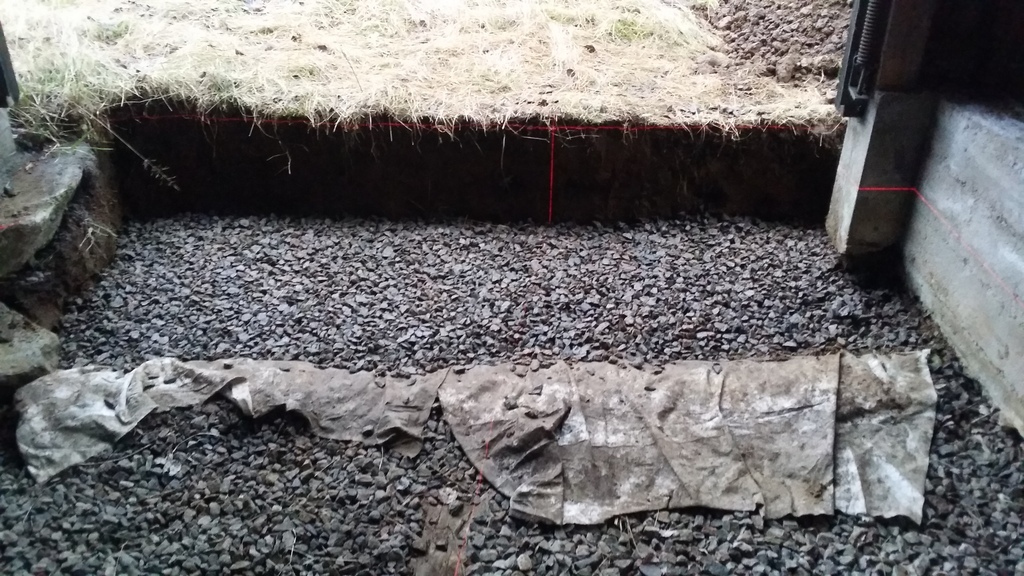
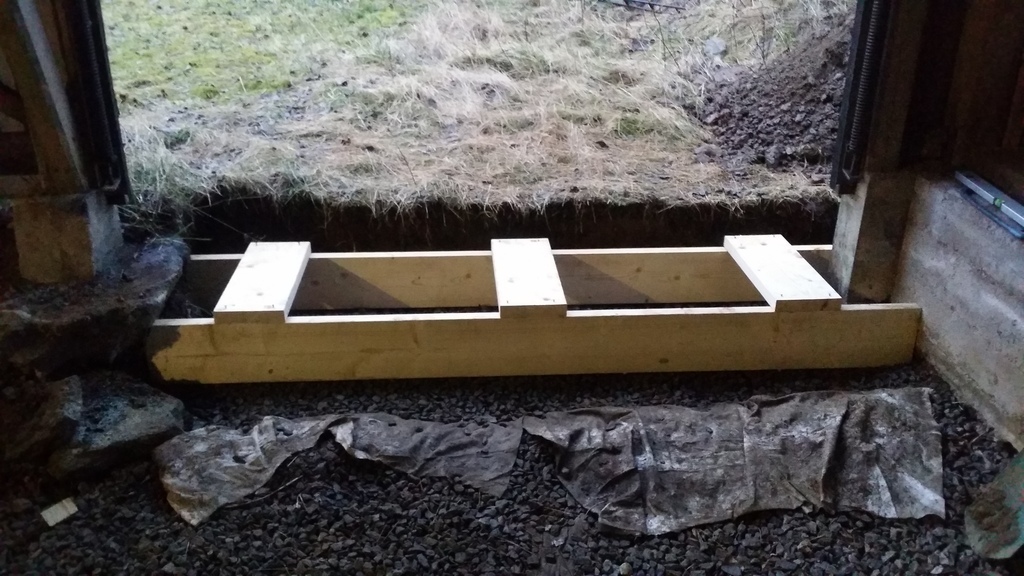
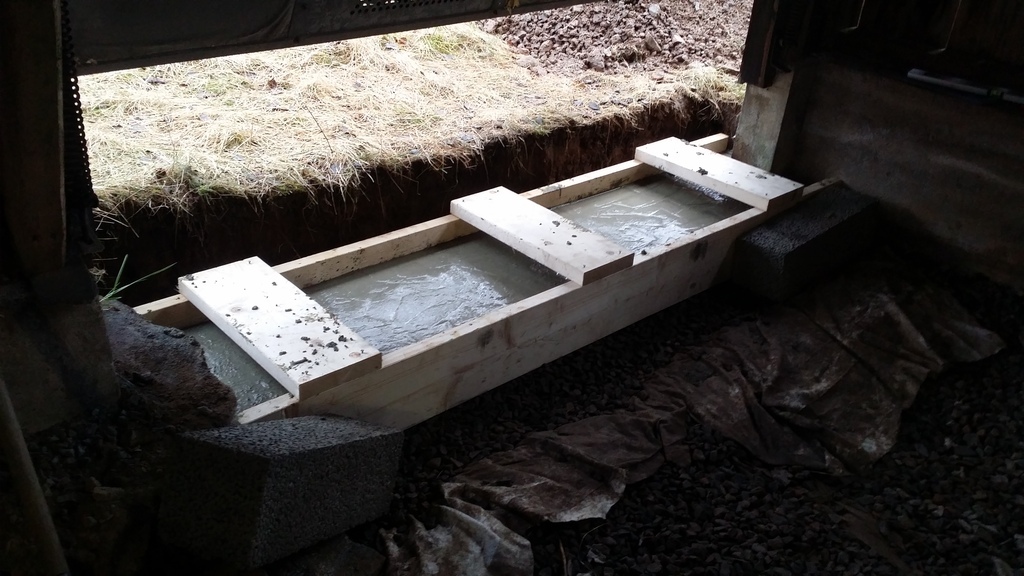
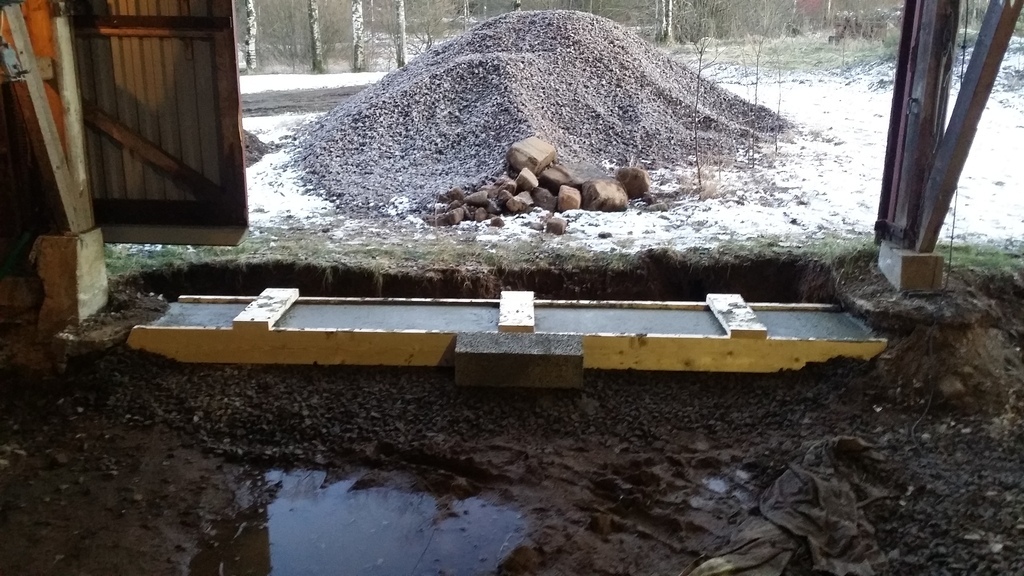
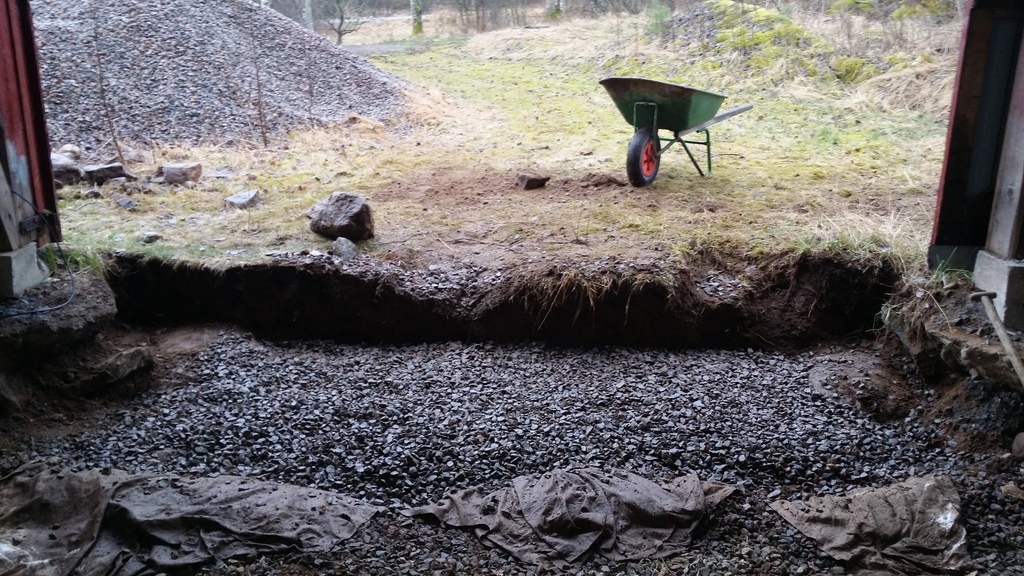
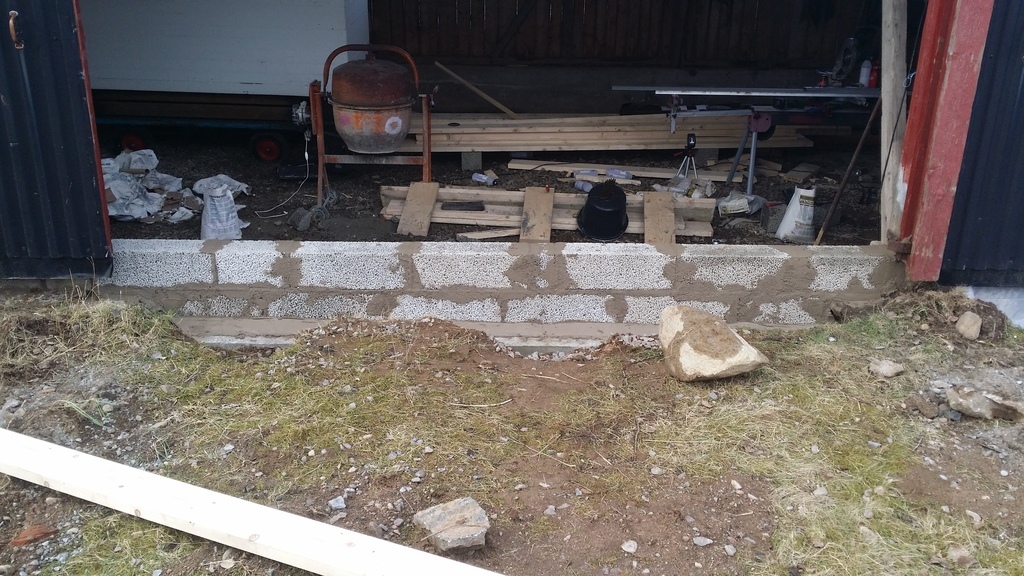
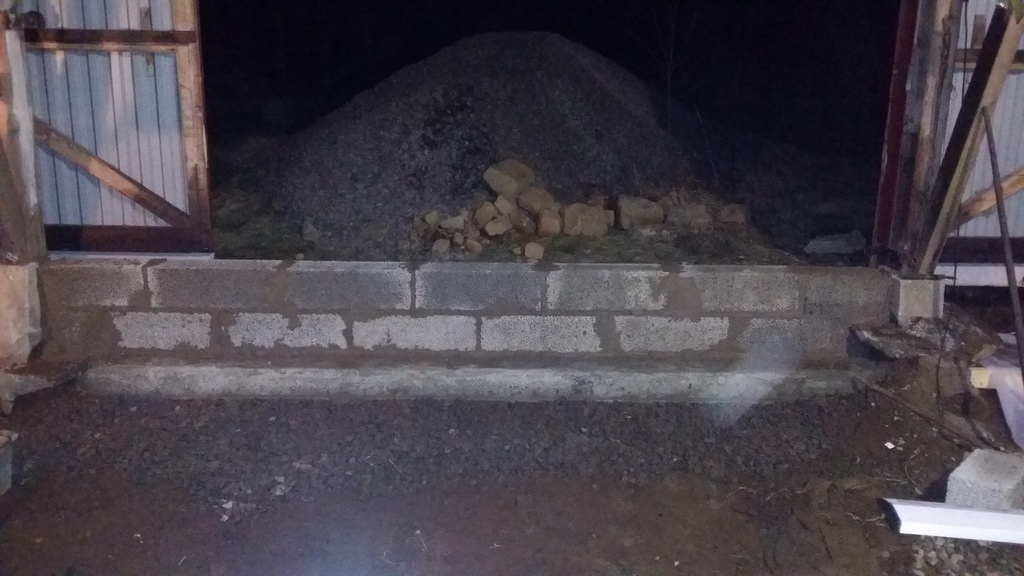
After that I started a little bit with the walls, basically because I didn't know how to proceed with the floor. Before this I had basically never built something other then cars and motorcycles. 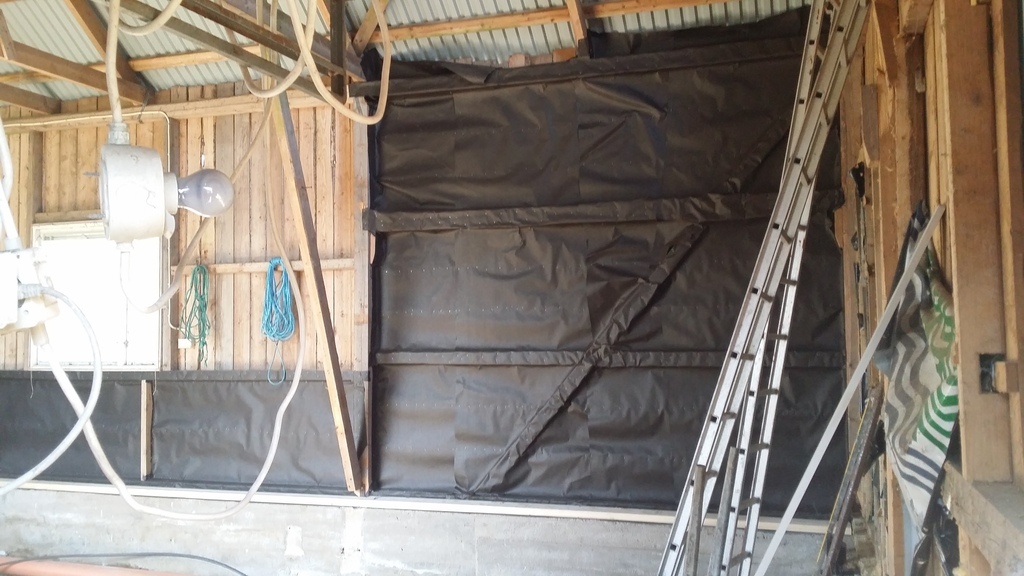 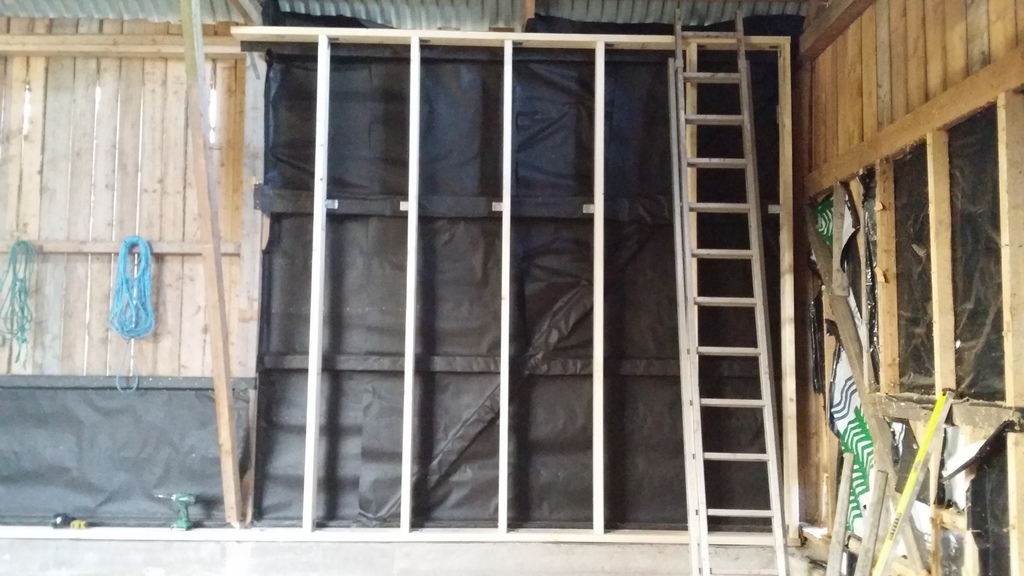 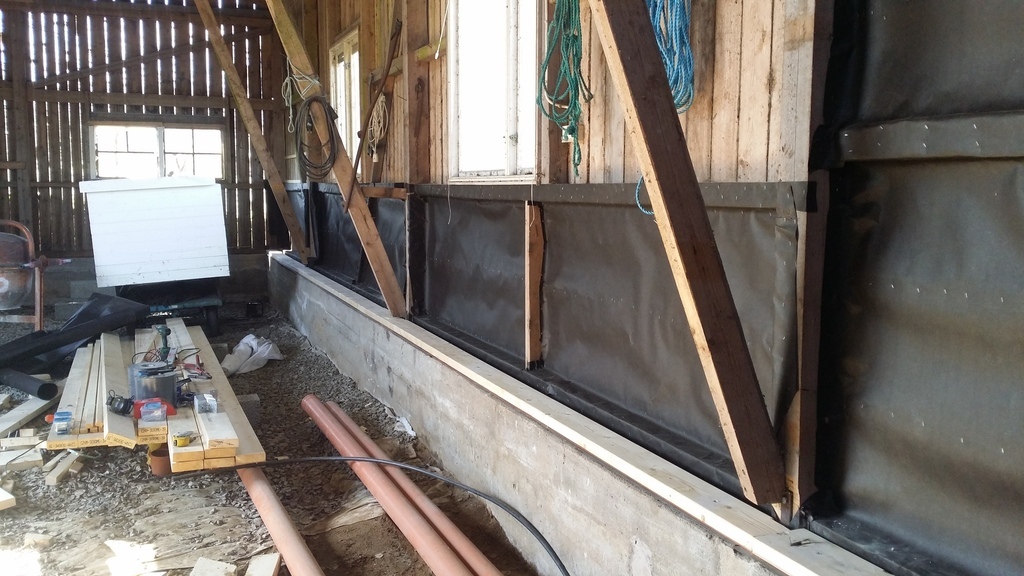 Put up some windbarrier and started with some framing. At this point I had learned what I needed to do with the flooring and have gotten all the material that I needed for it. 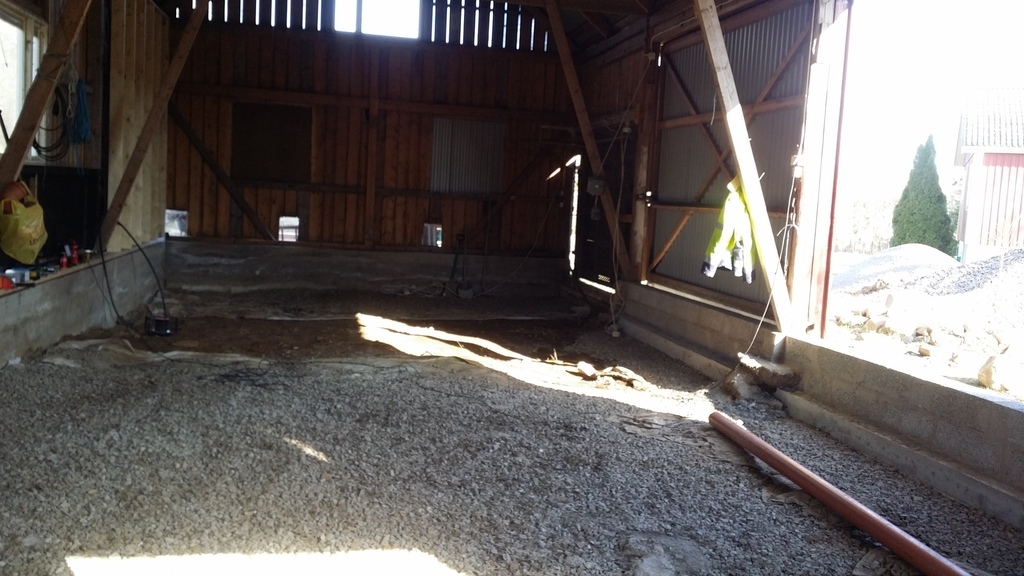 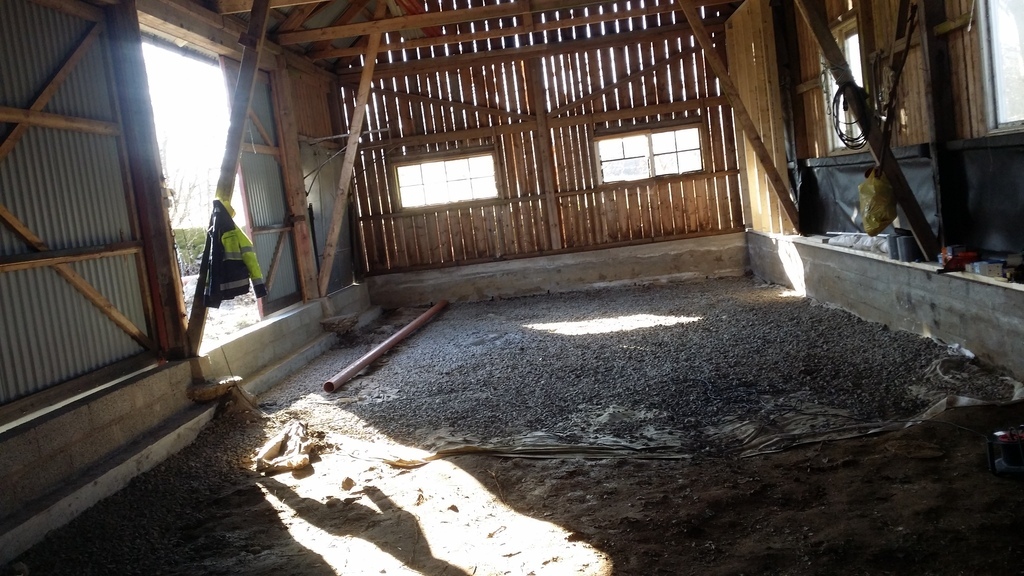 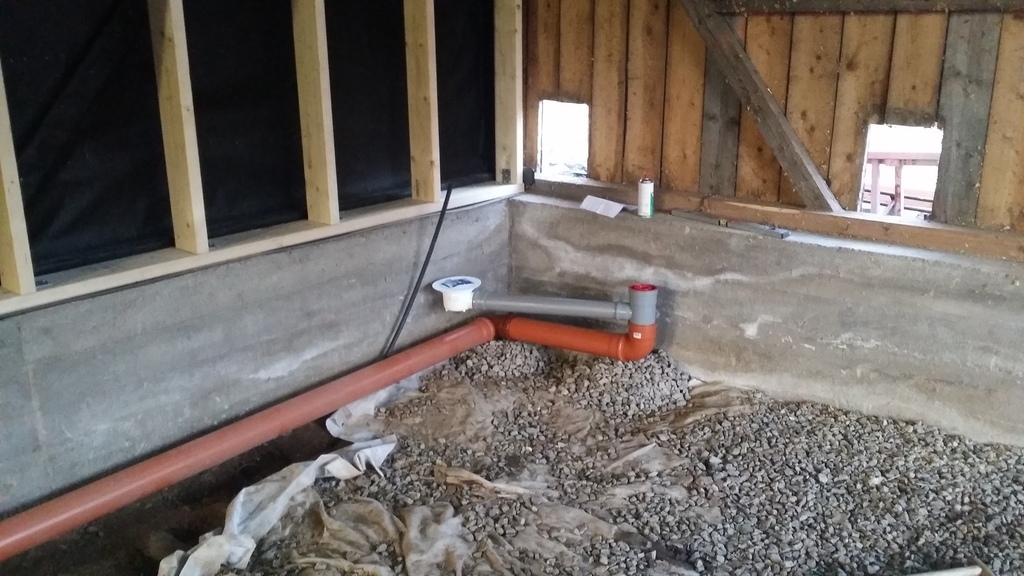 Put in more macadam. Started out with a wheelbarrow, but soon realised that 25 tons would take a while to get in place.. 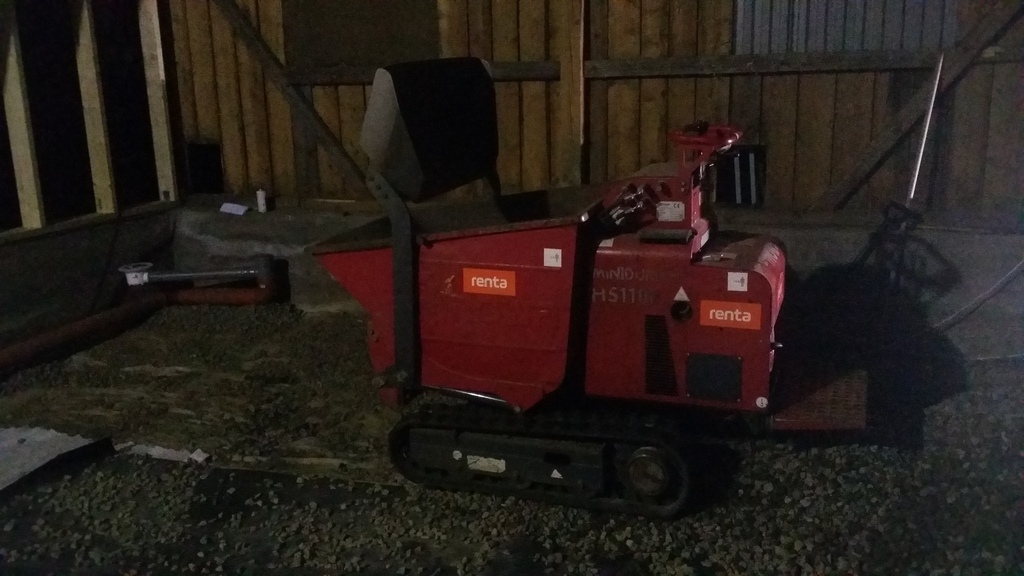 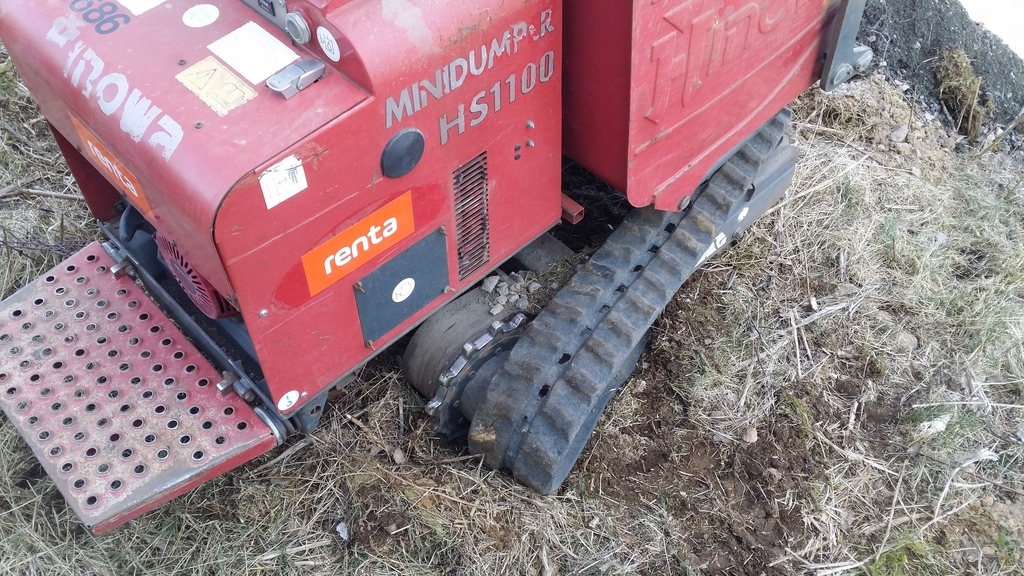 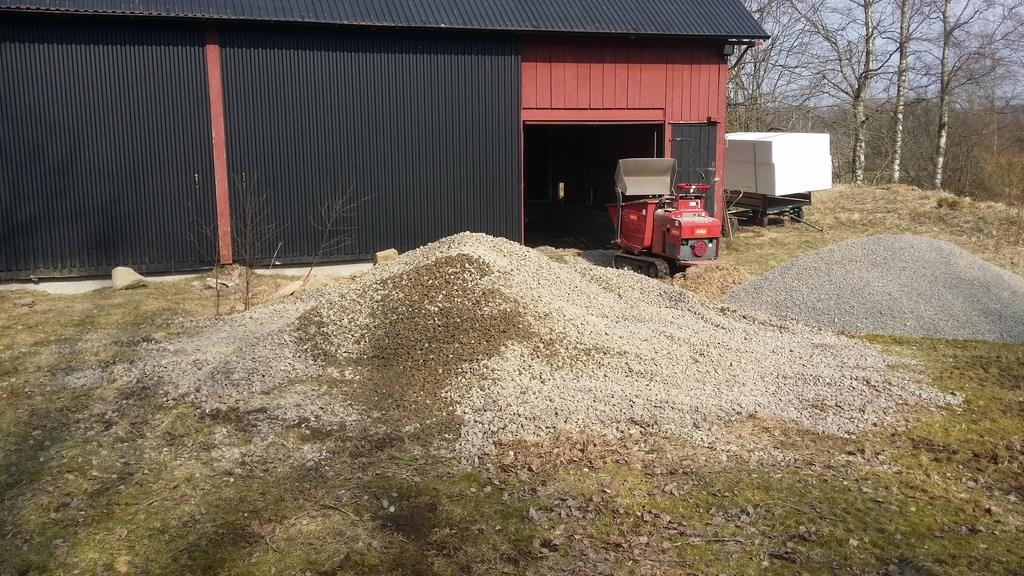 Rented a self-loading mini dumper. Was very good and fun to use. Until I lost one of the tracks... Was quite tricky to get back in place.. 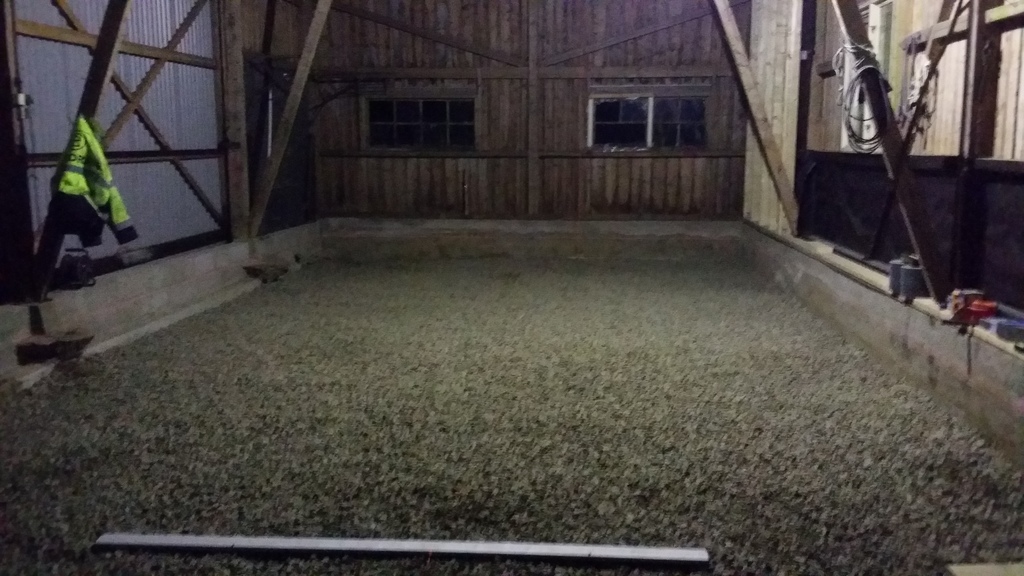 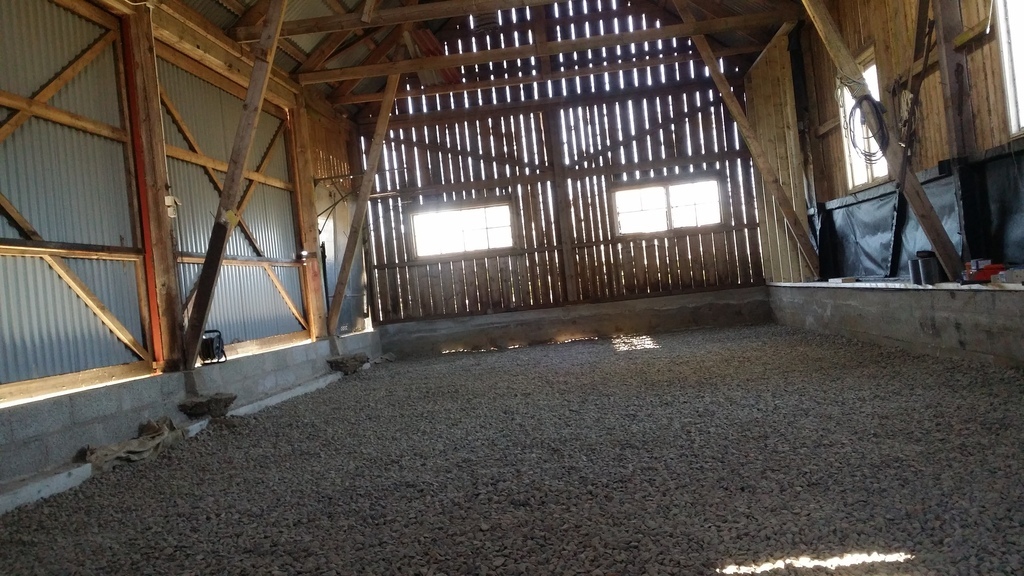 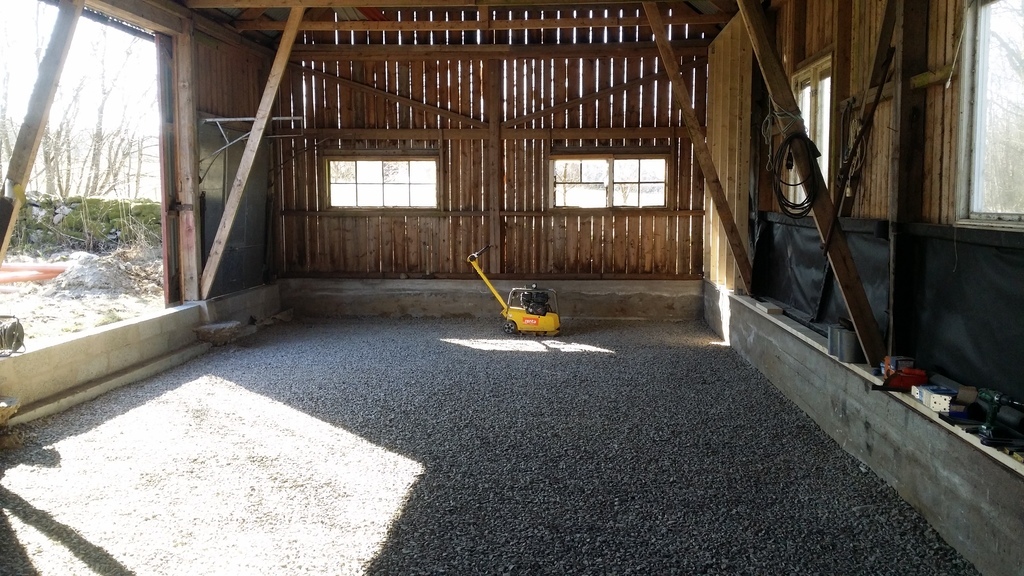 Everything is in and I started to levell it and the compacting it. Used my cheap laser leveller and a stick with I marked at the height I wanted the flor to be and then just measured everywhere and filled up or took away material where needed. This worked out very well. 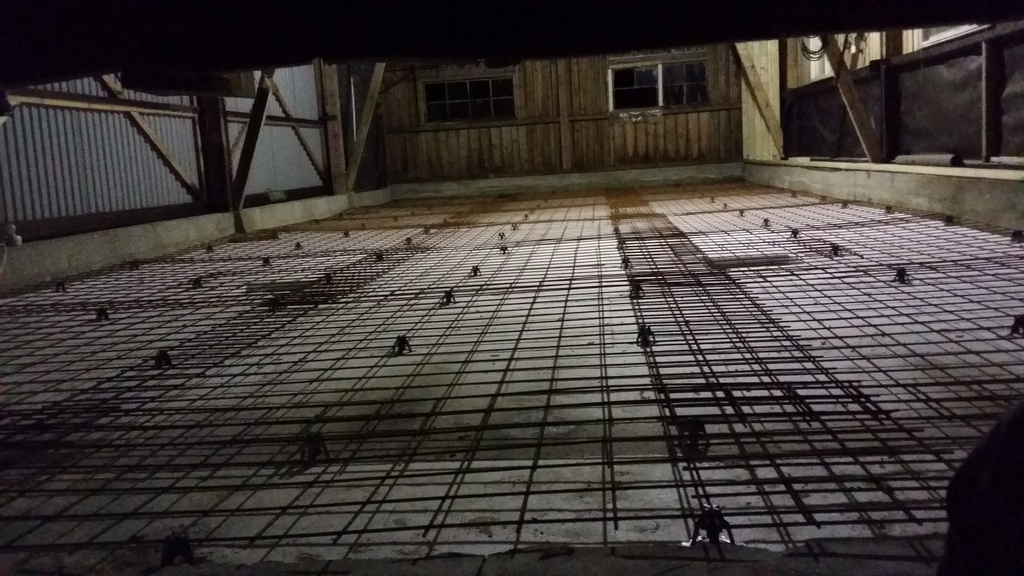 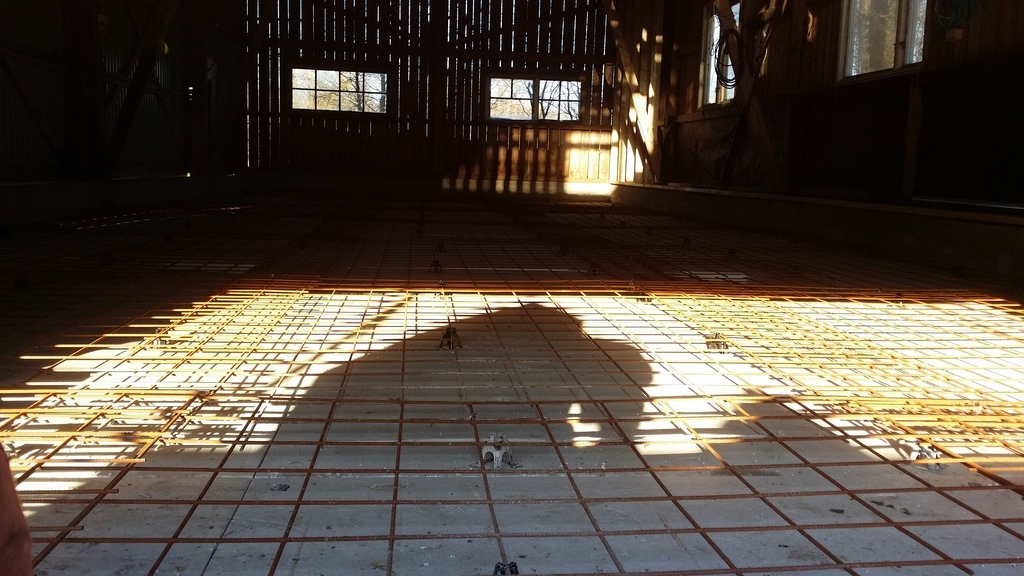 Then I laid out the insulation, 200 mm thickness and then the reinforcement, rebar? Added extra reinforcement and dug-out for where the lift would be placed so that the concrete is thicker there. Up until this point I had done everything myself, but since you only get one chance with the floor I hired a company for the pouring and levelling. Regards, David |
| |
|
|
|
|
|
|
|
Shortly after that was done it was time to pour the concrete. 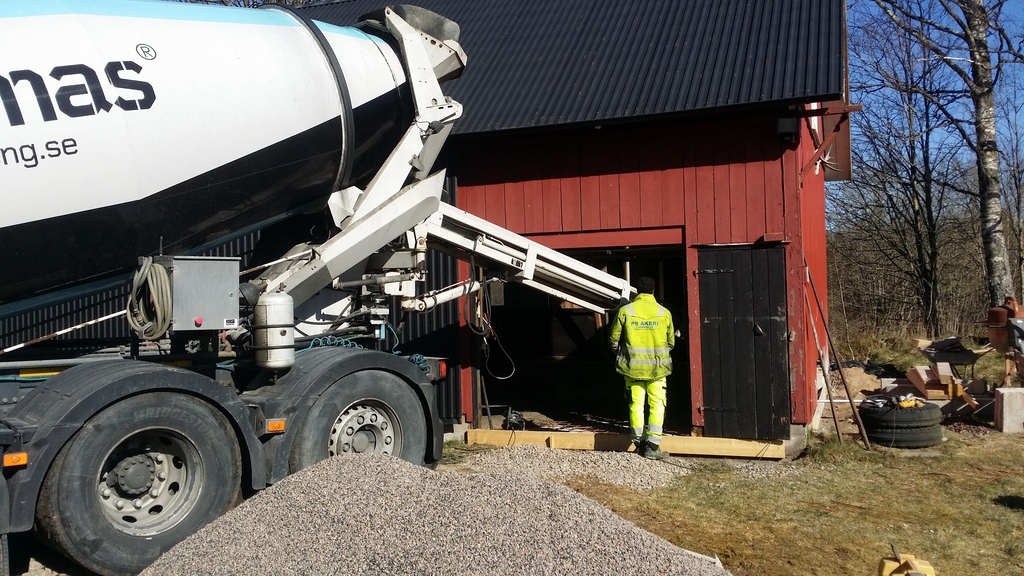 First truck arrived and we are on the way! 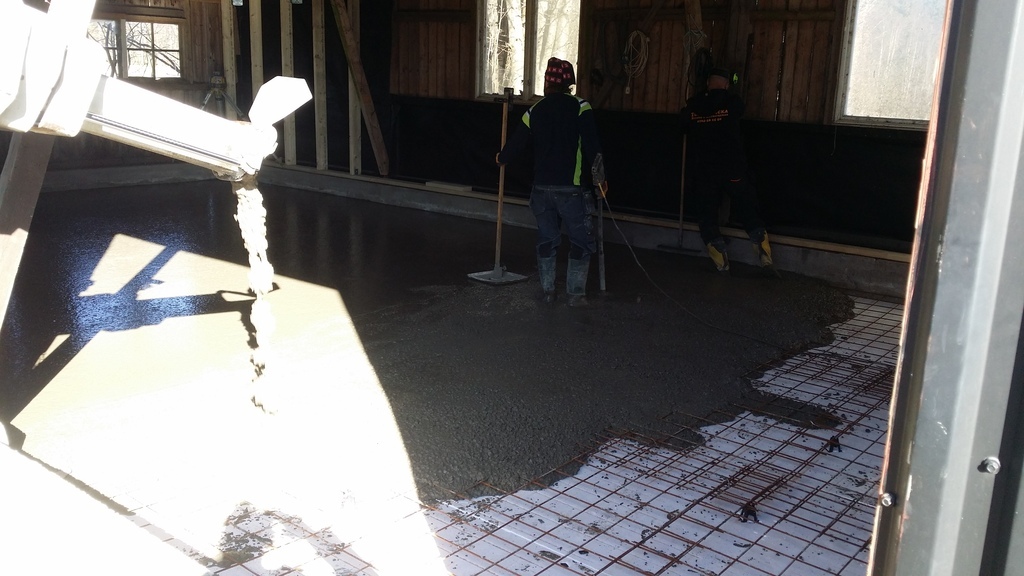 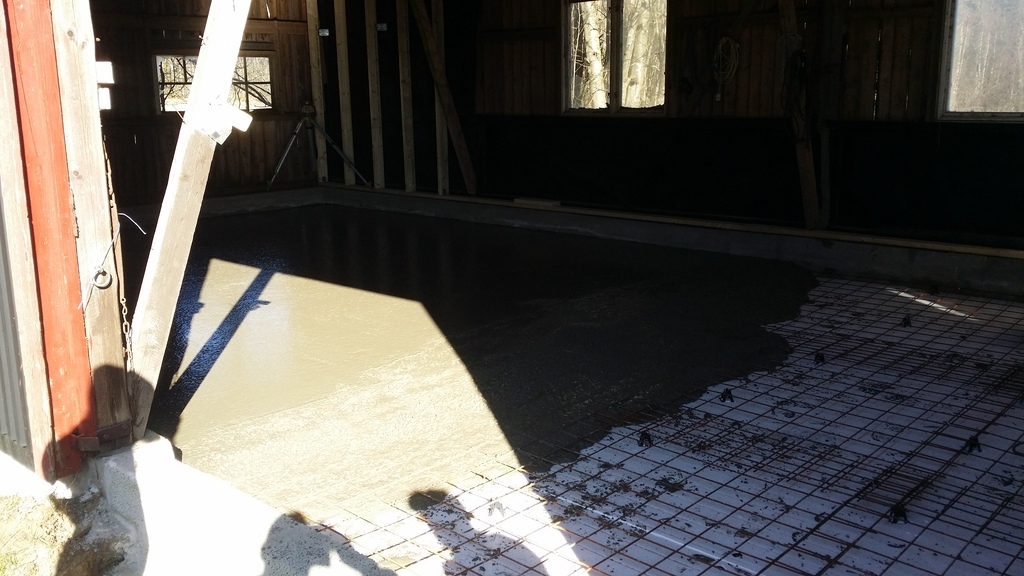 Pouring and pouring. 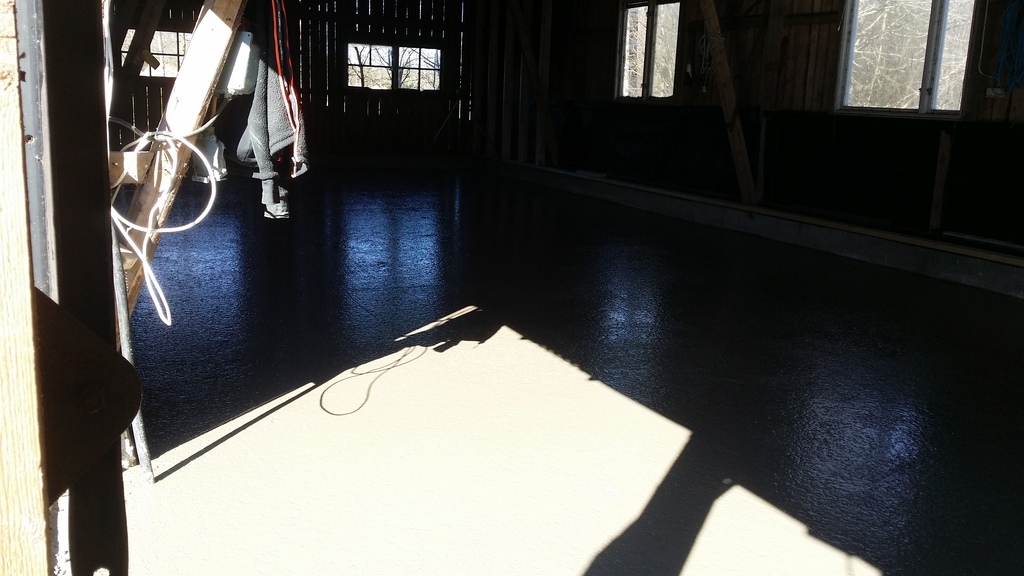 Everything is in and smoothed out. 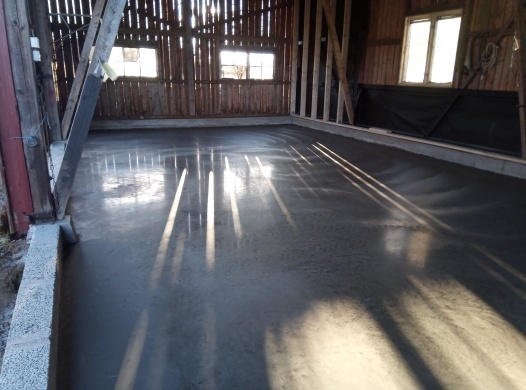 A couple of hours later it is polished. 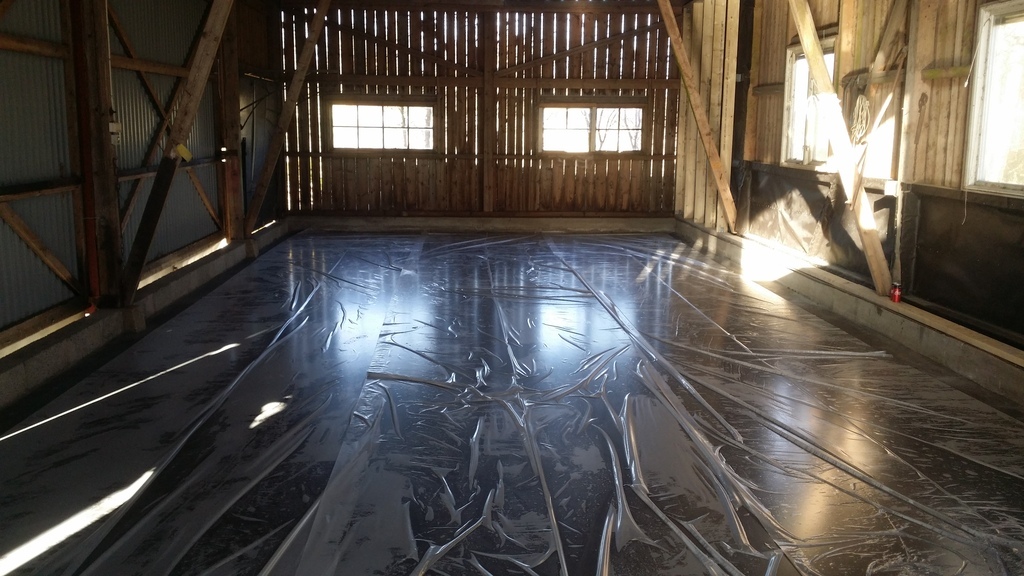 And then it was covered with plastic to keep the moisture a bit longer during the drying process. I must say that I was super happy with the finish! I have no regrets paying for that part of the build. 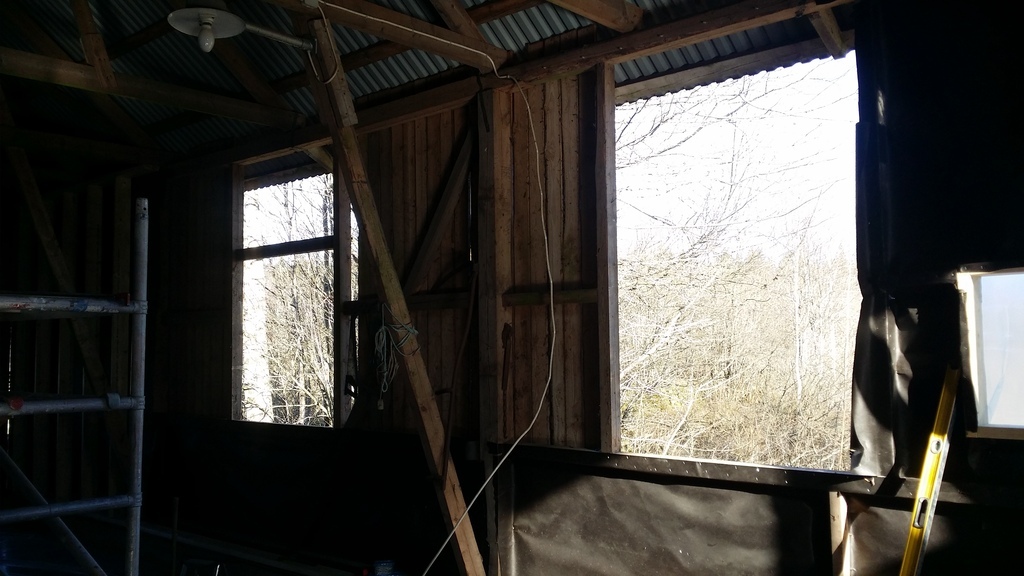 Took out the old mismatched windows. 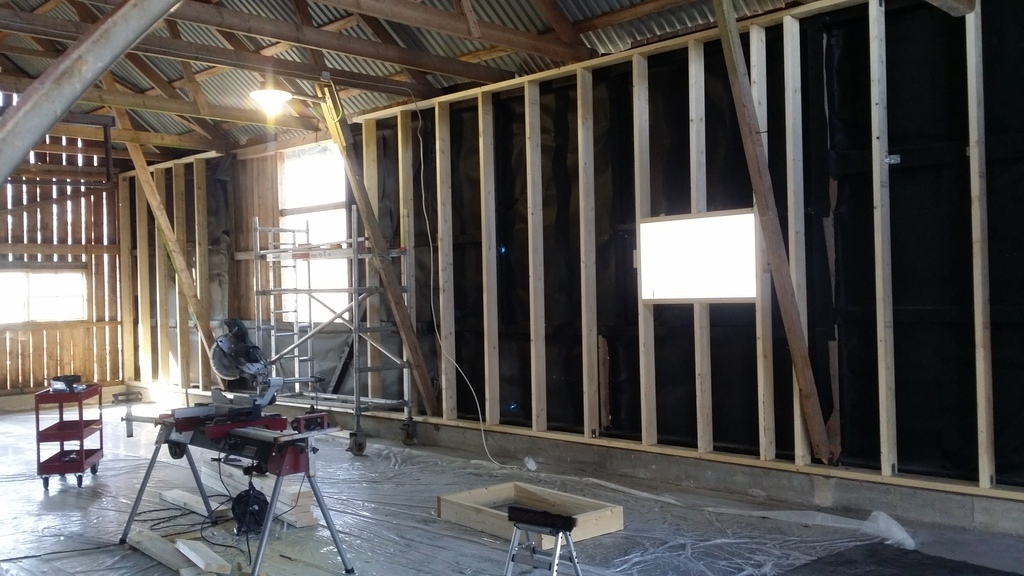 Continued with the framing. 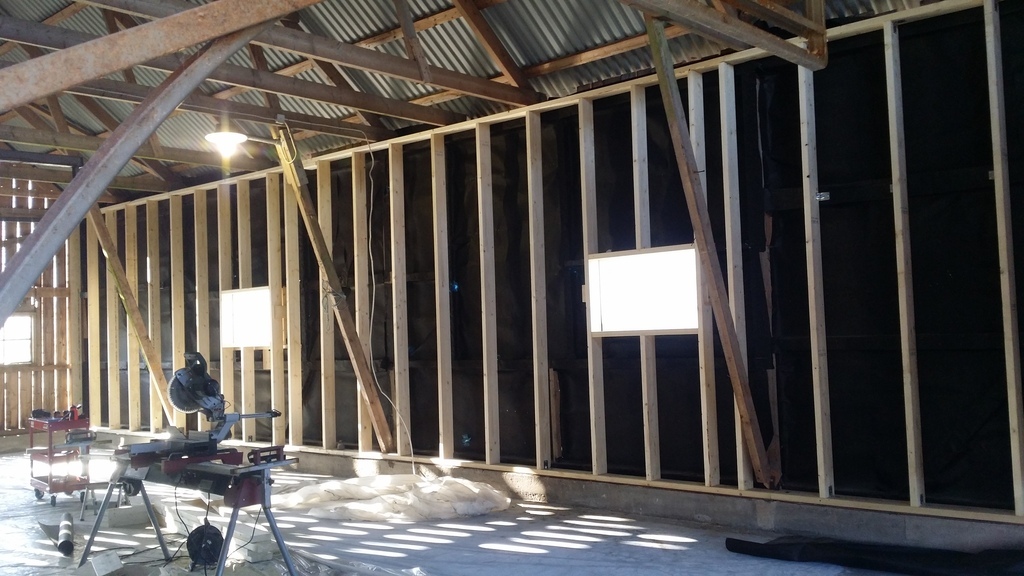 The framing for the other window done so I continued with the wall. 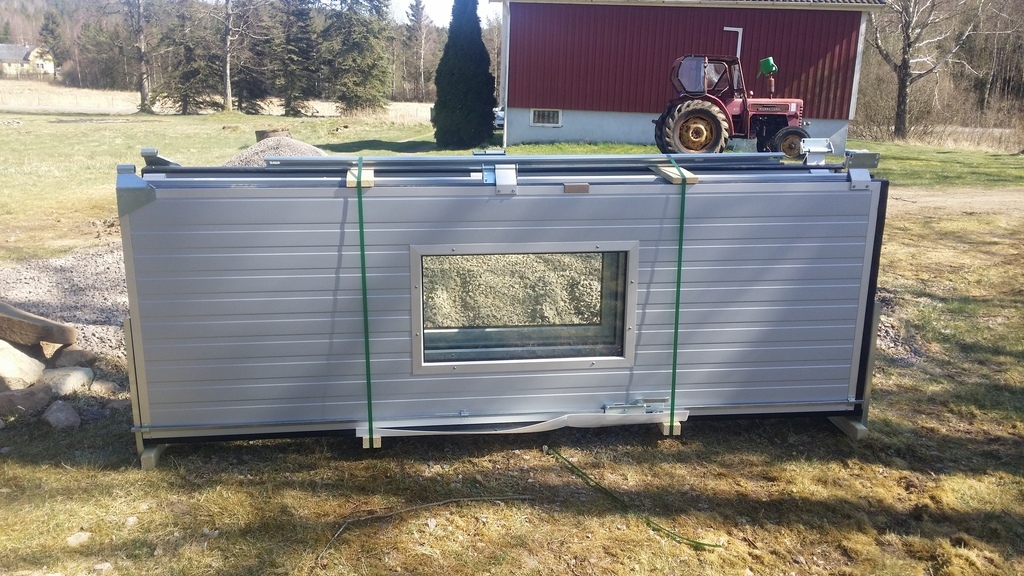 The new door arrived. It measures 3 x 3 meters. If I remember correctly. 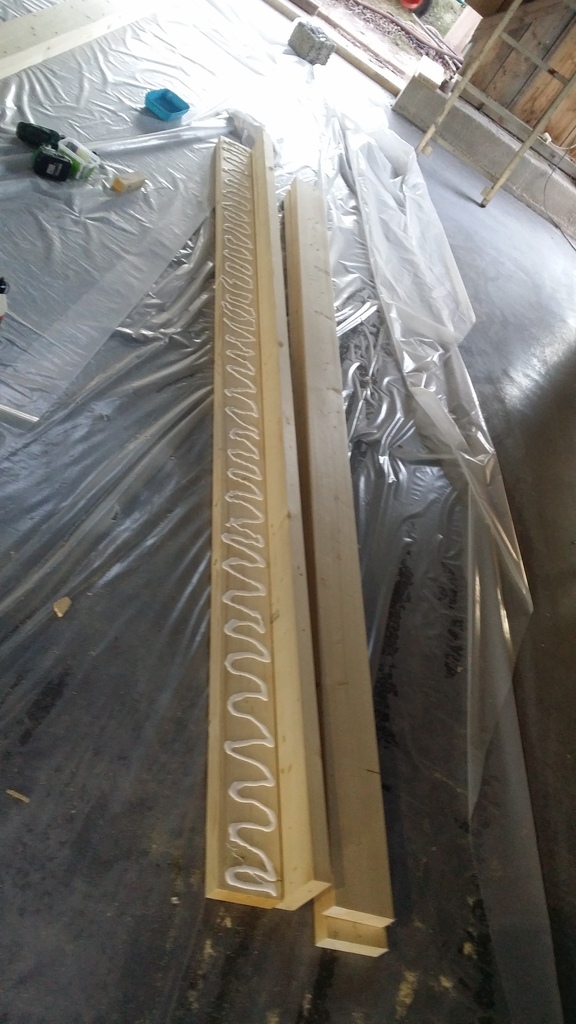 Started glueing planks together to for the frame. 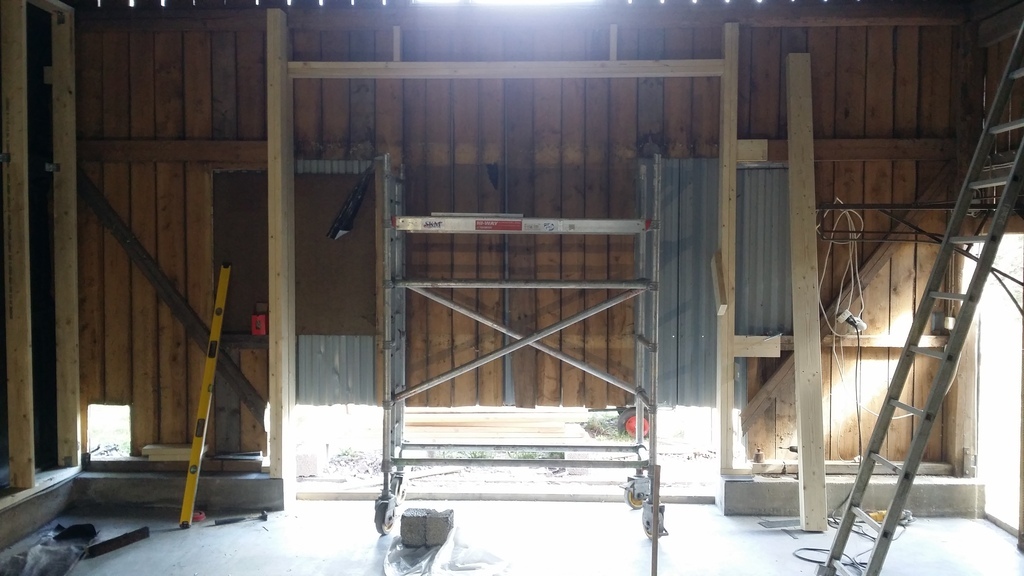 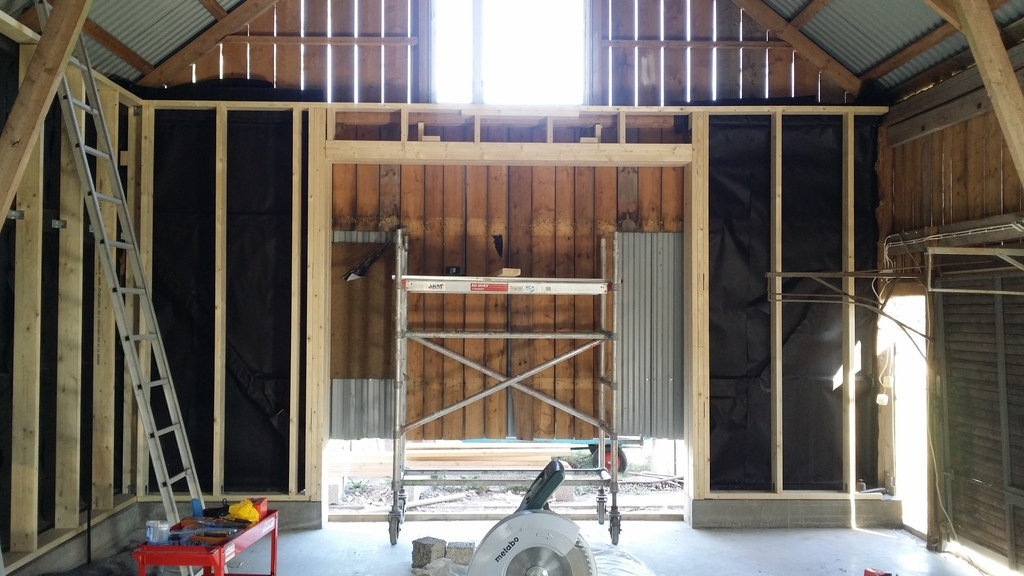 Slowly getting there. I hope you enjoy the build. I like to read about other people's builds in here. It gives both inspiration and motivation to get things done. Regards, David |
| |
|
|
|
|
|
|
|
|
|
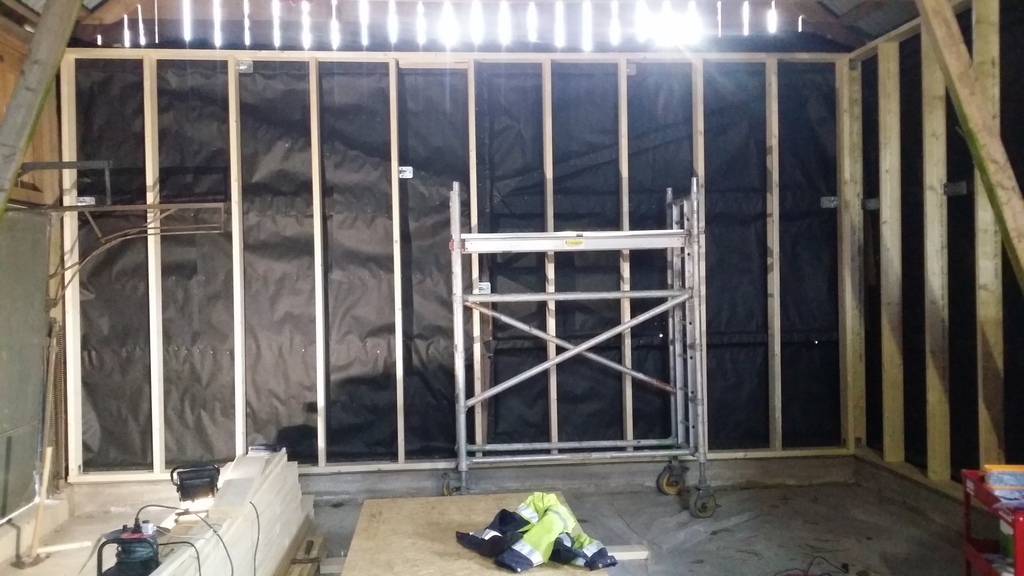 The last of the original walls was framed. 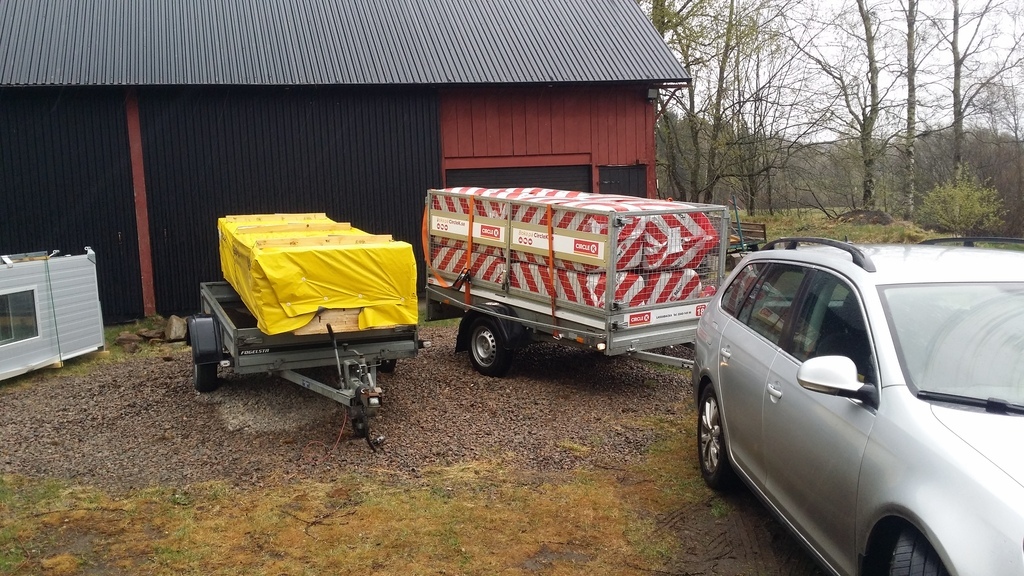 Two of the many loads with wood and insulation. 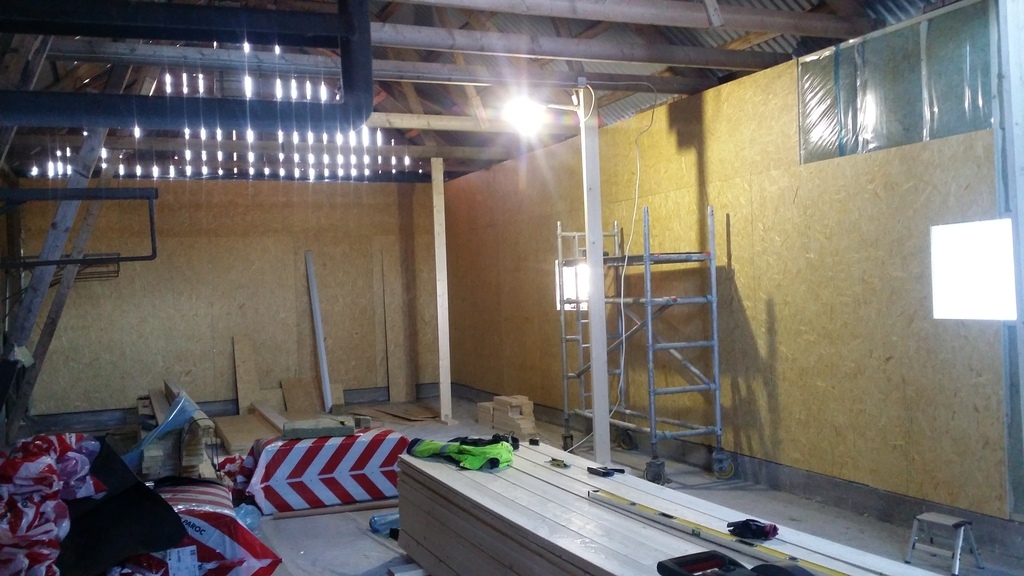 Insulation is in place and OSB is screwed on. Regarding the thickness of Insulation, this was decided by the construction. The old walls was built with different sized beams of non standard dimensions. What I did was to do the framing on the inside of this to get straight walls and to save time by not having to adapt every new piece to the existing beams. This made it so that the thickness of Insulation is between 250 to +300 mm. On the side where all the openings was I constructed a completely new wall and there the Insulation is 145 mm thick. My reasoning for this is that I will keep the garage heated during wintertime and you only pay for the Insulation once, but you will pay for electricity the rest of your life. 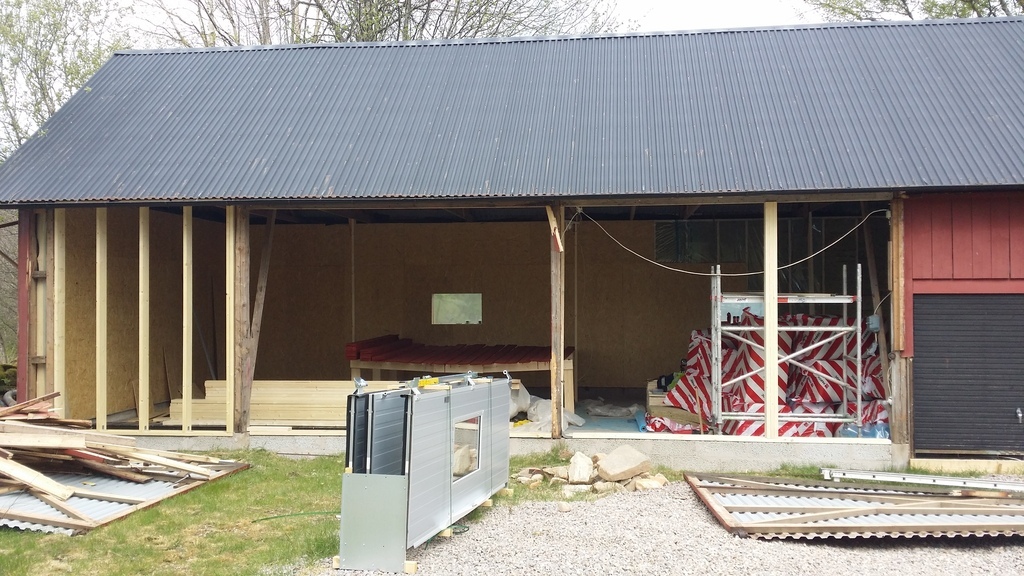 Took down the old doors. 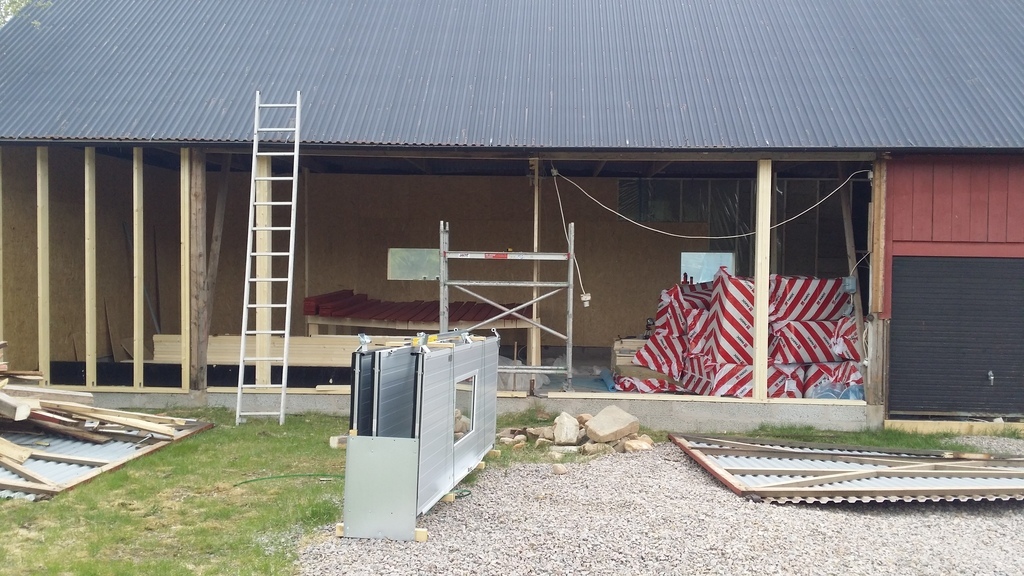 Started the framing for the new wall. 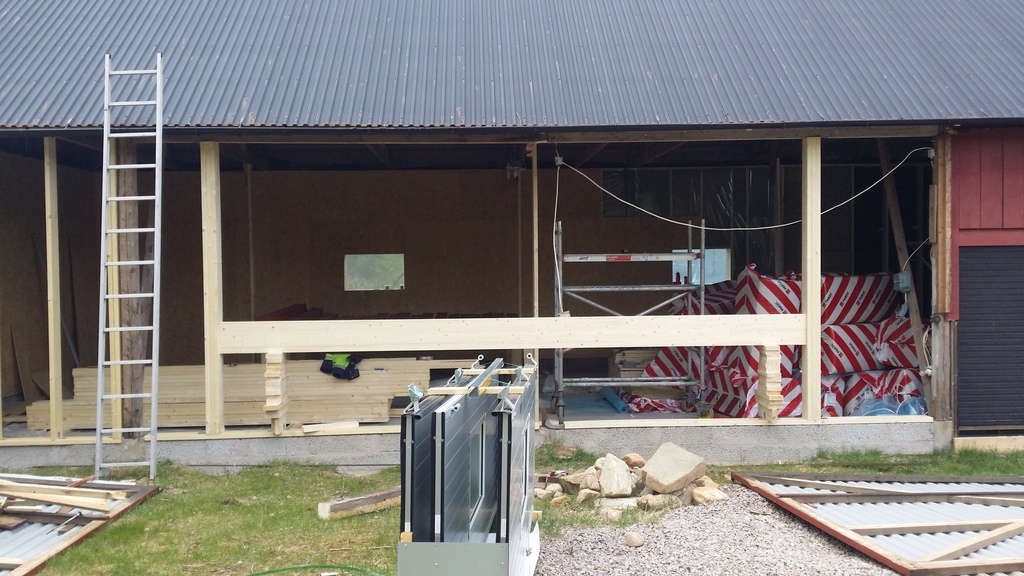 Decided that if I was to prepare for a future extension, now was the time. I put in a 6 meter glulam beam. /David |
| |
|
|
|
|
|
|
|
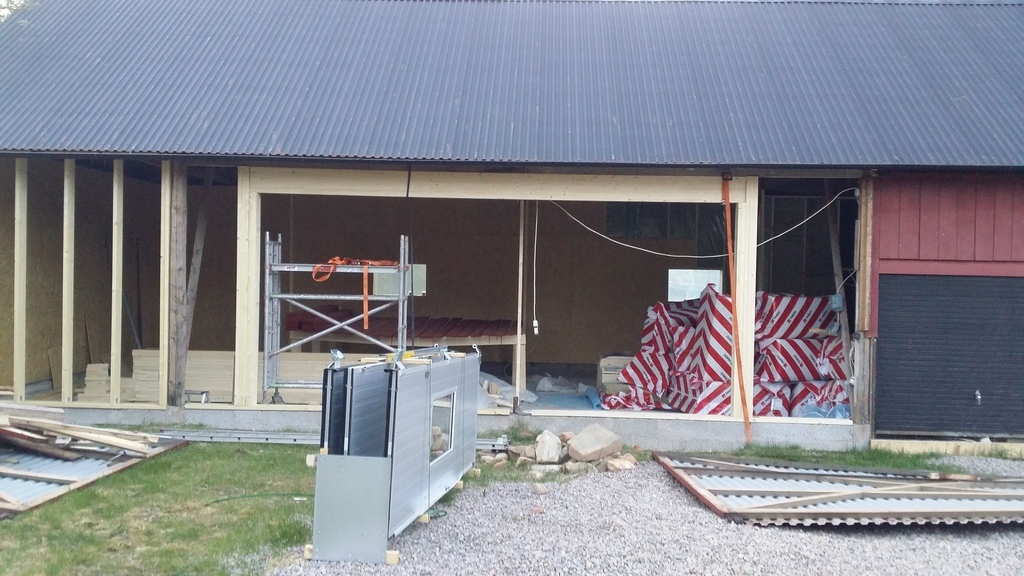 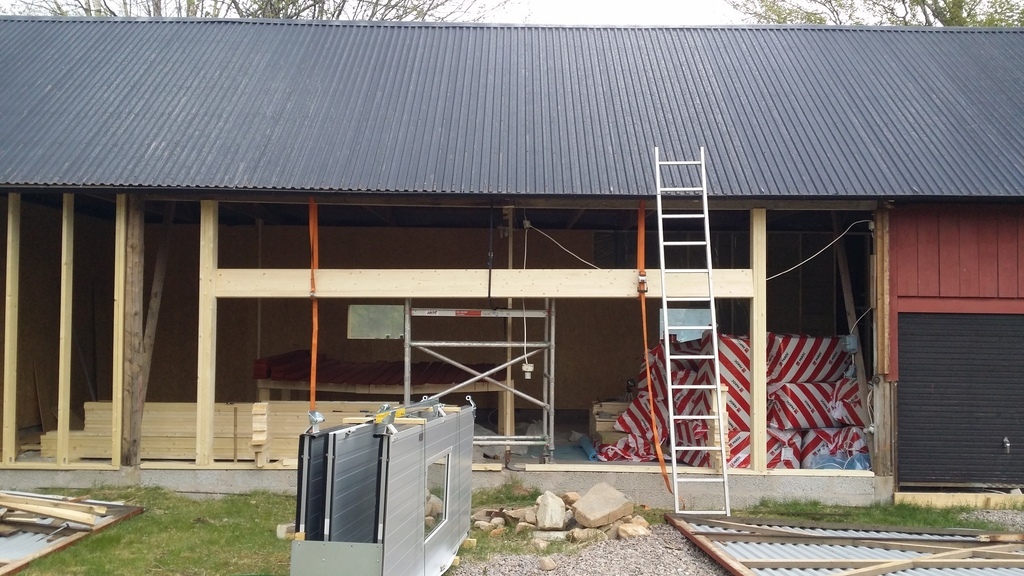 This wasn't so easy to do by myself, but I used ratchetstraps and got here in the end. 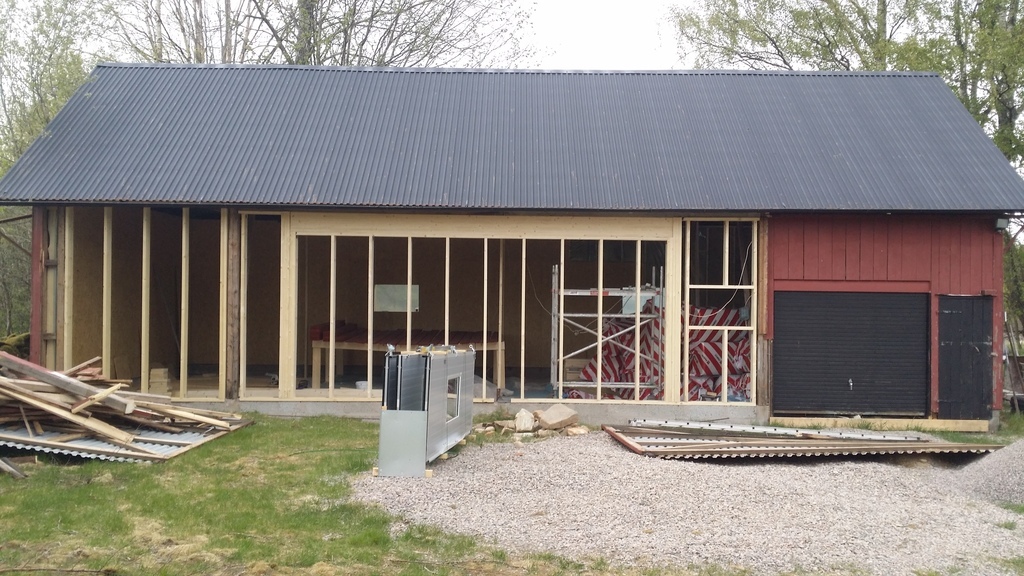 Continued with the rest of the framing. 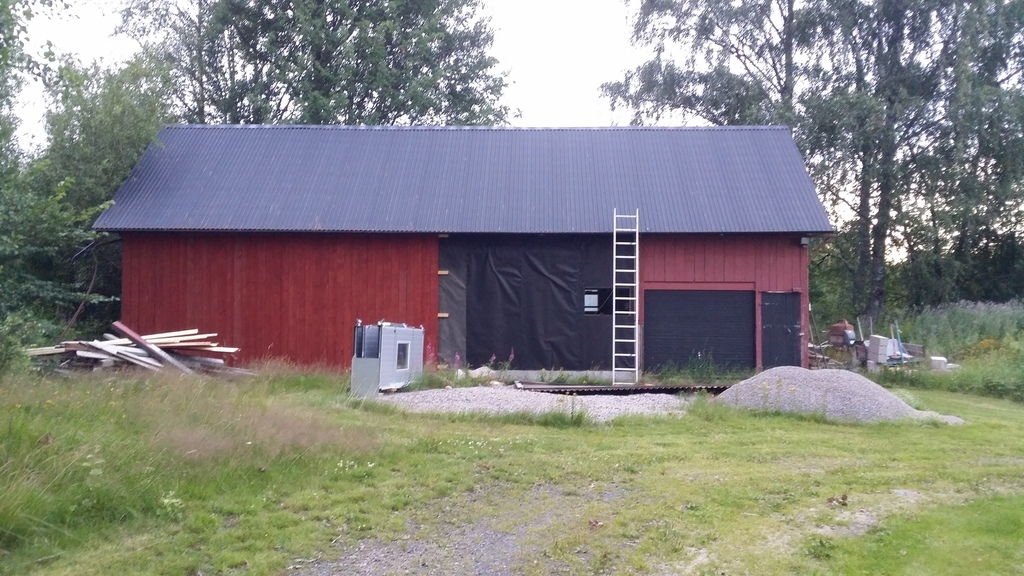 Put some panel on. 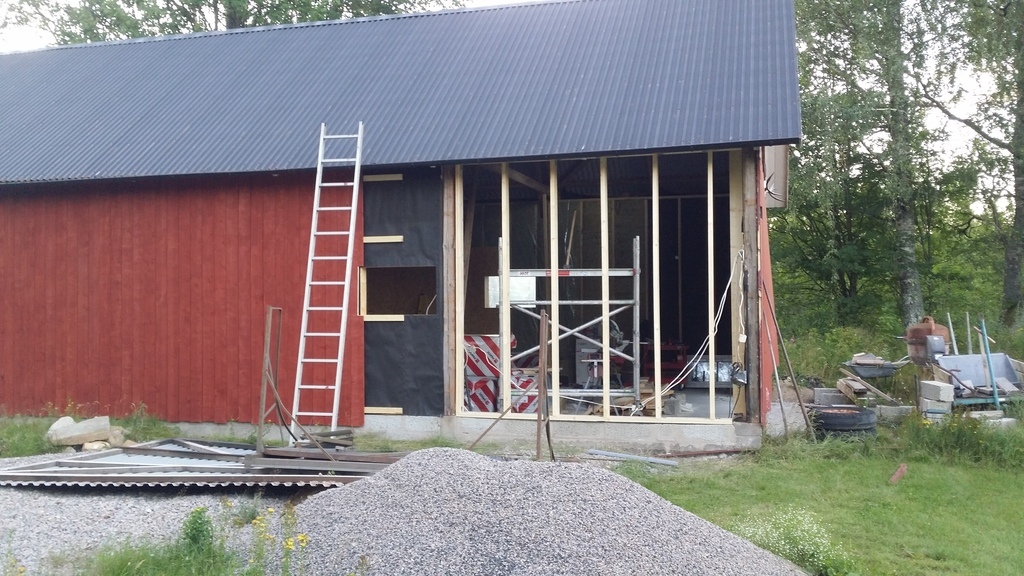 Framed the last part. /David |
| |
|
|
bstardchild
Club Retro Rides Member
Posts: 14,969
Club RR Member Number: 71
Member is Online
|
Davids Garage and projectsbstardchild
@bstardchild
Club Retro Rides Member 71
|
|
|
|
looking good
I did like the bit about only paying for insulation once but electricity for the rest of your life
|
| |
|
|
|
|
|
|
|
|
Thanks.
Yes, there are some things that you can save money on during a build that you can fix later, but in my opinion insulation is not one of them. I had som (older) people tell me that I should use thinner insulation to save money, the additional cost for thicker insulation is not a big thing in a build like this. In my case I would say that it's less than 5%.
But it also depends on what you plan to use it for. I don't like to freeze.
/David
|
| |
|
|
|
|
|
|
|
|
enjoying the build, its quite a spot you have up there.
100% agree on the insulation, get as good as you can afford as it will save you in the long run.
|
| |
|
|
|
|
|
|
|
|
Great work Especially for a first time build
|
| |
|
|
|
|
|
|
|
|
Good call on the insulation, especially in Sweden where I suspect it gets a lot colder!
|
| |
|
|
|
|
|
|
|
|
Thank you very much guys, I appreciate it.
Regarding the winters I'm located a bit more in the southern of Sweden, we get snow but usually not so many days/weeks. It's more on and of, snowing, raining and so on. It gets around -10 degrees Celsius, some days colder but not for extended periods. Usually its around 0 to -5 degrees Celsius. But the humidity is high which makes it cold to the bone. In Northern Sweden it gets alot colder and much more snow, but the humidity is low so it doesn't feel as cold as down south.
Another good thing with a well insulated garage is that it retains the temperature during summer also. When it was very warm it stayed nice and cold(ish) inside. I just opened the doors late at night when is was colder outside and then the temperature was nice for a couple of days.
/David
|
| |
|
|
|
|
|
Nov 10, 2022 23:07:55 GMT
|
Next I tackled the inside of the roof. 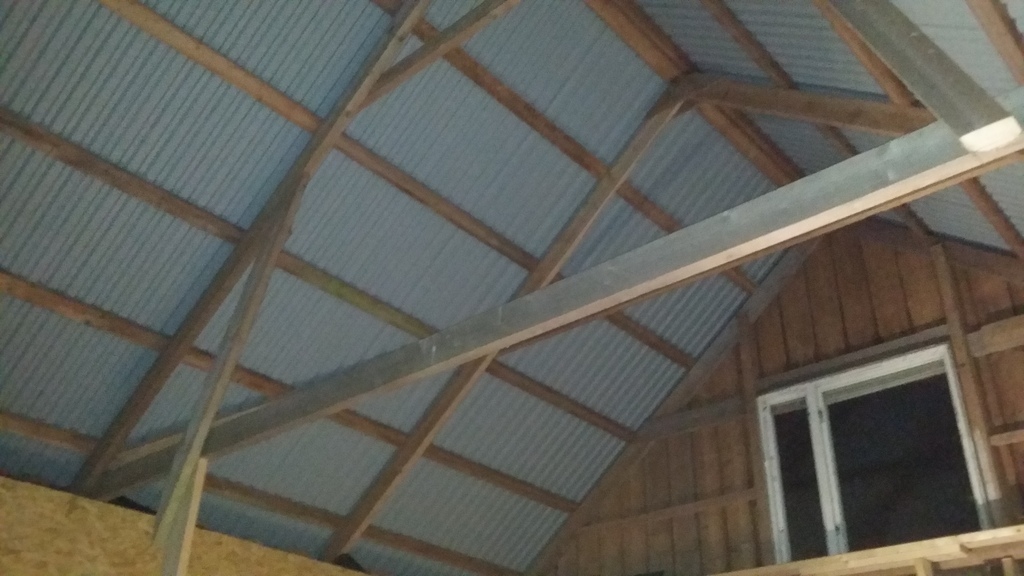 Since the original builder had no intention on heating the building up, the roof sheets was just laid on top of the battens(correct word?). There need to be somewhere for the moisture/ condensation to be able to run of, other the directly om the insulation.. 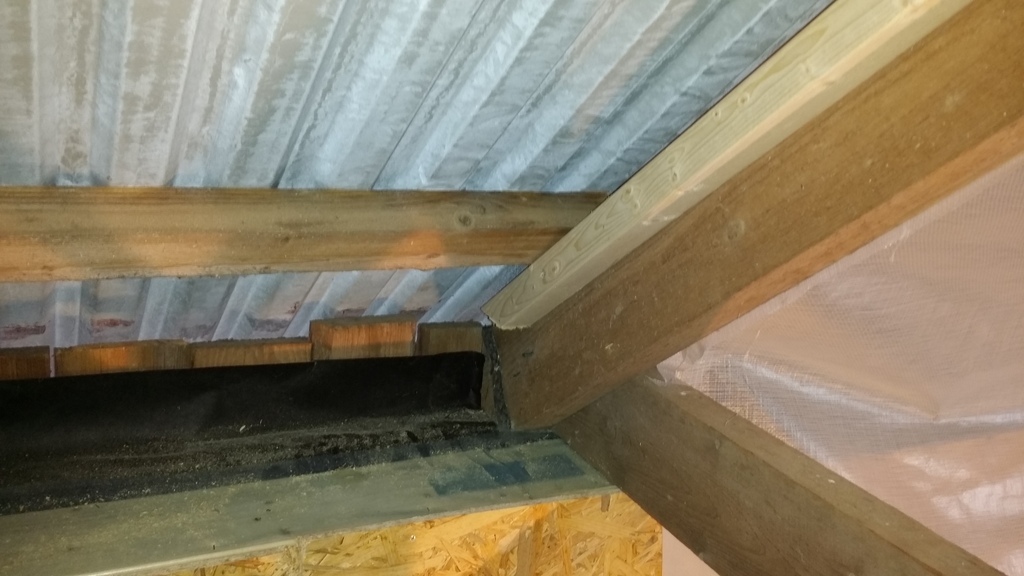 To be able to put the plastic/ condensation barrier up I screwed some 45x45 mm to the sides of the roof trusses. 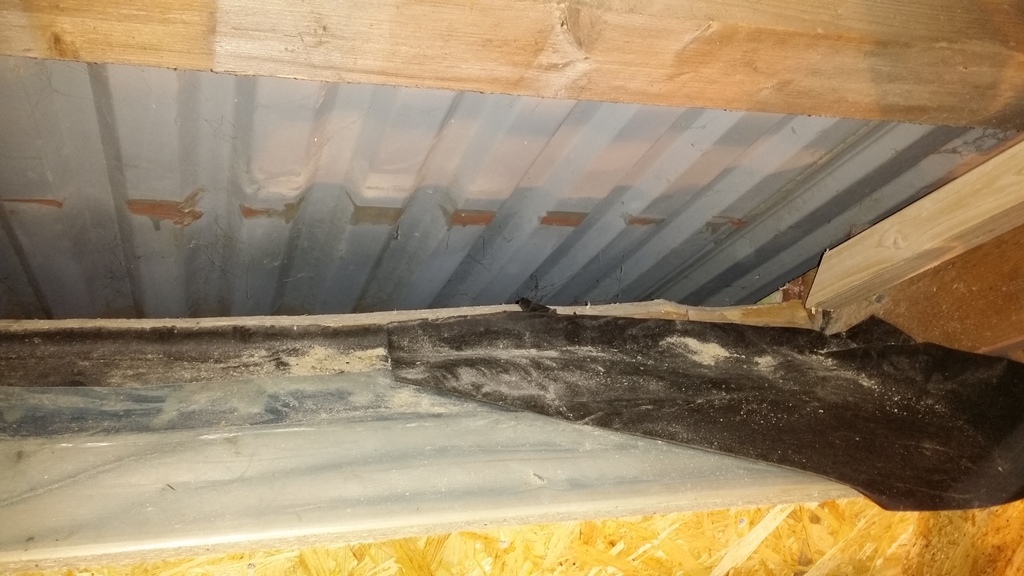 I needed to cut of the top of the outside panel from the inside so I could route the plastic out from the building so the condensation/ water can reach the outside of the building. 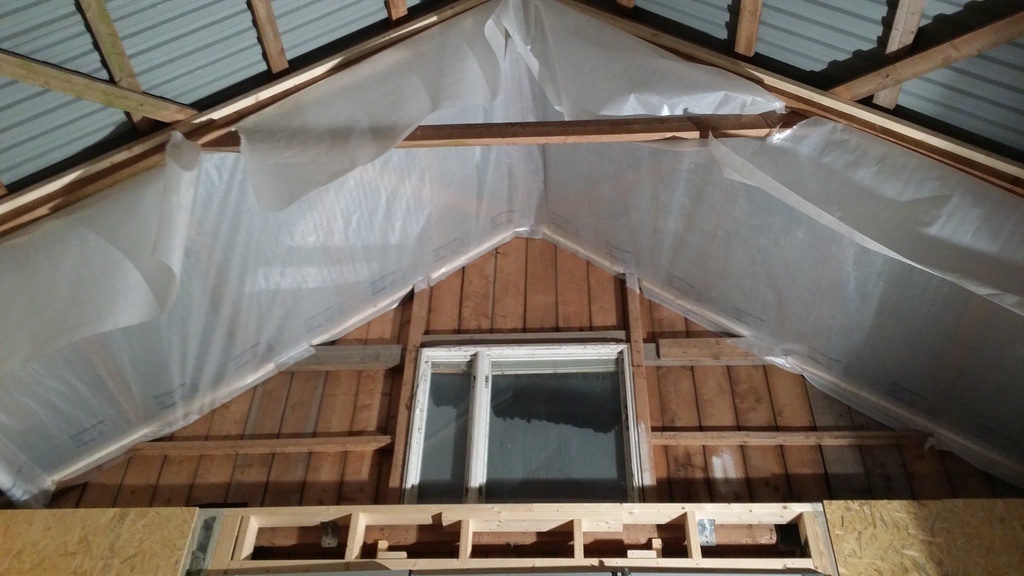 The first row is up. Took a lot of time. Wrestle the plastic in position, holding it up and stapling it in place and at the same time making sure that it was stretched so that I didn't create pockets for water accumulation. Looking back it probably was a two-man job, but I'm quite stubborn :-) 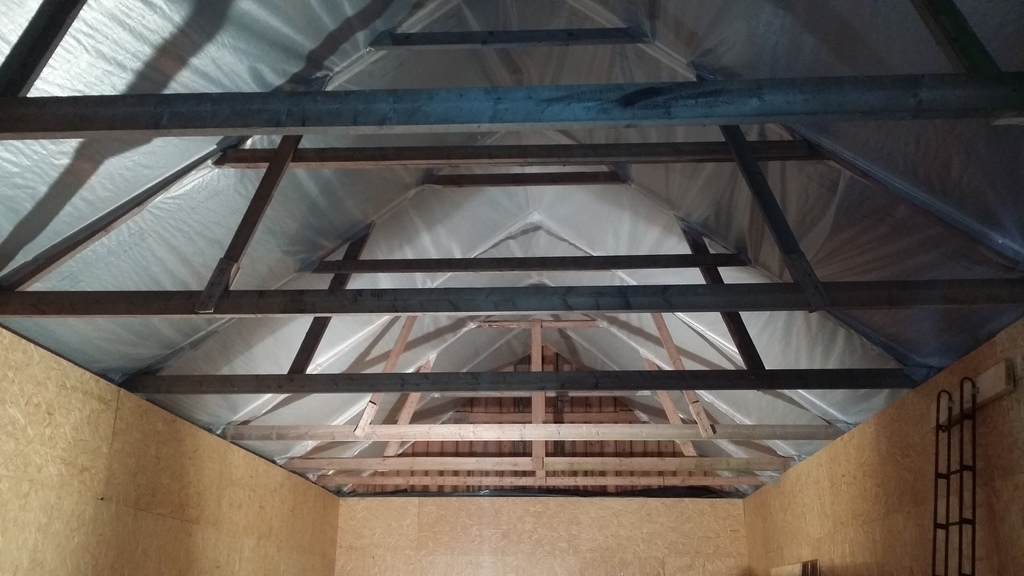 Many hours later all the plastic was in place and I was quite relieved. 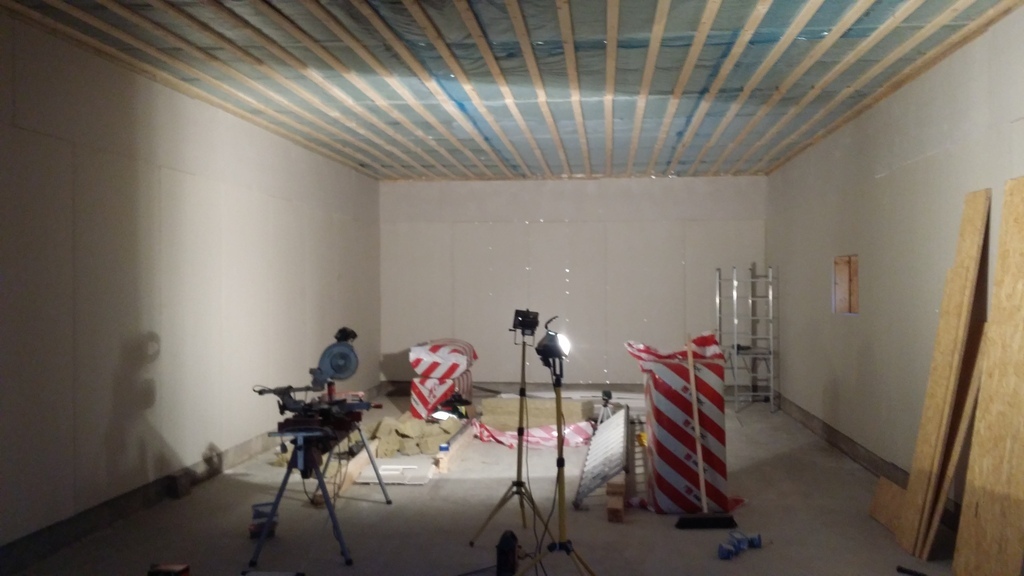 I seem to have lost some photos, but I continued whit the walls. Putting up plasterboard(?) and the roof battens. What I have also done here I realised, is I built more beams to put between the existing roof trusses because the distance between them was to big and I wanted to make sure that it would hold up for the plasterboard, insulation and everything. 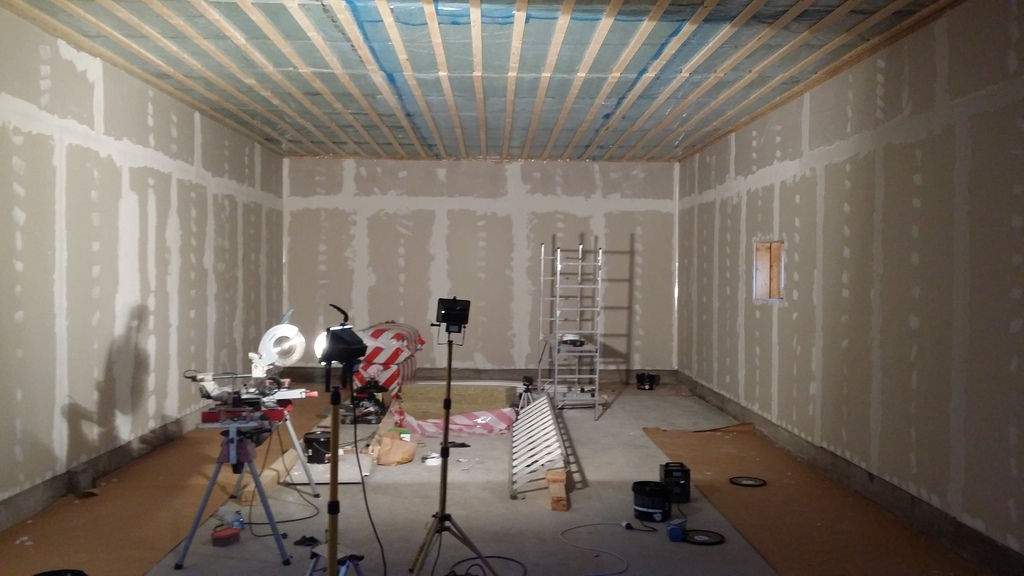 I rented a wall sander so a weekend was spent sanding and putting on filler in all the seams. In the end I just gave up and decided that it was good enough.. 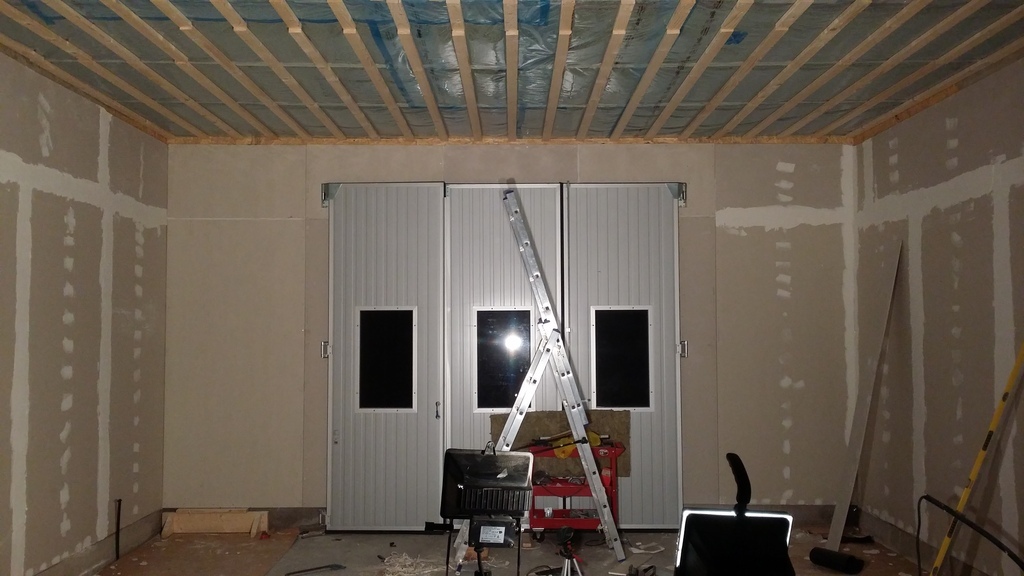 Got the doors up. 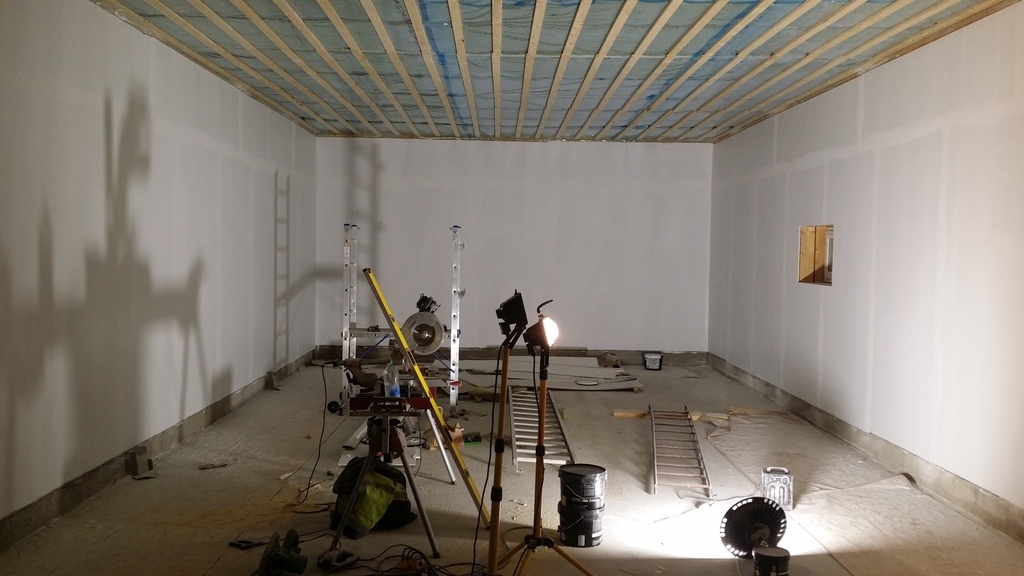 Got the first coat of paint up. Regards, David |
| |
|
|
Davey
Posted a lot
   Resident Tyre Nerd.
Posts: 2,348
|
|
Nov 11, 2022 14:03:17 GMT
|
|
Looking great, in the weirdest way, painting it white has made it look smaller?
What a great space to play with!
|
| |
K11 Micra x3 - Mk3 astra - Seat Marbella - Mk6 Escort estate - B5 Passat - Alfa 156 estate - E36 compact
Mk2 MR2 T-bar - E46 328i - Skoda Superb - Fiat seicento - 6n2 Polo - 6n polo 1.6 - Mk1 GS300
EU8 civic type S - MG ZT cdti - R56 MINI Cooper S - Audi A3 8p - Jaguar XF (X250) - FN2 Civic Type R - Mk2 2.0i Ford Focus - Mercedes W212 E250
|
|
|
|


